Tic-Tac-No
After a very spicy szechuan lunch, we retired back to PJ’s for beer and Infinity. PJ wanted to try his Wu Ming core again, this time in an LI list, so after rearranging the table to get some variety, we got down to business.
Overview
- Mission: Tic Tac Toe
- Forces: StarCo, Free Company of the Star versus Imperial Service
- Deploy First: StarCo
- First Turn: StarCo
[img]https://assets.infinitythegame.net/infinityarmy/img/_logosweb/logo_905.png[/img][b] Tic Tac Toe[/b]
[b]GROUP 1 | [/b][img]https://assets.infinitythegame.net/infinityarmy/img/_logosweb/orden_regular.png[/img]8 [img]https://assets.infinitythegame.net/infinityarmy/img/_logosweb/orden_irregular.png[/img]2
[img]https://assets.infinitythegame.net/infinityarmy/img/_logosweb/905/logo_18.png[/img] [b]EMILY (Chain of Command)[/b] Combi Rifle + Light Grenade Launcher (Normal and E/M), Nanopulser / Assault Pistol, Knife. (0.5 | [b]35[/b])
[img]https://assets.infinitythegame.net/infinityarmy/img/_logosweb/905/logo_17.png[/img] [b]UHAHU Hacker (Hacking Device Plus. UPGRADE: Icebreaker)[/b] Pitcher, D-Charges / Assault Pistol, Knife. (0.5 | [b]25[/b])[img]https://assets.infinitythegame.net/infinityarmy/img/_logosweb/905/logo_3.png[/img] [b]CSU (Specialist Operative)[/b] Rifle + Light Shotgun, Nanopulser / Pistol, Knife. (0 | [b]12[/b])
[img]https://assets.infinitythegame.net/infinityarmy/img/_logosweb/905/logo_3.png[/img] [b]CSU[/b] Boarding Shotgun, Nanopulser / Pistol, Knife. (0 | [b]11[/b])[img]https://assets.infinitythegame.net/infinityarmy/img/_logosweb/905/logo_10.png[/img] [b]HAWWA’ Hacker (Assault Hacking Device)[/b] Boarding Shotgun, D-Charges / Pistol, Knife. (0.5 | [b]26[/b])
[img]https://assets.infinitythegame.net/infinityarmy/img/_logosweb/905/logo_16.png[/img] [b]AVICENNA[/b] Combi Rifle, Flash Pulse / Pistol, Knife. (0 | [b]27[/b])
[img]https://assets.infinitythegame.net/infinityarmy/img/_logosweb/905/logo_26.png[/img] [b]ZONDBOT[/b] Electric Pulse. (0 | [b]3[/b])
[img]https://assets.infinitythegame.net/infinityarmy/img/_logosweb/905/logo_12.png[/img] [b]JAGUAR[/b] Adhesive Launcher, Panzerfaust / Pistol, DA CCW. (0.5 | [b]13[/b])
[img]https://assets.infinitythegame.net/infinityarmy/img/_logosweb/905/logo_12.png[/img] [b]JAGUAR[/b] Chain Rifle, Smoke Grenades / Pistol, DA CCW. (0 | [b]10[/b])
[img]https://assets.infinitythegame.net/infinityarmy/img/_logosweb/905/logo_9.png[/img] [b]BANDIT Hacker (Assault Hacking Device)[/b] Light Shotgun, Adhesive Launcher / Pistol, DA CCW. (0.5 | [b]28[/b])
[img]https://assets.infinitythegame.net/infinityarmy/img/_logosweb/905/logo_15.png[/img] [b]SPECTOR (AD: Combat Jump)[/b] Boarding Shotgun, Nanopulser, Drop Bears / Pistol, E/M2 CC Weapon. (0 | [b]33[/b])[b]GROUP 2 | [/b][img]https://assets.infinitythegame.net/infinityarmy/img/_logosweb/orden_regular.png[/img]4 [img]https://assets.infinitythegame.net/infinityarmy/img/_logosweb/orden_irregular.png[/img]1 [img]https://assets.infinitythegame.net/infinityarmy/img/_logosweb/orden_impetuosa.png[/img]1
[img]https://assets.infinitythegame.net/infinityarmy/img/_logosweb/905/logo_2.png[/img] [b]BRAWLER Hacker (Assault Hacking Device)[/b] Submachine Gun / Pistol, Knife. (0.5 | [b]17[/b])
[img]https://assets.infinitythegame.net/infinityarmy/img/_logosweb/905/logo_2.png[/img] [b]BRAWLER Lieutenant[/b] Rifle + Light Shotgun / Pistol, Knife. (0 | [b]16[/b])[img]https://assets.infinitythegame.net/infinityarmy/img/_logosweb/905/logo_13.png[/img] [b]IRMANDINHO[/b] Chain Rifle, D-Charges, Smoke Grenades / Pistol, AP CCW. (0 | [b]8[/b])
[img]https://assets.infinitythegame.net/infinityarmy/img/_logosweb/905/logo_5.png[/img] [b]HELLCAT[/b] Spitfire / Pistol, Knife. (1.5 | [b]28[/b])
[img]https://assets.infinitythegame.net/infinityarmy/img/_logosweb/905/logo_25.png[/img] [b]TRANSDUCTOR ZOND[/b] Flash Pulse, Sniffer / Electric Pulse. (0 | [b]8[/b])
[b] 4.5 SWC | 300 Points |[/b] Open in Infinity Army
[img]https://assets.infinitythegame.net/infinityarmy/img/_logosweb/logo_202.png[/img][b] Imperial Service[/b]
[img]https://assets.infinitythegame.net/infinityarmy/img/_logosweb/202/logo_2.png[/img] [b]ZHÀNYING Lieutenant (Sensor)[/b] Breaker Combi Rifle, Nimbus Grenades / Pistol, Electric Pulse. (0 | [b]26[/b])
[img]https://assets.infinitythegame.net/infinityarmy/img/_logosweb/202/logo_6.png[/img] [b]WÚ MÍNG[/b] HMG / Pistol, Knife. (2 | [b]39[/b])
[img]https://assets.infinitythegame.net/infinityarmy/img/_logosweb/202/logo_6.png[/img] [b]WÚ MÍNG[/b] Heavy Rocket Launcher, Light Shotgun / Pistol, Knife. (2 | [b]33[/b])
[img]https://assets.infinitythegame.net/infinityarmy/img/_logosweb/202/logo_6.png[/img] [b]WÚ MÍNG (Forward Observer)[/b] Boarding Shotgun / Pistol, Knife. (0 | [b]31[/b])
[img]https://assets.infinitythegame.net/infinityarmy/img/_logosweb/202/logo_6.png[/img] [b]WÚ MÍNG (Fireteam: Duo)[/b] Chain Rifle, Submachine Gun / Pistol, Knife. (0 | [b]25[/b])[img]https://assets.infinitythegame.net/infinityarmy/img/_logosweb/202/logo_13.png[/img] [b]SOPHOTECT[/b] Combi Rifle, D-Charges / Pistol, Knife. (0 | [b]31[/b])
[img]https://assets.infinitythegame.net/infinityarmy/img/_logosweb/202/logo_4.png[/img] [b]PHEASANT IMPERIAL AGENT (Chain of Command, X Visor)[/b] Combi Rifle + E/Mitter, MadTraps / Pistol, DA CC Weapon. (0 | [b]36[/b])
[img]https://assets.infinitythegame.net/infinityarmy/img/_logosweb/202/logo_1.png[/img] [b]CELESTIAL GUARD Hacker (Hacking Device)[/b] Combi Rifle / Pistol, Knife. (0.5 | [b]21[/b])
[img]https://assets.infinitythegame.net/infinityarmy/img/_logosweb/202/logo_3.png[/img] [b]BÀO TROOP (Multispectral Visor L2)[/b] MULTI Sniper Rifle / Pistol, Knife. (1.5 | [b]29[/b])
[img]https://assets.infinitythegame.net/infinityarmy/img/_logosweb/202/logo_9.png[/img] [b]NINJA Hacker (Killer Hacking Device)[/b] Tactical Bow / Pistol, DA CCW, Knife. (0 | [b]29[/b])
[img]https://assets.infinitythegame.net/infinityarmy/img/_logosweb/orden_regular.png[/img]10 [b]| 6 SWC | 300 Points |[/b] Open in Infinity Army
Deployment
I won the rolloff and elected to go first, so PJ made me deploy first. I really have been wanting to try a vanilla-like StarCo list with a ton of Duos, and this was the time to do it! I stuck my Brawler Duo on the left to push that line of antennas, with the Assault hacker slightly forward. This was pretty risky because my lieutenant would be dragged about with the AHD, but at least she’d have a buddy. I paired up two CSUs as well, the Specialist Operative rolled 8-4 MOV and the other rolled +3 PH, both of which are pretty excellent. They were poised to run up the central line of antennas with smoke support from a nearby Jaguar.
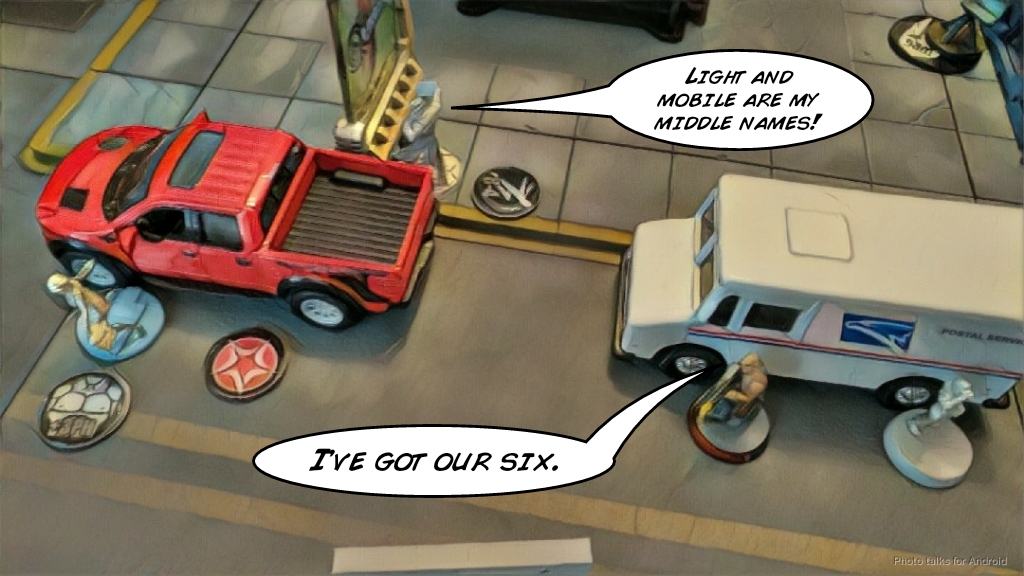 Emily and Uhahu were my last duo, and they were poised to move up the right line of antennas. I had a Jaguar Panzerfaust and Avicenna’s bot on the right, along with an Al’Hawwa by the right central antenna.
 Given that, I thought I’d better reinforce my left antenna line with an Irmandinho and Avicenna, who was hiding on the stairs right in front of the Irmandinho.
 With that, it was time for PJ to deploy.
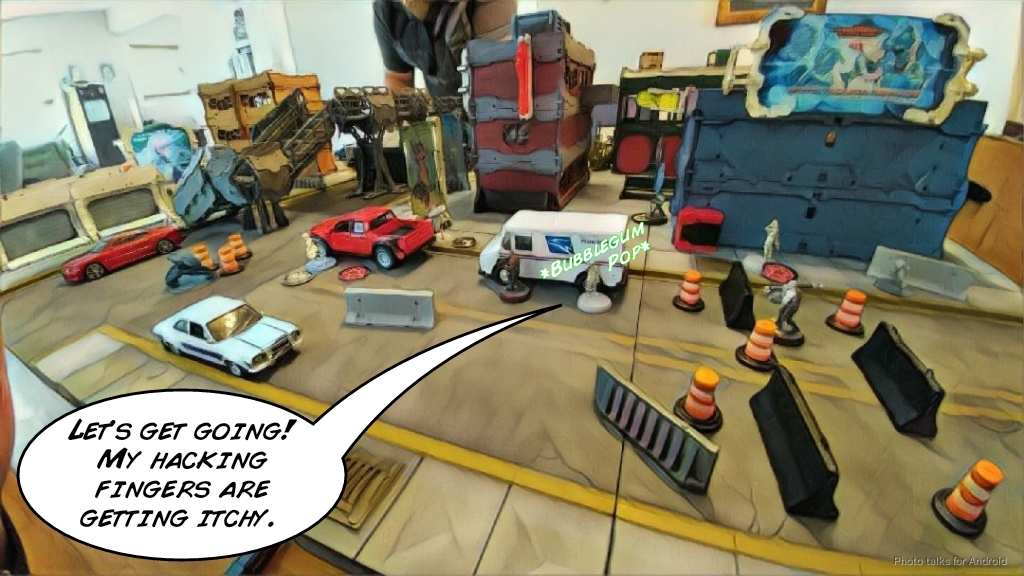 PJ chose to do a denied flank deployment, putting his Wu Ming link on my left in cover, with the Sophotect there to pick them up if necessary. Only the HRL Wu Ming was left out to ARO things. The green building next to the Wu Ming link also contained a Celestial Guard hacker.
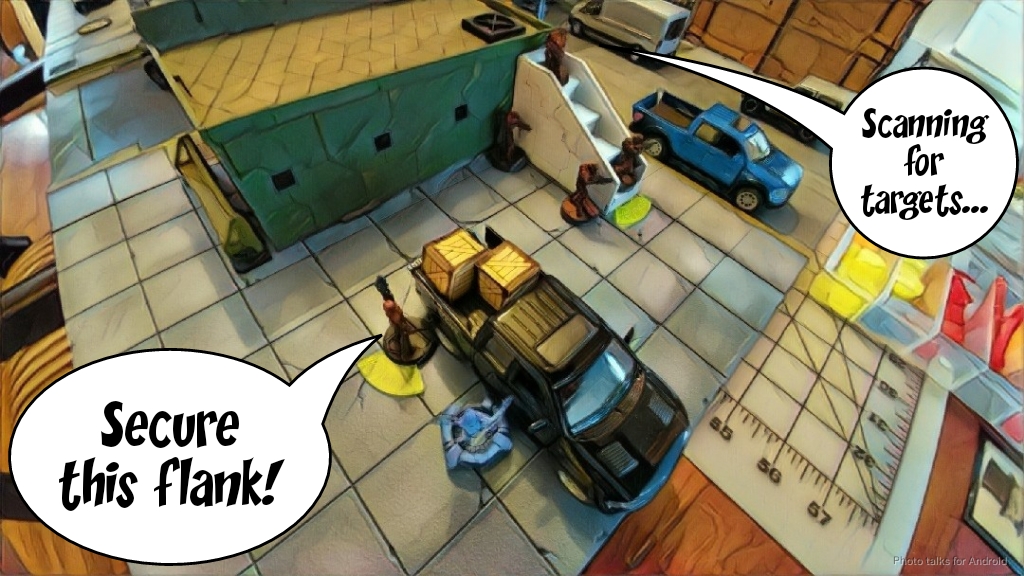 The only things covering PJ’s left flank (my right) were the Bao MSV in the center of his deployment zone and the Pheasant and its attendant MadTraps, which were attempting to lock PJ’s DZ down against AD troops.
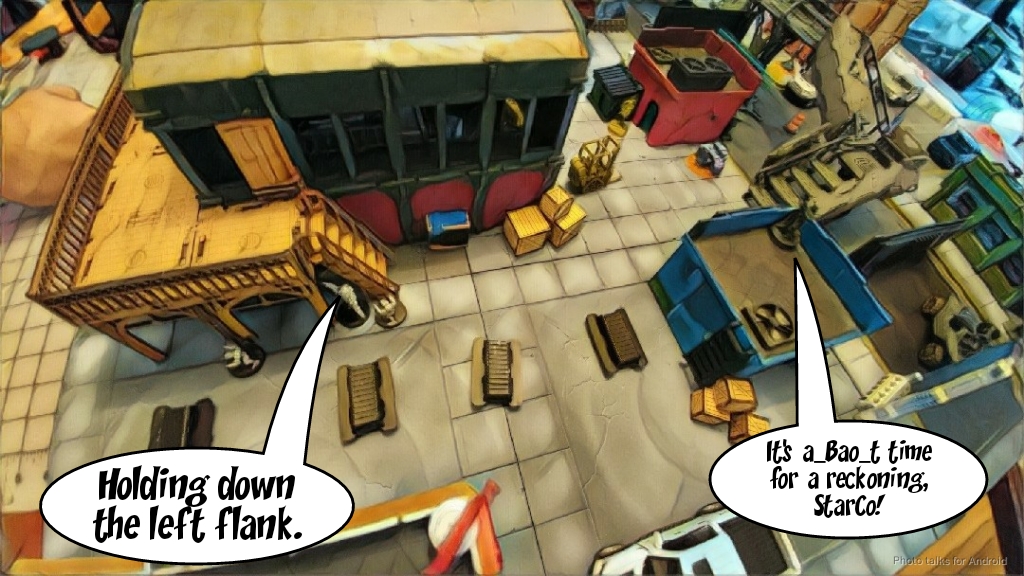 I dropped my Bandit in out of reserve, attempting to get it really close to the Wu Ming, but I failed the infiltration roll and threw the Bandit on the left side of my deployment zone. I figured I’d have the orders to move her out of harm’s way.
 I don’t recall what PJ’s reserve was, perhaps his Ninja KHD, which was hiding next to my Al’Hawwa. In any case, we had a gentleman’s hand shake and started the ball rolling.
Turn 1
Top of Turn 1 – StarCo
PJ had carefully placed the HRL such that the Irmandinho would get blasted as it ran around the corner, catching Avicenna in the collateral. PJ also took two orders from my second group, so forcing me to cancel the Irmandinho’s order, leaving me with a single irregular order in that pool. PJ’s Bao Trooper was really troublesome, so it needed to go. I activated Emily and Uhahu to get a pitcher into the central area and throw up White Noise. An order later and Emily had knocked out the Bao with her combi rifle at range. I grabbed the nearest antenna with Emily and moved Uhahu up, through the central antenna in an attempt to grab that objective. To my surprise, PJ declared engage on Emily with his Ninja, so instead of pushing the button I emptied Uhahu’s assault pistol into the Ninja’s face. Thankfully one round snuck through and PJ failed the ARM save.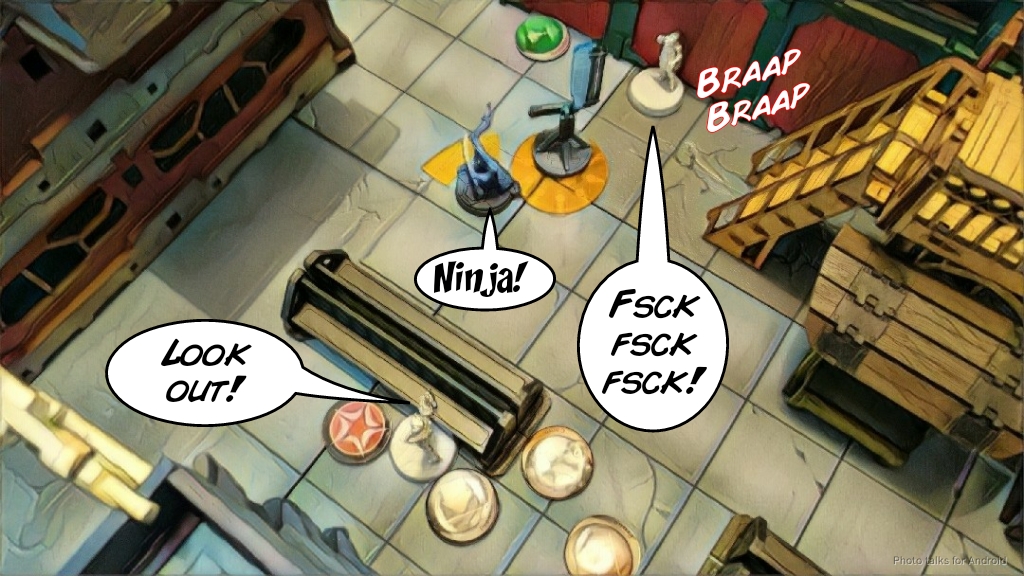 I grabbed the near central objective with the CSU then advanced them into position to grab more antennas on turn 2. I wanted to do more damage to PJ’s order pool so I peered about for an angle, but then decided I needed to get rid the Pheasant to clear my right flank of Imperial Service troopers.
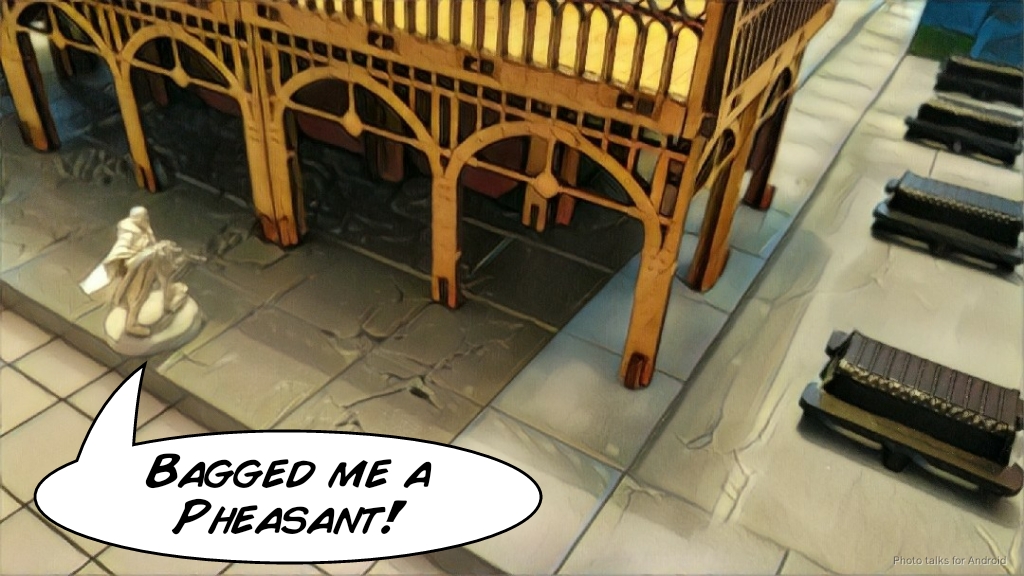 I brought Raoul in and by carefully skirting outside of 8″ was able to take out the screening MadTrap and then finally the Pheasant over the course of 3 orders, including Raoul’s own order. At this point I was basically out of orders in my main pool.
 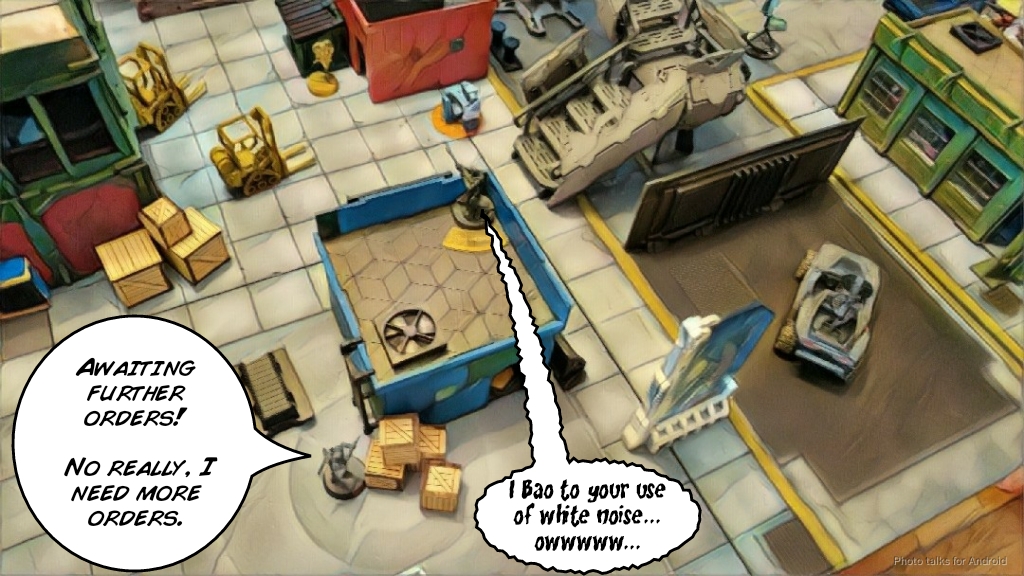 I wanted to get the Hellcat on the table for the order next turn, and I figured I might as well try to get some use out of it, so I just dropped it in near the Bao (beating the CG’s Hack Transport Aircraft roll), and shifted into a position to try and bait the Wu Ming link towards my right side or at least bag a Sophotect as she walked in.
Bottom of Turn 1 – ISS
The Wu Ming left their hideout and gunned down the poor Bandit, who failed to dodge away.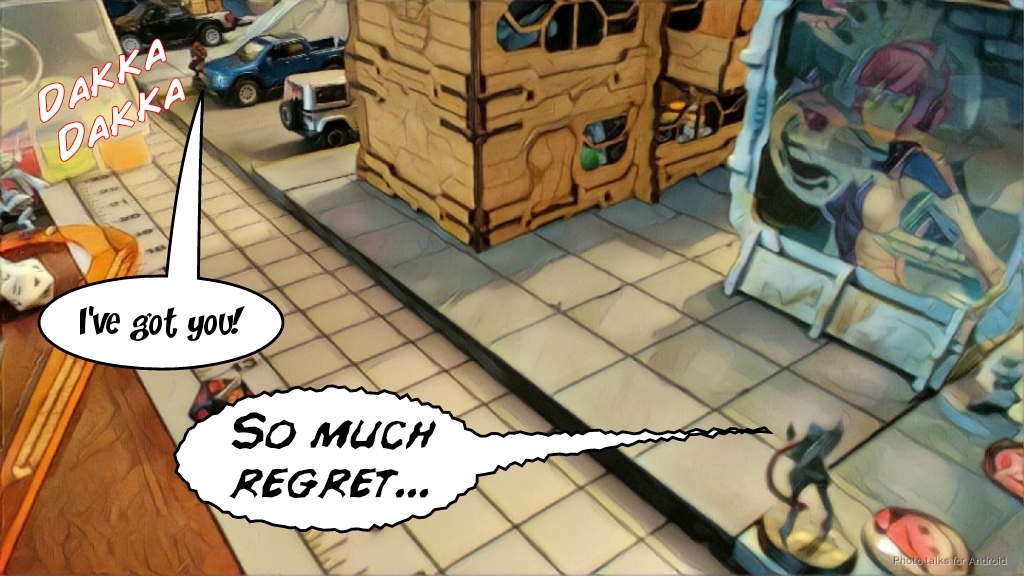 The Wu Ming then started advancing up my left antenna line, grabbing the first antenna, but then things started to go a little awry for them.
 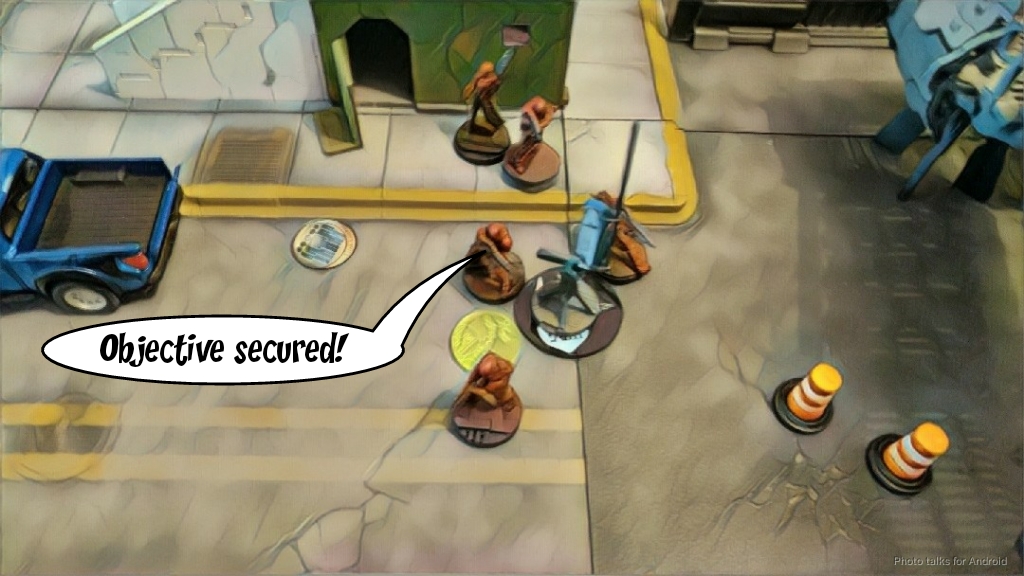 The Wu Ming HMG challenged Uhahu, but she just fired a pitcher at almost exactly 16″ (thanks to the eyeball aid of the 12″ tiles of the board) and within hacking range of most of the link. I lost Uhahu, but now both my AHDs could go to work.
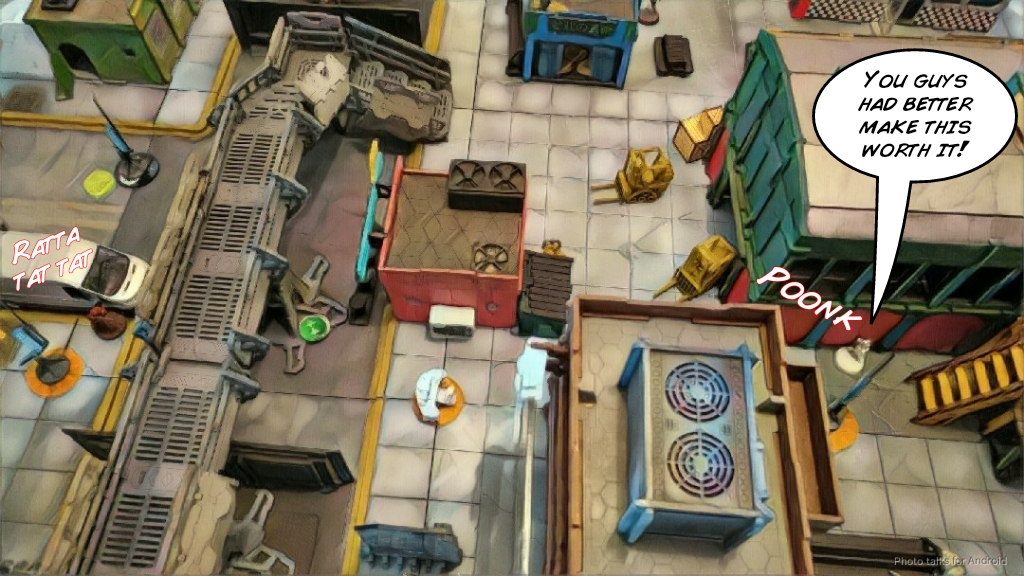 As the Wu Ming moved up to secure my left middle objective, I isolated the HRL Wu Ming and flubbed a roll or two trying to isolate the Wu Ming HMG.
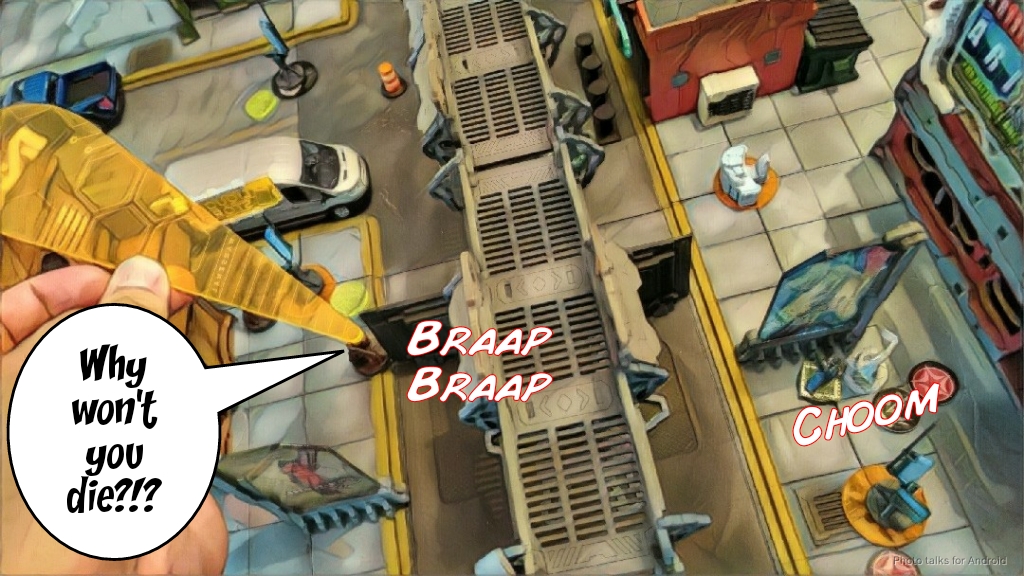 Another order put the Wu Ming HMG in a face to face with my lead CSU. I fired back with a LSG and beat all 5 of PJ’s HMG rolls! The template is at an odd angle but that’s just an artifact of me trying to snap an action shot, we were very precise with it for game purposes. So even though I hit the Wu Ming HMG and the FO Wu Ming, both passed their ARM rolls. However, the Wu Ming HMG did not pass his BTS against Oblivion through Uhahu’s repeater.
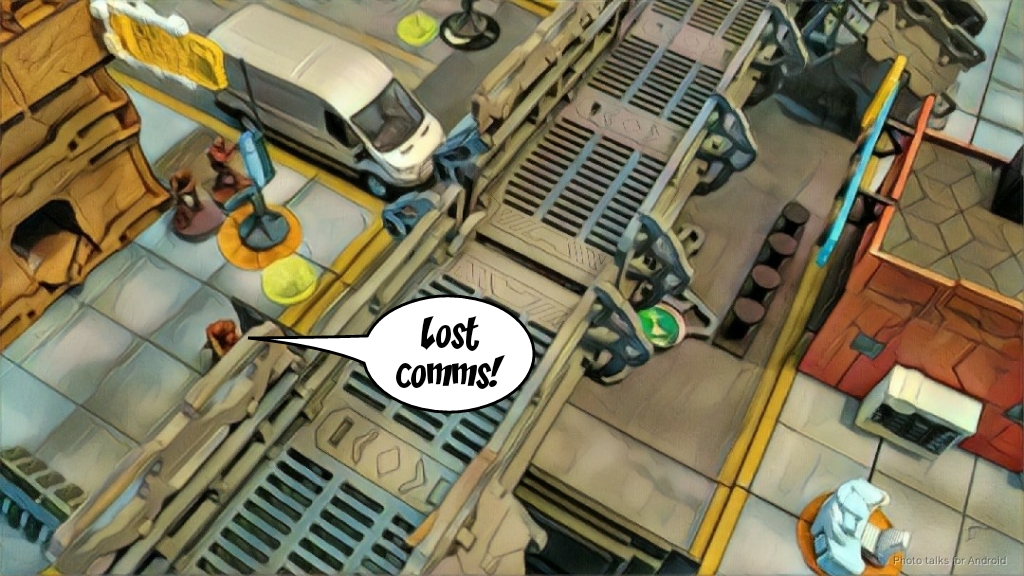 PJ’s link was a bit clustered up, but they were in a good position to grab the last objective in the left column, assuming I left the unmolested.
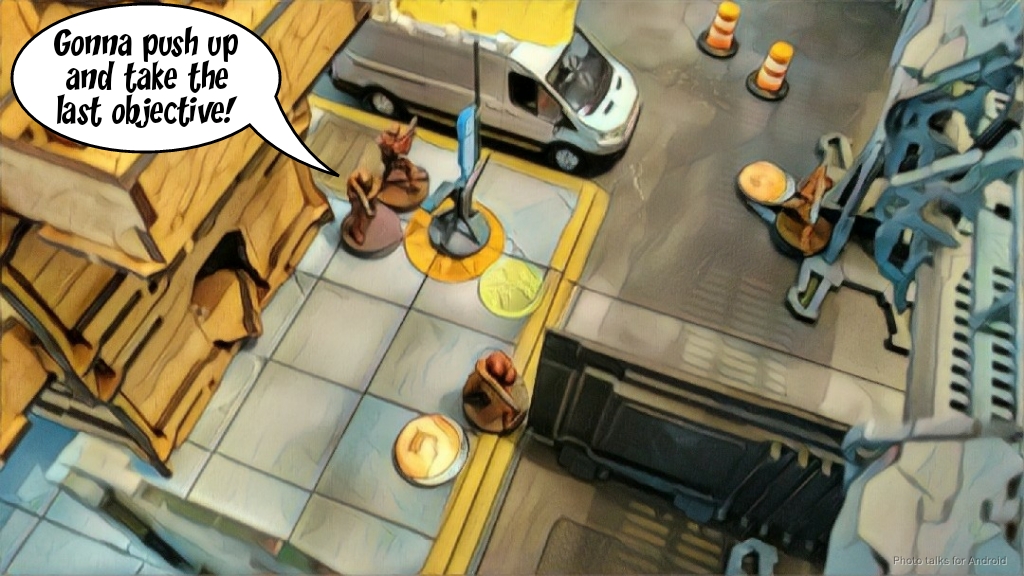 Out of orders, PJ passed the turn.
Turn 2
Top of Turn 2 – StarCo
The Irmandinho grabbed the near left antenna, and then I spent way too many orders on Spotlighting the Wu Ming HMG, finally succeeding on the third or fourth order. This let me drop the Wu Ming with some AP rounds from the AHD Brawler. SMGs aren’t MULTI Rifles but man they are good.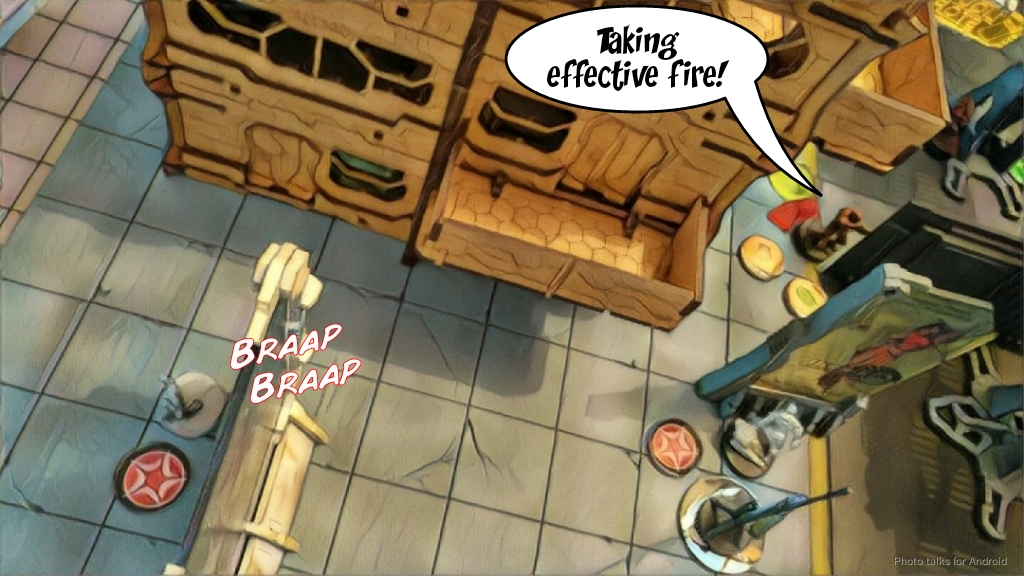 I grabbed the middle objective on the right with my Al’Hawwa finally, and then snuck Raoul through a door on the warehouse on the right and completed the right column. I didn’t have much of a counterstrike planned, or the orders to execute it after grabbing all the objectives, my classified, and removing the Wu Ming HMG. I had one order left so I attempted a spec fire E/M on the Wu Ming from outside of 24″ and just failed. In the end, I had to pass the turn after trying to take out the Sophotect with my Hellcat Spitfire and only putting her into NWI after rolling awfully.
Bottom of Turn 2 – ISS
The Sophotect attempted to heal hreself, but ended up failing two doctor rolls. Unfortunate. After the HRL shot Uhahu’s repeater, the chain rifle Wu Ming went on a rampage, killing my specialist operative CSU, but took a wound from my BSG CSU.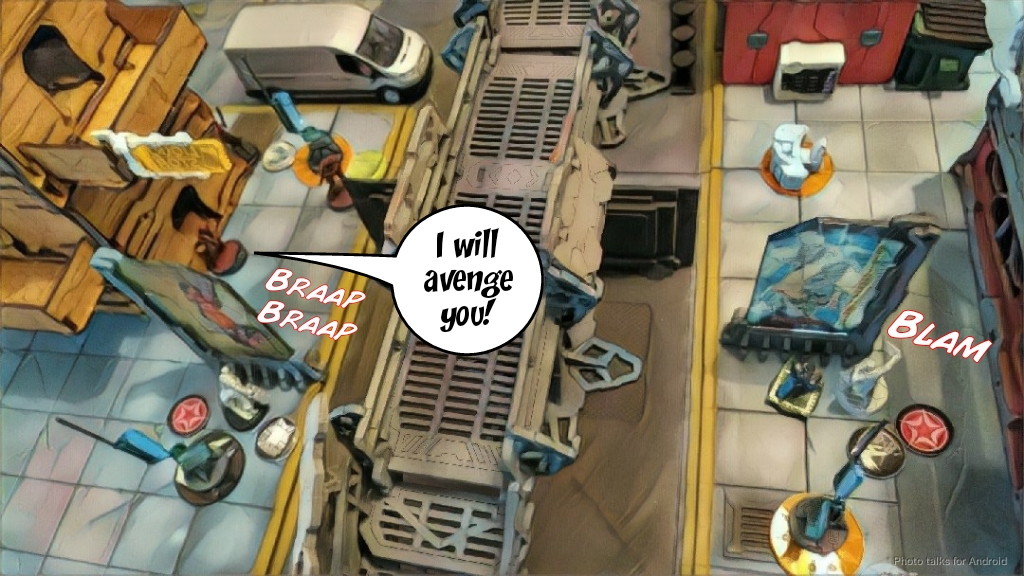 Another order dropped my AHD Brawler, but my Lieutenant and BSG CSU managed to drop the chain rifle Wu Ming before any more damage could be done.
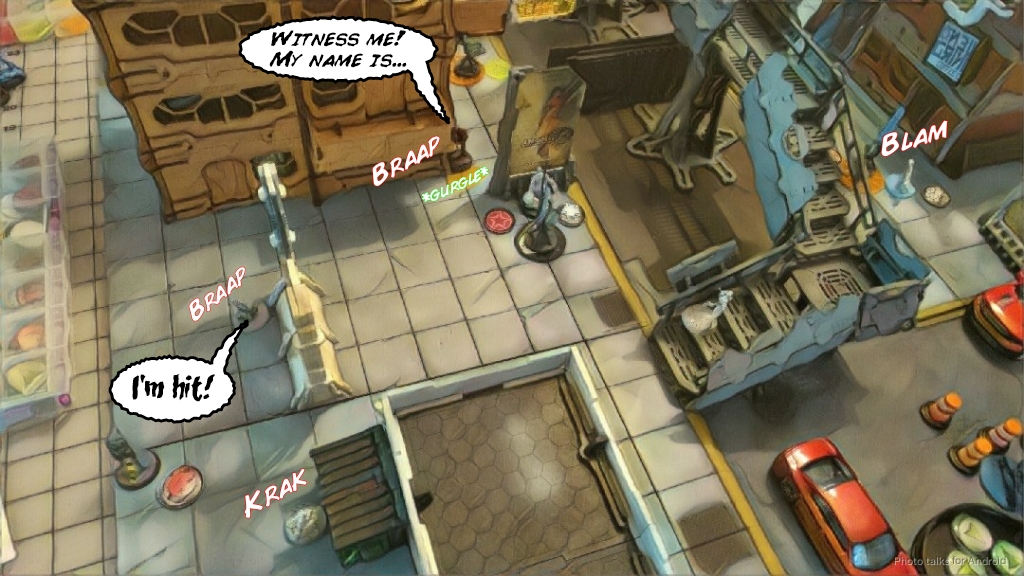 The FO Wu Ming came around the corner and shot my Irmandinho–I tried to block with smoke, putting the center of the template far enough so as to deny PJ the ability to just walk the Wu Ming through the smoke to the objective. Of course, double boarding shotgun to the face is effective, and I lost the Irmandinho…
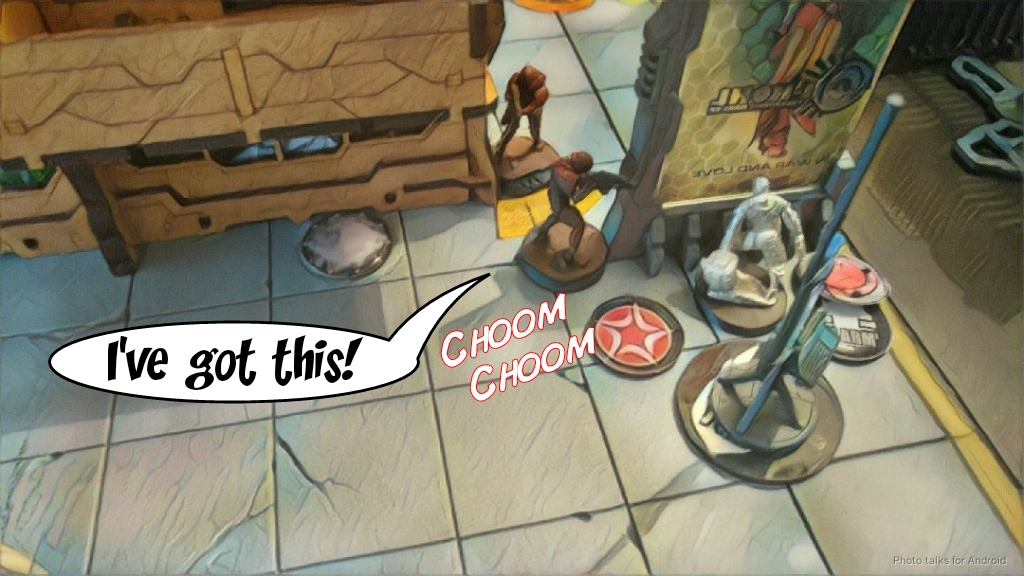 but PJ also lost the Wu Ming to fire from my Lieutenant and the BSG CSU’s AP slug.
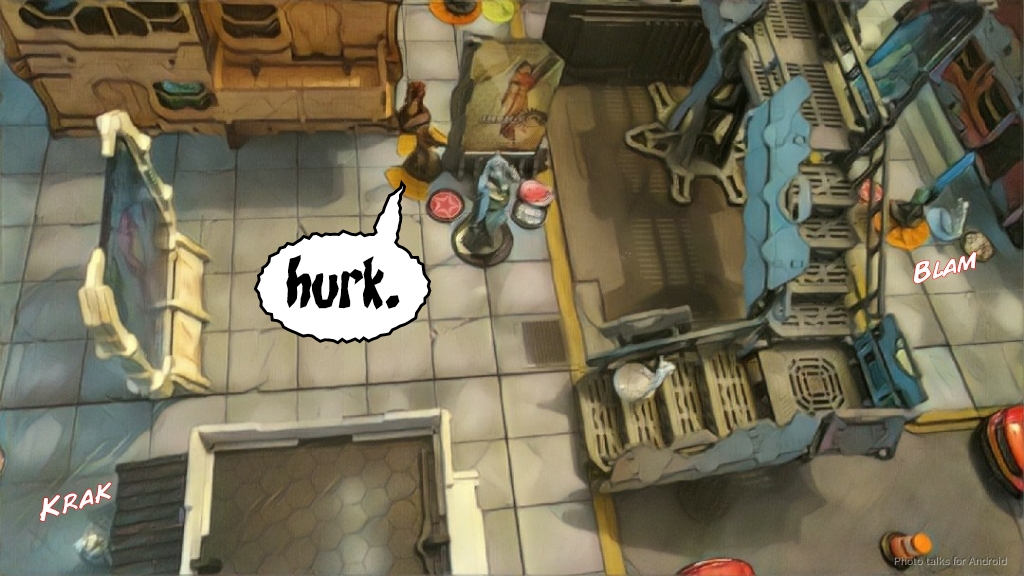 With that, PJ was out of orders, so he passed the turn.
Turn 3
Top of Turn 3 – StarCo
Avicenna assassinates PJ’s Zhanying Lieutenant, and I forfeit the rest of my orders.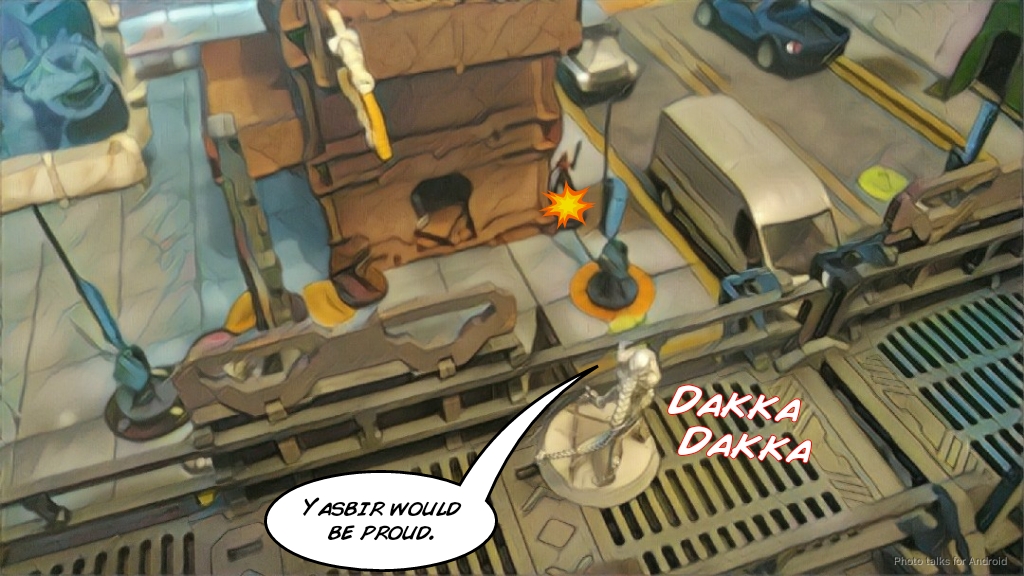
Bottom of Turn 3 – ISS
PJ started his turn in retreat and loss of lieutenant, so the game basically ends. I have a line of antennas into PJ’s side of the table, he doesn’t have any completed lines, I have more antennas and my classified so it’s a
10-0 StarCo, Free Company of the Star Victory!
Notes
Notes for Me
- Wasn’t terribly happy with my deployment this game. The Jaguars were out of the game, basically, and I had to cancel the Irmandinho’s order.
- Emily and Uhahu continue to be disgusting together. I actually like the Brawler AHD and Al’Hawwa as backup, it doesn’t feel too redundant.
- I liked the three Duos in the list, I thought that was pretty order efficient in terms of getting AROs where I wanted them for pretty cheap. It would be really cool if Jaguars had Duo in StarCo, but they don’t.
- I was pleased with my usage of Raoul this game, but the Hellcat really didn’t have a place to go. I think I was too impatient and should’ve walked him on after the Wu Ming advanced to trap them between the Hellcat and the CSUs/Brawlers.
- I definitely missed having a sniper rifle or HMG this game to efficiently handle the Bao and Wu Ming at range. A simple change would be to add a Cateran, and that would fill out my points nicely. I don’t think I need Avicenna, so that would be a reasonable substitute.
- Assault pistols are pretty awesome.
Notes for PJ
- The Pheasant could’ve been deployed on a catwalk with his MadTraps, making it much harder to deal with them. I’d have to use Emily to Spec Fire a grenade on him to clear the path for Raoul, and she’s very busy.
- I think you’re piloting the Wu Ming well–you still have a tendency to bunch them up which is dangerous against Emily.
- Perhaps a better plan with the Wu Ming would’ve been to systematically march down my left board edge and take out 5 models, including my lieutenant. I think you had the orders, and it would’ve looked something like the picture below:
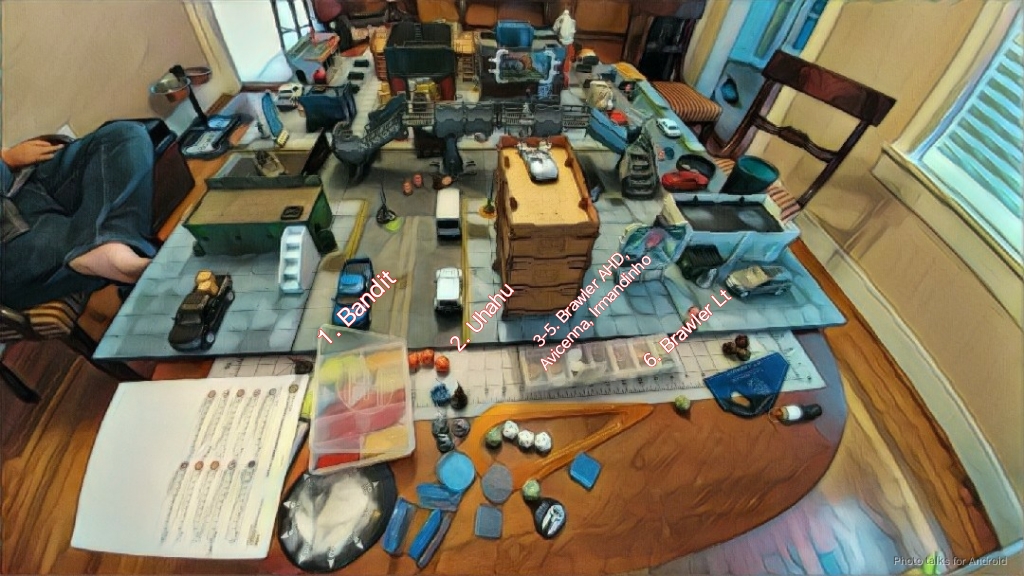
- Then, once that flank is cleared, you can run the CG Hacker up to grab your close and middle antenna while your FO Wu Ming finishes everything up. I think if you had put my in LoL I would’ve been too busy and order starved to stop you.
- All in all a solid game.