
Chain Rifle Slap Fight
I’ve been a warcor for a few months now, and I finally got my first warcor email from someone that found me on the CB site! Hooray! Nick reached out, looking for an additional game night to get some more practice in. He said he was about a dozen or so games in and was feeling a little overwhelmed still, so I suggested we play either Seize the Antennas or Smash and Grab from Recon+ to scale down the game and really work on tighter gameplay.
I can’t recommend Recon+ enough to other warcors and community organizers as a learning tool, not just for newer players but also for veterans starting a new army or just looking for a change of pace. The board is 2′ x 3′, which dramatically changes your valuation on weapons — HMGs get into 0 range very quickly, for example, and rifles become way more relevant. The close quarters forces repeated and nuanced interactions between models, allowing you to experience more rules interactions and get a feel for them. The tight space also punishes positioning mistakes, which is a great learning experience.

The lists are capped at 150 points, 1 order group. You cannot have more than 1 active link with a max of three members, period. No characters over 35 points (sorry Achilles), and only 1 multi-wound (NWI counts) or impetuous (not Frenzy) per every four models on the table. These rules allow you to take cool, expensive toys without unbalancing things, and they also prevent skew lists like a giant pile of Galwegians clogging up the midfield.
Recon+ isn’t perfect, and I’m sure it could use some additional tuning, but damn is it fun and a great teaching/learning tool. In any case, Nick showed up on game night at The Portland Game Store and we decided to play Seize the Antennas. It’s really similar to the ITS version, but the points are slightly different. You get 1, 2, and 4 points for flipping the near, mid, and far antennas, and 2 points for a single classified. That doesn’t add up to 10, but that’s fine, we’re just learning. To spice things up a little, I put the middle antenna on a roof.
Overview
- Mission: Seize the Antennas (Recon+)
- Forces: Yu Jing versus Haqqislam (Recon+)
- Deploy First: Haqqislam
- First Turn: Haqqislam
Recon A
DĀOYĪNG Lieutenant L2 Hacker (Hacking Device) Boarding Shotgun / Breaker Pistol, Knife. (0.5 | 29)
MONSTRUCKER (360º Visor) Rifle + Light Shotgun, Akrylat-Kanone, D-Charges / Pistol, Knife. (0 | 18)
XI ZHUANG Combi Rifle + Light Flamethrower, MadTraps / Pistol, Knife. (0 | 20)
KǍNRÈN Hacker (Killer Hacking Device) Combi Rifle, Chain-colt / Pistol, Monofilament CC Weapon, Knife. (0 | 29)
BOUNTY HUNTER Red Fury / Pistol, Knife. (0.5 | 21)
CELESTIAL GUARD (Kuang Shi Control Device) Combi Rifle + Light Smoke Grenade Launcher / Pistol, Knife. (0.5 | 13)
KUANG SHI Chain Rifle / Pistol, Knife. (0 | 5)
LIBERTO (Minelayer) Light Shotgun, Chain-colt, Antipersonnel Mines / Pistol, Knife. (1 | 10)
7
2
2 | 2.5 SWC | 150 Points | Open in Infinity Army
I had a few list constraints in addition to the ones set by Recon+. Nick plays Haqq but also expressed an interest in playing Yu Jing and Combined. I decided to bring my Yu Jing (don’t own Combined… yet… sigh… I can stop whenever I want!) after frantically assembling the Daoying BSG blister and scrounging a Brawler to proxy as the Monstrucker. I went back and forth on how much teeth I should put into the list, and eventually decided to just try out a few unfamiliar things, and really talk through everything with Nick.
The brain trust that I hang out with has been trying to find a use for the Kanren for awhile, and to experiment, I decided to try holoprojecting as a Hulang on a roof to bait out any hackers. The Monstrucker was just a fun “let’s see what this thing does” addition, and Xi Zhuang brings some much needed board control to Recon+. Daoying because Yu Jing, Libertos to give Xi Zhuang some help in controlling the board. Bounty Hunter Red Fury as my striker, and a Kuang Shi package for orders and chain rifles.
Recon+
MUTTAWI’AH Chain Rifle, E/Marat, Jammer, Smoke Grenades / Pistol, Knife. (0 | 5)
FANOUS REMOTE Flash Pulse, Sniffer / Electric Pulse. (0 | 8)
GHULAM Lieutenant Rifle + Light Shotgun / Pistol, Knife. (0 | 12)
ODALISQUE Submachine gun, Contender, Nanopulser / Pistol, Knife. (0 | 22)
LIBERTO (Minelayer) Light Shotgun, Chain-colt, Antipersonnel Mines / Pistol, Knife. (1 | 10)
MUKHTAR Hacker (Assault Hacking Device) Rifle + Light Shotgun, 2 Nanopulser / Pistol, Knife. (0.5 | 33)
HUNZAKUT (Forward Observer, Deployable Repeater) Rifle + Light Shotgun, Antipersonnel Mines / Pistol, Knife. (0 | 18)
NASMAT Electric Pulse. (0 | 3)
Any concerns that I had about how much teeth I had in my list went away when I saw Nick’s list. That’s a pretty awesome Recon+ list! Mutts are very strong in Recon+, and the rest of his list is a good mix of guns and specialists. Only serious tweaks are that it would’ve been good to find some room for a higher burst gun, and it’s a bit high on irregular orders, but the list is fine as is.
Deployment
Nick won the rolloff and elected to go first. Not the most amazing table, but I only had a few minutes to set up before Nick walked in the door. The blocks at the corners of the board mark the reduced play area.
Nick set up his Ghulam sniper in a nice spot covering a long firelane, and then tucked his other two Ghulam behind her in total cover. The Fanous guarded the area right outside his deployment zone, with the Hunzakut in the middle of the table, more or less.
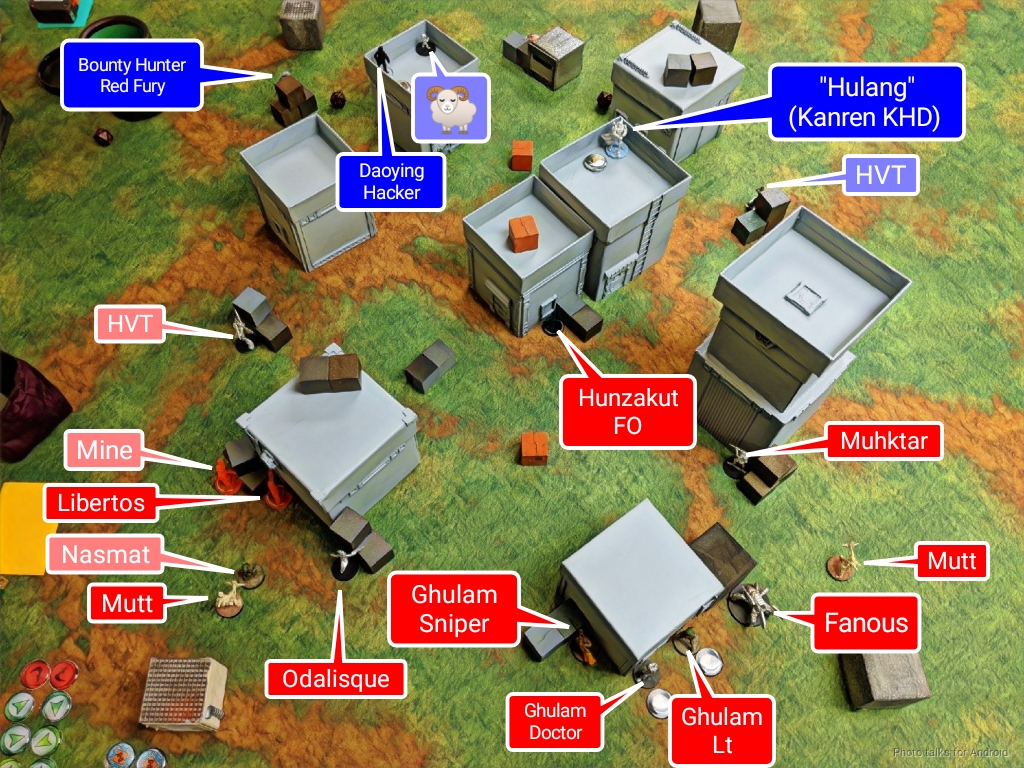
The Libertos went on the left, guarding Nick’s left flank, and an Odalisque was there to clear anything out that didn’t die to the Libertos. Just in case, the Nasmat was there to pull her out of NWI. Rounding out Nick’s deployment was a pair of Mutts, one on each flank.
I stuck my Red Fury Bounty Hunter (who got a flamethrower from the booty chart) in a position to see the path of both Mutts’ advance while simultaneously being outside of the LoF of the Ghulam sniper. My Daoying went on a roof to protect her from the Mutts, and then I set everything else up to protect me from a turn 1 Mutt rampage.
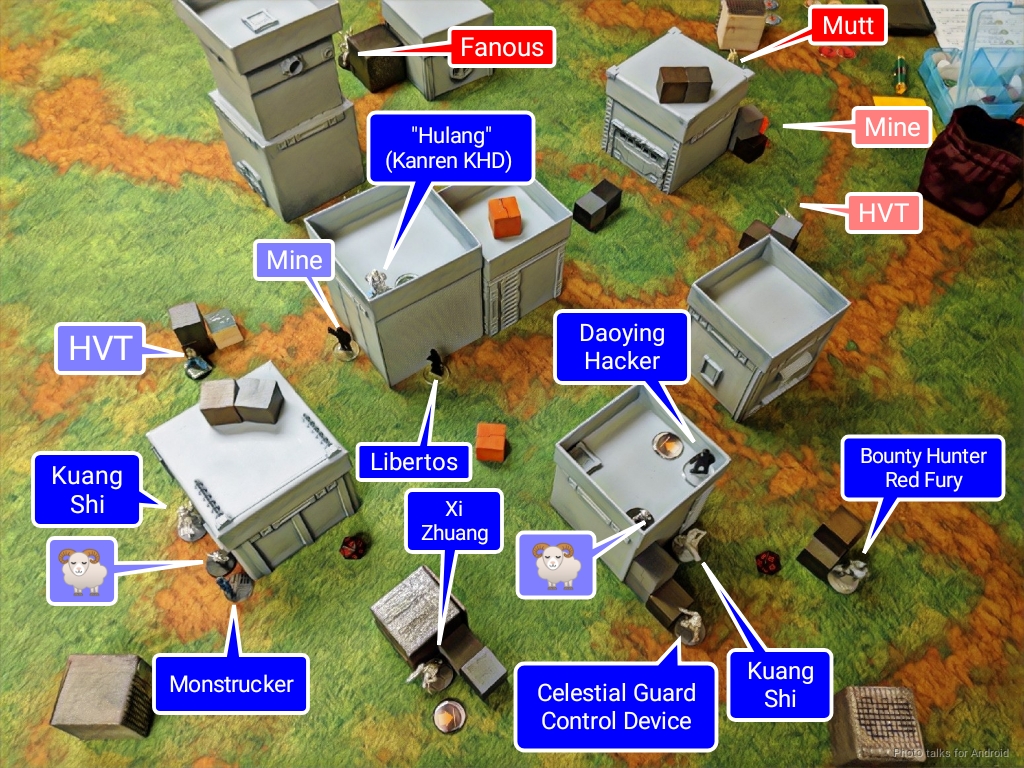
Xi Zhuang covered the deployment zone with MadTraps and the two Kuang Shi covered some corners with their chain rifles. I covered a longish firelane with the Monstrucker’s Akrylat-Kanone, and the Libertos provided some much needed midfield screening. Nick went ahead and dropped his Muhktar out of reserve, and I did the same with my “Hulang.”
Before we got started, I made it clear that Yu Jing has access to TO, Holoprojector, AD, and Minelayer, in attempt to eliminate any “gotchas.”
Turn 1
Top of 1 – Haqqislam
First lesson: come up with around three goals to pursue during the game. We decided on 1. push buttons, 2. prevent me from pushing buttons, 3. kill my stuff.
Second lesson: deploy your Mutts so that they can advance one short skill move without breaking into LoF of the enemy’s deployment zone.
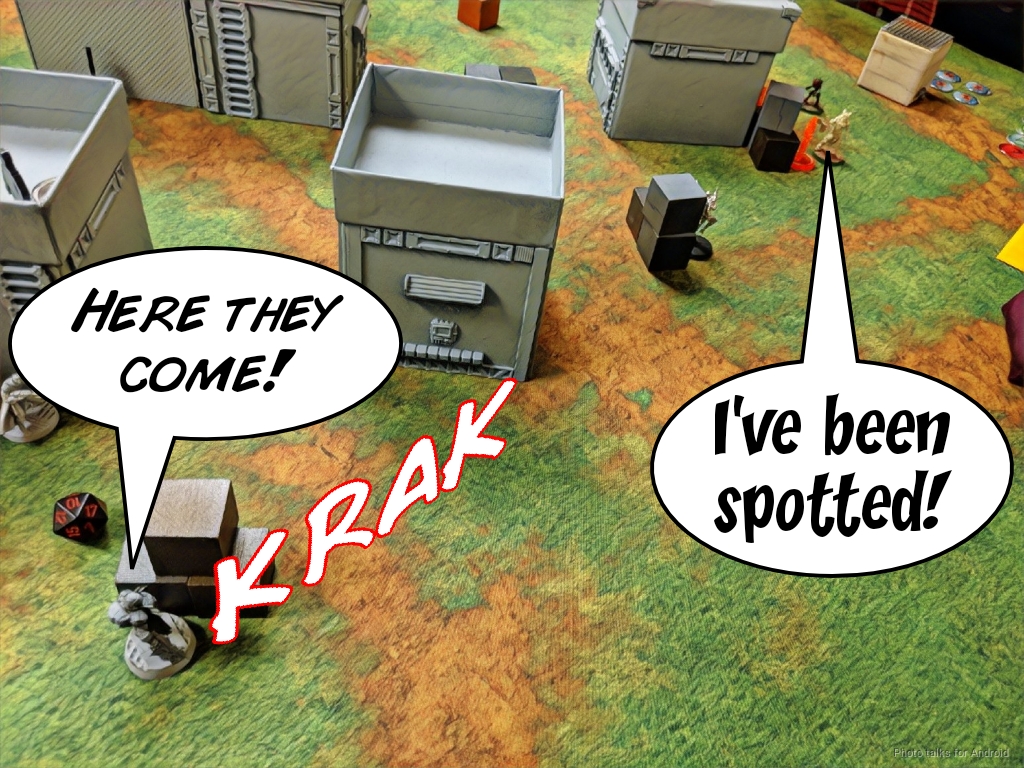
Thankfully for Nick, his first Mutt passes ARM against my Bounty Hunter’s Red Fury. The second Mutt was out of LoF the whole way. Nick then started moving the Mukhtar towards his near objective, to “push the button.” We stopped play here for a bit while we discussed when it would be appropriate to break his goal priorities. In this case, it was better to do damage to me early–the near antenna is really easy for him to get later. We decided on a compromise, and rolled back his second Mutt’s impetuous activation to get some smoke onto the box, but he wiffed the roll. We tried again, but another whiff.
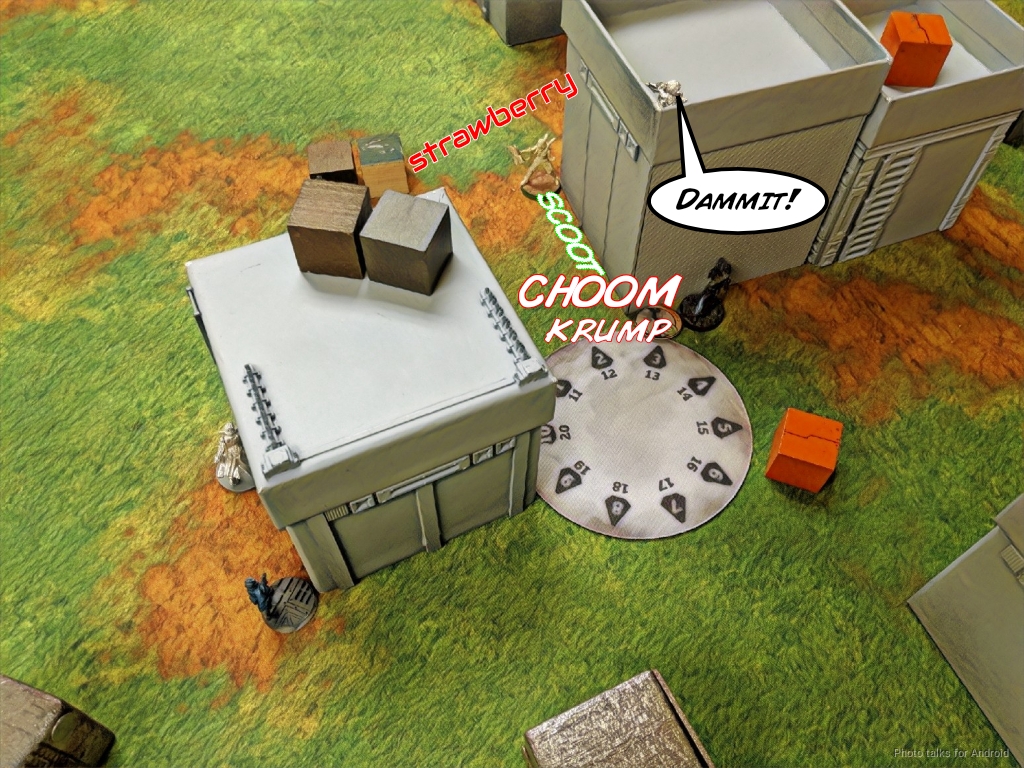
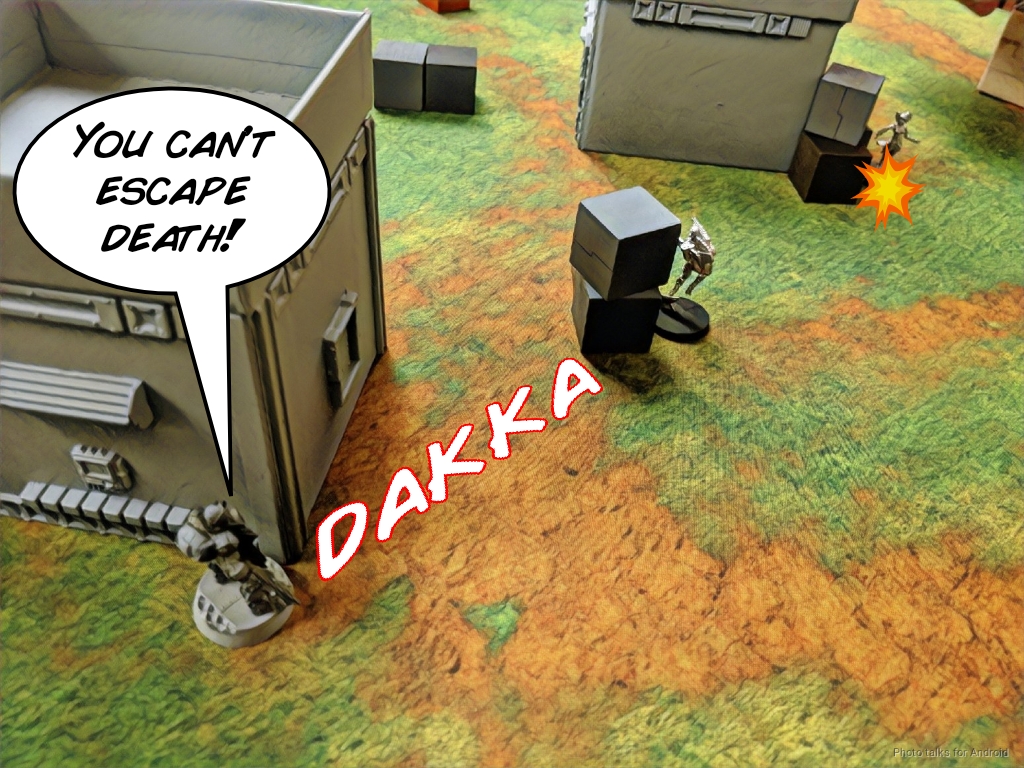
We then committed to the “kill my stuff” plan, and the Mutt started heading up the board, first encountering the Libertos’s mine! I made a point of saying that the Kanren on the roof above the mine does nothing, repeatedly, to clue Nick into there being something fishy there…
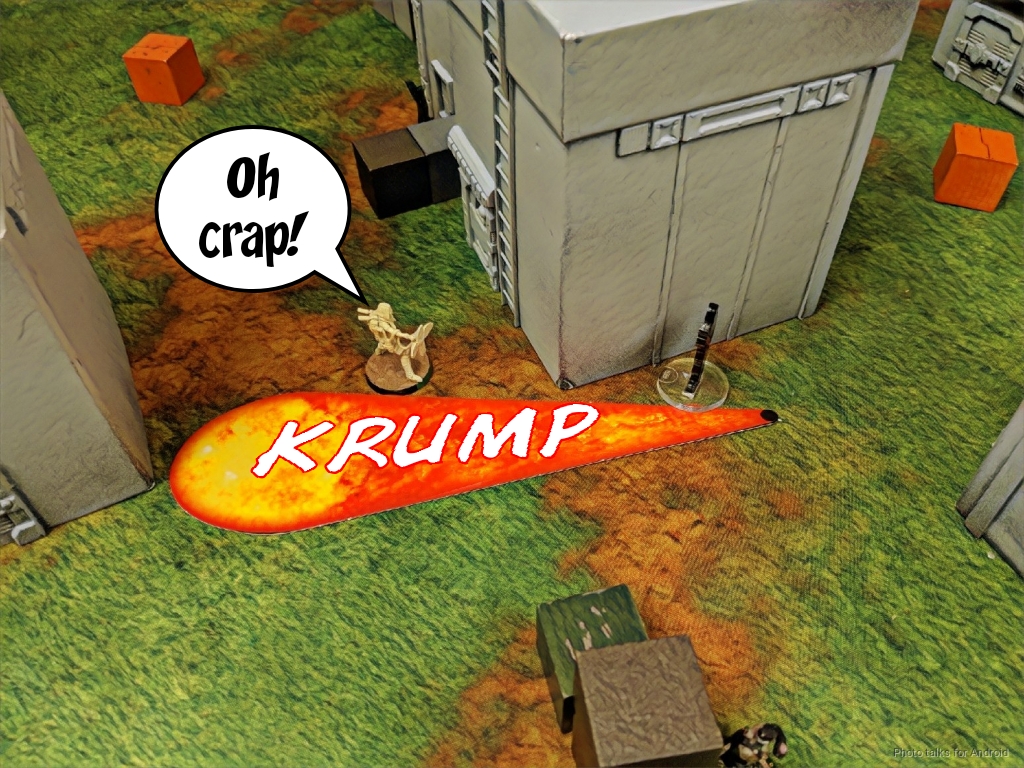
Nick fails the dodge but passes ARM. He keeps pushing, beating out my Celestial Guard’s combi shot with a smoke grenade, and then tries to bait a reveal out of my Libertos. I let him have it, since this is in MadTrap range, and I drop a mine with the Libertos.
I remind him of the Libertos being Dogged, and suggest a pistol shot on the Libertos or dodge against the MadTrap may be a decent plan, but he chooses the quite reasonable option of just chain rifling the Libertos in the face and attempting to tank the MadTrap. He passes PH-6, and I pass the chain rifle save. So far, so good.
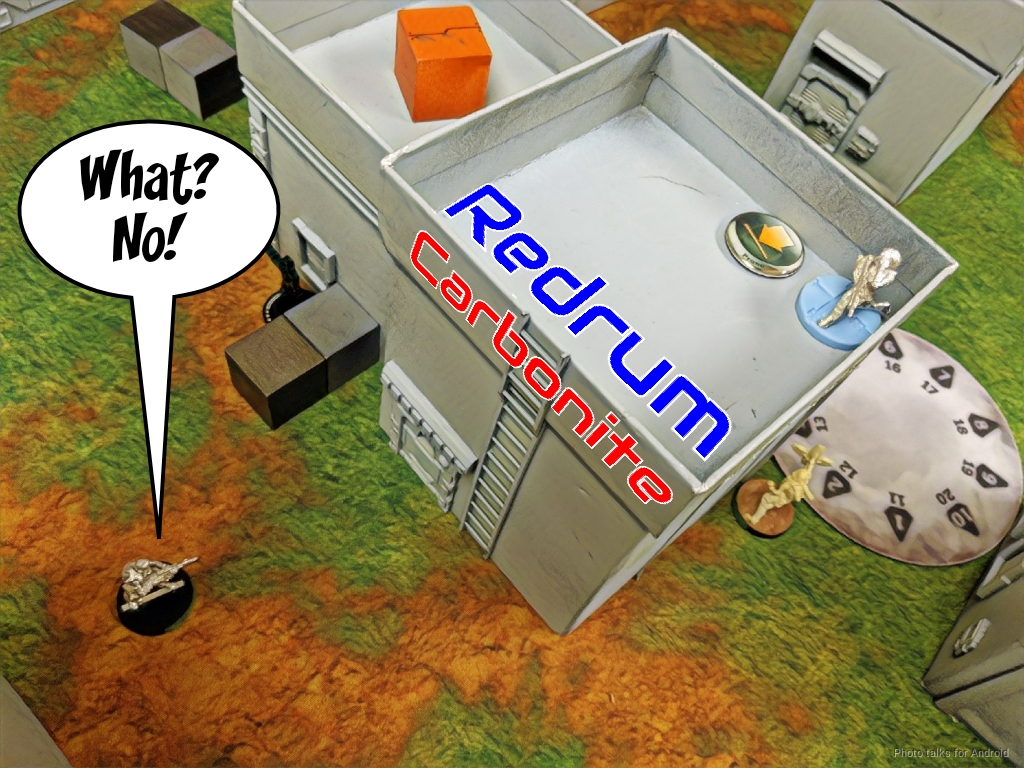
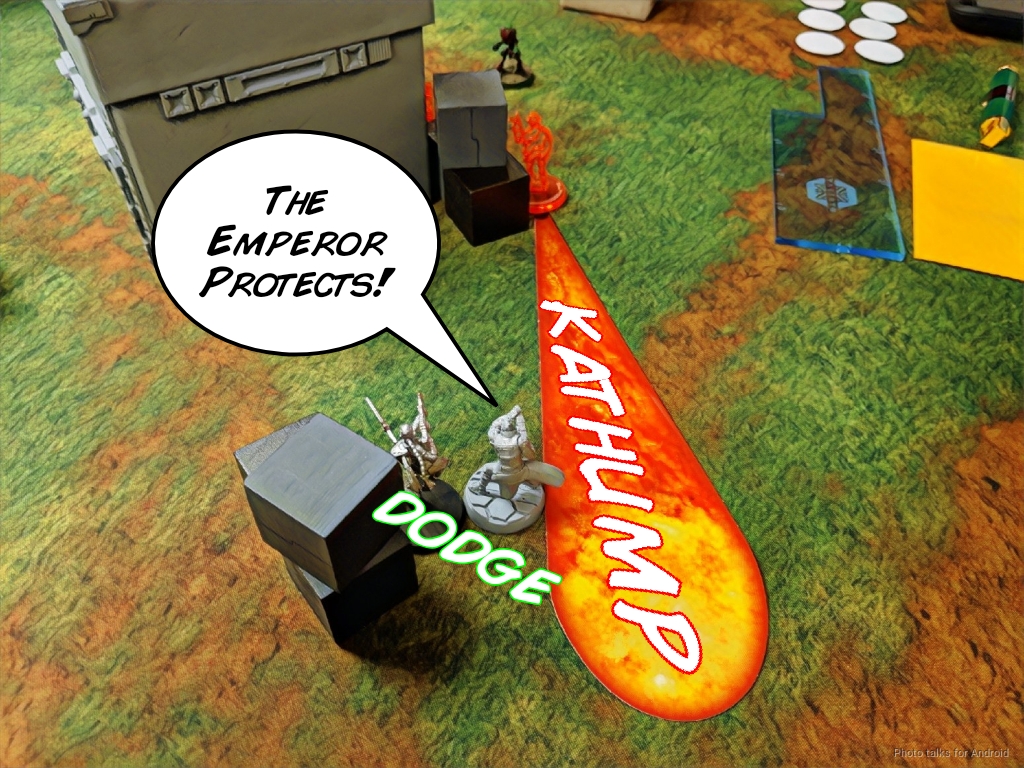
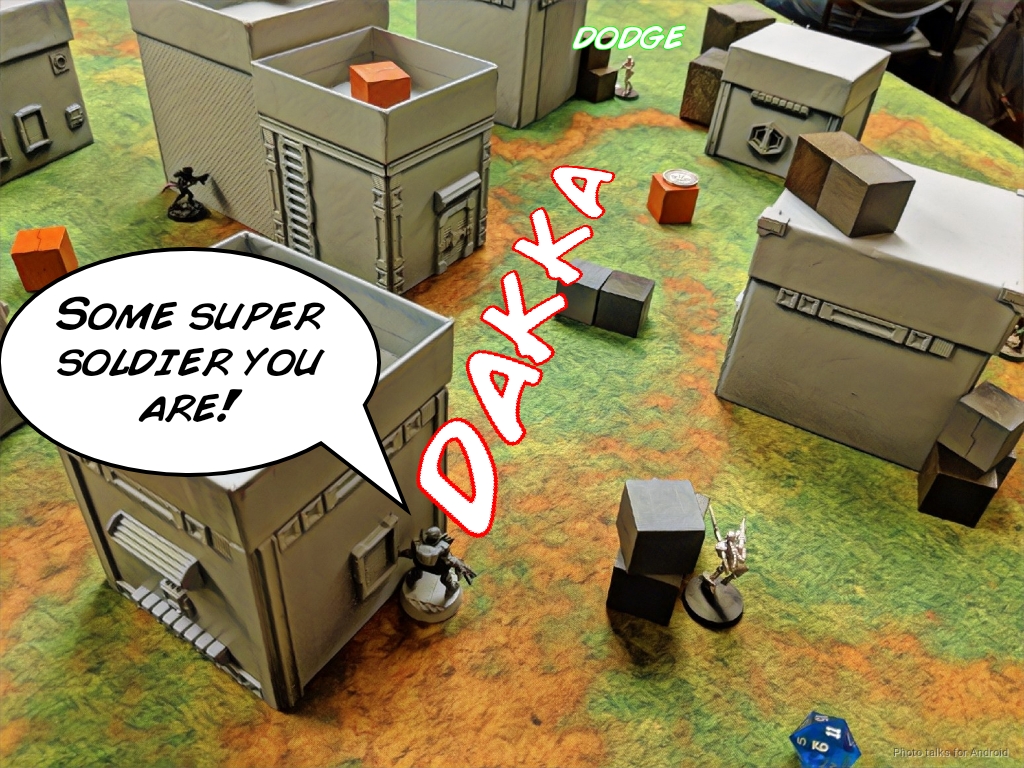
Nick then falls into my Kanren’s trap and pushes the Muhktar into range with the intent of hacking him.
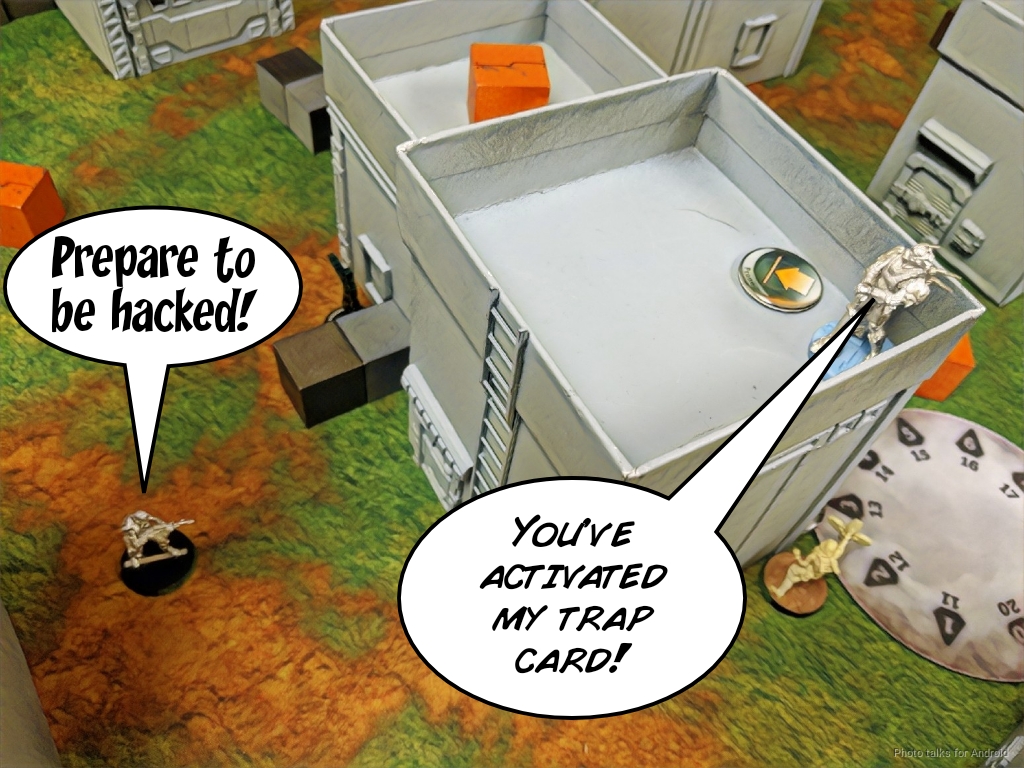
I declare Redrum and suggest that using Carbonite has the best chance of survival, which he gladly accepts. I win the face to face, just barely, and put the Muhktar into NWI.
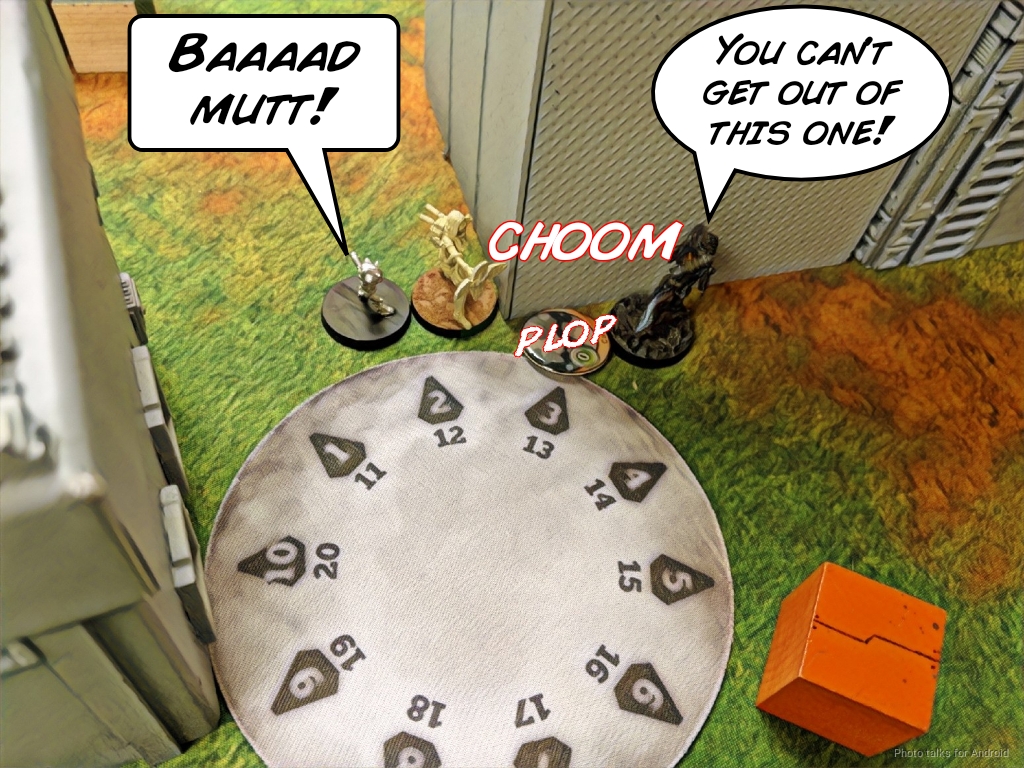
We discuss how to extricate himself from this situation, and I suggest Jamming the Kanren with the Mutt is a good idea, because that shuts off her KHD while simultaneously Isolating her. Of course, we expect the Mutt to super die from this, but we’re fine with that.
He wins the F2F and Isolates my Kanren, tanking the mine but going dogged thanks to the Libertos’s chain colt. With the Muhktar unstuck, I encourage him to retreat it to safety, as I have a Red Fury eager to shoot at it while it’s out of cover in the middle of the table. He also retreats the other Mutt, smoking out my Bounty Hunter on my right, before passing the turn.
Nick remarked after the game that this was the biggest learning from them game–saving orders to retreat your units to safety!
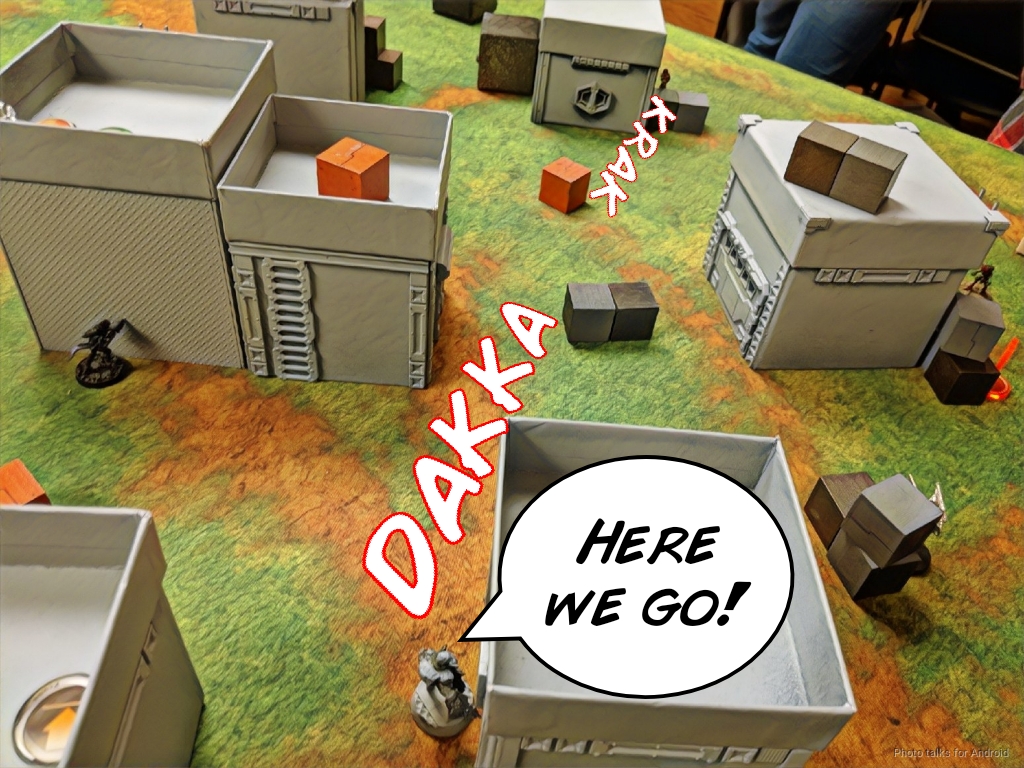
Bottom of 1 – Yu Jing
I start my attack run, canceling one of the Kuang Shi’s orders to save it from the Ghulam sniper. I hadn’t thought about it during my deployment, because I was thinking primarily about countering the Mutts. The Sniper goes down to a crit, I think, from the Red Fury in good range–the smaller board really changes things up!
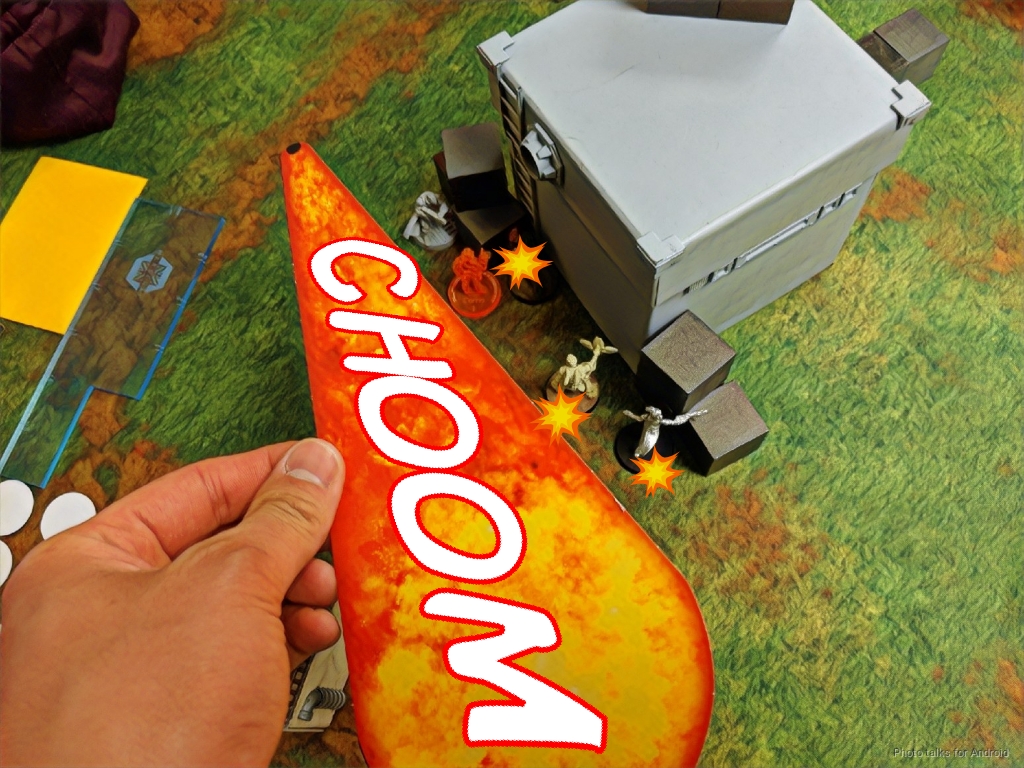
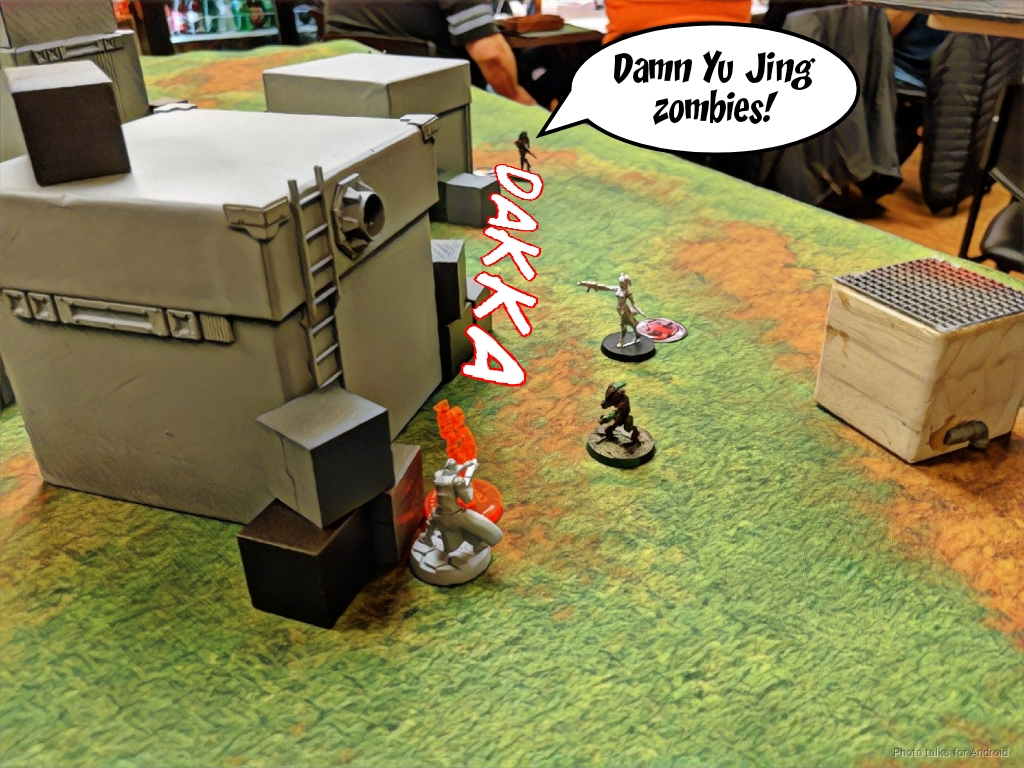
This opens up a path for me to get a Kuang Shi into range of his Libertos, Mutt, Odalisque, and Nasmat. I pass my dodge against the Libertos’ mine…
and drop a chain rifle on everyone. The Nasmat passes its dodge, the Libertos drops a mine, and the Mutt attempts and fails to Jammer me to stop the rampage. The Odalisque fails her dodge but tanks the chain rifle like a champ, failing guts away from the Kuang Shi.
I just leave the Kuang Shi there for Nick to deal with on his turn, and stand the Kanren up to take a shot on the Odalisque who is now in the open, and do a single wound.
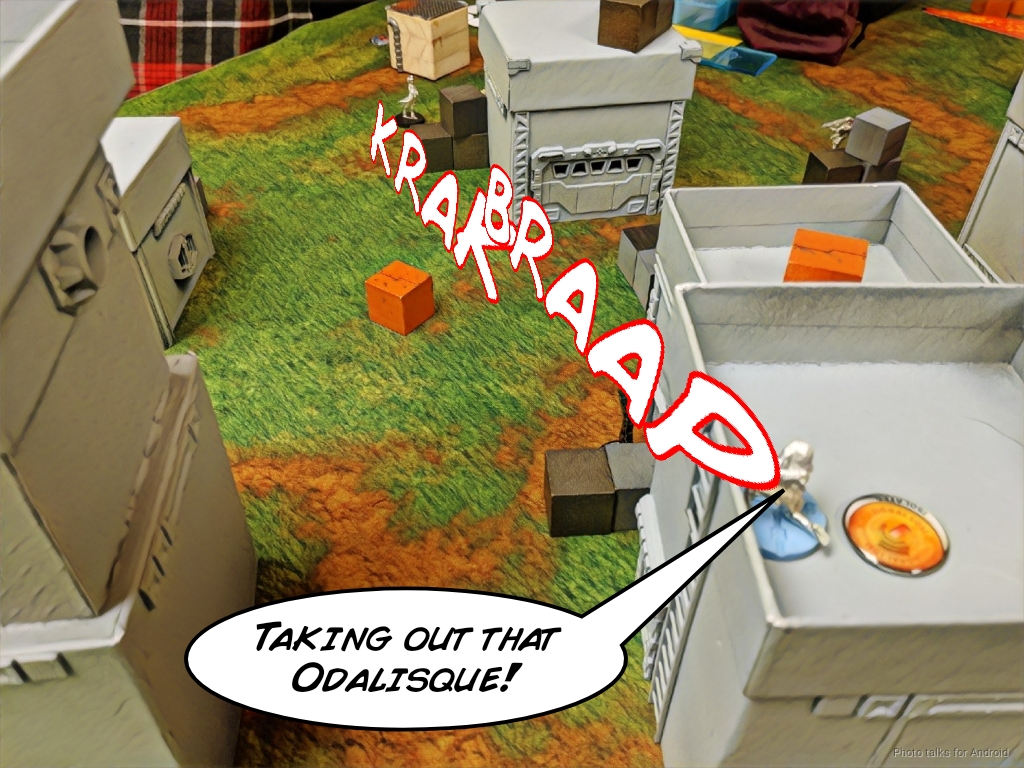
This was’t entirely necessary, and I could’ve probably saved the Kanren to push the button very slowly over the course of the next two turns, but I wanted to set up a coordinated order lesson for the next turn. We elect to not take the Fanous’s flash pulse since the Kanren is isolated and it won’t matter. I retreat the Bounty Hunter and pass turn.
Turn 2
Top of 2 – Haqqislam
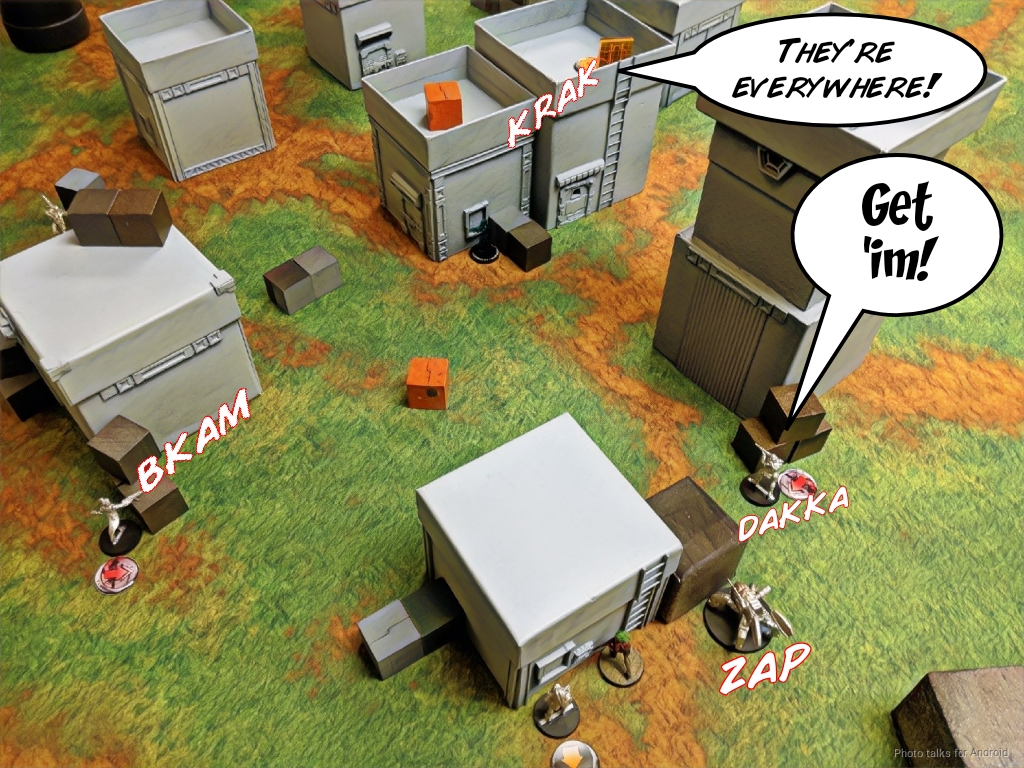
I show Nick the power of the Lieutenant order and have him use his Lieutenant to shoot at the Kuang Shi from outside of 16″. I dodge, and between the Ghulam’s rifle and the mine the Kuang Shi dies.
We talk about the predicament he’s in–I’ve got a Kuang Shi advanced on the other side, and a Bounty Hunter Red Fury that I also retreated on my turn that’s ready to exploit a weakness. I’ve also got a Kanren applying some pressure, so whatever he does will take a few orders and he’s got some out of position units and damaged units that he wants to repair.
I suggest that he might want to take this turn as a recovery turn to set up for a push on turn 3. We talk about how to safely get the Odalisque and Ghulam Lt to safety, and I introduce the coordinated order to him. He’d seen it before, but never really tried it, so this was a good opportunity.
The Ghulam Lt, Fanous, Odalisque, and Muhktar all took part as well. The first short skill was to move the Odalisque to cover, the Ghulam to safety out of LoF, and the Muhktar into LoF as the spearhead, since he has the highest BS. I explain that I can only ARO against one of these things, and elect to shoot the Odalisque with the Kanren, explaining that if I can get her off the table there’d be nothing on that side except for a Nasmat and that’s good for me.
The Kanren dies horribly of course, and the Odalisque survives. Nick heals her out of NWI with his Ghulam doctor, and then briefly considers doing the same to the Muhktar. He decides to use his Hunzakut’s irregular order and the rest of his regular orders to push the nearest button, putting 1 point on the scoreboard. He then moves the Odalisque to the other side of the building to contest the approach of my Bounty Hunter, which also opens a path for my Kuang Shi to advance without fear of a shock SMG.
He moved the Hunzakut back towards the central objective, but didn’t retreat the Muhktar. My philosophy is that the best learning is by experience, so I elect to keep quiet about these relatively minor mistakes for now. Maybe that’s a bad thing and I should’ve stopped to talk about them, but they’re pretty minor and I think the best illustration of how I’d exploit them is to just exploit them.
Bottom of 2 – Yu Jing
Bostria the Kuang Shi rolls around the corner, gets crit by the Hunzakut’s shotgun, and fails to wound the Hunzakut with his chain rifle. BOOOSTTRIIIAAA!!!!
The Bounty Hunter obliterates the Odalisque…
and does the same to the Muhktar.
We go over the two “mistakes,” which are namely using the order to move the Odalisque and not the Muhktar. It’s at this point that I realize that Nick is pretty damn close to retreat. He’s got a Ghulam Lt, a Ghulam Doctor + Nasmat, a Fanous, and a Hunzakut on the table. If he loses the Hunzakut, I’m pretty sure he’ll be in retreat. As it turns out he’ll be at 39 points, just out of retreat, but that’s beside the point. I also need to do some button pushing, so I use my Daoying’s Lt orders to get her onto the roof and fail to push the button. I pass the turn without attempting another chain rifle on the Hunzakut, instead setting up a mine with the Libertos.
Turn 3
Top of 3 – Haqqislam
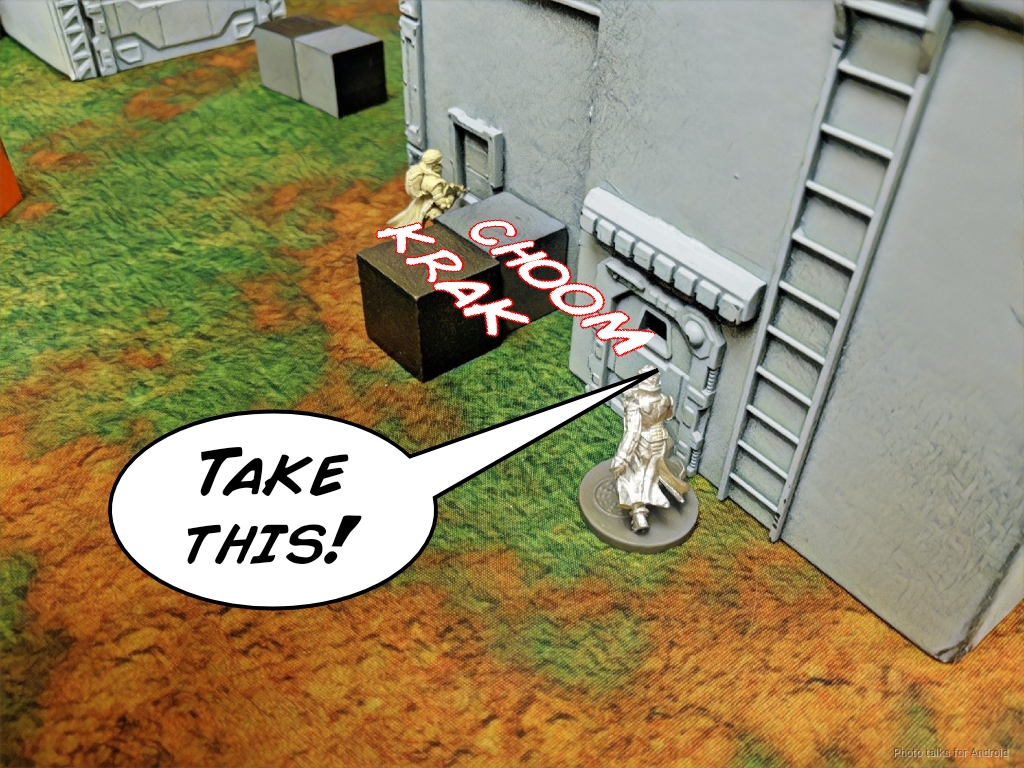
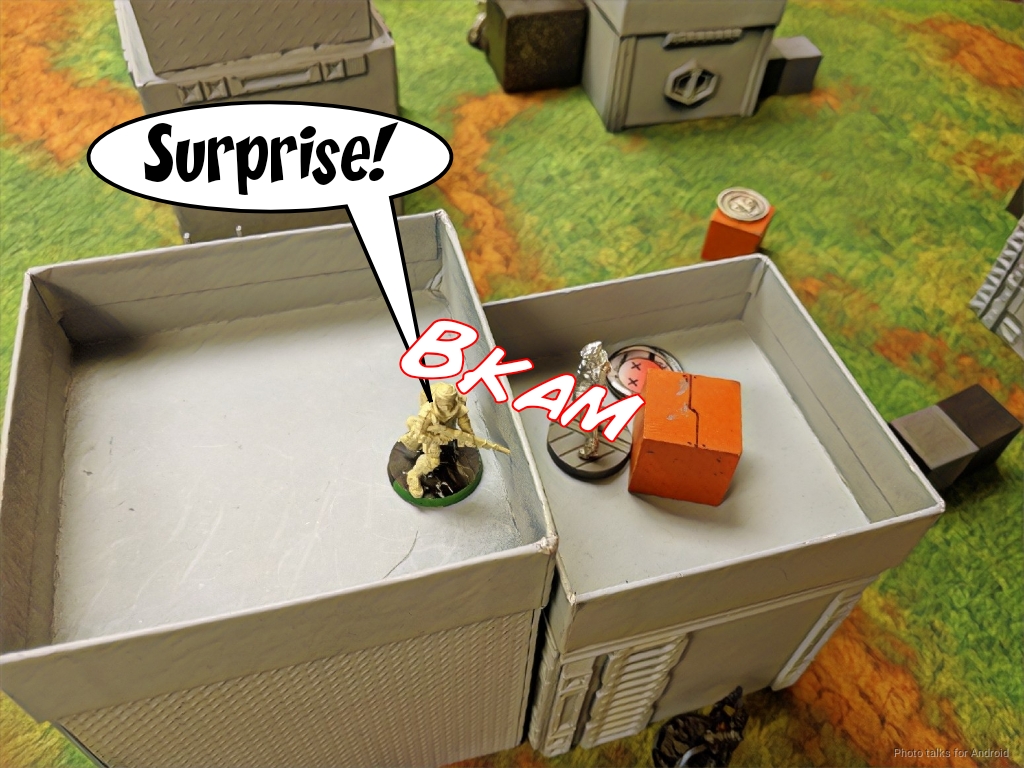
I totally forgot about the ladder on the Hunzakut’s side of the building, so Nick exploits that, shotguns my Daoying in the back, then pushes the button. Haha! The student becomes the master!
Bottom of 3 – Yu Jing
I’m in loss of lieutenant, but that’s no big deal. I use my last command token to push the near button with Xi Zhuang, and then the Libertos secures the HVT.

This brings it to a tidy
3-3 Tie!
I’ll chalk that up to teaching how to play in loss of lieutenant. Right? Right. Good talk.
Post Game Analysis
We talked at length about how to control the midfield with Mutts, which would have been pretty brutal in this format. We also ran through a bunch of hypotheticals, and reiterated the importance of retreating models into total cover if possible, banking orders to do so as a reminder.
Nick’s definitely got good instincts for the game and I’m sure he’ll be a real monster on the table sooner rather than later. We agreed to have a rematch a following game night, with me bringing 150 points of Haqq just so he can have a taste of the mirror match. He’s apparently never played against Haqq!
On the teaching side, I’m not sure if I dialed in the “difficulty level” correctly for Nick–I certainly wasn’t pulling any punches but I wasn’t going deep into the tank either. I think we covered some important lessons for a new player though:
- Order of Operations – Do I rambo now, or push buttons, knowing that my opponent can just reverse all my hard work later?
- Next Turn Setup – Retreating your units, pinning your opponent’s units, leaving AROs in the right place.
- Coordinated Orders – We covered a really common use case, which is to use one to remove an ARO threat. A bit of an engineered scenario in this case, but illustrative.
- Unpinning Units – I think the Hulang/Kanren + Muhktar AHD + Mutt interaction was about as good a teaching scenario as could have been engineered. Moreover, it came about pretty organically! It didn’t overly punish Nick with my Holoprojector “gotcha,” and it let him use Jammers to get himself out of a… jam.
- Active versus Passive Power – We didn’t really go over this, but we started to discuss it post game in the context of Mutts holding the midfield. There’s a fair amount to unpack here.
That was actually a fair bit of fun for me. I think I could’ve done a better job, and I will continue to improve… Reminds me of some pretty fun times as a teaching assistant in a past life…
Anyway, thanks to Nick for the game and his patience as I got settled into a teaching mindset! Looking forward to playing him more and introducing him to more of our meta.

All the RECON+ missions add up to 9 objective points, rather than the standard ITS 10. Nine just seemed to work out well across the board.
Great battle report, as always!
Another great report and a solid teaching game.