
Tunnel Rats
Time for more tournament prep with Dan! So, he has never played Rescue or against Spiral, so that made our decision making pretty easy. We strolled into the game store and one of the only tables left was Dan and Adam’s beautiful corridor table. We’ve been setting it up in a donut configuration a lot because this table is from a table test cut and we’re missing the big hex room as it never got cut.
Dan was bringing his usual 10-order Yu Jing filth, and I decided to test myself with a strange Spiral list.
Overview
- Mission: Rescue
- Forces: Spiral Company versus Invincible Army (300)
- Deploy First: Spiral Company
- First Turn: Spiral Company
Rescue
GROUP 1 |10
KRIIGEL Submachine Gun, Phero-Booster / Viral Pistol, Knife. (0 | 24)
REEX (Marksmanship L1) K1 Marksman Rifle / Pistol, Electric Pulse. (0 | 20)
KIIUTAN Submachine Gun + E/Mitter, E/Mauler / Viral Pistol, Knife. (1 | 28)
CLIPSOS (Forward Observer) Combi Rifle, Antipersonnel Mines / Pistol, Knife. (0 | 25)
GROUP 2 |
TAAGMA (Multispectral Visor L2) Viral Sniper / Pistol, Knife. (1.5 | 25)
CHAKSA AUXILIAR (Baggage, Sensor, Fireteam: Special Triad) Heavy Flamethrower / Pistol, CCW. (0 | 10)
3
HELOT MILITIAMAN Red Fury / Pistol, Knife. (1 | 14)
6 SWC | 300 Points | Open in Infinity Army
I wanted a lot of board control, so that meant a Chaksa HMG, two Kiituan, two Kriigel, and a pile of Helots. I really like how cheap Clipsos are, so I took two FOs to grab the civilians and as backup to the Kiiutan. I’m relying more on positioning than big guns to win this one, so this table make things extra challenging, as it’s really two and a half tables in one.
Invincible Army
DĀOYĪNG Lieutenant L2 Boarding Shotgun / Breaker Pistol, Knife. (0 | 21)
ZHĒNCHÁ (Forward Observer) Submachine Gun, D.E.P., Antipersonnel Mines / Pistol, Knife. (0 | 34)
MÓWÁNG (NCO) Red Fury, Akrylat-Kanone / Heavy Pistol, Knife. (1 | 52)
TAI SHENG (Chain of Command) Mk12, Chain-colt, Stun Grenades / Heavy Pistol, Knife. (0 | 49)
HǍIDÀO Hacker (Killer Hacking Device) Boarding Shotgun / Breaker Pistol, Knife. (0 | 26)
ZÚYŎNG (Fireteam: Haris, Tactical Awareness) Combi Rifle + 1 TinBot B (Deflector L2) / 2 Breaker Pistols, Knife. (0.5 | 34)
SON-BAE Yaókòng Missile Launcher / Electric Pulse. (1.5 | 17)
ZHANSHI Combi Rifle / Pistol, Knife. (0 | 11)
I’ve turned Dan on to Mowangs (there’s a joke in there somewhere), much to my chagrin. He also took a Tai Sheng Haris with the KHD + Tinbot combo, and then filled out the rest of his list with a 4-man utility/defensive core.
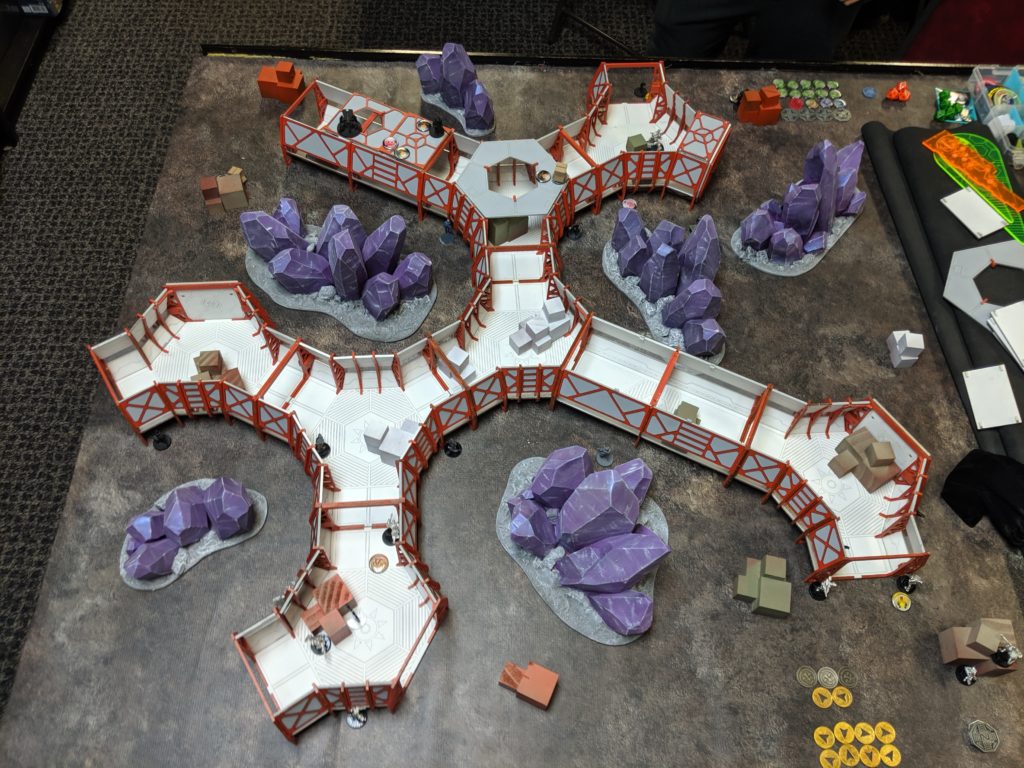
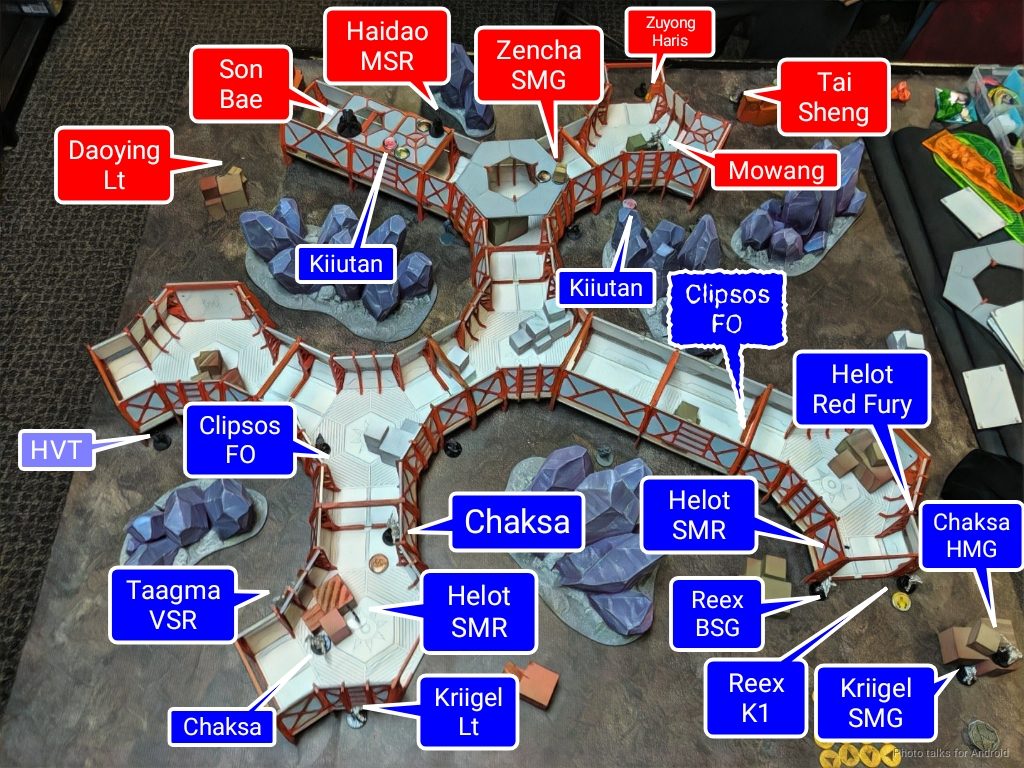
Deployment
I set up my marksman Helots to contest the corridors with the Red Fury ready to contest the big open area on the right. All would have to move with their irregular order, which is fine (and also why I think the Limited Camo option is far stronger than the Decoys). I set up the Reex/Kriigel Triad on the right to either dive into the corridors on loop around the outside.

The Taagma Triad went on the left to climb up onto the corridor rooftops to clear them out of any problems with the Chaksa covering the corridor. Just in case I needed to set up a smoke shot, I put the Kriigel Lt over there as well.
All of my guys ended up on the outside, so I put both Clipsos outside on the rooftops in my dead zone, intending to climb them off the roof to get grab some civilians… this ended up being a big problem later…
I put one of my Kiiutans in Dan’s Dead Zone to mess with his deployment, and passed deployment over to him. He counter-deployed my Kiiutan with a Zencha on the roof, and then settled his Zuyong Haris on the left with the same go outside/go inside choice that I set up for my Reex Triad.
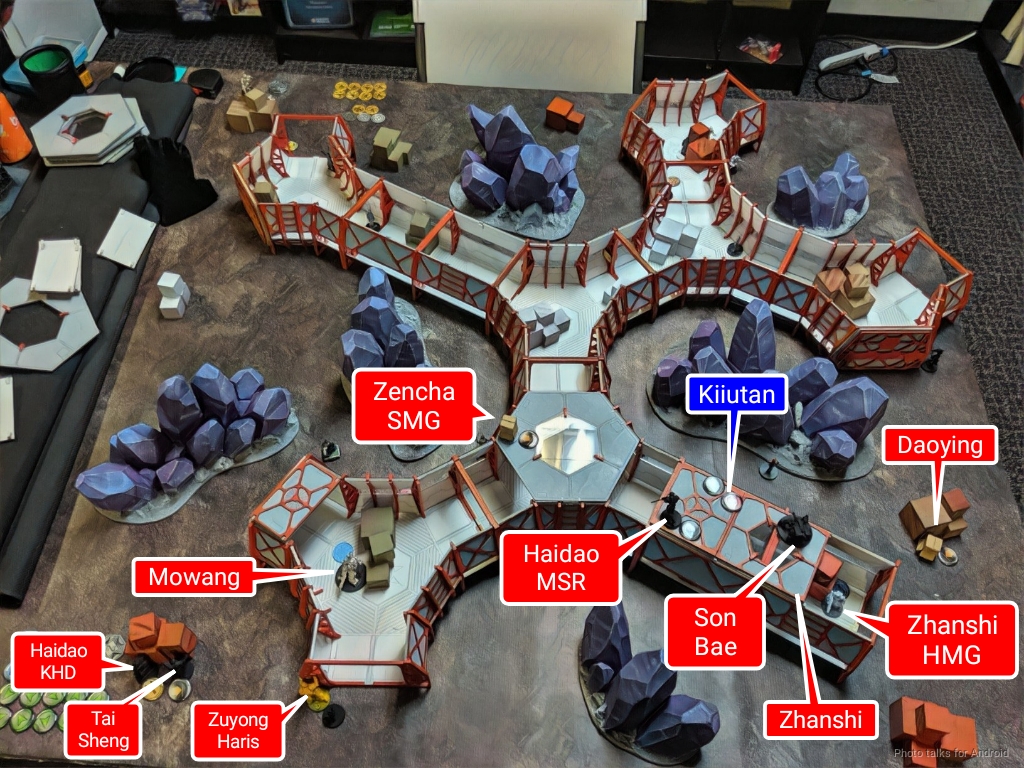
His Daoying went on the right with his 4-man link. The Haidao and Son Bae were on the roof to contest the extremely long firelanes on the roof, and then it was my turn to deploy another Kiiutan on the roof next to his Haidao and Son Bae. Dan’s Mowang down inside the building, and then we both picked DataTrackers, the Mowang and my Kriigel Lt.
Turn 1
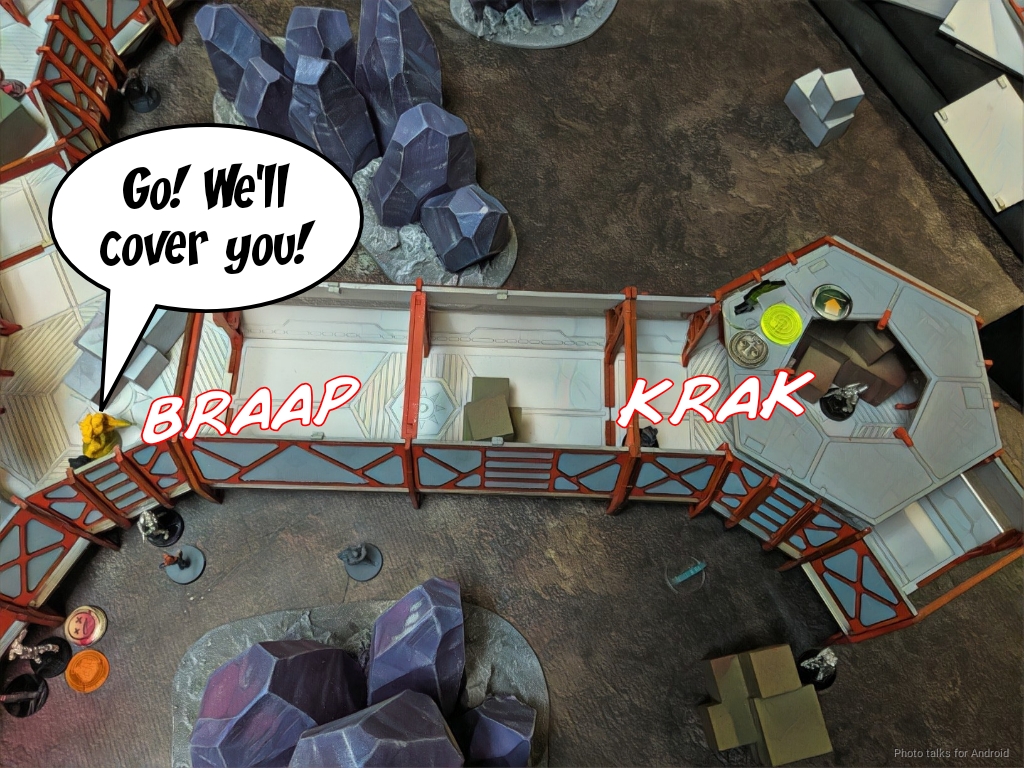
Top of 1 – Spiral
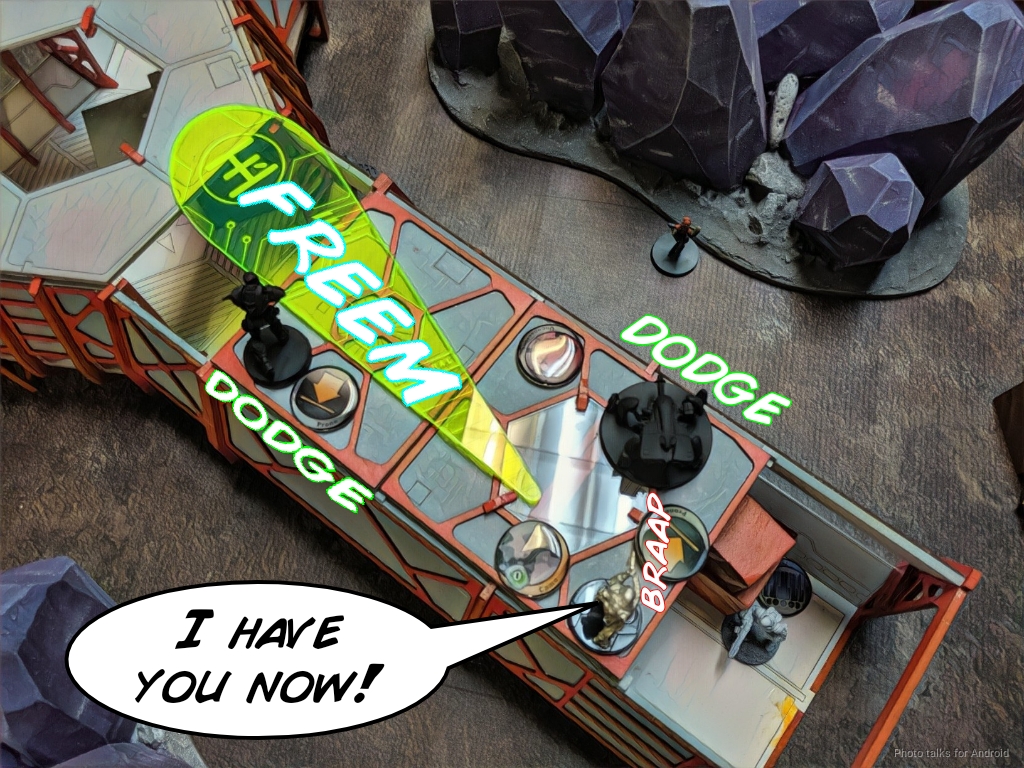
I did some coordinated orders between the Kiiutan to ratchet up the pressure on Dan, forcing him to make some tough calls on delay, hold, or another ARO with Haidao, Son Bae, and Zencha. This let me climb the Kiiutan by the Tai Sheng haris up onto the roof and get the other Kiiutan solidly behind the Haidao MSR and the Son Bae.
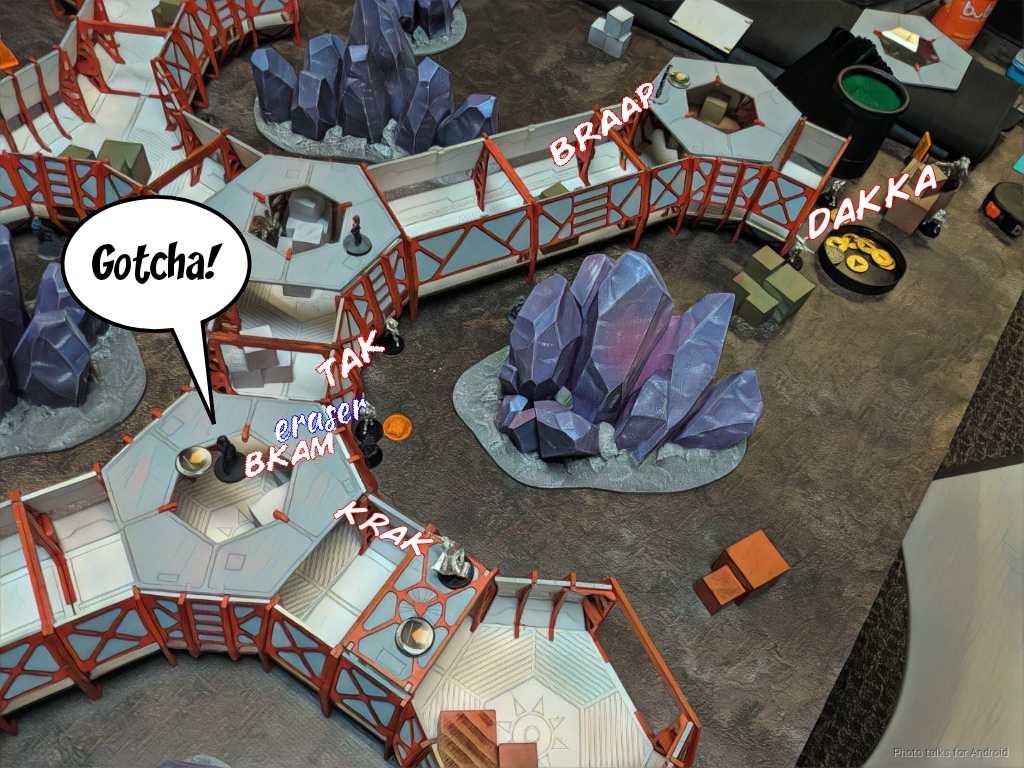
I coordinate another order to drop a E/Mauler behind the Haidao and Son Bae, using the Haidao to body block the Zencha from seeing the offending Kiiutan. Dan elects to (successfully) discover the Kiiutan crawling around near his Haris with the Zencha, revealing it facing back towards his deployment zone to cover both Kiiutan.
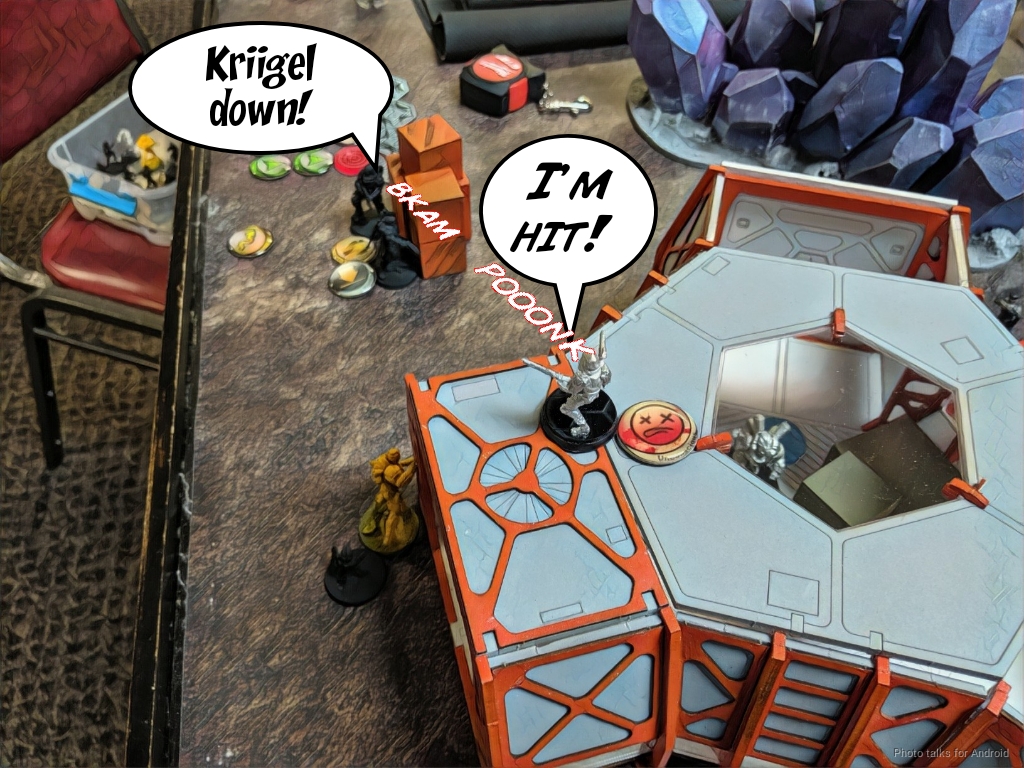
The Zencha still can’t see the Kiiutan that dropped the E/Mauler, so I activate it and SMG the Son Bae while it and the Haidao dodge. The E/Mauler goes off, hitting the Haidao and isolating it, and the Son Bae fails one save, taking them both out in one go.
The Zencha isn’t facing my deployment zone, so it’s an easy snipe for the Taagma, who climbs up and pastes it with some viral ammo.
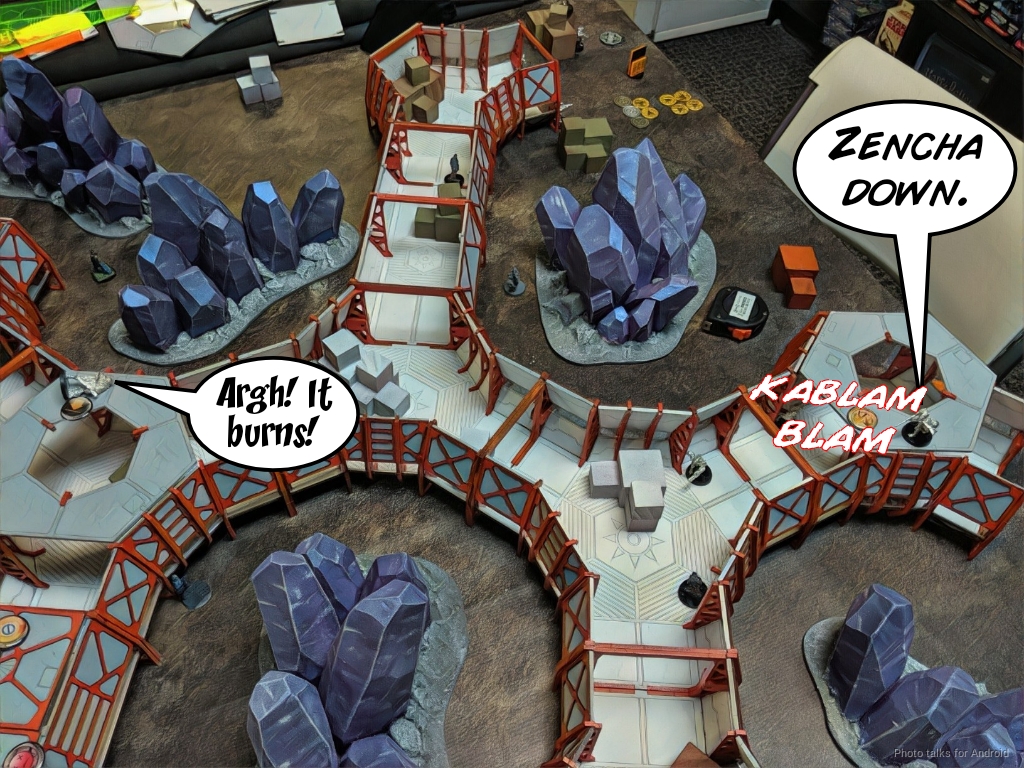
With the AROs gone from the rooftops, I try to take out some more of Dan’s orders by dropping an E/Mauler covering Tai Sheng, and then I poke out to try and E/Mitter the Haidao KHD, misjudging the distance to be just outside of 8″, whereas we’re just inside.
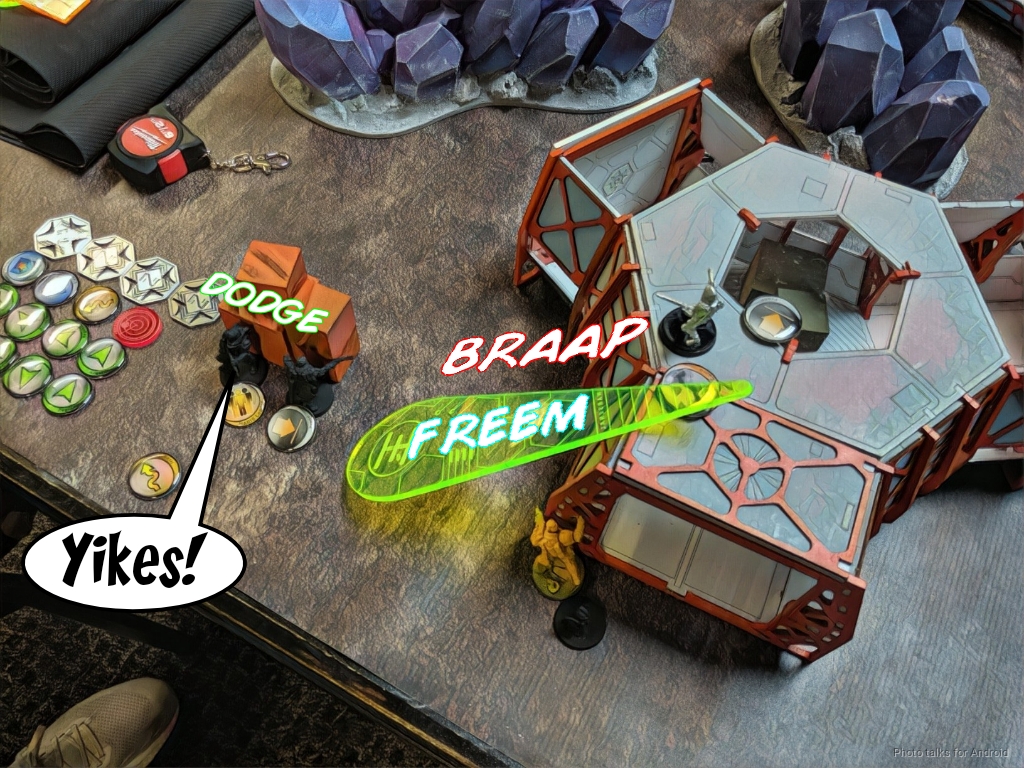
Everyone changes face and rolls really low, so the E/Mauler misses and so does my E/Mitter shot. Sigh. Now that I know I’m within 8″, I try to solve things the old fashioned way and fire the SMG at the Haidao, catching it out of cover.
| 38.43 | 30.70 | 30.87 |
With only a 4.71% chance of getting hit twice and failing both ARM rolls, and an almost 40% chance to wound, I of course lose the face to face and fail both ARM rolls. Sigh.
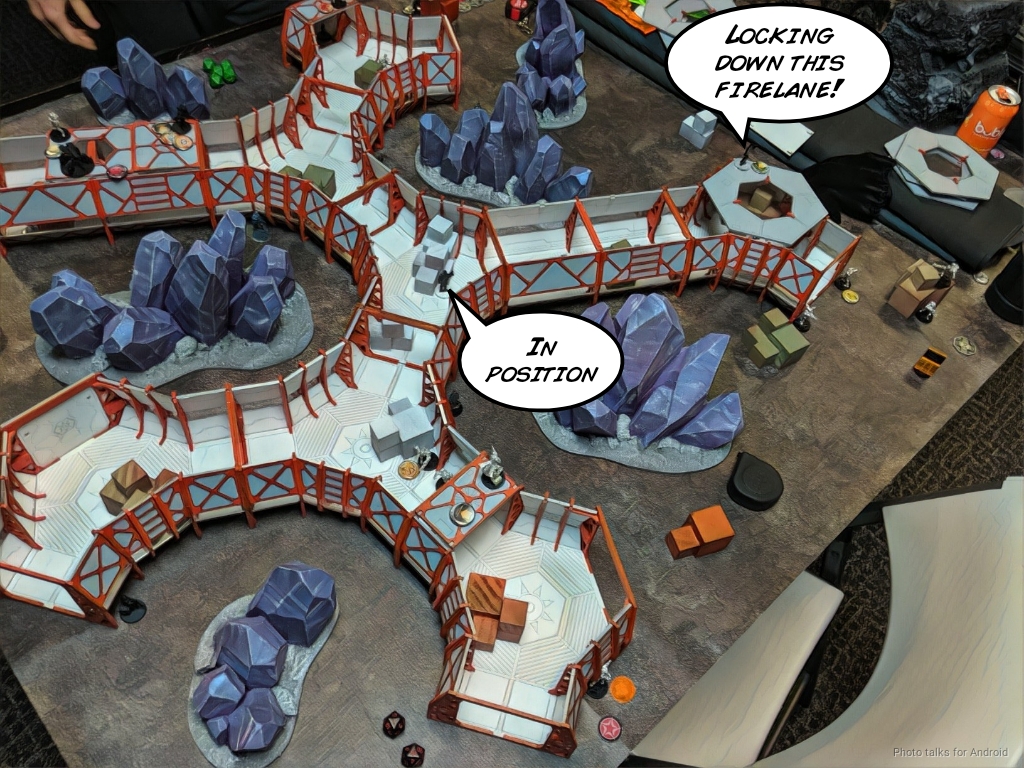
I start spending orders in my second pool, moving the Helots into the corridors to defend/delay and I put the Helot Red Fury on the roof on my right to delay Dan if he decided to go that way.
I threw the Kriigel Lt into suppression with the DataTracker order, for funs, and the passed turn.
Bottom of 1 – IA
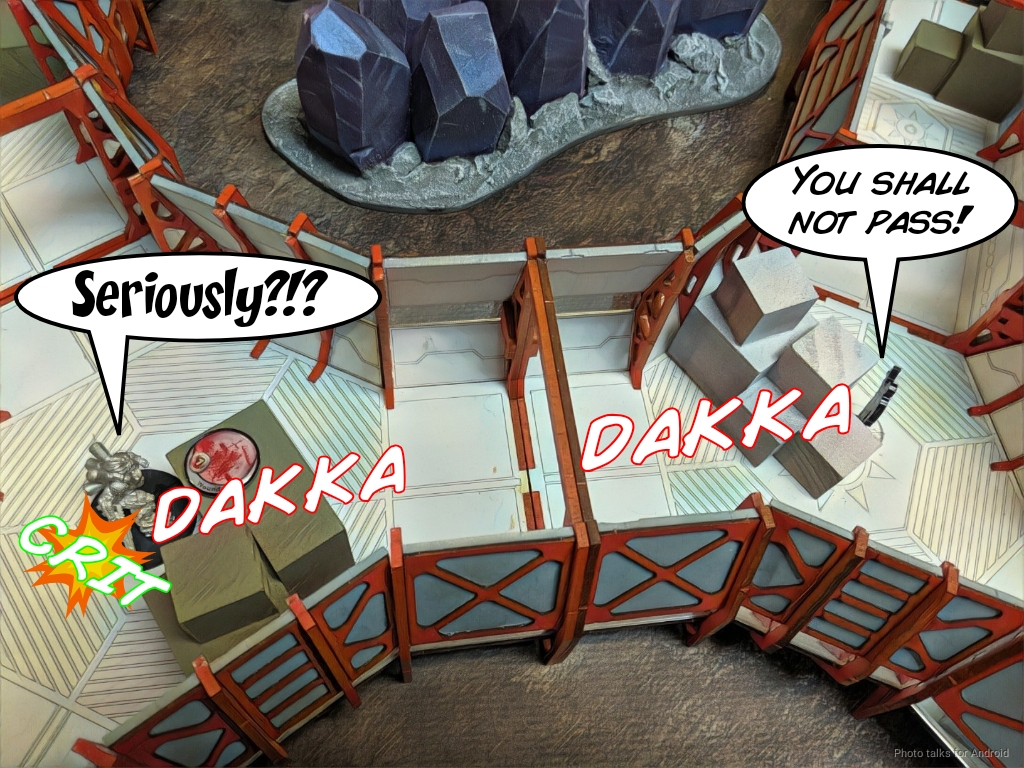
Dan starts things off by going straight into battle with the Shock Marksman Helot in the central corridor, and I start things off by critting him.

He tries again and we both whiff, and then I crit him again.
Now that we’re 4-5 orders into this, Dan finally crits the Helot off the table.
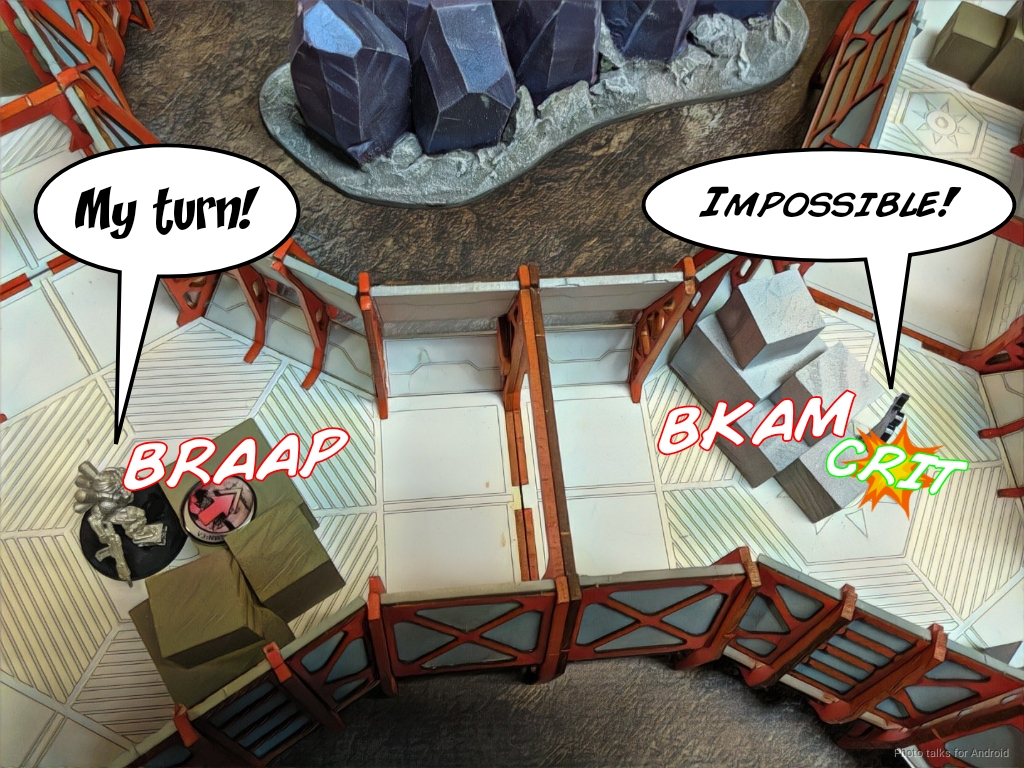
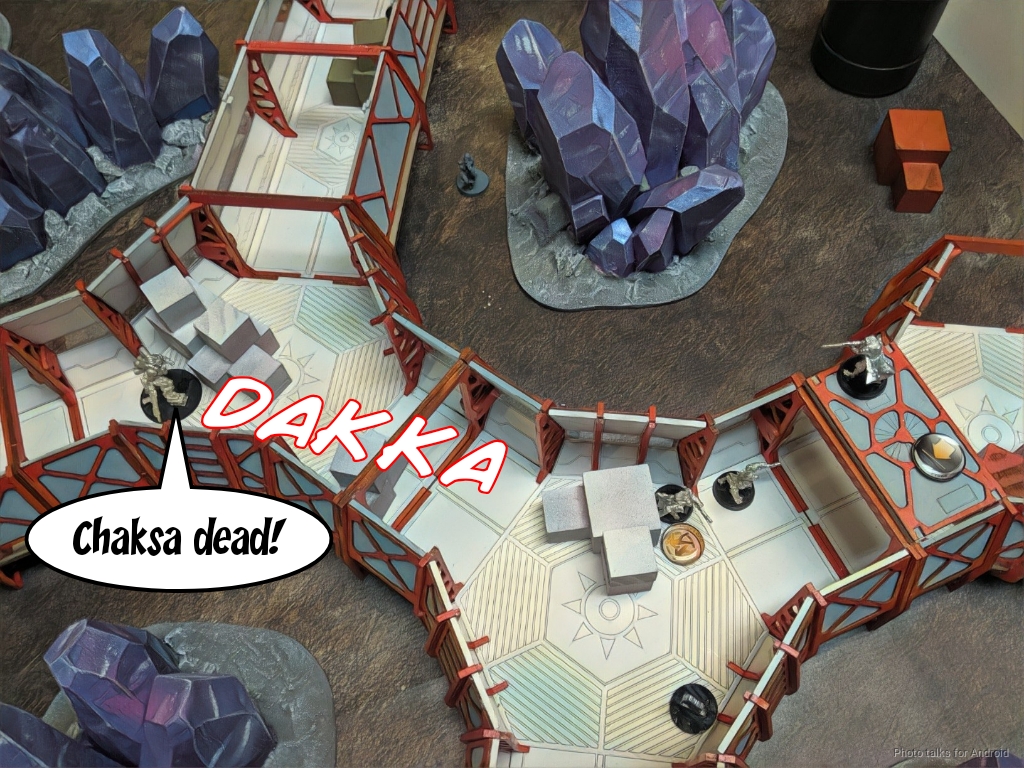
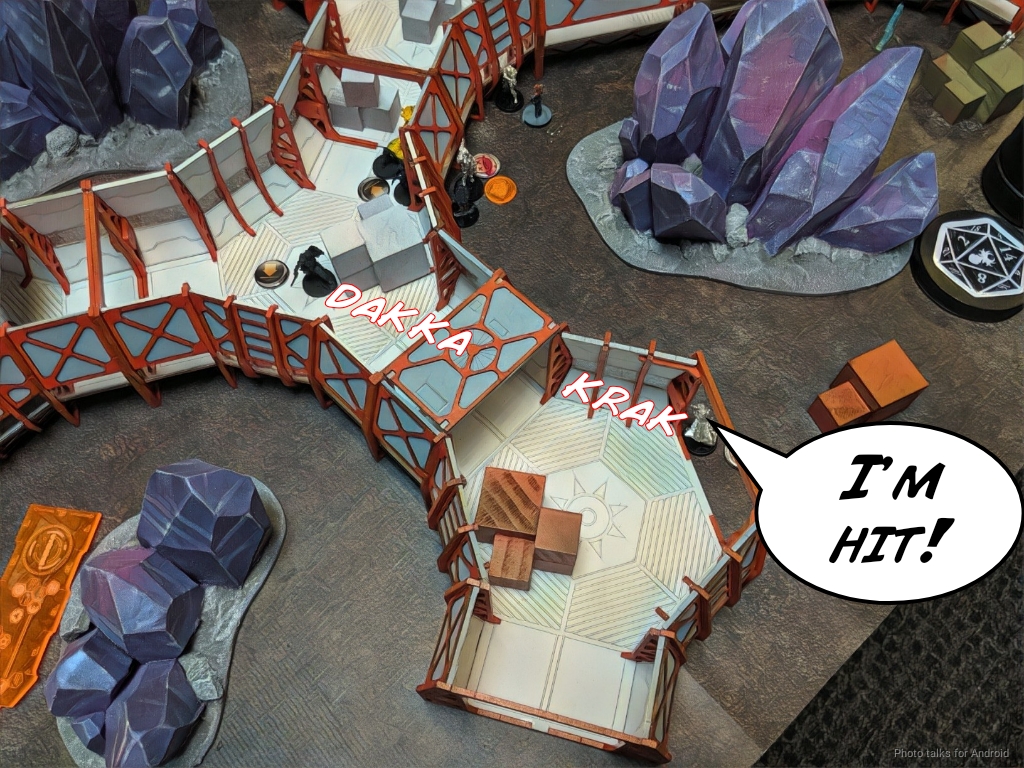
He pushes forward and then climbs up onto some boxes giving him LoF to both another Helot and my two Chaksas that are covering one of his civilians. I had thought them safe behind the boxes they were near, and totally had the orders and movement to prone them on my turn but didn’t. Ah well. I got sloppy and still am learning the table.
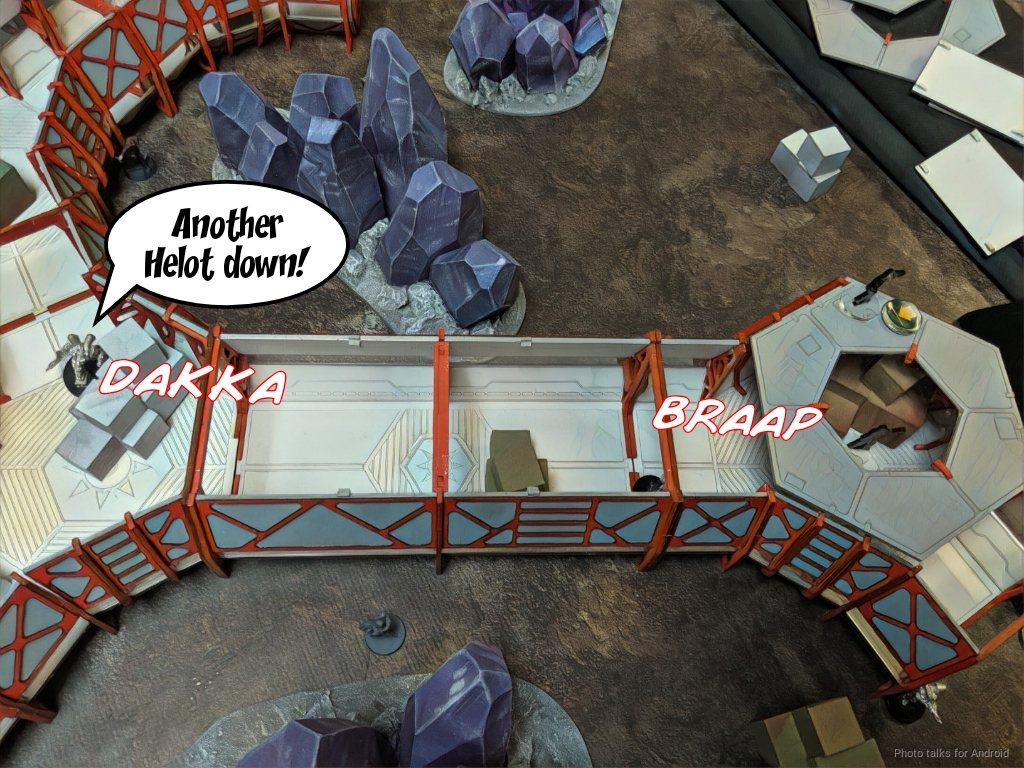
In any case, Dan splits the Mowang’s burst against the Helot and the first Chaksa, taking them both out. Sigh.
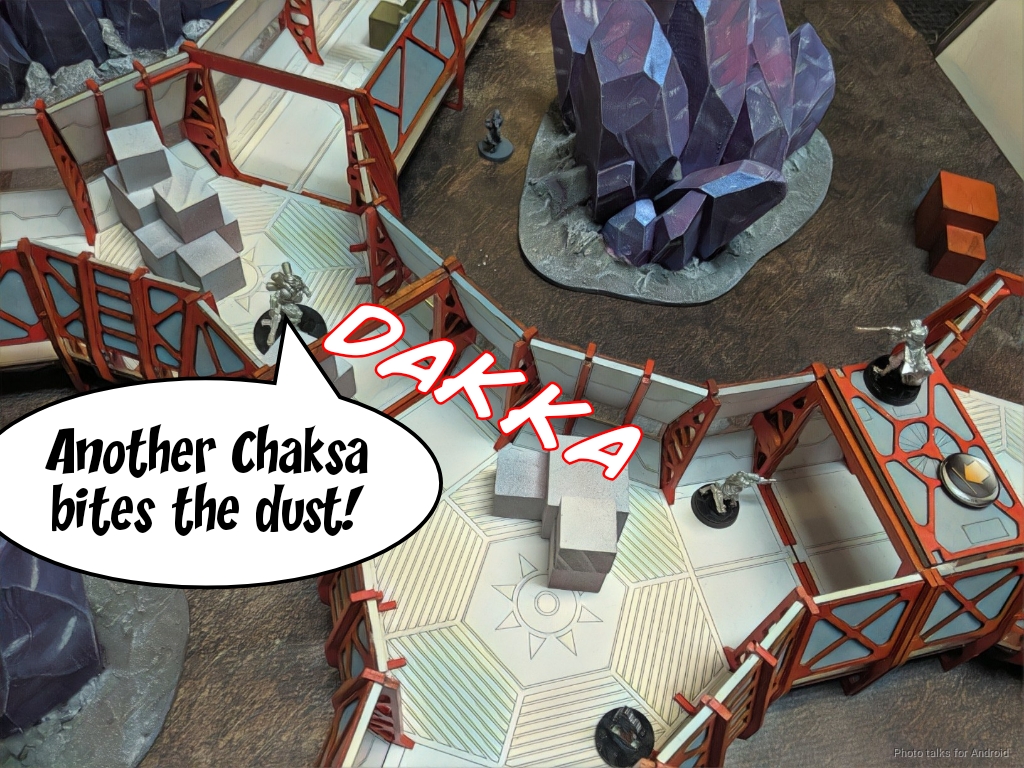
One more order sees the Mowang take out the last Chaksa, and then Dan retreats the Mowang and throws the Zhanshi and the Mowang into suppression.
Turn 2
Top of 2 – Spiral
I reveal my lieutenant and use the Lt order and the Datatracker order to isolate the Mowang in suppression.

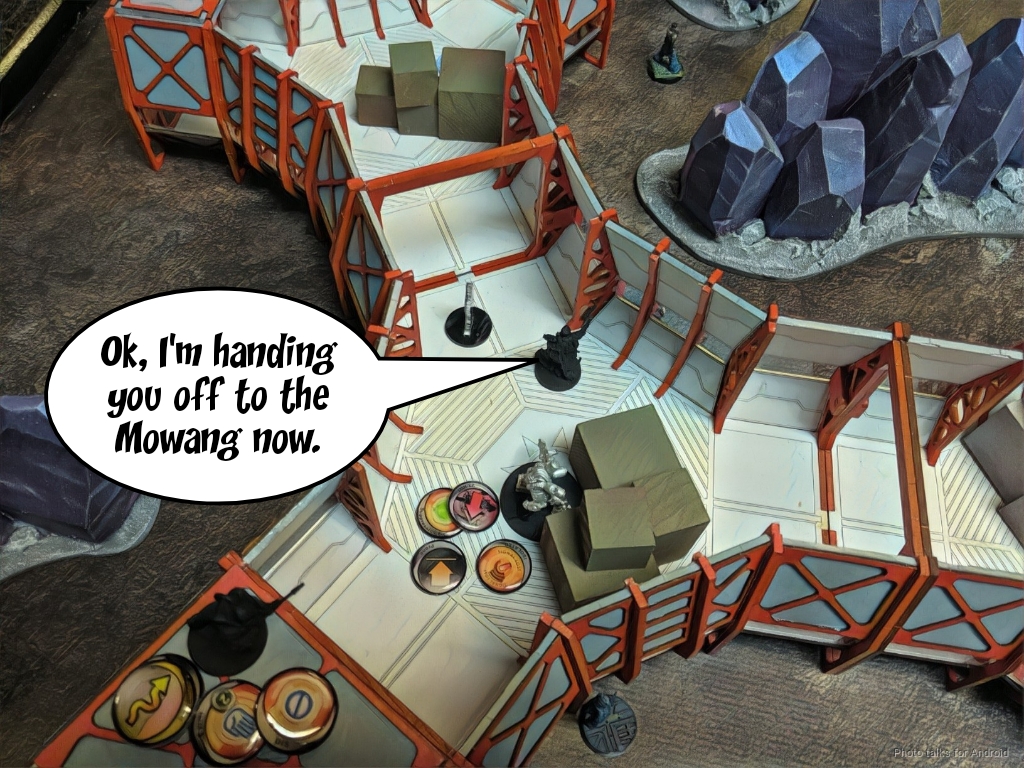
Dan doesn’t want to reveal his own Lieutenant, so the remaining Kiiutan hops off the roof and absconds with one of the civilians, making it all the way back to my dead zone.
Bottom of 2 – IA
Dan goes for the Lieutenant snipe and takes out my Lt by sacrificing his own Lt after getting discovered to all the AROs: Taagma, Chaksa, Helot, Kiiutan, and of course Eraser from my Kriigel.
He then dives the Haris into the tunnels, giving me a full burst of Red Fury at Tai Sheng in the open as he dodges.
| 43.36 | 24.01 | 32.62 |
Not a the worst chance, but only a 12.14% to one shot Tai Sheng to unconscious. Of course, Dan dodges so it’s fine.
Turn 3
Top of 3 – Spiral
I’m in loss of lieutenant and I spent too many command tokens doing coordinated orders early on, so I’m forced to just move a Clipsos into secure the HVT range, the Kriigel and the two Reex into position to defend the return path for Dan as well as put a Eraser ARO next to the other Civilian in the tunnels. I spend my last precious command token on the Taagma to put a dangerous ARO on the Civilian near Tai Sheng, and pass turn.
Bottom of 3 – IA
It only takes one order for Tai Sheng to drop the Taagma, which isn’t terribly surprising.
Dan maneuvers the Haris to block enough LoF to set up a cautiousu move, and then manages to take out one of the Reex in the process.
With all the orders available to IA, Dan makes it back to the deployment zone, and even though the Mowang is isolated, we ruled that he still got his DataTracker order, so it was easy to grab the Civilian and move back into Dan’s deployment zone with the Civilian attached to his DataTracker.
To put the most points on the board, Dan moves the remaining Haris guys into range to secure my HVT and thus no one gets a classified.
5-3 Invincible Army Victory!
Post Game Analysis
I had a great start, but made some key mistakes:
- Standing Chaksa – Very silly, just wasn’t thinking about it because I thought the box would be high enough. Definitely need to be a little more careful and conservative when moving around. It would’ve dramatically changed the game had they survived.
- Clipsos on the Roof – Less silly, but I think I could’ve used a single Clipsos boarding shotgun in the corridors. That would’ve helped ALOT. I think I just need to default to doing that.
- Undeveloped Reex – I took these guys for a reason. I think I needed to develop them more, and get them into a really annoying spot or better yet attack with them. There’s a bit of awkwardness related to this, since I can’t ARO shoot with the Reex and Eraser with the Kriigel, so I’ll need to think about that puzzle a little more before really settling on it.
- Overextended Lieutenant – I had an order to move her away from Dan’s Lieutenant on the top of 2, but I moved her towards that table edge. It’s a very small thing, but I think that might’ve made a difference by either putting me out of 8″ with the shotgun or by letting me discover and then obliterate the Daoying before it got into range.
This table is pretty punishing because it forces you to pick somewhere to be strong, either inside the tunnels or outside. There are basically no ways to get in or out of the tunnels except for a handful of egress points near each player’s deployment zone, so you’re stuck choosing what you want early.
I chose a balanced deployment, as did Dan at the beginning. By the end of the first turn, I had secured victory outside the tunnels and had fought Dan to a standstill within the tunnels.
At the end of my second turn, I had an objective achieved and severely damaged Dan’s ability to operate his Mowang, but I conceded all presence within the tunnel! Having two Clipsos off the table is powerful, but much weaker with an exclusion zone, and the fact that they were on the roof and basically didn’t do anything for the first two turns meant I denied myself 4 orders and 50 points, basically.
Dan outplayed me with the choice of table side at the beginning. He chose the table side where two of his civilians would be inside the tunnels, whereas all of my civilians were outside. This made him only have to defend one of the effectively two tables, and I had to defend both of the “two” tables. If he broke my defense outside (unlikely), he could’ve pushed my right flank and nabbed the single guy outside. What actually happened was he broke my defense inside, and then nabbed a single guy inside.
This wasn’t a mistake, he actually consciously thought about it, whereas I didn’t. He’s got a handful more games in on this table than I do (and is the CAD artist), so just a really nice, succinct illustration of home turf advantage.
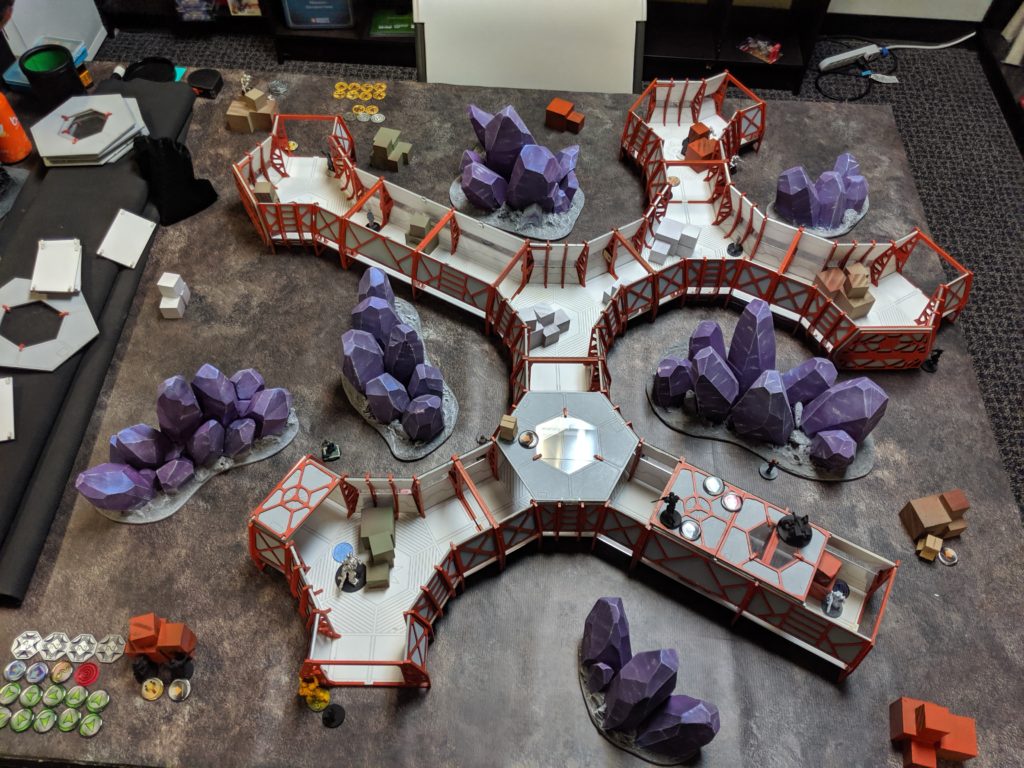
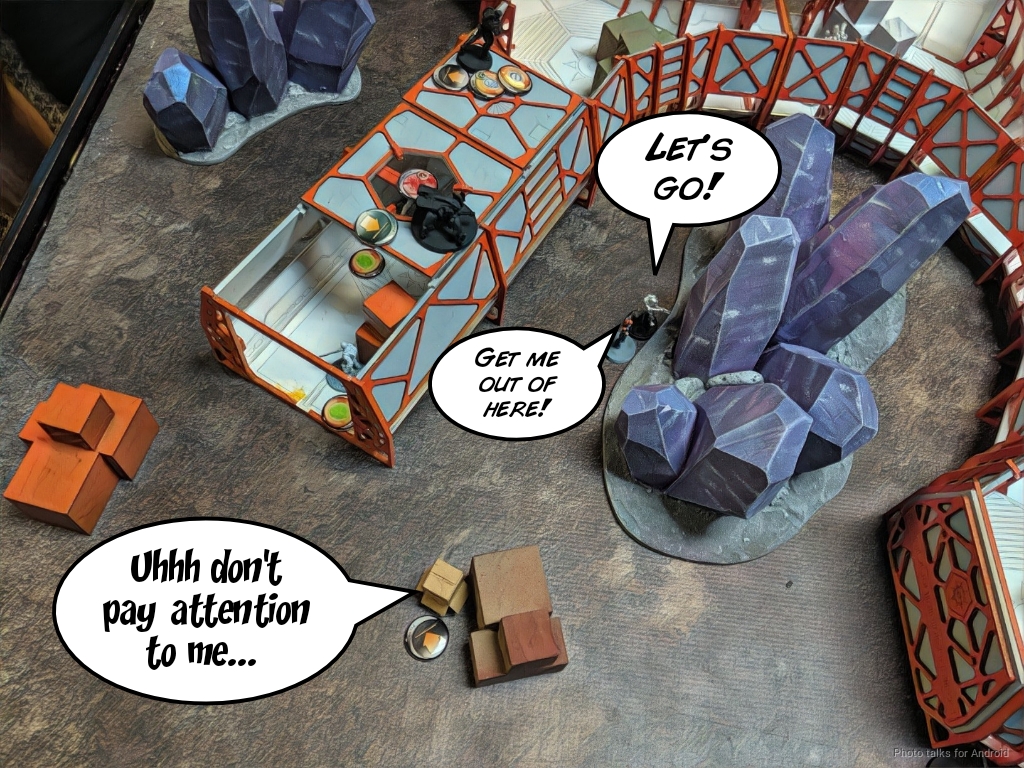
I definitely had a chance to recover, but chose to commit to one avenue of play (the objective) instead of developing the board. I definitely had the orders and capability to do it. Let’s look at some hypothetical scenarios using this picture of my deployment as a spatial reference.
So, we’re at the top of two, and there’s a Mowang in the central corridor junction in suppression. I can do exactly what I did before, which was throw the Kriigel Lt at it to Eraser it, then use the Kiiutan on the left to abscond with one of the civilians. Now comes the two key differences in Scenario A:
- I move the Kriigel away and to the right, putting more distance (and thus more chances to attempt a discover) between my Lieutenant and Dan’s Daoying.
- I then spend the hidden deployment order of the Clipsos on the right to climb it off the roof and onto the ground floor. I’m not in cover, but I’m out of LoF of the Tai Sheng Haris thanks to the purple crystals. This telegraphs to Dan that I’m going for the Civilians on my right, so he has to make a decision: does he try to fight two Neurocinetics units on the right, or does he take the safe path in the center?
If he chooses the path that actually happened, I now have a chance to not be in LoL, or I have enough movement to go and get one of the civilians if I am. This doesn’t really mean I win the game, points wise, that’s down to what happens after and the dice rolls, but it does help.
Scenario B is where I use the Reex to kill the Mowang and set up in the central corridor. This encourages Dan to stay away from the corridors since there’s more AROs in there, and also removes the Mowang as a threat and kills Dan’s Datatracker.
It encourages Dan to fight me in two places of strength: the Reex in the corridors or the neurocinetics models outside. He can win either fight, because his troops are higher quality than mine, but he can only win one. Then I can counter-attack with my Clipsos and Kiiutan on the left to grab civilians unopposed at the top of 3.
In any case, I think I learned a lot about Spiral works, and Dan got his practice game in and used some really cheeky tricks like body blocking. It as was also a good game to give Dan an opportunity to recover from a beating in the first turn. We’re currently got a 1-1-1 record against one another, so hopefully I keep racking up the wins! In any case, a really great game on a really challenging table. Thanks to Dan for being, as always, a fun opponent.