
Delta Delta Everywhere
Game night! Isaac (xammy) was without a sparring partner so he generously set up a table while I stuffed some Thai food into my face. Both of us were trying “hipster” lists, me with a Riot Grrl-less Bakunin list and Isaac with some sort of O-12 filth. Our table was pretty open and made use of a lot of walls to break up lines of fire.
Not the most visually stunning table in a meta that has Adam (TheDiceAbide) in it, but I enjoy the familiarity of it all.
Overview
- Mission: Capture and Protect
- Forces: Jurisdictional Command of Bakunin versus O-12 (300)
- Deploy First: Bakunin
- First Turn: Bakunin
Neither of us list built for Capture and Protect. I brought what I thought would be an all-comers list, and Isaac brought an experimental list. I actually used Comlog’s randomization feature, and it came up Comlog. Everyone else was playing Capture and Protect, so since we were both playing “hipster” lists, I asked Comlog for a different random mission… and got Capture and Protect again. FINE, RNGeezus! We’ll pay Capture and Protect. GOSH.
Herm
GROUP 1 |10
REVEREND CUSTODIER Hacker (Hacking Device Plus) Lieutenant Combi Rifle + Pitcher / Pistol, Knife. (0.5 | 34)
KUSANAGI Spitfire / Pistol, Shock CCW. (2 | 43)
REVEREND HEALER Boarding Shotgun, Nanopulser / Pistol, EXP CCW. (0 | 32)
GROUP 2 |
REVEREND MOIRA MULTI Sniper Rifle / Pistol, Shock CCW. (1.5 | 34)
ZERO Hacker (Killer Hacking Device) Combi Rifle, Antipersonnel Mines / Pistol, Knife. (0 | 21)
BRAN DO CASTRO (Specialist Operative) Combi Rifle + E/Mitter / Pistol, DA CCW. (0 | 37)
LUNOKHOD Heavy Shotgun, Heavy Flamethrower, D-Charges, CrazyKoalas (2) / Electric Pulse. (0 | 25)
METEOR ZOND Combi Rifle / Electric Pulse. (1 | 21)
TRANSDUCTOR ZOND Flash Pulse, Sniffer / Electric Pulse. (0 | 8)
3
3
MORLOCK Chain Rifle, Smoke Grenades / Pistol, E/M CCW. (0 | 6)
5 SWC | 300 Points | Open in Infinity Army
Bakunin lists have historically been awkward for me to build. They haven’t really “clicked” for me yet like Corregidor or vanilla Nomads. I’ve been trying to build Bakunin lists without Riot Grrls, because I want to use the nuns which are the whole point of Bakunin for me in the first place and for the learning experience. I think I’ll grow more as a player by taking stuff that’s harder to use, in other words. Plus I have some really fun Moira weapon swaps to use eventually.
For me, it was really difficult to build a Bakunin list that wasn’t just a vanilla list, especially because I’m really not fond of links… and Moira are very expensive. I ended up with a list that could have a 3-woman Moira core centered around a defensive Moira sniper, or a 3-woman Custodier Haris to push buttons and get stuff done.
The nuns are very fragile, I think, which means you really need to control your engagements and make use of the visual mods. You also have to avoid template weapons like the plague, which is more difficult because you’re also encourage to start them further up the field with the new forward deployment rules. It’s definitely feeling a little like when I started to play JSA in earnest. I can’t make a list I like, things are weird and uncomfortable, and my usual tools are missing. Challenge accepted!
O-12
GROUP 1 |GROUP 2 |
ALPHA Lieutenant (Strategos L2) 2 Light Shotguns, 2 Nanopulsers / Pistol, DA CC Weapon. (0 | 26)
BETATROOPER Spitfire, 2 Nanopulser / Pistol, Knife. (2 | 41)
DAKINI Tacbot MULTI Sniper Rifle / Electric Pulse. (1.5 | 21)
FUZZBOT Hacker (EVO Hacking Device) Electric Pulse. (0.5 | 25)
DELTA (Forward Observer) Combi Rifle + Light Riotstopper, D-Charges / Pistol, Knife. (0 | 23)
CUERVO GOLDSTEIN Submachine Gun, Akrylat-Kanone, D-Charges / Pistol, Monofilament CC Weapon, Knife. (0 | 39)
VARANGIAN Submachine Gun, Chain Rifle, Smoke Grenades / Pistol, AP CC Weapon. (0 | 12)
KYTTÄ Flash Pulse, Sniffer / Electric Pulse. (0 | 8)
PEELER HMG / Electric Pulse. (1 | 26)
MONSTRUCKER Submachine Gun, Chain Rifle, Drop Bears / Pistol, Knife. (0 | 13)
6 SWC | 300 Points | Open in Infinity Army
It turns out Isaac’s O-12 filth was three AD troops and a bunch of angry robots. UUUGGH. He loves his robot lists + EVO, especially out of NCA, so to see it in O-12 as well was going to be a real fight!
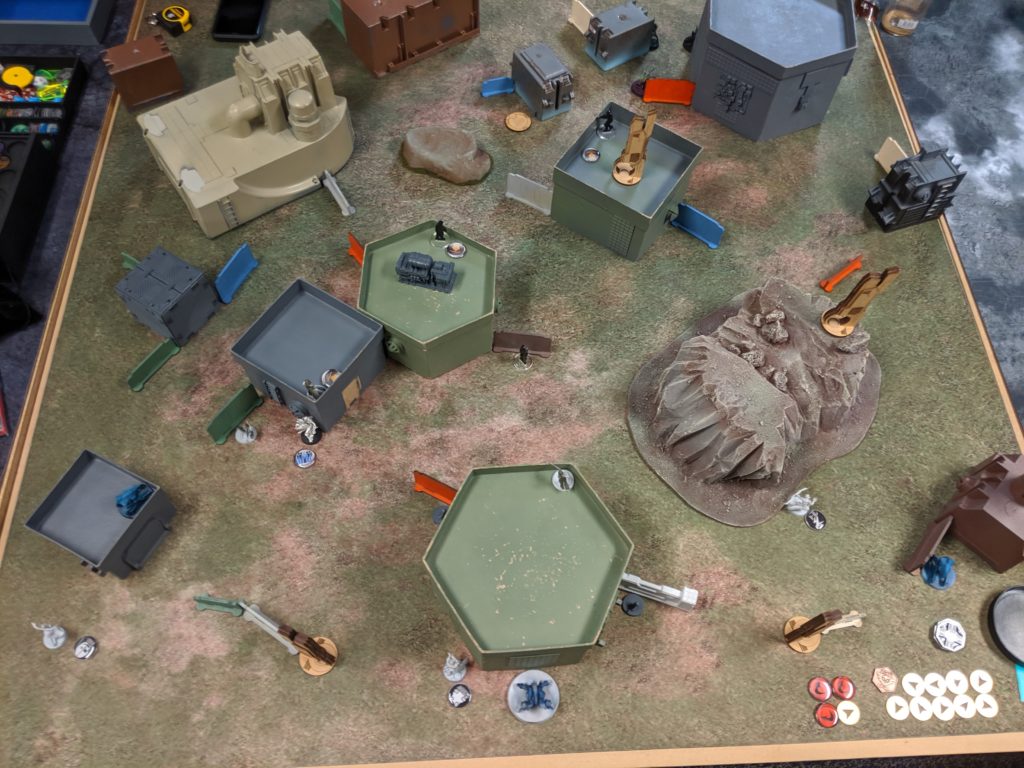
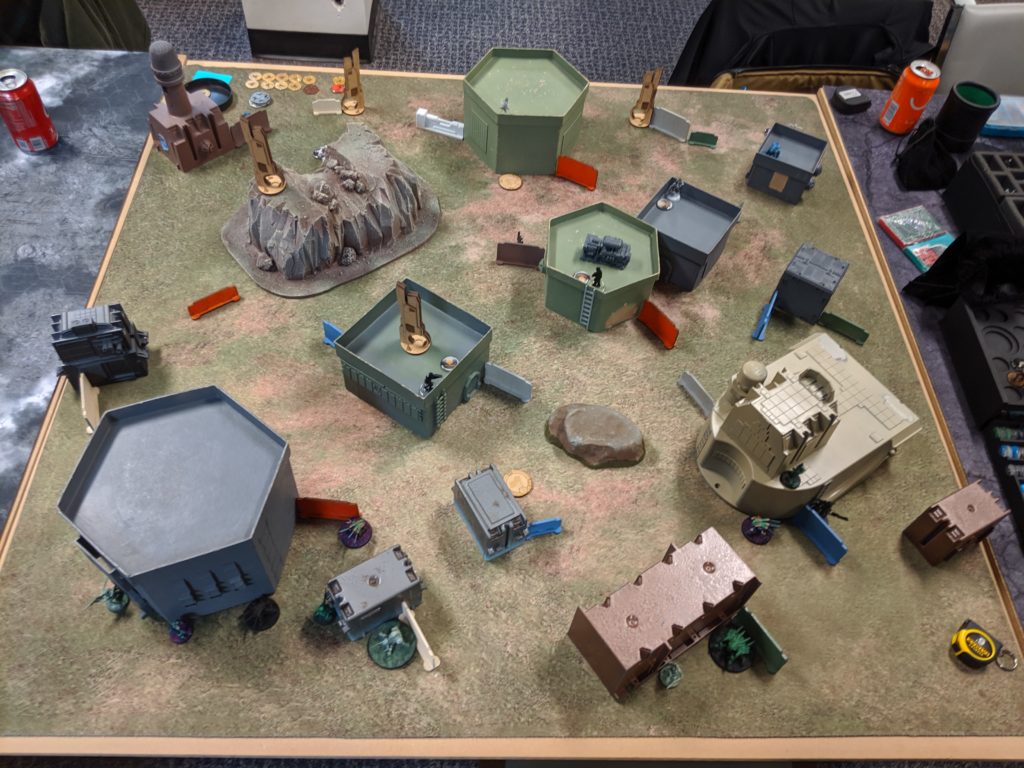
Deployment
I won the rolloff and elected to go first to try and steal the beacon out from under the robot noses of the O-12! There was only one really convenient place for me to put my Custodier that I thought she would survive all three turns, and that was on a rooftop on my left. I set up Kusanagi and my Reverend Healer nearby to form the Haris, and then put Morlocks everywhere. It’s worth noting that I rolled my favorite two Morlock MetaChemistry results, NWI and 8-4 MOV!
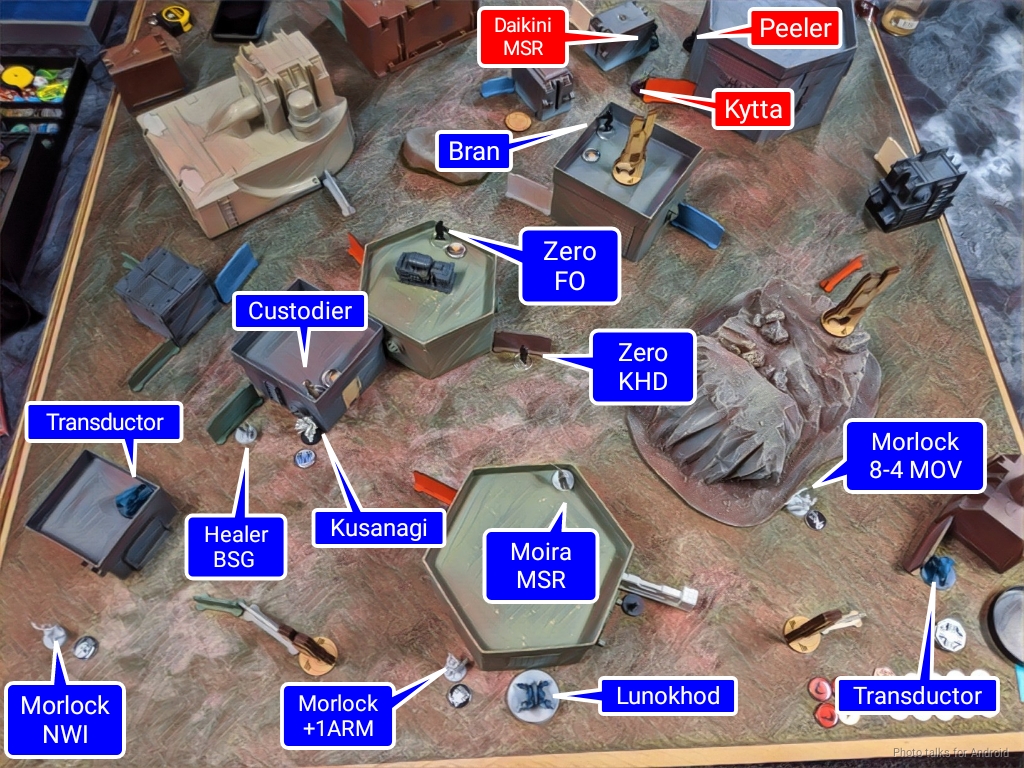
I protected my beacon with two Transductors, as well as my backfield, and then covered the Beacon with a Lunokhod and its Koalas. I over-infiltrated Bran right next to the objective, prone on a roof. I did this intentionally to force Isaac to over-commit to protecting the beacon and leaving stuff out for Kusanagi to shoot. I held my Reverend Moira MSR in reserve and then things went over to Isaac.
He started by apologizing for his proxies (no big deal, Isaac!). To prevent confusion for you, dear reader, here they are:
- Fusiliers = Daikini
- Garuda = Beta Spitfire
- Peacemaker = Alpha
- Joan & Black Friar = Varangians
- Machinist = Monstrucker
Conveniently, Isaac used the same loadouts on the Fusiliers as he did on his Daikini (HMG = HMG, sniper = sniper). He set up a Varangian on both sides, and then covered the objective with both Daikini, both Kytta flash pulse bots, and set his Beta up to attack my nuns on his right.
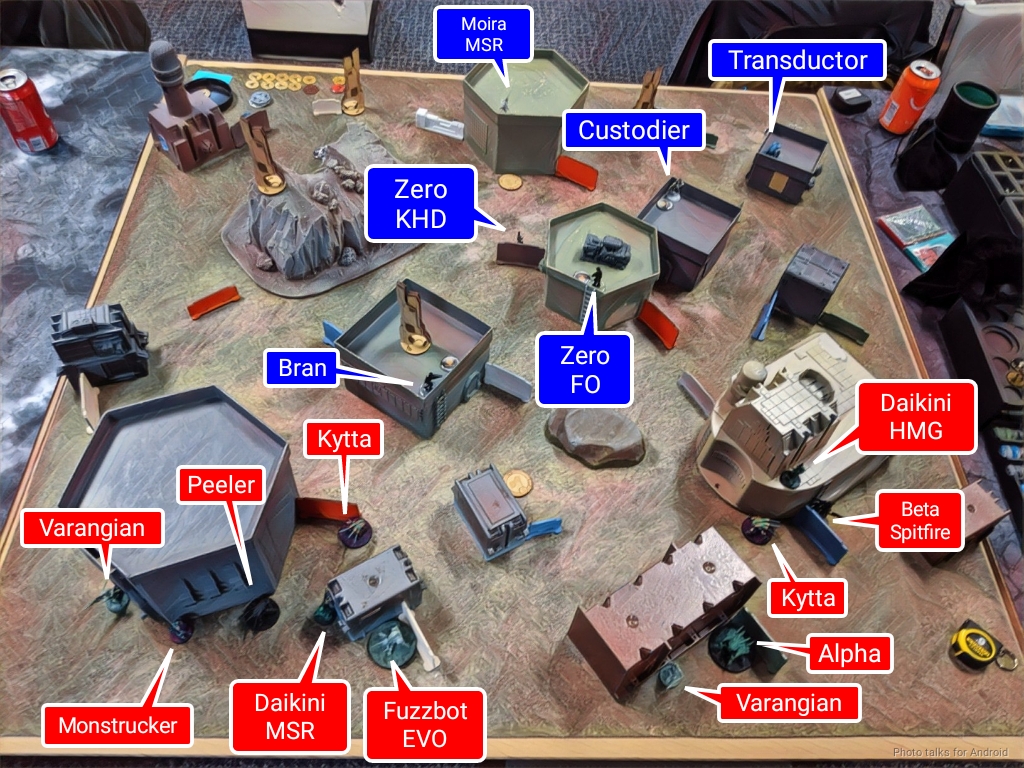
I had saved the MSR to be able to attack something that was left out, but I decided that there wasn’t a really convenient way that I could do that, so I decided to just put her on a roof in the back to frustrate the Varangians. Isaac further backed up his Kytta with a Peeler, also watching the central objective.
Turn 1
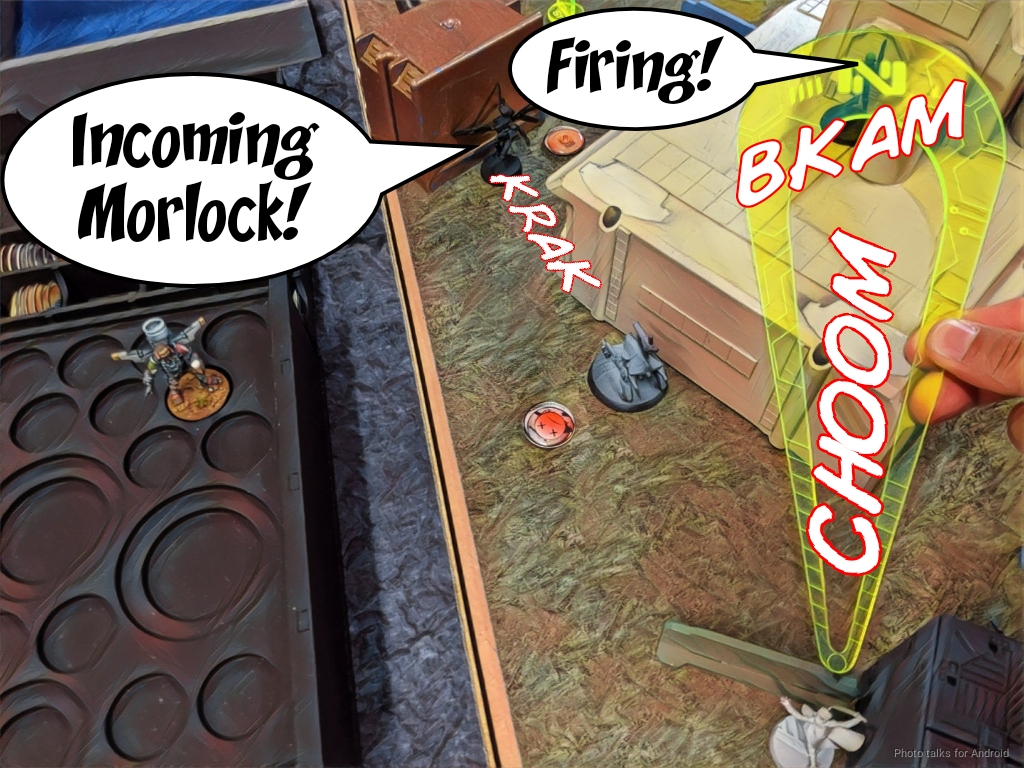
Top of 1 – Bakunin
My Morlocks made it forward without any problems, even my 8-4 MOV Morlock, who chucked some smoke to make things easier for himself later. I then decided it was time to use this BS 14 ODD Spitfire thing. That’s good, right? Well, it’s on a 4-2 chassis and I deployed stupidly, meaning I had to slog my way around some walls before being able to shoot at one of Isaac’s Kytta. Both of us would have to be out of cover, and he had Overclock up.
| 77.94 | 11.76 | 10.30 |
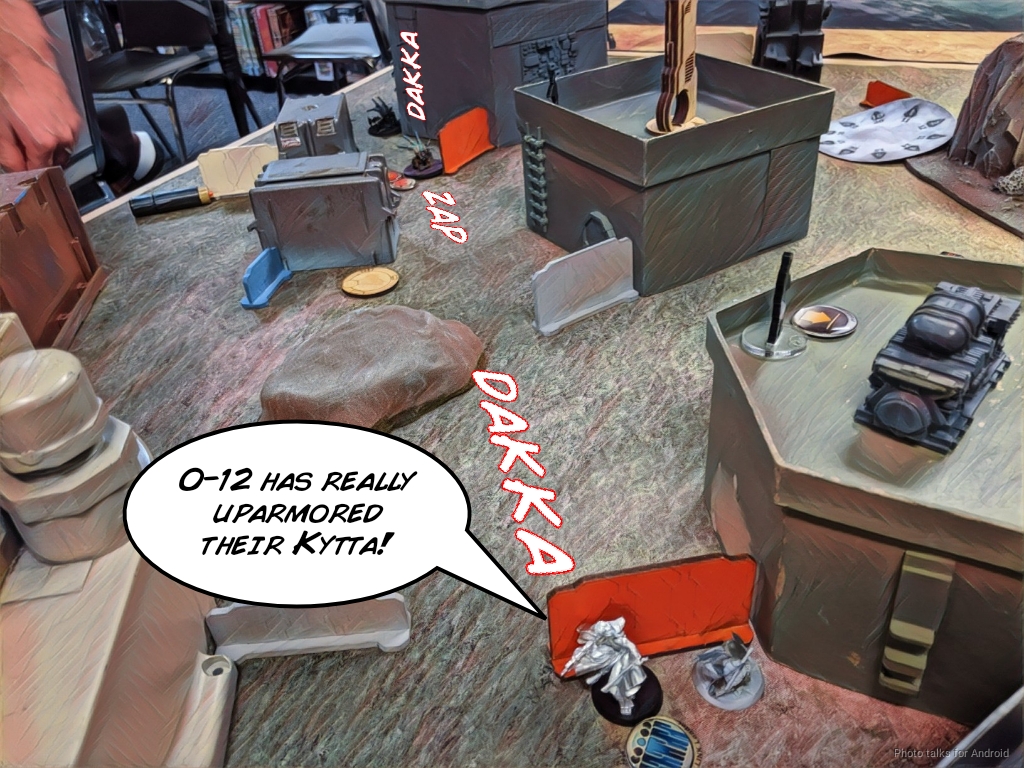
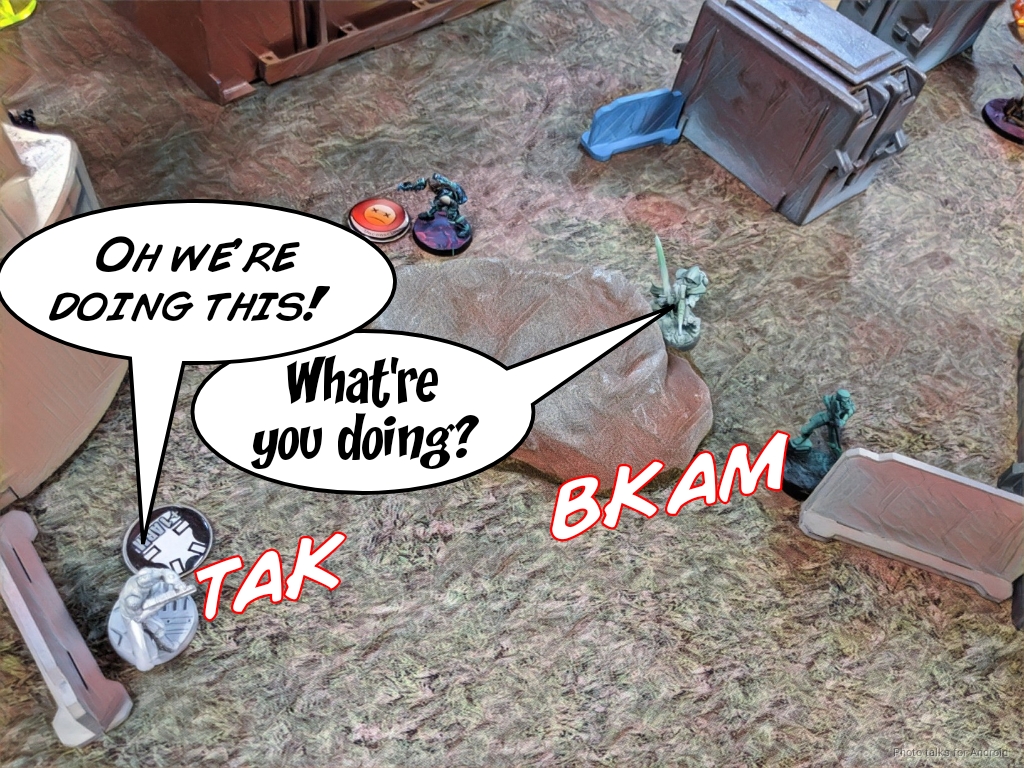
Three orders later, the Kytta is finally unconscious, having passed about 5 ARM saves. Ridiculous. This was the Kytta that was pinning my 8-4 Morlock down, so I got it into position to chain-rifle the Daikini MSR and the Peeler, who both passed their saves. If I had been more clever, I would have done this prone and shot the Kytta in front with the chain rifle, giving both ‘bots a -6 to dodge thanks to the additional penalty of being hit by a template from out of line of fire. More Morlock tricks to add to the bag!

I made sure to keep the Morlock on the other side of the orange wall there, just to keep him safe. I get a little cocky with my ODD and try to dice down the TR bot, but I get crit, putting Kusanagi into NWI.
| 72.42 | 12.97 | 14.61 |
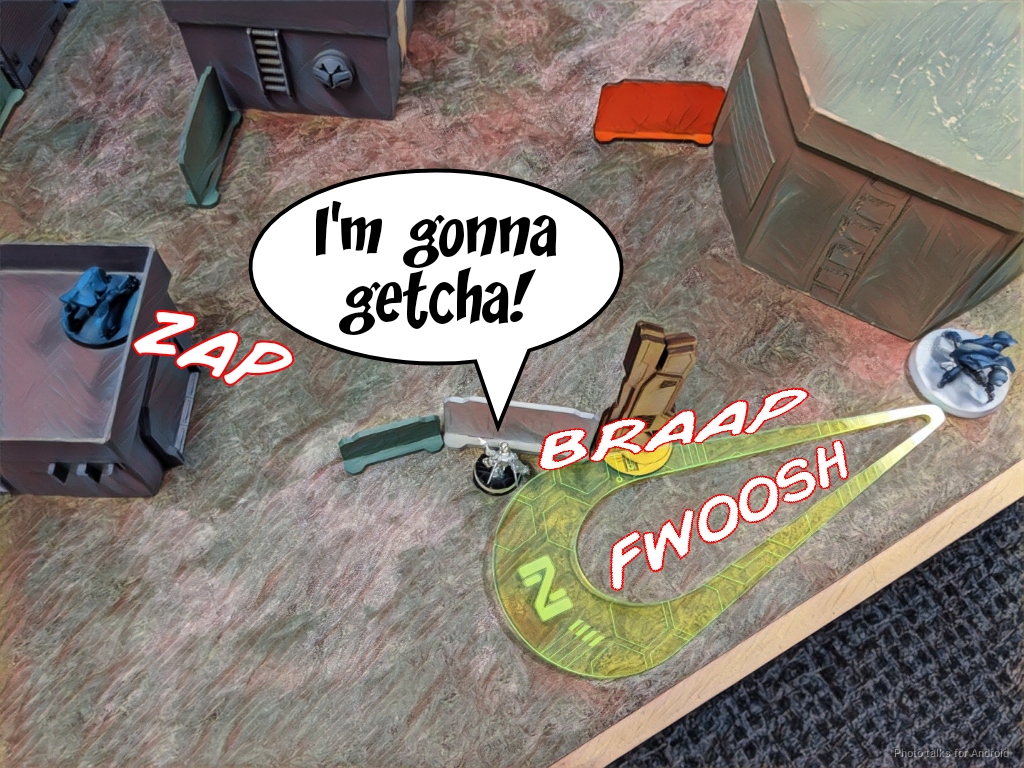
At this point, I realize I still need to deal with that Beta trooper, so I walk on the Meteor, break the nun’s link with a coordinated order to get the Meteor into repeater range as well as fix the nun’s positioning to the best of my ability (i.e. not really all that well). My last order is a lieutenant order to successfully Oblivion the Beta trooper before reforming the Haris.
| 32.21 | 28.54 | 39.25 |
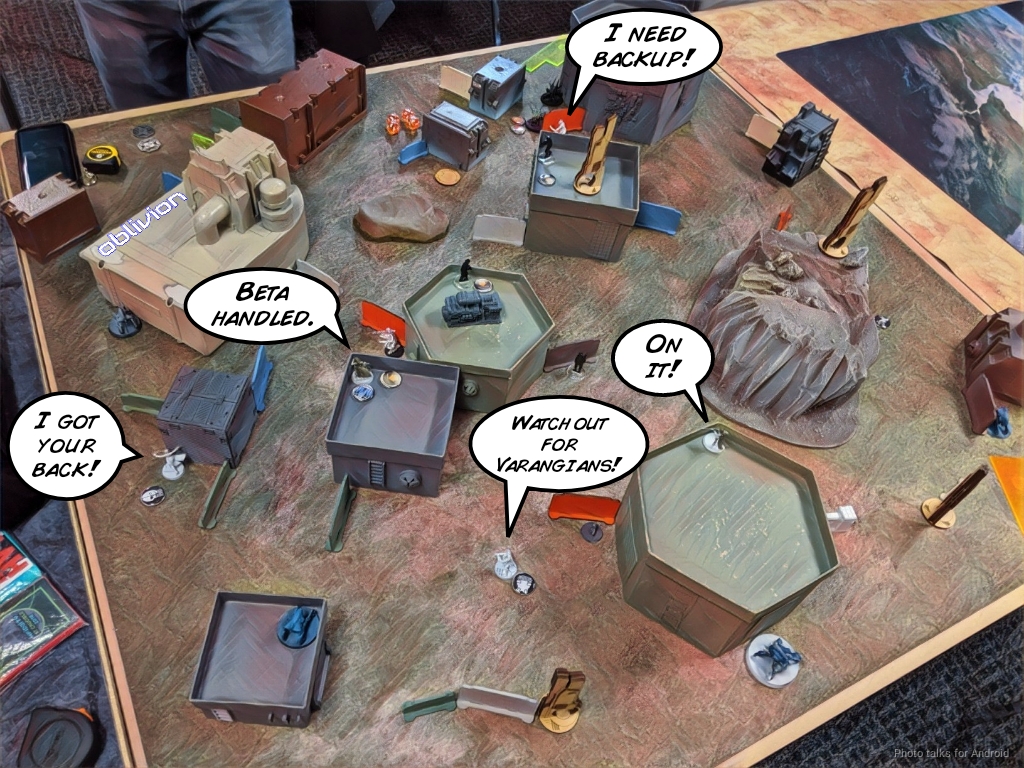
I got pretty lucky there. I think the much better call would have been to Gotcha! the Betatrooper and then Oblivioned it or the Daikini as they tried to do anything in repeater range of my Meteor. Since the Betatrooper would be IMM-1 during Isaac’s turn, he’d have to Reset to get out of it, letting me hack him again. The odds are better for that as well:
| 43.67 | 30.19 | 26.14 |
Shockingly enough, even as a veteran Nomad player, I don’t often get to hack stuff through repeater very often, mostly because my opponents avoid my repeater nets like they’re radioactive. I’ll be sure to take this lesson to heart though!
Bottom of 1 – O-12
Isaac cancels his Varangian’s orders, unwilling to go face to face with my Moira’s MSR, then uses his Betatrooper to Spitfire down my Meteor and put the nearby Morlock into NWI. Then, it starts raining Deltas.
The first one, an FO, drops in and takes a shot at my Lunokhod from outside 16″ while I put the Koalas into standby.
| 31.64 | 68.36 |
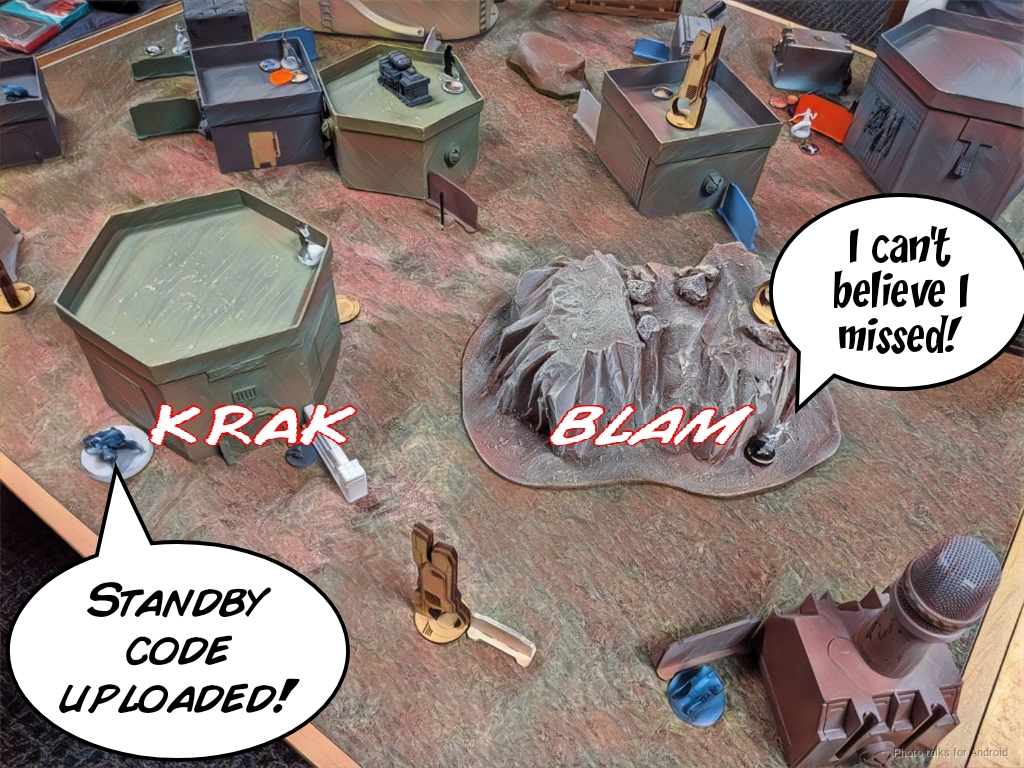
Amazingly, he whiffs all his shots. He tries again, and this time I shoot back, also on 6’s even though dodging on 7’s is just slightly better.
| 19.39 | 46.79 | 33.82 |
ARM 6 in cover is no joke though, and the Lunokhod survives, scooting around the corner to safety. Another Delta, this time a doctor, falls from the sky, going toe to toe with Kusanagi’s pistol skills and winning.
| 28.28 | 55.32 | 16.39 |
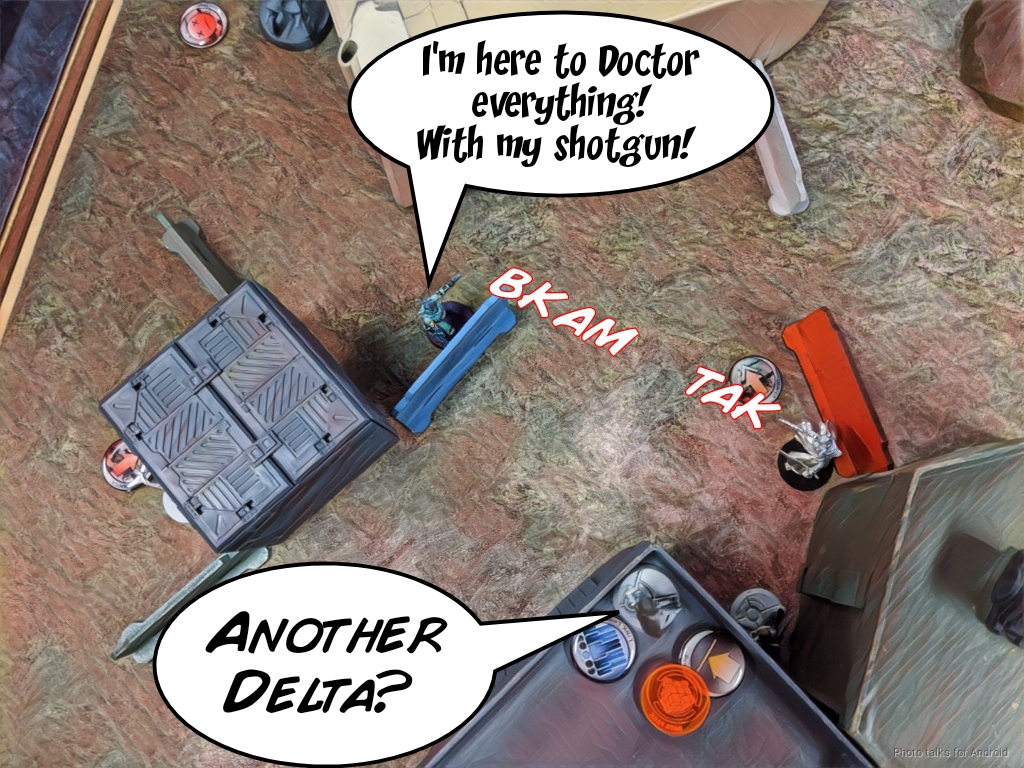
My Custodier has failed two Hack Transport Aircraft rolls now, which is a bit of a bummer. That EVO is doing work for Isaac! The Delta Doctor now tries to take out my Reverend Healer, but I survive thanks to Mimetism. Isaac sends in a buffed Daikini HMG next, but I survive thanks to ARM 3 and some Matrix bullet dodges.
| 32.62 | 20.37 | 47.01 |
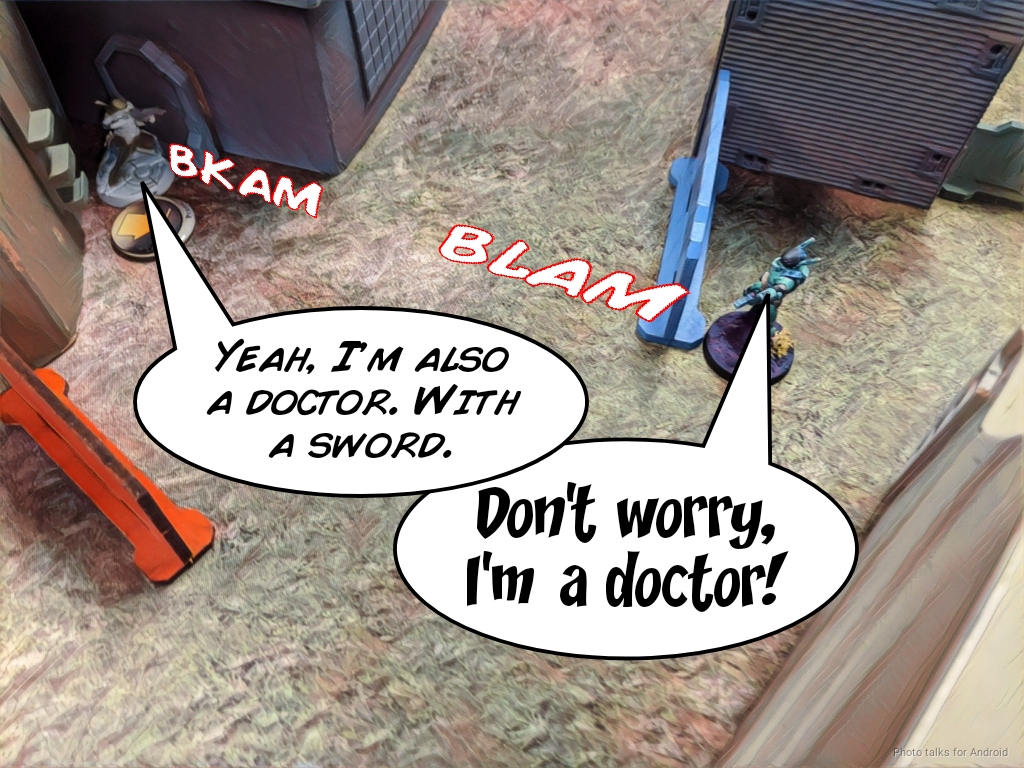
One of my Transductors could see this though, and Flash Pulses the Daikini into submission. Left with no recourse, the Delta Doctor tries to shotgun my Reverend Healer again, and this time I hit him with the shotgun. Take that! Sadly, he passes ARM.
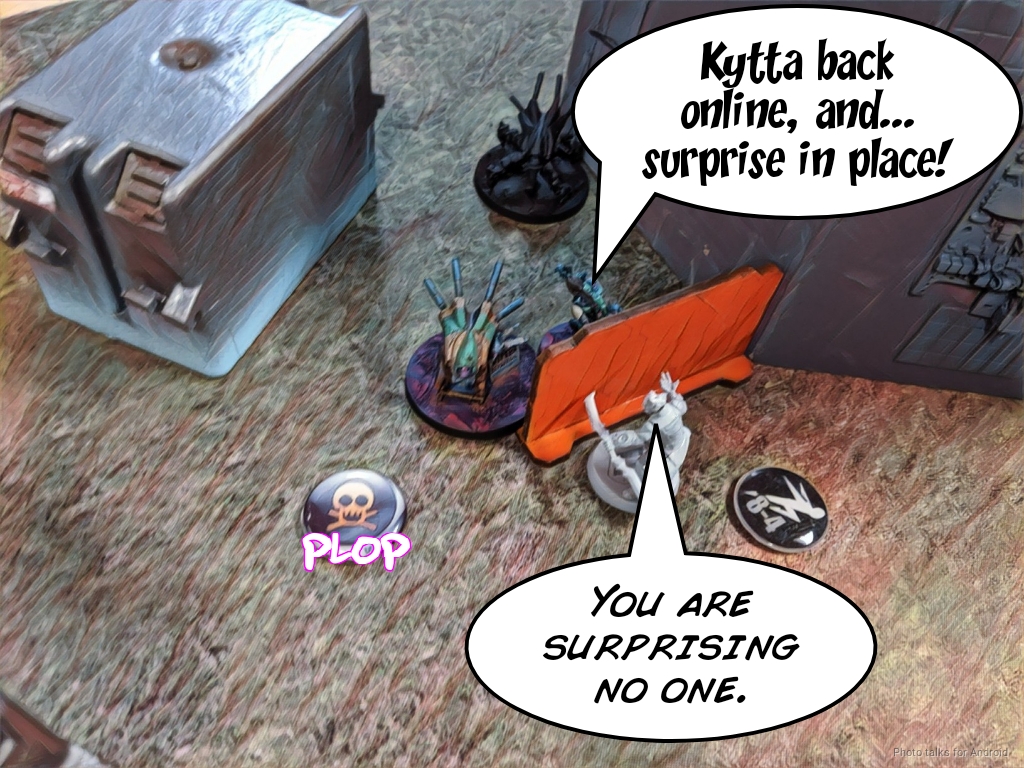
Isaac turns his attention to group two and picks up his downed Kytta with his Monstrucker, throwing a mine to cover my 8-4 Morlock while he tinkers with the downed ‘bot.
Turn 2
Top of 2 – Bakunin
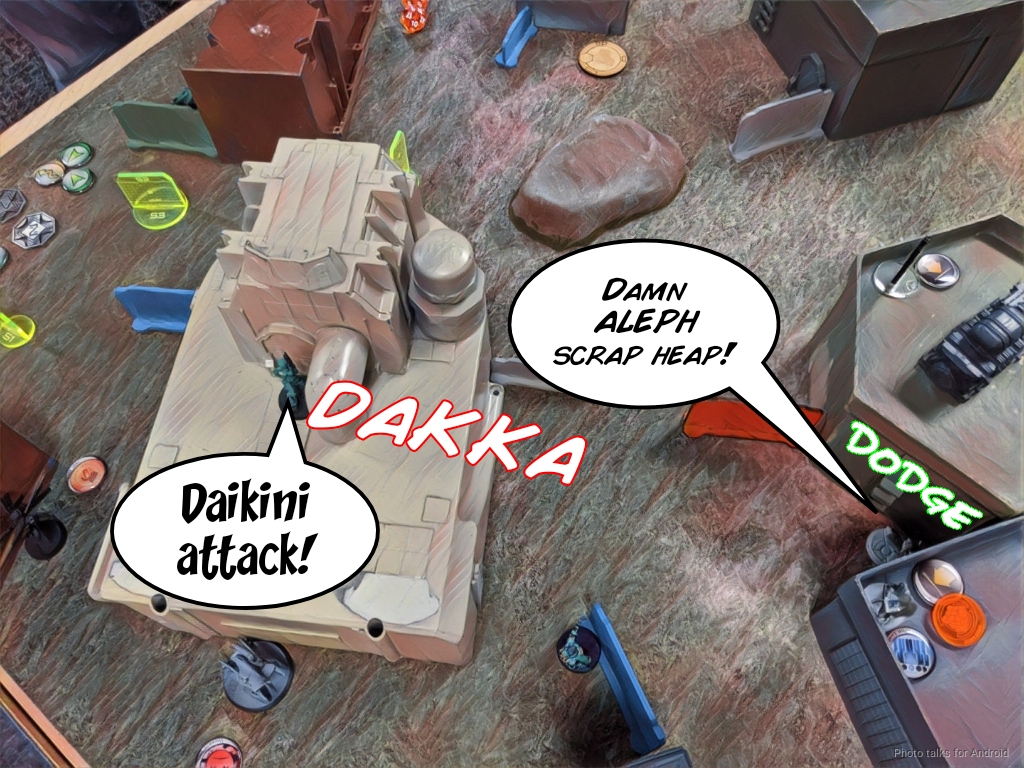
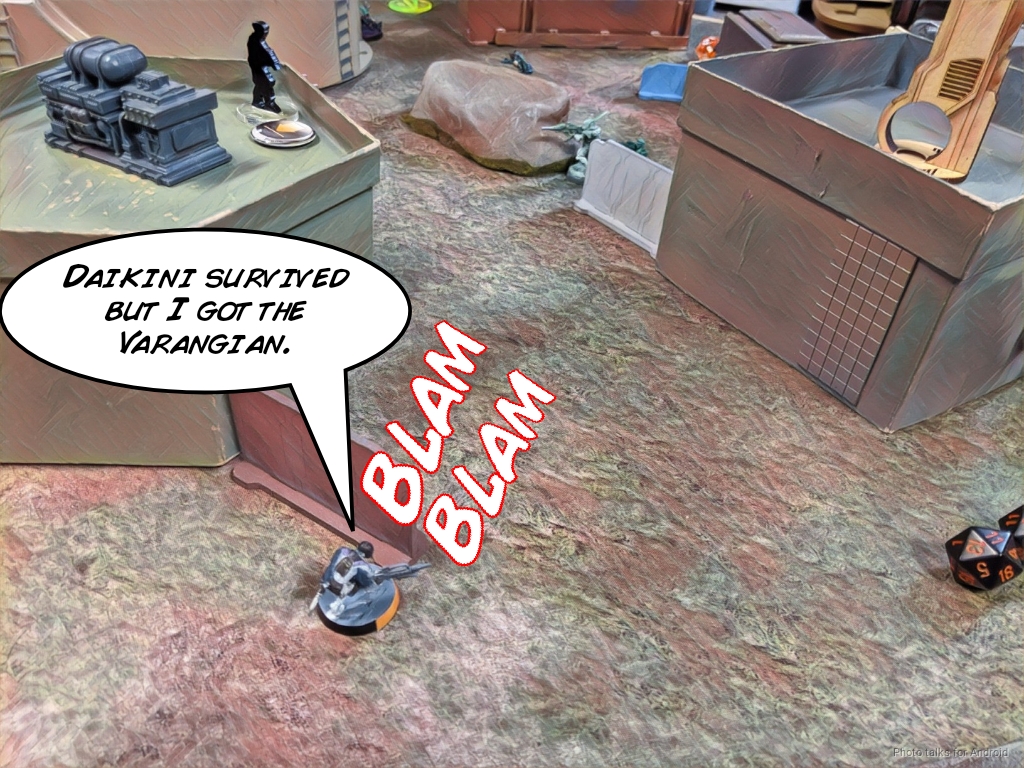
My wounded NWI morlock runs into view of Isaac’s Daikini and Beta. Isaac thinks he’s out of chain rifle range, so he takes his shots with the HMG and Spitfire, respectively. Unfortunately for Isaac, his Daikini is definitely in range of my chain rifle, and he loses it. I also lose the Morlock to the Beta’s spitfire though.
My 8-4 Morlock has to get into base to base with the Kytta, forcing a dodge out of the Peeler and Kytta while the mine goes off, killing the Morlock. I wasn’t intending on chain rifling at all though, and instead set up smoke on the central objective for Bran.
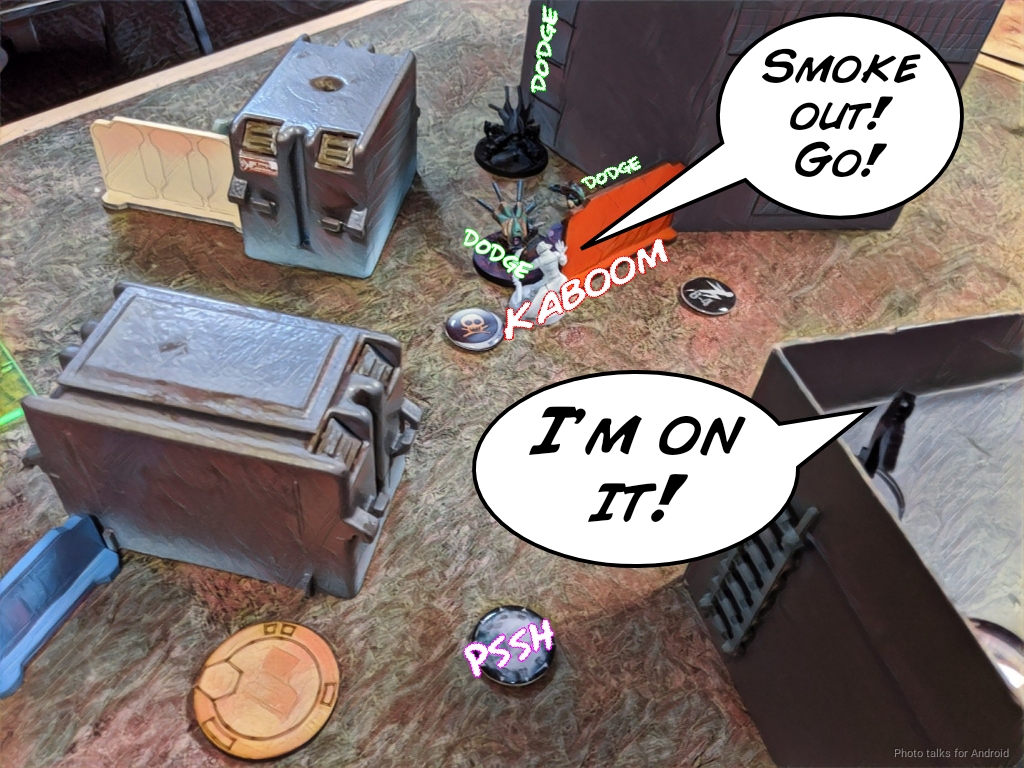
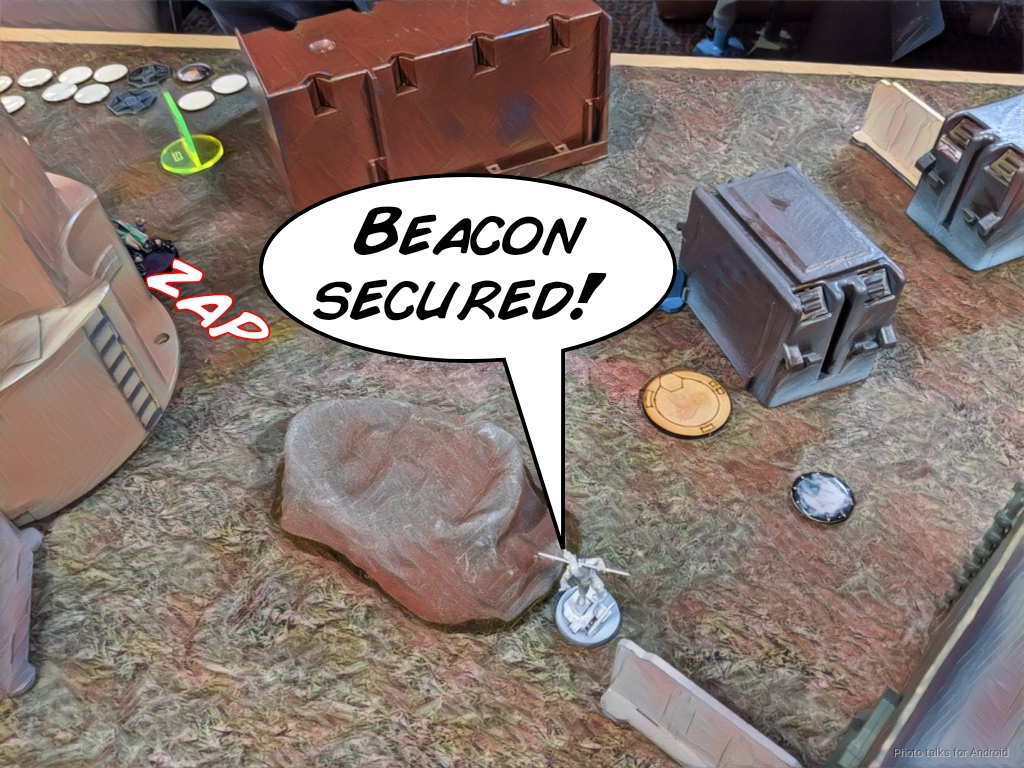
Bran jumps off the roof into the smoke and snags the Beacon. I dump most of my order pool into getting him out of there, taking a flash pulse from the Kytta on my left. Doesn’t matter though.
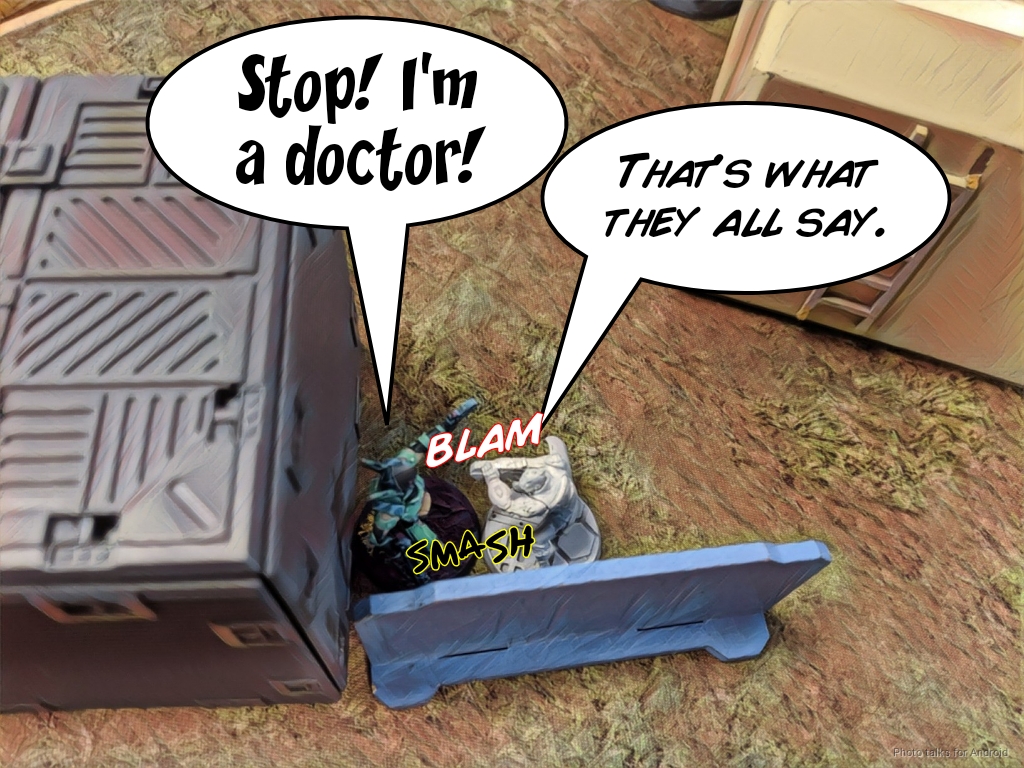
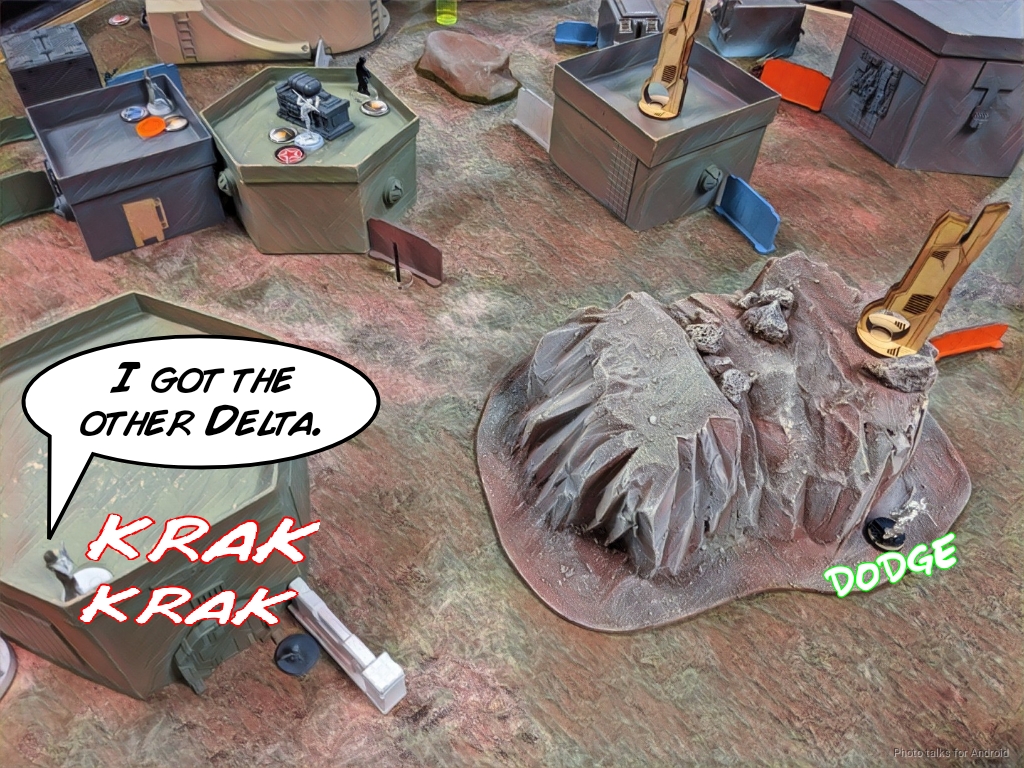
My remaining Morlock is in range of the Delta Doctor though, so I run it into close combat and CC down the Doctor.
I’ve got to get the other Delta off the table, so I send in the Reverend Moira MSR and force four ARM saves thanks to DA ammo. Thankfully, Isaac fails enough to take the Delta off the table.
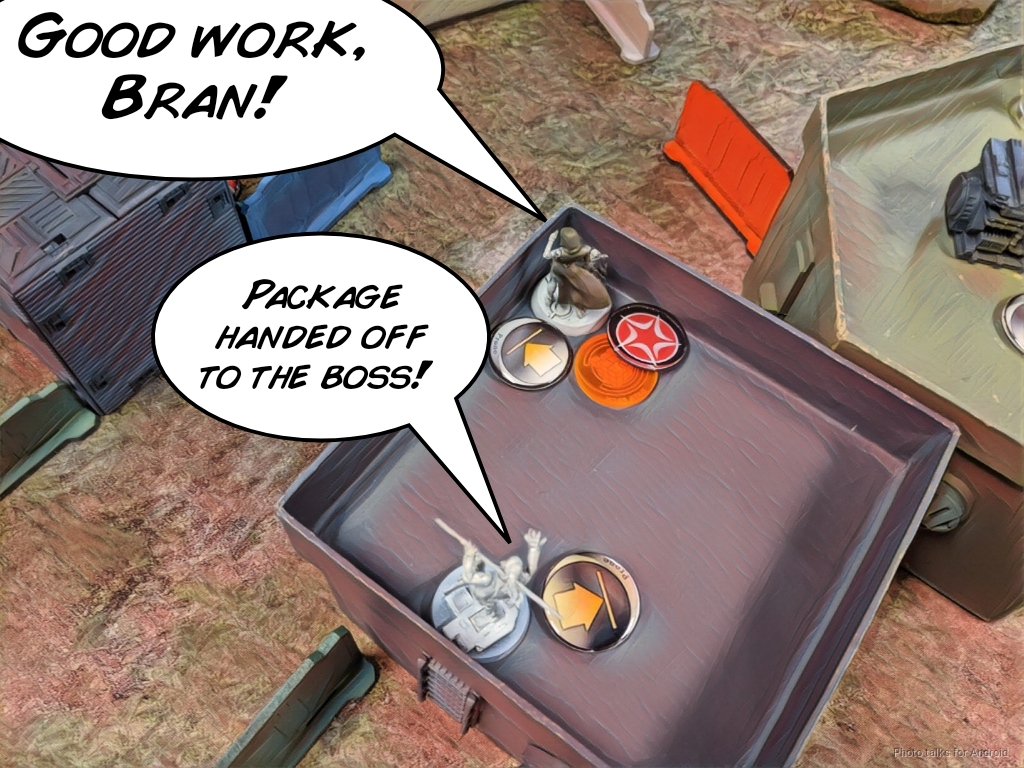
This leaves me just enough orders to get Bran to the same roof as the Custodier, block the ladder to the roof, and have the Custodier take the beacon from him with her Lieutenant order.
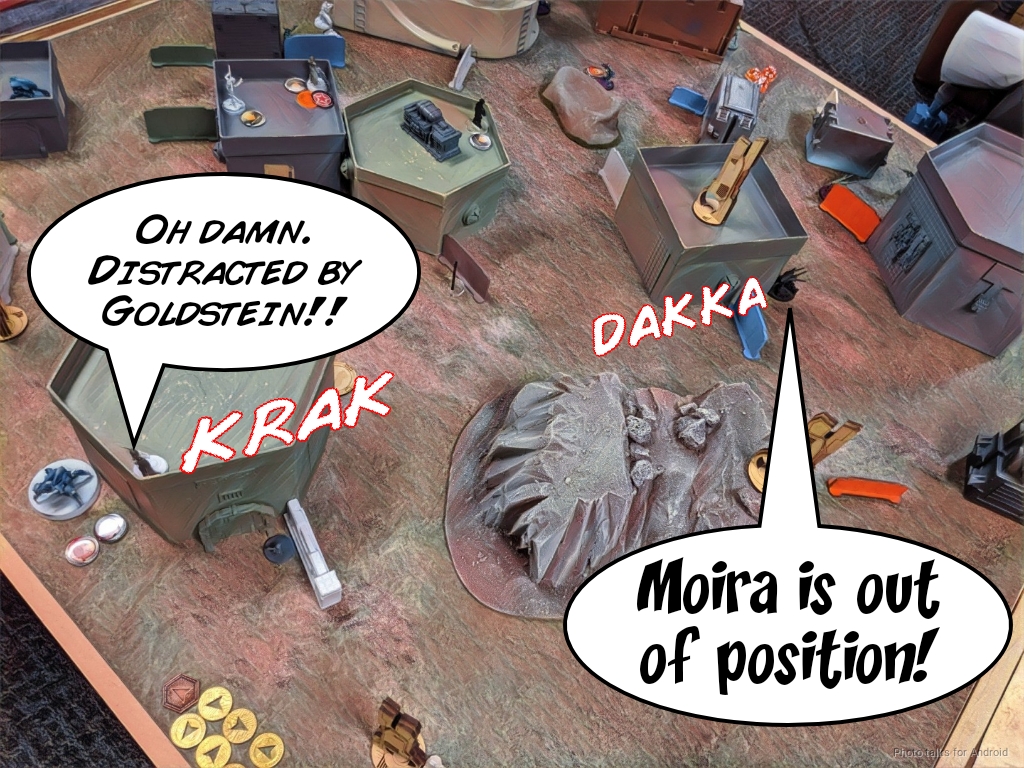
Bottom of 2 – O-12
With the Moira now out of position, Isaac manages to get his Varangian up the board a little with their impetuous orders. Thankfully, no smoke lands because Isaac’s dice are terrible. At this point, Isaac decides he wants to try and get the Monstrucker across the table to fix up the Isolated Beta, but my Morlock dodges forward to get better pistol rangebands and pistols down the engineer as he moves forward.

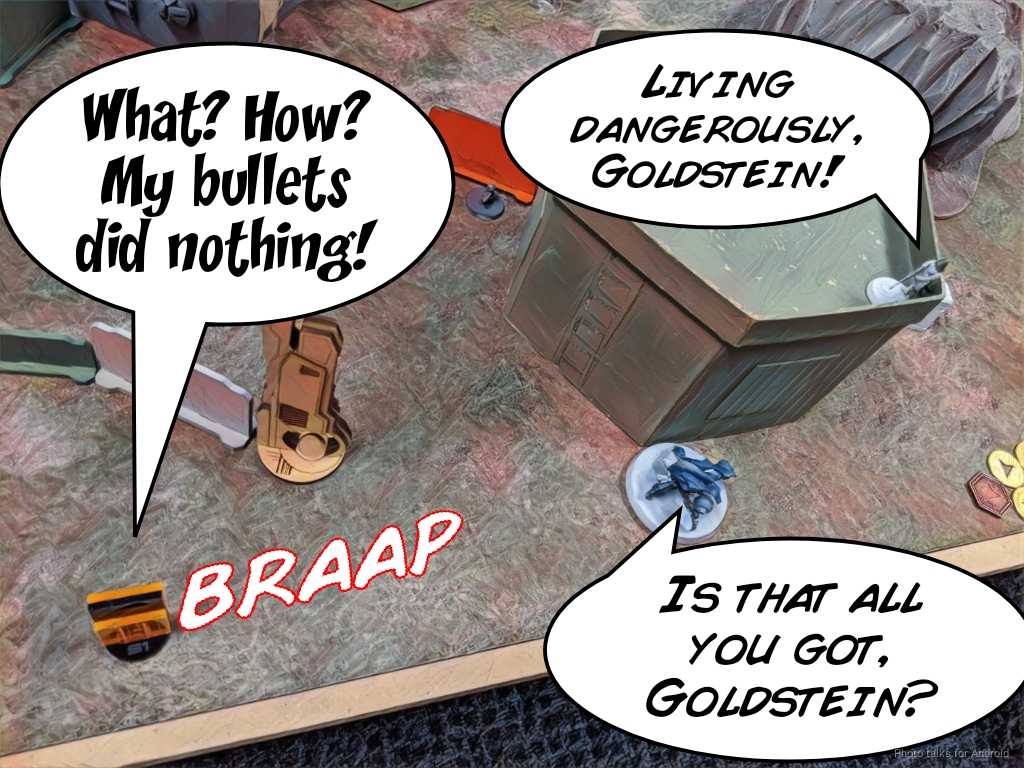
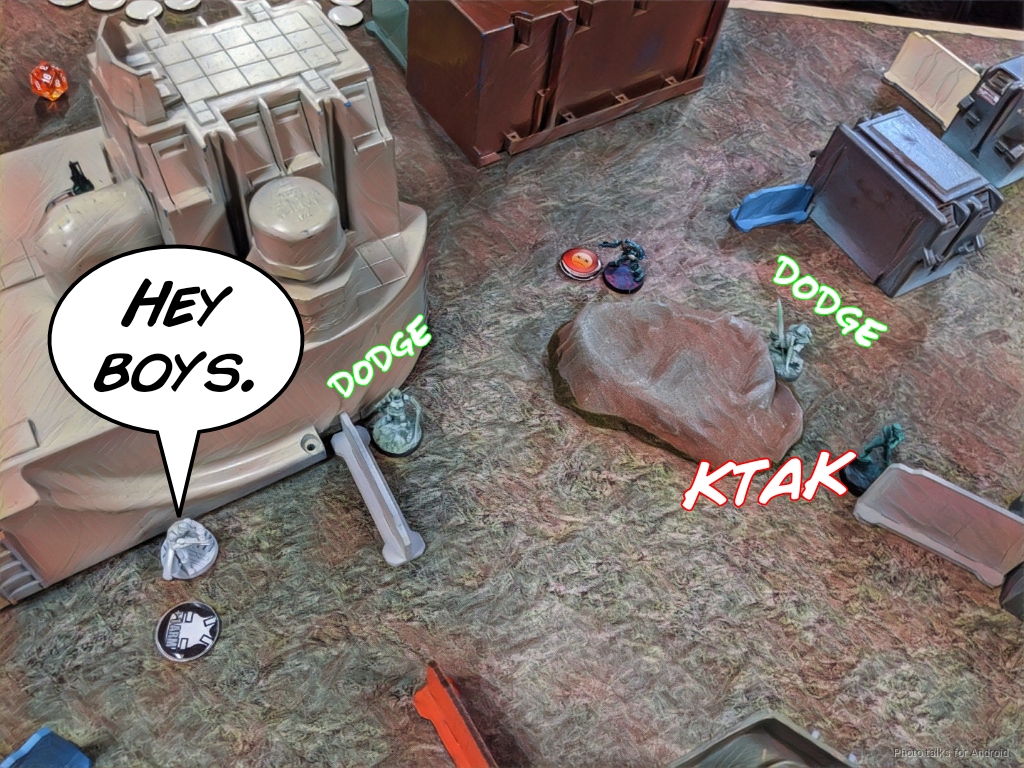
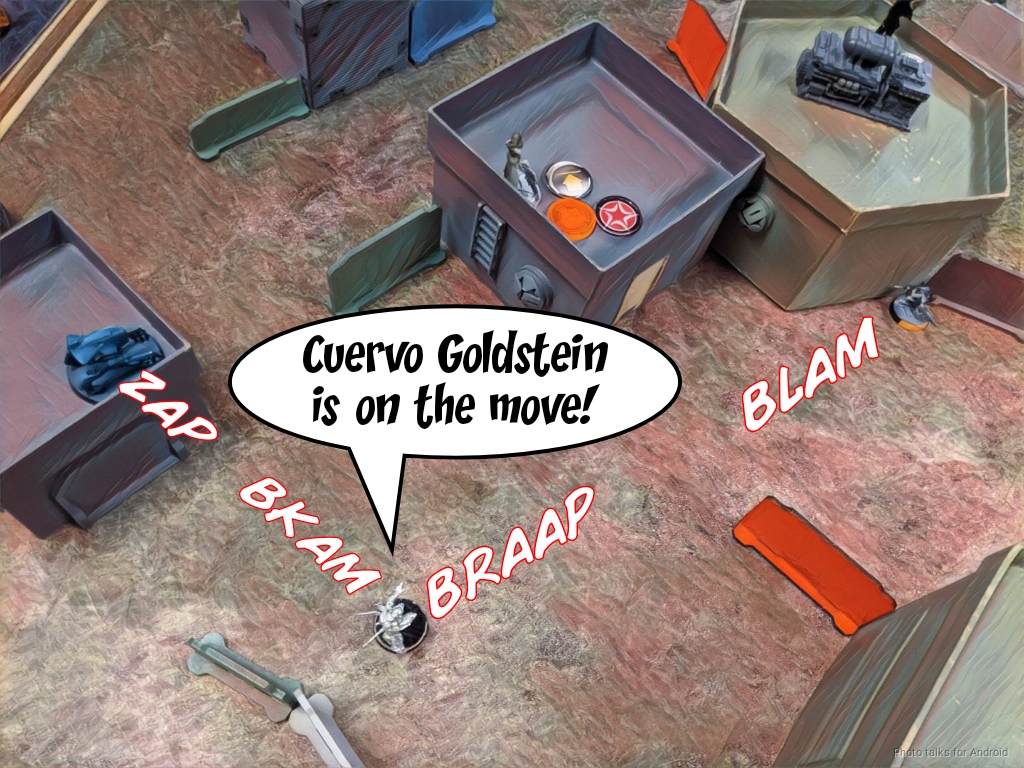
Isaac then walks over to my side of the table, which means I’m looking at a third AD trooper. This time, it’s Cuervo Goldstein himself! My Lunokhod fails his dodge change face…

but passes all three ARM saves against Cuervo’s SMG, letting it and the Moira turn to face him.
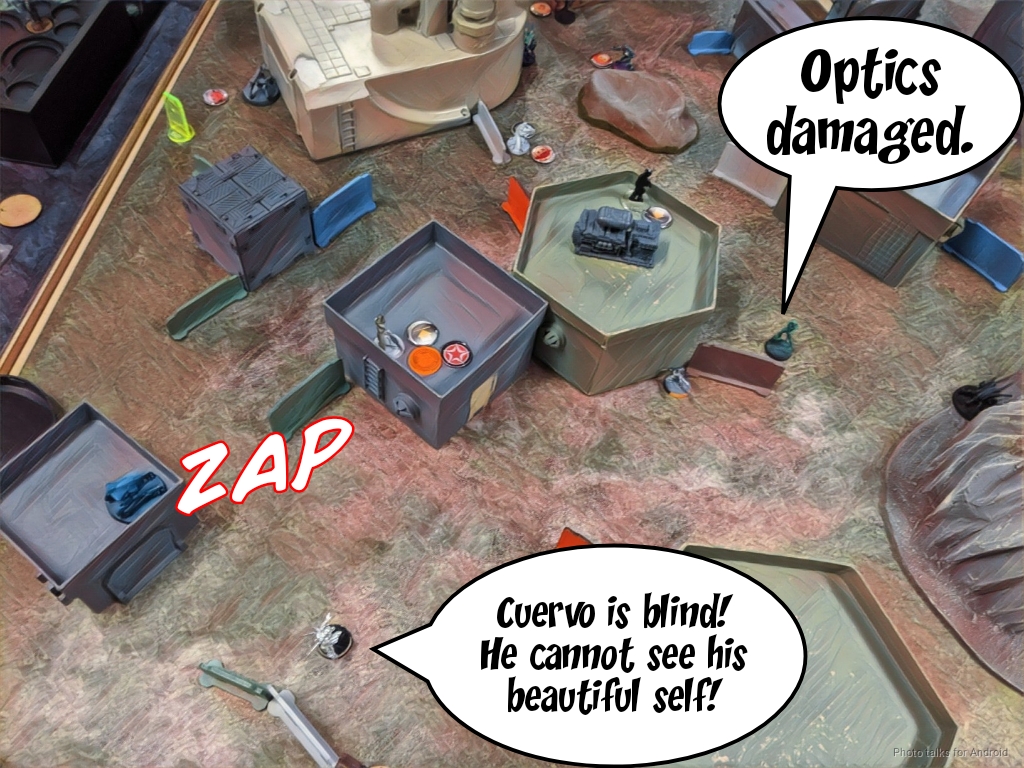
Cuervo walks into cover, triggering a Koala and taking a flamethrower, flash pulse, and a sniper shot from the Moira and dodges them all!
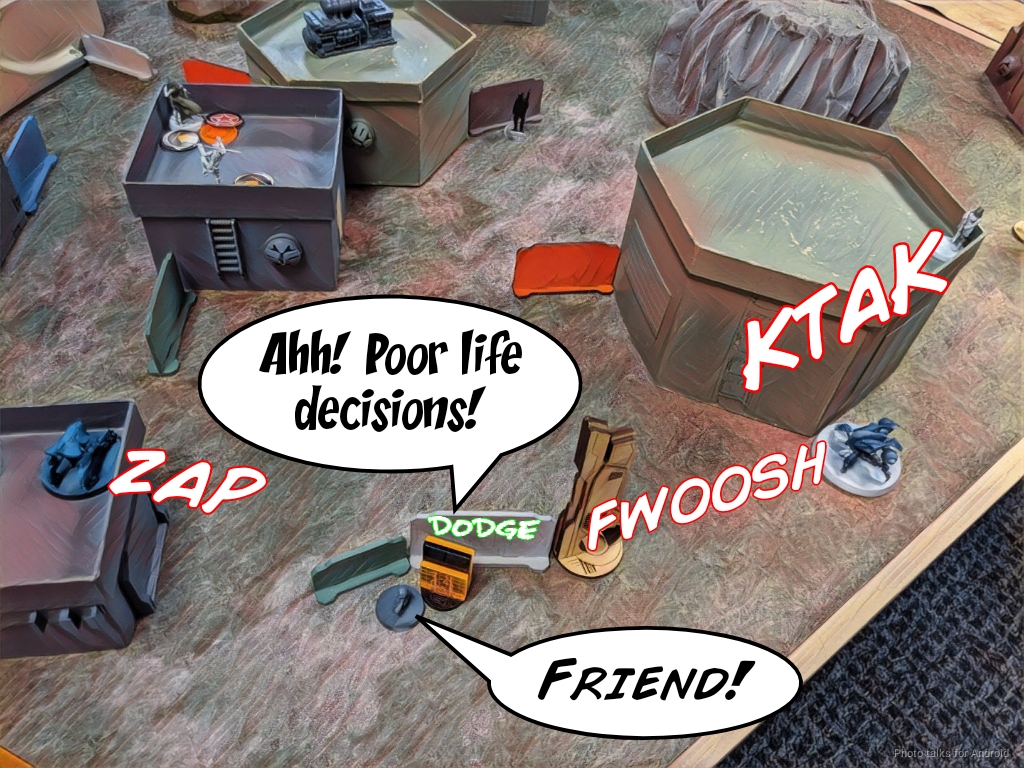
Now out of view of the Moira, he tries again, shooting the Lunokhod with an SMG, finally dropping it.
While Cuervo passes his ARM save against flamethrower, he fails BTS against the Transductor’s flash pulse! Isaac wants to get rid of my Moira, so he sends in the Peeler and shoots her off the table since she’s now out of cover.
| 28.06 | 24.93 | 47.01 |
After doing some coordinated orders to move his Varangian forward along with his remaining Daikini, Isaac passes turn.
Turn 3
Top of 3 – Bakunin
My Morlock is in chain rifle range of the Varangian and the Daikini, so I threaten a chain rifle. Isaac dodge with the Varangian but shoots with the Daikini, so I throw smoke instead. We both roll 7’s and nothing happens.
I need to deal with the Varangian and Cuervo, and I don’t really have all that many orders. I decide to try and put the Varangians dogged and maybe CC Cuervo with a Surprise Attack from Bran.
I manage to put the first Varangian down with Bran’s combi, which then lets me get the Morlock further forward. Isaac’s remaining Varangian dodges, but his Daikini shoots again.
I put two pistol shots into Daikini but it passes ARM and ducks around the corner, letting me reveal my Zero KHD that Isaac thought was a mine the whole time and put the other Varangian dogged.
I’ve barely got the orders to CC Cuervo with Bran, so I decide instead to recamo him and get him close to the objective. With Surprise Attack, both at MA3, I’ve actually got a decent chance of doing a wound:
| 55.12 | 26.98 | 17.90 |
If Isaac had chosen MA4, my odds would’ve been even better:
| 63.54 | 22.28 | 14.17 |
I even have 20.75% or 25.69% chances of killing Cuervo outright with Bran’s DA CCW in either case. Not bad! Isaac was doubtful that it was a good idea, but a year of playing JSA has given me a decent quick odds estimation ability for close combat. Surprise Attack is key though.
I move the Reverend Custodier into a position to block the ladder and pass turn.
Bottom of 3 – O-12
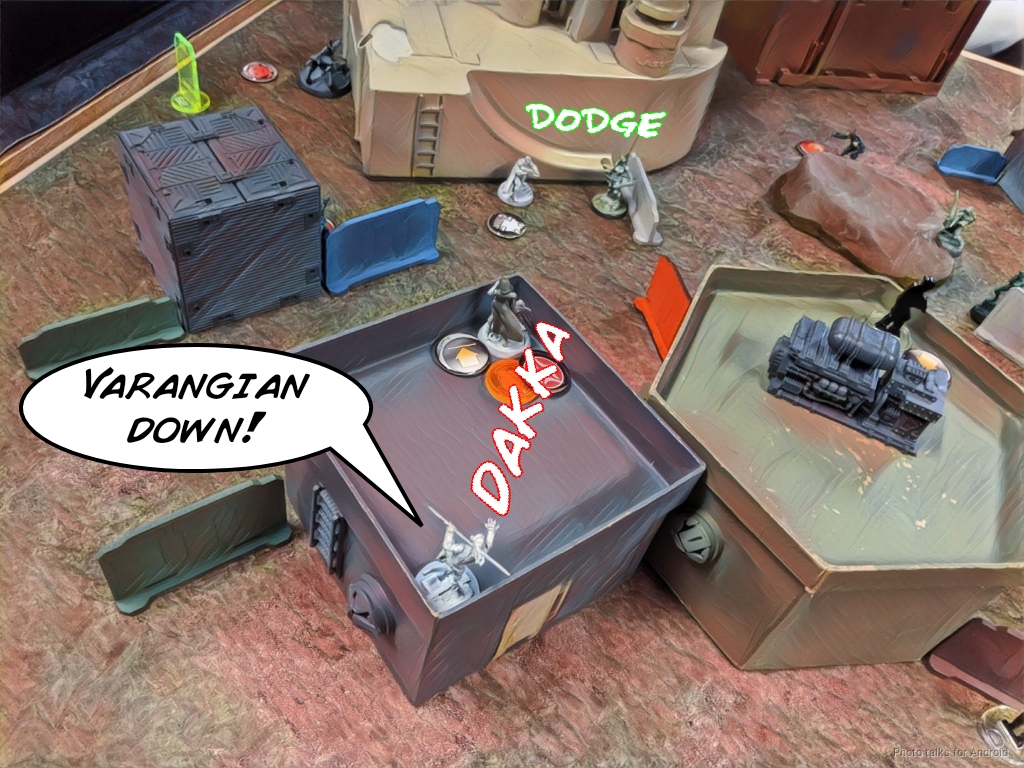
Isaac needs to make a big play now, and he has to fully commit. His Beta uses its order to take out my last Morlock.
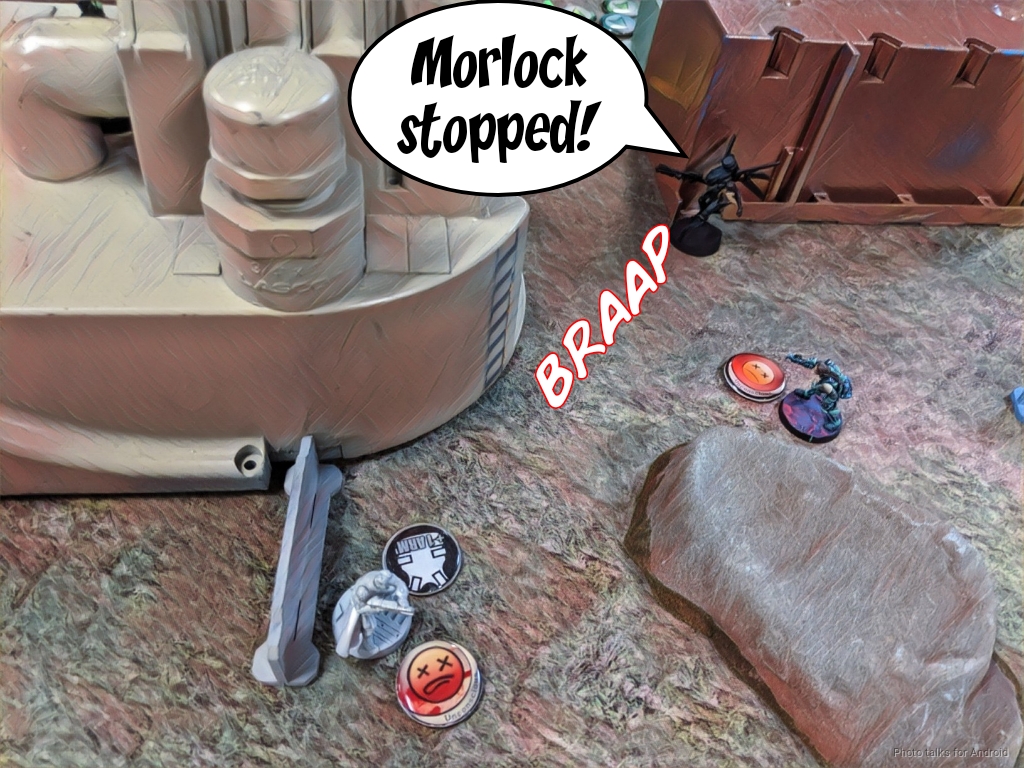
The Peeler starts moving up and Bran and the Zero force it to split burst. Bran dies, unable to land an E/Mitter shot, but my Zero hits the Peeler with a combi and stops it.
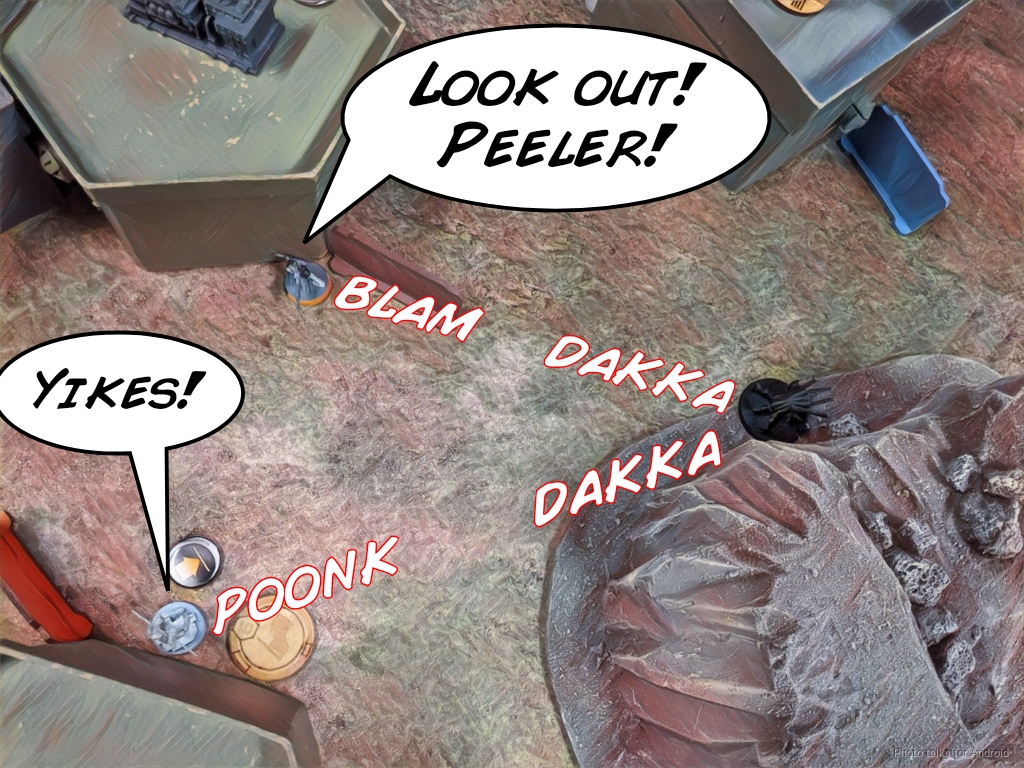
My Reverend Healer is blocking the way for Isaac’s DataTracker, his Alpha, to move up, so he tries to use his Kytta to flash pulse her, but that fails. It’s time for Cuervo to make his move. He splits burst against my Zero and the Transductor, and the Transductor flash pulses him again.
The Daikini MSR makes a run, but the Transductor stops him cold too.
With only a handful of orders left and nothing advanced, there’s nothing Isaac can do, so we call it there at a
8-0 Jurisdictional Command of Bakunin Victory!
Post Game Analysis
I was pretty dejected by the end of my first turn thanks to Kusanagi’s pretty abysmal dice performance… well more accurately Isaac’s crazy good ARM rolls. I stuck with it though and leveraged my Morlocks carefully to get the results I needed. Bran was instrumental. I absolutely could not have done it without him. I also got really lucky with the Oblivion on the Beta trooper. That was supremely impactful as well, denying Isaac his main striker.
I had some great ARM rolls as well this game, but after studying the statistics, I think Bakunin’s great access to visual mods really helped swing the odds in my favor. The Nomad attack remotes having ARM 3 is also a huge deal. I really should start abusing the Tsyklon more, and the Lunokhod is a real monster in certain situations as well. I felt a little naked without an engineer, but both options in Bakunin are a little pricey.
I think I made a mistake by not healing up Kusanagi with the Rev Healer. I absolutely could have during the coordinated order, but wasn’t thinking about it. That would’ve let me keep Kusanagi up, most likely, against the Delta doctor’s ministrations. I also need to practice more a lot with 4-2 units to get a better feel for how they move around the table. Deployment is more important there as well. Nuns feel more fragile than Druze for some reason, even though they’re more survivable–ARM 3 and ODD… I think that part is entirely in my head though.
Isaac did a good job piloting his crazy list though. After losing the Beta, I might’ve spent the command tokens to get the Peeler into group one, buffed it, and then used it to clear out the AROs around my beacon, then dropped in a Delta right on top of it to steal it on turn 3. I think he got too focused on dealing with a Kusanagi Haris in his face as well as the Moira on the roof. Yes, they’re annoying but Kusanagi was pretty boxed in I feel like. I would still have done my plan to get the Beacon on turn 2, so I don’t think I would’ve pushed with her too hard, especially since I probably wouldn’t have wanted to get the Custodier dragged into trouble.
I really liked Isaac’s list. The Alpha’s extra order helps a lot, and I want to try something similar out of vanilla Nomads… anyway, before I get into that tangent, I’ll wrap it up! Thanks for reading.

Great write up 🙂
Bakunin were my first army when I started playing Infinity and I ended up moving to Morats before I managed to get a great understanding of them. I’ve recently gone back to Bakunin and I’m enjoying their tricks now I know the game a little better. At some point I want to try out a double custodier and healer haris backed up by an EVO but all those hacking interactions will quickly melt my brain!
I agree with your thoughts about the lunokhod, that thing can be a real beast. In a recent game I used him to minesweep the midfield to steal 2 mines from my opponent, that in addition to the koalas helped lock down a good chunk of the table. When my opponent finally dealt with the mines his charging libertos was just gunned down by the heavy shotgun 🙂