Brawler Shotgun Suplex
Still on my army ADD kick. Was thinking about bringing vanilla Ariadna just to try that again, but I found myself clicking on the “Ikari” icon in Army and adding the Kendrat Duo to my list. This is also the first game I’ve played against Nathan (Jhokalups), who has been playing Infinity for close to a year now, we just never seem to have been able to make a game happen. Well no longer! I called him out and we threw down on this crazy table.
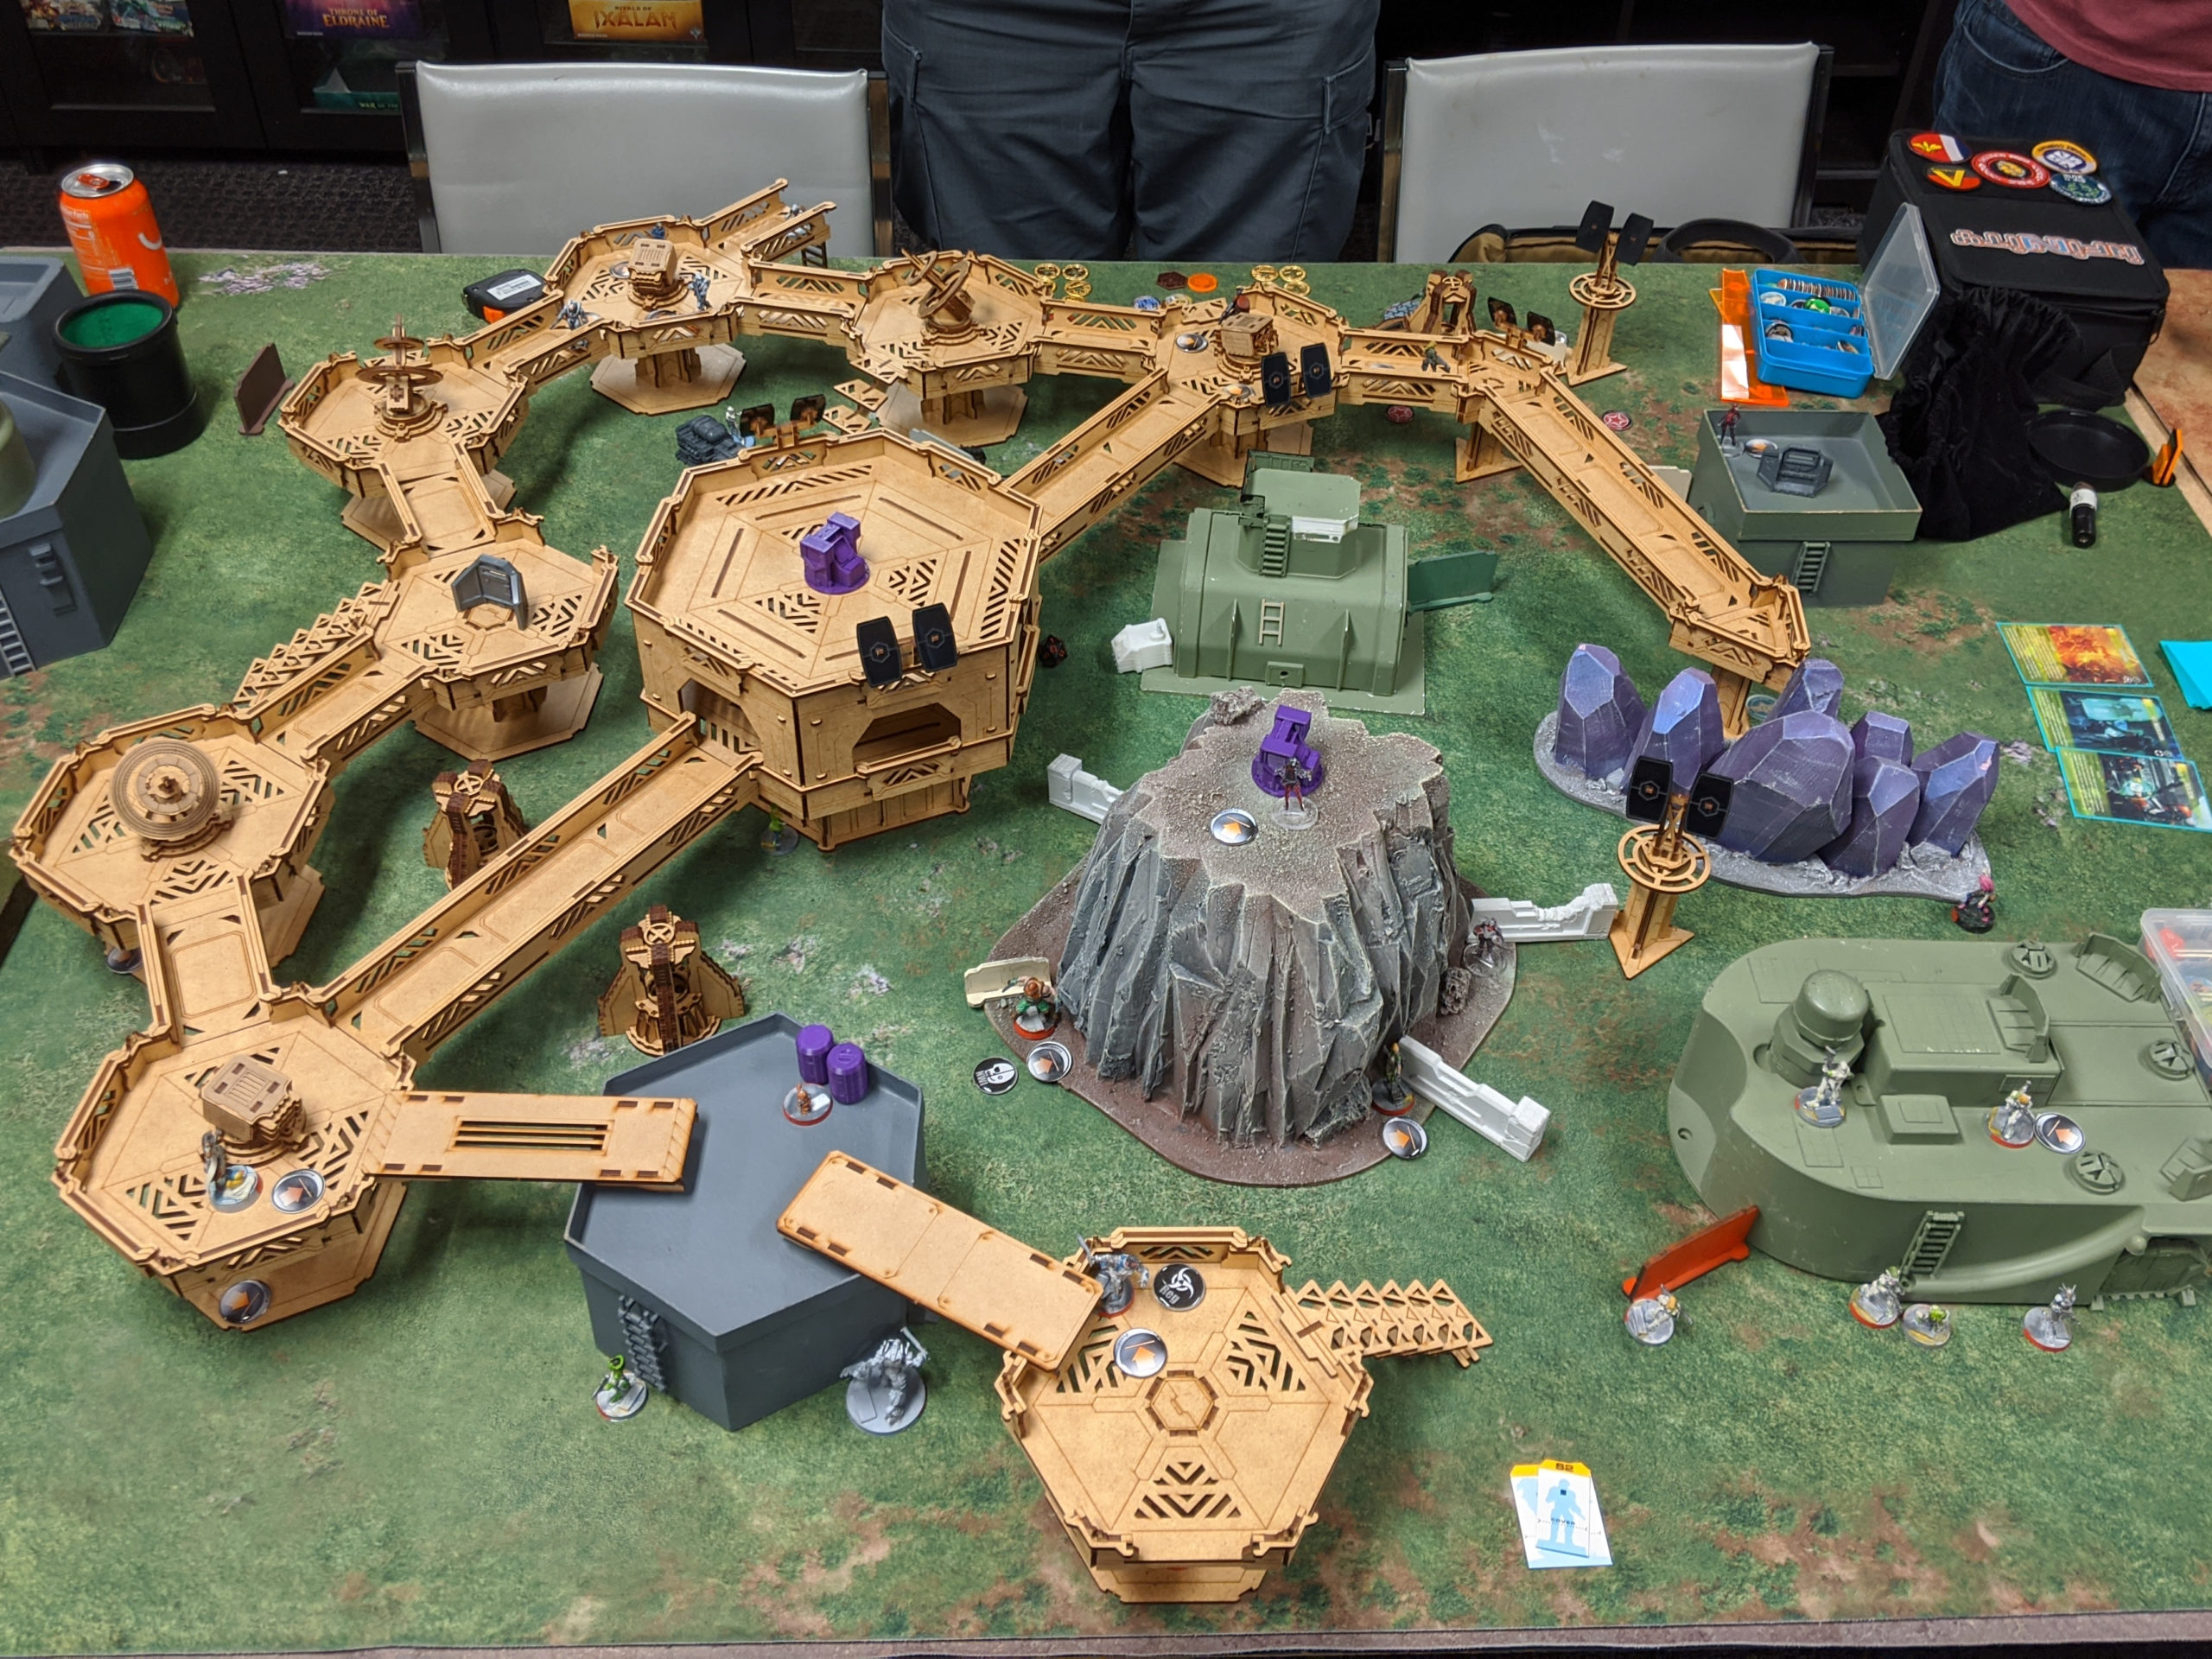
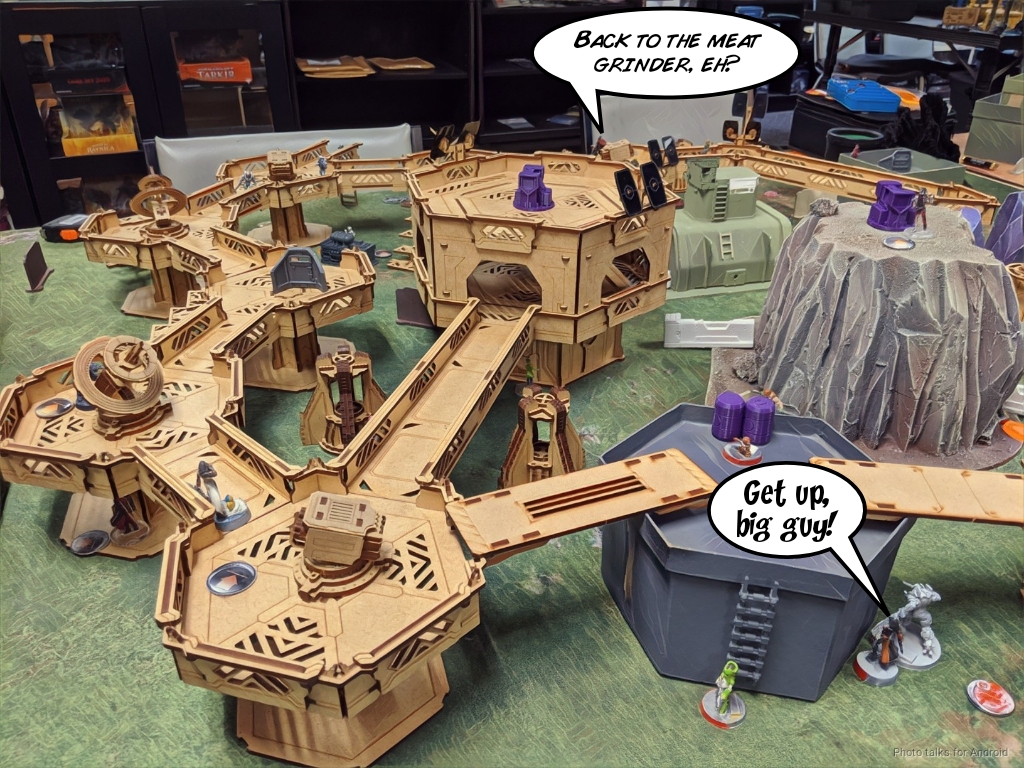
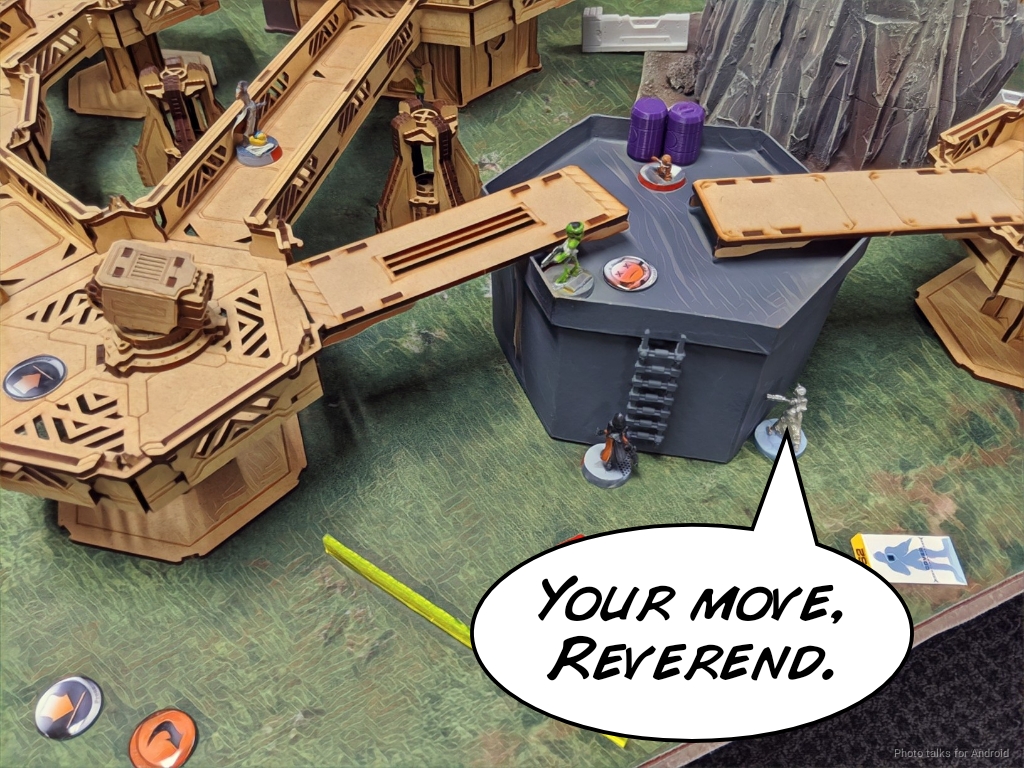
The Death Ray Designs Black Site X has some trouble with really open lines of fire on the ground level, so if you mix it with some more traditional boxy buildings or hills it works out just fine.
Overview
- Mission: Countermeasures
- Forces: Ikari Company versus Jurisdictional Command of Bakunin (400, Tactical Window)
- Deploy First: Ikari
- First Turn: Ikari
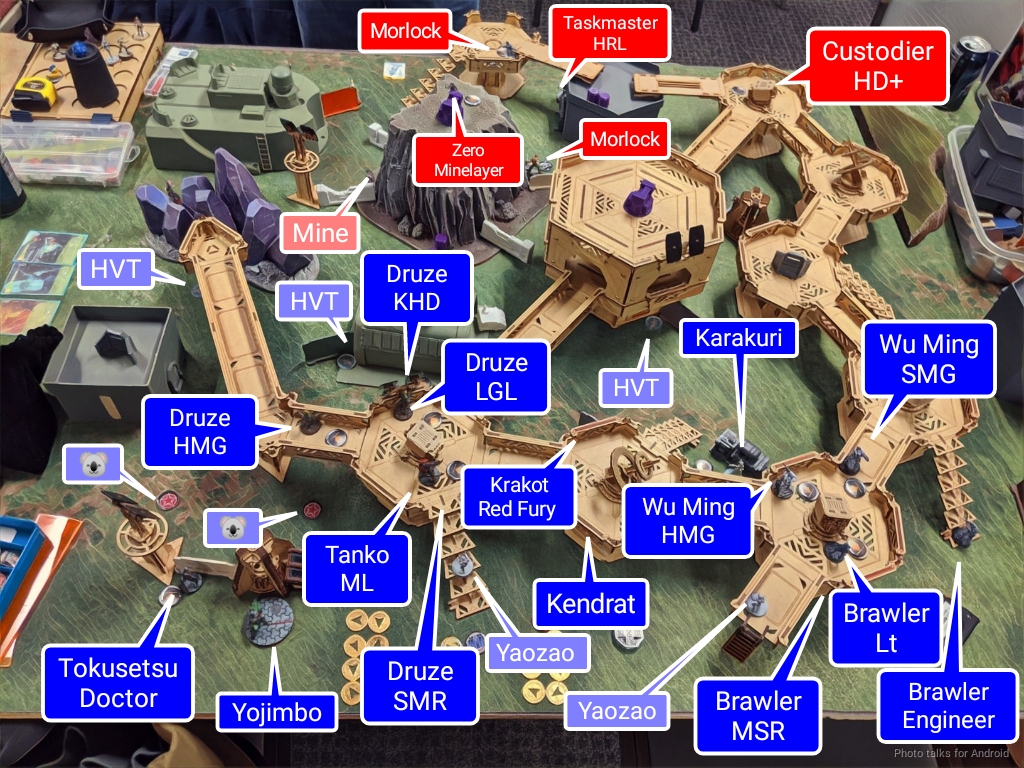
Ikari Company
GROUP 1 |6
1
2
DRUZE HMG, Chain-colt / Viral Pistol, Knife. (1.5 | 29)
TANKŌ Missile Launcher / Pistol, Monofilament CC Weapon, Shock CC Weapon. (1.5 | 32)
GROUP 2 |
KARAKURI Mk12, Chain Rifle, D.E.P. / Pistol, Knife. (0 | 43)
YOJIMBO Contender, Nanopulser, Smoke Grenades, CrazyKoalas (2) / Pistol, DA CCW. (0 | 21)
BRAWLER Lieutenant Rifle + Light Shotgun / Pistol, Knife. (0 | 16)
WÚ MÍNG HMG / Pistol, Knife. (2 | 39)
TOKUSETSU EISEI Doctor (MediKit) Combi Rifle / Pistol, Knife. (0 | 14)
YÁOZĂO Electric Pulse. (0 | 3)
KENDRAT (Fireteam: Duo) Vulkan Shotgun, Chest Mines / Pistol, DA CC Weapon. (0 | 24)
KRAKOT RENEGADE Red Fury, Chest Mine / Pistol, Shock CC Weapon. (1 | 24)
8 SWC | 400 Points | Open in Infinity Army
I originally was going to do a 400 point Tactical Window Druze list, but when I showed it to Adam he said I should take a Clipper Dronbot to make sure I had something to deal with any TAGs or HI I might see at 400. Rather than take a Clipper, I thought “why not take a Tanko?” So here we are. The Druze + Tanko core basically builds itself. Tanko ML, Druze HMG, Druze E/M LGL, and one of the two hacker profiles. The last slot is a freebie and can be filled with your favorite Druze profile. I chose to go with the Druze SMR to have a backup SWC-less gun.
Since the Druze core can only cover one side of a table, I brought a Wu Ming Haris and took the HMG as the second Wu Ming profile. I also brought a Brawler MSR, Engineer, and LT just so I’d have plenty of bodies to fill up that third Haris slot as necessary. The MSR I figured would pair with with Yojimbo and his smoke, and then I threw in the Kendrat + Krakot Red Fury Duo because I’ve been wanting to try that out since it became a thing. I took the Tokusetsu Doctor and two Yaozao instead of a Brawler Doctor, figuring that if I wanted the +1 WIP on something it would be the doctor over the engineer. That and I wanted some Yaozao on the table just in case.
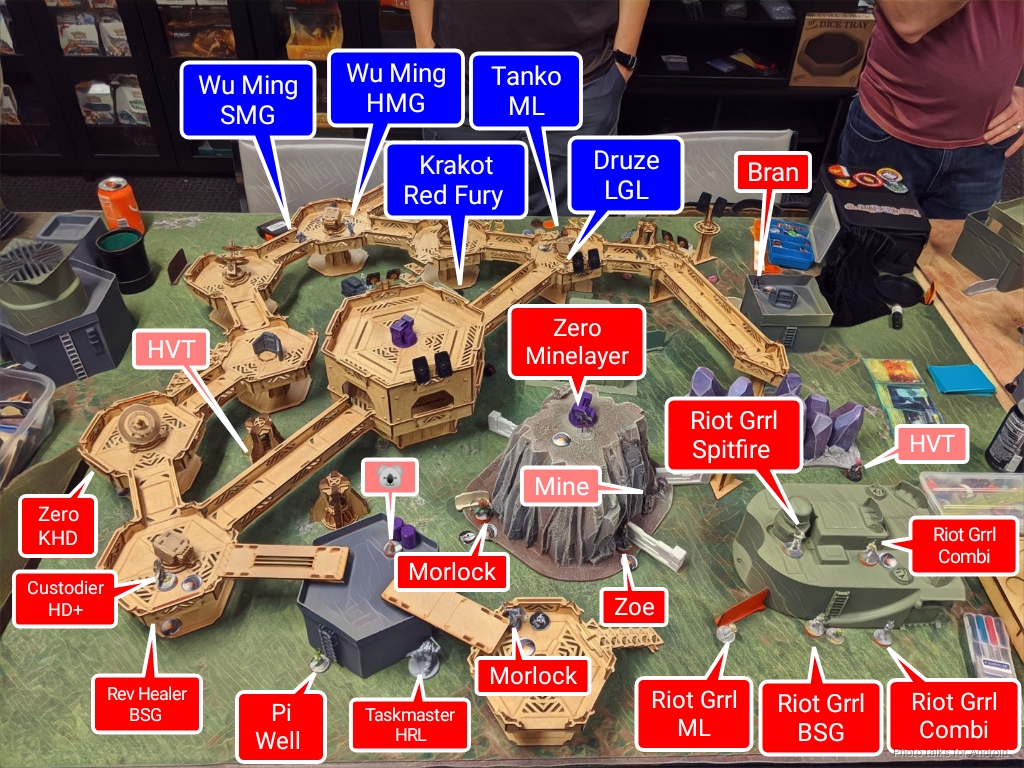
Capture and Protect
GROUP 1 |
RIOT GRRL Spitfire / Pistol, Knife. (2 | 34)
GROUP 2 |
ZERO Hacker (Killer Hacking Device) Combi Rifle, Antipersonnel Mines / Pistol, Knife. (0 | 21)
BRAN DO CASTRO Boarding Shotgun / Pistol, DA CCW. (0 | 33)
MORLOCK Chain Rifle, Smoke Grenades / Pistol, E/M CCW. (0 | 6)
TASKMASTER Heavy Rocket Launcher, Light Shotgun, CrazyKoalas / Heavy Pistol, DA CCW. (2 | 47)
REVEREND CUSTODIER Hacker (Hacking Device Plus) Lieutenant Combi Rifle + Pitcher / Pistol, Knife. (0.5 | 34)
REVEREND HEALER Boarding Shotgun, Nanopulser / Pistol, EXP CCW. (0 | 32)
ZOE & PI-WELL . (0 | 47)

PI-WELL Combi Rifle / Electric Pulse. (0 | 19)
7 SWC | 400 Points | Open in Infinity Army
Nathan’s taken this list a few times now. He loves his Riot Grrl link, and has some Bakunin “good stuff” to round out the list. Bran makes an appearance, as does the Taskmaster HRL! Surprising choice to me, but I haven’t run it myself. Who am I to judge without data and experience? He’s taking a 2-lady Haris to get some additional order efficiency as well, which is definitely a thumbs-up from me.
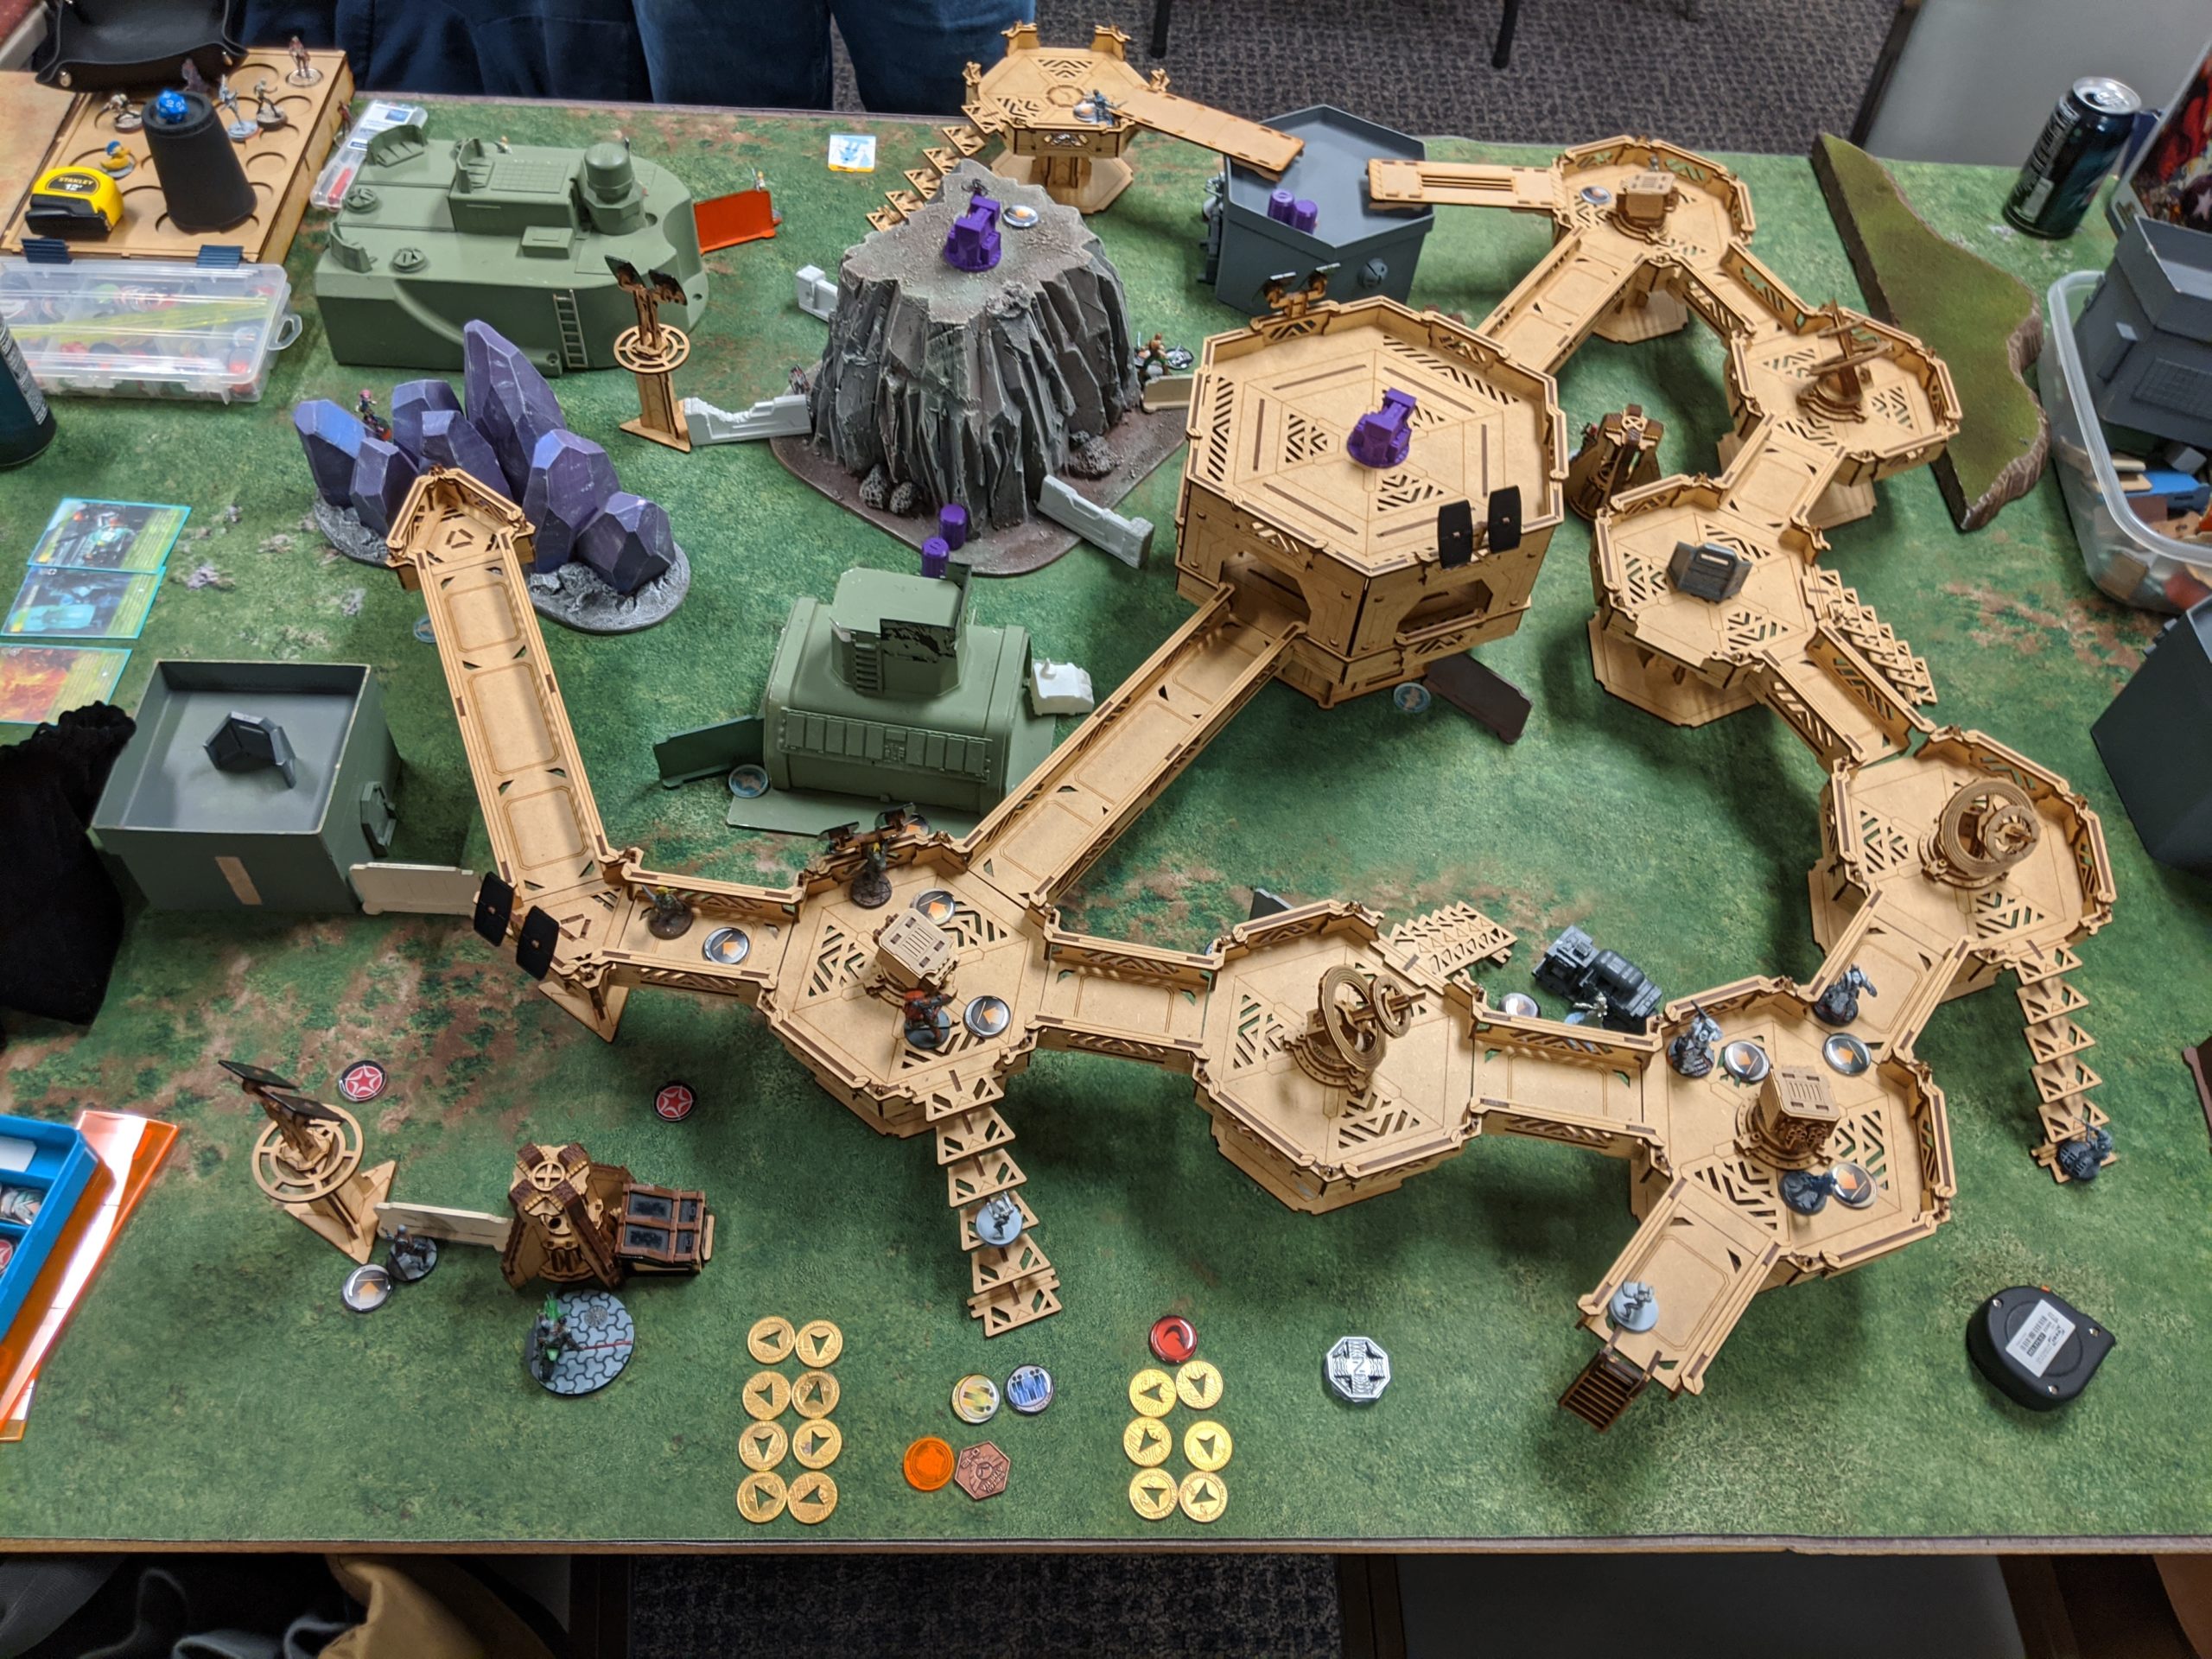
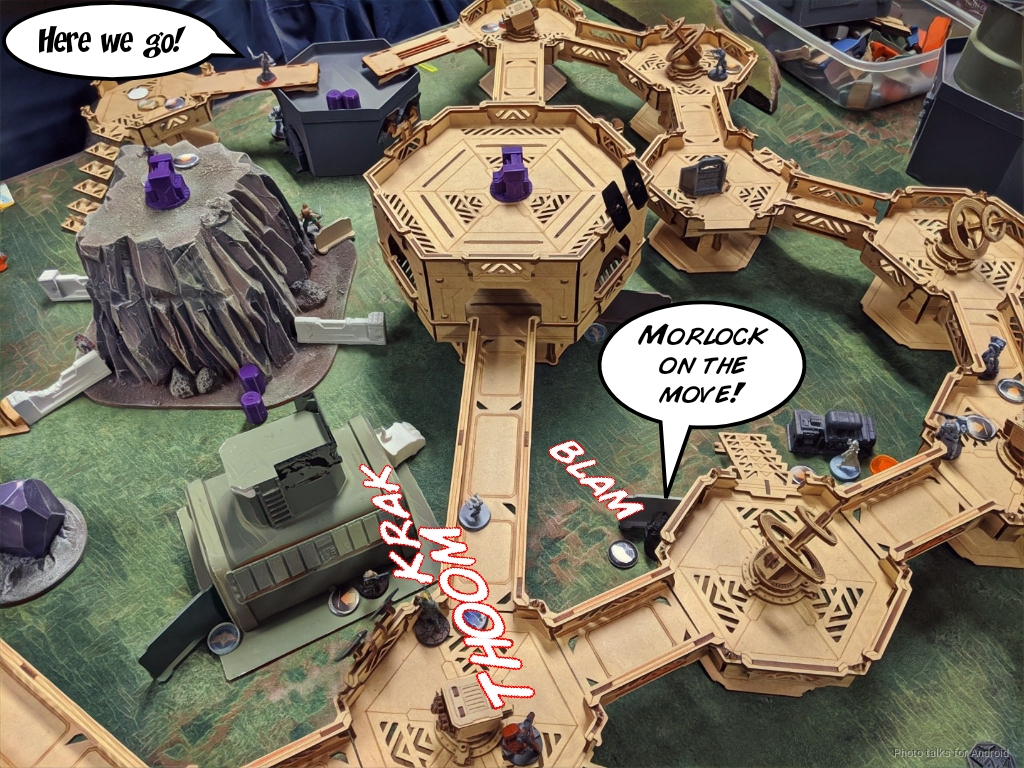
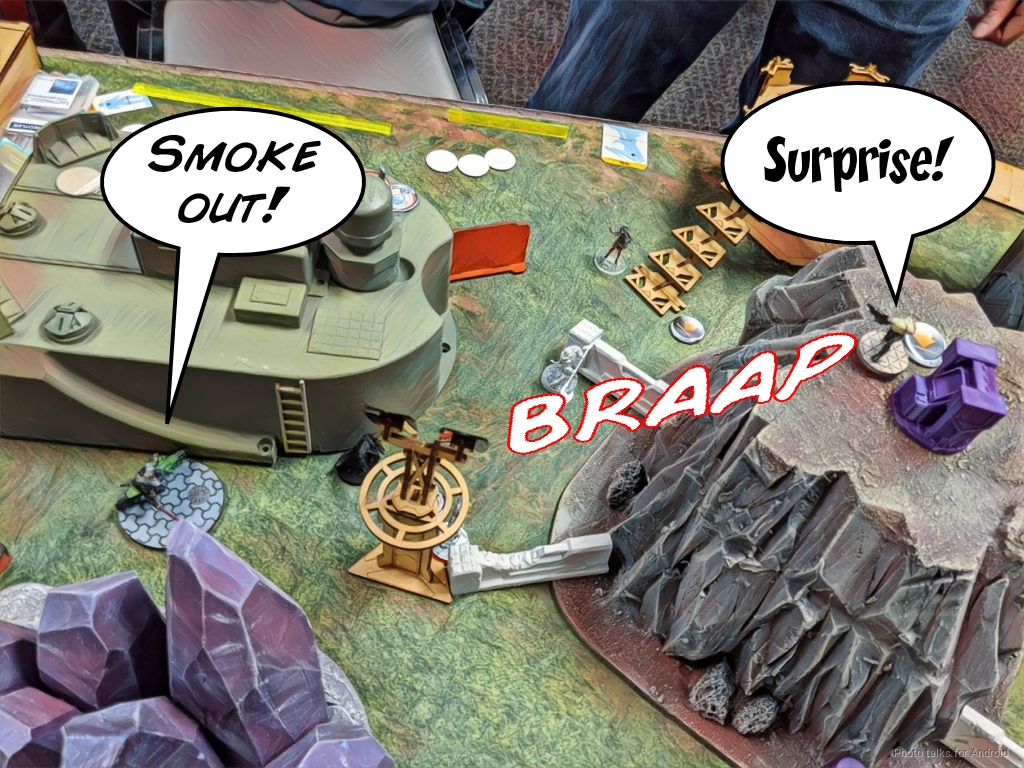
Deployment
I won the roll off and decided to go first. Nathan is not one of those folks that falls prey to gamer inertia, so he made me switch sides and deploy first. Seems fine. I had a lot to deploy, so I did the best I could. The Tanko ML, Druze HMG, and Druze LGL went on the catwalk on my left, as I saw the best sight lines were on that side, and I could get to the central big building pretty easily with the Druze LGL for grenade spec-firing purposes. I left the Druze KHD and SMR on the bottom in case I needed to form a duo and peel them off to get some stuff done. That’s the other reason I like the SMR, it behaves like a budget HMG due to X-Visor and the rangebands.
The Wu Ming went on the right, along with all the Brawlers. I put the Krakots in the middle behind cover, in case I needed to leave them there for the first turn. I did give up on their FD1, because there really wasn’t a good spot to put them. I put Yojimbo on the left to defend my link a little with his Koalas, and it looked like I would probably have some room for him to maneuver over there.
With that, it was Nathan’s turn to deploy. The Riot Grrls went on the right, with the Spitfire and ML out to ARO various approaches. Nathan also left his Taskmaster HRL out to ARO, but tucked everything else in cover. He screened the approach to the Riot Grrls with a Zero’s mine and Zoe in case I sent in anything hackable over there, and then defended his Custodier with a Zero KHD. Pi Well backed up the stuff in the back, covering the back half of his deployment zone against AD troops.
I put down the Karakuri on the left, not wanting to have her fight the Riot Grrl team, and I’ve forgotten what Nathan’s reserve was.
Turn 1
Top of 1 – Ikari
Current Objectives
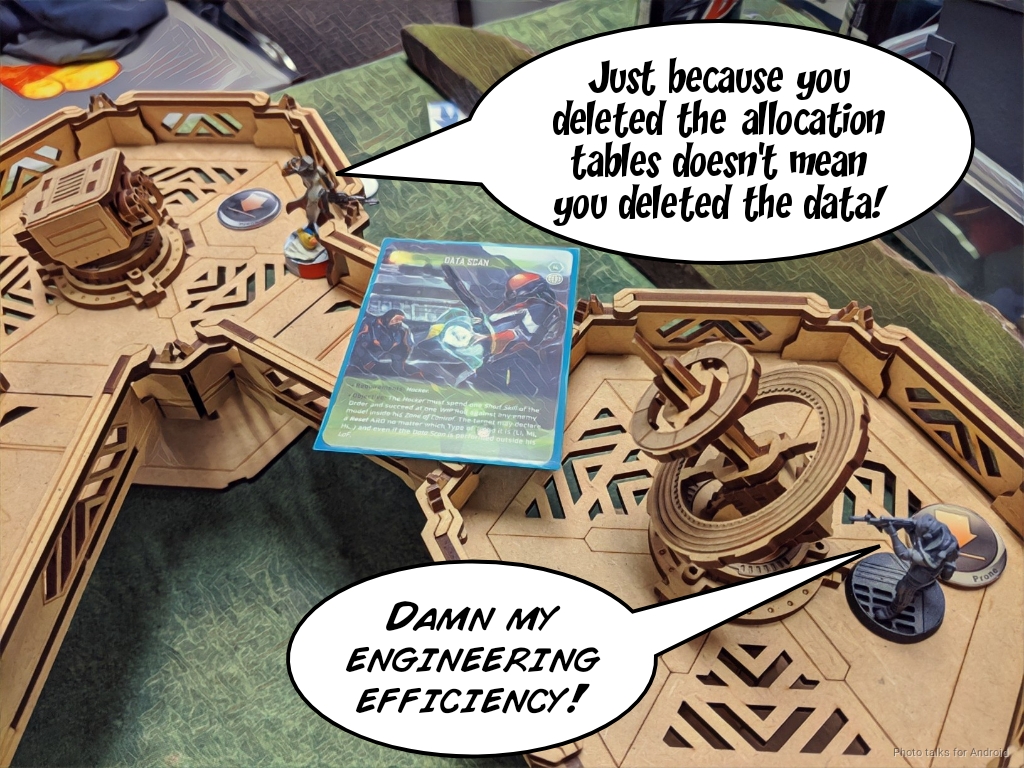
- Data Scan
- HVT: Inoculation
- Sabotage
Nathan informs me that Yojimbo has a few things looking at him, depending on whether or not I move him in certain ways, so I just make things simpler and cancel his impetuous order. This effectively docks me three orders, especially after Nathan took two regular orders from that group.
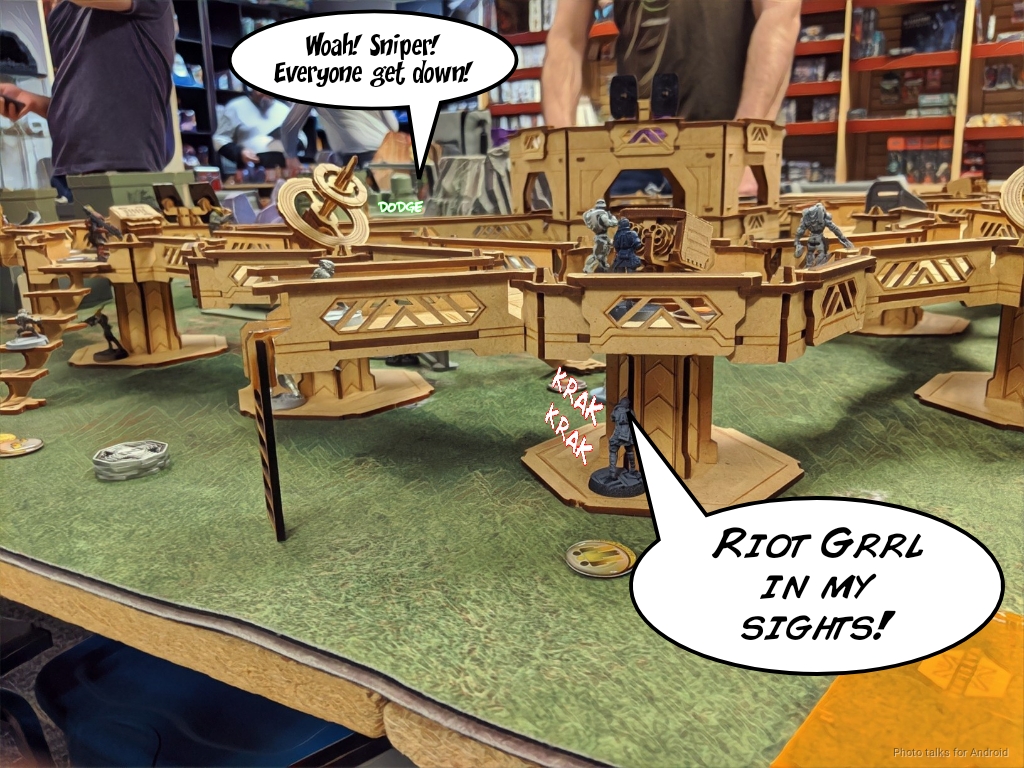
Not wanting to overthink it, I start using orders from the second pool. I use the Brawler MSR to take some shots at a dodging Riot Grrl Spitfire, and succeed only in forcing her prone.
| 47.00 | 13.78 | 39.22 |
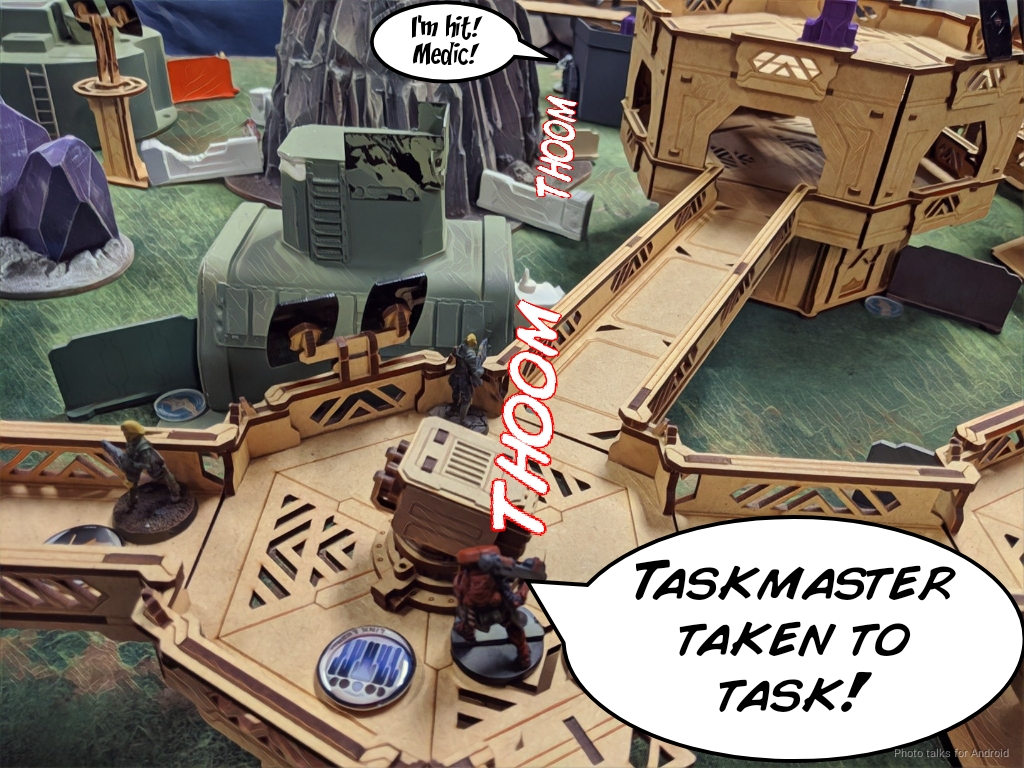
With the Spitfire prone, I can stand the Tanko up and take some shots at the Taskmaster. We both whiff on the first order, but the second order KOs the Taskmaster.
| 81.35 | 12.28 | 6.38 |
With the Taskmaster knocked out, I try to E/M grenade the Riot Grrl Spitfire, who is the most dangerous active turn threat. Of course, I get crit.
| 40.18 | 39.08 | 20.75 |
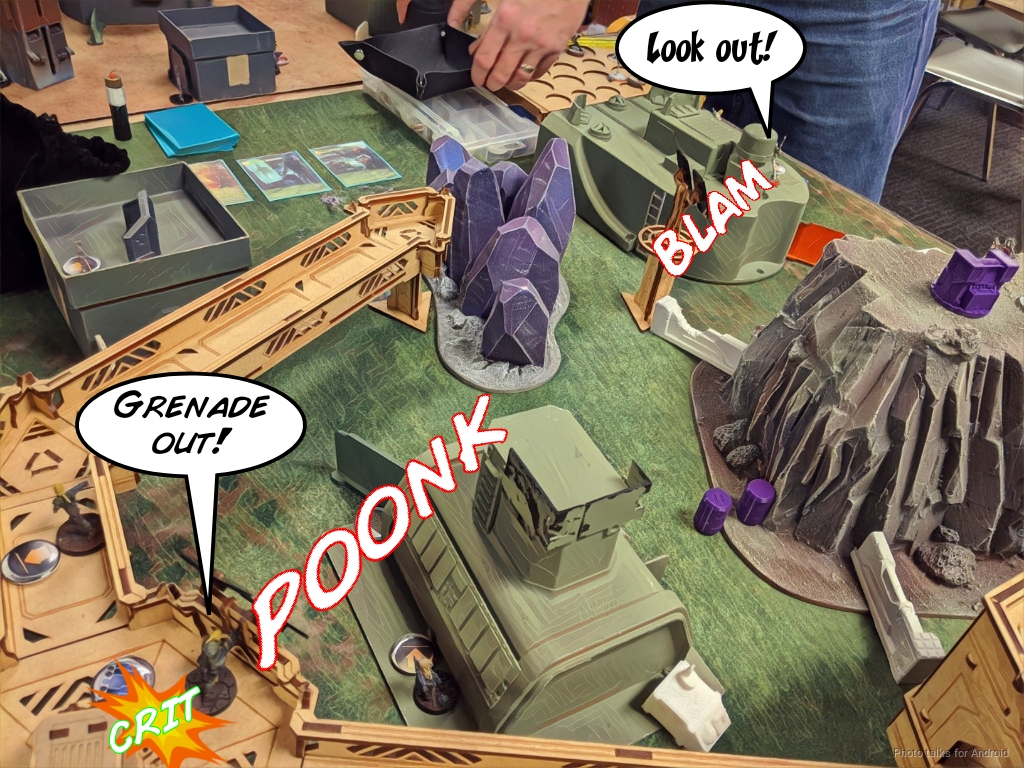
I pick the Druze E/M LGL up with the conveniently located Yaozao, put there for that purpose, and then make Fatality L1 relevant by making the Riot Grrl fail her BTS save by 1!
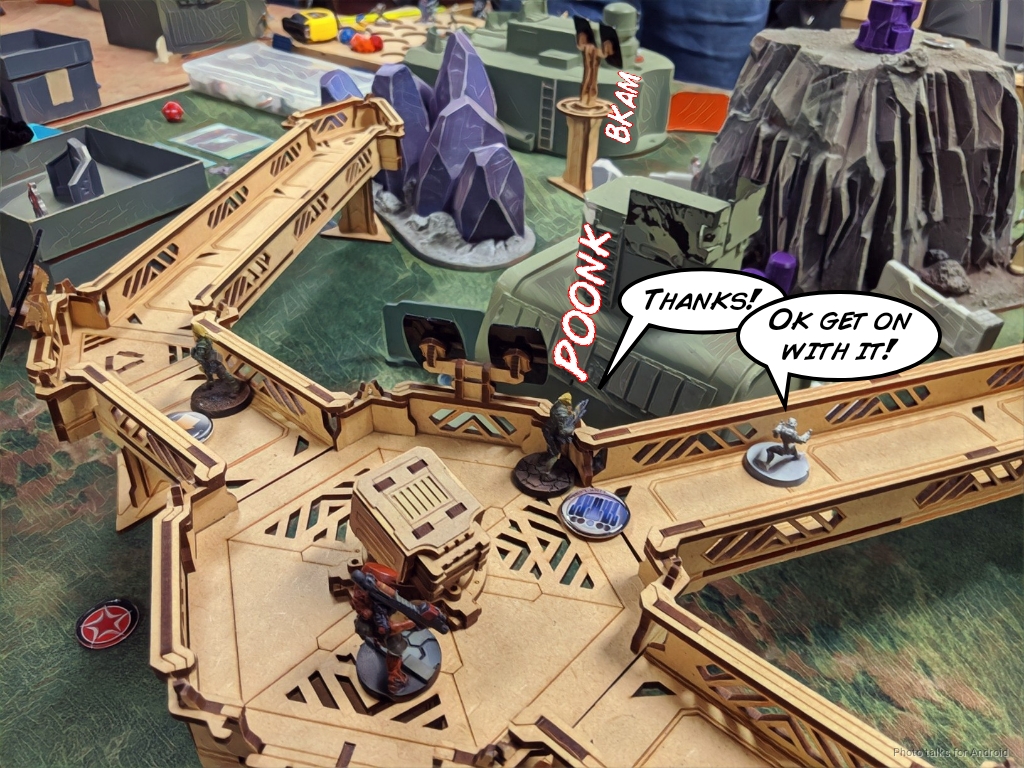
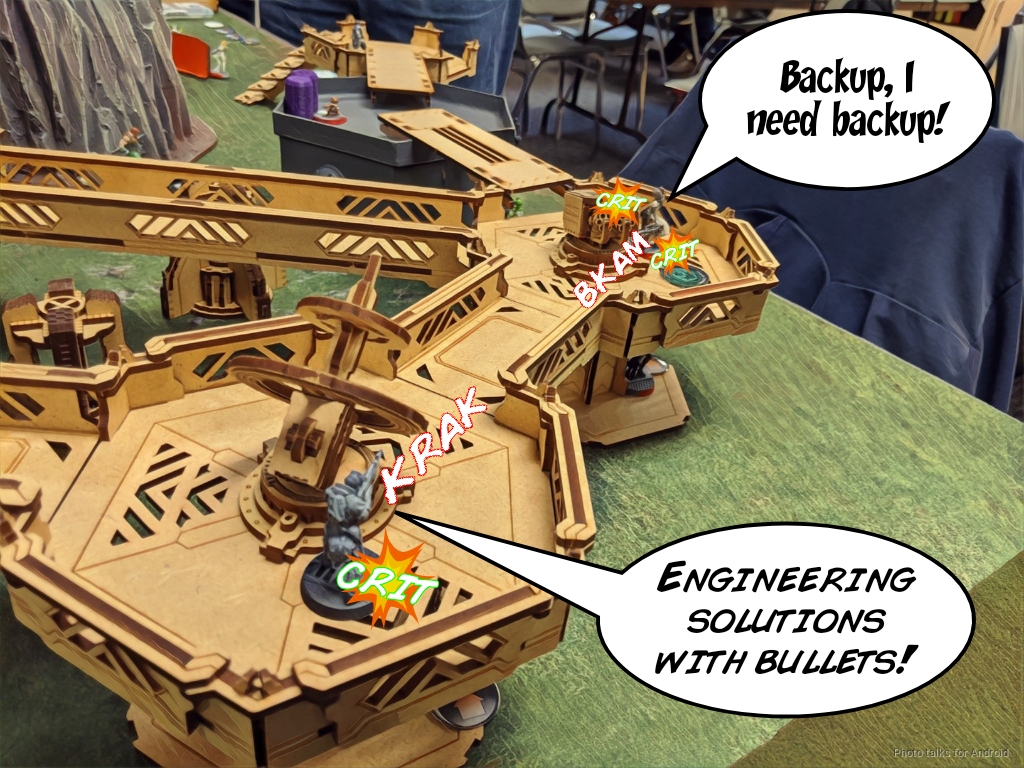
I’m not really sure what to do at this point, because I’m basically out of orders in group one. I’ve got a handful of orders in group two, and decide I should attempt a lieutenant snipe. I rush my Brawler Engineer up and take a shot at the Custodier. I roll double crits, but Nathan rolls a crit in response so nothing happens.
Bottom of 1 – Bakunin
Current Objectives
- Data Scan
HVT: Inoculation- Predator
- Sabotage
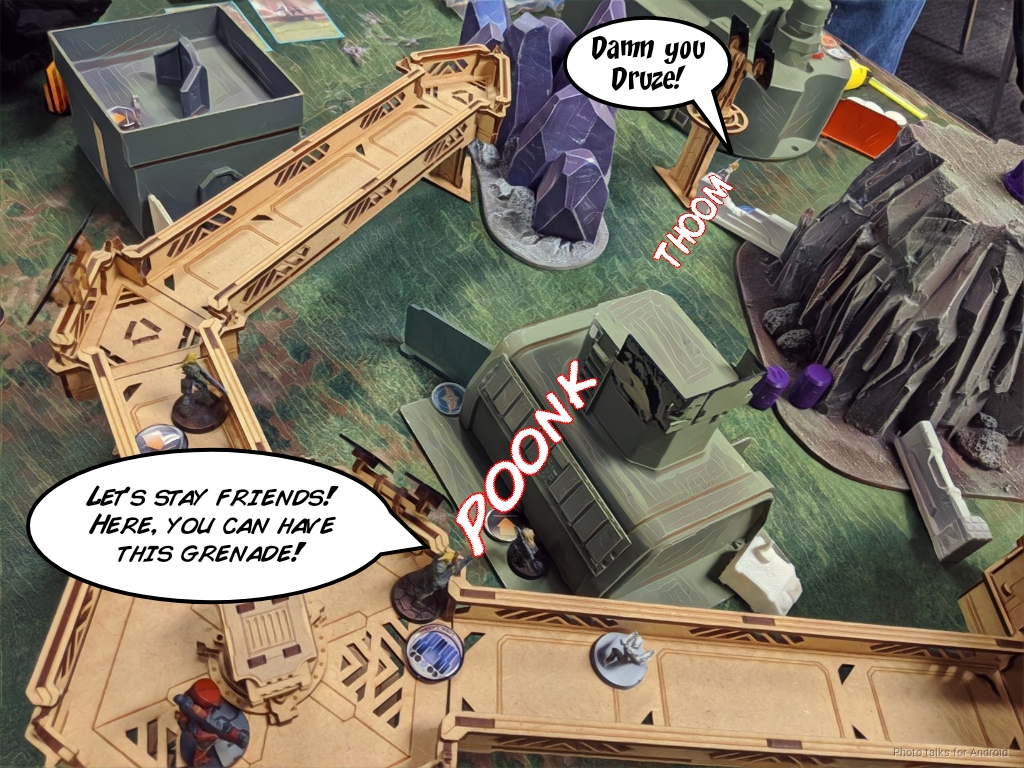
Nathan lets one of his Morlocks get up and make a run for the Brawler Engineer. Between the Krakot Red Fury, the Druze LGL, and the Tanko ML, they manage to just barely drop it unconscious. And that’s with it failing its smoke roll too! Yeesh.
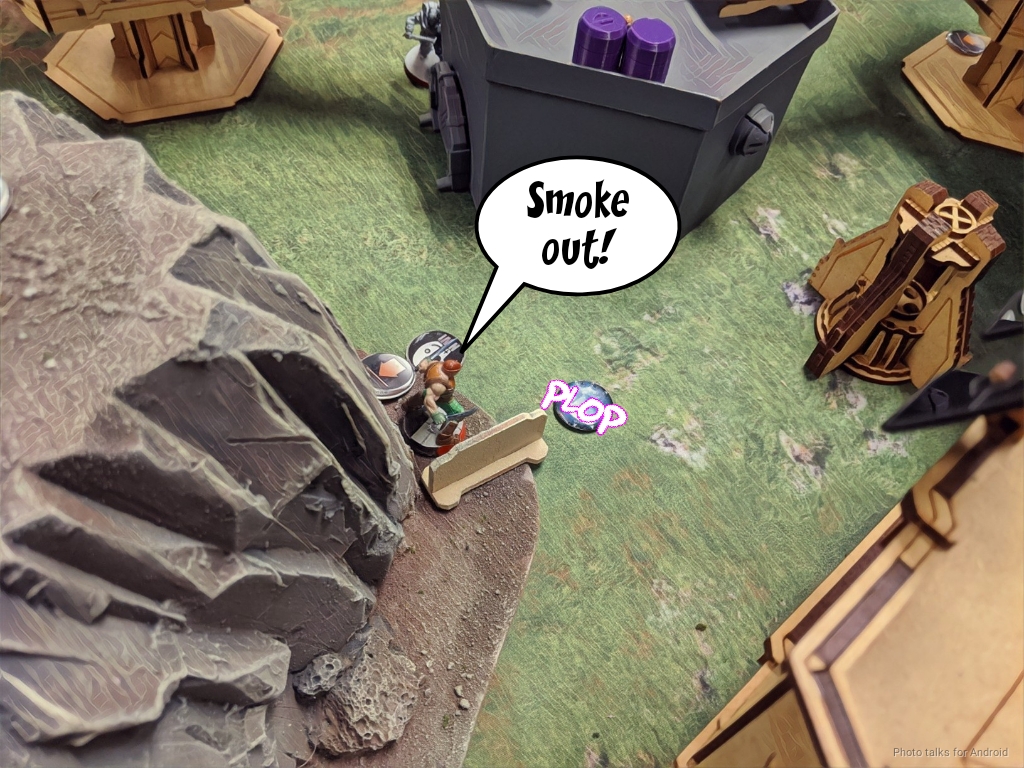
Nathan wisely decides to cancel his other Morlock’s order and throws smoke with its irregular order to cover the downed Morlock and downed Taskmaster.
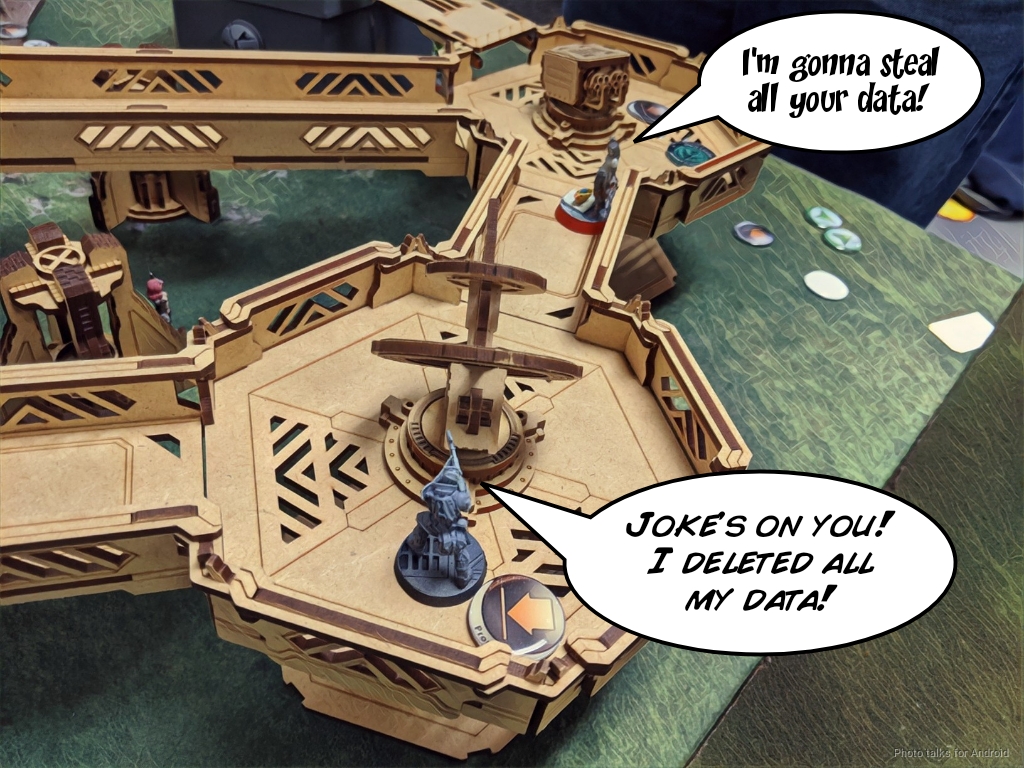
Nathan then uses his Reverends to get some work done. He moves the Healer towards the Taskmaster while trying to get Data Scan on my Brawler Engineer, but fails his WIP roll.
He does manage to get the Taskmaster back up though. The Morlock that got downed attempts a regeneration, but fails and is taken off the table.
A coordinated order helps Nathan get Data Scan while shifting Pi Well onto the roof, getting the Reverend Healer out of missile blast range, and getting the Reverend Custodier back to safety.
At this point, Nathan decides that it’s time to move the Grrls up and do some damage. It takes him a few orders to extricate one of the combi-rifle-armed Grrls off the roof, which means he’s under order pressure to move forward. I think he was pretty committed to removing my Brawler MSR to keep Pi Well and the Custodier safe from his MSV2, so he starts by slicing the pie to take out the Brawler MSR, splitting burst on the Grrl missile between the Brawler and my Karakuri.
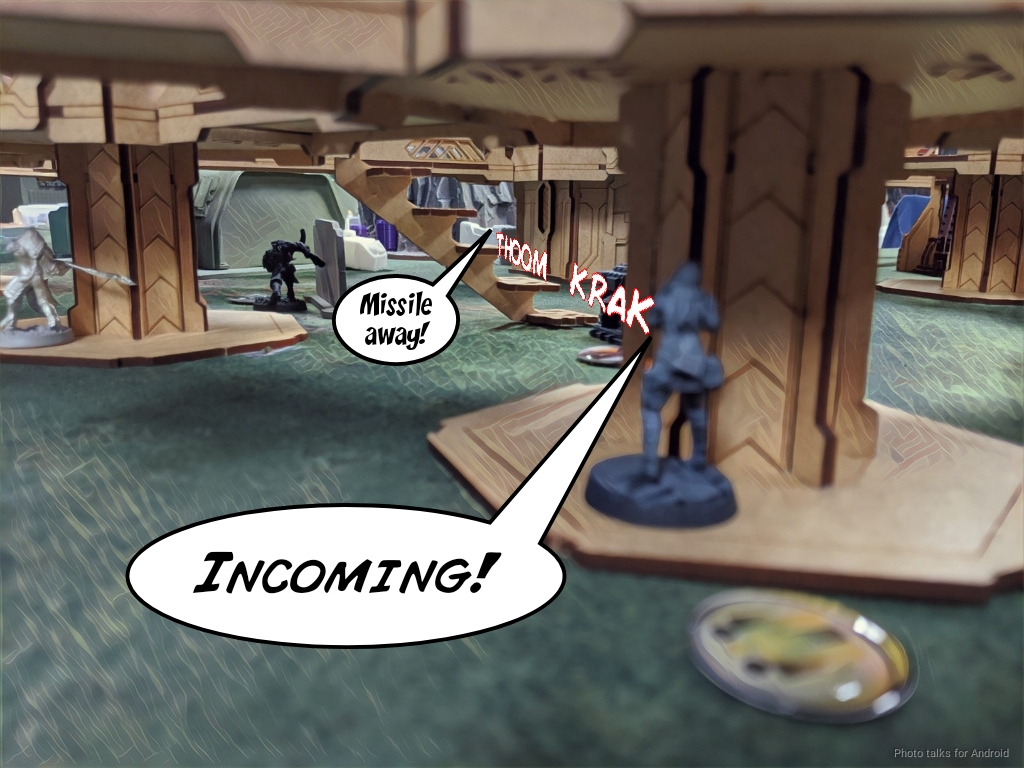
The Karakuri gets hit, passes BTS, and fails guts around the corner, and the Brawler hits the Riot Grrl. Sadly, she passes her ARM saves. Another order sees the Brawler exploded into a fine red mist. Nathan has been shuffling the rest of the girls around behind the Grrl ML, and decides to take on the Druze E/M LGL. I win the face to face and isolate the Grrl ML in addition to the Spitfire I already isolated.
This is the reason why using the ML as an advancing attack piece is dangerous. Even though we’re outside of 16″, we’re inside 24″. So with the Druze’s X-Visor and link bonuses it’s two on 10’s for the ML versus two on 12’s for the LGL.
Turn 2
Top of 2 – Ikari
Current Objectives
- Predator
- Sabotage
- Telemetry
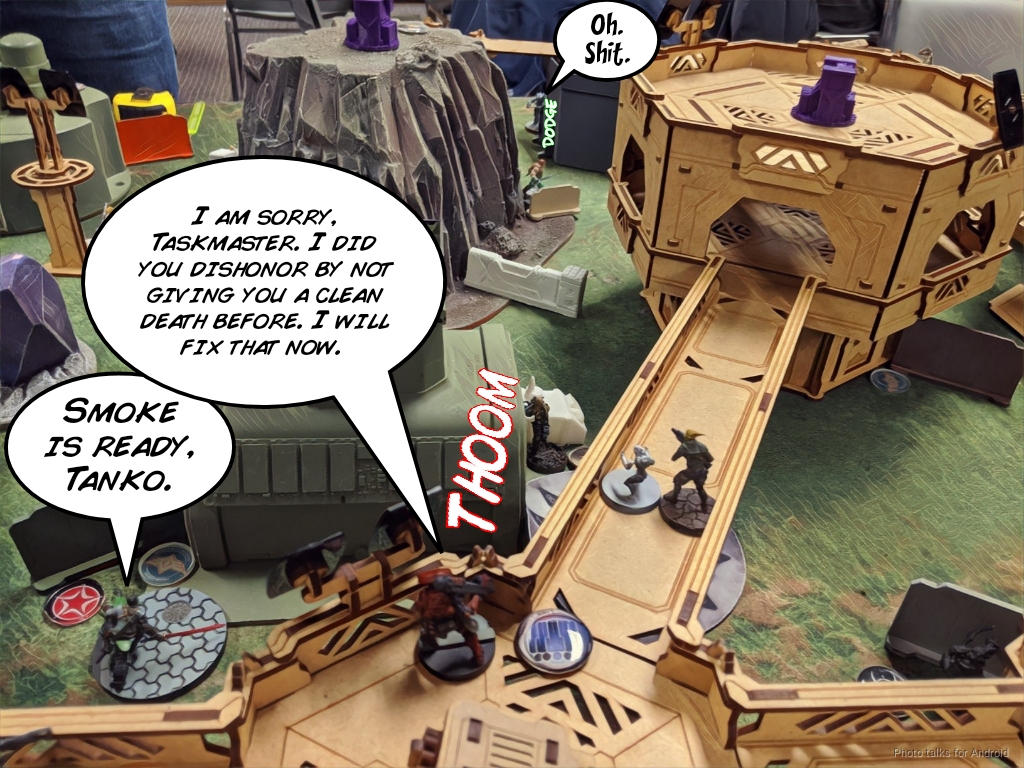
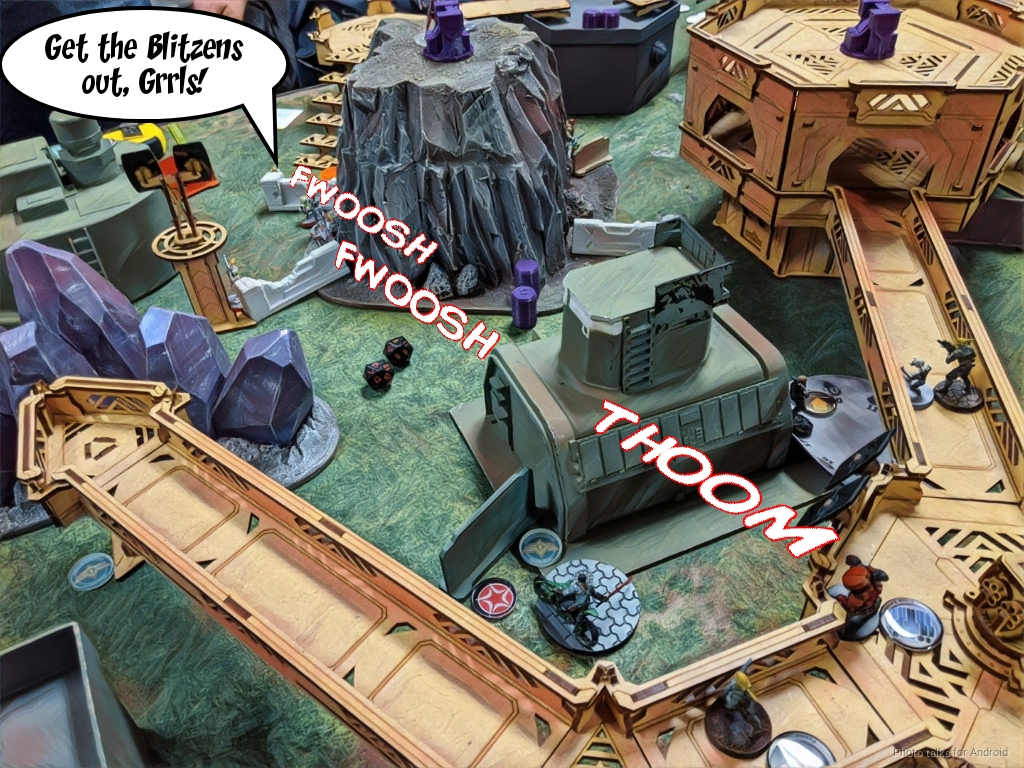
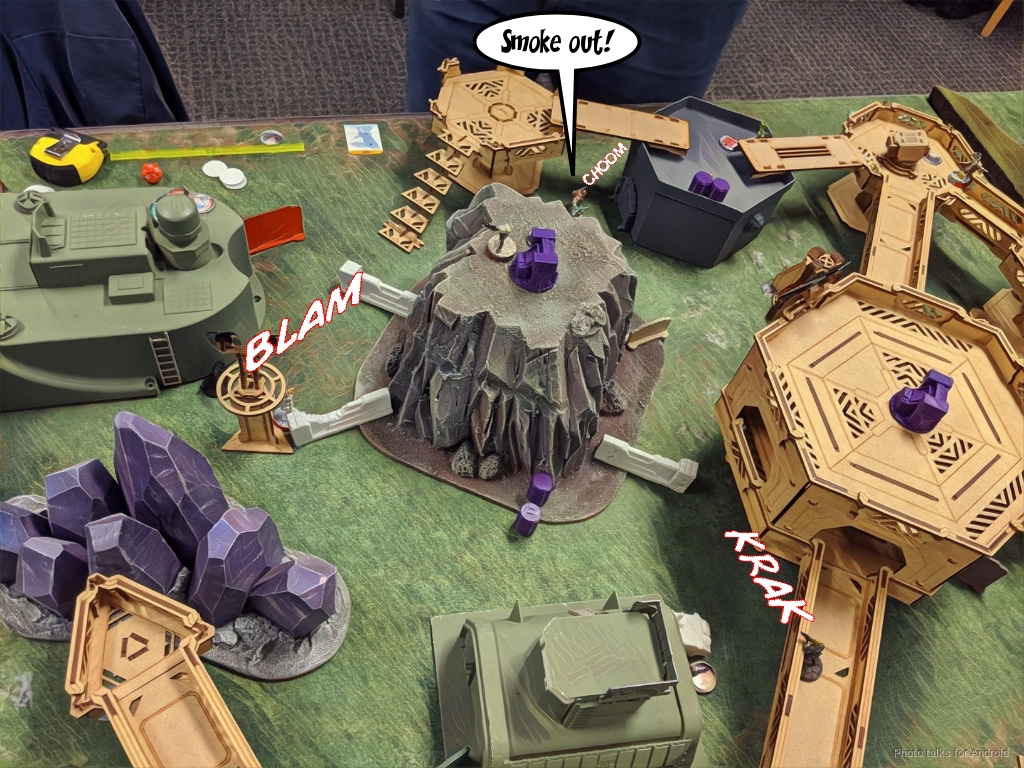
With all of Nathan’s remaining AROs at ground level on the left immobilized, I let Yojimbo advance and break line of fire between the Druze LGL and the Taskmaster HRL with some smoke. There’s still a gap for the Tanko to move to and see the Taskmaster, and this time the Tanko blasts it off the table.
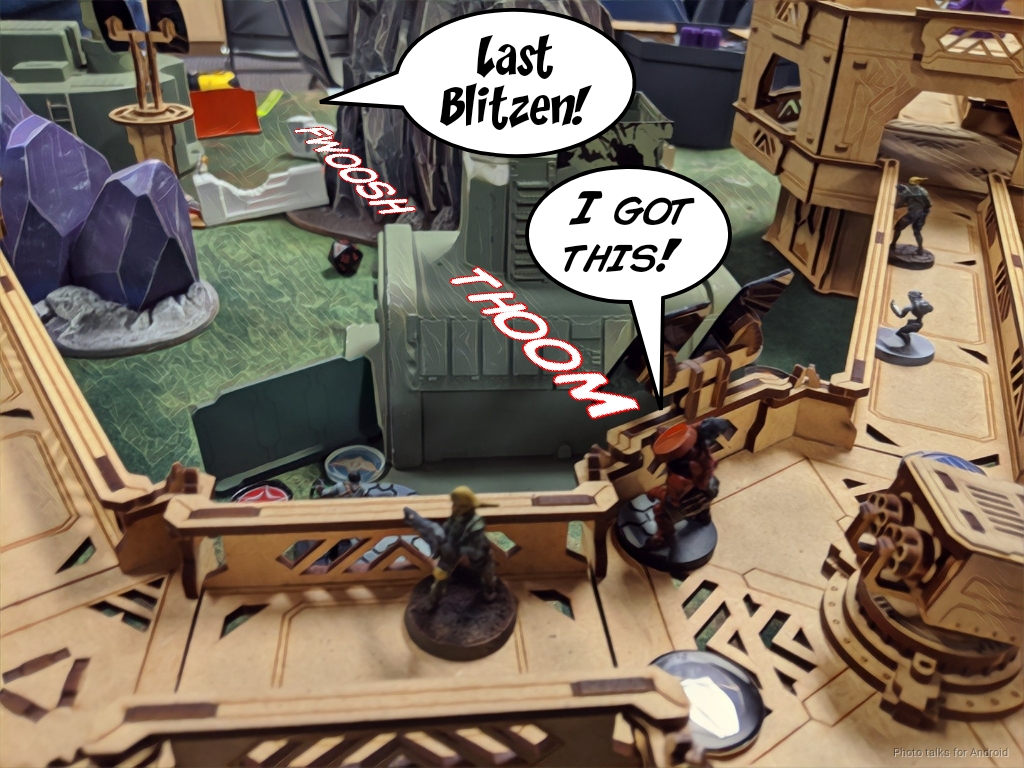
There are three Grrls left on the table, but only two of them can see the Tanko if I move left. I decide to throw both missiles at the Grrl in the open, because the template covers a mine and another one of the Grrls. Both Grrls attempt to Blitzen but both miss. I was prepared to sacrifice the Tanko for this, but I got lucky.
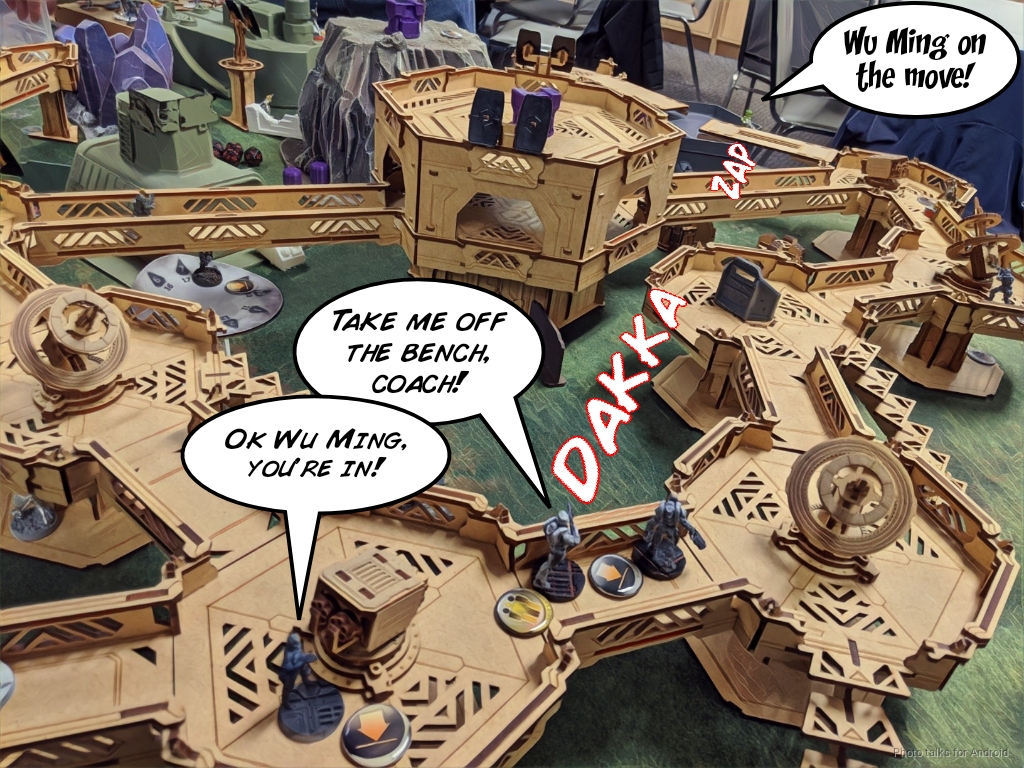
Pi Well is blocking my advance, so I reform the Wu Ming Haris with the Brawler Lt and throw 5 HMG dice at Pi Well from within 32″ and take him out.
The Tanko finishes off the last non-immobilized, non-knocked out Riot Grrl with another missile barrage, and then it’s time to try and snag some objectives.
I’m not particularly pleased with the order pool structure of my list, because blasting all the Riot Grrls off the table took all of the orders I had available for Telemetry on the Karakuri, and Yojimbo’s low on orders to set up for Predator. Thankfully, I brought a few extra close combat monsters.
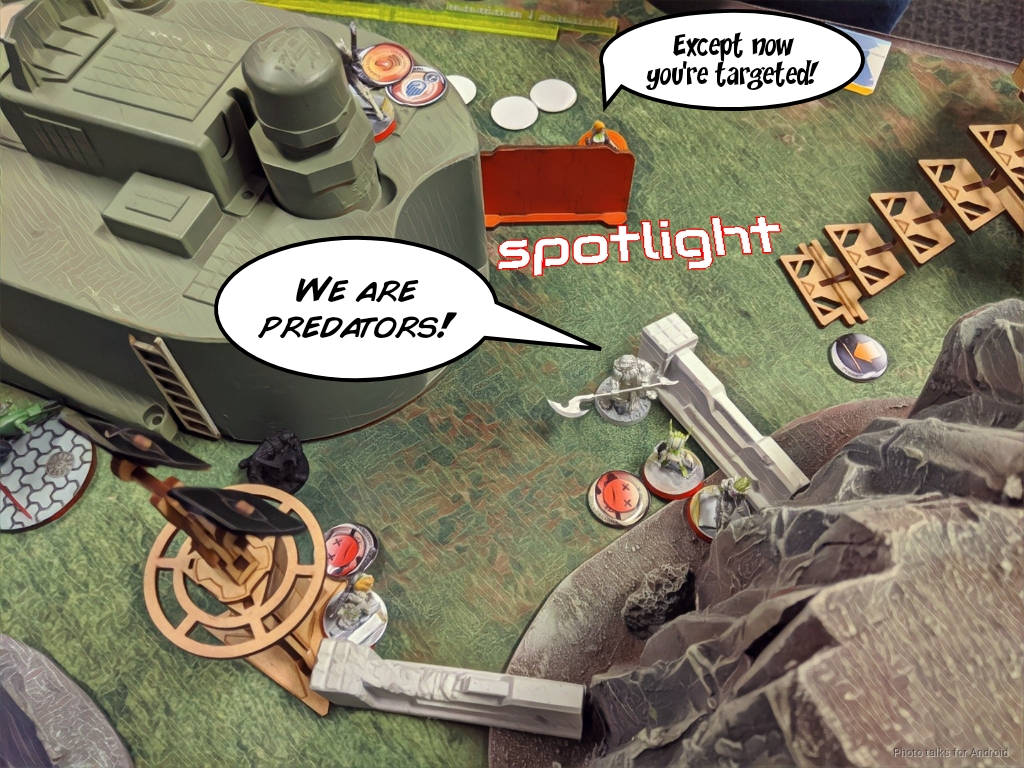
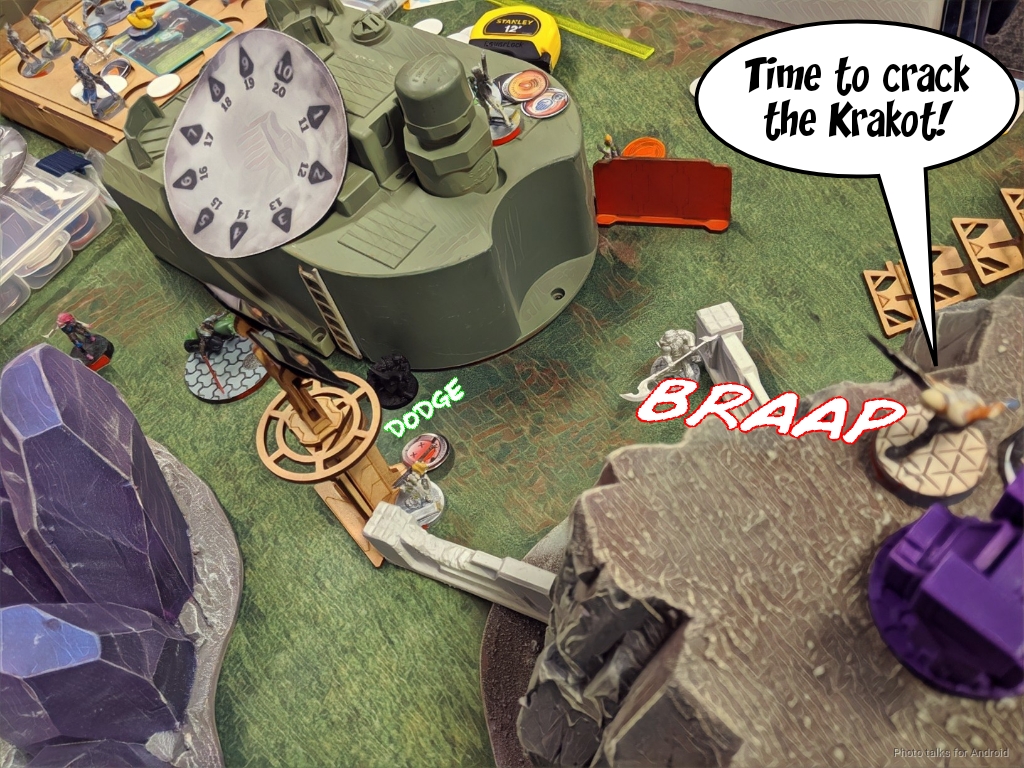
I send in the Krakot duo and beat down the Riot Grrl ML and one of the unconscious Riot Grrls to get Predator. I’m really glad that I took the Duo, due to the spacing of the Riot Grrls and the orders I had left, there wasn’t really a way for me to get two close combat kills with a single model. Also, I rolled an 8 on Kendrat on my last order. Which was a crit. Monstrous. I spend the last orders in my first pool setting up Yojimbo and leaving the Koalas to corner Bran on his roof.
Bottom of 2 – Bakunin
Current Objectives
- Experimental Drug
- HVT: Retroengineering
Sabotage- Telemetry
I forgot entirely about Zoe, who had retreated behind the orange wall with her DataTracker order on Nathan’s last turn. It takes an order or two but Zoe manages to get Telemetry on Kendrat. This is pretty bad for me, since Zoe is Nathan’s DataTracker.
The Zero Minelayer reveals itself to try and take out Yojimbo. The first round of shooting is a miss for both of us, but the second round lets me land smoke on Yojimbo.
The Zero tries to go after the Krakot Red Fury, and I dodge successfully.
With that, Nathan is out of orders, even after consolidating all his orders at the start of his turn.
Turn 3
Top of 3 – Ikari
Current Objectives
- Experimental Drug
- HVT: Retroengineering
- Mapping
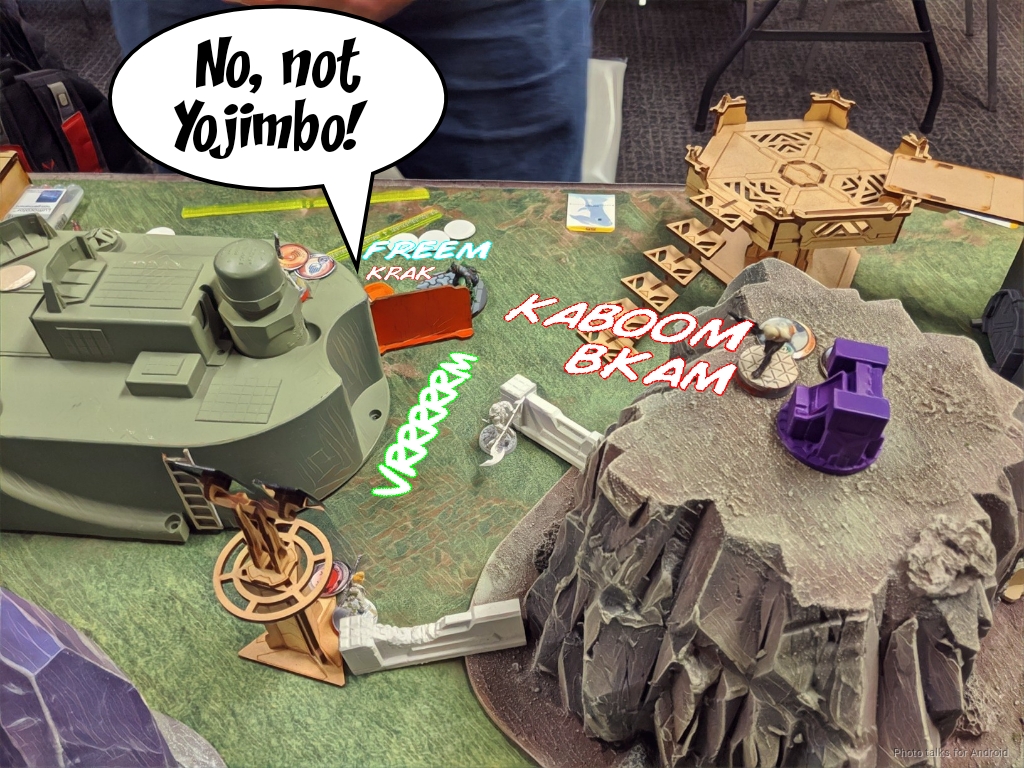
I decide to not burn Experimental Drug, since I could get that pretty easily if any of my troops go down. Mapping is exactly what I need. Yojimbo gets himself and Kendrat killed when the Zero drops a mine during his impetuous order. I decide to let Kendrat go dogged to the mine blast to prevent any Extreme Prejudice shenanigans from happening. Fortunately for me though, Yojimbo still manages to Nanopulsar Zoe down. BTS 0 suuucks!
I send in the Karakuri, but Nathan informs me that he has LoF to a section of the board that I have to move through with his Zero KHD. I let him have a Normal roll on the Karakuri’s second short skill move, and the combi-rifle round bounces off her BTS 6.
The Zero is now facing directly at the Karakuri, which lets me jump the Brawler Engineer off the catwalk he’s on (after a cautious move to get past the Custodier, note that cautious move does not let you stand from being prone) and land behind the Zero. The Zero fails to change face, and promptly goes down to some shotgun fire from the Brawler.
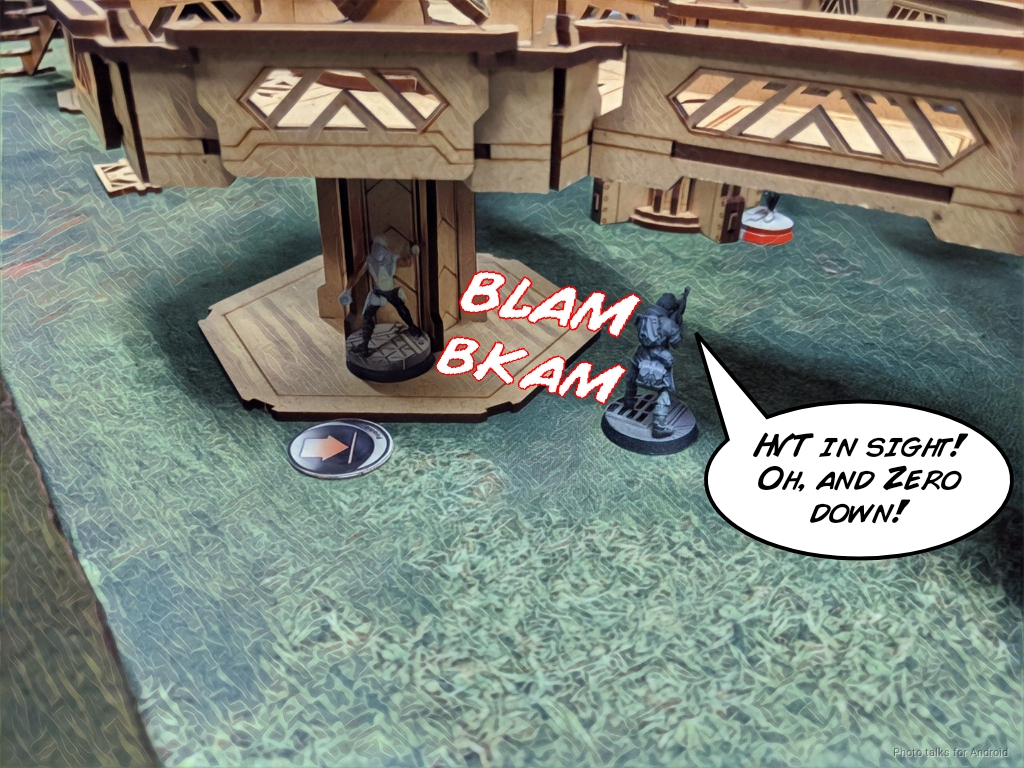
Another order or two, and I’ve grabbed HVT: Retroengineering and set the Brawler up in cover to fight the Custodier if she stands up. The Karakuri walks right on by Nathan’s last Morlock, tanking a pistol round on the way, secures Mapping, and then dumps three Mk12 rounds into the Reverend Healer standing on the other side of the building the Karakuri mapped. Of course, I fail to wound, and it’s back to Nathan.
Bottom of 3 – Bakunin
Current Objectives
- Experimental Drug
- HVT: Designation
HVT: Kidnapping- HVT: Identity Check
I had intentionally placed the Karakuri in a position to force bad decisions from the Reverend Healer, which means Nathan only really has HVT: Designation to fall back on after cycling HVT: Kidnapping. His remaining Morlock goes after my Karakuri, so I opt for maximum pew pew with the Red Fury Krakot, Karakuri, and E/M LGL Druze taking shots. Nathan covers the Karakuri with smoke in case he has enough orders to get the Healer to something. The Morlock does not survive.
Nathan’s got four orders and a lieutenant order left, so the only thing he can do is go for Experimental Drug or go for the HVT: Identity Check. He decides to go for HVT: Identity Check. After failing one Pitcher shot and a string of WIP rolls, Nathan isn’t able to get the third classified to tie it up!
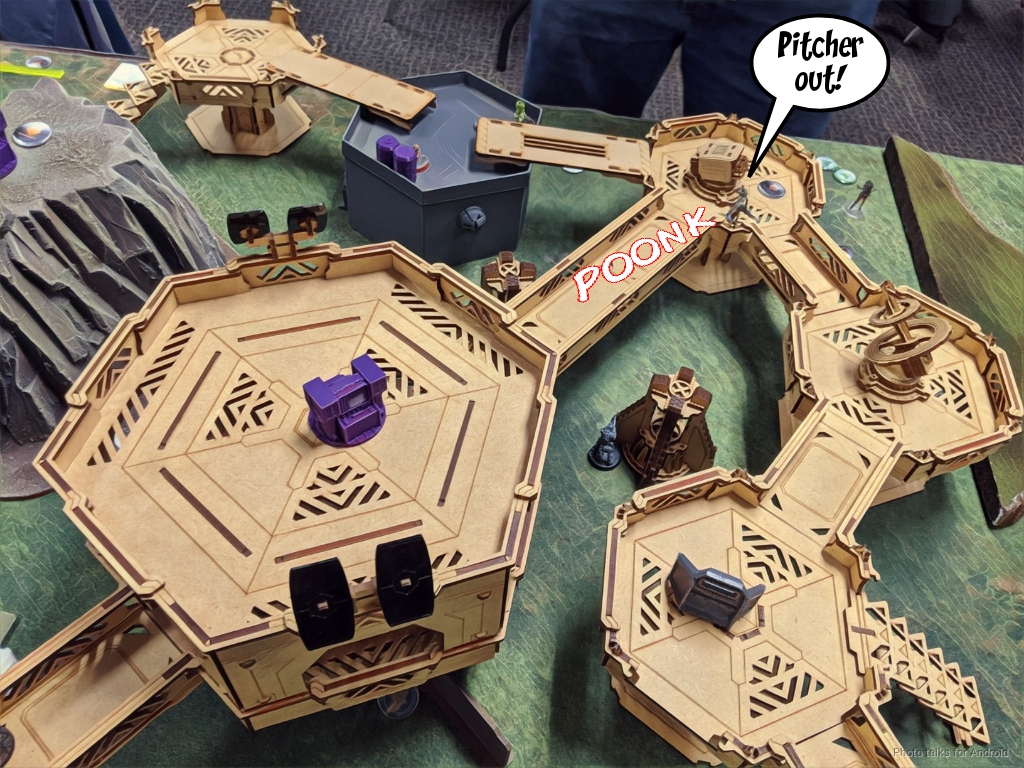
I’ve got a 3-2 lead on classifieds, and both of us have the DataTracker bonus points, making it a
9-4 Ikari Company Victory!
Post Game Analysis
I am definitely not happy with the way my list worked. Everything wants orders in the first group and they’re all really important pieces. I nominated a box right in front of my Druze KHD to Sabotage at the start of the game, but the need to get some shooting done made it really hard to actually get her where she needed to be with enough orders to blow up the objective. And then of course there’s Yojimbo and the Karakuri, both of whom didn’t move until turn 2 and 3, respectively. Yes, that’s an example of careful, patient play, but that’s me responding to a bad game state in the most efficient way possible. I think I needed to swap at least one of those units with something in the second group, but there wasn’t really a suitable candidate, which is why I built the list in this way in the first place.
I think I deployed reasonably, and leveraged the right tools for the right jobs. I could have been more efficient and aggressive about getting objectives accomplished. For example, I totally forgot that my Brawler Engineer has D-Charges so I could’ve nominated something on his side of the table to D-Charge, giving me a much more comfortable lead in classifieds. I was pleased with the threat projection of the Druze E/M LGL, the Tanko ML, and the Brawler MSR as well, and I thought I deployed in the right places. I was particularly pleased about my Yaozao placement, but there’s definitely room for improvement there still–it took two orders to pick up the Druze LGL on turn 1, it should’ve only taken one.
Nathan played a solid game. I think he was a little confident in leaving out some of his active turn pieces for ARO, in particular the Riot Grrl Spitfire and the Taskmaster. Both of them are very solid attack pieces and he wasn’t able to use either the entire game. I’m also of the opinion that he didn’t need to attack my Brawler MSR or my Karakuri at the Bottom of 1. Admittedly, I would’ve probably used the Brawler to take out Pi Well and the Custodier, but there was an easy way he could have put both of them in total safety. I think a stronger play would have been to land a pitcher on the catwalk ahead of my Wu Ming and Karakuri, which would have had a similar effect to killing them, especially if give him a White Noise ARO to negate the Brawler MSV2.
By moving up the Riot Grrls, Nathan had to bunch them up, leaving them extremely vulnerable to some very dangerous template weapons. If it wasn’t the missile or the E/M LGL, it would have been Kendrat’s Vulkan Shotgun or Yojimbo catching them in smoke and then slicing them to ribbons. The ML was also in her zero rangebands, which at a 4-model link is pretty detrimental. I also think that not using Bran was a waste. There was definitely a hole that Nathan could have exploited. Bran would have died, one way or another, but he could very well have taken out my Tanko, my Druze HMG, Yojimbo, or my Tokusetsu Doctor, all of which are important. It was clear that Nathan was considering using Bran a few times in our game, but I guess my stacked AROs and Koalas kept him boxed in. The lesson for me here is that I need to consistently pack a sensor bot in the dropship when I leave for a mission. In any case, a great game. Looking forward to the next one.