Winter Rescue Banner Force
Obadiah (nehemiah) reached out to ask for a rematch of our previous White Banner versus Svalarheima game. You can find that here, if you’re interested:
This time though, we would play the opposite factions for a change of pace. After my last game against Than, I added some trees to the mountain to break up lines of fire and add some variety to the table. The biggest change was that one of paths to climb the mountain, specifically the side with the ladders, was mostly blocked from the rest of the table until you got pretty high up.
This helps that side get up the mountain safely, but doesn’t give that player a huge advantage because the last ladder up to the top of the mountain isn’t in cover. In any case, we decided to give things a try.
Overview
- Mission: Rescue
- Forces: Svalarheima Winter Force versus White Banner (300)
- Deploy First: Svalarheima
- First Turn: Svalarheima
I Don’t Want to Build a Snowman
FUSILIER Lieutenant Combi Rifle / Pistol, Knife. (0 | 10)
KNIGHT OF JUSTICE Spitfire / Heavy Pistol, DA CC Weapon. (1.5 | 51)
NISSE MULTI Sniper Rifle / Pistol, Knife. (1.5 | 34)
MAQUINISTA (WinterFor) (CH: Mimetism, Multiterrain) Combi Rifle, D-Charges / Pistol, Knife. (0 | 18)
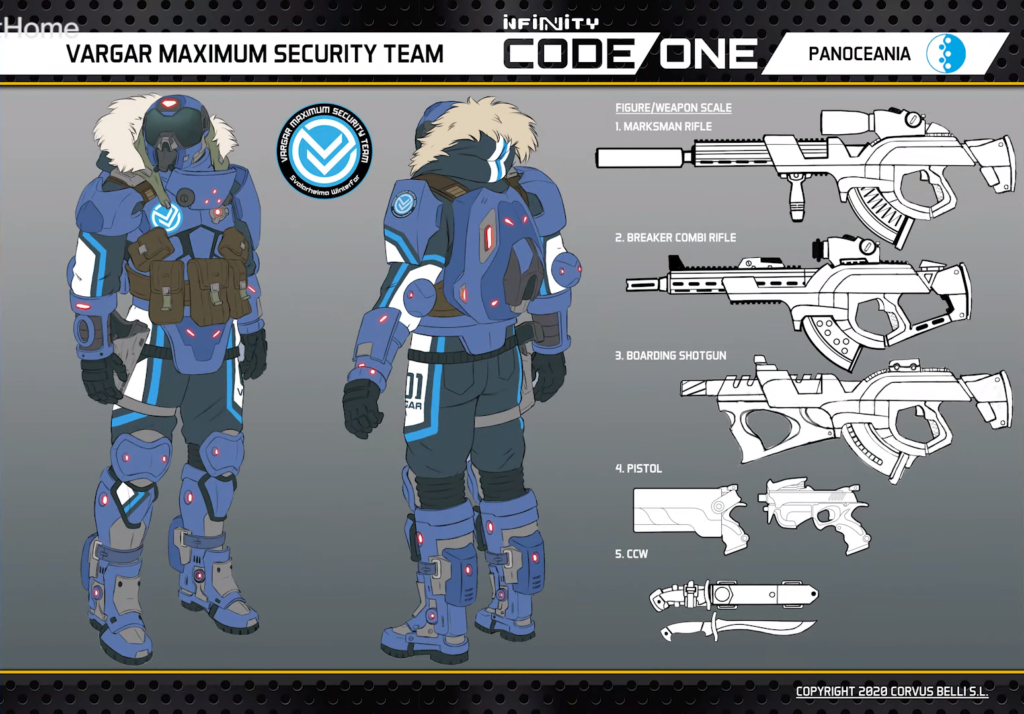
VARG (Forward Observer) Heavy Rocket Launcher, Light Shotgun / Pistol, CC Weapon. (1.5 | 25)
BØYG Mk12 / Heavy Pistol, Shock CC Weapon. (0 | 55)
NØKK (Minelayer) Combi Rifle, Light Shotgun, Antipersonnel Mines / Pistol, CC Weapon. (0.5 | 29)
TRAUMA-DOC Combi Rifle / Pistol, Knife. (0 | 14)
PALBOT Electric Pulse. (0 | 3)
10 | 5.5 SWC | 299 Points | Open in Infinity Army
I decided to give my list some more long range teeth with the Nisse, and also to give myself some more insurance against AD with some minelayers. I’ve really become a huge fan of the Varg. It’s clear that they’re designed to fight the Ye Mao, and there’s just some really awesome profiles in there. I can’t get enough of that Varg FO with HRL + LSG. I mean, come on. It does all the things and it has a mobility trick!?
The Boyg is in there just for funs and to be a DataTracker option. It’s beefy and can get some stuff done. I really wanted to try the Nokken, so they made an appearance as well. To keep stuff running, I took a Trauma Doc.
Shen Yun on Ice
TIAN GǑU (1st Section) Hacker (Killer Hacking Device) Combi Rifle, Nanopulser / Pistol, CC Weapon. (0 | 23)
TIGER SOLDIER Hacker (Assault Hacking Device) Combi Rifle + Light Flamethrower / Pistol, Knife. (0.5 | 33)
YĚ MĀO Engineer MULTI Rifle, Chain-colt, Panzerfaust, D-Charges / Pistol, CC Weapon. (0 | 31)
DÀOFĚI Lieutenant Spitfire / Pistol, Shock CCW. (1.5 | 55)
GŬILÁNG (Minelayer) Combi Rifle, Antipersonnel Mines / Pistol, Knife. (0.5 | 26)
Zhanshi YĪSHĒNG Combi Rifle / Pistol, Knife. (0 | 15)
YÁOZĂO Electric Pulse. (0 | 3)
Obi’s list is camo-heavy, which is a bit of a different take on things than I’ve tried with White Banner so far. He’s also taking a Daofei lieutenant, which I’m a fan of. The rest of the list is stuff that’s pretty easy to understand. Ye Mao haris, Tiger Soldier, and a doctor. Seems fine.
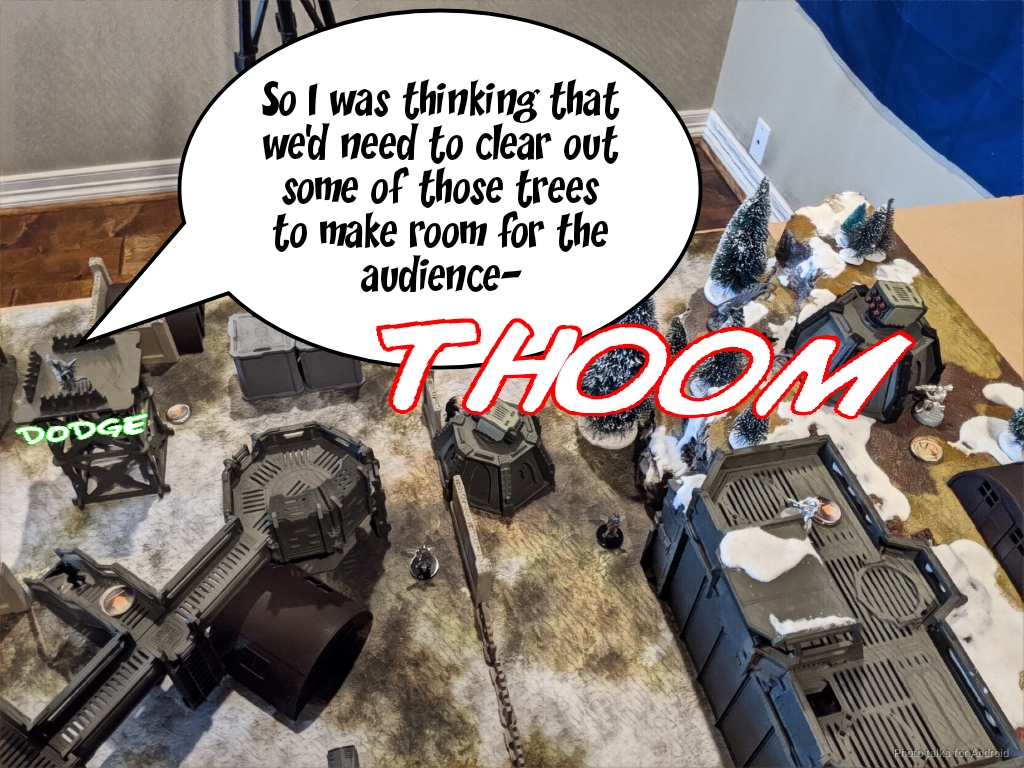
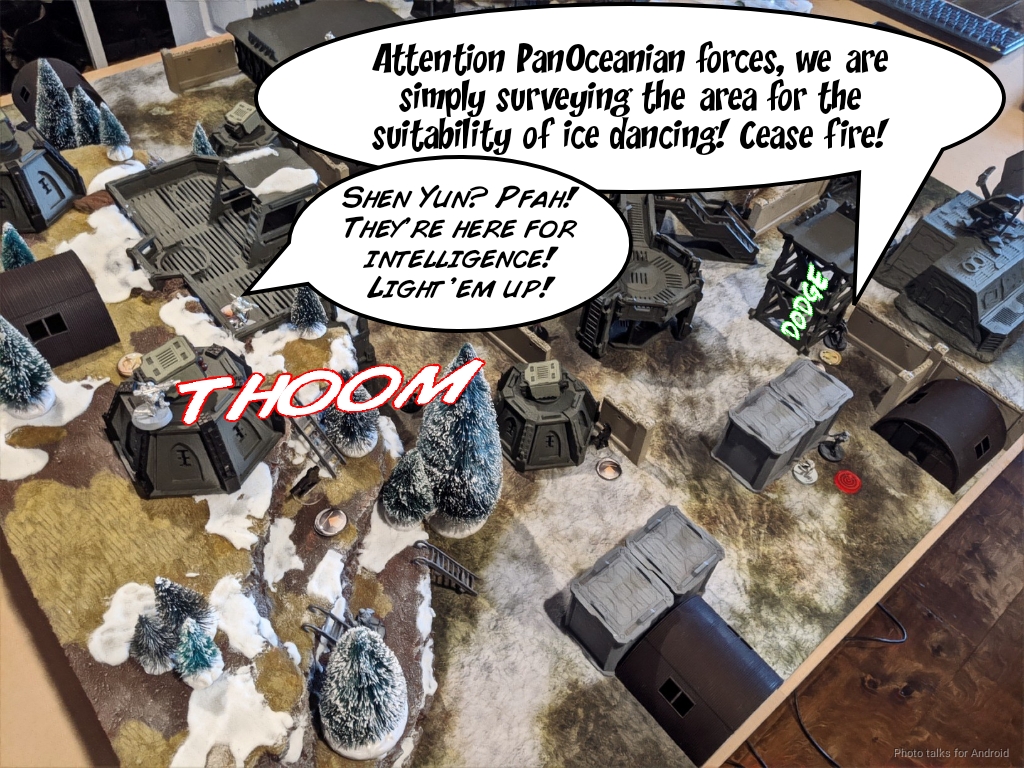
Obi decided that the narrative of our game was going to be a detachment of White Banner troops scouting the area to find a suitable location to hold a performance of “Shen Yun” on ice.

For those not in the know, Shen Yun, at its simplest, is a dance show that has implemented an pervasive marketing campaign… but it gets crazier than that. I didn’t know much about it other than it was a dance show until I started writing this report and googled it to get some art to plaster on top of the White Banner logo… then I found this:
Yeah, I dunno. Anyway, I often have a trouble coming up with a narrative hook for these things, so I ran with this one!
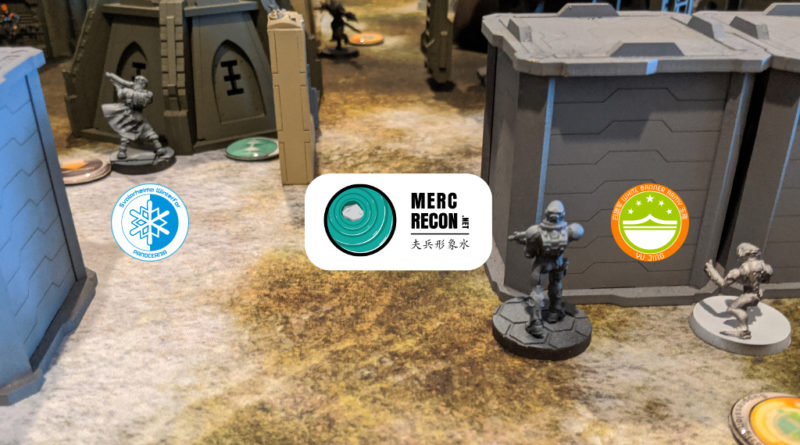
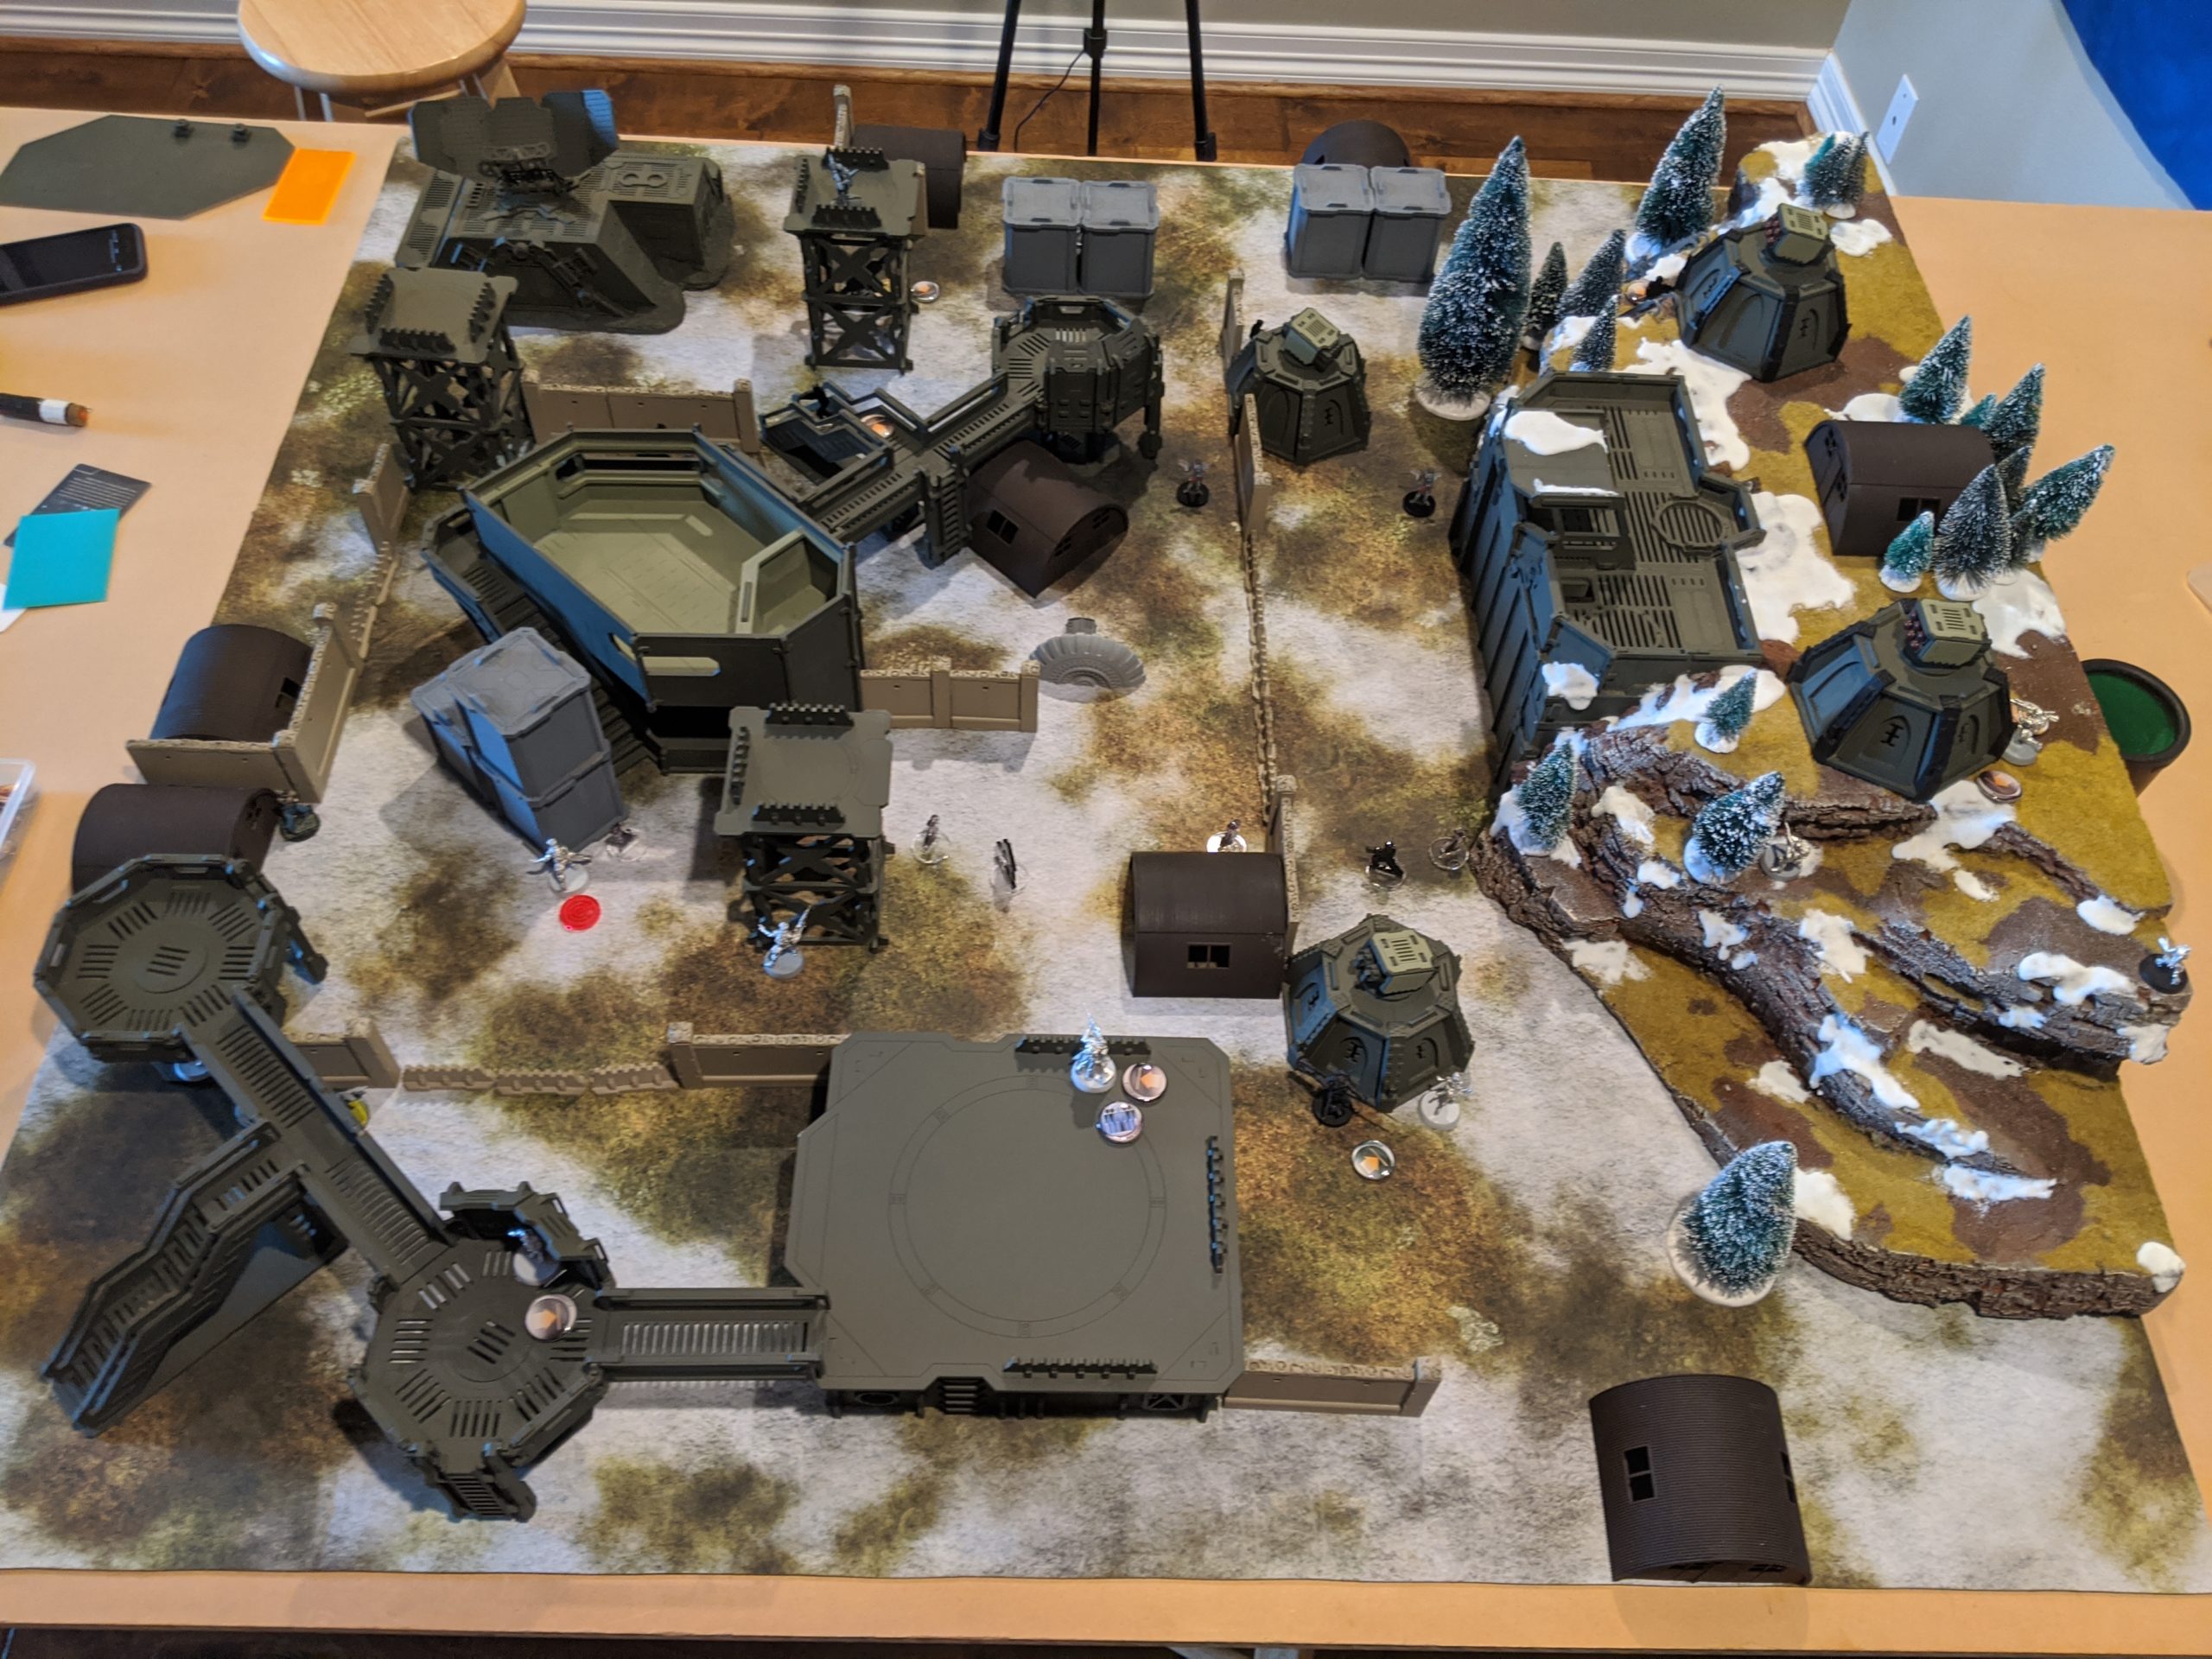
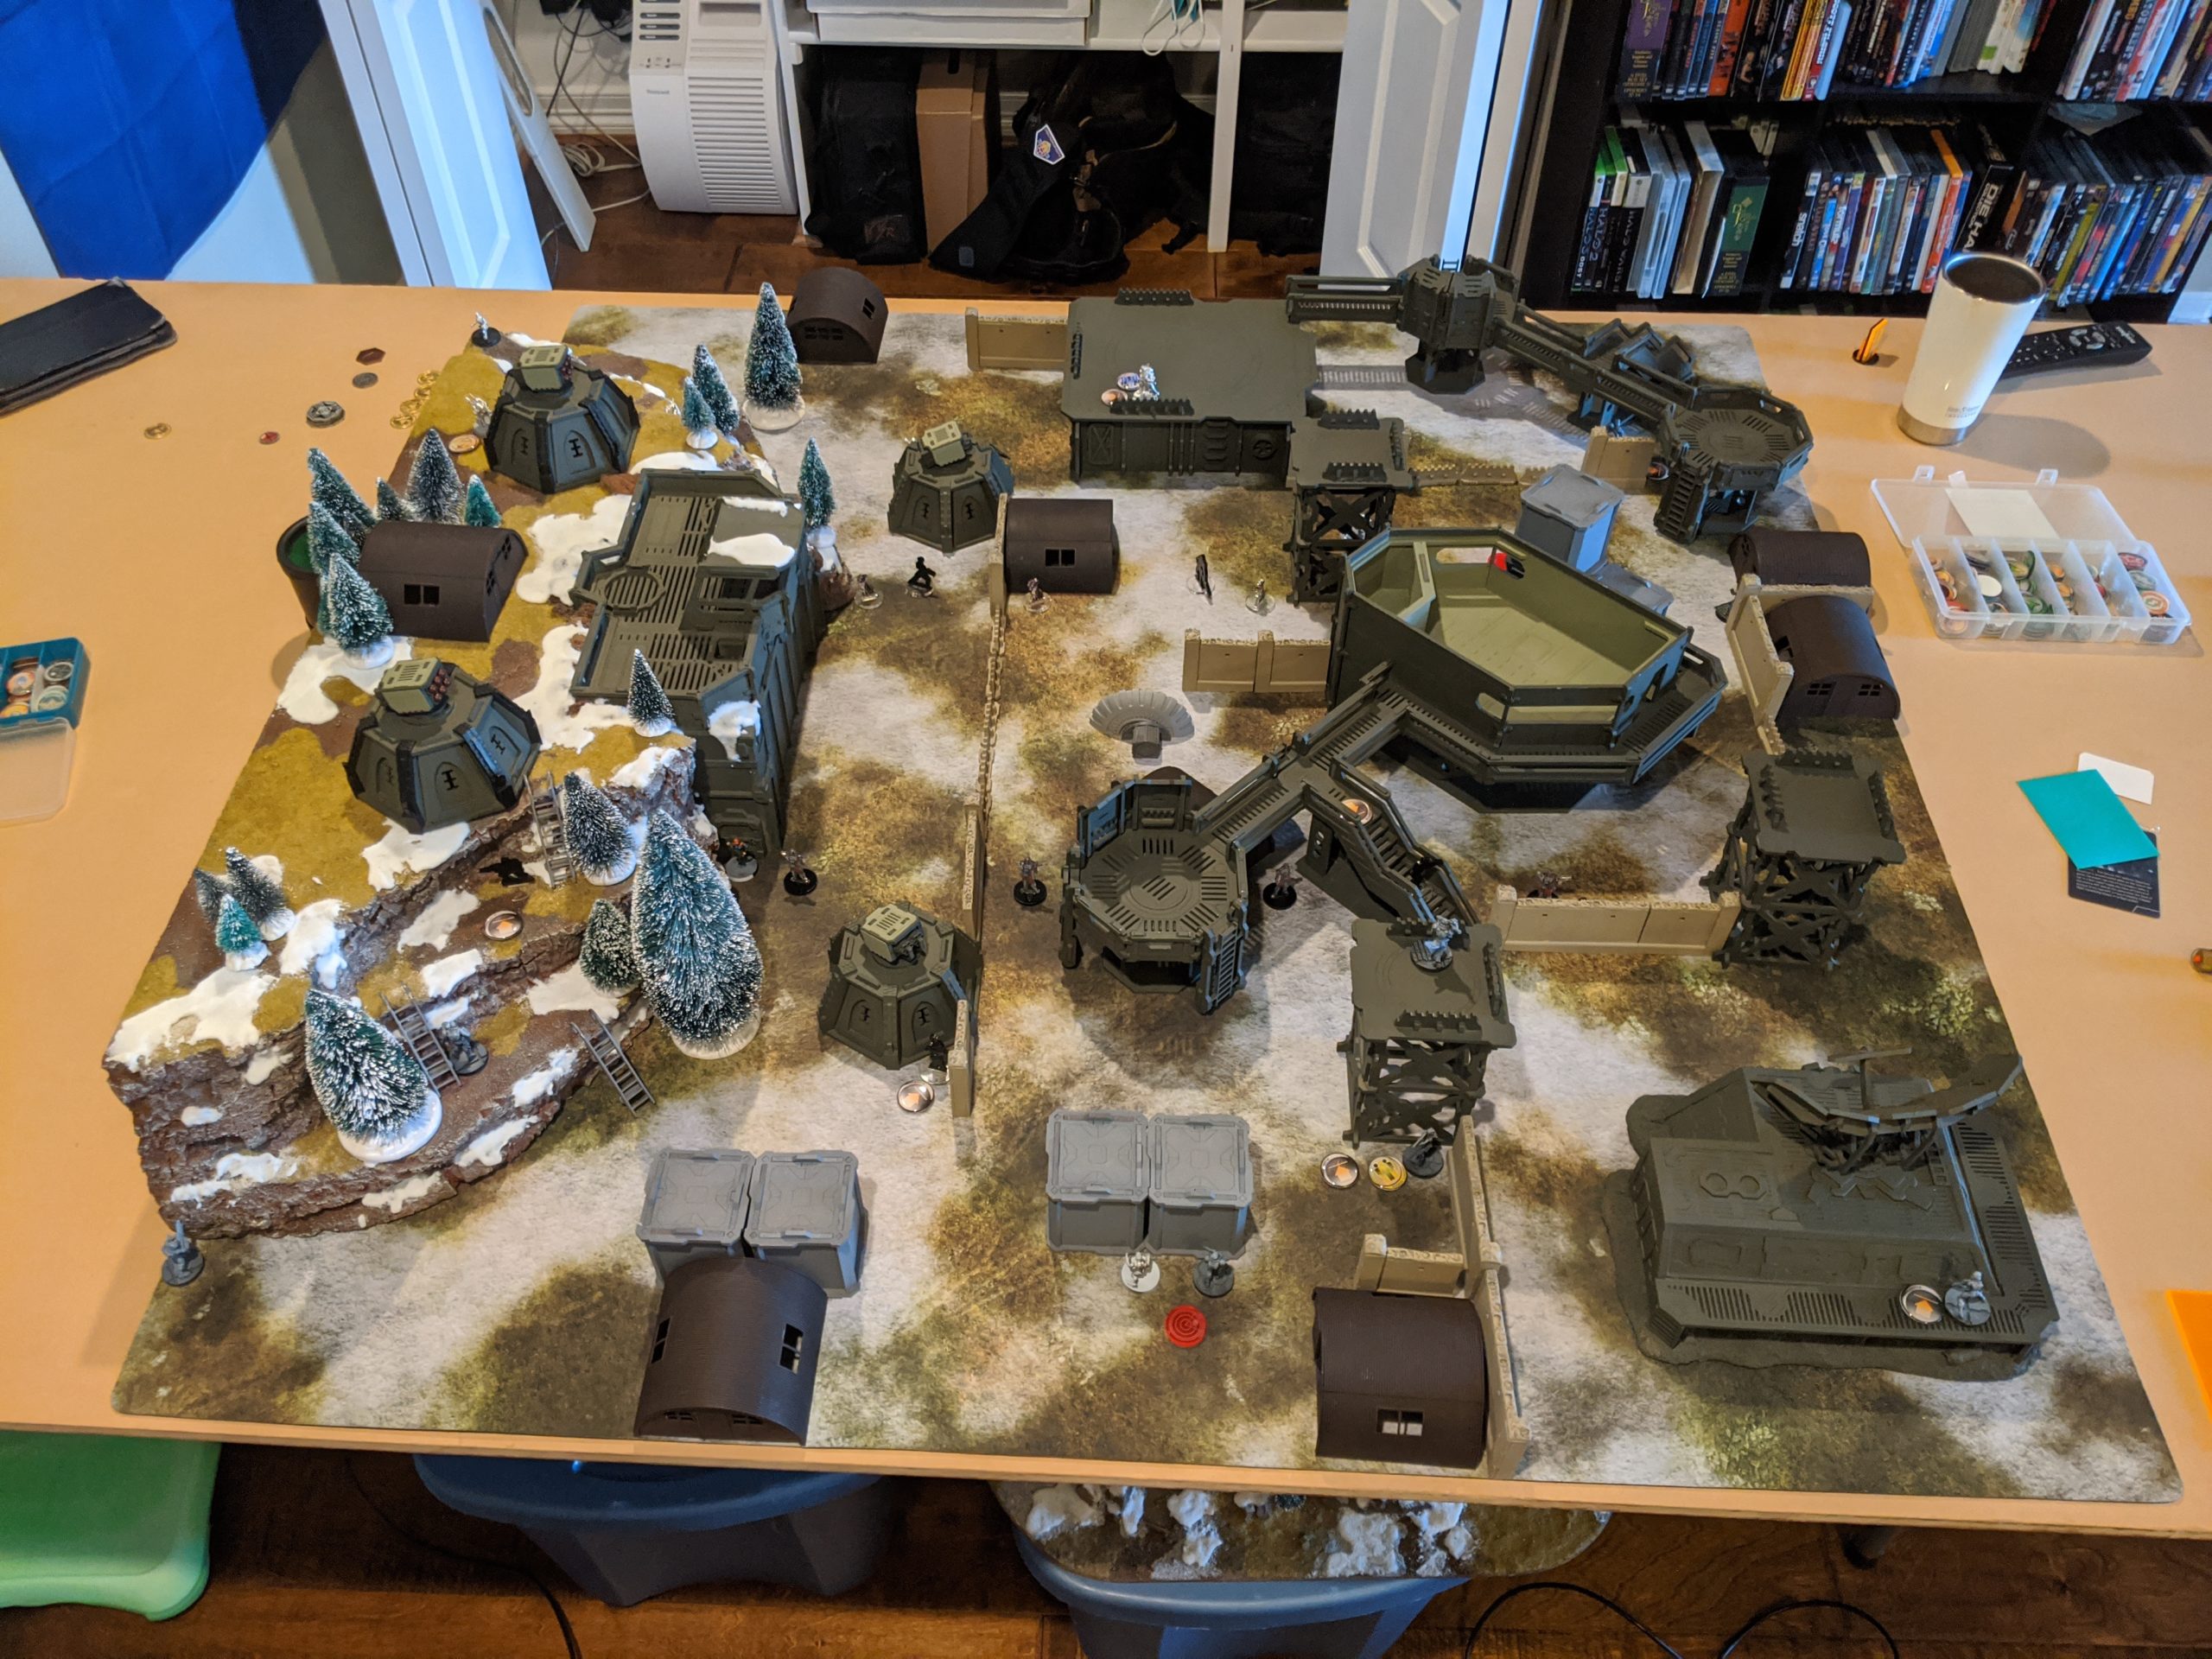
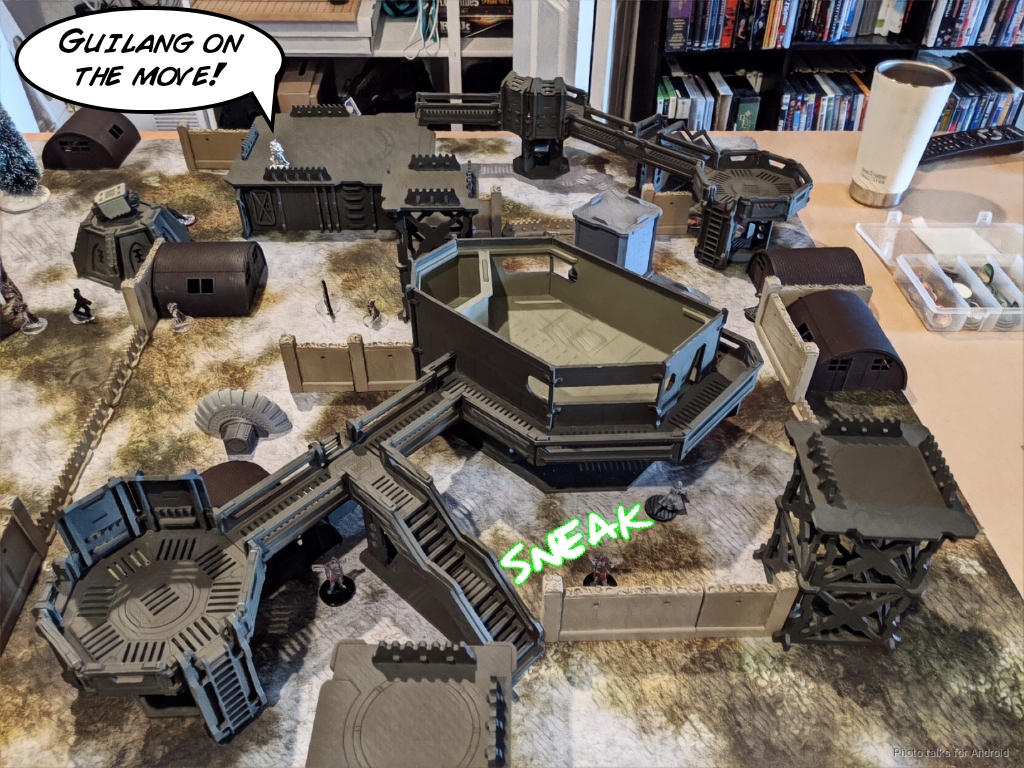
Deployment
I forget who won the rolloff, but I ended up going first and deploying first. There was an obvious, central spot for me to put my Nisse, so I put him there, prone, with the Knight of Justice and Machinist nearby. I had decided that if I needed to activate the link, I wanted to make sure that the Nisse didn’t get shot for free as I moved the Knight around or something.
I put the Varg on the mountain on the right, and put the K1 minelayer at the edge of the mountain to be able to lay a mine near the civilians. I did the same with the Nokken Minelayer on the left. The Nokken also screened the Trauma Doc and Boyg from an attack if it came too that. I held my Nokken KHD in reserve.
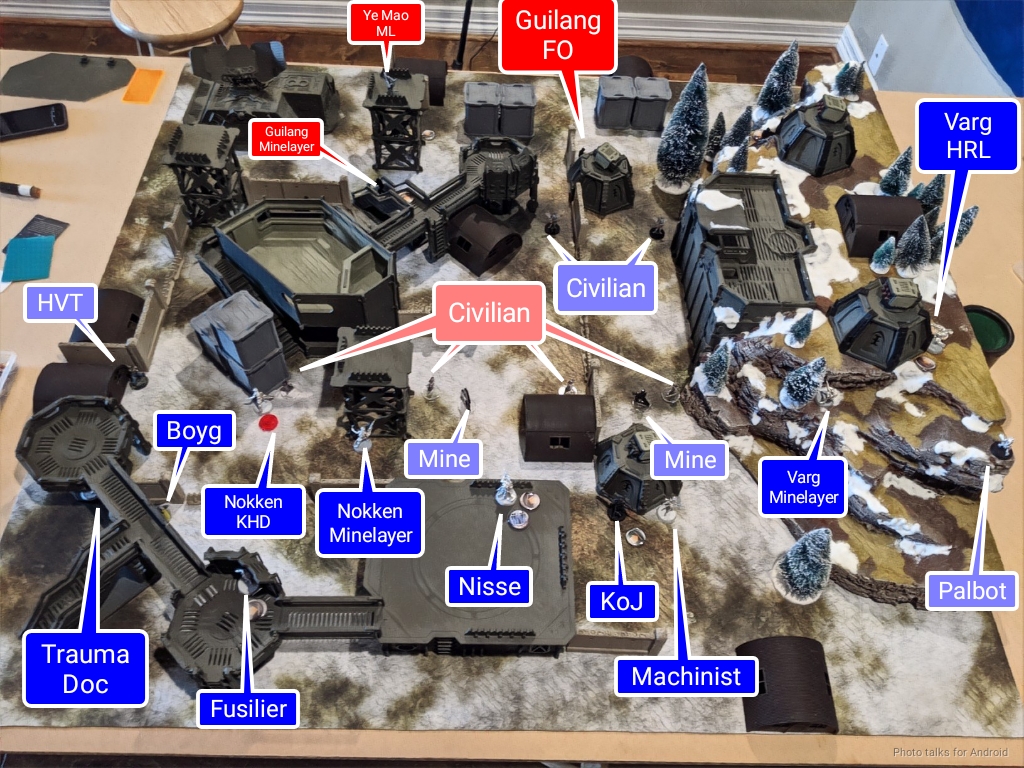
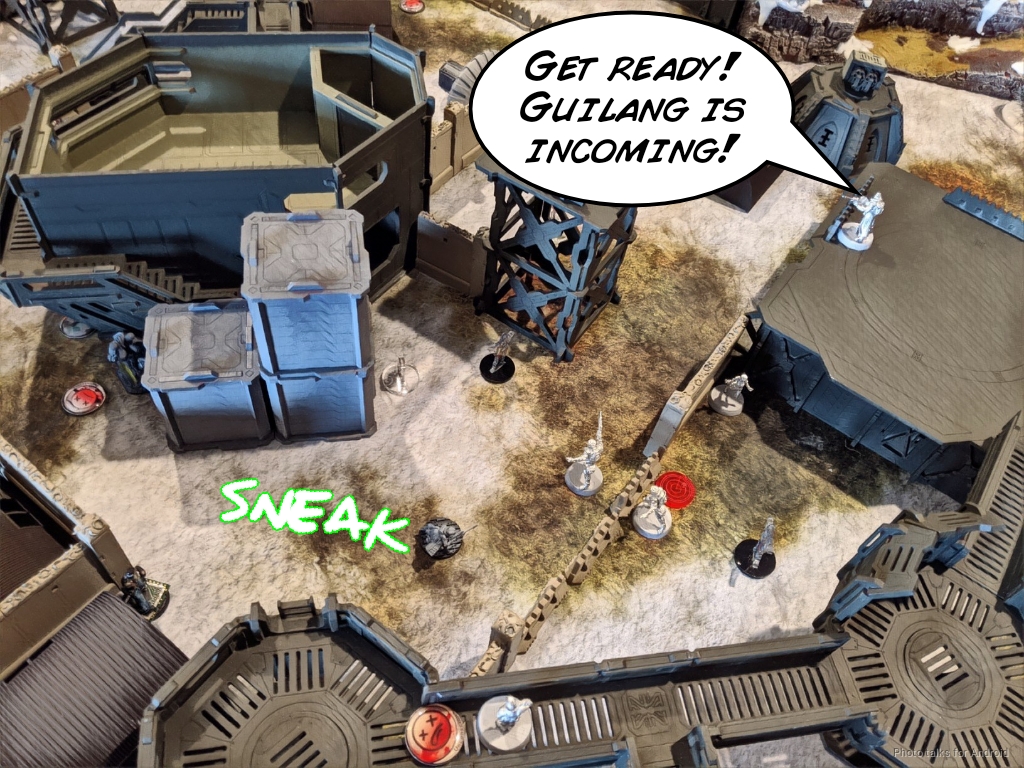
Obi deployed his Ye Mao in the center, with the Ye Mao ML out to ARO stuff. He covered the two right civilians (from his perspective) with a Guilang Minelayer, and then hid his Tian Gou as a Zhanshi Lieutenant decoy on the far right. The Guilang FO hung out in the middle to help screen the Ye Mao from an attack along the ground, and then his Doctor and Daofei hung out on the mountain.
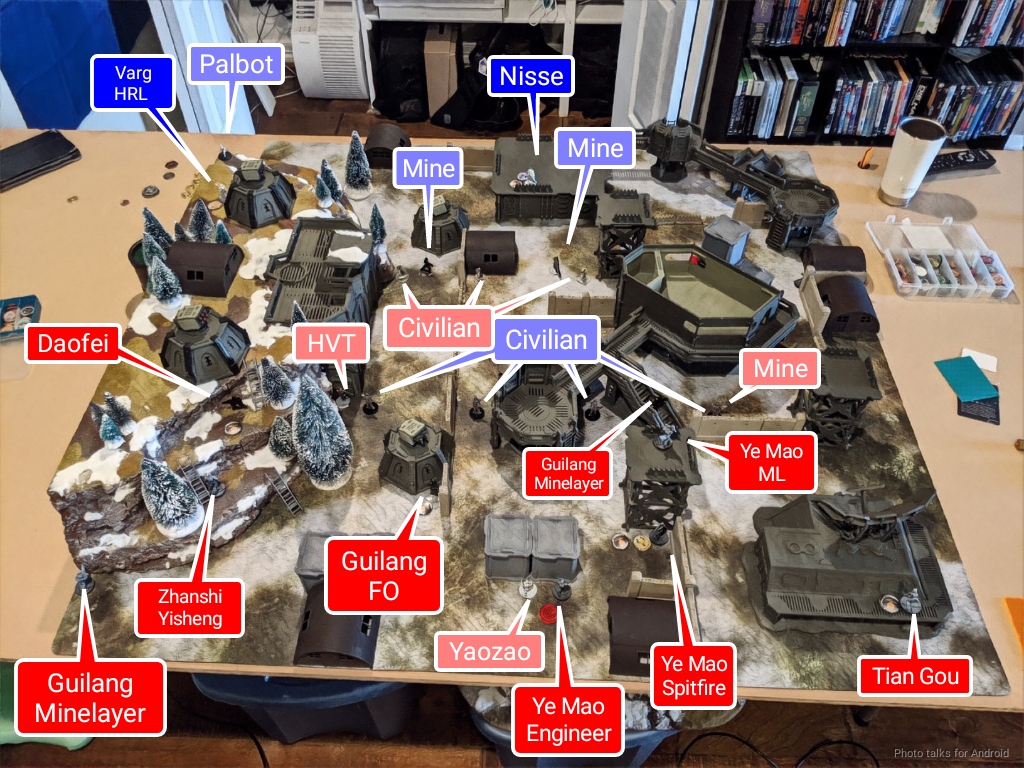
I dropped my Nokken KHD on my left in an attempt to set up for a run on the civilians on the left, assisted by the Boyg, and then Obi attempted to over-infiltrate a Guilang Minelayer covering both my Varg with mines. Thankfully, he failed the roll and the Guilang ended up at the base of the mountain on his side.
Turn 1
Top of 1 – Svalarheima
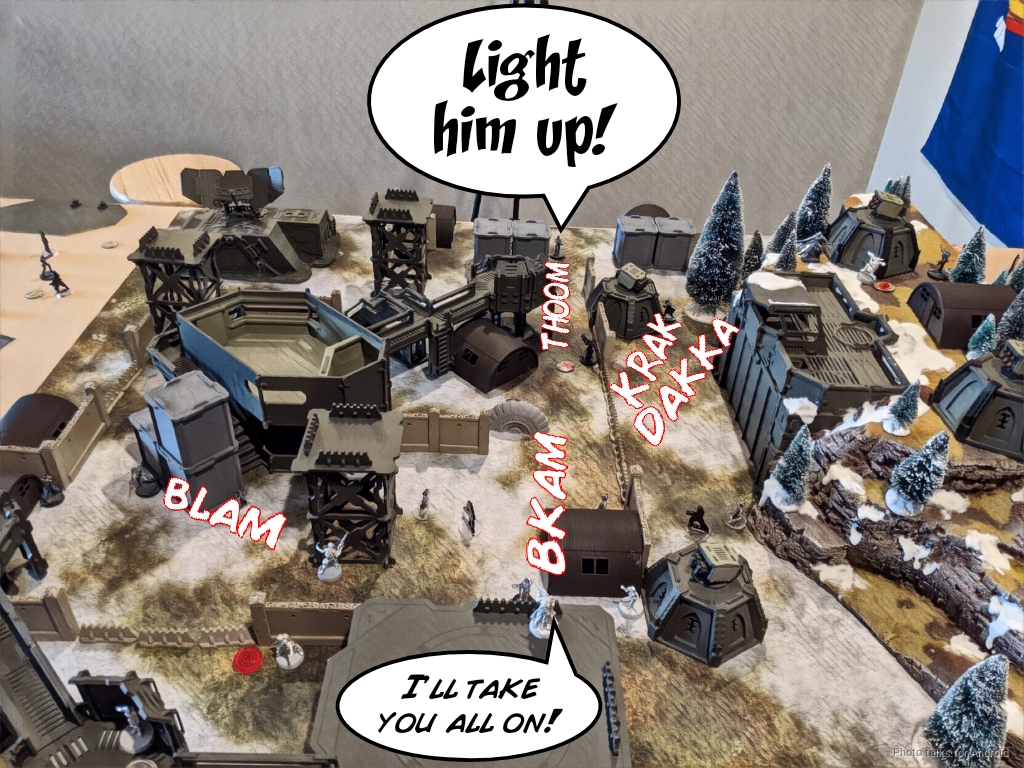
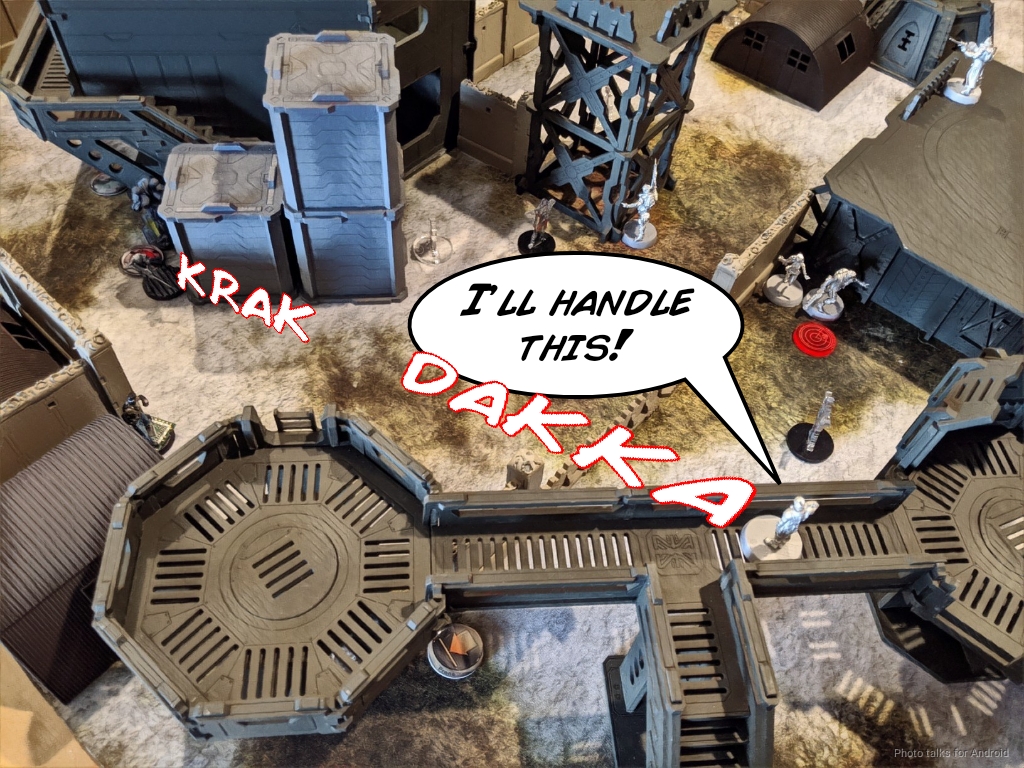
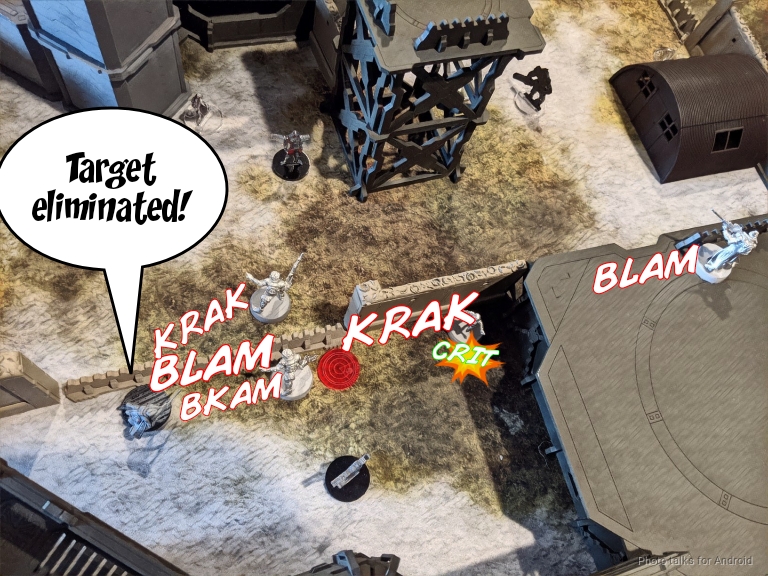
Well, Albedo is exactly the tool I need to get rid of the Ye Mao, so I decide to go hunt down some of those wildcats with my wolves. The Varg make their way forward until the K1 guy is prone and the HRL guy is in cover, then I start shooting. First shot, the Ye Mao ML gets burned down.
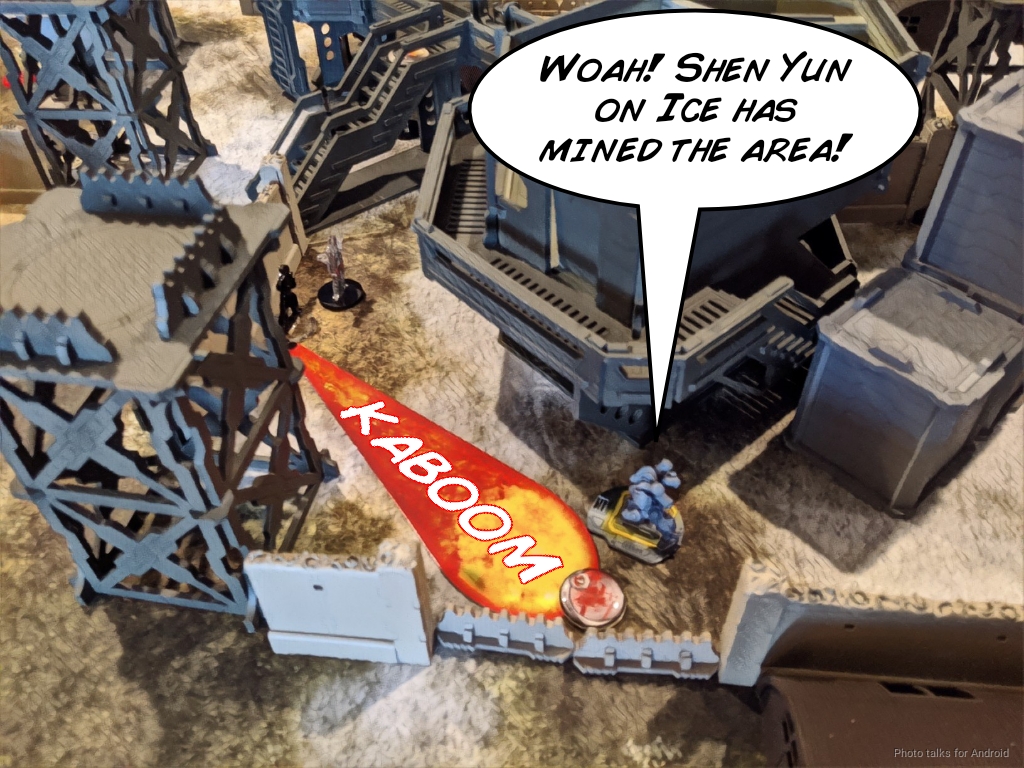
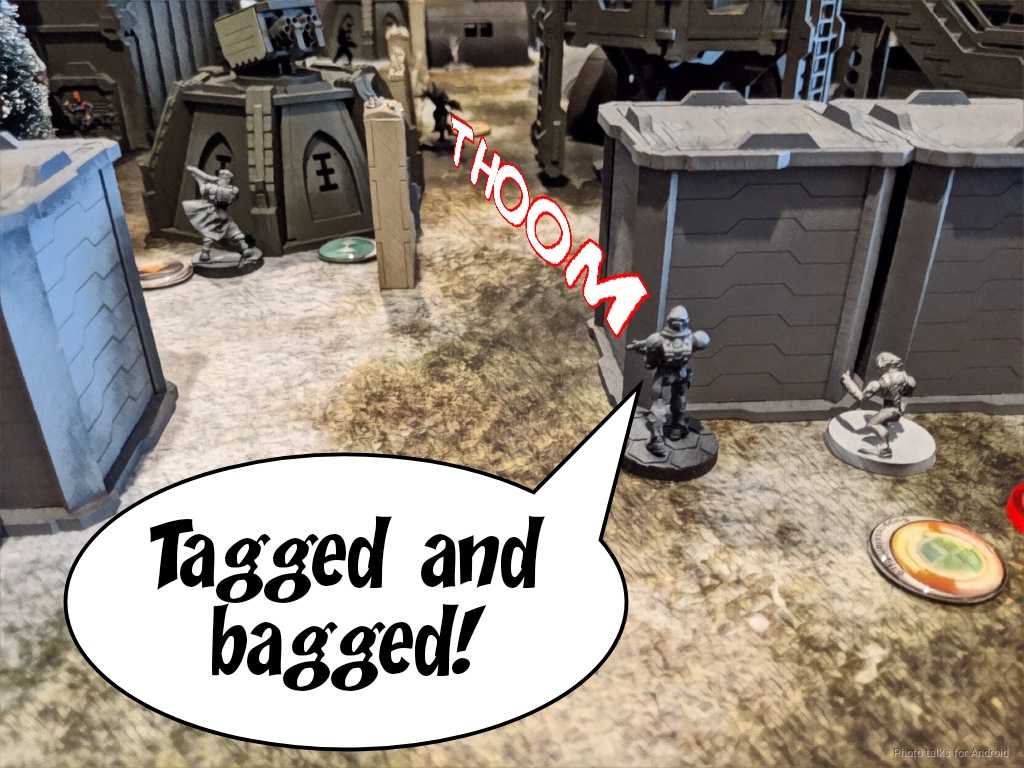
That was basically all the AROs Obi had left out, so I decided to grab a civilian with the Boyg and clear a suspicious camo token I suspected was a mine. I just move-moved into the trigger area of the mine, expecting to tank the hit, but I failed the ARM save and the subsequent roll to sync the civilian. Well darn.
I make myself feel better by taking out the AP Spitfire Ye Mao with the HRL Varg, and then I’m super low on orders.
I spent my last order as a coordinated order to lay a mine with the K1 Varg, shift the Boyg back into cover, stand the Nisse up, and settle the HRL Varg into total cover.

I reform my 3-man Nisse core and then pass turn.
Bottom of 1 – WB
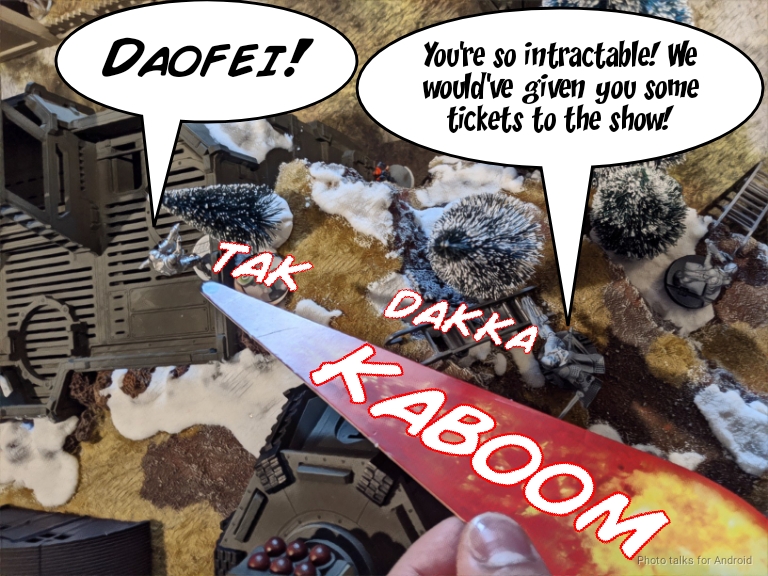
Obi activates the Daofei and guns down my K1 Varg, tanking the mine hit without any problems. Bah!
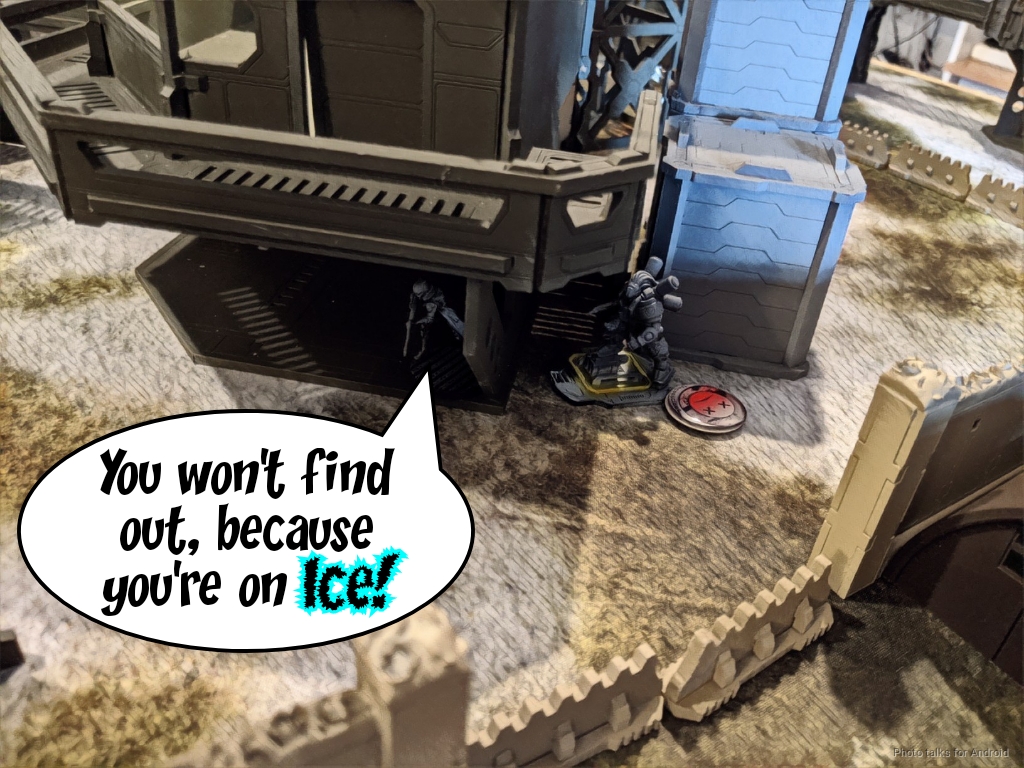
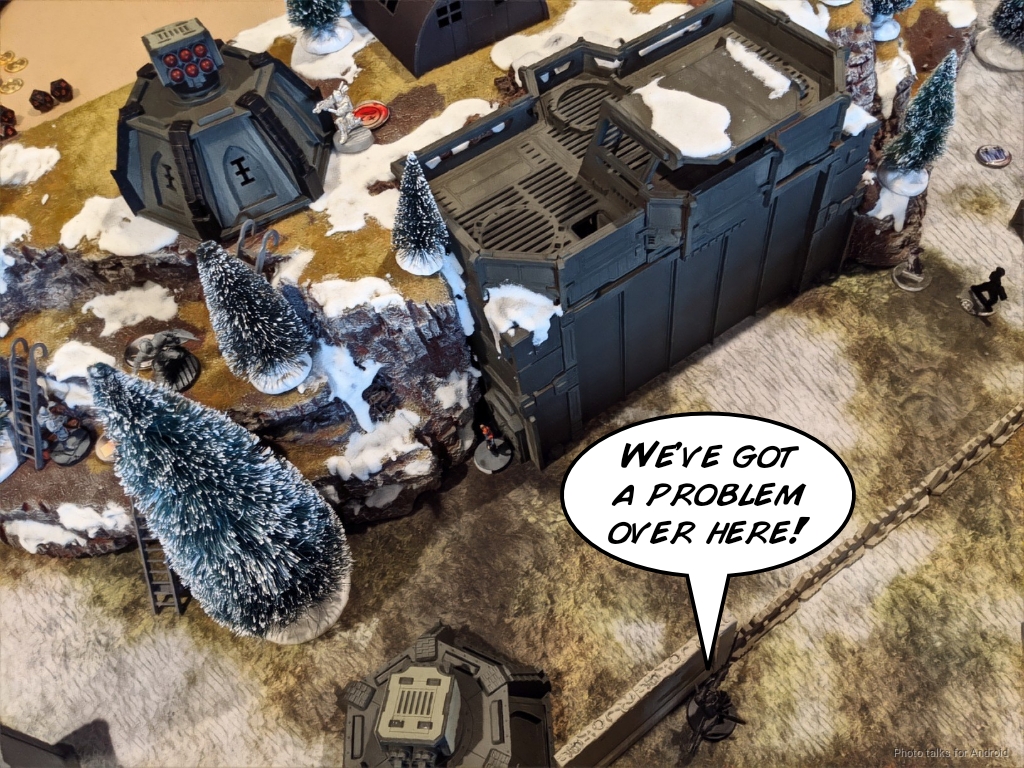
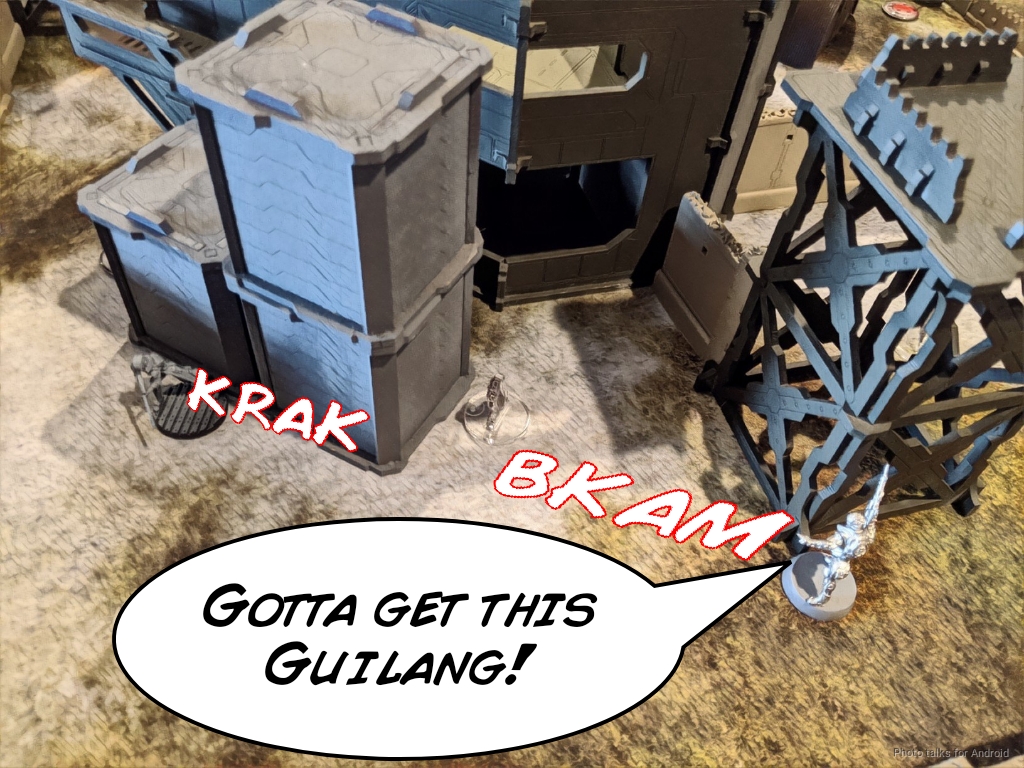
The Guilang near the Boyg vaults the stairway railing and then goes after the Boyg, but not before the Nisse discovers it.
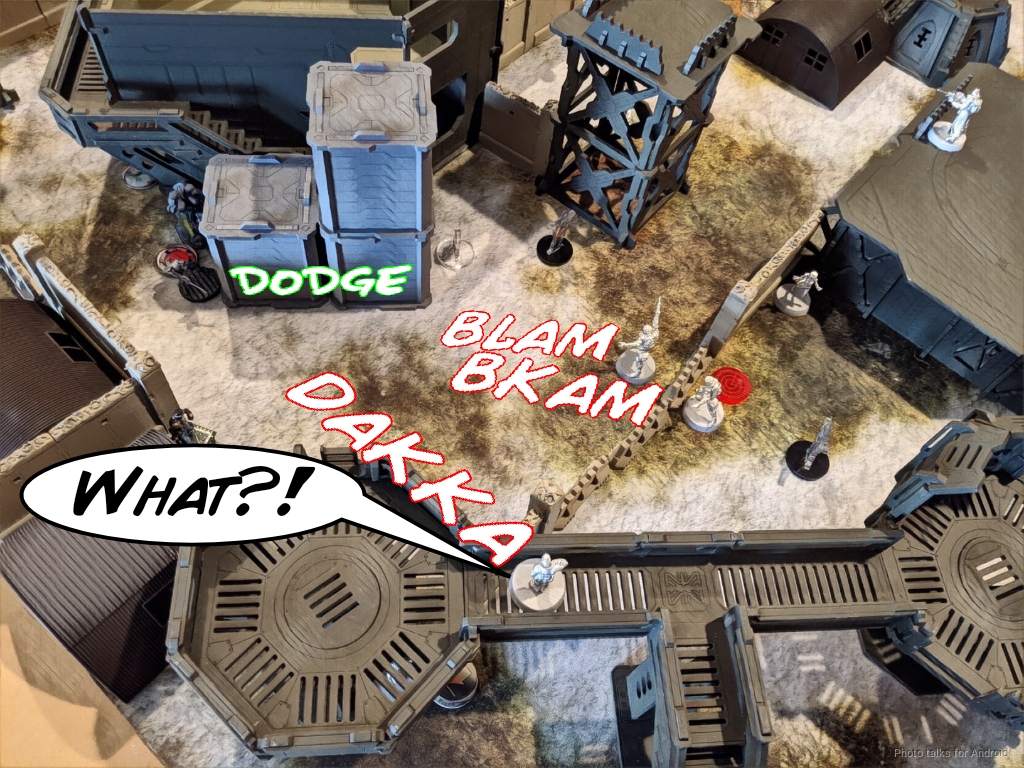
Obi does the lay a mine mine then shoot maneuver, and I decide to dodge to take advantage of the Boyg’s Hyperdynamics.
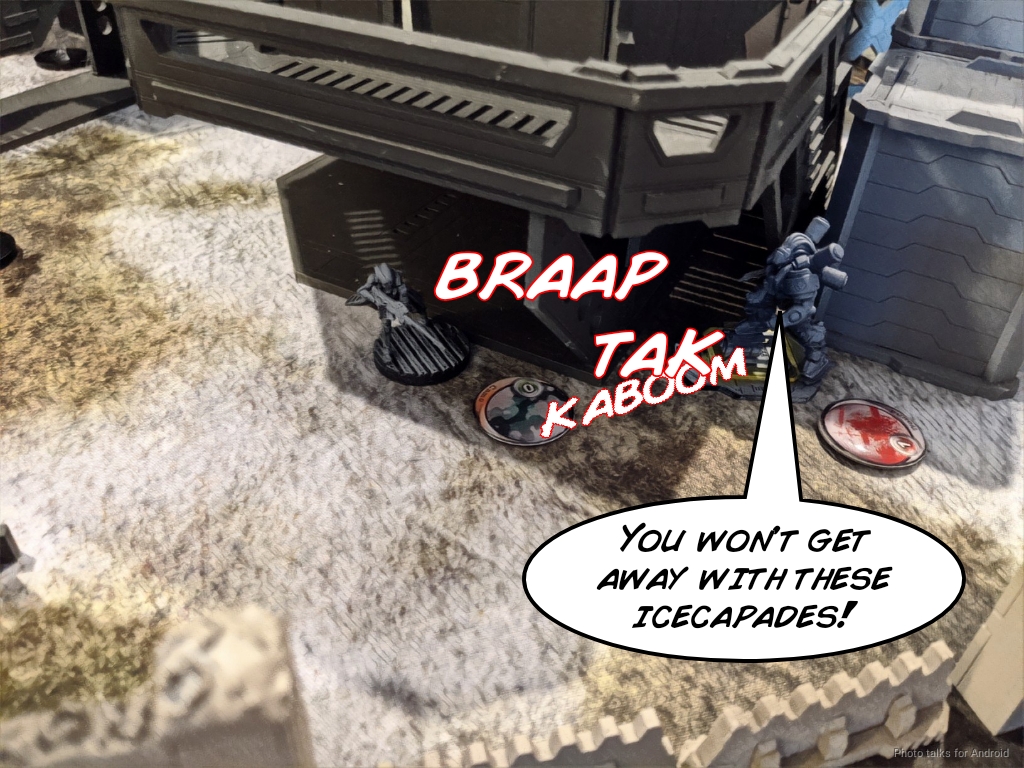
I roll a 17, failing my dodge, and then Obi lands two hits. I pass both saves against the Guilang’s combi rifle, but lose the Boyg to the mine.
Obi advances his other Guilang Minelayer up the mountain, laying a mine to protect him against the Varg walking to the lip of the mountain, and then recamos the two revealed Guilang Minelayers and the Daofei. The Ye Mao engineer goes into suppression thanks to its DataTracker order, and then it’s over to me again..
Turn 2
Top of 2 – Svalarheima
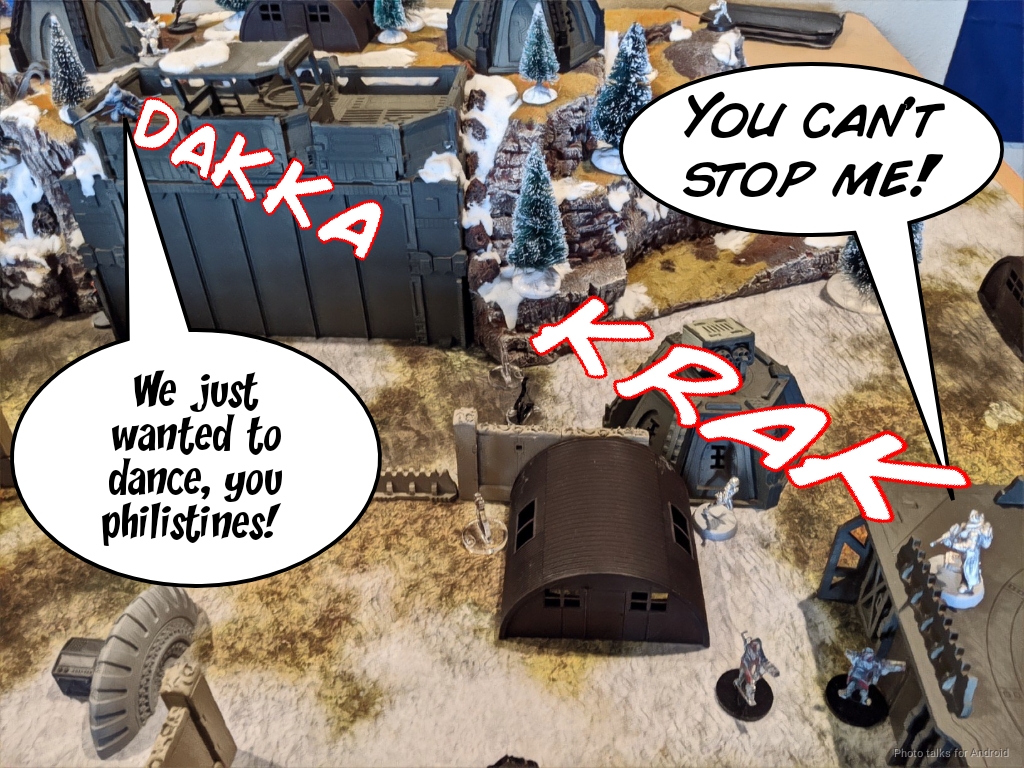
I’ve still got a Varg alive, and Obi’s left that mine and Guilang close enough to his Doctor, which the Varg can see with a super jump, so I fire a pair of HRL rockets right at them… and roll a pair of 2’s.
.
The Mine and Guilang get burnt to a crisp, but I lose the Varg to some crack shooting by the Doctor, who I think rolled a 3. I send in the Machinist and Knight of Justice to go grab some civilians (the two on my right), and end up having to leave the Knight of Justice just hanging in the open because I miscalculated the distances. I can’t recover because I can’t coordinate order the Machinist once it has synced a civilian, so I settle for syncing a second civilian and running all the way back to my deployment zone.
Bottom of 2 – WB
Obi can’t let me have an advanced Knight of Justice, so he goes after it with the Daofei.
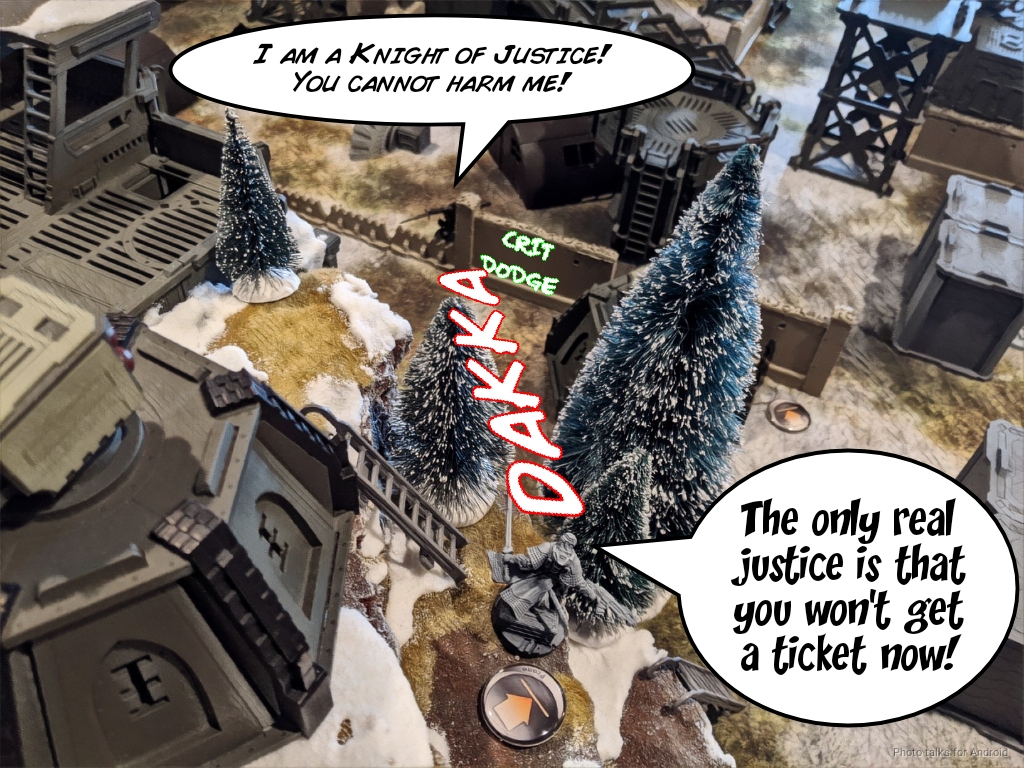
I crit-dodge behind the wall…
and Obi brings in a Tiger Soldier AHD. I’m a little confused by the Tiger Soldier’s placement…
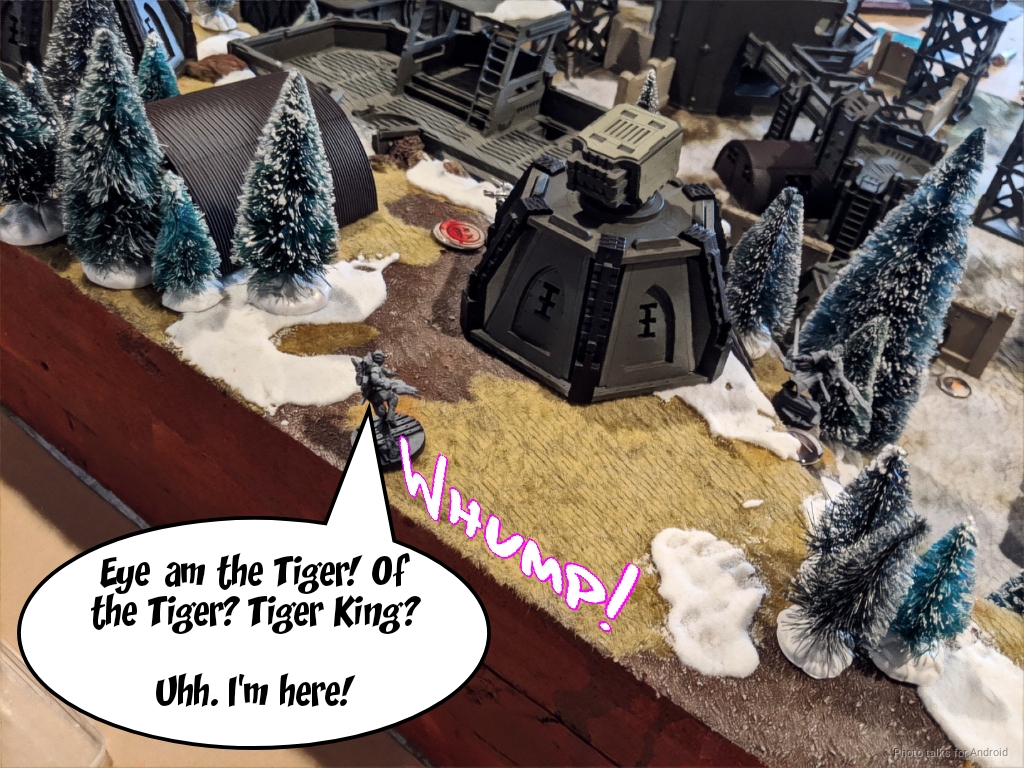
until a Guilang FO pops out of camo near my Knight of Justice and drops a repeater. As it turns out, Obi told me after the game that he brought the Tiger Soldier on for an order in the third turn.
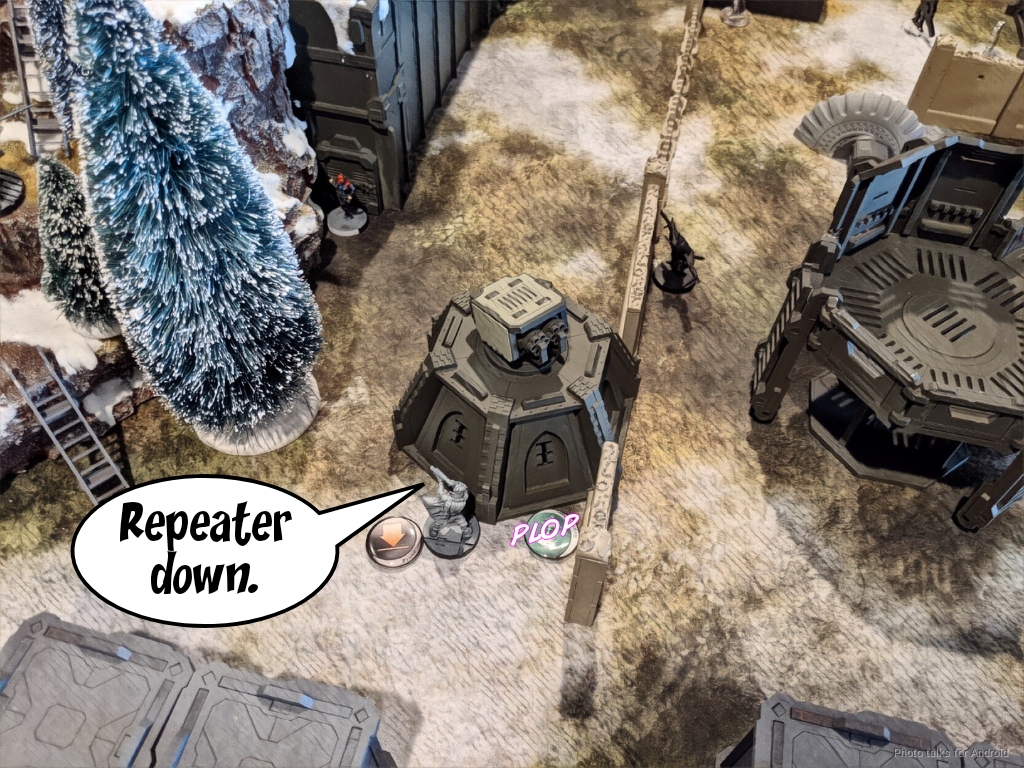
In any case, the Tiger Soldier manages to Carbonite the Knight of Justice–I made 3/4 saves.
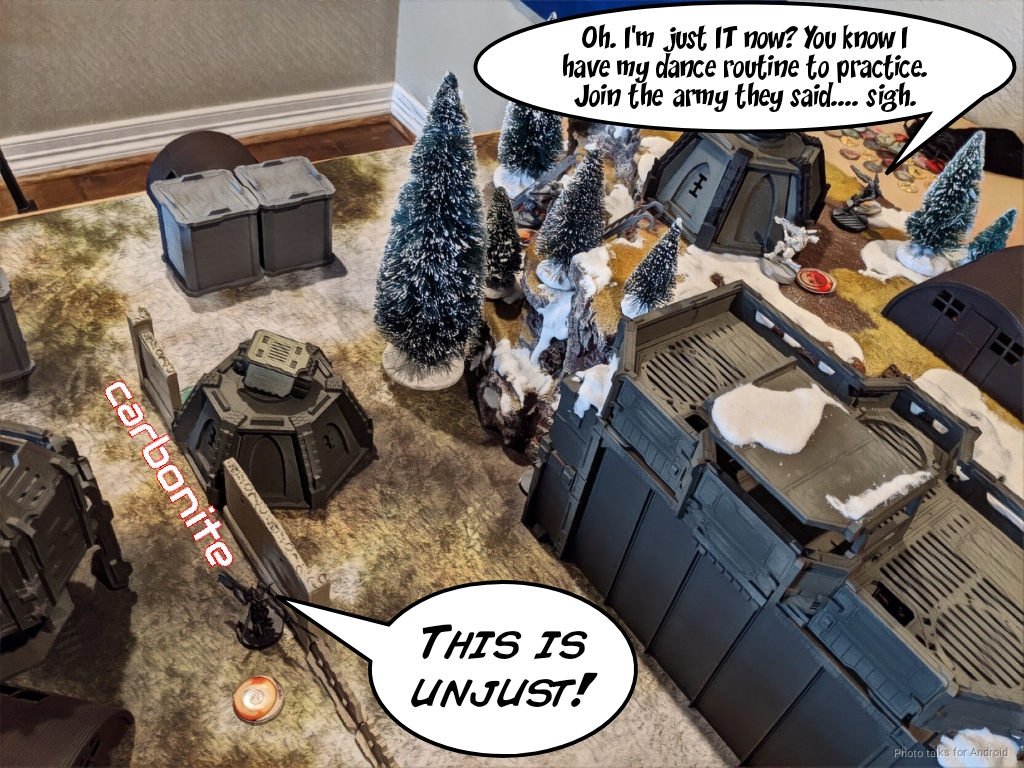
The Ye Mao engineer pops out and punches the Knight of Justice between the eyes with a Tankfist and knocks him right out.
The Nisse is making a big problem for everyone, so Obi sets up and then executes a coordinated order with the Guilang Minelayer that killed the Boyg, the Ye Mao engineer, the Guilang FO, and the Daofei. Since all the camo guys are camo guys, I decide to just shoot the Ye Mao, who is in the open, instead of delaying.
It pays off swimmingly, as I crit the Ye Mao and everyone else misses. Huzzah! Enraged, the Daofei goes prone to take an angry nap or something, and fails to kill the Nisse with a full burst of Spitfire rounds.
Turn 3
Top of 3 – Svalarheima
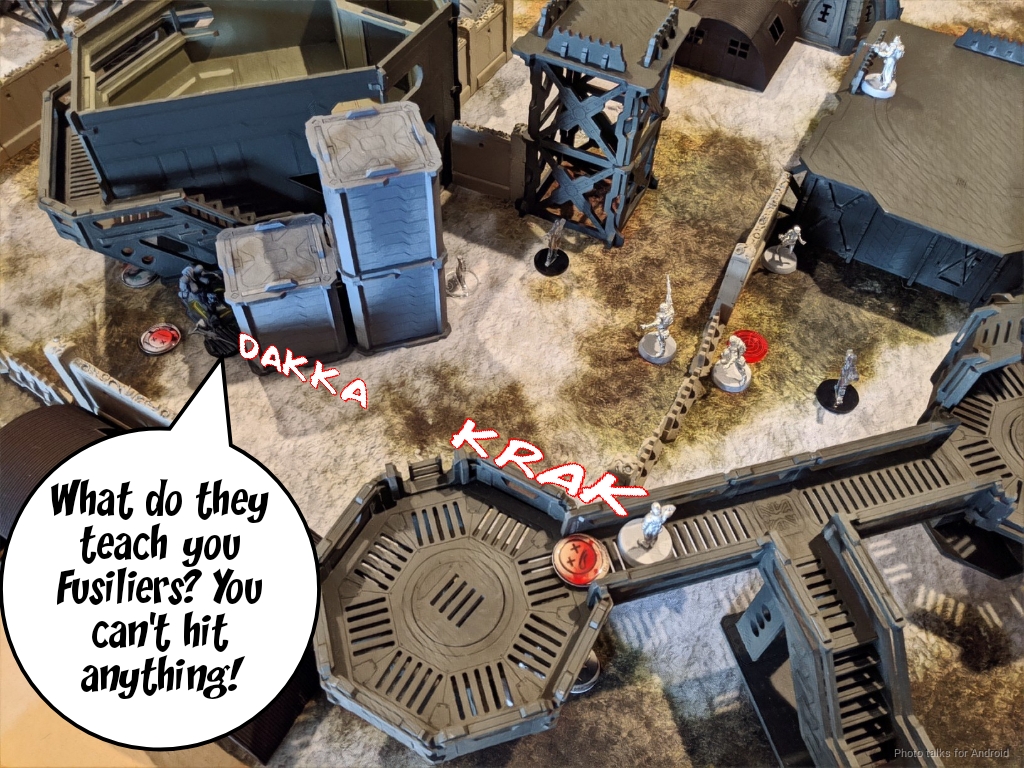
Well, I really need to get rid of that Guilang on my left. It’s annoying. I decide to send in the Nokken Minelayer, and succeed only in forcing the Guilang into total cover. Sigh.
I decide to get fancy and move my Machinist over to where my KHD Nokken is, intending to transfer the civilians over for maximum points, but fail two WIP rolls instead. I’m forced to settle the Machinist into a pocket where she’s “protected”. I’ve got one order left now, so I send in my Fusilier lieutenant, Angus, to kill the Guilang.
Mistake! Never have Angus do ANYTHING. Ugh. The Guilang passes ARM, so I coordinate order with the two Nokken and Angus to try again, and the Guilang survives the onslaught. Again. How frustrating.
Bottom of 3 – WB
The Daofei tries to take out the Nisse again, but fails.
Obi decides to just deny me points instead, and goes for the suicide play with the Guilang Minelayer. First, he takes out Angus, then recamos.
A move-move in camo state gets him in striking distance of the Machinist, so even my Nisse discovering the Guilang doesn’t help.
The Guilang dives in, dying to the hail of fire, but manages to crit the Machinist unconscious, denying me both synced civilians, which I had so carefully placed one in my deployment and one in my dead zone. Sigh.
Obi’s got an order left so he attempts to get Net Undermine with his Daoying and fails…
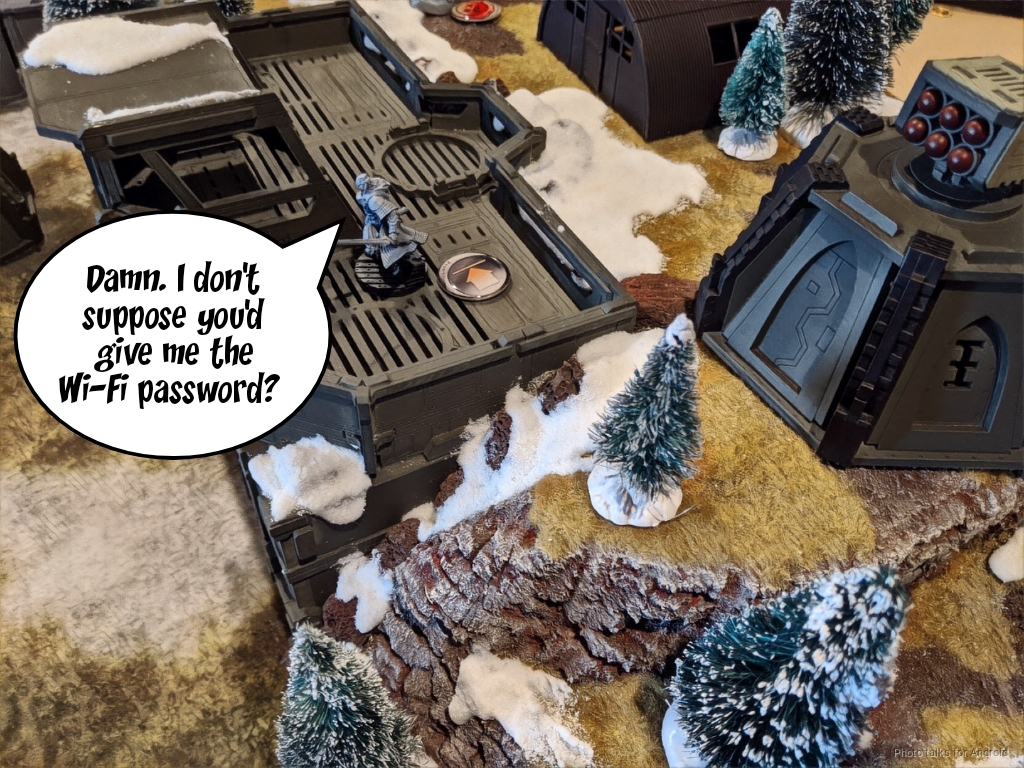
making it an amazing
0-0 Tie!
Post Game Analysis
I think I wasn’t aggressive enough with the Varg on Turn 1. I could’ve kept pushing, taken out the Doctor, attempted a discover on the Dao Fei, and taken out the last Ye Mao. That would’ve really blunted Obi’s first turn, and the Guilang can’t even see them to fight them, which is pretty rad.
So that was a bit of a timing/prioritization issue on my end. I definitely didn’t need to go get the civilians on my first turn, and I should’ve just sent in my DataTracker instead of trying to be fancy and sending in my Knight of Justice and Machinist. That would’ve saved me something like 3 orders on the last turn of trying to shuffle civilians around. Basically I just talked myself out of doing DataTracker things on my second turn for some dumb reason. Ah well.
Obi did an excellent job leveraging camo and mines to claw his way back into the fight. I do think that the two minelayers I took were enough to keep him from getting any civilians though. His attempt to tie up my Varg with mines was a super good idea, it’s a shame that the Guilang didn’t land.
So yeah. Big takeaways for me:
- I could’ve alpha-struck harder.
- Wait till turn 2 to go get civilians.
- Be much more careful in selecting my civilian-getter.
Big takeaways for Obi:
- Ye Mao are SUPER vulnerable to albedo. They can’t get SSL2 so they’re really really at a disadvantage here.
- Guilang and Daofei are awesome, but we knew that already.
As far as the factions are concerned, I’m a huge fan of both new sectorials. They offer some compelling reasons to play the sectorial over vanilla, which isn’t always the case if you’re as anti-big-link as I am.
In this particular matchup, I think White Banner is at a slight disadvantage because of the MSV/albedo interaction. White Banner has plenty of access to MSV1 with the Ye Mao and the Guilang, and I imagine we’ll be seeing a fair amount of Varg on the table. All this means is that the White Banner player will have to play around this eventuality and have some sort of answer to it. Using a Tiger Soldier, which you’re going to take anyway, is a good response. The Varg don’t have MSV1 themselves, so the mimetism will help, and you can easily outflank them to get them out of cover.
It is a bit strange trying to fit both a Varg Haris and a Karhu Duo into a list. I really want to, but you’re giving up on some serious midfield coverage with all the Nokken and Locust you can bring. I said it before, I’ll say it again, I’m curious to see what happens with the Locust in N4. They’re quite similar to Nokken now, and while their profiles are different enough to make them both interesting to me, I’ve found myself “downgrading” a Locust KHD to a Nokken KHD to save the points when fooling around.
I think it’ll take a consicous choice to take a Locust for a particular reason. For me, it’s the BSG + Grenades + Dropbears profile. I’m excited to get some more of that in my life! In any case, thanks for reading.