
Dah VIRD is the Word
I managed to tear Erik (Zelaponeepus) away from his studies long enough on a Sunday morning to get in a game of remote Infinity on a new table. I’ve been getting a bunch of questions on how I do the remote games, so I’ll just briefly recap here. Here’s what Erik sees over Zoom (and what Twitch viewers also see):
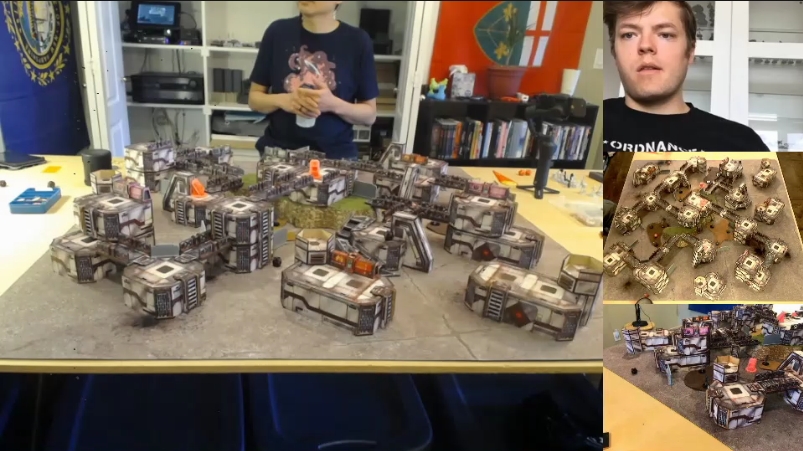
Each of the camera views can be swapped to the large video box on the left, so Erik can get a better view of whatever we’re looking at. What you see in the large box now is what I call the “deployment zone camera,” which approximates what Erik would see if he was actually standing at the table. There’s also an “overhead camera,” so Erik can see what I’m doing on my turn as I move stuff around, and the camera currently in the bottom right is my phone’s camera, so I have a wireless camera to fly Erik around the table with.
I’m using my Strompost Alpha table, which you can purchase from Muse on Minis here:
It’s a bit monotone visually, especially on the concrete mat that I originally thought would be a good match for it, but it’s extremely flexible as a table.
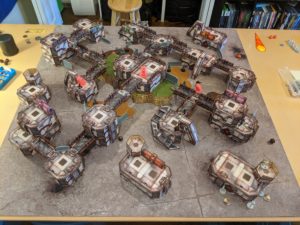
Typically, to make it more tactically interesting, I make it 2-3 levels tall with multiple levels of bridges. The bridges then block LoF at various angles across the table, which means as you move through the maze of catwalks you end up entering and exiting various firelanes.
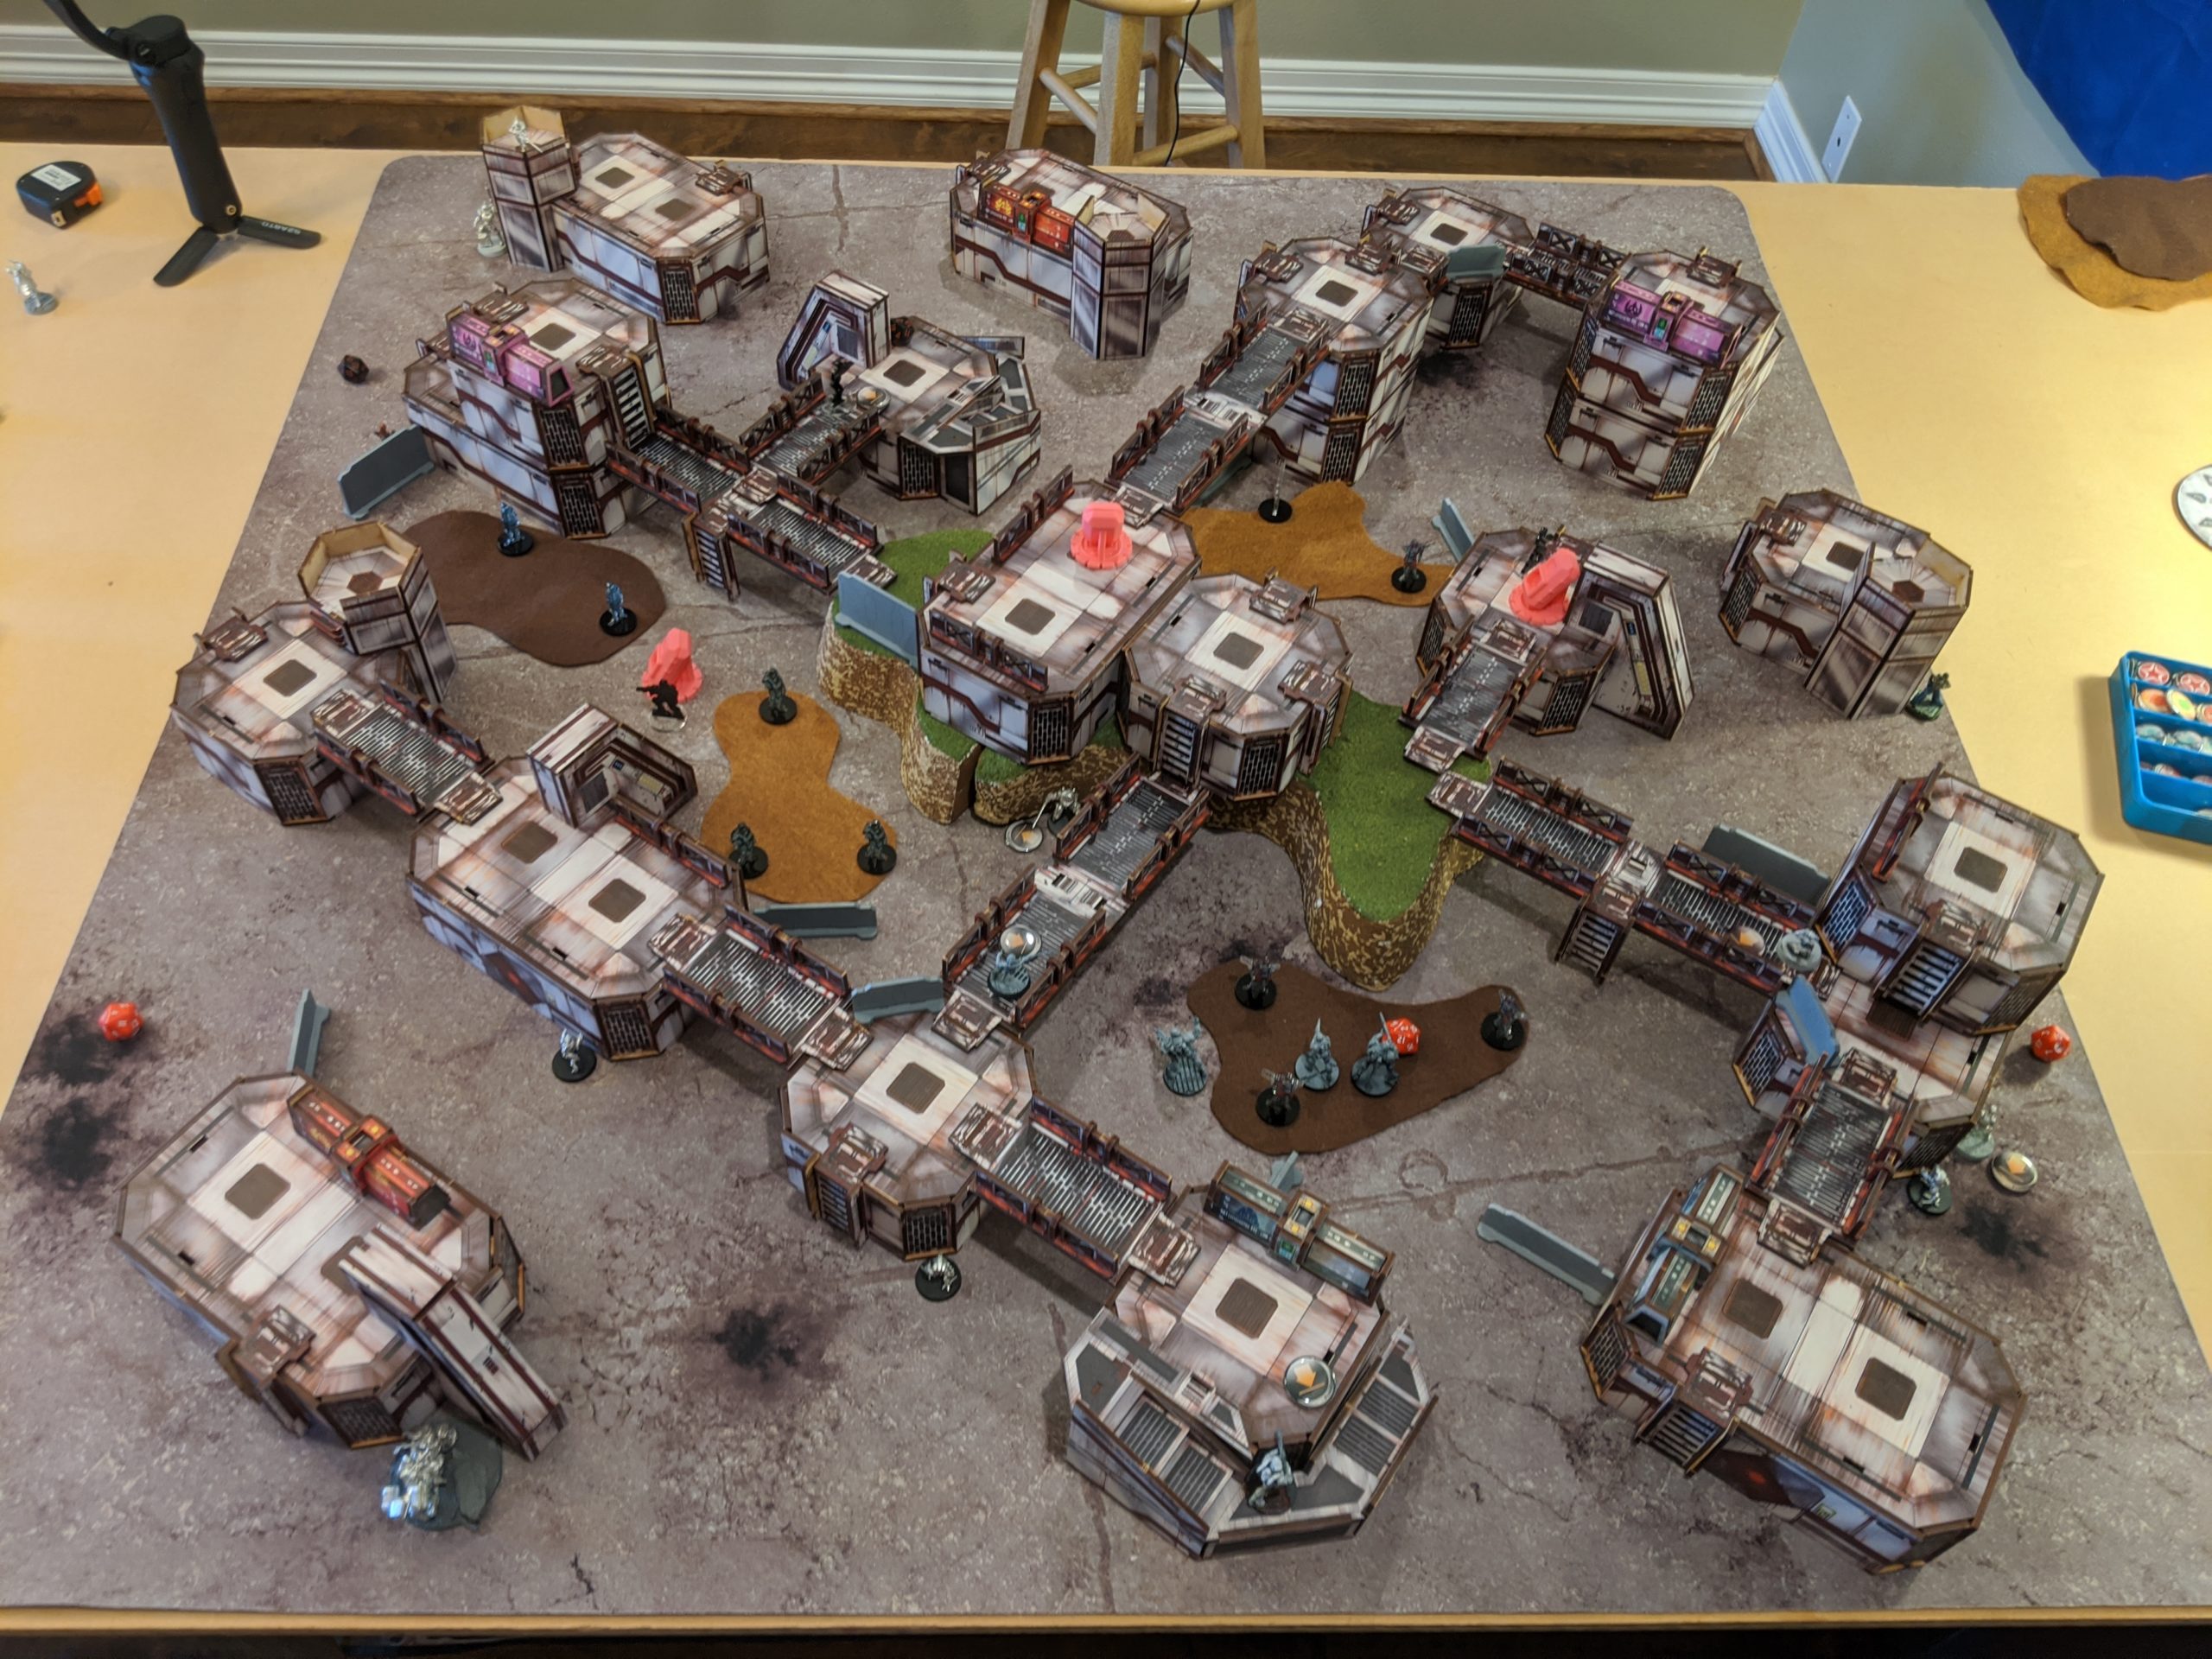
This is super interesting if you’re playing in person, but it makes it even harder than the mountain table I’ve been testing to play on remotely. To alleviate this, I limited myself to two levels and kept all the bridges on the same level to make things simple. I’ve been playing a lot of tables that have various “gimmicks” lately, be it the mountain table’s crazy LoF, the plane table’s mess of low-vis and saturation zones, the minefields on my gate table, etc. I’ve made it a goal for myself to have some unusual mechanic on every one of my personal tables, so I designed one for this table: civilian crowds.
Civilian Crowds
Civilian crowds represent the fact that some Infinity missions might take place in a crowded city or space habitat module with many non-combatants present. These rules are intended to introduce more difficult decisions into a game of Infinity and loosely model the dynamics of undertaking a mission in a crowded space.
- Civilian crowds are represented by an area template of no more than 6″ x 6″ inches a side. You may have up to 4 total such templates in a game, which should not touch each other. The templates may be irregularly shaped if desired.
- Players should agree at table set up on the quantity and placement of these area templates.
- For visual interest and state tracking, it is recommended that players put three civilian models or markers in each template. These models or markers may be moved or removed for convenience of play, and can serve as “wound markers.”
- Civilian crowd templates do not block LoF, do not introduce movement penalties, and do not introduce any penalties to shooting through them.
- Civilian crowd templates may be the target of BS attacks, but not direct templates.
- Civilian crowds have 1W, 0 ARM, 0 BTS, and are S2 in height. They have V:Dogged and Remote Presence (to allow for 2 levels of unconsciousness). This is to model some delay in a crowd dispersing after it takes wounds (hence the three wound markers), credit goes to Adam (TheDiceAbide) for this mechanic.
- If a model is within a crowd, it is considered to be in close combat for the purposes of calculating BS face to face rolls. This affects both models in the face to face (into or out of the crowd). For example, if Fusilier Angus out of cover in a crowd template and Alguacil Ortega is out of cover and shooting Fusilier Angus at a range of 16″ during his active turn, Ortega would ordinarily be looking for 14’s. Now, he’s looking for 14-6=8. On a 1-8, he hits Angus, on a 9-14, he hits the crowd. Angus shooting back would hit Ortega on a 1-9 and hit the crowd on 10-15. You may crit the crowd and crit the targeted model as normal.
- If you are shooting into a close combat that is also in a crowd template, treat the crowd as an additional combatant in the close combat, i.e. an additional -6, a range of numbers to hit the crowd or the other model in CC.
- Finally, if a crowd goes to the dead state at the end of a player’s active turn, it is removed from play along with its template, and the active player loses an objective point!
Definitely adds a dark narrative element to a game, but Erik and I found it to be pretty interesting.
Overview
- Mission: Supplies
- Forces: Dahshat Company versus Varuna Immediate Reaction Division (300)
- Deploy First: Dahshat
- First Turn: Dahshat
Ugggh
ZÚYǑNG Lieutenant (AutomediKit) HMG / 2 Breaker Pistols, Knife. (1 | 39)
VALERYA GROMOZ Hacker (Hacking Device UPGRADE: Expel) Combi Rifle + Pitcher / Pistol, Knife. (0.5 | 21)
MIRANDA ASHCROFT Boarding Shotgun, Nanopulser / Pistol, Monofilament CC Weapon, Knife. (0 | 23)
HÚLÁNG Combi Rifle + Light Flamethrower, E/M Grenades, D-Charges / Pistol, Monofilament CC Weapon, Knife. (0 | 44)
HUNZAKUT (Deployable Repeater) Rifle + Light Grenade Launcher, Antipersonnel Mines / Pistol, Knife. (0.5 | 18)
112 (Motorized) Light Shotgun / Pistol, CCW. (1 | 20)
NASMAT Electric Pulse. (0 | 3)
NAJJARUN Engineer Rifle + Light Shotgun, D-Charges / Pistol, Knife. (0 | 17)
9
1 | 5.5 SWC | 300 Points | Open in Infinity Army
After facing Adam’s Dahshat here:
I wanted to try a similar build–two 3-man cores, but with the intent to build a 5-man if necessary. The rest of the force was about covering ground. Four Nasmats to support my link, and the Hulang and Hunzakut as strikers for where the link can’t cover.
Varuna Immediate Reaction Division
ZULU-COBRA Lieutenant (Sensor) Combi Rifle, Jammer / Assault Pistol, Knife. (0 | 29)
PATSY GARNETT Submachine Gun, Nimbus Plus Grenades, D-Charges / Pistol, Knife. (0 | 37)
ORC (Varuna Div.) (Multiterrain: Aquatic/Jungle, Stealth) Feuerbach / Pistol, Knife. (2 | 43)
BIPANDRA Combi Rifle, Nanopulser / Pistol, Knife. (0 | 23)
KAMAU (Multispectral Visor L2) MULTI Sniper Rifle / Pistol, Knife. (1.5 | 32)
MACHINIST (Varuna Div.) (CH: Mimetism, Stealth, Aquatic Terrain) Combi Rifle, D-Charges / Pistol, Knife. (0 | 17)
CROC MAN (Forward Observer, Deployable Repeater) Combi Rifle, Antipersonnel Mines / Pistol, Knife. (0 | 32)
Erik took the Varuna deathstar, with lots of utility in the link supporting the ORC Feuerbach and the ubiquitous Kamau sniper. Erik’s main problem solvers were a trio of Zulu Cobras and a pair of Croc-Men. I really like his list, it’s quite flexible and has good board coverage.
Edit: WakeTheGhost caught an illegal fireteam error! This is an “up to 3 Fusiliers and up to 2 Orcs” fireteam. The actual Orcs (Feuerbach and Patsy) fulfill the latter portion, Bipandra counts-as a Fusilier, and the Kamau is Wildcard, so that’s fine, but the Machinist can only join Fireteams of Kamau, which this is not. It ended up not mattering whatsoever, but it’s important that these sorts of errors are caught so they don’t spread. Thanks for the catch!
If you’d like to watch the whole thing, here you go!
Deployment
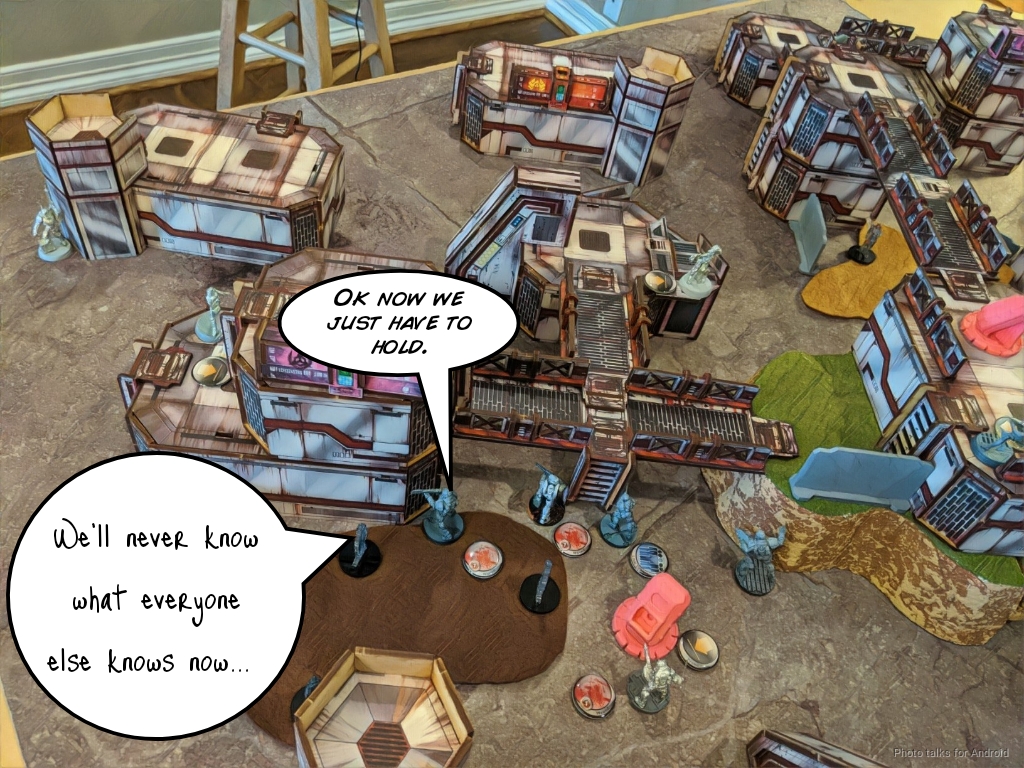
Erik won the roll and took deployment, so I deployed and went first. I had no idea where the Kamau was going to be. I had some hints that it might be on my right due to the questions Erik was asking as he was choosing table side, but I wasn’t sure. In any case, I resolved to try position and my link in the middle and set up Valerya and Miranda to get some supply boxes.
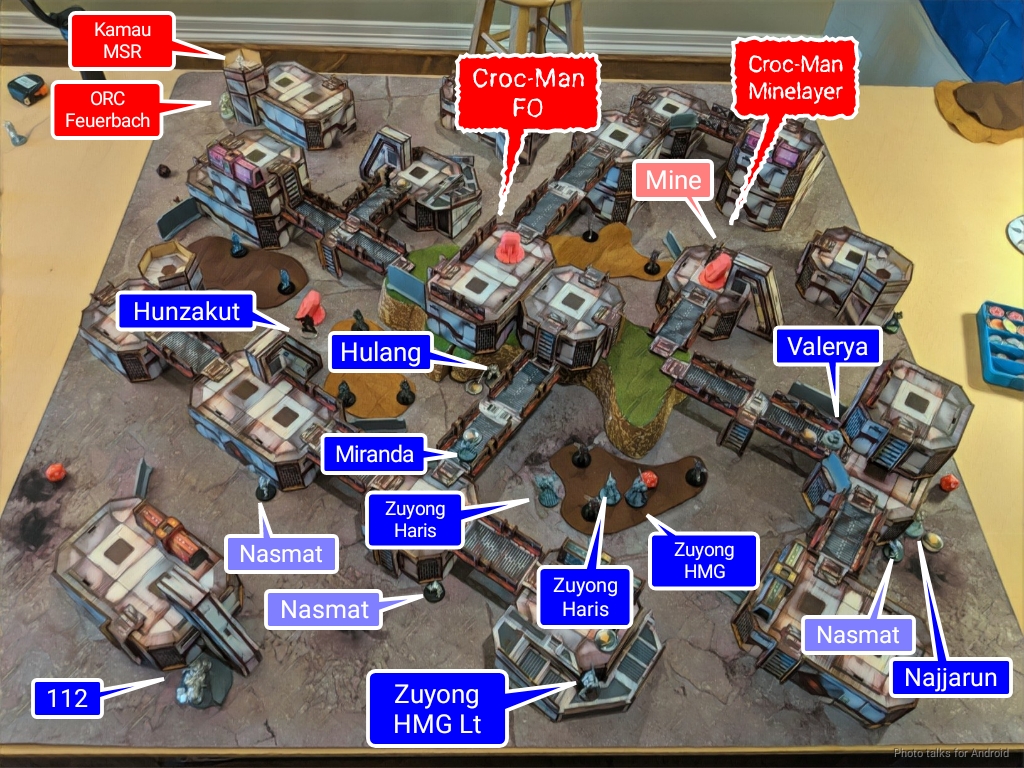
The two ladies went up on the bridges with the three tac-aware Zuyongs between them. I figured this would give them plenty of orders to go get the objective and to retreat. My 112 and Najjarun hung out on opposite sides of the table with their Nasmats scattered between them, and then the Hulang went somewhere in the middle to prevent him from getting shot up in case I didn’t move him on my turn. My Lieutenant goes in the back, ready to reinforce the team.
Erik deployed on my left instead, castling up the Kamau in a sniper tower with the ORC Feuerbach also left out to ARO. He scattered the three Zulu Cobras in a screen, with the Spitfire serving as his gunfighter on his left to balance out the link being on the right, and the Zulu Cobra Lt/Jammer screening the link.
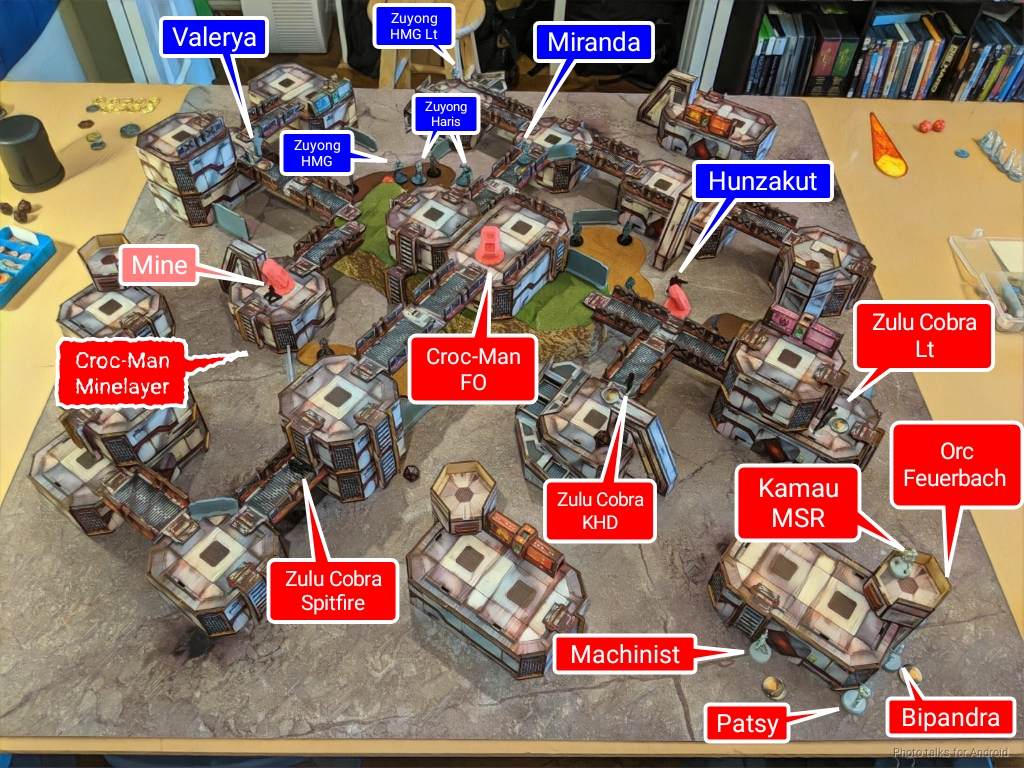
His two Croc-Men went in the middle and on the left, with the leftmost one guarding the supply box with its mine. I dropped the Hunzakut in a position to feint grabbing the supply box, really it was just there to grenade the Kamau. Erik dropped his Zulu Cobra KHD to prevent me from pushing too far into his deployment zone, and then we were off.
Turn 1
Top of 1 – Dahshat
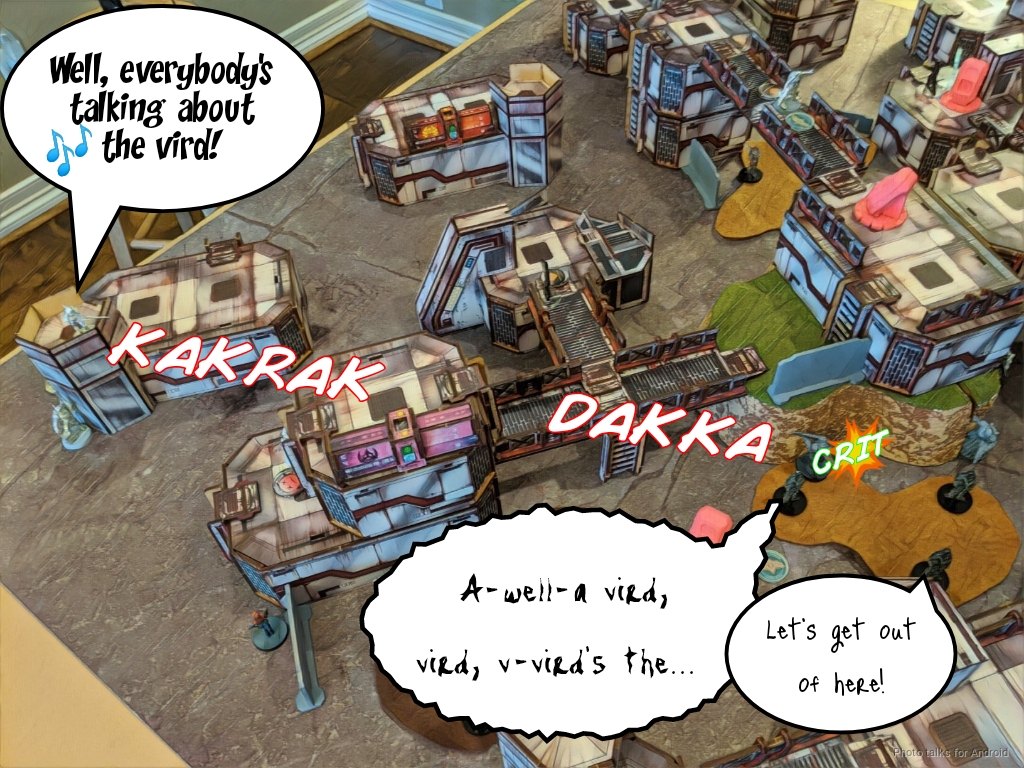
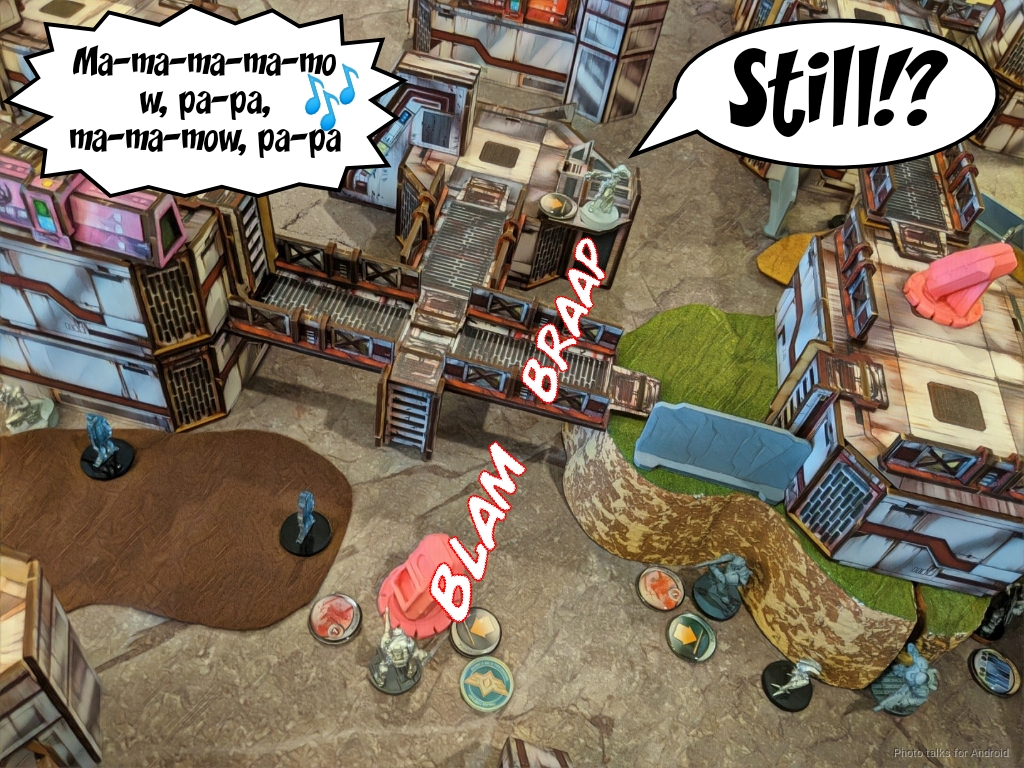
Before we go any further, I feel I have to subject you to the choice of watching (or not, I recommend not) this:
The original isn’t much better. I’ll let you google that on your own. I figure with the Kamau MSR being such an obnoxious prat, it was only fitting for him to be serenading everyone with this horrible song.
I start things off by attempting to shut down that insufferable Kamau. I move into position with the Hunzakut, incorrectly assuming that Erik’s reserve was his Zulu Cobra Lt (it was the KHD). My second order is to spec-fire a grenade onto the Kamau, successfully hitting it and causing the Zulu Cobra Lt to reveal and attempt to jam my Hunzakut.
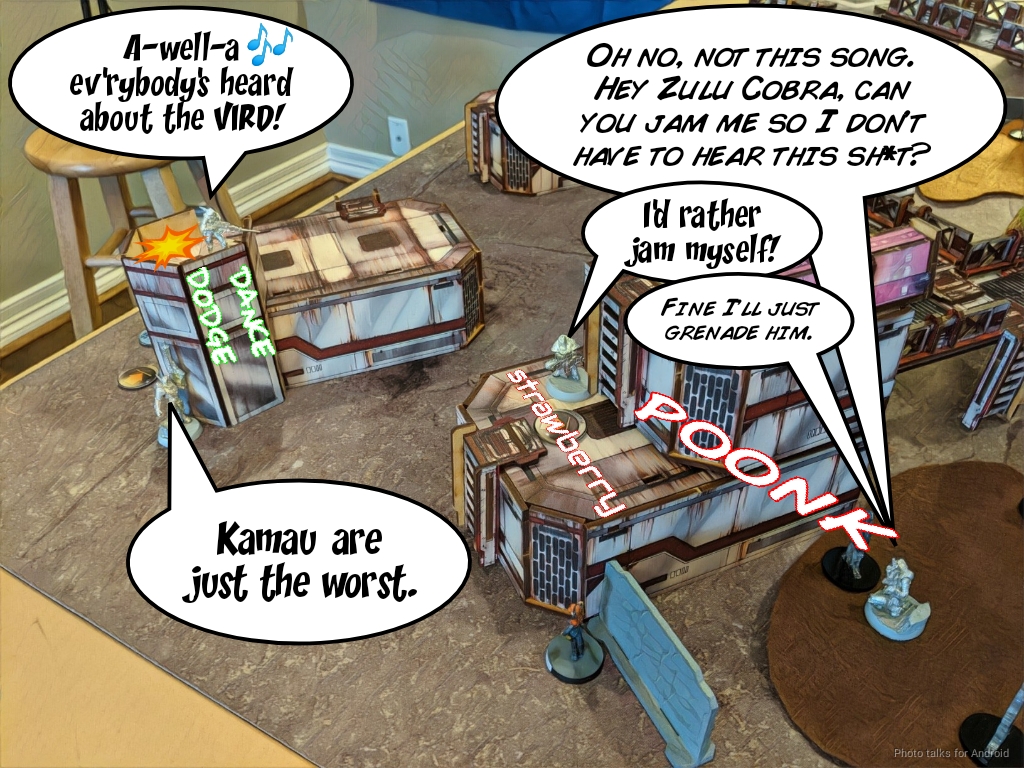
Unfortunately for me, the Kamau passes its ARM save, but happily the Zulu Cobra fails its jammer roll. I use the Hunzakut’s stealth to scoot out of jammer range before grenading the Zulu Cobra into unconsciousness.
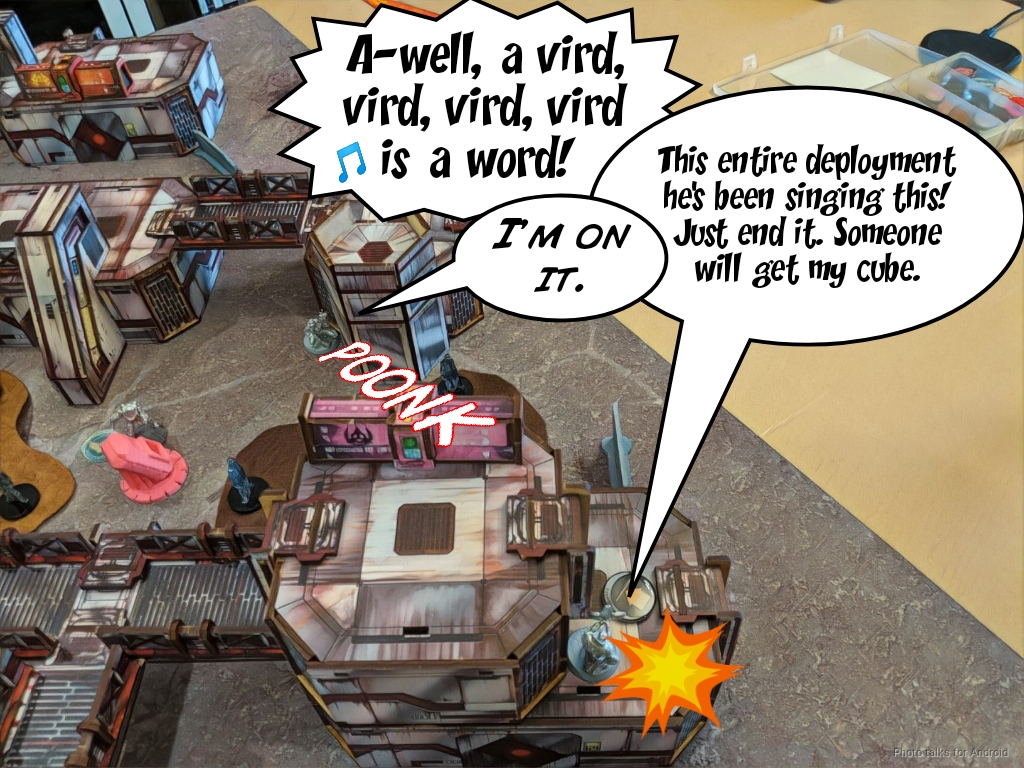
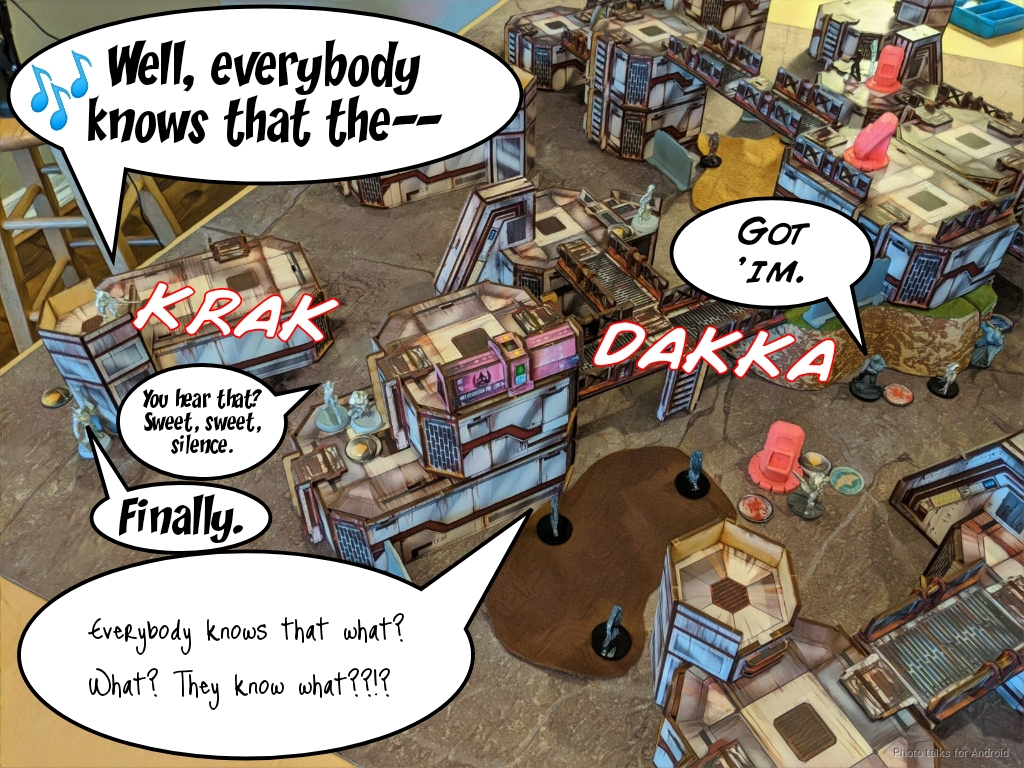
I then decide to play to the objective and snag the left box with my Hulang, but that Kamau just won’t shut up so I have to attempt to kill him again with the Hunzakut.
I try again, and again, and again… it’s as if the rain of grenades is just providing baseline to the song. Eventually, I run out of orders. Whoops! I attempt to recover by shuffling the link around with the three tactical awareness orders, pushing Miranda and Valerya closer and pass the turn.
Bottom of 1 – VIRD
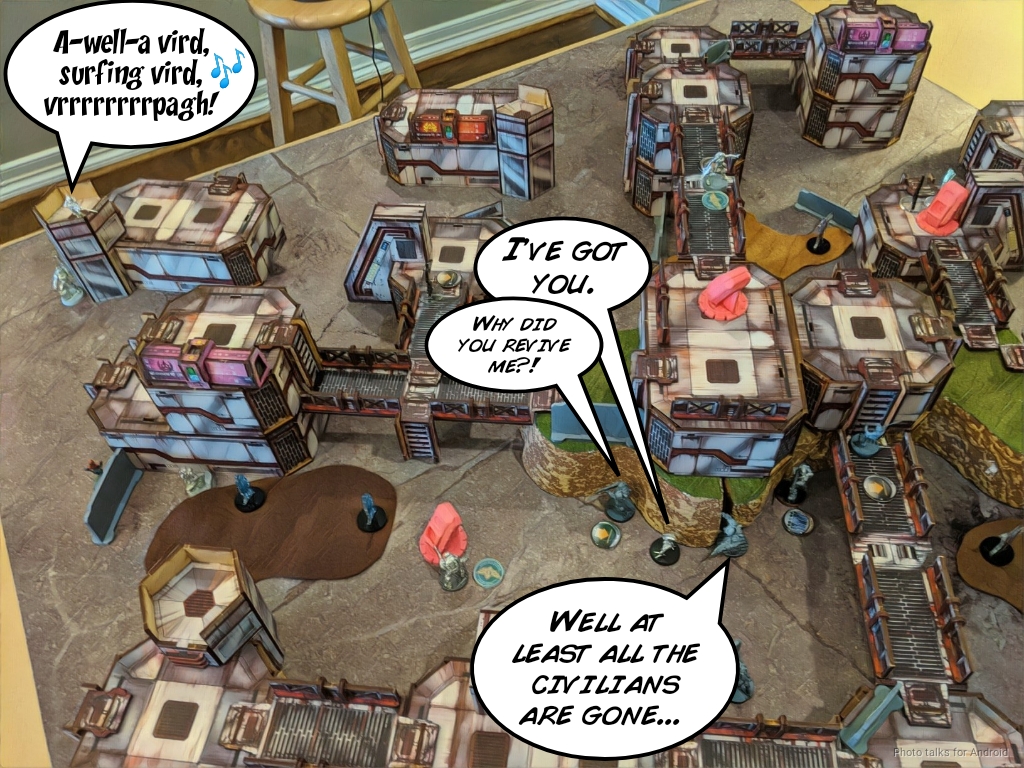
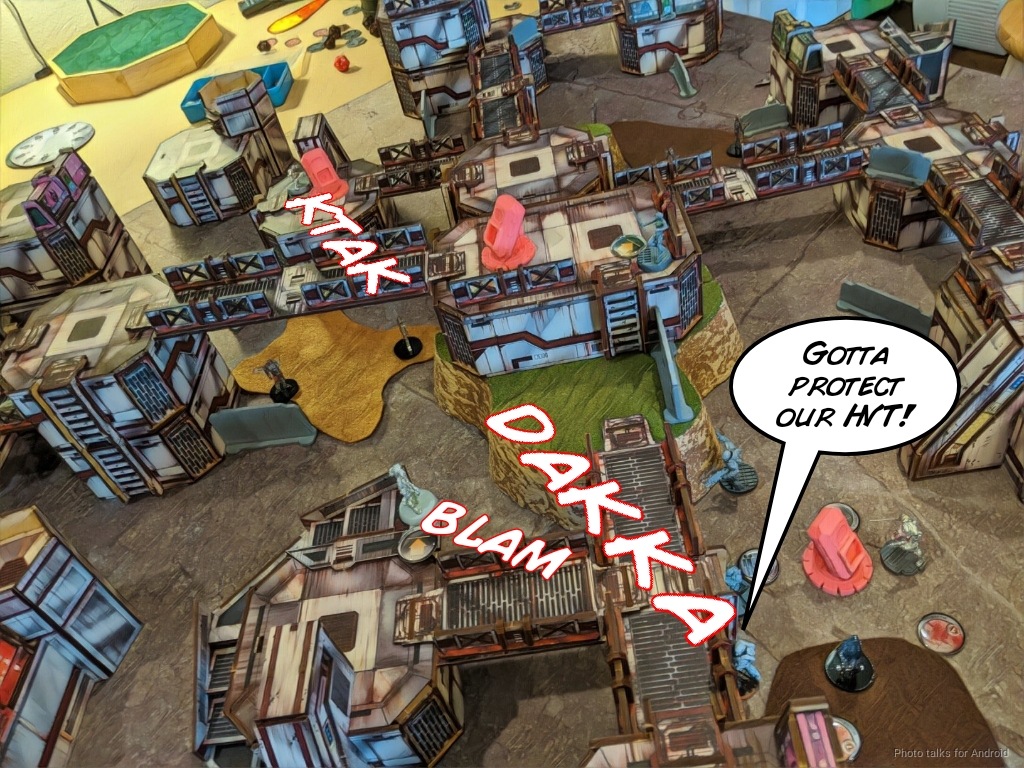
Erik’s in loss of lieutenant but decides to play to the objective, revealing a Croc-Man FO who quickly absconds with the central objective by belly-crawling away on the bridge as he’s aurally assaulted by that insufferable Kamau.
Valerya is making it difficult for the Croc-Man FO to move quickly, which is what Erik really wants to do, so he sends in the Zulu Cobra spitfire to take her out. This goes off without a hitch for him, knocking out a key specialist for me. Uh oh.
Erik decides that he needs to set up some protection for his Croc Man FO and climbs his minelayer into position to cover the FO as well as the rightmost objective.
At least Erik spent a ton of orders on this!
Turn 2
Top of 2 – Dahshat
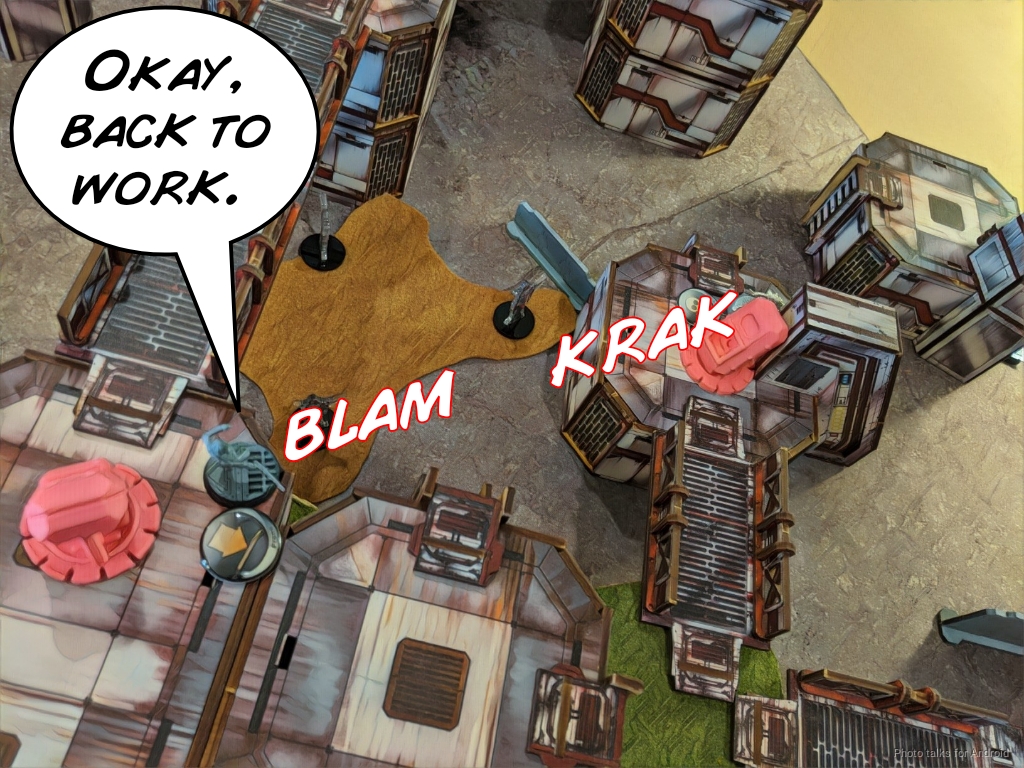
I really need to get rid of that Kamau, so I spend the Hunzakut’s irregular order on another attempt and fail.
The Zulu Cobra Spitfire has also become a problem, so I decide to remove it with my Zuyong HMG Lt. I’m down a link member, which is exactly what the extra Zuyong is there to resolve. I move two Zuyong back with a Tactical Awareness order, form a 3-man haris with the Zuyong Lt, and then gun down the Zulu Cobra easily.
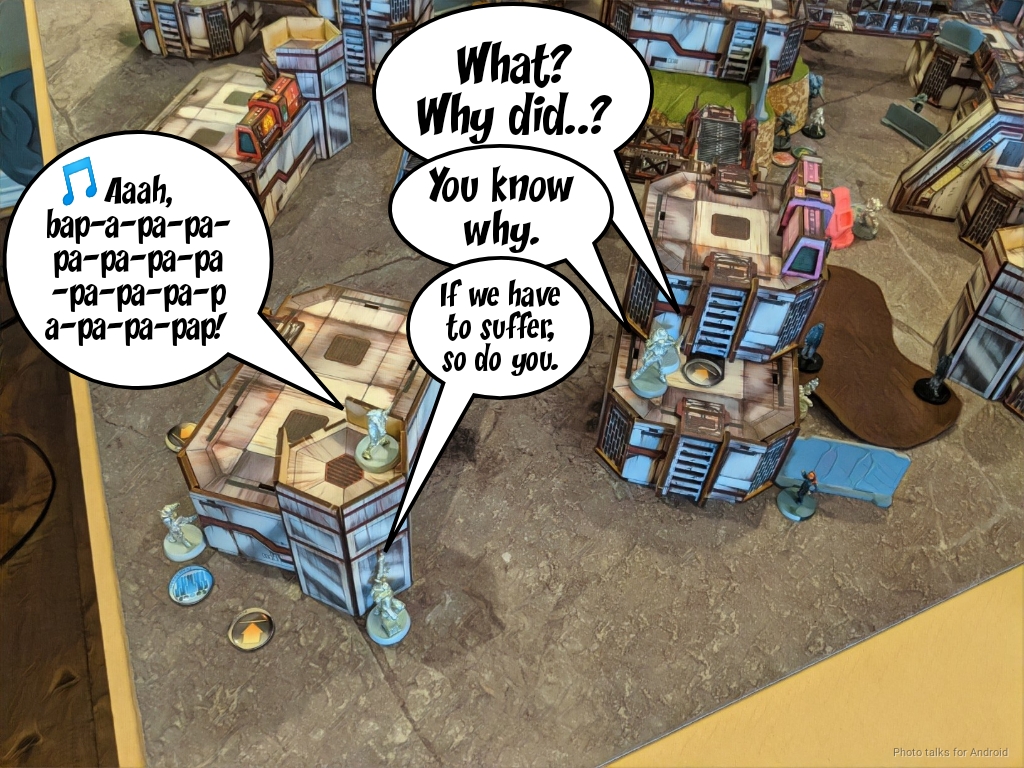
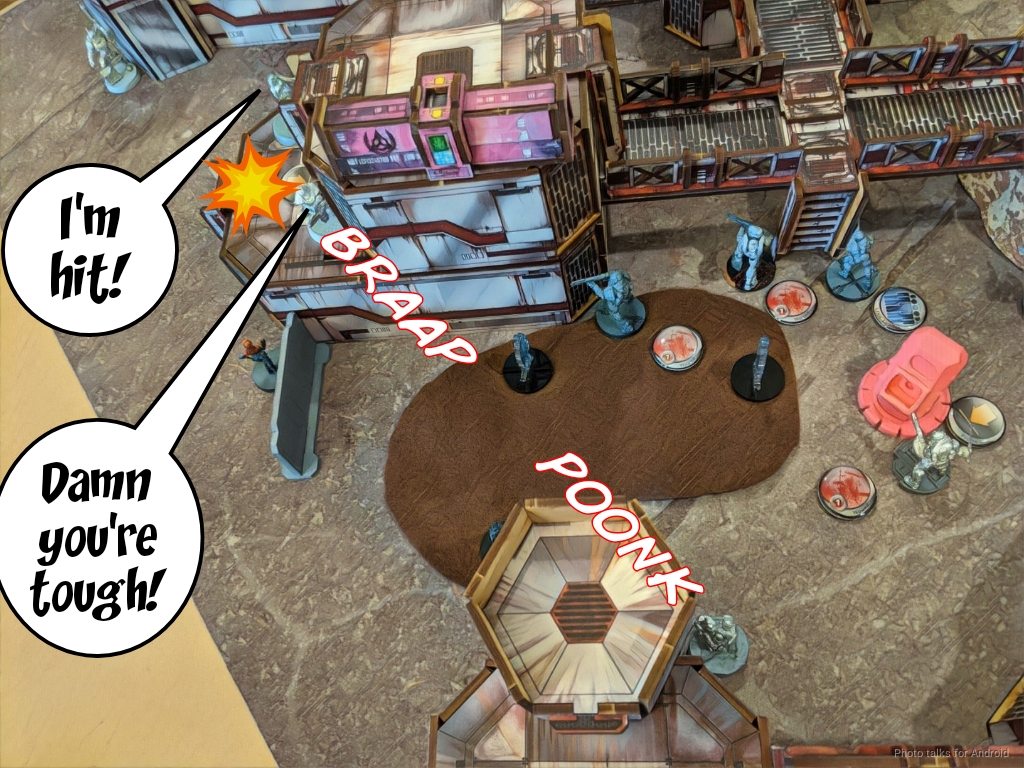
Now that I’m in a 5-man link, I decide to challenge the Kamau with brute force. It just so happens that the most expedient way for me to engage the Kamau is from within one of the Civilian Zones, so I try out the new mechanic.
It doesn’t go super well. Over the course of a few orders, my Zuyong HMG crits a civilian, the Kamau shoots a Civilian and crits my Zuyong, knocking him out.
The civilians in that zone disperse, enough of them having been wounded by the exchange of fire to do three wounds. Eventually the Kamau knocks out my Zuyong and I’m forced to pick it up with one of the Doctor’s ‘bots, ending my turn. Very irritating.
Bottom of 2 – VIRD
After retreating the Croc Man FO to safety, Erik pics up the Zulu Cobra Lt with Bipandra, breaking the link but securing a classified.
The Zulu Cobra KHD is in position to try and deny me a box by shooting at my Hulang, so Erik does exactly that.
After two orders of shooting, the Hulang is out of line of fire and has taken a wound, so nothing really happened.
At this point things are still sort of okay, it all depends on how I play out this last turn. Erik decides to reform the link around the Kamau, since it’s still within 8″ of everyone including Bipandra.
Turn 3
Top of 3 – Dahshat
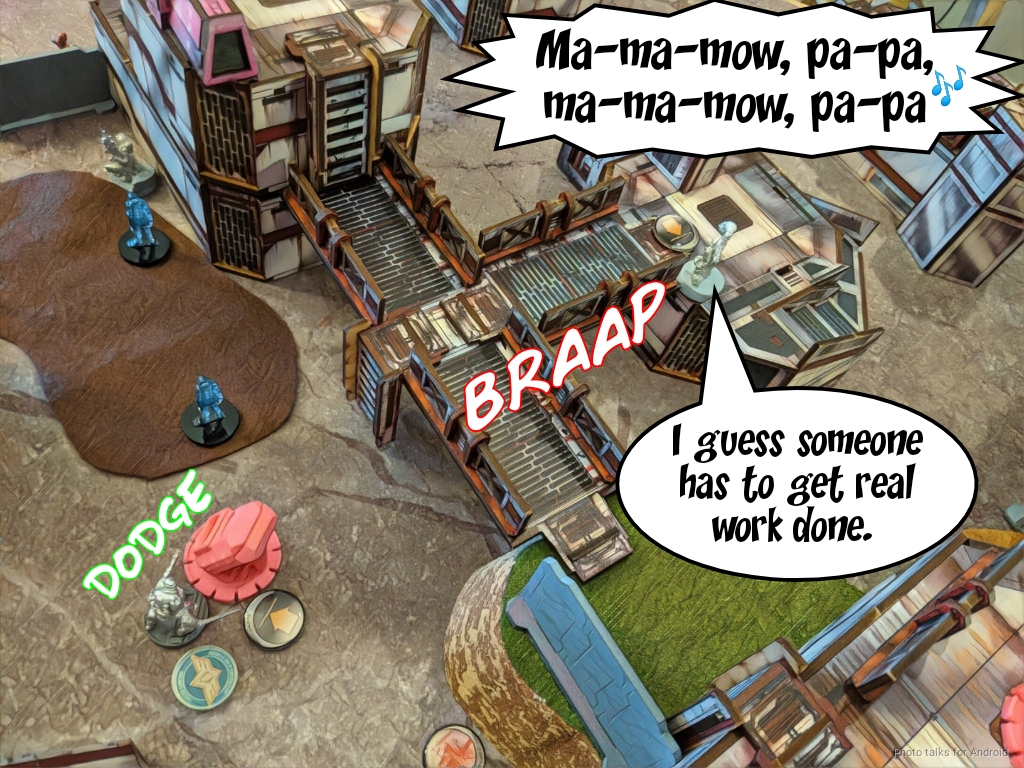
I start by moving the Hunzakut back to out of Jammer range and try to take out Bipandra and the Zulu Cobra with a spec-fired grenade. This may seem wasteful, but I’m just trying to deny Erik the +3 BS for his Kamau. It doesn’t work, so I just commit with the wounded Zuyong HMG. This time, the dice go my way and the Kamau is shot off the table.
I needed the Kamau down so I could get Miranda onto the roof, even though the box that she’s near has already been successfully looted by the Croc Man FO.
I wanted to do this so I can shotgun the Croc Man down by using its mine as an easier target, thus freeing the nearby Najjarun to go get the objective from the rightmost box. Of course, this plan takes entirely too many orders, and it fails miserably when the Croc Man passes something like 2-3 ARM saves along with its mine. Sigh.
I decide that all I’ve really capable of doing at this point is to rescue the box from the Hulang to really secure it and then pile as many bodies in on Erik’s HVT to secure it. I snag the box with the Doctor’s bot that was nearby from picking up the Zuyong earlier and retreat the bot to safety.
This plan does mean that I’ll need to kill the Croc Man minelayer to prevent it from counter-securing my HVT, so I do some fancy footwork with tactical awareness orders and slingshot my Zuyong Lt into view to take the shot at the Croc Man, just barely knocking it out.
Unfortunately, due to my under-estimation of the required movement, all I’m able to get into the ZoC of the HVT is the Zuyong tac-aware HMG.
Bottom of 3 – VIRD
Erik needs to fight my Hunzakut before he can start shooting my Zuyong link, so he does exactly that. Thankfully it takes a few orders and he loses Bipandra to shrapnel from the Hunzakut’s grenade launcher, but it eventually gets done.
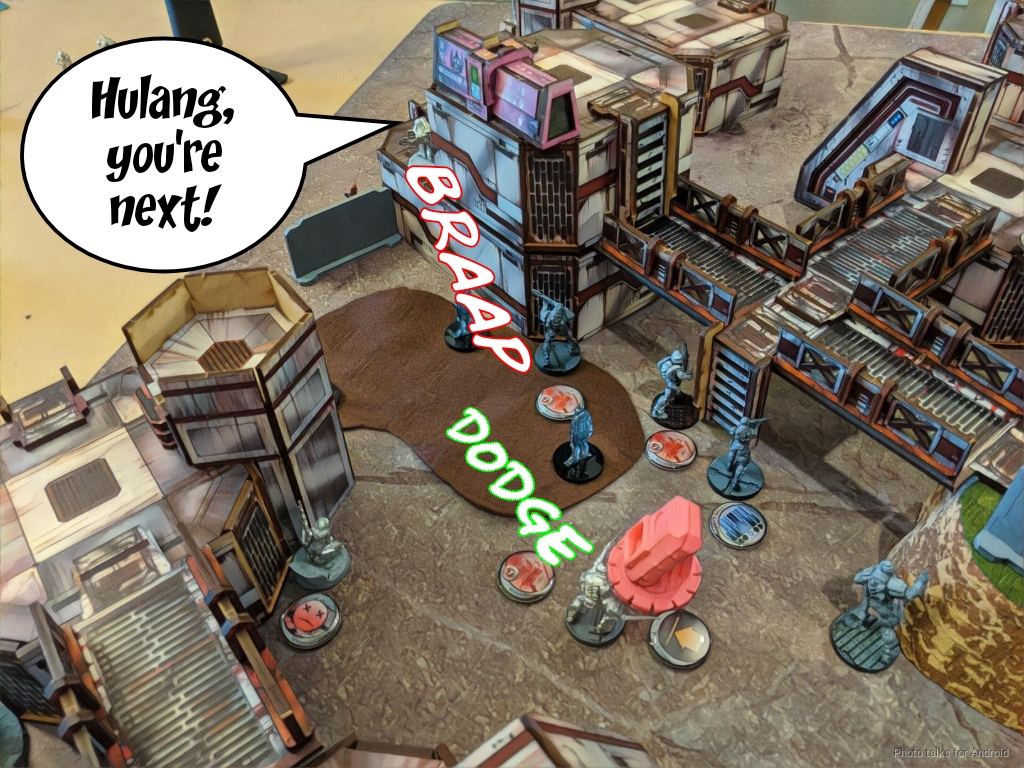
He then slices the pie and guns down the Hulang, who was attempting to dodge closer with its Kinematika…
and finally finishes off the Zuyong and the civilians it’s hiding behind with a indiscriminate burst of assault pistol fire.
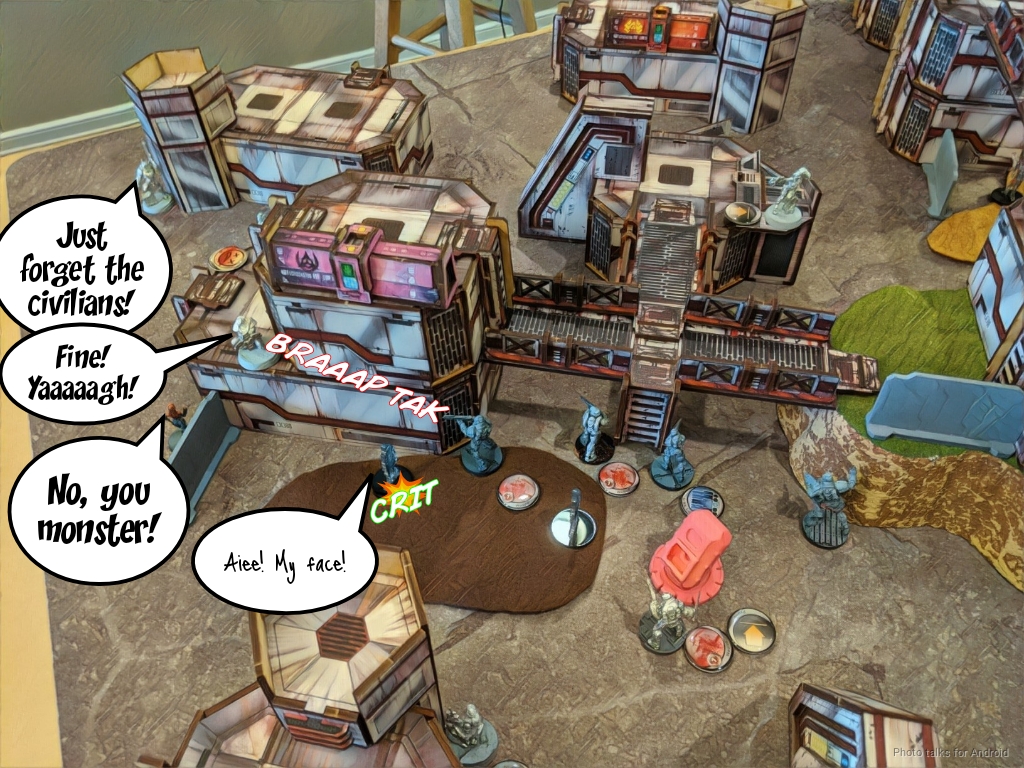
Both of us have a box, Erik has a classified, and both of us… dispersed one group of civilians in our active turns, so it’s a
1-0 Varuna Immediate Reaction Division Victory!
Post Game Analysis
Well. First things first, I definitely should’ve started shooting at the Kamau earlier with the Zuyong link, especially since I had effectively 6 wounds worth of HMG before I had no more HMGs left. A coordinated order would’ve also worked, although my list wasn’t really set up to do that specific task particularly well.
The Kamau did pass quite a few saves against my grenade attempts though. Throughout the whole game I’d estimate that it made 3-4 saves. I did like the Hunzakut LGL as a tool though, it was very flexible. In short, I think lost this game because I didn’t hyper-focus on objective play which is the exact strength of Erik’s playstyle. I tried to solve too many problems instead of focusing exactly on what I needed to deal with.
Spending my whole first turn killing the Kamau and Bipandra with brute force probably would’ve been the right thing to do, instead of trying to get fancy with the LGL. I think I could’ve saved the orders I spent on the Hulang for turn 2, and I definitely think I should’ve swapped Valerya and Miranda’s positions–Miranda’s ODD would have helped keep her alive against the Zulu Cobra Spitfire, and that position was definitely more exposed.
I did need to kill the Kamau, there wasn’t a way to avoid dealing with it, so I should’ve prioritized that and the moved on to other things. I suppose I got distracted by the Zulu Cobra Lt and the opportunity to kill it. It’s almost always a mistake against Erik, who doesn’t care about those sorts of things.
So yeah. I think this game is a classic example of a failure in command in the limited insertion format. I tried to do too many things in a turn and had no slack to handle bad dice rolls. One silver lining of this social distancing thing is that it’s indirectly forced me into playing limited insertion again–I could really sense myself getting sloppy. It also is a reminder that I really need to play Erik more. I think my playstyle is a bad matchup against his, especially in the order-starved format of limited insertion.
What I mean by that is I tend to focus on general disruption of my opponent and then I exploit any holes that open up. Erik just ignores what I’m doing and proceeds to win the game. I generally do well against people who try to disrupt me, because I fall back into hyper-focus on the objective, but I seem to have a tendency to go all in on the disruption plan, which Erik is immune to. Very interesting. I’ve noticed a similar phenomenon when playing some other players. The folks that come to mind immediately are Leif (norsecompass), Tony (Zhukov2), and Nate (natetehagresar), but there are plenty of other notable examples.
As far as the table and the Civilian Zones rules are concerned, I think they’re great! Clearly more experimentation is required, but I’m a big fan so far. I welcome feedback on the rules from others who have tried the rules out for themselves! Let me know how it went! Thanks for reading. Stay safe, stay sane.

Love the report!
One quick note for anyone looking at the Varuna fireteam. Unless I’m mistaken, the Machinist can only be part of a Kamau Fireteam and Bipandra can only be part of a Fusilier Fireteam. Orc’s (Varuna Div) can join Fusiliers, Patsy and the Kamau are Wildcards. Hope that helps, keep up the great work!
Thanks for the catch! We both missed it. I think Bipandra is fine, because she counts as a Fusilier, so basically, the base fireteam type is the up to 3 Fusiliers and up to 2 ORCs. The Orc Feuerbach and Patsy satisfy the up to 2 Orcs, Bipandra is a Fusilier so she counts as the up to 3, and then the Kamau joins as a wildcard. You’re right in that the Machinist is illegal though.
It ended up not mattering at all, but I do use these battle reports as examples for newer players, so I’m very appreciative that you found the mistake and allowed me to post a correction.