
Calling a Bluff
Erik (Zelaponeepus) and I have really been craving regular games of Infinity now that N4 has dropped. Of course, like many of you out there, it’s been tough to get games in due to, well, 2020. I’ve managed to get a few in-person games in with Adam (TheDiceAbide) over the past few months but that will get harder as the weather gets colder. Adam also lives about 4x closer to me than Erik does, so it’s much easier for us to meet up.
Thankfully, Tabletop Simulator exists, so Erik and I are going to try to get in a regular game of Infinity early Sunday morning while our respective significant others get some well deserved time to sleep in. If you’d like to join us, I’ll be streaming most of them over at the Bromad Academy Twitch channel:
Of course, early Sunday US Pacific time is a weird time for a lot of people, so you can find the recording on YouTube as well:
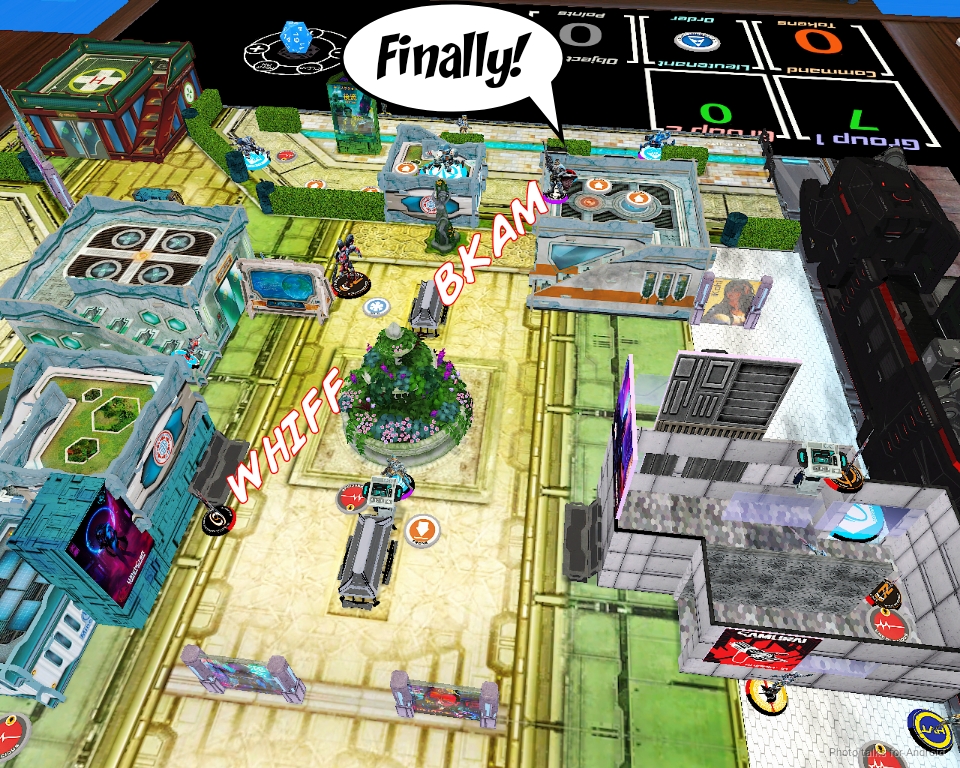
In any case, Erik found this very… bright? map on TTS for us to throw down on.
Adam and I have been trying to frame our N4-related content over at Late Night Wargames in the context of N4 games we’ve played.
The next episode of Late Night Wargames at the time of my game with Erik was going to be on Nomads, so I chose to play Tunguska versus Erik, who chose to play PanO thanks to our eponymous episode:
We chose to play a game of Unmasking to really force some interesting list building decisions–a balance of mobile specialists, attack pieces, and defensive units. Order efficiency is key. Anyway, let’s get right into it!
Overview
- Mission: Unmasking
- Forces: Jurisdictional Command of Tunguska versus PanOceania (300)
- Deploy First: PanO
- First Turn: PanO
I generally don’t like links very much, and wasn’t particularly enthused with the prospect of playing Tunguska. Adam only owns Bakunin so his prep for the show was to play a game with them, and our guest, Mike (Psybilliah), played a game of Corregidor, so that left me with Tunguska (having already played vanilla). Our choice of mission, Unmasking, really helped me simplify list building because of the exclusion zone–that meant Spektrs weren’t really going to be helpful, and that I would need to focus on finding solutions to the problem of getting out of my deployment zone.
Furthermore, as I’d be unable to deploy in the midfield, I’d have to include some long range ARO options to drain some orders and blunt Erik’s energy on his first turn. I also knew I’d want to have some very order efficient options, which means I’d need to take some links. Here’s what I ended up with:
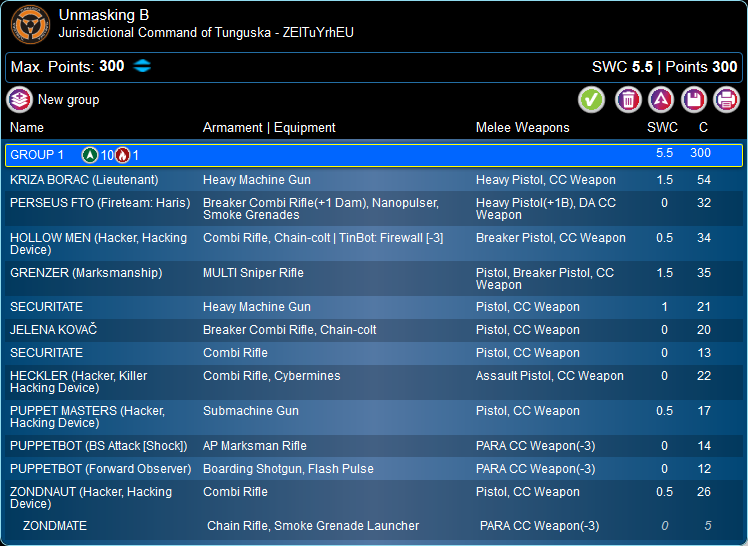
The Kriza and Perseus were my tickets out of the deployment zone. The Kriza can just gun down anything in my way, and Perseus can smoke up lines of fire if necessary. The Hollow Man hacker was there to tag along and actually do the work of activating the consoles with the +3 WIP +1 Burst hacker bonus of Unmasking.
Jelena and the two Securitate were my backup plan, both to losing the Kriza doing into LoL thanks to Veteran, or to push an alternate flank. I took the Grenzer as my ARO tool, and he can actually push a flank too with that Marksman MSR. The Grenzer being a wildcard let me form a 5-model core for maximum ARO in the case I went second.
As far as order efficiency goes, it’s hard to beat the Zondnautica and Puppetactica, especially with the changes to how the Puppets work–essentially they’re like long-range Auxbots! Pretty cool. To round things out I took a Heckler KHD for fun and to project some board control in case some hackers came a’callin.
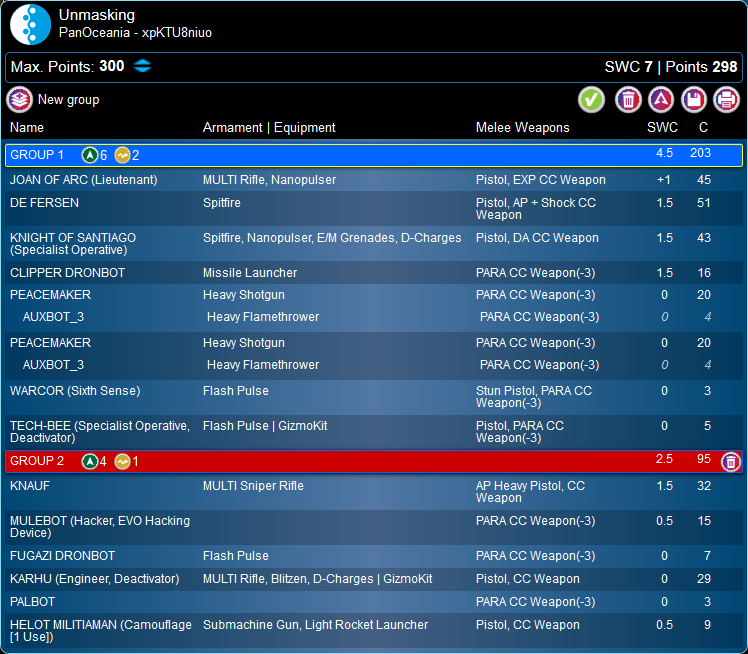
Erik took the discussion in our episode of Late Night Wargames very seriously and immediately jammed two Peacemakers into his list. The rest of his list is pretty similar to what I might expect out of an N3-era Joan-based vanilla PanO list. Some neat additions included Knauf, who is bonkers now, and the new 6-2 Karhu engineer!
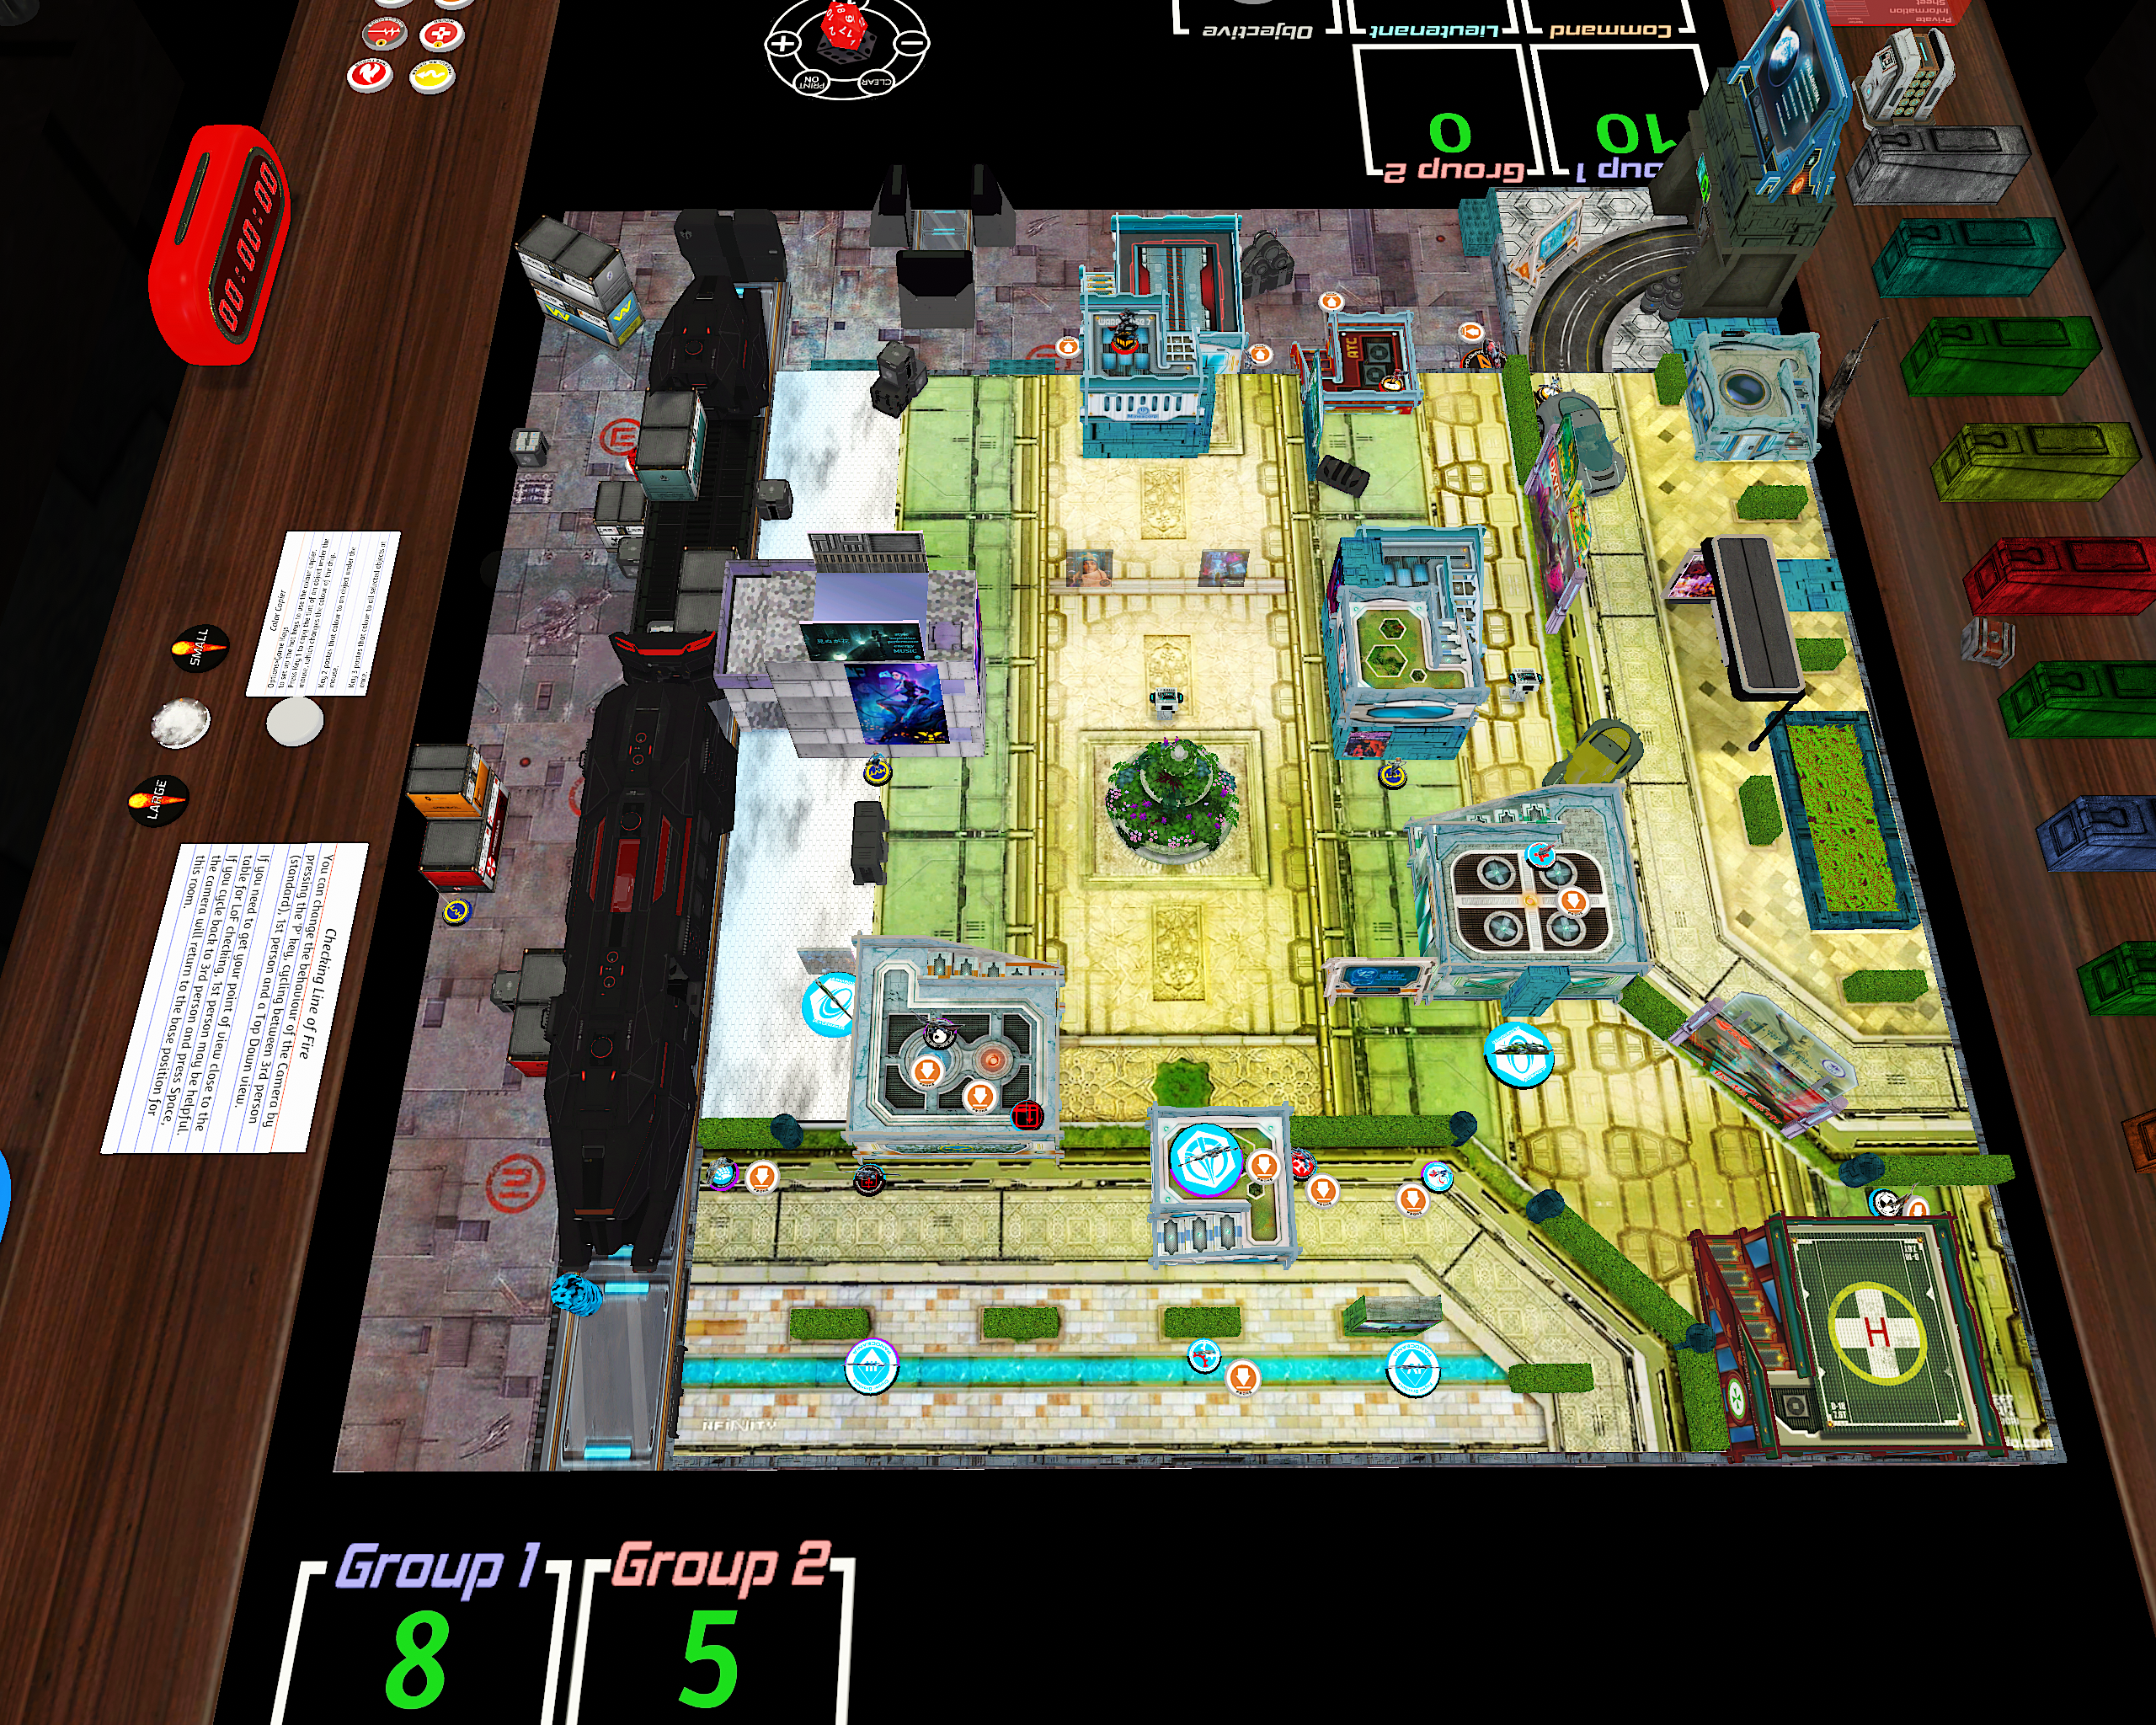
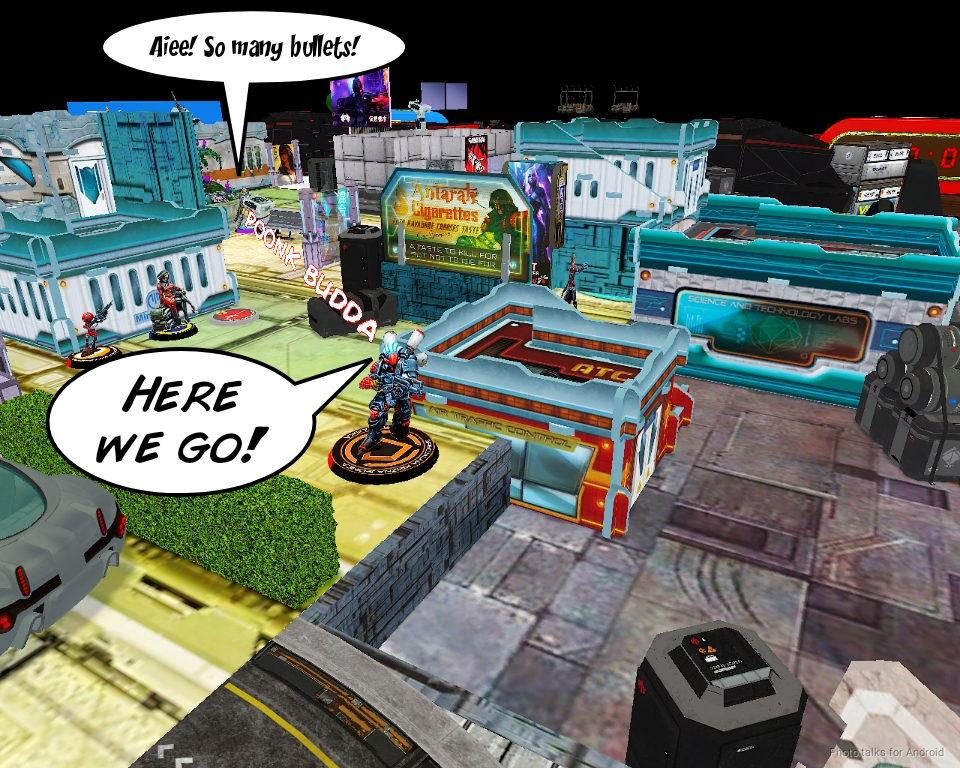
Deployment
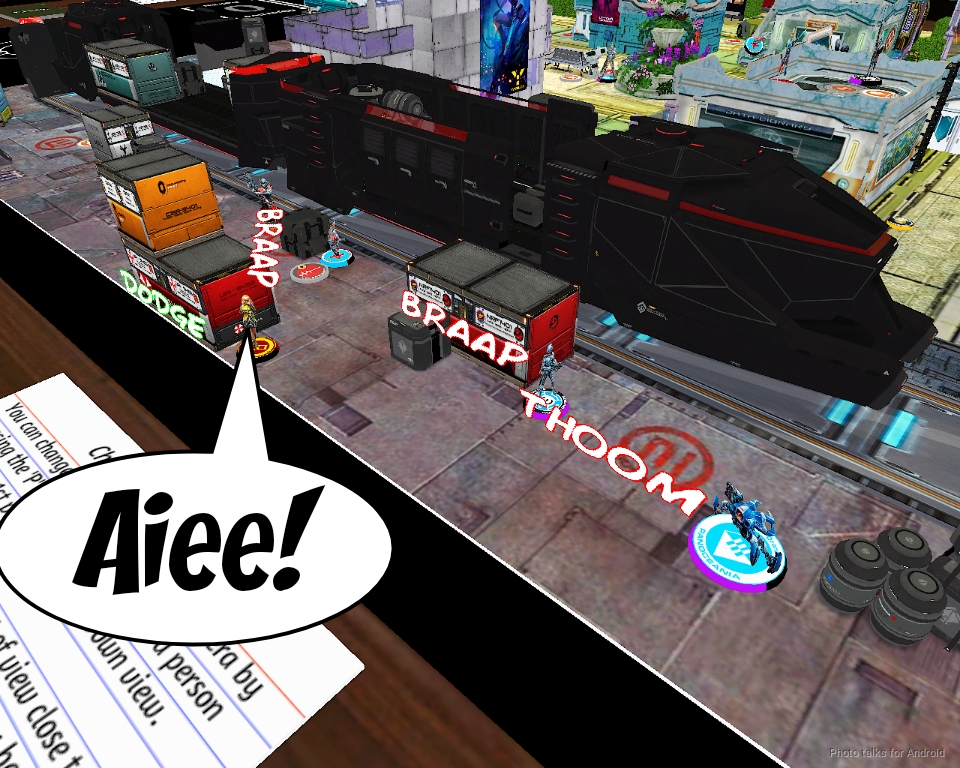
Erik won the rolloff and elected to go first, mostly to force me to evaluate the board. I decided that I didn’t care too much and took the side with the highest building for my Grenzer. Erik spread his forces across his deployment zone. I think he was expecting me to bring a Kriza so he left most of his stuff prone or behind total cover. As you should in Unmasking, much of Erik’s deployment was dictated by the placement of his HVTs and the defense of the HVTs.
The leftmost HVT was defended by his SMG Helot and an Auxbot, the left of middle one (the real one) was protected by both Peacemakers and his Clipper, and the rightmost one was protected by an Auxbot and the clipper. Joan hung out on a roof to be safe, with the Knight of Santiago beneath her ready to shoot up the side of the table.

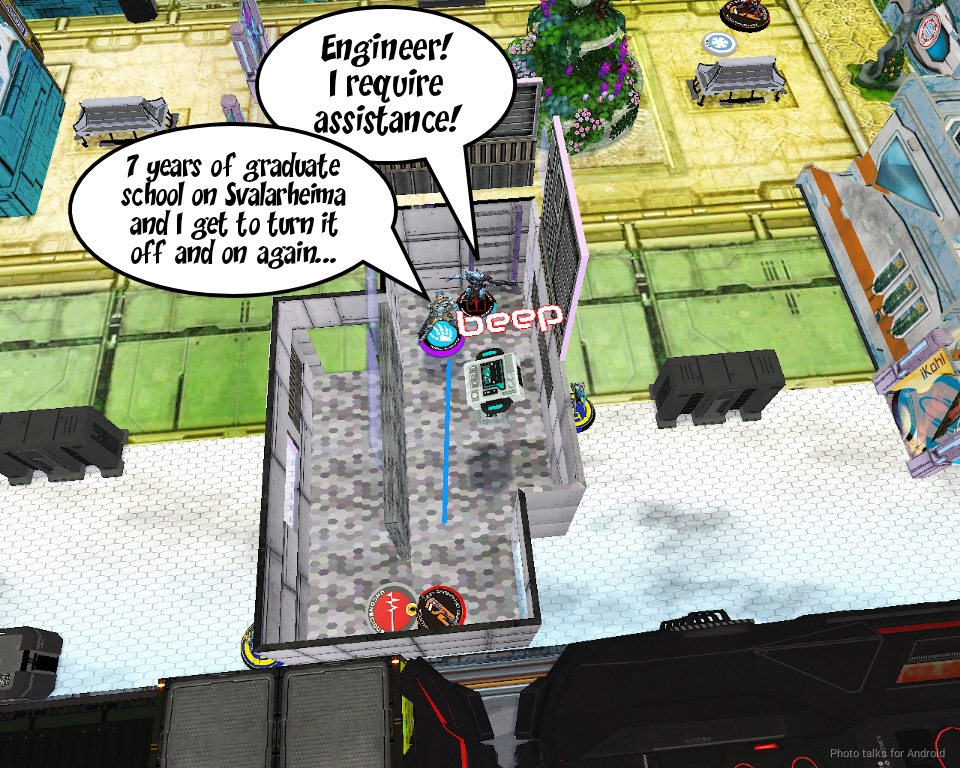
Defersen defended the right side of his table and the EVO with his Trinity-upgraded hacking device, and then it was my turn to deploy. The Grenzer went on the rooftop, taking advantage of the new cover rules to be in cover even though he wasn’t touching the parapet at the edge of the roof. I clustered the rest of the link beneath him, all watching various corners of my deployment zone while prone. The EVO telegraphed a AD troop to me, so I decided to prepare for it, just in case. My Heckler went on the right to protect my Puppet Master, and the Puppets went on the left in an attempt to protect my real HVT on the left.

I knew I’d have to get to the second floor of a building to access the console on my right, so I put the Hollowman over there to take advantage of super jump, and then it was Erik’s turn to deploy Knauf. The presence of the Kriza and Grenzer were enough to have Knauf start prone on the roof! That’s pretty intense, he’s a very strong attack piece in the active turn! I tucked the Zondnautica into a position where it would be safe from Knauf.
Erik nominated the Knight of Santiago as his DataTracker and I chose Perseus.
Turn 1
Top of 1 – PanO
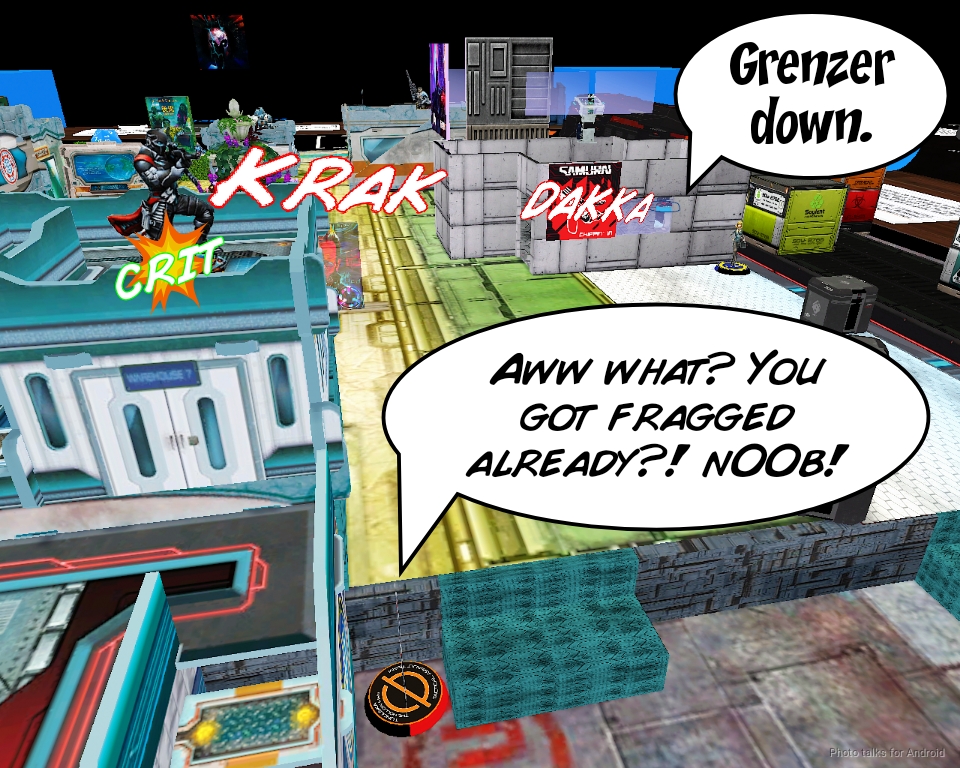
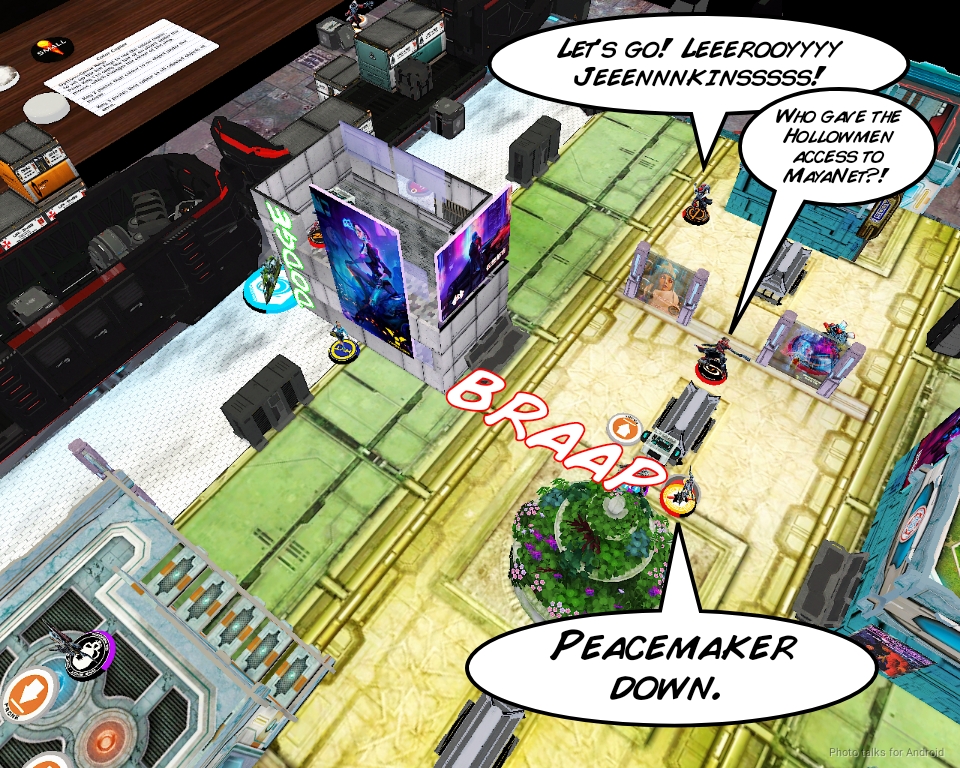
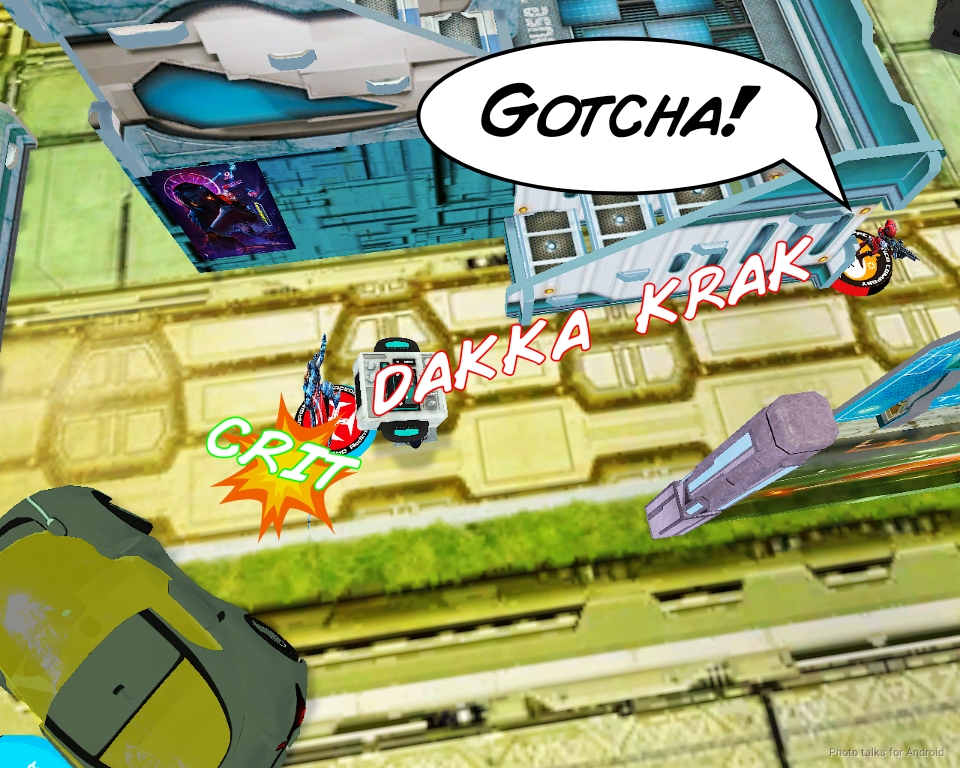
Erik started by advancing the Knight of Santiago to attack the Grenzer from what Erik hoped was within 16″. No such luck, as were just at 17 inches! I rolled two on 19s and Erik had four on 14s, and of course I rolled low and he crit. I failed three ARM saves and the Grenzer was off the table. Not an auspicious start.
I wasn’t really contesting any other firelanes with any other trooper, because if I leave stuff out against PanO it tends to die. I can’t afford to do that in a 10 order list–even losing the Grenzer really sucked. I think it might be time to reconsider that Hollow Man ML and taking a Clockmaker… anyway. Without much in the way of AROs to worry about, Erik set about attempting to accomplish the mission.
He got the Knight of Santiago up onto the second floor and proceed to fail a slew of WIP checks! This wasn’t a matter of having PanO WIP, the dice were just angry at him.
In any case, by the end of it all, Erik had managed to identify one of my Decoys, gunning it down with the Santiago. He then set up to defend against my turn by throwing up Faerie Dust on his heavy infantry and shifting some of his forces forward like his Fugazi and the Karhu, who posted up near the Knight of Santiago.
Bottom of 1 – Tunguska
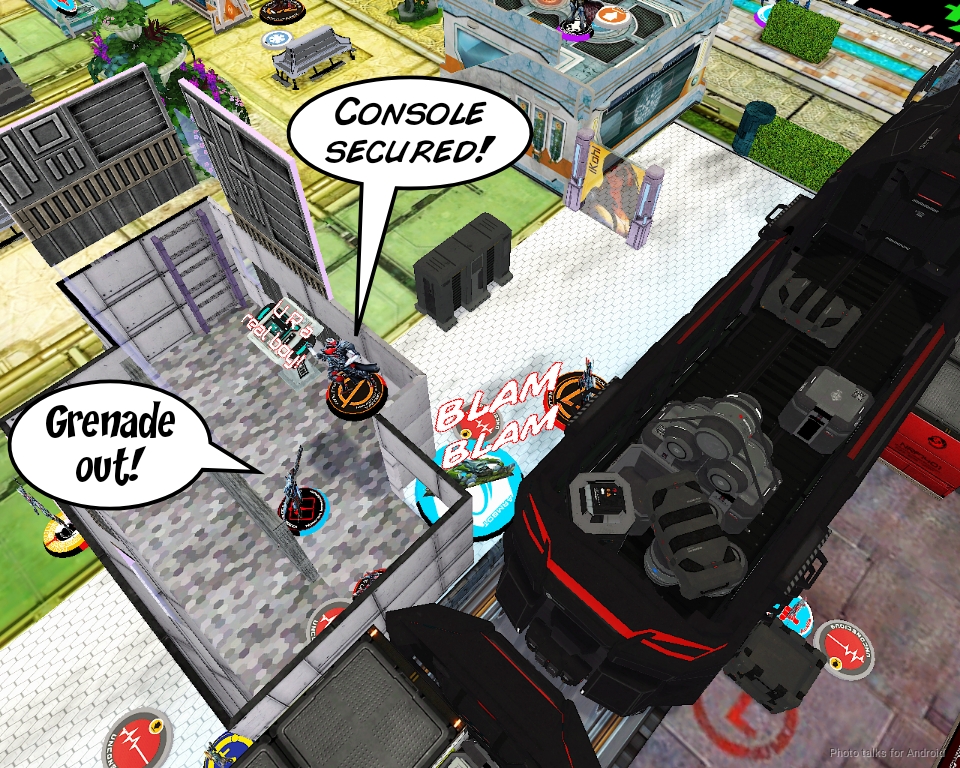
Knauf was still prone, and there was enough points on the table that I was reasonably certain that I wasn’t looking at a surprise Swiss ML, so I decided to chance the Zondnautica’s impetuous order. When Erik didn’t ARO after the first short skill, I rolled into base contact with the leftmost console and activated it with ease, thanks to the +3 WIP and burst 2 Hacker bonus.
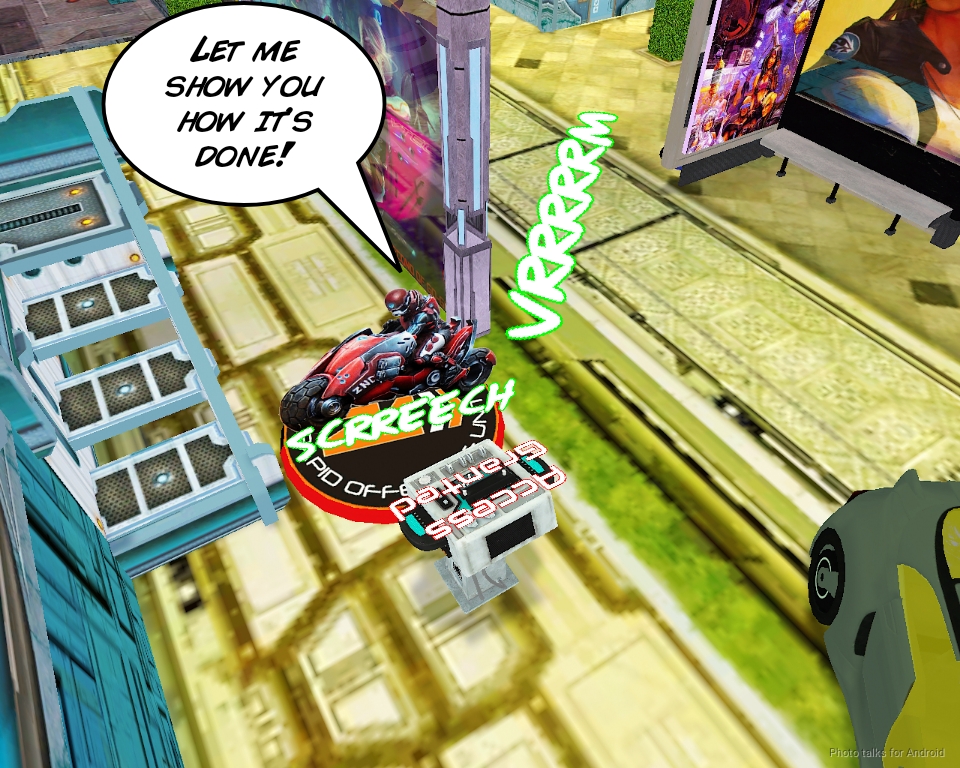
From there, it was a simple matter of driving to the center of the table and activating that console as well.
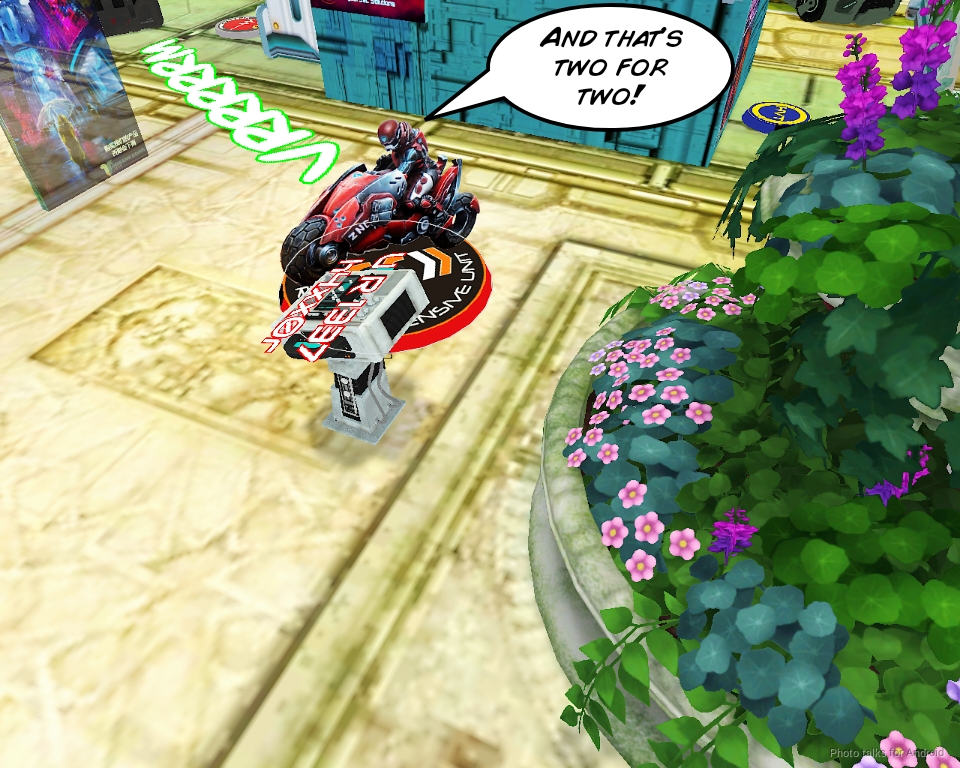
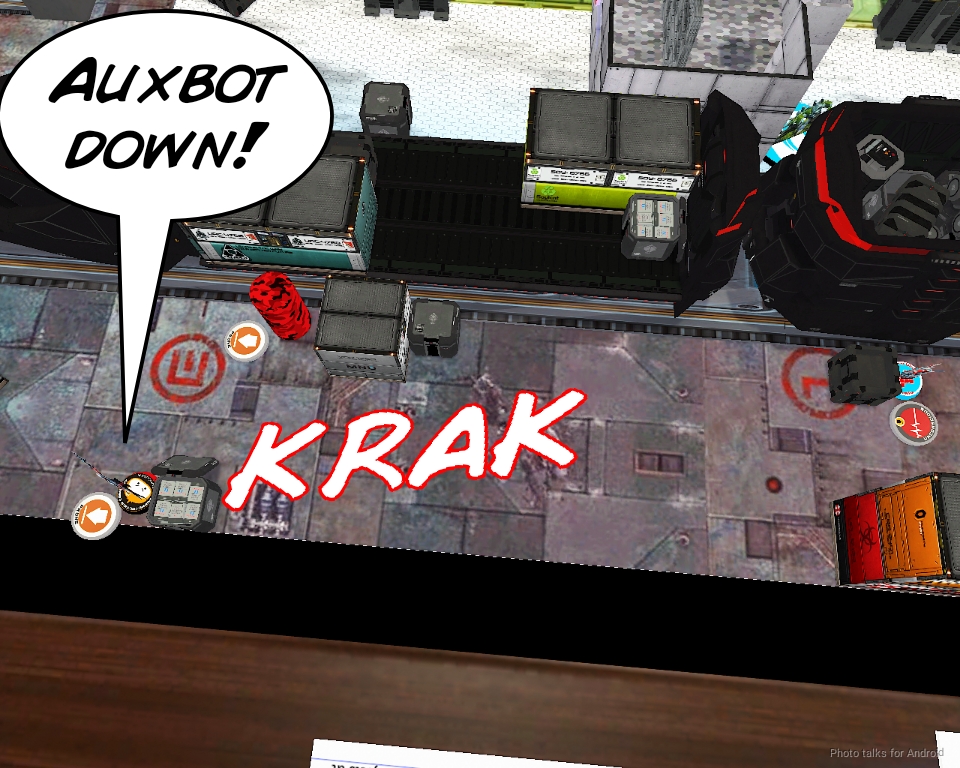
I had revealed all but the real designated target at this point, so I decided to try and do some damage to Erik’s orders and disrupt his positioning. I knew I couldn’t get too close to his deployment zone without proc’ing AROs from Defersen, so I carefully dismounted the Zondnaut. The Zondmate used its chain rifle to take out a revealed Decoy while the Zondnaut took out a Fugazi. So far, so good!

I was entertaining plans of rolling the Zondmate up the stairs to where Knauf was and chain rifling Knauf and Joan, but first I had to get through the Peacemaker which was guarding the approach. The Zondmate and Peacemaker trade ineffectual template fire, but I had strayed too close to Defersen and the Zondmate was successfully Carbonited.
Since the Knight of Santiago was Erik’s DataTracker and the Karhu was nearby, I decided that I would use my remaining orders to attack those two units. The Knight of Santiago was on the second floor and out of view, so I knew I could attack the Karhu with impunity. On the way in, I managed to successfully Oblivion the Knight (that Burst 2 is AWESOME), which meant I’d really want to kill the Karhu Engineer to make it really hard for Erik to recover on that flank.
Of course, the result was that I whiffed three combi-rifle shots entirely and Erik rolled a 1 on the Karhu’s MULTI Rifle, killing the Zondnaut. Sigh. I spent my remaining orders shuffling the Puppet master and Puppets forward to guard the right and left flanks, respectively.
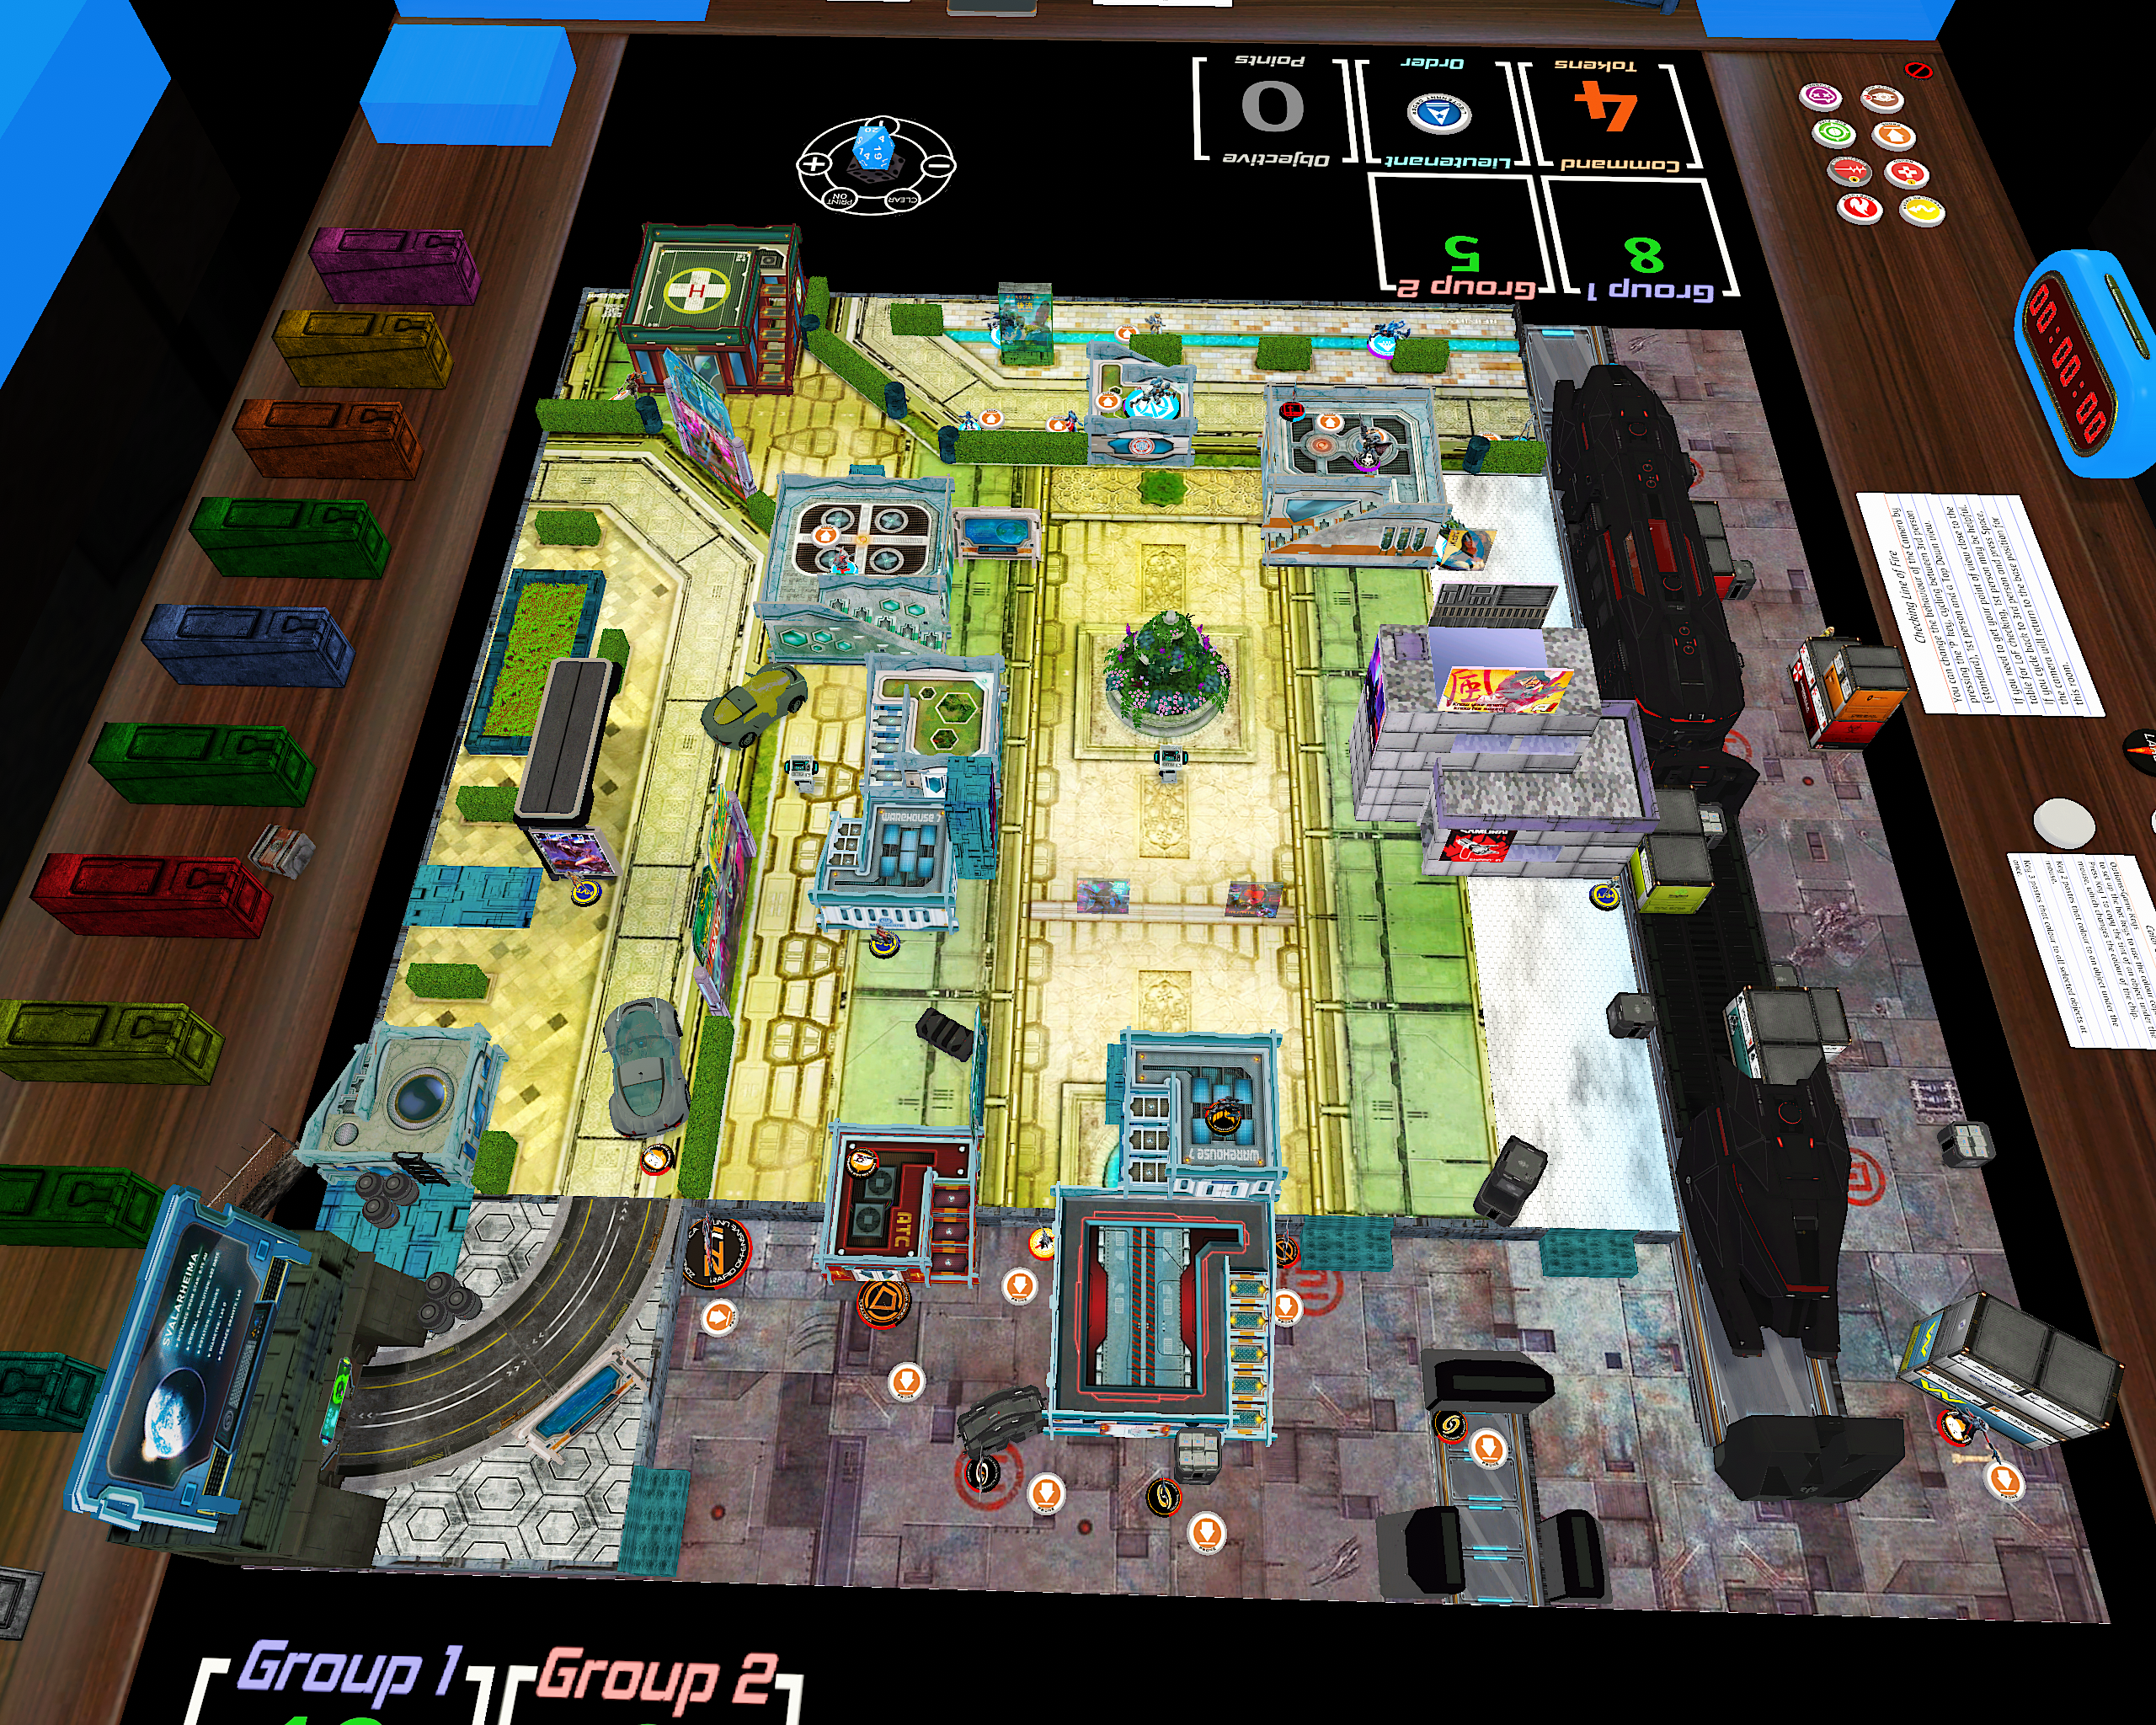
Turn 2
Top of 2 – PanO
Erik started things off by climbing the Isolated Santiago down the ladder to the first floor, attempting a reset with its order. Thanks to the amazing -9 from Isolated, the Knight failed, forcing the Karhu to get into base to base and fix things the most reliable way–turning it off and on again.
Erik had other plans for his Santiago, so he sent the Karhu after the center objective but failed another set of WIP rolls there, leaving the Karhu stranded in the middle of the table. Thankfully for Erik, he got the button pushed on the last order.
The Knight of Santiago then took out my other Decoy before retreating into the building underneath the 2nd floor console.
Erik needed to keep the pressure on, so he advanced the Peacemaker on my right up to support the Knight of Santiago with its repeater. Unfortunately, I had a shot on the Auxbot with the Puppet master, and took it out.
The other side of the table was similar, with Erik pushing the leftmost Peacemaker up, only to have it get flash pulsed by my Puppet FO.
With both of his flank advanced stalled, Erik passed turn back to me.
Bottom of 2 – Tunguska
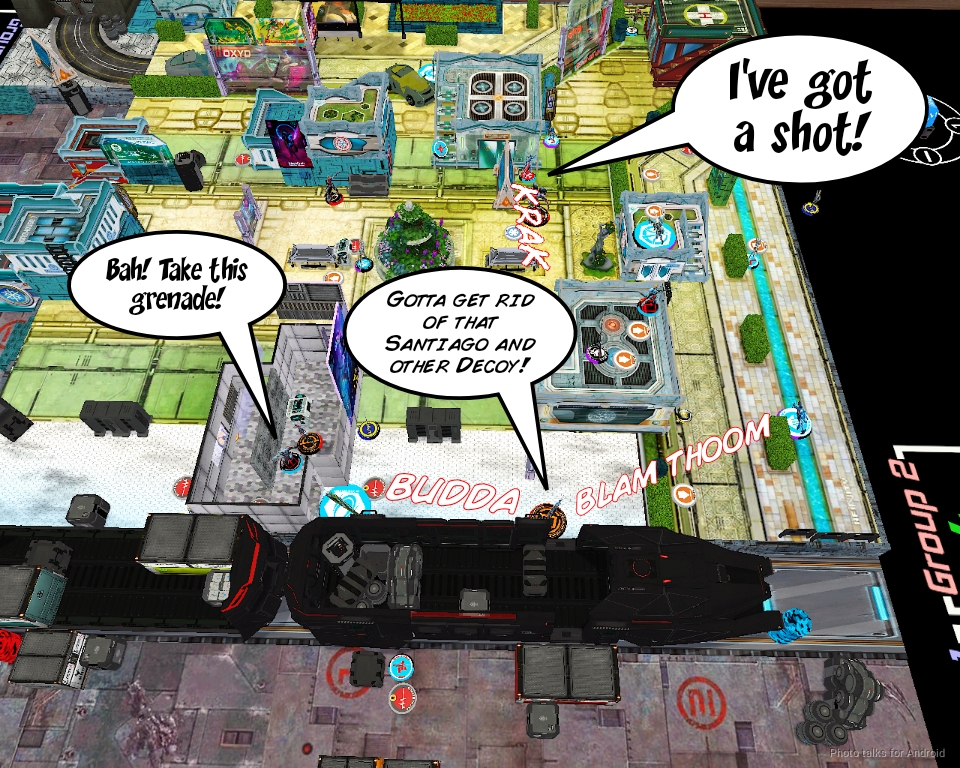
I got confused and thought it was Turn 3, so I played very aggressively and sent in my link. I pushed Perseus, Jelena, the Hollow Man, and the Kriza forward, easily deleting the Karhu with HMG fire.
The Kriza added another notch to his HMG’s stock by gunning down the leftmost Peacemaker, and then I cleared out the other Peacemaker with Perseus.
I shuffled Jelena into a defensive position and then super-jumped the Hollow Man into position to push the last button. This allowed Perseus to get that all important DataTracker bonus for killing the Designated Target. I had a few orders left so I sent in the Kriza to try and take out the Knight of Santiago.
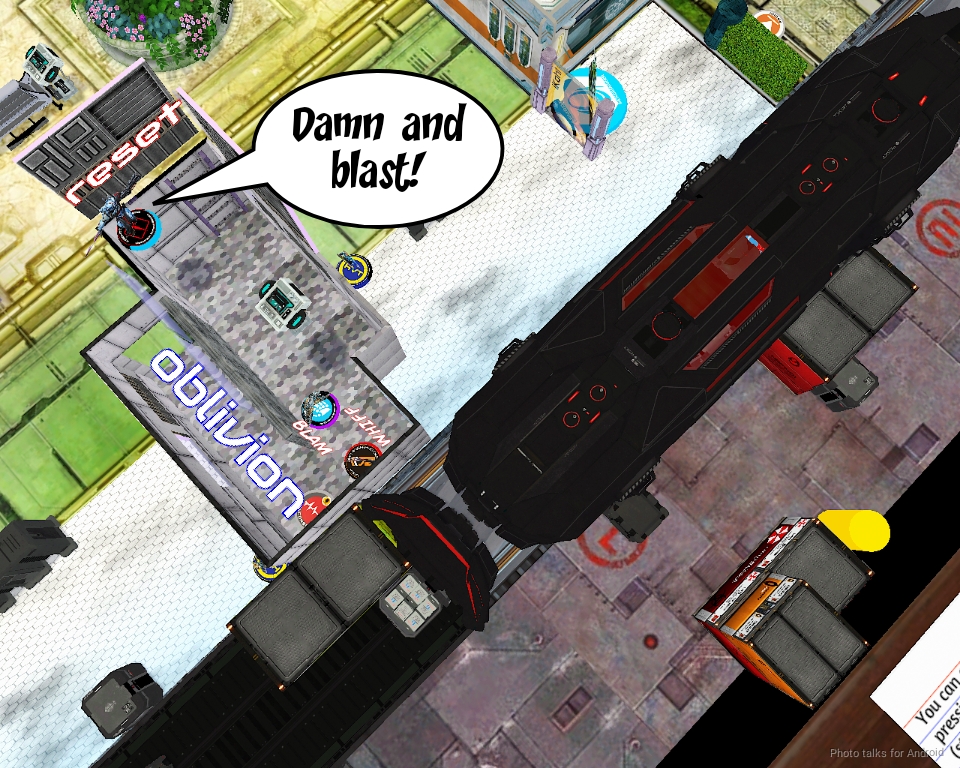
I tried first with the Kriza’s burst 4 heavy pistol as Perseus retreated, but the Knight shrugged off even the biggest pistol rounds. Since I thought it was Turn 3, I decided to push the Kriza back towards Erik’s deployment zone to get an angle on the remaining Decoy to maximize my points. This opened him up to shots from the Clipper, Defersen, and the Santiago. I threw 5 burst at the Santiago and one at the clipper, figuring that Defersen wouldn’t kill me and I’d probably beat the Clipper.
I succeeded in gunning down the Santiago, but both the Clipper and Defersen hit, vaporizing the Kriza. Womp womp.
Turn 3
Top of 3 – PanO
Erik calculates that he can’t win, but he wants to maximize the his points.
After clearing Jelena out of the way with Knauf, he starts a run with Defersen. I stall him a little bit by doing a wound thanks to my AP Marksman Puppet rolling a crit, but it’s not enough.
Erik easily passes the WIP this time and takes out my Designated Target.
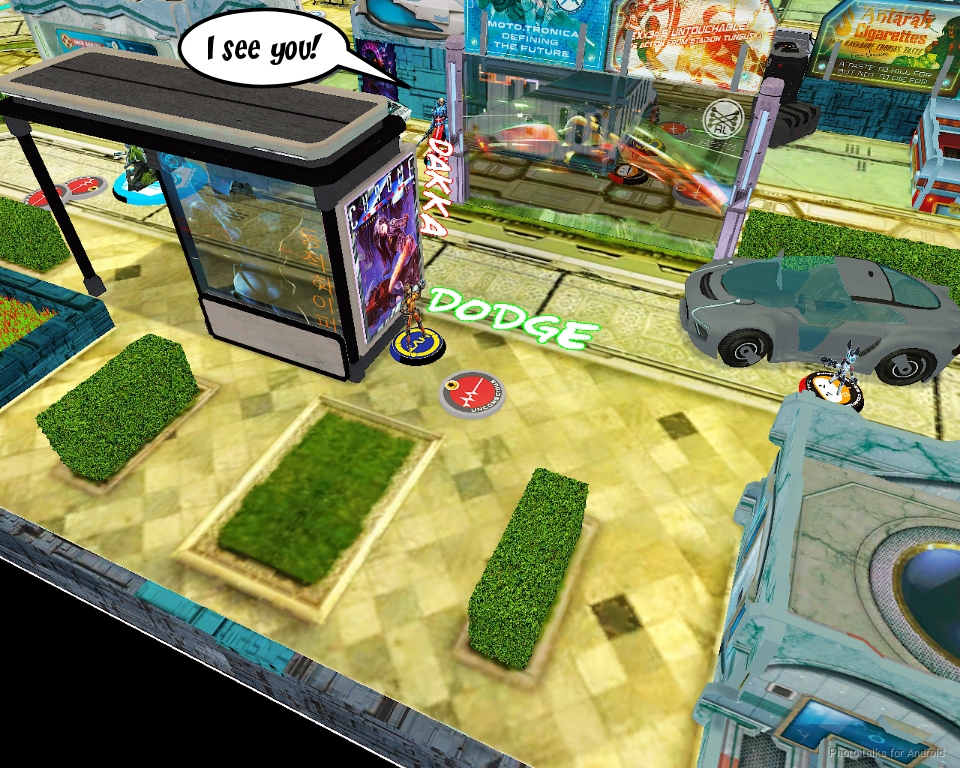
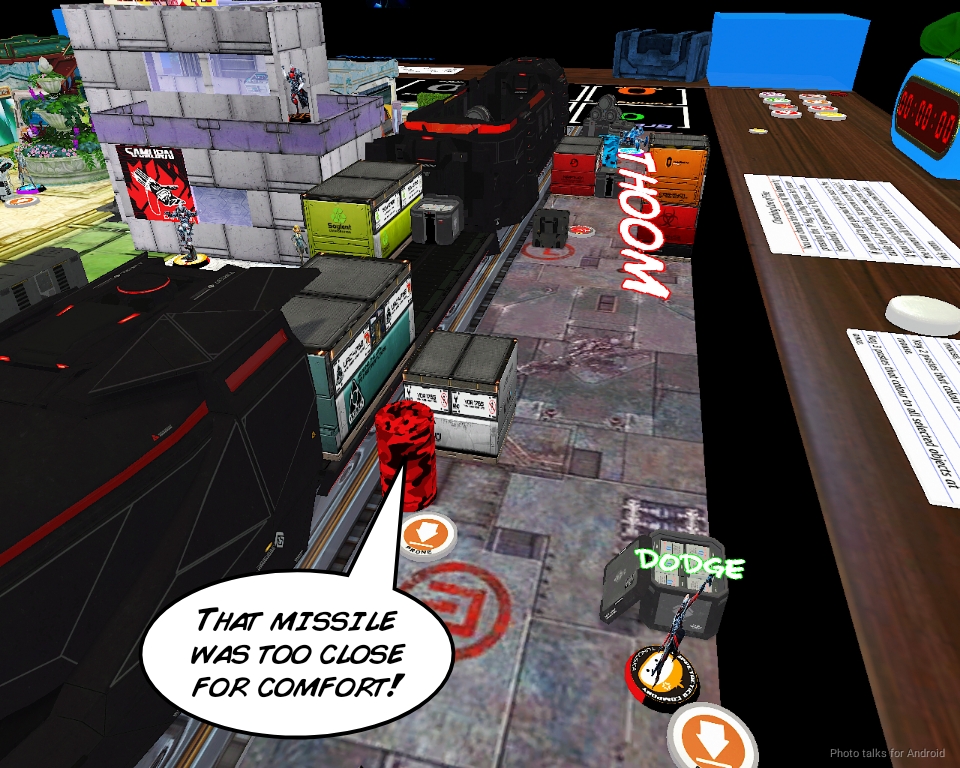
He spends the last few orders of his turn setting up to protect his last Decoy, even throwing a cheeky missile shot at my Puppet Master, who dodges easily.
Bottom of 3 – Tunguska
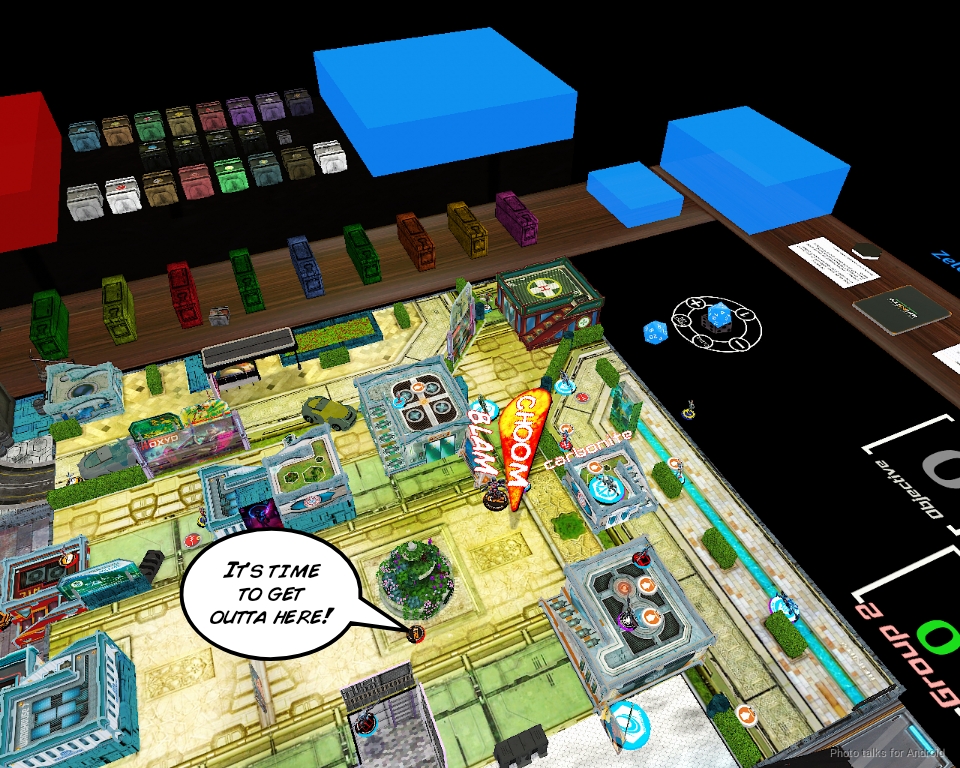
I’m in Loss of Lieutenant, but I have two veterans on the table and command tokens in the bank, so I easily get the Heckler into position to assault pistol down the remaining HVT.
This makes it a
7-4 Jurisdictional Command of Tunguska Victory!
Post Game Analysis
I was really intrigued by both my and Erik’s deployment choices this game. We both basically gave the other run of the board because I was certain that anything I left out would be shot off the table and he was sure of the same. This meant things really came down to the interactions in the midfield and whether or not we’d be able to pass our WIP rolls to reveal the HVTs.
I think this is where our list design philosophies diverged a little bit. I intentionally selected hackers as my primary buttons pushers to get that all important +3 WIP and +1 Burst bonus from the mission. The Puppet FO and Jelena were my backup plan, not my primary plan. I had intended to push the Puppet Master up one flank that was cleared by something like the Kriza while the Puppets caused issues on the opposite flank. Erik could have invested more heavily in the hacking plan, but I suspect he was a little concerned that I might have brought some KHDs.
One could make the argument that I only won the game because Erik rolled like crap on his WIP checks. They’d partially be right–things would’ve been much harder for me if Erik had 6 more orders available over the course of two turns. That said, I also invested in taking units that offered me a significant advantage when making WIP rolls on my turn. I definitely failed several WIP rolls and only succeeded overall because of the extra burst. Erik chose to take a more risky approach and favored specialists with Spitfires. I also invested in gunfighting, but cobbled together a “super gunfighting specialist,” i.e. a Kriza, Perseus, and the Hollow Man in a link.
Said a different way, I knew up front that I could not be wasting orders on failing WIP rolls since I was playing a limited insertion list, so I did my best to work around that with the hacker bonus. Erik felt comfortable with his 13 orders that he could fail a roll or two here and there, but ended up spending about 3 orders on average on WIP rolls each turn, so it all washed out. Definitely need to think about that sort of thing in this new N4 environment.
This game is a really good example of the bluffs, mindgames, and telegraphing that can happen surrounding a game. We both knew our intended factions before showing up at the table, so Erik assumed that I would have a huge hacking presence and brought an EVO. I got faked out by the EVO because it telegraphed AD troops, so I altered my whole deployment to account for the possibility of an Akali or Crusader landing in my back lines.
Then there was the mental pressure I exerted on Erik by just having the Grenzer and Kriza on the table. That really forced him to play very cagey until he knocked out the Grenzer. Knauf also occupied a huge amount of my attention and definitely forced an error. I think I would’ve been much better served going after the Knight of Santiago and Karhu instead of trying to take out Knauf with the Zondnautica. The threat of the Kriza was more than enough. I could’ve thrown the Zondmate around the corner to chain rifle the Karhu and threatened the Santiago with hacking, which would definitely have made things much harder.
Erik would have had to push Defersen up or expose Joan, and I had enough firepower thanks to the Kriza to handle either of them in the active turn. In any case, the big takeaway for me this game is that both of us a did a good job pressuring each other. I just happened to have better tools to punish openings, like the Zondnautica and the Kriza “death blob,” as Erik so aptly put it.
Erik is a great opponent because he always keeps me honest–not in the sense that he prevents me from cheating, but rather that I should always stay focused on winning the game and not on disrupting my opponent. I look forward to bringing you more games from our Sunday morning series that we’ve started up. Come join us on Twitch if you’re interested! Thanks for reading.


Pingback: ¡Eso es un farol! Reporte de batalla (Batrep) Infinity N4 | WARGARAGE