

Is Elan Enough?
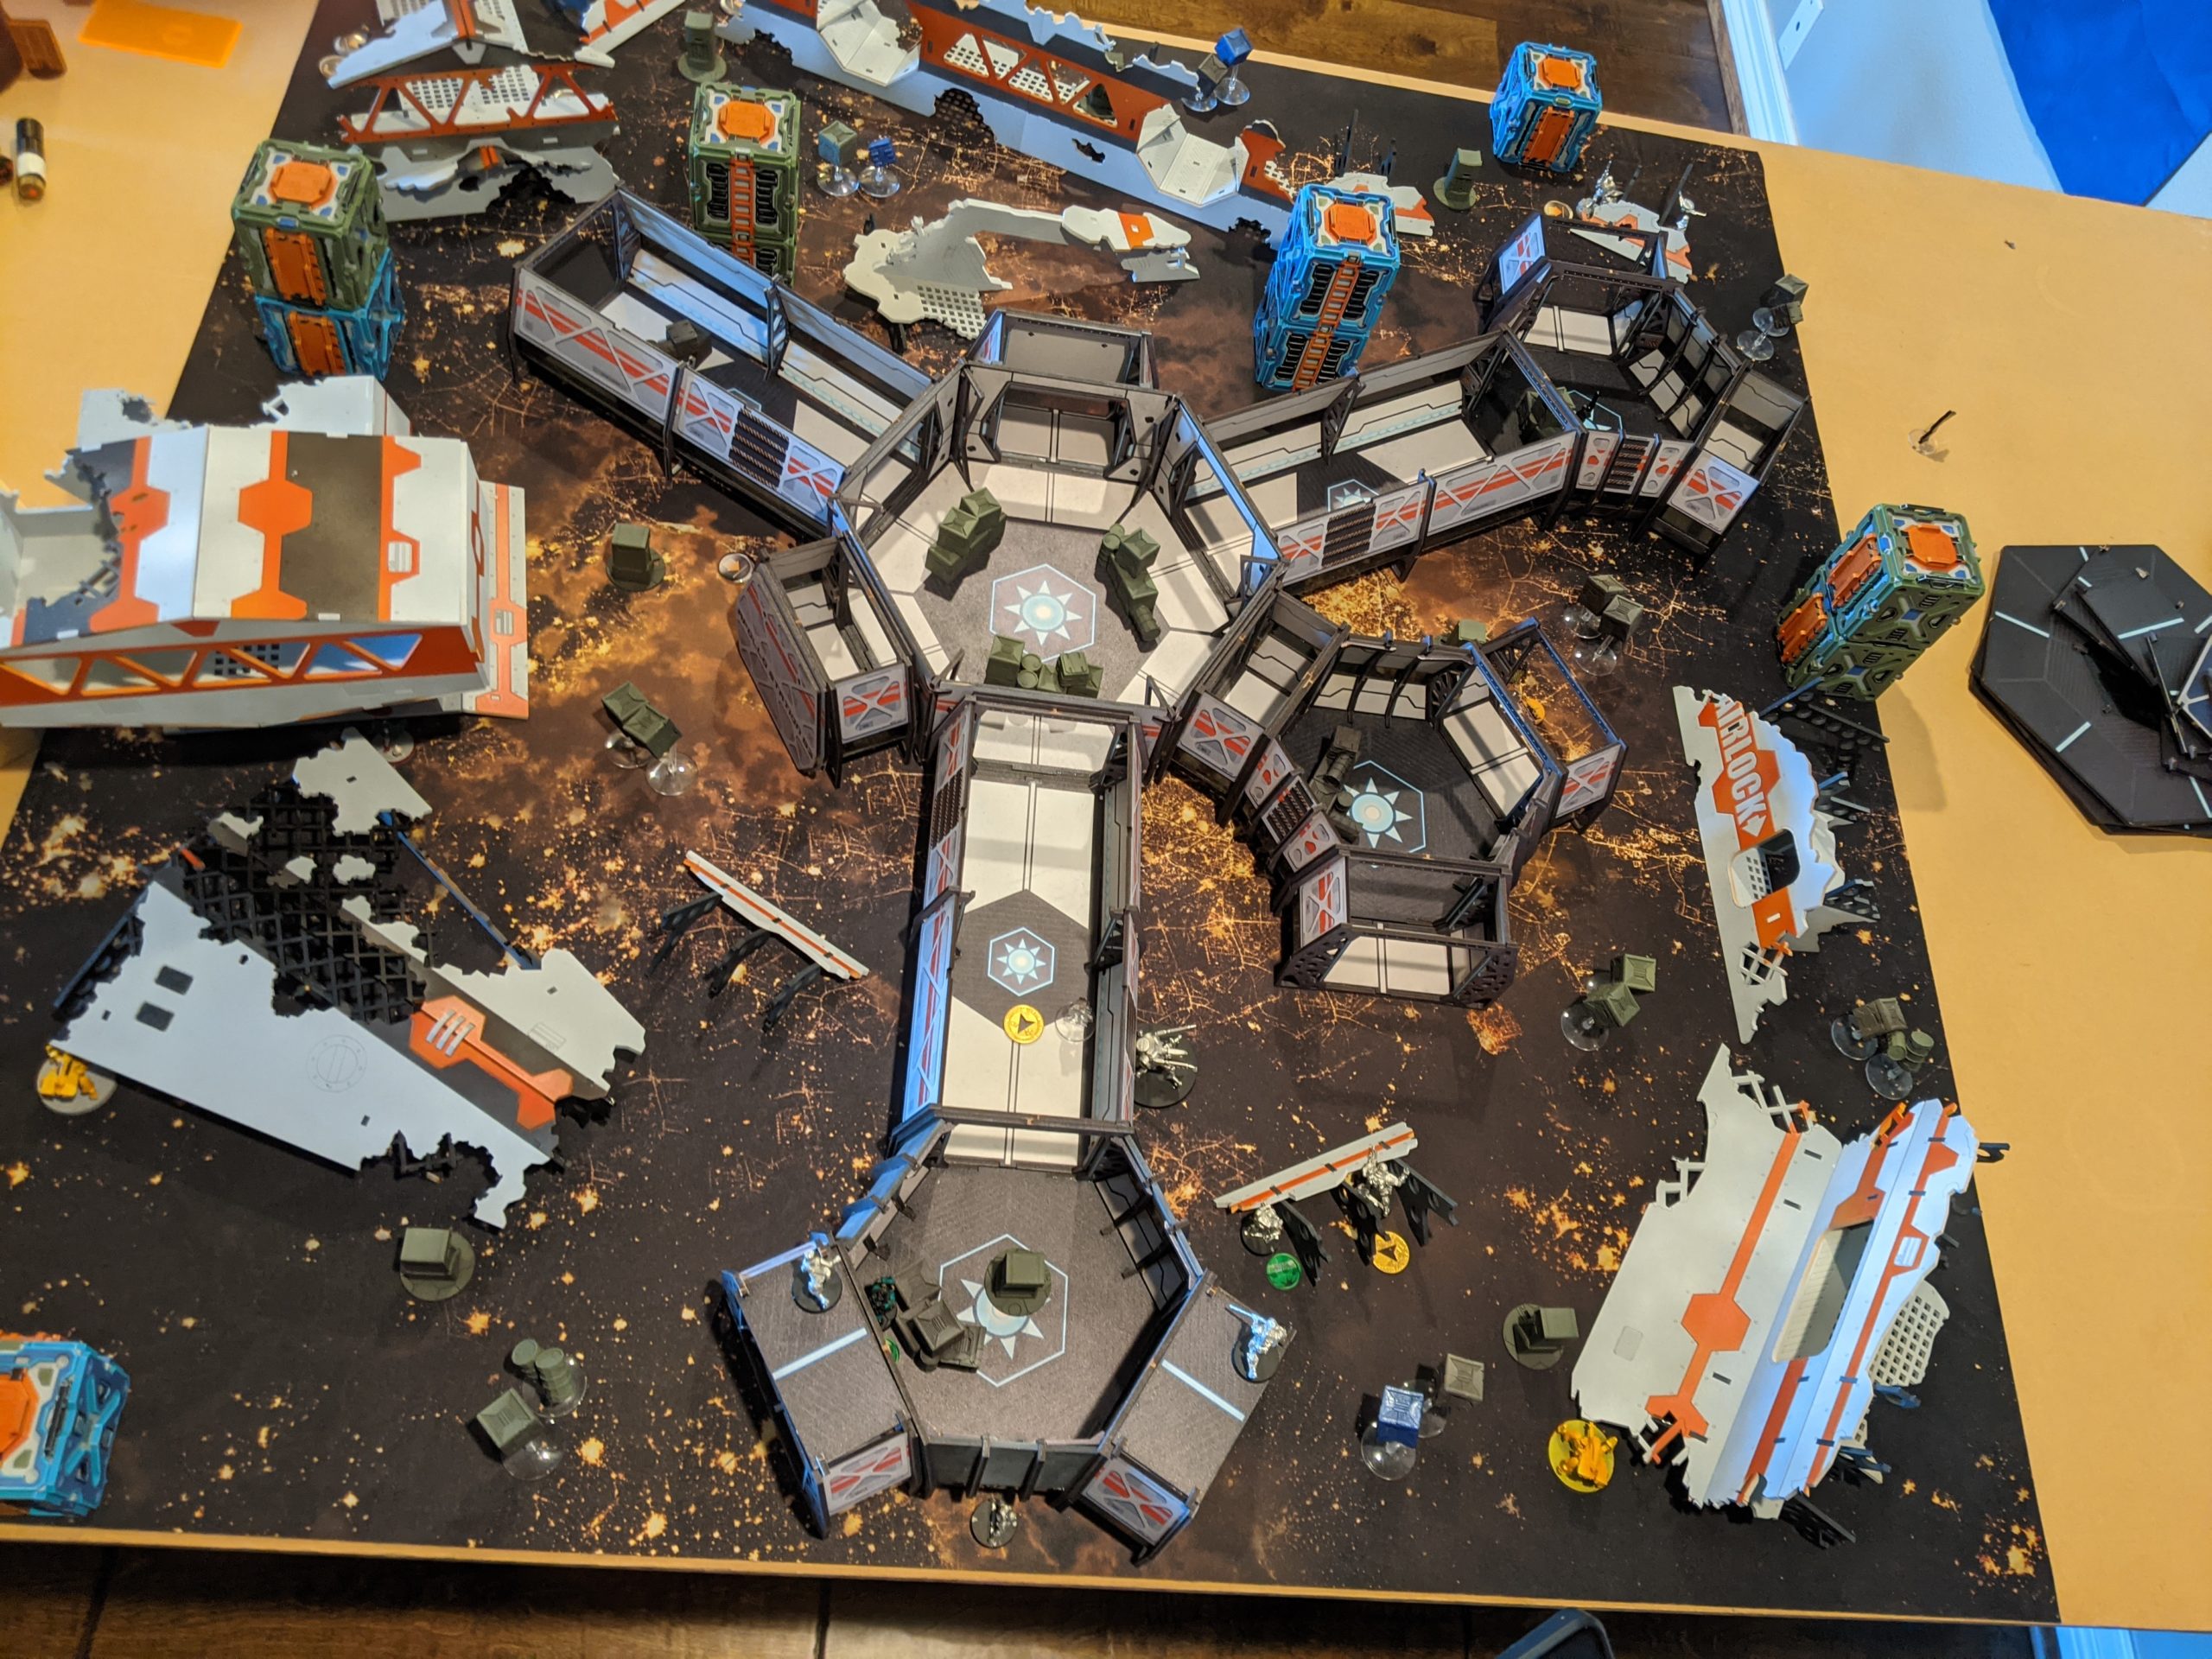
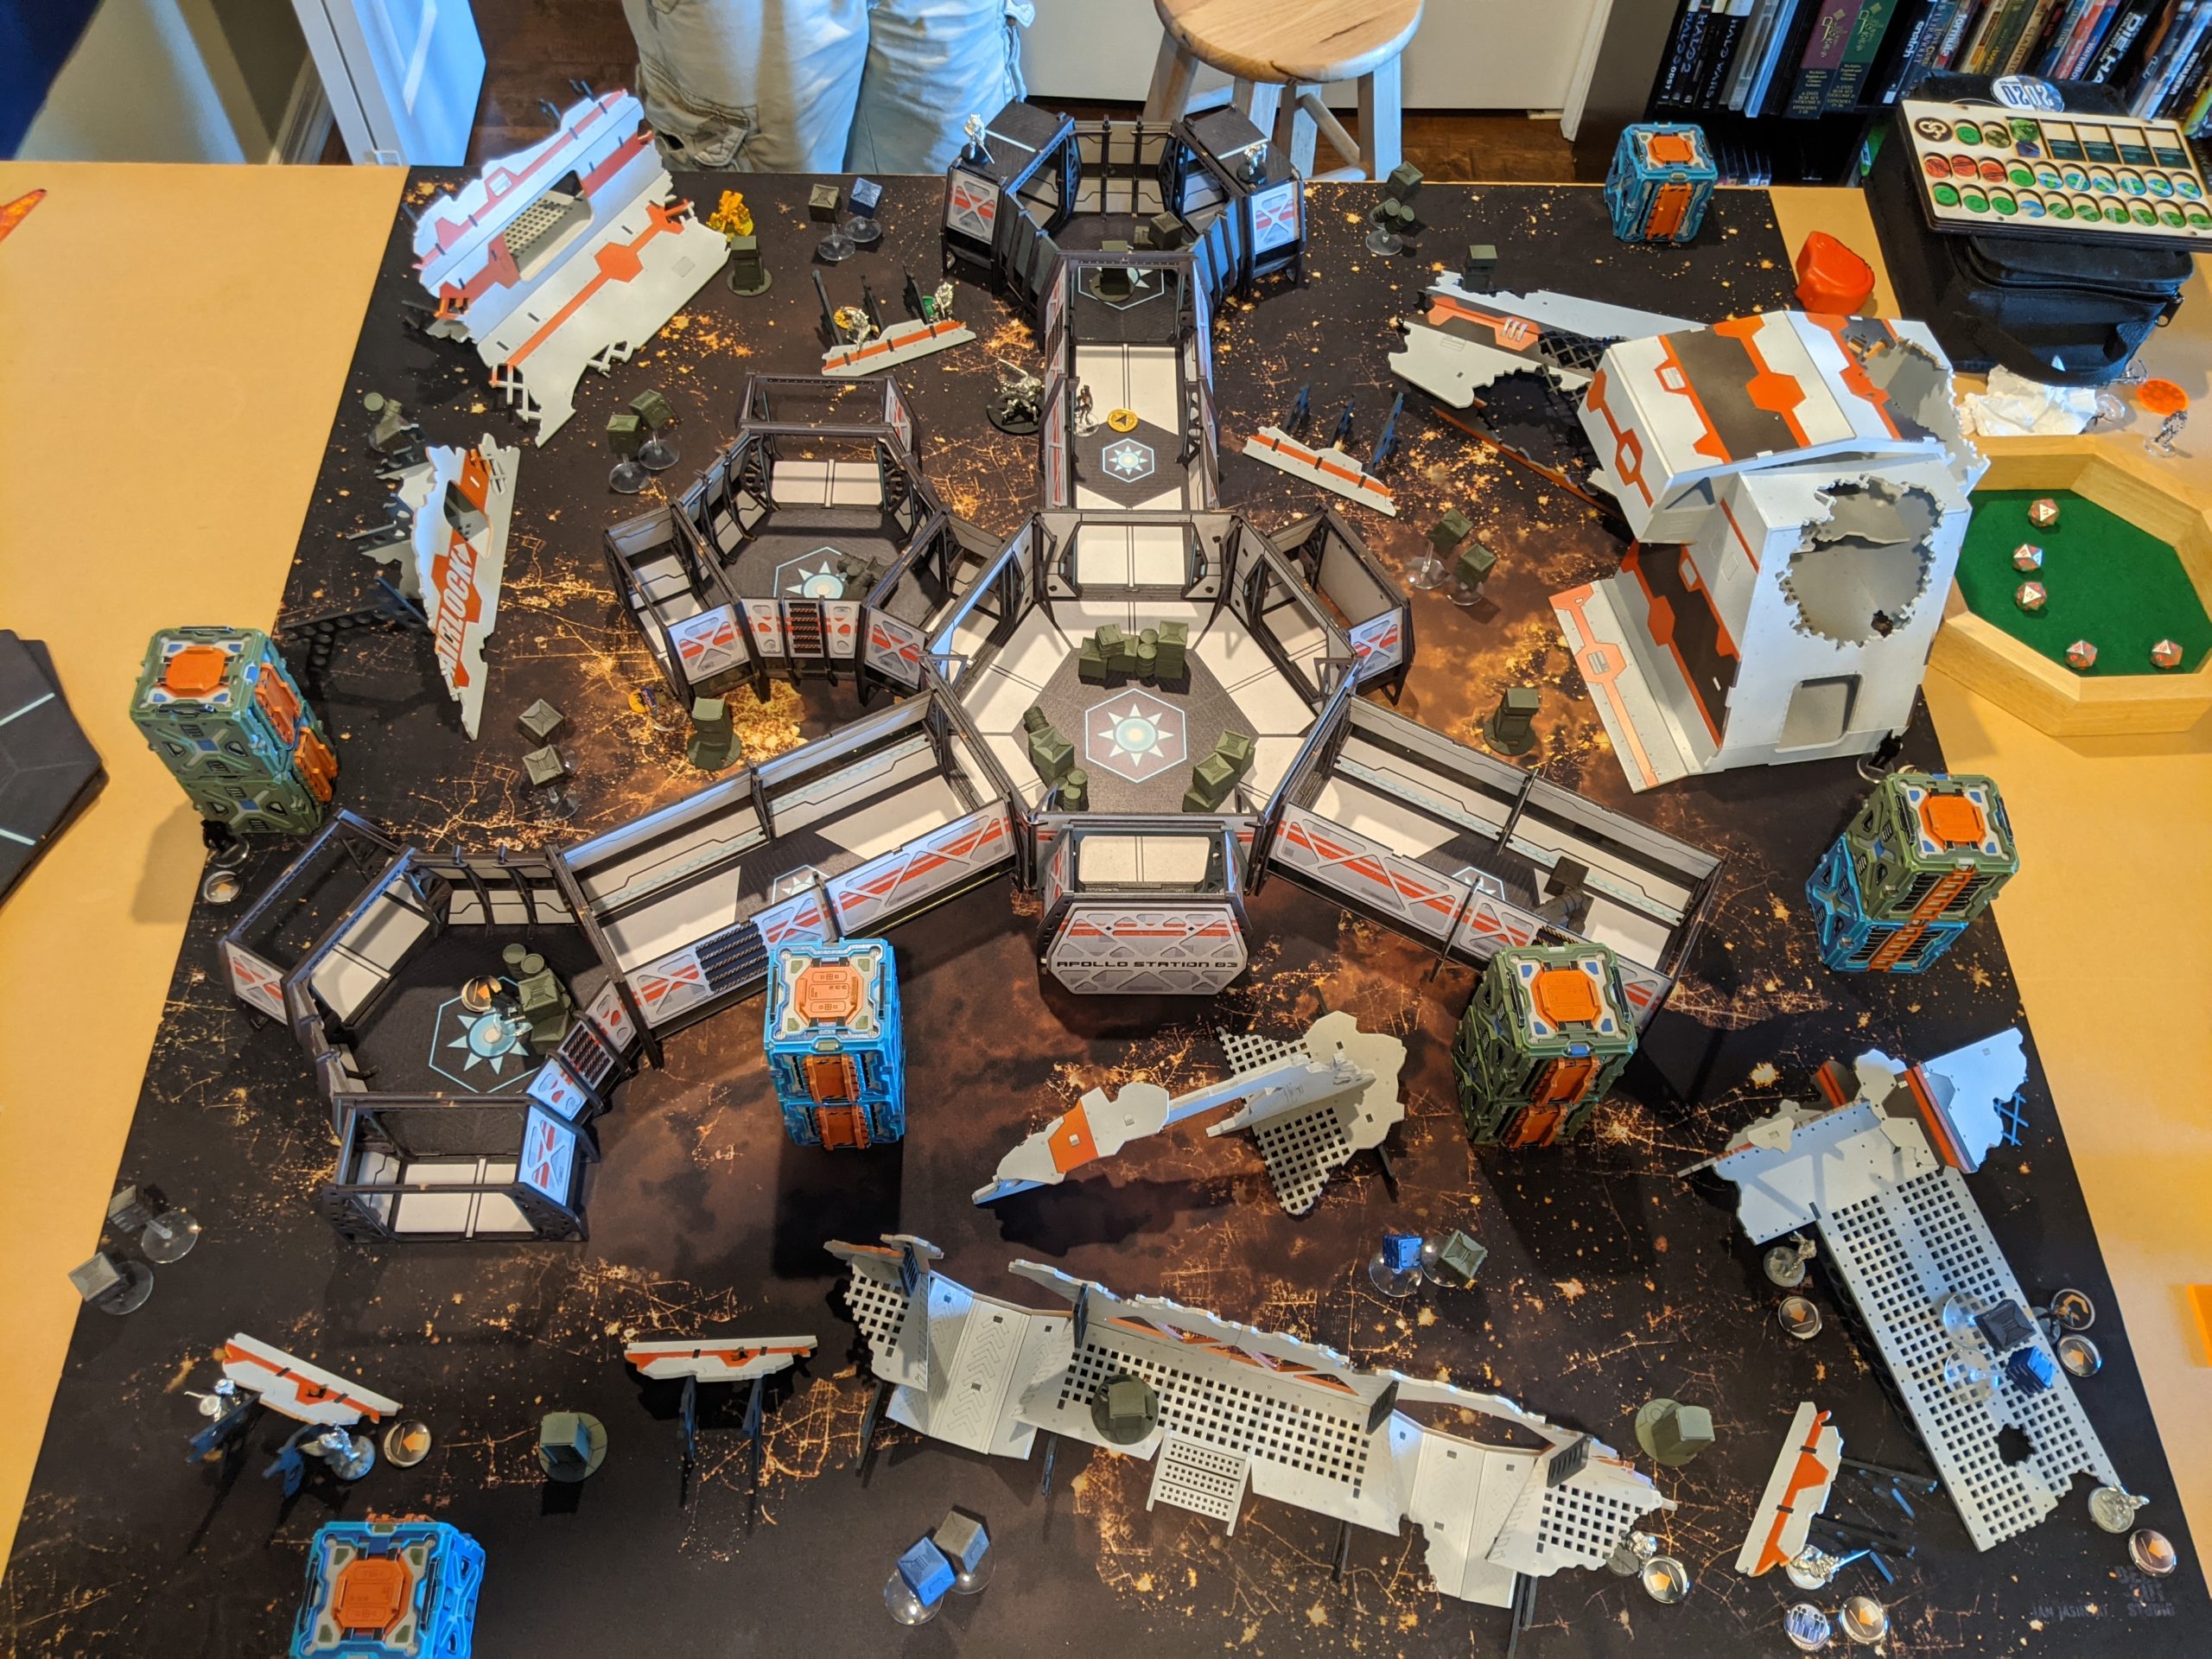
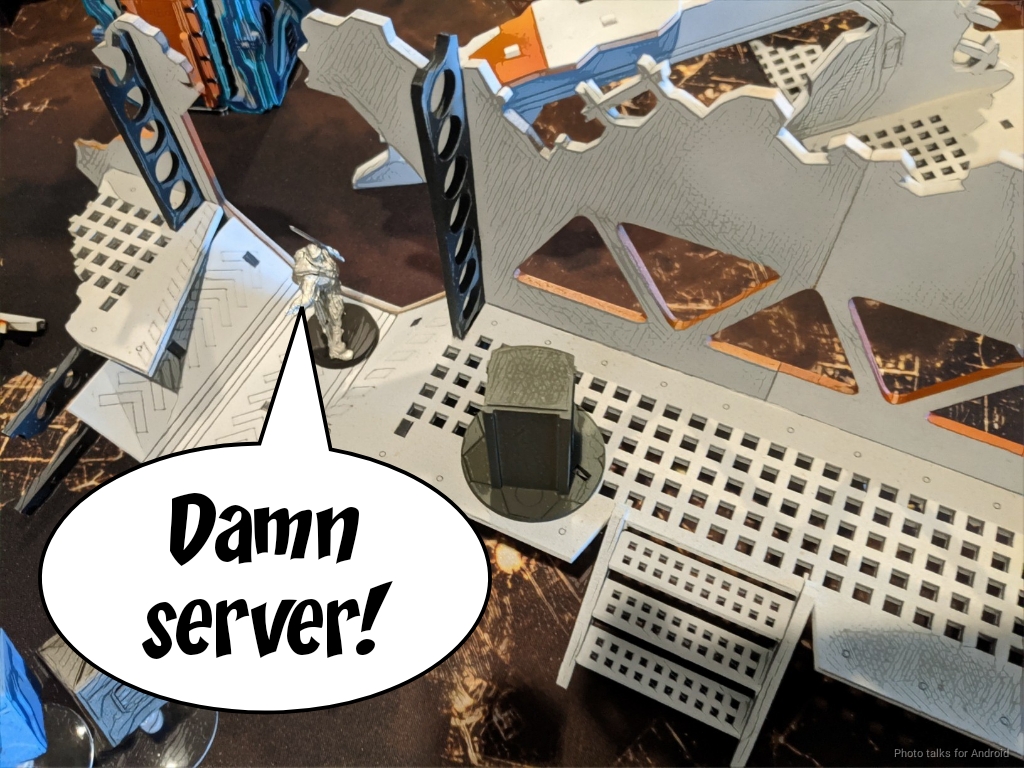
The Infinity Global League moderators were having a discussion about Merovingia, which inspired me to break out my FRRM and put them on the table. With more and more of our local play group fully vaccinated, we’ve been getting regular games in at each other’s houses. James (RomanLegion) was my latest guest and was helping me test this configuration of my space table for balance. It’s set up for Panic Room with a very non-standard objective room, which I think is fine. If you’re basing your plan on the shape of a room, I think you’re over-optimizing.
Overview
- Mission: Mindwipe
- Forces: Force de Response Raapide Merovingienne versus Invincible Army (300)
- Deploy First: IA
- First Turn: IA
James hasn’t played Mindwipe, so we played that in preparation for Rose City Raid. I threw together this list, probably trying way too many things. I took a 5-model link, which I don’t particularly like. A FRRM 5-model link isn’t necessarily the most survivable in the midfield either given the options. There’s something to be said for 4 Metros powering a Moblot HMG, but there are so many other options in FRRM that are interesting. Anyway. I’m really relying on the Metros to do the work of destroying the server and on Margot and Duroc to clear the way for them. The Chasseurs are really there to push buttons and then delay the enemy.
ugh
GROUP 1
7
MOBLOT (Lieutenant) Heavy Machine Gun / Pistol, CC Weapon. (1 | 28)
ALGUACIL (Hacker, Hacking Device) Combi Rifle ( ) / Pistol, CC Weapon. (0.5 | 15)
MÉTRO (Paramedic) Rifle ( | MediKit) / Pistol, CC Weapon. (0 | 10)
WOLFGANG AMADEUS MULTI Rifle(+1B), Chain-colt / Heavy Pistol, DA CC Weapon, PARA CC Weapon(-6). (0 | 35)
GROUP 2
BRIGADIER BRUANT (Infiltration) AP Spitfire, Chain-colt, D-Charges / Pistol, CC Weapon. (1 | 30)
KNAUF MULTI Sniper Rifle / AP Heavy Pistol, CC Weapon. (1.5 | 32)
2
1
Equipe Mirage-5 undefined / undefined. (2 | 66)
DUROC Chain Rifle(+1B), Grenades, Smoke Grenades / AP CC Weapon. (0 | 29)
CHASSEUR (Forward Observer) Rifle, Light Flamethrower, Flash Pulse, Shock Mines / Pistol, CC Weapon. (0 | 20)
WARCOR (360º Visor) Flash Pulse ( ) / Stun Pistol, PARA CC Weapon(-3). (0 | 3)
6 SWC | 300 Points | Open in Infinity Army
Bruant and Knauf are there as my main guns, with the Moblot HMG as the turn 3 striker. James’s list is pretty classic James. Hac Tao, Zencha, Liu Xing, and then some links to do stuff and power the big pieces.

GROUP 1
ZHANSHI (Lieutenant) Combi Rifle / Pistol, CC Weapon. (0 | 11)
HǍIDÀO (Multispectral Visor L2) MULTI Sniper Rifle ( ) / Breaker Pistol, CC Weapon. (1.5 | 33)
GROUP 2
HAC TAO (Hacker, Hacking Device) MULTI Rifle, Nanopulser ( ) / Pistol, DA CC Weapon. (0.5 | 62)
LIÚ XĪNG (Specialist Operative) MULTI Rifle, D-Charges / Pistol, Shock CC Weapon. (0 | 35)
ZHĒNCHÁ (Hacker, Hacking Device) Boarding Shotgun ( ) / Pistol, CC Weapon. (0.5 | 41)
ZÚYǑNG (Tactical Awareness) Combi Rifle ( | TinBot: Firewall [-6]) / CC Weapon, Breaker Pistol(+1B). (0 | 31)
PANGGULING FTO (Repeater) Light Shotgun ( ) / PARA CC Weapon(-3). (0 | 12)
CHAĪYÌ Yaókòng Flash Pulse / PARA CC Weapon(-3). (0 | 7)
2.5 SWC | 300 Points | Open in Infinity Army
It’s quite low on big guns, as you can tell by the SWC count, but in map that offers reasonably protected ways for approaching the enemy like this one that’s fine. On more open maps with longer firelanes, if the Haidao MSR goes down there might be some problems.
Deployment
James won the rolloff and elected to go first. He castled his Haidao MSR with the Zhanshi in the back of the his deployment zone. A lot of his Zhanshi were pointed backwards, looking to defend against Margot and Duroc, with the Haidao MSR trying to cover as much of the table as possible. His Zuyong Haris was on his right, protected by a Chaiyi, and then the left side of his deployment was another flash pulse bot and a Warcor.
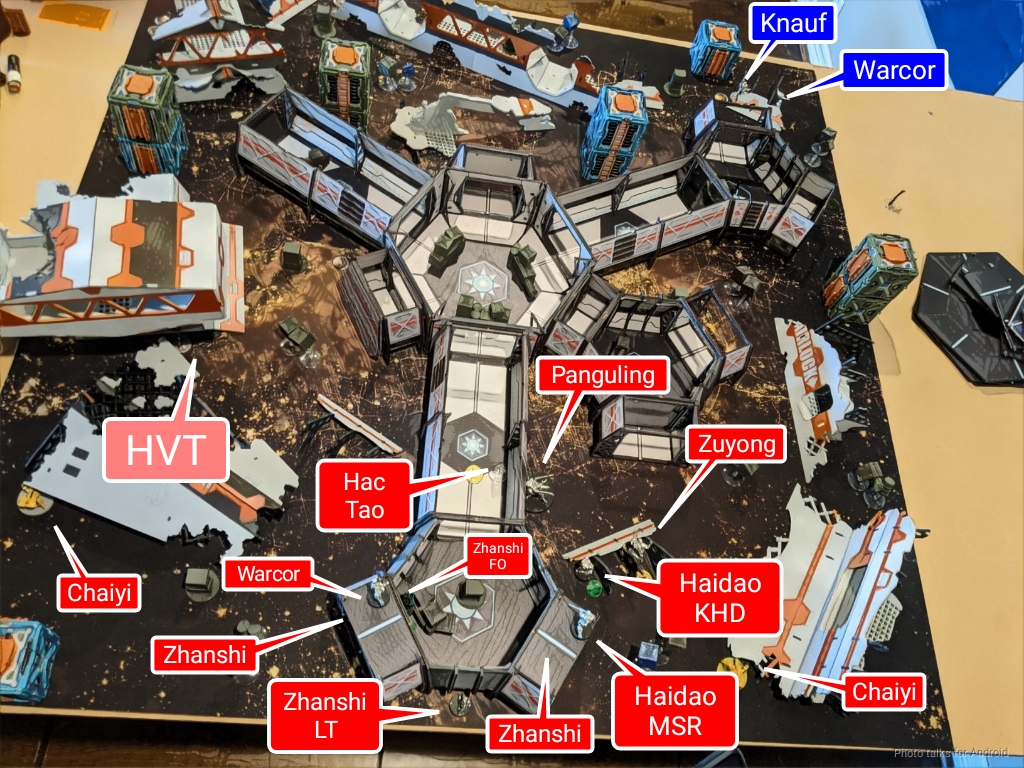
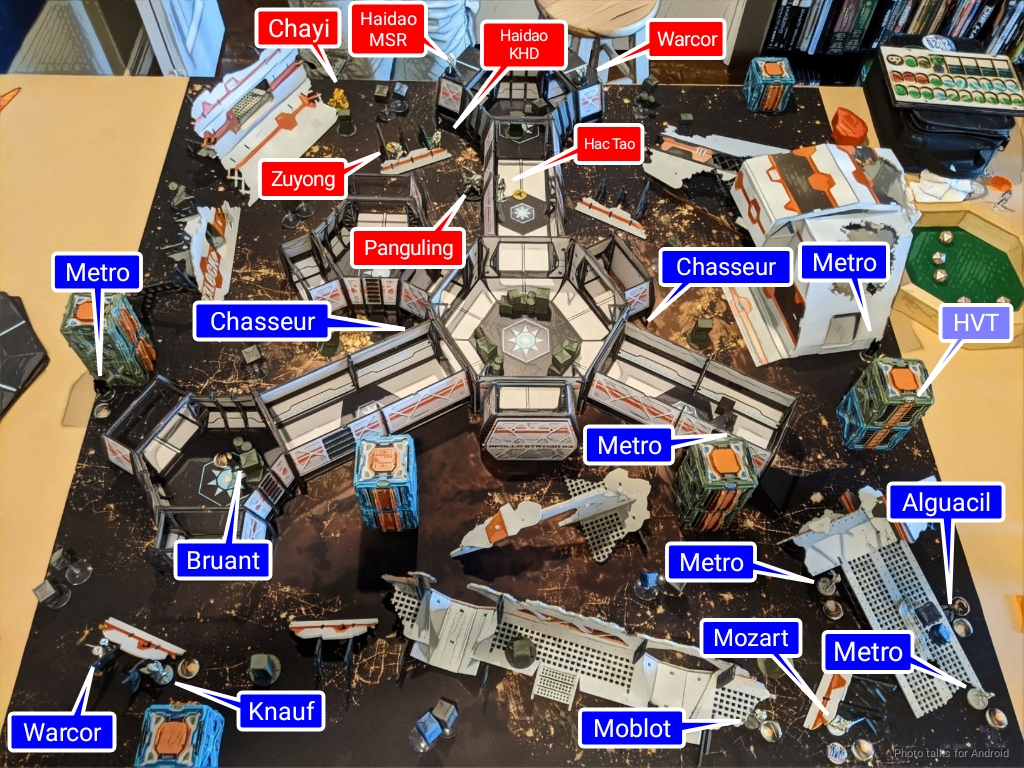
His Hac Tao was right at the edge of his deployment zone ready to rock. I spread out all my camo tokens as best I could, castled up my link on the right, and held Knauf in reserve. There wasn’t a lot of deep thought put into my deployment, and I don’t necessarily think that it was a bad thing–really I just wanted to be able to maneuver my Metros and Chasseurs into position. I figured Bruant would be able to bully the Zuyong Haris some too.
The one thing that I didn’t really do is adequately defend the tunnel system against the Hac Tao, although I will say that there’s not much that can, really. I could hope for the best with a Chasseur’s flamethrower, but that feels like I’m just throwing away the Chasseur especially now that the Burned state no longer exists. FRRM used to be a lot stronger in the midfield thanks to having access to SSL1 on Chasseurs and the ability to delay the ARO declaration. They’re still good, but things are… different now. Requires some relearning. I’m going to spend some more time with them.
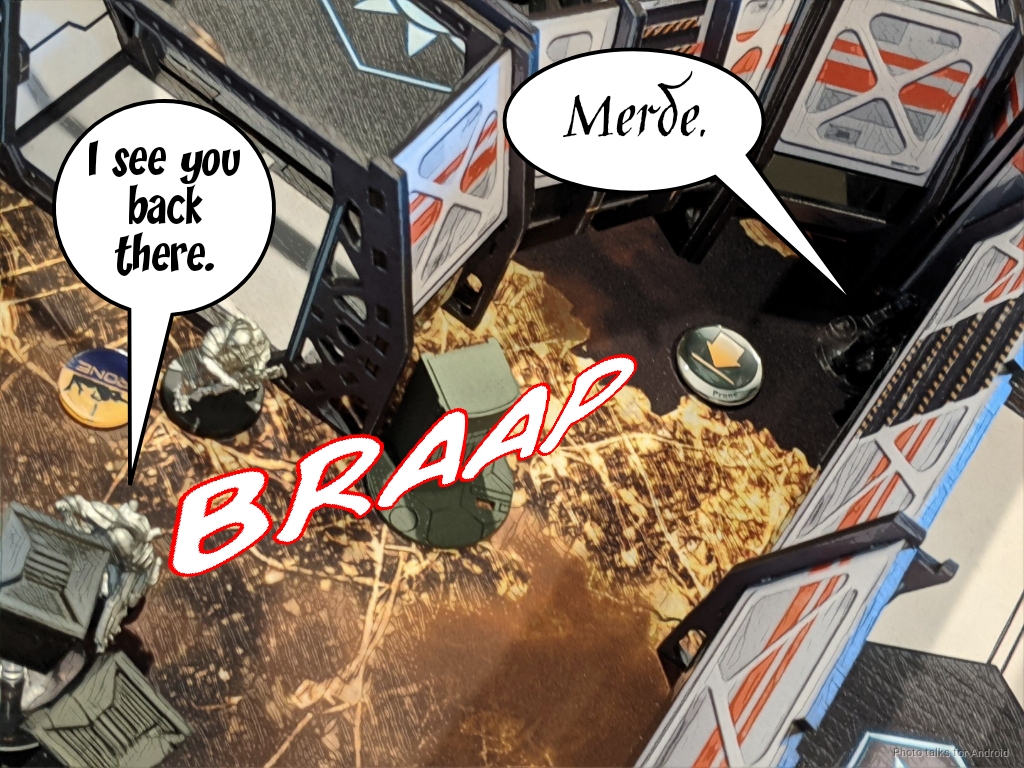
In any case, James placed a Zencha next to the console on my left and then I placed Knauf prone behind some cover on my left as well. I wanted to use Knauf to harass the Haris as well as take on the Haidao or flash pulse on my left. I figured he’d survive the turn if he was prone.
Turn 1
Top of 1 – IA
James starts things off by using the Zencha to flip the console on the left. I reveal my Metro to take a shot with an unopposed shot on 50-50 odds. I hit, but James passes ARM.
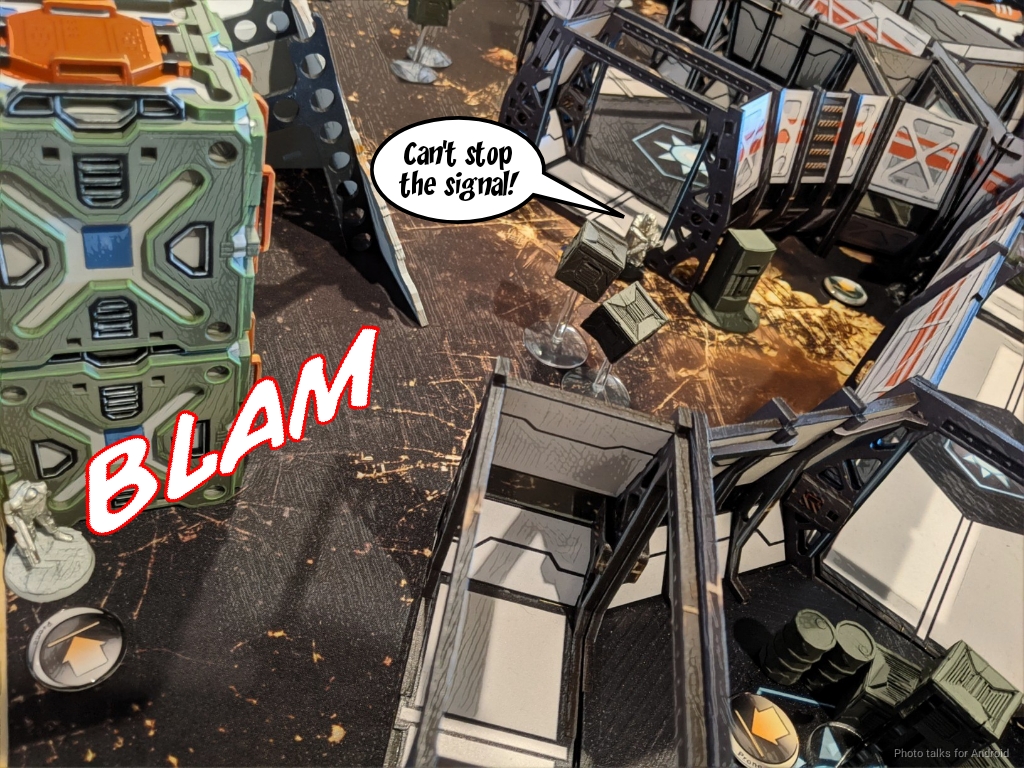
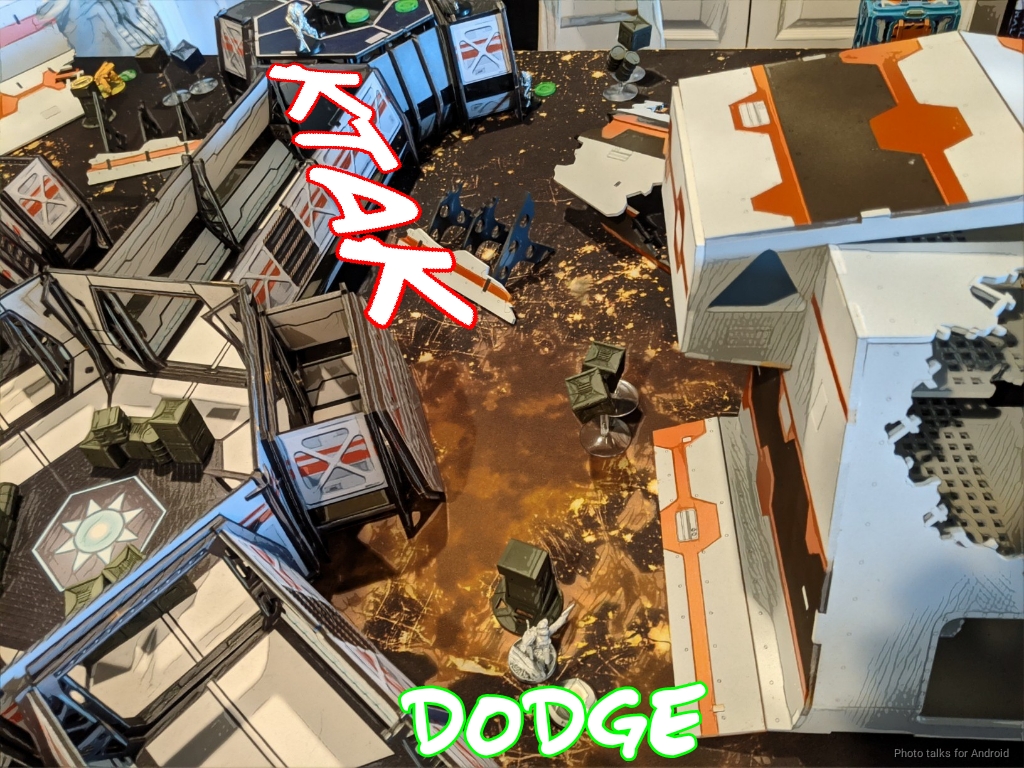
The Haris moves forward and the Zuyong takes down the Metro…
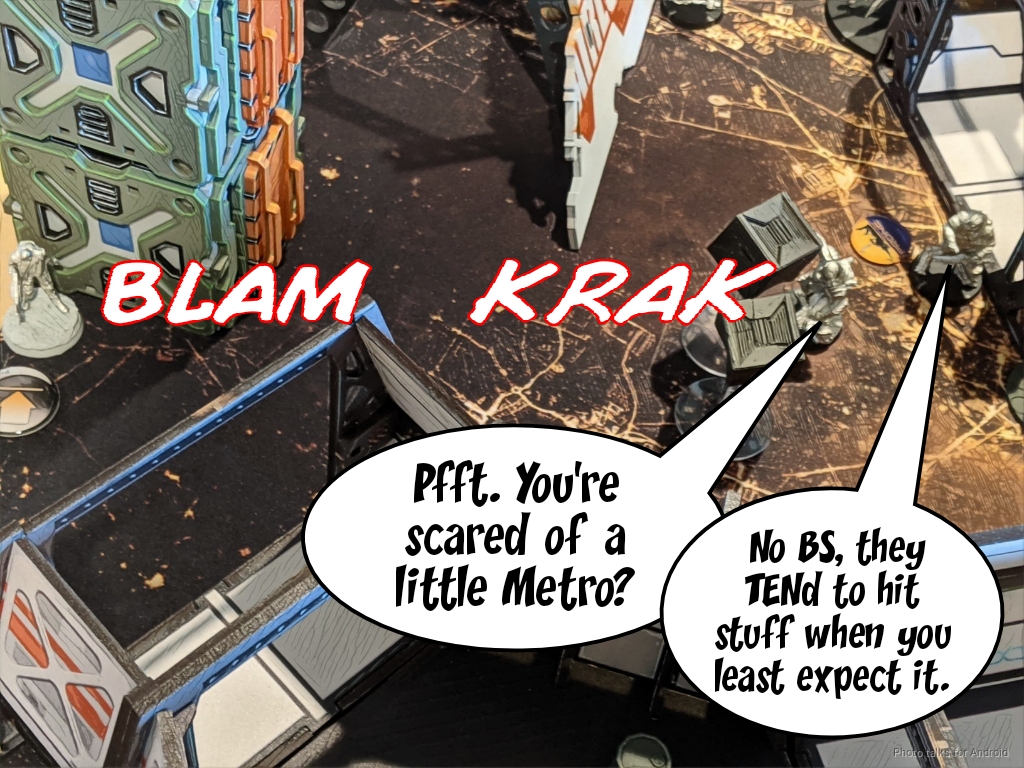
then discover-shoots the Chasseur. I probably should have placed a mine or hit him with the flamethrower, but I decided to not worry about it and hope that James would fail the discover roll. He didn’t, and I lost the Chasseur. I’m still not 100% sure on this–my objective it is to keep my stuff alive to preserve my orders, so forcing the discover felt reasonable. I also have a bit of cognitive bias going on here, because it feels like I never kill anything with templates, so I tend not to use them. Probably something I should correct.
In any case, James is out of orders with the Haris and starts activating the Hac Tao. It has seven orders to make it towards my deployment zone. I’m really afraid of losing Bruant here, because he and Knauf make up such a huge part of my plan on the left side of the table. The Hac Tao moves in front of my Warcor, and I fail the discover. I decide to let Bruant just sit there to stay safe in camo state.
The Hac Tao takes down the Warcor, and then recamos along with the Zencha.
Bottom of 1 – FRRM
All in all, not the worst possible turn, but pretty disastrous. I was so busy trying to figure out a solution that I forgot to take many pictures. In any case, I bring on Margot behind the Haris and manage to take out the Panguling with a grenade shot on the Haidao that was nearby. Unfortunately, the Haidao passed its dodge roll against the grenade and made it to total cover. The Zuyong was less lucky and took a wound from Margot’s AP rifle, but was still up by the time I was out of orders. I did manage to force the Zencha to pop out of camo thanks to the grenade launcher threat though.
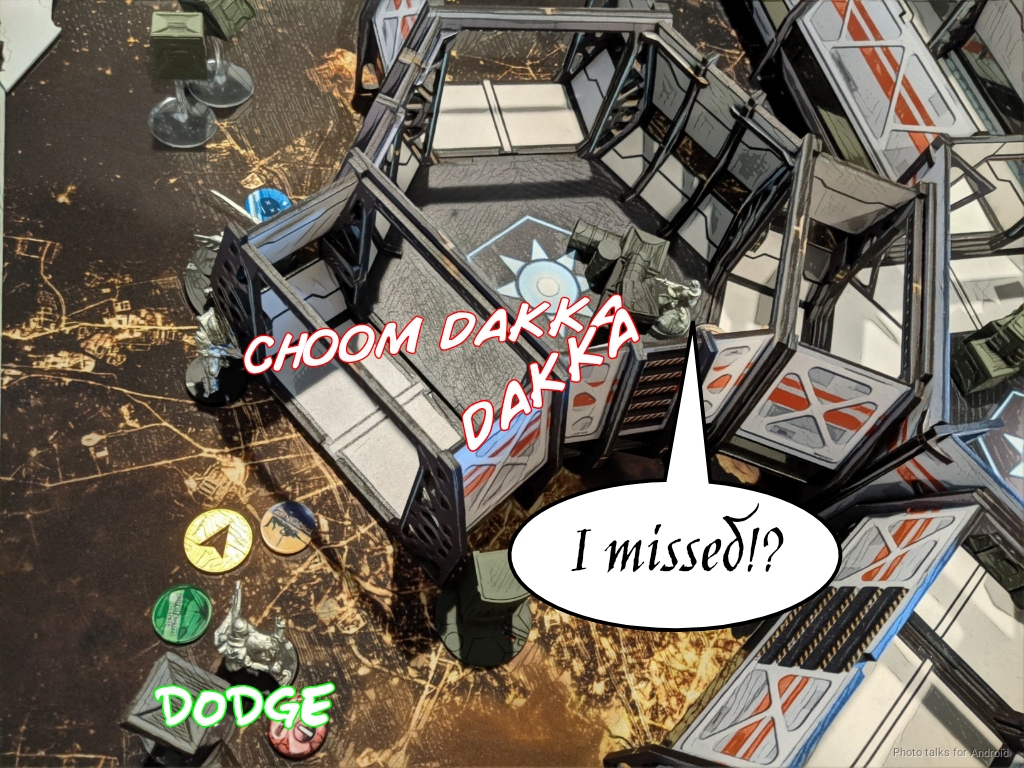
I then attempted to use Bruant to attack the Haris, but had to deal with a Flash Pulse bot on the way. I whiffed all four shots–i.e. I didn’t lose the face to face roll, I just rolled all four misses in good range, which was somewhat irritating, and got flash pulsed, leaving Bruant in the midfield next to a bunch of scary shit and no camo state. Gross.
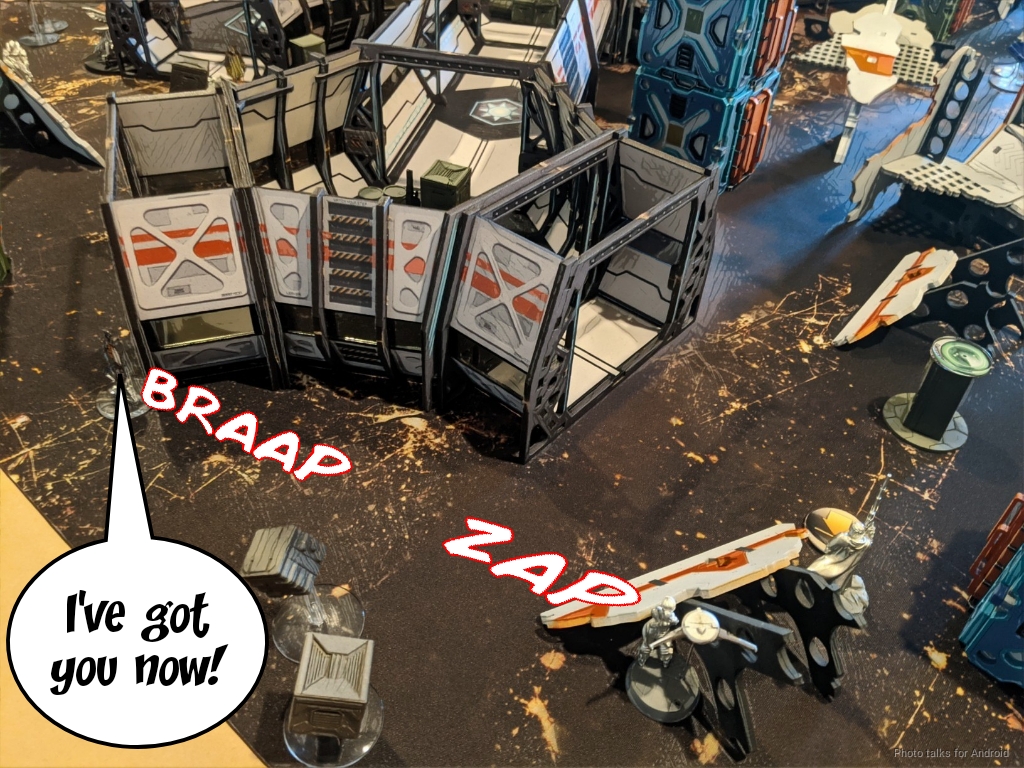
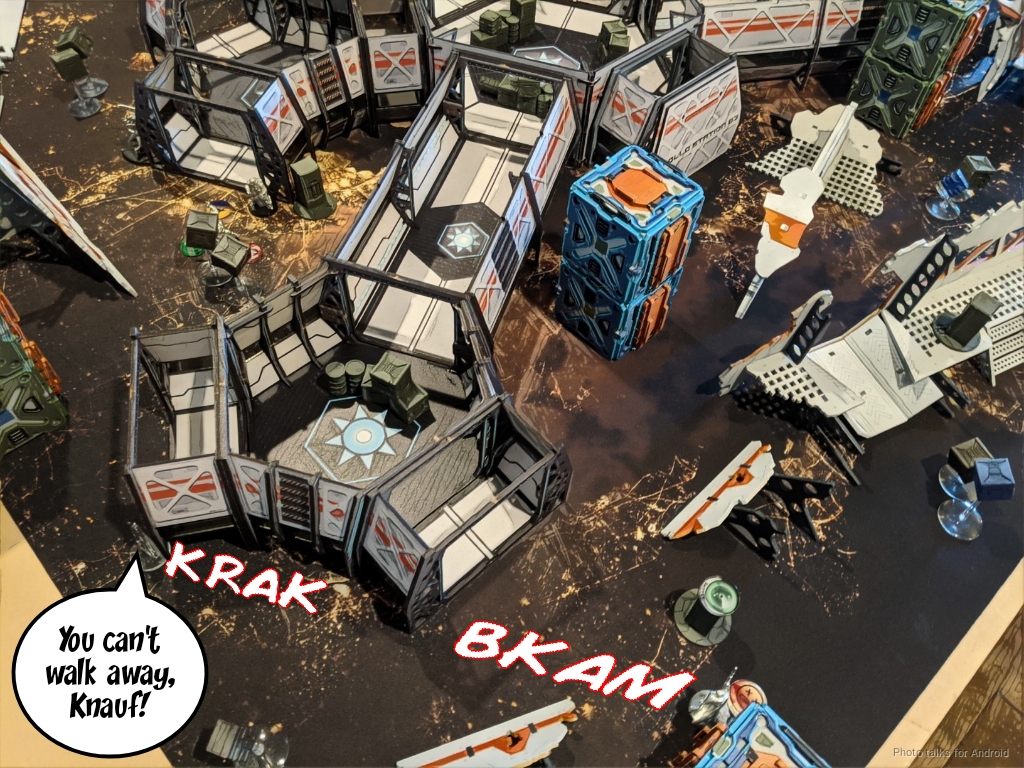
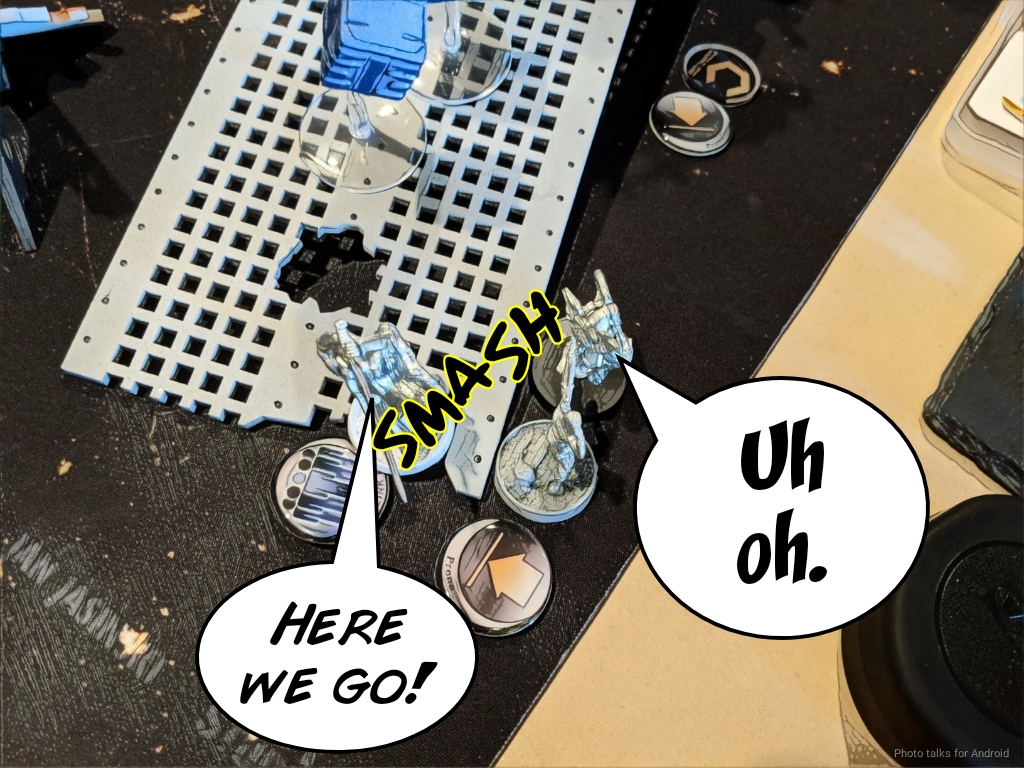
Knauf failed his discover on the Hac Tao too. I knew I was in bad range on him, so I decided to try and walk him away, seeing if James would take the bait and shoot, and he did. I again whiffed three times and Knauf died. Admittedly I had a pretty low chance to win the face to face, but I thought I’d at least roll a success!
In any case, I ended the second turn having put a wound on the Zuyong and Panguling, but having lost Knauf and left both Margot and Bruant out to die, basically. Very frustrating.
Turn 2
Top of 2 – IA
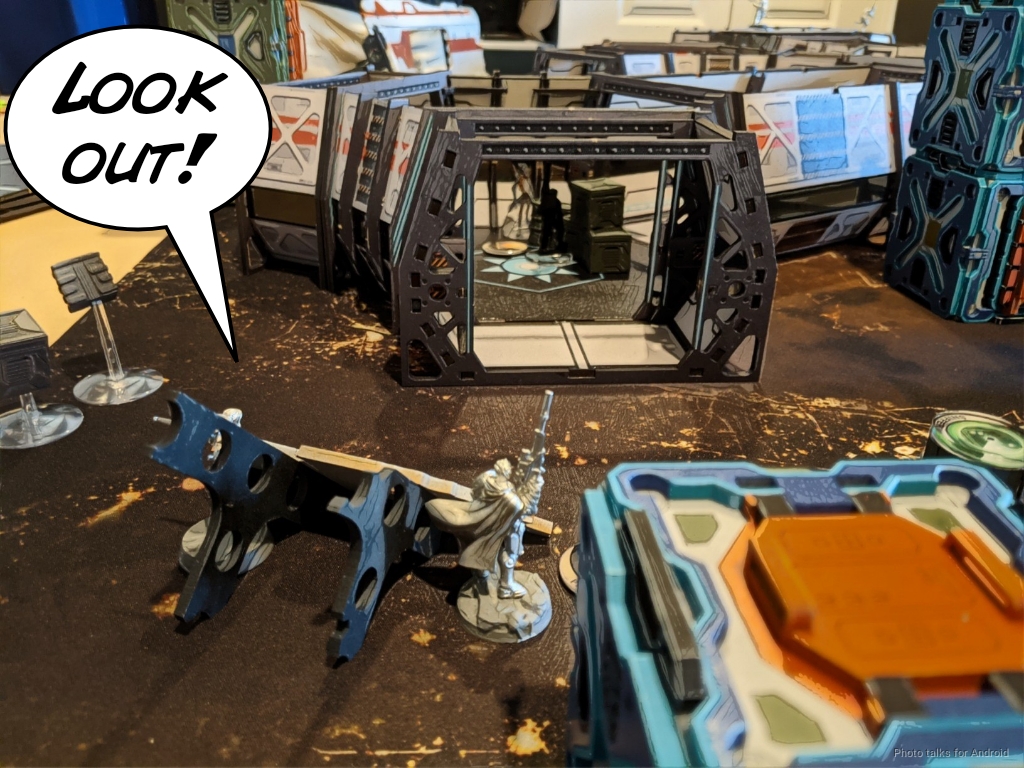
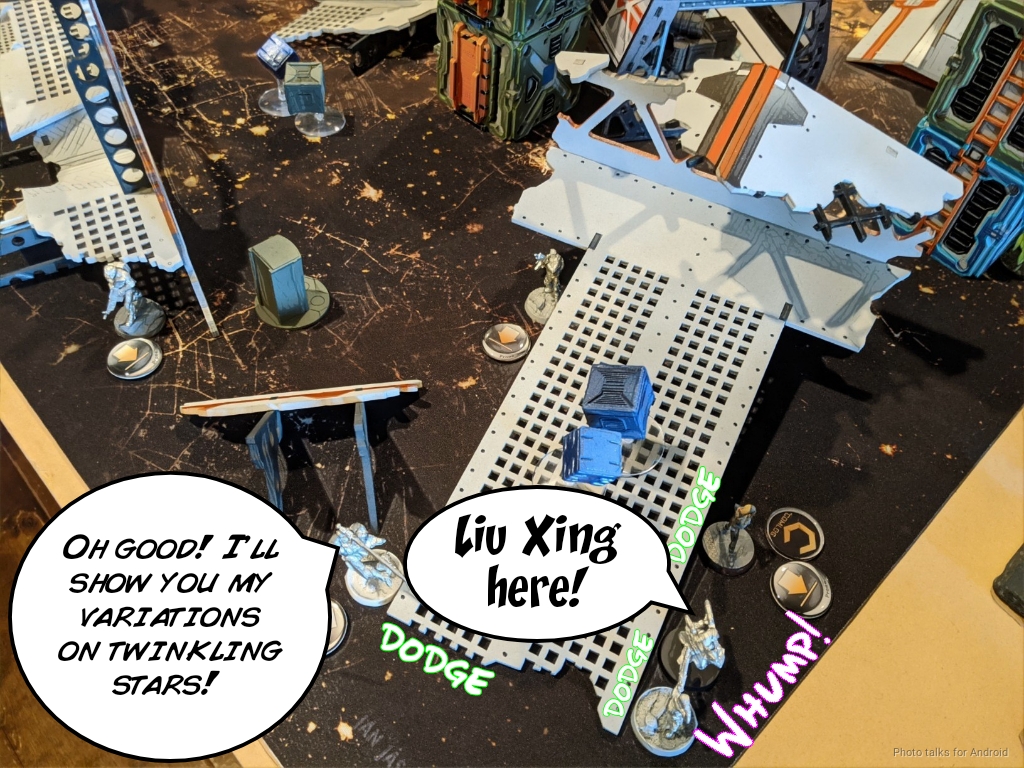
I immediately lose Margot to the Haidao’s shotgun. The Hac Tao goes after the Rogue AI server, and thankfully needs almost its order pool to take it down. My dice were awake on those BTS saves at least! With the remaining orders, James brings on a Liu Xing into close combat with my Metro Paramedic. Everyone passes dodge, thankfully, and Mozart twinkle twinkles his way closer to the offending trooper.
If you don’t get the reference, enjoy this:
The Zencha goes after Bruant next, and I manage to dodge into base to base, then James is out of orders.
Bottom of 2 – FRRM
I D-Charge the Zencha in close combat, hoping to take it out in one hit, but only do one wound. I don’t think through it and spend the last two D-Charges killing the Zencha. I’m then left facing down the Haidao KHD and the wounded Zuyong. The Haidao templates Bruant while the Zuyong dodges. I split burst, and whiff with all four shots, again.
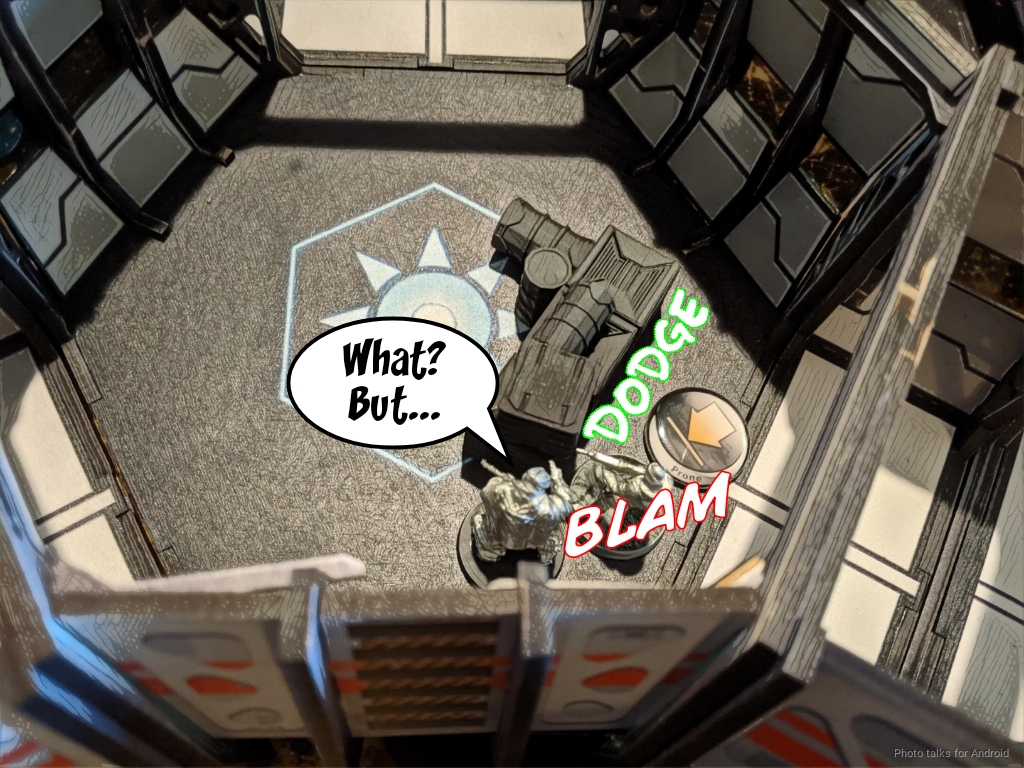
I have to deal with the Liu Xing though, and I get Mozart in there and take him out, moving the rest of my link forward as he takes care of business.
I’ve got only a handful of orders left, and I need to get something done. I move my Chasseur into position behind the console to protect it from the Haidao MSR and successfully push the button, revealing the server on my left as the one I need to break.
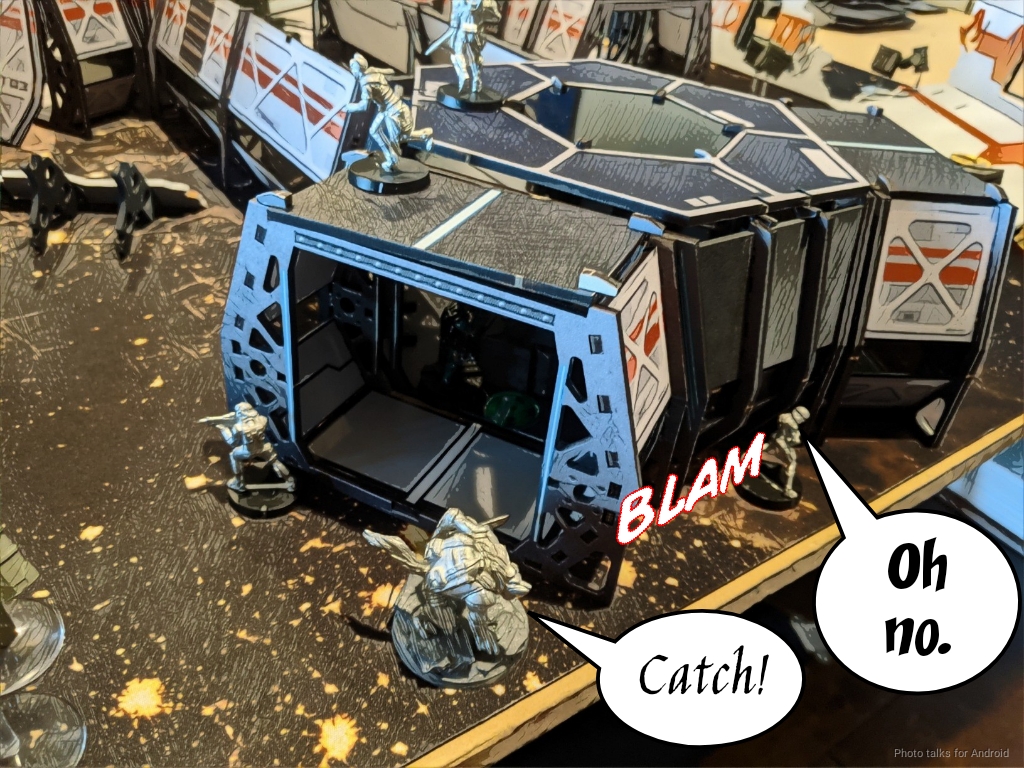
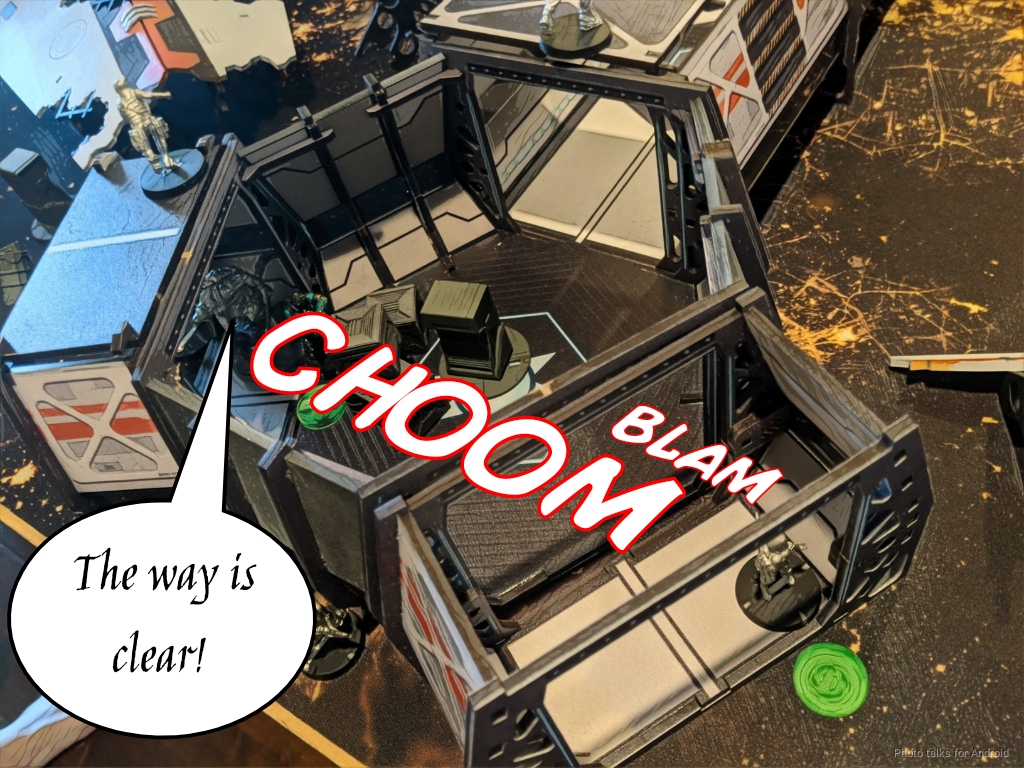
it’s obvious which one of the Zhanshi is James’s lieutenant, so I ask him if htere’s a hole for Duroc to come on. There isn’t, but there is a spot where only his Lieutenant can see Duroc, so I bring Duroc on there. I take two hits but pass one ARM save, allowing me to drop a grenade on the Zhanshi Lieutenant on the next order and kill it.
I wasn’t thinking–instead of grenading the Zhanshi I should’ve jumped into close combat and CCed him, making it extremely difficult for James to attack Duroc, and also making it easier for me to get into position to smoke up the server.
Turn 3
Top of 3 – IA
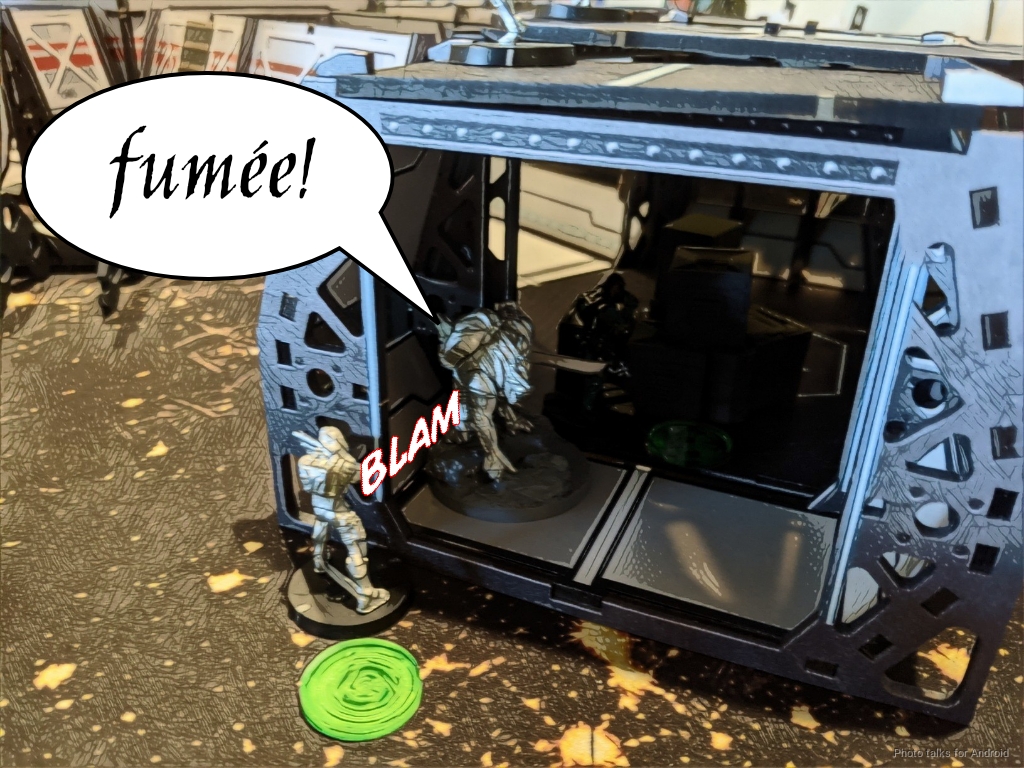
James is in Loss of Lieutenant, so he tries to take out Duroc. I beat the Zhanshi’s combi with some smoke.
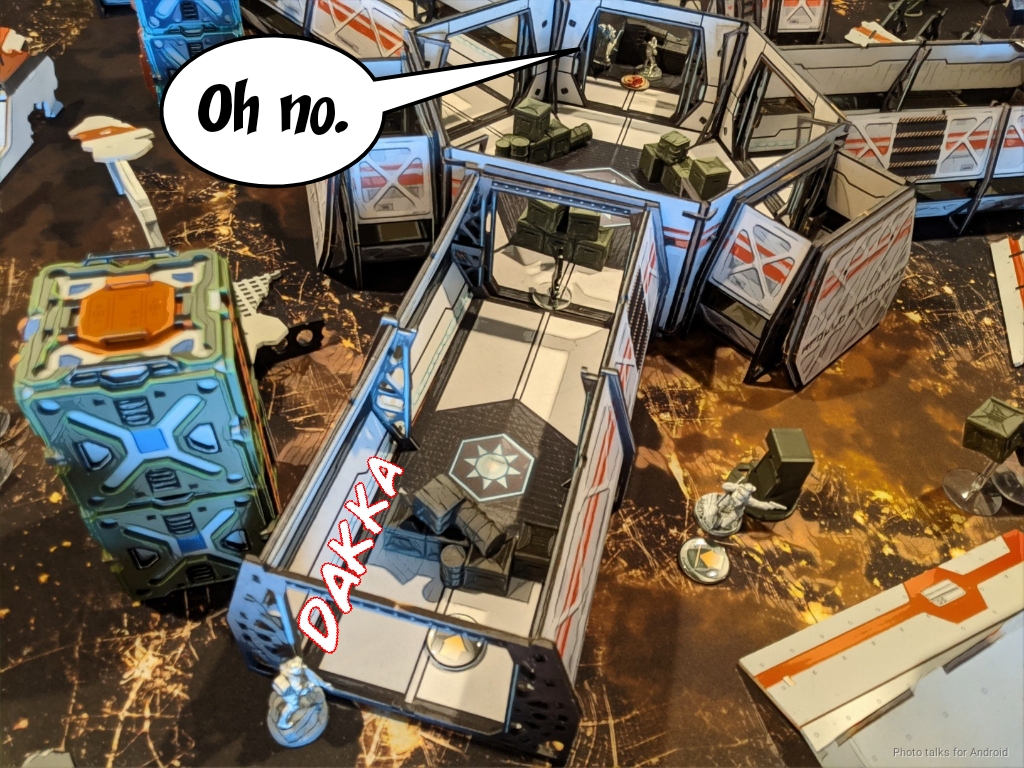
The rest of James’s orders are spent shuffling things around to protect his server and to try and take out my middle server with his Hac Tao. He has to kill a Metro to get there, so he does that without issue.

Thankfully, my BTS saves were enough to keep him from destroying it.
James goes after my Order pool and tries to take out my Chasseur, but fails against my dodge.
James secures the space station central room with a suppressing Zuyong, and with that, he’s out of orders.
Bottom of 3 – FRRM
I had saved all my command tokens so I dump everything into the first group. Duroc is forced to go into base to base with the nearest trooper, so I do that and chain rifle two Zhanshi down. This leaves just the Zuyong in suppression, one Zhanshi, a flash pulse bot, and a Haidao KHD watching the server I need to destroy. I decide to try and make it work with with a Metro.
I push the Metro far enough forward that it forces James to break suppression and discover, but he fails the discover. My Lieutenant Moblot HMGs down the Zuyong, and then I’m free to move again.
It takes two orders to down the Zhanshi, one to down the Chaiyi, and one to take out the Haidao, meaning I only have one shot on the D-Charge. James makes enough ARM saves to keep me from destroying the server. If I had just killed that Zhanshi in one order, I could’ve won it by being able to double D-Charge, as my Chasseur was close enough to secure the HVT we both would have done the same amount of the mission otherwise! Bah!
9-2 Invincible Army Victory!
Post Game Analysis
Well that was pretty poop. And wow this mission is really swingy based on the ARM/BTS rolls on those servers! I definitely didn’t do a good job prioritizing targets on my first turn. I tried to do too much, and I really ceded control of corridor system to the Hac Tao–no wonder it was in my face immediately. Really that was it. James had positional and tempo advantage, and I didn’t have much in the way of a recovery plan, save perhaps dropping Duroc in earlier. That might have gotten me back in the game, but I was too chicken to make that attempt.
One interesting plan with Margot and Duroc is to break up the team by spending a command token to move Margot or Duroc into the other order group, just so your Alpha Strike is just that more potent. The other thing is that if you leave enough slots and points open (two Paracommandos is enough-ish) you can fool your opponent into honoring the threat of them. That’s often enough.
I definitely over-extended Margot, which was very problematic. FRRM is very vulnerable to shotgun templates too, and against shotgun-wielding HI I can’t trade as effectively in the midfield… so I think I need to rethink my force composition and way to approach midfield dominance in a faction that previously had no problem dealing with stuff in the midfield. I’m really not interested in most of the core links available in FRRM either.
I’m still sort of digesting this game. It was a poor showing by me during deployment time, but I wasn’t really comfortable trying to go toe to toe with Hac Tao in an enclosed space. I could have put a my Metros in there to deter the Hac Tao from advancing, but I’m unsure as to what that would have done other than depleted my order pool. I suppose that’s me assuming James wouldn’t have just not advanced, for fear of taking flamethrower templates, but I sort of have to assume my opponent will make the best possible decisions when planning my deployment.
Knowing FRRM like I do, had the roles been reversed I would have absolutely aggressively pushed forward, discovering and shooting every camo token I came across. Hell, just hitting camo tokens with Nanopulsars would also have been fine. Given that the Metros and Bruant were my primary plan for attacking the servers, I can’t really afford to expose them. So I think I had set myself up for failure with my list, actually. I rarely say this sort of thing, but in this case I think I had some problems before even getting to the table. I wouldn’t have necessarily even changed up that much, other than trying to find room for the Paracommando FO with D-Charges. Had I managed that, I would likely have had a much easier time delivering D-Charges to the appropriate server.
There’s a tendency to want to use Knauf and Mozart too, as that’s part of the benefit of playing sectorials-AVA. FRRM wants to be everywhere on the table though, so the 5-man link I think was mistake in this case. Interestingly enough, because of the layout of the table, I was sort of forced to put things in the corners of my deployment zone, or it wouldn’t have been relevant. I think having two 3-man links would have been much better in this matchup and most table configurations.
I also have plenty of access to E/M mines, which helps quite a bit against IA, but didn’t take any. I think I’m going to explore a different style of FRRM over the next few games and try to dial in a balance of infiltrators and links that I like. As much as I like the army, I don’t think I’m very good at playing it yet, it has a lot of nuance that I haven’t fully explored. All my success in N3 with them is basically down to Margot/Duroc being stupid good even then, plus a helping of Chasseur SSL1 brokenness. I’m glad the ability to delay is gone for the health of the game and the diversity of vanilla, but I do miss it in FRRM quite a bit.
Not the most decisive after action analysis, but here’s some concrete takeaways:
- Delivering D-Charges – It took far too much effort to do this. I needed a faster, more reliable way like a Paracommando.
- Fighting in the Midfield – I didn’t do a good job of this. You can second guess me on how I played the top of one (I’m doing it too), but bottom line it was more what I had in the midfield and what I wanted it to do. I couldn’t trade with anything to slow James down, because I needed Chasseurs to push buttons and I need Metros to blow up Servers. Neither is expendable, and I need to expend stuff to slow down a Haris or a Hac Tao.
- My Link Sucked – Too risky to go after stuff with the LT HMG, so I didn’t do anything. And honestly, was I seriously going to waltz that link forward to get stuff done? I’d have had to leave it in the midfield to DIE. I suppose Mozart had a chance of doing something useful… Anyway. I had most of the tools I needed, but they were in the wrong places and tied down for various reasons.
Bruant is interesting… no real data, his changes from N3 to N4 are pretty important. That’s it for now. More FRRM to come soon.
Pingback: Cannes it be Done? – MERC Recon