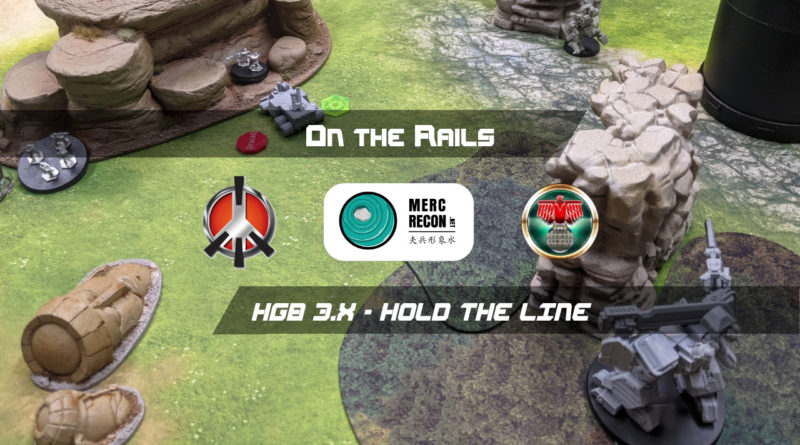
On the Rails
It’s been awhile since I’ve played a game of Heavy Gear. Adam and I needed to get a game in with him playing his South in preparation for our Late Night Wargames episode on the South, so it worked out well. I wanted to put my Cataphract on the table, so that meant I was playing Peace River.
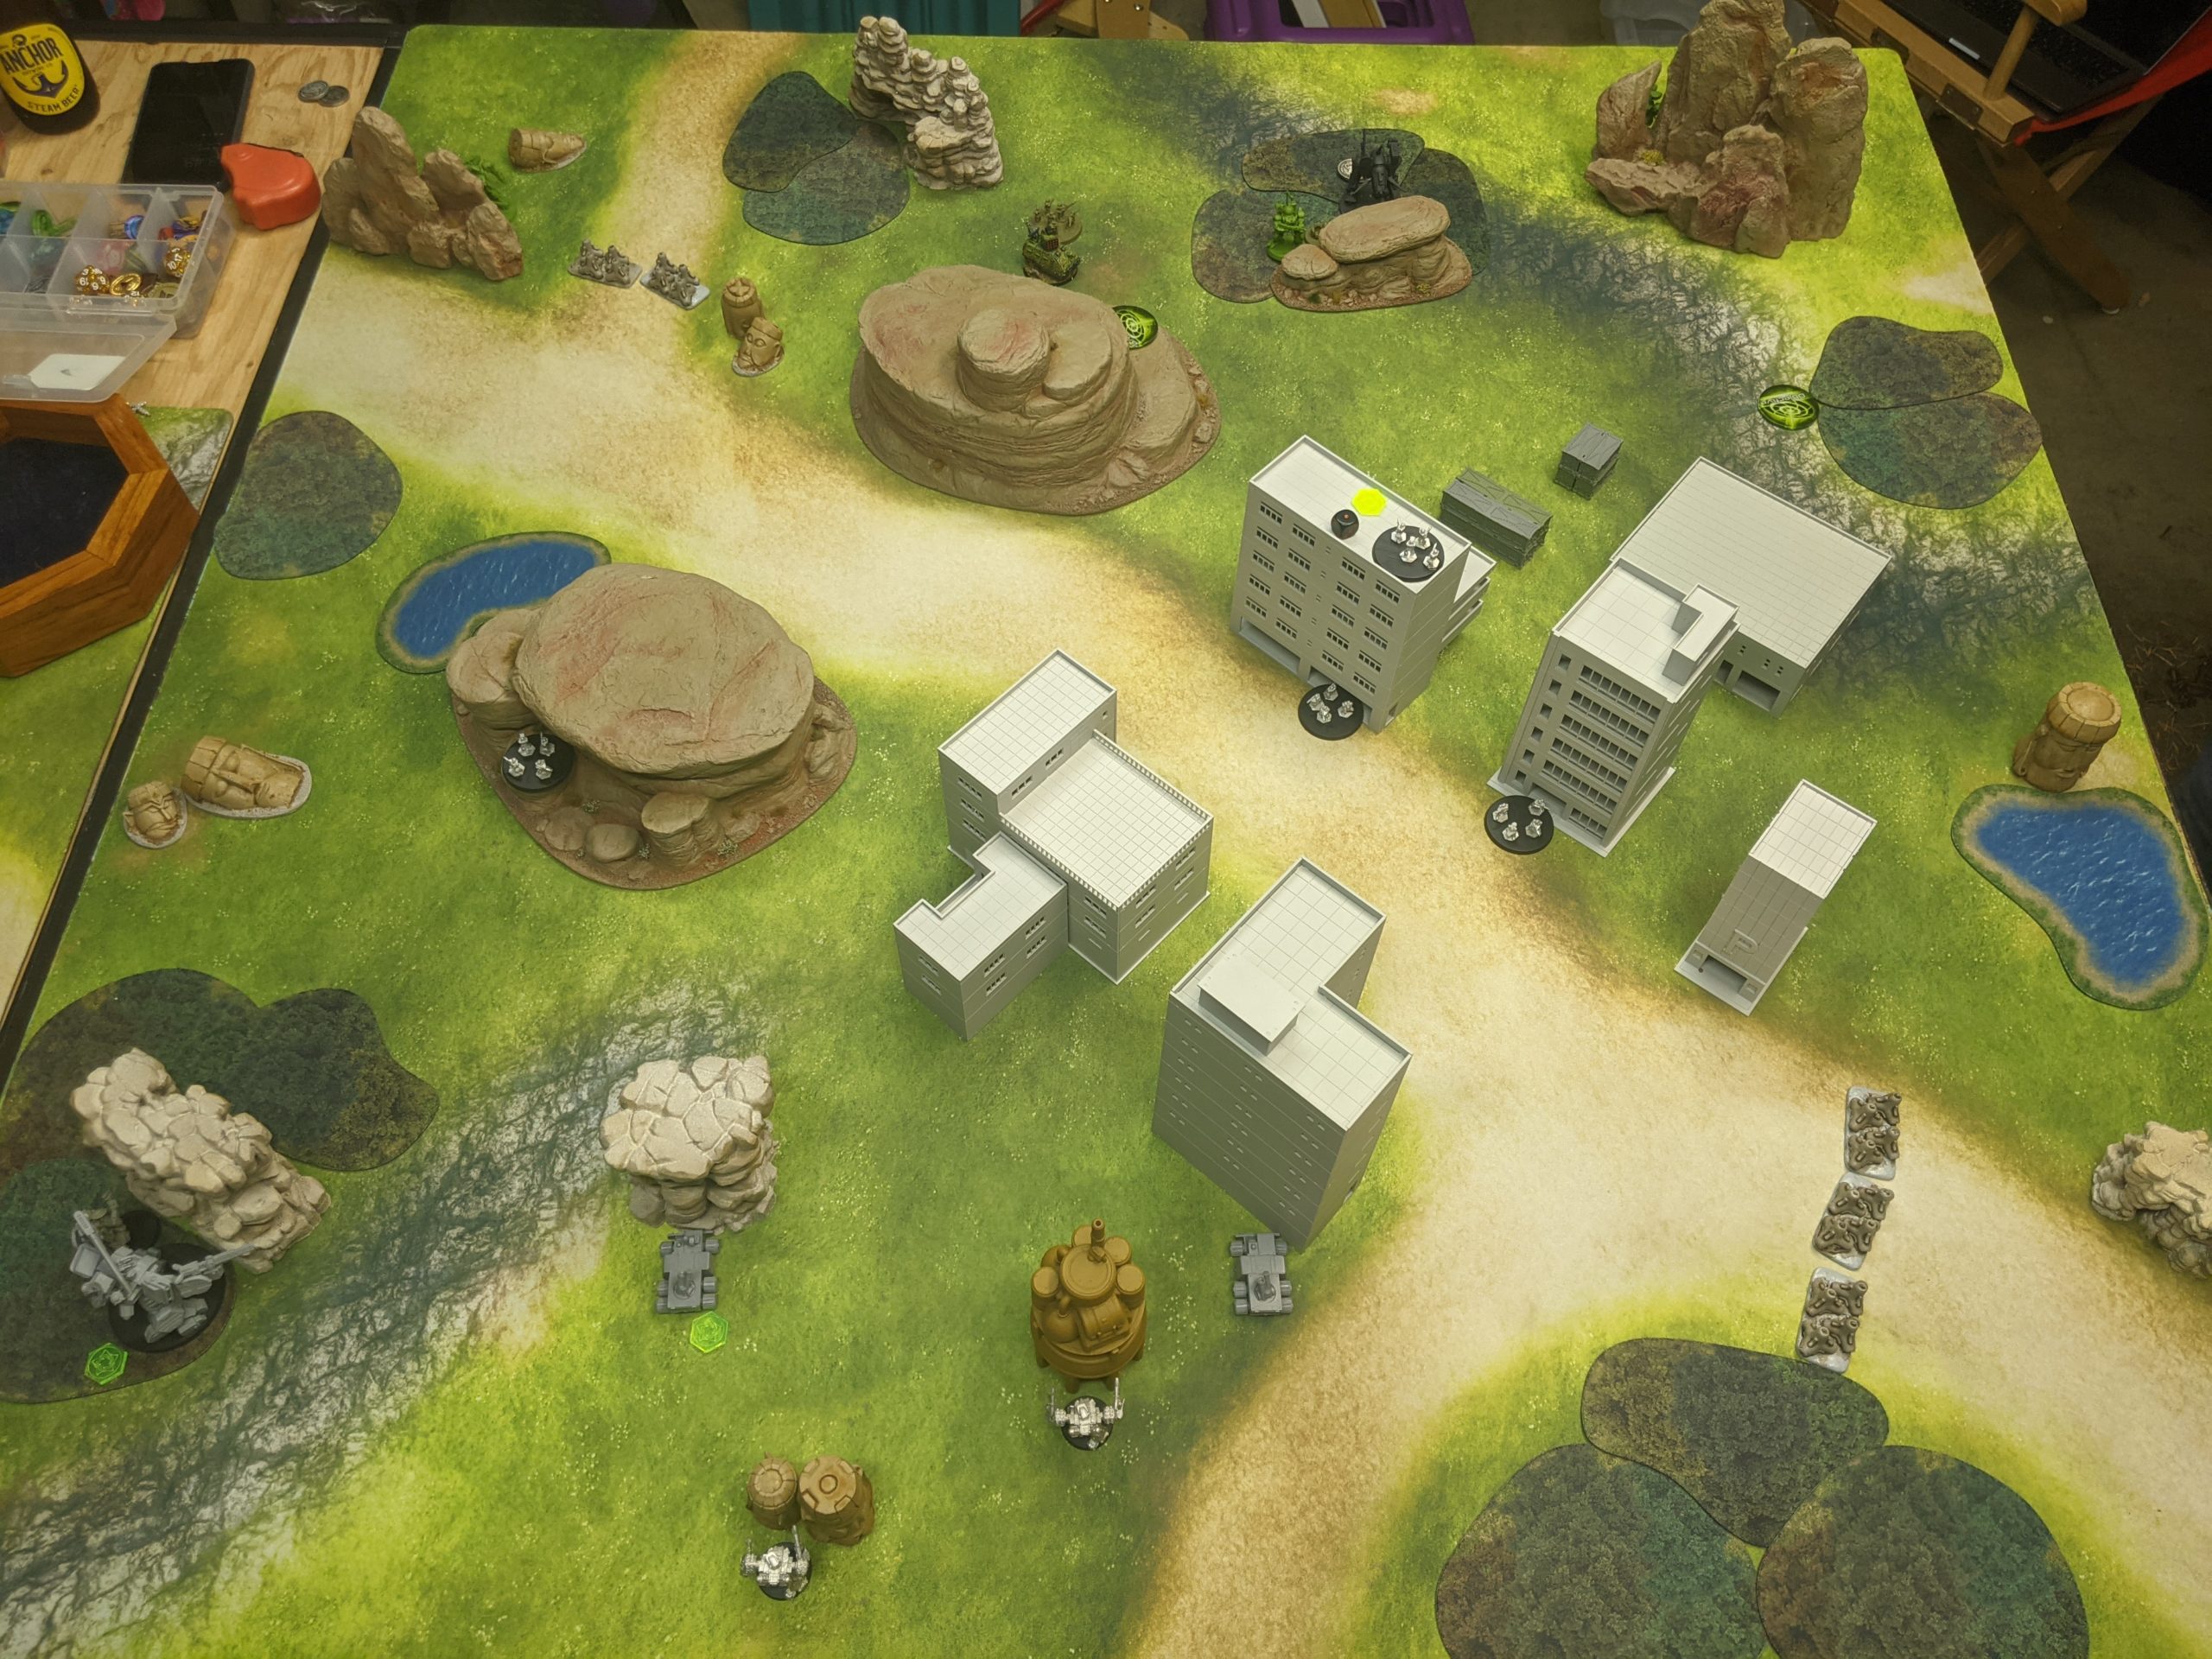
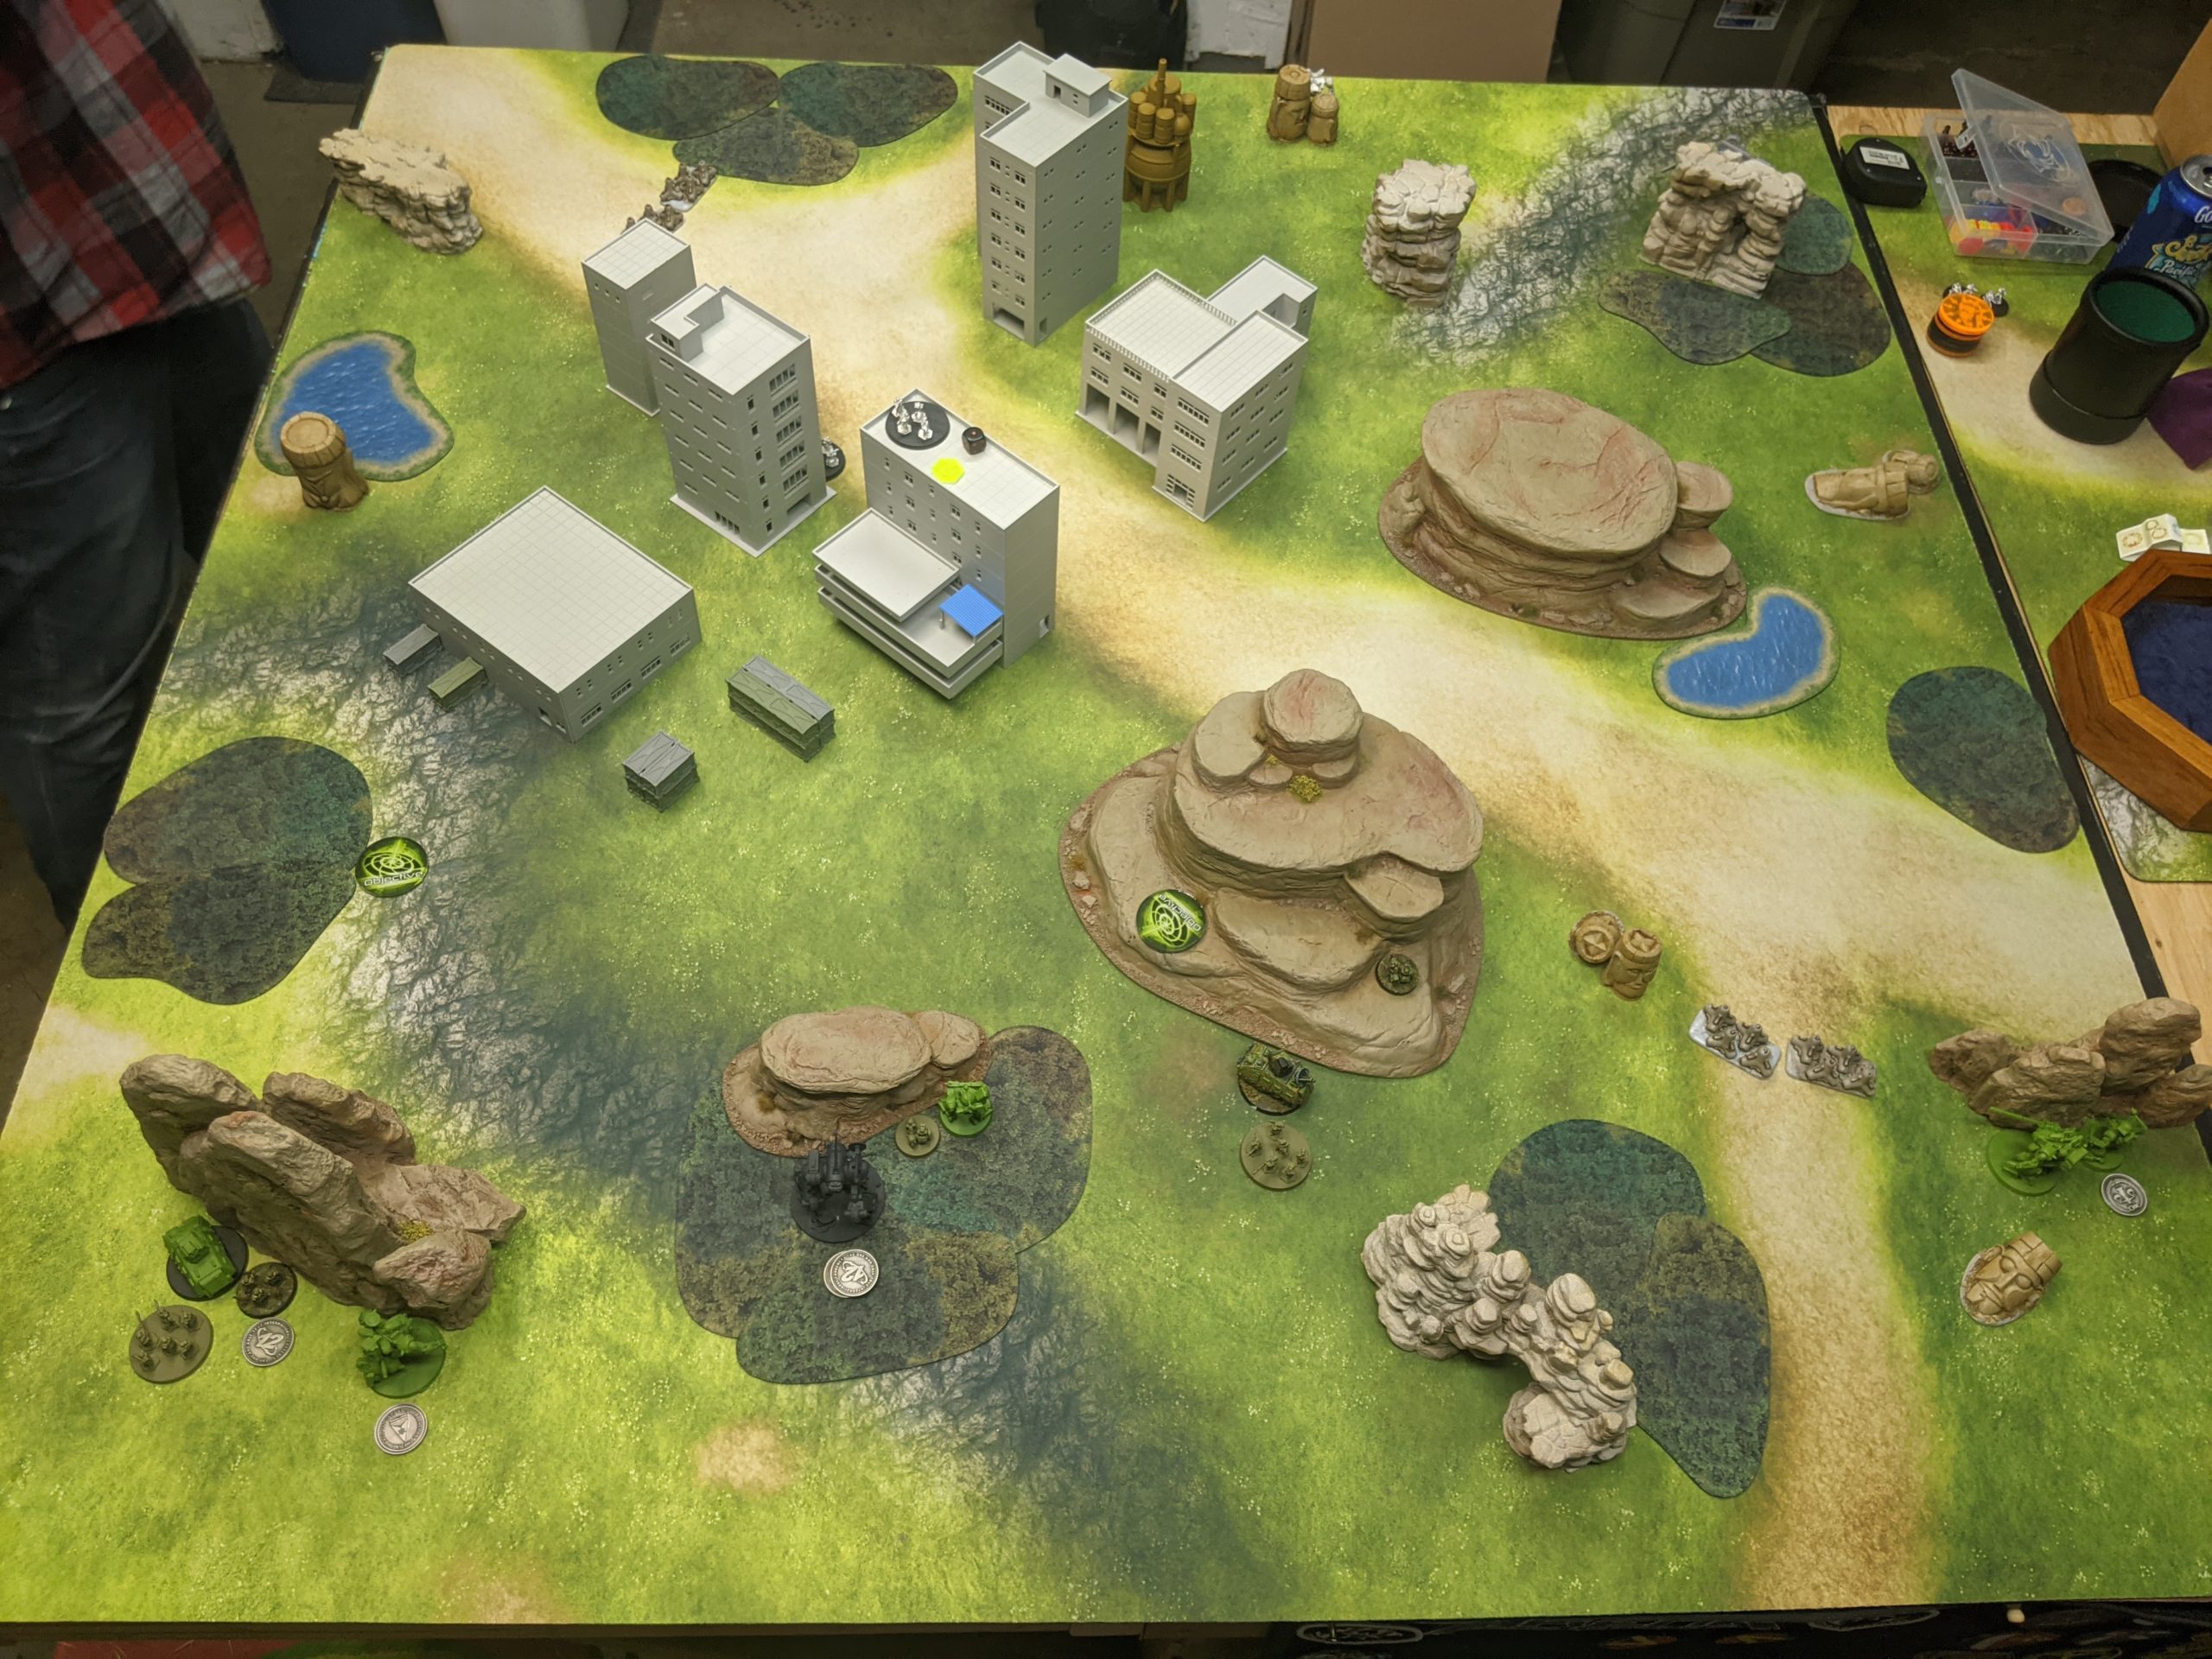
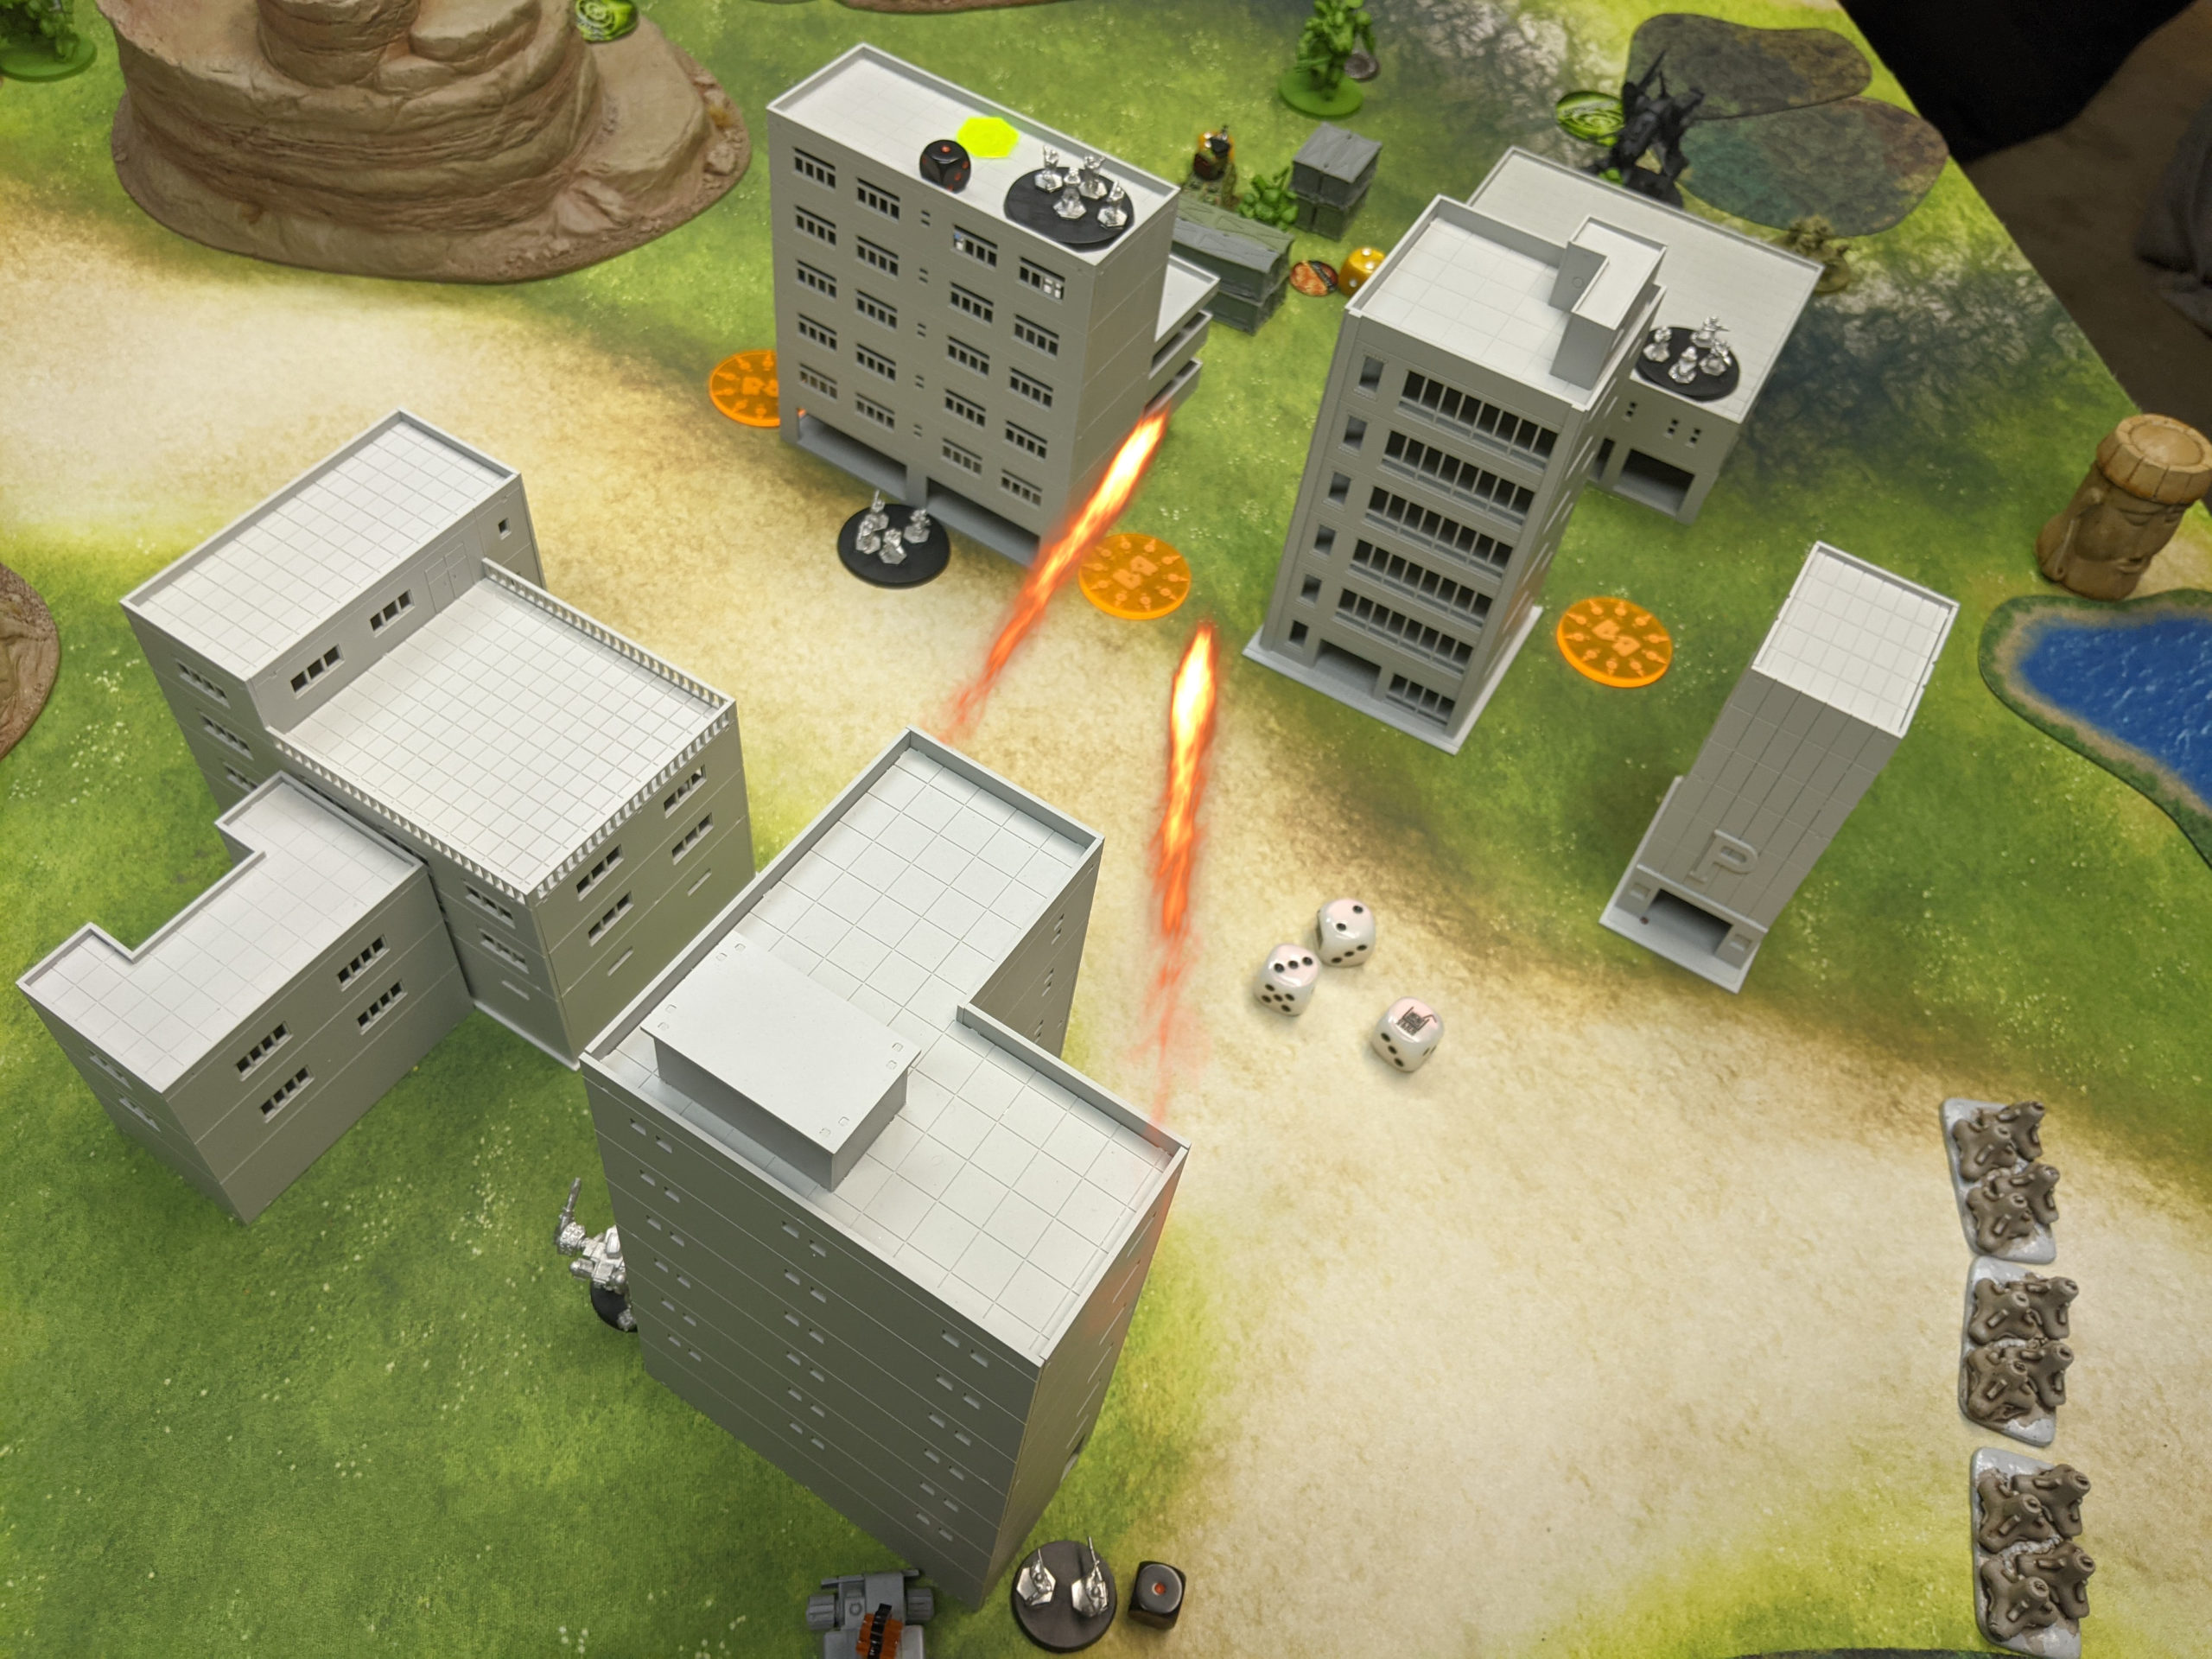
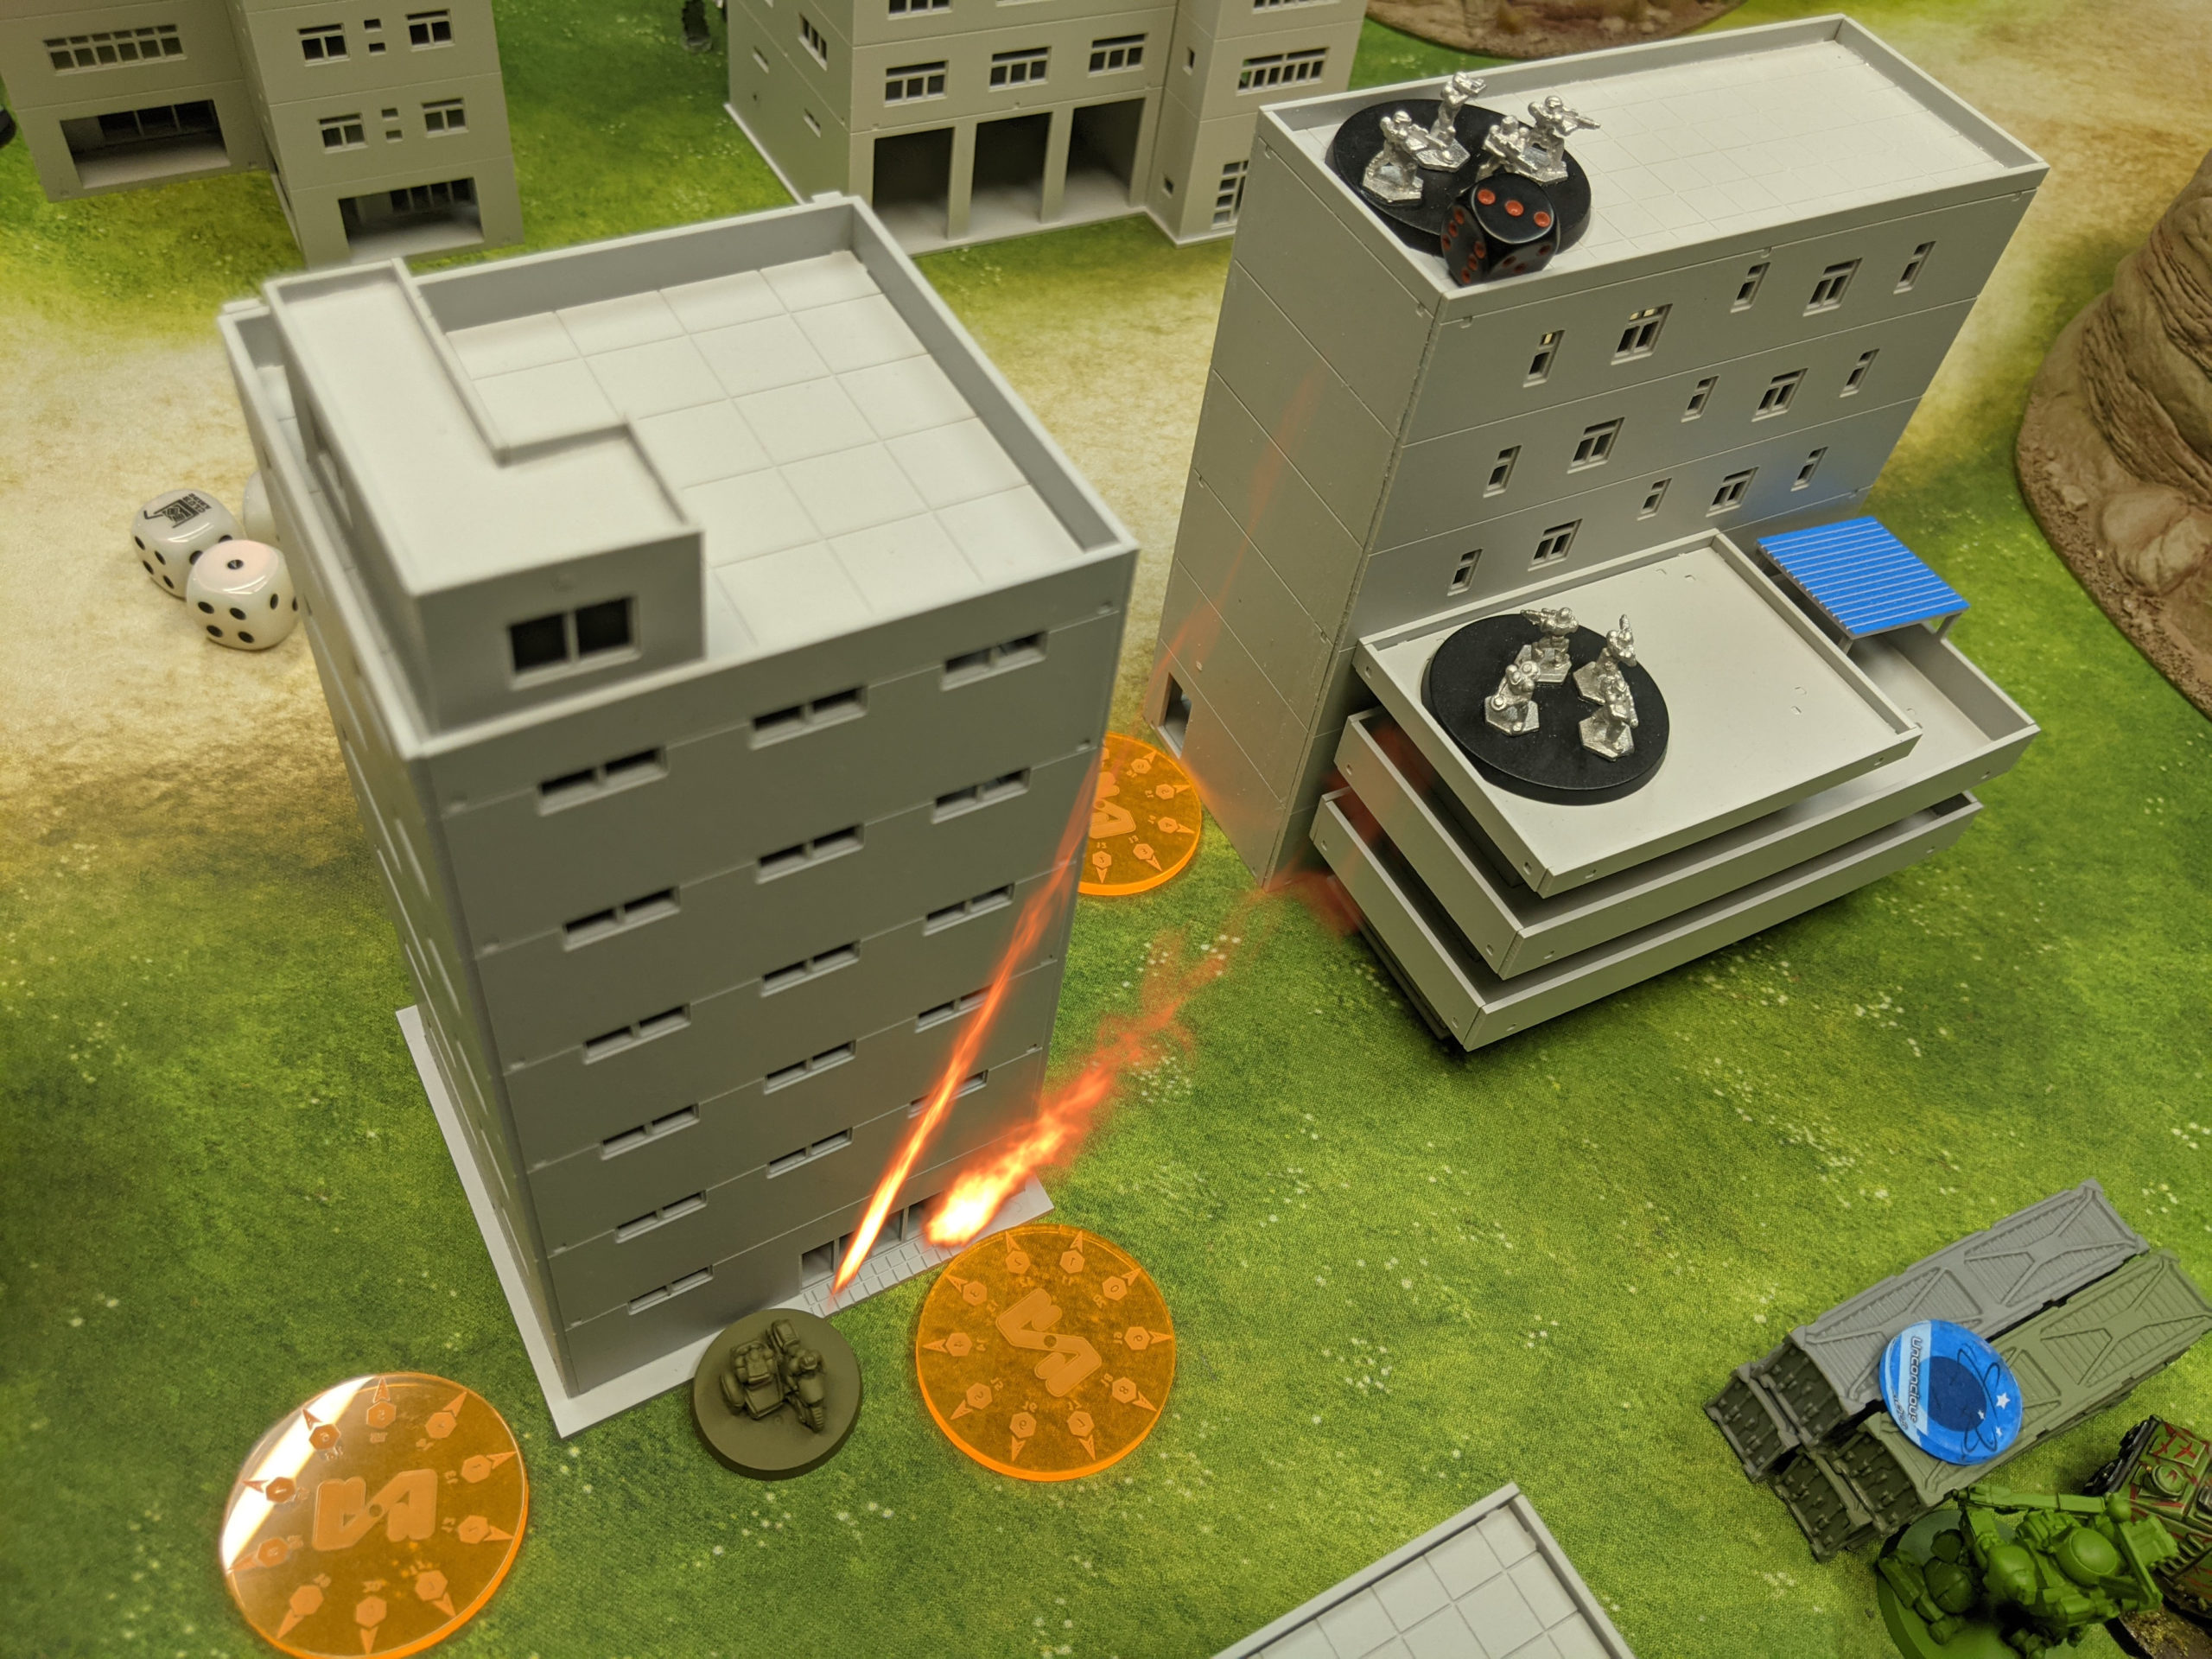
We broke out the plastic buildings again, which created an area of medium terrain in one corner of the table. I was very happy with that, because it ended up making for an interesting game thanks to lots of opportunities for sensor interactions between the buildings.
We chose to play Hold the Line to keep practicing HGBTS missions.
Overview
- Mission: Hold the Line
- Forces: Peace River versus South
Well, as I said before, I just wanted to put my Cataphract on the table. I figured the Cataphract would benefit from some EW gear support. Haywire something then zap it with the railgun. I’ve talked about it before, but I am so enamored with the railgun model on the Cataphract. I just love the idea that some engineer somewhere was tasked with putting a railgun on the chassis but was faced with the problem of too much power draw, so they just bolted a V-engine to the back of it. I feel like I’ve done similar things when tasked with… similar asks in my professional career, and it really tickles me.
Anyway. That wraps up the first combat group. I also really wanted to try out mines, so I took a squad of nothing but paratrooper infantry, half recon, half engineer to get some midfield presence and area control. I decided to round out the list with some Gladiators and Hippeis Mastiffs carrying Assault squads. I felt a little undergunned to be honest, as the only really big gun I had was the MRG on the Cataphract.
| Name | TV | A | Weapons | Traits | |
|---|---|---|---|---|---|
| CG1 FS |
Cataphract | 29 | 3 | »MRG, »LMG(Link,Auto), »HVB(Apex,Reach:2), MFM, HHG | Hands, ECM, Brawl:2, FL, CGL |
| Sweeper Skirmisher Chieftain | 10 | 1 | »MFC, »LVB, LHG, LRP | Hands, Agile, Airdrop, Comms, ECM+ (Aux), Sensors:36 (Aux), SatUp (Aux), ECCM (Aux) | |
| CG2 GP |
Recon Team Paratrooper,Squad | 5 | 1 | »LIW, »LICW | TD, Airdrop, CGL |
| Recon Team Paratrooper,Squad | 6 | 1 | »LIW, »LICW | TD, Airdrop, 2iC | |
| Enginering Team Paratrooper,Squad | 5 | 1 | »LIW, »LICW, LSE | Mine:3, Airdrop | |
| Enginering Team Paratrooper,Squad | 5 | 1 | »LIW, »LICW, LSE | Mine:3, Airdrop | |
| CG3 SK |
Gladiator Melee Specialist | 12 | 1 | »MAC(Link), »LSG, »MVB, LAPGL | Hands, Agile, Brawl:2, Shield |
| Gladiator Melee Specialist | 12 | 1 | »MAC(Link), »LSG, »MVB, LAPGL | Hands, Agile, Brawl:2, Shield | |
| Hippeis Mastiff | 5 | 1 | LFM(T) | Transport:1 (Squad), CGL | |
| Hippeis Mastiff | 5 | 1 | LFM(T) | Transport:1 Squad | |
| Assault Team | 3 | 1 | »LIW, »LICW, HIS(Burst:1) | – | |
| Assault Team | 3 | 1 | »LIW, »LICW, HIS(Burst:1) | – | |
| Total | 100 | 14 |
With the groups I had access to, I had access to Hold, Flags, Capture, Pave the Way, Wipe Them Out, and Claim. I decided that regardless of what Adam did, I would take Claim, mostly because I want to test it more. If he took some really giant units that I would have trouble dealing with, I’d take Flags because in all likelihood they wouldn’t be very fast. If he took a more lightly armored list, I’d take Pave the Way. Capture has never been a comfortable choice for me, it’s too risky, but I’m sure you can make it work.
Adam took a MILICIA list with conscript Crocodiles and Assault Squads in a GP group, Jackrabbits and Silverscales in a RC group, and a FS group with Cobras and a Naga Political Officer.
| Name | TV | A | Traits | |
|---|---|---|---|---|
| CG1 GP |
Command Team | 3 | 1 | Comms, CGL |
| Crocodile | 6 | 1 | Amphib, Transport:1 (Squad), Conscript | |
| Crocodile | 6 | 1 | Amphib, Transport:1 (Squad), Conscript | |
| Assault Team Squad | 3 | 1 | Conscript | |
| Assault Team Squad | 3 | 1 | Conscript | |
| CG2 RC |
Jackrabbit Recon | 4 | 1 | Agile, TD, Comms |
| Jackrabbit Recon | 4 | 1 | Agile, TD, Comms | |
| Silverscale | 9 | 1 | Hands, Comms, ECM+ (Aux), ECCM (Aux), Sensors:24, TD, SensorBoom | |
| Silverscale | 9 | 1 | Hands, Comms, ECM+ ((Aux)), ECCM ((Aux)), Sensors:24, TD, Sensor Boom, CGL | |
| CG3 FS |
Slashing Cobra | 14 | 1 | Hands, React+, CGL |
| Junglemower Cobra | 14 | 1 | Hands, React+ | |
| Command Naga Spark | 25 | 2 | SP:+1, ECM, ECCM ((Aux)), Comms, SatUp, TD ((Aux)), Sensor Boom ((Aux)), FL, PO | |
| Total | 100 | 13 |
I gotta say I’m really impressed with the maneuverability and thus the usable firepower of the Naga. The Silverscales are also irritatingly cheap for what they offer.
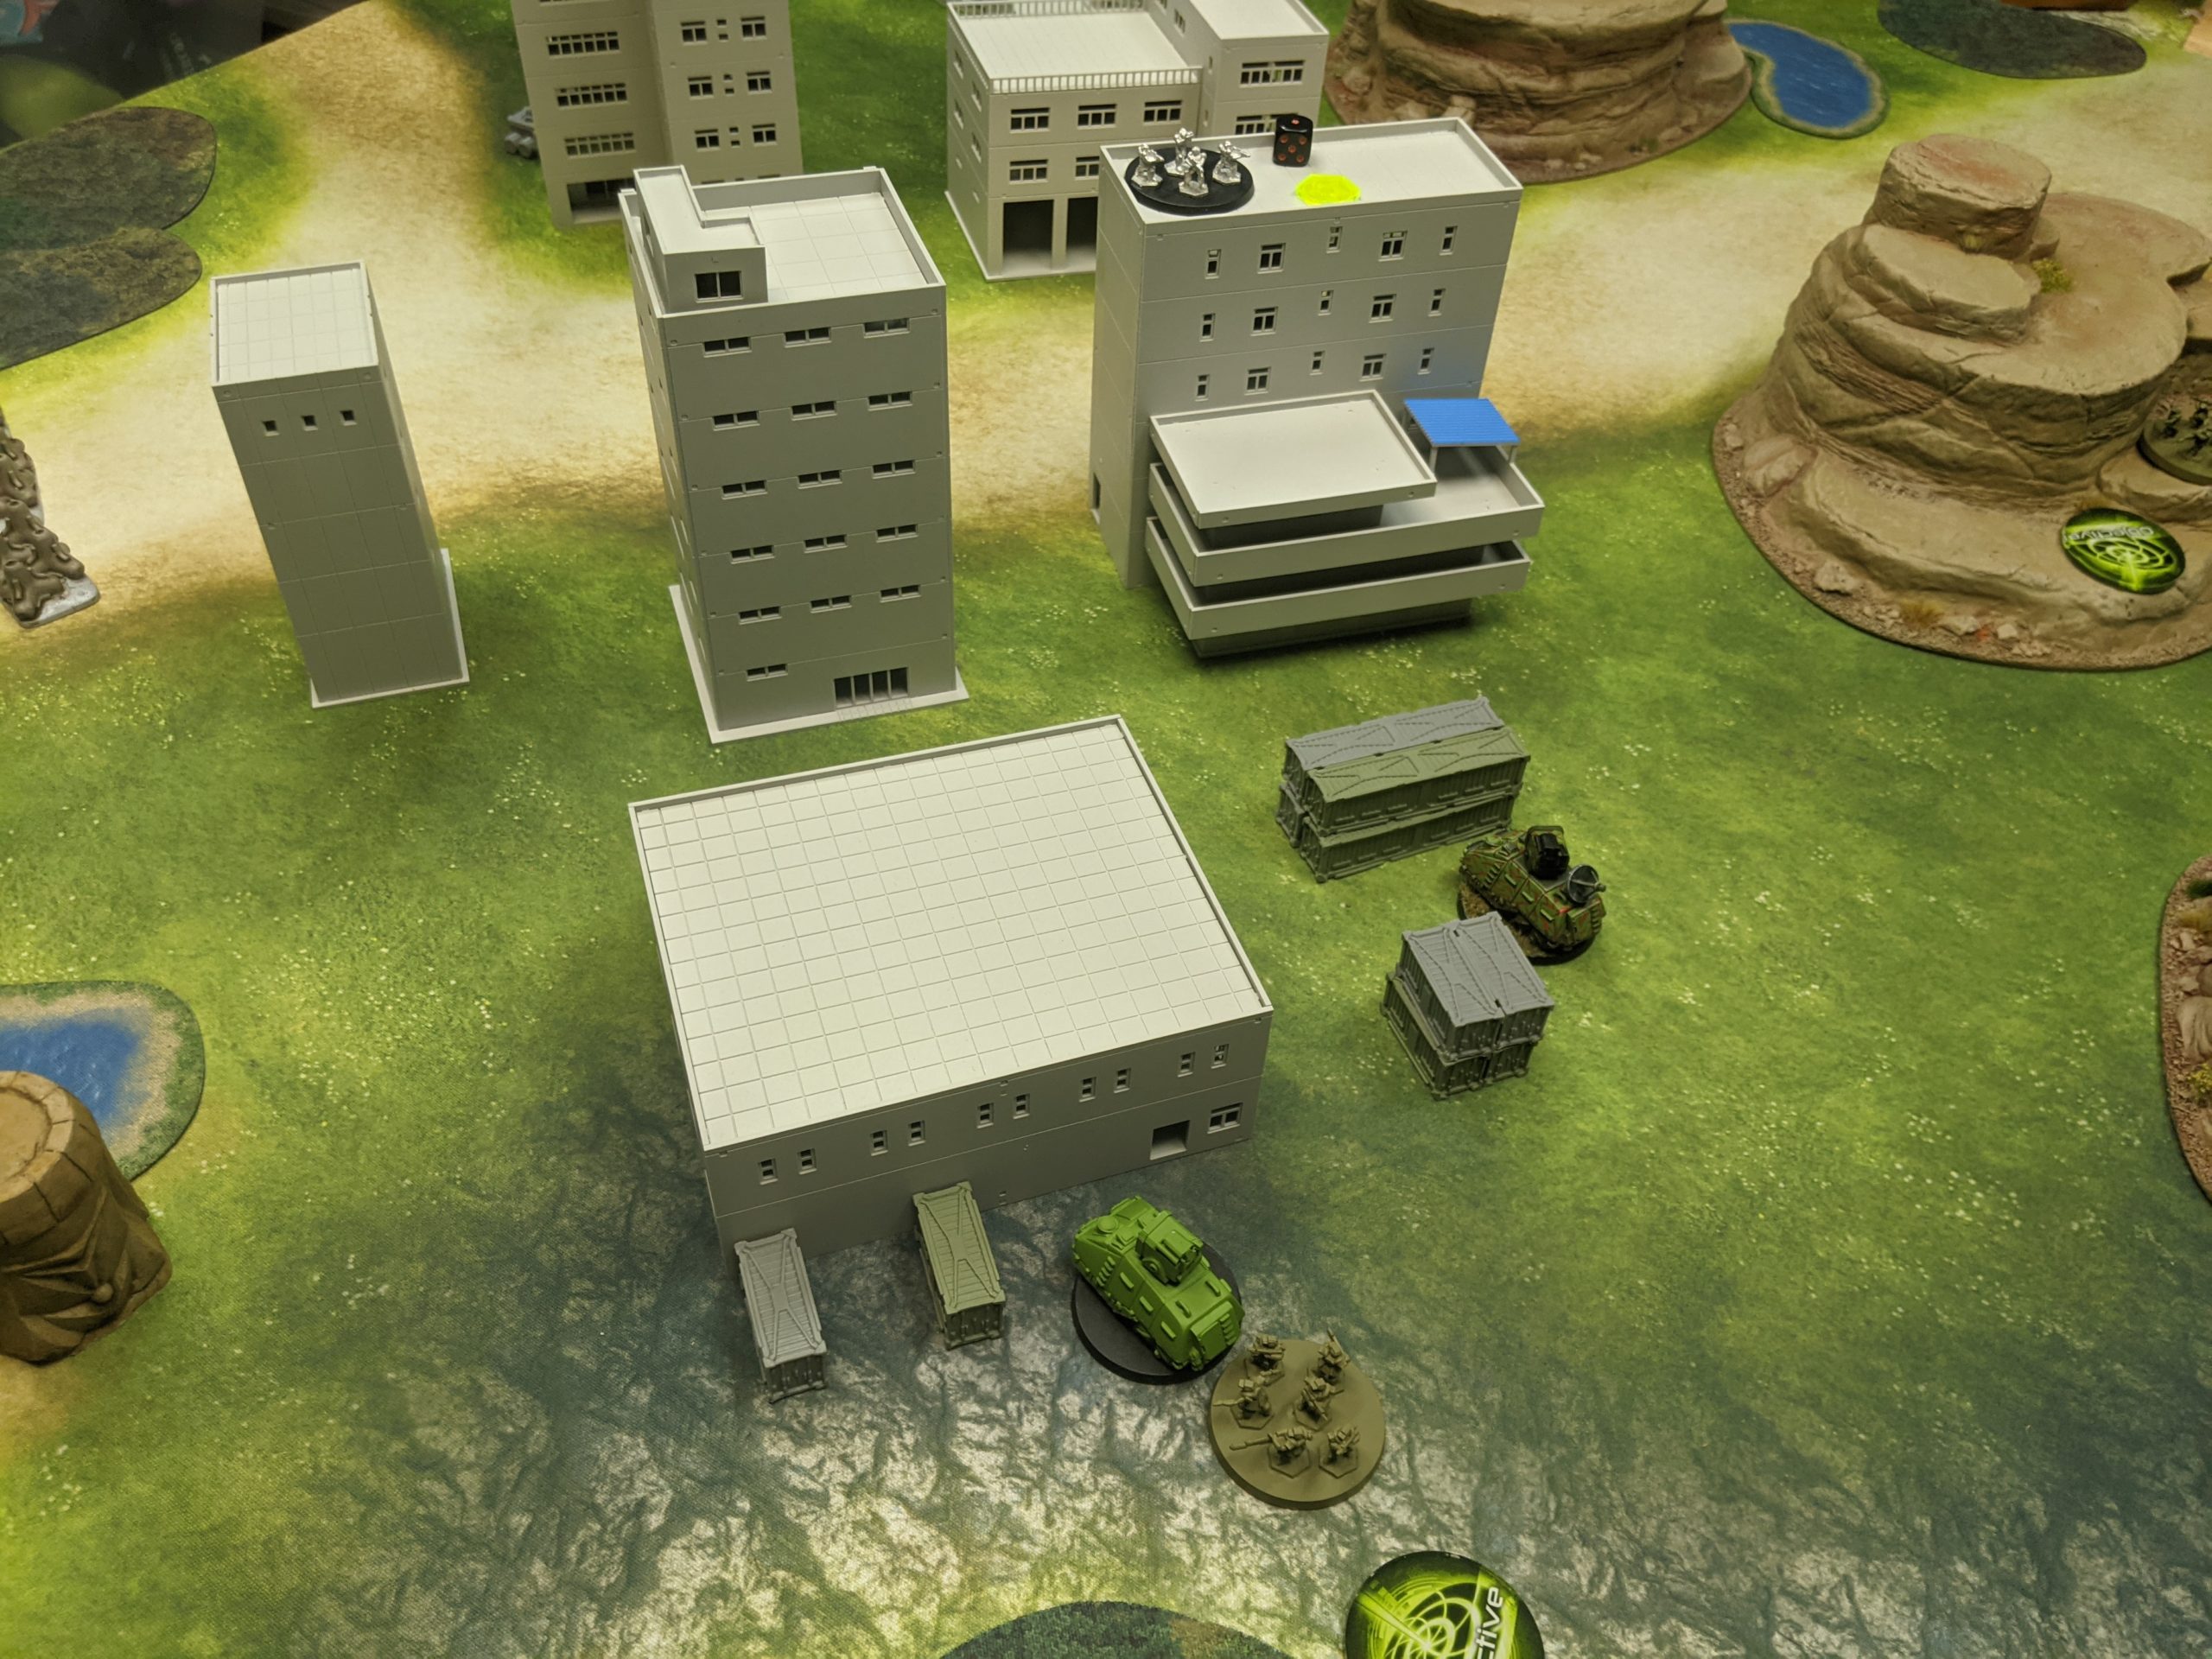
Deployment
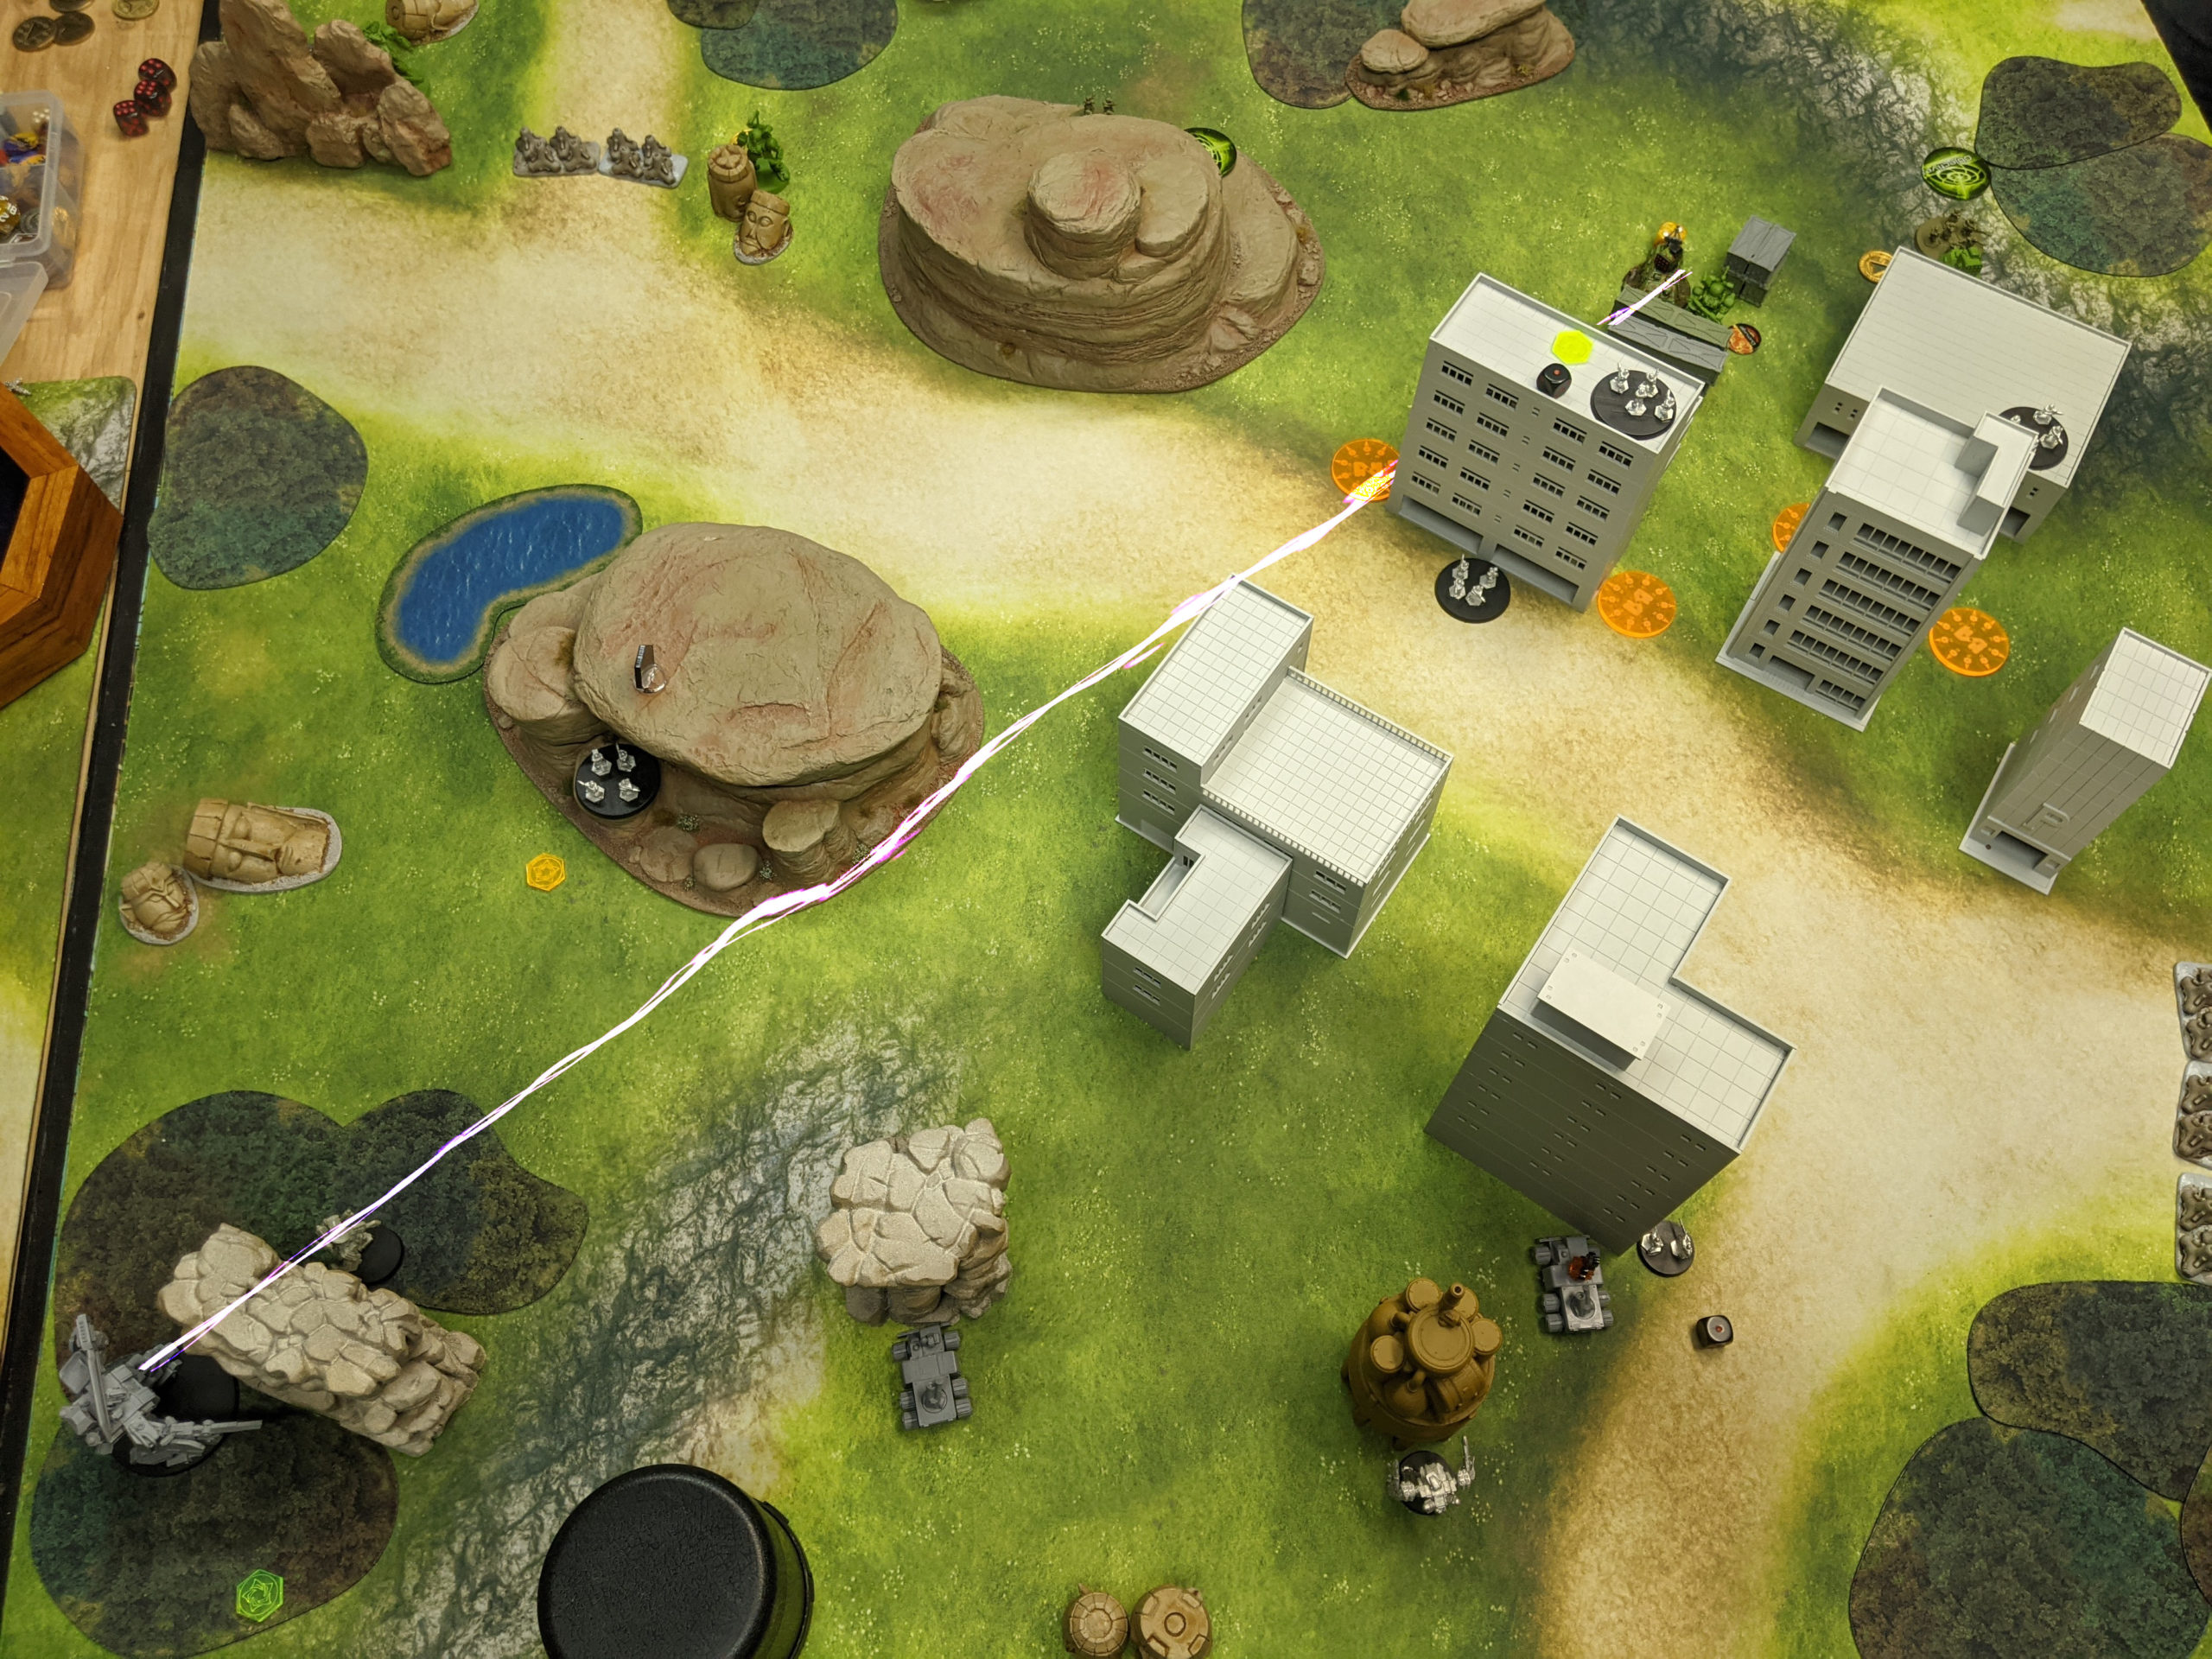
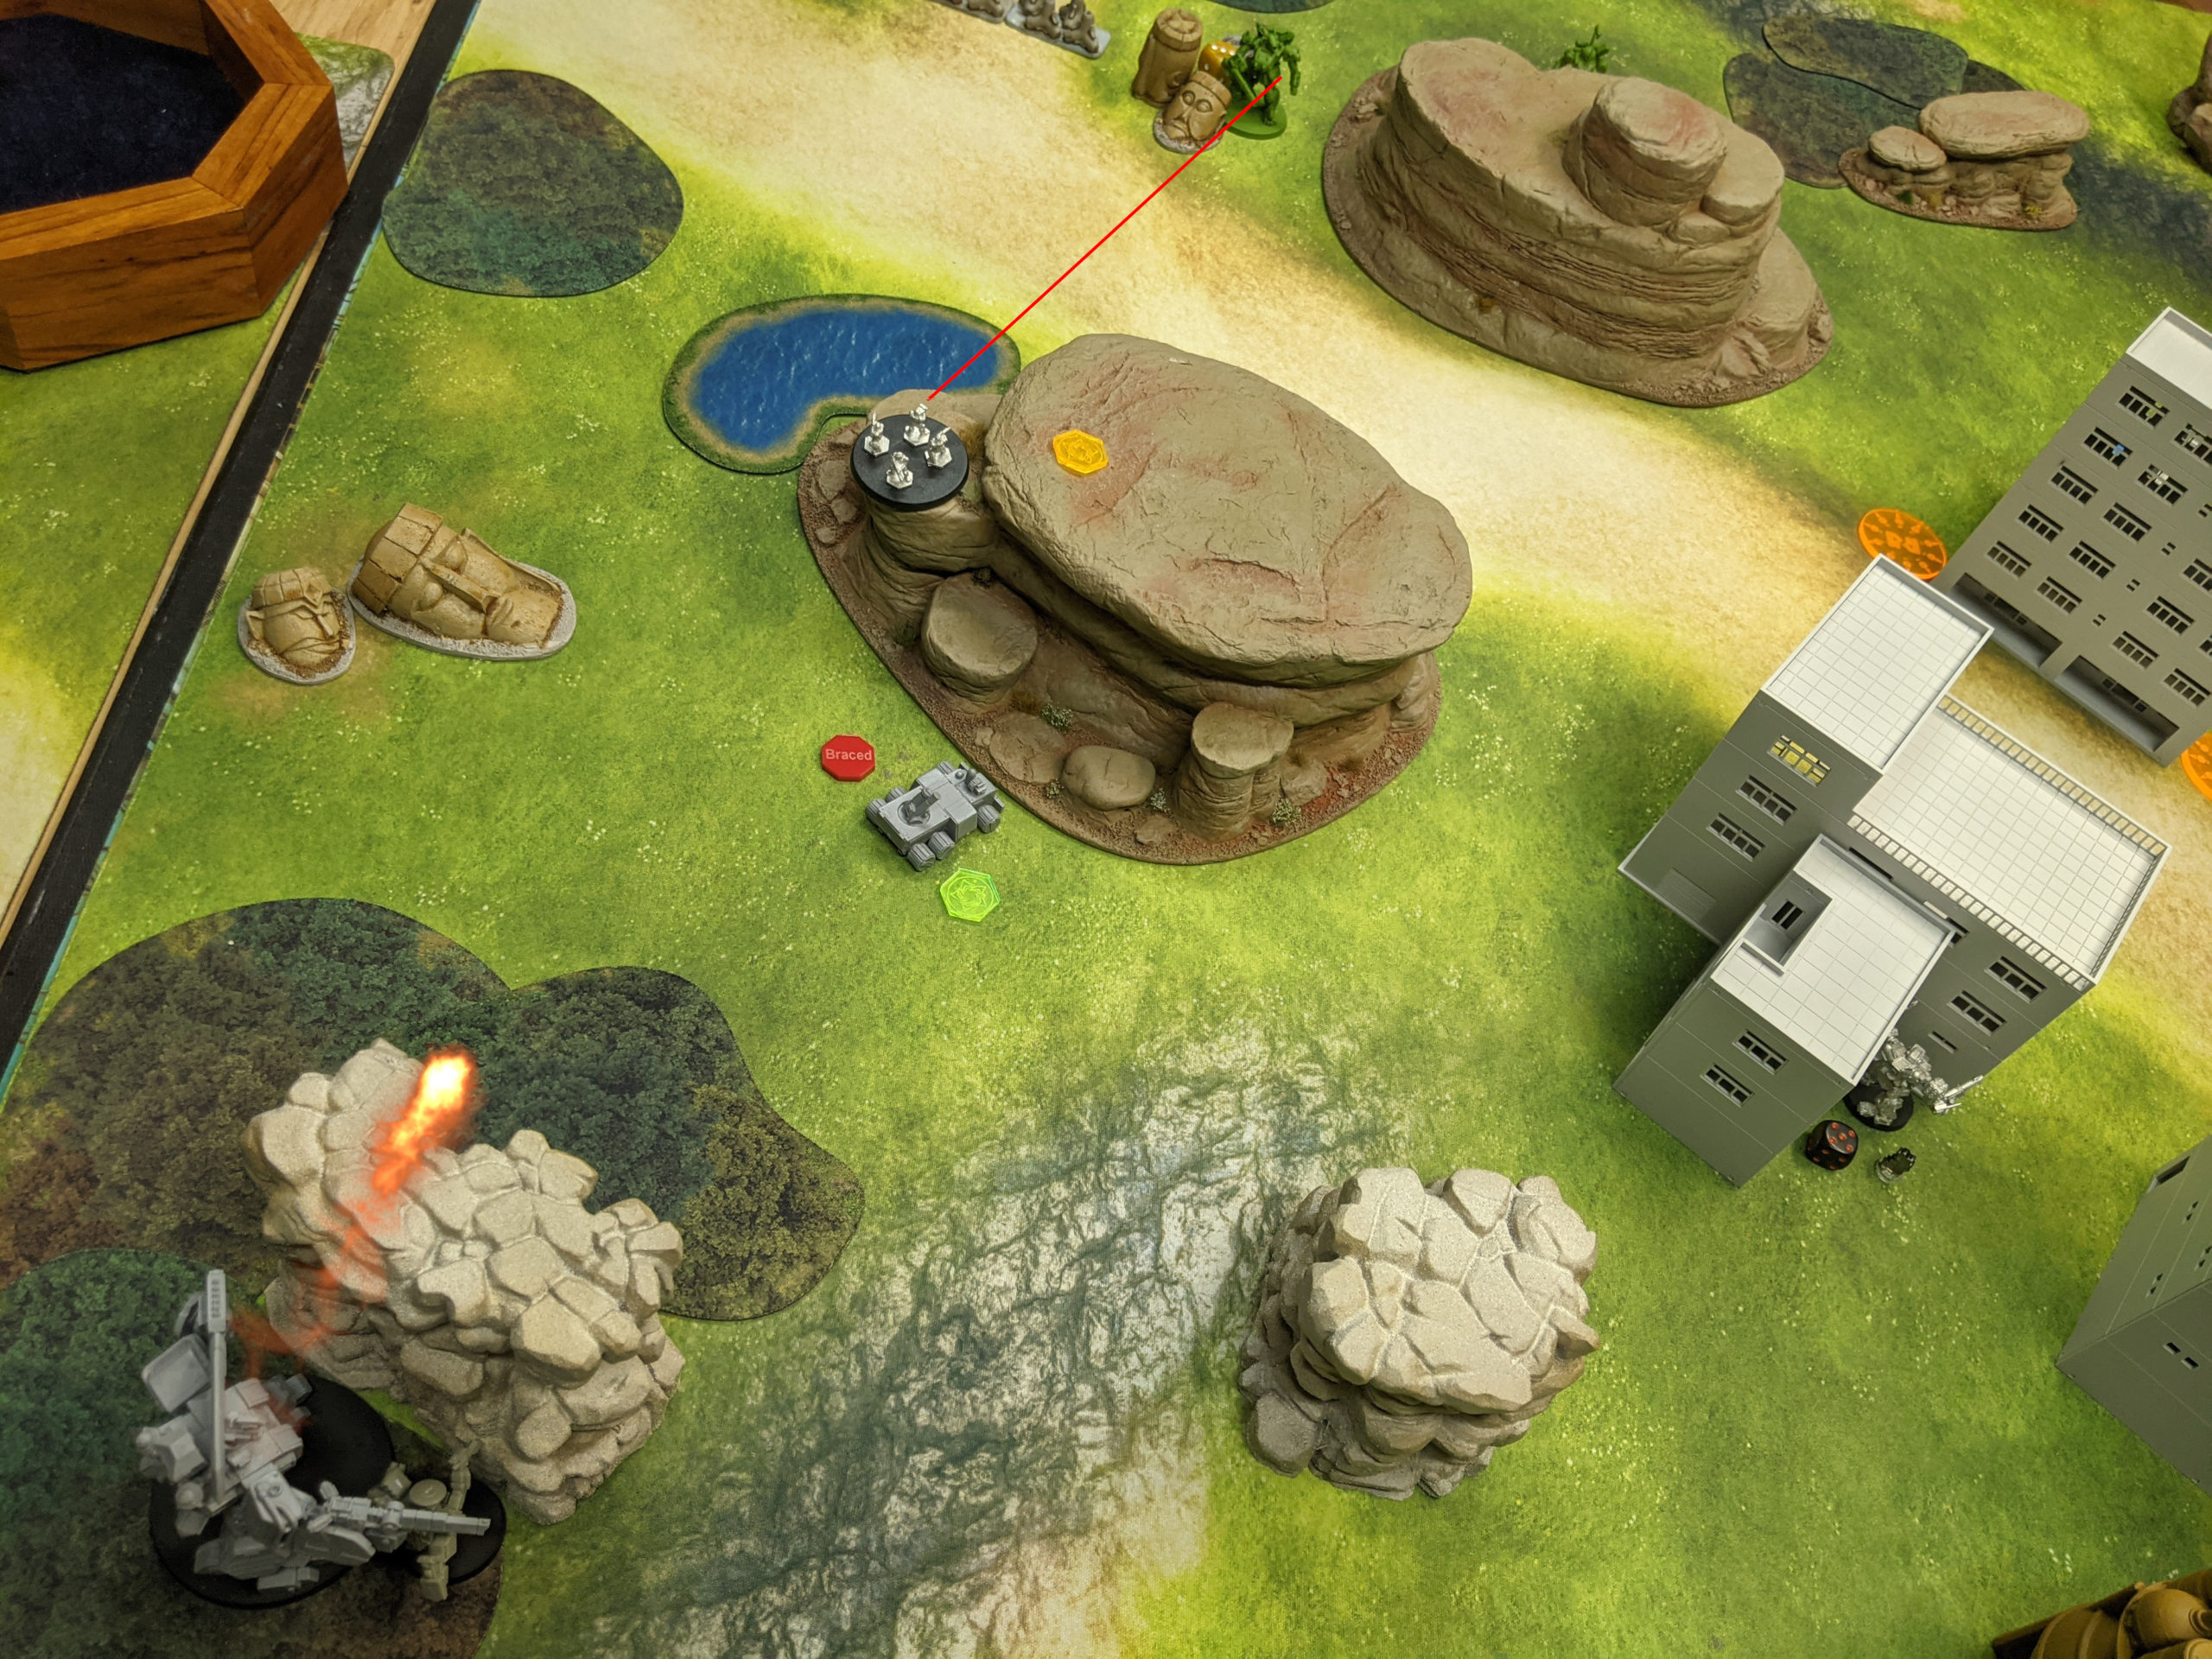
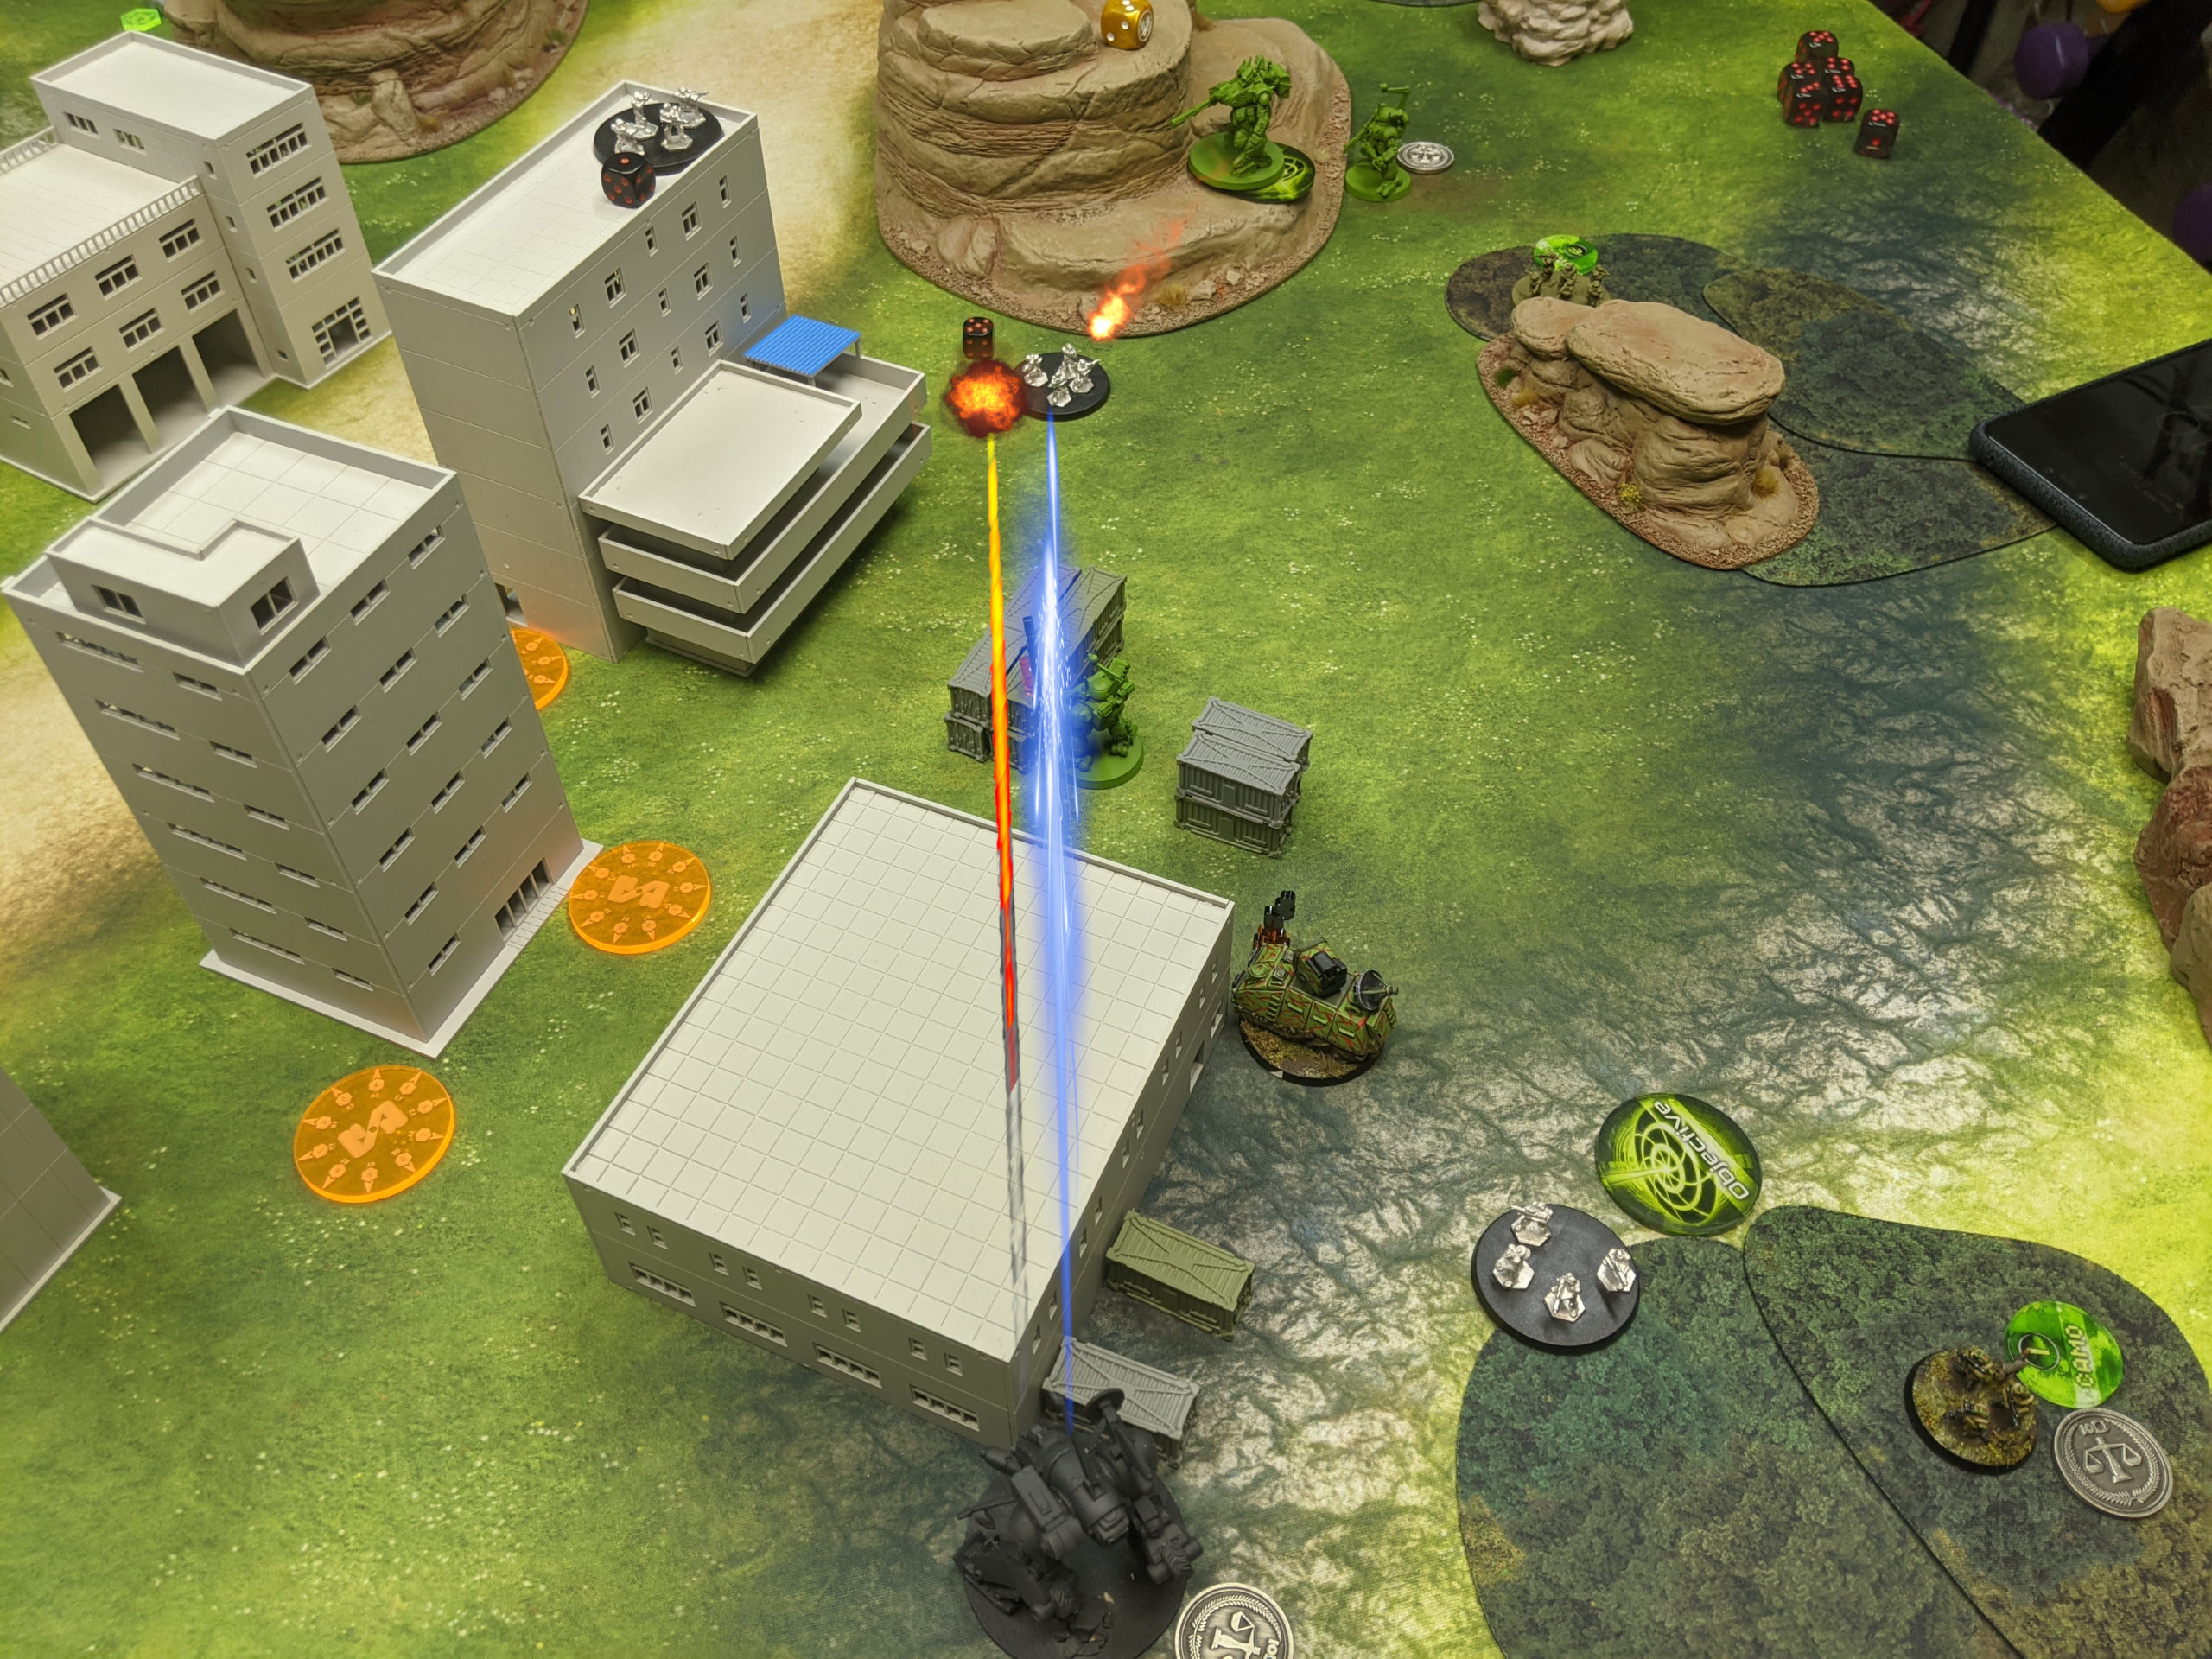
I airdropped my infantry squads into the buildings on my right, and put my 2iC Recon squad behind some rocks on my left. Adam deployed his Crocodiles, which I’ve mislabeled as Caiman in the picture, behind the big rock formations with Assault Squads inside. His Command team was all the way in the left corner of his deployment zone, safe and sound.
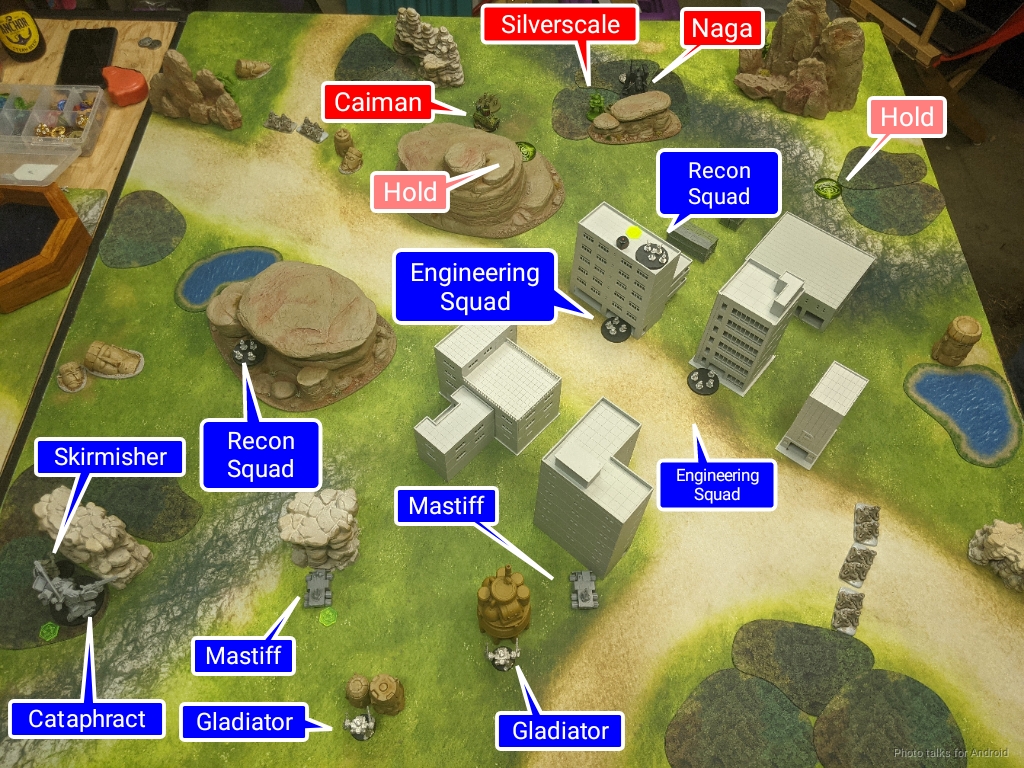
I deployed my Gladiators and Mastiffs pretty conservatively in my backfield in what I hoped were defensible positions. Adam put down his Silverscales and Jackrabbits next, to create some zones of ECM+. I had a shot on one of Adam’s Silverscales if I put my Cataphract down on my left, looking diagonally across the table, so that’s what I did.
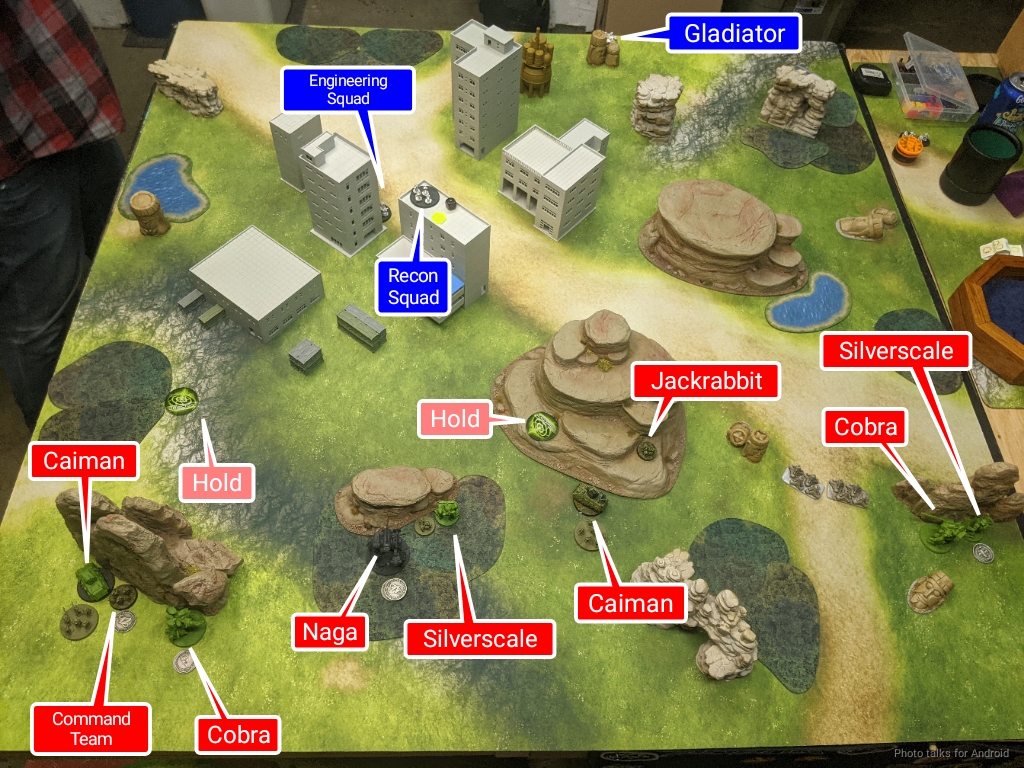
Adam rounded out our deployment with his FS combat group, spreading them all across his deployment zone.
Objectives
As I said before, I was going to choose Claim no matter what, but given Adam’s force composition I chose Pave the Way, targeting his GP and RC squads. I figured I’d have to kill the Jackrabbits at some point anyway, so might as well get points for it. Choosing the GP squad was a bit iffy, as that meant I had to kill 3 models worth of stuff to get my second point. I might’ve been able to go after the Naga to get the second point by choosing the FS squad, but I figured why do the hard thing? Take out the easy targets and ignore Adam’s guns.
Adam chose Break the Line and Hold, both good choices for the Hold the Line HGBTS scenario. Honestly Claim’s not bad either, it’s just a lot of moving parts (literally). I ended up choosing to divide the table into Adam’s half and my half (instead of left and right). Not sure if I liked that, but I had to make a decision without investing too much mental energy into it, so here we go.
Fight!
The plan:
- Keep the Cataphract safe. It’s basically my easiest way to get a chunk of points into a zone at the end of the game, and if it’s dead or crippled, that’s harder.
- Kill Adam’s Jackrabbits and Crocodiles. I only realized later that he had five things in his GP group, which required me to go after an infantry unit.
- Use my infantry to deny Adam’s hold objectives if I can.
- Deny his Break the Line by keeping my Gladiators in reserve to sweep up anything he gets over to my side of the table.
- Push my Mastiffs forward to get Claim.
I figured I just needed to control the middle (with the Cataphract) and my near zone for Hold the Line, and Adam could have his far zone. I wasn’t really going to be able to get anything over there that would survive anyway, aside from some low-point things like Mastiffs and infantry.
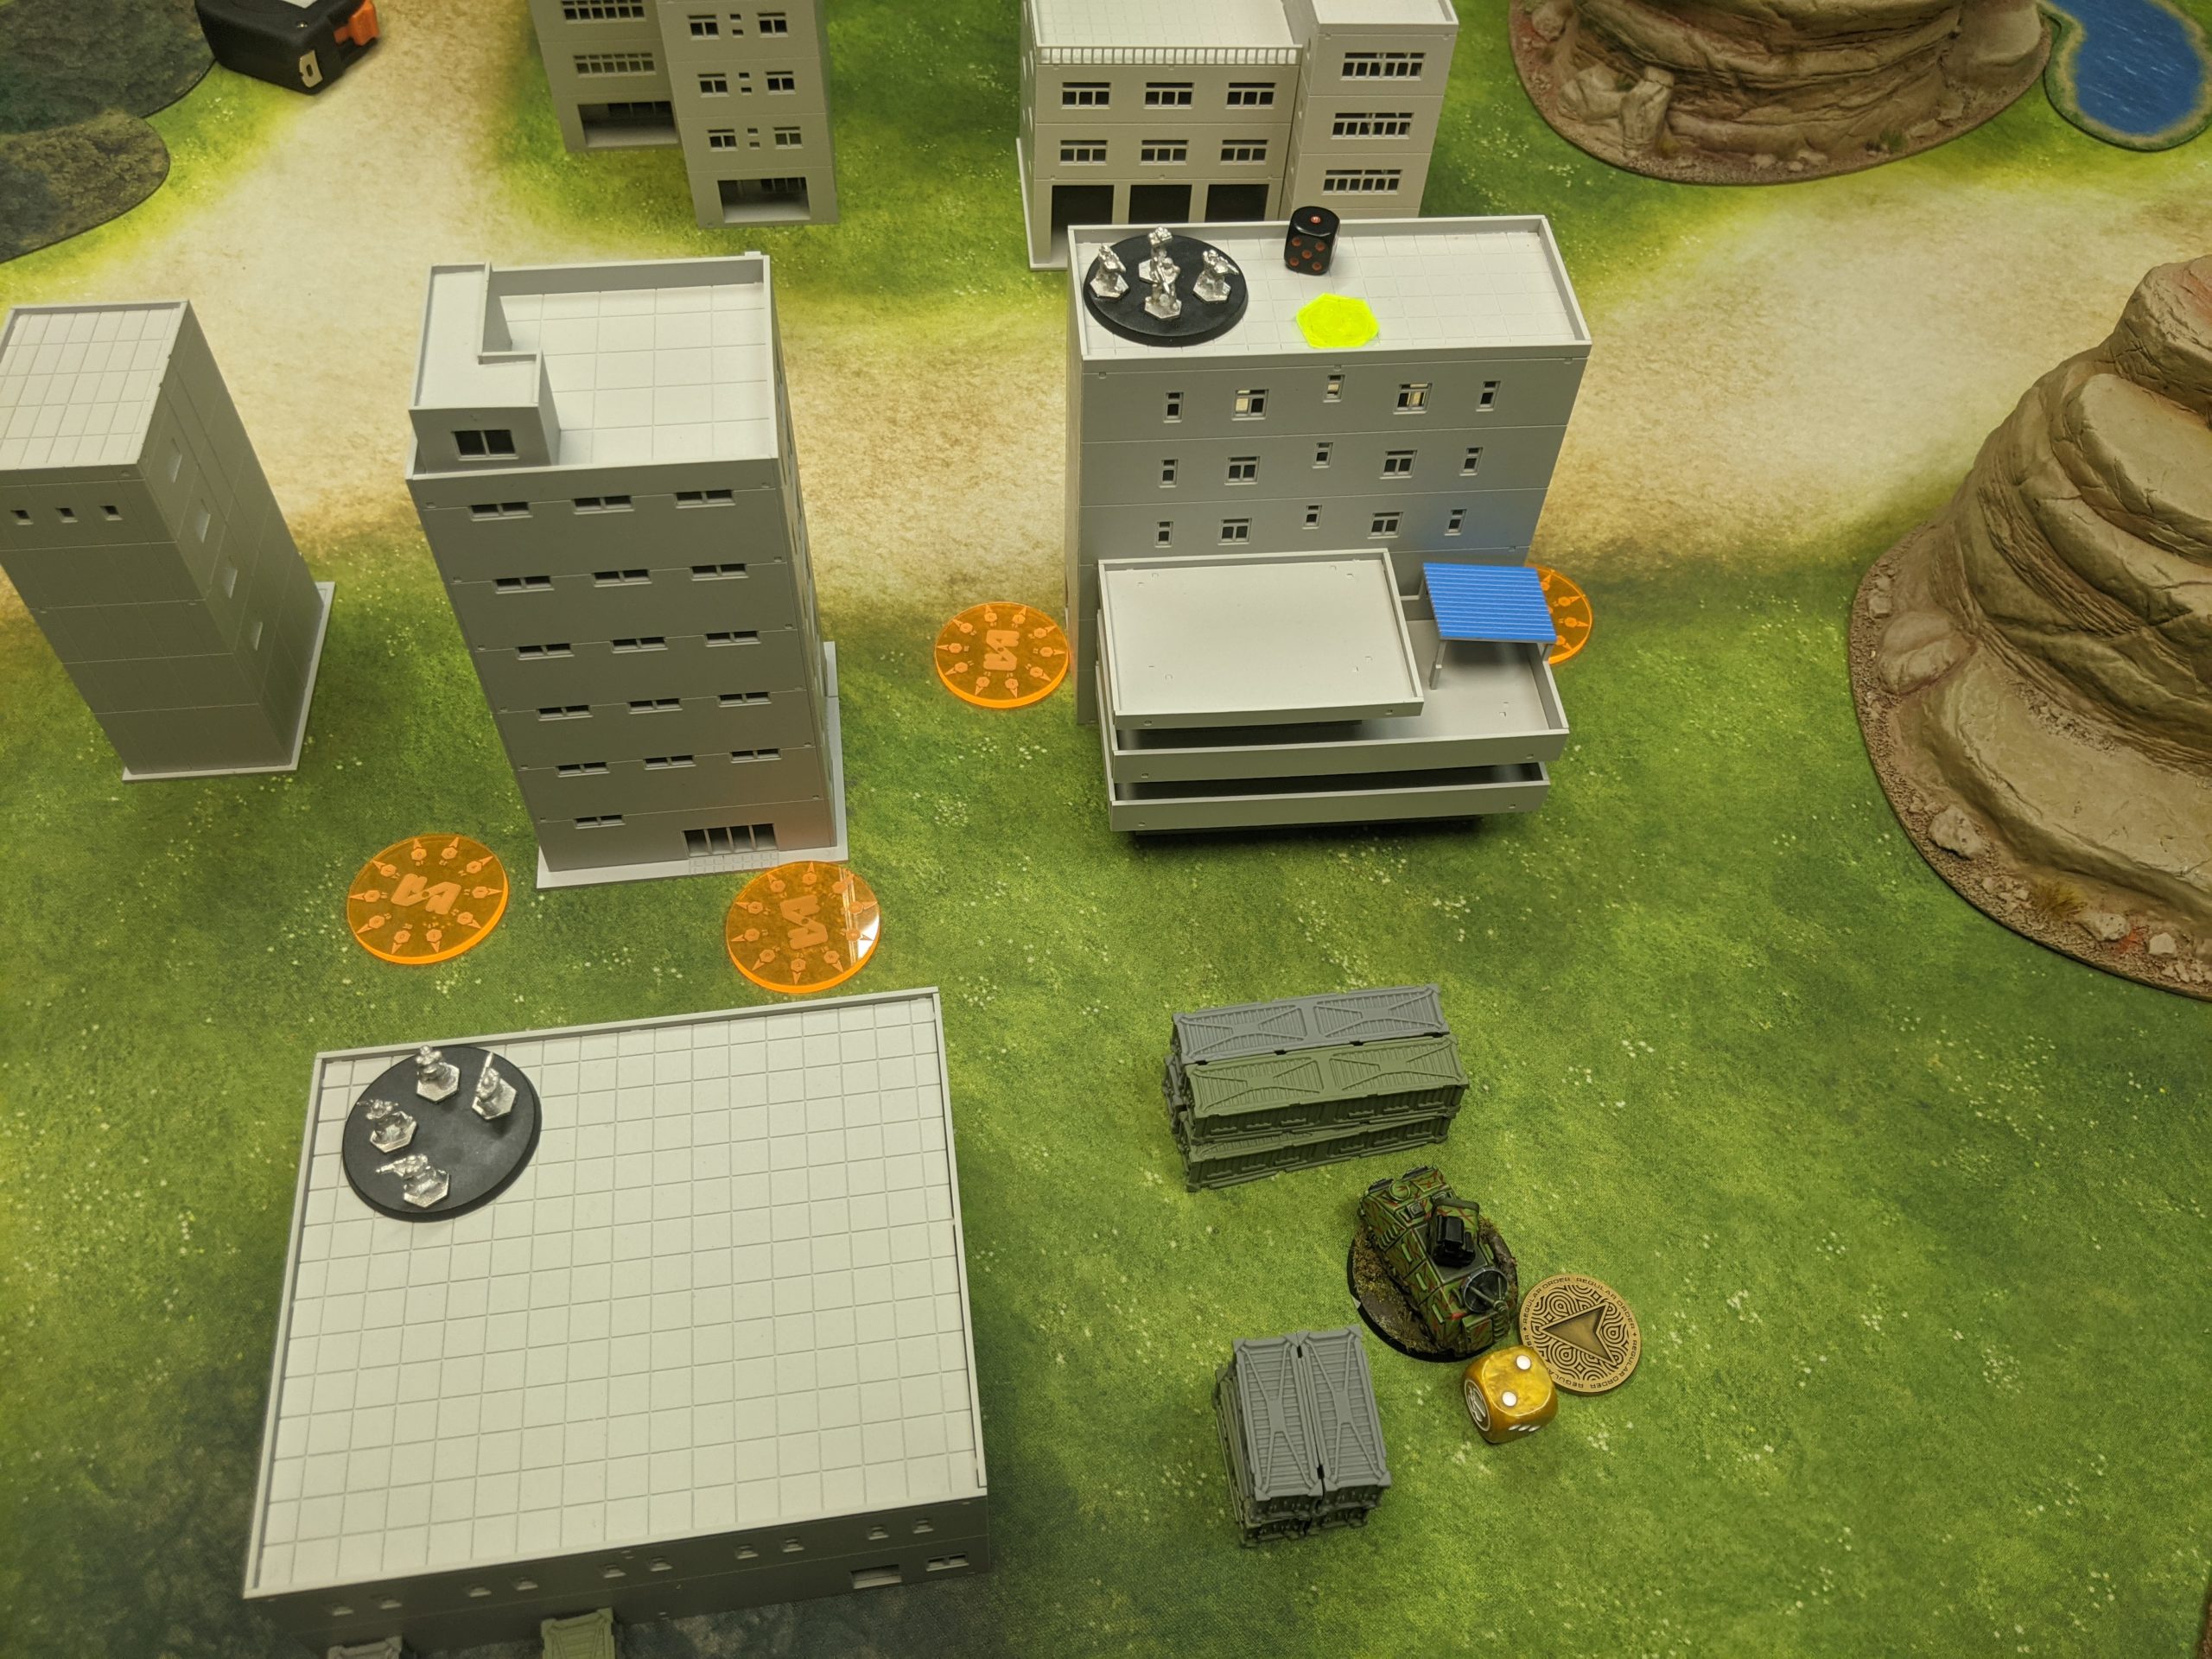
Adam won initiative and zoomed his Crocodiles forward, dropping one of his Assault squads off on a Hold objective first.
I activated my paratroopers, laid down a bunch of (ineffective) mines and attempted to forward observe one of the Crocodiles. I managed to land one of the Mastiff’s mortars, doing a a few points of damage.
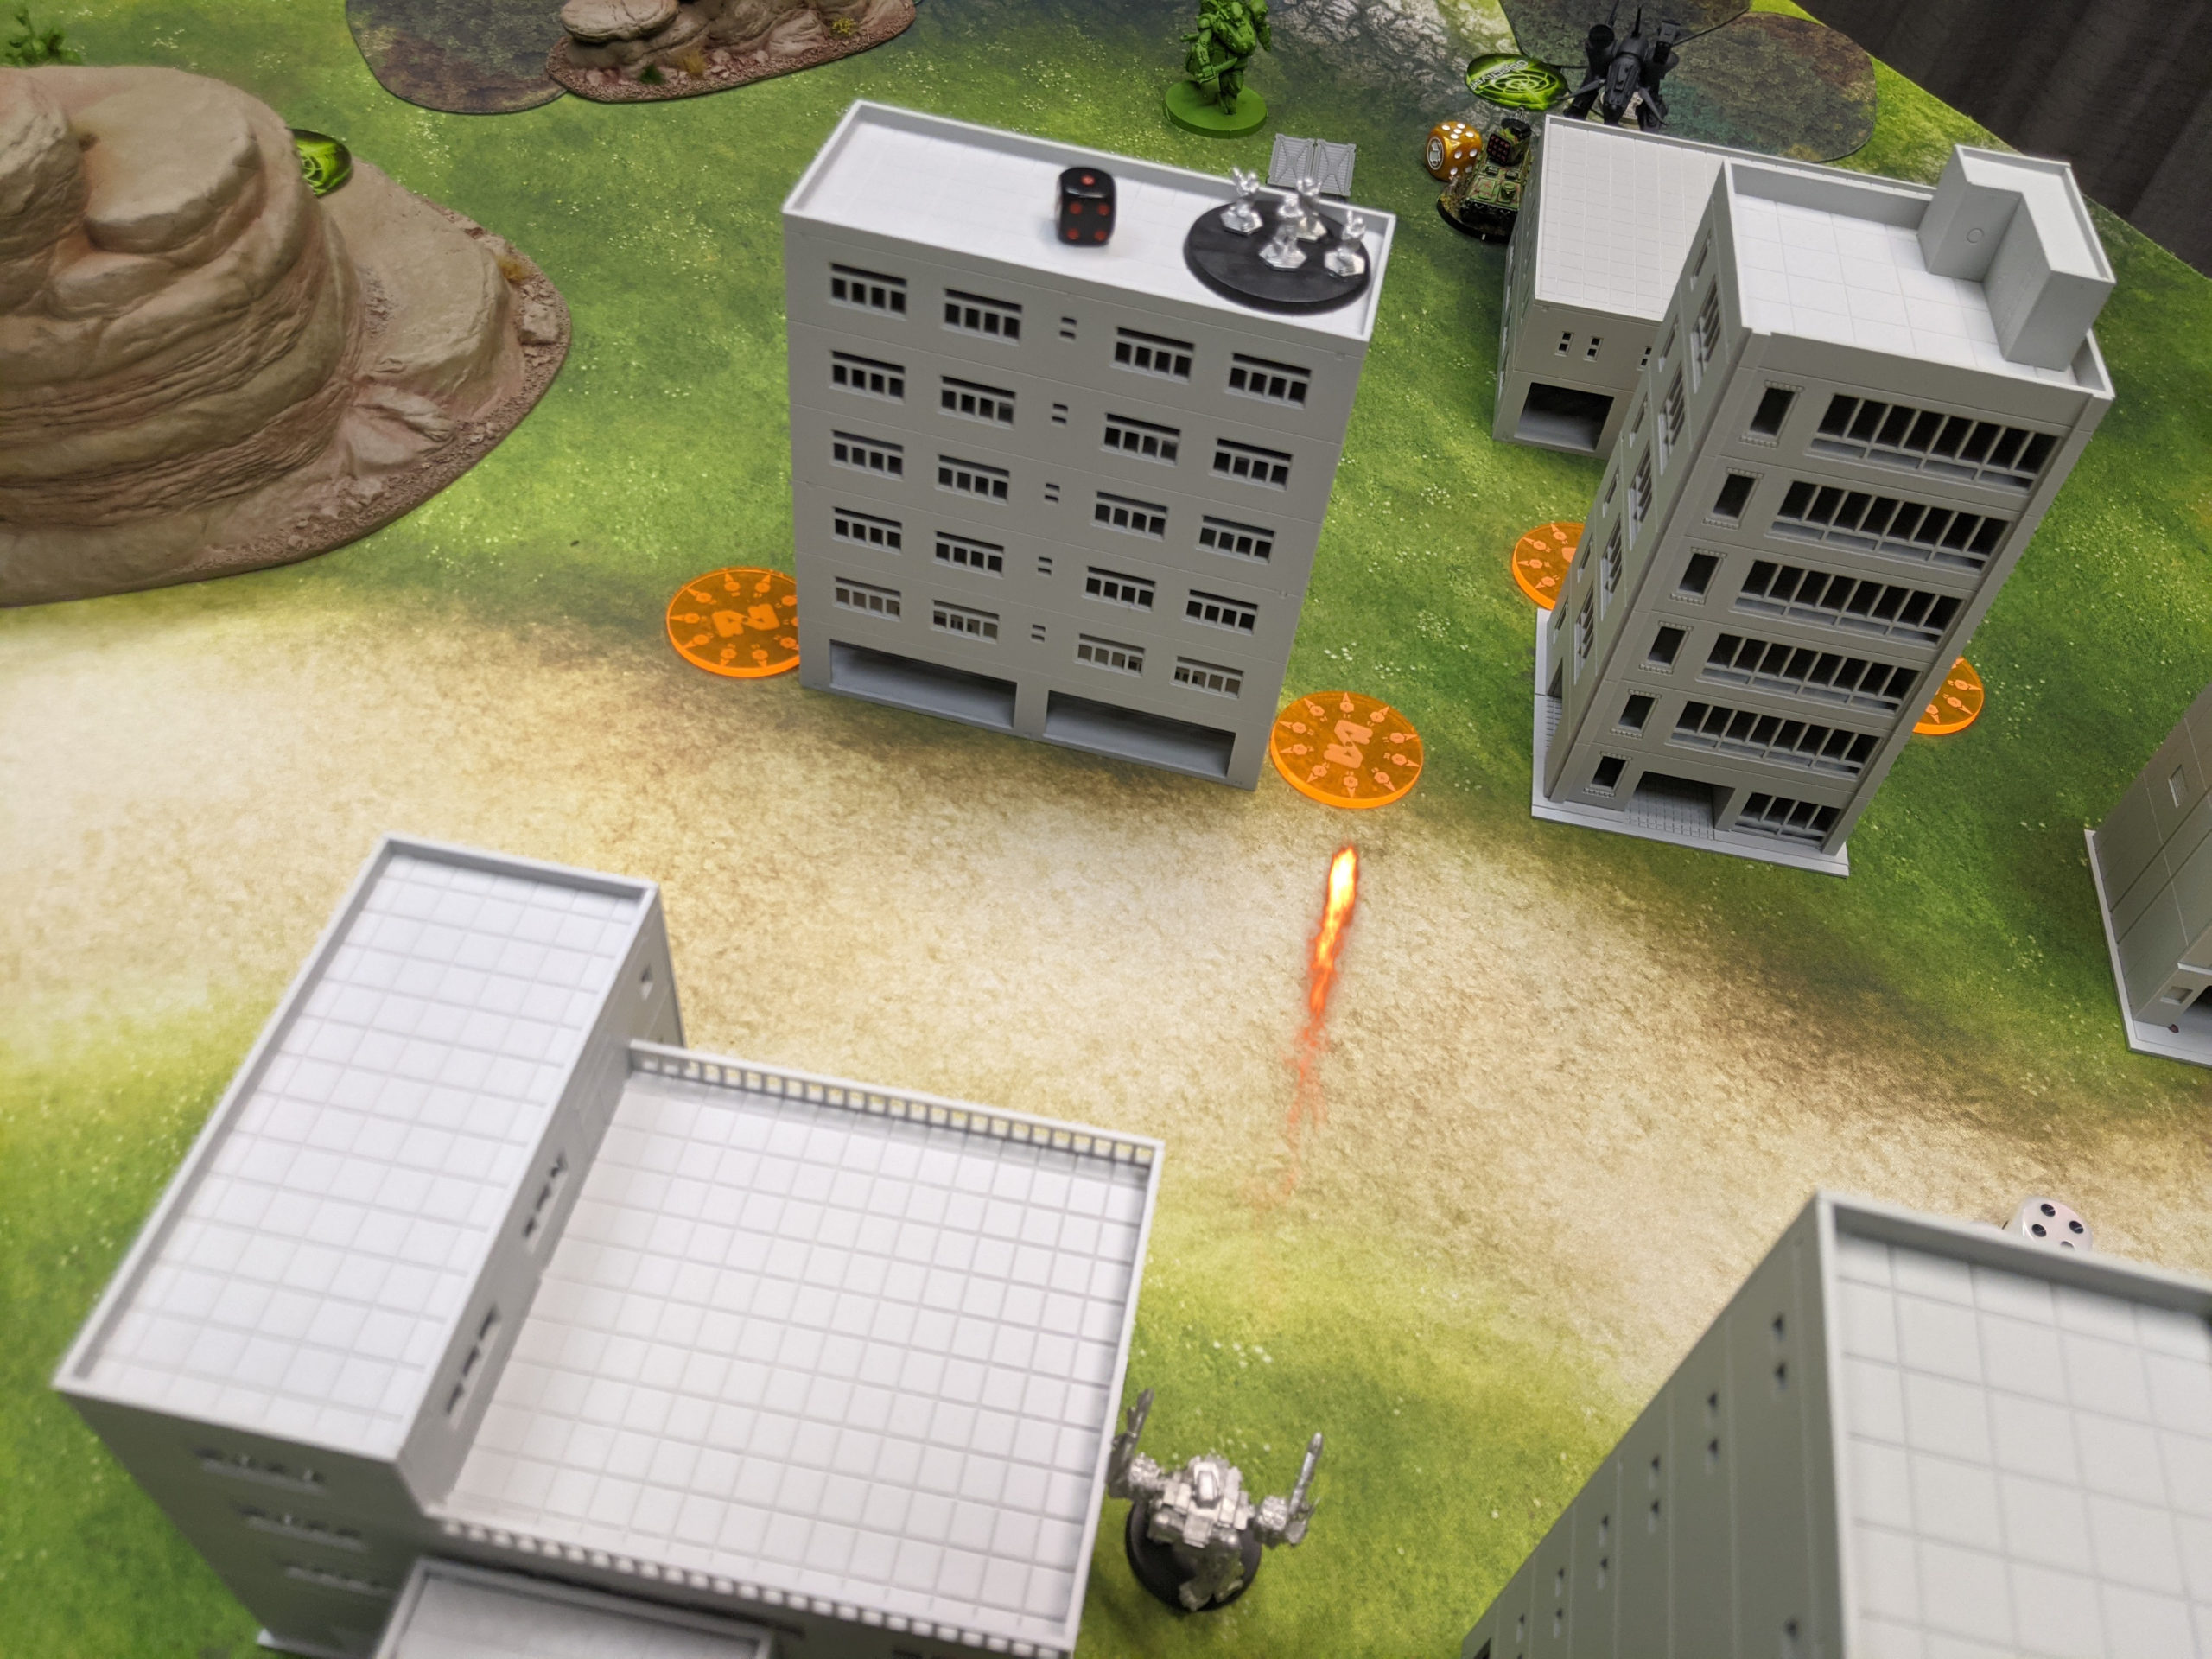
It’s not so much that the mines mechanic is ineffective, it’s that I didn’t place the mines very effectively. Placing a diagonal line of them between the corners of diagonally opposite buildings would be good, but I just wasn’t deployed right. I sort of had the movement, but it wasn’t really efficient and I would’ve probably ended up outside a building, which felt dangerous. First time using mines so I’m not too upset by it. I will say that mines absolutely need tightly spaced terrain like this to be maximally effective though.
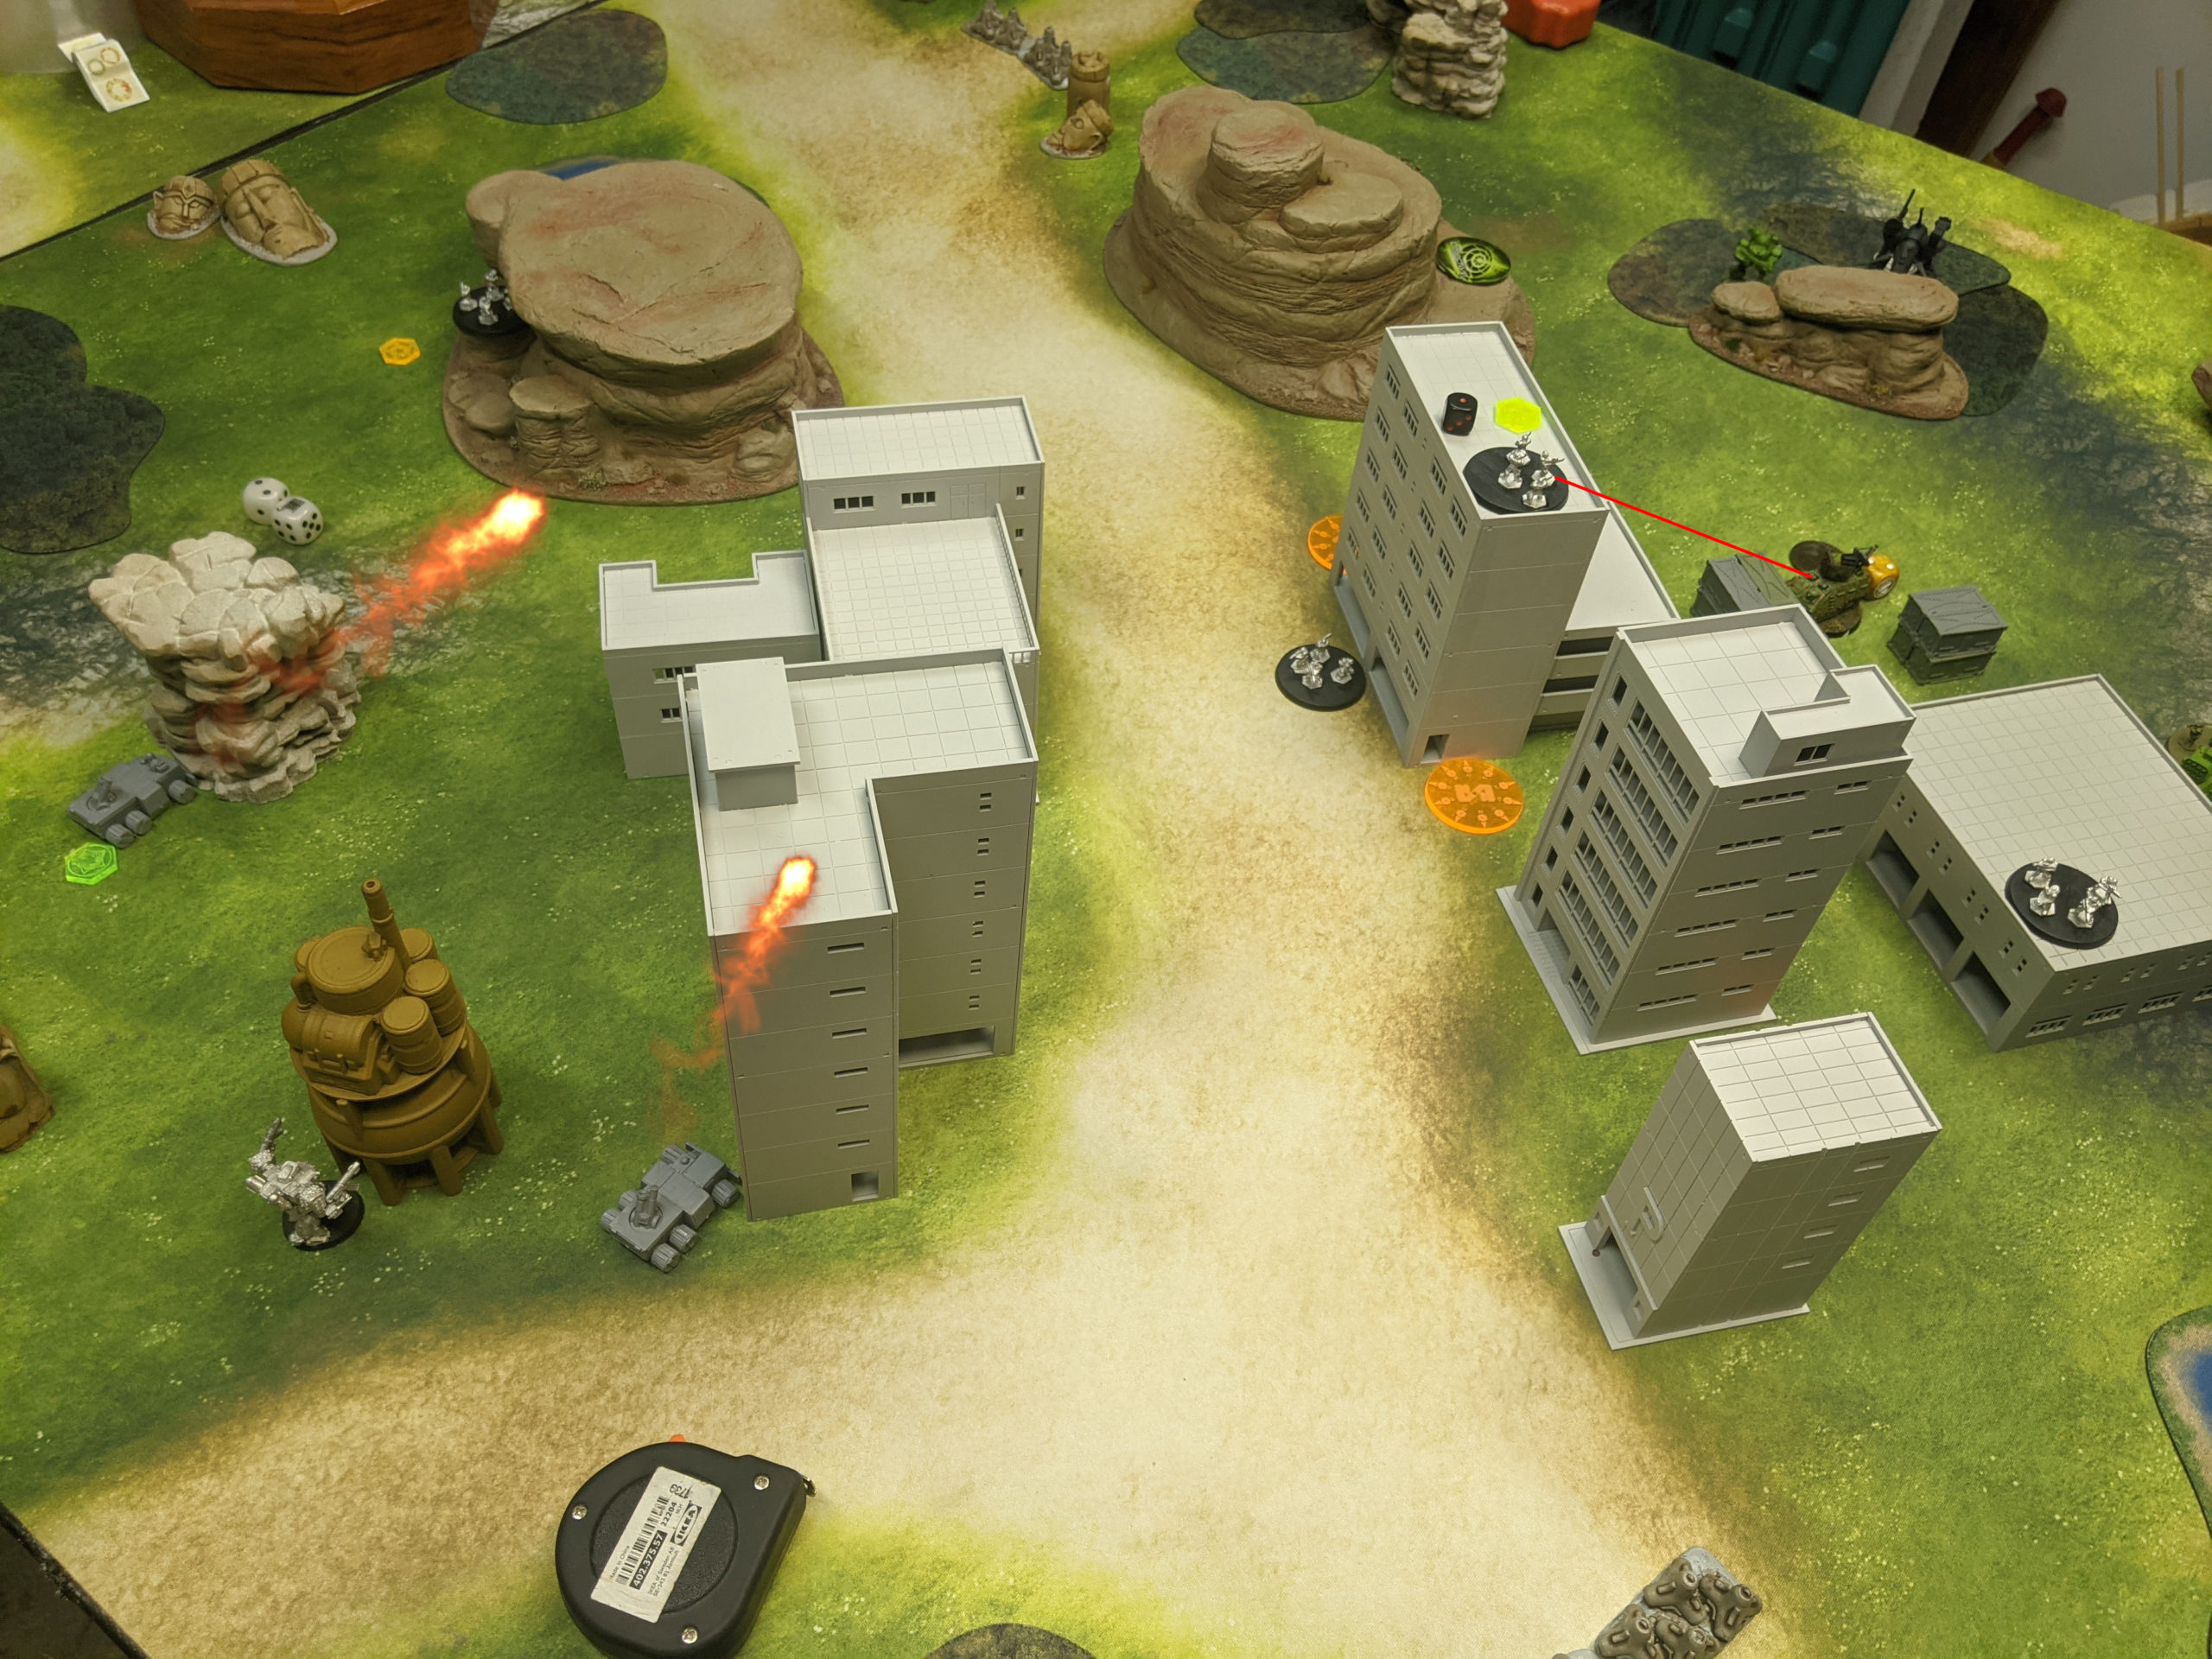
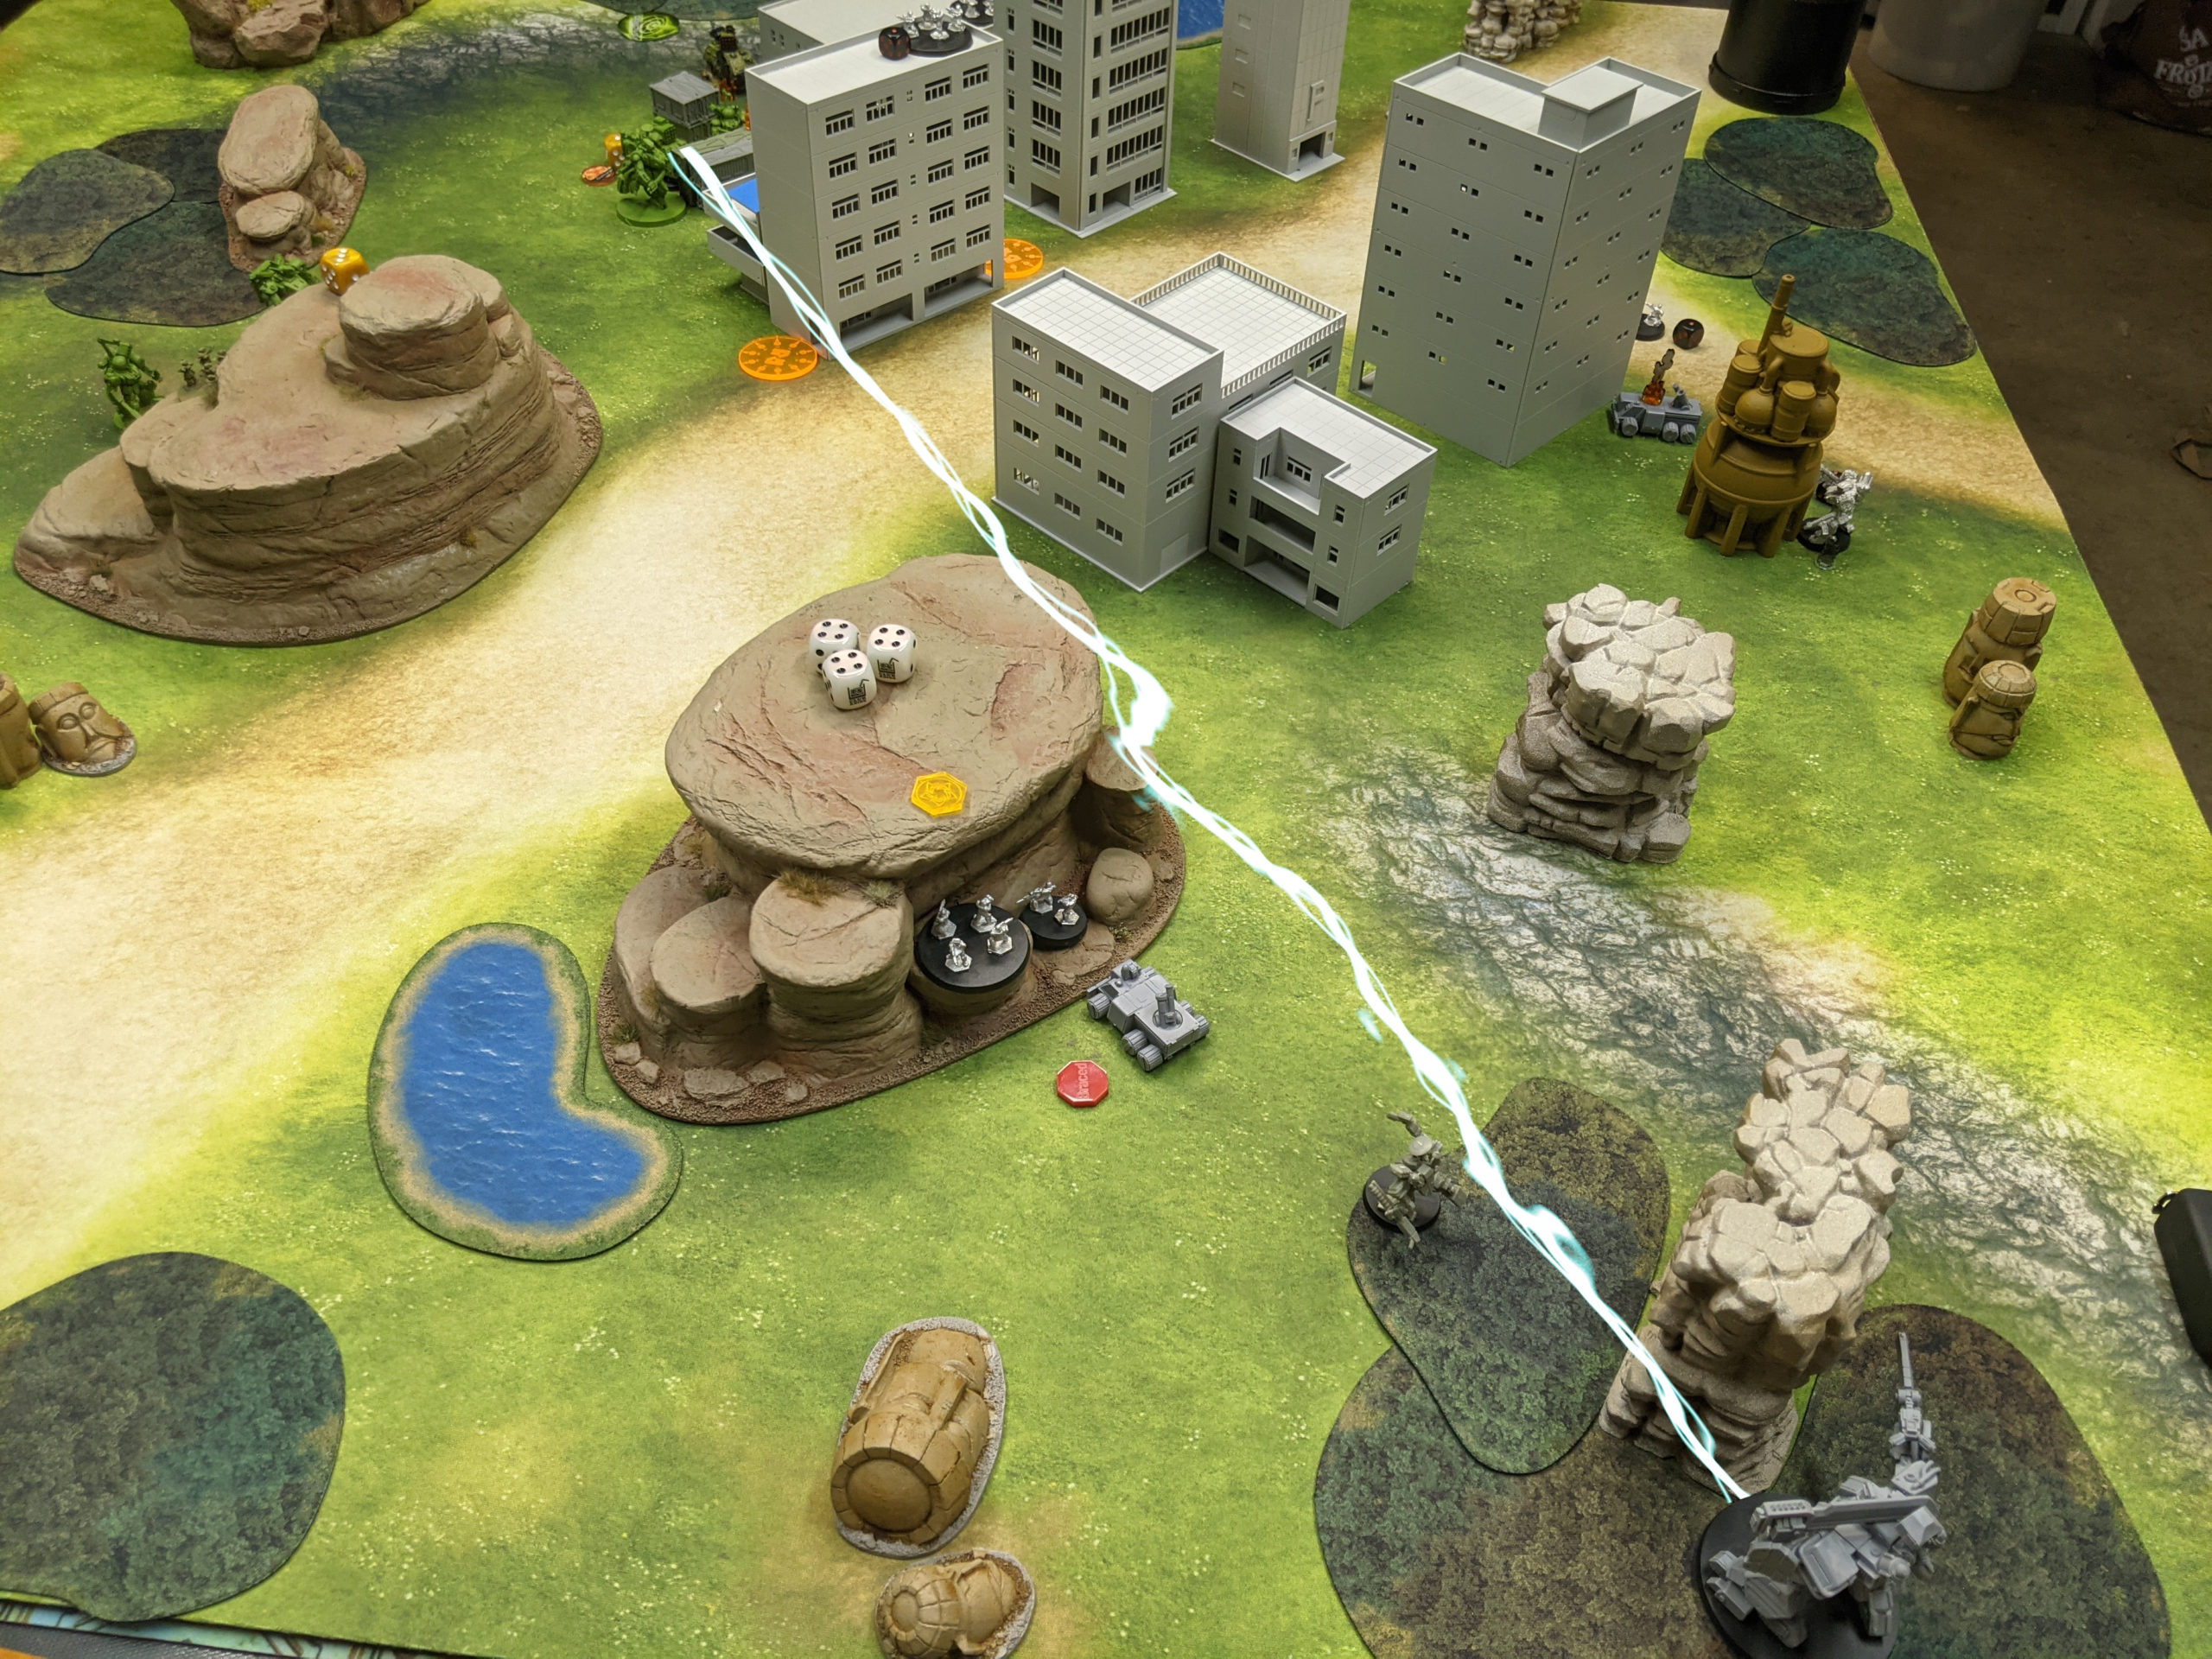
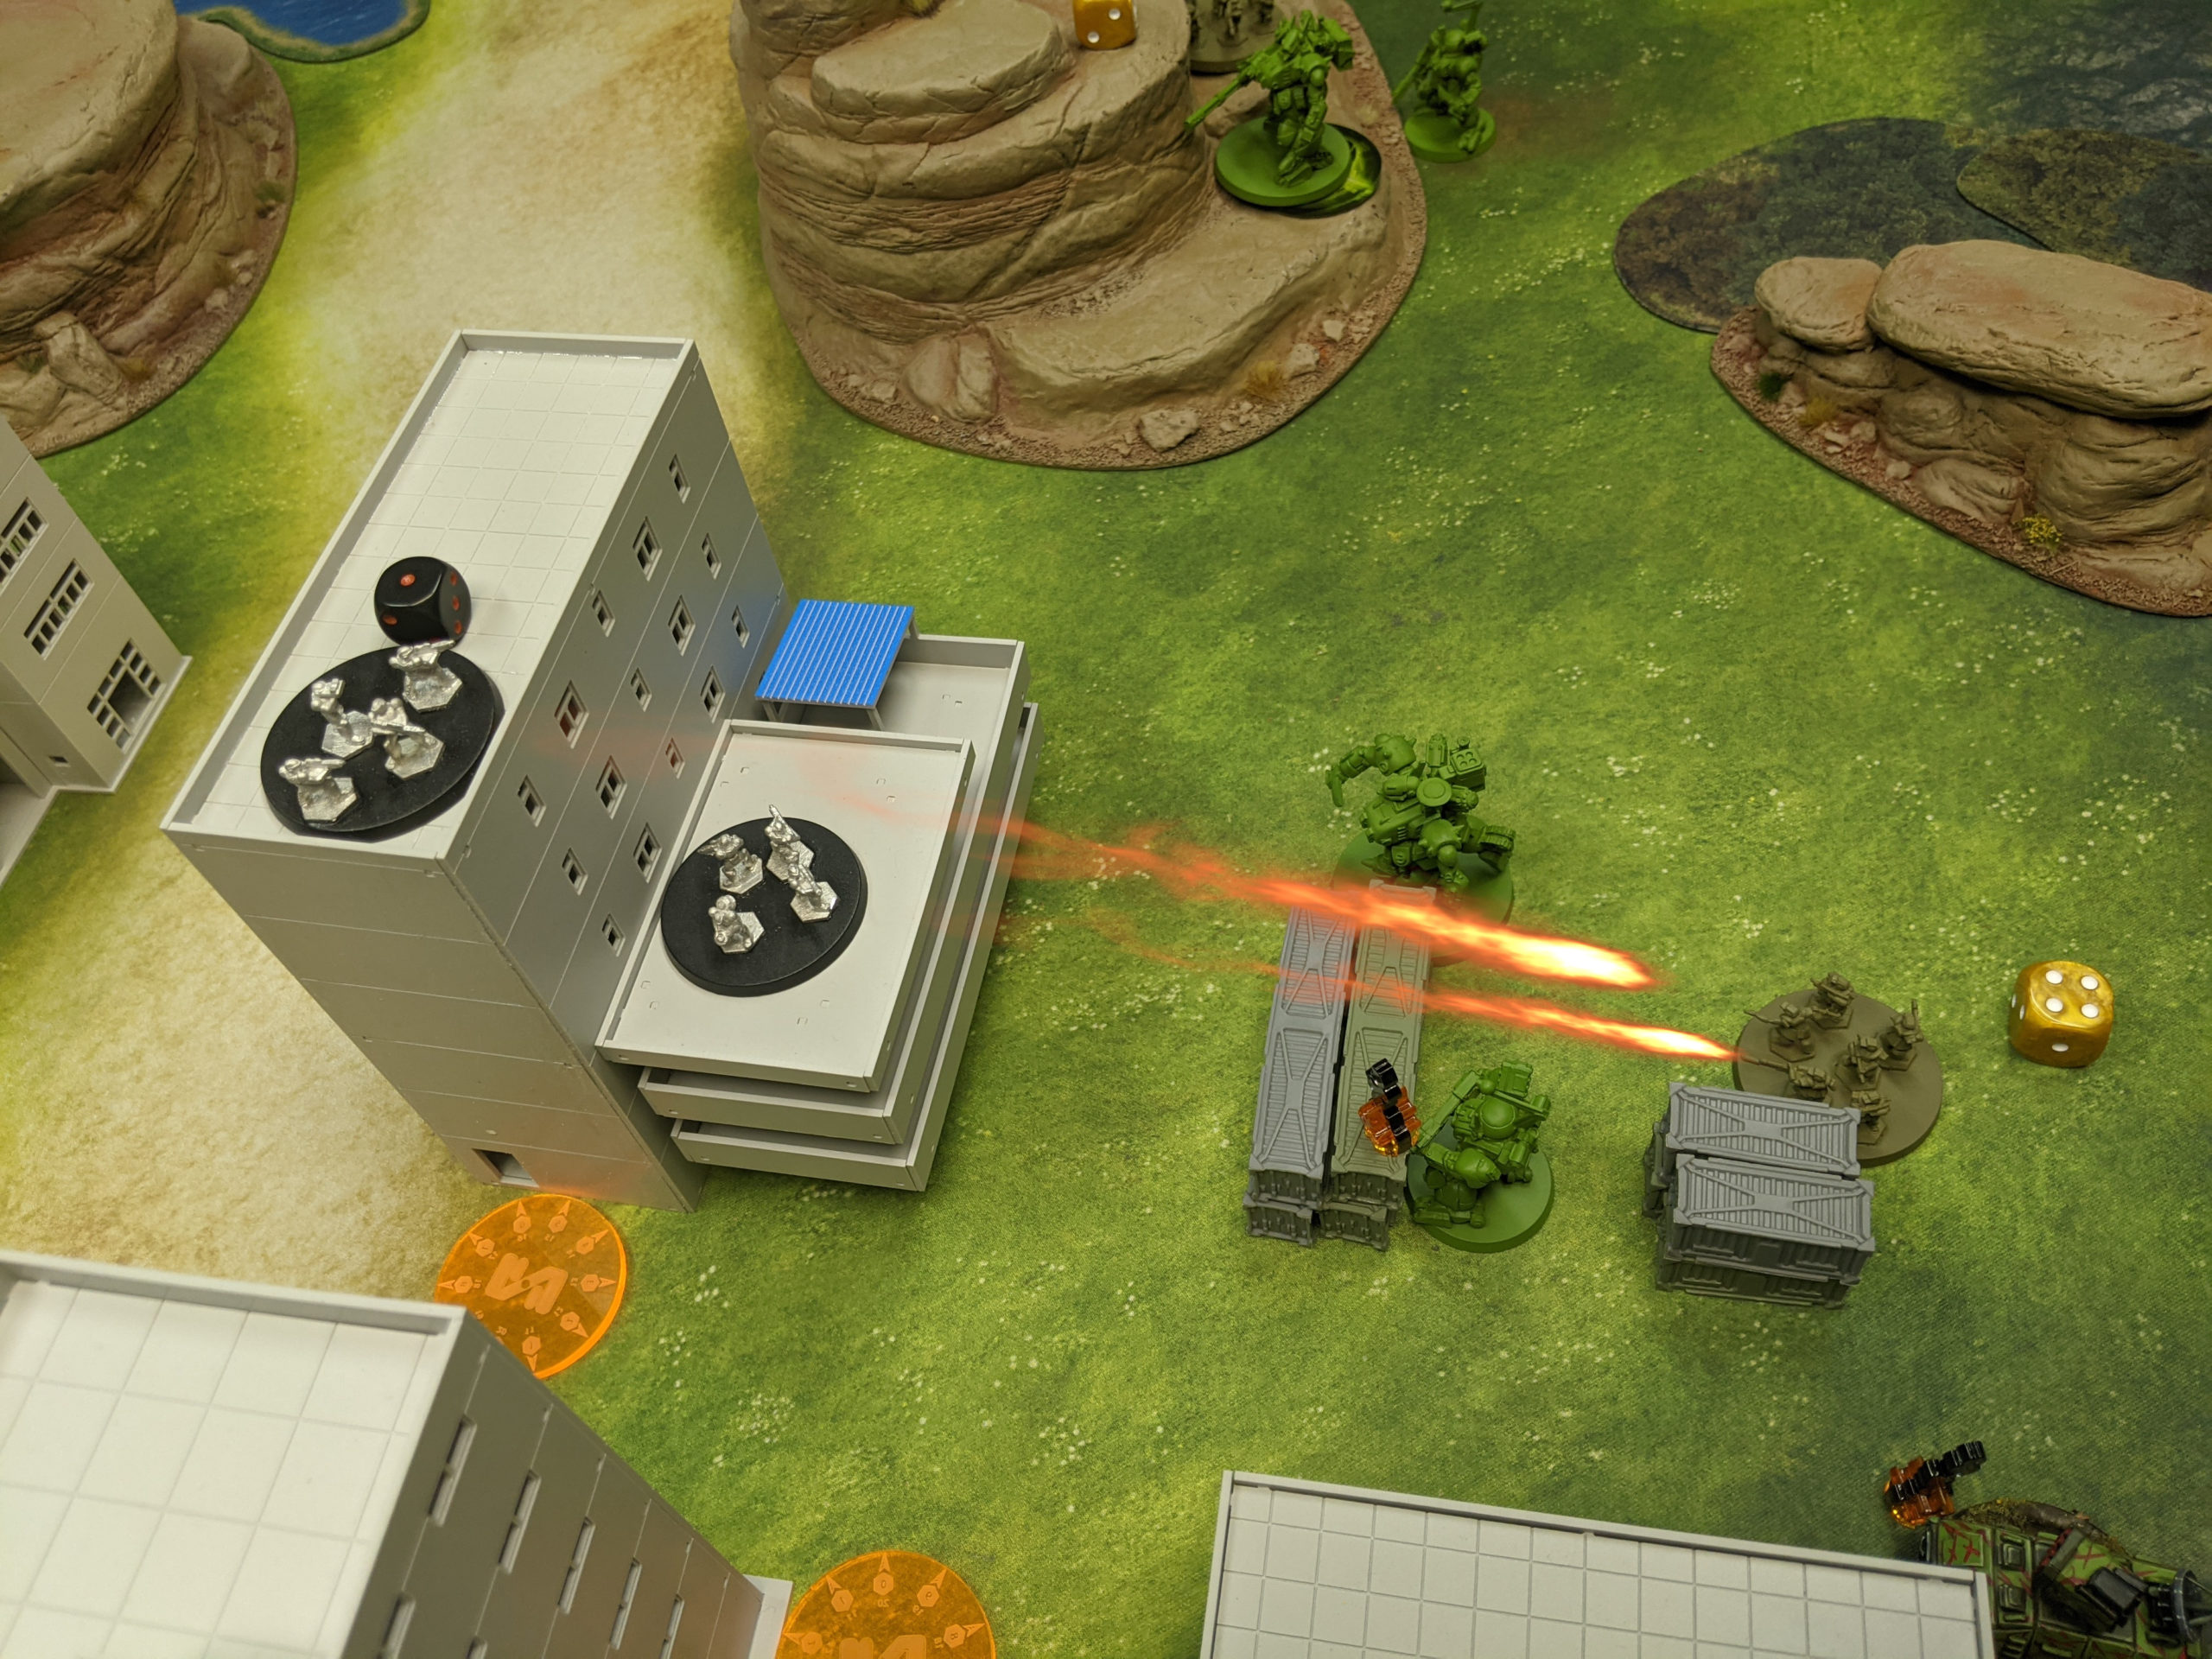
Adam activated his Recon group next and successfully blew up one of my Mastiffs with an MATM shot from the Naga, guided in by one of the Silverscales.
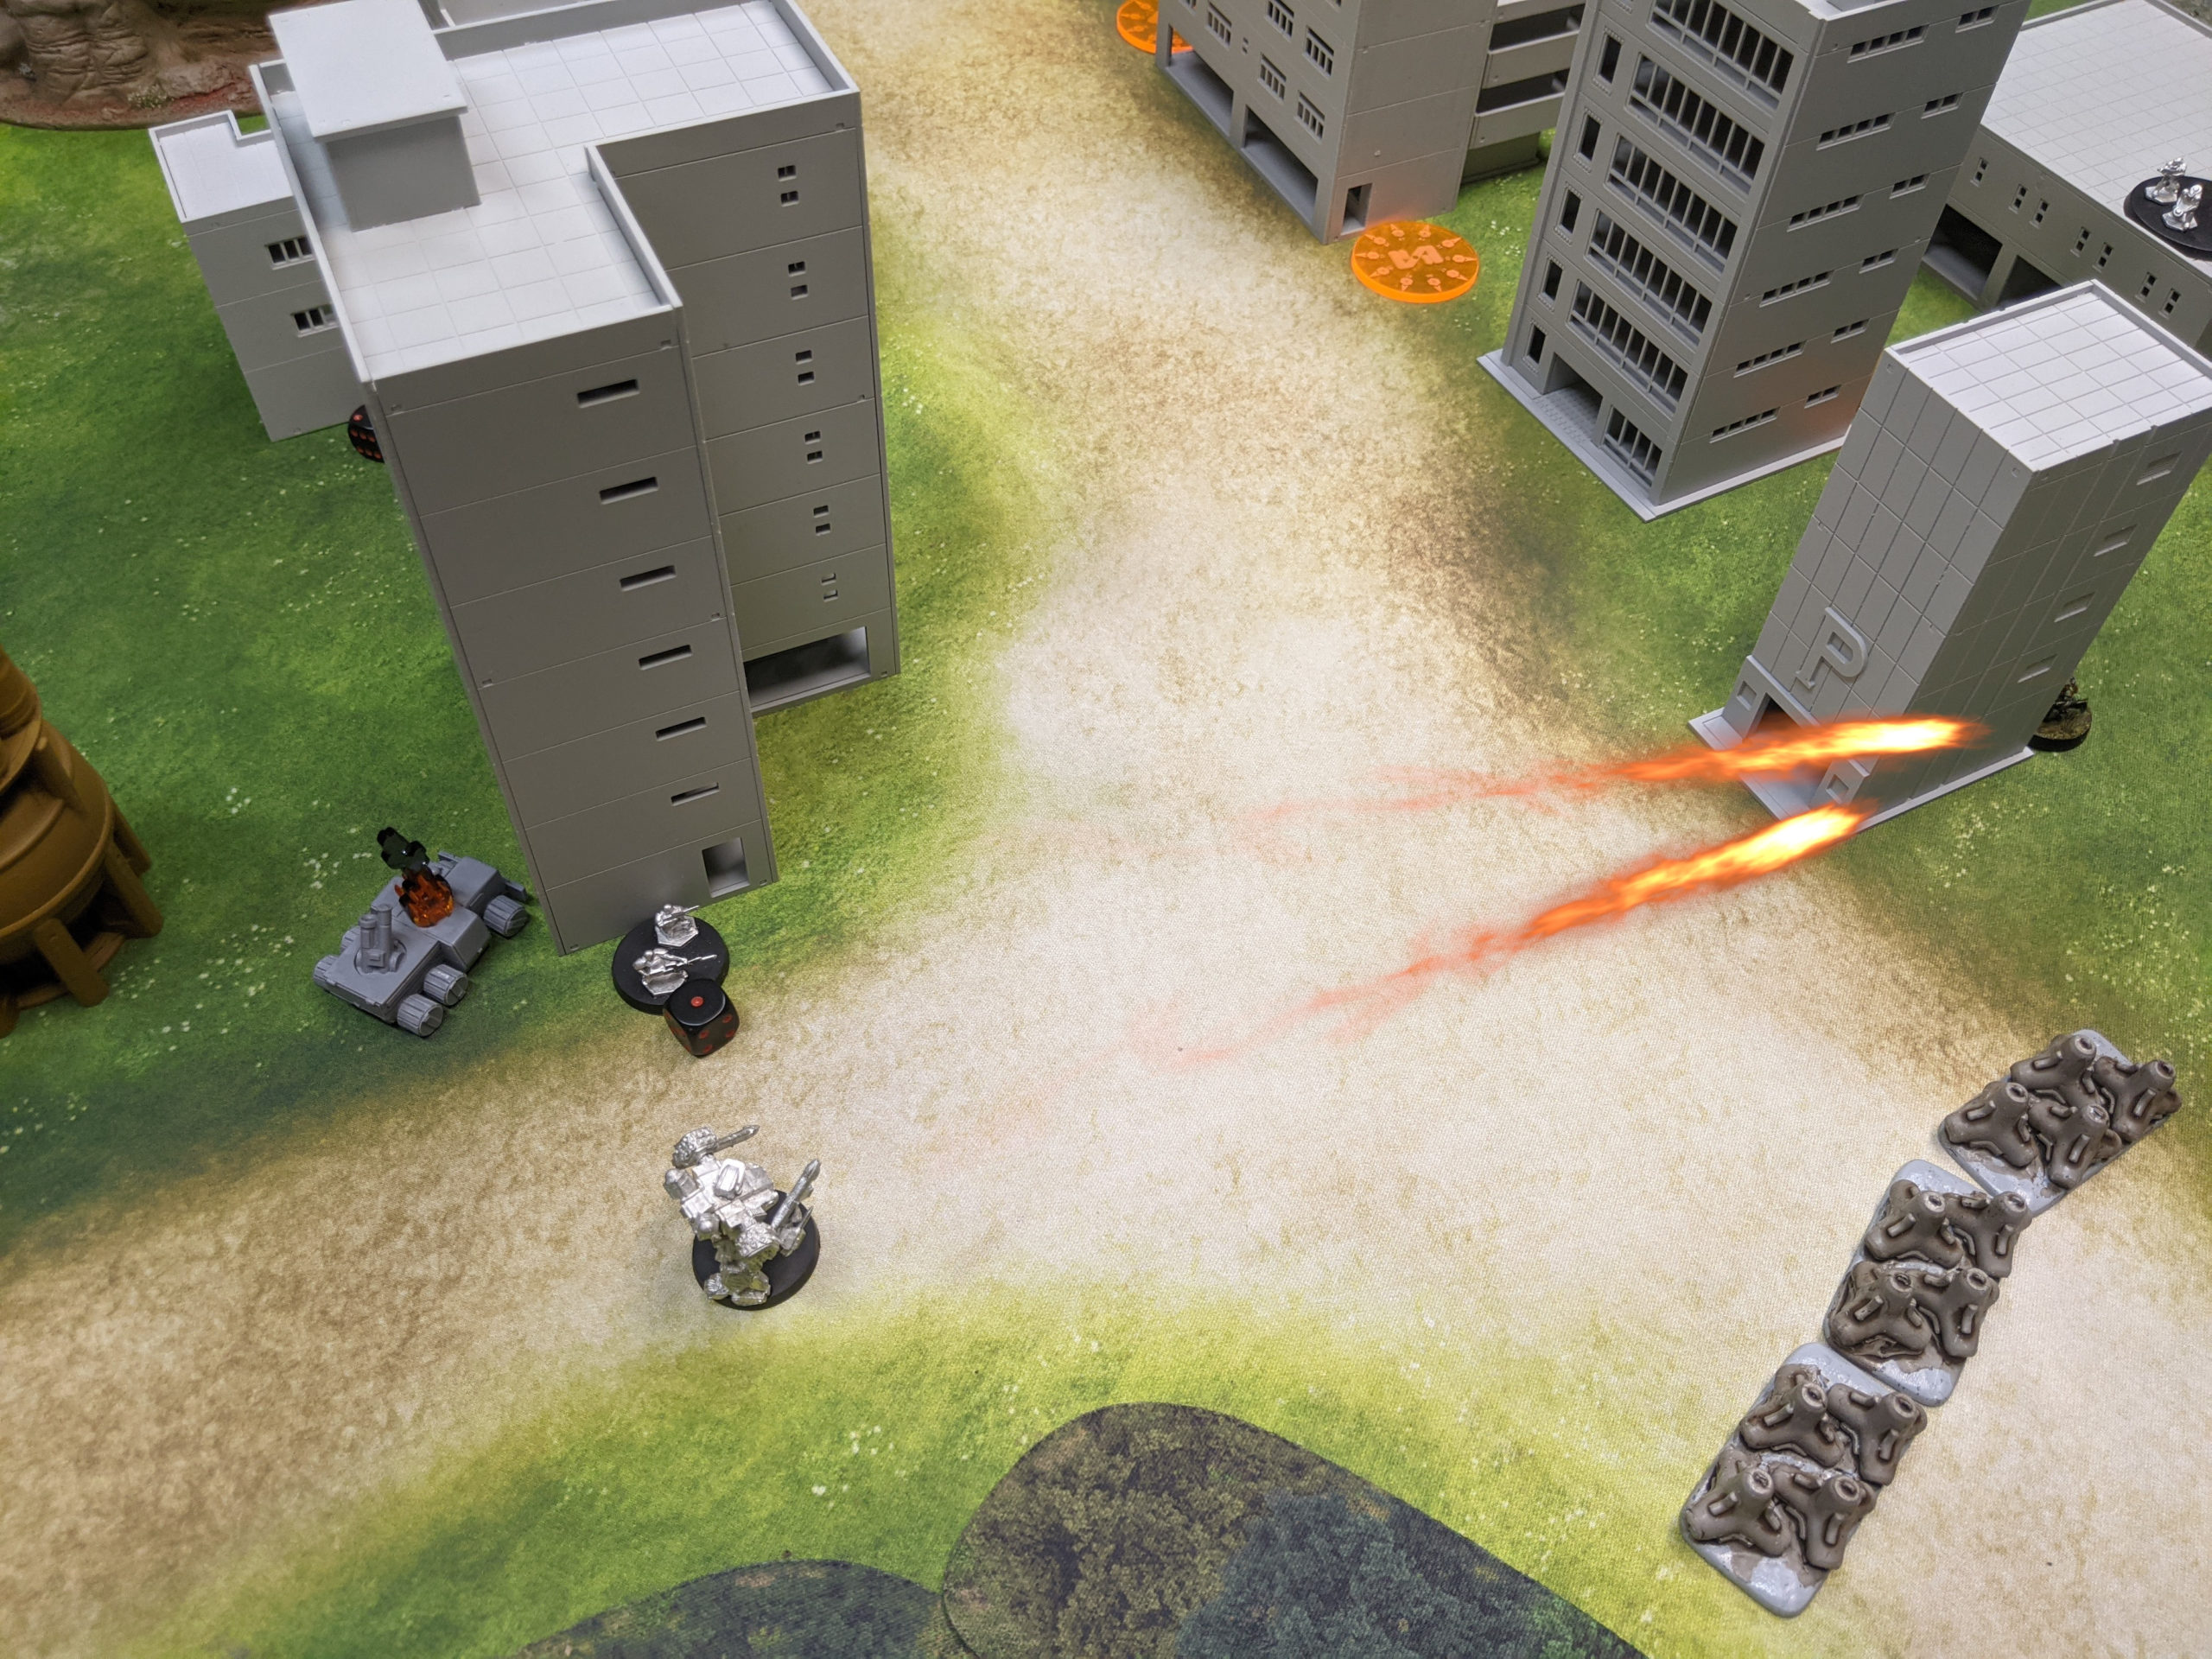
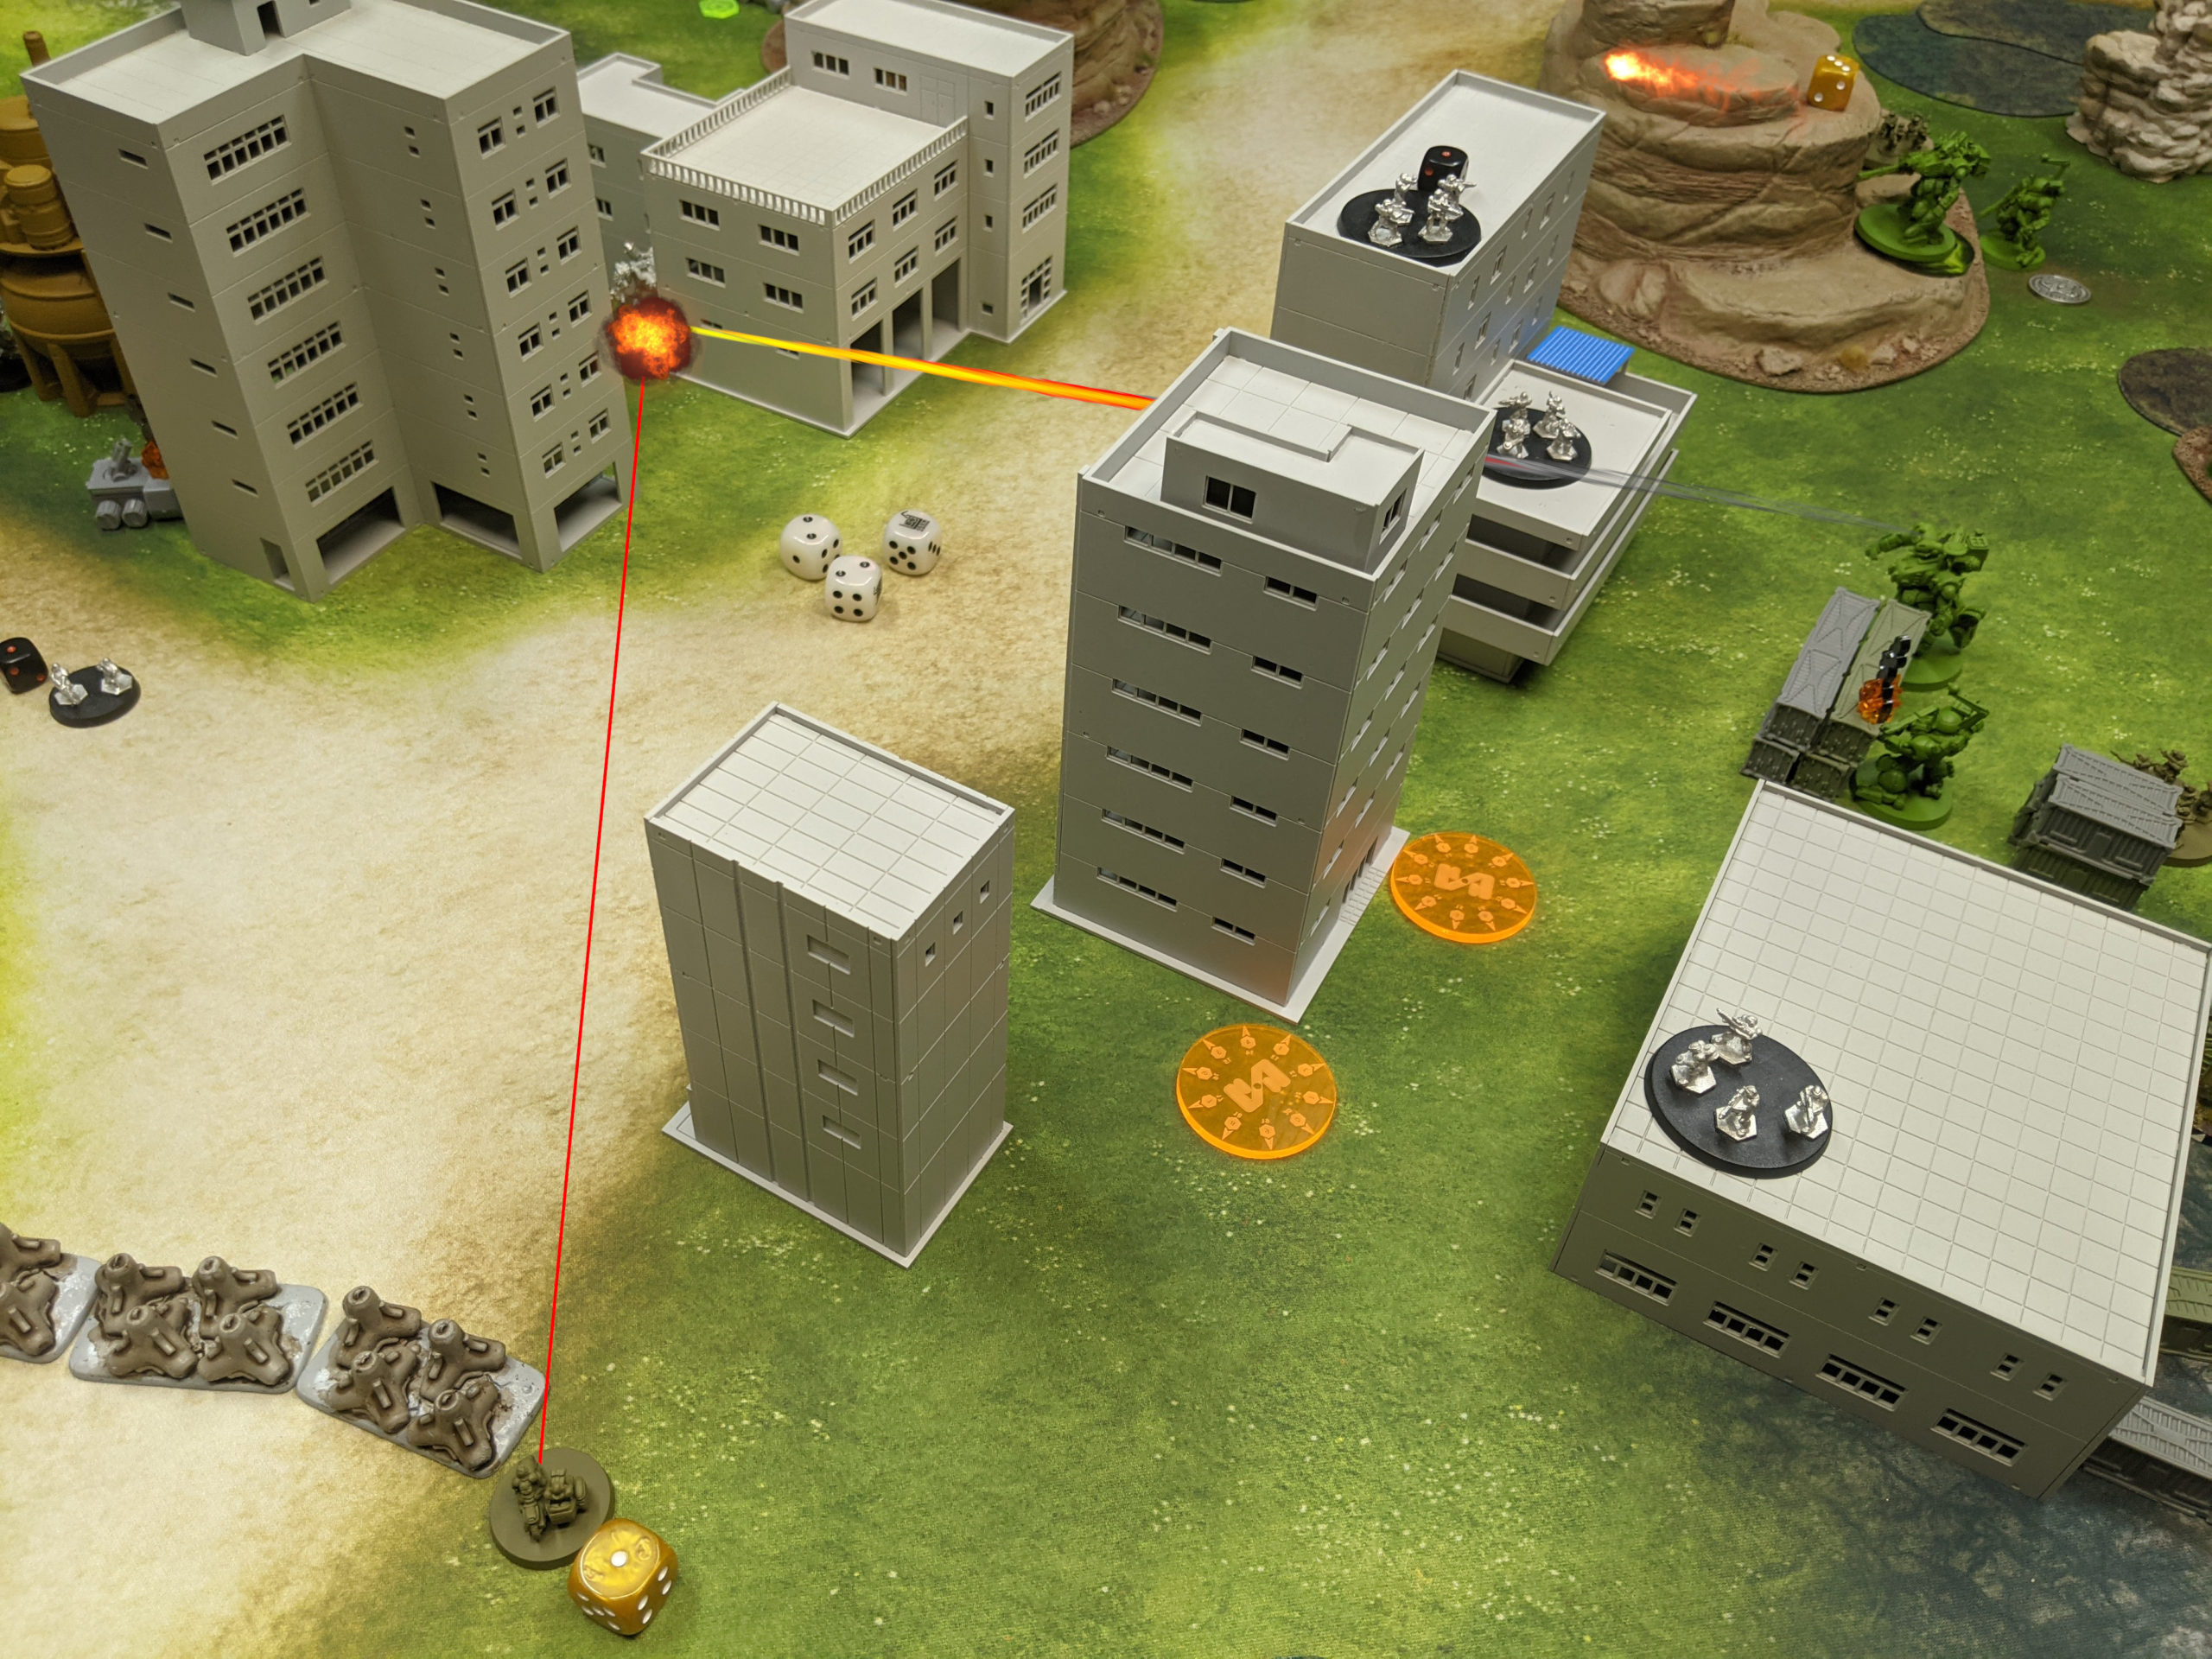
I activated my Fire Support group next, first ECM-hacking the Silverscale near Adam’s Crocodile and then stepping out of cover with the Cataphract to slam a railgun slug through the Crocodile. Sadly, I didn’t kill it, but left it with a single structure remaining.
Adam activated his Fire Support group next and attempted to take out my other Mastiff but failed.
I activated my SK group next and between the dismounted Assault team and the two Gladiators managed to take out the Haywired Silverscale. I’ll take it! This is actually pretty good, as now I only need to take out one Jackrabbit to have my Pave the Way point.
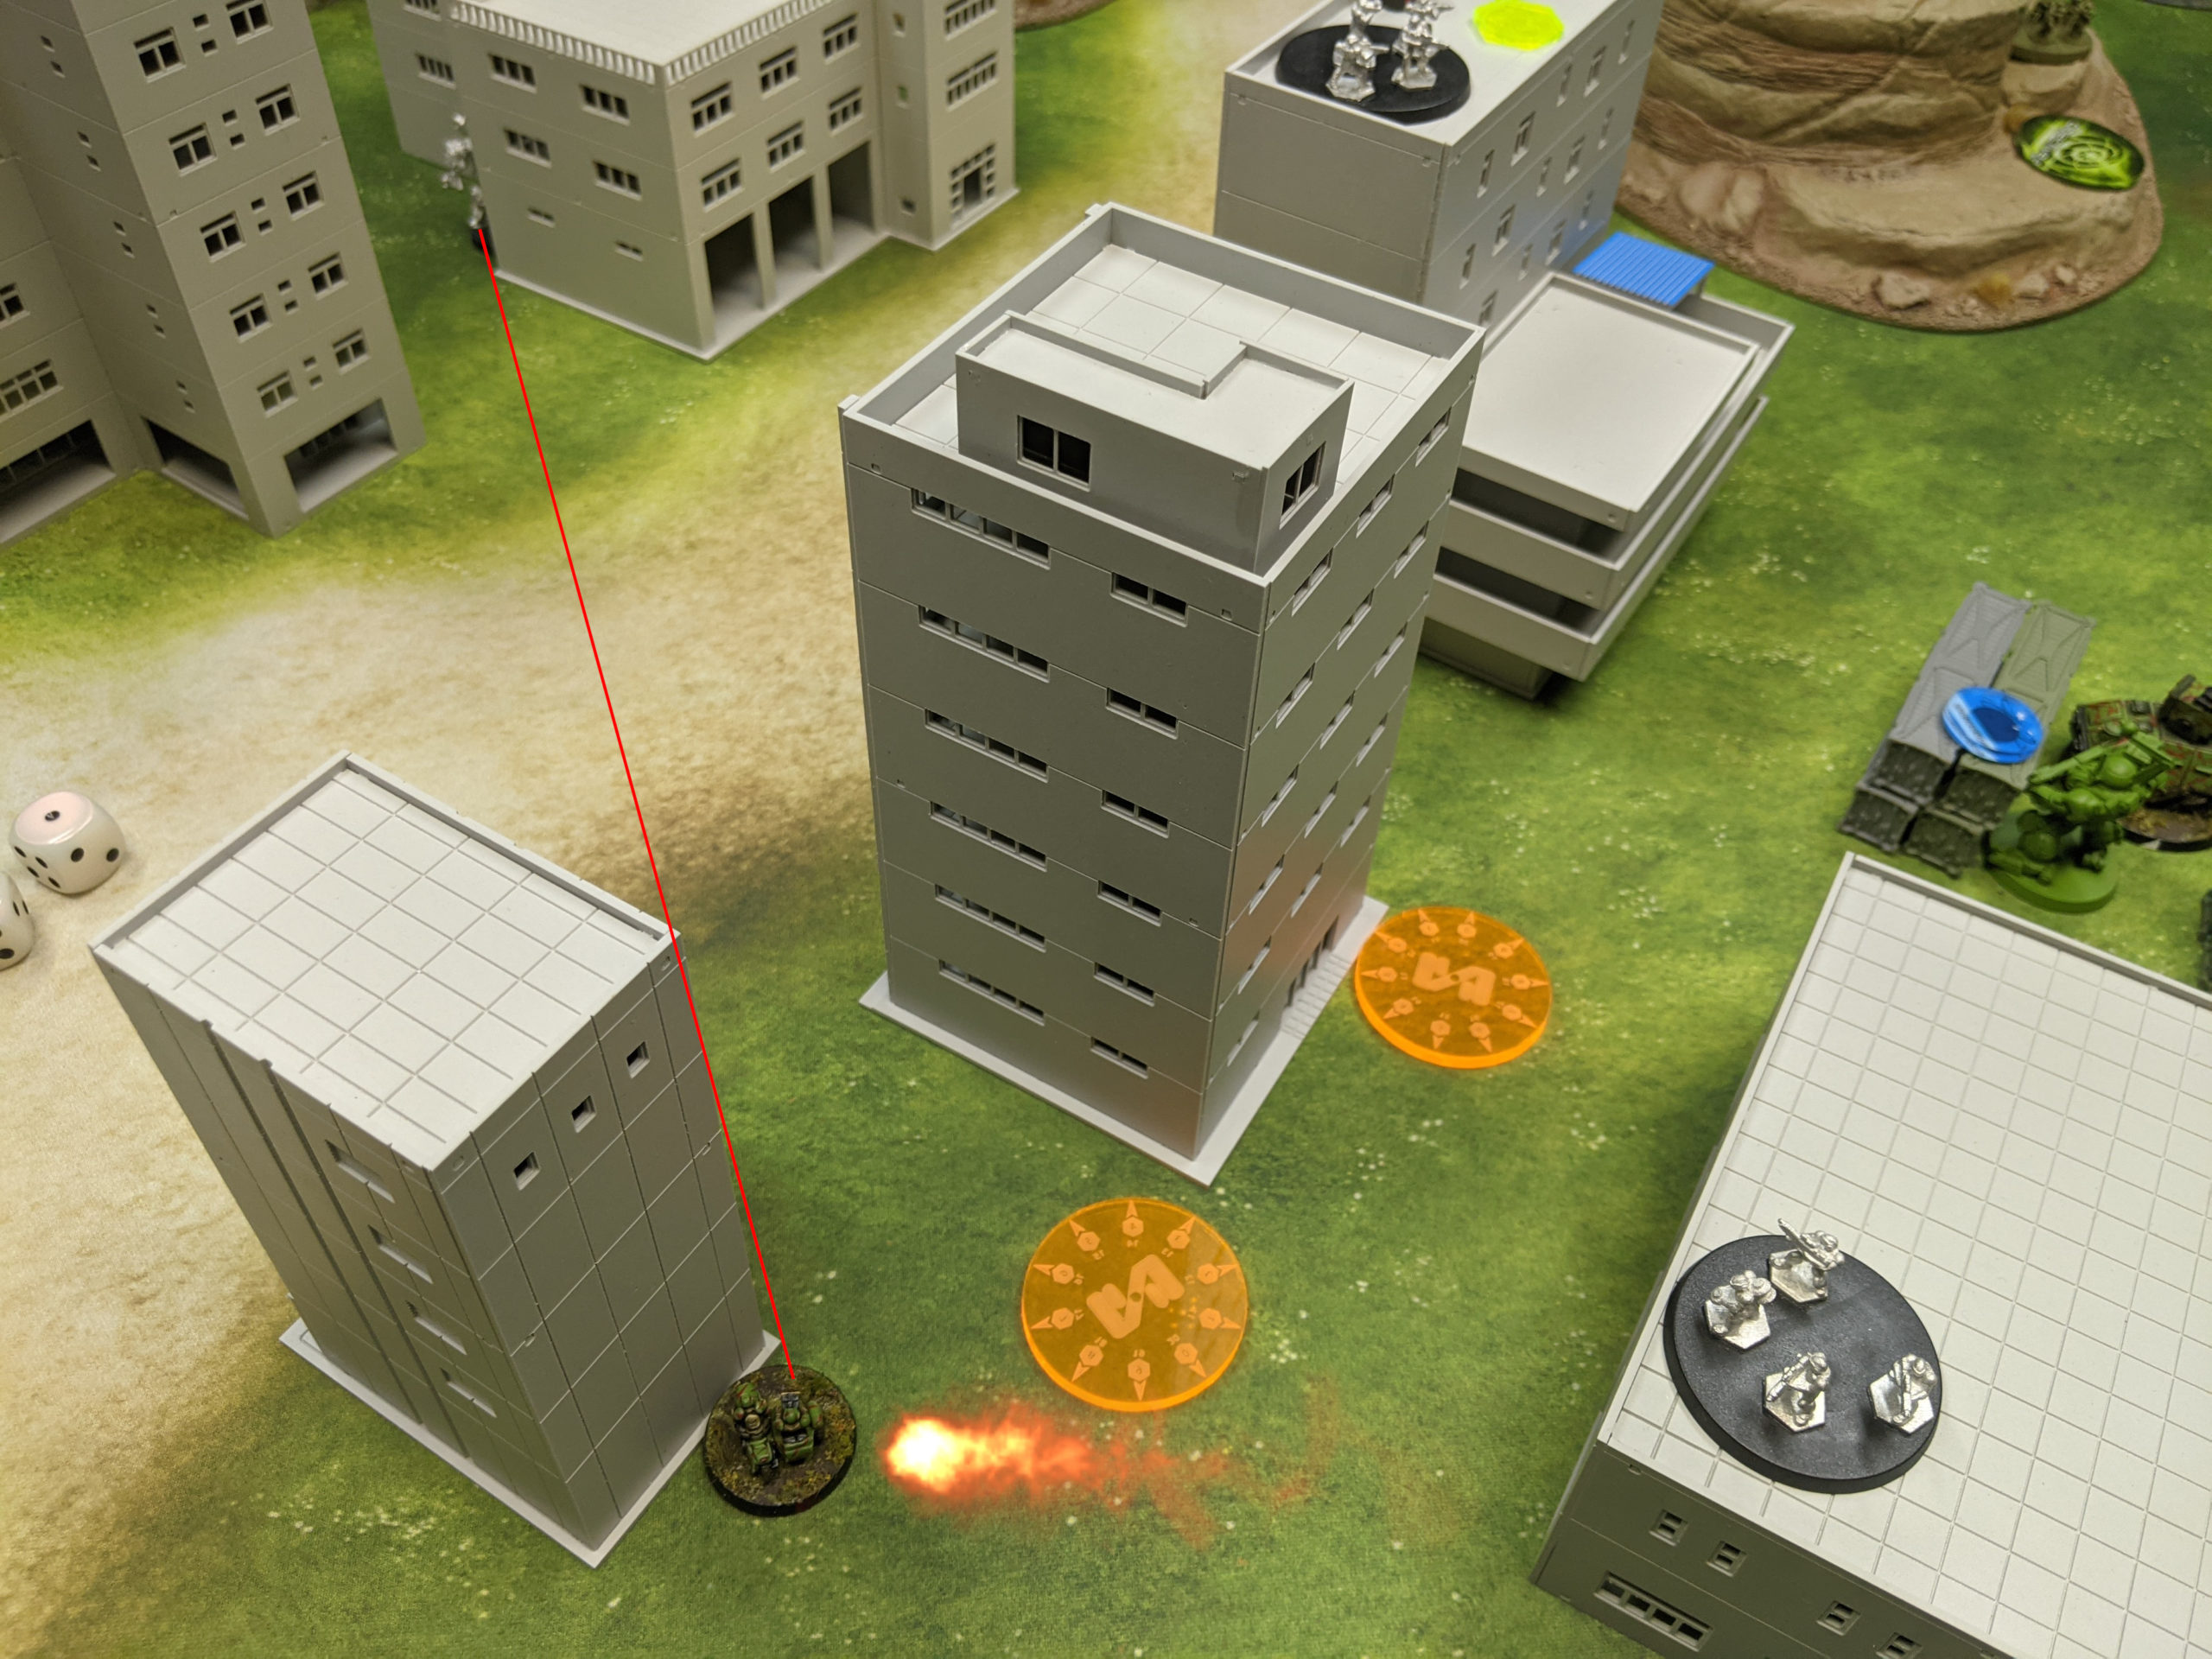
Adam won Initiative again and started gunning for my Gladiators, darting a Jackrabbit between my mines and getting a Forward Observe off on a Gladiator. Thankfully nothing terrible happened… yet. My Engineer squad attempted to take the shot to prevent this but it didn’t go well. I think that if you’re reasonably certain of your chances of surviving the incoming Fire Mission you shoot on your own turn.
I attempted to do this with my other infantry squads and their infantry weapons against the Jackrabbit, but was unable to do any damage.
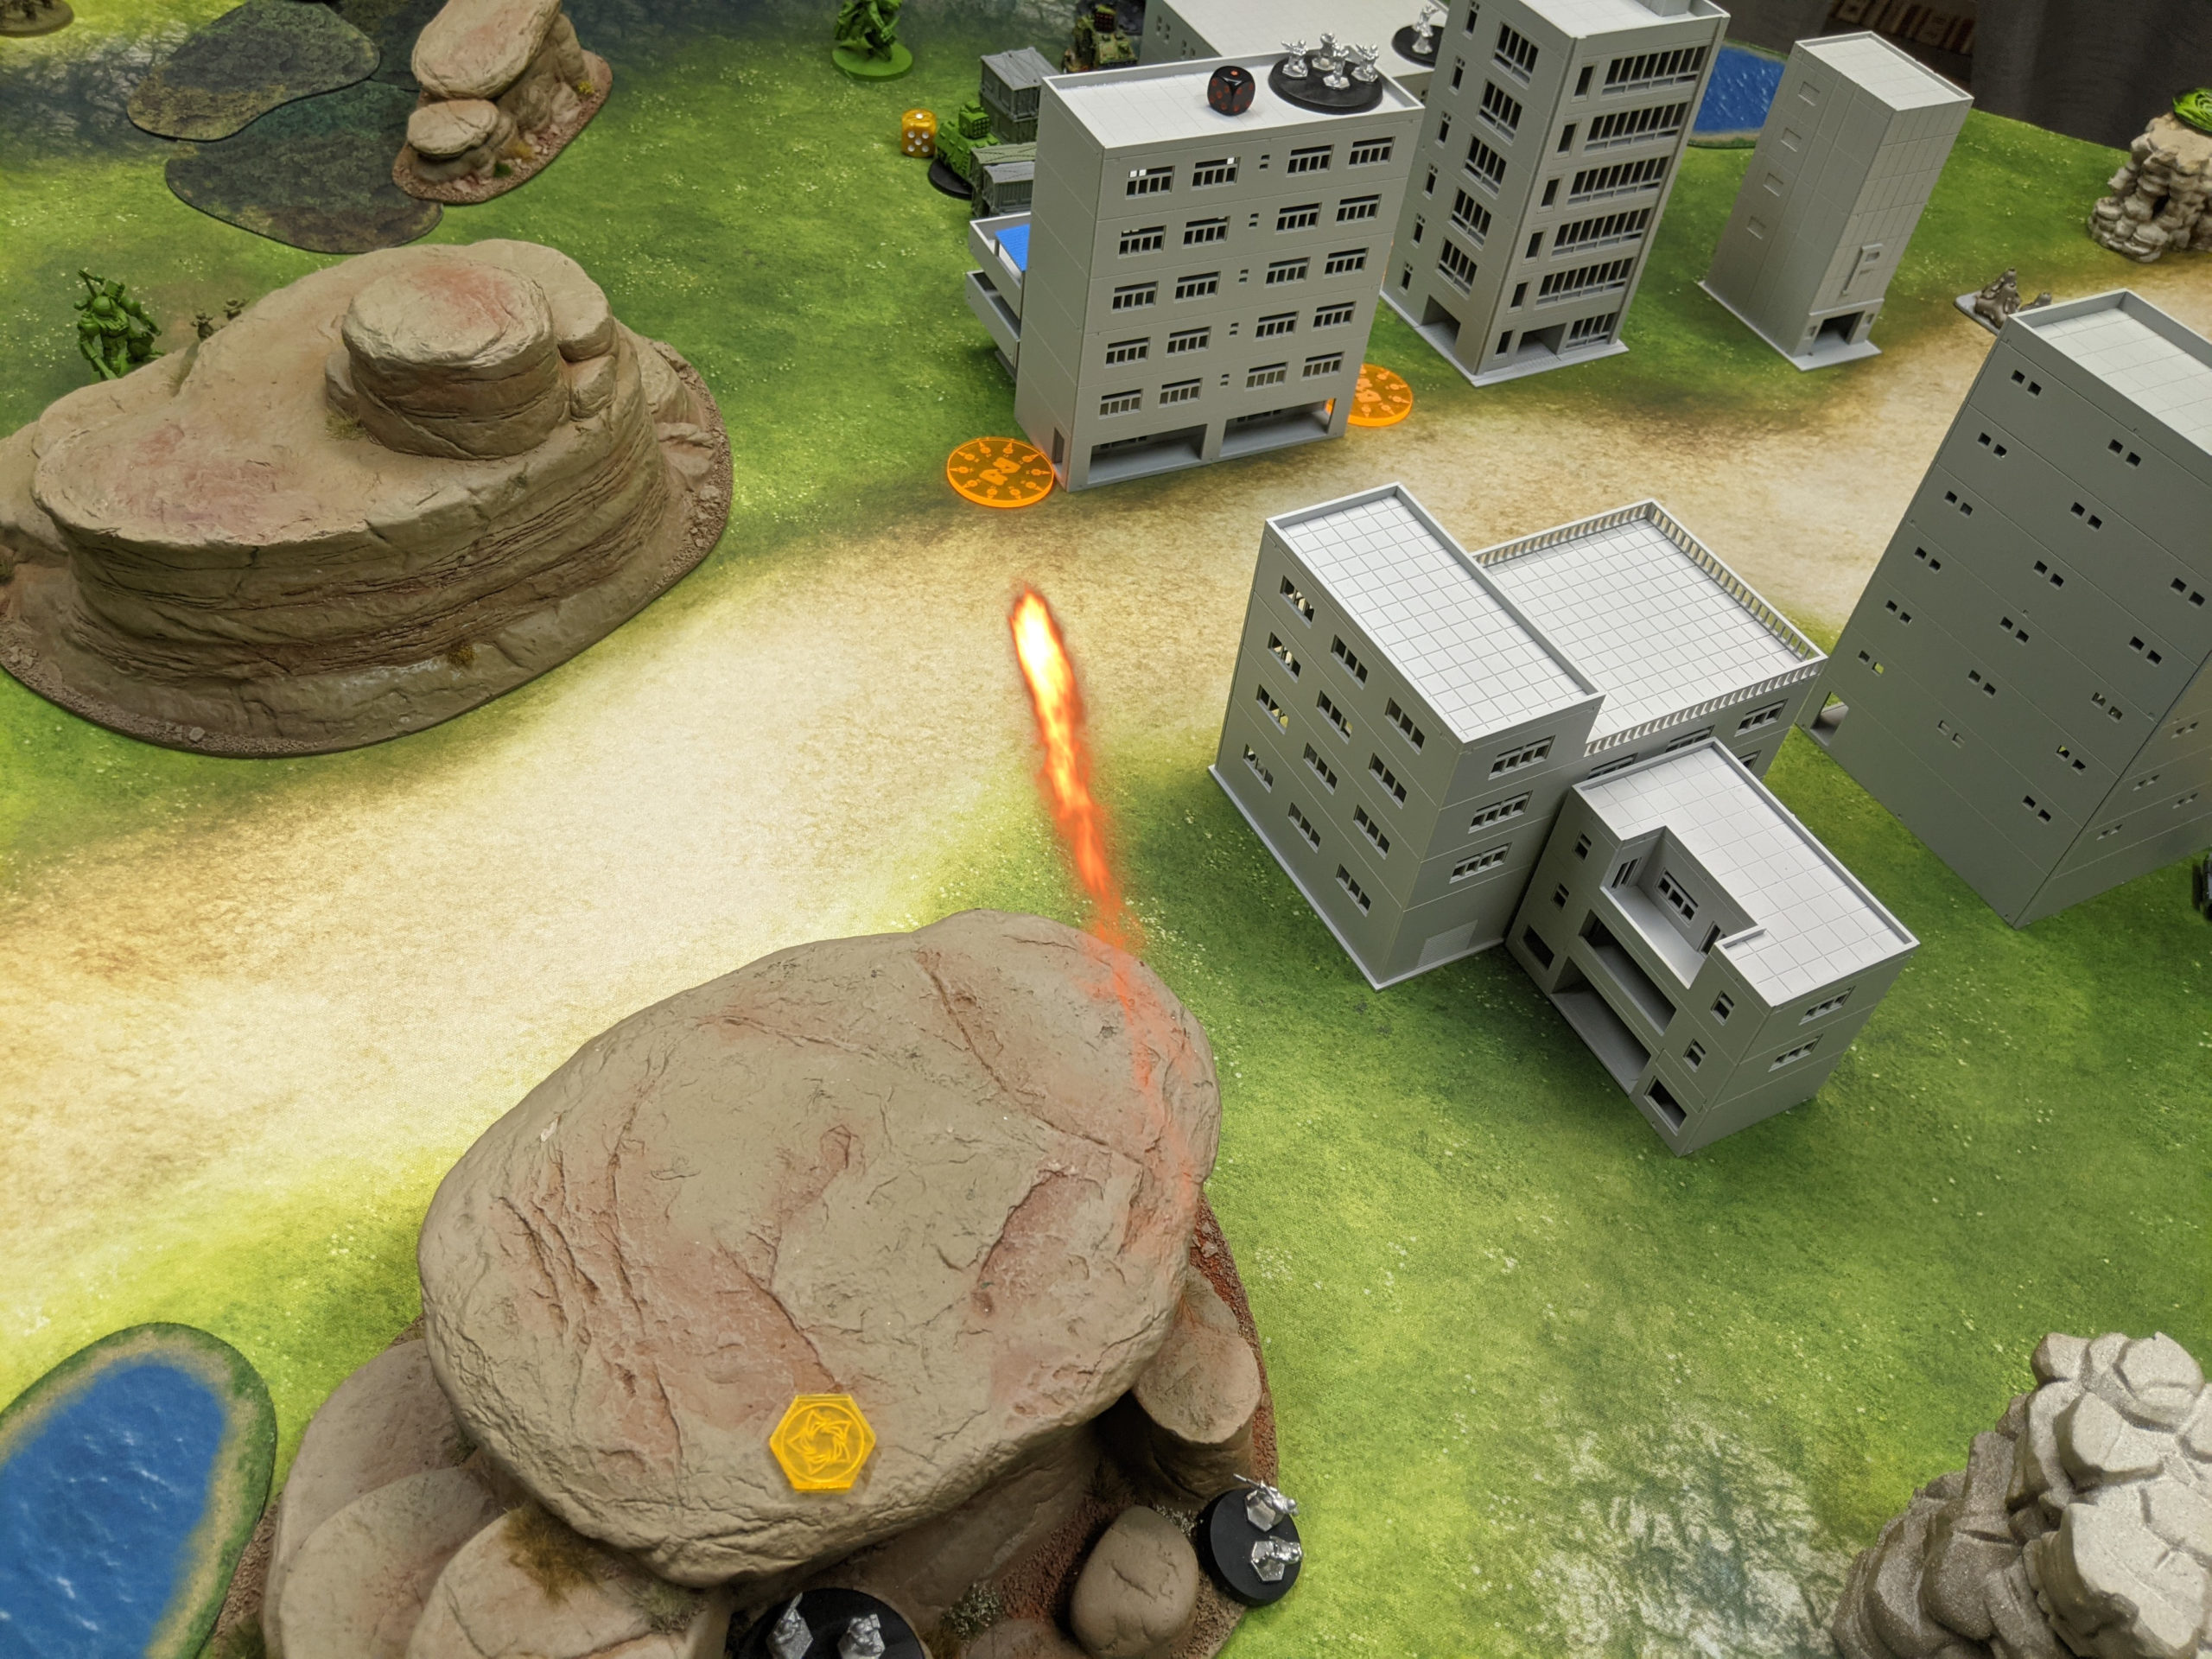
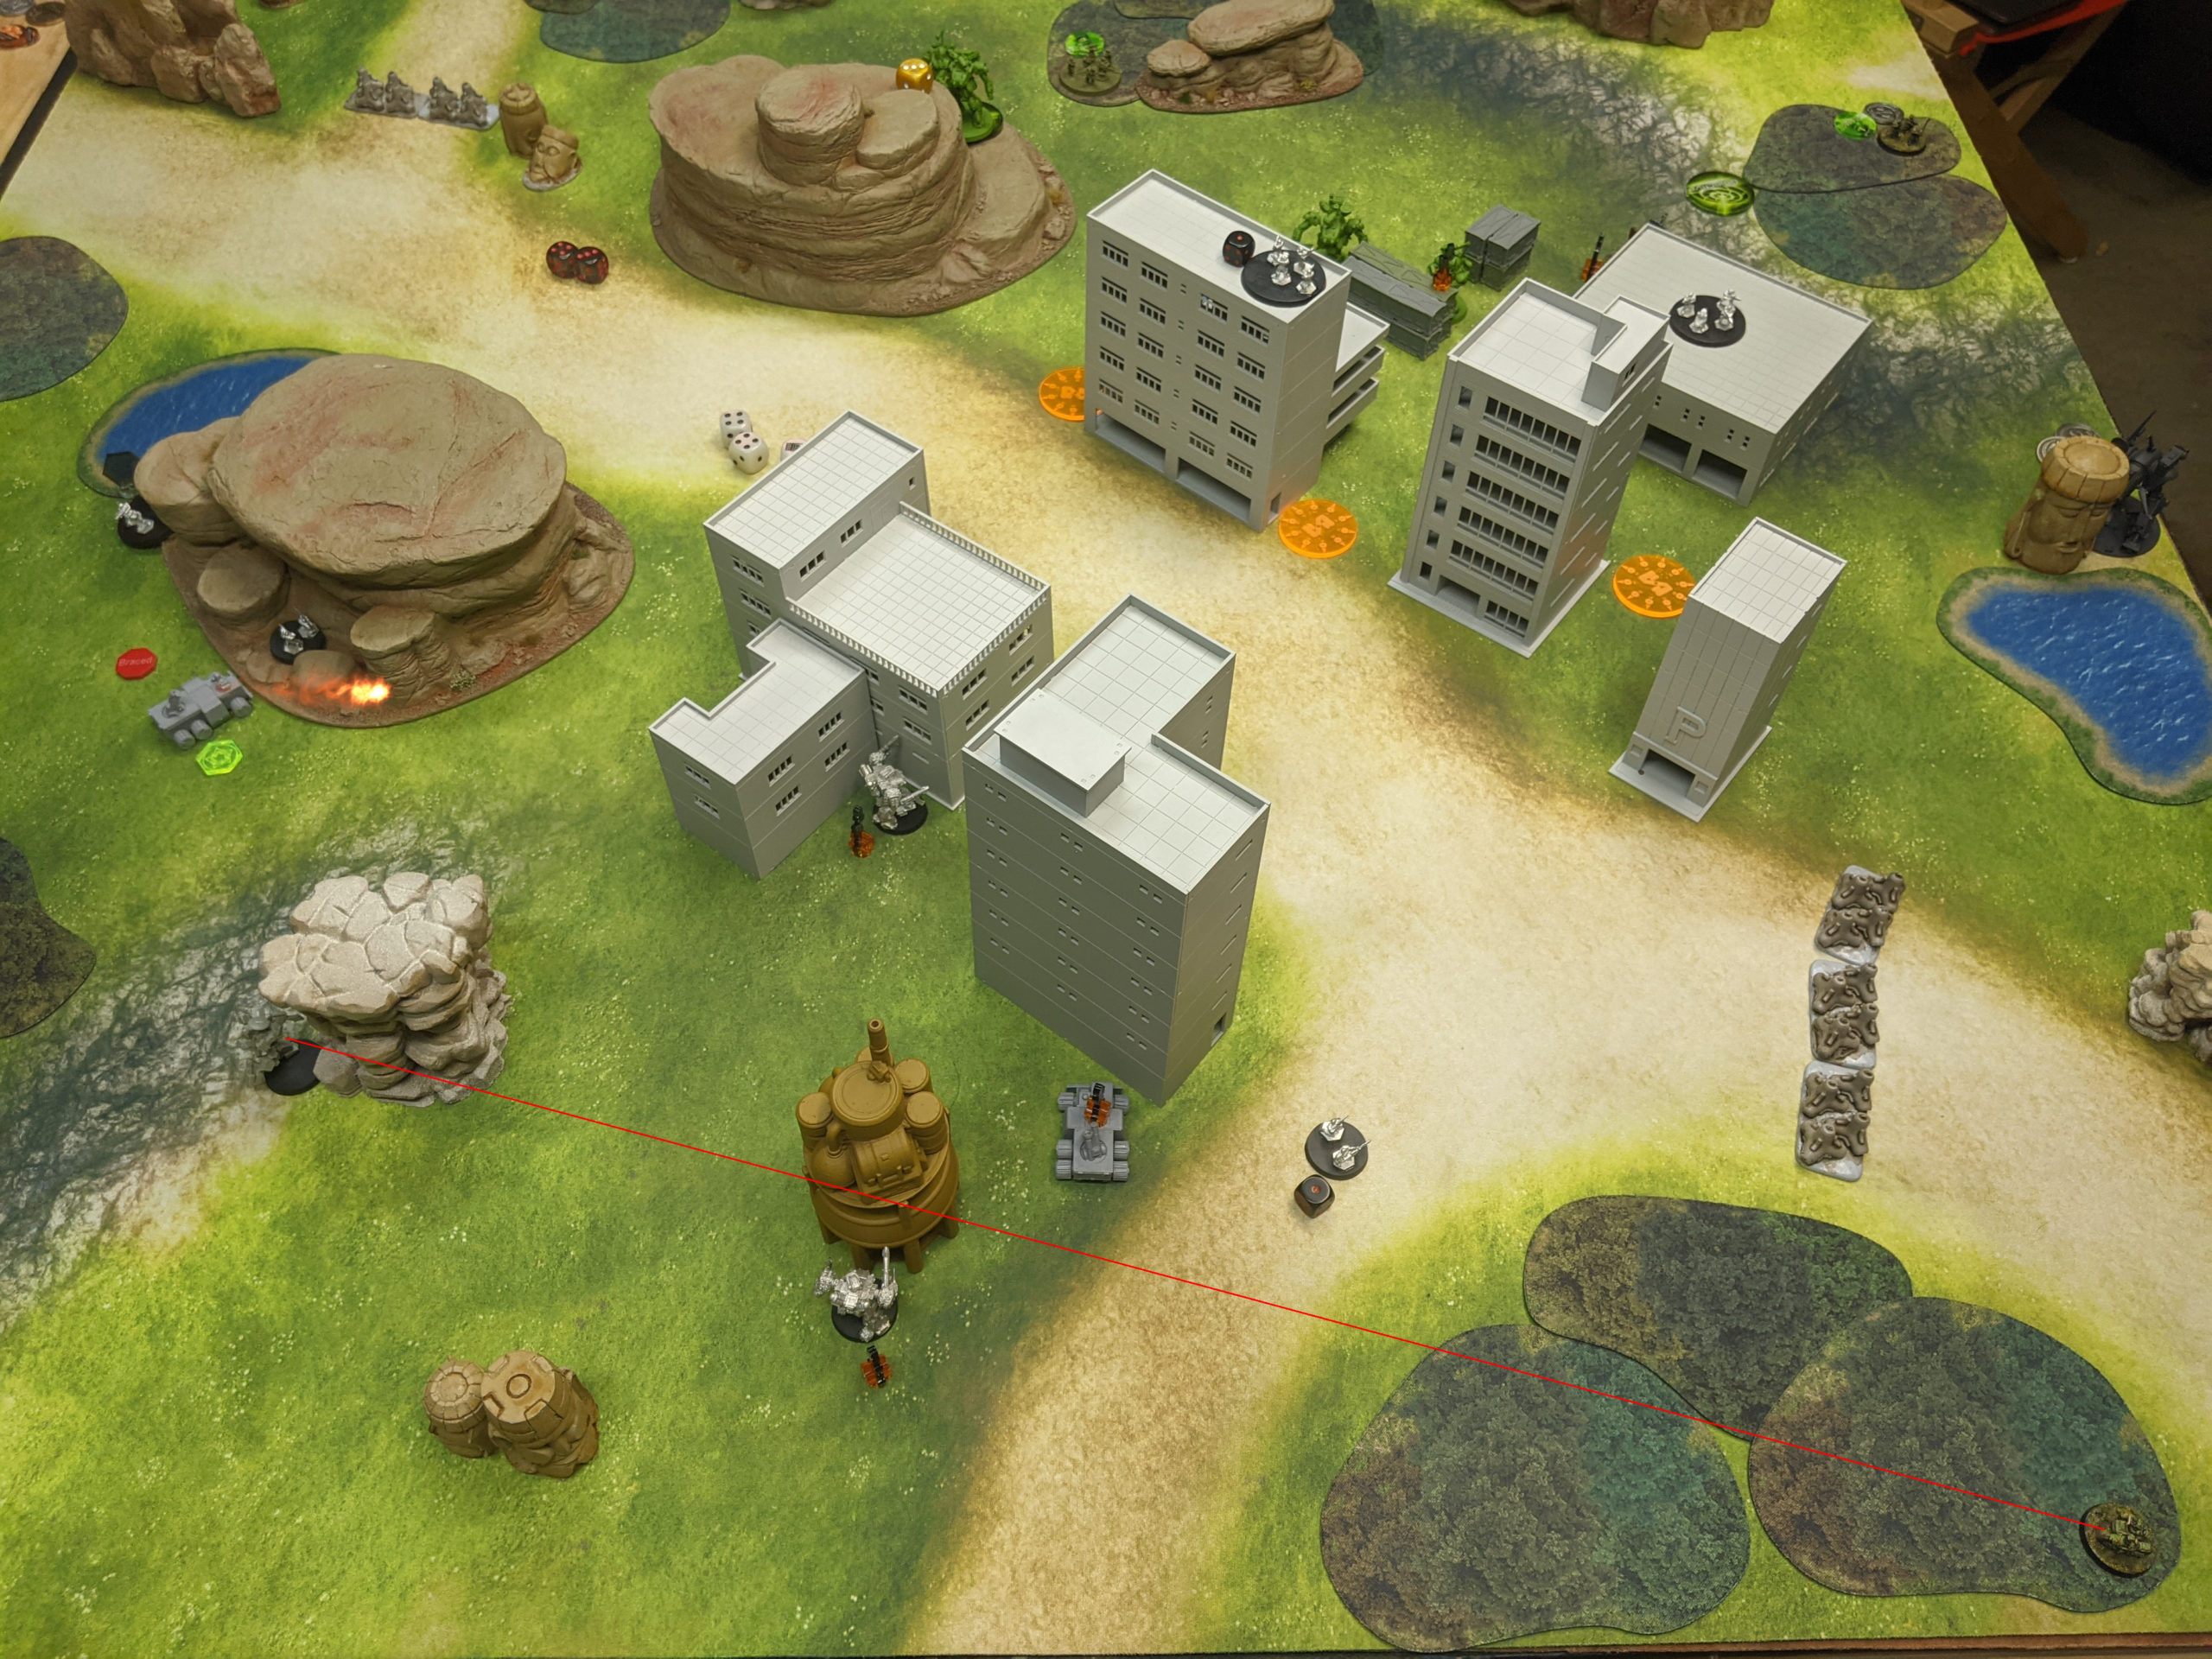
I had been kicking myself for deploying my Recon 2iC all the way on the left side of the table, but this did allow me to pop them up and Forward Observe one of Adam’s Cobra’s for my Cataphract’s mortar, doing three damage. Not too shabby.
Adam activated his GP group next, retreating his wounded Crocodile with 1 structure remaining to the corner of a building and replacing it with a fresh one in the same position. Even though my Gladiator was on its last legs, I managed to take out the wounded Crocodile, meaning I was 1/3 of the way to getting my other Pave the Way point.
Sadly, there was nowhere for my Gladiator to go, but somehow it survived the return fire.
One of Adam’s Jackrabbits was just poking out from behind a building so I went after it with my other Gladiator and my Assault team. The 2d6 in cover meant I wasted the activation, but I was at least able to move the Assault team forward a bit.
The other assault team put a point of damage on the fresh Crocodile as well.
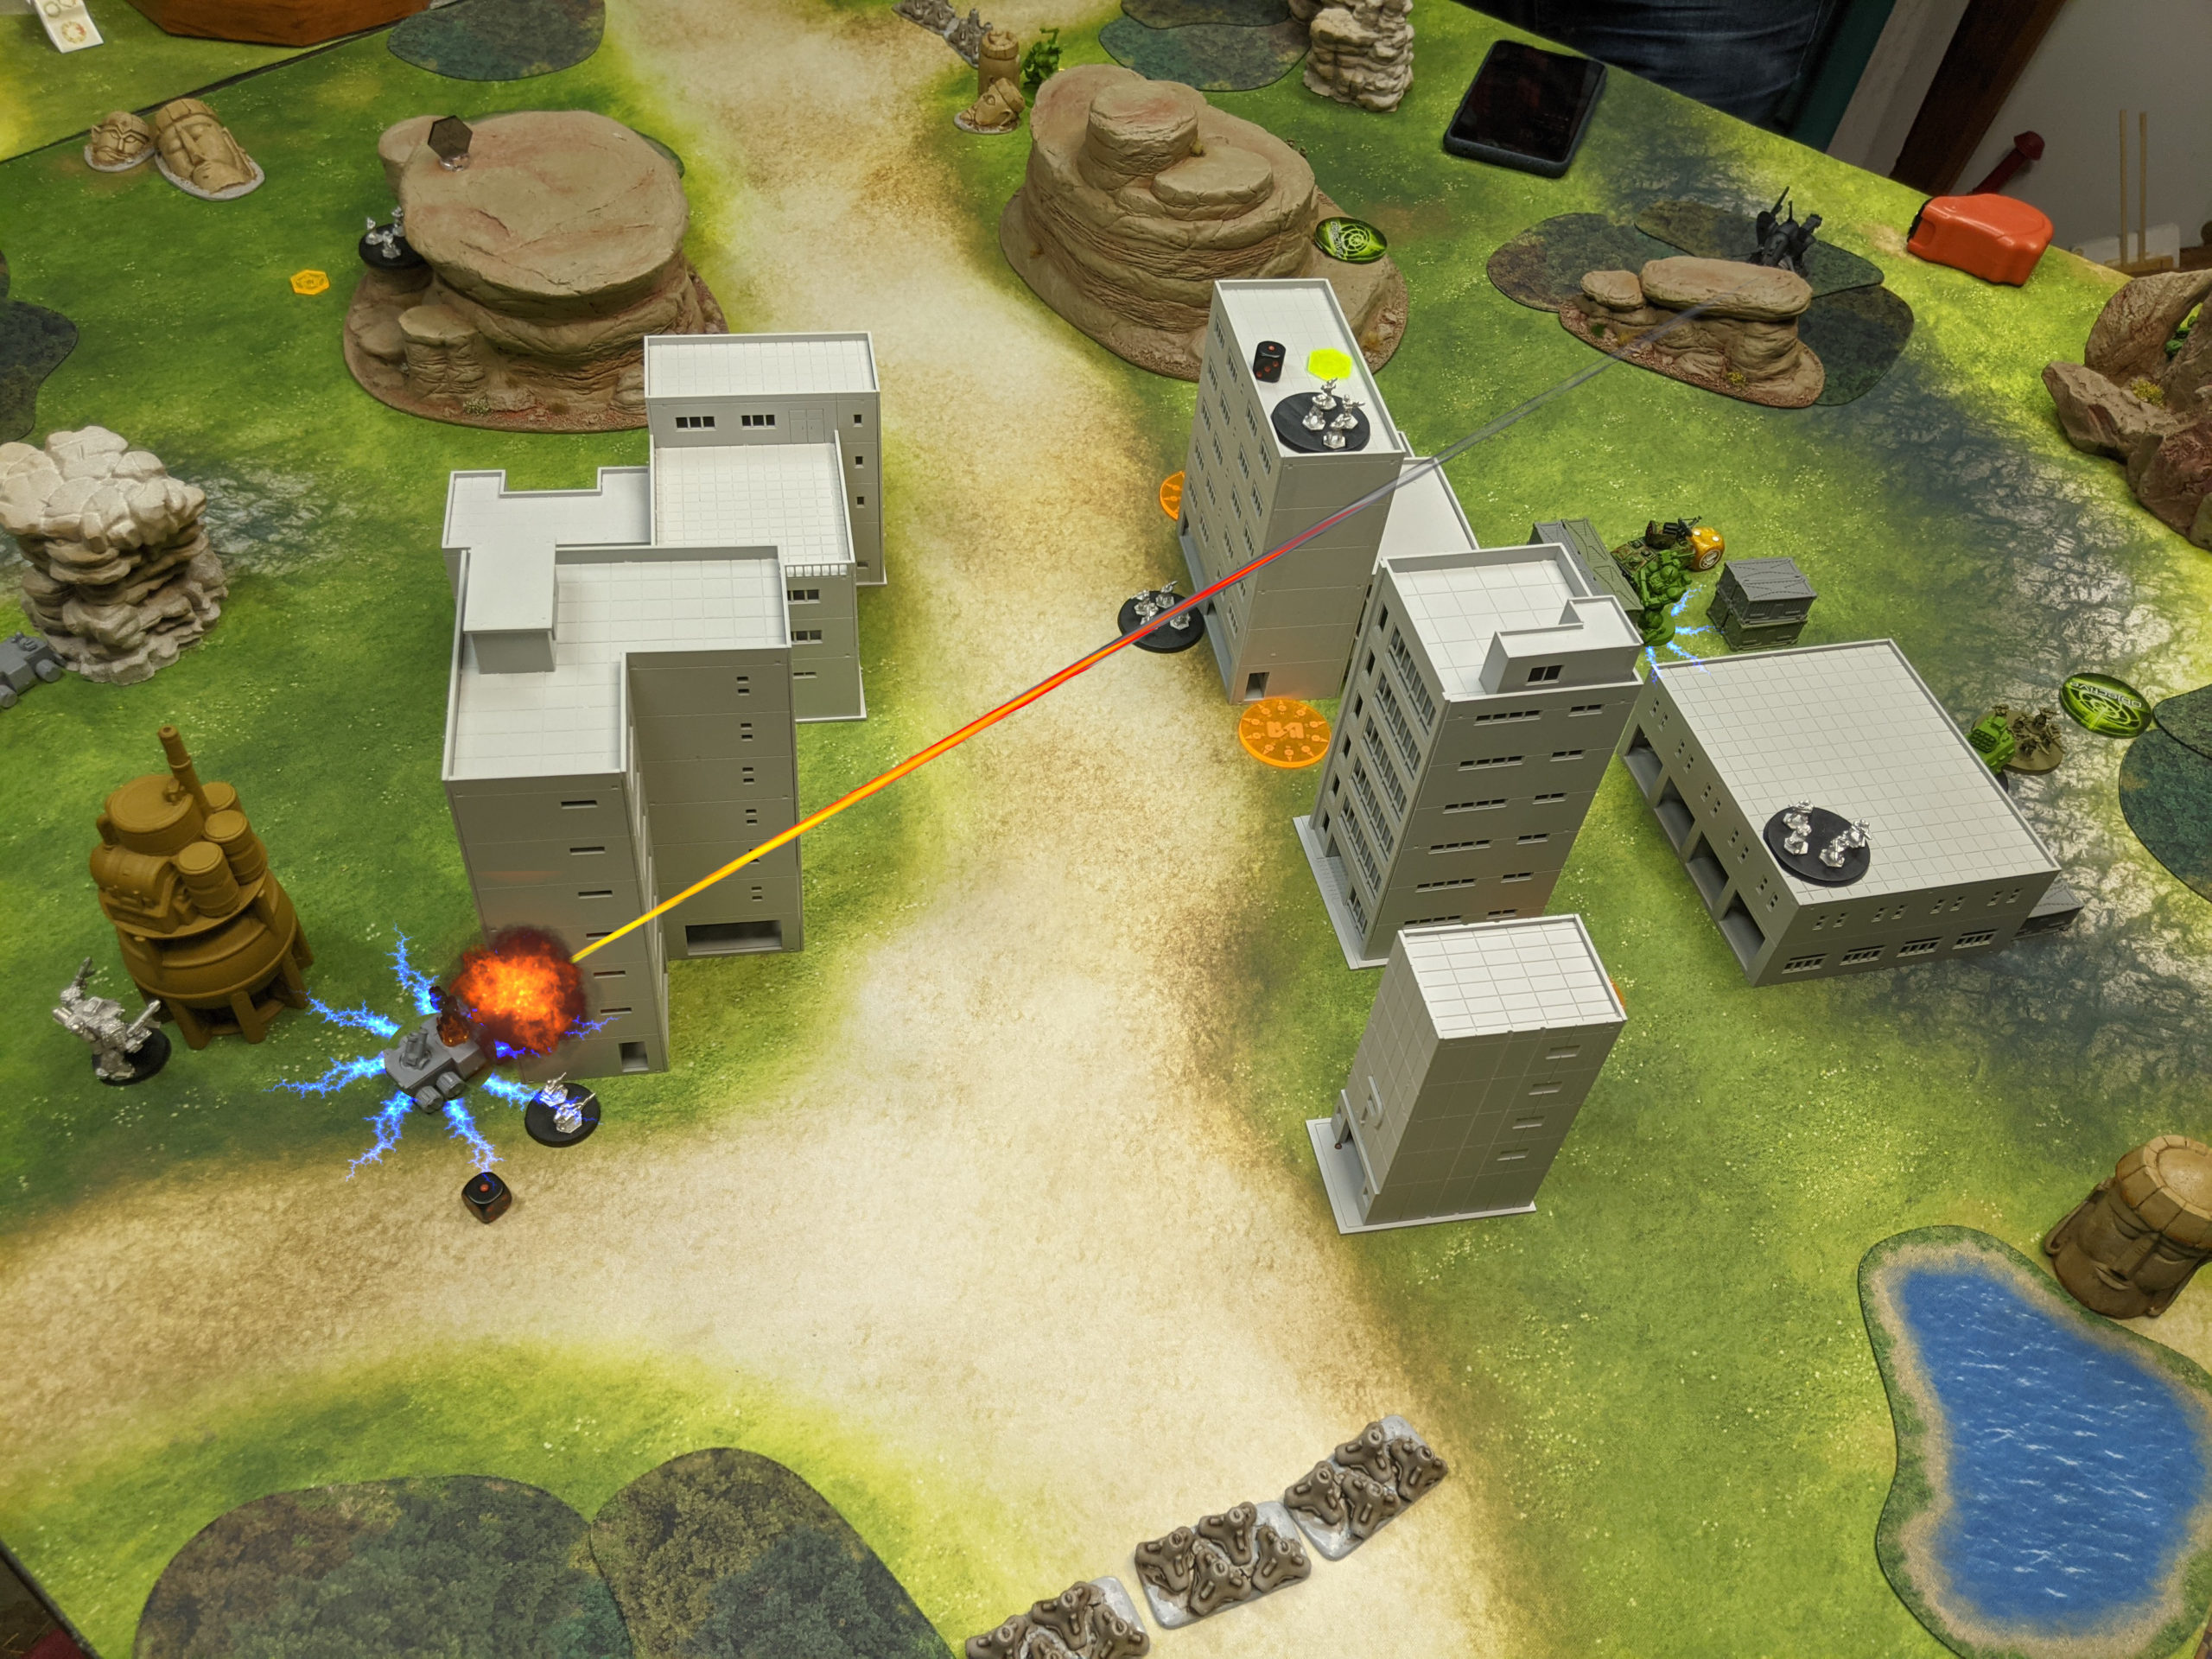
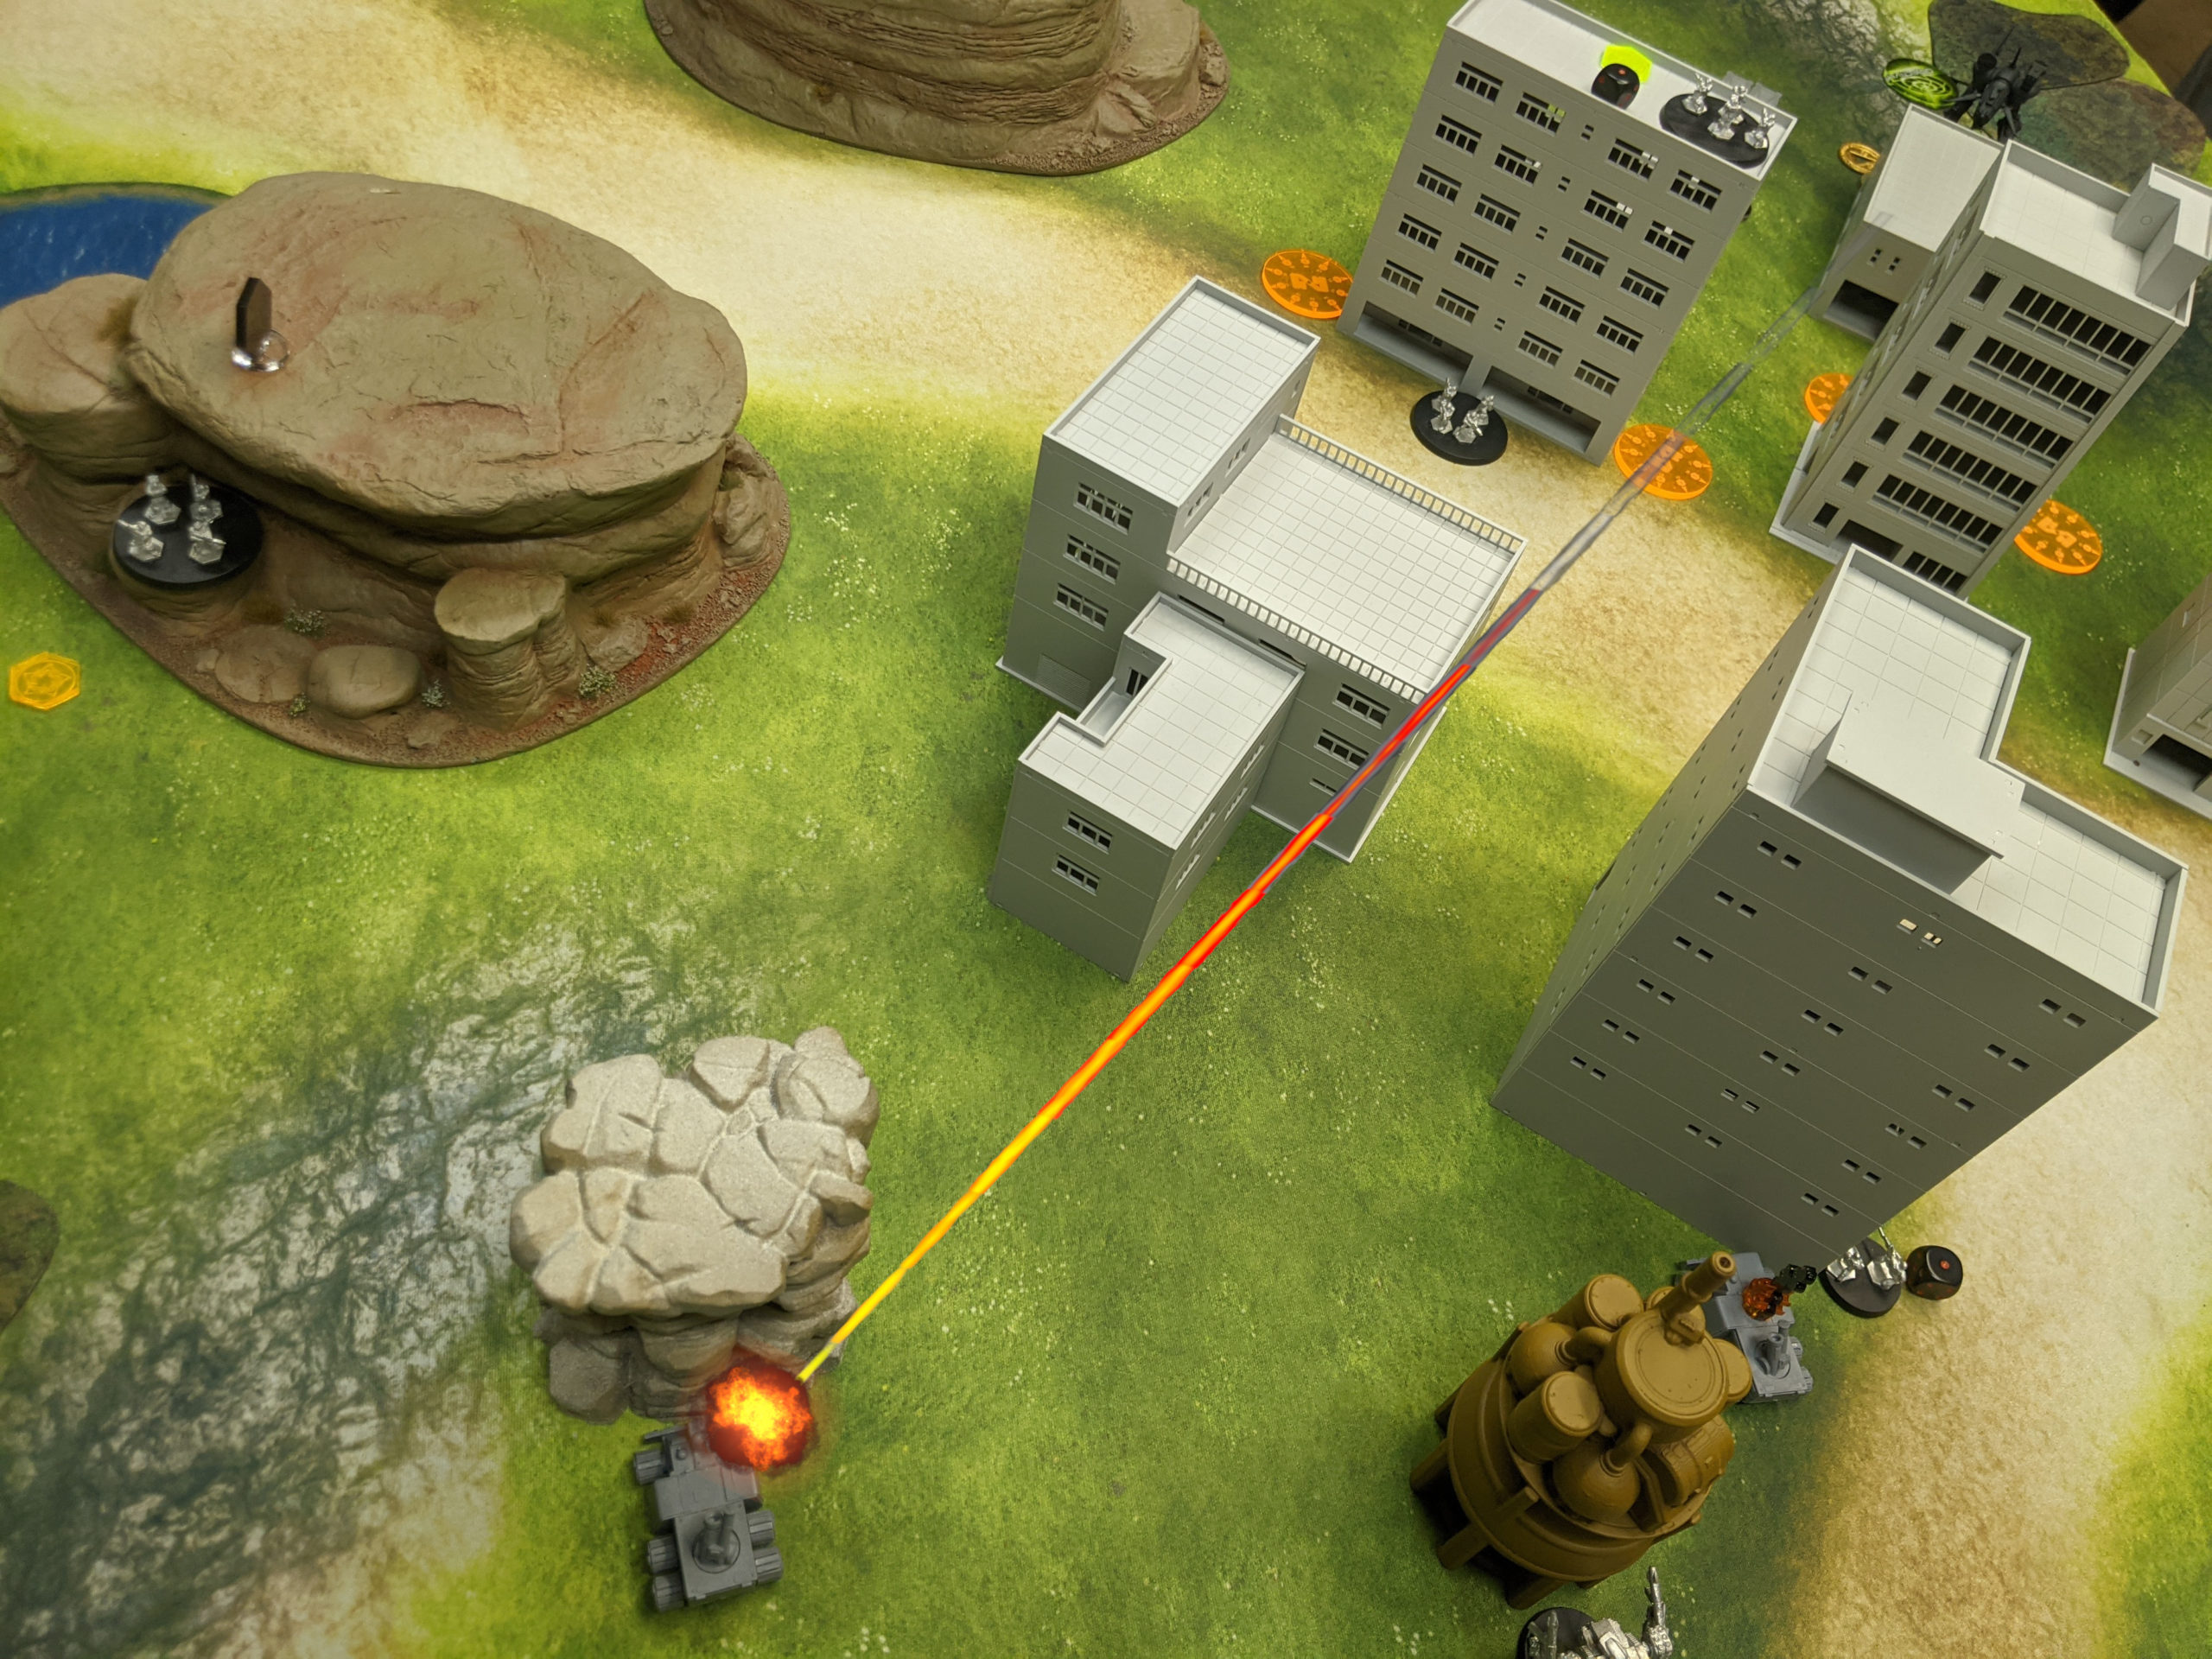
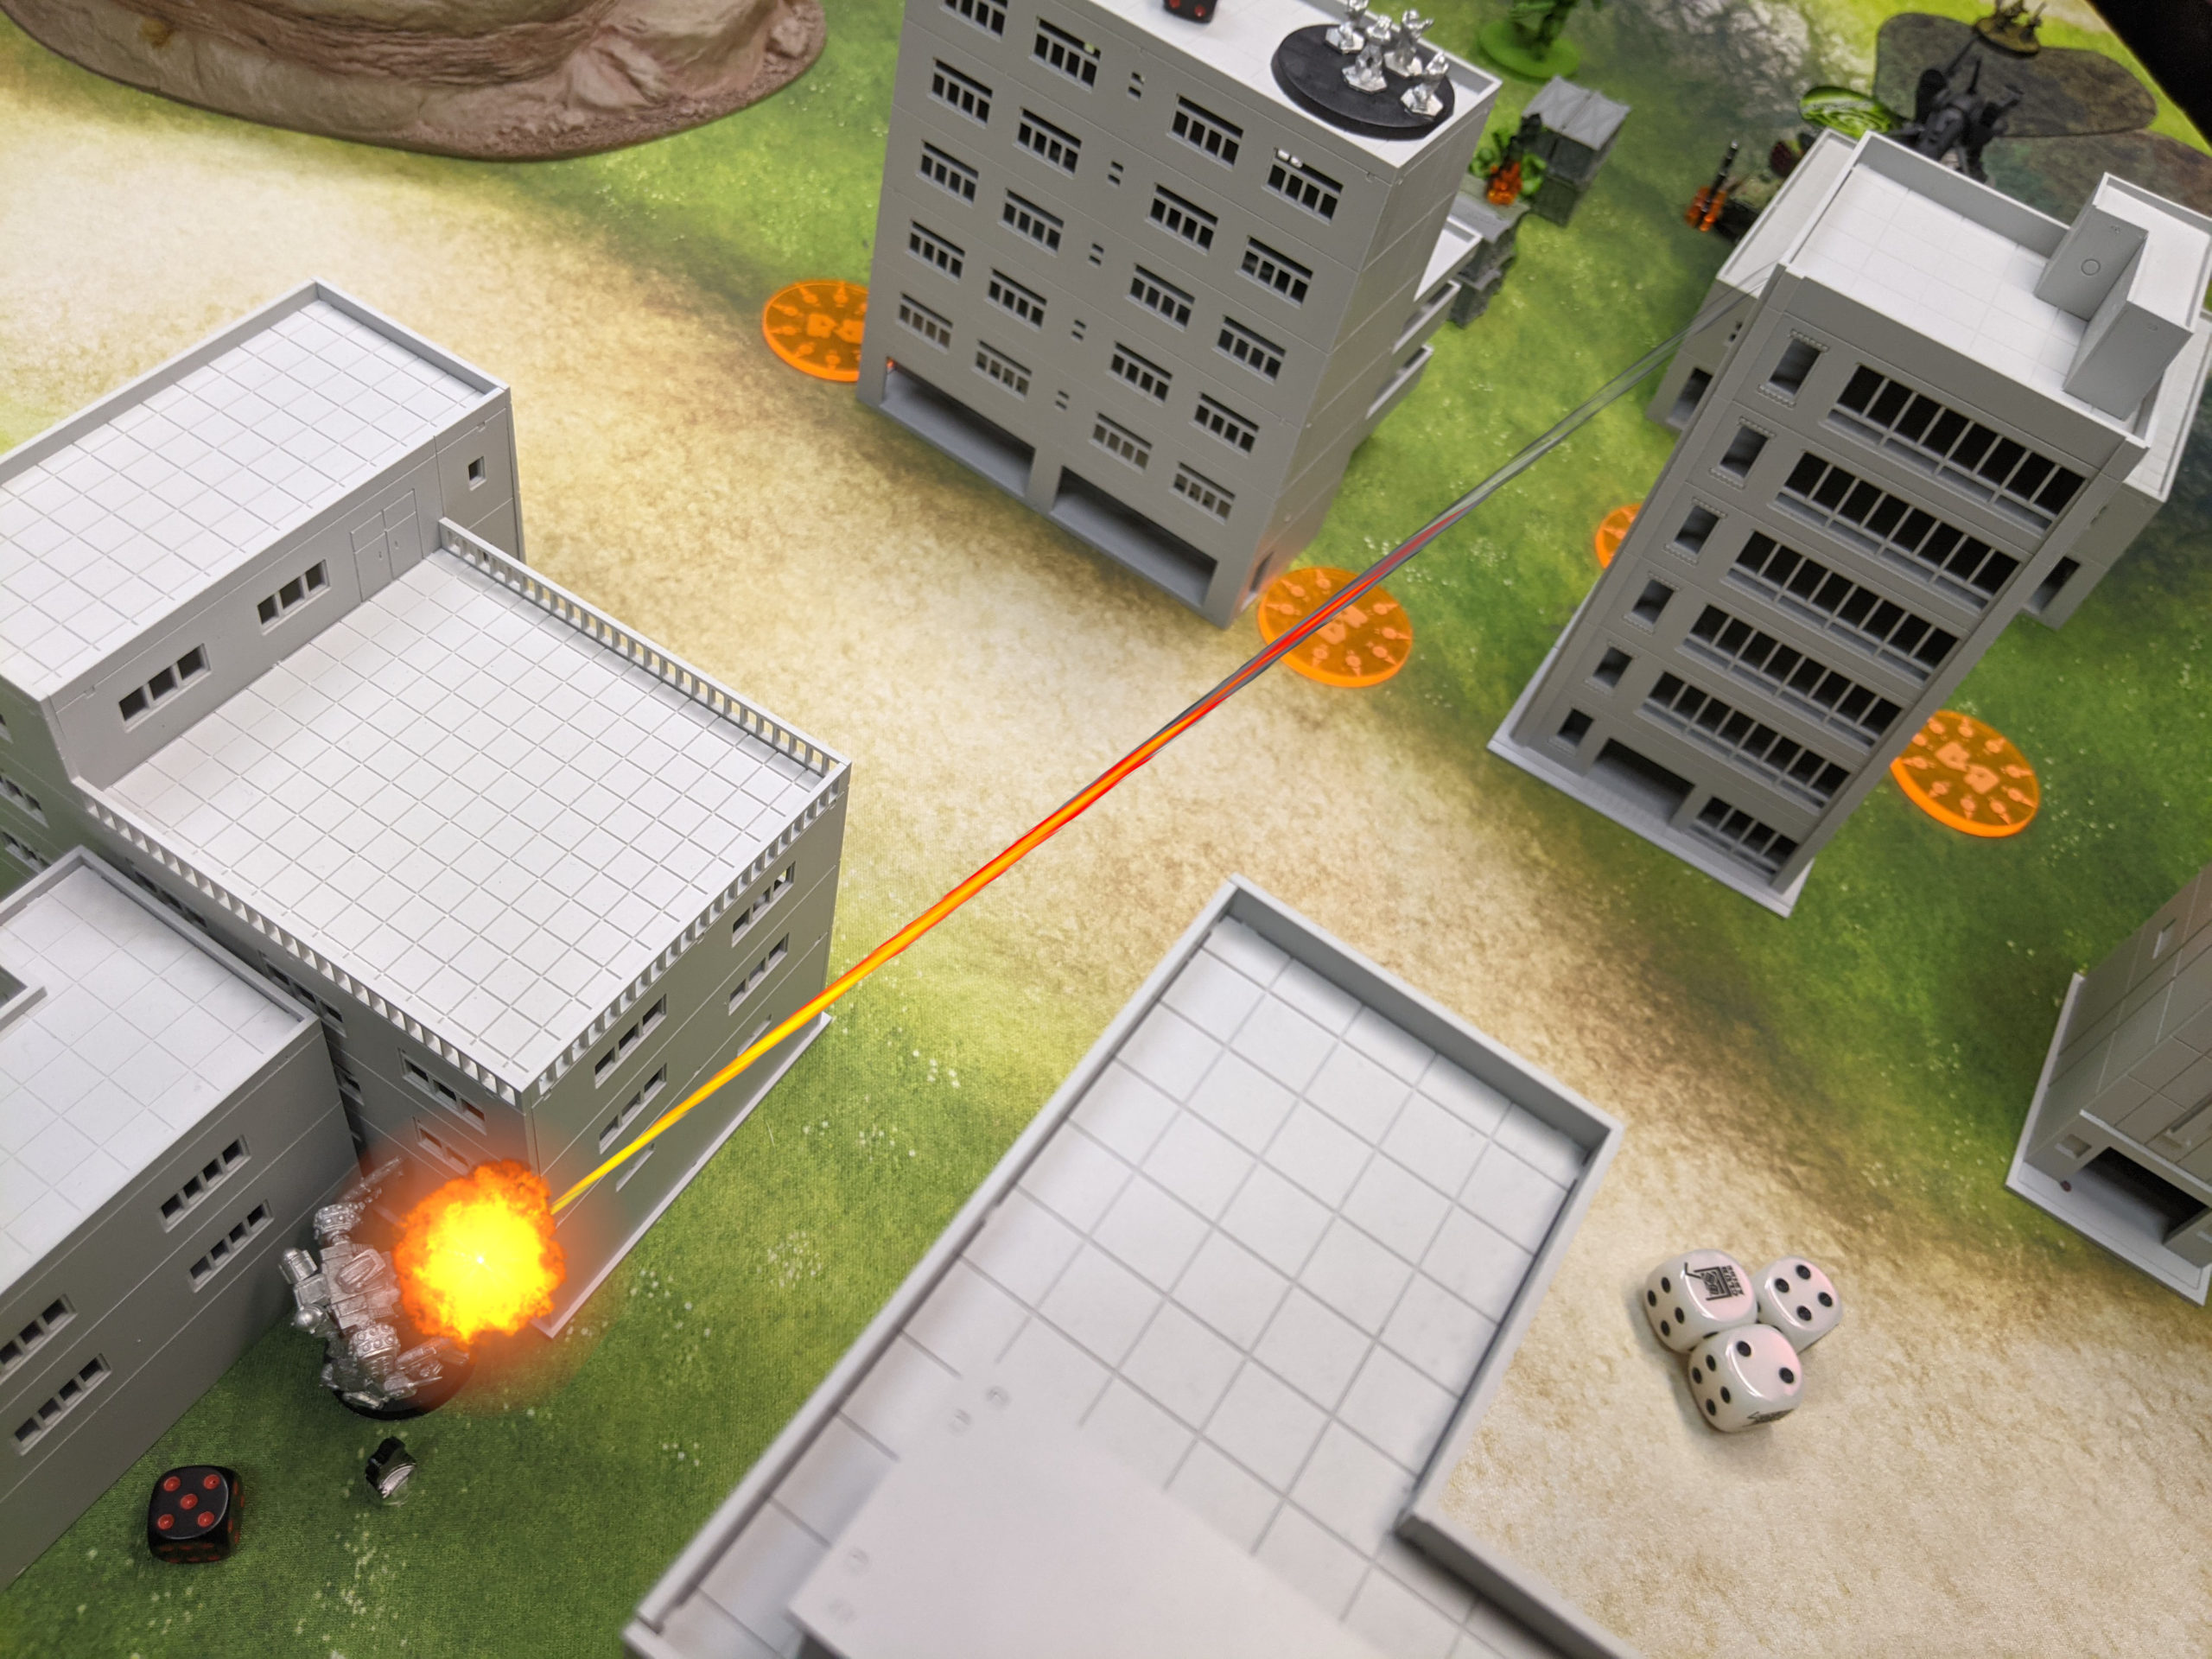
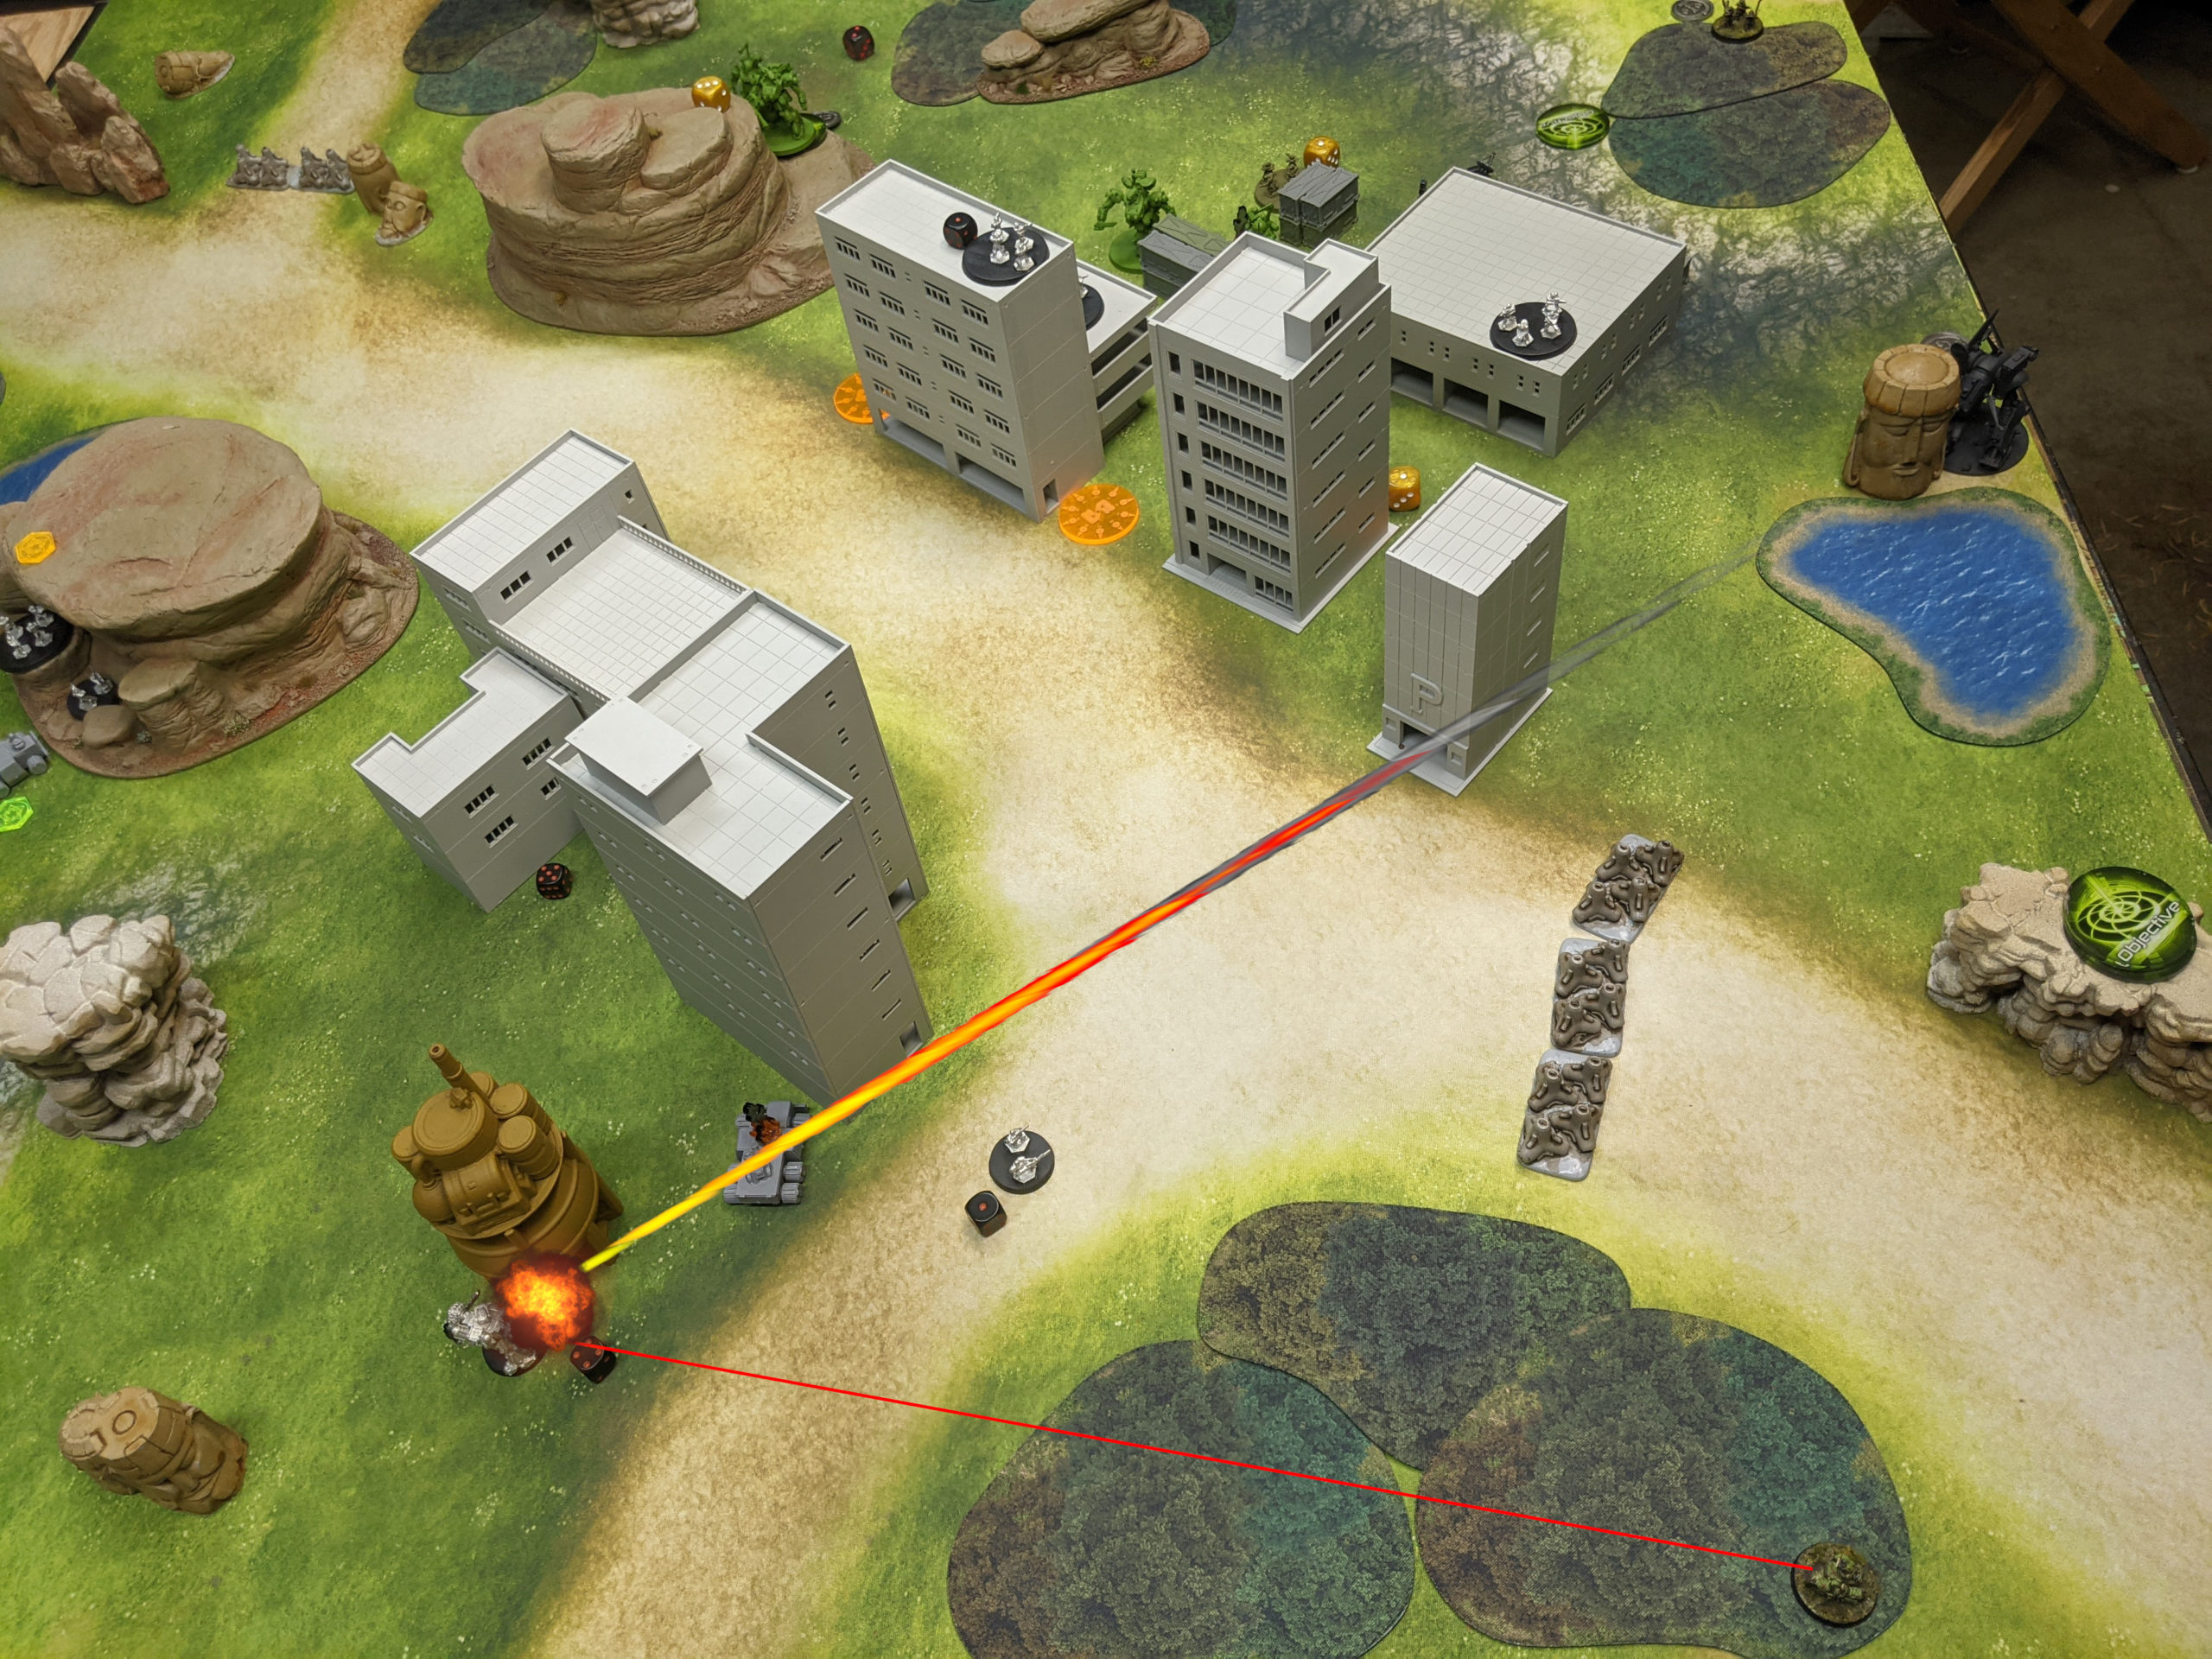
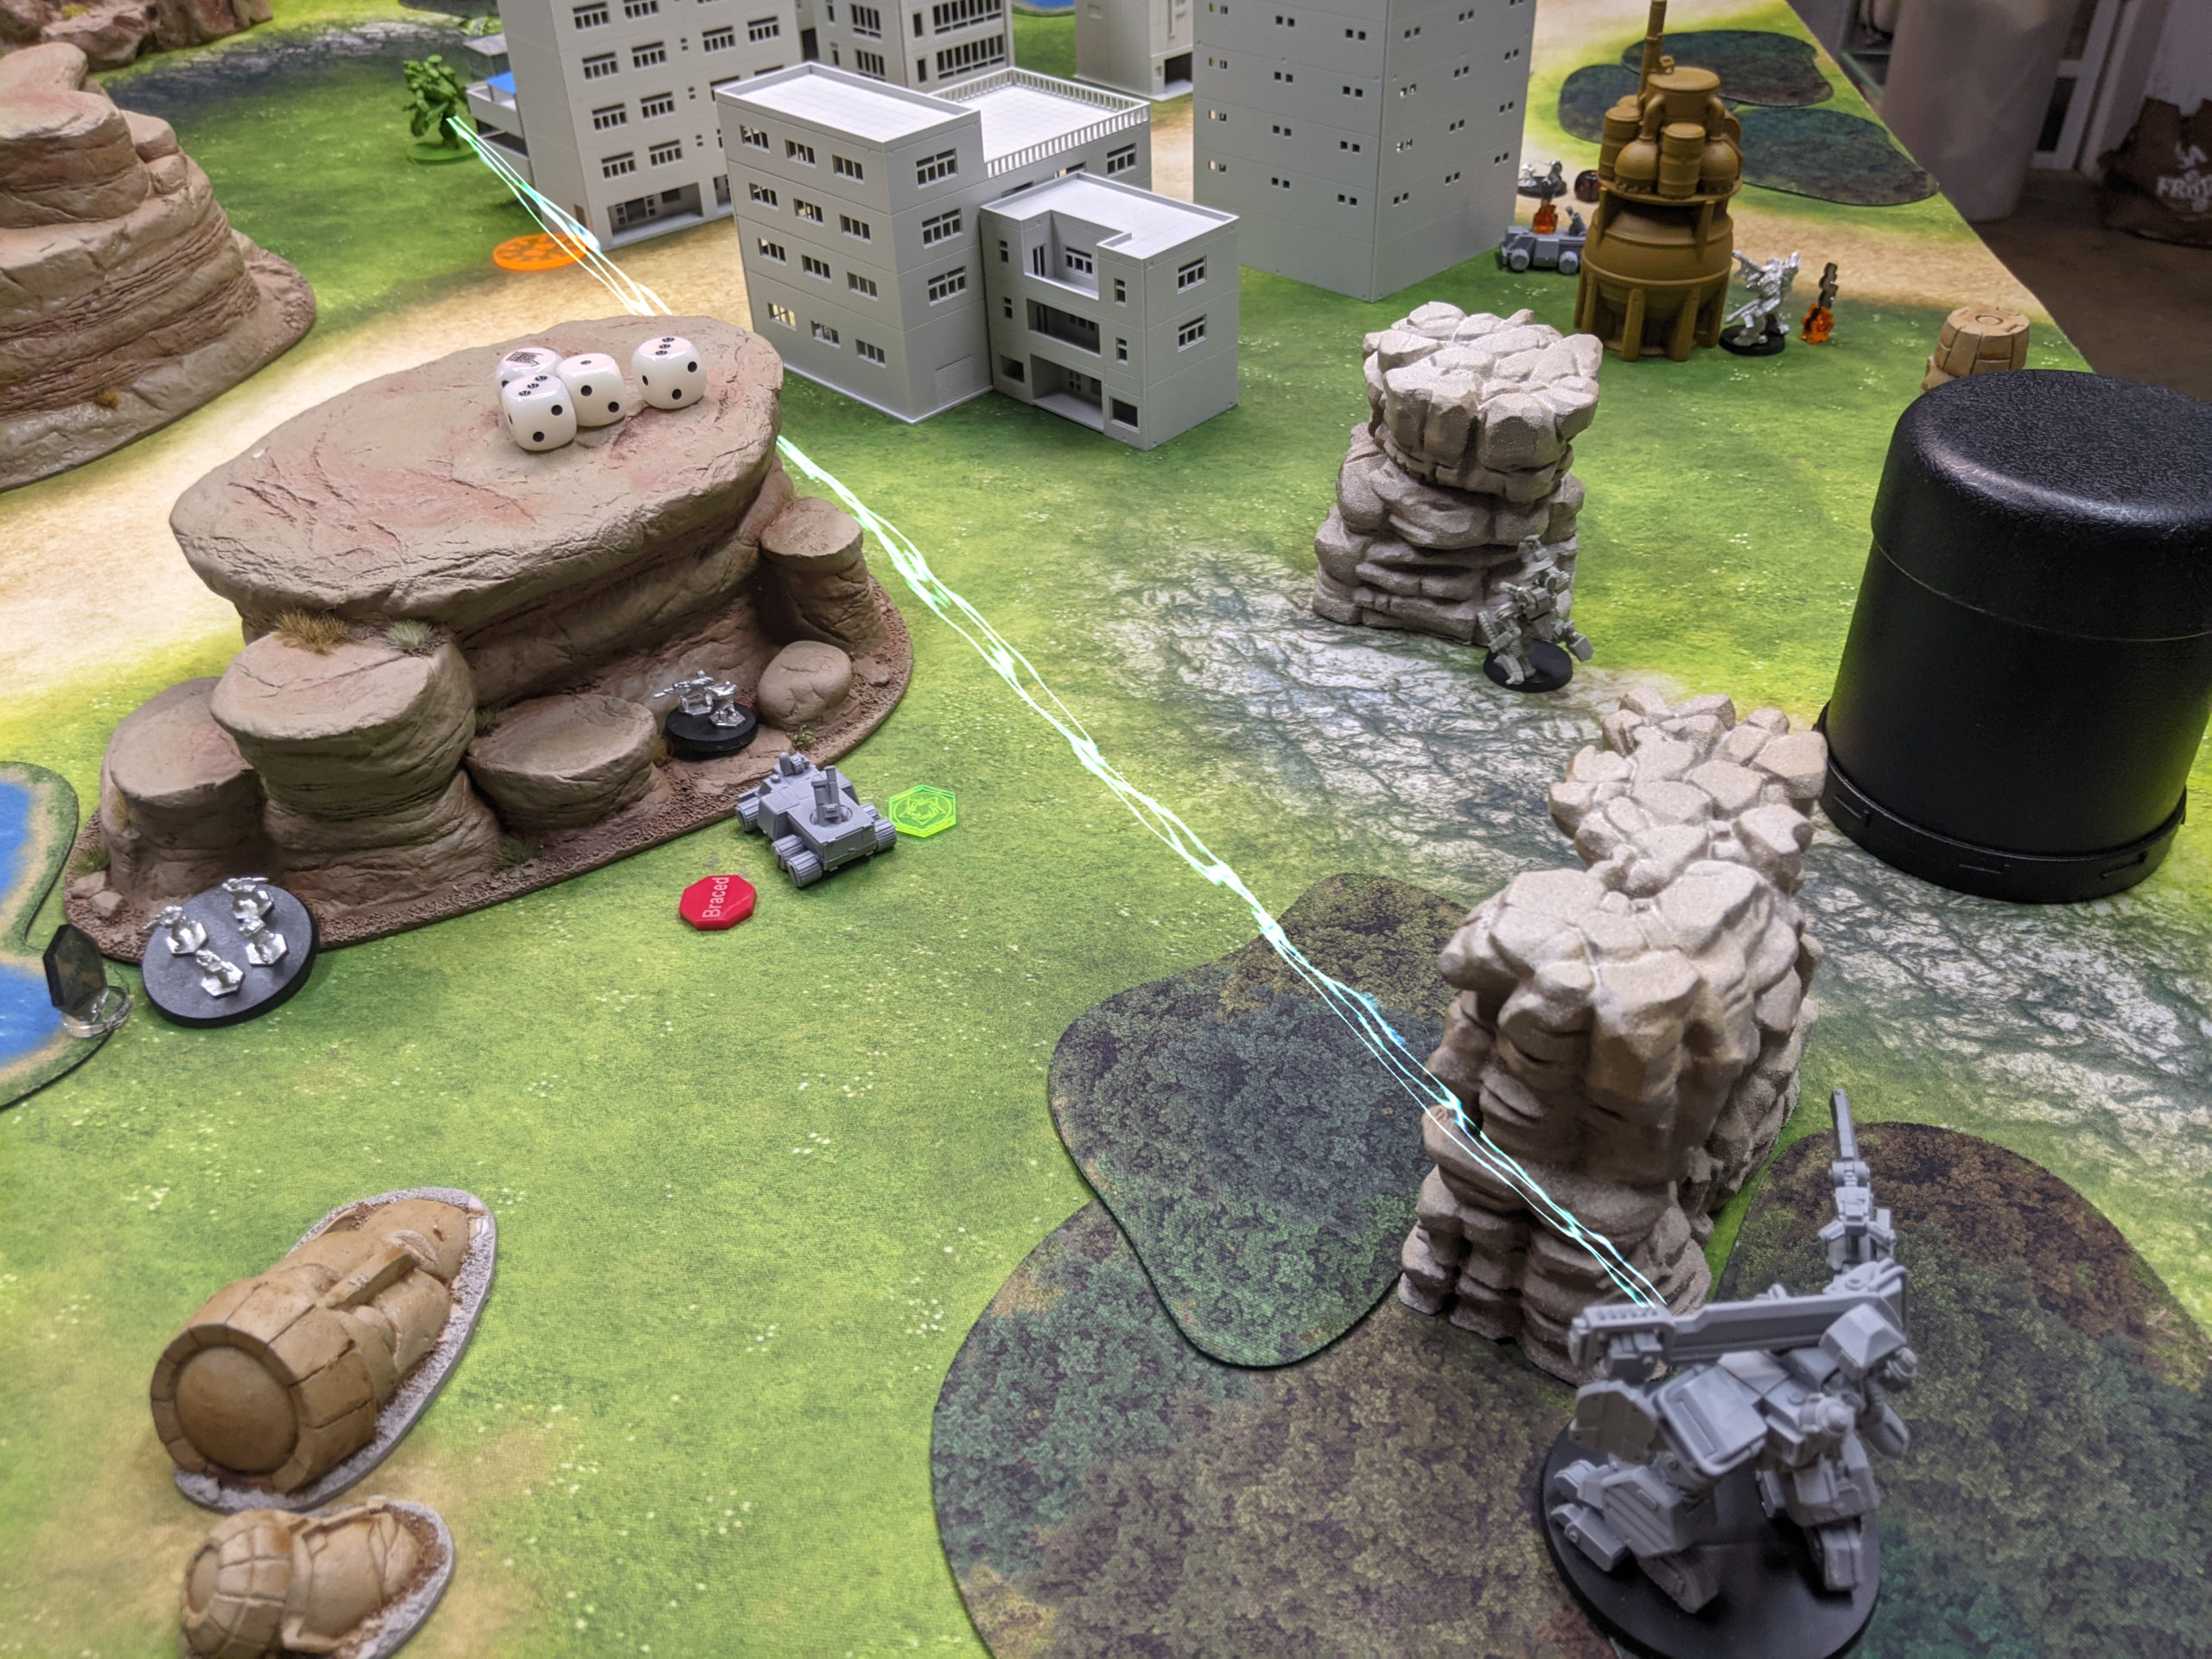
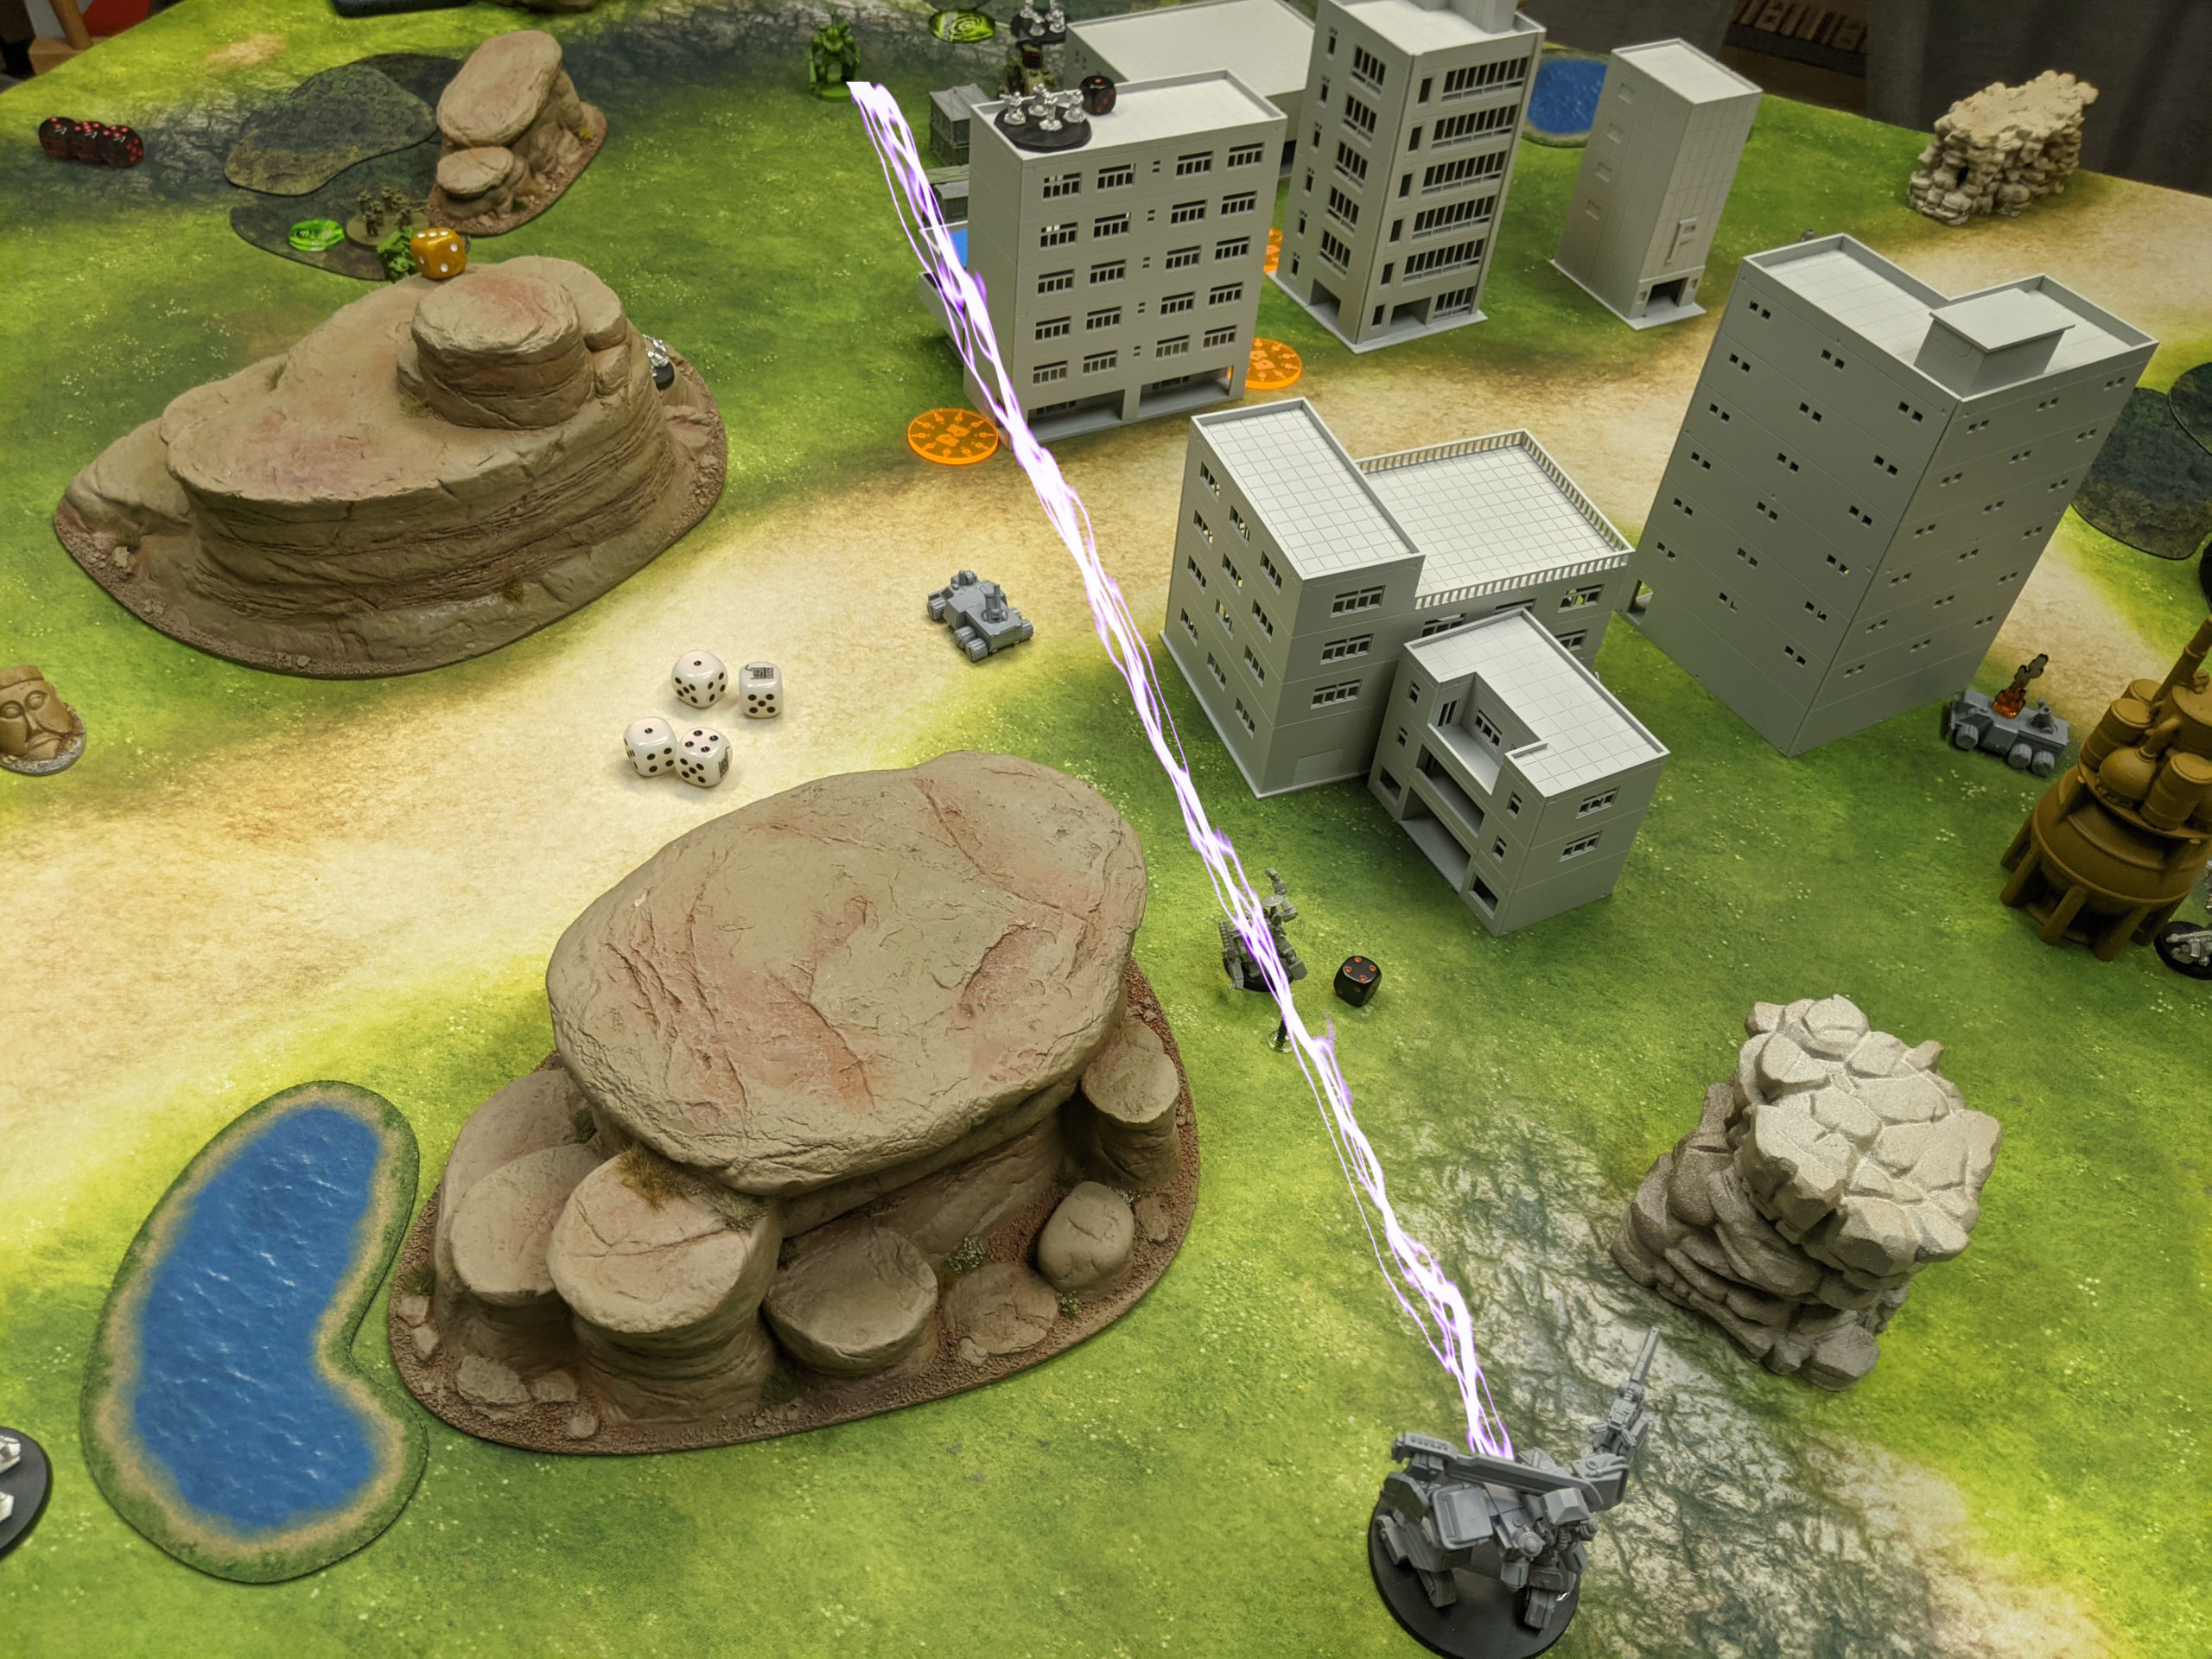
While I couldn’t see the Crocodile behind the Cobra, my Skirmisher had sensor lock through the light cover shipping containers. This allowed me to plant a railgun slug from the Cataphract into the second Crocodile, overkilling it. Works for me! 2/3 of the way to my Pave the Way point!
I lost initative again, and Adam snuck his Jackrabbit all the way into the back corner of my deployment zone to attempt Break the Line and also get a TD off on my Gladiator, crippling it with an MATM from his Naga.
The other Jackrabbit lit up my severely damaged Gladiator stuck in the corner of a building and between the two Cobras they managed to kill it.
Since I had overkilled the Crocodile, the infantry squad inside was already damaged. My engineering and recon squad opened up with their rifles and took it out, securing me my first Pave the Way point.
I activated my Fire Support squad next, intending to take down the Jackrabbit. My Skirmisher set up a long range Forward Observation, and I dropped a mortar from my Mastiff on it. Thankfully, the dice were on my side and the Jackrabbit went down. The other Jackrabbit went down to some fire from my Assault team. Not necessary but definitely welcome.
The Cataphract was then free to go after Adam’s Cobra that was in the open and one-shot it with the railgun. No complaints here! I didn’t need to do that, and was hoping to instead go after some other stuff, but I’m very happy to delete more of Adam’s points.
Sadly, I chose not to push the Cataphract forward, as there was still a Silverscale on the table and I was concerned. I think this was a big deal, and I’ll talk about it later in the post game analysis section. What was irritating was that even though I had taken down Adam’s Jackrabbit, he simply dove his Naga into my deployment zone. That thing is SO FAST. I’m going to have to get myself one for my Black Talons. Goodness.
In any case, the last turn had rolled around and it was time to make big plays to deny Adam objectives. I pushed my infantry onto his hold objectives, hoping to deny at least one of them. There was little chance I was going to be able to deny the one in the middle, as he had a Cobra and an Assault squad over there and I was only contesting with one unit.
The other was easier, as it was just his Command team there, so I contested with my Engineering squad. Adam shot my poor engineering squad off the table in the middle, effectively making it impossible for me to contest the central Hold objective. He then had one chance to get his Silverscale all the way over to his other Hold objective to secure it.
At this point, Adam having pulled his Naga out of my DZ, only had one Break the Line point, and possibly only 1 Hold point, depending on if his Silverscale would survive. Due to my not advancing the Cataphract, I had no way of contesting the middle, where his Naga was, meaning he was going to out point me there and in his near zone no matter what. I had my near zone secured though.
So, looking at the points, Adam was leading 3-1 on the primary Hold the Line objectives. I had my two Pave the Way points, and it looked like both Claim points, to Adam’s 1 Break the Line and possibly 2 Hold points. Adam shifted his Silverscale over to secure his hold objective, meaning this would come down to whether or not my Cataphract could take out the Silverscale.
Thankfully, my big chonker was on the rails and railgunned the Silverscale off the table. This meant Adam was down to 1 of his two Hold objectives, making it a
5-5 Tie!
Post Game Analysis
It’s worth pointing out that Adam could have moved one of his infantry squads slightly forward to deny one of my Claim points, making it a 5-4 win for him. This is why we test objectives and practice, because it’s easy to forget these thing. Claim is a pretty detail-intensive objective. You really need to pay attention to where your units are and how many you’ve pushed forward. I had no problems pushing forward my infantry thanks to the surviving Mastiff and my paratroopers, which is basically what got me Claim.
The fact that I was able to take out so many of Adam’s units also helped a great deal, as that made it easier for me to secure Claim. I think what cost me this game was a lack of mobility on the Cataphract. It’s so slow, even though it hits like a truck. I definitely could have developed it forward at the end of Turn 3, as Adam had other things to worry about like my Infantry going after his Hold objective. He spent the entirety of his FS group’s activation shooting at them.
That said, had he magically managed to take down the Cataphract, I think he could’ve secured all 6 points from Hold the Line and cemented his victory, so perhaps it was better that I was conservative. I intentionally didn’t take bikes this game to see how things would shake out. What’s interesting is that of all the games I’ve played against Adam the only ones I didn’t win were the ones in which I didn’t take bikes. In both cases we tied. From my perspective, I think a large part of that is because I’ve come to rely on bikes being able to effectively and reliably deny Hold objectives as well as secure Break the Line.
While I really really enjoyed having airdropped infantry, it was clear that they are real slow. I missed having bikes that could teleport to wherever I need them, but it’s been fun playing a footslogging style. I’m impressed with the mortar-armed Mastiffs as well. They have a gun that’s always relevant and I can just top speed them around to deploy infantry while shooting out activation to not take the top-speed penalty.
I think I played the game well, but I do think that I focused too hard on Pave the Way and not enough on the primary objectives and Claim. I don’t think Claim is a good pairing with Hold the Line as it’s too high risk for me. If you fail at Hold the Line you’re probably failing at Claim too. Better to diversify your point sources. Pushing the Cataphract forward at the end of 3 is probably my biggest mistake.
On Adam’s side of the table, he played quite well. I think that one small mistake of forgetting to move his Infantry forward basically means he won this game. I think it was risky to leave so much exposed to my Cataphract, but had he pushed things out of line of fire entirely, my Gladiators (before they died) would likely have done the work instead.
I think I missed a big opportunity with the mines as well. In any case, a great game against Adam. I’m looking forward to more HGBTS!