Charon Did What?
Erik had a few more hours available after our NCA versus CA game…
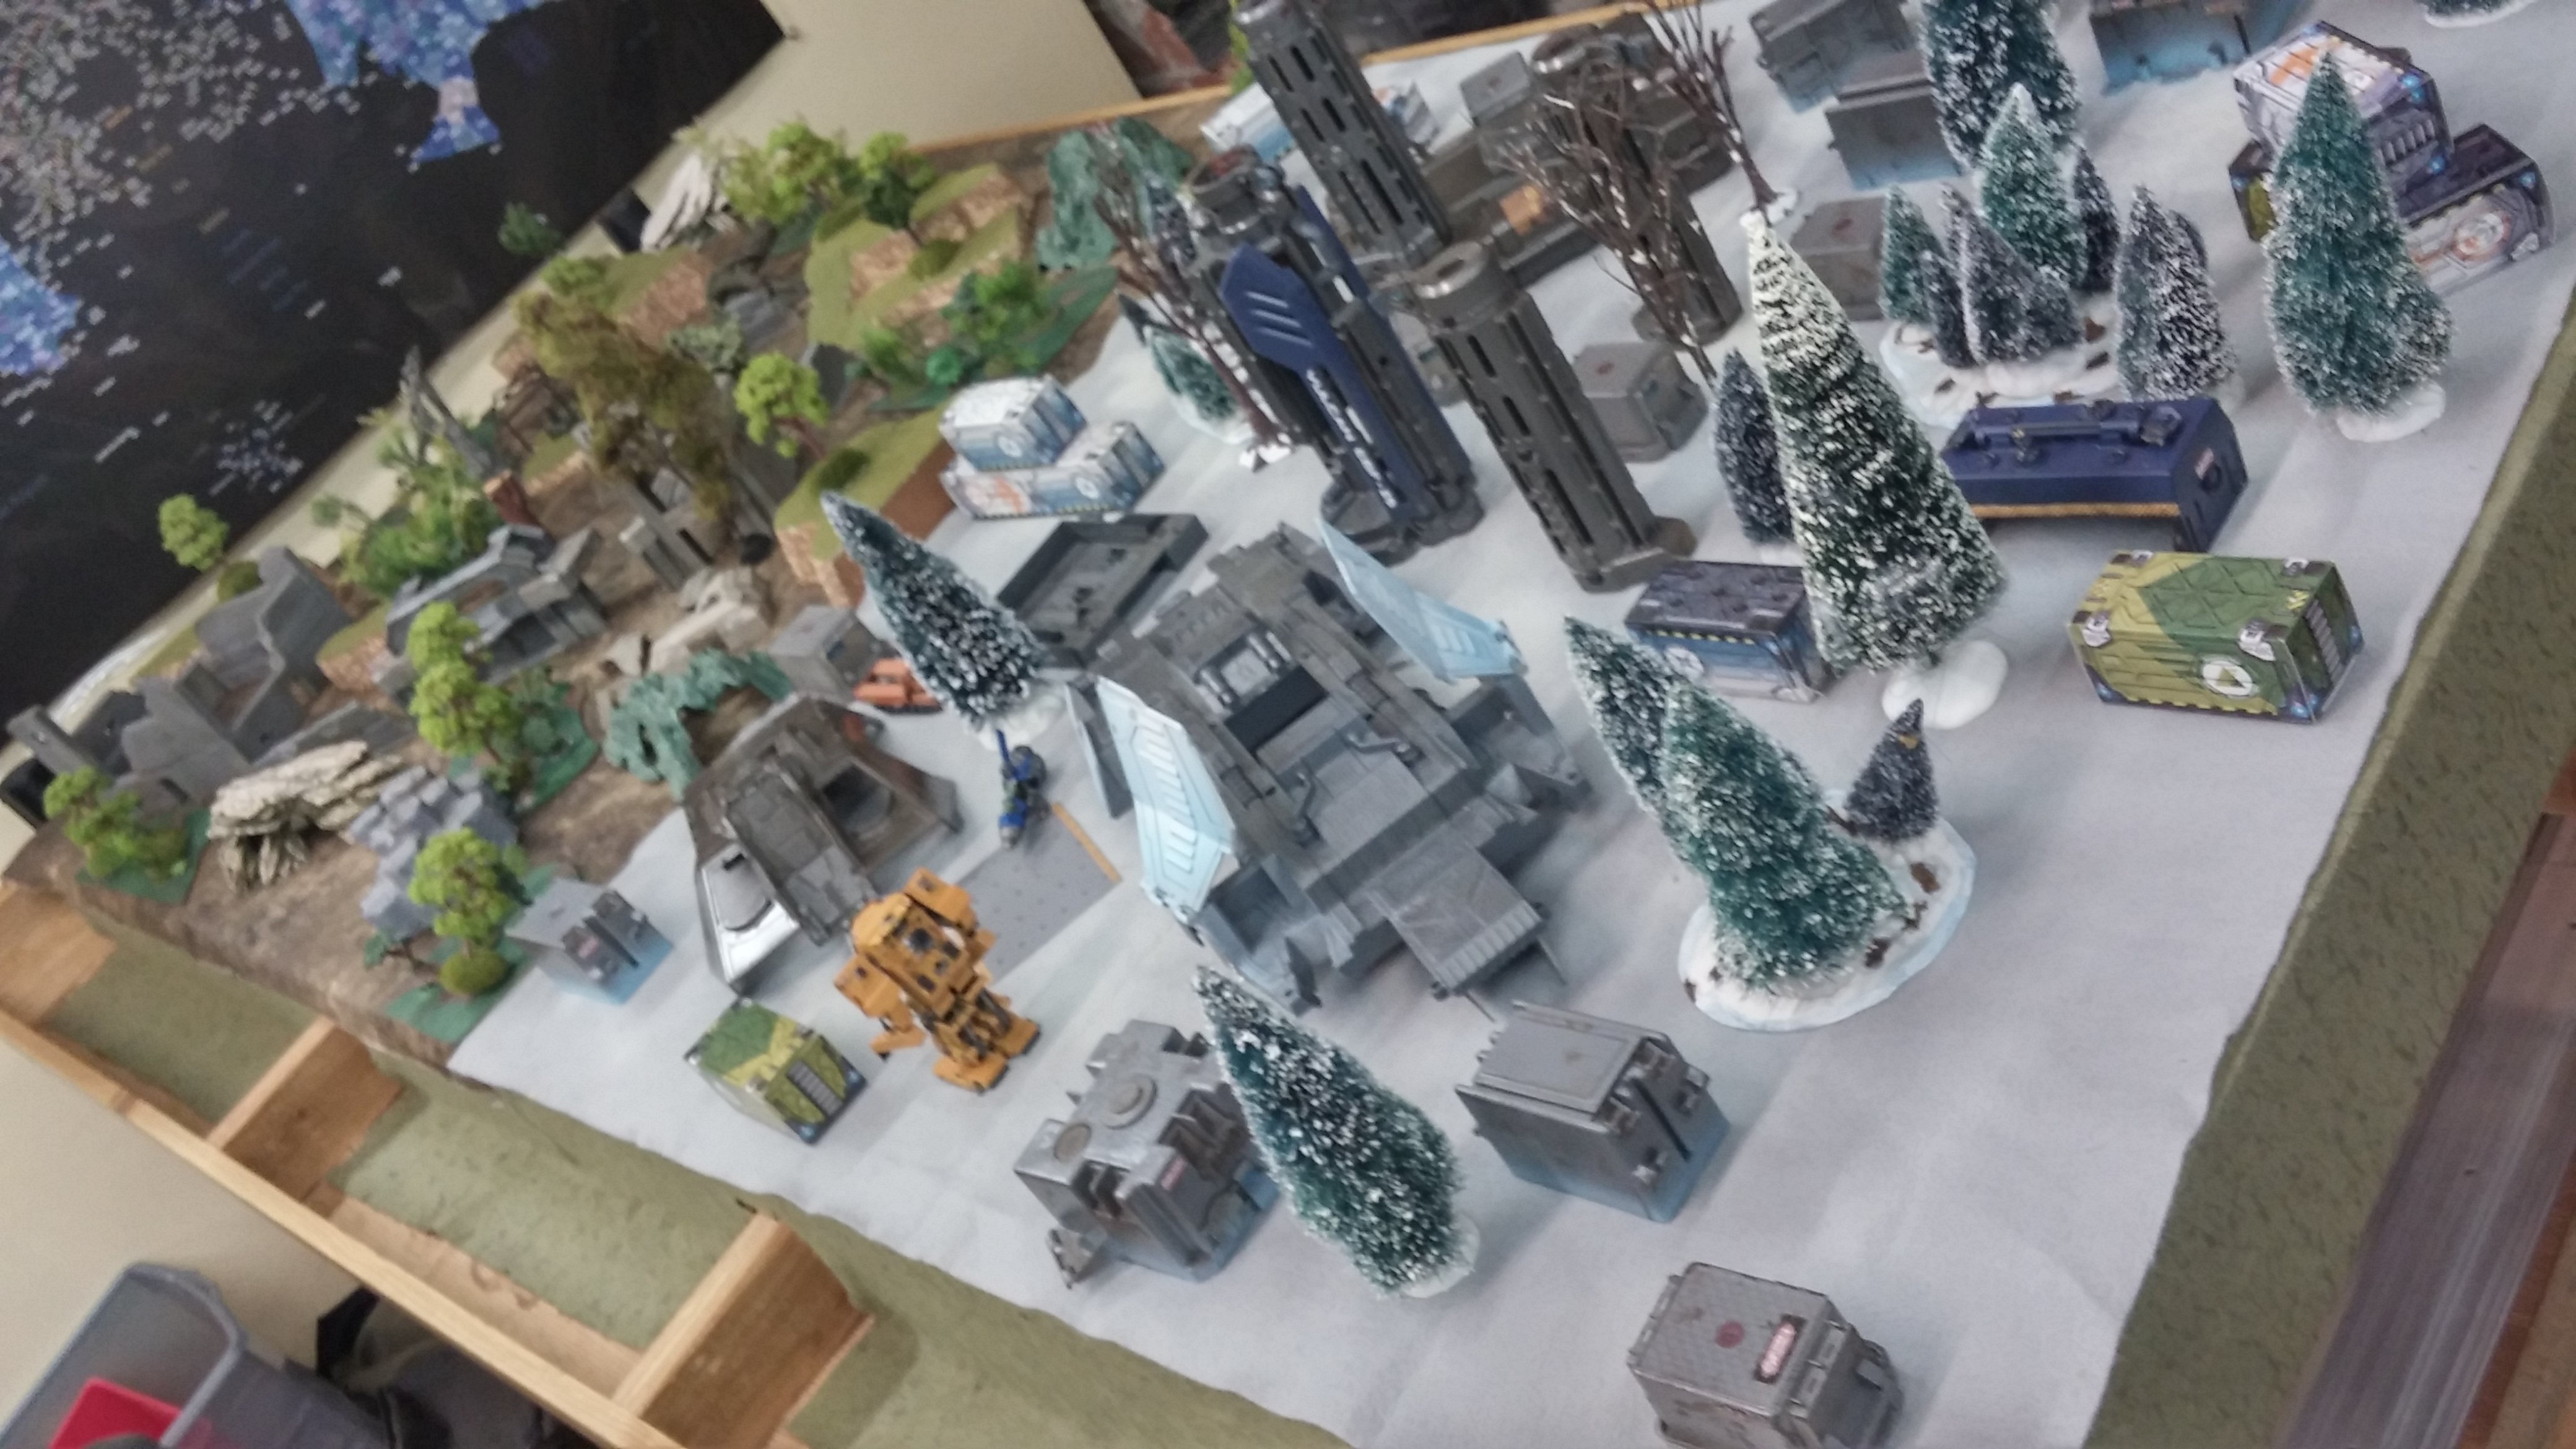
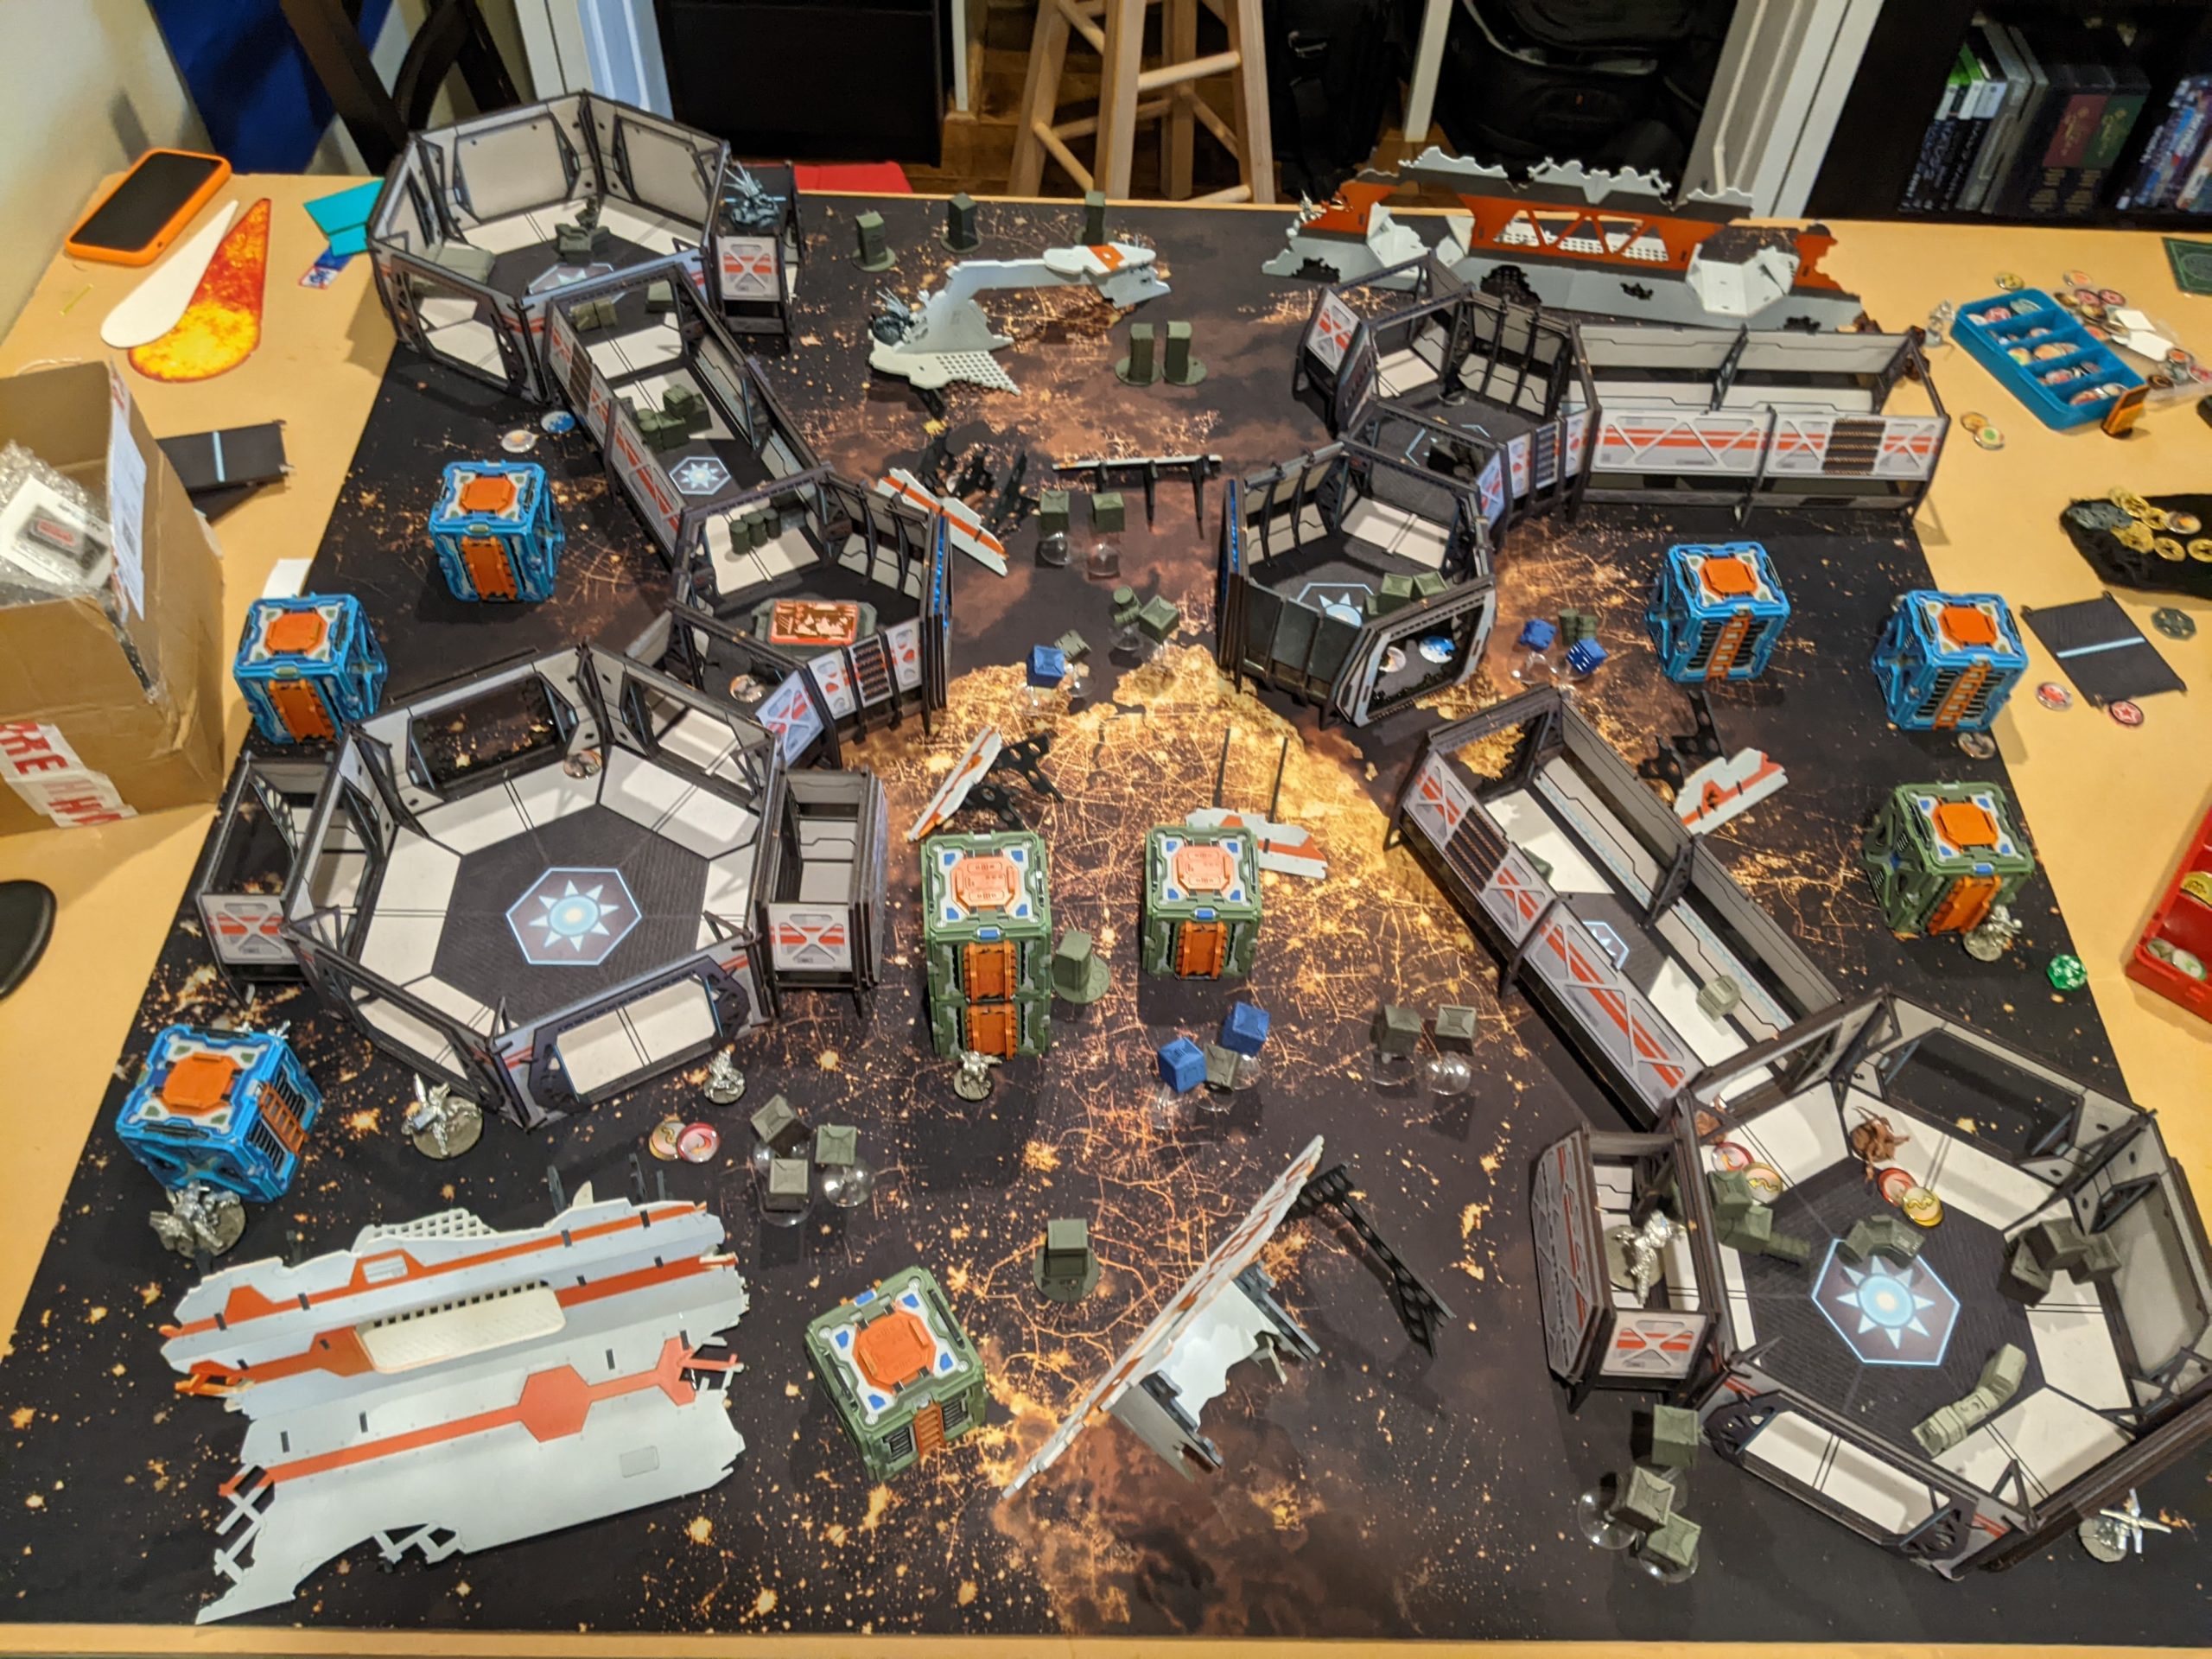
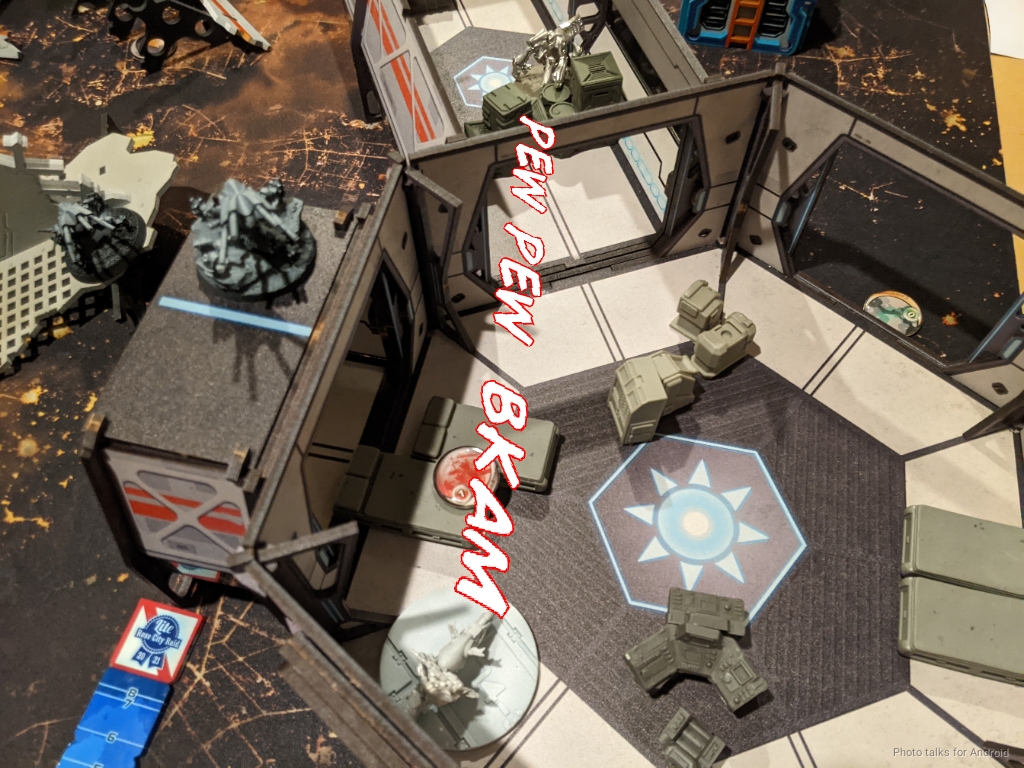
so we played another one! I decided to break the space station again, to open up one of the little “pockets” of table even more. I left the other alone to ensure that there was still a DZ-to-DZ highway.
Overview
As I said in the Lazy Rasyat batrep, Erik and I list built for a set of three missions and rolled for the one we would play at the table. Since we had already played Frostbyte, we swapped it out in the lineup for Supplies and rolled, getting Frontline.
- Mission: Frontline
- Forces: Shock Army of Acontecimento versus Combined Army
- Deploy First: Combined Army
- First Turn: Combined Army
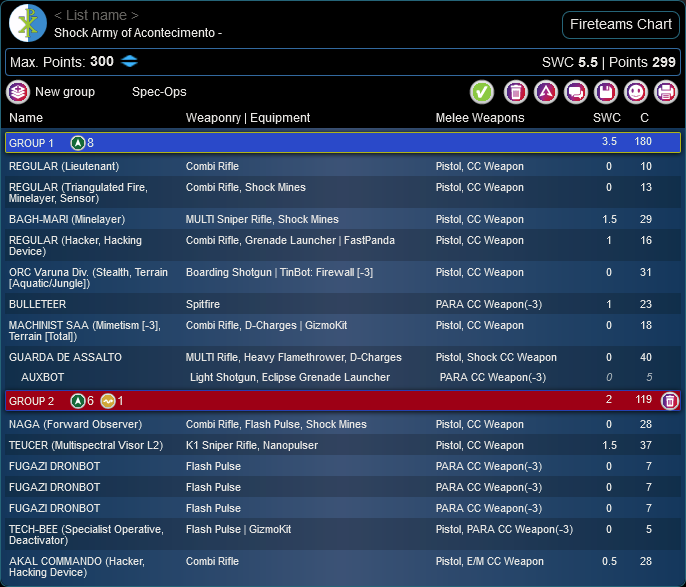
The primary reason I play Acontecimento is to put Guarda de Assaulto on the table. I also really like the Regular Hacker profile, but with the last game feturing hackers so heavily I decided to entirely forgo hacking just to do something different. Not a great idea in modern N4 Infinity, but I was trying to build a list while distracted. I knew I wanted a Bagh-Mari sniper, mostly for the Minelayer and the MSV1, and then I took the Regular Spitfire as a result of iterating through various high-burst options and always running out of points. The other Regulars are standard link filler.

GROUP 1
8
REGULAR (Lieutenant) Combi Rifle / Pistol, CC Weapon. (0 | 10)
BAGH-MARI (Minelayer) MULTI Sniper Rifle, Shock Mines / Pistol, CC Weapon. (1.5 | 29)
GROUP 2
GUARDA DE ASSALTO Spitfire, Heavy Flamethrower, D-Charges / Pistol, Shock CC Weapon. (1.5 | 45)
AUXBOT Light Shotgun, Eclipse Grenade Launcher / PARA CC Weapon(-3). (0 | 5)
NAGA (Forward Observer) Combi Rifle, Flash Pulse, Shock Mines / Pistol, CC Weapon. (0 | 28)
1
1
TIKBALANG Heavy Machine Gun, Heavy Flamethrower, Shock Mines / AP CC Weapon. (1.5 | 68)
CRABBOT Flash Pulse / . (0 | 0)
KNIGHT OF MONTESA (Paramedic) Boarding Shotgun ( | MediKit) / Pistol, DA CC Weapon. (0 | 31)
FUGAZI DRONBOT Flash Pulse / PARA CC Weapon(-3). (0 | 7)
5.5 SWC | 300 Points | Open in Infinity Army
I had originally wanted to take Dart, but couldn’t find room for her after including the Tikbalang/Montesa duo, which is pretty rad. A pair of Nagas and a bunch of Fugazi rounded out the list, after the Guarda, of course. Erik decided he wanted to put a Charonid on the table, and then packed his list with a bunch of angry gribbly aliens. He took the Plasma Q-Drone after all my hype and tried out one of the new Rindak profiles.
Huuuhhh??
GROUP 1GROUP 2
RINDAK FTO (Paramedic) Submachine Gun, Flash Pulse(+1B) / Heavy Pistol, PARA CC Weapon. (0 | 27)
IKADRON (Baggage, Repeater) Light Flamethrower(+1B), Flash Pulse / Pistol, PARA CC Weapon(-3). (0 | 9)
Q-DRONE Plasma Rifle / PARA CC Weapon(-3). (1 | 24)
ÍMETRON . (0 | 4)
SPECULO KILLER Boarding Shotgun, Smoke Grenades / Pistol, Monofilament CC Weapon. (1 | 32)
SHROUDED (Minelayer) Combi Rifle, Shock Mines / Pistol, CC Weapon. (0.5 | 23)
CHARONTID (Lieutenant, Hacker, Hacking Device Plus [UPGRADE: (+1 Damage)]) Plasma Rifle, Nanopulser ( ) / Heavy Pistol, Shock CC Weapon. (0.5 | 63)
FRAACTA Spitfire, Nanopulser / Pistol, CC Weapon. (1.5 | 33)
GREIF-OP (Surprise Attack [-3], Impersonation [IMP-2]) Combi Rifle, D-Charges / Breaker Pistol(+1B), CC Weapon. (1 | 20)
E-DRONE Combi Rifle / PARA CC Weapon(-3). (0.5 | 18)
PRETA Chain Rifle / AP CC Weapon. (0 | 7)
TAIGHA Chain-colt / DA CC Weapon. (0 | 6)
6 SWC | 300 Points | Open in Infinity Army
At this point, he’s more trying things out instead of tuning, but it’s still a very scary list with the two Impersonators. Erik’s got a lot of experience Fidaying people, so I knew I had to be very careful.
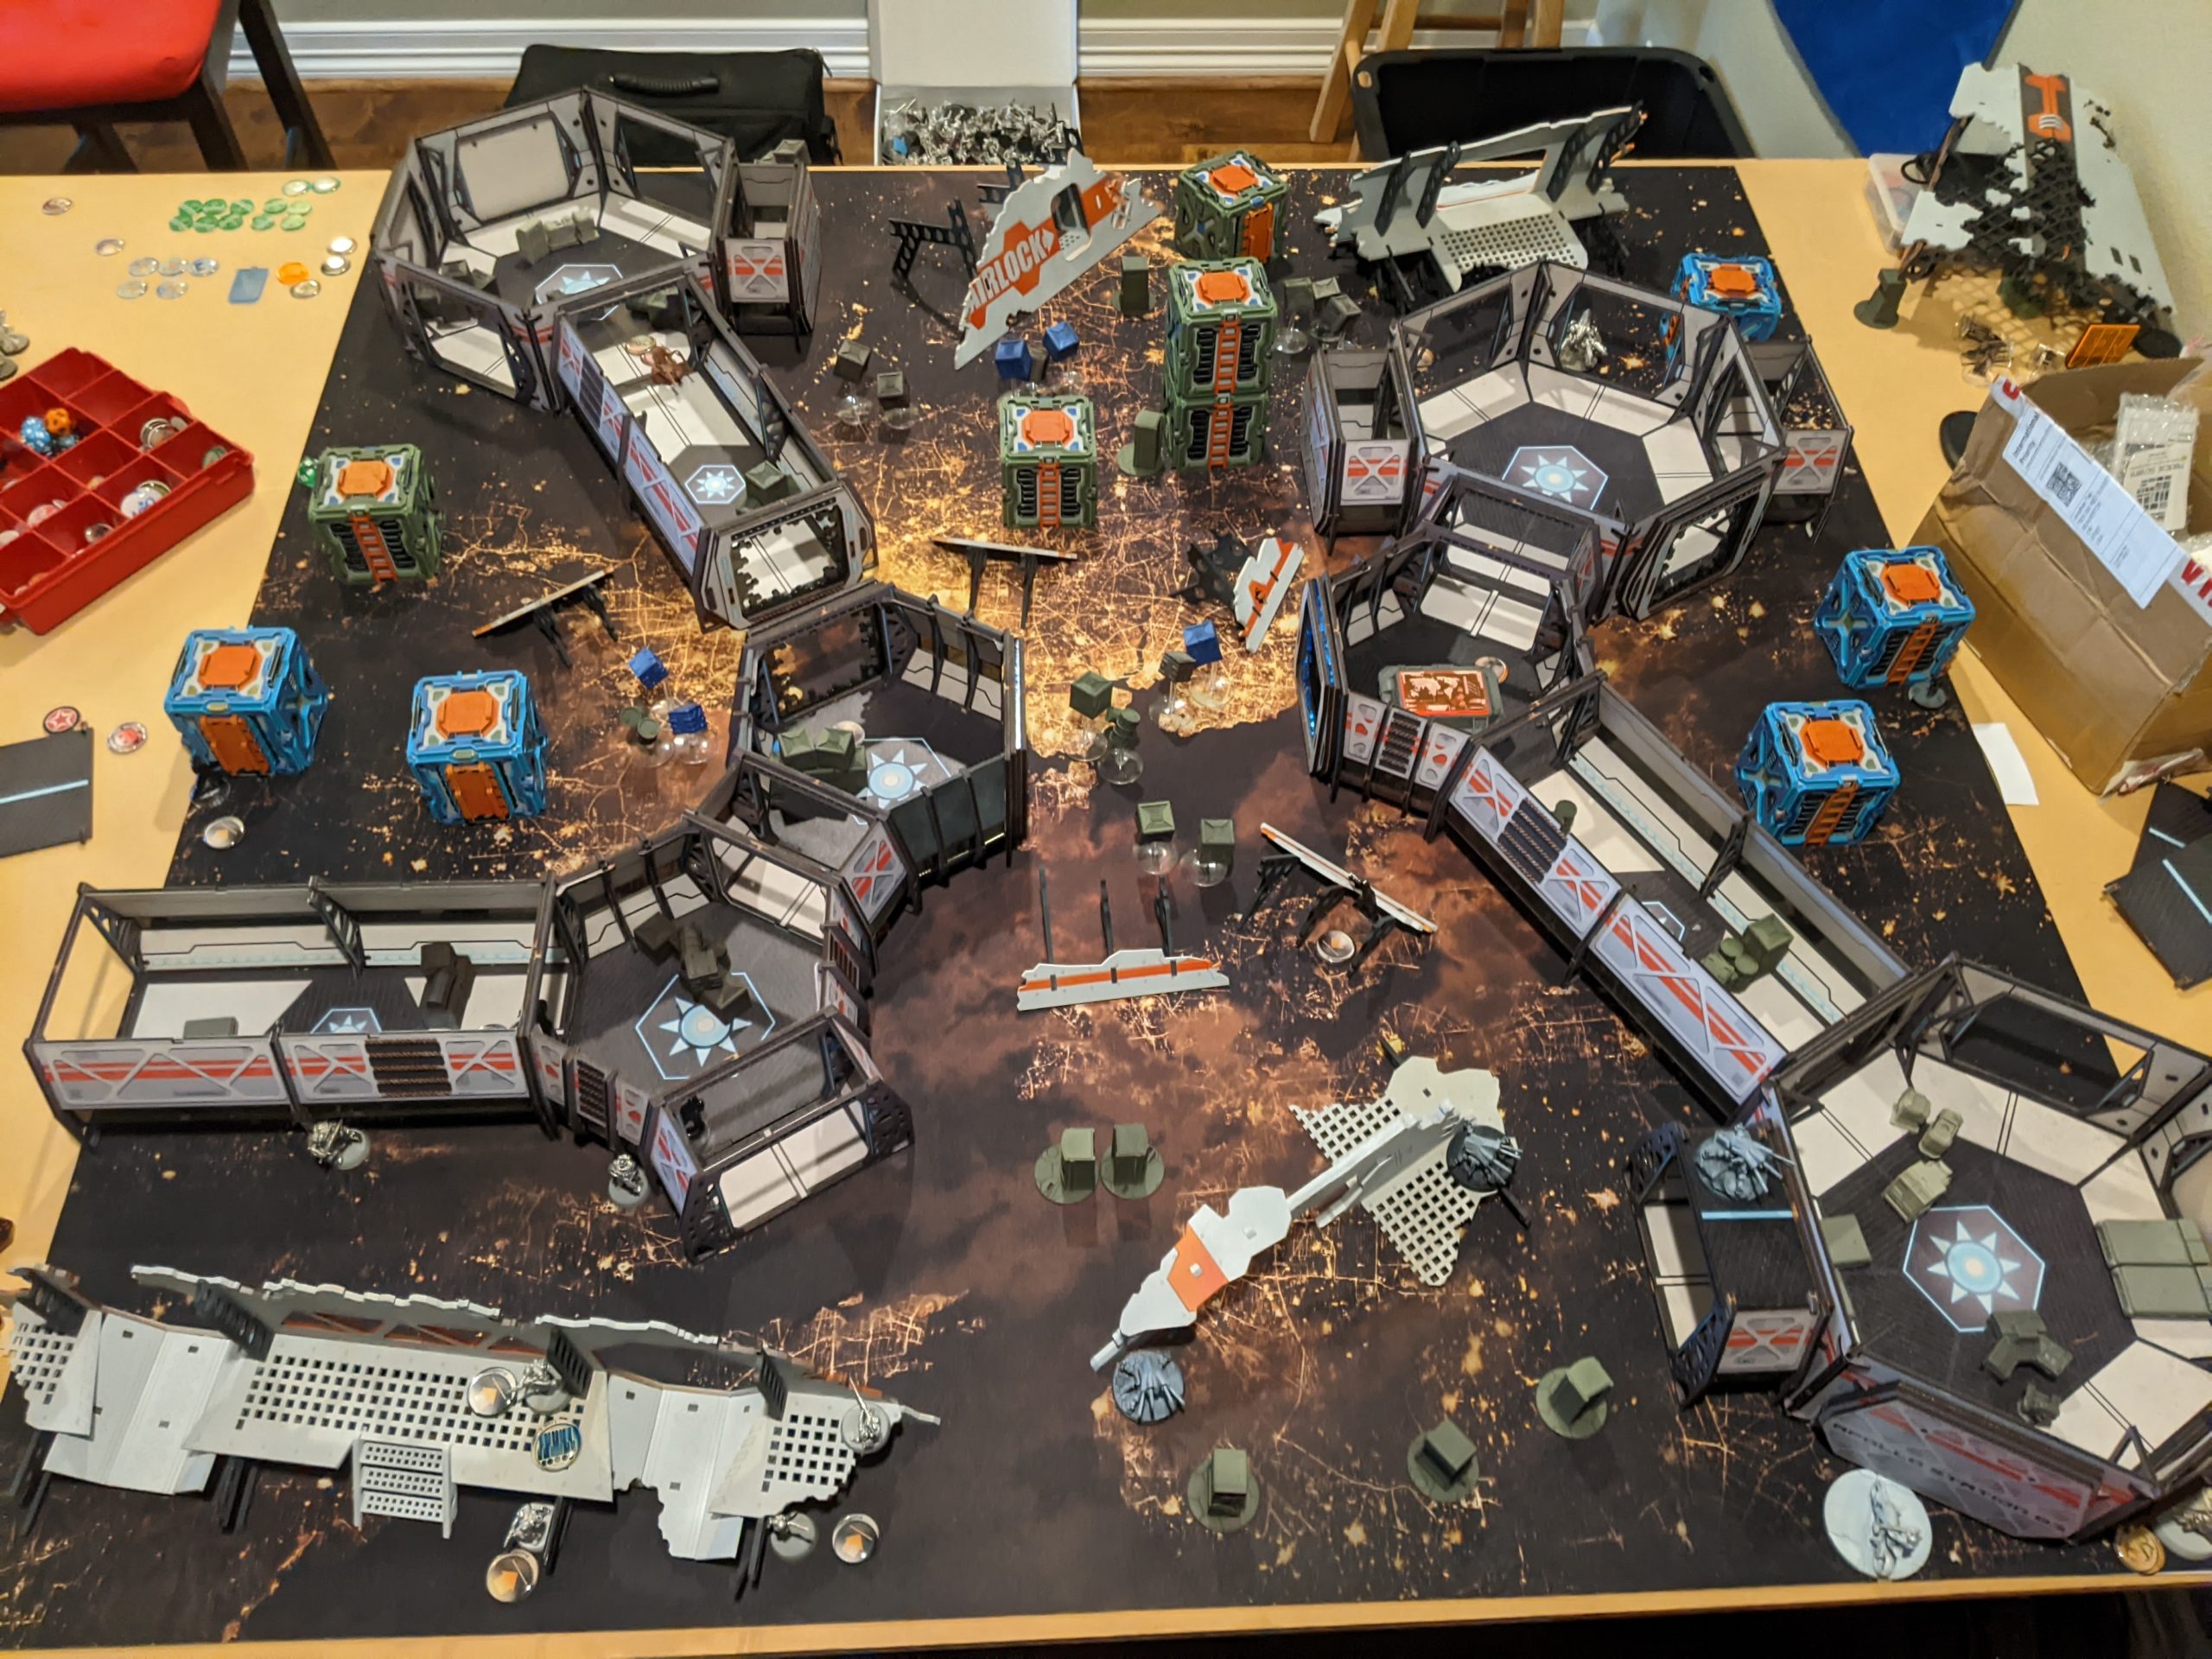
Deployment
I won the rolloff, and out of sheer laziness chose the same side of the table so I didn’t have to move my stuff. Erik deployed first and decided to go first. He spread all his threats out across the table. Key things of note are he put his Greif down to try and deny an area of my deployment zone and threatened a DZ-to-DZ run with a pair of Pretas and a Taigha. There was even an E-Drone in the mix, which telegraphed some sort of AD troop, even with a plasma Q-Drone on the table (the Q-Drone doesn’t need the help but certainly can use it).
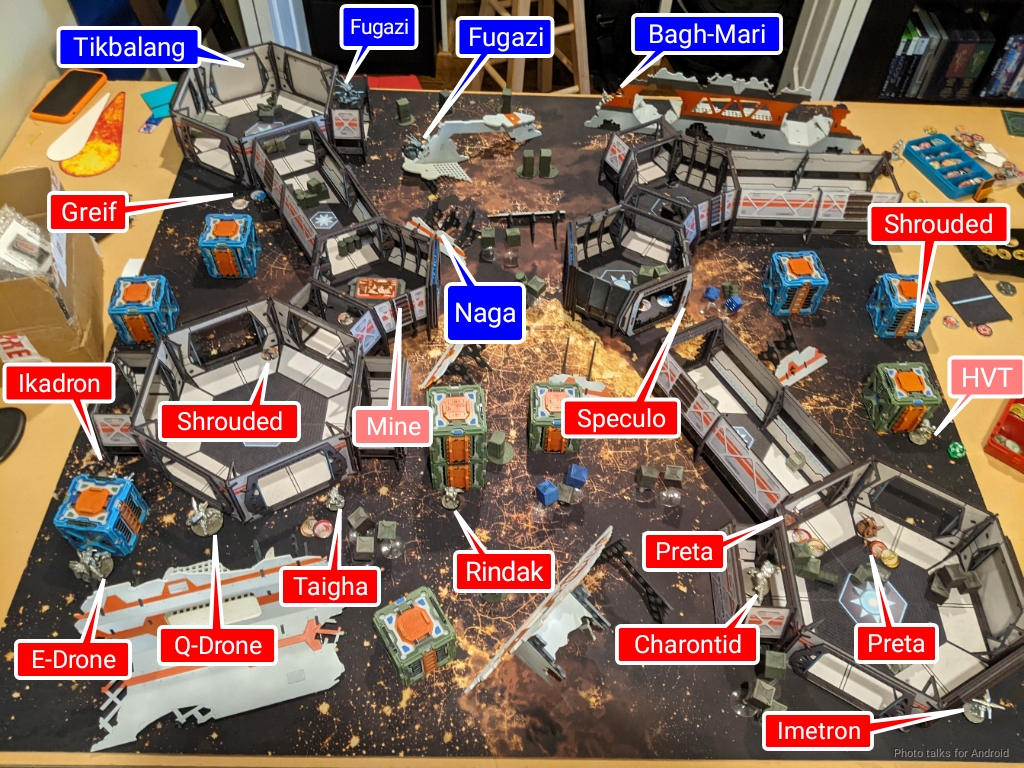
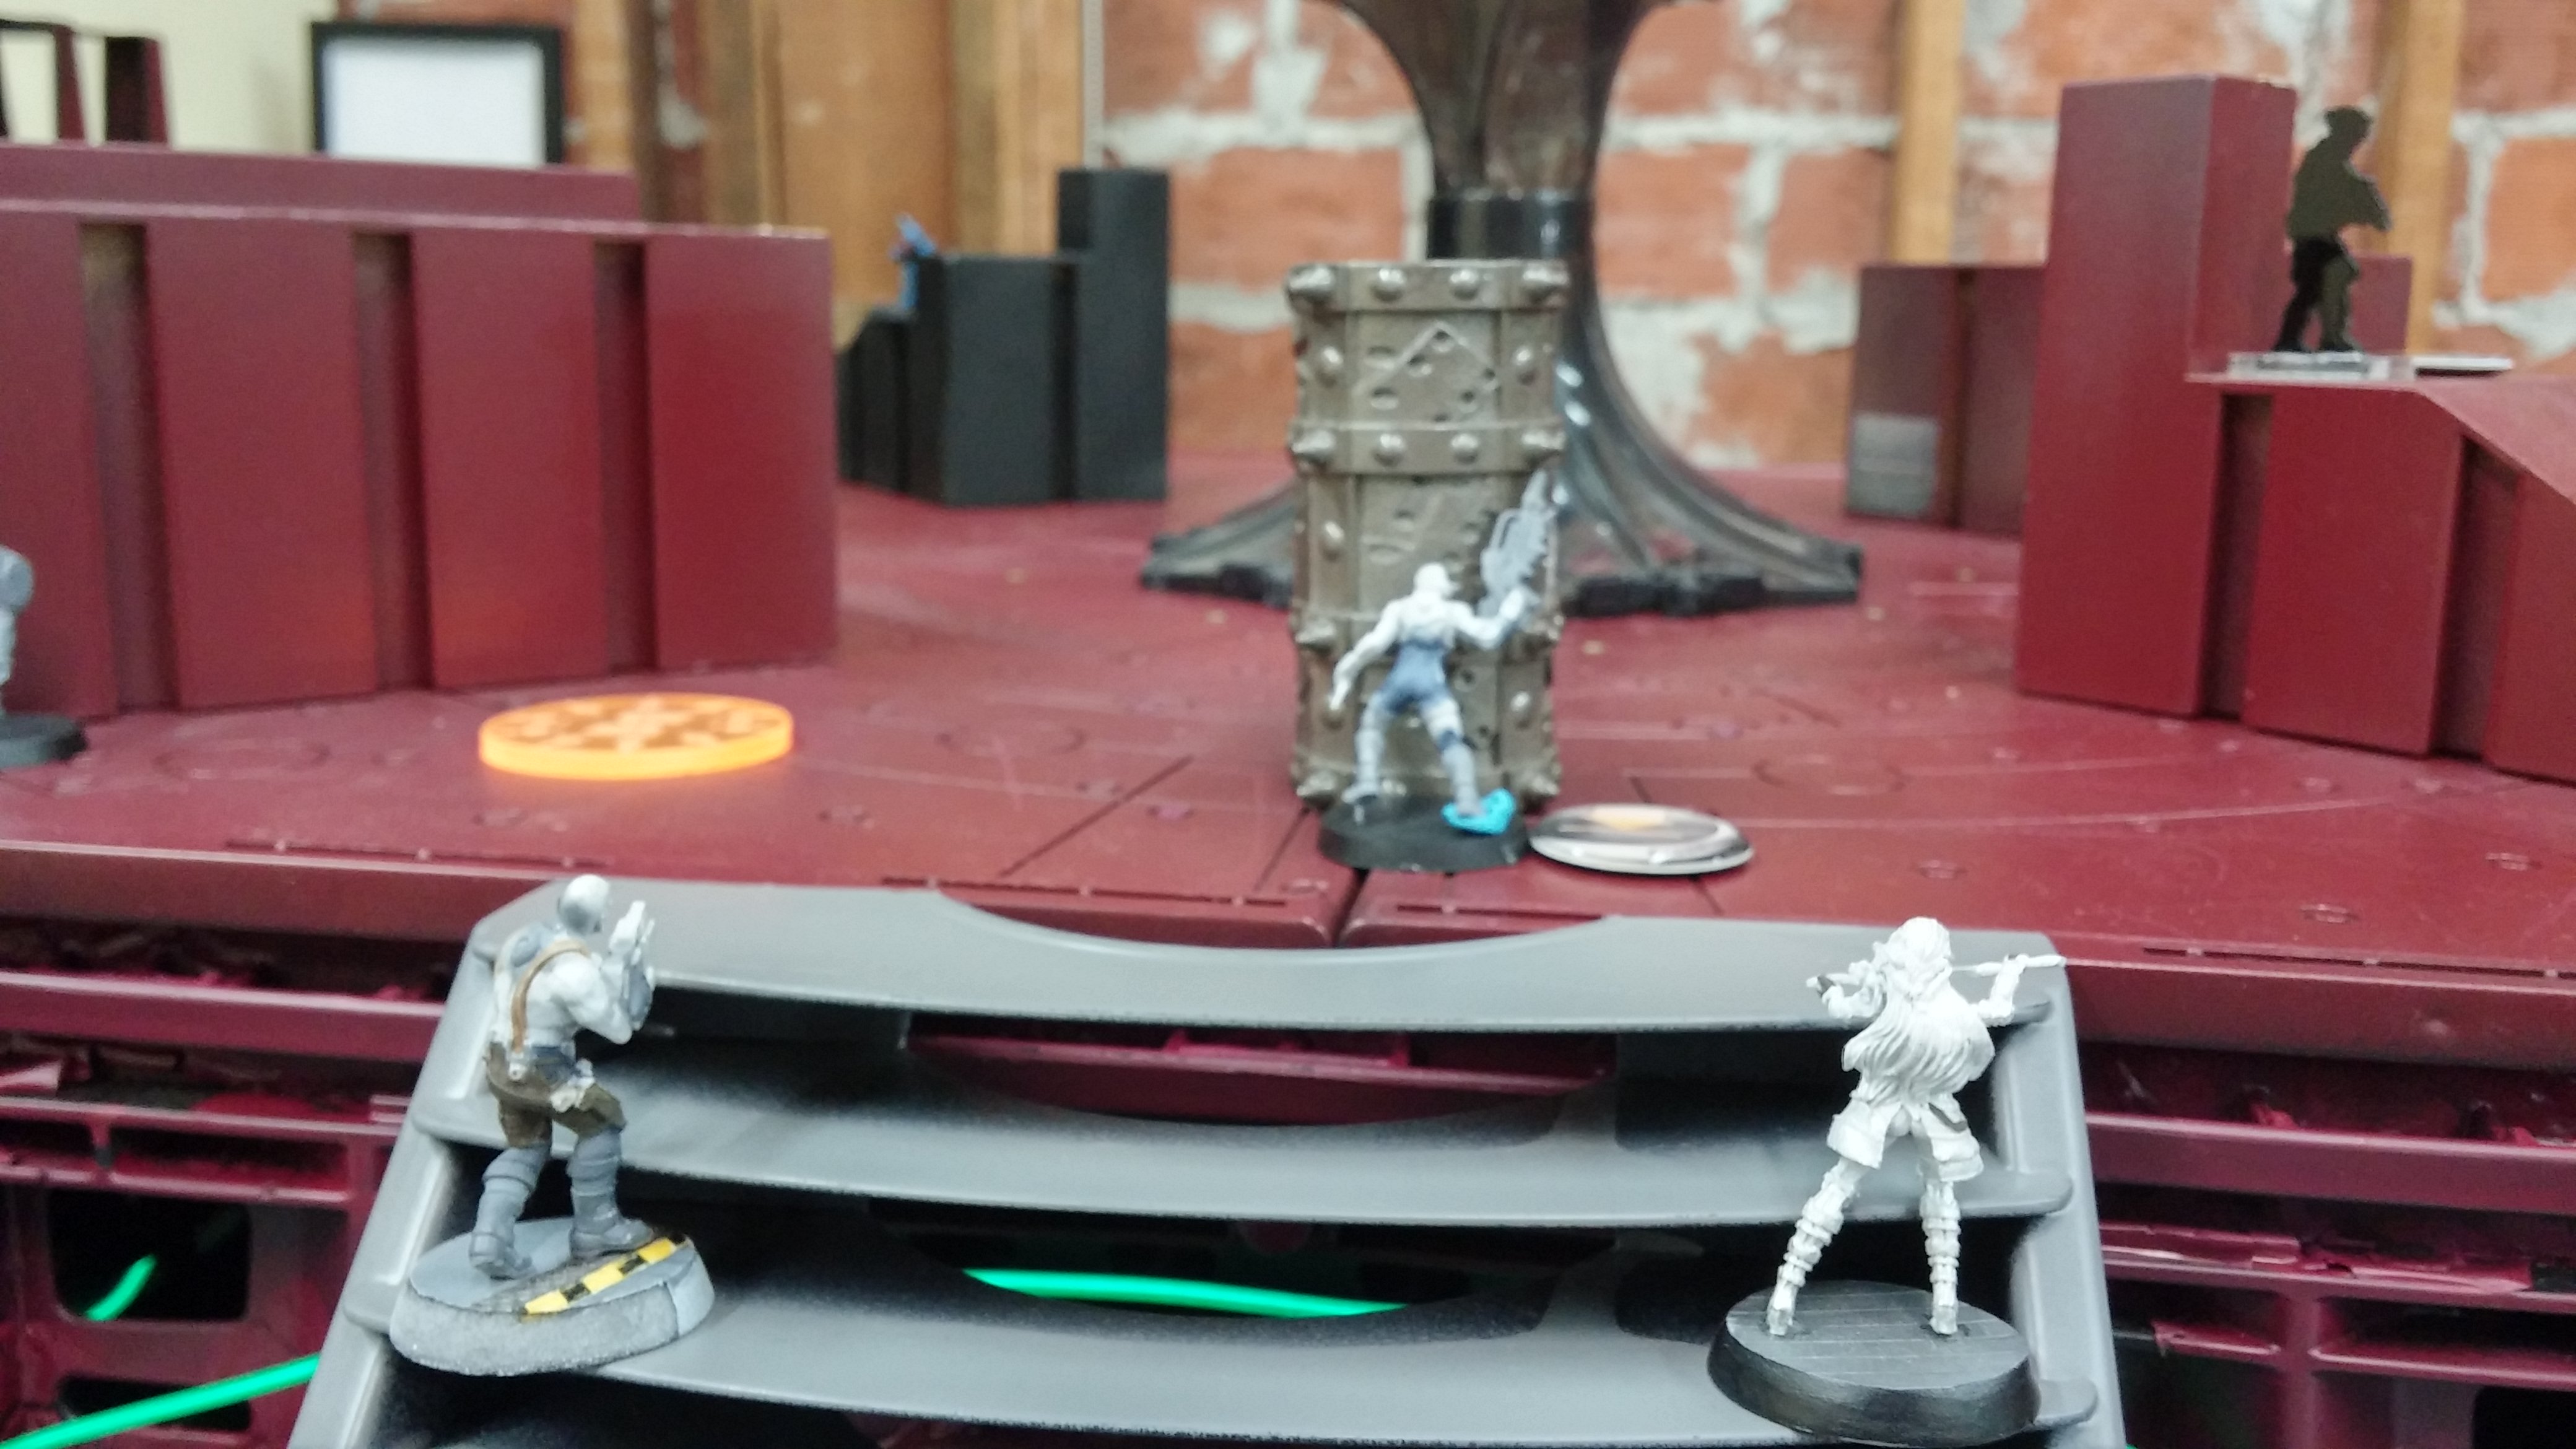
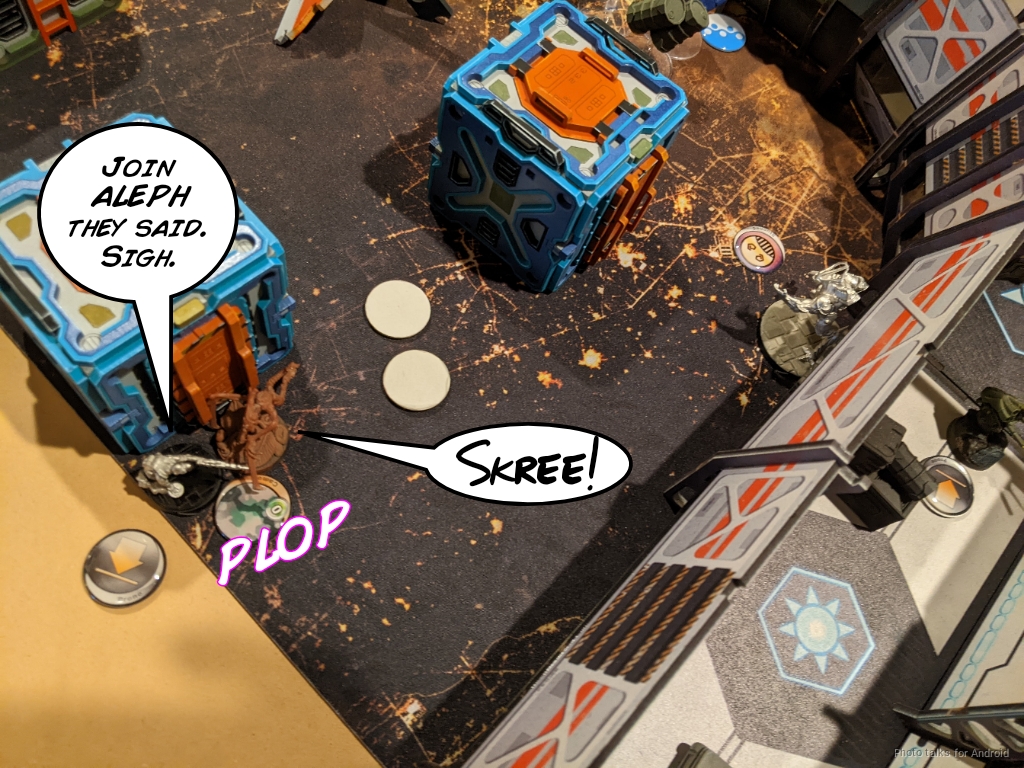
I deployed pretty similarly to the last game, but this time I covered my back table edge with the Bagh Mari sniper. The Bagh Mari’s mine was lurking in the corridors to protect me from the Preta, and then I covered as much of the corridors as I could with Fugazi. The rightmost corridor I left alone, more or less, just putting a Montesa over there. I went all in on the left corridor and put my link and the Guarda there, even covering the corridor with the Guarda’s Auxbot.
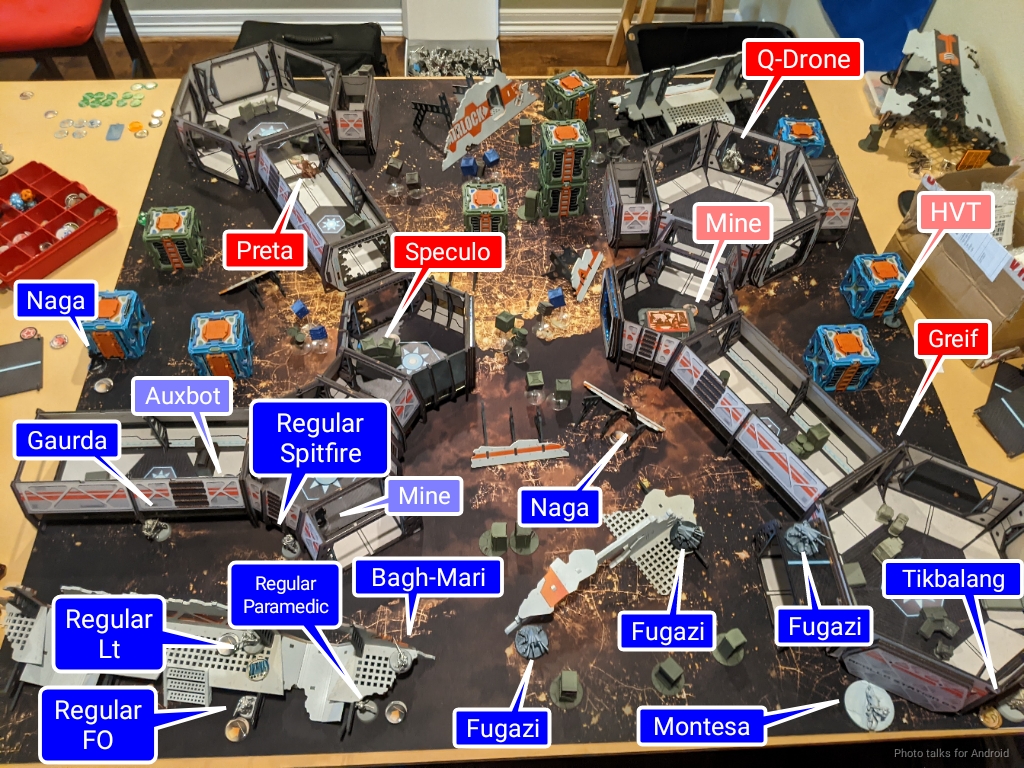
Erik put down his Speculo, and then I dropped the Tikbalang all the way in the back right corner to really make him sweat and overcommit. The Tikbalang is just points in a sector–I had no intention of using it to kill stuff that wasn’t just in the open. I was prepared to let Erik have it, if it took him all turn.
Turn 1
Top of 1 – Combined Army
My only priority for the first two turns of the game was to stay alive and cost Erik orders. If I could, I’d accomplish some classifieds. I had Sabotage, Capture, and some other thing that was basically not going to happen. So, I prepared myself to play super cautiously. The first thing that I did was deduct two orders from the group with the Pretas, meaning that group was just down to the impetuous and irregular orders. This effectively bought me a turn or at least a whole bunch of command token expenditure for a single chain rifle or chain colt shot. That was acceptable to me.
In any case, Erik spend a bunch of effort early in the turn trying to discover my Naga with a Preta and failed.
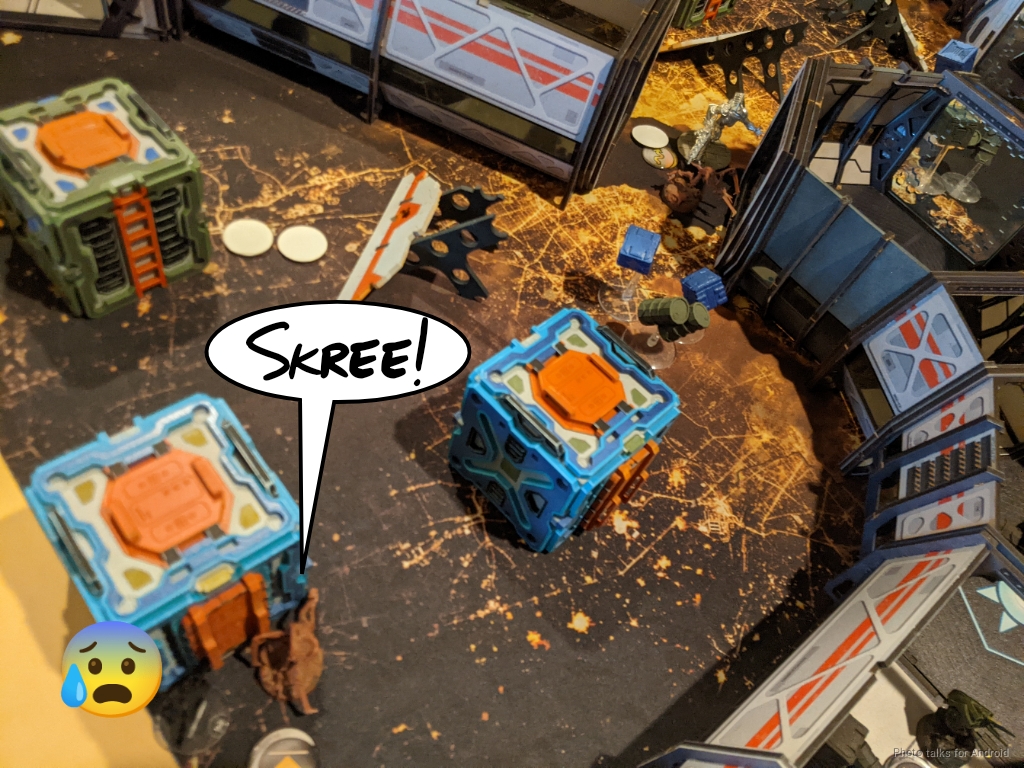
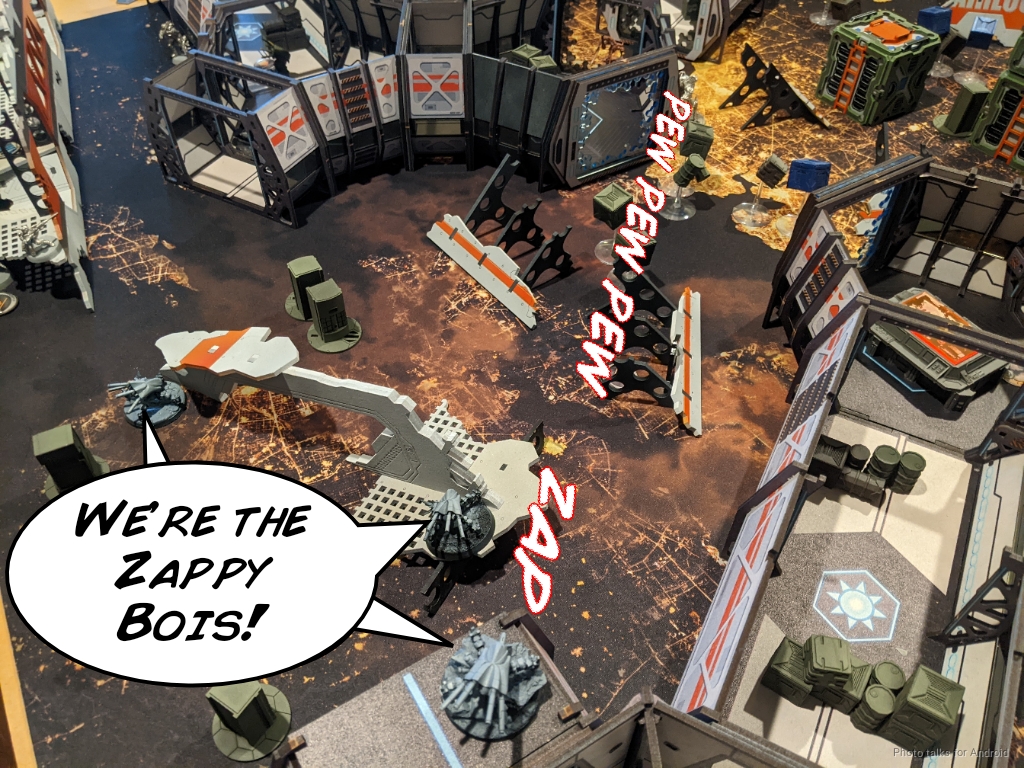
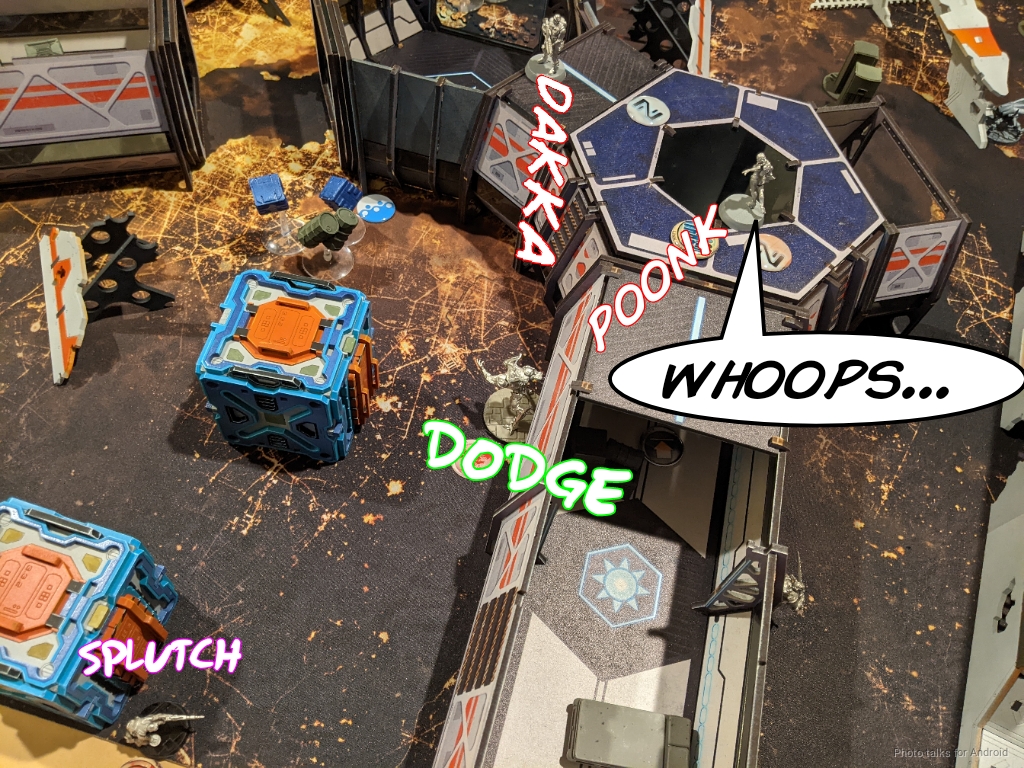
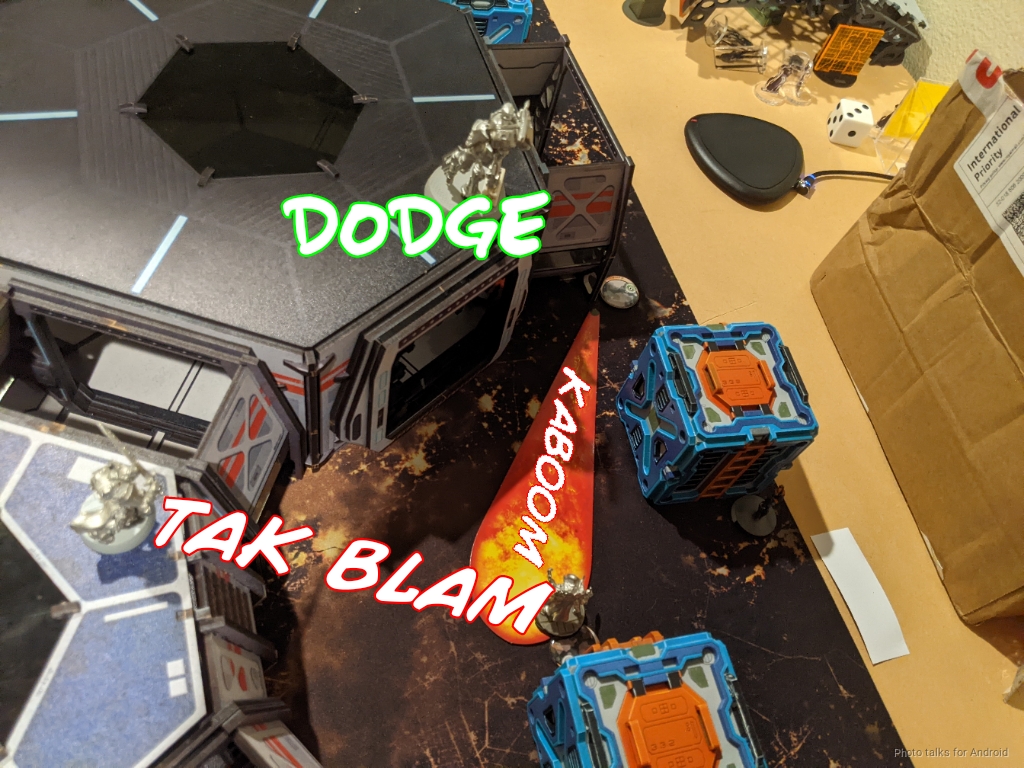
He then extended his Charontid Hacker Lt forward, presumably to isolate my Guarda or worse, but had to get past my Fugazi, aka the zappy bois, first. The first weapons fire of the game and I managed to flash pulse his Charontid! Wow! I’ll take the win!
Erik always falls back on objective play when on the back foot or stalled out, which is why he’s such a tough opponent to face. He got Net Undermine with his Speculo, then discovered my Naga before re-impersonating the Speculo.
This let the Preta go into base to base. I decided I would let the Preta get a free chain rifle or CC attack off. Unless it crit the CC attack I was just going to not go dogged, kill the Preta, and then Paramedic my Naga back up, so I dropped a mine and survived the CC attack entirely. The Charontid then sauntered up, triggering the mine, but passed the ARM save.
Erik scooted the other Preta up onto the wall of the corridor to threaten any advancing units, and then passed turn.
Bottom of 1 – SAA
Well, I think advancing the Preta was great, but investing that much effort into discovering a Naga was perhaps too much. Certainly committing the Charontid to countering a single unit, even the Gaurda, was a massive over-extension. All in all, I’ve lost a grand total of nothing, and Erik has delivered a Charontid to my doorstep. Even screened by two Pretas (well, really one, as one was in CC with my Naga), this was a real opportunity for me.
I don’t have to overextend to do damage, Erik’s already done that for me, and I just need to take out two Preta and a Charontid with an undamaged order pool. Not easy, but certainly achievable. I take stock of what tools I have available and decide to not mess around and just throw the dice at stuff. The Regular Spitfire clambers onto the roof and downs the Taigha in the other corridor, then starts engaging the Preta. I split burst between both Preta, hoping to not hit my Naga by reducing the burst, but KO the Naga and put both Preta dogged. Another burst finishes them both off.
The Charontid is Spotlighting and Dodging this whole time, but I eventually maneuver the Regular Spitfire behind it and drop it in one burst. This lets me get the Paramedic into the action to try and pick up the Naga, but the Naga fails its PH roll and dies. Well, that’s what you get for using PanO medics, what else can I say?
I’m basically out of orders in my primary group, so I spent the last orders resetting the link position to more or less the same as it was in deployment with the Spitfire on the roof, prone, instead of on the ground.
This lets me turn my attention to the Greif on the other side of the table. The Knight of Montesa and the Tikbalang both have a go at discovering it, but they both fail, so I leave a mine to cover the Greif and reset their positions as well.
Turn 2
Top of 2 – Combined Army
I’m feeling pretty good about my position. There’s a Greif and a Speculo on the loose, and they can do some damage, but they’re not going to kill a Montesa, a Tik, and a whole link by themselves. I might take some damage but I feel pretty okay so far. Erik spends his turn focusing on the Montesa, throwing Assisted Fire on the Plasma Q-Drone and then throwing at the Montesa. It takes his whole turn finally the Montesa drops.
Bottom of 2 – SAA
This puts me in a pretty reasonable position. I lost just the Montesa this turn and Erik hasn’t really developed any of his other units to harass me, so my order pool is quite safe aside from the Greif and Speculo. The Plasma Q-Drone definitely needs to go though, so I send the Guarda after it. I manage to discover and the subsequently shoot a Shrouded on the way, so that’s just a freebie.
The Auxbot sacrifices itself to the other Shrouded’s mine to take out the Q-Drone, and then I exact revenge on the Shrouded minelayer with the Guarda after discovering it with the Tikbalang.
I drop a mine covering the advance of the E-Drone and the Ikadron, and then climb the Tibalang onto the roof.
Turn 3
Top of 3 – Combined Army
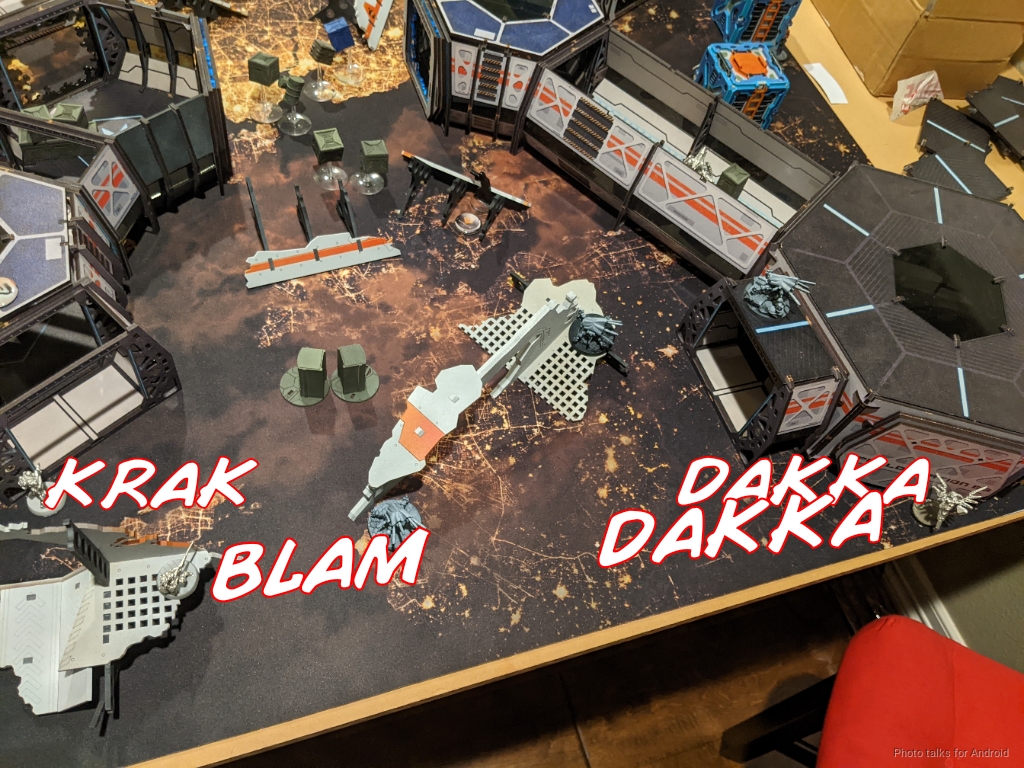
Erik goes for broke and drops in a Fraacta in the same pocket where I started the Tikbalang and where the Rasyat landed last game. This time, however, I learned my lesson and there was a Bagh Mari watching the approach. The Fraacta took a shot from just outside 24″, which really hurt his odds against the Bagh Mari. He pushed into 24″, but that necessitated losing cover as well as facing off against a Regular. needless to say, the Fraacta did not survive.
The Shrouded Minelayer did manage to Regenerate, but died to the mine when trying to fight the Guarda de Assaulto.
At this point, Erik’s got basically nothing left and passes turn.
Bottom of 3 – SAA
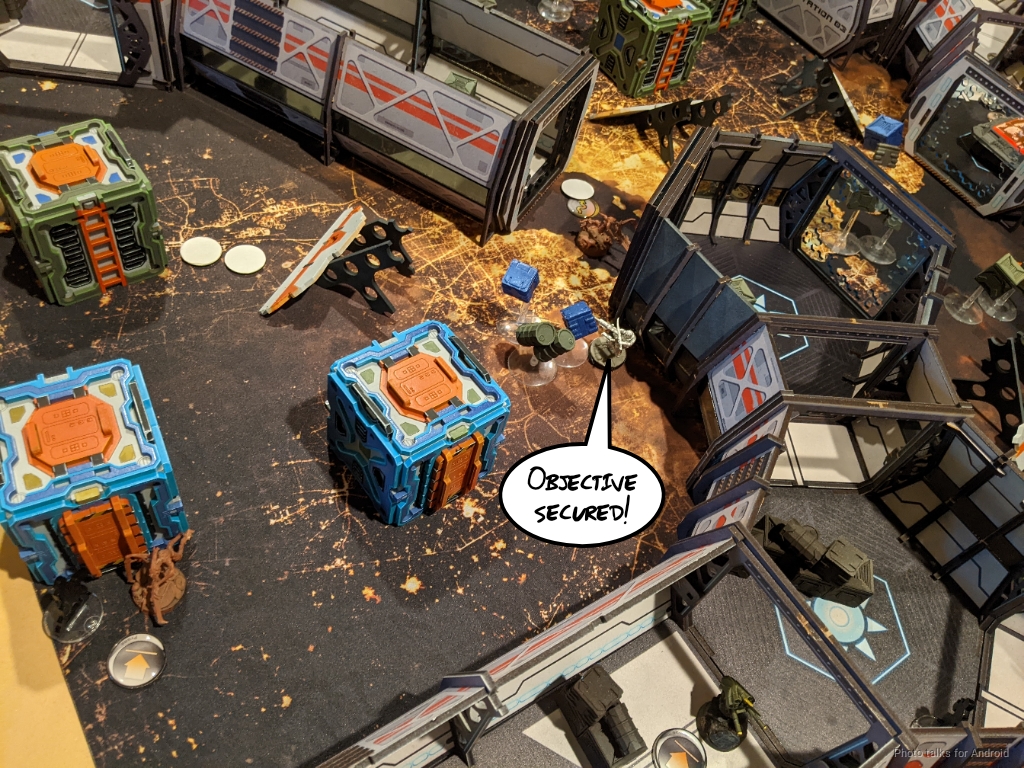
Well, most of my stuff is still alive. I didn’t really aggressively push on my classified objectives, but Erik didn’t either, meaning I just had to secure the sectors to win. Erik didn’t really have anything left out to ARO, so I just guessed where the zones were, as you can’t measure, and we counted out orders to move everything into the correct zones. I didn’t move the Fugazi off the roof, I was just too lazy to get the roof cover for the picture and with 12″ of movement on the roof it could’ve easily been in that position along the Y-axis of the table.
The Tik just hopped off the roof, killed an Ikadron, and just chilled in the zone with the Rindak. That thing is hard to kill, by the way, with that Dodge -3! There was still a chance for me to get one classified if my Guarda could hoof it off the roof to the other side of the table, so we just spent the orders to see, and yep, I had just enough.

We both have 1 classified each and I have all three zones, meaning it’s a
7-1 Shock Army of Acontecimento Victory!
Post Game Analysis
Well, that went well. I had a coherent game plan to keep my forces safe, I executed on it, and I really didn’t overextend until Turn 2 when it was quite safe. One of the strengths of Combined Army is that there are some serious powerhouses that can solo the enemy army by themselves. The problem, though, is that if you use those pieces and invest orders into them, you’re not developing any of your other units.
I think the best move I made all game was to dock Erik’s Taigha and Pretas orders. He played them very well, given the circumstances, advancing them into the midfield to control that portion of the board. I do think, however, that there was way too much effort put into dealing with that one Naga. We didn’t discuss it after the game because we had started the game after dinner and he had to go home, but it’s possible he thought the camo token was Dart, which would have been a bigger deal to remove, but even then.
So in short, Erik overextended his Charontid and developed two Pretas and a Taigha. The big mistake was the overextension and the commitment to the overextension, but there were a few smaller things to tweak as well. I think having all three Pretas in position where my Regular Spitfire on the roof could shoot all three simultaneously in the same order was bad. Obviously that didn’t happen because I wasn’t going to dilute my dice pool that way, but the takeaway here is that it was quite efficient for me to remove all the warbands without overextending myself. Removing the Charontid and then resetting my deployment was basically reframing the game as a 2-turn game but with Erik down a Charontid and three warbands, a tough ask for anyone. The damage done by the Q-Drone was relatively minor and took most of Erik’s mometum on Turn 2, letting me respond and then commit only what I needed to commit.
I think a more reasonable plan would have been to retreat the Charontid behind a screen of the two Pretas, outside of easy Spitfire access. Then the remaining orders can be spent repositioning the Q-Drone to address threats on that side of the table. Even the Tikbalang has to respect the Q-Drone, so that would’ve boxed me in a little. That would’ve forced me to push forward and expose more threats in more favorable rangebands for the plasma rifles.
As I re-engage with Infinity with a new mindset–I’ve been away for awhile, haven’t been really playing competitively because a lack of regular games and tournaments to prepare for, I’m noticing that my playstyle has shifted some as well. Selling a bunch of my armies has made me think differently about the armies that I have too, taking more risks and just being more open to trying things that I normally wouldn’t. Before I sold a ton of my armies, I probably wouldn’t have given the Regular Spitfire a chance. Not that I thought it was bad or something, but more that because I could play every army, when I played a particular army I’d be looking specifically for the tools that were interesting to me. That would result in something like a double Guarda list or similar. Now that I’m down to only NCA and SAA for PanO, I’m encouraged to explore the armies more fully, because I’ll have more opportunities to play them.
In any case, this is what I came up with after that game. Michael (Barakiel) is of the opinion that SAA has some access to AP problems, and now that I’ve started to really engage with them I think he’s right. AP exists, but if you’re taking it, it’s a choice. I also felt like I wanted some short range face punching, and it’s hard to beat the ORC with boarding shotgun. I’m also interested in trying out the K1 sniper. I think that’s the more interesting choice on the anti-armor front.