
Riot Gearr
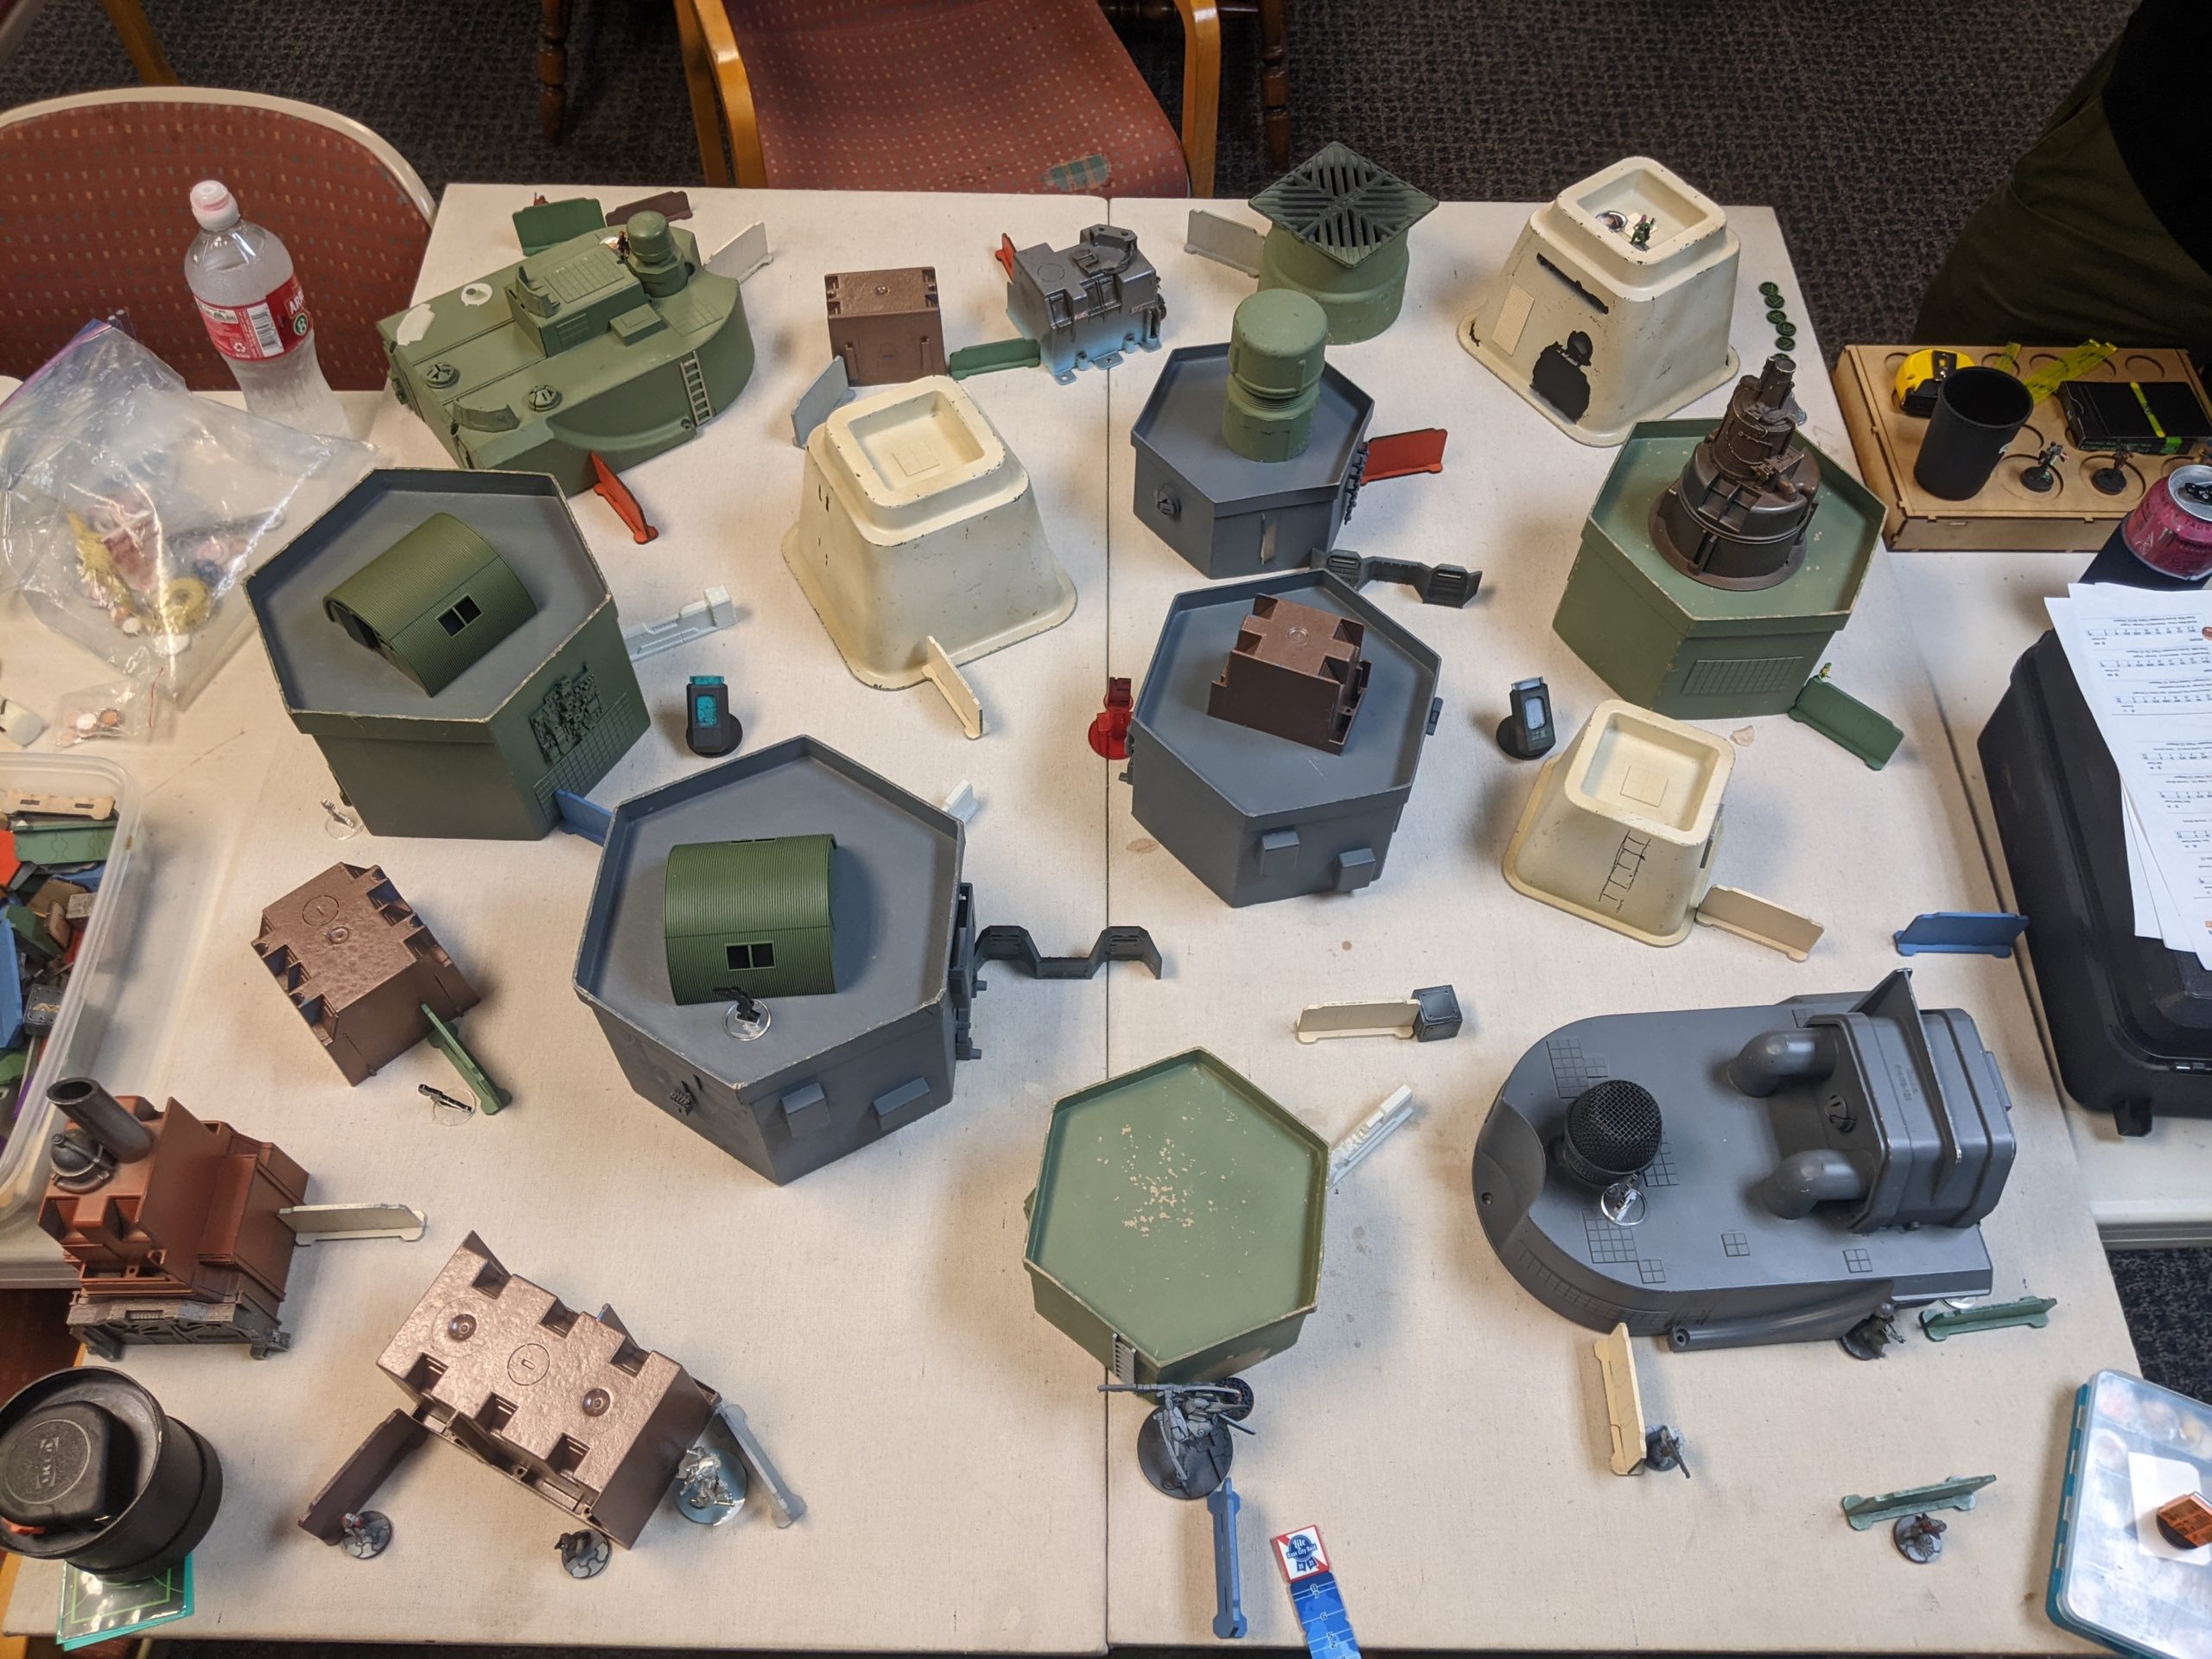
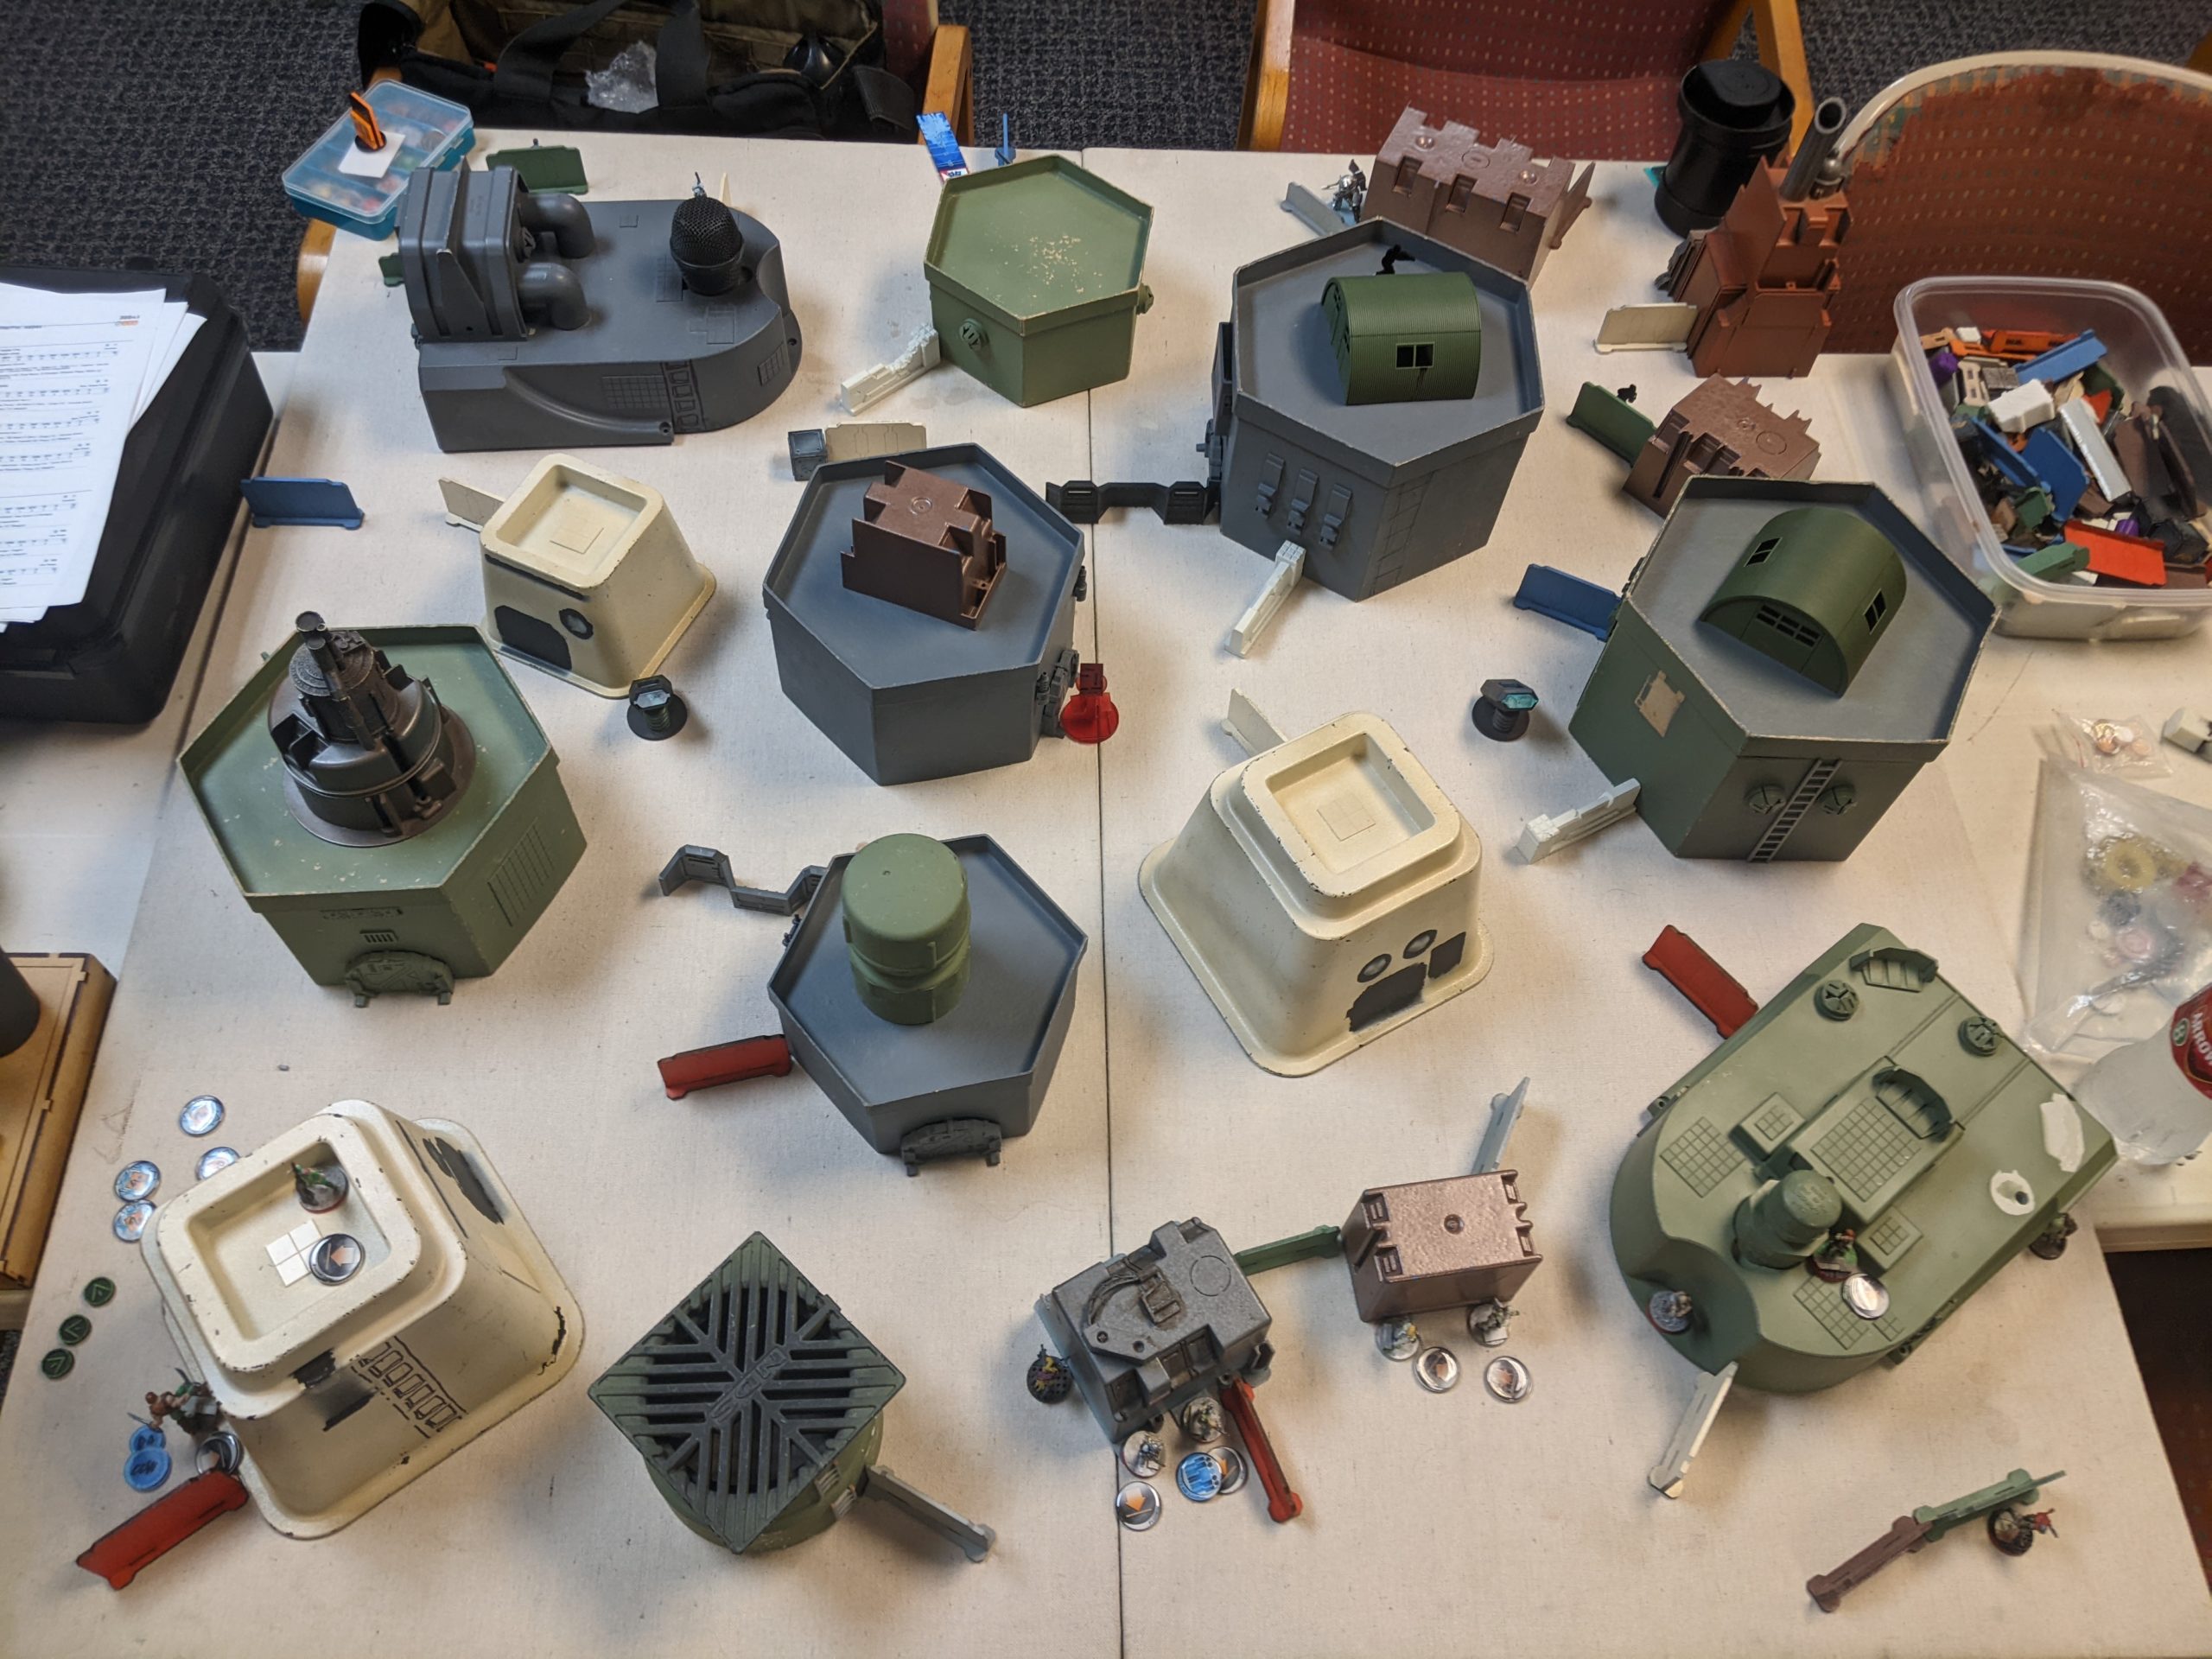
The air conditioning was broken at ye old game shoppe, so Nathan (Jhokalups) and I didn’t spend too much time beautifying the table. Thankfully we managed to crash through this game in about 2 hours, chugging water the whole time so we could get home and shower, lol!
Overview
- Mission: ITS13 Supplies
- Forces: Japanese Secessionist Army versus StarCo, Free Company of the Star (300)
- Deploy First: StarCo
- First Turn: StarCo
We’ve been doing a lot of chatting in the The Dice Abide LIVE! Discord channel about jSA and how much fun it is to play after Tim (Chainsaw)’s appearance on the last Late Night Wargames.
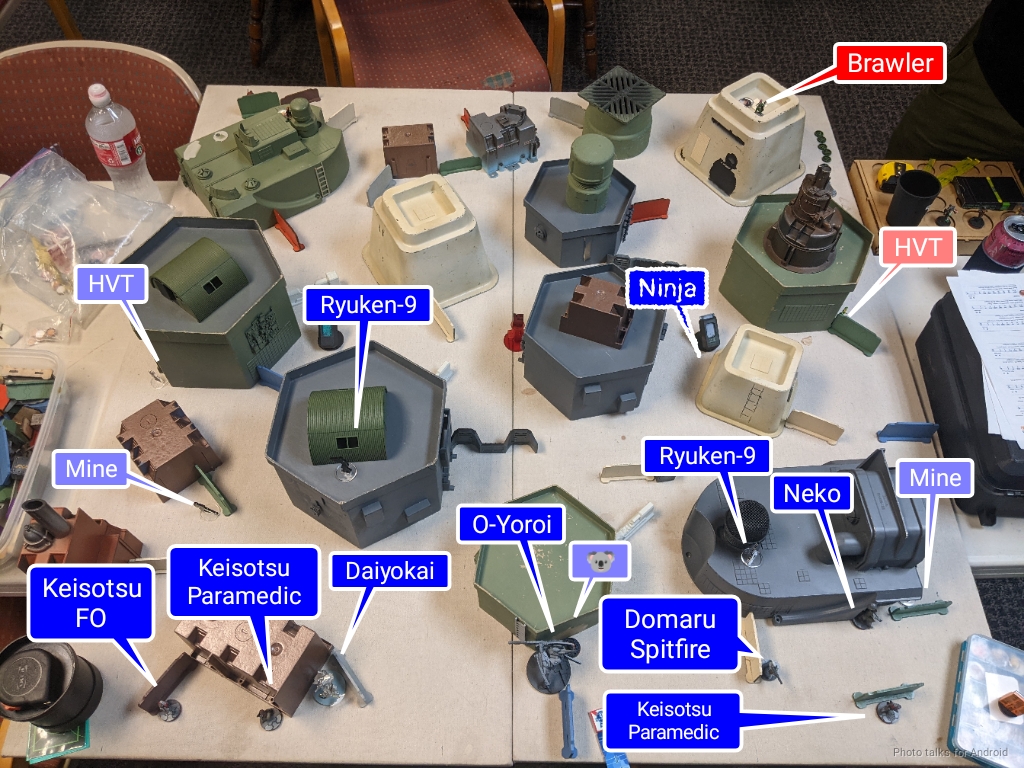
Tim’s excitement about anything is infectious, so both Adam and I brought JSA to our game night. This is what I ended up showing up with:
Uhhhhh w/ Ninjas!
DOMARU (Lieutenant [+1 Order]) Spitfire / Pistol, E/M CC Weapon. (1.5 | 37)
OYAMA Chain Rifle, E/M Grenades / Breaker Pistol, E/M CC Weapon, DA CC Weapon. (0 | 29)
KEISOTSU (Paramedic) Combi Rifle ( | MediKit) / Pistol, CC Weapon. (0 | 11)
DAIYŌKAI MULTI Marksman Rifle, Panzerfaust / Pistol, AP + DA CC Weapon. (0 | 48)
O-YOROI AP Heavy Machine Gun, Heavy Flamethrower, Crazykoala / EXP CC Weapon. (1.5 | 75)

O-YOROI PILOT Contender, Flash Pulse / Pistol, CC Weapon. (0 | 0)
RYŪKEN (Surprise Attack [-3], Camouflage [1 Use]) Heavy Rocket Launcher, Shock Mines / Heavy Pistol, CC Weapon. (1.5 | 25)
NINJA (Hacker, Killer Hacking Device) Tactical Bow ( ) / Pistol, DA CC Weapon. (0 | 29)
10
2 | 6 SWC | 300 Points | Open in Infinity Army
I definitely stole a lot from Tim’s list archetypes, using the Ryuken-9 HRL and the Daiyokai powered by Keisotsu. Where we deviated a bit was me running the Domaru Spitfire +1 Lieutenant order without the backup of chain of command. Very risky in a high variance army like JSA, but I decided to just play carefully and set myself up for good loss of lieutenant turns if I thought I was at risk.
Shockingly, I actually have some pretty reasonable shooting out of this jSA list, and some terrifying close combat options. It’s also a 14 order limited insertion list, which is something I’m pretty comfortable playing. As Tim explained on the last Late Night Wargames episode, having the Keisotsu paramedic around to help pick up the Daiyokai out of NWI is really important, because she’ll still have the burst bonus from the link being intact. Pretty neat bit of kit there.
My goal for the game was to be able to dodge Oyama into LoF of something and then Berserk it, or at the very least CC something. It may not always be the best option, but I’m playing JSA, I gotta do some stuff with katanas, right? The list itself I think is pretty self explanatory. Shoot stuff as you get closer, then stab it. Everything in the list is good at least one of those things, with the exception of the Keisotsu, but they’re there to be cheerleaders and to pick the Daiyokai back up.
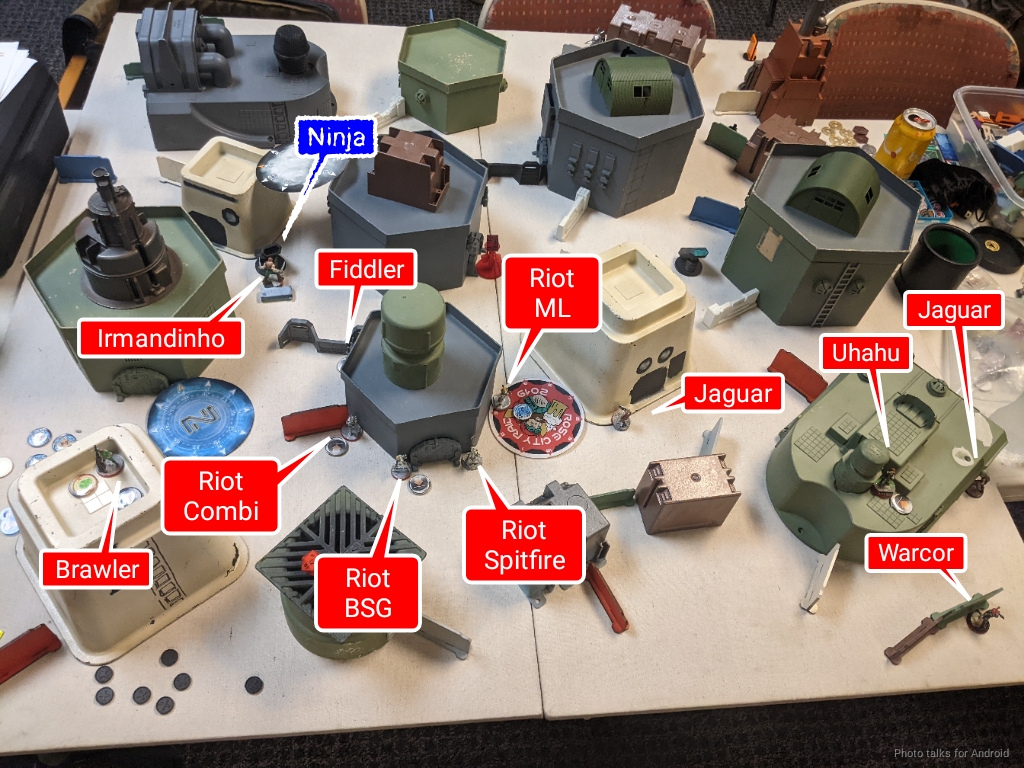
Nathan was playing his Rescue list from Rose City Raid 2022. It consists of a full-strength Riot Grrl core with all the bonuses, a Brawler Lt, Uhahu, two Jaguars, and Irmandinho, and not one, not two, but three drop troops.
Starco. Free Company of the Star
GROUP 1
RIOT GRRL Spitfire / Pistol, CC Weapon. (1.5 | 33)
Fiddler FTO (Super-Jump) Contender(+1B), Drop Bears, D-Charges / Breaker Pistol, PARA CC Weapon(-3). (0 | 28)
GROUP 2
JAGUAR Chain Rifle, Smoke Grenades / Pistol, DA CC Weapon. (0 | 10)
HELLCAT Combi Rifle ( | Deployable Repeater) / Pistol, CC Weapon. (0.5 | 24)
SPECTOR (Parachutist, Combat Jump) Boarding Shotgun, Drop Bears / Pistol, E/M CC Weapon, DA CC Weapon. (0 | 33)
1
BRAWLER (Lieutenant) Rifle, Light Shotgun / Pistol, CC Weapon. (0 | 15)
UHAHU (Hacker) Pitcher, D-Charges / Assault Pistol, CC Weapon. (0.5 | 18)
IRMANDINHO Chain Rifle, D-Charges, Smoke Grenades / Pistol, AP CC Weapon. (0 | 8)
WARCOR (360º Visor) Flash Pulse ( ) / Stun Pistol, PARA CC Weapon(-3). (0 | 3)
4.5 SWC | 300 Points | Open in Infinity Army
Thankfully I’ve been looking at StarCo lists recently, so I suspected that there was some airborne trickery afoot when I saw Nathan’s order pools.
Deployment
Nathan won the rolloff and elected to go first. I’m generally not a fan of going first in Supplies, but I figured this was a good opportunity for him to land a bunch of drop troops and mess up my day. The Riot Grrl link landed in the middle of his deployment zone, supported by two Jaguars on the right. His Brawler Lt was safely on a roof, with the Irmandinho making up his only left flank option.
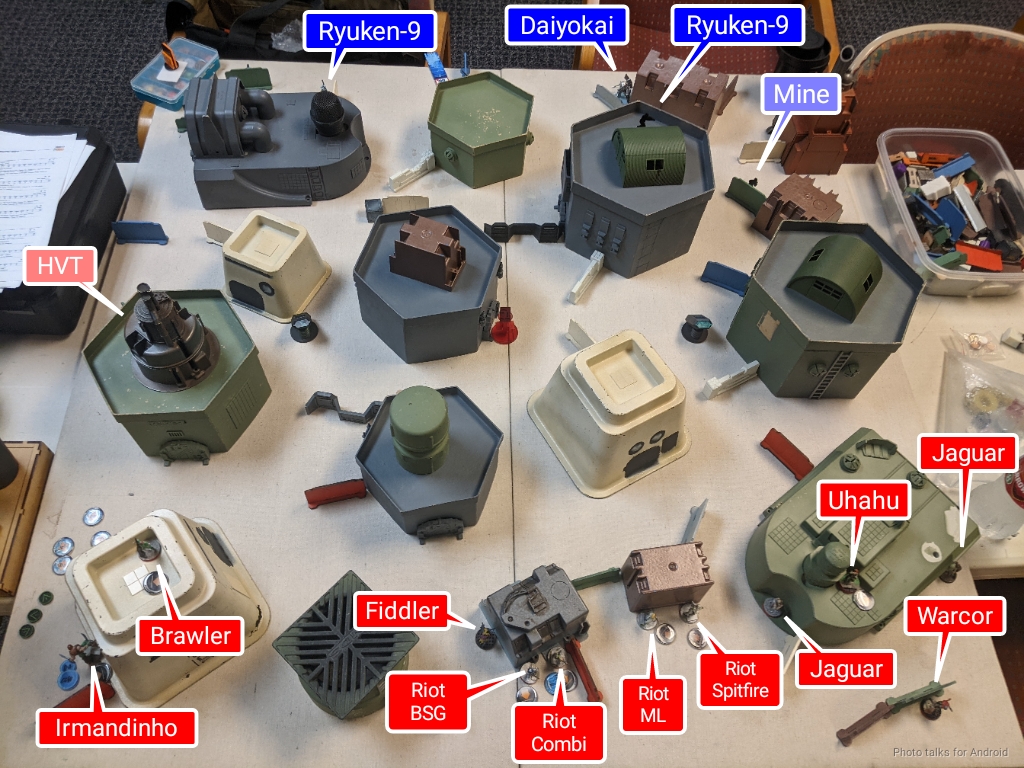
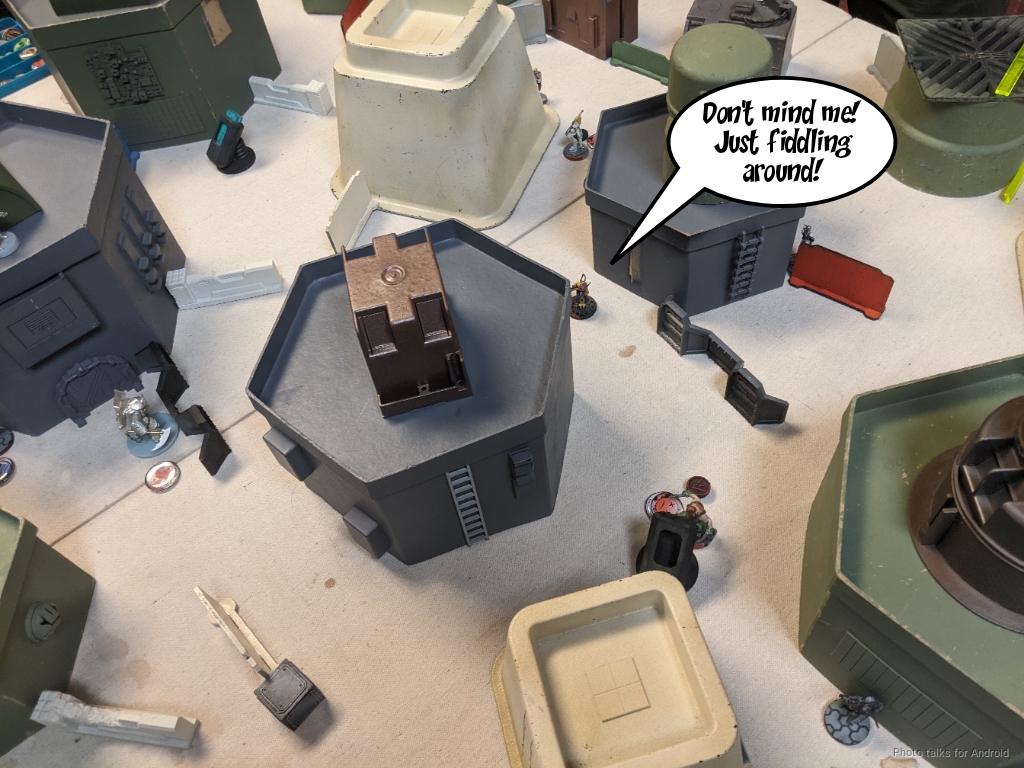
The StarCo warcor hung out watching the back table edge for shenanigans. JSA doesn’t have access to airborne troops, but this is excellent practice in general and would at the very least make maneuvering an Oniwaban potentially more difficult. Uhahu hid on a roof as well, presumably to keep her out of stabbing range.
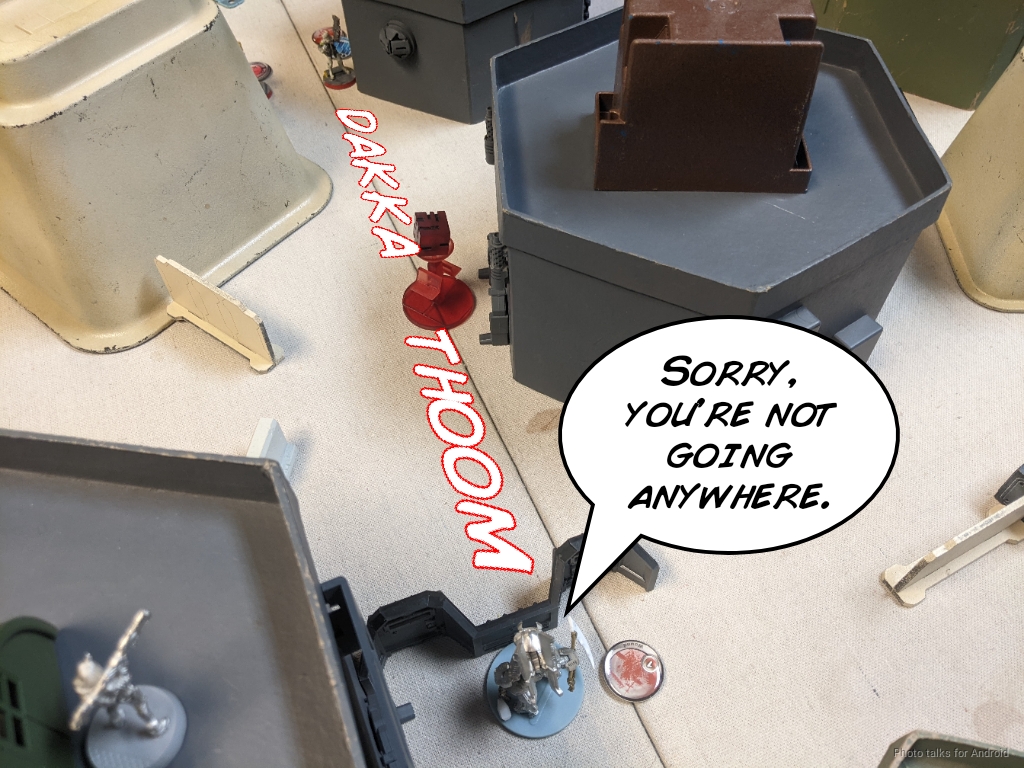
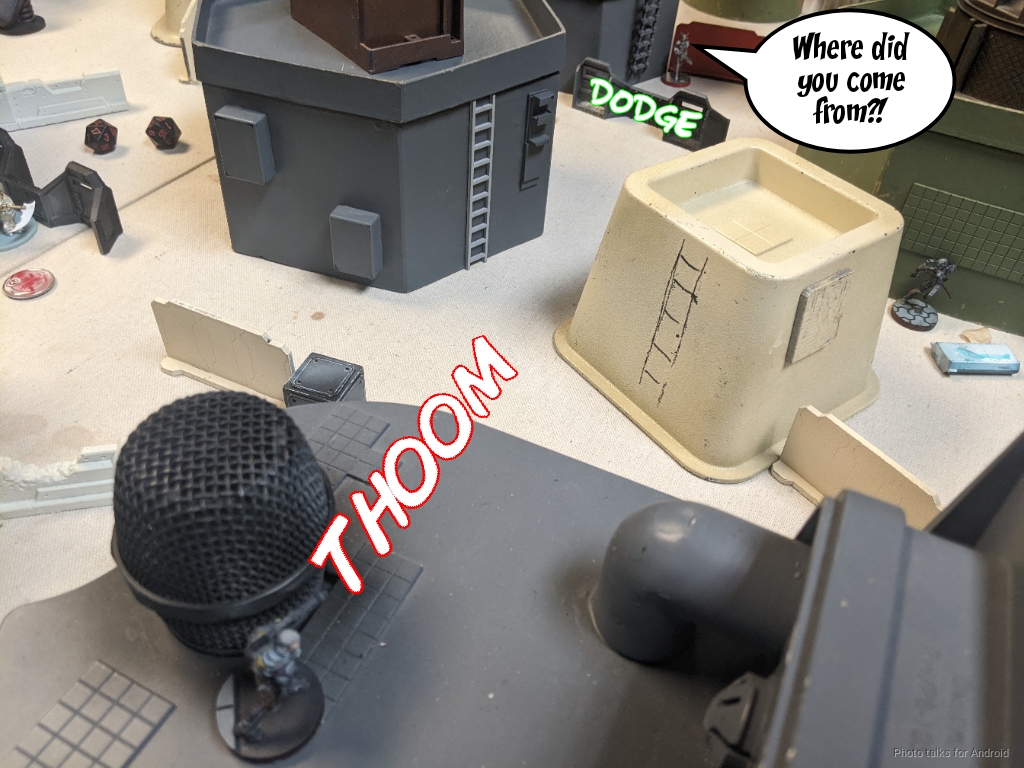
There was a tall building with a corner in my deployment zone, so one of the Ryuken-9 went up there, with a mine covering the left table edge against AD troops. it was positioned to see most of my deployment zone. The other Ryuken-9 covered more of my deployment zone and most of the right table edge with an HRL, and then covered the part it couldn’t see with its mine. I put my Ninja on the rightmost objective, figuring that to be the farthest from Uhahu (probably a mistake in retrospect, could’ve gone and killed her) and reasonably safe.
The Daiyokai link hung out on the left, covering more potential drop zones, with the Daiyokai left out to challenge anything that walked up to the rightmost box. Neko and my Lieutenant were deployed a little more conservatively along with their Paramedic backup, but they were also watching for AD troops. Nathan had held Fiddler in reserve, so she joined the link, and then I plunked down the O-Yoroi in the middle of my DZ with its Koala basically on top of it. I figured this would deter a Hellcat with repeater landing on the roof nearby (along with the Ryuken) or worse, Spector from getting into CC.
Turn 1
Top of 1 – StarCo
Nathan showed me two order pools, 6 worth of Riot Grrls + a Jaguar and 3 regular + 2 irregular in the second pool. I wasn’t terribly concerned about the Irmandinho ruining my day, and I figured I could handle 3 orders worth of Hellcat. What I didn’t want to deal with was 6 order of Hellcat, so I took two orders from the main pool of 6, which also helped limit the Riot Grrls movement.
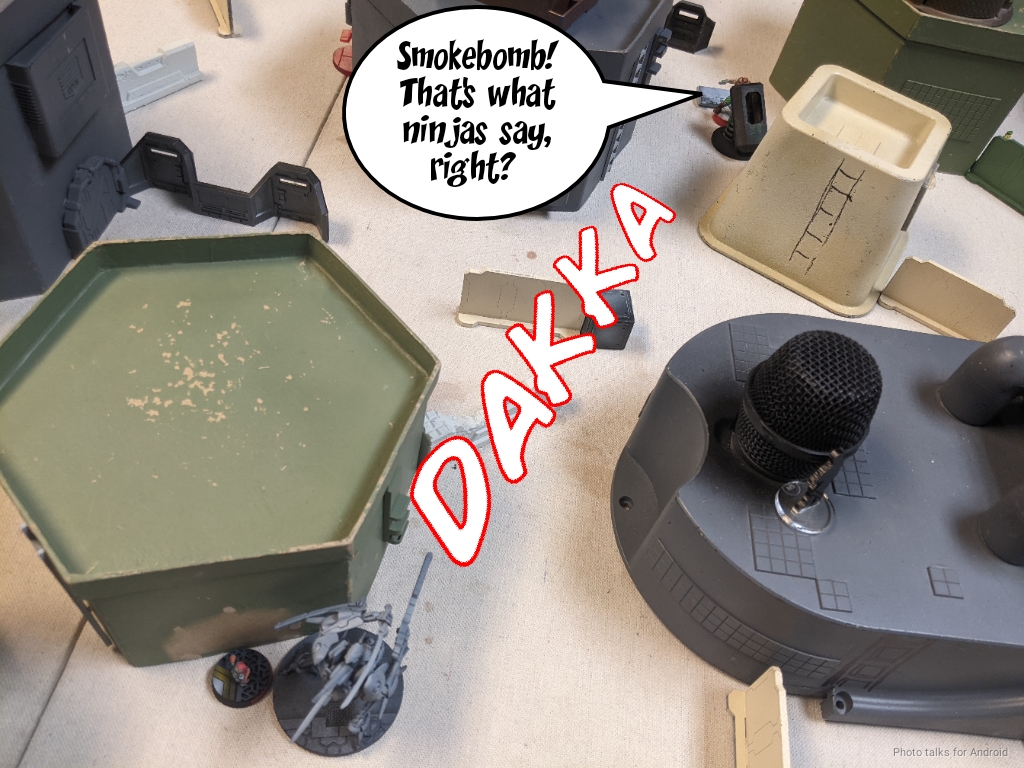
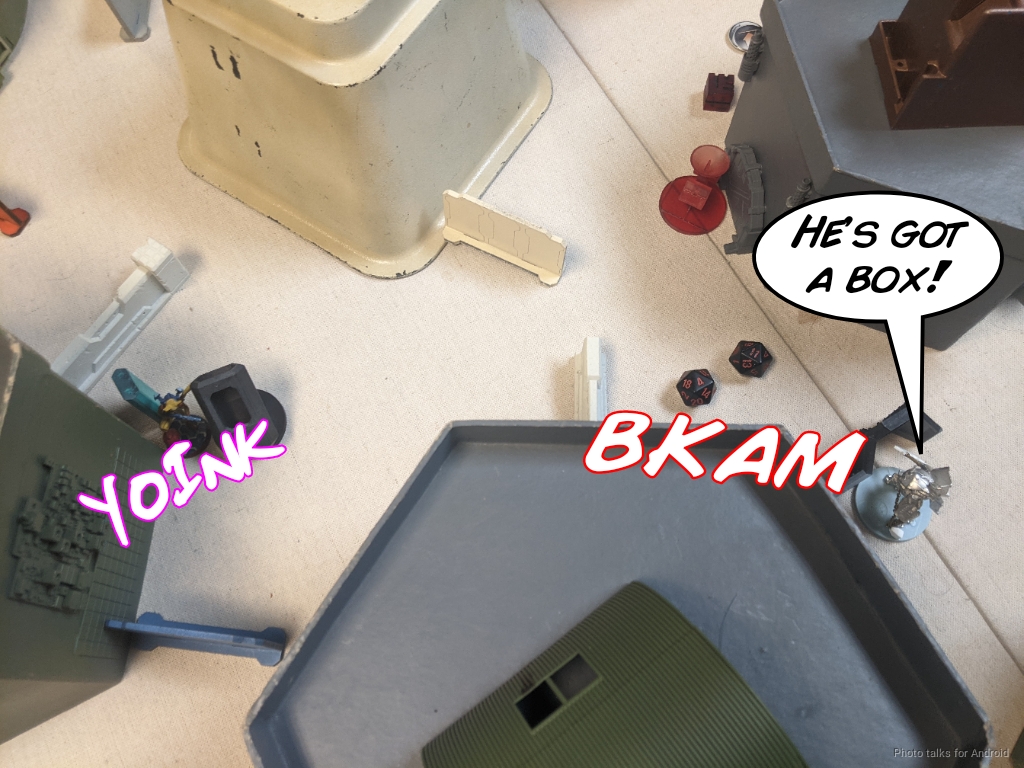
To my surprise, Nathan spent all the orders in his second pool throwing smoke with the Irmandinho and grabbing the box with the last order. If the smoke had been on the objective I 100% would have dodged into base to base with the Ninja, but I figured I’d do it on my turn.
The rest of Nathan’s turn is spent pushing the the Riot Grrls forward. He set up smoke for them with a Jaguar and then pushed the missile Riot Grrl forward into a position to challenge my TAG’s path forward. I think advancing a missile intended for ARO is very dangerous, as that makes it easier for me to challenge it in favorable rangebands for me and in the zero band for the missile. Nathan sort of handled this by covering the missile with the spitfire, but I can still slice the pie and engage on my terms. Fiddler was very exposed on my right. I could have probably pushed my Lieutenant link forward and engaged both her and the Irmandinho now that I’m looking at this.
The Brawler ends the turn in suppression, and Nathan passes turn.
Bottom of 1 – JSA
I really am unsure as to what to do now, as there are a fair amount of structural weaknesses to Nathan’s deployment to exploit. I still need to honor the drop troops waiting to come on, so I can’t overextend too aggressively. I decide that I have enough heavy armor on the table that the only real risk to me is Uhahu and the Riot missile. Uhahu is effectively out of the game since she’s parked on a roof in a small order pool, so I’m not terribly worried about her. She can start firing pitchers, but until that happens I’m calling that problem solved for now.
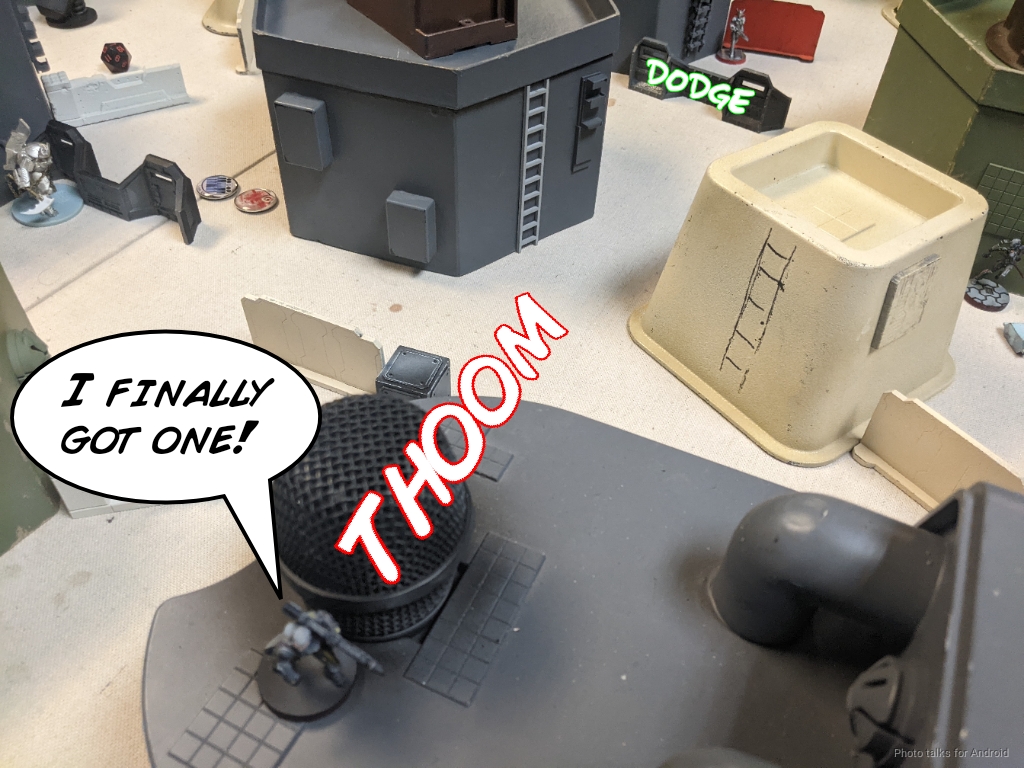
The problem that isn’t solved is the Riot missile. I don’t want to just challenge it with the TAG, so I start with the Ryuken on the roof. I can see the Spitfire first, so I go for that. I have a slight edge here:
| 44.23 | 41.48 | 14.29 |
I do a single wound, forcing the Spitfire around the corner.
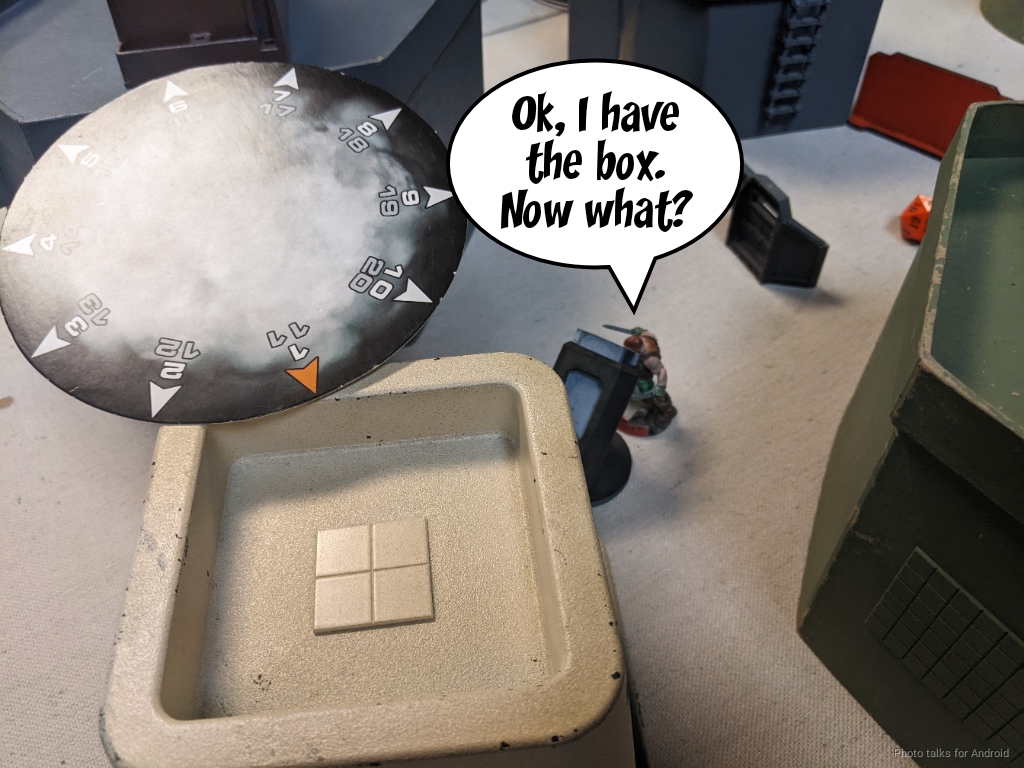
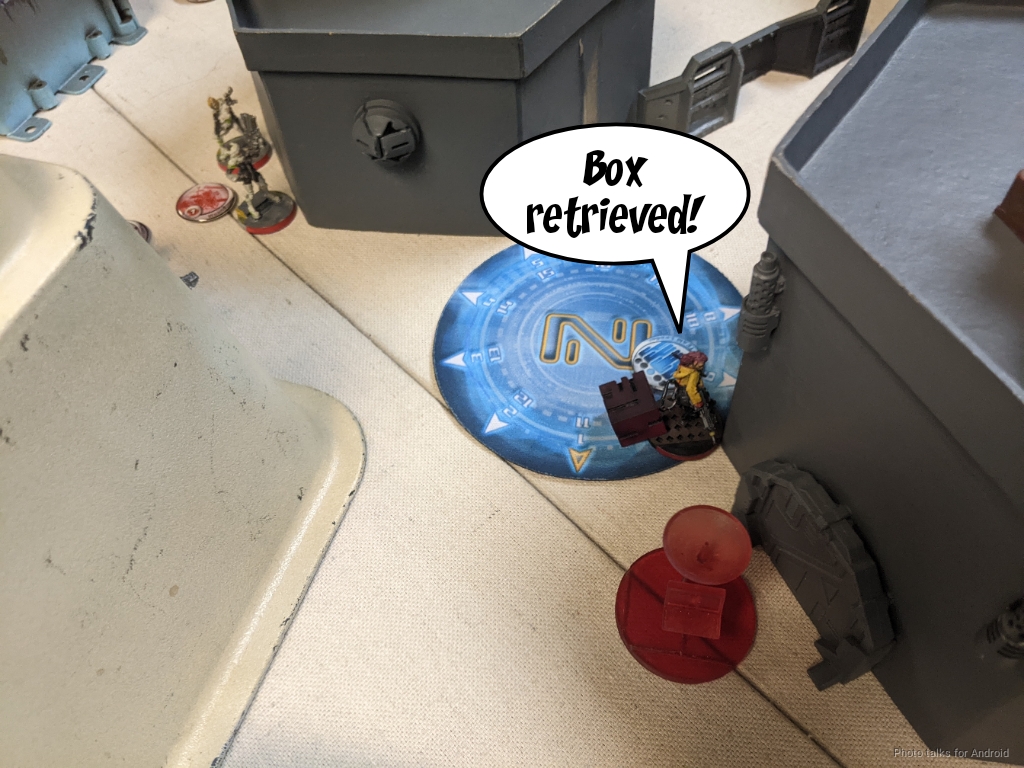
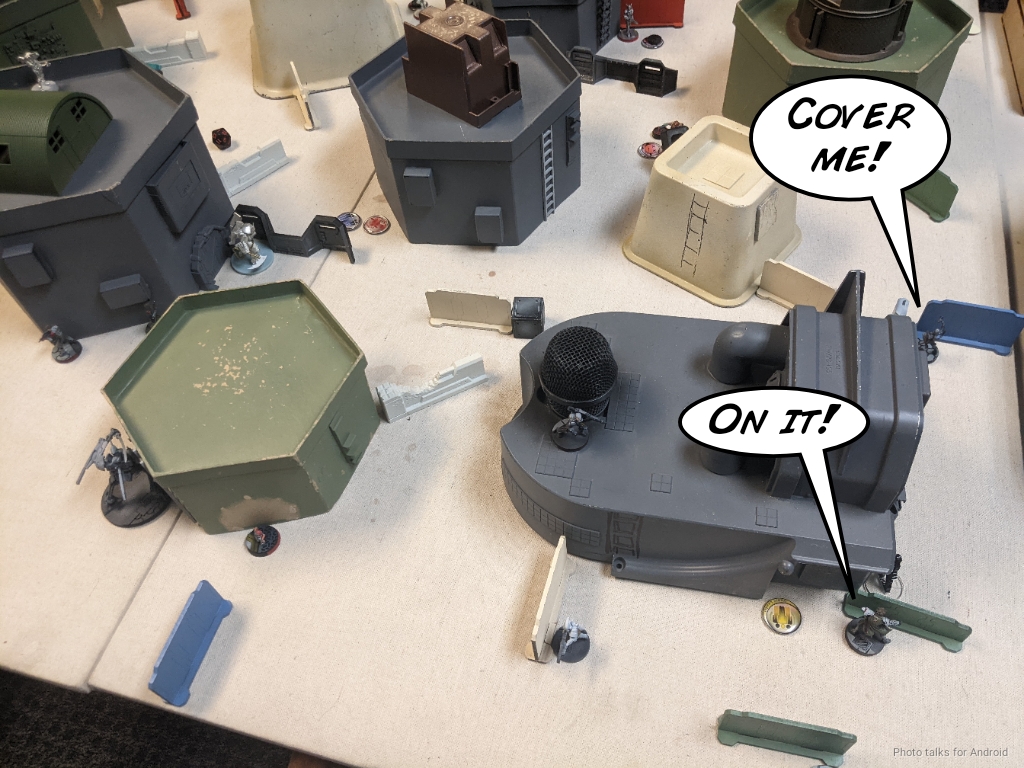
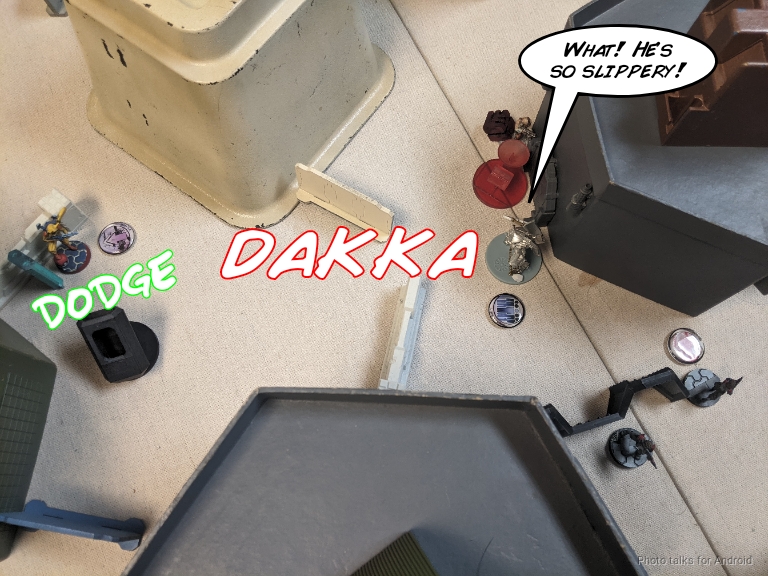
I figure I should undo a bunch of Nathan’s orders and just steal the box from the Irmandinho, so I throw the O-Yoroi at it with the tac aware order. Reasonable chances of landing a smoke, and a crit smoke secures it.
| 67.74 | 10.61 | 21.65 |
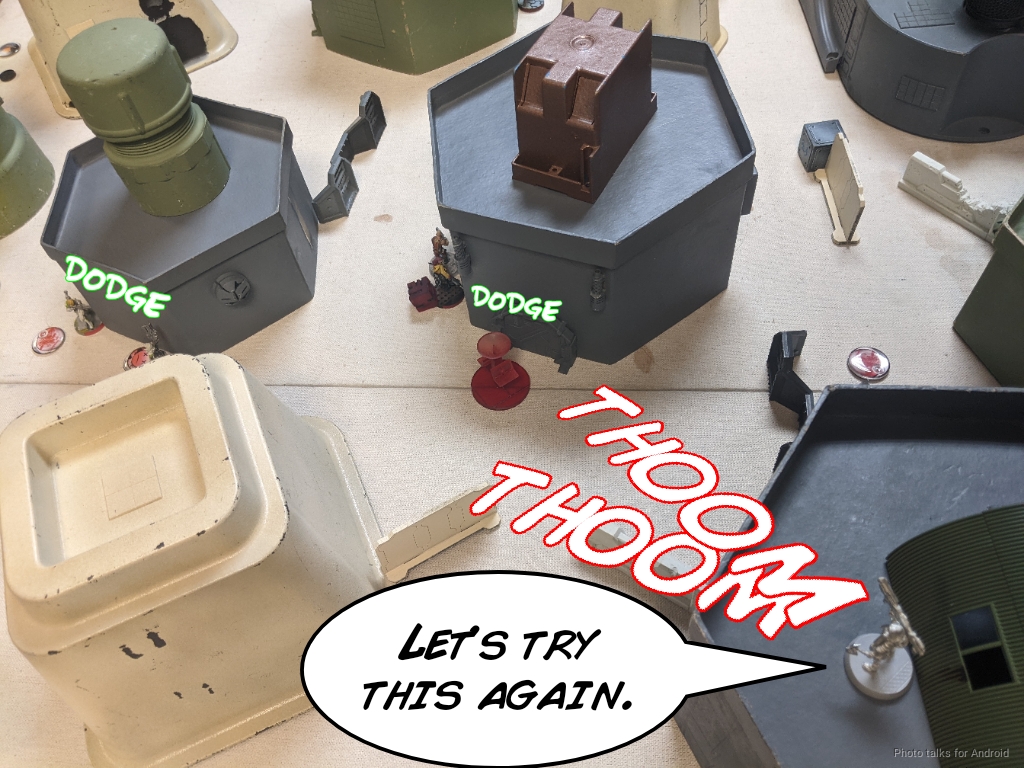
Next I go after the Riot Missile with the Ryuken. She’s in the open and inside 24″, so this should go pretty well for me.
| 50.50 | 27.15 | 22.35 |
I land two hits and she passes both saves, dodging to my left to avoid further trouble.
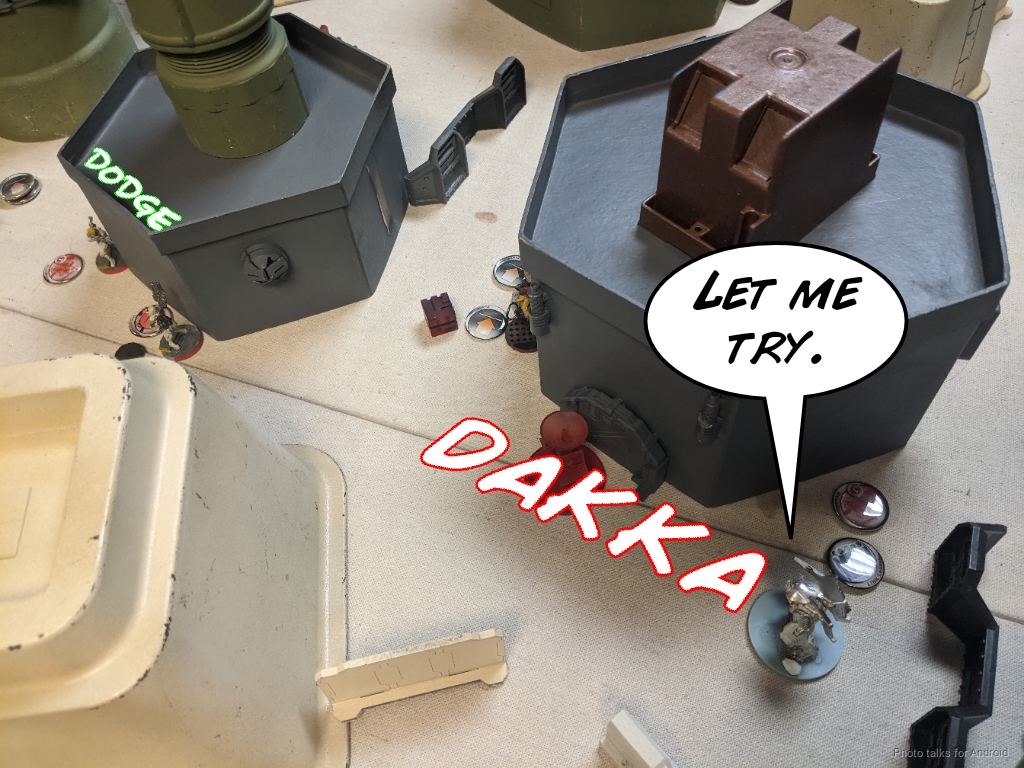
No matter, I’ve got the Daiyokai for this. I send him in and take a shot with the MULTI Marksman.
| 62.85 | 20.36 | 16.79 |
I lose the face to face and two wounds off the Daiyokai! Uh oh.

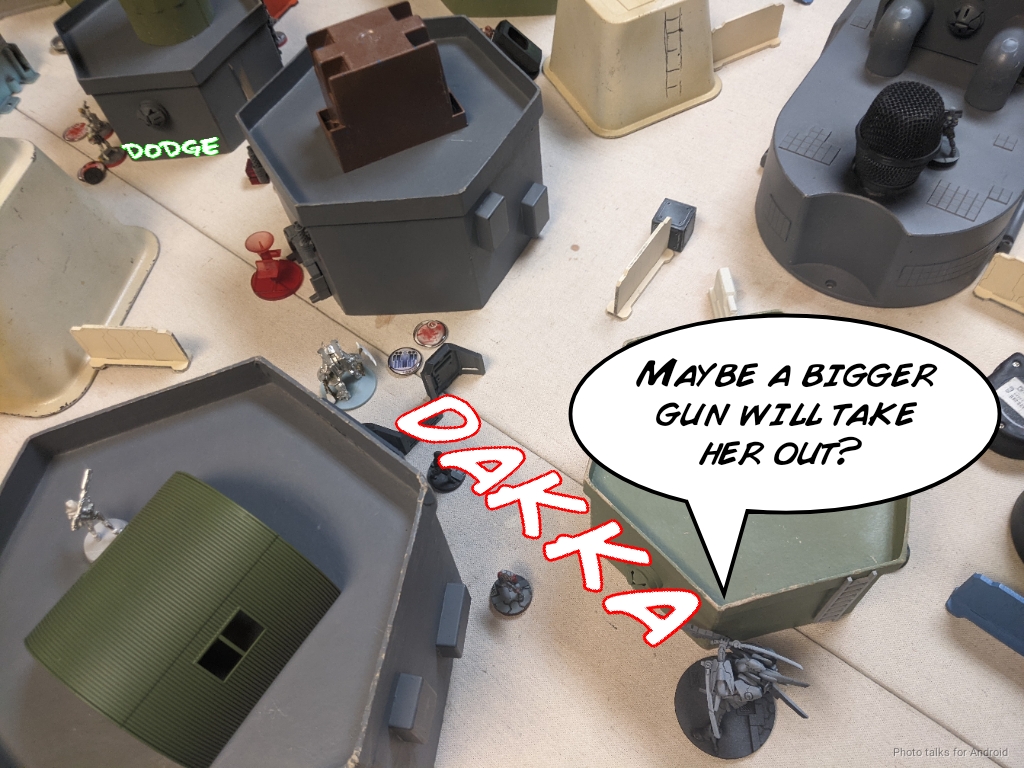
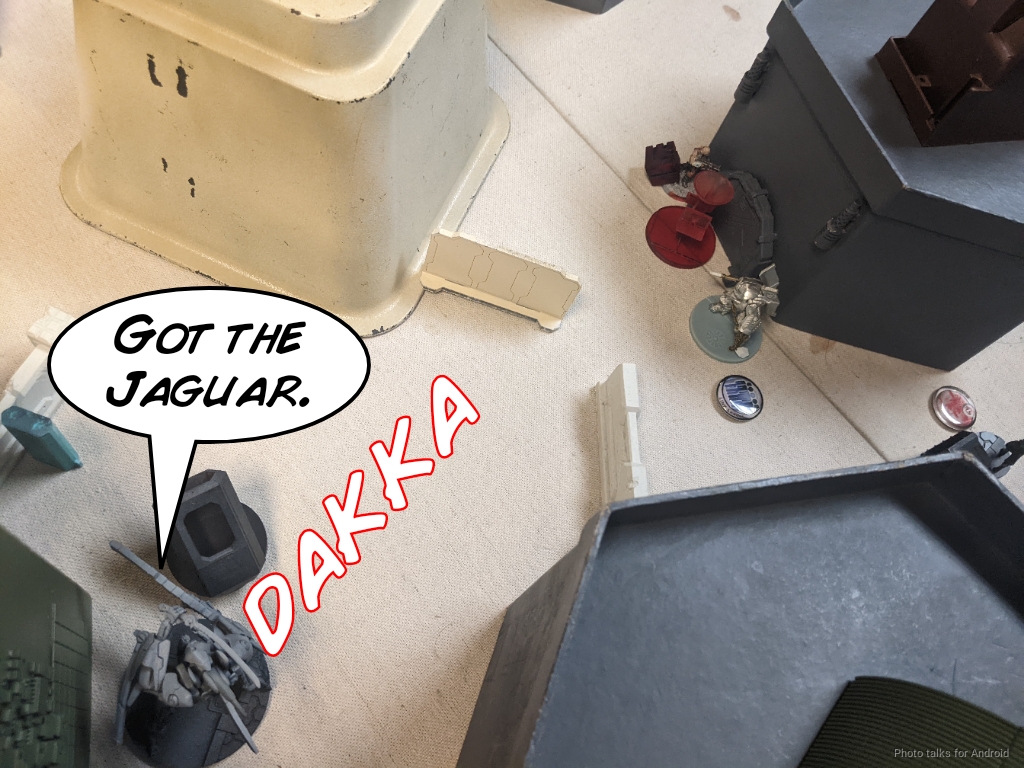
No problem, I fail guts, drop him prone, shift link leader to the Paramedic, fire two rounds of combat stimulants into him, and bring him back out of NWI. I spend I think two more orders shooting at the Riot Grrl until she finally dies after passing something like 6-7 ARM saves total. Jeez. I really don’t want to let the Irmandinho just run away with the box, so I walk the Ninja behind him and stab him and take the box.
This takes all of my remaining orders, so I have to settle for tucking the Ninja into cover along a building. I figure Fiddler is going to throw some Drop Bears and then I’m going to have to deal with a Riot Grrl BSG, but that will shift the link away from the central and left objectives and into range of getting sliced to ribbons by Oyama. I’m okay with this, so I just hang the Ninja out to dry as bait (not that I have much of a choice).
Turn 2
Top of 2 – StarCo
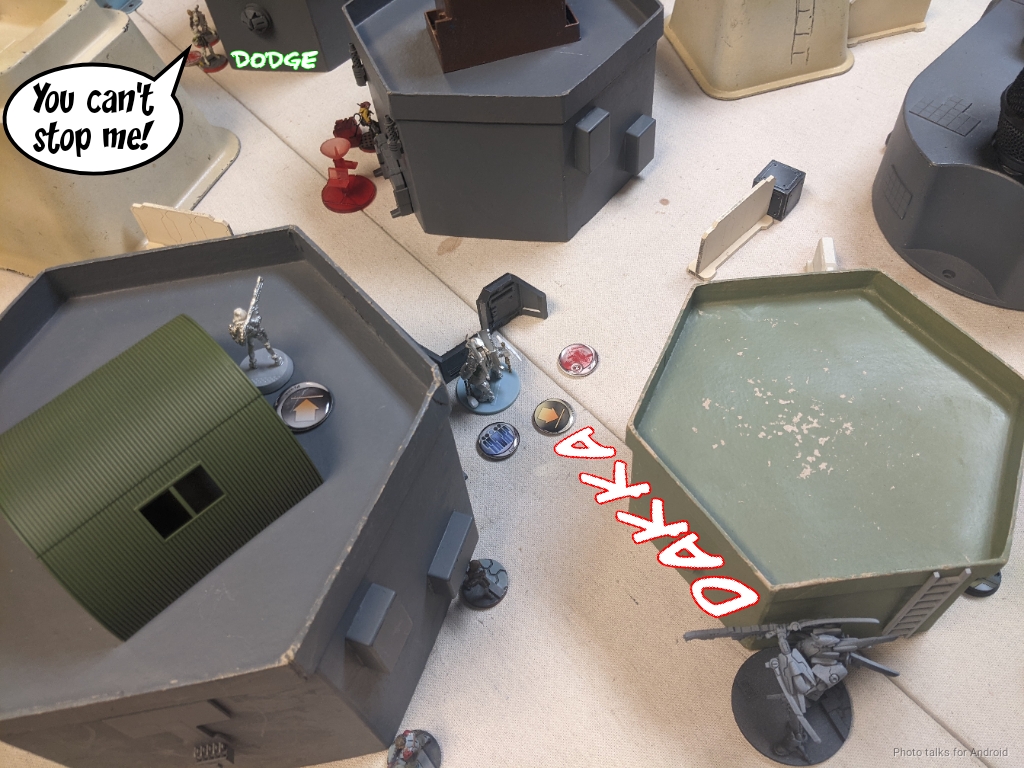
The link is still a threat though, and the Riot Grrl Spitfire starts bullying the Ryuken-9.
| 15.09 | 32.63 | 52.28 |
This is slightly in Nathan’s favor in terms of wasting orders, but the ARM rolls go my way. I go prone to preserve my order pool.

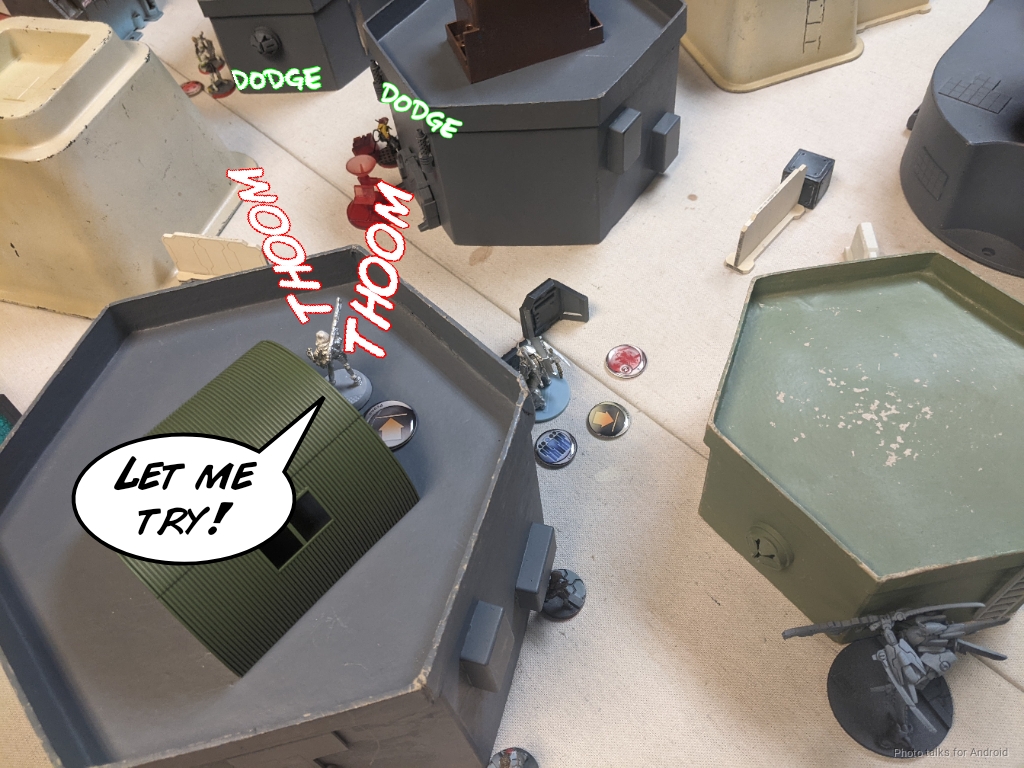
The Daiyokai faces off against the Riot Grrl Spitfire next, standing in her way for about 3 orders before finally taking a wound and going prone.
| 21.76 | 36.74 | 41.50 |
Fiddler moves towards the central box while all this is happening, so at least there’s some order efficiency here.
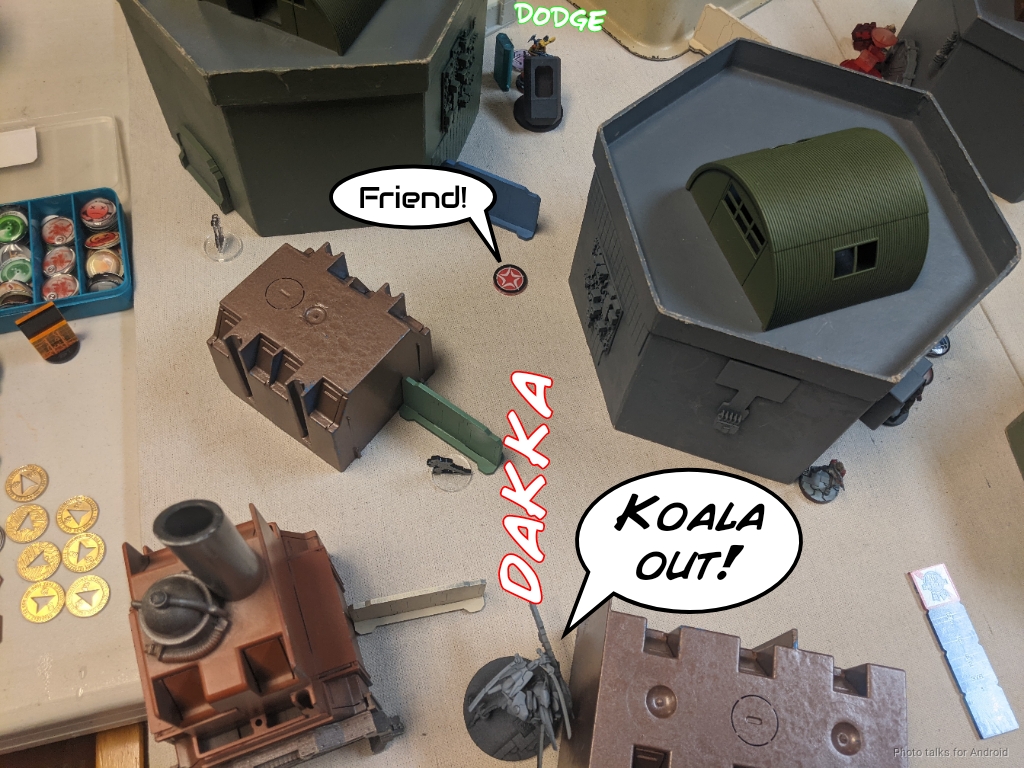
The Jaguar lands smoke on Fiddler and she grabs the box before retreating around the corner. Nathan is pretty worried about some TO thing jumping out, and I don’t blame him.
He decides to go after my Ninja with a Hellcat Hacker, bringing it on just outside where the other Ryuken-9 can’t see the table edge.
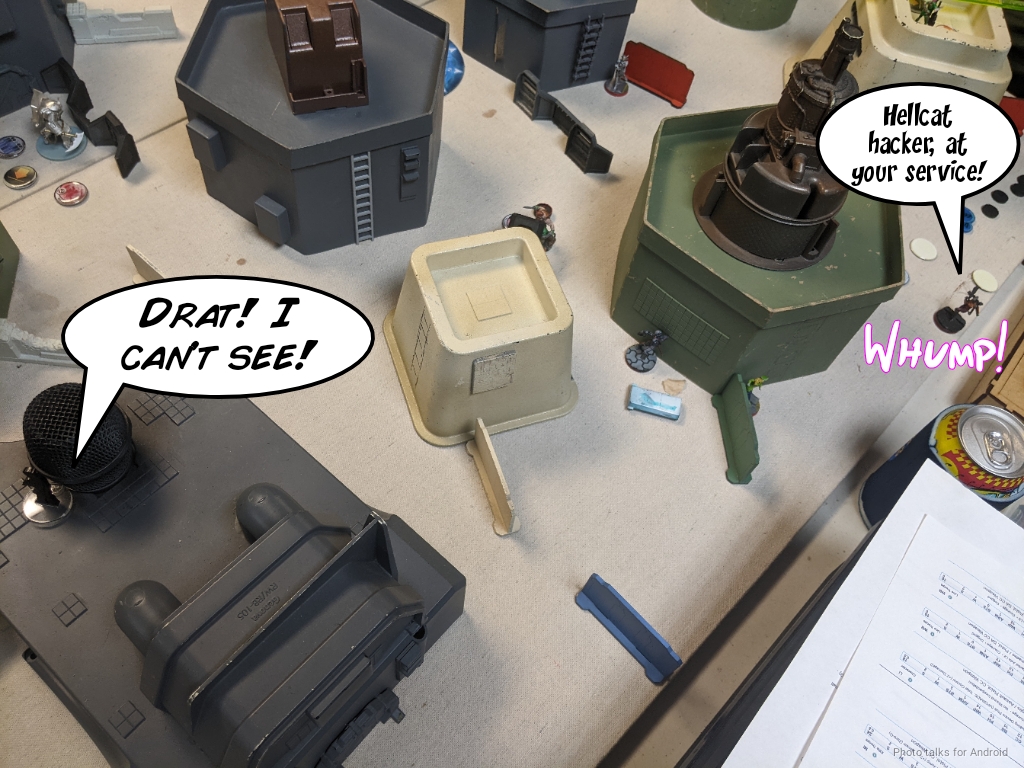
My Trinity roll beats his Oblivion, and he fails the BTS save and goes unconscious. I’ll take it!

Bottom of 2 – JSA
With the Riot Grrl ML down, I can start using the TAG to really get some work done, but I want to take some easy shots first and further damage Nathan’s already fragile order pools. I take a shot at the Riot combi with my Ryuken-9. Fiddler actually went too far so this Riot Grrl is out of the link, which means I get surprise shot. This is about as ideal a situation as I could ask for, since the Riot Grrl is out of cover.
| 51.99 | 25.17 | 22.84 |
I hit once, but the Riot Grrl passes her save.
Time to deal with the other Riot Grrl. The Spitfire is in bad range and she doesn’t have link bonuses anymore, so the TAG is very safe.
| 51.28 | 18.99 | 29.73 |
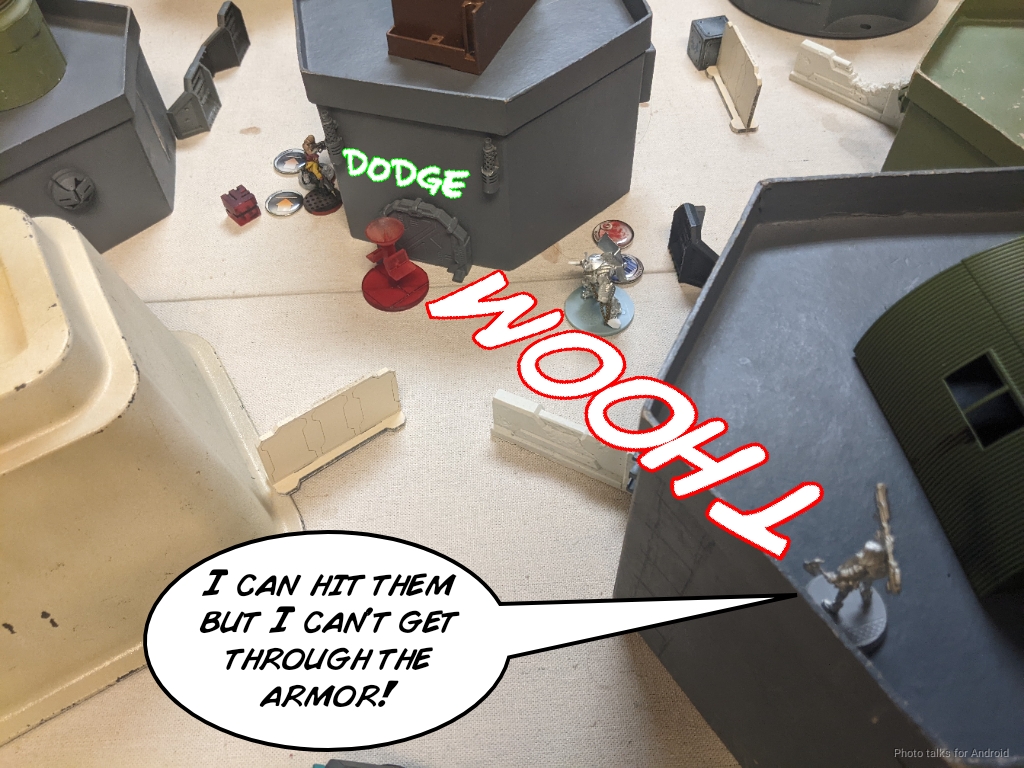
I hit a few times, but she passes all her saves.
I decide to deny the cover bonus from armor and split burst against Fiddler and the Riot Grrl Spitfire with the Ryuken 9. I hit Fiddler, the Jaguar standing next to her, the Riot Grrl Spitfire, and the Riot Grrl BSG standing next to her. I finally drop the Riot Spitfire and do a wound to the BSG, but Fiddler and the Jaguar both pass ARM. UGH.
I’m not really worried about the Riot BSG, so I dump both burst into Fiddler and the Jaguar next. I land a crit and a hit, but Nathan shows me a 18, 19, 19 on Fiddler and 20, 20 on the Jaguar. AARRRRGGGH.
Surely that won’t happen again, right? I split burst on the Riot BSG who shockingly didn’t dodge around the corner last order and Fiddler, and the BSG dodges forward while Fiddler and the Jaguar both pass ARM again and go prone. This is getting silly.
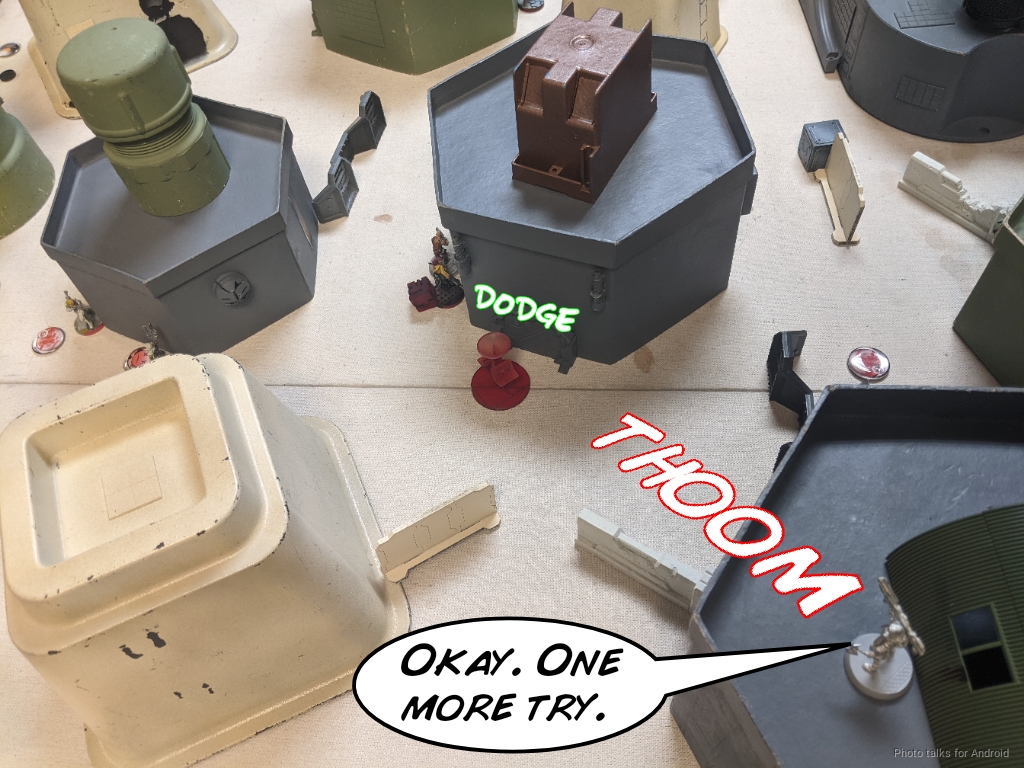
I’d really like for the Riot BSG to not come after my Daiyokai, so I just go for broke, advancing the Daiyokai towards Fiddler while shooting at the Riot Grrl out of cover. She passes all her ARM saves against this, and then passes a guts roll to stay put.
The TAG tries with its tac aware order, failing to wound the Riot Grrl still.
The Ryuken 9 has to scoot further forward to see Fiddler prone. Thankfully I’m just outside 16″ and I take her out, but the Jaguar beats the shots with some smoke.
I’ve got one NCO order left on the Daiyokai, which finally drops the Riot Grrl as I do a little bit of fancy footwork to get her out of cover on the way back to cover myself.

I decide to try again on the other Riot Grrl that’s out of cover on the other side of the table. This time, I land a crit and she fails both saves, passing the fire damage to stay on the table.
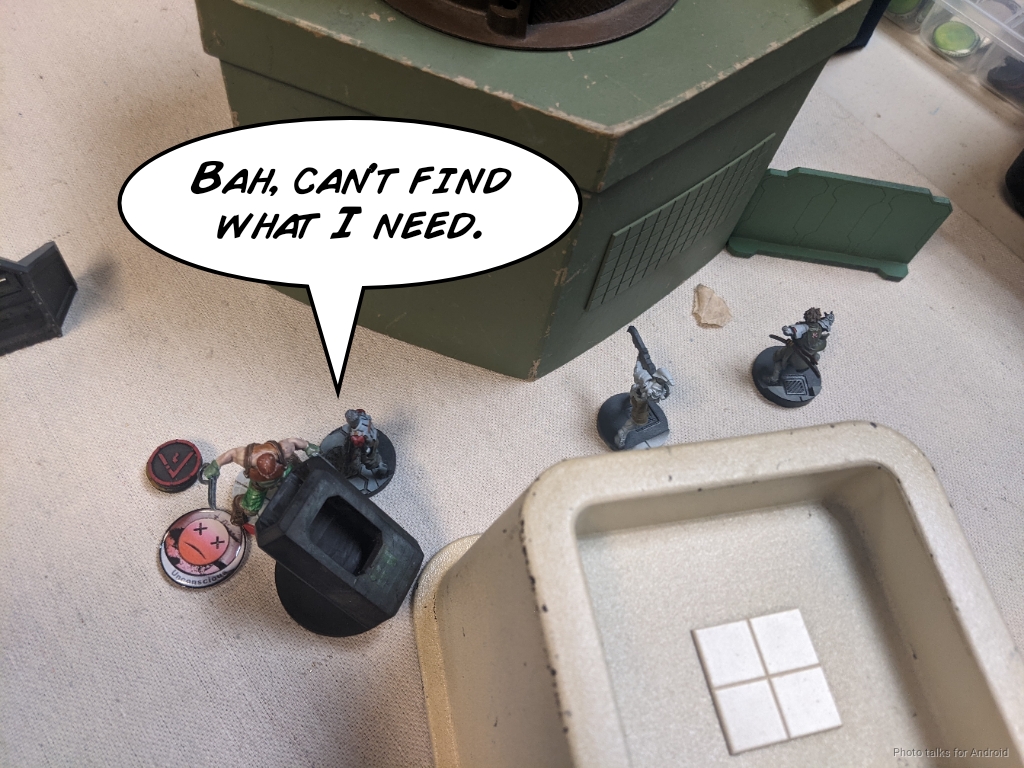
I’ve got Oyama’s tac aware left and one order for the Ninja. The Ninja scurries farther away and Oyama scoots a hair forward to watch her back in case something decides to walk on.
Turn 3
Top of 3 – StarCo
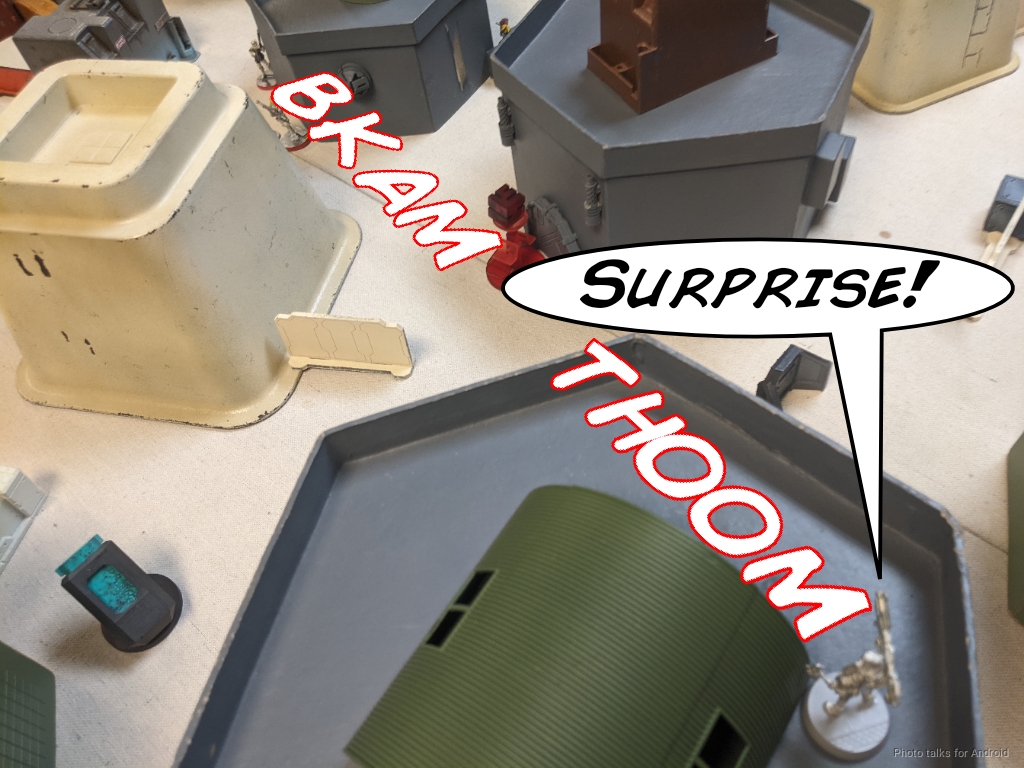
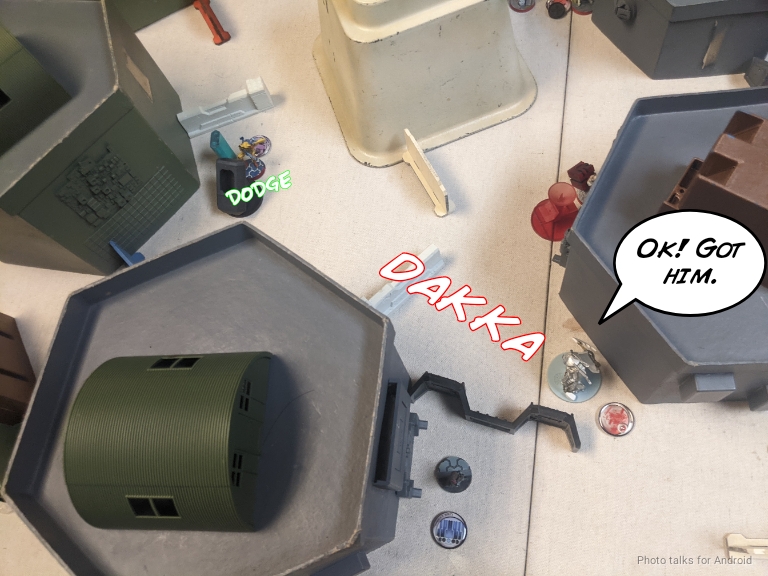
Thankfully, the Hellcat fails its roll and ends up in Nathan’s deployment zone, but Raoul lands successfully.
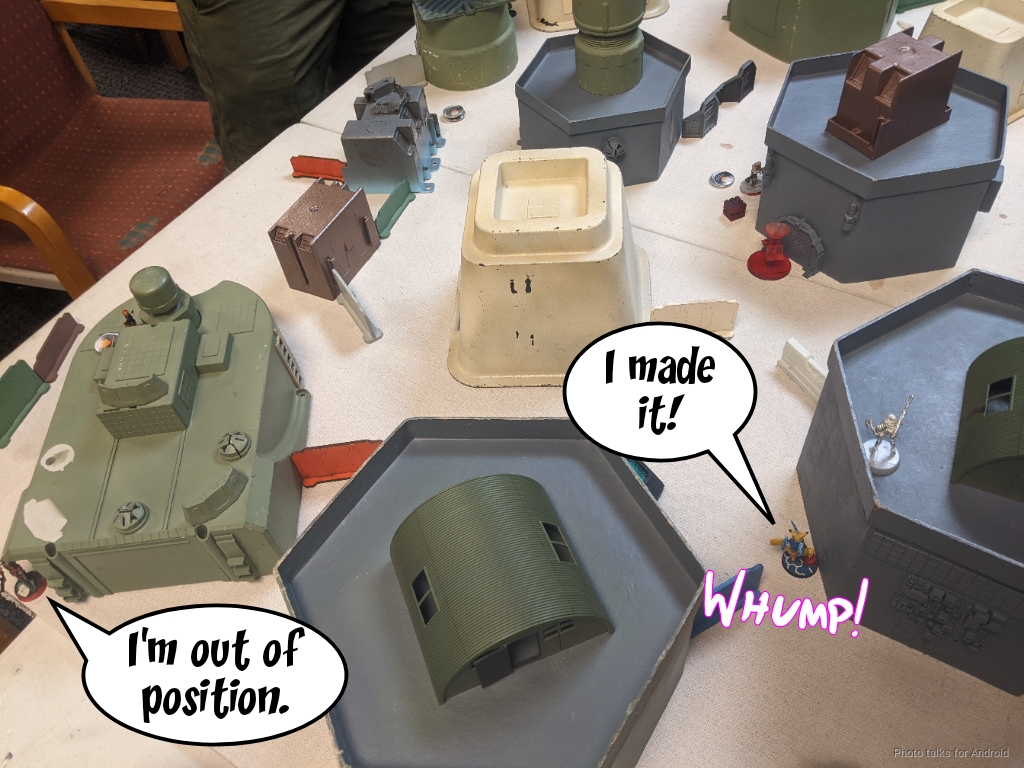
He takes out my Ryuken, who failed to dodge prone as he landed.
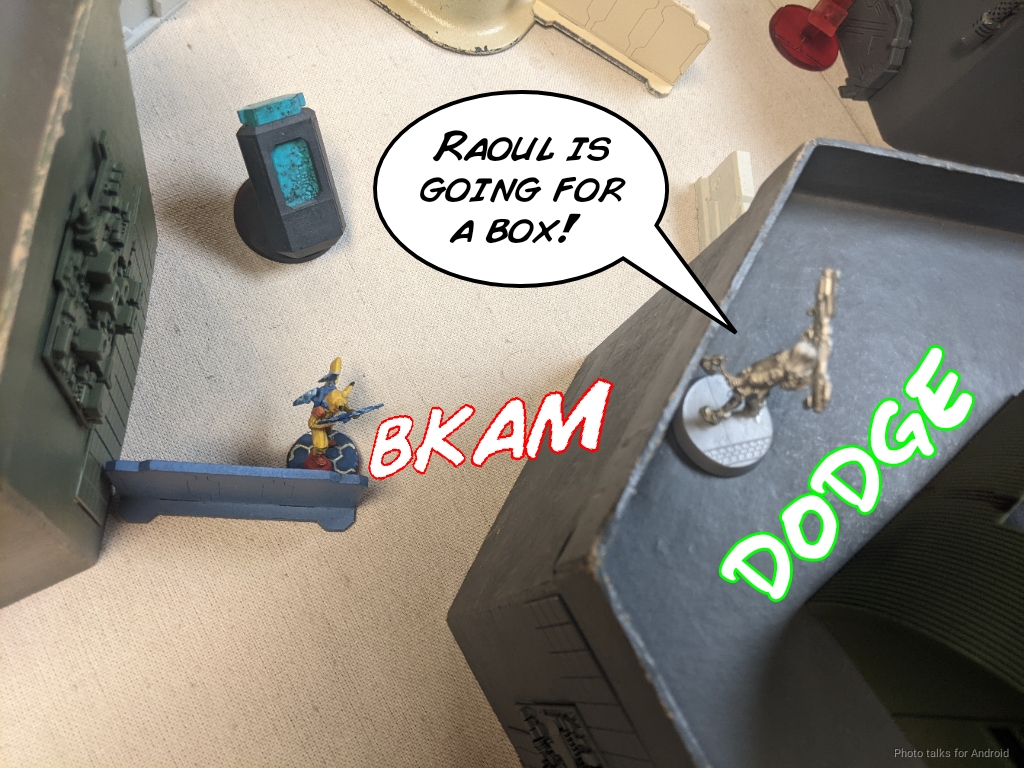
Raoul grabs a box but my Daiyokai puts a wound on him in ARO.
The Jaguar picks up Fiddler’s box, and the Brawler stands up with its Lieutenant order, daring anyone to make a move.
Bottom of 3 – JSA
Well, this is a pretty straightforward turn. Kill Raoul, kill the Jaguar, take their boxes, try for classifieds. I force a dodge on Raoul by sending the O-Yoroi’s last Koala ahead of it, but Raoul successfully dodges everything. I probably didn’t need to do this, but I was just so frustrated with all the ARM saves that Nathan passed that I wanted to put another high damage hit on him in case he failed the dodge. I’ve basically still got my entire order pool left minus the Ryuken so I can afford to spend the extra order here. Still, probably unnecessary.
Raoul’s now out of cover from the perspective of the Daiyokai, so I send it in with NCO orders. He passes ARM on the first burst…
but not the second.
The O-Yoroi swings wide and blaps down the Jaguar.
The Daiyokai and the O-Yoroi grab the Jaguar’s and Raoul’s boxes, respectively, and then it’s time for me to go get a classified off the Irmandinho with my Paramedic.
I fail, but at least I’m securing the HVT.
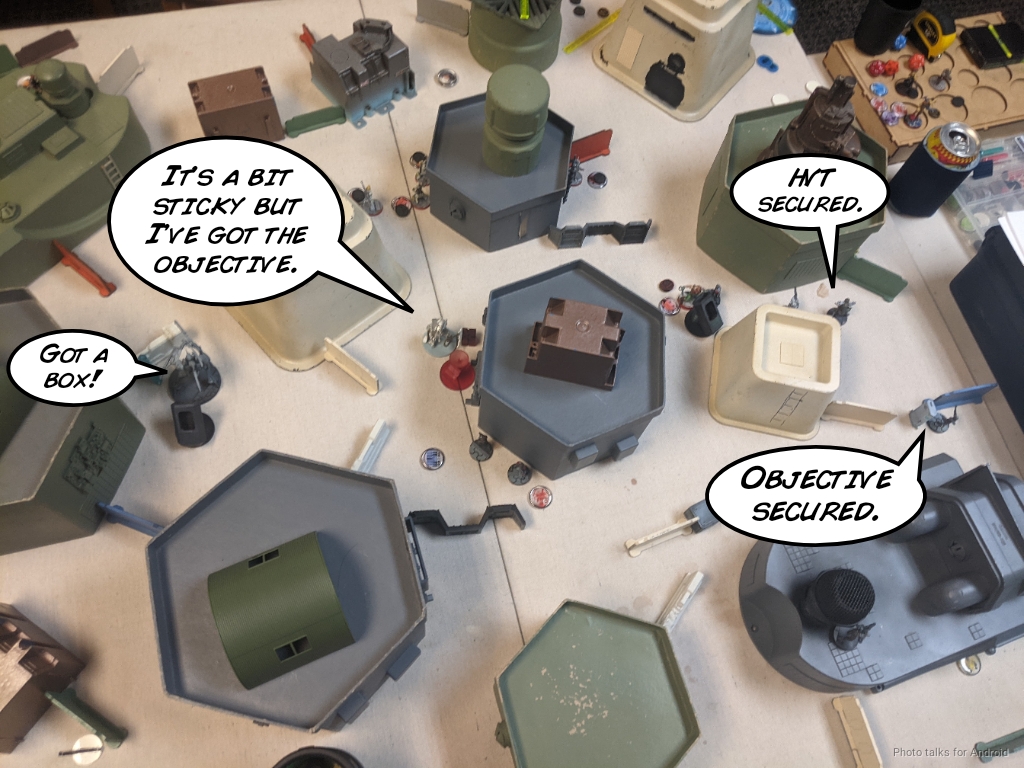
Somehow, even though Nathan passed what seemed like a million ARM saves, I managed to get all 3 boxes, making it a
9-0 Japanese Secessionist Army Victory!
Post Game Analysis
Well. The burst two on the Ryuken-9 is a bit sad. It’s not that I can’t win the face to face, it’s that I can’t get the additional ARM save to proc. I think the Daiyokai and the O-Yoroi just got unlucky shooting at stuff that was in the open with high damage AP weapons. It happens sometimes. Clearly Nathan should be playing D&D with these dice!
I think the reason I won this game was entirely due to pacing and the way our order pools were structured. Rushing to get the supplies without the orders to rescue the units felt pretty dangerous. Forcing me across the table through a Riot missile to get the supplies seems better. I think a safer and better tempo plan is to on turn 1, drop Raoul and the Hellcat Hacker onto the objectives, steal them, run away. Drop the Hellcat with deployable repeater on the roof with my Ryuken, drop a repeater, and then move the Riot ML out to challenge the TAG.
Now, you have 2/3 of the boxes behind an Uhahu powered hacking net with a Hellcat Hacker as a secondary ARO. Then your turn 2 can be fighting a delaying action in the midfield with the Riot Grrls, throwing drop bears everywhere with Fiddler to kill my Ninja and all that, and then trying to keep the TAG in my deployment zone.
Then I have to really push very hard with Neko’s haris and melee everything to death. Neko is very good but chewing through an entire Riot link that includes Fiddler is a tall order. If the ARM rolls kept being that good in this hypothetical game, then I don’t think I have any hope of winning. Best I can do is finally force someone to drop a box and grab my own for a tie.
JSA has a hard time getting out of its deployment zone. I made some very aggressive choices in my list to help with that, but I ended up having a pretty easy time of it because the Riot Grrls came to me. They were still very hard to kill, but I was always in good range bands and setting up good fights. Having to get all the way to you while the Missile Launcher is in the 40″ rangeband is way better.
I’m a little sad I didn’t get to CC anything with Oyama, but I learned that paramedic-ing the Daiyokai is very good. Throwing just a pair of cheap Keisotsu in there is real good as well. I think there are alot of this type of archetype to explore now. It’s a brave new bushido fueled world out there. I’ll have to start messing with it more. If only we all had more time to play more games, right? Thanks for reading.
Love Tim’s take on JSA, and what a great battle report! We really have been receiving a cornucopia of amazing battle reports lately, and I, for one, am very grateful! I always learn something new and I belive it makes me a better player. The next best thing after actually going out and playing games 😉
Aww, thank you 🙂
Pingback: Riot Against the ISS Machine – MERC Recon
Pingback: Inconceivable Ikari – MERC Recon