
The Third Player
This is the third round of the Mindtaker September 2022 tournament… here are rounds 1 and 2:
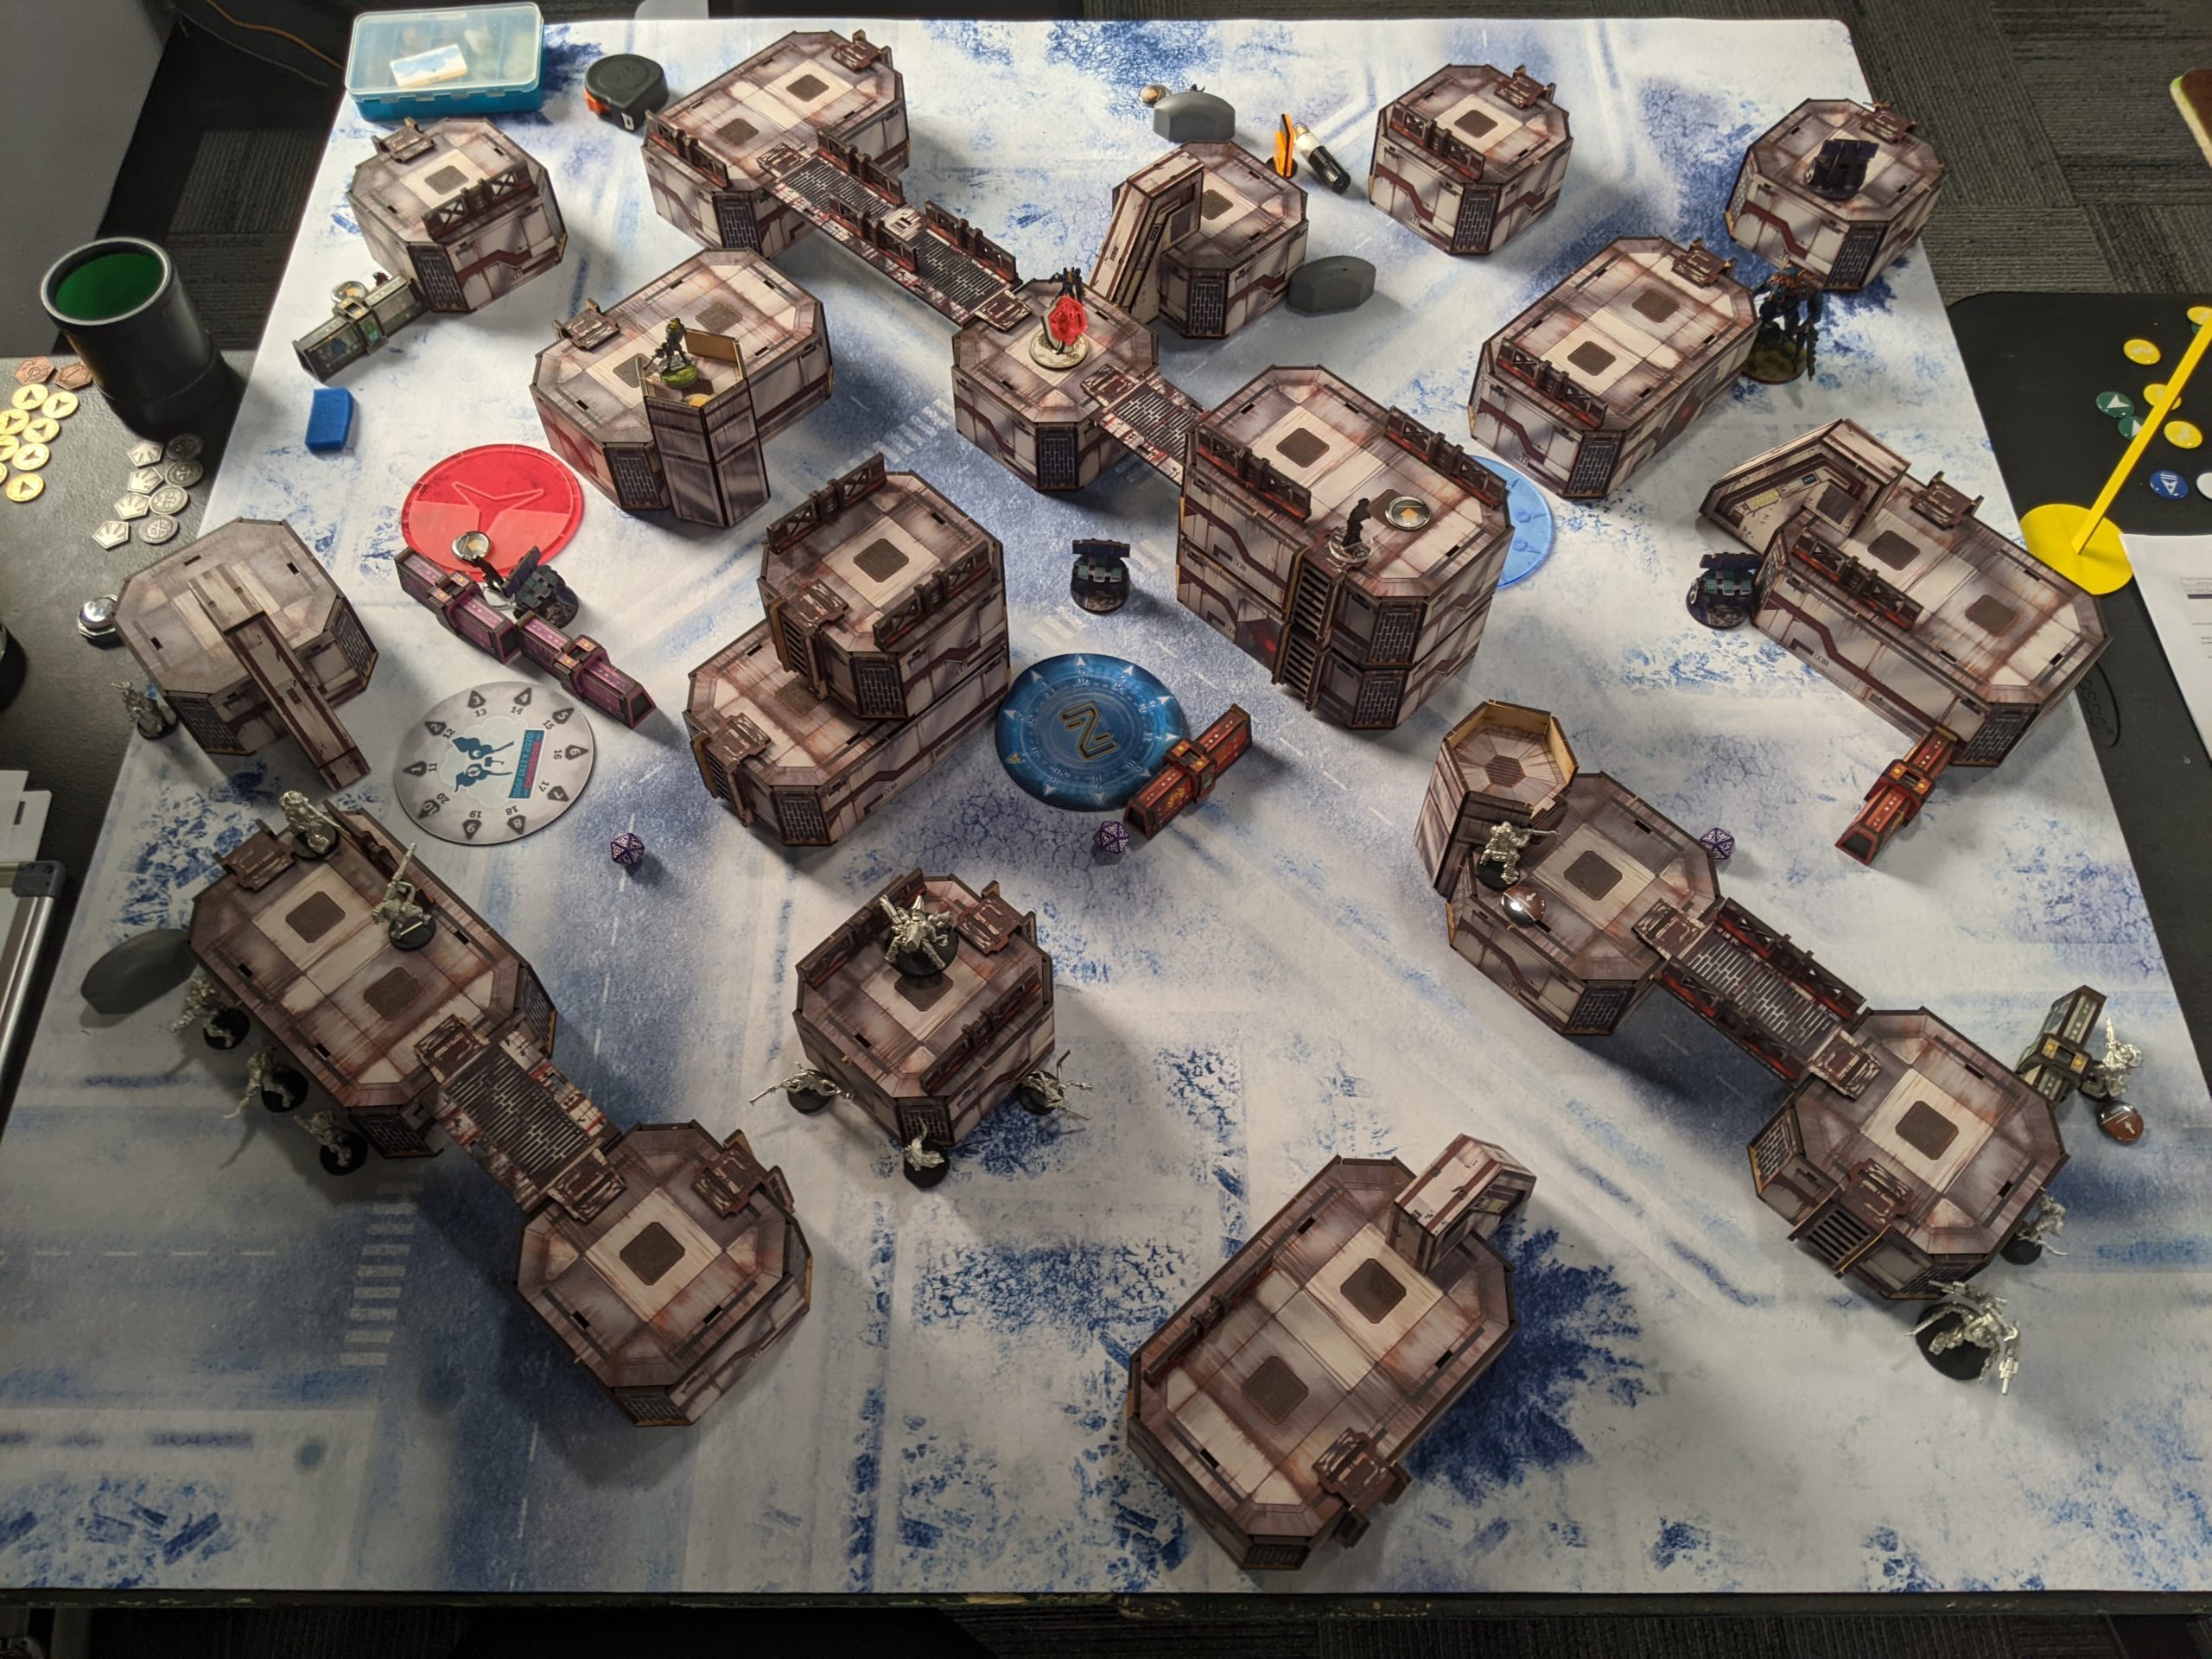
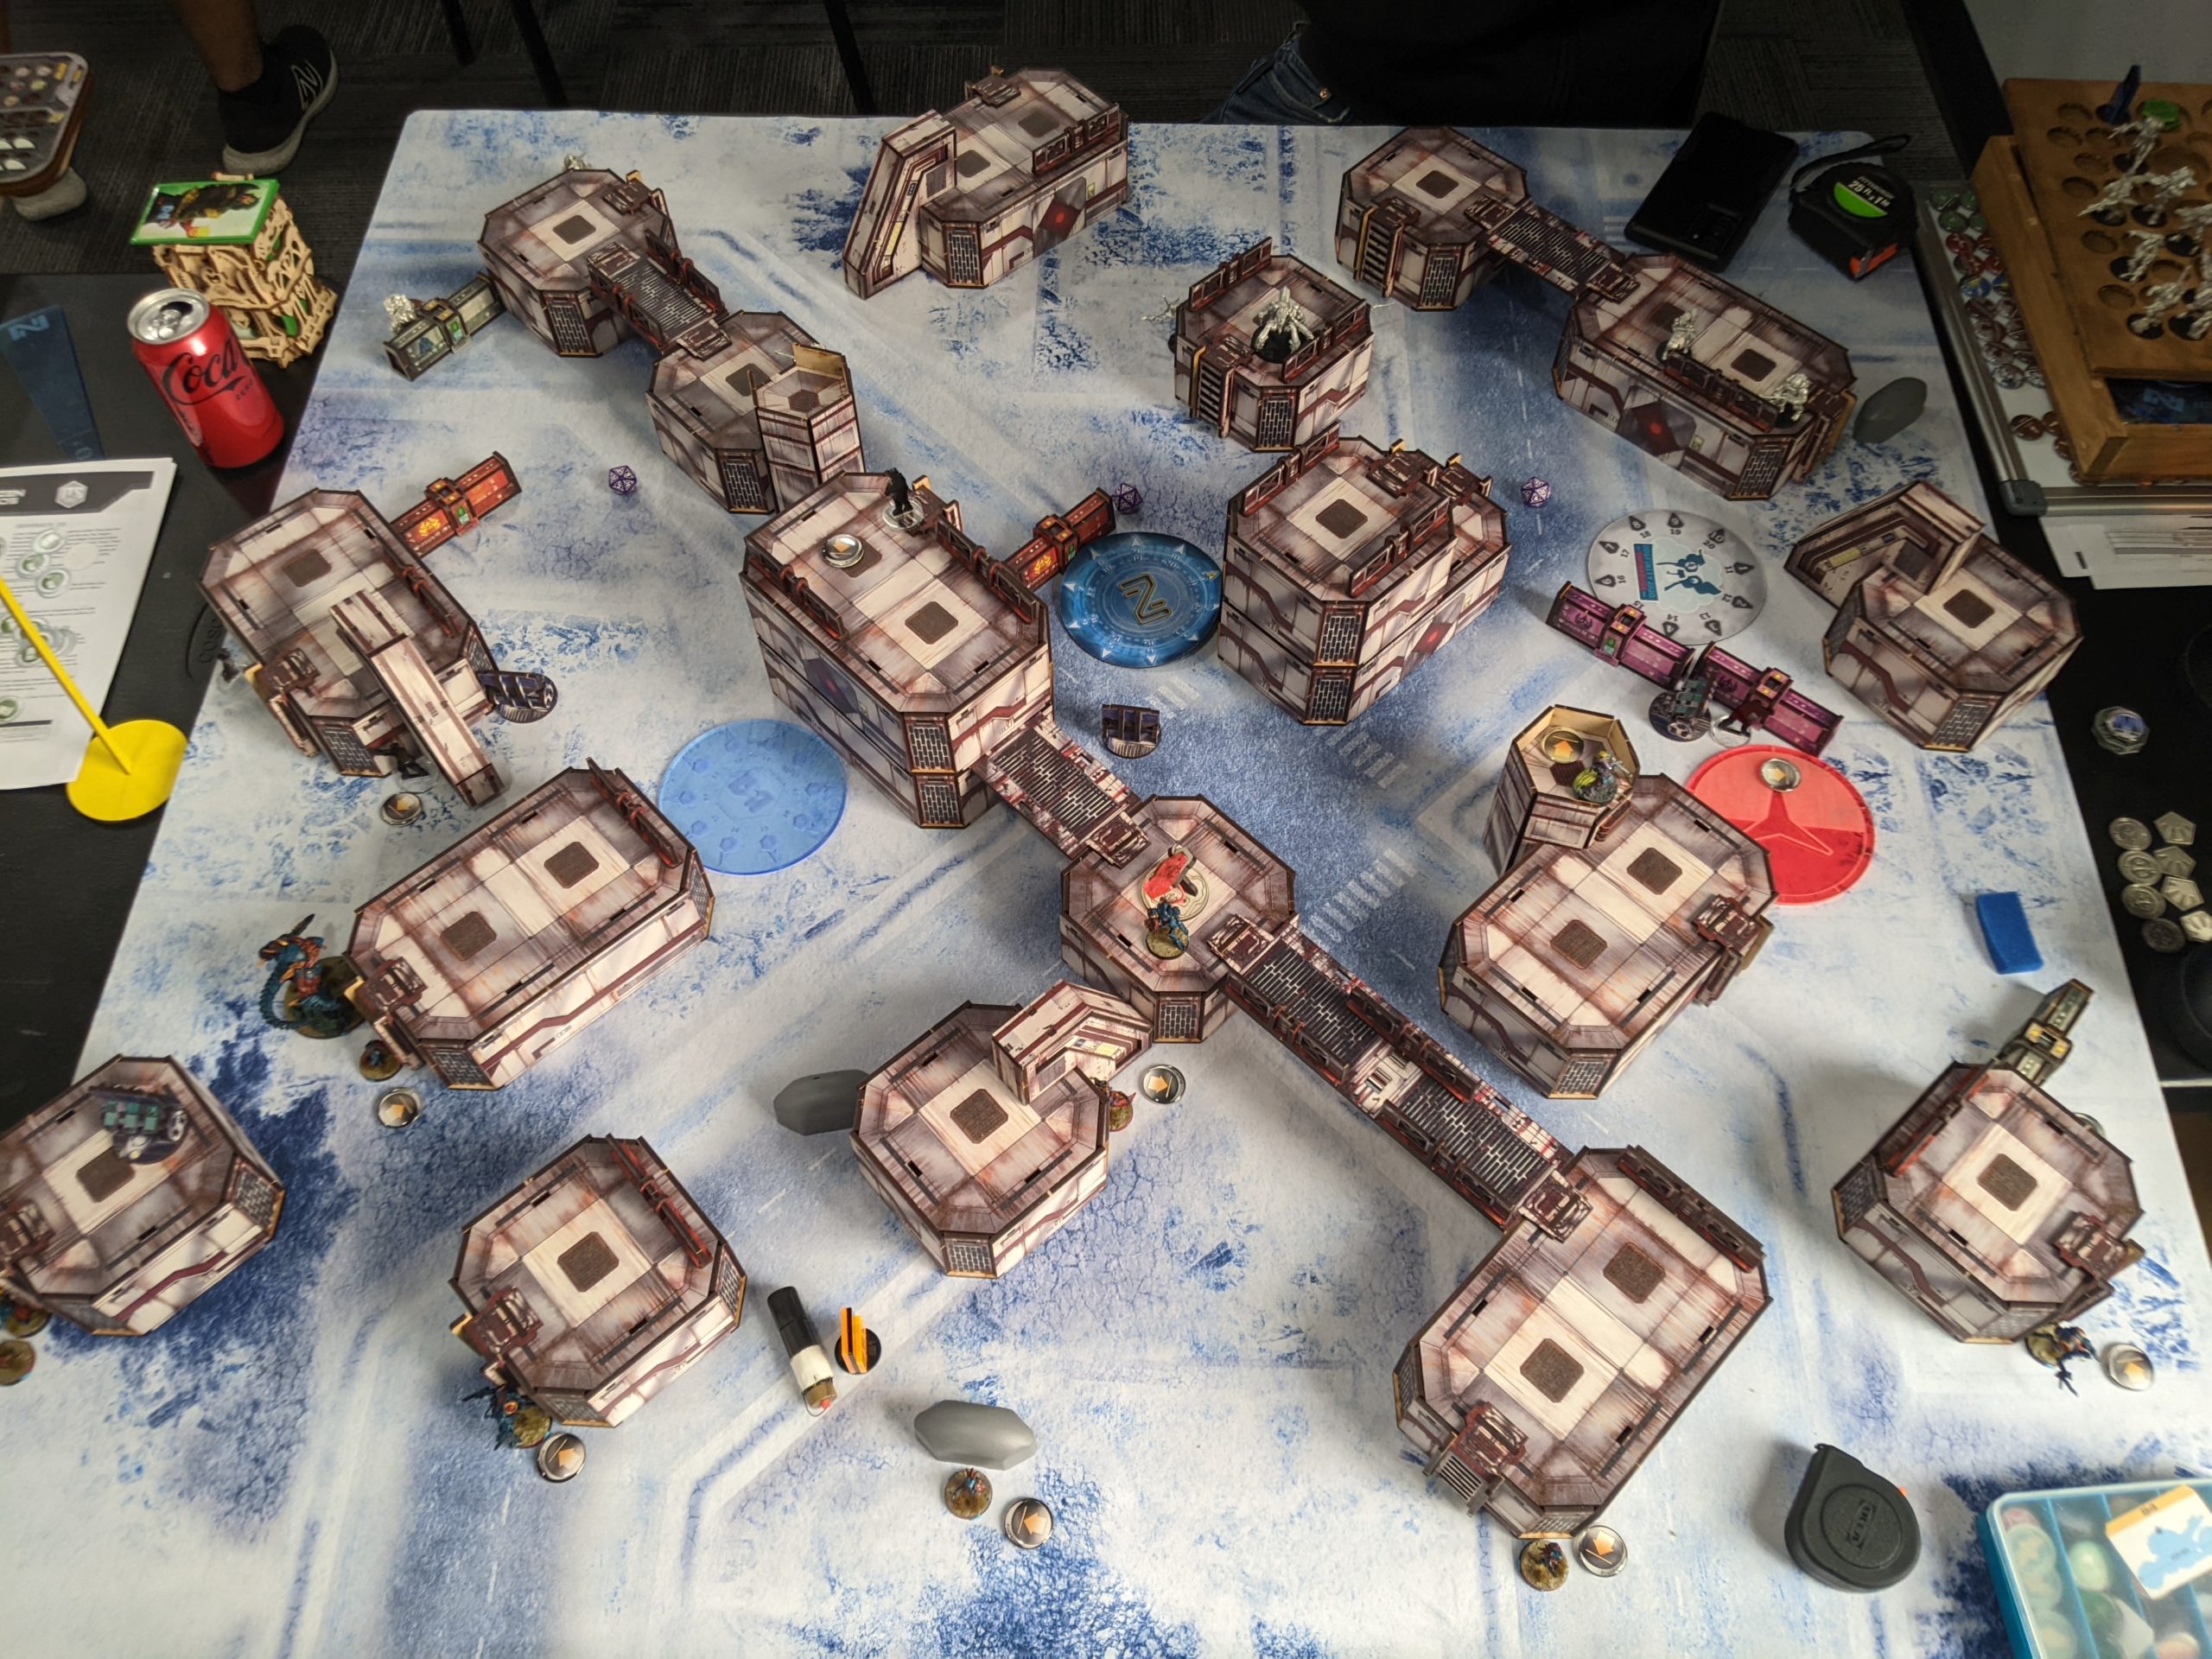
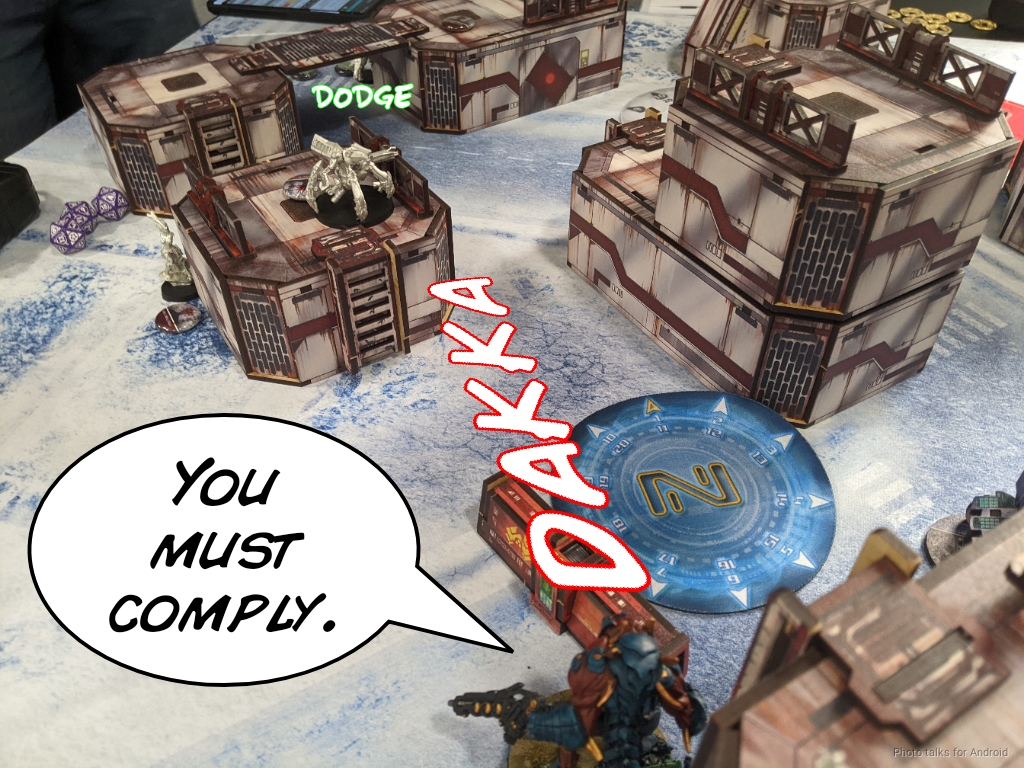
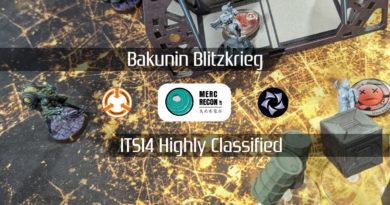
My opponent for this was the lovely Brenton (doc). He was playing Morats versus me on this table:
Tony (Zhukov2) was on the table next to this one and was already sitting at his table while he was waiting for his opponent. We locked eyes as I walked up. He then just looked at the table and then back to me. I shrugged helplessly, and we shared a nervous laugh.
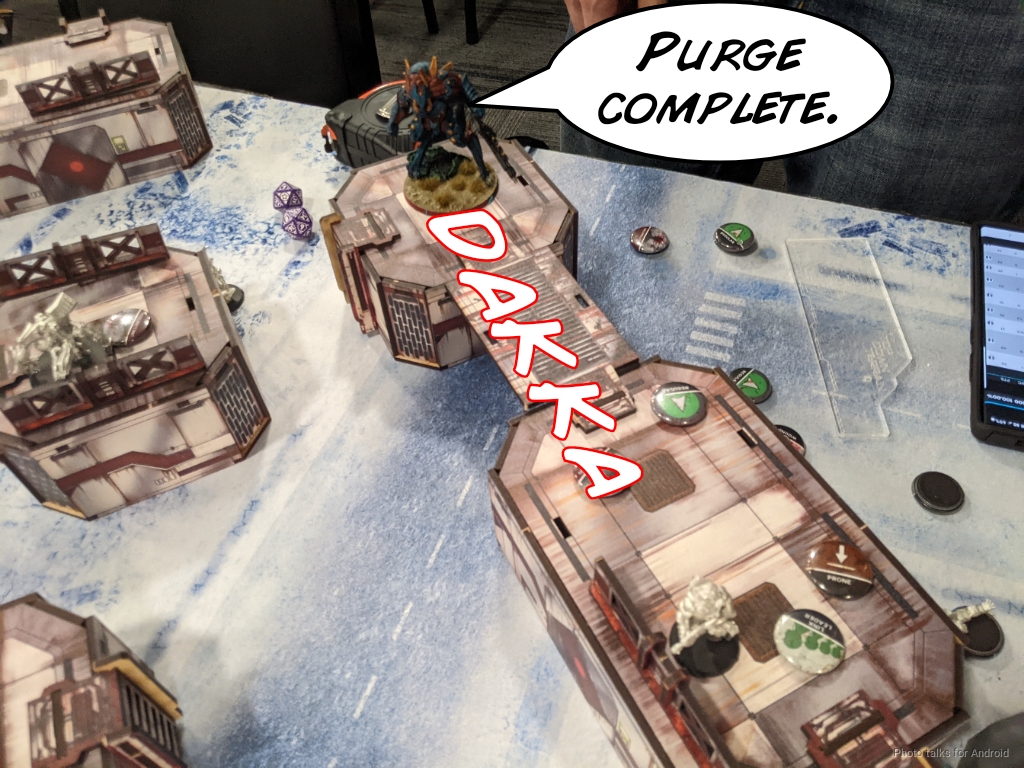
The table is just waaaaay too open. There really isn’t much in the way of blocking terrain, and the Avatar is taller than all the single story buildings on this table so I can just parkour everywhere.
Oh yeah, I guess I’m taking the Avatar list to this table, because it’d be silly not to?
In any case, I want to preface the game that follows with the following. The outcome of this game is not a reflection of my skill or my opponent’s skill, it is entirely a reflection of the table’s crazy openness. With little to no impediment to movement or shooting of basically anything, it’s really just down to dice rolls, which isn’t a particularly good test of skill. That said, when playing on a table like this there are some things that can be done, but it’s a steep uphill battle if the Avatar player gets the first turn.
Overview
- Mission: ITS13 Firefight
- Forces: Combined Army versus Morat Aggression Forces (300)
- Deploy First: Combined Army
- First Turn: Combined Army
My Avatar list is very very similar to my Anathematic list. Basically I lose the Overdron and Anathematic and replace them with the Avatar. I have a few points to spare after that, so I slotted a Seed Soldier and changed up some of the order generation package.
Some Mistakes
GROUP 1
10
1
GROUP 2
AVATAR (Lieutenant [+1 Order, +1 Command Token]) MULTI Heavy Machine Gun, Sepsitor Plus / DA CC Weapon. (3 | 126)
STALDRON Flash Pulse / PARA CC Weapon(-6). (0 | 0)
GREIF-OP (Surprise Attack [-3], Impersonation [IMP-2]) Combi Rifle, D-Charges / Breaker Pistol(+1B), CC Weapon. (1 | 21)
RINDAK (Paramedic, Forward Deployment [+8″]) MULTI Rifle(+1B), Blitzen / Heavy Pistol, PARA CC Weapon. (0 | 37)
CALIBAN (Engineer, Deactivator) Submachine Gun, Pulzar, D-Charges ( | GizmoKit) / Pistol, CC Weapon. (0 | 28)
Bit (Hacker], Killer Hacking Device [UPGRADE: Oblivion]) Submachine Gun, Pitcher ( | Deployable Repeater]) / Pistol, CC Weapon. (0.5 | 21)
IKADRON (Baggage, Repeater) Light Flamethrower(+1B), Flash Pulse / Pistol, PARA CC Weapon(-3). (0 | 9)
ÍMETRON . (0 | 6)
SEED-SOLDIER (Forward Observer) Combi Rifle, Panzerfaust / Pistol, CC Weapon. (0 | 17)
4
TAIGHA Chain-colt / AP + Shock CC Weapon. (0 | 5)
4.5 SWC | 300 Points | Open in Infinity Army
Brenton’s list is pretty excellent. I like it a lot. It has lots of anti-armor tools as well as a Rasyat. What’s not to like? After the game he was thinking that the should’ve taken his Raicho list. I’m not sure about that–this list is actually quite reasonable.

GROUP 1
KORNAK (Strategos L1, Lieutenant) Mk12, Light Flamethrower / DA CC Weapon, Heavy Pistol. (0 | 41)
DARTOK (Hacker) Submachine Gun, Pitcher / Heavy Pistol, CC Weapon. (0.5 | 21)
YAOGAT MULTI Sniper Rifle(+1B) / Heavy Pistol, CC Weapon. (1.5 | 35)
KURGAT Portable Autocannon, D-Charges / Heavy Pistol, CC Weapon. (1 | 30)
MORAT VANGUARD (Paramedic) Combi Rifle ( | MediKit) / Heavy Pistol, CC Weapon. (0 | 16)
GROUP 2
RASYAT (Specialist Operative) Combi Rifle, E/Mitter, D-Charges, Eclipse Grenades / Heavy Pistol, DA CC Weapon. (0 | 34)
OZNAT FTO Combi Rifle, Smoke Grenade Launcher / Shock CC Weapon, Heavy Pistol. (0 | 16)
GAKI AP CC Weapon. (0 | 4)
RAKTORAK Red Fury / Heavy Pistol, CC Weapon. (1 | 26)
ANYAT K1 Combi Rifle, Chain-colt, Smoke Grenades, E/M Grenades / CC Weapon, Heavy Pistol. (0 | 24)
KAITOK Chain Rifle(+2B), Flammenspeer / Heavy Pistol(+1B), CC Weapon. (0 | 22)
R-DRONE Flash Pulse / PARA CC Weapon(-3). (0 | 7)
5 SWC | 298 Points | Open in Infinity Army
Deployment
I rolled a 17, which basically meant I was going first. Finally, a good WIP roll on an Aspect! Brenton had me deploy first, which is absolutely the correct thing to do. I know that I’m going to absolutely dominate the active turn with the Avatar on the table. It’s the reactive turn where I’m going to have problems. I’m very concerned about Rasyat, possibly multiple Rasyat, so I set up accordingly to protect my order generators. I built a Taigha/Ikadron template net in my deployment zone, and then stuck the Imetron in the only reasonably safe spot for them, all the way on the left side of my deployment zone. I didn’t bother rolling for them, because they’re going there even if I fail.
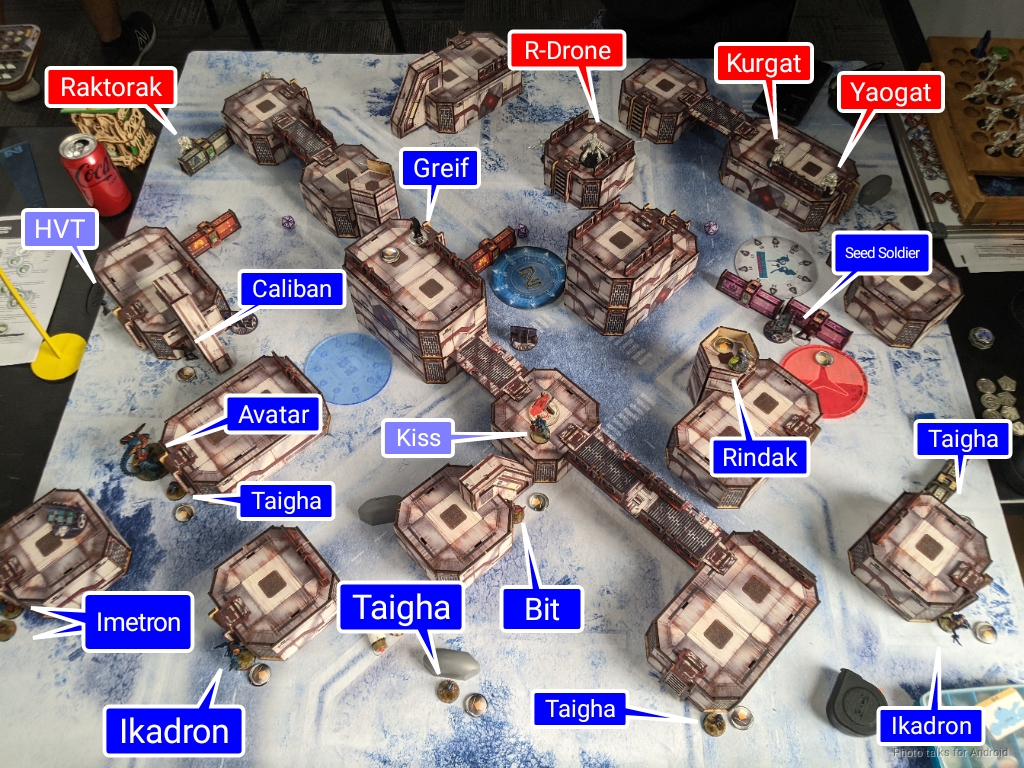
I was so worried that I put my Rindak down watching the right table edge and the Caliban on the left table edge. Bit and Kiss are sort of in an awkward position, but really all I’m trying to do is force people to deal with Kiss, although now that I’m looking at this Bit is wildly in the open. Woof. What a table. The Seed Soldier hung out on the right side of the table right next to the panoply.
I often forget that the blizzard zones exist, so I don’t really practice with them often. I just put mine in the narrow band in the middle of the table where they were allowed to go, and primarily used them to make advancing difficult. There really isn’t much in terms of interesting placement for them in Firefight, since they’re sort of just squeezed into the center, which makes you wonder why they’re the mission at all, but oh well. I held the Avatar and the Greif in reserve, figuring that I would be able to respond to deployment pretty effectively.
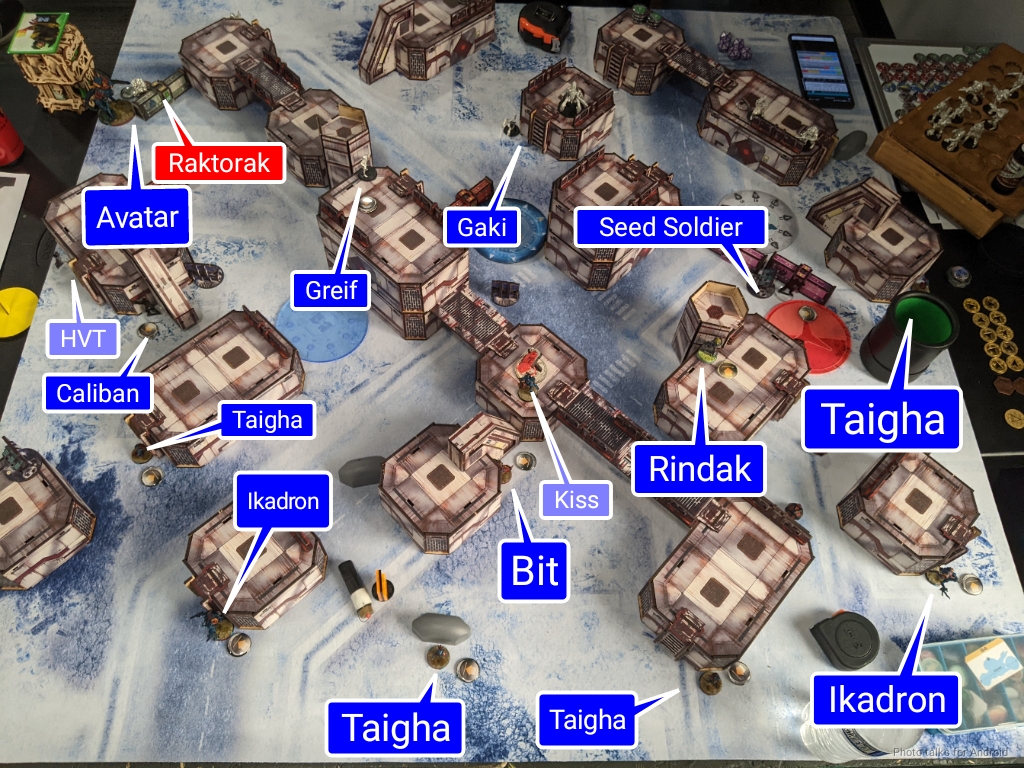
Brenton was pretty concerned about the Avatar, of course, so he deployed a set of pretty dangerous AROs, the Yaogat MSR and Kurgat Autocannon in a full strength 5-model core. To keep the Avatar away from the link, there was a Dartok there as well. Kornak because Kornak, and a Vanguard Paramedic to keep everyone running. I’m a little uncertain as to the placement of the link here, because it is definitely heavily hampered by the cluster of blizzard zones nearby, but that’s true for most spots on the table.
The R-Drone was left out to die on a rooftop–it’s possible that the Avatar gets flash pulsed, so I can’t just ignore it, so this was a very smart way to limit my movement and drain orders. Brenton was concerned about Impersonators and AD troops as well, so he put down an Oznat/Gaki haris to cover the R-Drone’s back. He made sure to let me know that the Gaki were out of explode range of the Oznat, which is an occupational hazard for Oznats, I suppose.
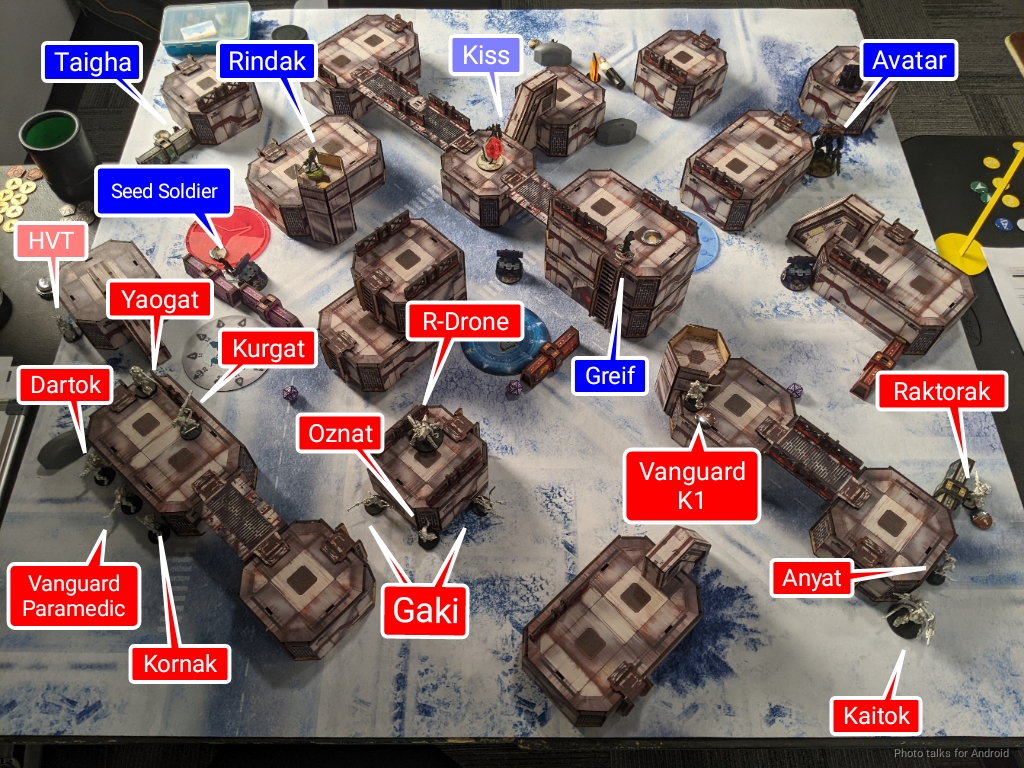
Not wanting to overly concentrate his killing power, the Vanguard K1 sniper went on the right hiding behind a tower, and then the Raktorak, Anyat, Kaitok haris rounded out the deployment on the right. I honestly don’t recall what his reserve was. Perhaps the Yaogat? I forget.
In any case, the Avatar went on my left to give me some options. I had a gun on my right thanks to the Rindak, so I didn’t think I needed to double down on it, and also the Caliban was there to support the Avatar in case something crazy happened. I originally thought the R-Drone was a Q-Drone, so I placed the Greif down in a position to get it out of cover and surprise shot it, but I was very pleased to discover it was “only” an R-Drone.
With regards to Avatar defense, whatever you leave out is going to die, so really it’s a question of what do you want alive for your first turn? The Rindak is shockingly powerful in Firefight as well, thanks to the 16″ deployment zone. The MULTI +1B is also pretty happy with the Blizzard zones as well. I might have put the Kaitok on the corner where the Dartok is to defend against the Rindak and then hid everyone? Unclear, as that might’ve been asking for a sepsitor template. Tough call.
Maybe the play is to deploy the Yaogat as far back as possible to challenge the Avatar and force rangeband shenanigans. I think deploying so close to the Rindak was very dangerous, but honestly both deployment zones were very indefensible. Honestly I think Brenton did the best he could, and the third player, i.e. the table, just favored me heavily because I went first.
Turn 1
Top of 1 – Combined Army
In any case, the game starts with me getting docked two orders. My objectives for turn 1 are to remove all sources of K1 and AP from Brenton’s list. Everything else will have to wait till later. I’m pretty scared of a Rasyat walking on and gunning down all my Imetrons and Ikadrons, so I don’t spend any Taigha orders at all to leave the defensive net in place. This is a pretty important decision, as generally warbands lose their effectiveness at being DZ guards almost immediately once they all walk forward and out of the DZ.
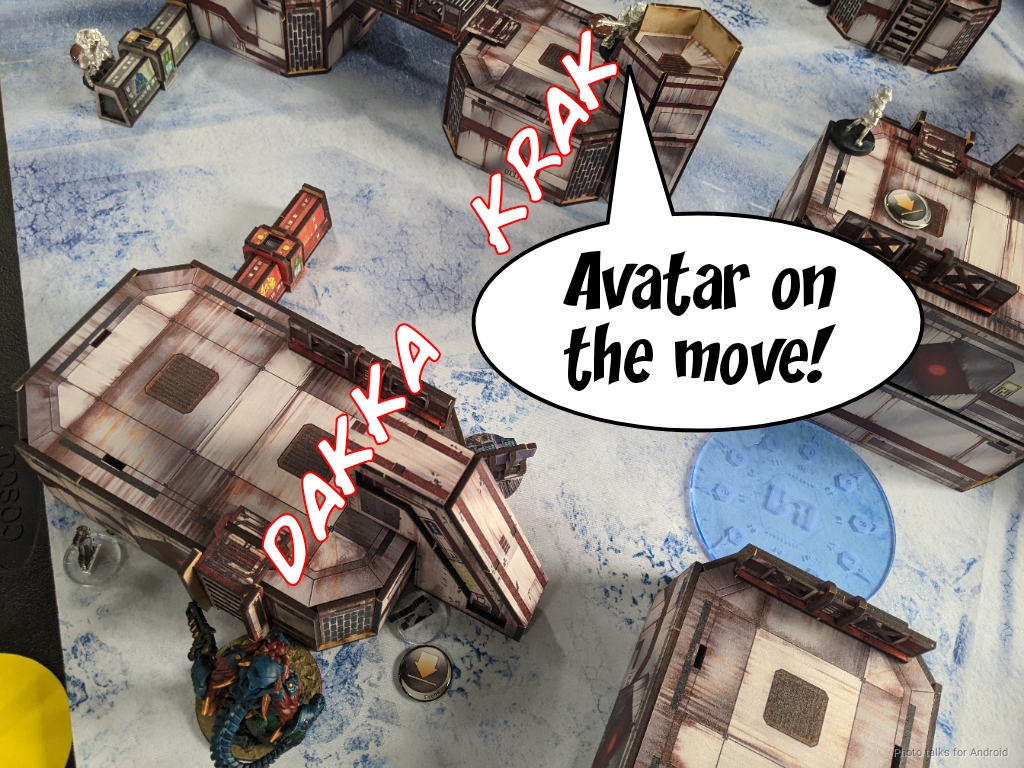
The Avatar could potentially challenge the Yaogat and Kurgat, but the Rindak is right there and can take advantage of the blizzard zones. I dodge out of my little tower thing to ensure I can slice the pie and engage them one at a time.
I start with KOing the Yaogat. It takes two orders but it’s worth it.
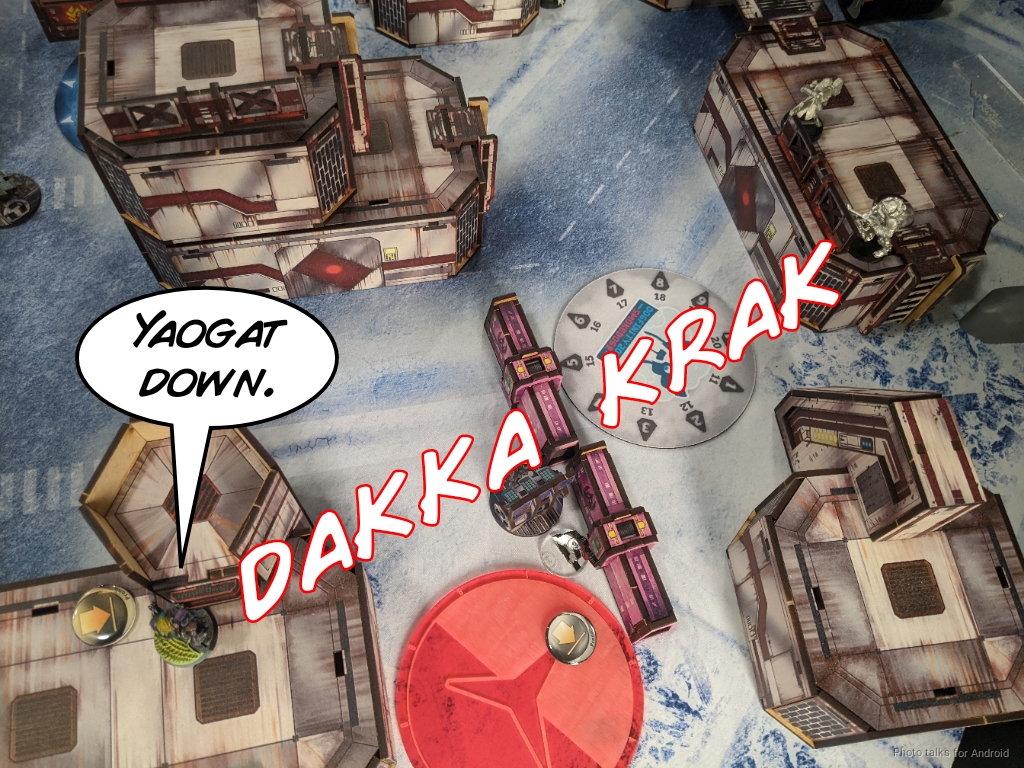
This makes it easier for me to take on the Kurgat because the BS bonus is lower, and I drop it too, again with two orders. Expensive, but worth it.
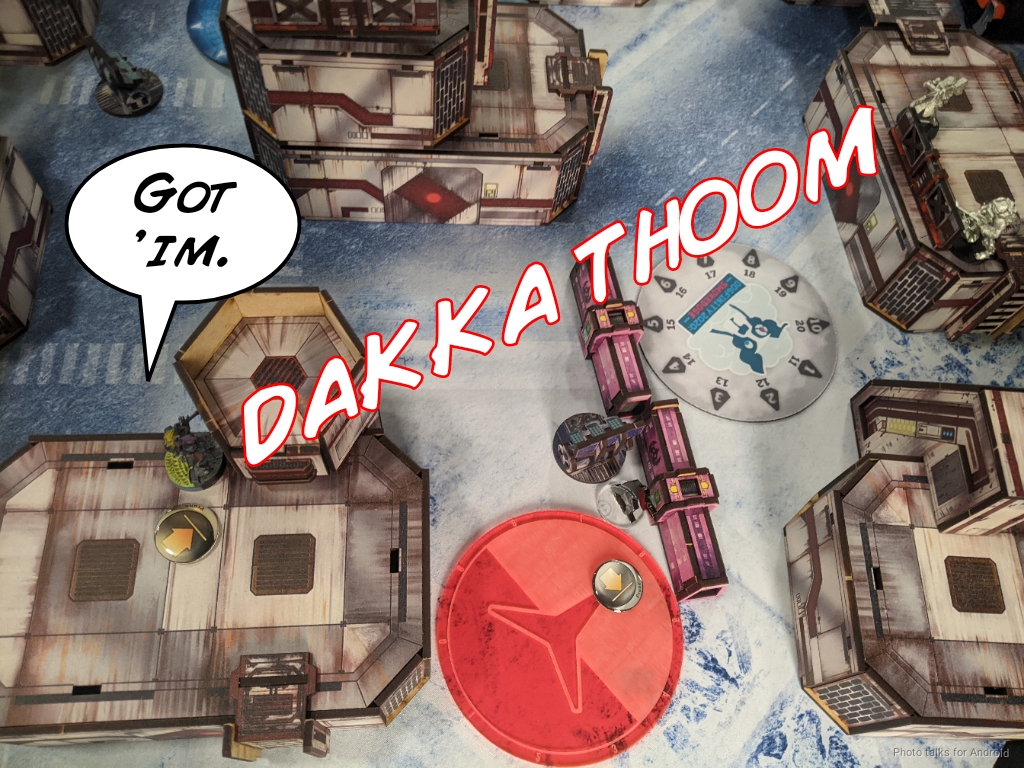
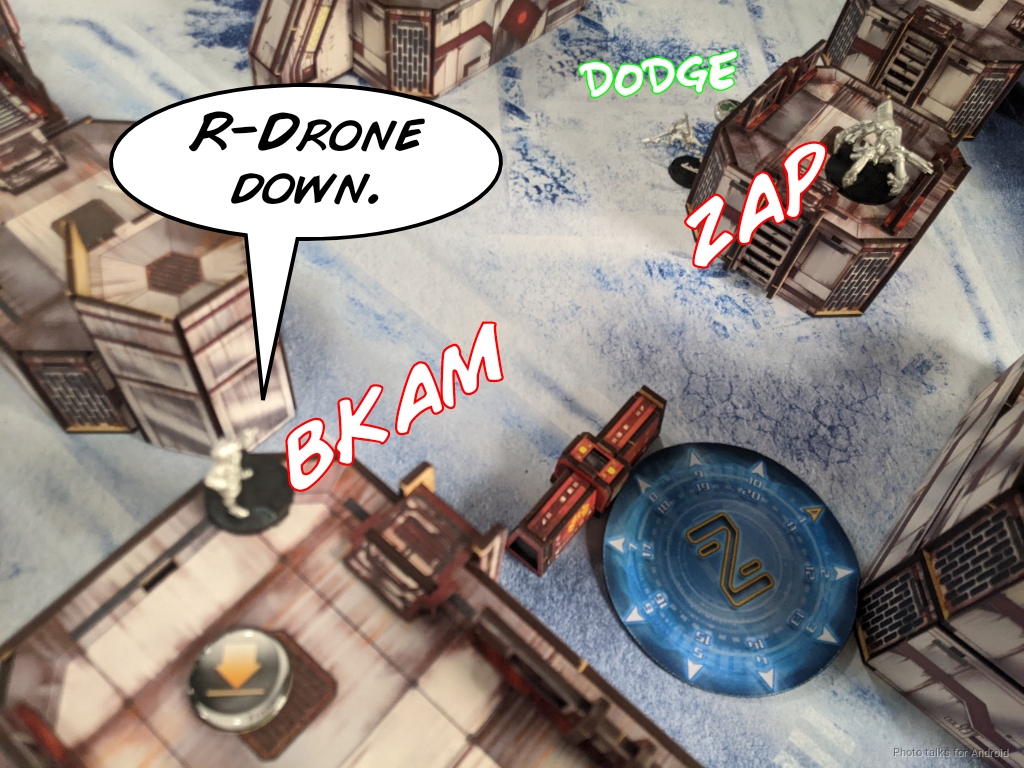
I don’t want the Avatar to have to deal with the R-Drone, so I just down it with the Greif. This lets his Gaki dodge, but that’s fine.
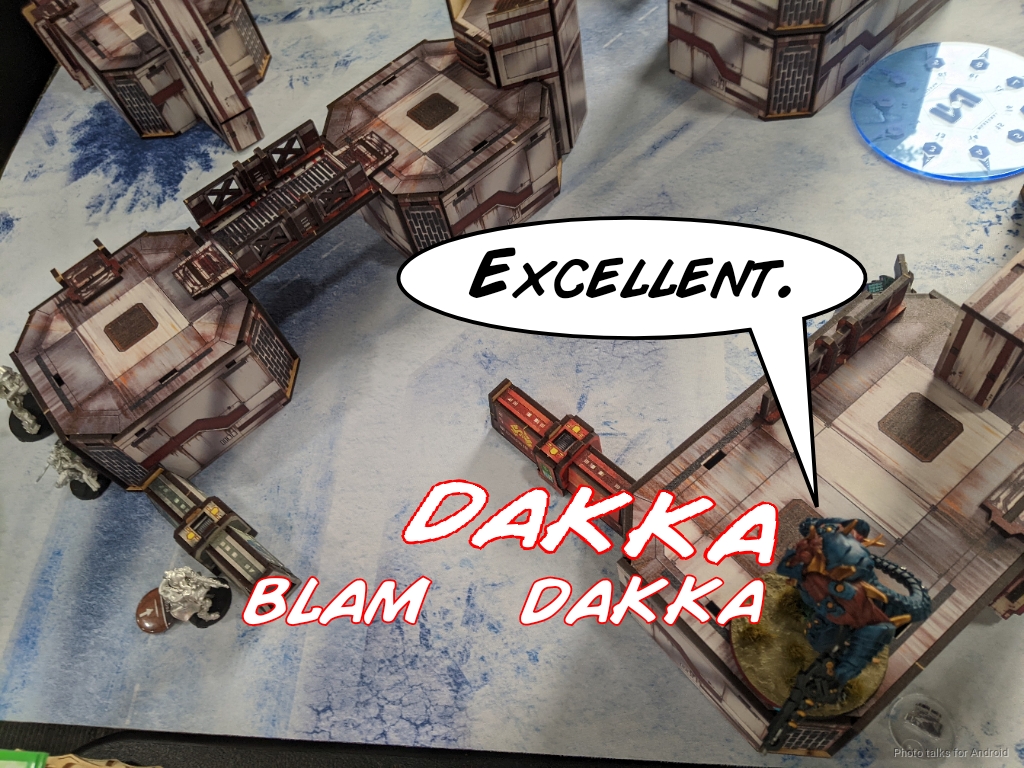
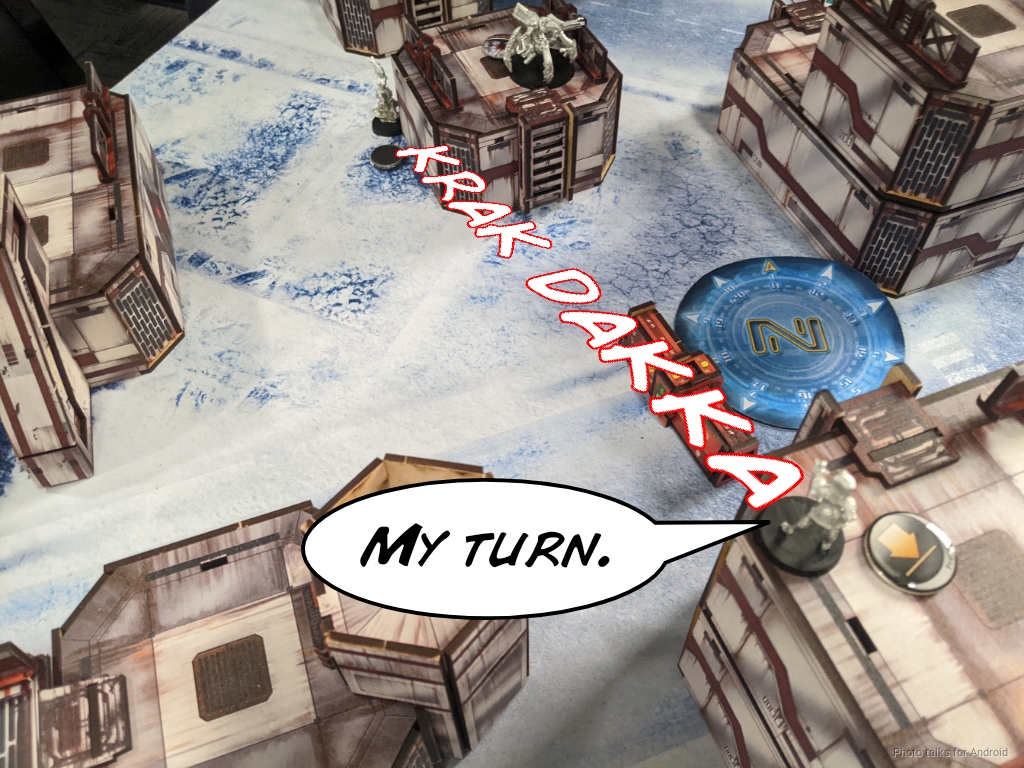
There aren’t any more AROs that can even roll dice against the Avatar now, much less threaten it, so I start spending orders on the big boi. There’s two more threats on the table, the Vanguard K1 Sniper and Anyat. The Sniper gets punked inside 16″ and is off the table.
The Avatar then blasts Anyat off the table while the Raktorak tries to take him out. I probably should’ve sepsitored here then turned around and shotgunned Anyat and the Kaitok. Ah well.
I hop off the building and try to Sepsitor the Raktorak and the Kaitok. They both dodge good though, and this is decidedly for fun and not because it’s a good idea.
I spend one more order on the sepistor, hoping for bad rolls, but am sadly disappointed. At this point I’ve got the Avatar wildly overextended, but in cover next to the Raktorak and threatening a sepsitor on both it and the Kaitok. All of Brenton’s big guns are either unconscious or dead, and I’m happy to let the Vanguard paramedic try to pick them up. The Rindak can just kill them again, and even though it’s just orders spend doing basically nothing for both of us, I’ve definitely got orders to spare over Brenton at this point.
It is possible for the link to push on my right flank, so I do weaken my net a little there by moving up the Taigha on that flank. I figure that’s fine with Kiss in overwatch.
Bottom of 1 – MAF
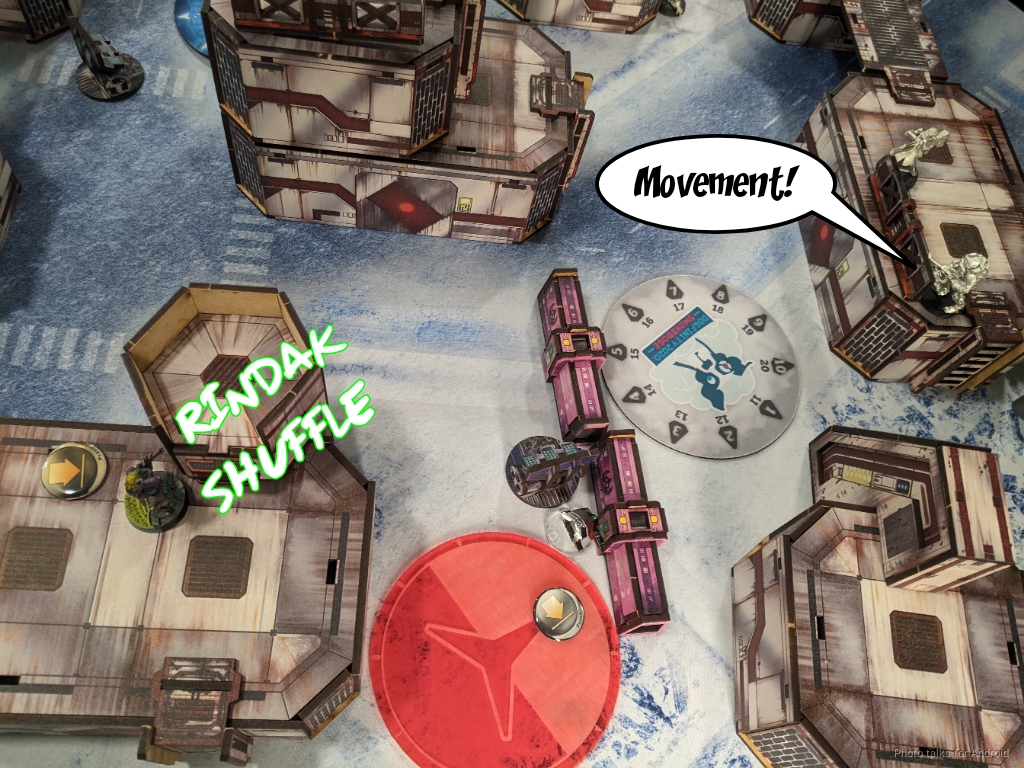
Brenton then executes a brilliant, high risk, high reward play. He starts by eyeballing exactly 24″ and firing smoke onto the Avatar with the Oznat. I roll low and he beats me.
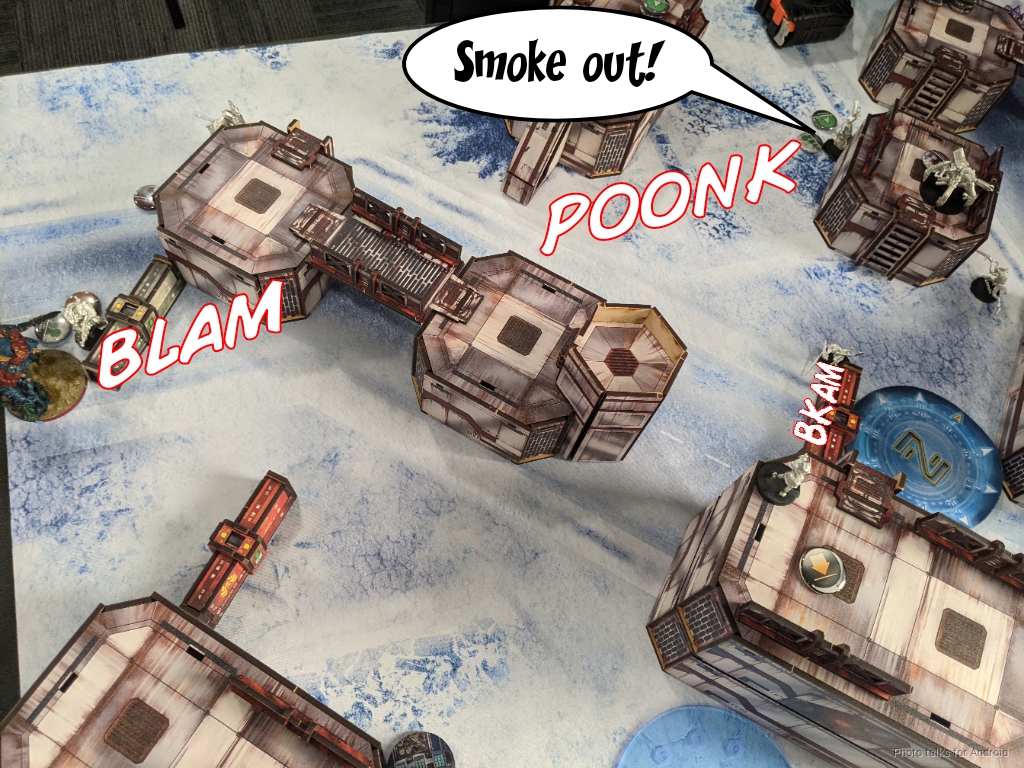
The Oznat peeks out a bit more and tries to down the Greif on overwatch, but I pass ARM.
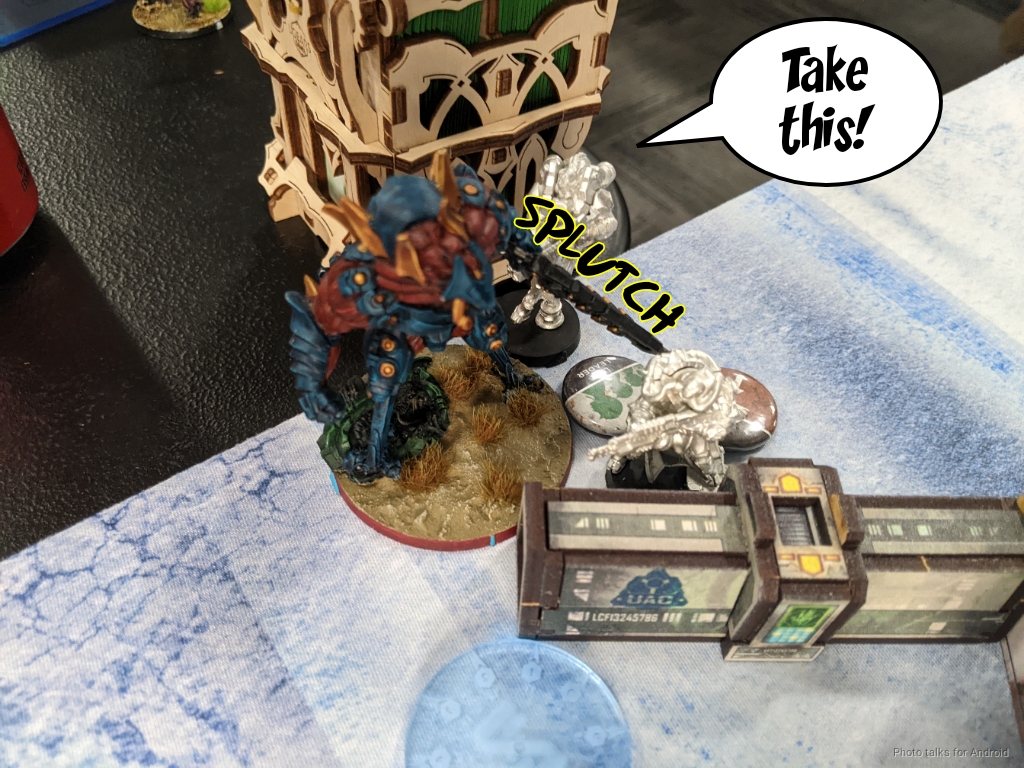
Here’s the big brained play. Brenton walks a Rasyat outside of 8″ of the Avatar, in his deployment zone. The Avatar can’t see thanks to smoke, so the Rasyat can just walk up and start swinging. The dice are with me though and I manage to make some enough ARM saves to only take two wounds and then the Avatar backhands the Rasyat into unconsciousness on a lucky roll. Phew!
I’m almost down, so the Raktorak goes for it as well, but the Avatar kills him too.
This took essentially all Brenton’s orders, so it was back to me.
Turn 2
Top of 2 – Combined Army
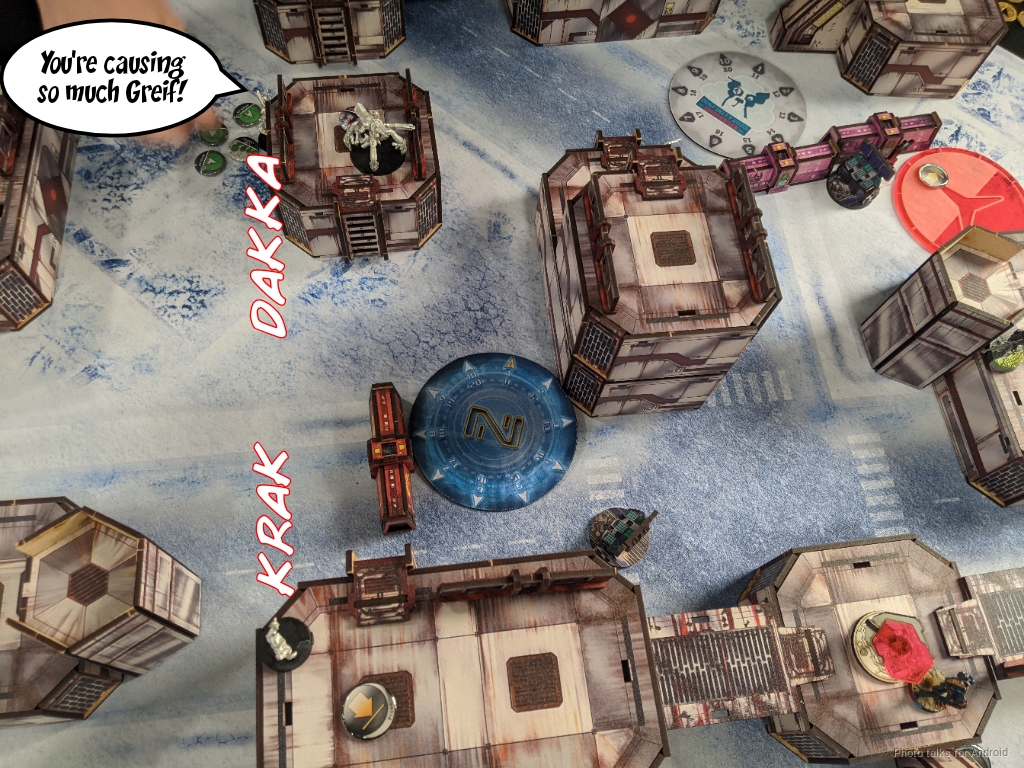
I’m not sure if there are more Rasyat, so I don’t move the Taigha. There’s no reason to overcomplicate board state either just yet. I start off by dropping the Oznat with the Greif.
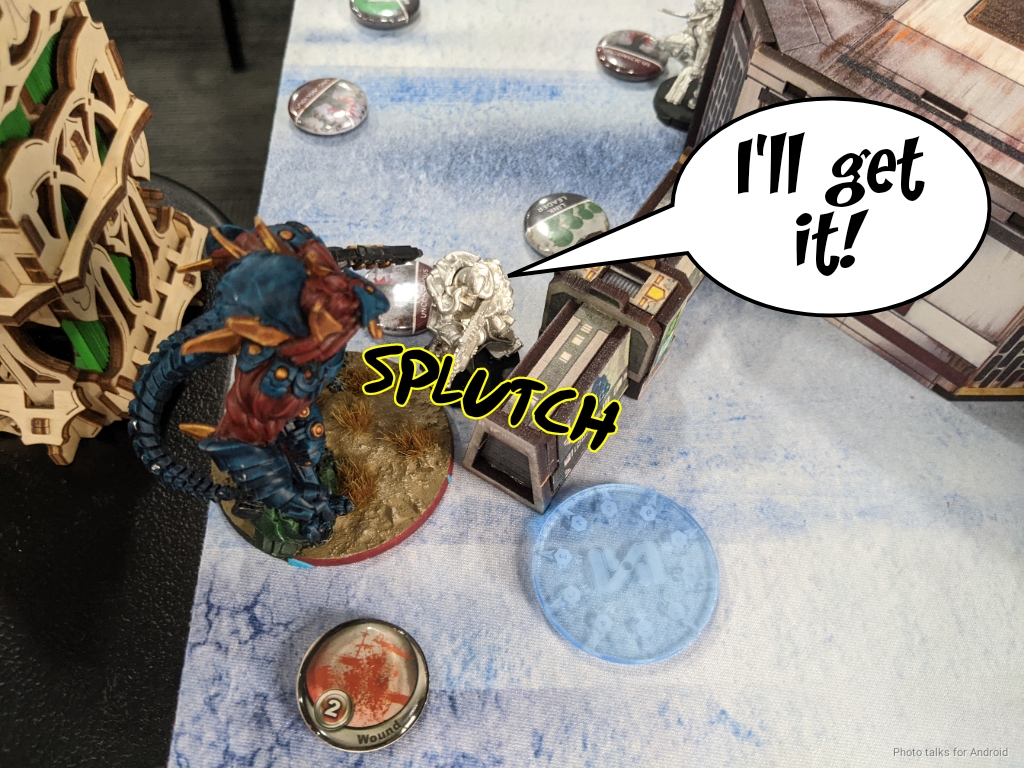
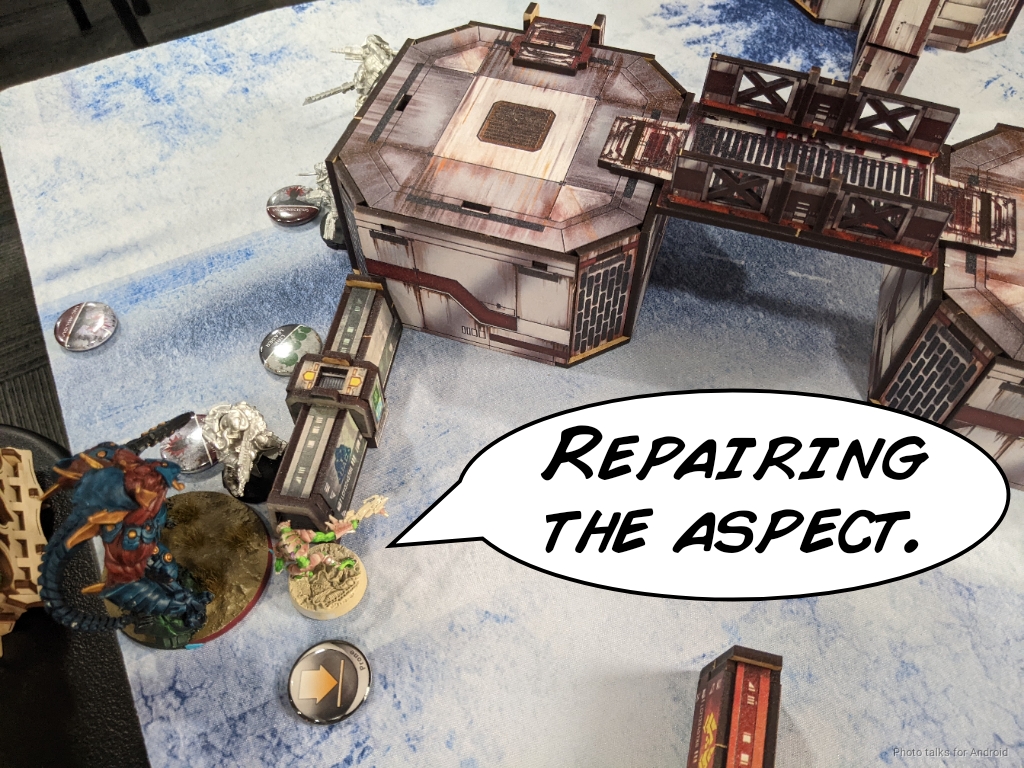
The Caliban walks all the way over to the Avatar and repairs it back to full, netting me Test Run.
This grants a dodge to the Kaitok, who dodges away.
The Caliban then recamos and crit D-charges the Kaitok off the table, passing the chain rifle save and going up to 3 wounds. With the Rasyat and Raktorak already dead, this takes me to 3 kills for Predator.
After snagging Sabotage, the Caliban recamos and goes prone behind some terrain.
Bottom of 2 – MAF
With the Oznat down, the Gaki are impetuous. I down one with some combi fire from the Greif, and the second berserks Kiss. The Rindak and the Greif kill it dead before it has a chance to explode on Kiss.
The Vanguard Paramedic heroically climbs atop the building, surviving rifle fire from the Greif and the Rindak with Kiss whiffing on the ADHL shot. It’s still linked, so it splits burst between the Kurgat and the Yaogat. The Yaogat doesn’t survive the cocktail of combat stimms but the Kurgat gets up…
and immediately splits burst between the Greif, Kiss, and the Rindak. Kiss is blown to pieces but the Rindak and Greif take the Kurgat off the table. At least this maneuver got Brenton Experimental Drug!
Kornak has a shot on the Greif but fails to connect.
Turn 3
Top of 3 – Combined Army
I’m confident I can table my opponent this turn, so I unleash the advanced Taigha who chain colts the Dartok down.
Kornak dies to the Avatar…
and then I blast the Vanguard Paramedic off the table after grabbing some stuff from the Panoply.
Final score:
10-1, 294-0 Combined Army Victory!
Post Game Analysis
Before we started our game, Brenton lamented that he’d never beaten an Avatar list. After our game, he reiterated his frustration with the Avatar and how difficult it is to fight. Honestly I don’t think there were serious missteps on his part. The mobility and open firelanes afforded me by the table basically made it impossible for him to hide his units.
The really clever play he almost pulled off with the Rasyat was inspired and reasonably likely to succeed. I think one thing he could have done to help with the situation would have been to coordinate the Rasyat and Raktorak into close combat together while pushing the Kaitok closer as well. This gives him burst 2 on the first close combat order, and then burst 3 on the next order. It’s unlikely I survive burst 2, and burst 3 definitely lets him at least tie the Avatar up in close combat.
That’s honestly not a terrible idea either, to just lock the Avatar in close combat. I probably still murder the link on the right with the Rindak with a full order pool, but at least the Avatar is slowed down. I probably don’t have the orders to rescue the Avatar and kill everything with the Rindak. Still, at this point we’re really scraping the bottom of the barrel for ideas.
This was an incredibly hard fight. Let me stop here and adamantly say that I think the Avatar is beatable. I don’t think that’s particularly controversial. I do think that on an open table like this is it’s REALLY hard, but any quality gunfighter is going to be a nightmare on this table as well, not just the Avatar. A Hac Tao HMG and Hulang would easily have cleaned house in this exact matchup as well. The Hulang is quite capable of taking down the Yaogat and Kurgat, and then the Hac Tao can just gun everything else down.
So really, the issue isn’t the Avatar + 4 Taigha. It’s the Third Player, the table. There’s been a shift away from defensive chaff due to the 15 order cap, there’s been a shift away from hard AROs because of the fireteam changes and the change to crits, and there’s been a lot of emphasis on stacking “cheat” orders with NCO, Tac Aware, and Strategos orders, etc.
As a result, there’s just less AROs in the way of a strong push by a bully unit like the Avatar. The Avatar is also quite fast, and with 16″ deployment it can be in your deployment zone two orders sepsistorizing things. There needs to be taller terrain, and more of it, to prevent this. Most people take into account forward movement, i.e. is it easy to move/shoot from DZ to DZ. I’d say many people don’t take into account lateral movement, i.e. can I move/shoot from left to right (players’ perspectives), especially in the DZ. There was nothing stopping the Avatar from just walking all the way into the DZ taking a shot from across the table at Kornak. That just shouldn’t happen. I should have to work for it, or use a different tool.
I spent a lot of effort and material keeping my DZ protected from Rasyats, but if I hadn’t, the Rasyat would have had an easy time crunching through my order pool. Give how dire things were, it might have been better for Brenton to attempt to combat jump in the Rasyat and start beating up on the Ikadron and Imetrons. Admittedly, this was his list at the bottom of 1:

It’s a tall order for sure. I probably move the Rasyat into Group 2 and then try to pick up the Kurgat and Yaogat on turn 1 instead of 2. Let’s be clear though, we can argue all day about what Brenton should or could have done. I think his lines of play were great and had a reasonable chance of success. No need to armchair general him anymore, he did a great job fighting me tooth and nail to the very end. He kept an incredibly good attitude throughout as well, which is tough given the circumstances. Nothing but praise for Brenton. I look forward to a rematch on a more reasonable table sometime in the future!
With 3 major victories, 24 objective points, and 730 victory points, I got second place. First place, Stephen (KingButt), had 25 objective points, which meant had I not played so boneheadedly in game 2 and secured 3 quadrants on turn 1 I would’ve taken first. Ah well. You live you learn. Thanks again to Pete (Exile) for running the thing and to Mindtaker Miniatures for hosting. Check ’em out!
We’re these games played before the removal of Remote Presence from the Avatar? Would you still have tried to repair him if you cannot command token reroll?
Yes, before removal. Not sure? Probably not?
Pingback: Kill Stealing – MERC Recon