
Kill Stealing
It was time for another Mindtaker Miniatures tournament! We’ve got some fun tables:

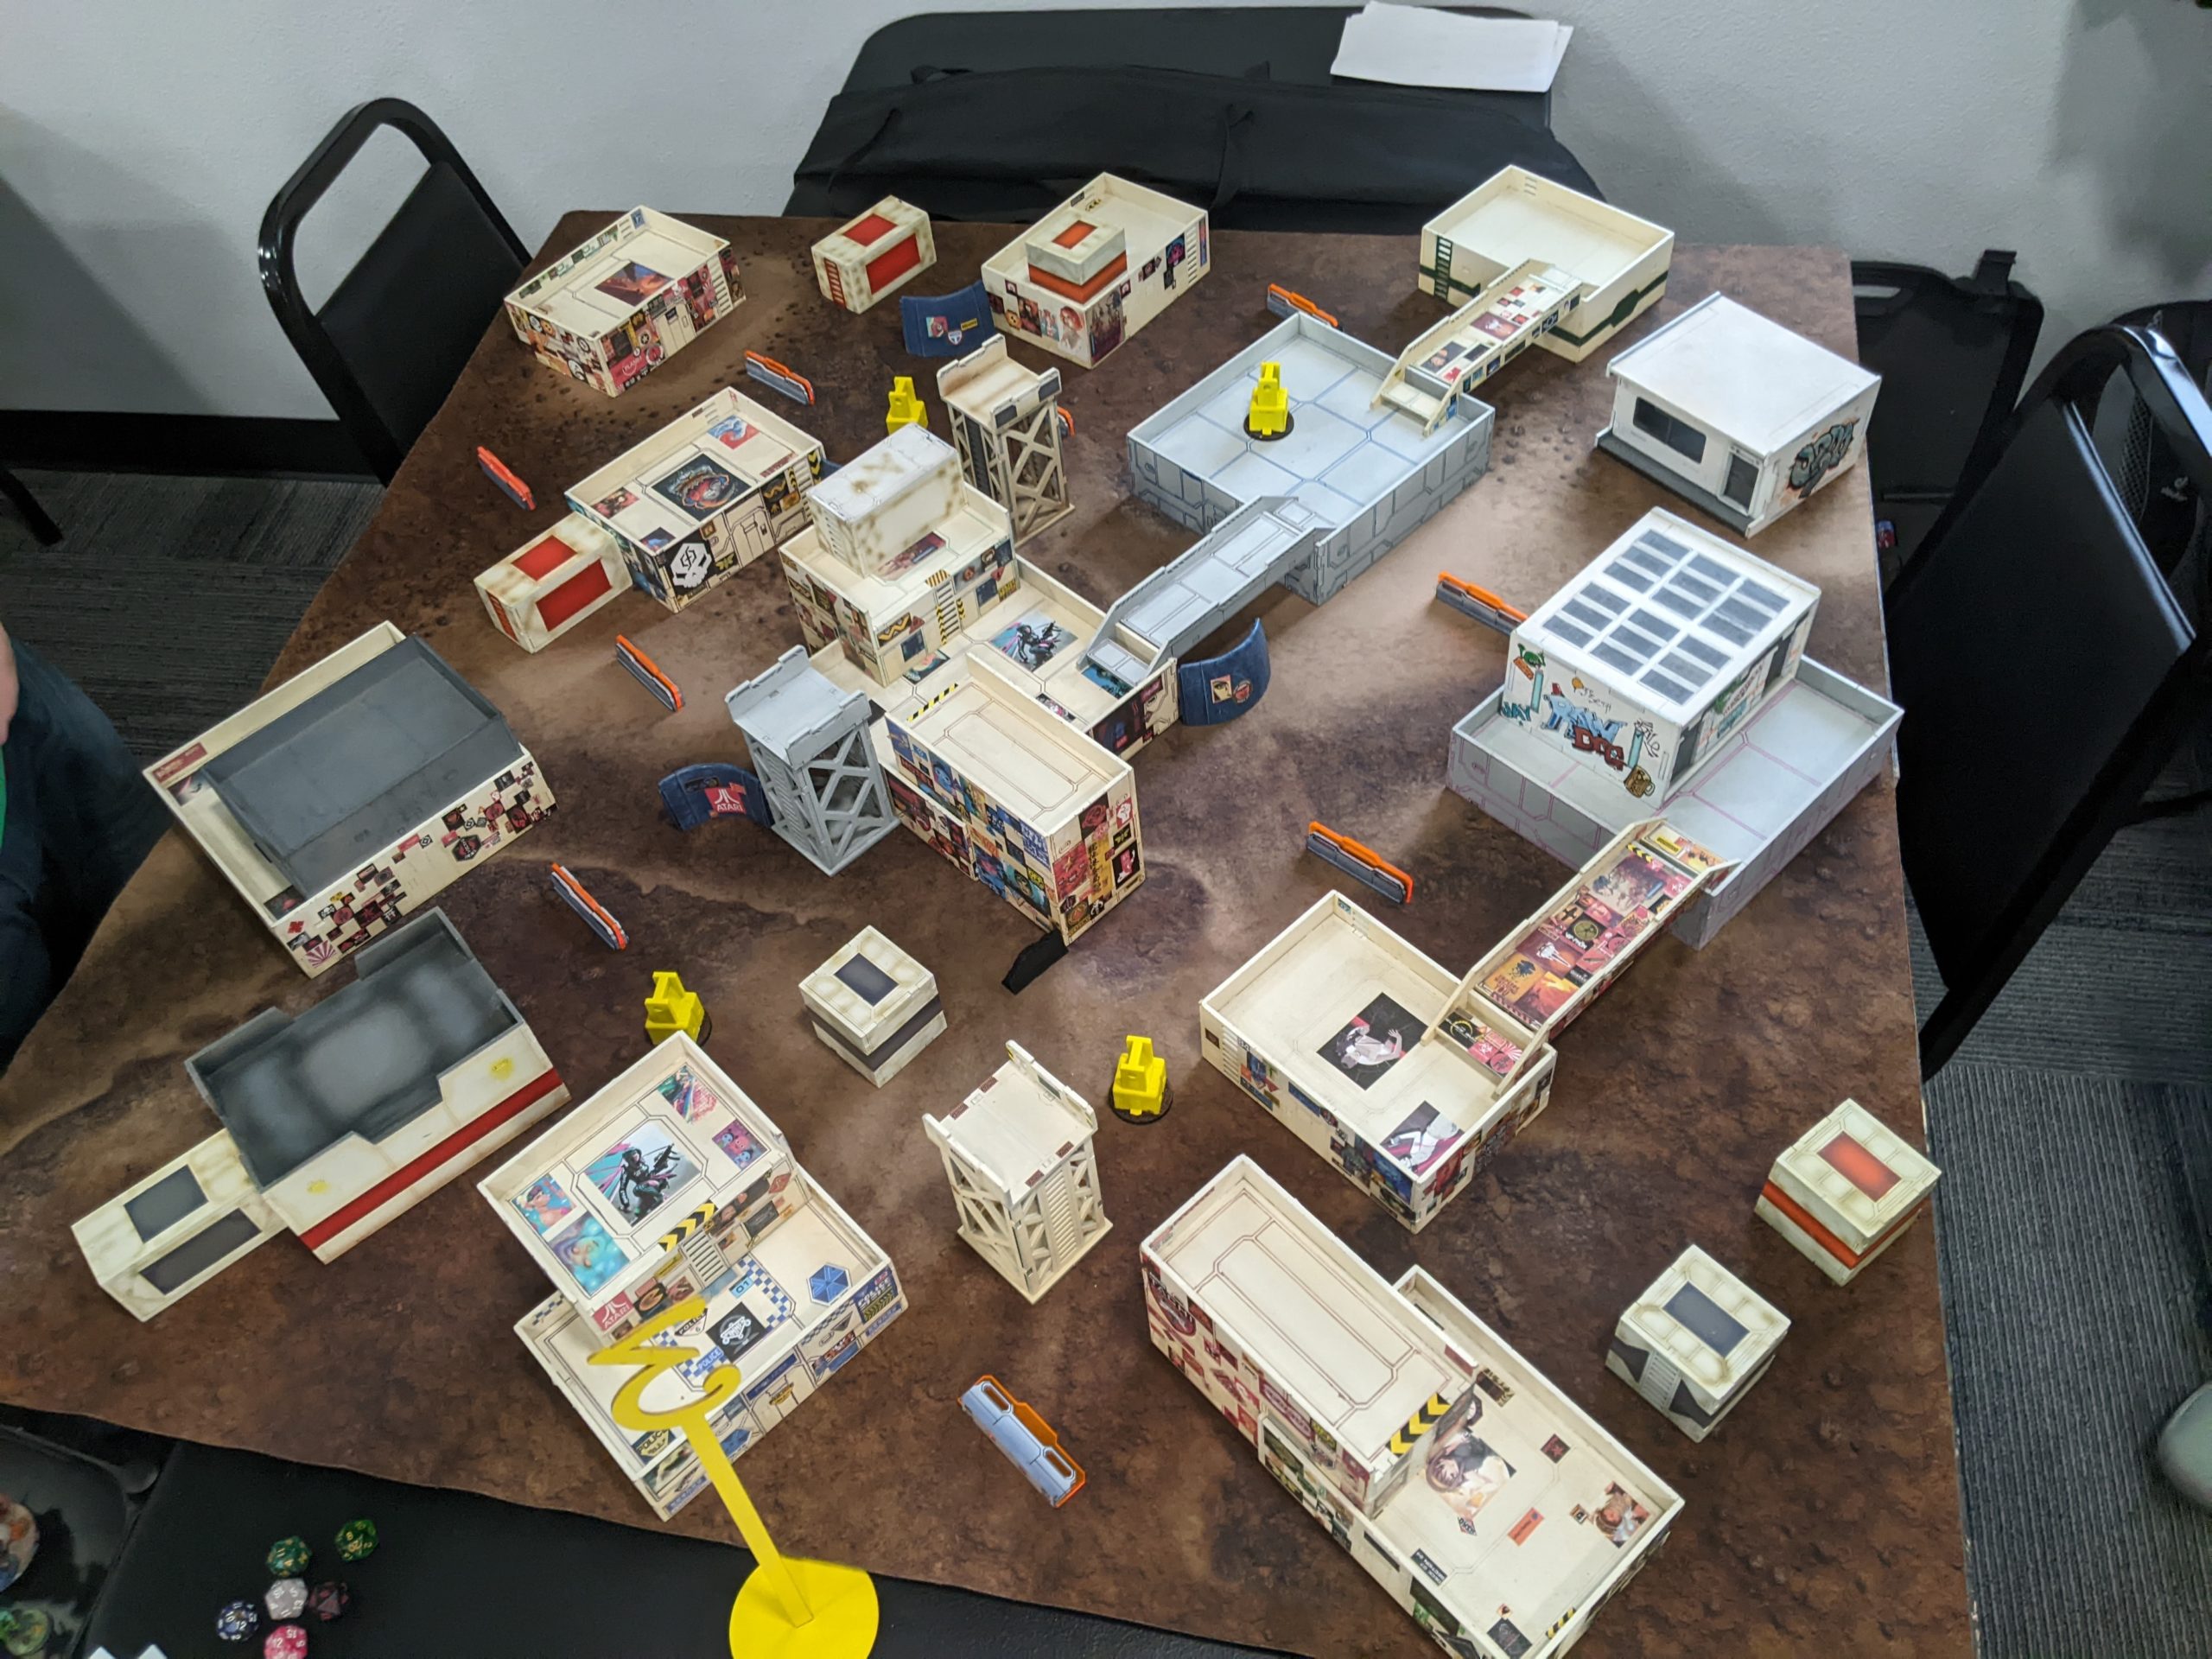
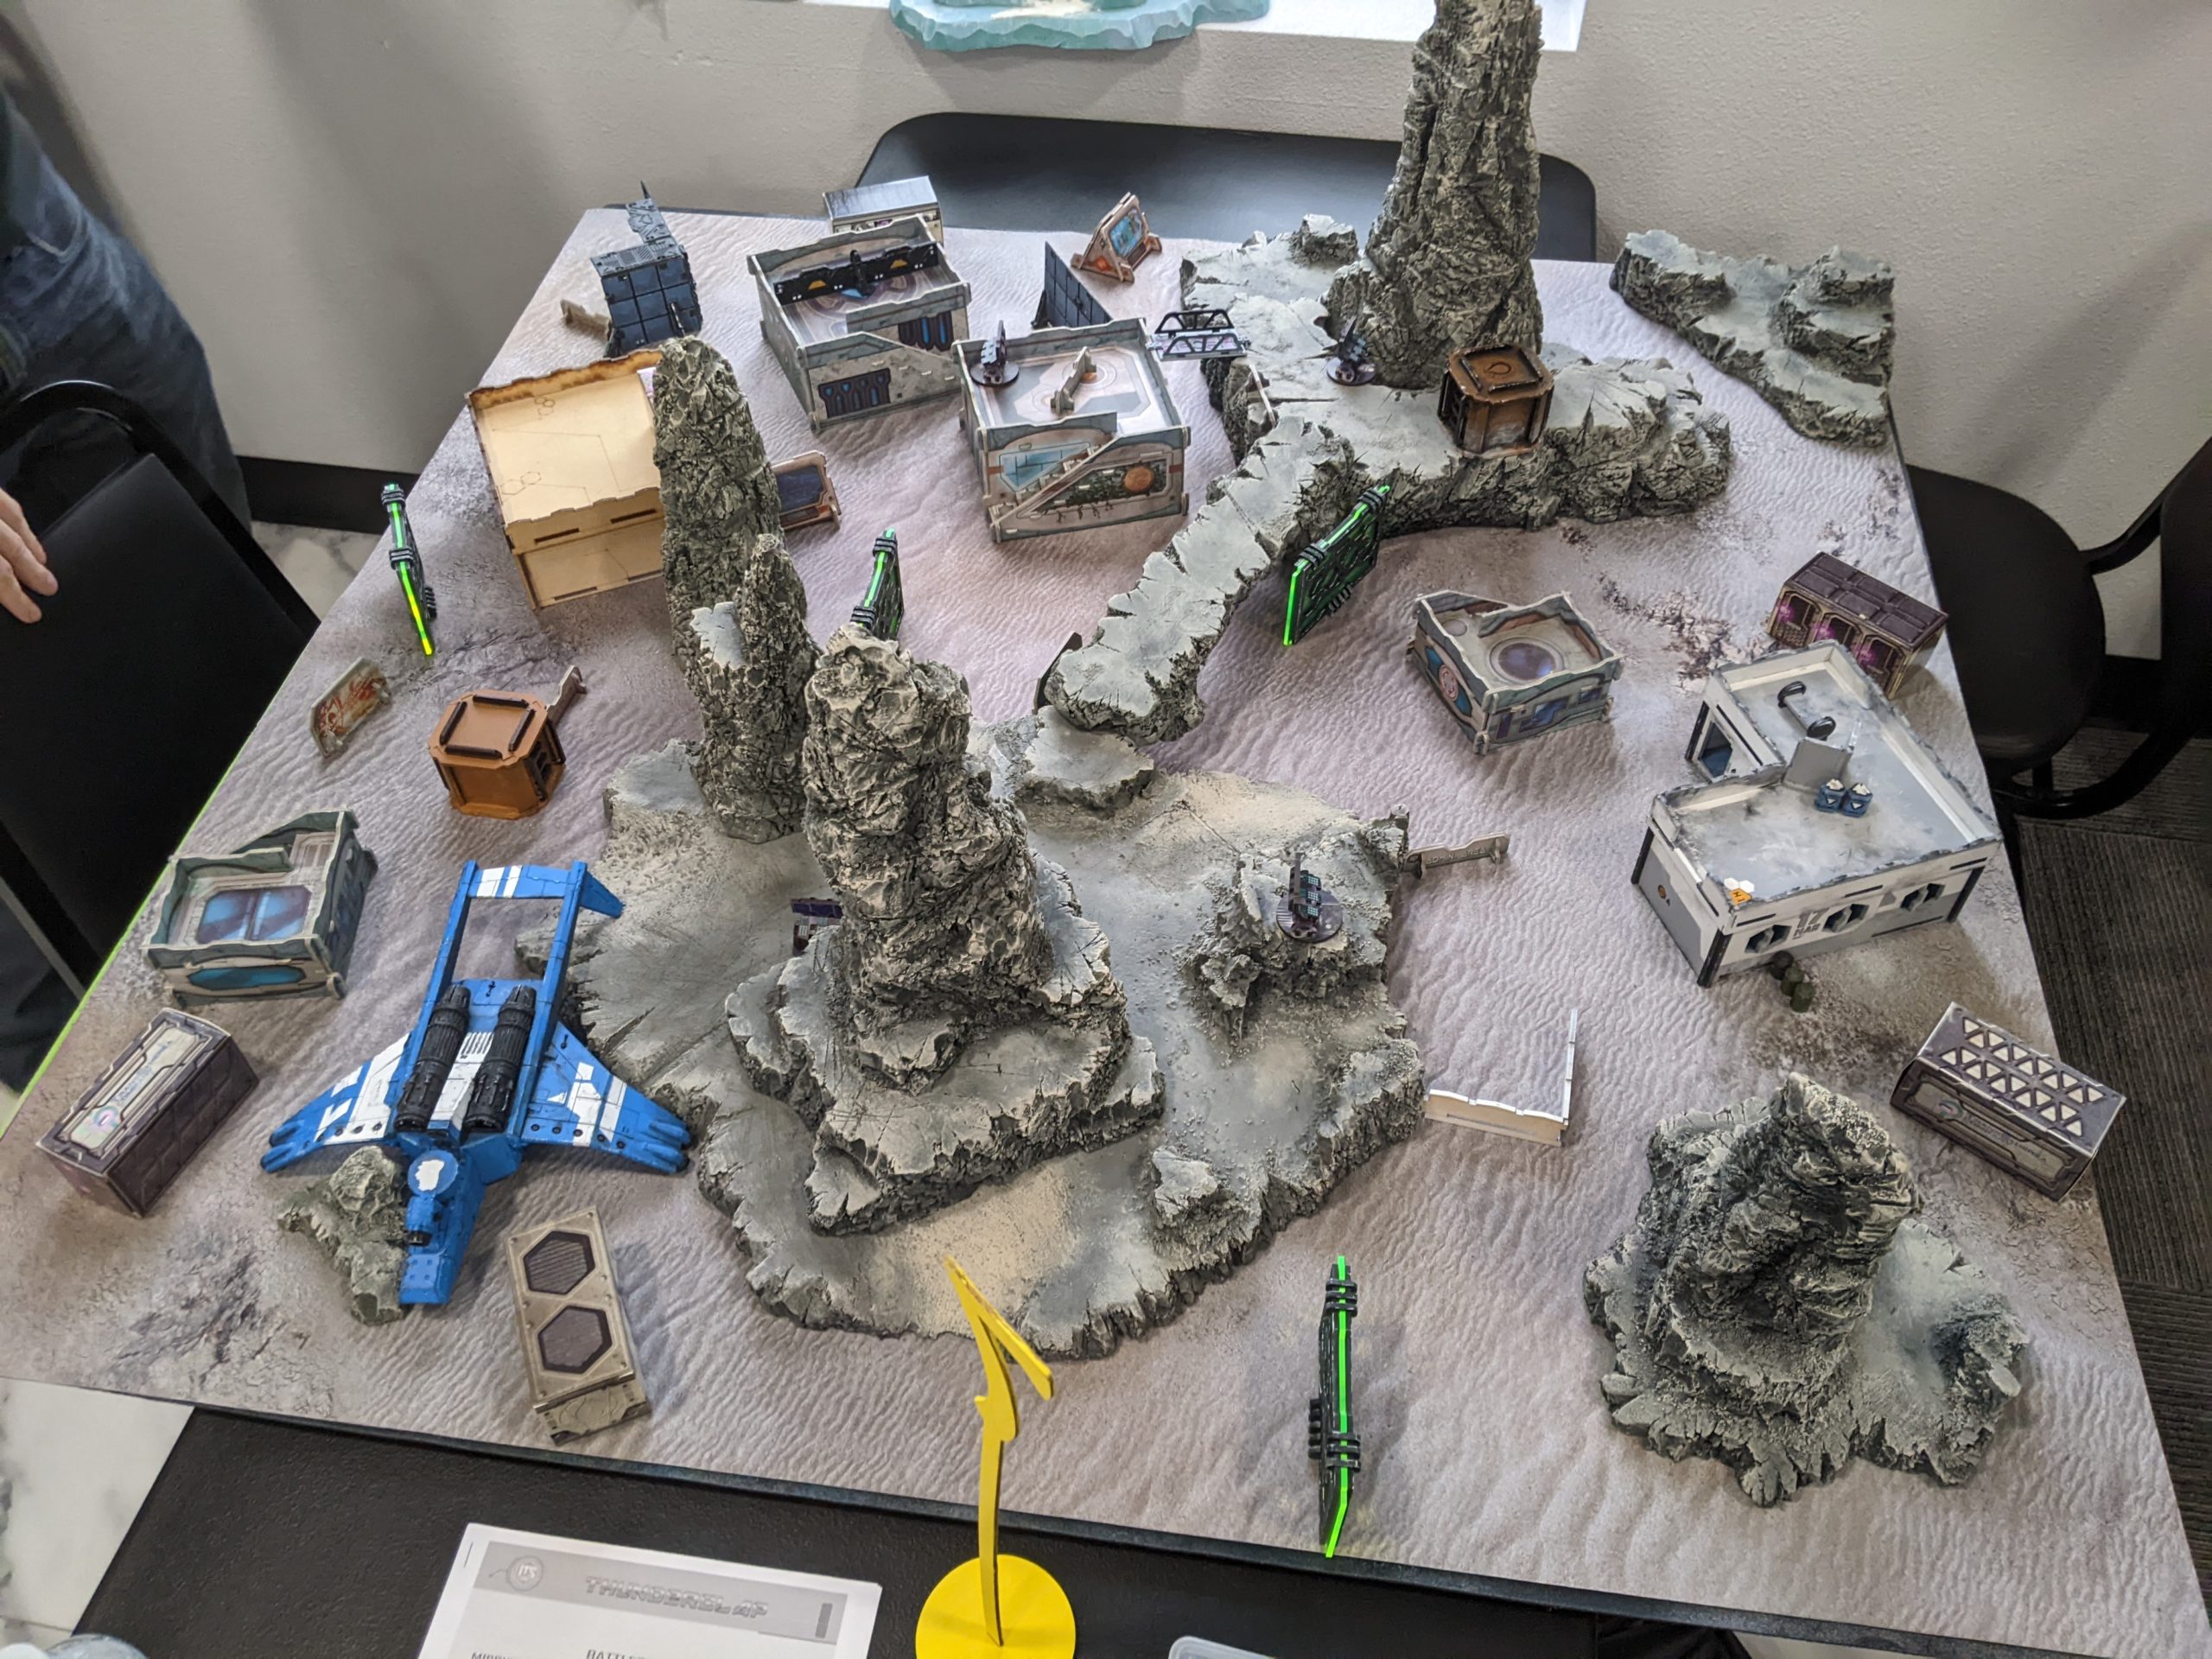
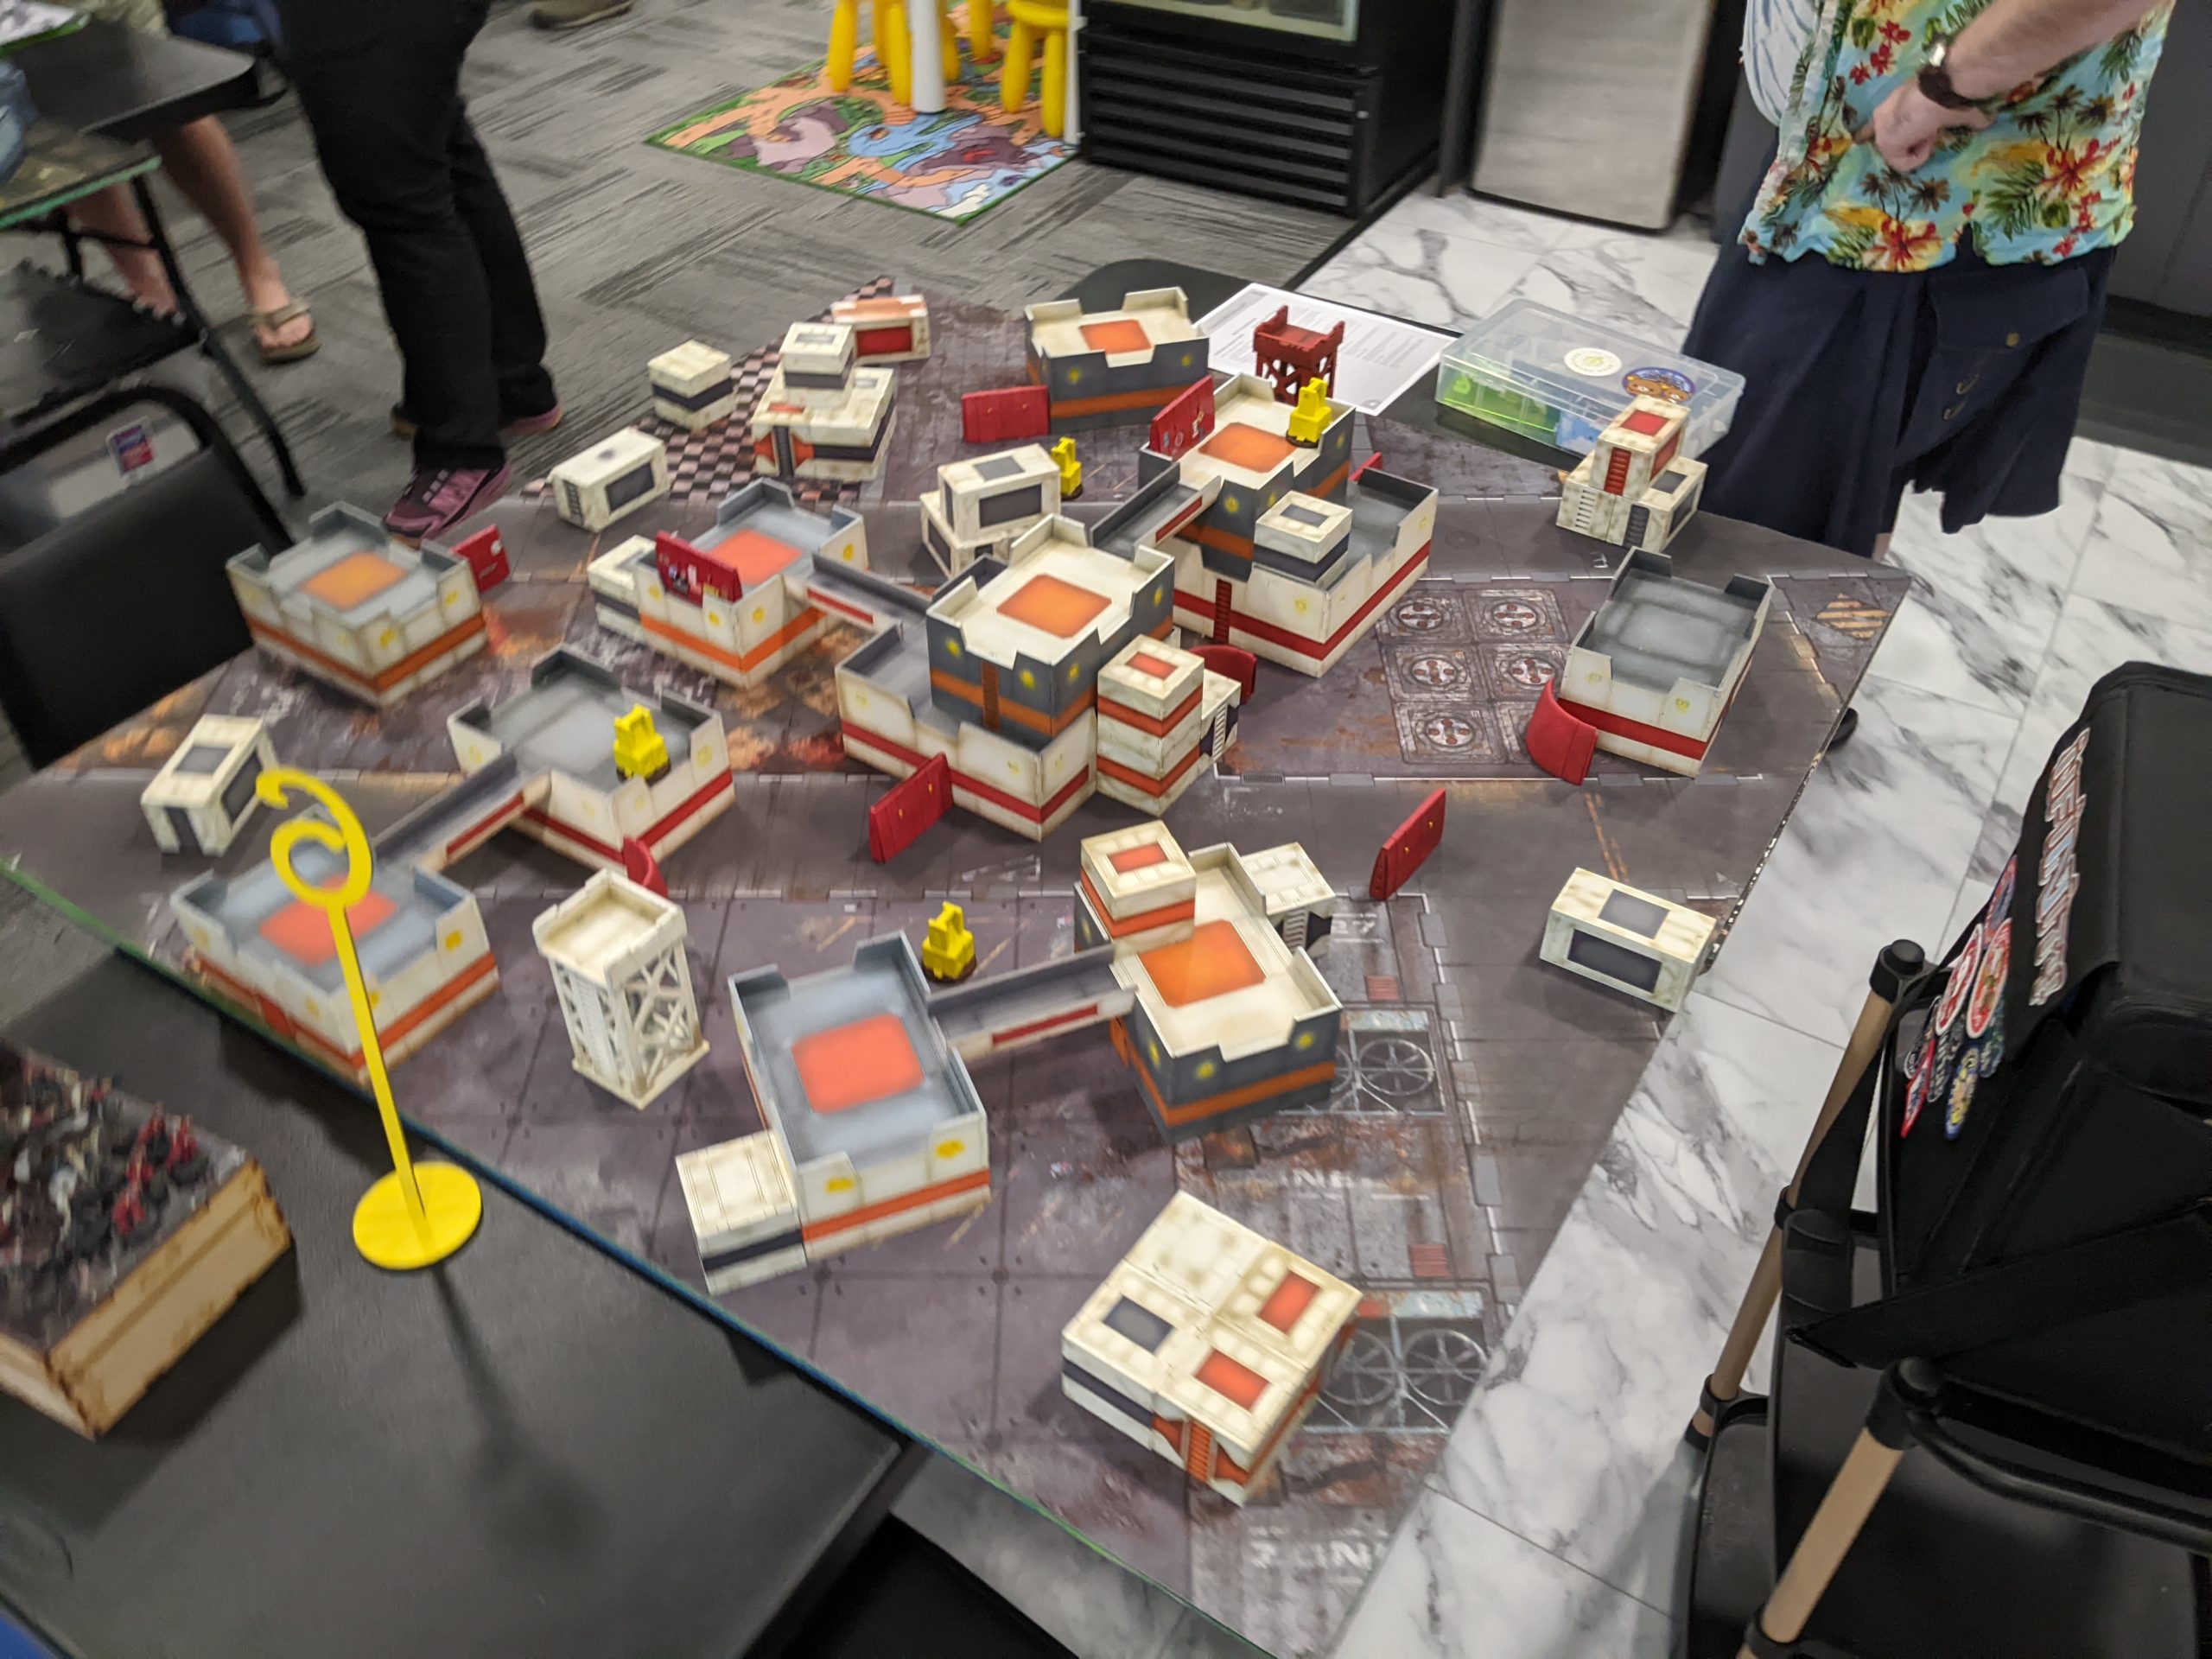
This time we were playing ITS14, specifically the scenarios Battleground, Cutthroat, and Superiority. We had a turnout of 15 players, including myself, so we needed someone to take a bye. Being the only Warcor there, I volunteered to take the first round bye. This gave me an opportunity to hang out, answer rules questions, and stay hydrated after my morning coffee.
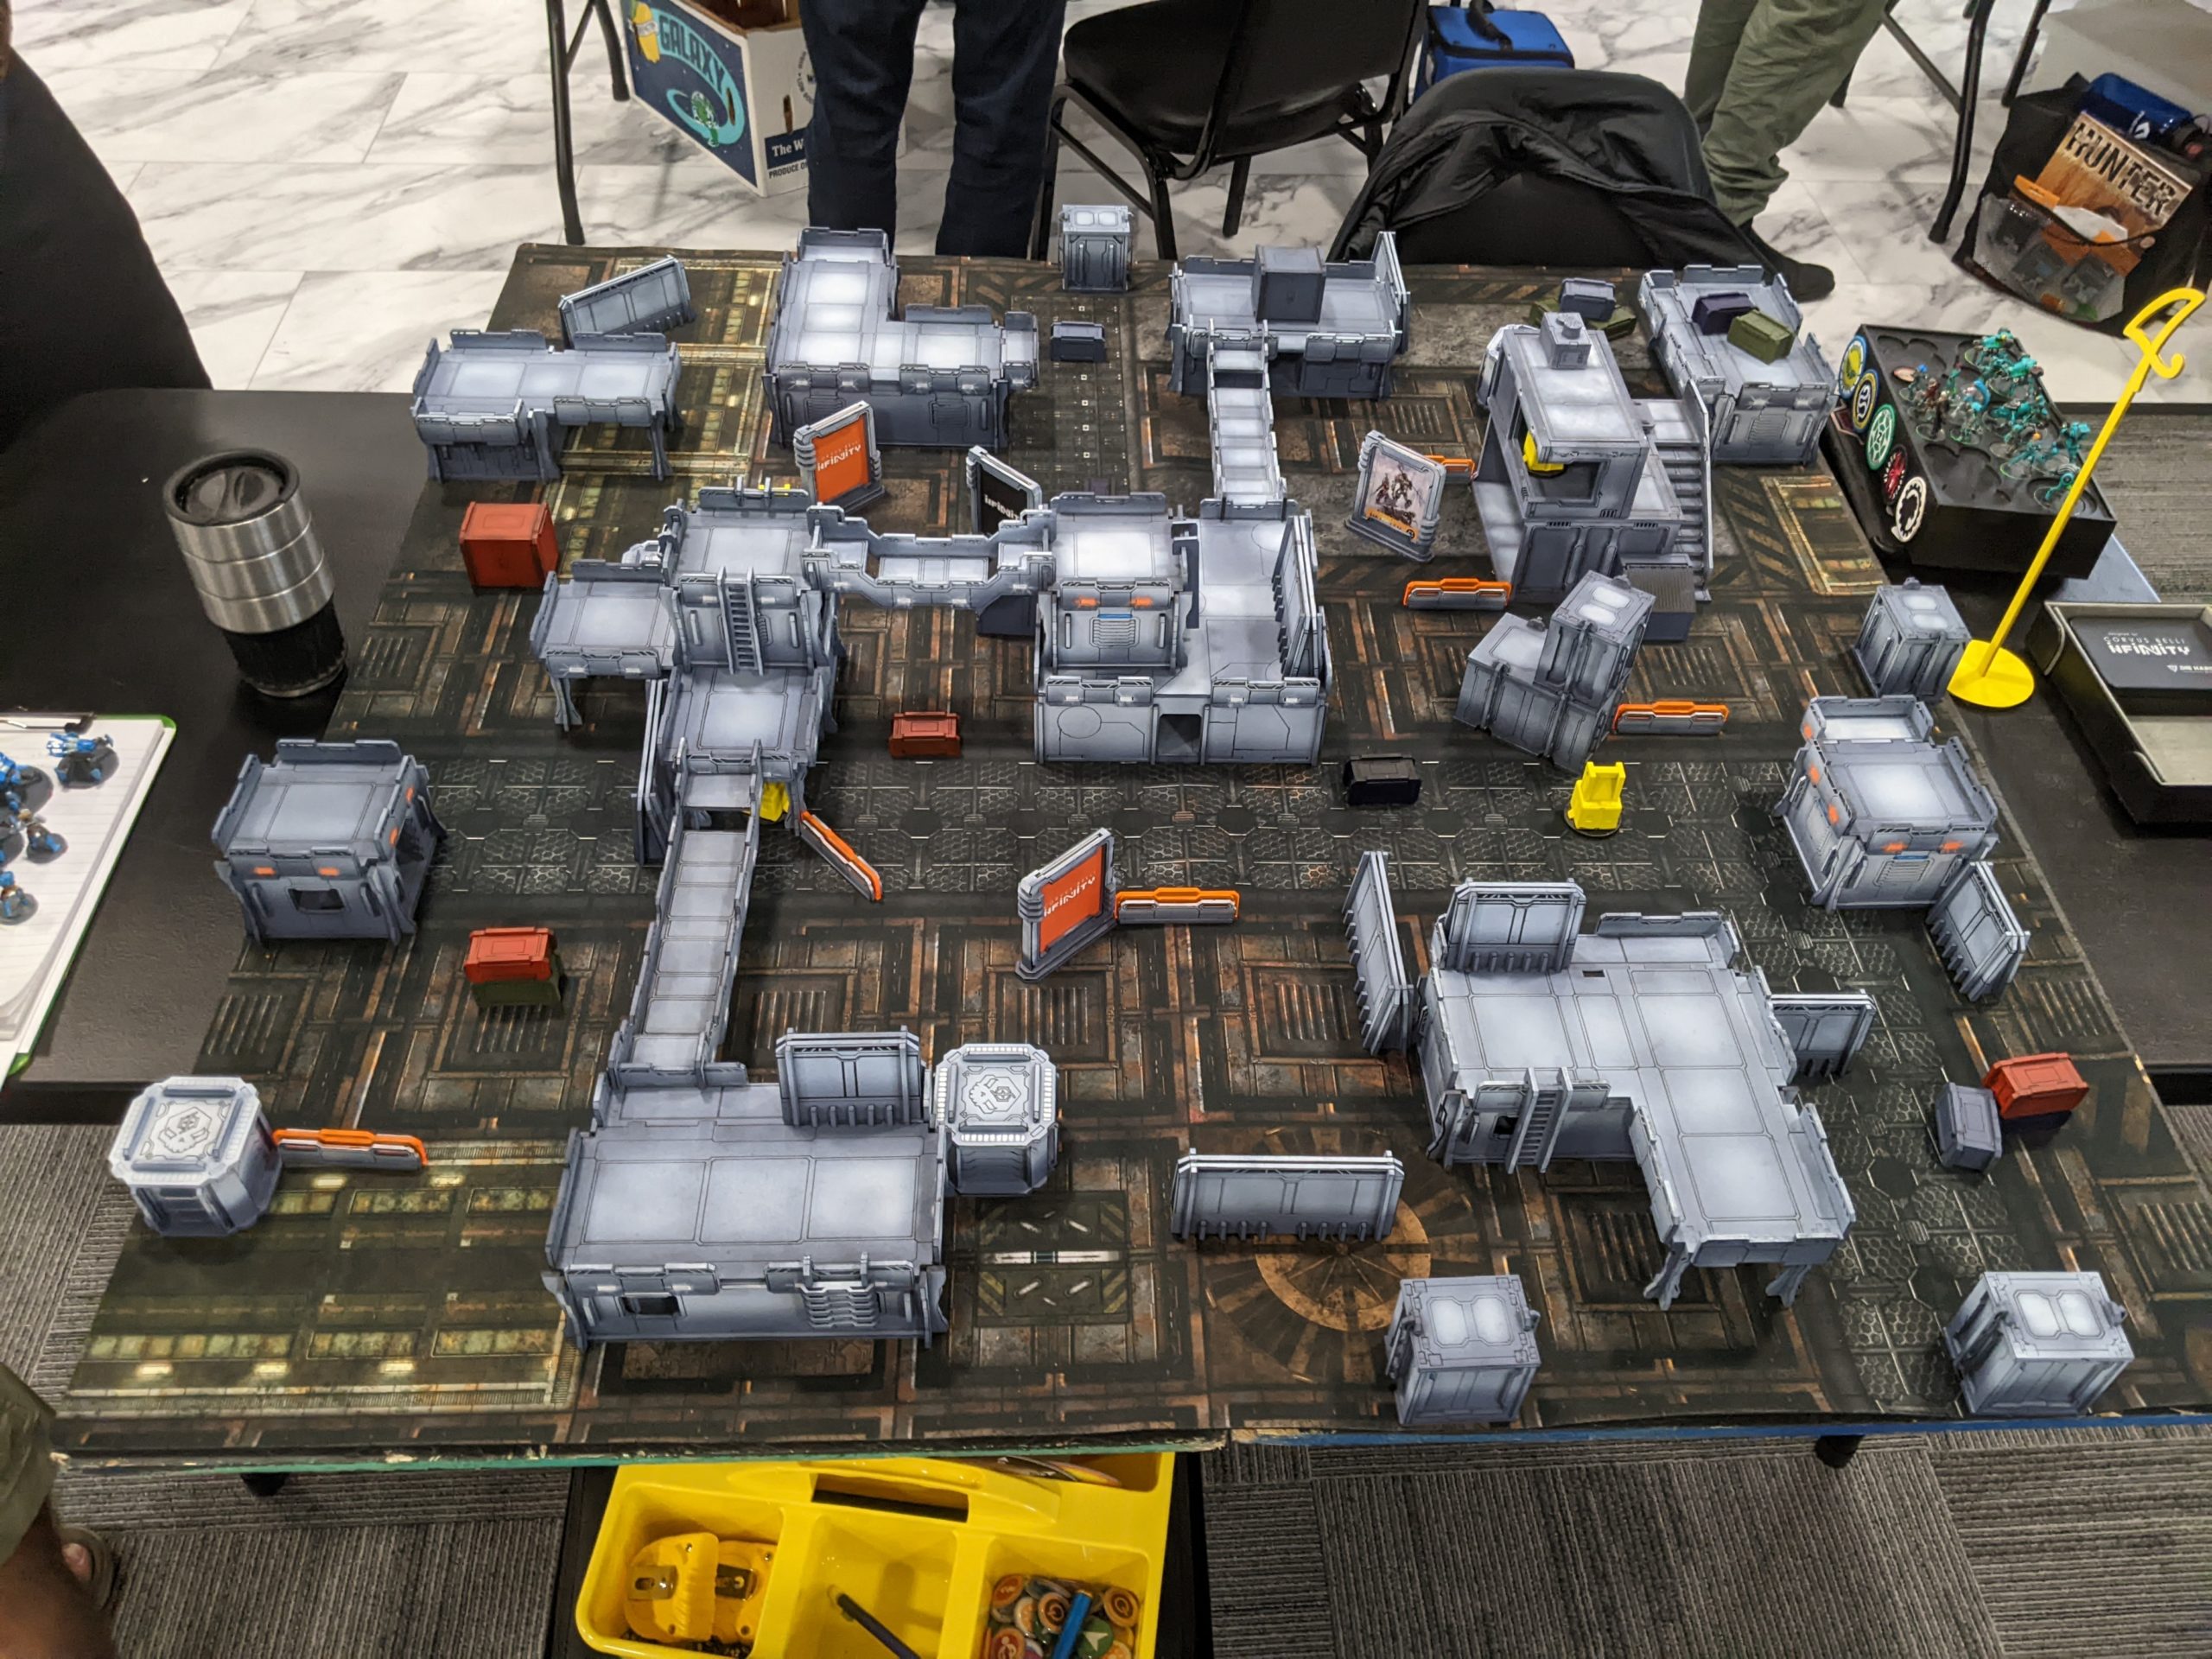
I also got to spectate this game of Battleground between Erik (Zelaponeepus) and Joseph (Homicidal Jay) who were playing Combined and Steel, respectively:
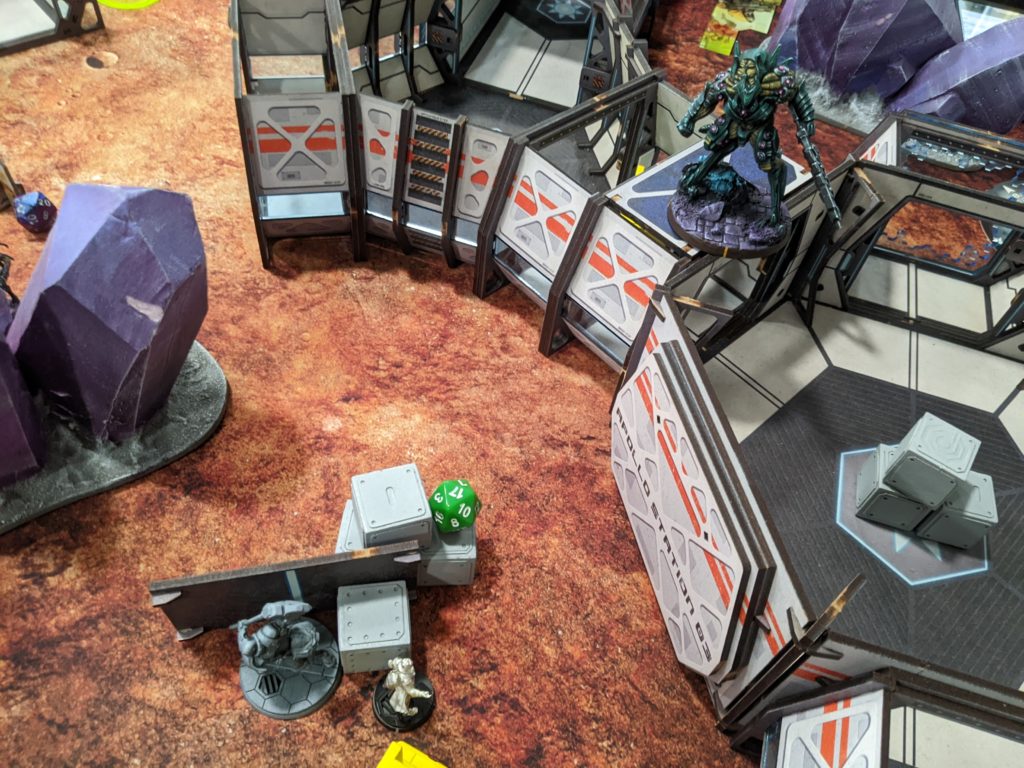
By the end of the game, a Hector/Machaon/Ajax and the Avatar had swapped positions, i.e. they had “base traded” in StarCraft/RTS terms. Since they needed to control zones, they had to meet in the middle eventually. The Avatar aced Hector in one order and then Machaon threw smoke in front of the Avatar… so Erik intuitive attacked with a Sepistor… and that was that.
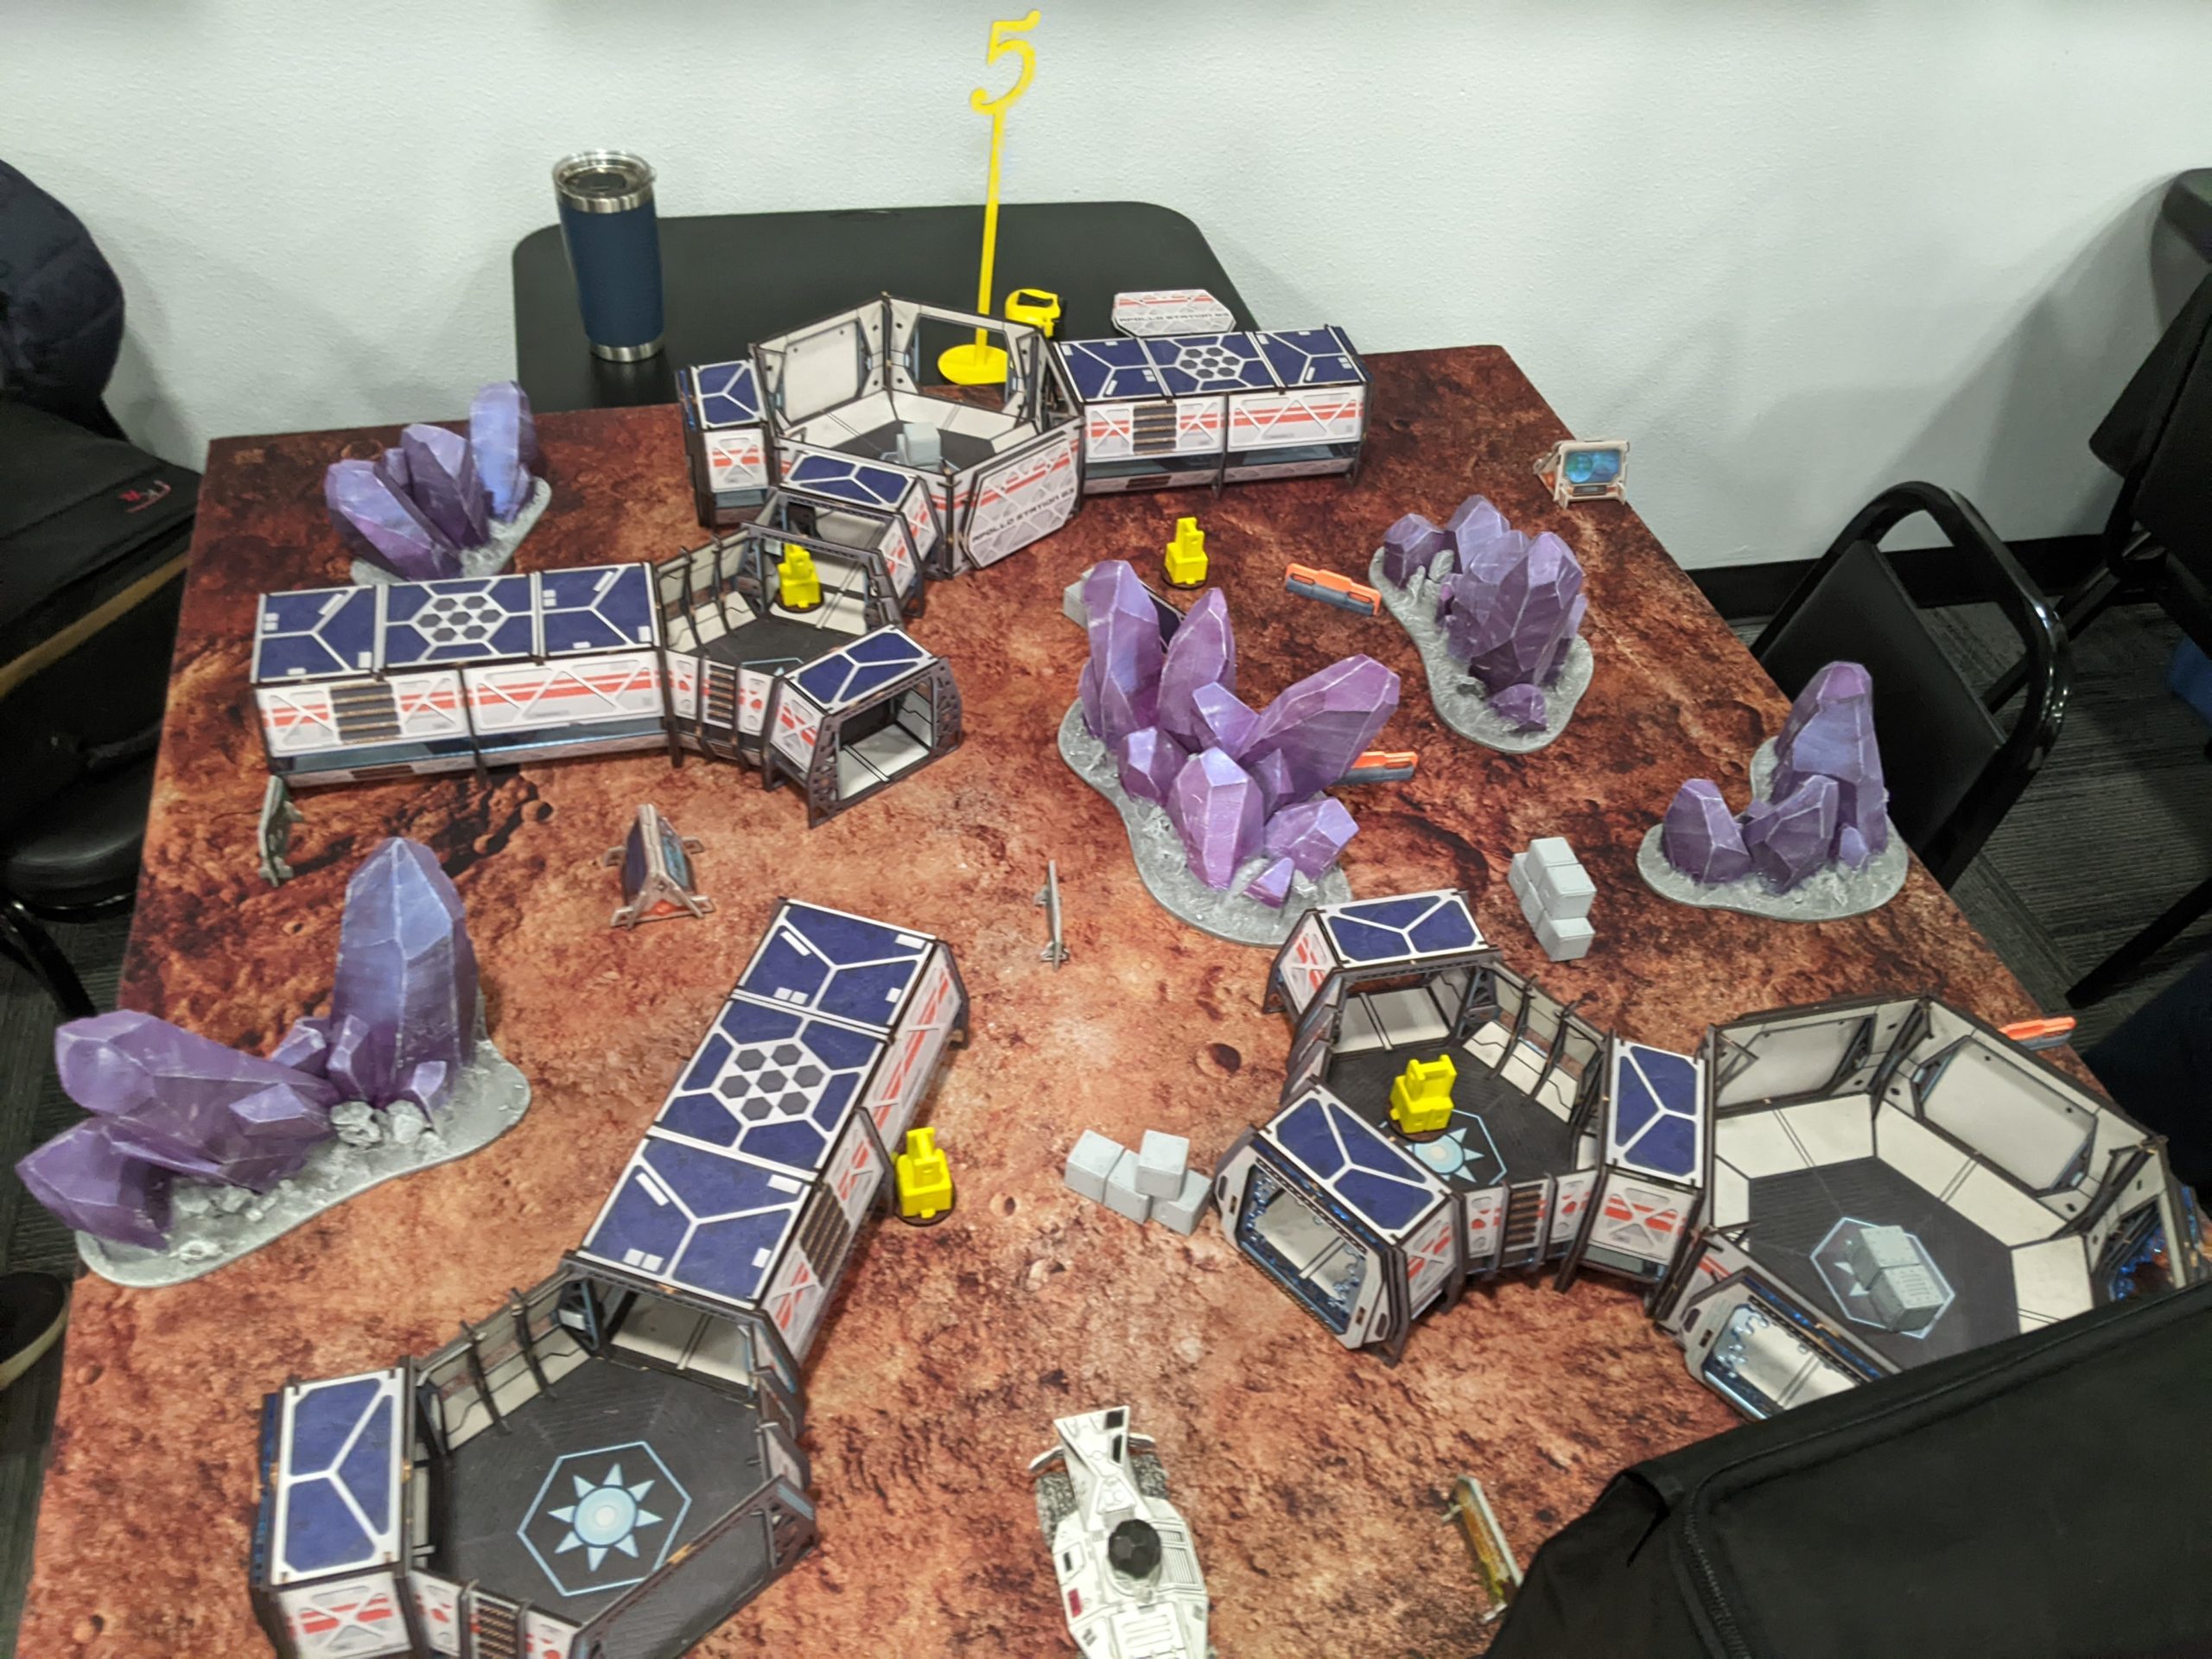
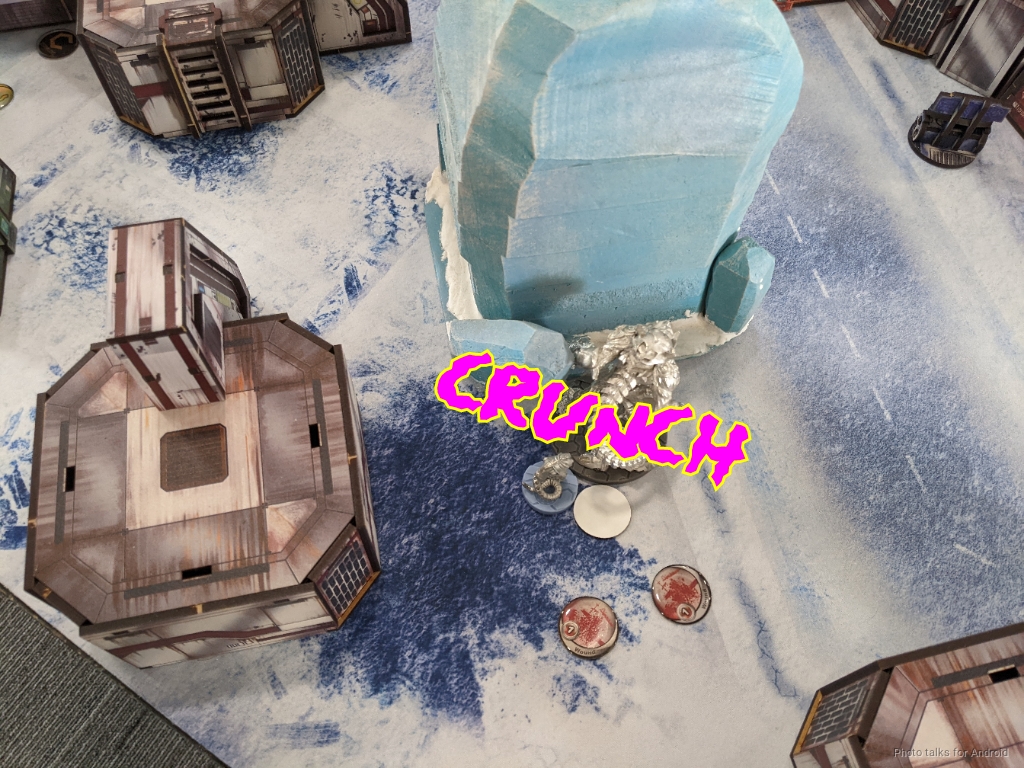
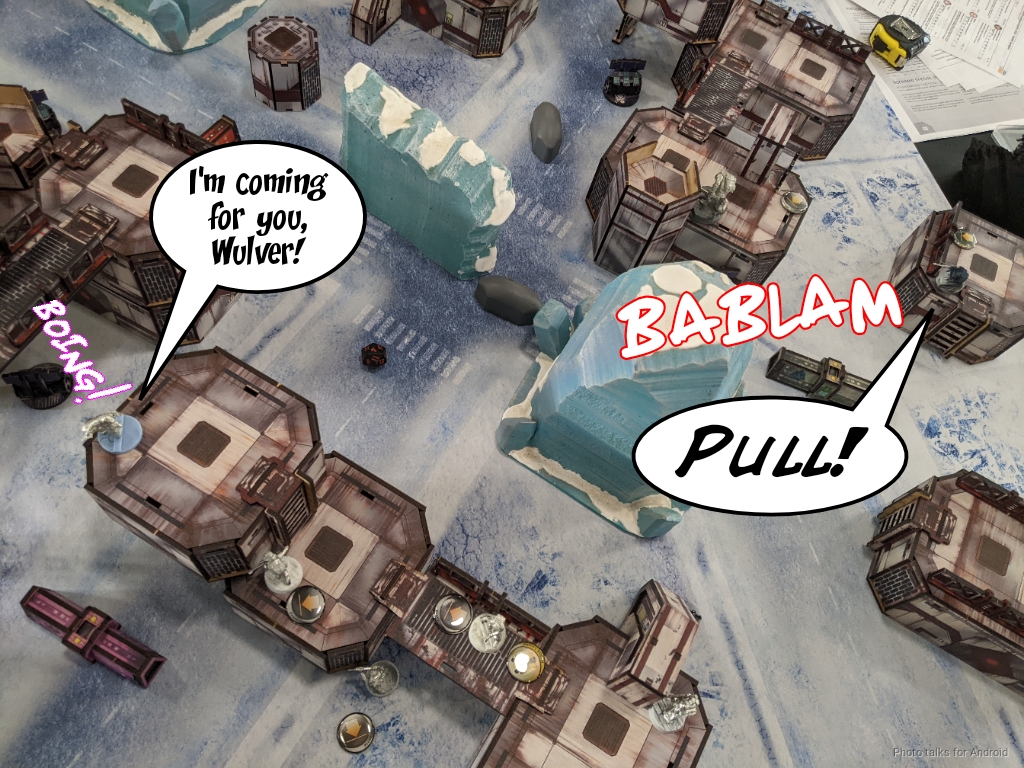
After a pizza lunch, it was time for round two. My opponent was John (Aladdin Sarscippius), and he was playing Combined. We were playing on a denser version of the Strompost Alpha table I played on with my Avatar at the last tournament:
Basically some “ice crystals” were added to the center of the table. The crystals were very large and tall, so they block a fair amount of lines of sight as well. The other problem they solve is that the Avatar can’t vault them because they’re too tall.
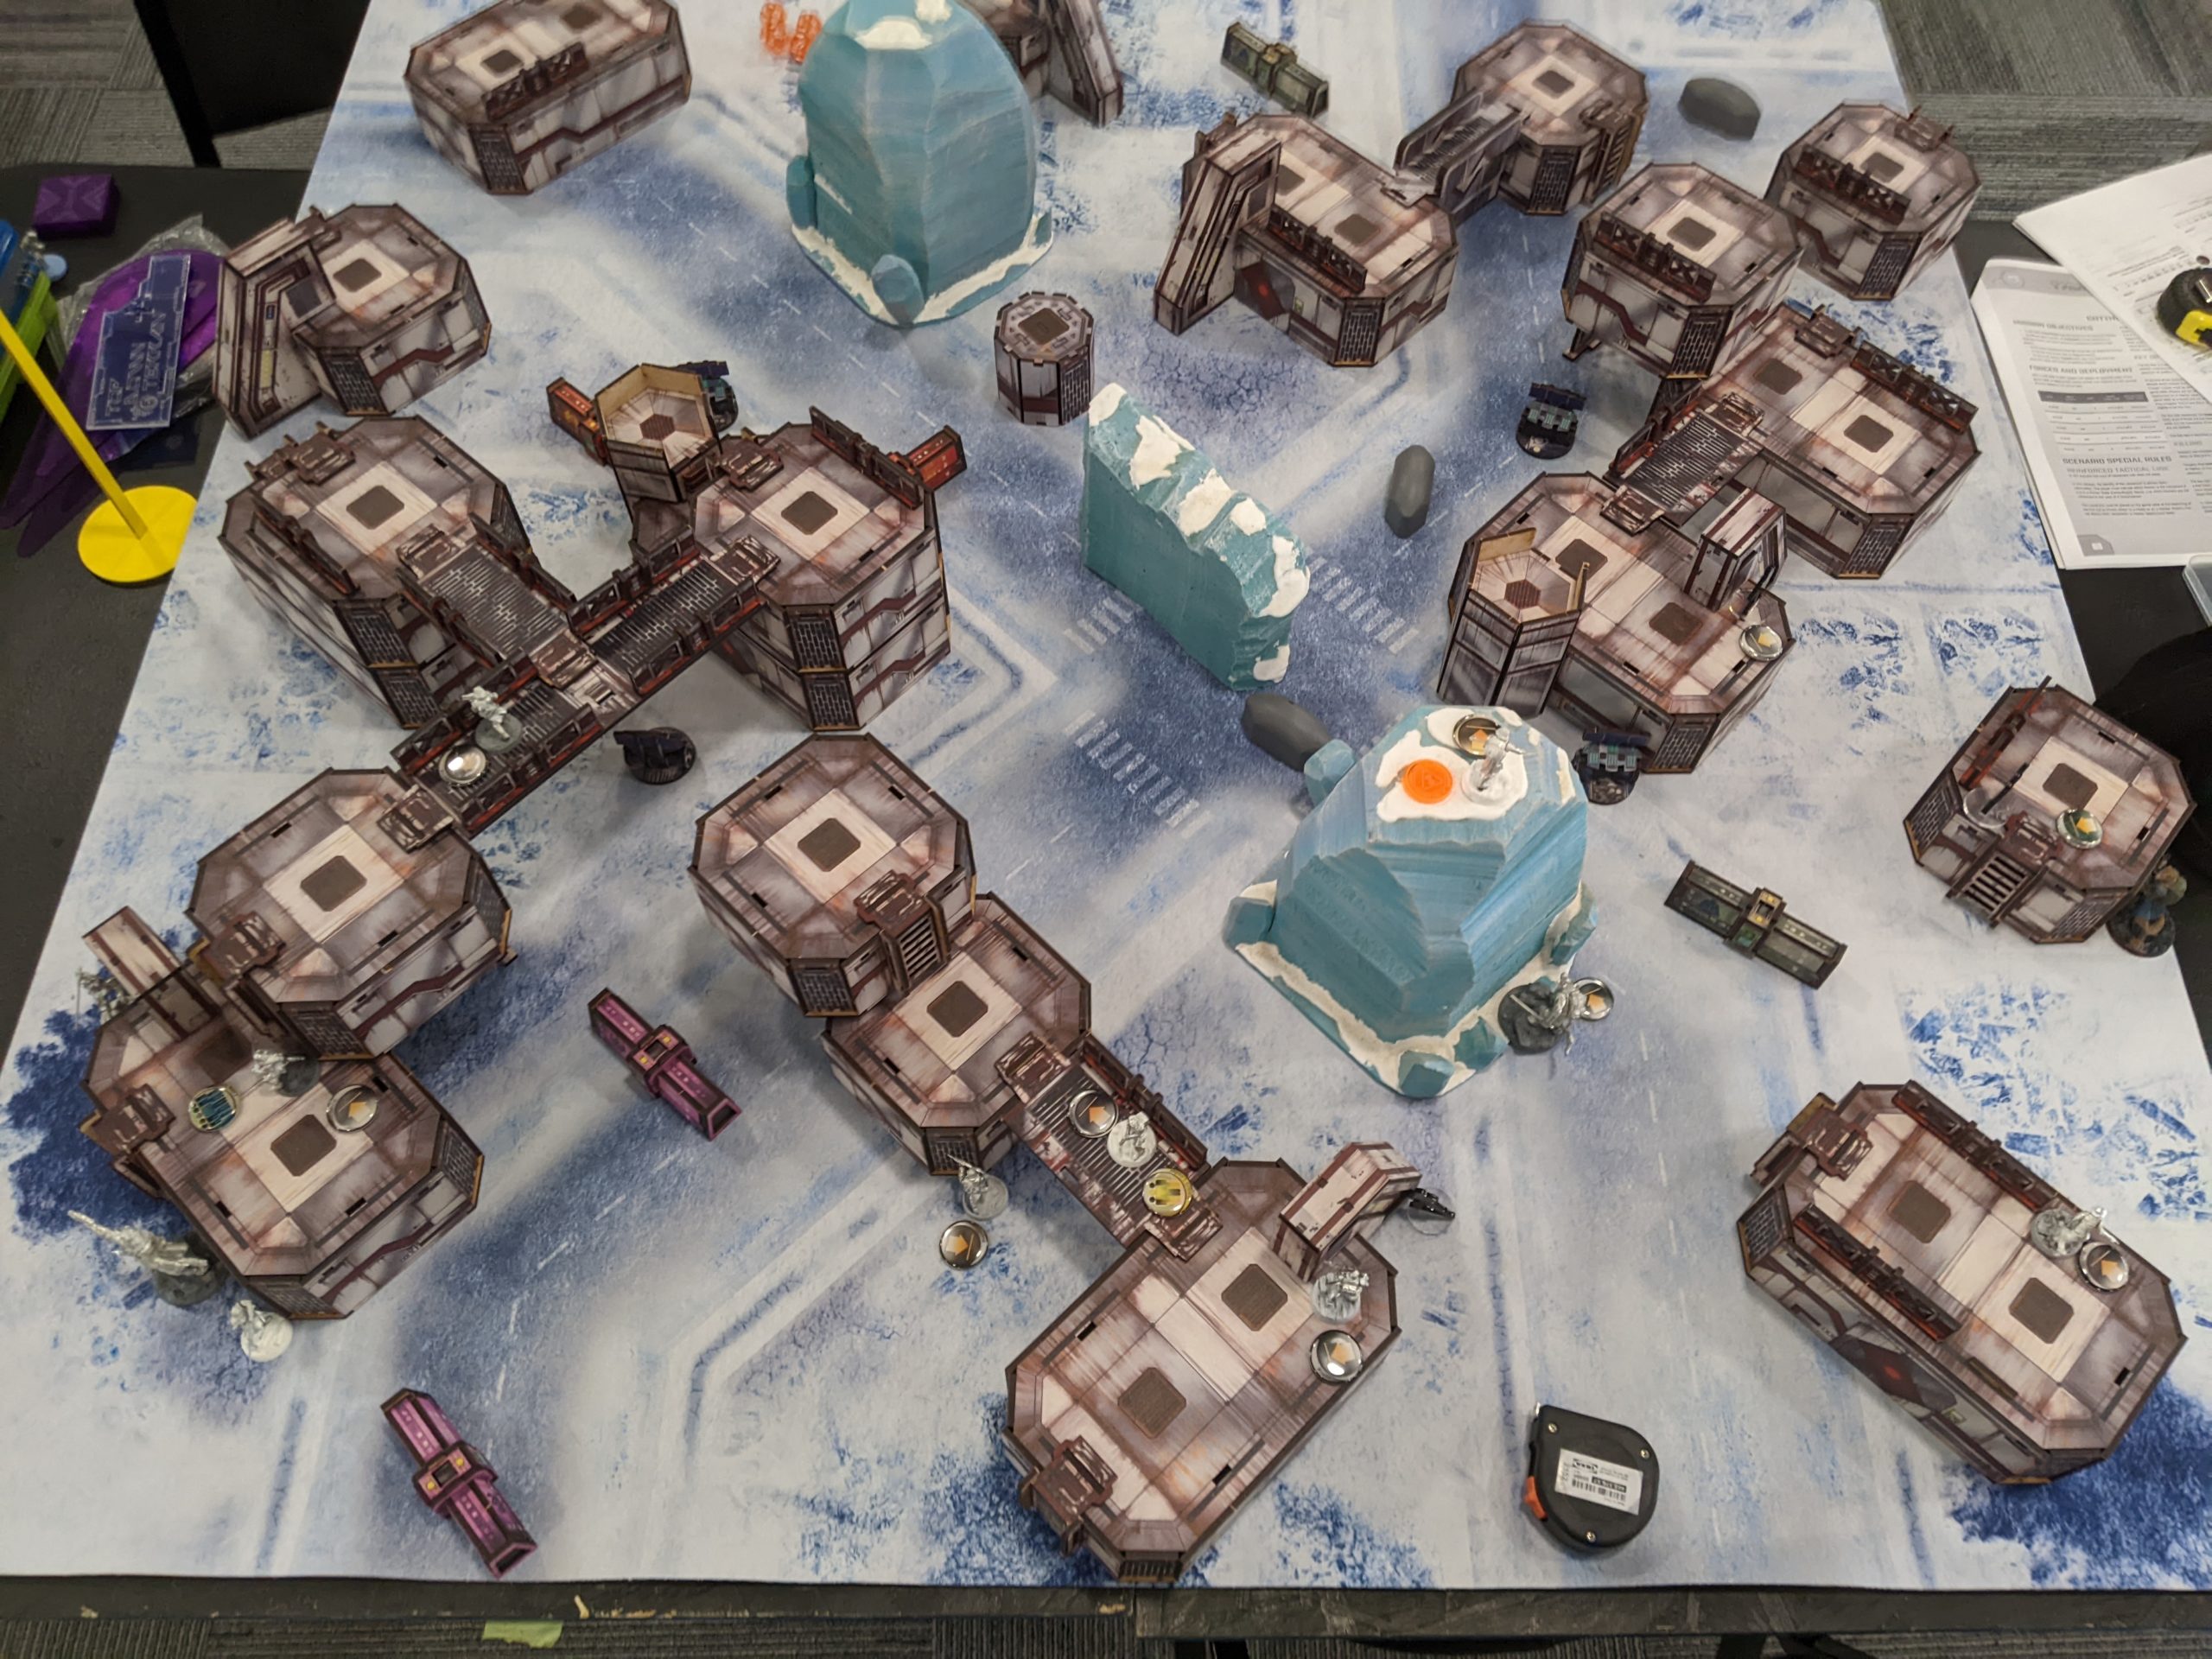
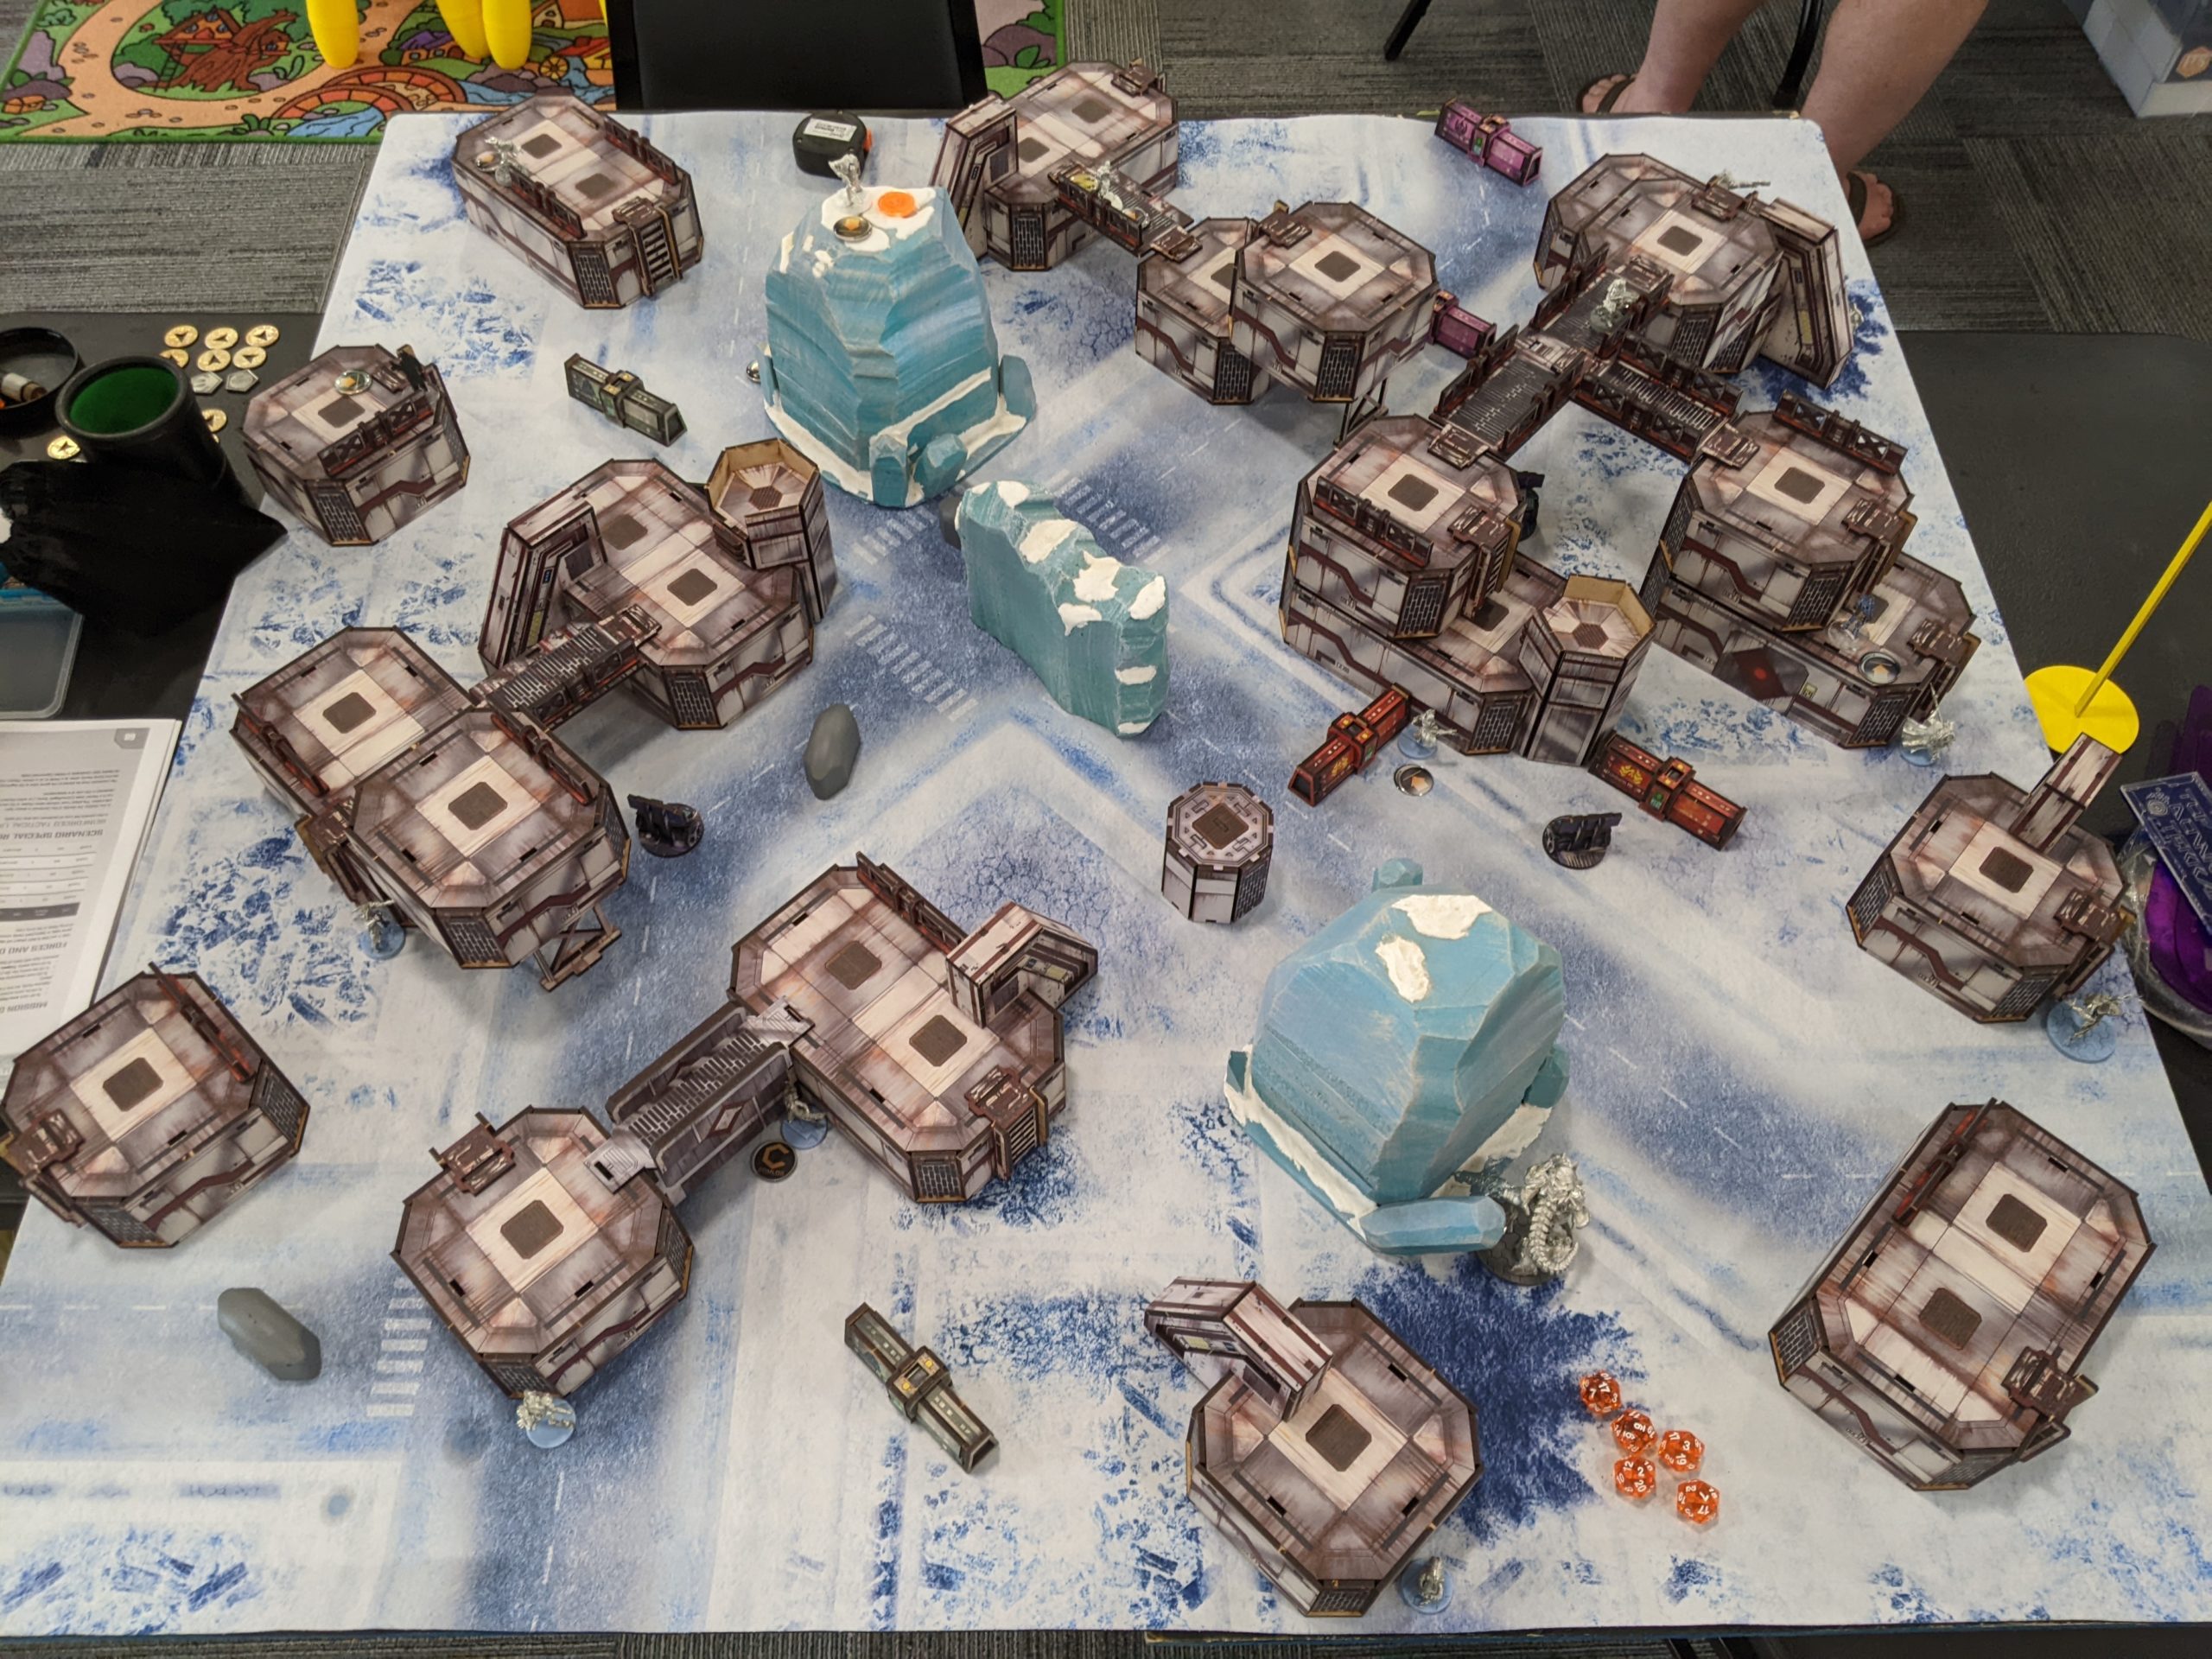
The table needs some more scatter and maybe another cluster of buildings, but is otherwise vastly improved over the last time I’ve played on it.
Overview
- Mission: ITS14 Cutthroat
- Forces: Caledonian Highlander Army versus Combined Army (300)
- Deploy First: Combined Army
- First Turn: Combined Army
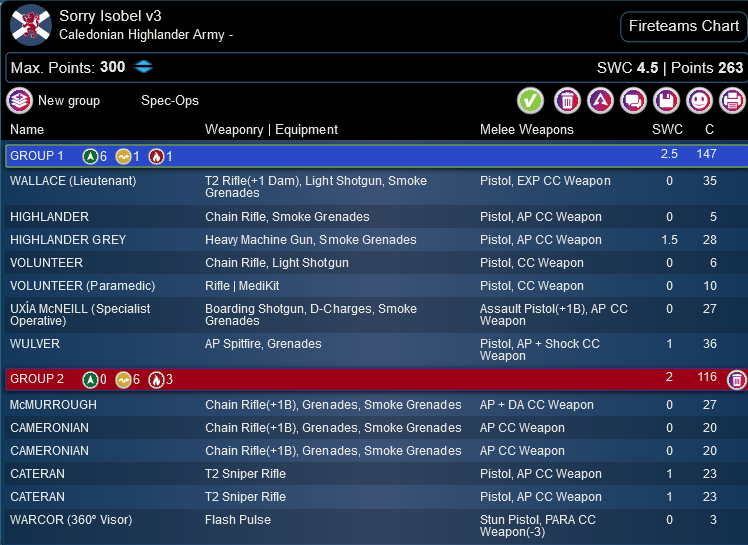
I’m playing my Wallace with two links list that I’ve been practicing with, using the Wulver as a Key Ops. To remind you, the plan is to have two legal 4-model links that Wallace can be a member of, and then hold him in reserve as a shell game to force suboptimal placement of assassins like Impersonators or Infiltration +6 models.
Sorry Isobel v3
GROUP 1
7
2
2
WALLACE (Lieutenant) T2 Rifle(+1 Dam), Light Shotgun, Smoke Grenades / Pistol, EXP CC Weapon. (0 | 35)
HIGHLANDER Chain Rifle, Smoke Grenades / Pistol, AP CC Weapon. (0 | 5)
“FIRSTSTRIKE” DONN T2 Rifle, Grenades / Heavy Pistol, T2 CC Weapon. (0 | 32)
HIGHLANDER GREY Heavy Machine Gun, Smoke Grenades / Pistol, AP CC Weapon. (1.5 | 28)
VOLUNTEER Chain Rifle, Light Shotgun / Pistol, CC Weapon. (0 | 6)
GROUP 2
UXÍA McNEILL (Specialist Operative) Boarding Shotgun, D-Charges, Smoke Grenades / Assault Pistol(+1B), AP CC Weapon. (0 | 27)
WULVER AP Spitfire, Grenades / Pistol, AP + Shock CC Weapon. (1 | 36)
McMURROUGH Chain Rifle(+1B), Grenades, Smoke Grenades / AP + DA CC Weapon. (0 | 27)
CAMERONIAN Chain Rifle(+1B), Grenades, Smoke Grenades / AP CC Weapon. (0 | 20)
CATERAN T2 Sniper Rifle / Pistol, AP CC Weapon. (1 | 23)
WARCOR (360º Visor) Flash Pulse ( ) / Stun Pistol, PARA CC Weapon(-3). (0 | 3)
4.5 SWC | 300 Points | Open in Army | Copy Code
It’s pretty straightforward otherwise. There are four guns: 2x Caterans, 1x Wulver AP Spitfire, and as an emergency backup, a Grey HMG in a link. There are many, many threat vectors in the list, including Uxia, so all I need to do is keep one of them alive and in position along with the orders they need to do damage, and the list functions. In other words, I can cede positional advantage on some models to keep them safe as an order pool to push units that have and can exploit positional advantage forward to do damage. Cutthroat really isn’t about subtlety or holding back, so it’s just a bunch of beat sticks and an angry pack of dogs.
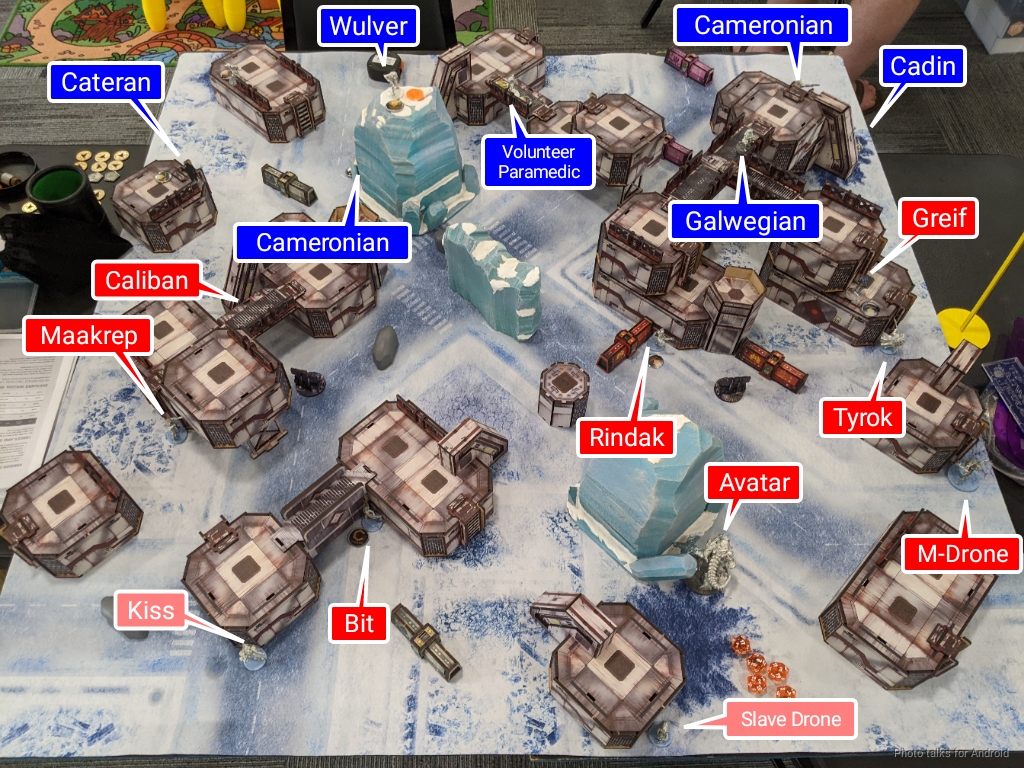
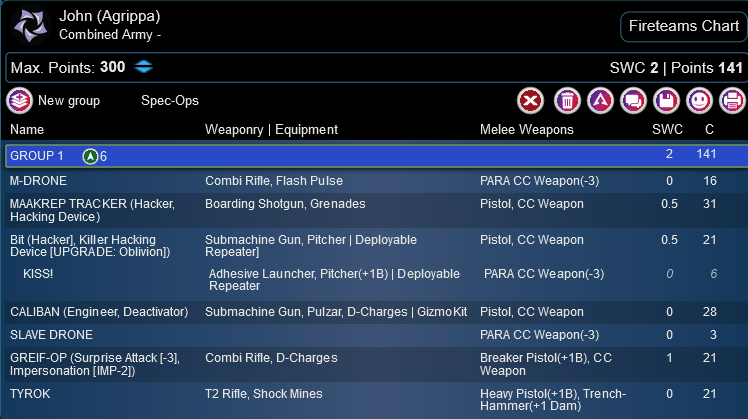
John’s list is running the Avatar and a cast of the usual Combined suspects. Bit and Kiss, a Greif, the Tyrok, Rindak, and a Caliban Engineer all make an appearance, along with some less common choices like a Maakrep Hacker and the M-Drone (although this is probably more common by now thanks to ITS14).
John 1 (Aladdin Sarsippius)
AVATAR (Lieutenant [+1 Order, +1 Command Token]) MULTI Heavy Machine Gun, Sepsitor Plus / DA CC Weapon. (3 | 126)
STALDRON Flash Pulse / PARA CC Weapon(-6). (0 | 0)
M-DRONE Combi Rifle, Flash Pulse / PARA CC Weapon(-3). (0 | 16)
RINDAK (Paramedic, Forward Deployment [+8″]) Submachine Gun, Flash Pulse(+1B) / Heavy Pistol, PARA CC Weapon. (0 | 31)
MAAKREP TRACKER (Hacker, Hacking Device) Boarding Shotgun, Grenades ( ) / Pistol, CC Weapon. (0.5 | 31)
Bit (Hacker], Killer Hacking Device [UPGRADE: Oblivion]) Submachine Gun, Pitcher ( | Deployable Repeater]) / Pistol, CC Weapon. (0.5 | 21)
CALIBAN (Engineer, Deactivator) Submachine Gun, Pulzar, D-Charges ( | GizmoKit) / Pistol, CC Weapon. (0 | 28)
SLAVE DRONE PARA CC Weapon(-3). (0 | 3)
GREIF-OP (Surprise Attack [-3], Impersonation [IMP-2]) Combi Rifle, D-Charges / Breaker Pistol(+1B), CC Weapon. (1 | 21)
TYROK T2 Rifle, Shock Mines / Heavy Pistol(+1B), Trench-Hammer(+1 Dam). (0 | 21)
It’s quite light on orders and relies heavily on the Avatar’s extra two to get work done.
Deployment
John wins the rolloff and elects to go first. I decide to take the side with access to multiple levels in my deployment zone, which will help me keep Wallace… safer. John put the Avatar behind the ice tower in his deployment zone, and then bubble wrapped it with the Rindak, Tyrok, and M-Drone. Bit and Kiss hung out in a pocket in the back left be as safe as possible, and then the Maakrep came down on his left. The Caliban and Greif were his two reserves.
I of course was unaware of his reserves–for all I knew it was a Greif and a Speculo, making my plan for naught. Looking at the table, I didn’t see an option to set up two links in relative safety. I was going to have to make a choice, early, about where Wallace would go. I’d still hold him in reserve, but I knew he was going on the left in the stack of buildings to make it harder for things to get at him.
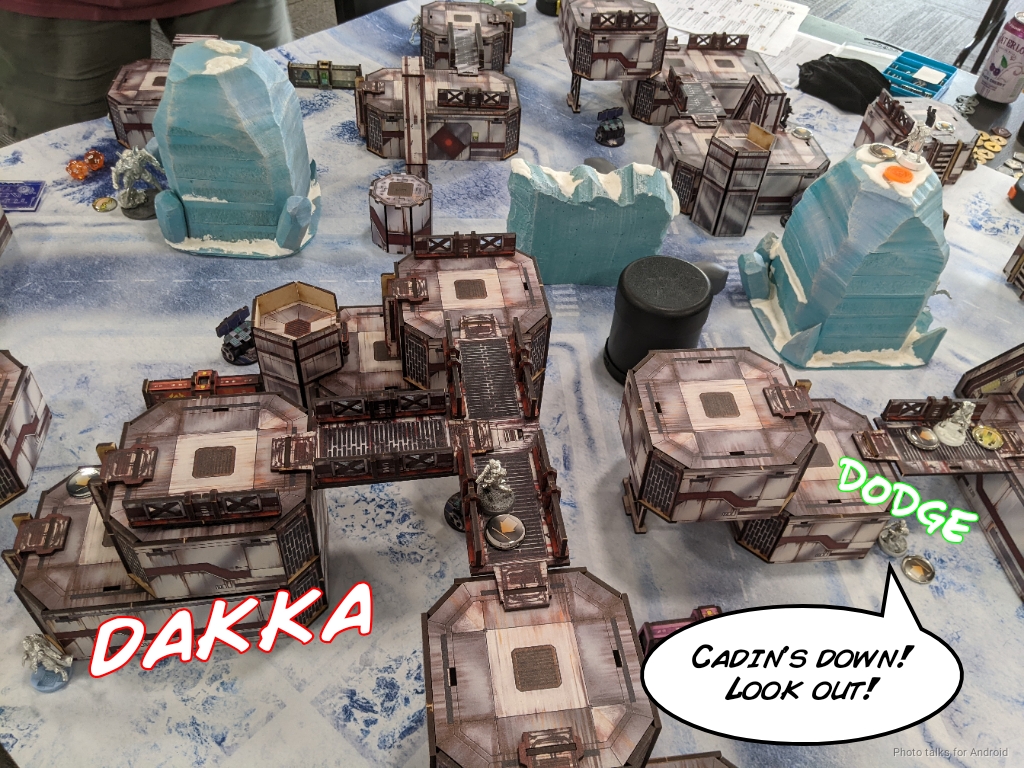
Since Cutthroat has a 16″ deployment zone, I had lots of options. Cadin watched the entire left board edge, backed up by a Cameronian. A Galwegian went on the second floor, and the other one went on a third floor bridge to hopefully deal with the Rindak if it decided to start climbing the building. I set up an emergency home for Wallace in the middle with the Grey/Volunteer link, but this was only for emergencies. I figured I’d put Wallace on the bridge with the Paramedic if I suddenly was dealing with two impersonators in bad spots.
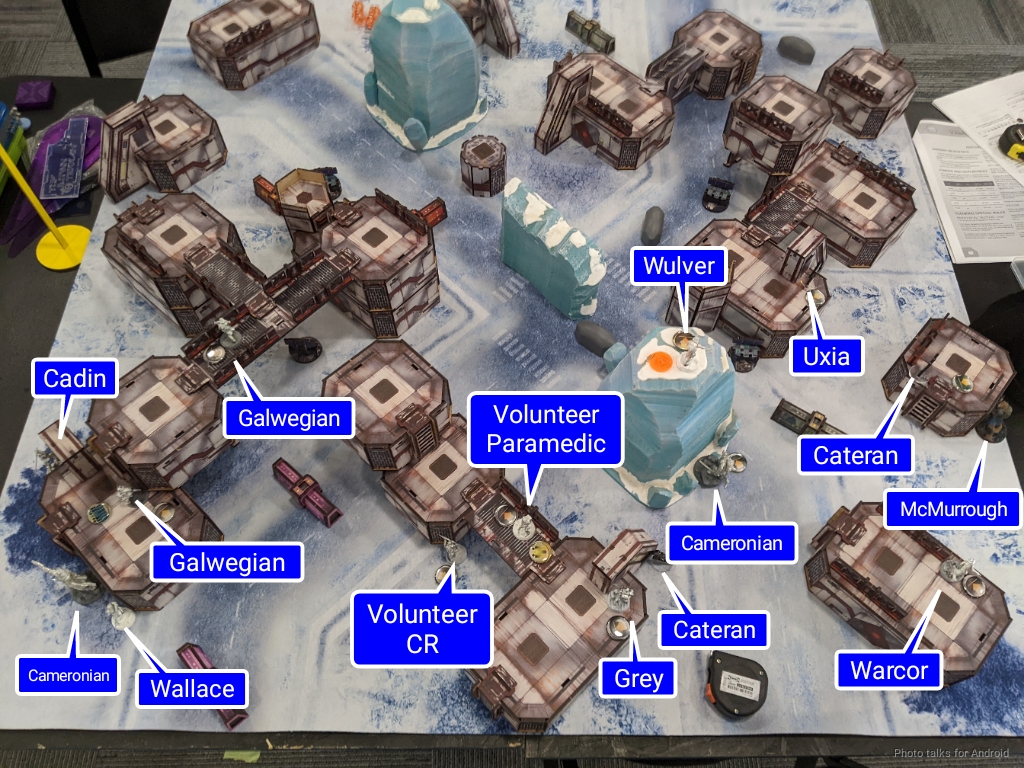
Then it was time to place the Warcor, which covered my right flank and the approach to Uxia, who was poised to push the right side and take on the Maakrep. McMurrough went over there as well to help collapse that flank, and the last Cameronian hid next to the big ice tower on my side of the table. I had no really good place to put the Wulver, so I put him prone on the ice tower, figuring that nothing could see him up there and he could just Climbing+ off when he needed to.
Then I spent a long time thinking about Cateran firelanes. The ice towers do a good job of breaking up the diagonal firelane they occupy, but there were keyholes that I could shoot through if I was clever in my placement. I checked carefully and found some positions the Avatar would have to advance through as well as covering the rooftop and ground approaches to Wallace for anything else that might be problematic.
Without knowing where Wallace was, John elected to just put the Greif on my left to harass my link and the Caliban on my right to help the Maakrep out. I executed my plan and put Wallace as far back as he could go that I thought was reasonably safe. It wasn’t, as there’s a big firelane from the right to the left of my deployment zone, but I figured to get there the Avatar would have to fight through two Caterans, a Cameronian, and possibly Uxia, which should be enough to delay it with his small order pool. Then the Avatar is close to a bunch of close quarters monsters without cubes, so I felt pretty good about my chances. Bit is John’s Key Ops and the Wulver is mine. His choice of Bit is kinda fun, because it lets him position Kiss to be a threat without wasting any main pool orders. He gives up on the top end of points, but gets some interesting utility.
Turn 1
Top of 1 – Combined Army
John shows me 8 regular orders and two tac aware, so I take two orders and settle in for a beating. It starts immediately with the Tyrok just obliterating Cadin on the first order. Ruh roh.
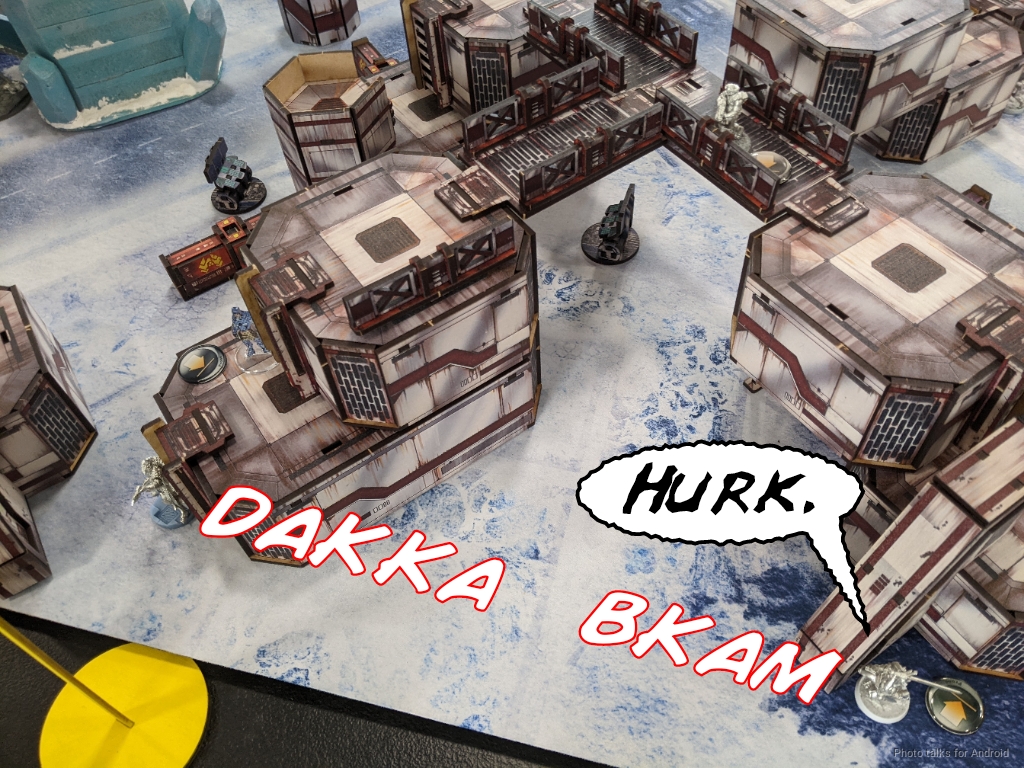
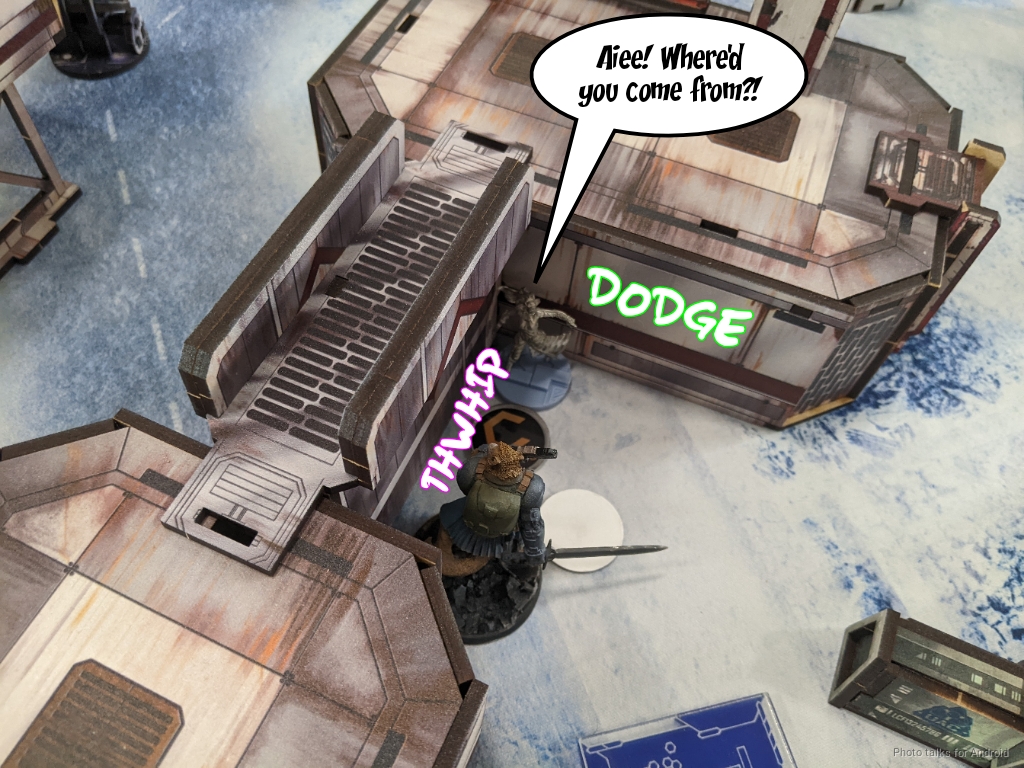
Apparently my placement on the Chain Rifle Volunteer is a little sloppy, so the Tyrok can see that too. I fail my dodge but pass ARM, thankfully, and duck around the corner.
The M-Drone takes on the Wulver and actually does a wound, but I fail guts partway down the ice tower to break line of fire and keep the Wulver safe.
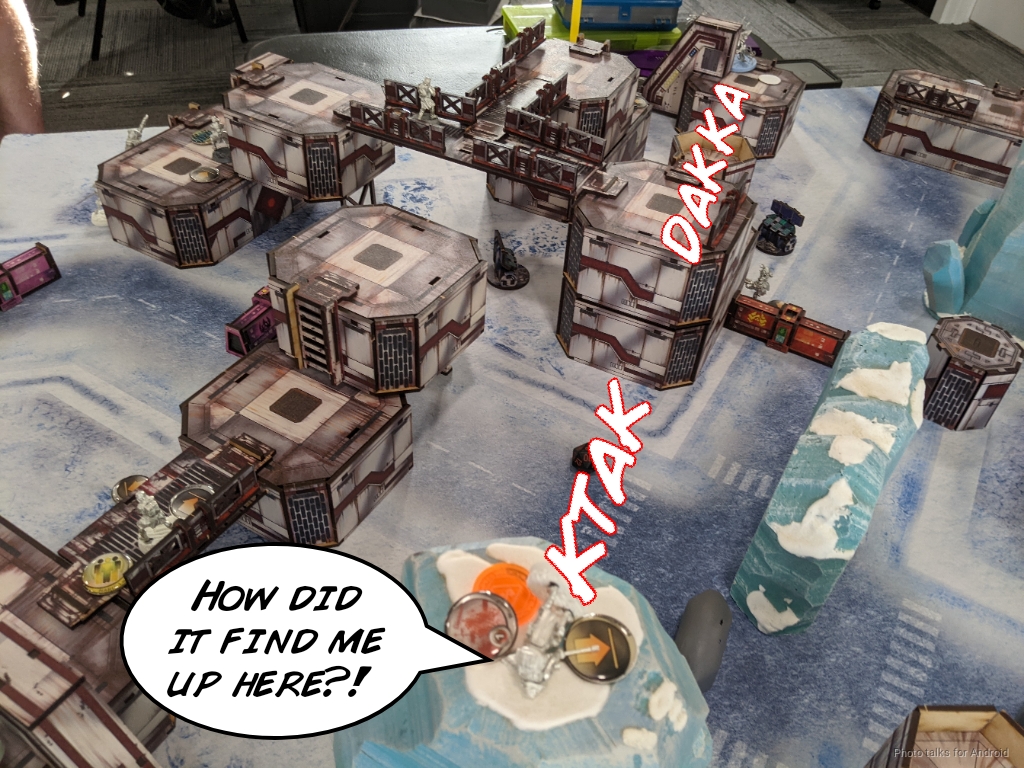
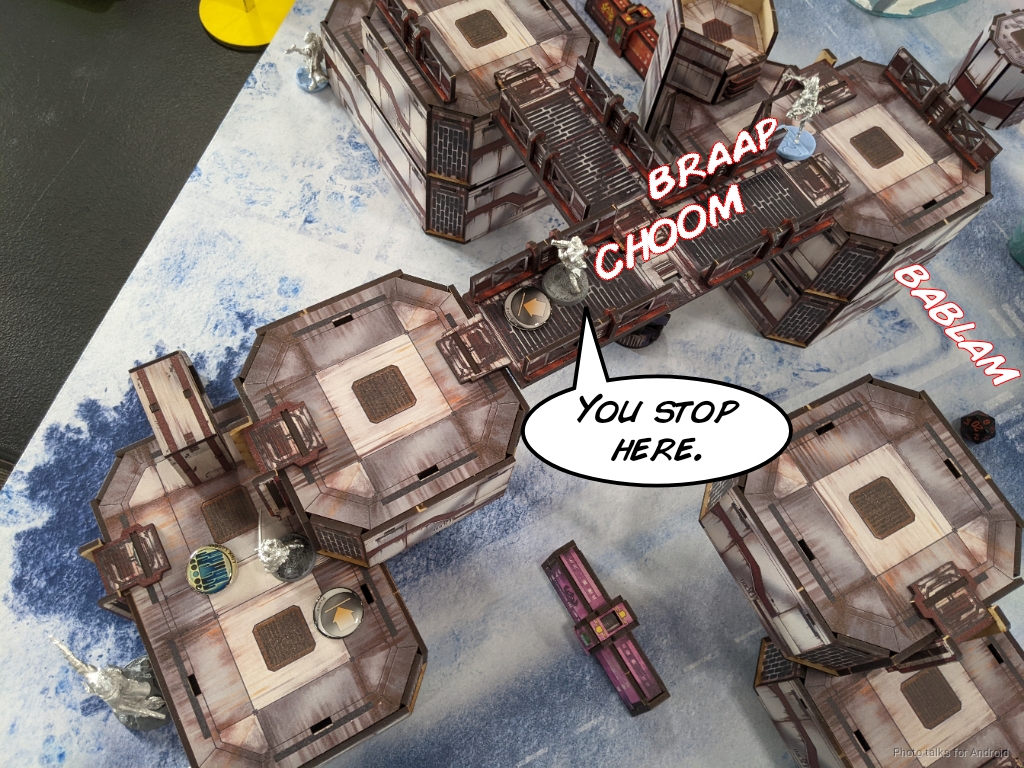
This works for John, as all he wanted was a hole for the Rindak, so the Rindak scurries up the building and starts things off by attacking a Galwegian. I double chain rifle and reveal one of the Caterans to take a shot. The Galweigan dies to the Rindak’s SMG, but is blasted off the table by the return fire. That works for me!
At this point, John brings in the big guns. I’ve revealed a Cateran, and the Avatar is basically designed to take on hard targets and win the fight, so John makes the play and shoots at the Cateran. Unfortunately for him, he’s outside of 32″. I had hoped this was the case, but it’s really hard to eyeball the difference between 32″ and 34″ inches. Neither of us has particularly good odds, we’re both on 6’s. In fact, my chances are worse than they were in N3 since John can roll ARM against crits now!
| 4.32 | 78.51 | 17.17 |
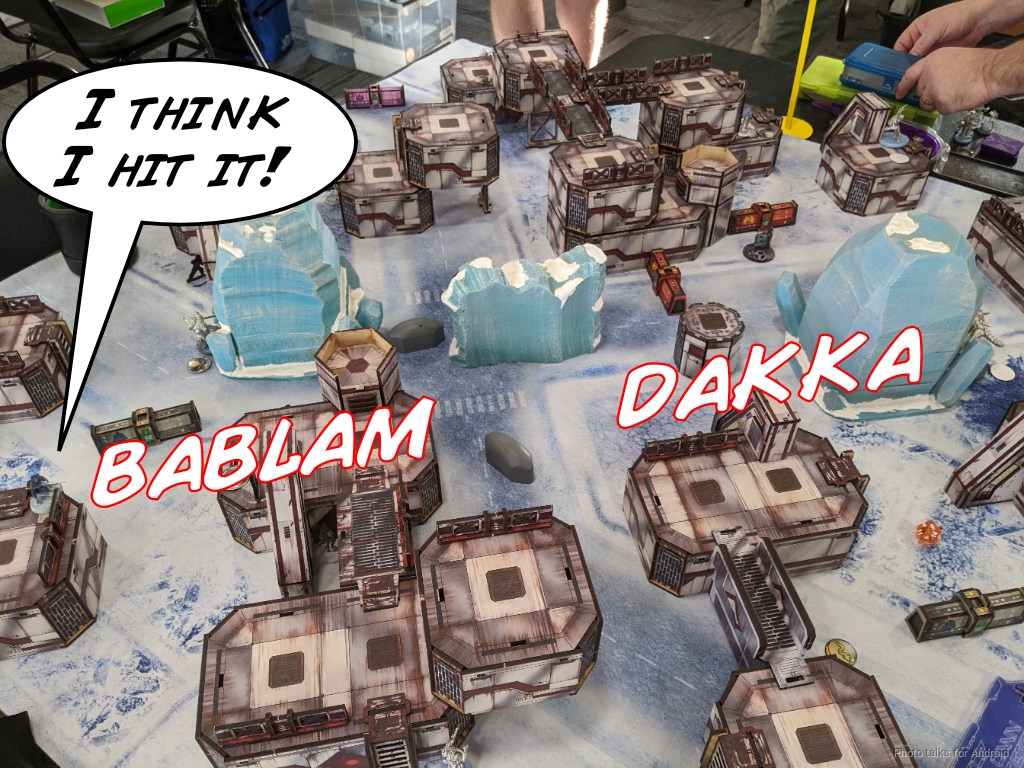
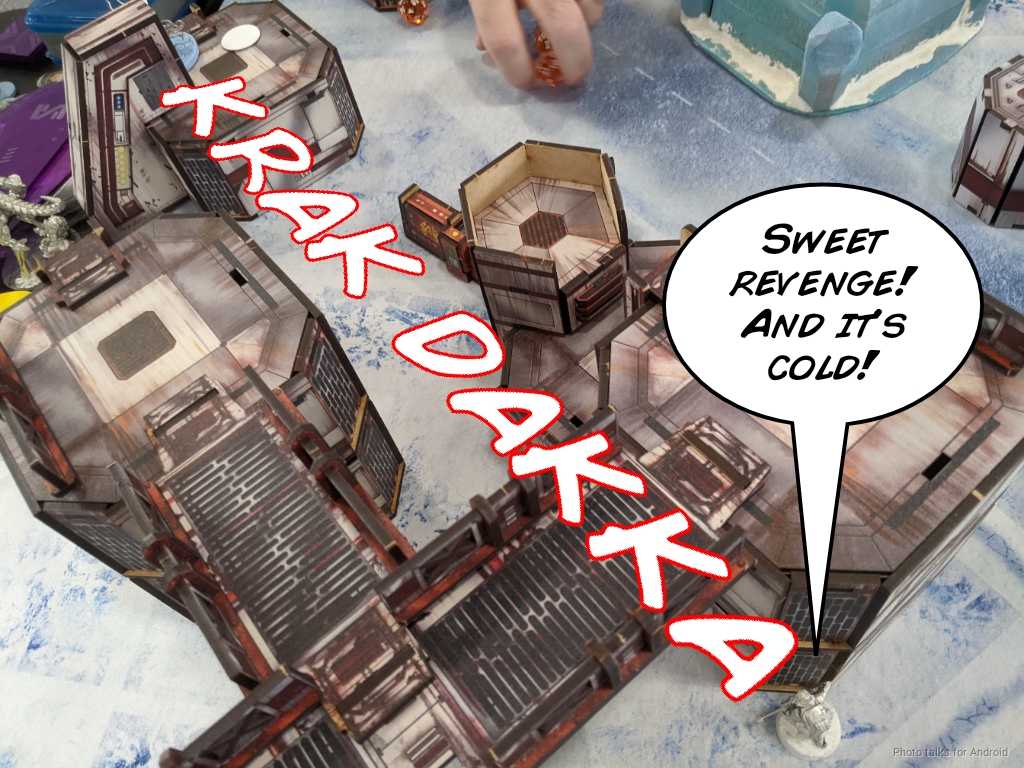
I roll very low and John rolls very high on the face to face… with the opposite on the ARM roll, and the Avatar takes two wounds from the Cateran’s T2. John then takes a massive gamble and attempts to fix the Avatar with the Caliban after the Avatar has lost Remote Presence.
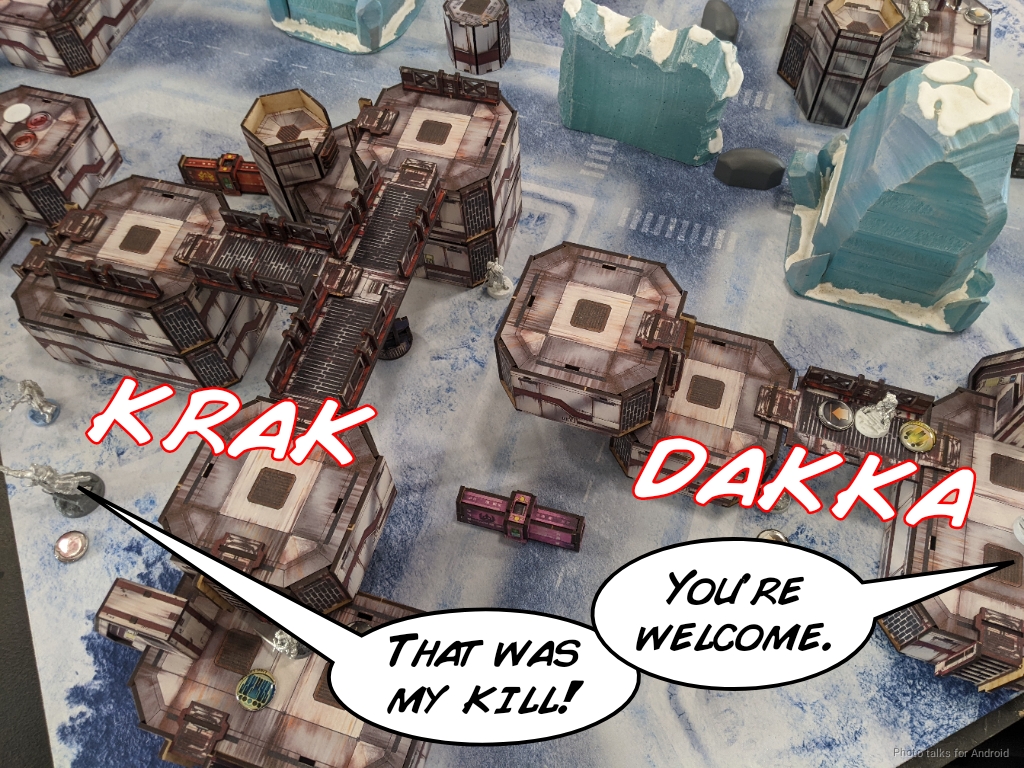
As luck would have it, he fails the roll and the Avatar takes its third structure damage. I ask if he wants to use Mnemonica, and he declines, rolling with the Caliban again. The dice betray him and he has to take the Avatar off the table. He’s not in loss because of Cutthroat’s rules, but that’s devastating. The Caliban vents its frustration on the offending Cateran, but I pass ARM against the SMG and fail guts out of LoF.
The Caliban recamos and John passes turn.
Bottom of 1 – CHA
I couldn’t have asked for a better board state to be in, realistically. The objective this turn is to push hard and kill everything that I can. If I have to overextend, that’s fine. I am significantly ahead in terms of attrition and can afford to lose some material.
I start things off with McMurrough super jumping over his building and seeing the Caliban. John reveals it to take an SMG shot, and I double chain rifle, tanking the SMG round and killing the Caliban.
The Cameronian all the way on the left forces a dodge out of the Tyrok, which unfortunately beats my grenade throw, but that’s pretty reasonable for a impetuous order. Of note is that the Tyrok dodged closer, which makes sense for a close combat specialist, perhaps even against a Cameronian. It’s risky for sure, but certainly more effective at delaying me than trying to T2 rifle me.
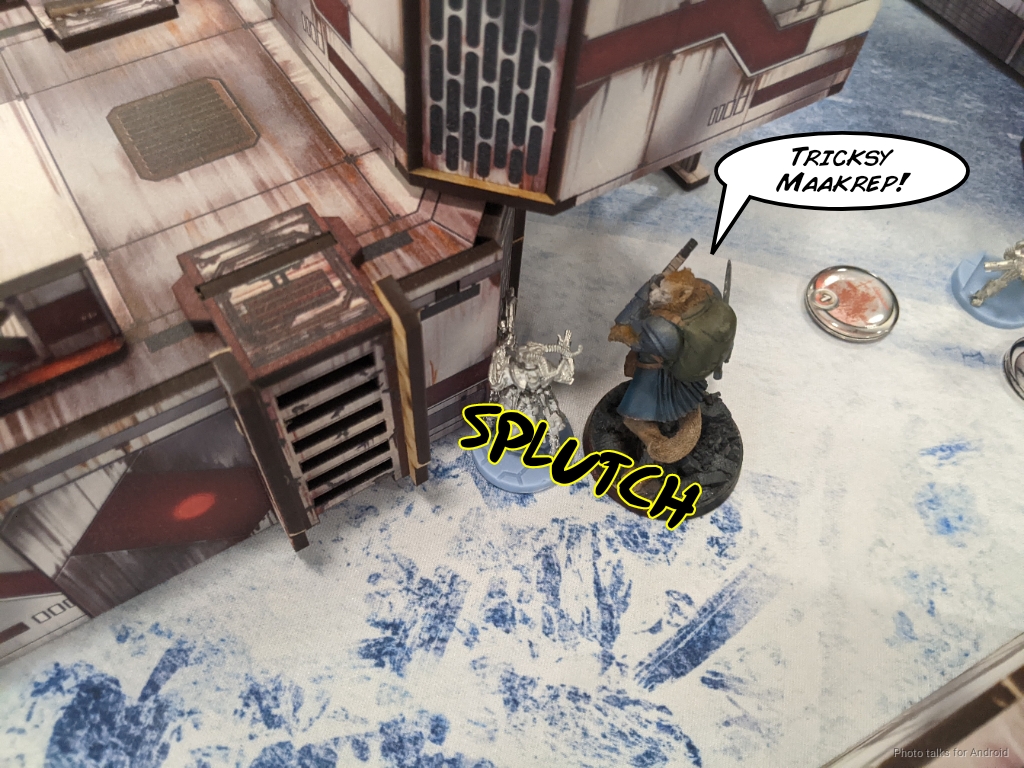
The other Cameronian just makes its way up the middle to cause trouble. With the impetuous phase over, it’s time to let McMurrough off the leash. Kiss can’t do anything to stop him, which leaves the job to the Maakrep, who fires a shotgun slug at McMurrough on the way in. I’m assuming these decisions with the Caliban and the Maakrep are to counter a smoke throw? In any case I just double chain rifle and drop the Maakrep while Kiss dodges away slightly.
I could just parkour McMurrough all over the table, but I need to kill something with my Wulver Key Ops to get some objective points. While McMurrough doesn’t care about Kiss, the Wulver does, so Kiss has to go. I throw a grenade against his dodge and turn him into scrap.
The Wulver makes his way down the ice tower and exacts revenge on the M-Drone, knocking it out.
The Tyrok, having advanced forward, is now in sight of the Grey HMG, so I quickly out and back and delete it with burst 5 in optimal range, target out of cover.
McMurrough leaps over the wall Bit is hiding behind, throws a grenade at her, and is disappointed when she dodges.
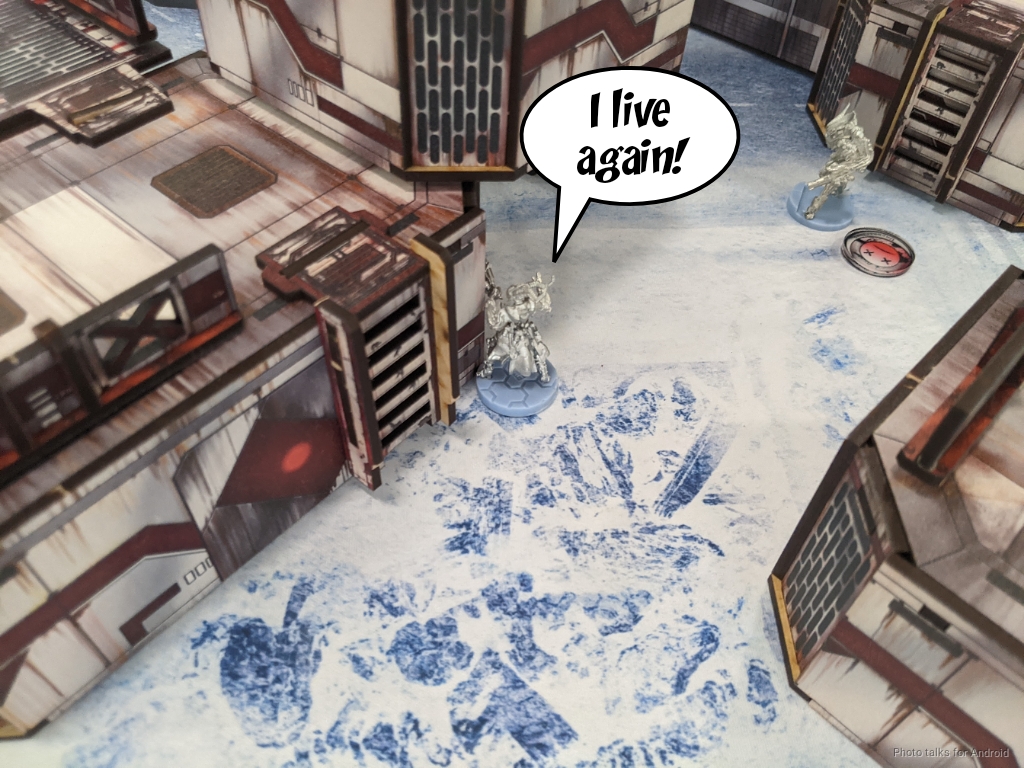
She can’t stop him if he Berserks though, which he does, and that’s a Key Ops down. I jump the Cameronian on the left up to where the Greif is and fail a discover, then pass turn after retreating the Wulver. Unforutnately, I forgot that Maakrep have regeneration, so that happens, and the Maakrep pops up again.
Turn 2
Top of 2 – Combined Army
John’s in dire straits. He declares the Greif as his new lieutenant, giving it three orders to make a play on my Wulver.

The Greif heroically makes its way forward, long-skill jumping to go after the Wulver but runs out of steam. Unfortunately the Cateran that aced the Rindak and the Avatar (at least until the Caliban stole his kill) adds the Greif to his tally with a well placed T2 round.
Bottom of 2 – CHA
McMurrough kills the Maakrep, and declares coup de grace to be sure, and that’s game.
10-0, 263-0 Caledonian Highlander Army Victory!
Post Game Analysis
First off, I’d just like to express my thanks to John for being an absolute delight to play. It was a blast rolling dice with you, and I look forward to our next game! Being able to laugh about a pretty bad outcome and enjoy the game anyway is very difficult (at least for me), so hat’s off to you sir!
At first glance, most people would say: “okay, this game John got screwed by dice.” And I absolutely agree that John’s Caliban won the game for me by killing the Avatar with bad dice. I do think, however, that using the Avatar to attack the Cateran wasn’t really necessary. If you want the Cateran dead, send the Caliban to do it, or the Maakrep, or something.
Of course, my list presents you with a massive number of threats that you need to accurately prioritize. Part of that is knowing what the units can do, and part of that is knowing what my plan is for them. Figuring all that out is very tough and can lead to suboptimal or missed lines of play that can cost you the game.
For understanding the unit capabilities, there’s no substitute for experience. You need to have a general feel for how mobile McMurrough is and how fast he can advance up a flank, for example. Just looking at the 6-4 MOV and saying: “oh he can be 10 inches forward per order” doesn’t really capture it, as he can just straight up ignore a lot of terrain and AROs thanks to super jump and smoke. I think both John and I have a reasonable command of both Combined and Caledonia, so that wasn’t the issue.
I think the knowing what your opponent is going to do with those units is the issue, because it’s so dependent on what you’ve experienced yourself when facing the faction. In other words, you may be afraid of the Cameronians because you’ve seen a lot of bears, but really it’s my Wulver you need to be worried about (for example). You can guess as to what your opponent might do based on board state and developing a good game sense. If you’ve got a good game sense and read on the board state you can come up with a few reasonably good lines of play your opponent might pursue. If they do that, presumably you’ve prepared for it. If they do something less optimal, then that is also good for you.
The problem is where you don’t know what your opponent will do and you don’t know what their units will do.If we look at John’s first turn, this is what he did:
- Attack Cadin – I assess this as threat removal. Cadin is absolutely capable of taking down the Avatar in CC, and the T2 rifle is a real threat to things like the Rindak.
- Attack the Volunteer – Target of opportunity and order removal. Also drops the link to a duo, which is a bonus.
- Attack the Wulver – Going after the Key Ops and targets of opportunity. Also develops the M-Drone.
- Develop the Rindak – This was quite risky given my camo tokens and the Galwegian on the bridge. This was John attempting the lieutenant snipe.
- Attack the Cateran – Fire lane clearance and order removal. The Caterans aren’t really a threat to anything in John’s reactive turn. I’d have to really over-invest in them to see marginal results, so this was just I think trying to sustain tempo as I continued to decline to give him targets.
- Attack the Cateran again – Probably a little sunk cost fallacy here with the Caliban going after the Cateran.
Of the things listed above, I had planned for #4 and #5. I assumed John would know what my camo tokens were (Caterans or Scots ML) and would dedicate resources to killing them. I wasn’t really thinking about the Tyrok pushing on Cadin and the Volunteer, mostly because I had a Cateran watching the approach. I suppose I should have been more worried. As we saw, I was not terribly likely to stop the Avatar with the Cateran, but I was at least likely to delay it. So I wasn’t entirely accurate in my read and lost Cadin as a result.
On the flip side, John’s turn was pretty broad spectrum. He basically hit my entire attack surface, moving from the right to the left from his perspective, just going after things that were visible and spending orders to get into position. I didn’t get a chance to talk about the game in detail with him afterwards, but I suspect this sort of “shotgun” approach is because it was difficult to do target prioritization. The spatial correlation in target selection is what adds to my suspicions as well–he walked down the line of my deployment zone and attacked stuff more or less in order. I think there was an opportunity to push much harder with the Tyrok and possibly even get a Wallace snipe, especially since I wasn’t really thinking about it.
That was probably the key point in the turn where things started to turn. John had a good amount of momentum and had a reasonable chance of dodging past my Cateran AROs and really going after Wallace. That would’ve really sucked, but I think he was either committed to using the Rindak for that or just trying to hit me anywhere he could.
I think what I’m trying to get at is that for me, Infinity is mostly about managing mental reserves and trying to present my opponent with as many dilemmas or decision forks as possible, at least right now. My list does a lot of that work for me. If you see two possible Caterans/Scots MLs, three dogs, Uxia, and two high burst guns on the table, you’re going to have some trouble figuring out what to go after first.
What generally happens next is a falling back to known-good solutions that you’re comfortable with. This is the know yourself and know your opponent win a 100 battles Sun Tzu thing that gets overquoted. In this case, John saw a Cateran, decided he wanted it dead, and sent the Avatar after it. In most cases this is a reasonable choice, and the statistics we looked at certainly bear this out especially if we’re within 32″ (unfortunately for the Avatar, we weren’t). This brings up a third issue, which is that when you make these kinds of decisions you’re generally not considering the consequences.
This has also shown up a bunch in my recent games versus Adam (TheDiceAbide), where he posits after the game that the outcome was statistically unlikely at 25%. Putting a qualifier on that number as “unlikely” triggers our lizard brain energy savings. 75% is 3 times bigger than 25%, therefore it’s 3 times better and 3 times better is safe! It’s easy to think of things this way because you don’t spend as much time on the decision and therefore can conserve energy for more complicated decisions.
Well, unfortunately, 25% is actually very likely. By deciding that it’s “unlikely” you sort of write off the negative outcome as “impossible.” In this case, it’s not a 25% chance of the Cateran putting two wounds on the O-Yoroi, it’s a ~5% chance for the Cateran to put two wounds on the Avatar. Obviously this is lower but decidedly not impossible, so you have to evaluate the consequences. John’s list is actually quite fragile:
Note that I didn’t say it was bad. It’s perfectly fine, it just relies on you not losing the Avatar, who is a source of three orders for your list and your ability to effectively engage targets past combi rifle range. Exposing the lynchpin of your list to the risk of losing two wounds in a single order (possibly 3 with crits) is probably too much, especially when there’s a tool that you can use instead, specifically the Caliban. The Caliban isn’t necessarily the best tool, but losing it is certainly a hell of a lot better than losing the Avatar.
Now I’m not trying to discourage using the Avatar at all, far from it. It can safely bully most things in my list like the Wulver, the Grey link, and possibly even Cadin and Wallace with their T2 rifles (because they’re Damage 13, not 15). It can kill the Cameronians and McMurrough safely as well from outside 16″. Just don’t send it after the one thing in my list that can actually seriously hurt it, because if you lose the face to face and fail the ARM roll you’re in real trouble. John made the best of what he had after it happened, but he just couldn’t get momentum back.
Anyway, that was a lot of rambling to arrive at this key takeaway: when you’re doing risk evaluation, don’t just look at the raw numbers and then declare the chance of failure (or success) to be low or high enough and then execute on the plan. Ask yourself what will you do if the bad outcome happens. If you can’t tolerate that result, look for another way to solve the problem. I hope this has given you some food for thought. Thanks for reading.


Pingback: A Penny for Your Avatar – MERC Recon