Just Short
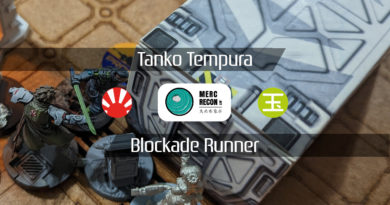
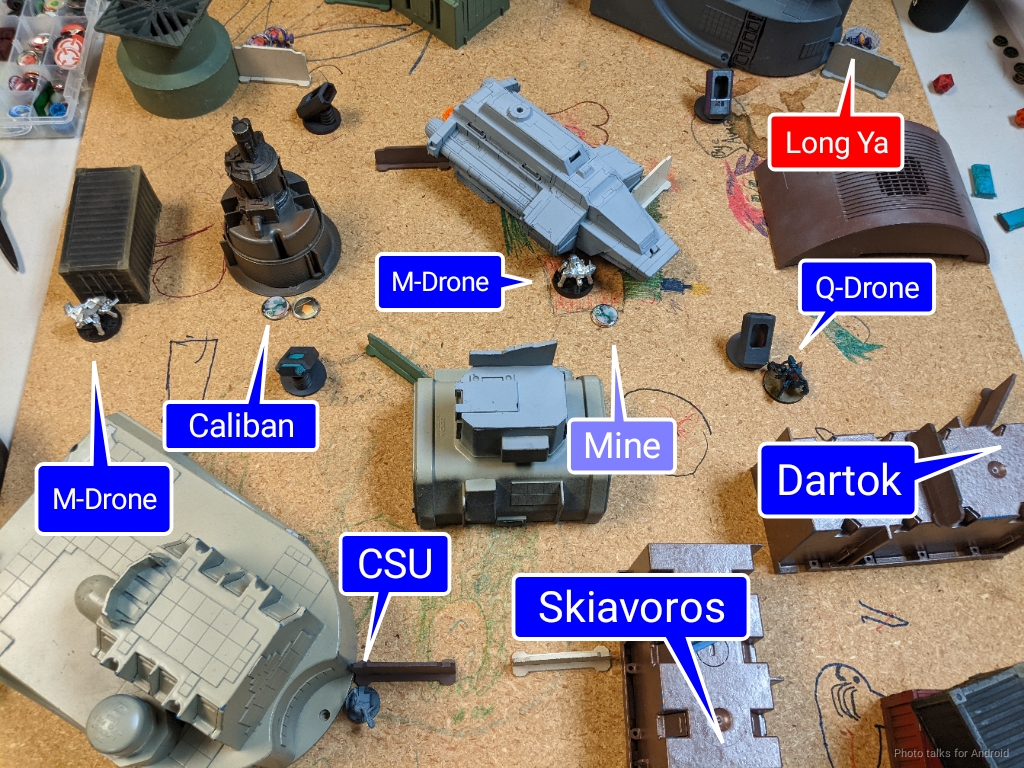
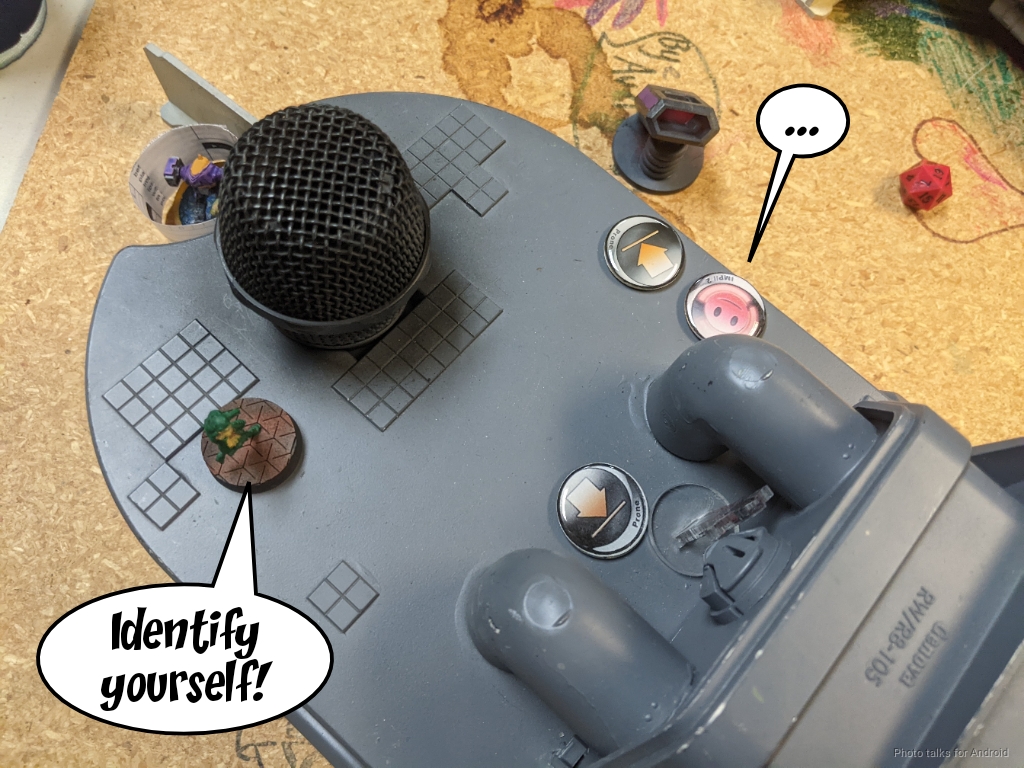
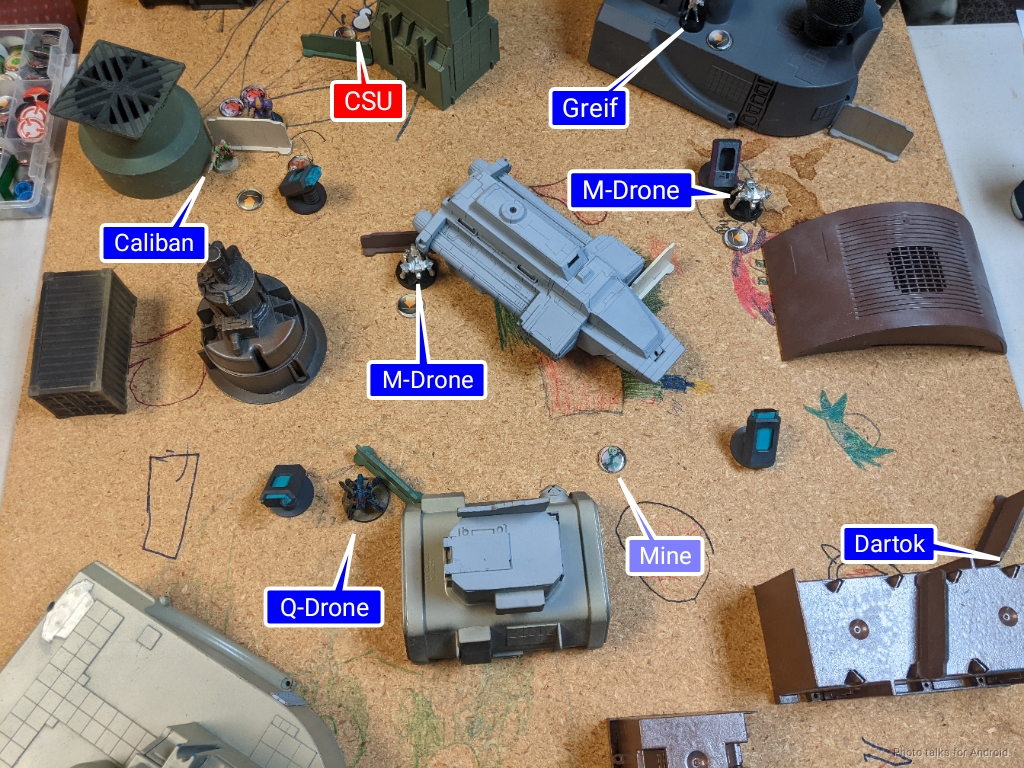
After a sick day, Nathan (Jhokalups) and I were able to get in our 200 point grow league game. He set up a table on this adorably adorned sheet of MDF:
Overview
- Mission: ITS14 Superiority
- Forces: Combined Army versus Yu Jing (300)
- Deploy First: Combined Army
- First Turn: Combined Army
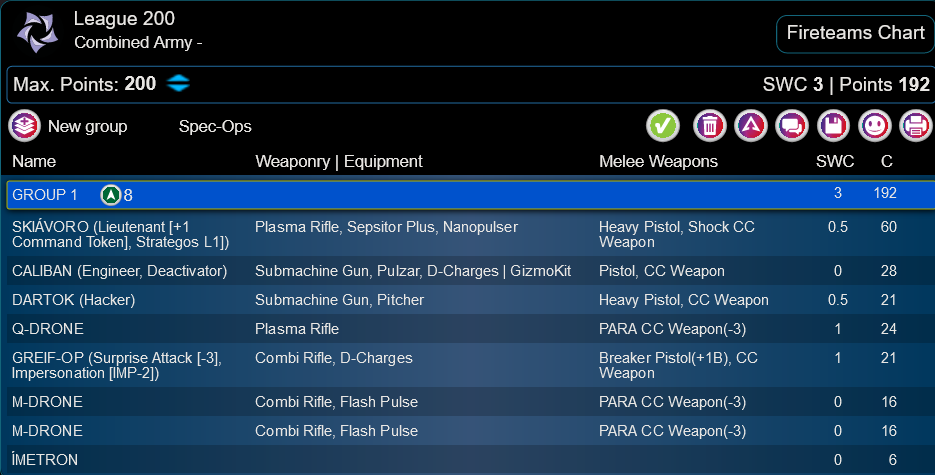
This list is more or less an extension of my 150 point league list:
It includes double M-Drone and a Q-Drone, and adds a Caliban in the midfield. I was able to fit a Libertos as well.
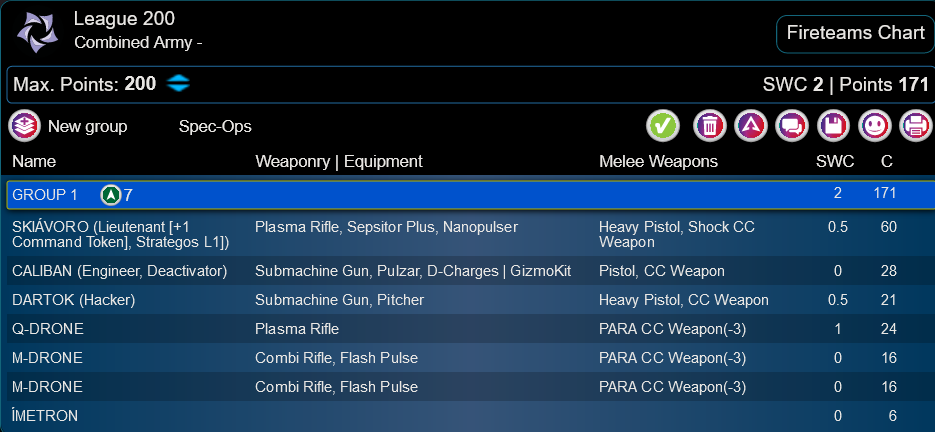
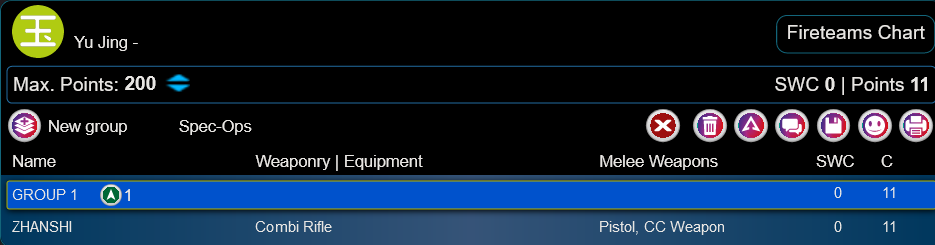
League 200
SKIÁVORO (Lieutenant [+1 Command Token], Strategos L1]) Plasma Rifle, Sepsitor Plus, Nanopulser / Heavy Pistol, Shock CC Weapon. (0.5 | 60)
CALIBAN (Engineer, Deactivator) Submachine Gun, Pulzar, D-Charges ( | GizmoKit) / Pistol, CC Weapon. (0 | 28)
DARTOK (Hacker) Submachine Gun, Pitcher / Heavy Pistol, CC Weapon. (0.5 | 21)
Q-DRONE Plasma Rifle / PARA CC Weapon(-3). (1 | 24)
GREIF-OP (Surprise Attack [-3], Impersonation [IMP-2]) Combi Rifle, D-Charges / Breaker Pistol(+1B), CC Weapon. (1 | 21)
M-DRONE Combi Rifle, Flash Pulse / PARA CC Weapon(-3). (0 | 16)
ÍMETRON . (0 | 6)
LIBERTO (Minelayer) Light Shotgun, Shock Mines / Pistol, CC Weapon. (1 | 8)
8
1 4 SWC | 200 Points | Open in Army | Copy Code
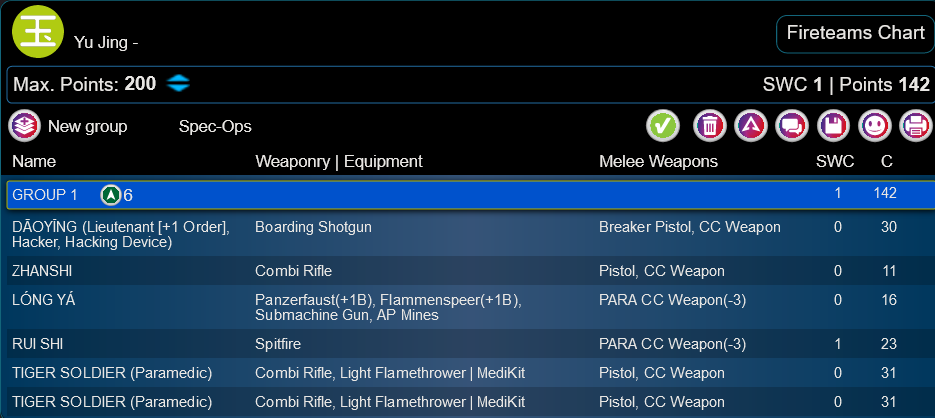
Nathan’s playing vanilla Yu Jing with a pair of Long Ya and Forward Deployment Krit. He’s also got double Tiger Soldier, which is a fun choice for Supremacy. You can push buttons with them as well as have them appear in quadrants that I don’t cover very heavily.
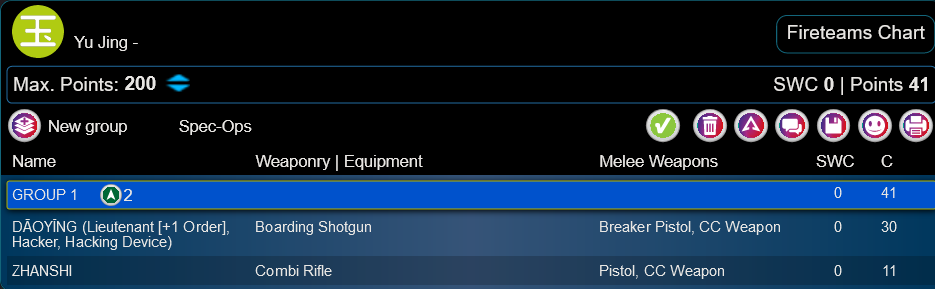
Nathan (Jhokalups)
DĀOYĪNG (Lieutenant [+1 Order], Hacker, Hacking Device) Boarding Shotgun ( ) / Breaker Pistol, CC Weapon. (0 | 30)
KOKRAM (Forward Deployment [+8″], Minelayer) Heavy Shotgun, E/Mitter, E/M Mines ( | Deployable Repeater) / Heavy Pistol(+1B), CC Weapon. (0 | 41)
ZHANSHI Combi Rifle / Pistol, CC Weapon. (0 | 11)
LÓNG YÁ (Minelayer) Panzerfaust(+1B), Flammenspeer(+1B), Submachine Gun, AP Mines / PARA CC Weapon(-3). (0.5 | 17)
RUI SHI Spitfire / PARA CC Weapon(-3). (1 | 23)
TIGER SOLDIER (Paramedic) Combi Rifle, Light Flamethrower ( | MediKit) / Pistol, CC Weapon. (0 | 31)
He’s also got a Rui Shi for some killing power as well.
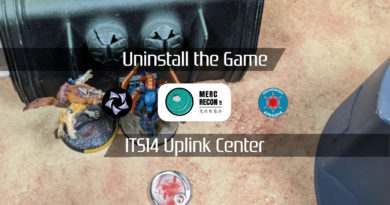
Deployment
I think I lost the rolloff. Nathan took deployment, so I took first turn. I held the Q-Drone and the Greif in reserve. My deployment was pretty straightforward. With this table size and my list composition, it was more about finding places for things to go with clear lines of advance. The two M-Drones went in positions that I thought would be easy to advance on the objectives with, and then I put the Caliban and Libertos my near quadrants so as not to have worry about controlling them by spending orders.
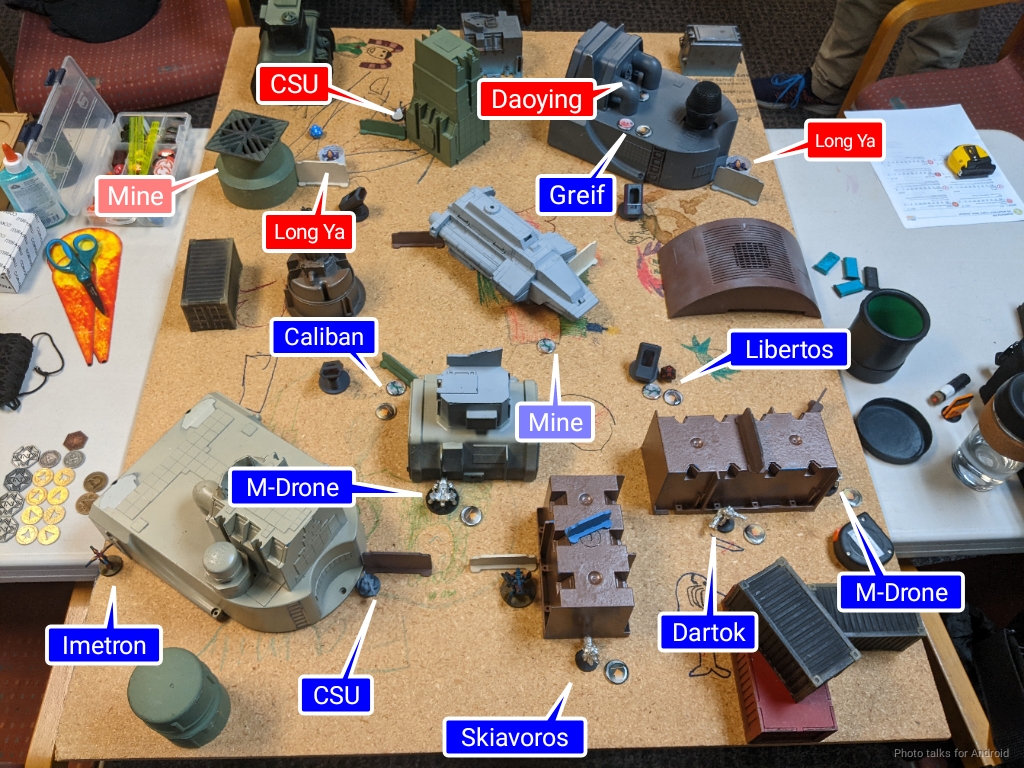
Nathan did a really good job of setting up AROs to the midfield with his Long Ya and Rui Shi. This is really good because it forces me to spend orders to advance and possibly overextend something to engage his AROs. The Long Ya set up opposite one another to have a crossfire into the centerline, and the Rui Shi watched a fire lane that extended diagonally into almost my deployment zone. A bit long of a firelane, but also a pretty solid one in terms of what it’s contesting.
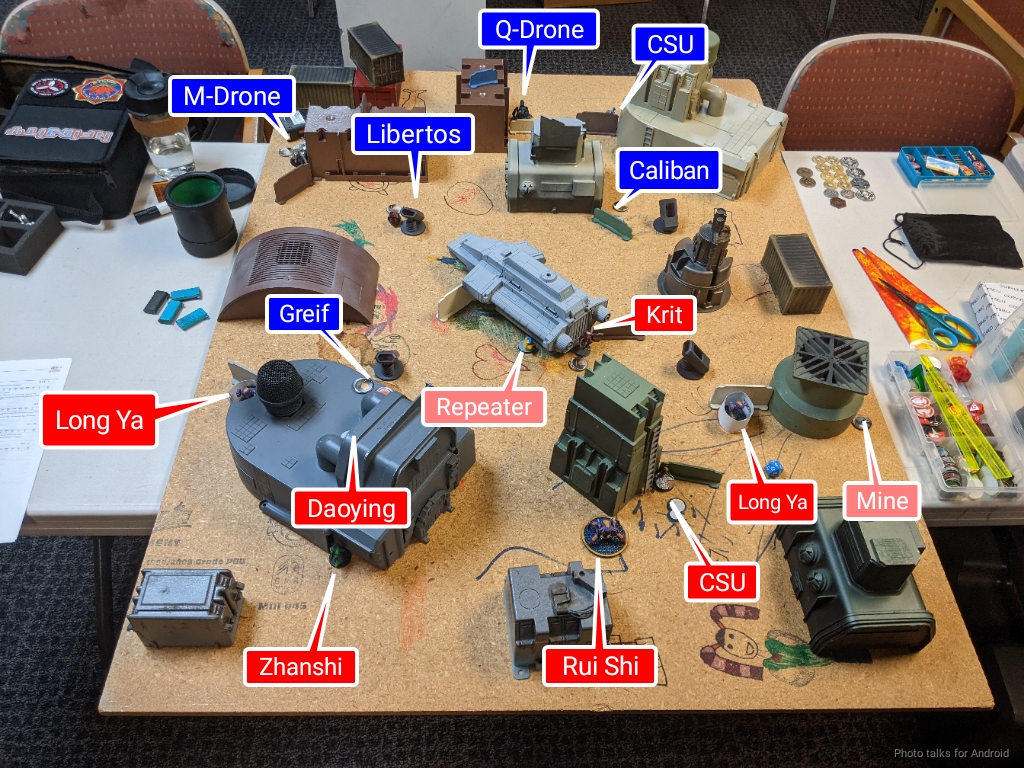
He was worried about AD, so he set up stuff facing backwards and even a Long Ya mine to cover these attack vectors. I put my Q-Drone down and then put the Greif down threatening his Daoying lieutenant, which was hiding on a building roof. I think Krit was his reserve, which he placed in the midfield alnog with a repeater to tie up my M-Drones. I didn’t see a hacker on the table, which meant the Daoying was the hacker profile. I chose the Dartok as my Key Ops and Nathan chose Krit, effectively bringing him up to 4 orders for just Krit, which is pretty rad.
Turn 1
Top of 1 – Combined Army
Nathan took two orders from me, which is reasonable. I really wanted to go for the lieutenant snipe, but I decided I should go for developing the board and getting objectives done instead. Plus having the Greif in the quadrant would help me if Nathan didn’t have the tools or orders to deal with it.
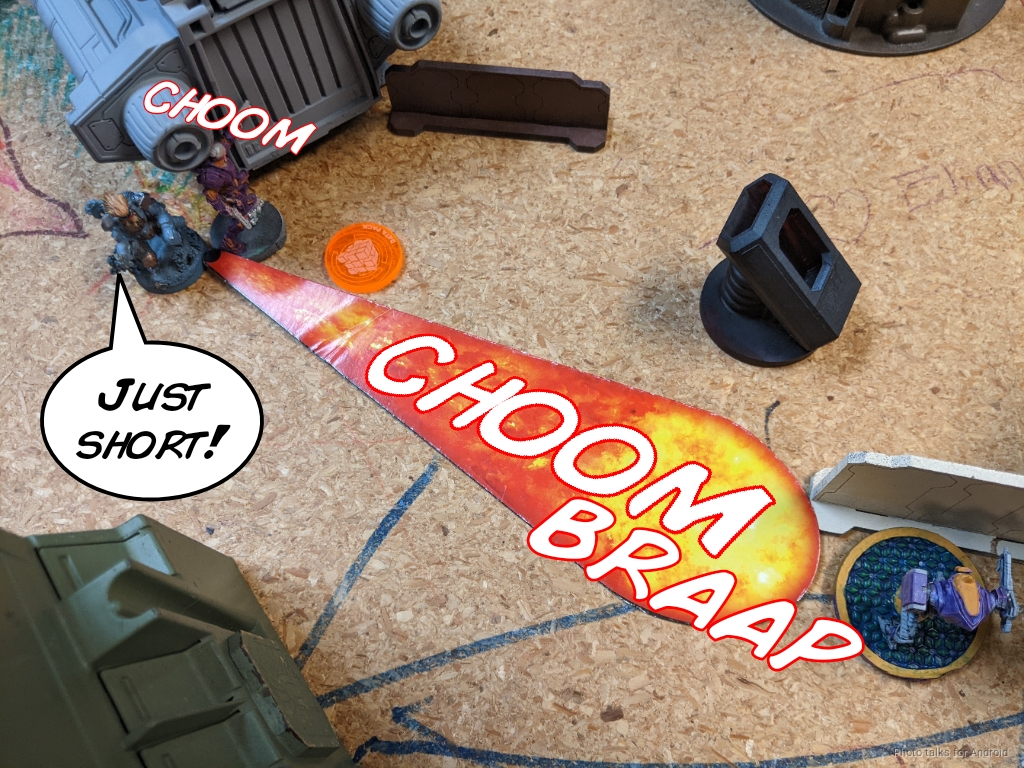
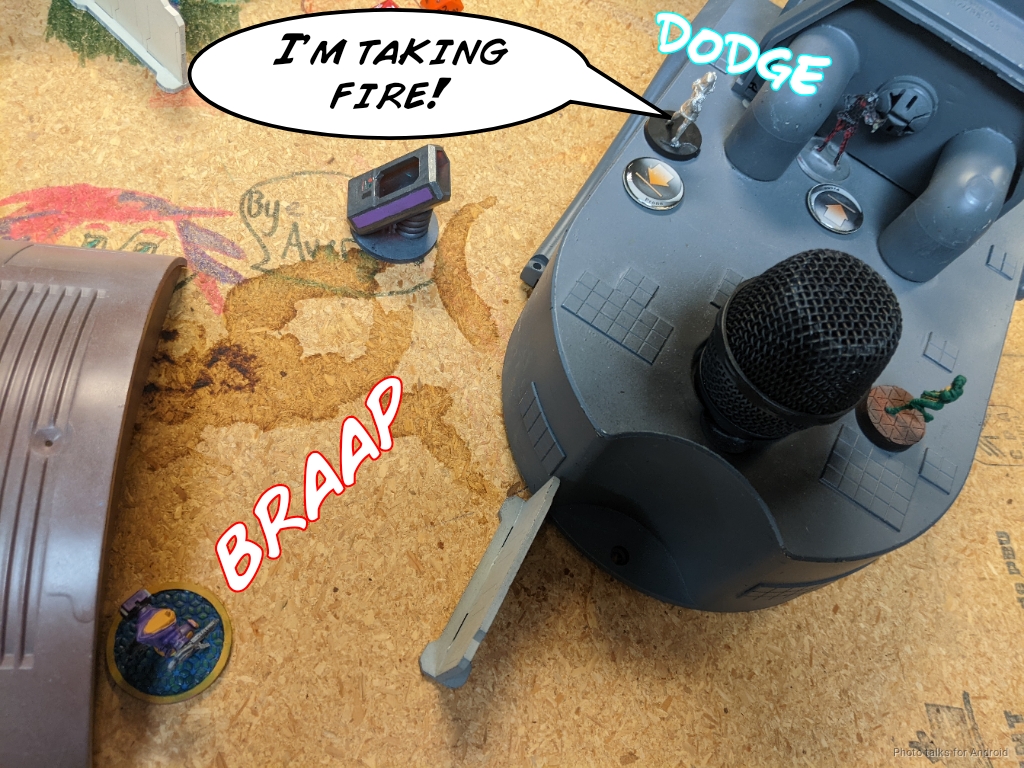
The fact that there’s a repeater in the midfield meant that I was going to be in trouble with my remote heavy list, so I decided to send in the Libertos to handle it. I was only really intending to go after the repeater and then start developing the rest of the list, but Krit dodged closer to my Libertos. I forgot the model at home so I just used the old Kurgat Mk12 I had in my bag.

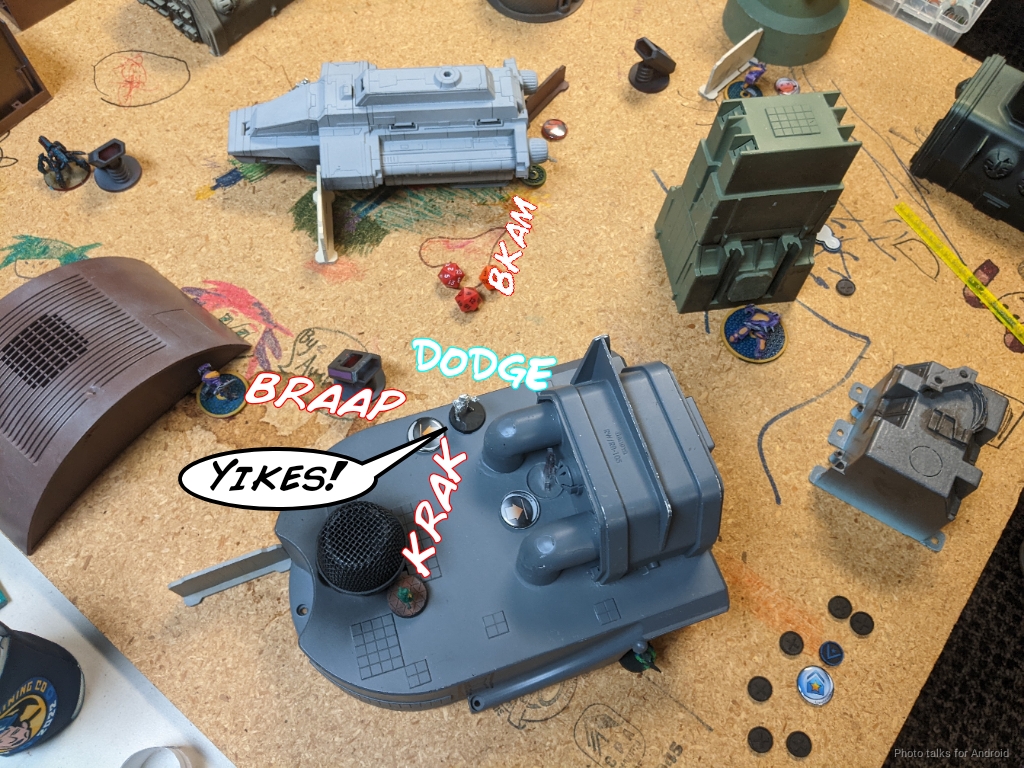
While I was taking out the repeater, Krit dodged closer. I eyeballed the range and decided I might be able to template both Krit and the Long Ya that was nearby, so I moved into position. It was going to be tight, and I’d have to generate the template from the side of my base to do it. Nathan decided to fire a shock round from the Long Ya and template me with Krit, so I placed the template only to find I was a just short by a few millimeters. The Long Ya missed, and while the Libertos went dogged from the heavy shotgun template, Krit failed both of his saves and went unconscious.
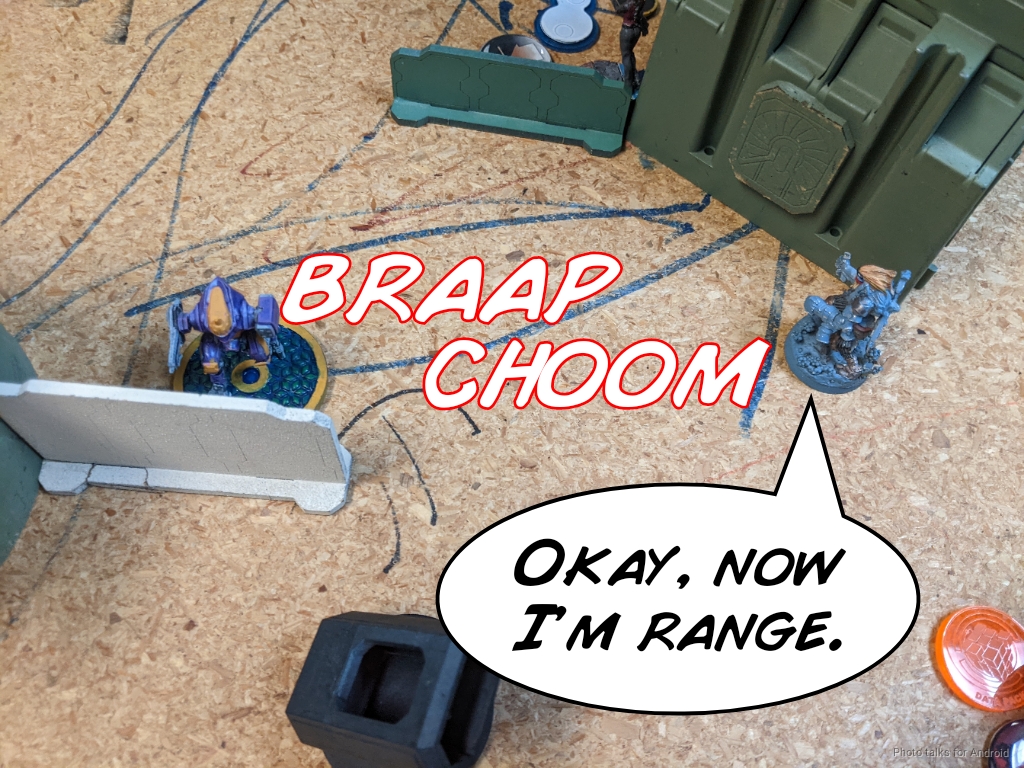
I was now able to move into template range of the Long Ya and trade the Libertos for the remote.
I spent the rest of my orders setting things up in the midfield and grabbing objectives. I was able to flip the near left with an M-Drone failed the WIP roll on the near right. Just in case everything went poorly I put the Dartok in the near right quadrant with its Key Ops order and passed turn.
Bottom of 1 – Yu Jing
I’ve taken a bunch of orders from Nathan here because I’ve deprived him of the only NCO on the table as well as his Key Ops.
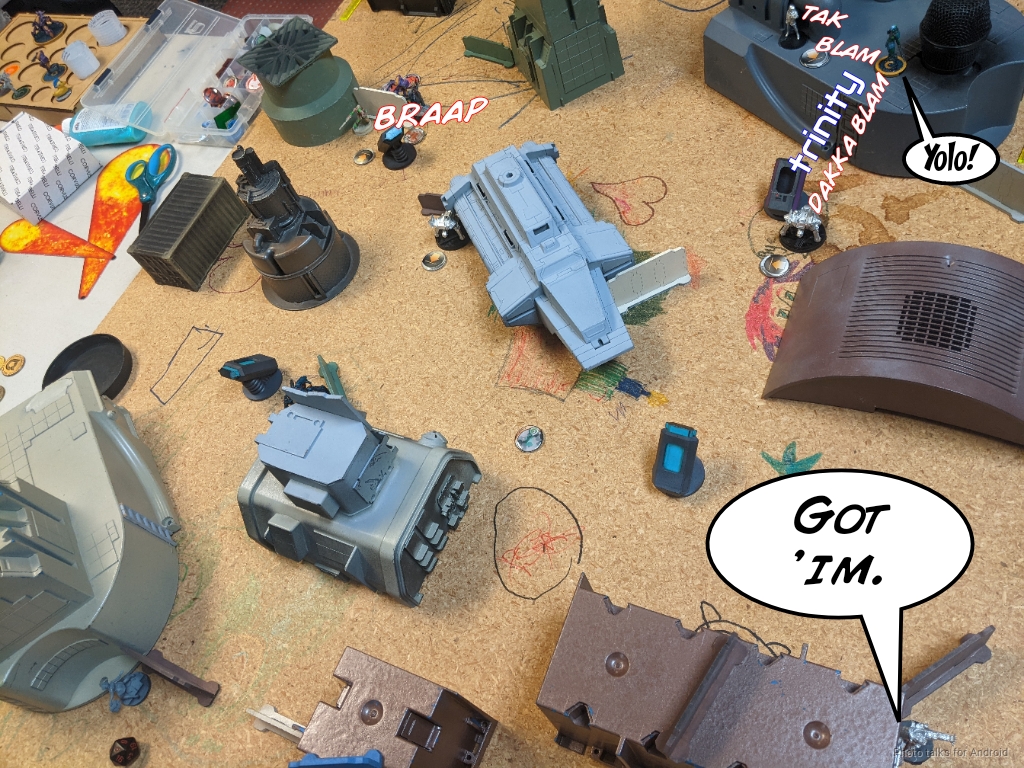
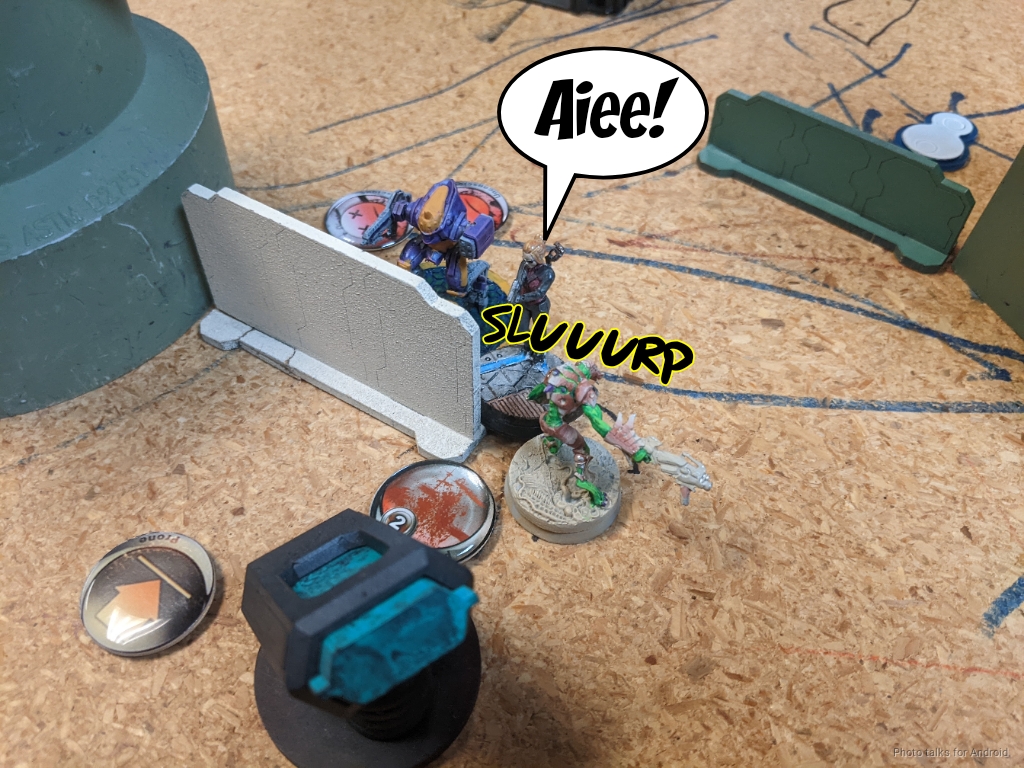
His plan is to rectify the situation by picking Krit up with his Tiger Soldier paramedics. The first one fails its Combat Jump roll and ends up in his deployment zone, but the second one lands right next to Krit safely. This does let me spotlight it to negate its Mimetism. Unfortunately for Nathan, Krit dies to the MediKit.
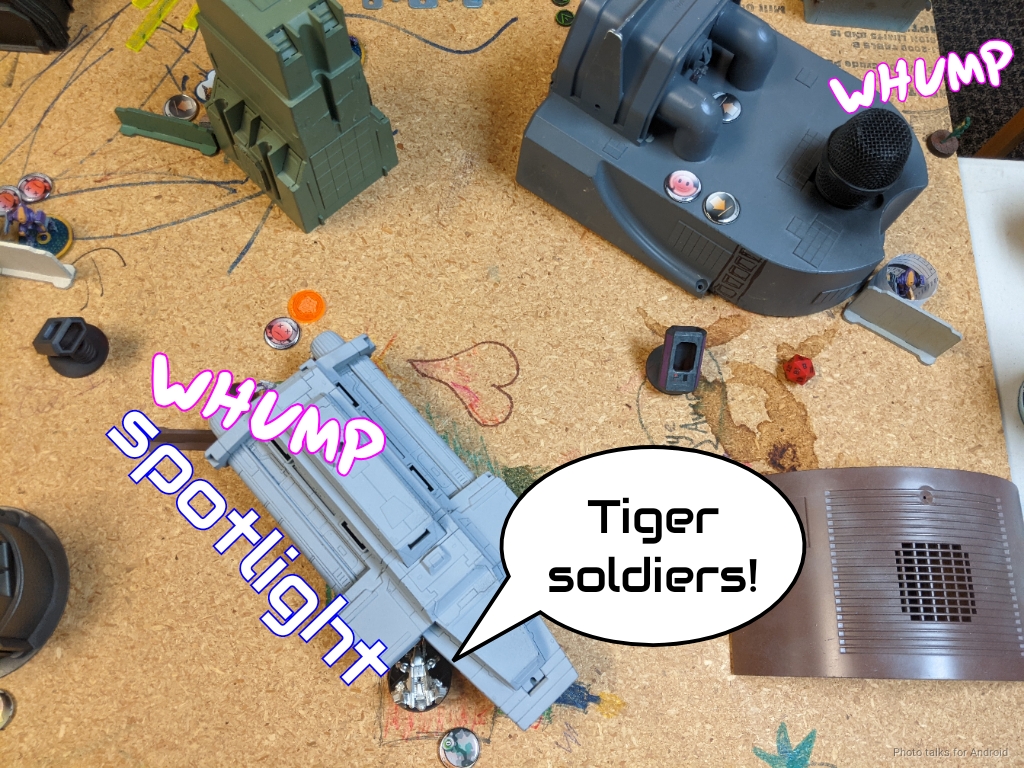
The Tiger Soldier that missed its landing decides to do something about the Greif and moves to discover. Nathan’s very low on orders so I just let him make the attempt. He does succeed, revealing the Greif. Unfortunately there are threats in all directions so I’m forced to give back arc to _something_.
That something is the Long Ya, which shoots the Greif from behind. I don’t make my dodges but I do make my ARM saves.
Nathan then does a coordinated order on the Tigers and the Long Ya to encourage a dodge instead of a trade, so I oblige and manage to completely avoid taking any damage with a combination of a good dodge roll and some lucky ARM saves.
Turn 2
I’m holding more quadrants, so it’s two points for me from that.
Top of 2 – Combined Army
There’s no attrition of material on either side after last turn.
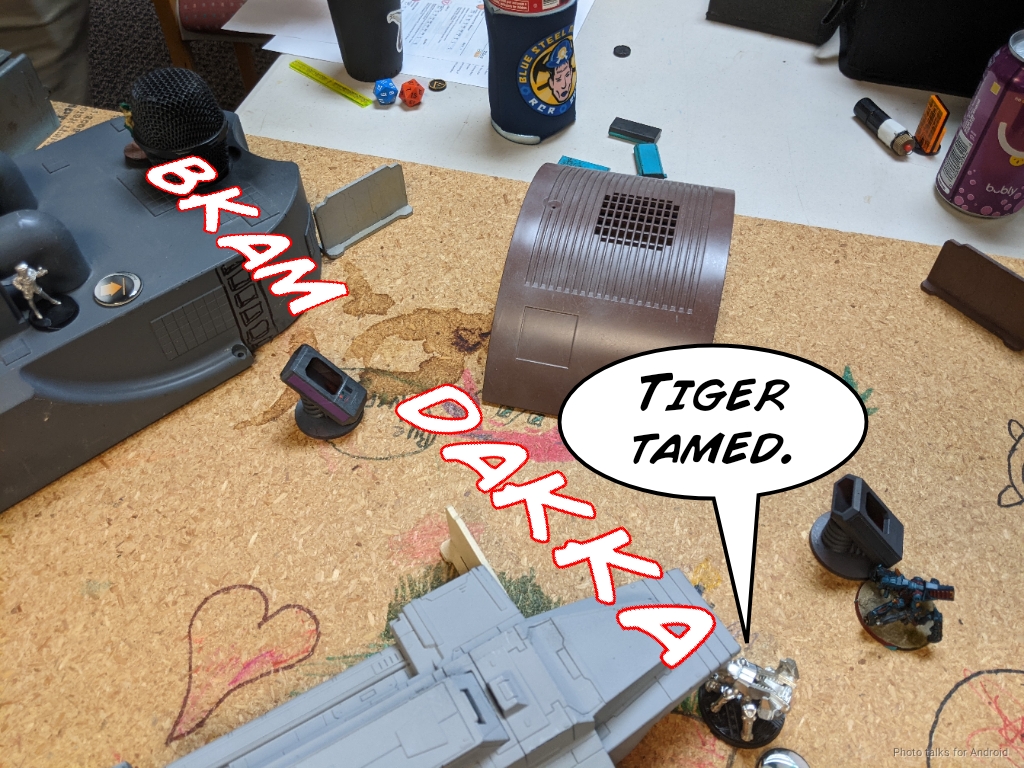
I start my attack run. The Q-Drone starts by taking out the Long Ya.
The Tiger near the Greif is next. The Marksmanship on the M-Drone is enough to get me there.
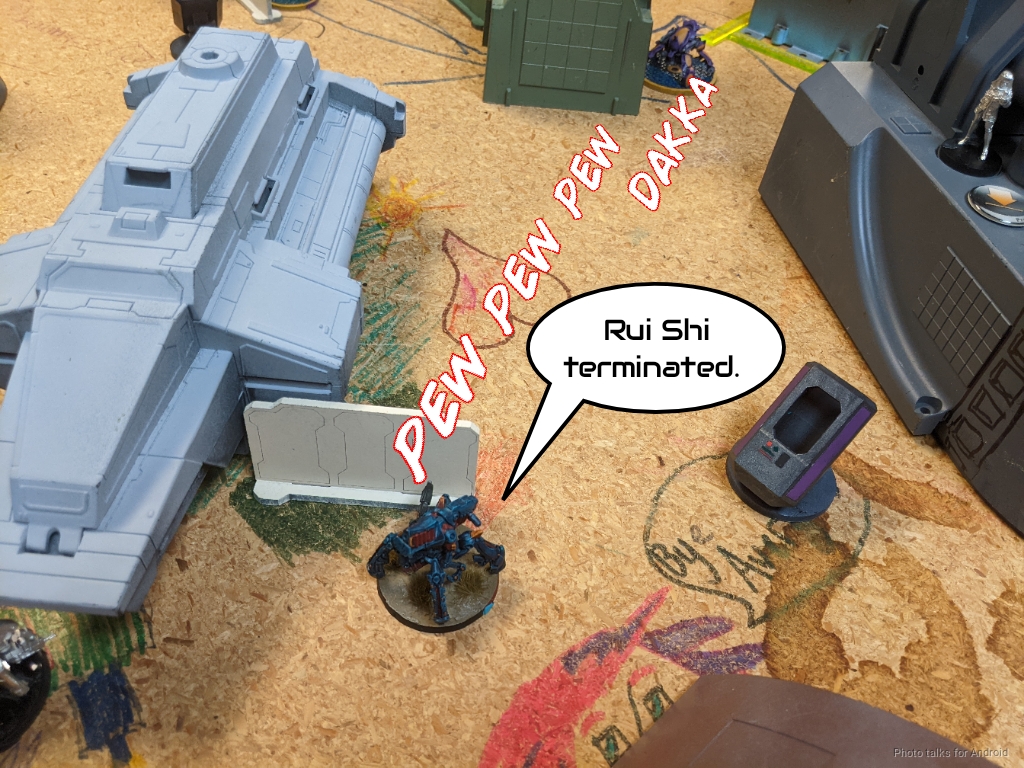
I keep pushing with the Q-Drone and drop the Rui Shi.
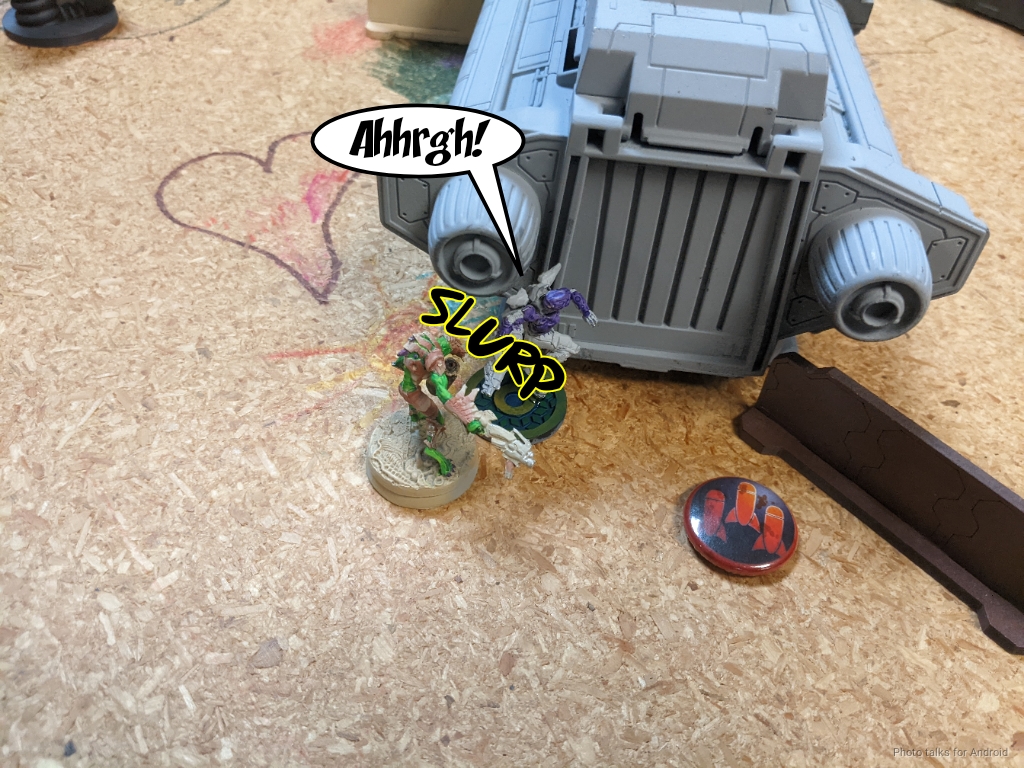
The Caliban moves behind the Tiger and then eats it.
With the AROs cleared, I’m able to tag two more consoles with the Caliban and a M-Drone.
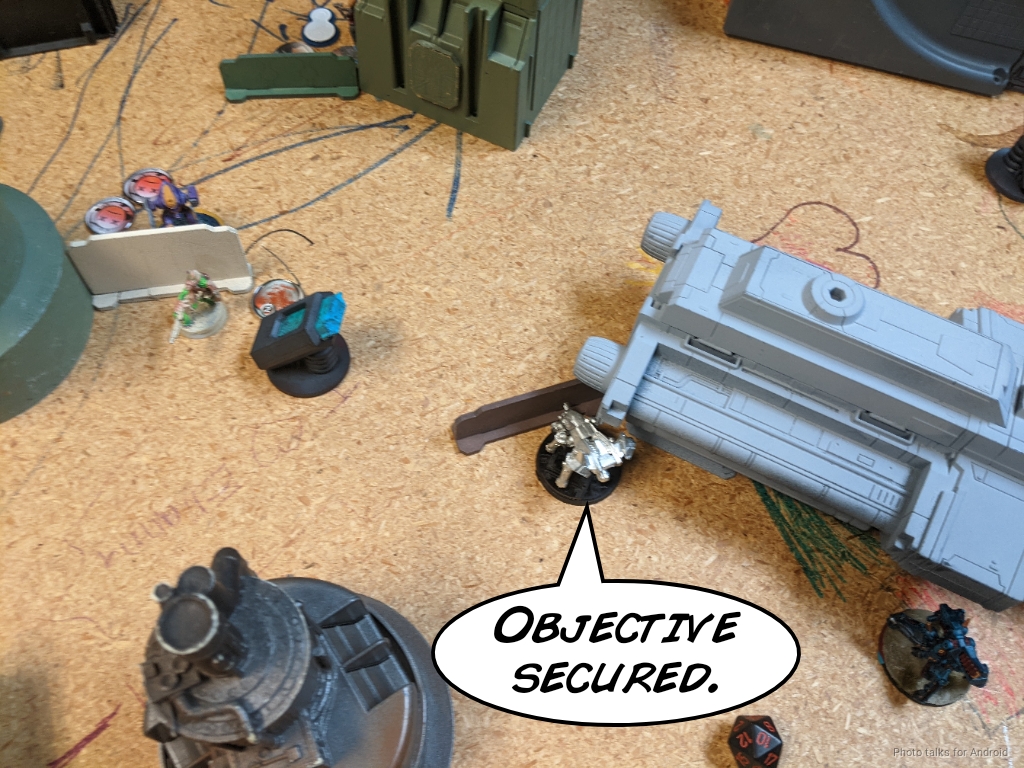
I’m holding all four quadrants and locking down most of the table.
Bottom of 2 – Yu Jing
The CSU counts towards staying out of retreat, so Nathan gets a turn.
The Daoying splits burst on the Greif and an M-Drone. I lose the Greif but the M-Drone survives. Between the return fire and Trinity from the Dartok, the Daoying doesn’t make it.
The CSU shifts forward a bit, and then Nathan passes turn.
Turn 3
I’m holding all four quadrants, so I’m at 4 points + 3 consoles.
Top of 3 – Combined Army
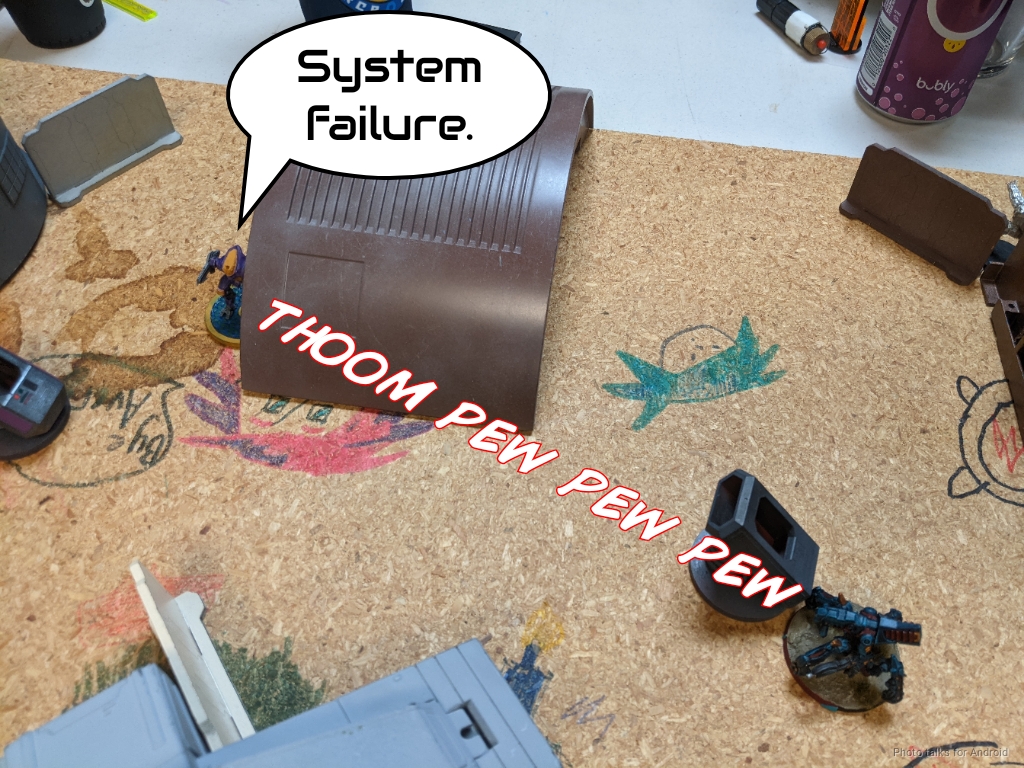
Nathan is down to just the CSU and the Zhanshi.
There are some shenanigans that the CSU could do, so I remove those options by eating it with the Caliban.
We call it here with my Key Ops dominating, making it a
8-0, 171-11 Combined Army Victory!
Post Game Analysis
That was a very rough game for Nathan. I think it all fell apart for him when he deployed Krit in the midfield on a small table. I have the tools to deal with him on my first turn, i.e. the Q-Drone or the Caliban would work well. I didn’t think that the Libertos would perform quite as well as it did–the other mistake was not dodging against the Libertos. Letting me template for free is very dangerous–you generally want to gate the ARM roll with another roll to decrease the probability of failure.
Nathan’s list is also very high variance with two AD troops. I think he should have attempted an attack on my order pool instead of trying to rescue Krit. This leans into the strengths of his list, as he can attempt the landing twice. If a Tiger fails, then it can make the attempt to pick up Krit from Nathan’s deployment zone. Going after the Greif is also reasonable. I think he could have used his Lieutenant to do it. It’s quite dangerous, but I cannot template him and he has a shotgun.
He’d be discovering on 17 and then shooting on 18s versus my single 8. I think this is reasonable. It also leverages the Daoying’s orders in a way that he wasn’t able to do after Krit went down. This lets Nathan stabilize as well as do some disruption to me. Basically the Greif is dead, he retreats the Daoying, recamos it, and then spends the rest of the orders fighting my Skiavoros (taking out two orders) and my order generators. Then it becomes a much more even game.
Trying to pick up Krit is good, but what’s the plan after that? Krit has to fight through a pretty mean midfield with repeaters, plasma, and a Caliban on only one wound with a shotgun. He’s good, but not that good. I think picking him up for the points swing in a quadrant later is a stronger play, especially if you have the Tigers held in the deployment zone due to a failed drop.
I think there’s a tendency to avoid using the Daoying’s lieutenant orders, and it’s just seen as an order battery by most people. It certainly excels in this role, but it is quite capable in its own right. Pushing it around to problem solve under its own power in or near the deployment zone I think quite viable (of course depending on what the task is).
These smaller point games can be very one sided if early attrition occurs, like it did here, especially on smaller tables. Nathan’s list is fun, but it’s also very intolerant of disruption due to the two off-the-table orders. I think with me removing the key lynchpin early and then having very strong board presence and positional pressure it was a real uphill battle. Having the Greif drain so much in terms of resources was also very difficult. I could have easily gone for the Lieutenant assassination on Turn 1, but I elected to have the Greif drain orders at the bottom of 1. I think this was the right decision. Thanks for reading.