
Peek a Krit
With Blockade Runner testing on pause to prepare for a tournament, James and I decided to go for a game of Looting and Sabotaging.
Overview
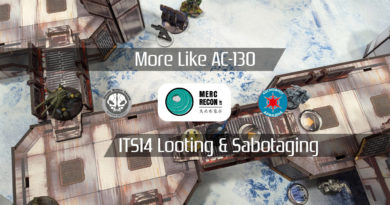
- Mission: ITS14 Looting and Sabotaging
- Forces: Druze Bayram Security versus Yu Jing (300)
- Deploy First: Yu Jing
- First Turn: Yu Jing
I’m practicing Druze for the tournament, and this is what I came up with as a first draft. I decided to really double down on long range guns with both the Druze MSR and Le Muet, and added further backup with the Brawler HRL and Clipper. The Druze KHD and Wolfgang are backup options to Saito, Hunzakut, and Fiddler. I figured that I could Cybermask the Druze KHD if I needed to get there.
Looting and Sabotaging?
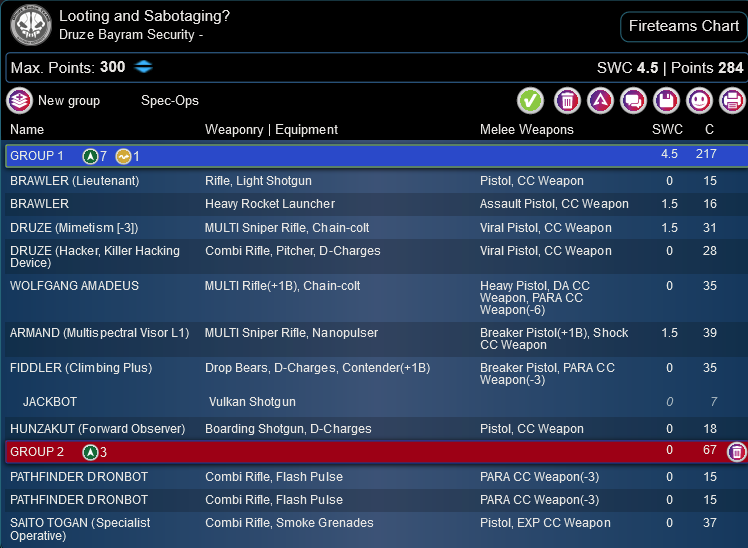
GROUP 1
8
1
BRAWLER (Lieutenant) Rifle, Light Shotgun / Pistol, CC Weapon. (0 | 15)
CLIPPER DRONBOT Missile Launcher / PARA CC Weapon(-3). (1.5 | 16)
DRUZE (Mimetism [-3]) MULTI Sniper Rifle, Chain-colt / Viral Pistol, CC Weapon. (1.5 | 31)
WOLFGANG AMADEUS MULTI Rifle(+1B), Chain-colt / Heavy Pistol, DA CC Weapon, PARA CC Weapon(-6). (0 | 35)
GROUP 2
ARMAND (Multispectral Visor L1) MULTI Sniper Rifle, Nanopulser ( ) / Breaker Pistol(+1B), Shock CC Weapon. (1.5 | 39)
FIDDLER (Climbing Plus) Drop Bears, D-Charges, Contender(+1B) / Breaker Pistol, PARA CC Weapon(-3). (0 | 35)
JACKBOT Vulkan Shotgun / . (0 | 7)
HUNZAKUT (Forward Observer) Boarding Shotgun, D-Charges / Pistol, CC Weapon. (0 | 18)
PATHFINDER DRONBOT Combi Rifle, Flash Pulse / PARA CC Weapon(-3). (0 | 15)
SAITO TOGAN (Specialist Operative) Combi Rifle, Smoke Grenades / Pistol, EXP CC Weapon. (0 | 37)
6 SWC | 300 Points | Open in Army | Copy Code
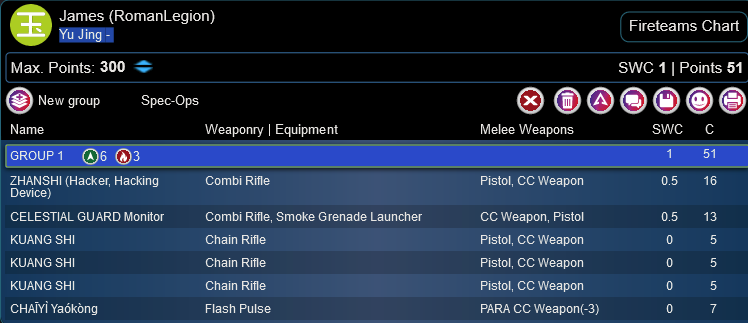
James is playing the same list from our last game:
James (RomanLegion)
GROUP 14
GROUP 2
SUN TZE v2 (Lieutenant [+1 Command Token]) MULTI Sniper Rifle, Nanopulser / Pistol, CC Weapon. (1.5 | 51)
KOKRAM (Forward Deployment [+8″], Minelayer) Heavy Shotgun, E/Mitter, E/M Mines ( | Deployable Repeater) / Heavy Pistol(+1B), CC Weapon. (0 | 41)
YÁOZĂO PARA CC Weapon(-3). (0 | 3)
BLUE WOLF AP Spitfire, Heavy Flamethrower, Panzerfaust / DA CC Weapon. (1.5 | 71)
BLUE WOLF PILOT Light Shotgun / Pistol, CC Weapon. (0 | 0)
ZHANSHI (Hacker, Hacking Device) Combi Rifle ( ) / Pistol, CC Weapon. (0.5 | 16)
CELESTIAL GUARD Monitor Combi Rifle, Smoke Grenade Launcher / CC Weapon, Pistol. (0.5 | 13)
KUANG SHI Chain Rifle / Pistol, CC Weapon. (0 | 5)
BEASTHUNTERS (Surprise Attack [-3], Camouflage, Forward Deployment [+8″]) Heavy Flamethrower, Panzerfaust, AP Mines / EXP CC Weapon(+1B), Pistol. (0 | 17)
MAJOR LUNAH VIRAL Sniper Rifle / Pistol, CC Weapon. (1.5 | 29)
WÈIBĪNG Yaókòng Combi Rifle, Flash Pulse / PARA CC Weapon(-3). (0 | 15)
CHAĪYÌ Yaókòng Flash Pulse / PARA CC Weapon(-3). (0 | 7)
5.5 SWC | 298 Points | Open in Army | Copy Code
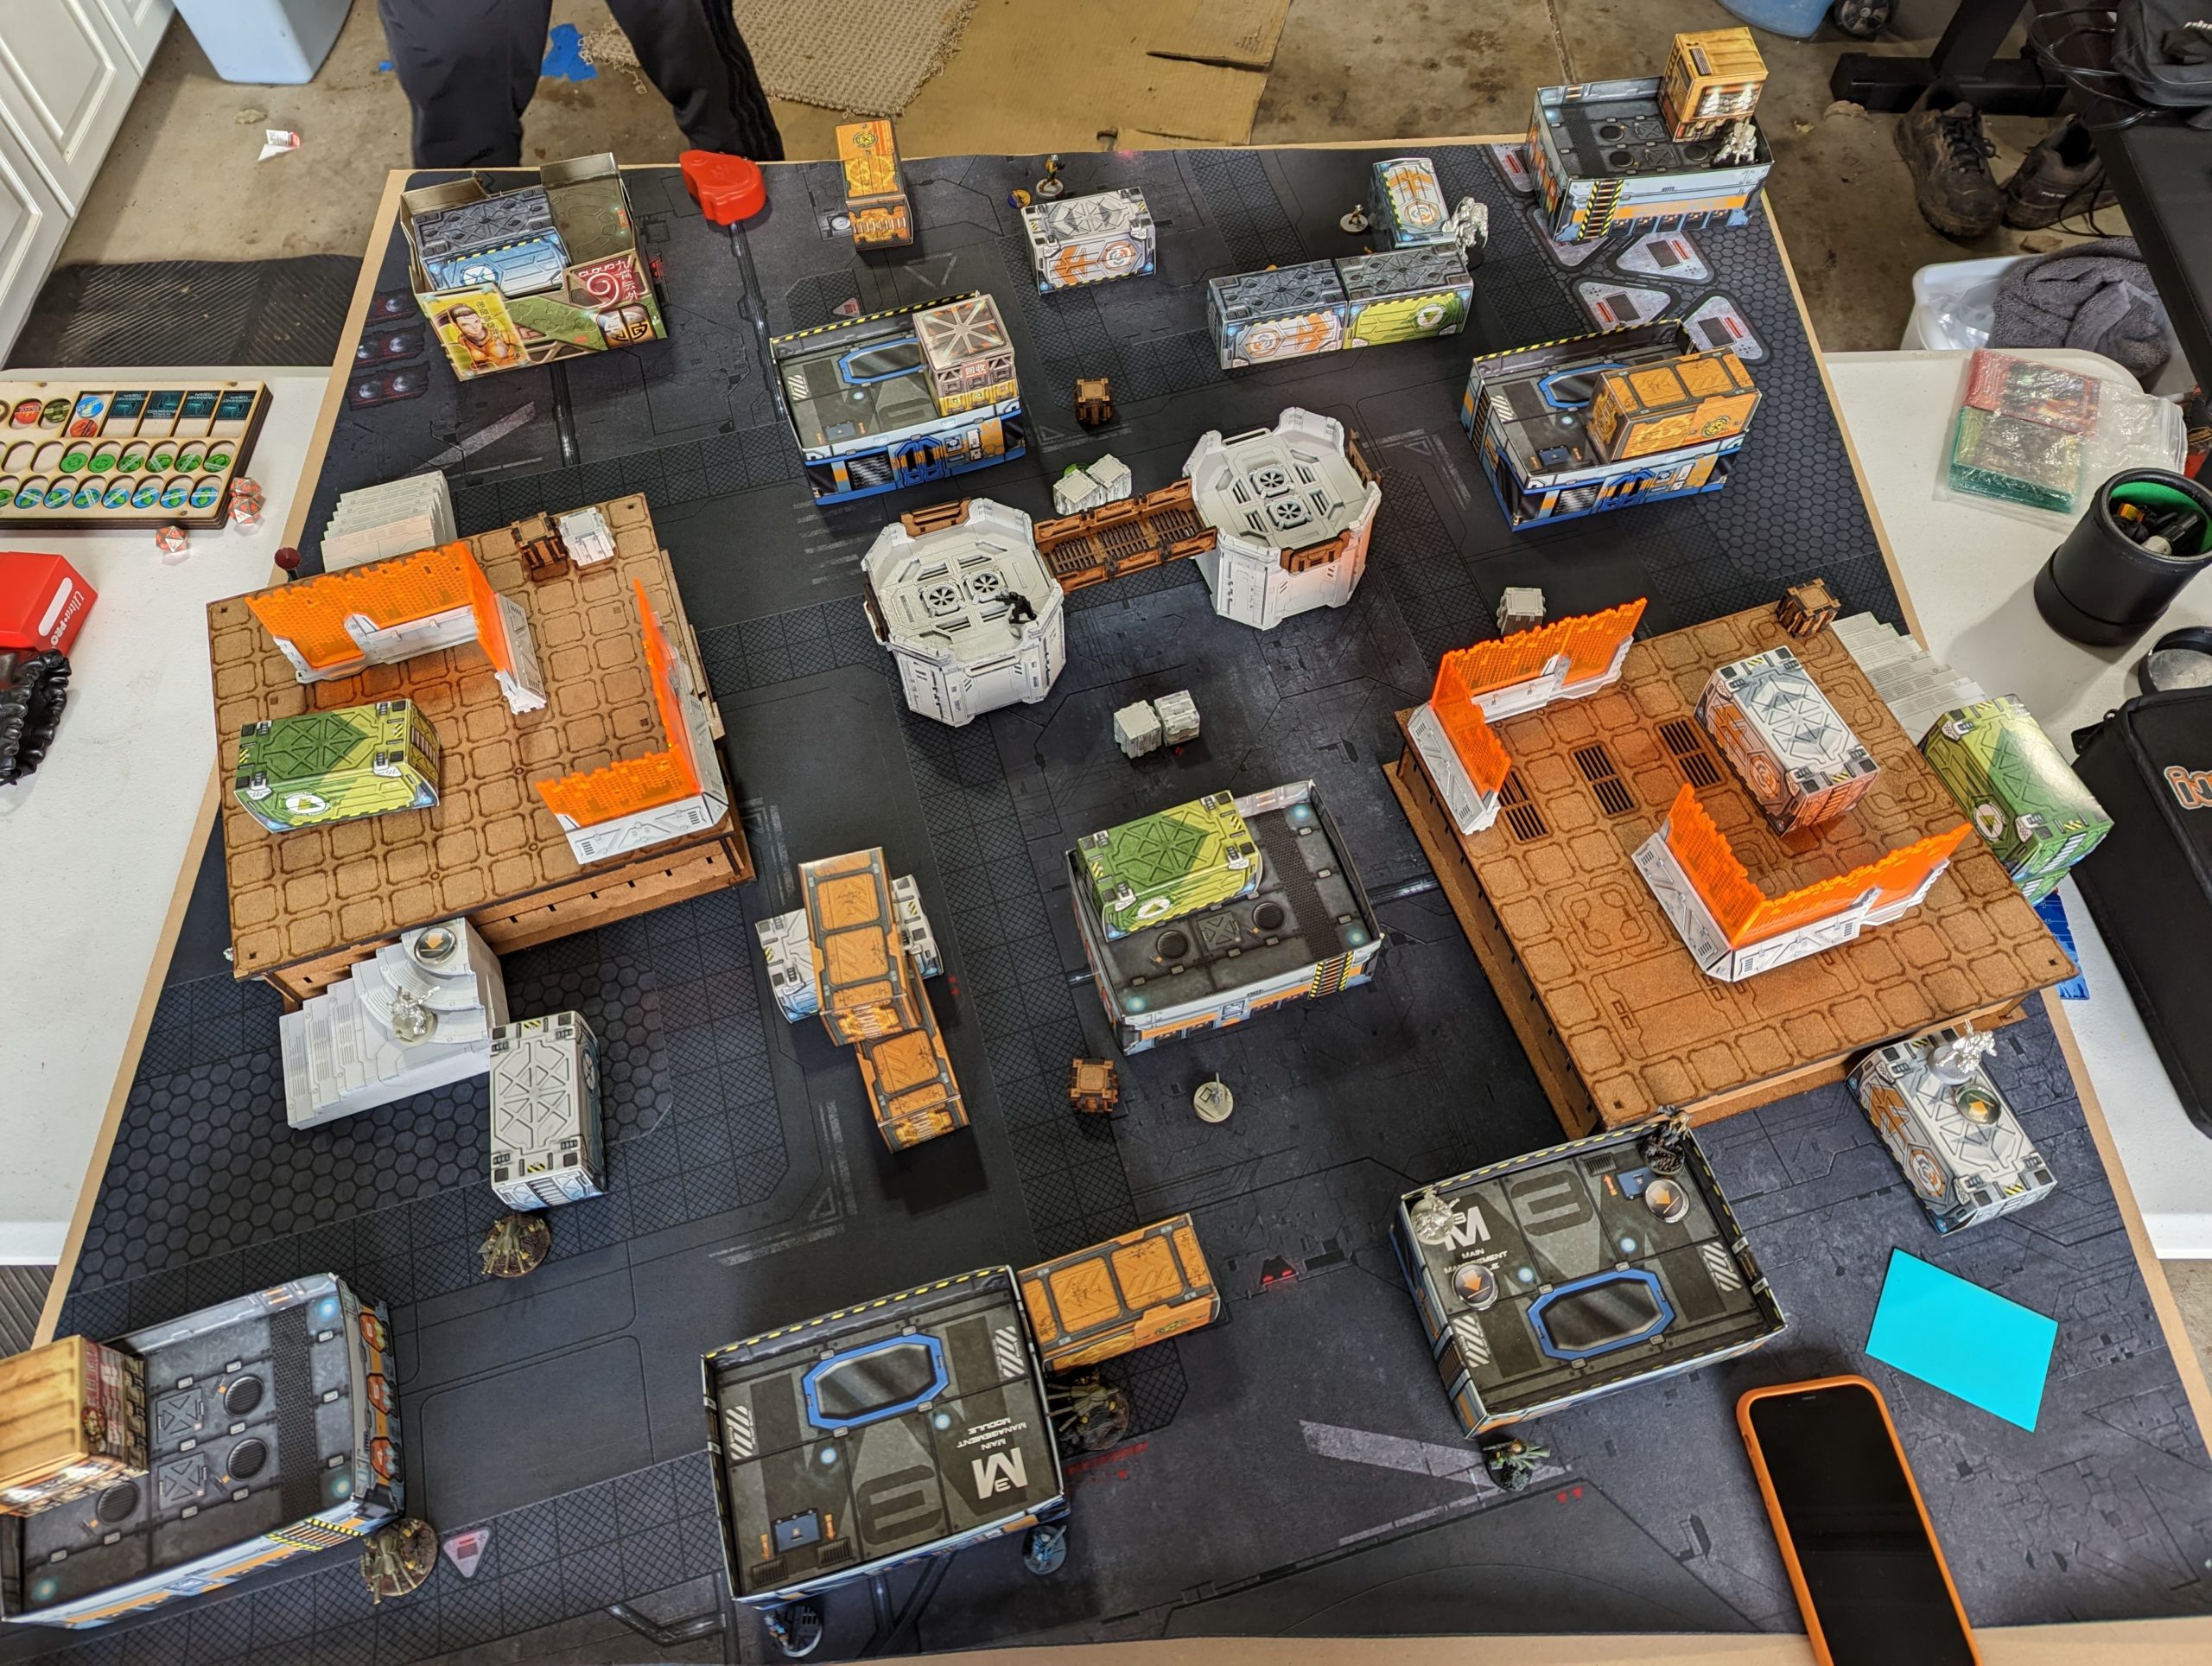
Deployment
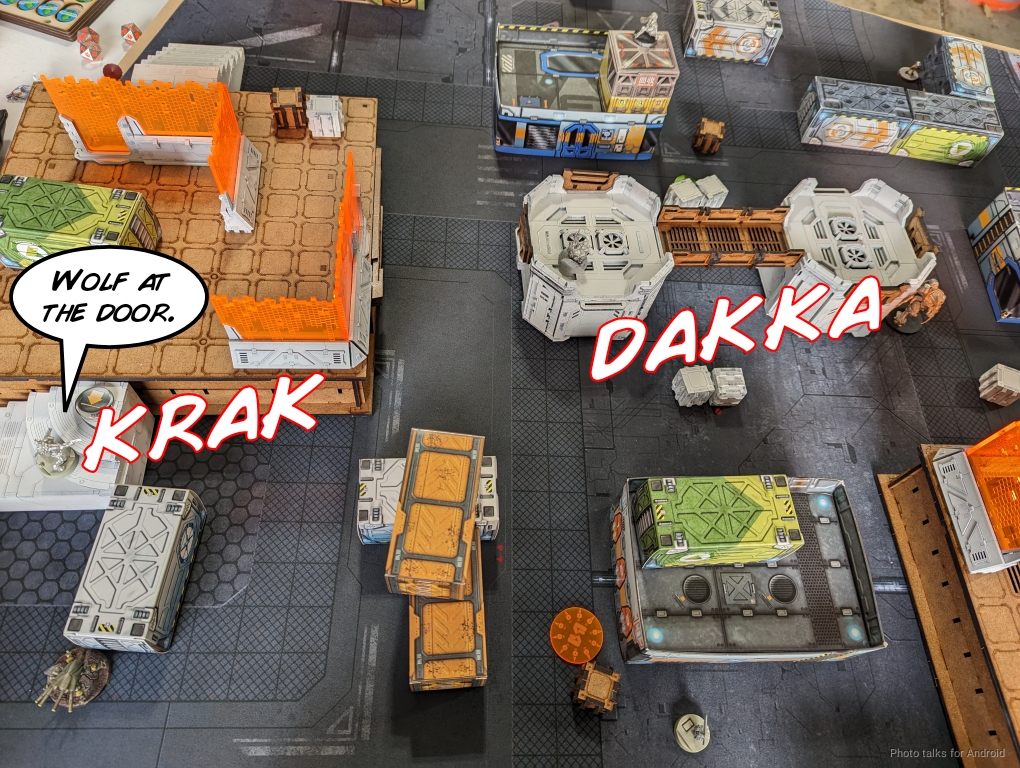
James took first turn so I took deployment. He set his usual pile of Kuang Shi and then put the two Weibing near the AC2 to protect it with a CG hacker. Sun Tze went on the right and a flash pulse bot went on the left. Of particular note was Krit and his E/M mine covering the approach to the AC2. James’s reserves were the Blue Wolf and Lunah, so the Beasthunter went inside the building on his left in the midfield.
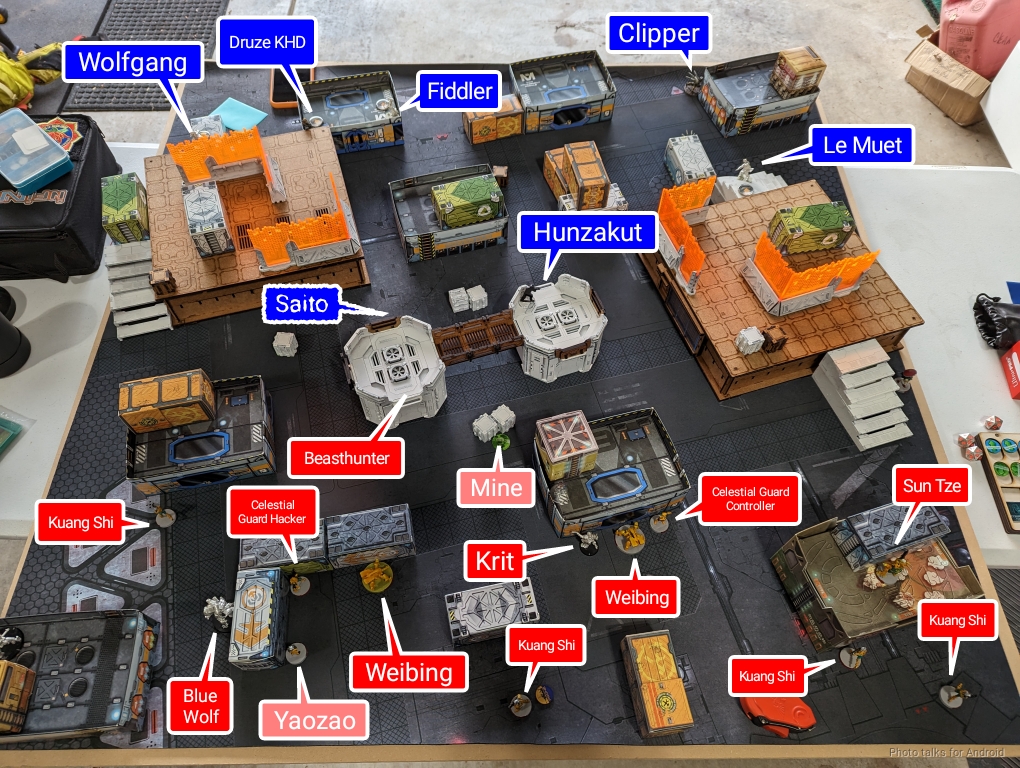
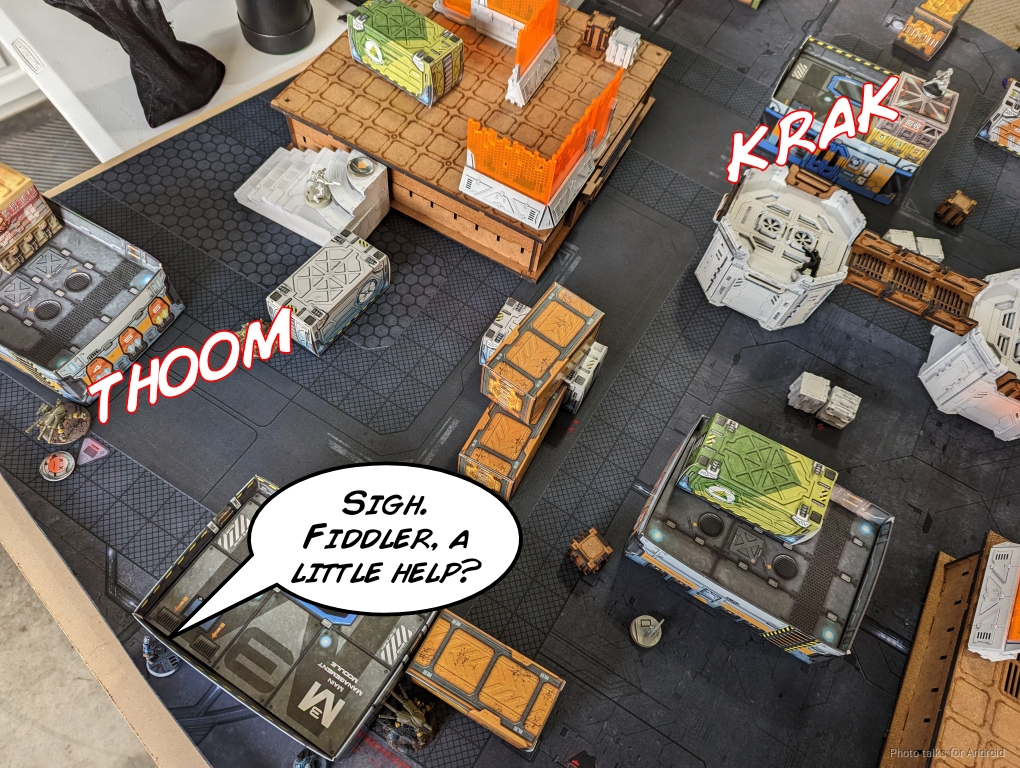
I set up the Clipper on the left watching a suitable firelane, with the Pathfinder watching the left table edge nearby. The Brawlers hung out in the back of my deployment zone to protect my Lieutenant and covering the elevated area on the right. Saito was set up to go for the objective when it came time, and then I set up Woflgang, the Druze KHD, and the Druze MSR on the right ready to move up. I put the Hunzakut in the building adjacent to the Beasthunter (it’s inside, I was just lazy and didn’t want to open the building).

I set Fiddler’s bot up next to the AC2 with Fiddler… on the roof of a nearby building. James then placed the Blue Wolf and Lunah down. The Blue Wolf was ready to push my right flank, and Lunah was ready to take on the Clipper by climbing onto a box. I countered the Blue Wolf by placing Le Muet covering a long horizontal firelane across the table, taking advantage of his forward deployment.
Turn 1
Top of 1 – Yu Jing
I take orders from the second group to hinder Lunah’s damage output. It doesn’t save my clipper though.
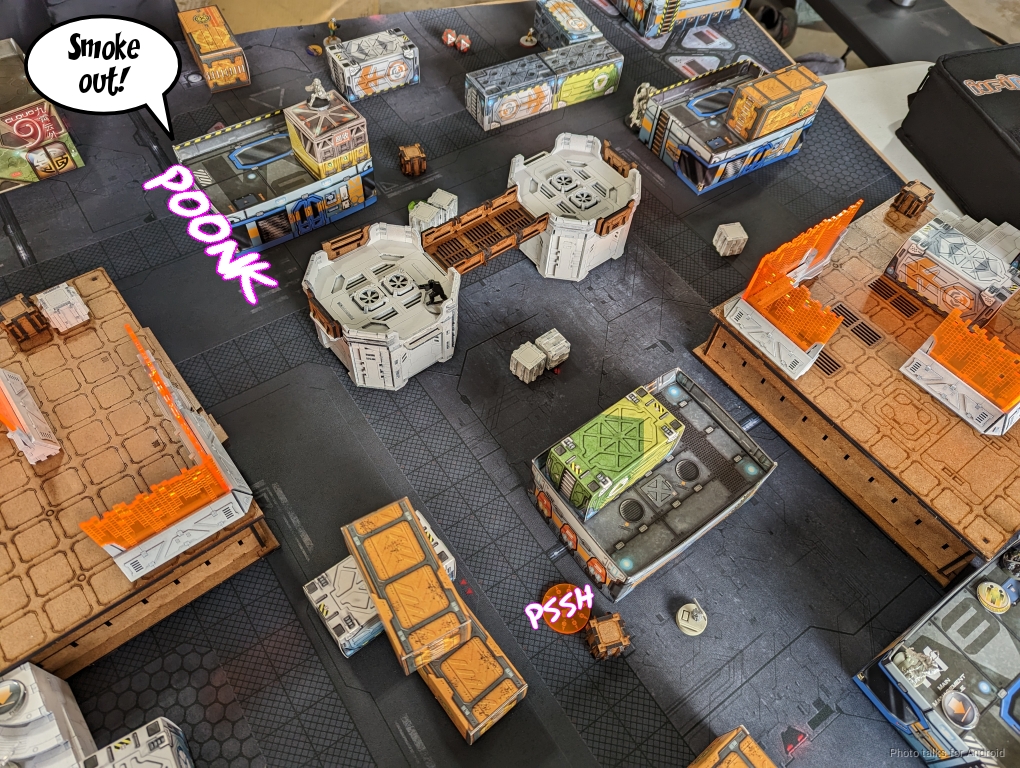
James then sets up smoke on my AC2 with his Celestial Guard. Well, I guess that works. The Blue Wolf also uses its Tac Aware to push forward a bit.
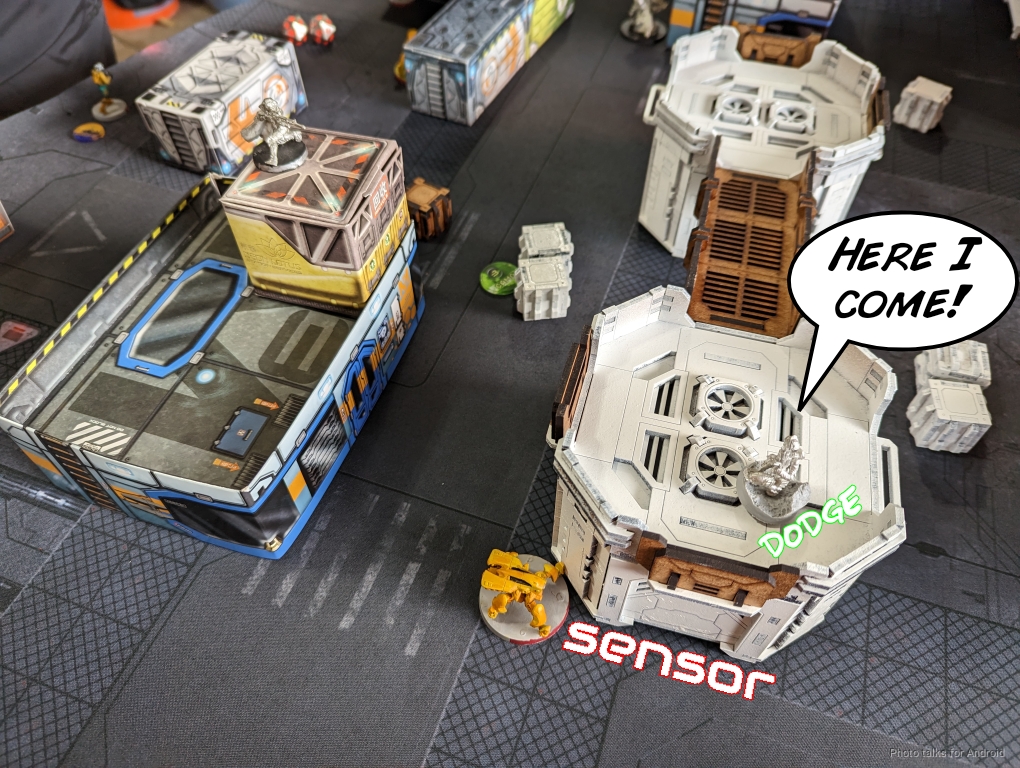
James wants to get rid of the Hunzakut, so he uses the Weibing’s tac aware order to reveal it with Sensor, so I just dodge closer as there’s a 5% chance that I’m not revealed.
He’s got one order left on this Weibing, so he uses it to try and shoot the Hunzakut, but I crit the Weibing and take it down.
James is worried about Armand stopping the Beasthunter, so he challenges Armand with the Blue Wolf just outside of 24″, which really helps me out. I manage to put a wound on the Blue Wolf, which nopes out of there by failing guts.
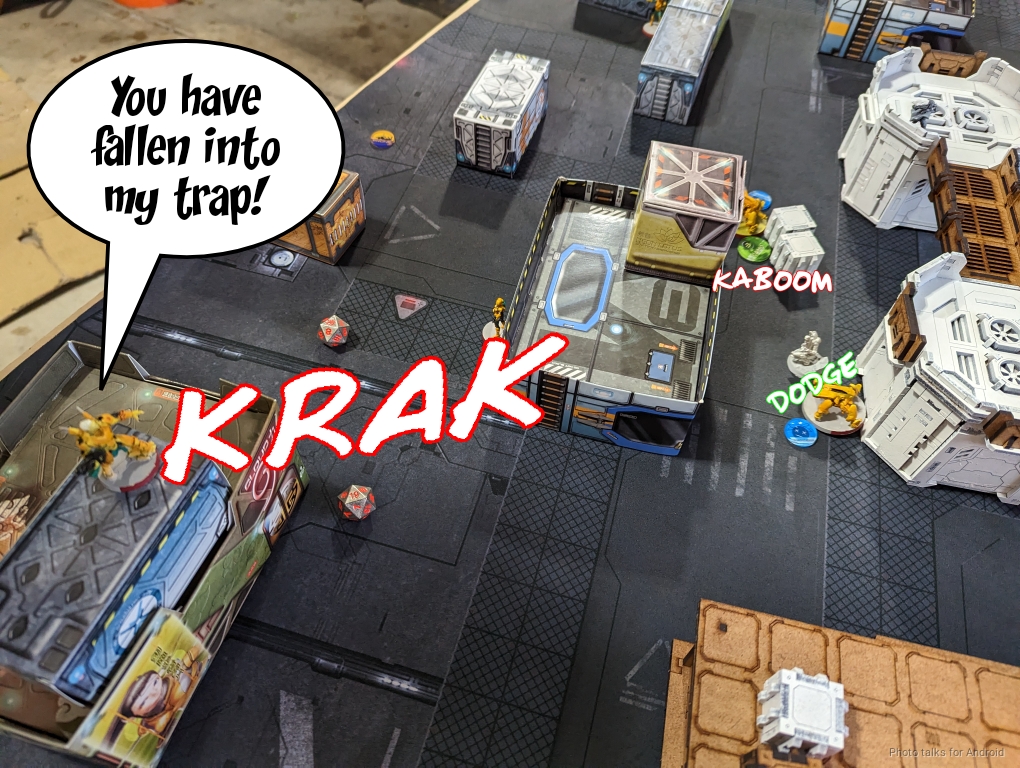
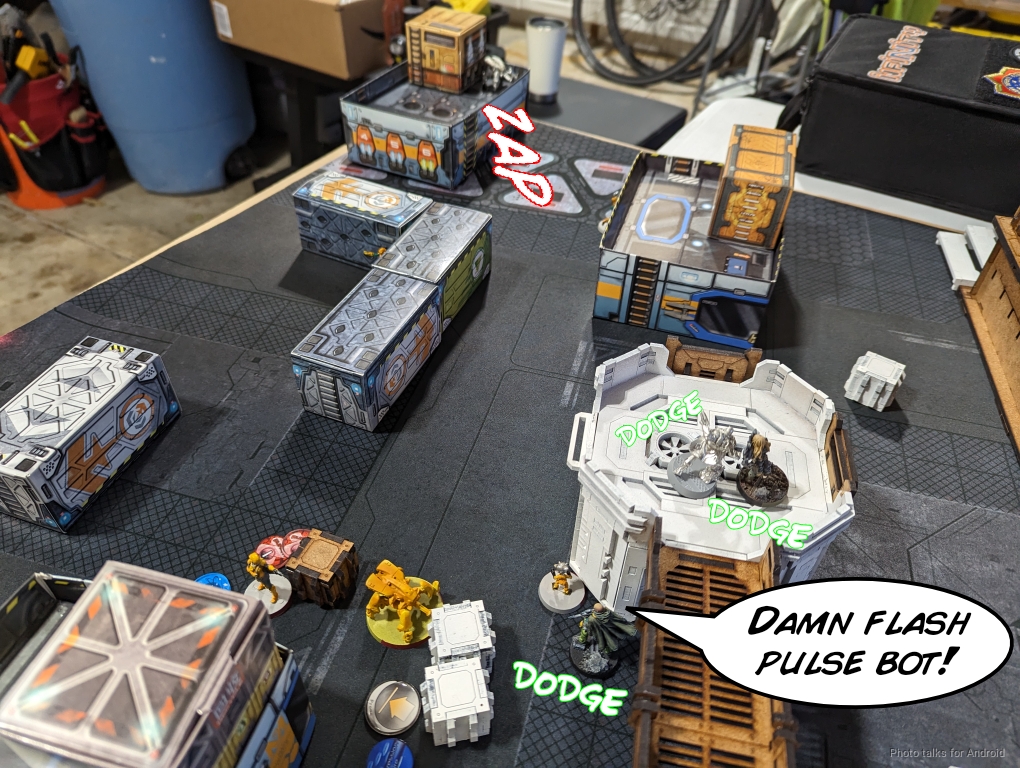
The Beasthunter is still a royal pain in the ass though, and it manages to make it across the gap without Armand being able to discover it. I can’t do much other than dodge around with Fiddler’s Jackbot, so the Beasthunter has its way with the AC2, sadly.
It drops a mine and super jumps onto the roof of a nearby building, laying a mine and going prone. I just dodge with the Jackbot to clear the mine, which annoys James, and the recamos. We had a brief disagreement about how smoke works, James is of the opinion that it’s radiating rays from the center of the template, but in actuality its a subtractive volume situation… anyway, we roll for it and the dice say that the Beasthunter is in smoke so I can’t discover it as it’s jumping around (which is incorrect).
After putting the Beasthunter prone, parking the remaining Weibing near the AC2 in suppression, and retreating the Blue Wolf, James passes turn.
Bottom of 1 – Druze
I’ve lost a Clipper, James has lost a Weibing. Honestly not the worst situation to be in for either of us. I do have a wound on the Blue Wolf though.
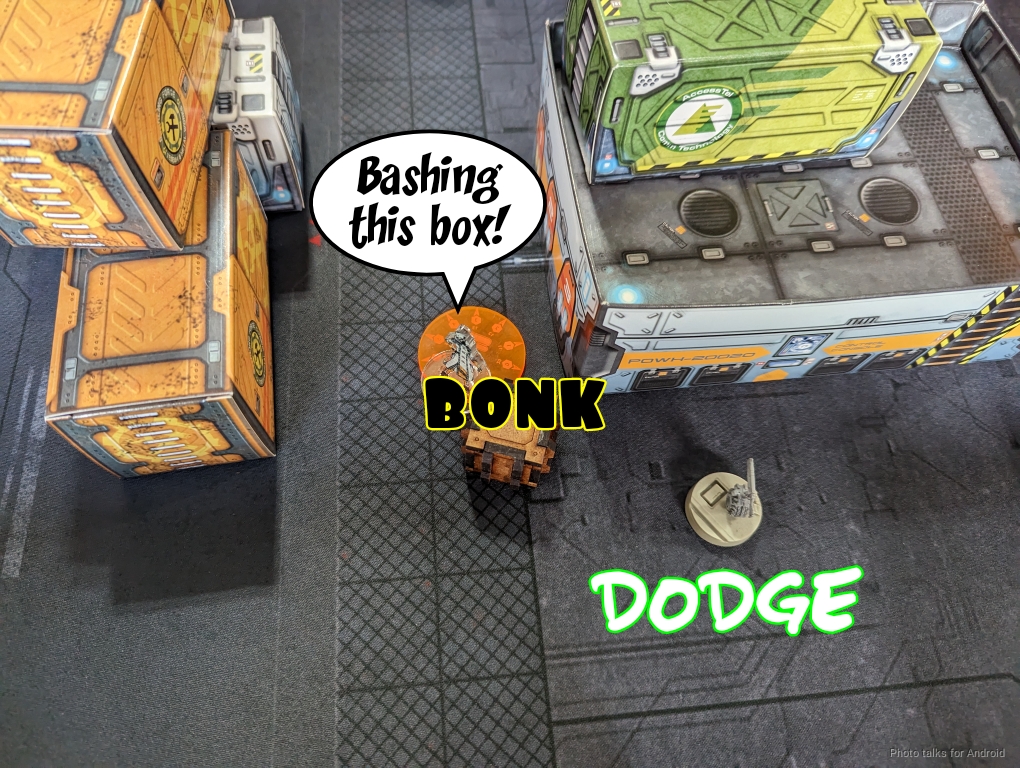
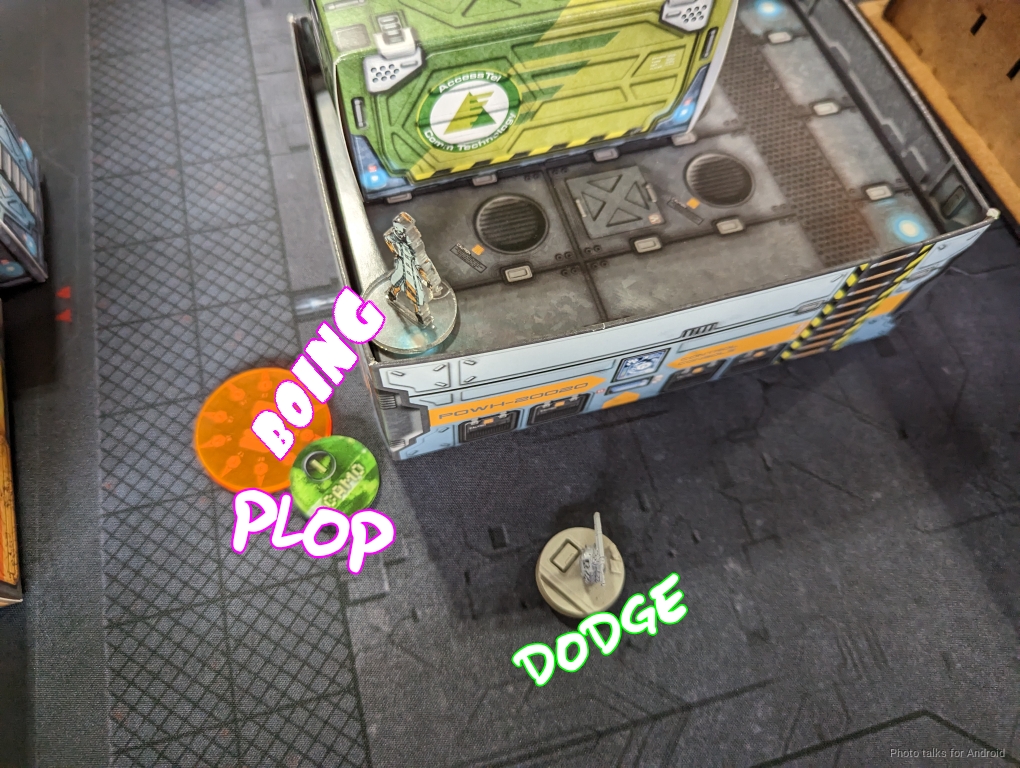
First, I need to deal with the Beasthunter. After sensoring it with the nearby Pathfinder’s tac aware order, I get the Jackbot into close combat, detonating the mine and the Jackbot. The Beasthunter crit dodges, surviving the shotgun slugs and the Jackbot’s explosion with ease. Well that’s really annoying, that was my most efficient way of removing it!
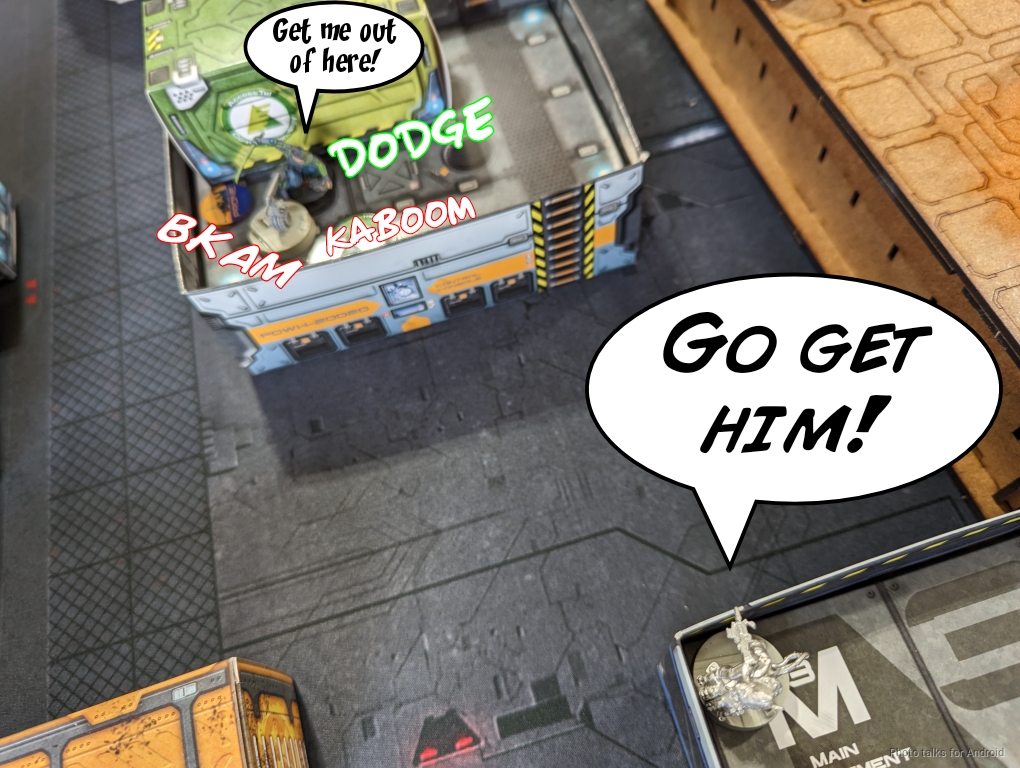
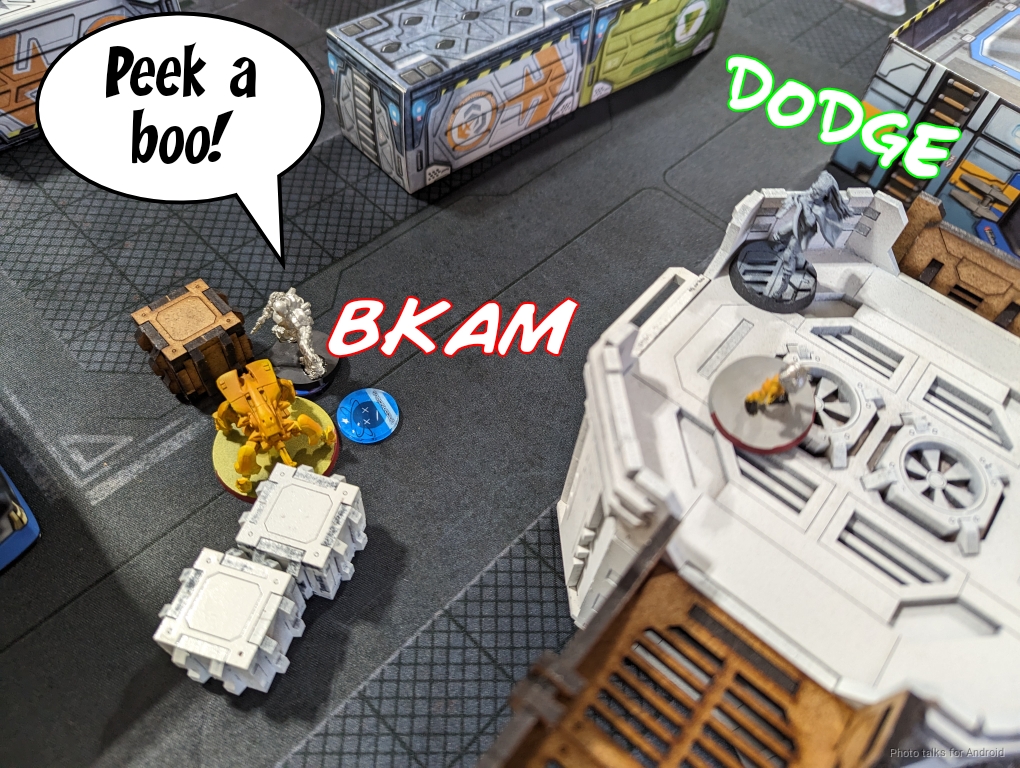
I can’t really do anything with Lunah being on a roof watching everything, so I move the Hunzakut out to see her (the Hunzakut is on the ground floor peeking out of the building, we were just lazy (and the roof was kinda painted shut). James shoots the Hunzakut with Lunah’s pistol, so I template and take out Lunah and pass the ARM save against the pistol. Hooray!
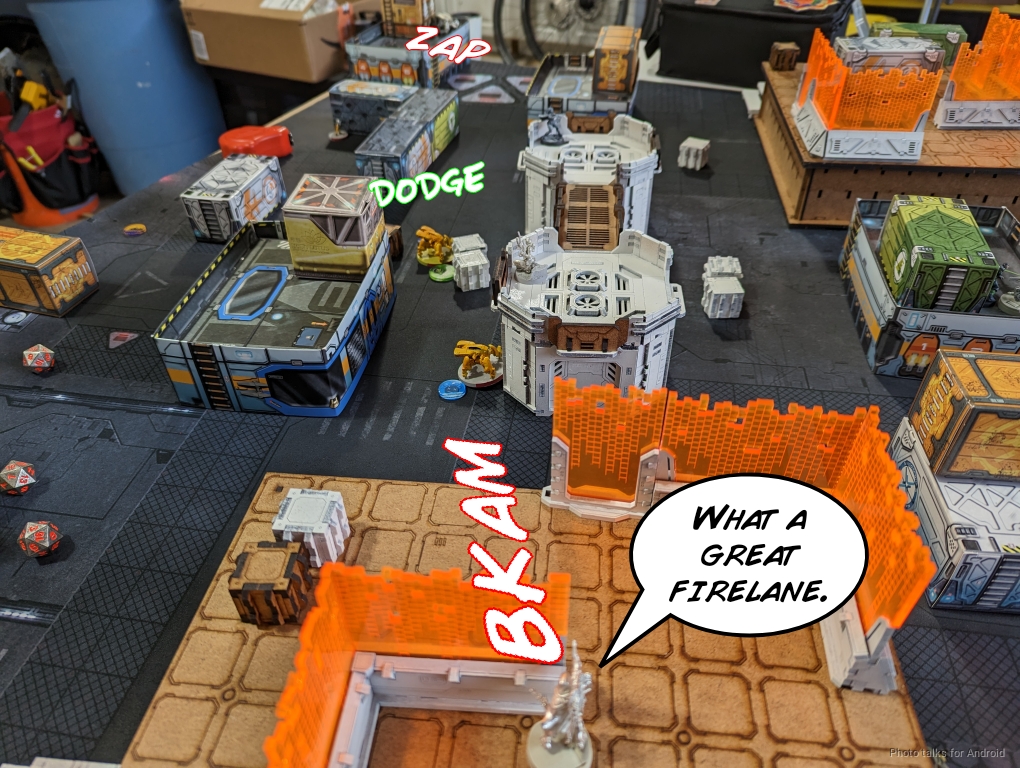
I decide I should take out the Blue Wolf while I can. Le Muet can get him out of cover by moving forward to find a horizontal firelane, but I need to get past a Celestial Guard controller first. I take a free shot at a Kuang Shi and put it Dogged, but the Celestial Guard manages to dodge away. No matter, that’s what I need!
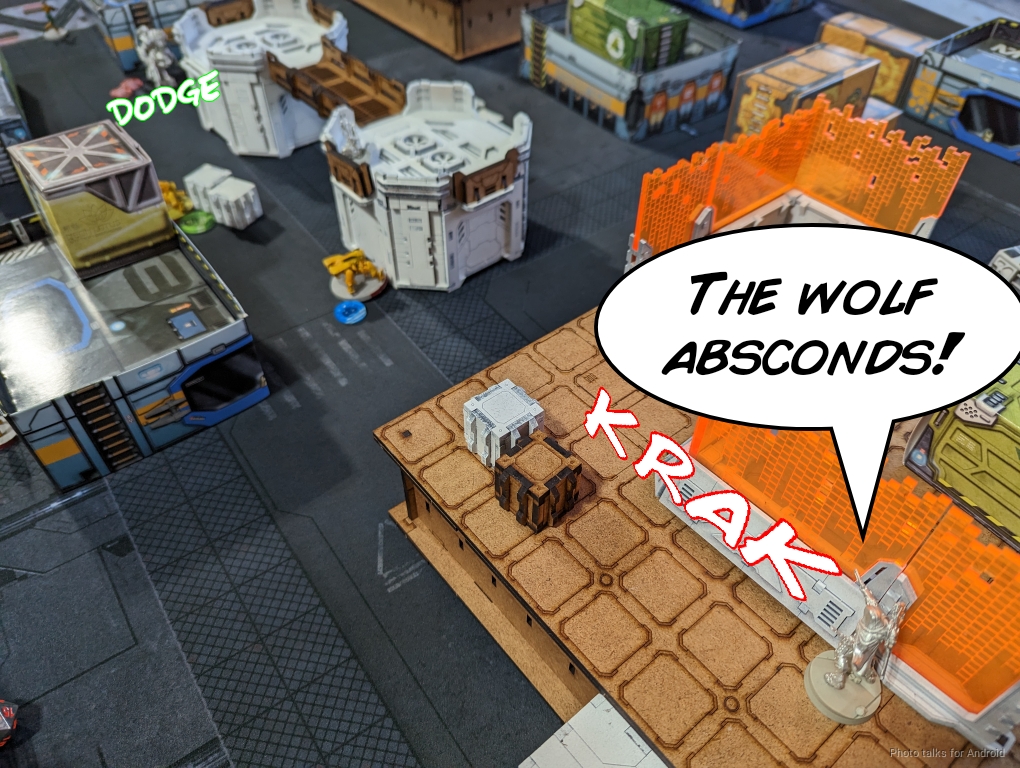
I start taking shots at the Blue Wolf, which shockingly dodges on 13s! How irritating. It dodges the first shot…
but I do another wound with the second shot. Unfortunately for me, the Blue Wolf’s first dodge allowed it to fail guts out of LoF. Not good.
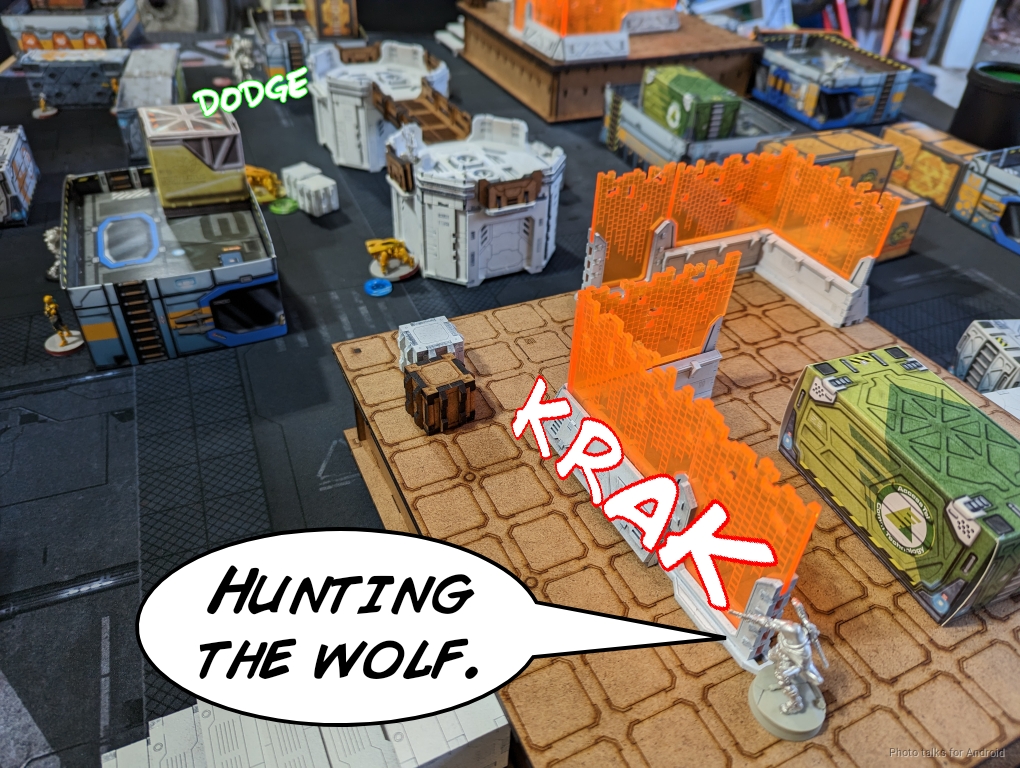
I reveal Saito to take the Blue Wolf out in close combat, which is a pretty dangerous plan, but sometimes you gotta take risks. I’m on 27 and the Blue Wolf is on 17… but 11% is waay too close for comfort:
| 75.66 | 13.23 | 11.11 |

Anyway, Saito retreats into the nearby building. I try to take out a Kuang Shi and a flash pulse bot by splitting burst, but they both pass ARM. I do take out the Weibing near the AC2 with Le Muet though, finally passing turn.
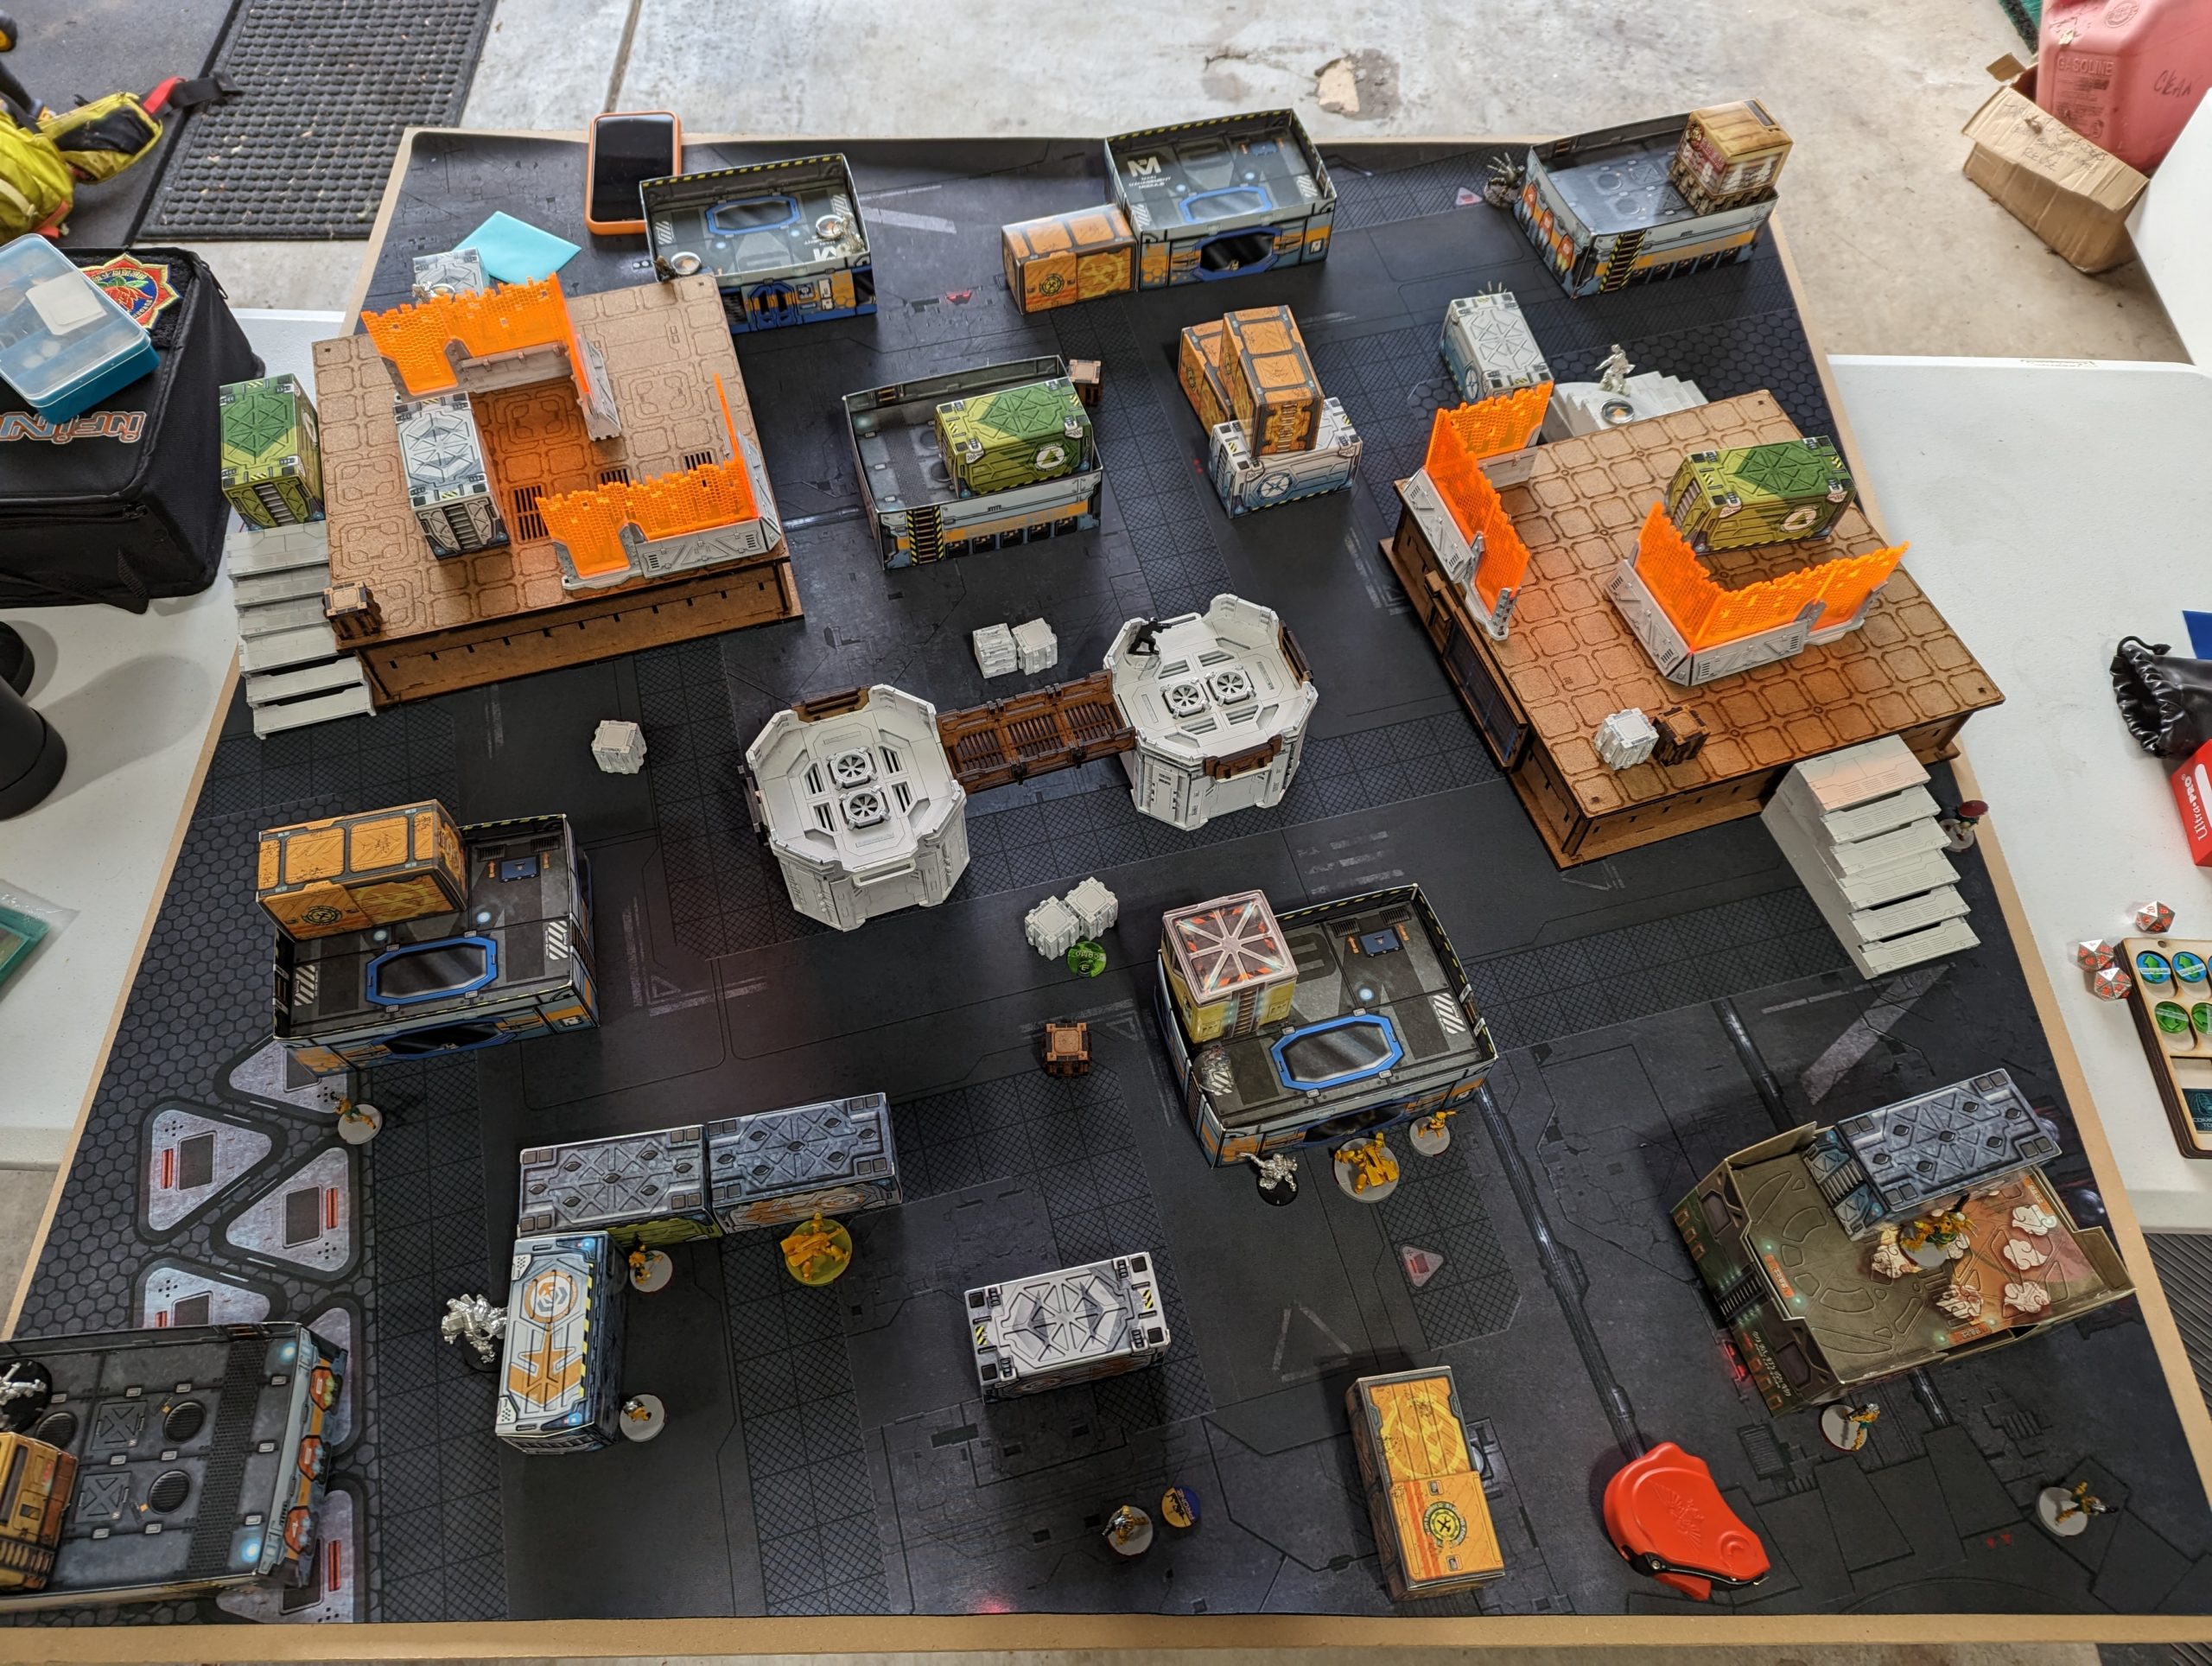
Turn 2
Top of 2 – Yu Jing
I’ve reduced James to a single combat group, and he’s down to just his MULTI Sniper Rifle and Beasthunter.

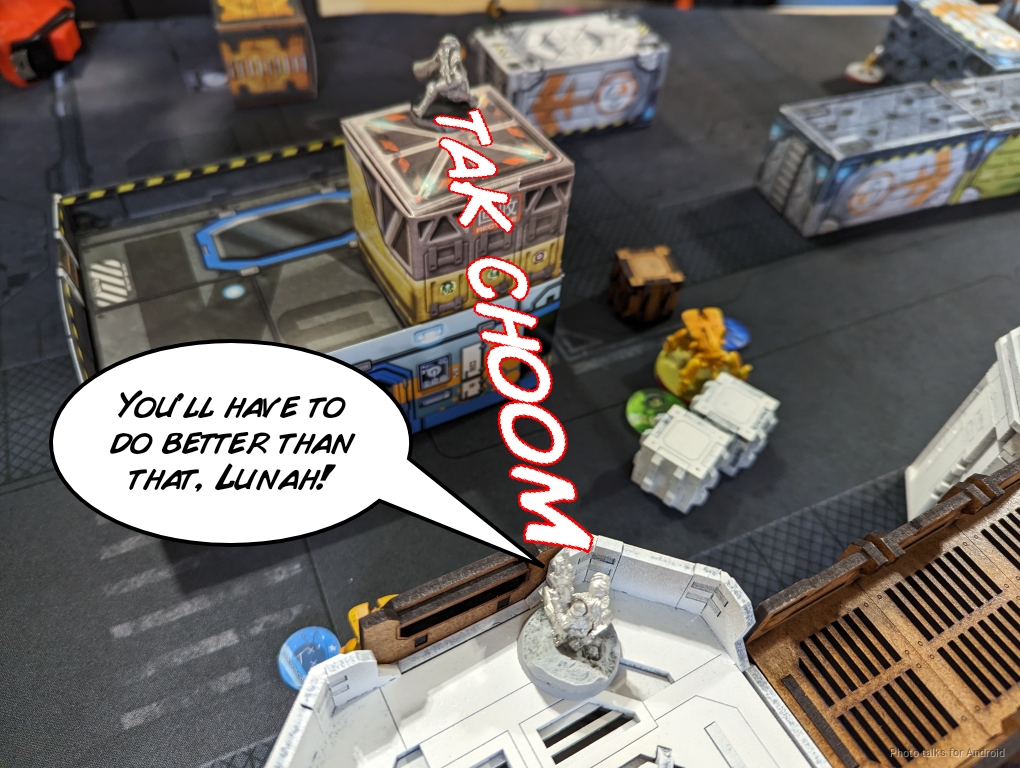
James unleashes the Kuang Shi and sends one after Le Muet. I dodge its pistol shots and drain some orders.
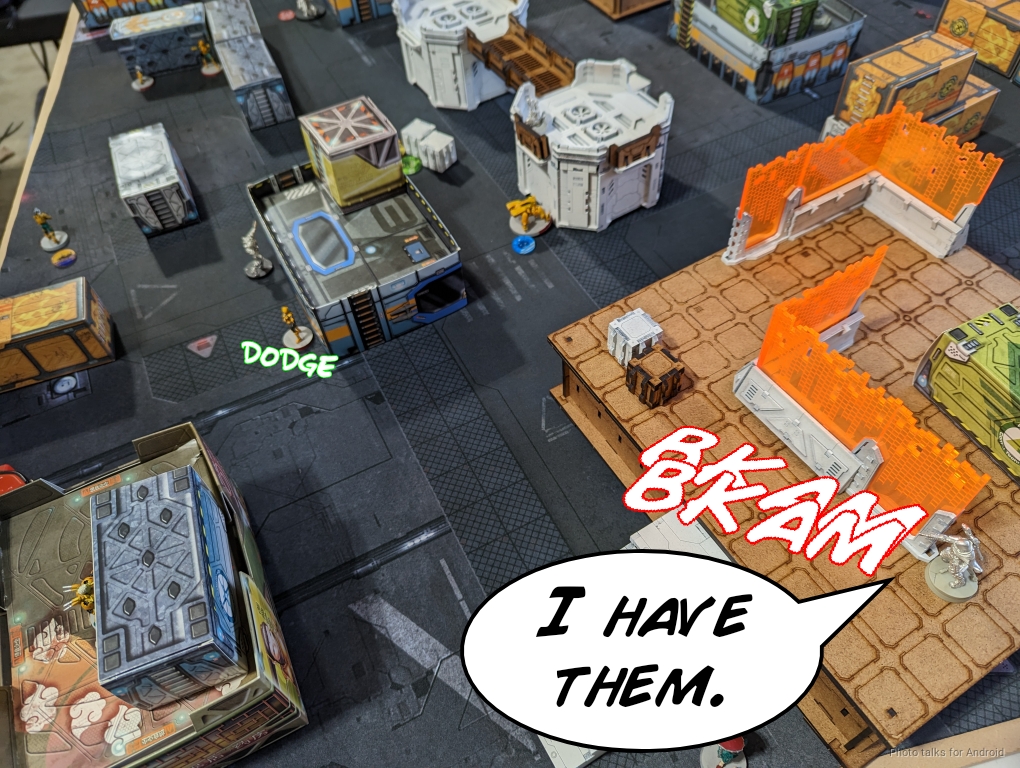
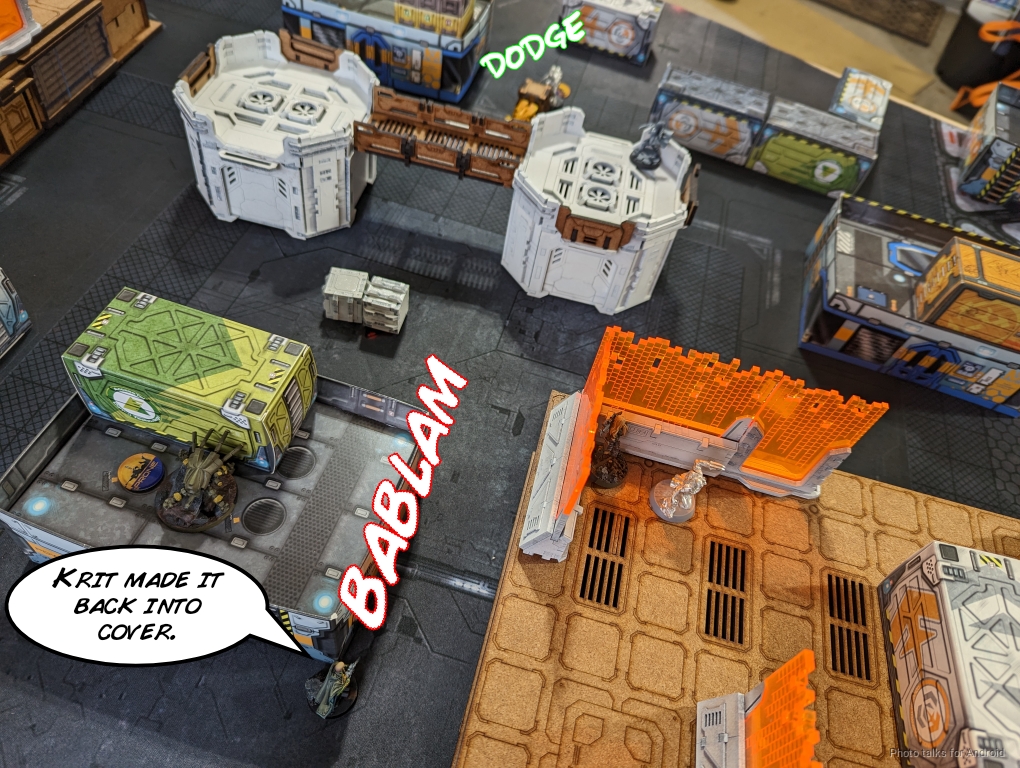
Krit walks up to try and fix the Weibing near the AC2 but I dodge the Hunzakut out to threaten templates. He’s just out of range to fix the Weibing so this is extra bad.

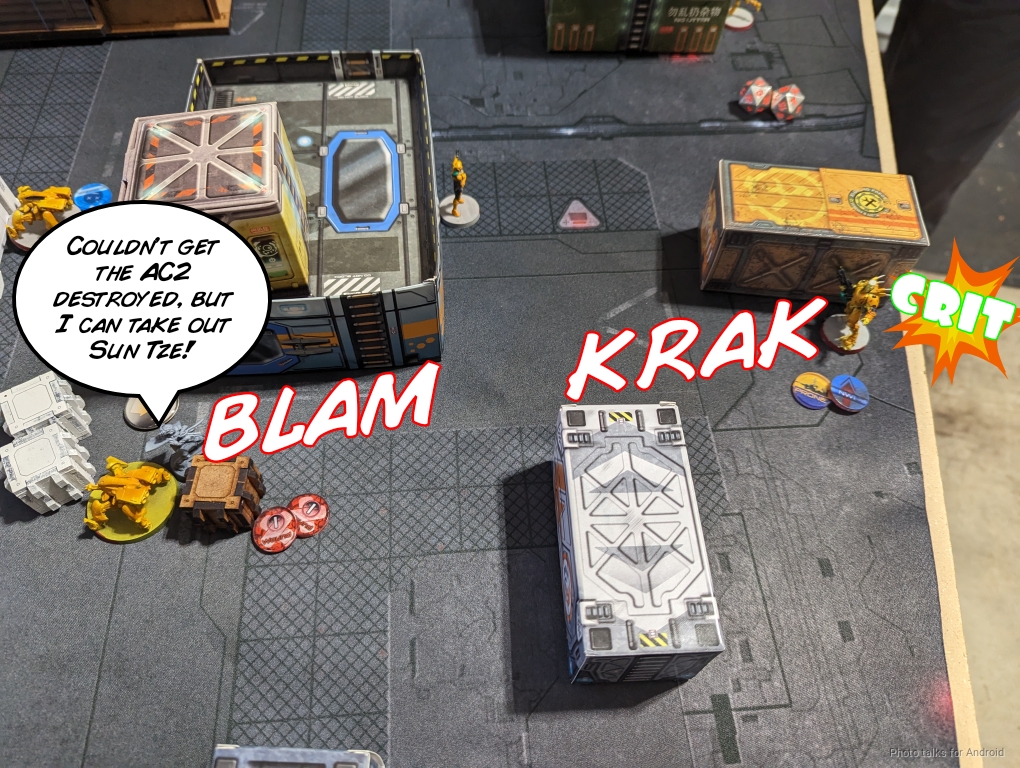
Sun Tze is forced to enter the fight himself and take down the Hunzakut himself. This clears the mine, at least, which simplifies things for Saito later.
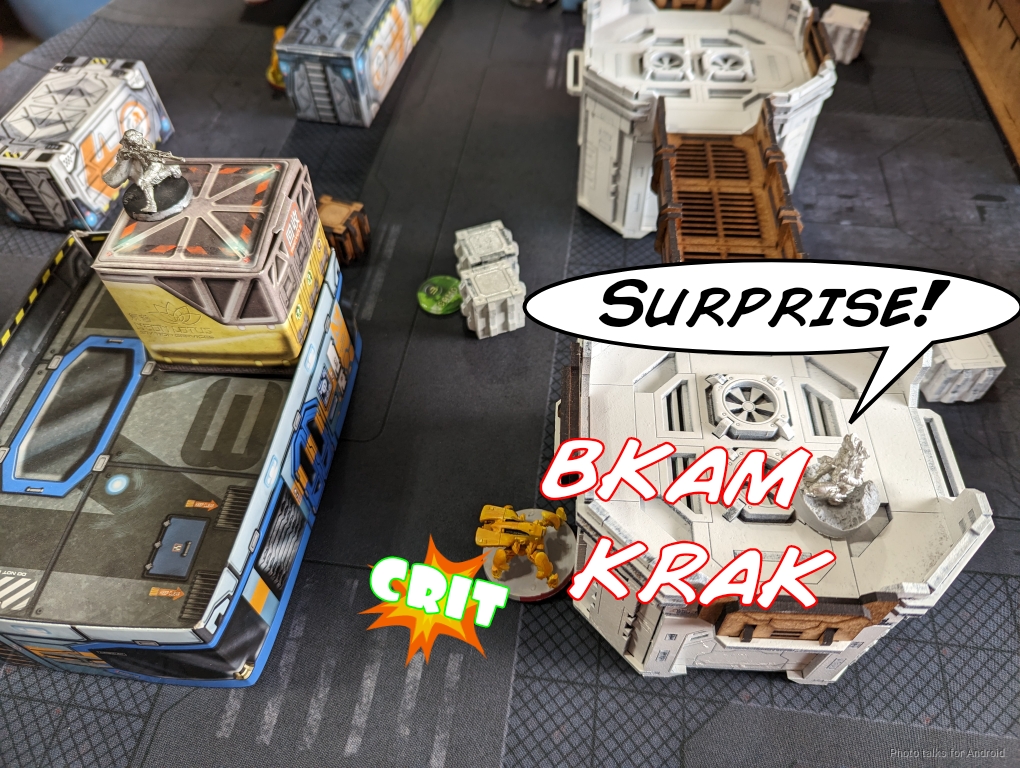
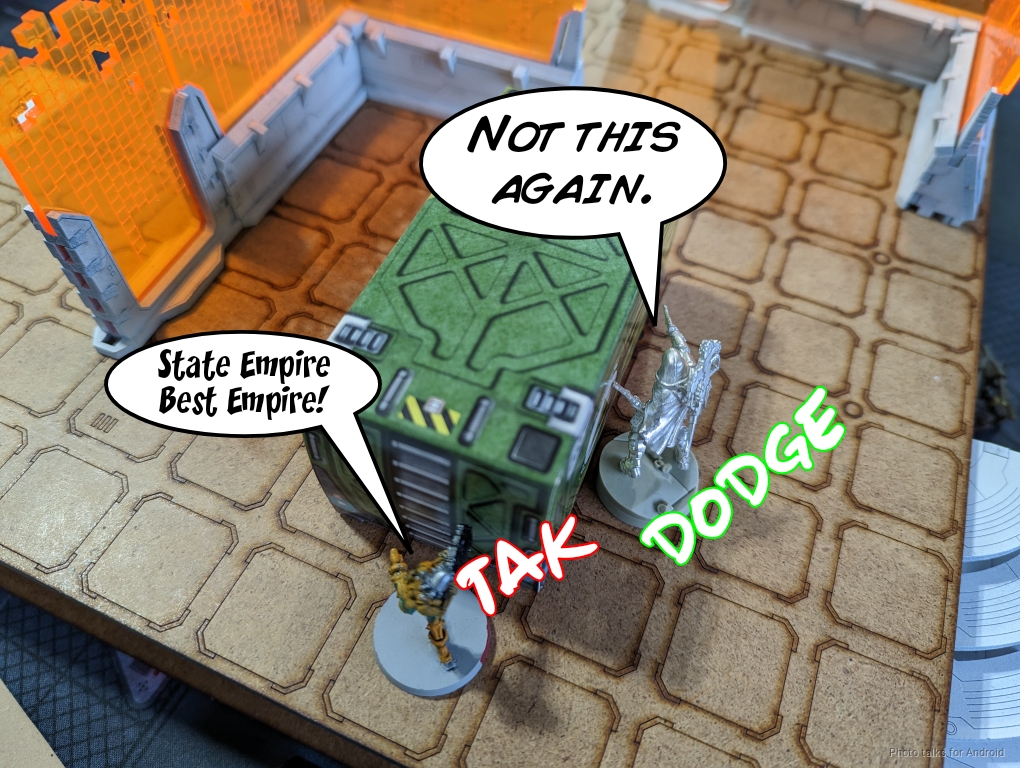
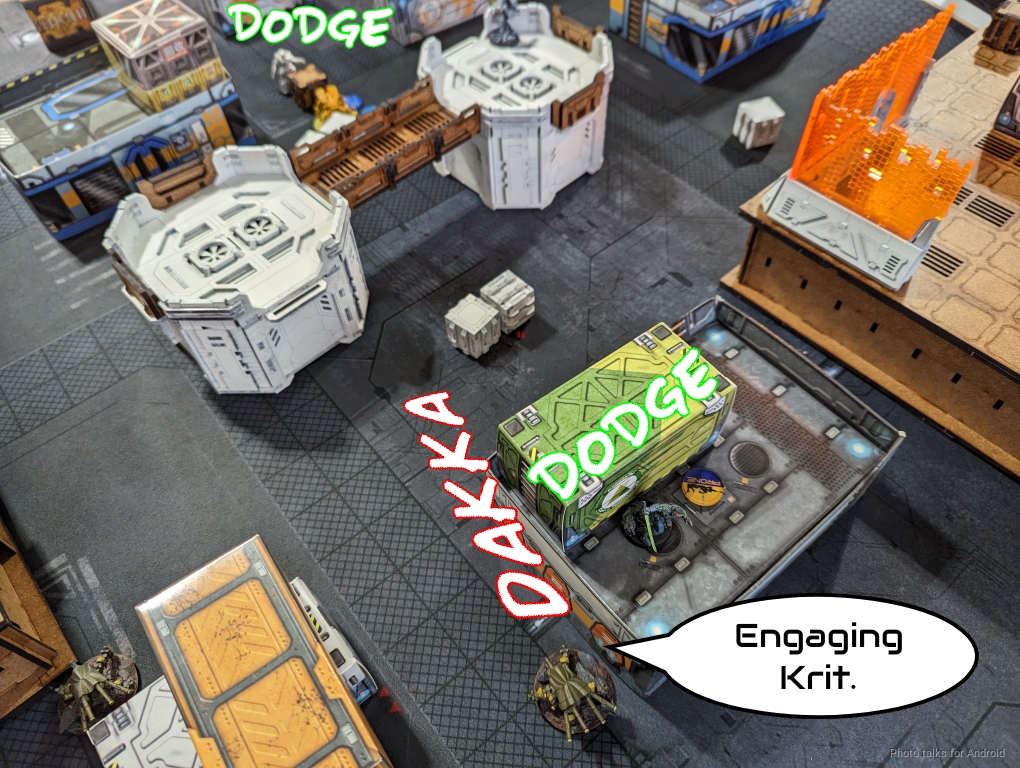
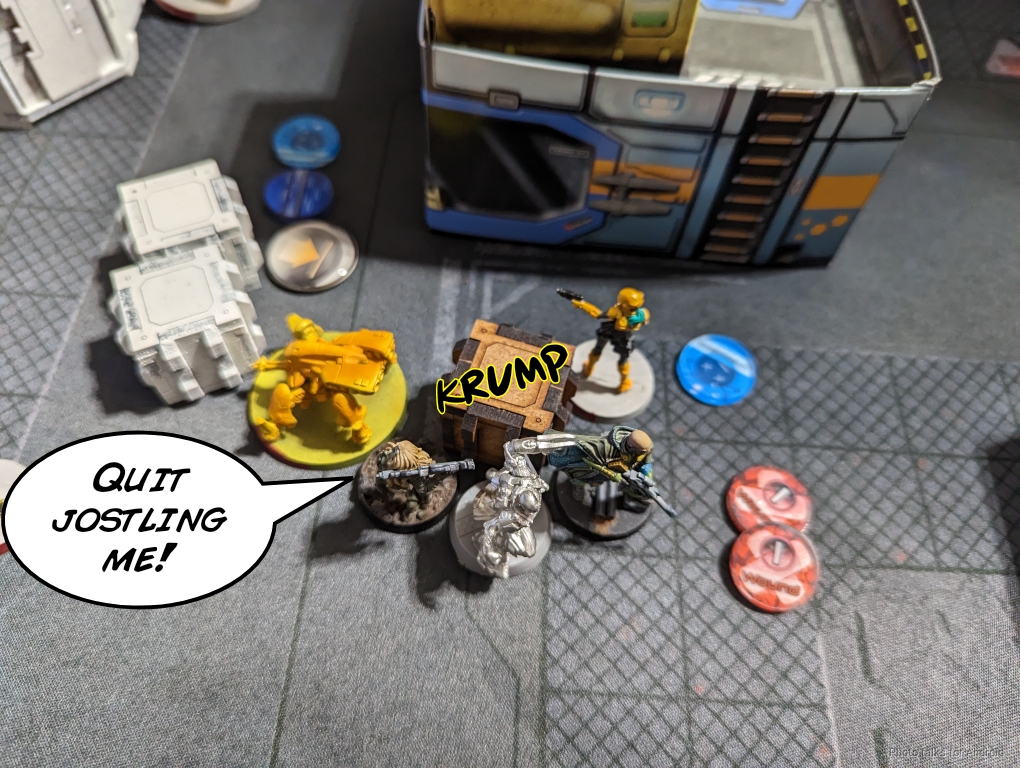
With the Hunzakut down, Krit is free to attack Saito. Krit walks his Yaozao into the room to open the door, granting LoF to Krit. He shotguns against my dodge for what feels like all of his orders, staying out of range of Saito’s dodge while running the Yaozao repeatedly through the door to open it to grant LoF.
I manage to hang on to Saito, and that’s turn.
Bottom of 2 – Druze
Not a lot of delta from the last turn, but making some progress. At least Saito is up. I move him into the main group for the run and then see what I can get done.

Sun Tze is standing up and watching stuff, so he needs to go. I start off by throwing a Pathfinder under the bus with its tac aware and get lucky, doing a wound and forcing Sun Tze prone.
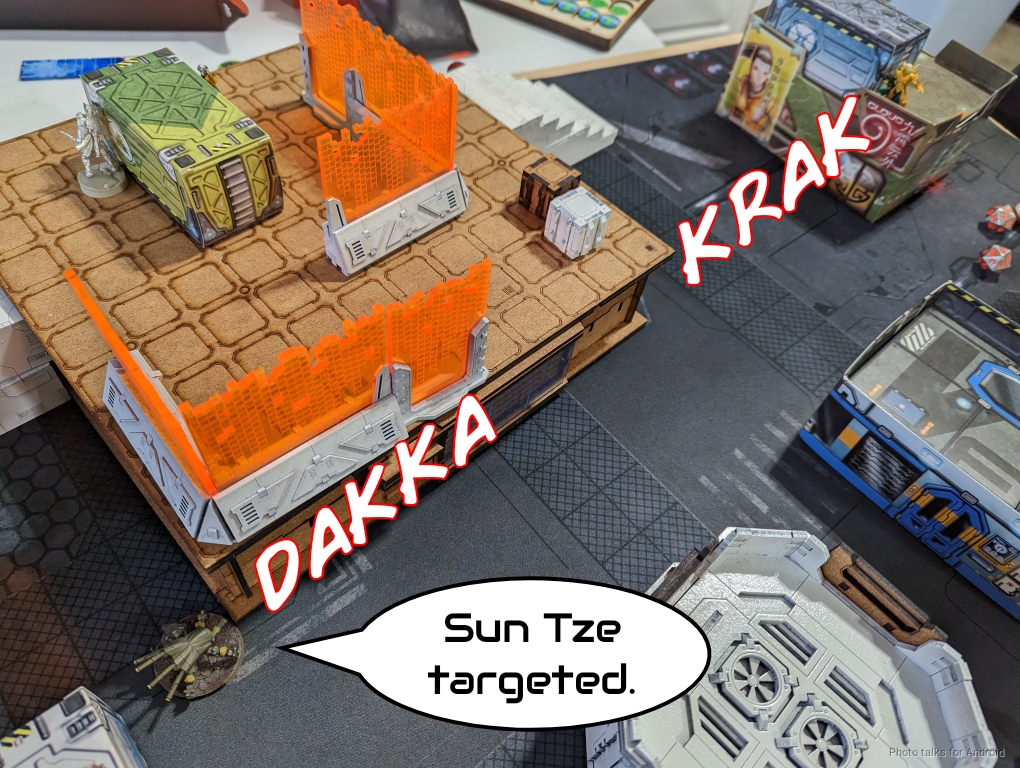
I spend another order on the Pathfinder forcing Krit to dodge to the other side of the AC2.
The other Pathfinder gets onto the roof and takes out the Beasthunter, finally.
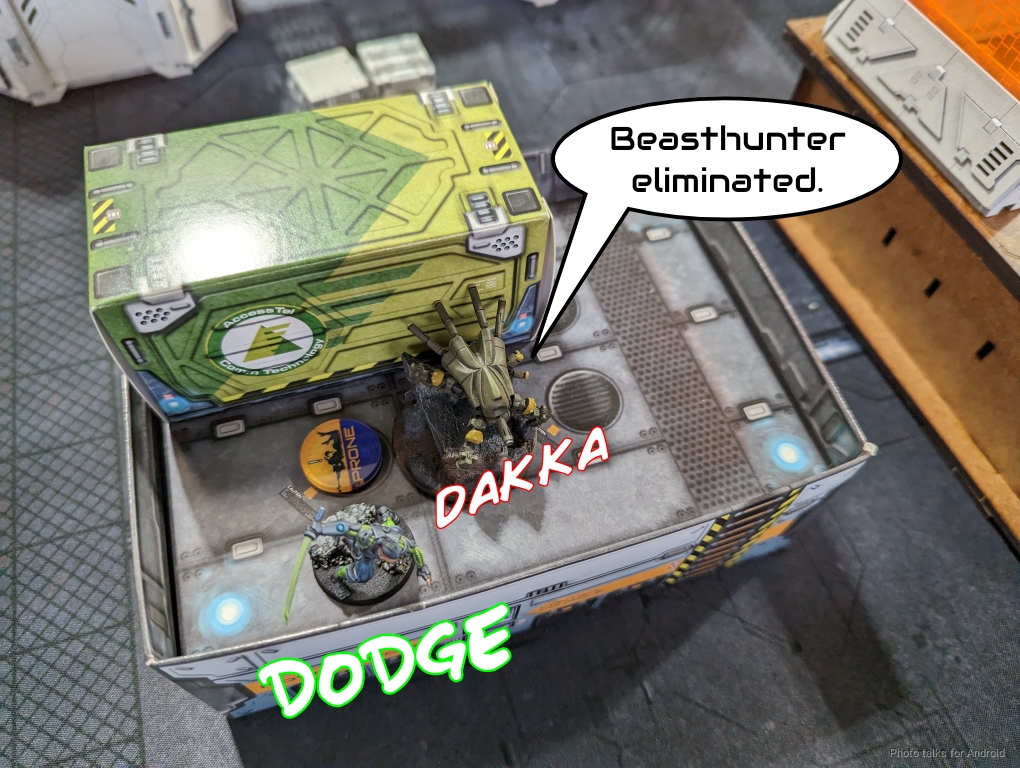
Krit needs to get out of there, so I start by developing the Wolfgang/Druzer link, taking shots on Krit with the sniper. I do a wound but Krit just dodges to the other side of the box.
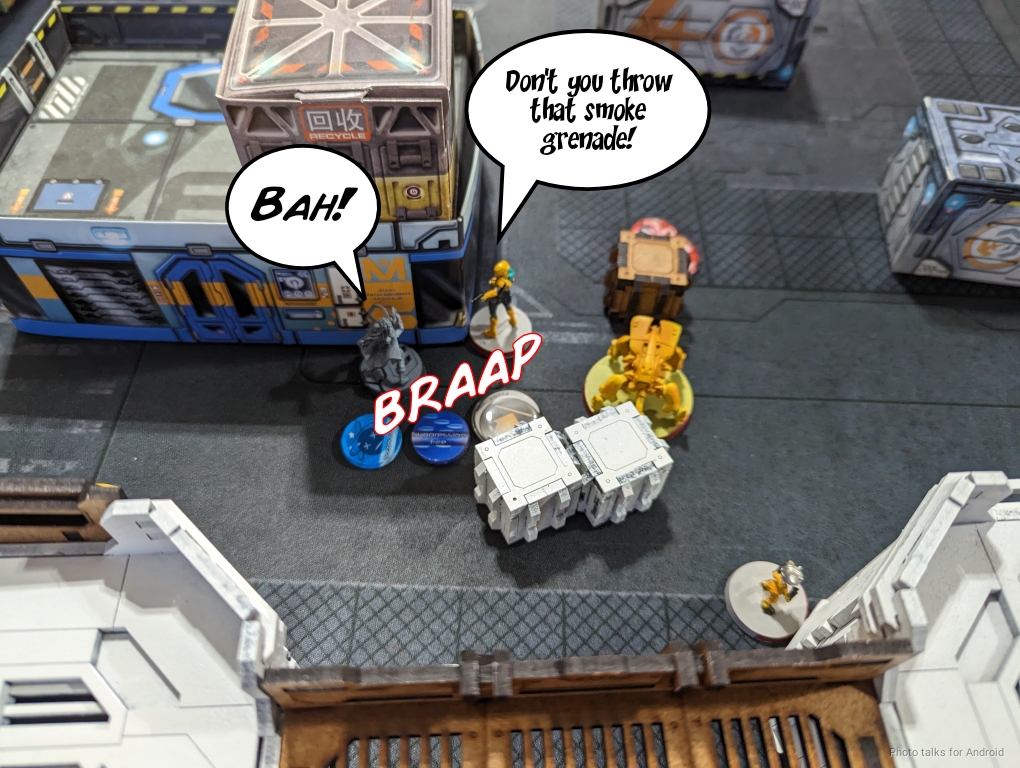
I gotta get Saito in there, so I recamo, walk behind Krit, and shank the last wound off of him. The nearby Zhanying hacker takes a shot but misses.
Saito manages to get two wounds onto the AC2 with the orders I have left, but that’s all I got.
Turn 3
Top of 3 – Yu Jing
Things aren’t looking super great for me, but I at least have a whole turn to respond.
James starts by climbing Sun Tze off his building and into the open to fight Saito. I somehow manage to crit Sun Tze, and that’s the end of that plan.
The nearby Celestial Guard controller keeps pushing on my position as I try to smoke it out. James’s dice work for him and eventually Saito does go down.
Bottom of 3 – Druze
All I need to do is finish off the AC2 and secure James’s HVT and I can tie the game. Easier said than done.
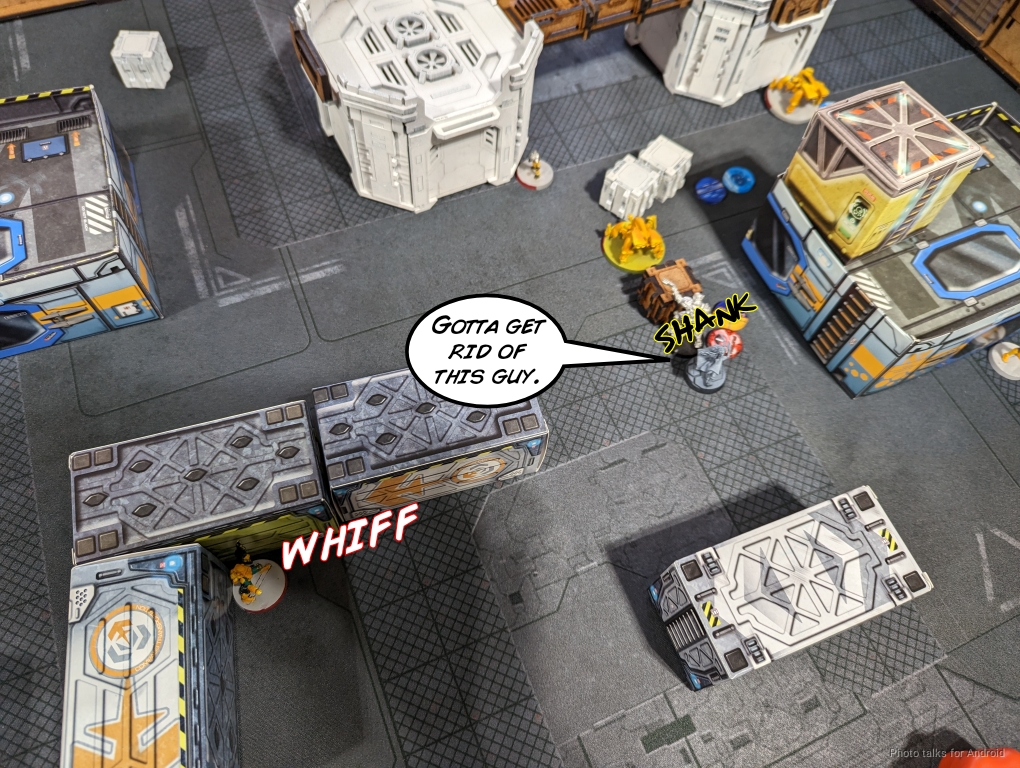
I start off with my second pool orders. The Celestial Guard fails to go down after two orders of shooting from the Pathfinder. The Druze MSR gets the job done though.

I shuffle through the building Saito was playing Peek a Krit in and get the Druze MSR stunned by the flash pulse bot as I dodge everyone forward.
I land two D-Charges with the Druze KHD and James makes all his saves for the AC2!
I’ve got one order left, so I spend my last command token and make Wolfgang the leader, including the two Druze and Le Muet. Wolfgang somehow does the last wounds I need to the AC2, and Le Muet just makes it to within 8″ of James’s HVT.
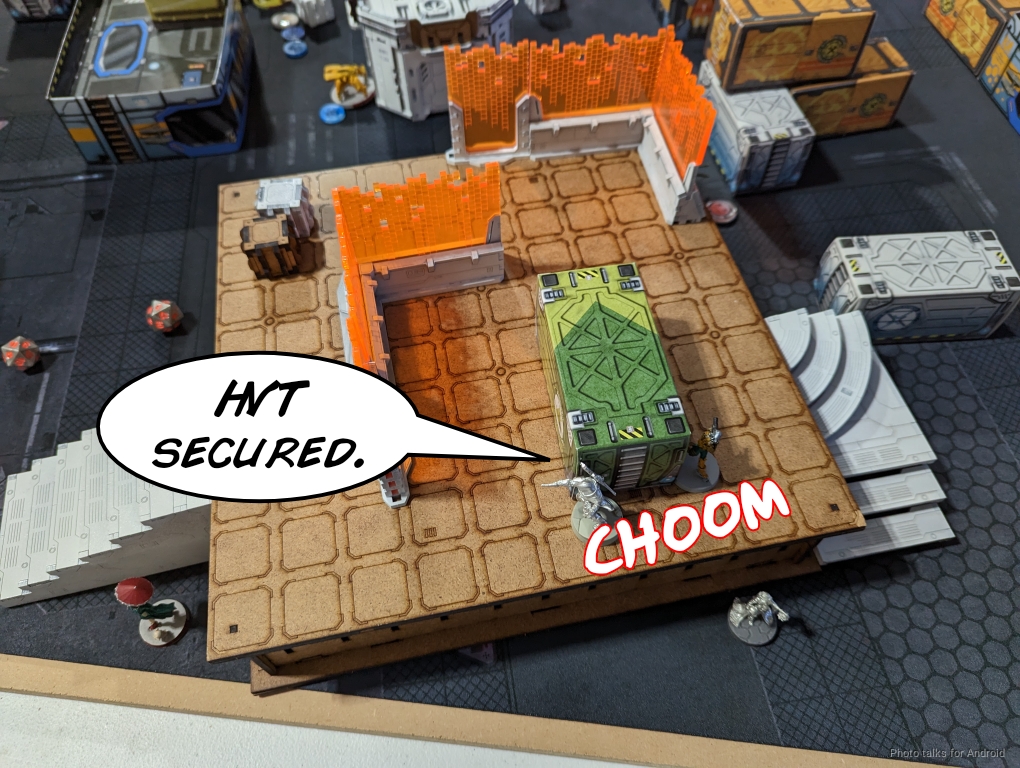
And that’s it. We both blew up the AC2s, and we’re both securing each other’s HVTs, making it a
6-6 Tie!
Post Game Analysis
What I learned from this game is that I didn’t defend my AC2 well enough, and that I probably don’t need Fiddler and Saito, which frees up a pretty significant amount of points. I was very impressed with Le Muet’s performance, and I’m getting better piloting Saito. I’m getting a little tired of Lunah just repeatedly punking my poor missile bots in like every game, and I really really continue to hate that Beasthunter, but you just have to tech for it.
I was a little annoyed with myself for not appropriately guarding the AC2 with Le Muet’s MSV1, but honestly I think that probably was for the best… because the alternative was the Blue Wolf just in my face. Honestly that was the biggest issue here. I don’t either of us made any serious mistakes this game aside from me just inadequately defending my AC2. I think once the game progressed I had a pretty reasonable plan and execution of it.
Saito actually drained basically two turns from James, which really saved me. He probably should have used the Beasthunter instead to take out some orders, which would have certainly been more effective and efficient than playing Peek a Krit with Saito. I’m amazed I survived that long, but it is a dice game after all. Honestly I think that’s what tied the game here, James just hyper-focused on Saito (which was reasonable, I guess) instead of depleting my orders. We both forgot about the Panoplies existing, but oh well. This was a very close game, but I could have made it significantly less close just by defending the AC2 properly, and James could have solidified a win by taking out stuff with the Beasthunter and pinning Saito with something. Thanks for reading!

Pingback: Aida Wanna Grow Up – MERC Recon