
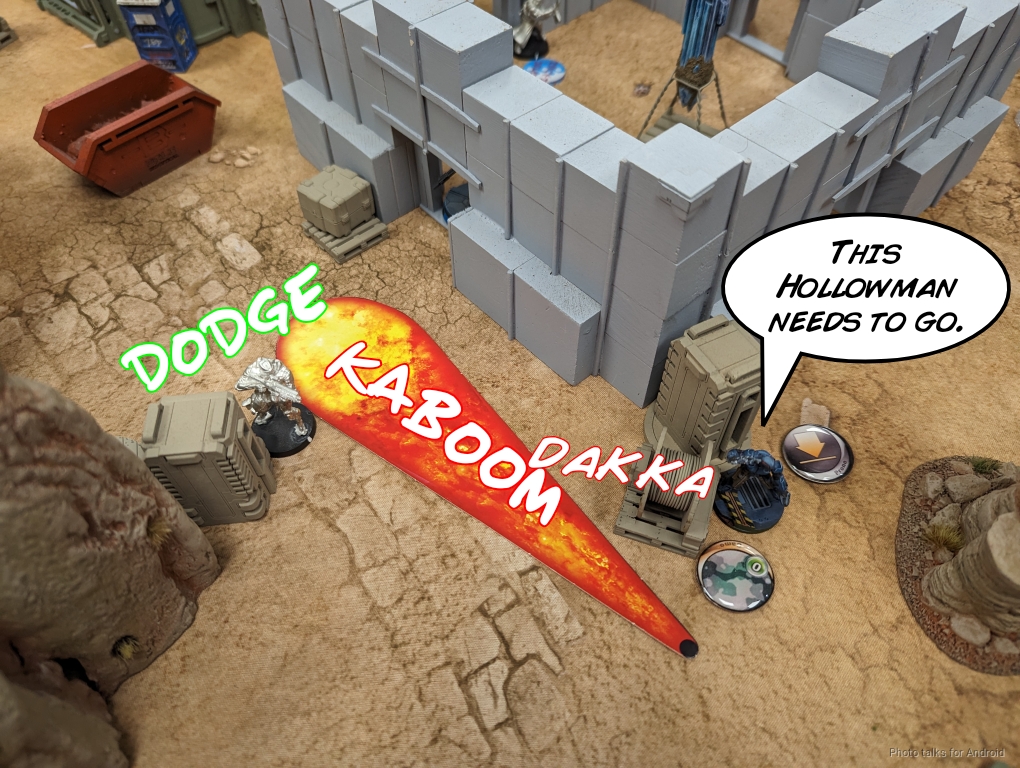
She Can’t See Us If We Don’t Move
Last round of the Shitshow was against Brady and his Tunguska on Adam’s USARF table.
Overview
- Mission: ITS14 Battleground
- Forces: Nomads versus Jurisdictional Command of Tunguska (300)
- Deploy First: Tunguska
- First Turn: Tunguska
I think the last game really illustrates the power of this random list:
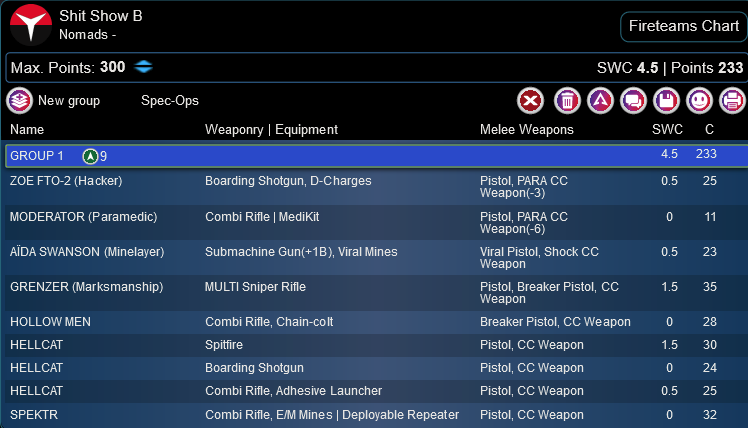
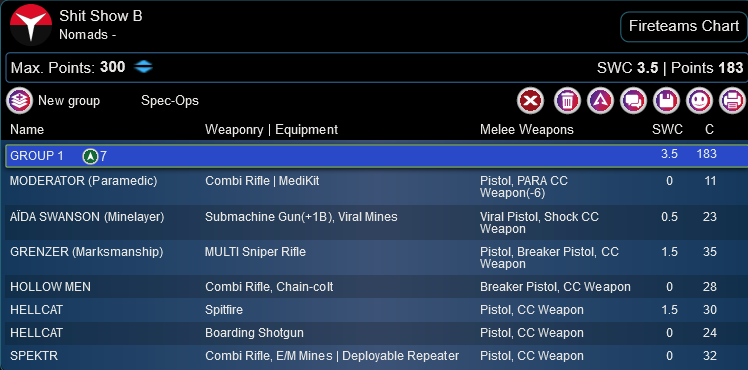
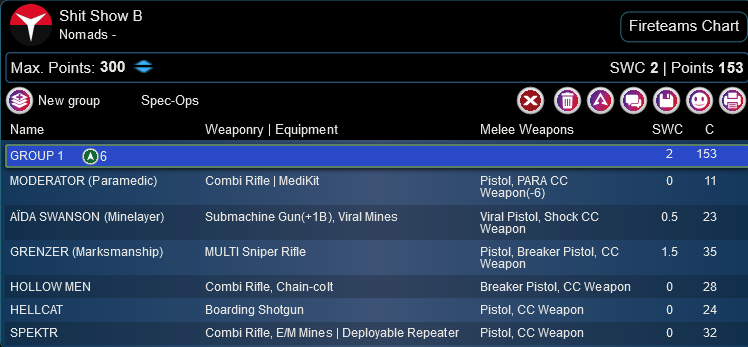
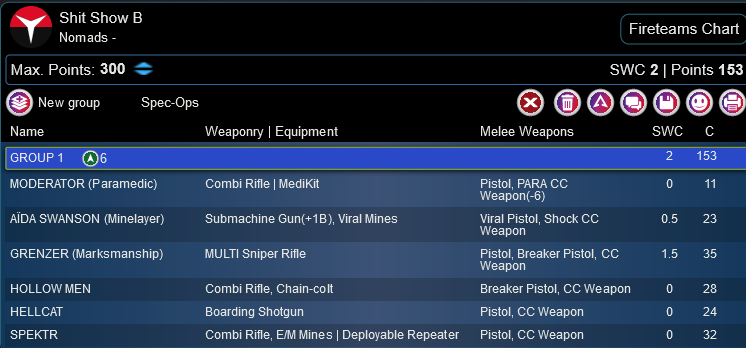
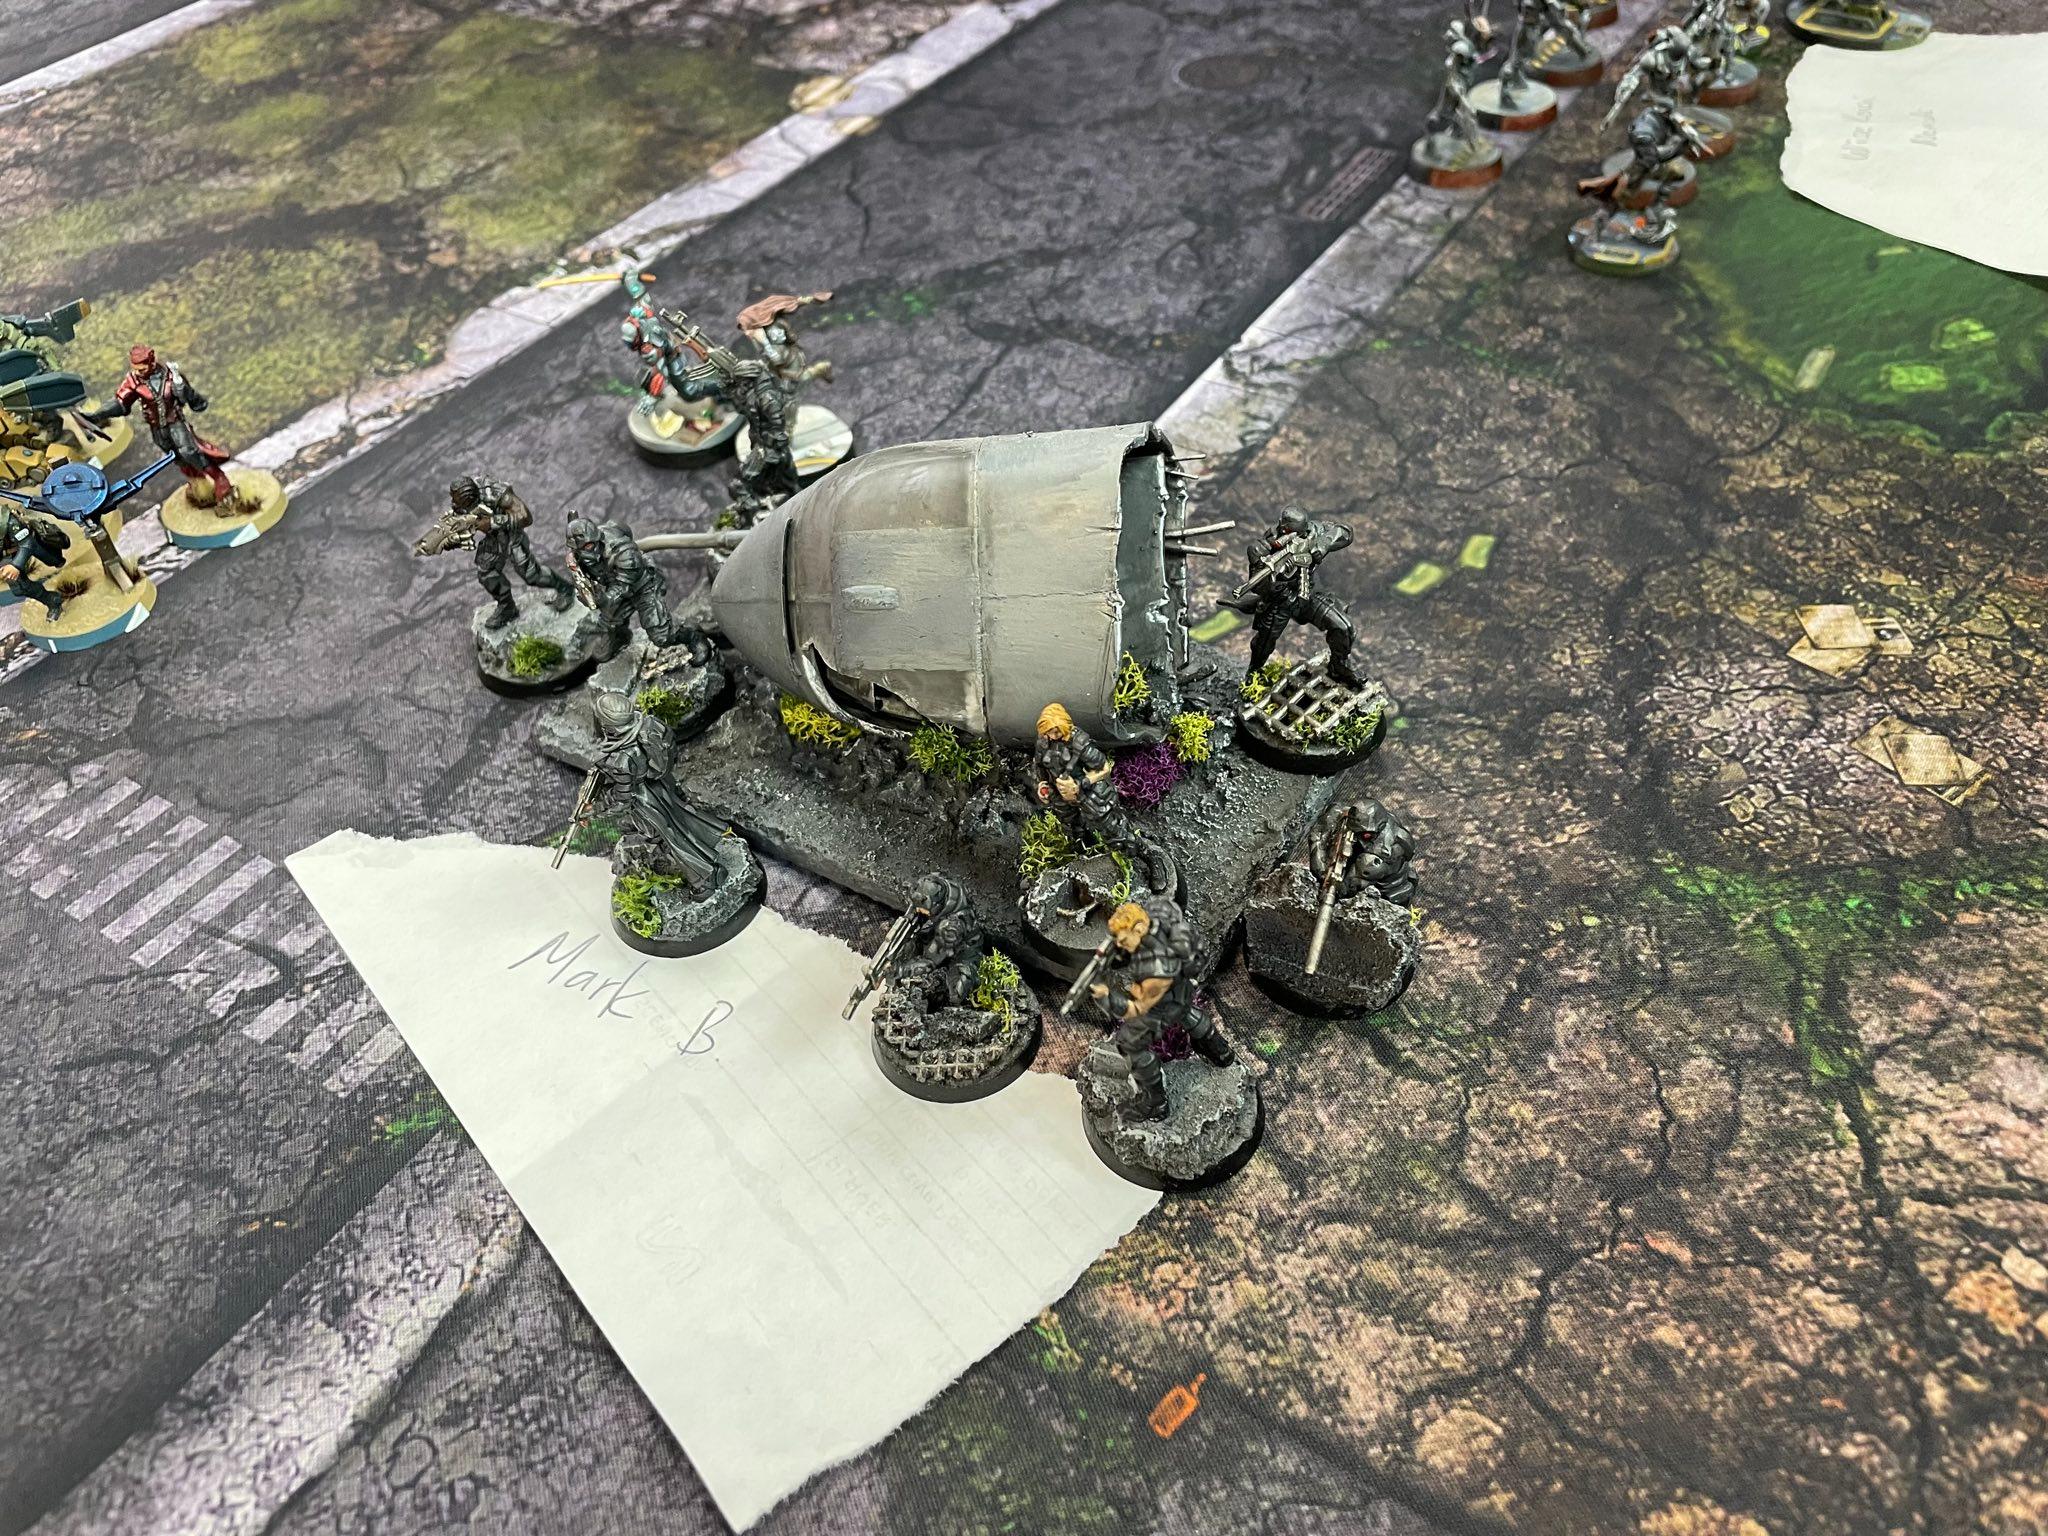
Shit Show B
GROUP 1
10
GROUP 2
GRENZER (Lieutenant, Discover [+3], Biometric Visor) Combi Rifle, Light Flamethrower(+1B) ( ) / Pistol, Breaker Pistol, CC Weapon. (0 | 28)
ZOE FTO-2 (Hacker) Boarding Shotgun, D-Charges / Pistol, PARA CC Weapon(-3). (0.5 | 25)
MODERATOR (Paramedic) Combi Rifle ( | MediKit) / Pistol, PARA CC Weapon(-6). (0 | 11)
AÏDA SWANSON (Minelayer) Submachine Gun(+1B), Viral Mines / Viral Pistol, Shock CC Weapon. (0.5 | 23)
HOLLOW MEN Combi Rifle, Chain-colt / Breaker Pistol, CC Weapon. (0 | 28)
MOBILE BRIGADA Missile Launcher / Pistol, CC Weapon. (1.5 | 37)
HELLCAT Spitfire / Pistol, CC Weapon. (1.5 | 30)
SPEKTR Combi Rifle, E/M Mines ( | Deployable Repeater) / Pistol, CC Weapon. (0 | 32)
6 SWC | 298 Points | Open in Army | Copy Code
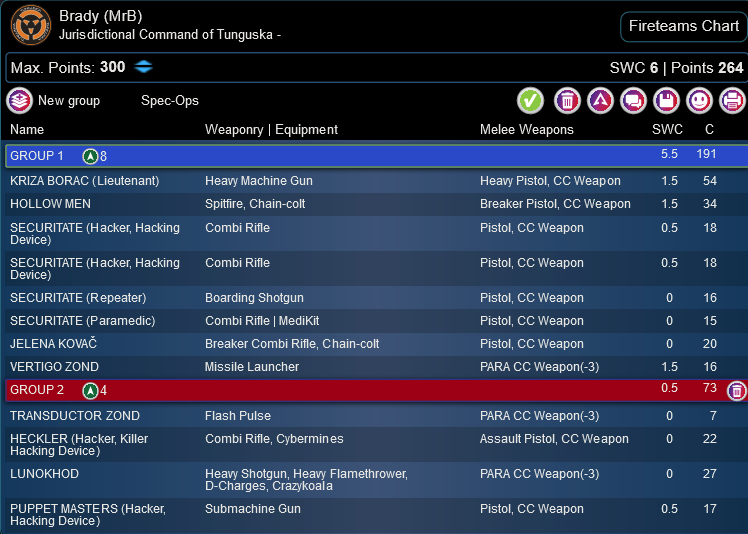
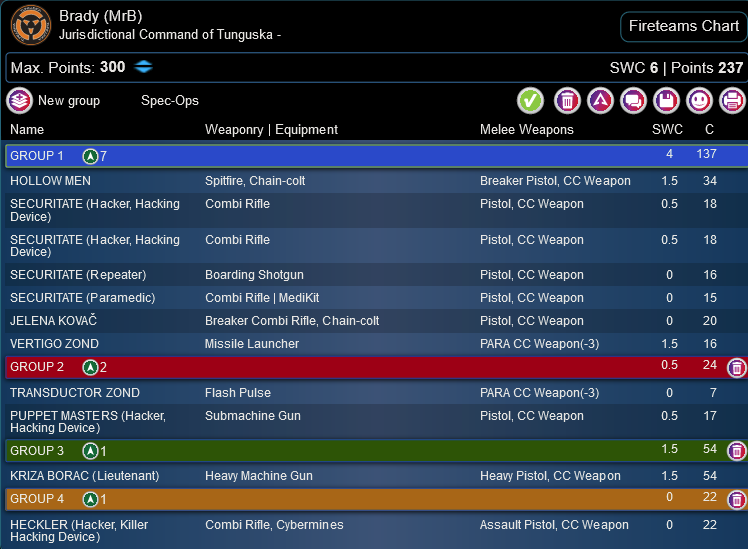
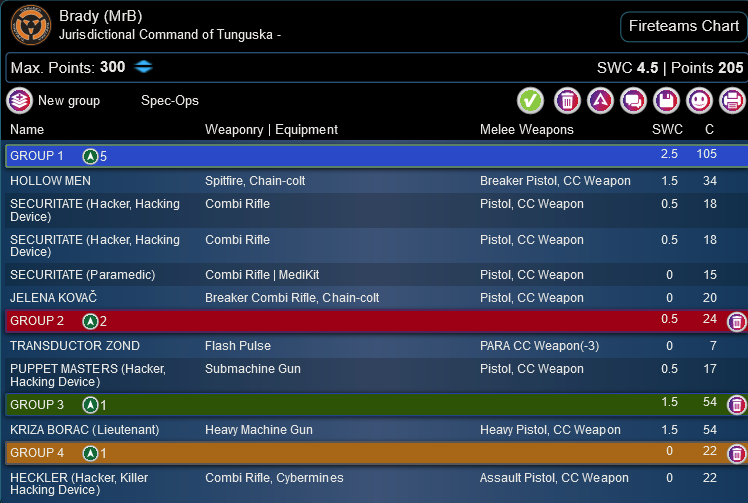
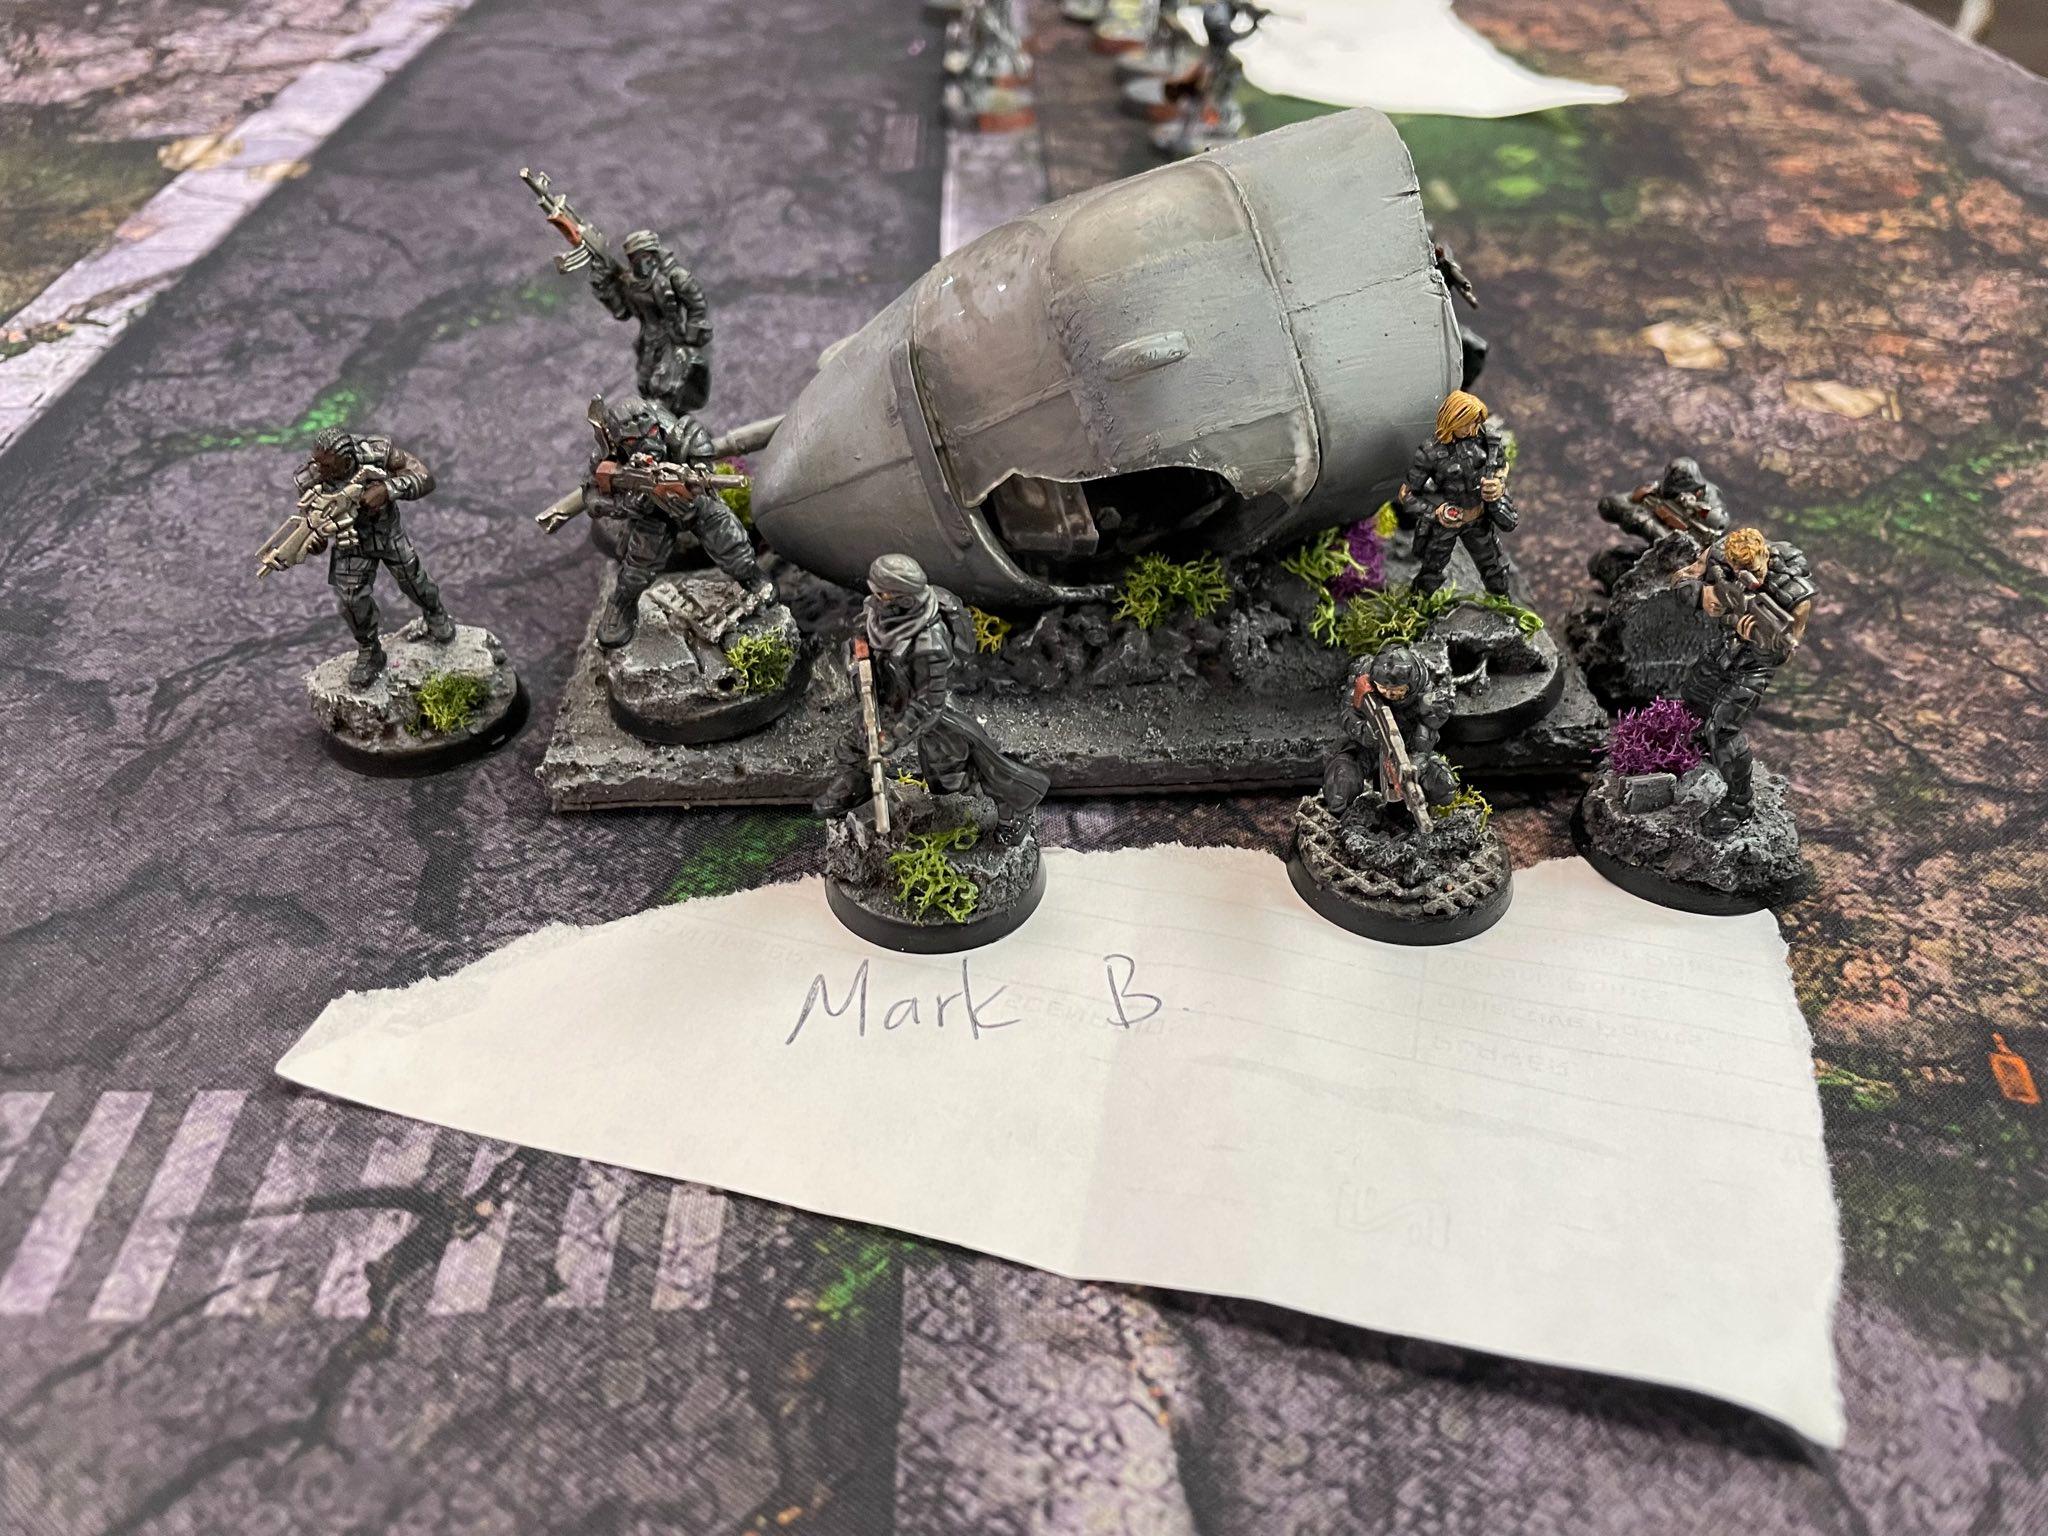
Brady’s random list somehow got a full Securitate link with the Dire Foes character, Kriza HMG/Hollowman Spitfire duo, and a pile of utility pieces.
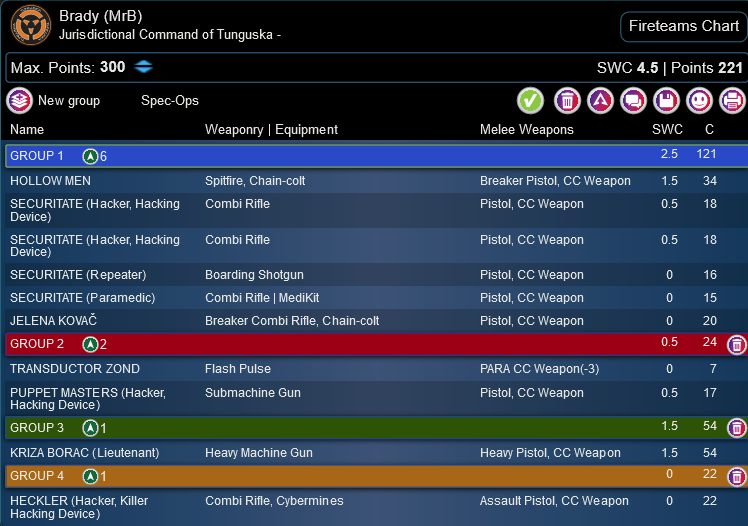
Brady (MrB)
GROUP 1
KRIZA BORAC (Lieutenant) Heavy Machine Gun / Heavy Pistol, CC Weapon. (1.5 | 54)
SECURITATE (Hacker, Hacking Device) Combi Rifle ( ) / Pistol, CC Weapon. (0.5 | 18)
JELENA KOVAČ Breaker Combi Rifle, Chain-colt / Pistol, CC Weapon. (0 | 20)
GROUP 2
VERTIGO ZOND Missile Launcher / PARA CC Weapon(-3). (1.5 | 16)
TRANSDUCTOR ZOND Flash Pulse / PARA CC Weapon(-3). (0 | 7)
HECKLER (Hacker, Killer Hacking Device) Combi Rifle, Cybermines ( ) / Assault Pistol, CC Weapon. (0 | 22)
LUNOKHOD Heavy Shotgun, Heavy Flamethrower, D-Charges, Crazykoala / PARA CC Weapon(-3). (0 | 27)
PUPPET MASTERS (Hacker, Hacking Device) Submachine Gun ( ) / Pistol, CC Weapon. (0.5 | 17)
6 SWC | 298 Points | Open in Army | Copy Code
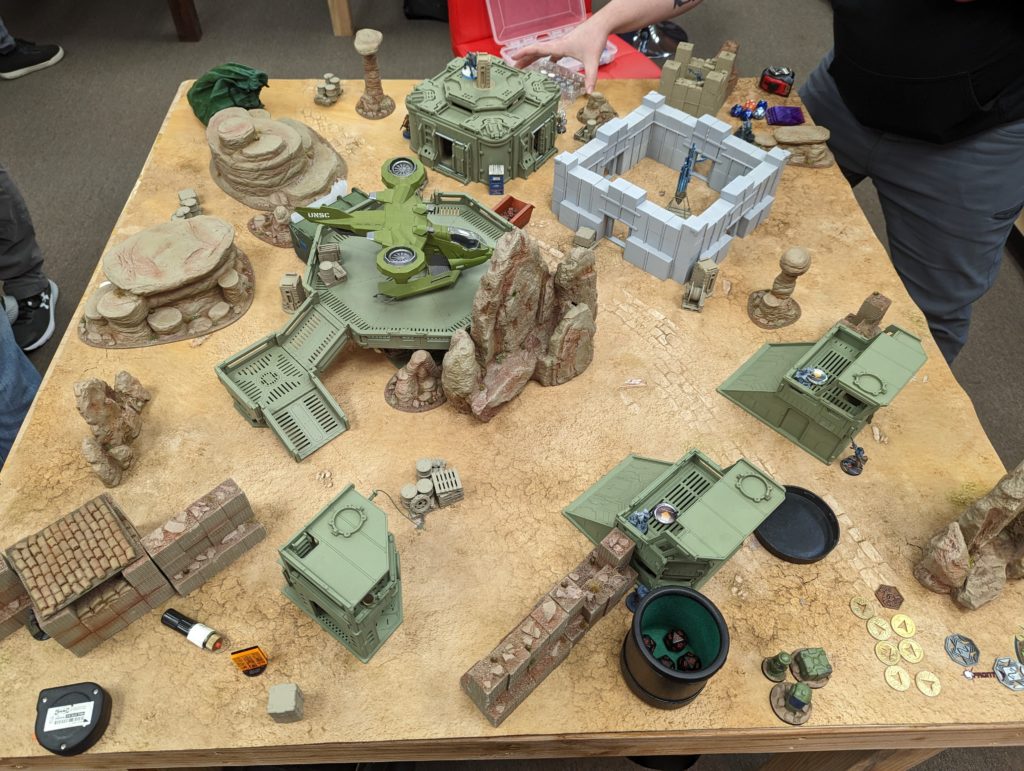
Deployment
I win the rolloff and choose table side, mostly to make sure I get second turn. Brady obliges. He sets up his link behind the Cosmica armory to protect it and then stacks the rest of his list on the left. The Vertigo is left out to ARO stuff, and then it’s my turn to deploy.
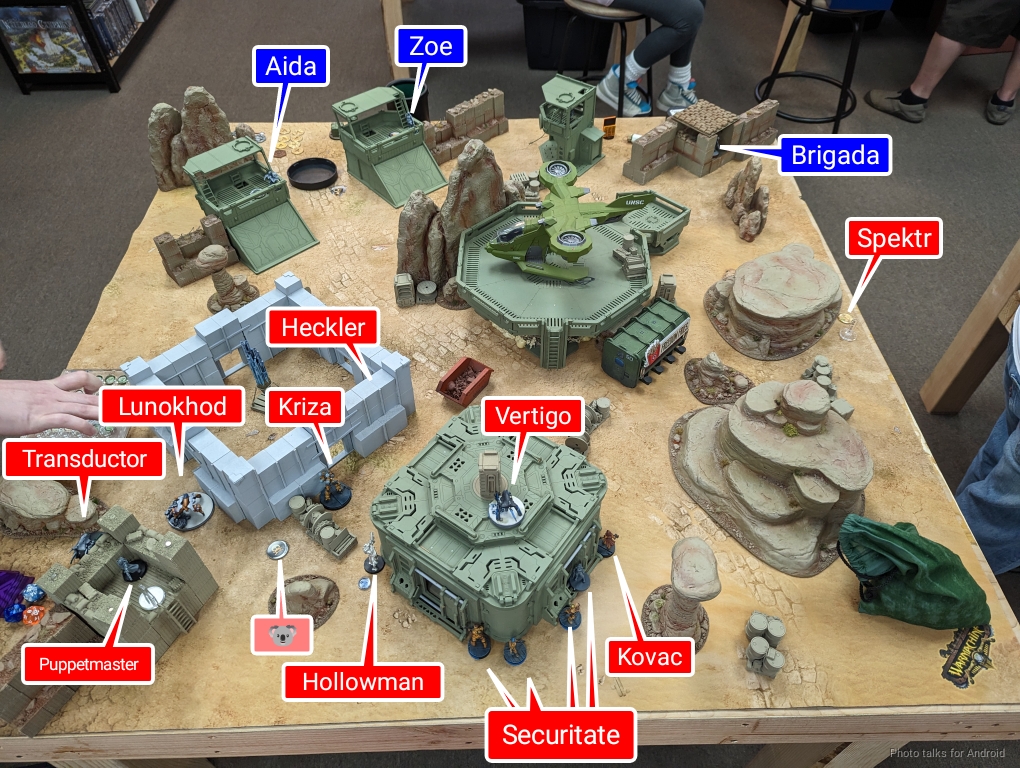
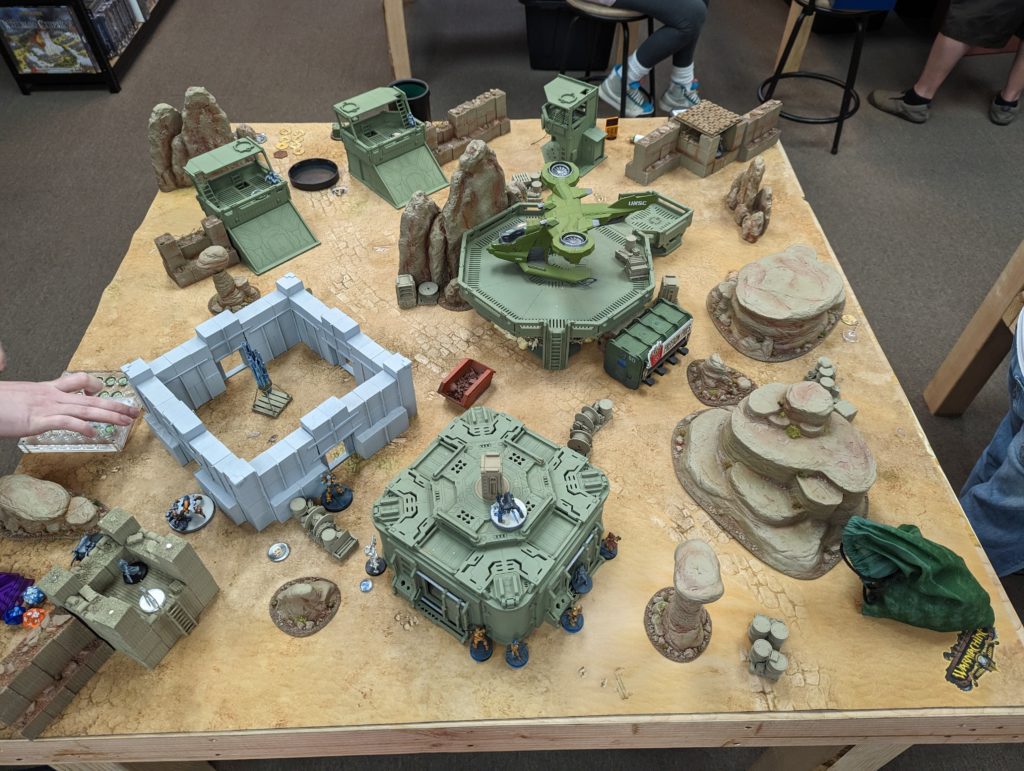
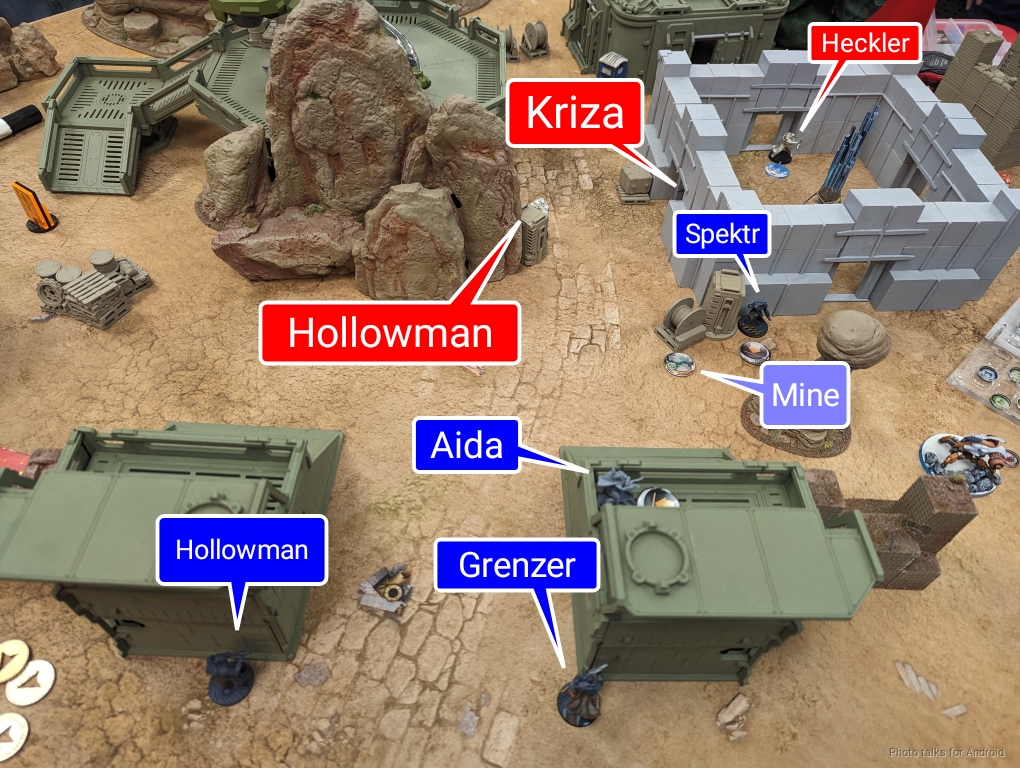
Looking at the list, the Kriza is the lieutenant because of the WIP roll, so I put the Spektr near its advancement path to deal with it. I don’t want to get flanked super hard, so I set Aida up on the right with her mine. Zoe and the Moderator hide in towers, they don’t necessarily need to go anywhere and I want to keep them safe. I put the Hollowman in the middle in a little pocket, and the Grenzer Lt goes on the left with the Brigada threatening the advancement path of the Securitate link.
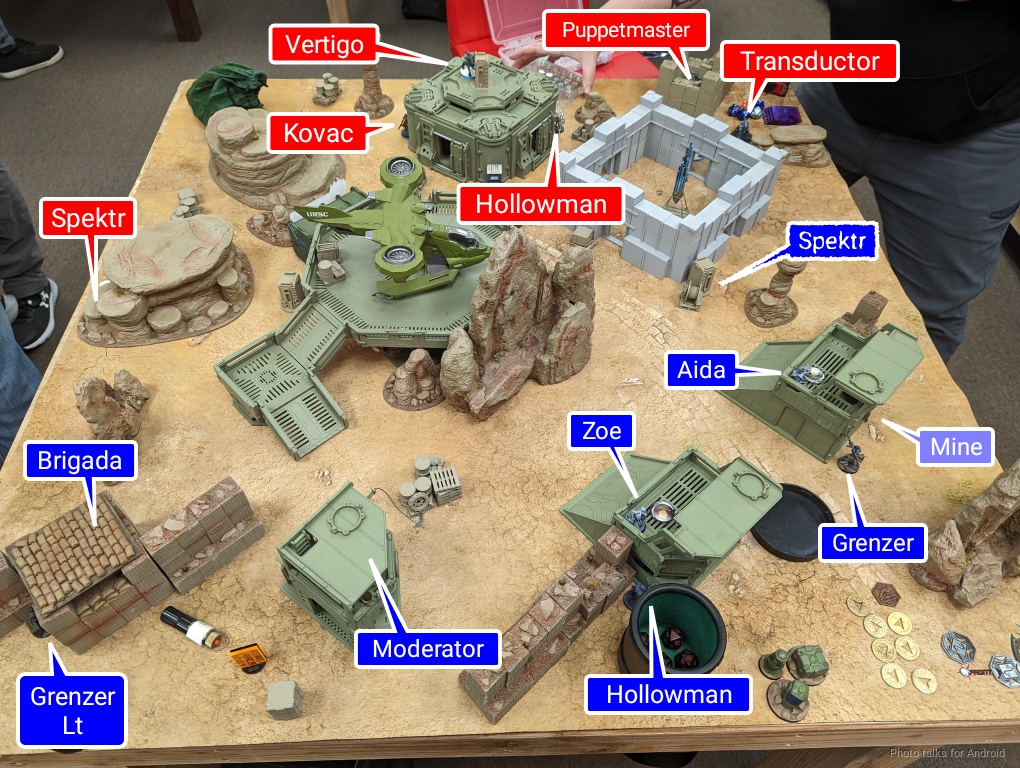
Brady puts the Spektr down to attack my Lieutenant and I put I think it was the Grenzer down to help fight off the Spektr. We both choose our Hollowmen as our Key Ops.
Turn 1
Top of 1 – Tunguska
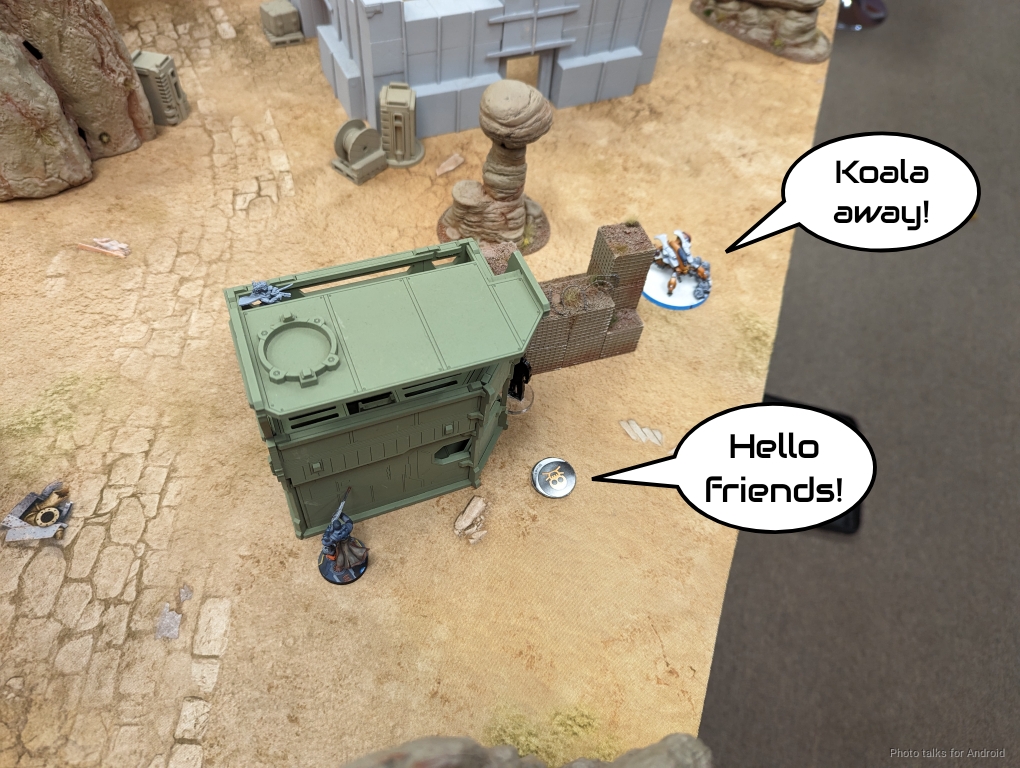
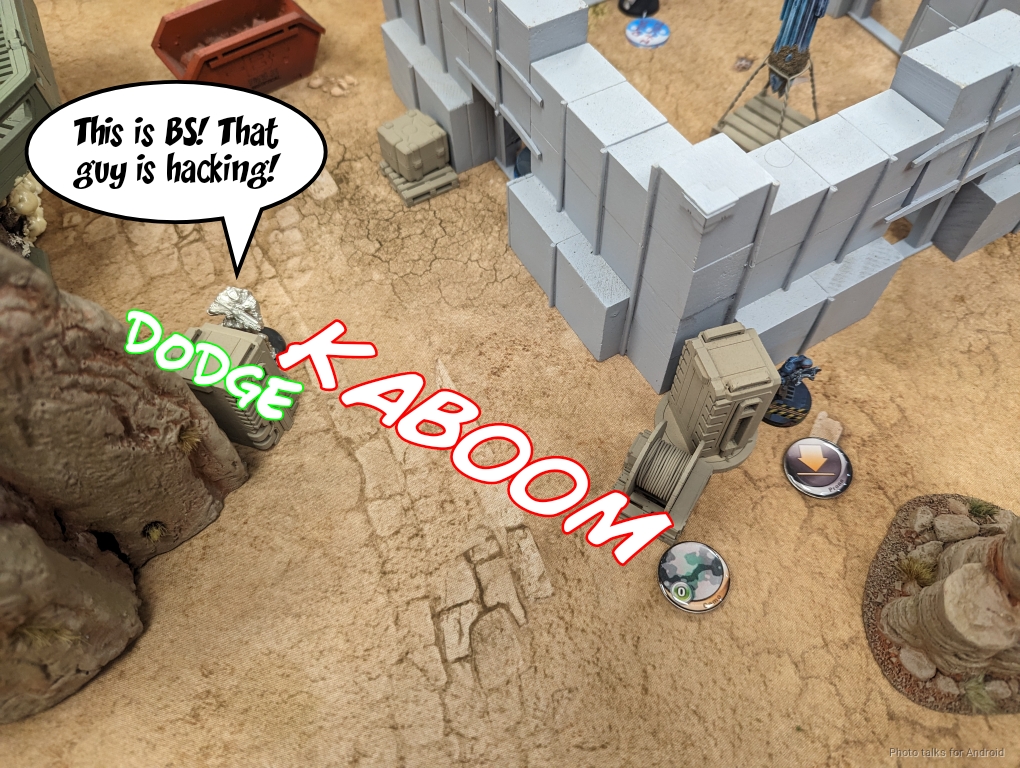
I dock two orders from Brady’s second pool to limit the damage the Lunokhod can do. Thank goodness because Brady spends all his orders in that pool getting a Koala onto the Grenzer and Aida. Sigh.
With the Grenzer pinned, Brady is now free to make an attack run on the Brigada and the Grenzer Lt.
It takes a few orders but eventually the Brigada is KO’ed.
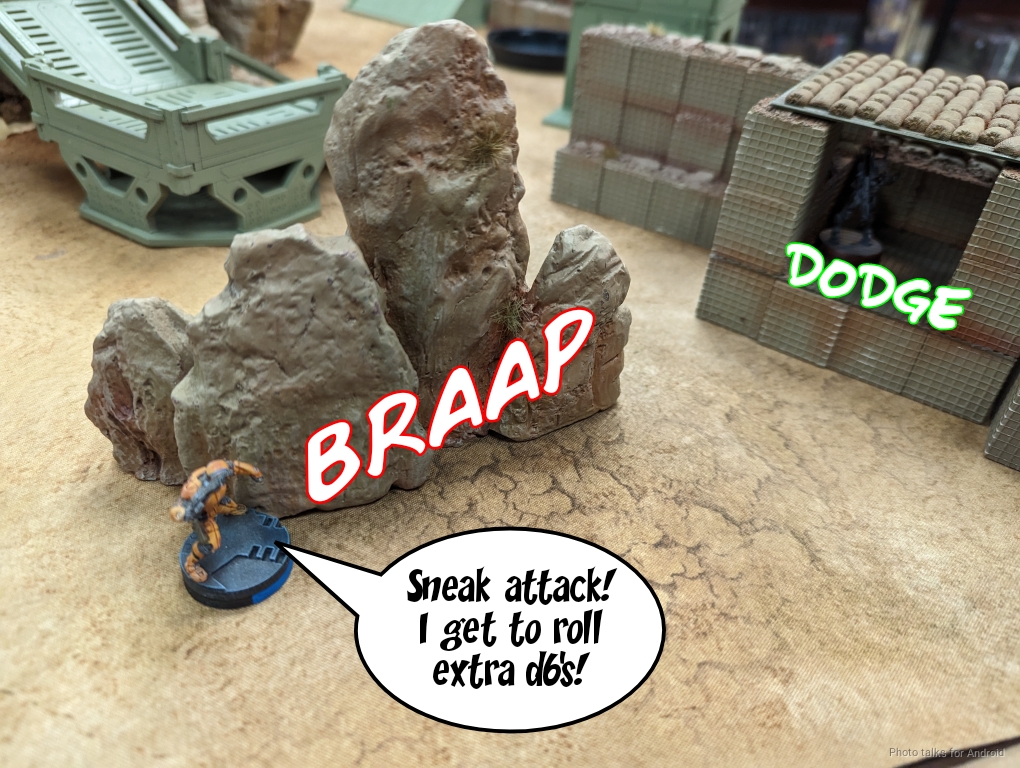
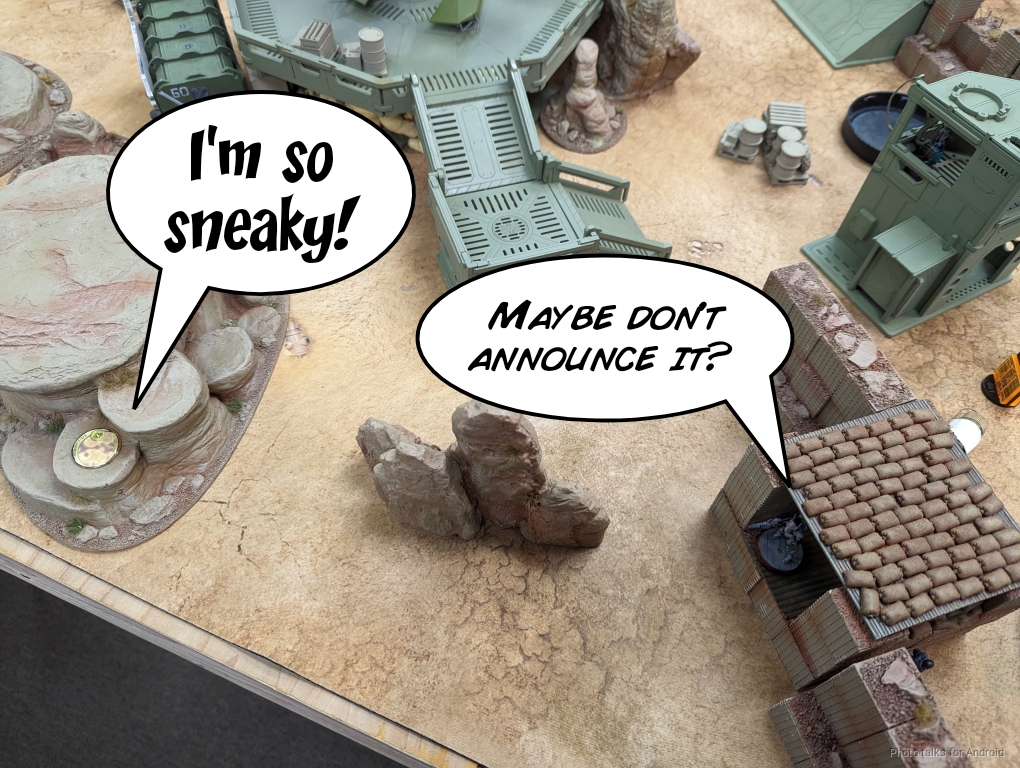
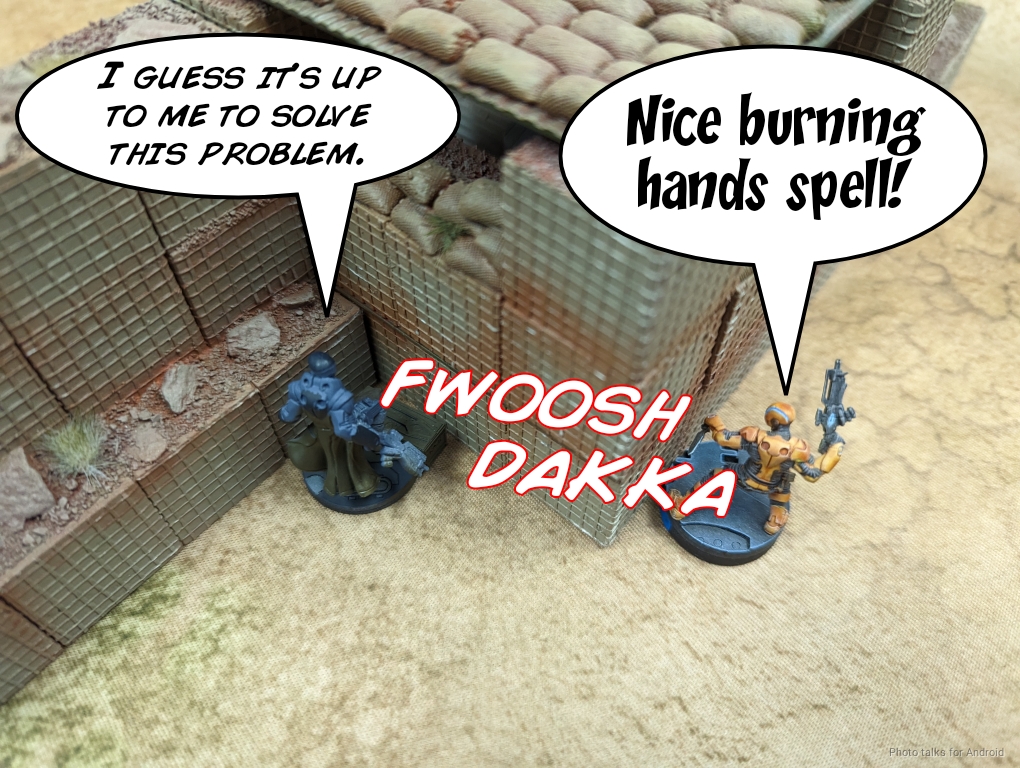
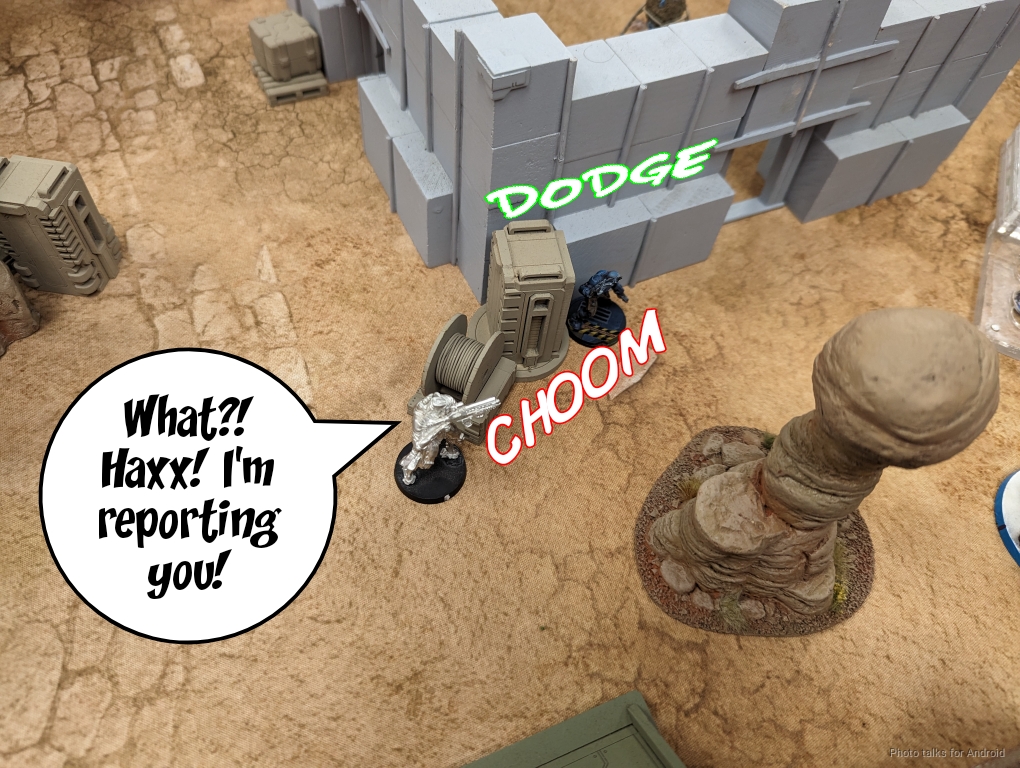
The Spektr makes it all the way around to where the Grezner Lt is and askes for AROs. I flamethrower to trade–I don’t have anything over there and I don’t want to have to go dig a Spektr out. I’m also very comfortable playing in loss of lieutenant, so I’m happy to make this trade if that means I don’t have to do anything else to solve this particular problem.
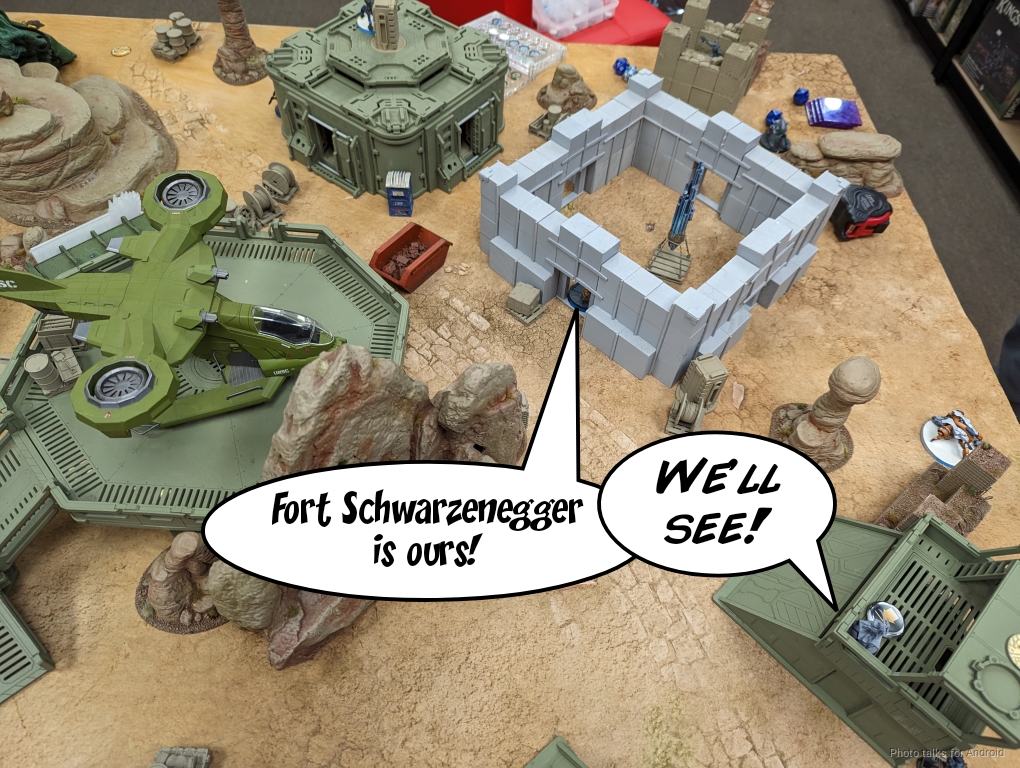
It goes well and the trade happens as planned. At this point the Kriza trundles into the gateway of Fort Schwarzenegger and goes into suppression to cause problems.
Bottom of 1 – Nomads
Okay. It’s game time. The Spektr goes into group one, and we gotta go!
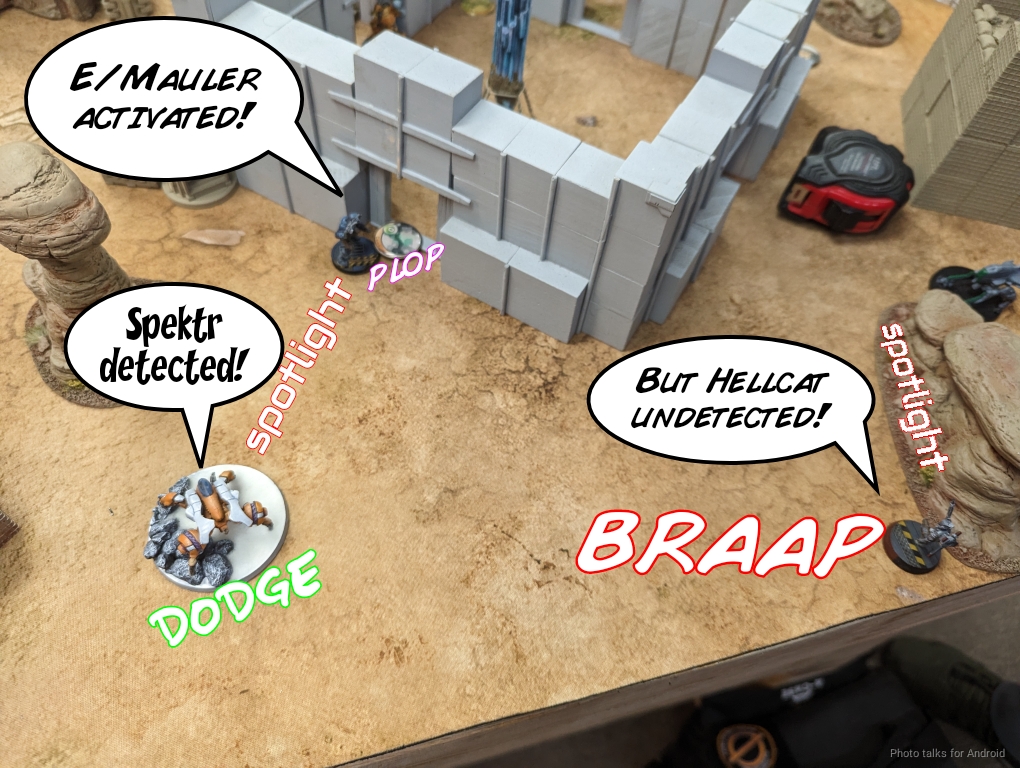
After I clear out the Koala with the Hollowman’s Key Ops order, I get to work. Step one, Spektr drops E/Mauler (should have been a repeater, otherwise I’m granting a free dodge). This allows the Lunokhod to turn around… which lets me bring a Hellcat on outside of 8″ and take it out. The Hellcat does get spotlit, but whatever.
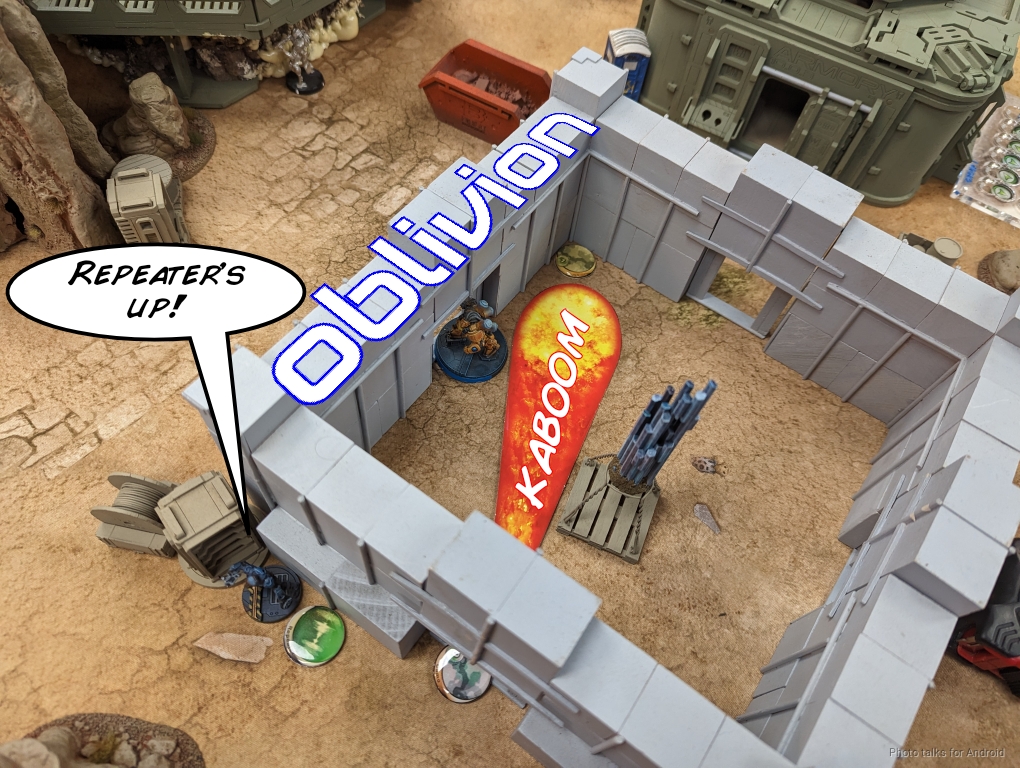
Step 2, Spektr drops repeater (again, should have been repeater first, whoops!) Brady doesn’t dodge, so it’s all good. Step three, Zoe spends her own order to Oblivion the Kriza. Both the Kriza and the nearby Heckler are caught in the template, and they fall all the saves, meaning the Kriza is isolated and immobilized and the Heckler is isolated.
I nominate the Moderator as the new Lieutenant, secretly, and pass turn.
Turn 2
Top of 2 – Tunguska

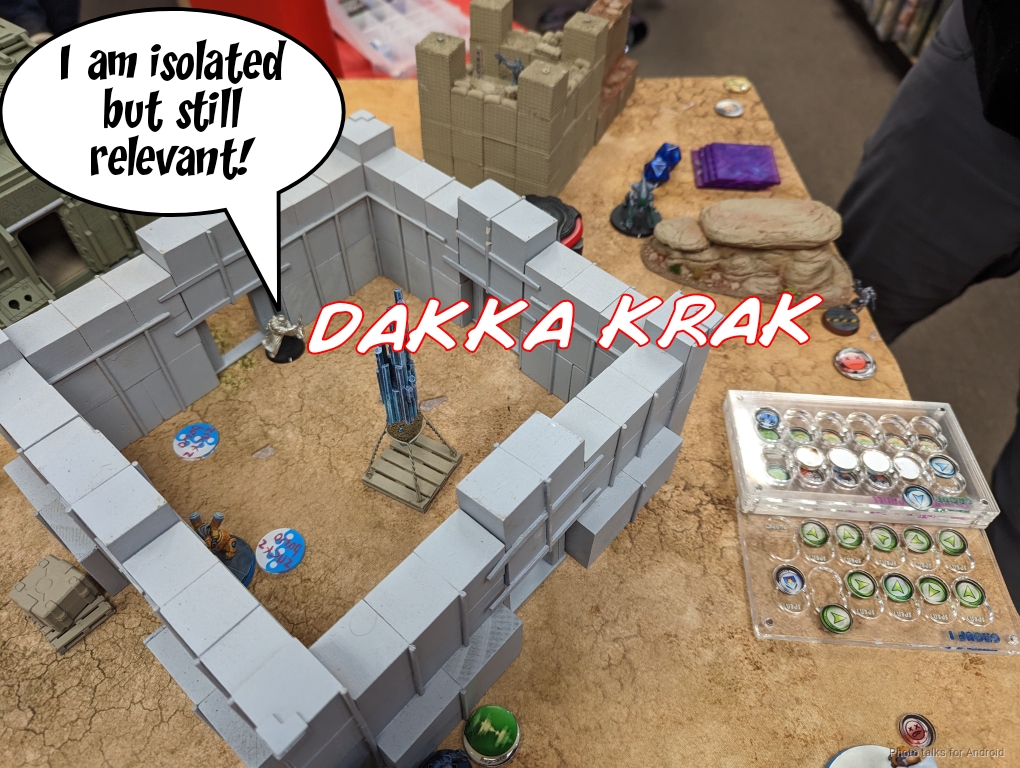
Unfortunately, the Securitate are all veterans, so I haven’t really done all that much in terms of order pool damage, but at least I’ve stopped the Kriza. The Heckler uses its own order to take out the Hellcat ADHL, which is unfortunate but acceptable.
Then Brady sinks a bunch of orders into hopping the Hollowman up to take out Zoe doing some super jump shenanigans.
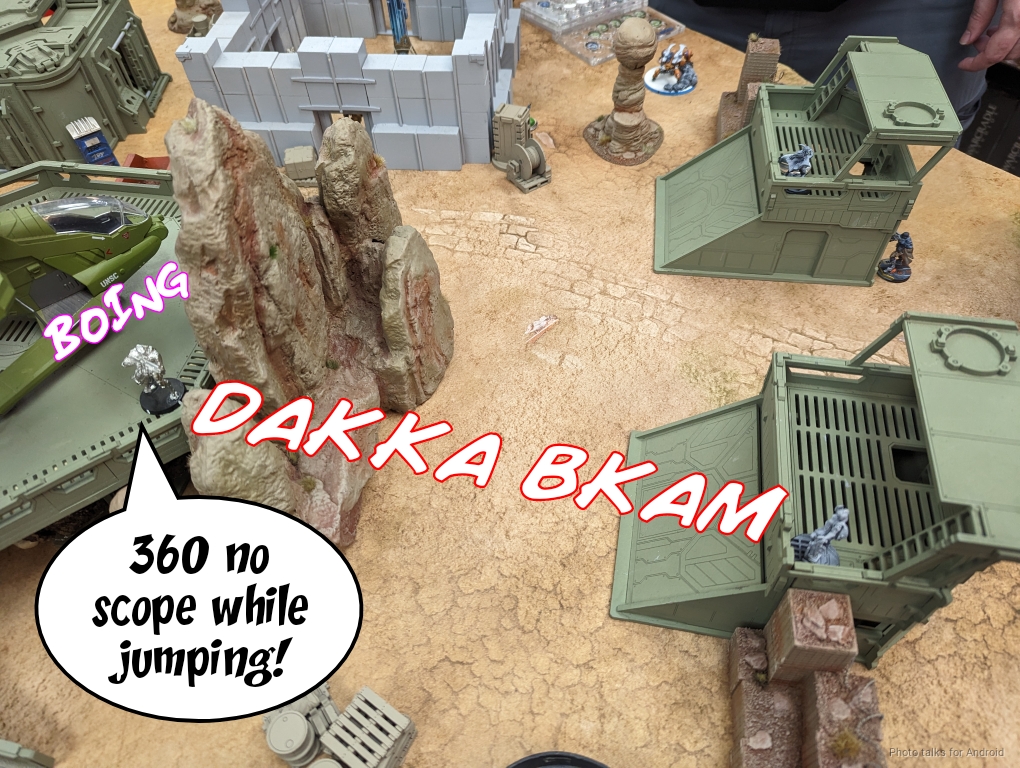
It tries super hard to take out the Spektr but I pass enough dodges and ARM saves to keep the Spektr up. Unfortunately for me, the Repeater gets hit with a chain colt and goes down, but the damage is done.
Bottom of 2 – Nomads
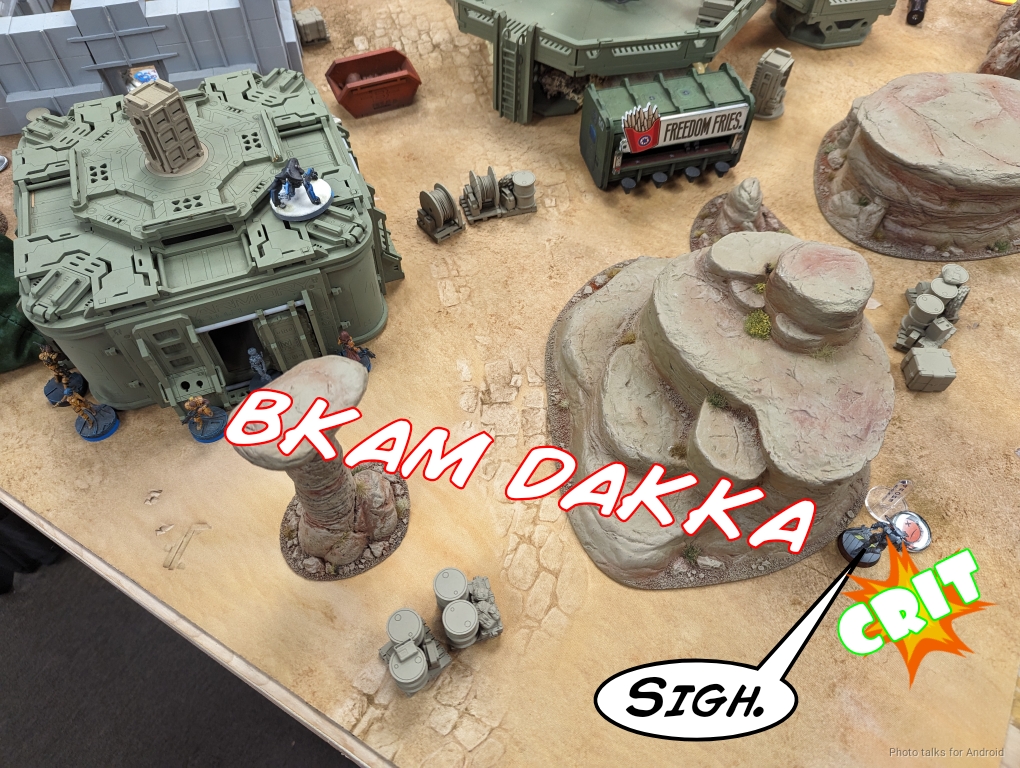
I attempt to land the Hellcat BSG to template the link, but that fails. At least I have the order. I bring the Hellcat Spitfire on, and misjudge the distance of the engagement. We’re just inside 16″, and the Securitate I have to hit first crits the Hellcat and drops it. Well that’s unfortunate.
I drop an E/Mauler covering the Hollowman and force a dodge with the Spektr’s combi rifle. Somehow the Hollowman makes both saves.
The Grenzer, annoyed, takes out the Vertigo pretty easily, and the Spektr drops another E/Mauler.
The Grenzer is now watching the most expeditious advancement path for the Securitate, and aside from the Hollowman, Brady is out of real guns.
Turn 3
Top of 3 – Tunguksa
The Hollowman finally gets zapped by the E/M mine as it tries to get itself out of trouble.
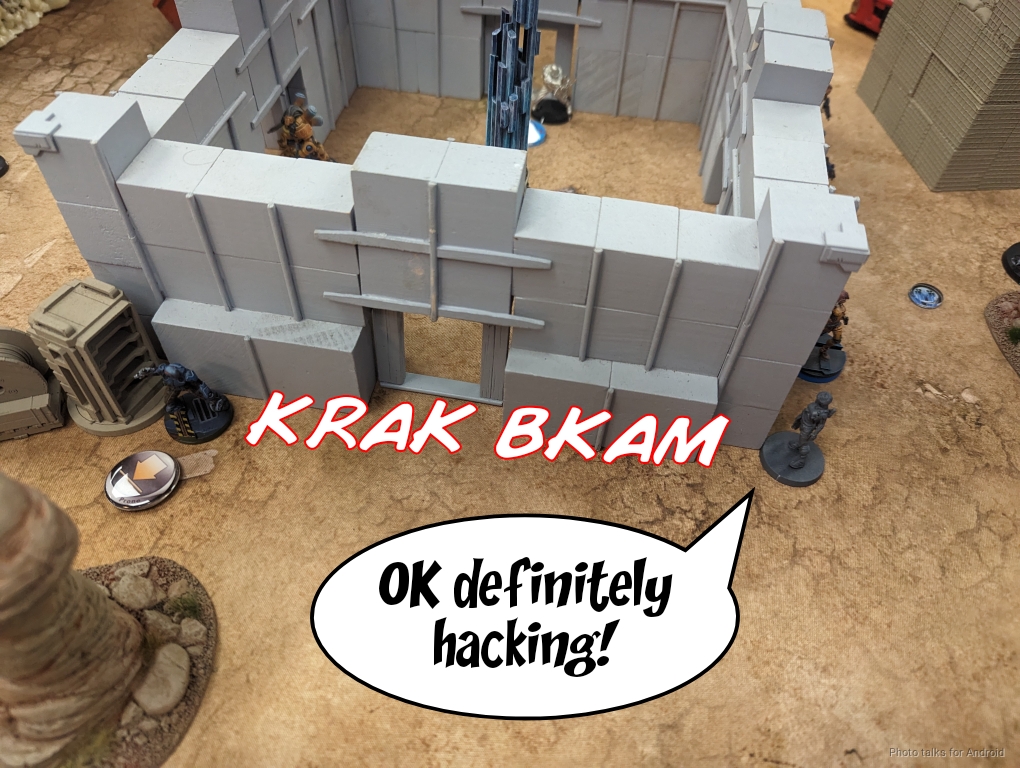
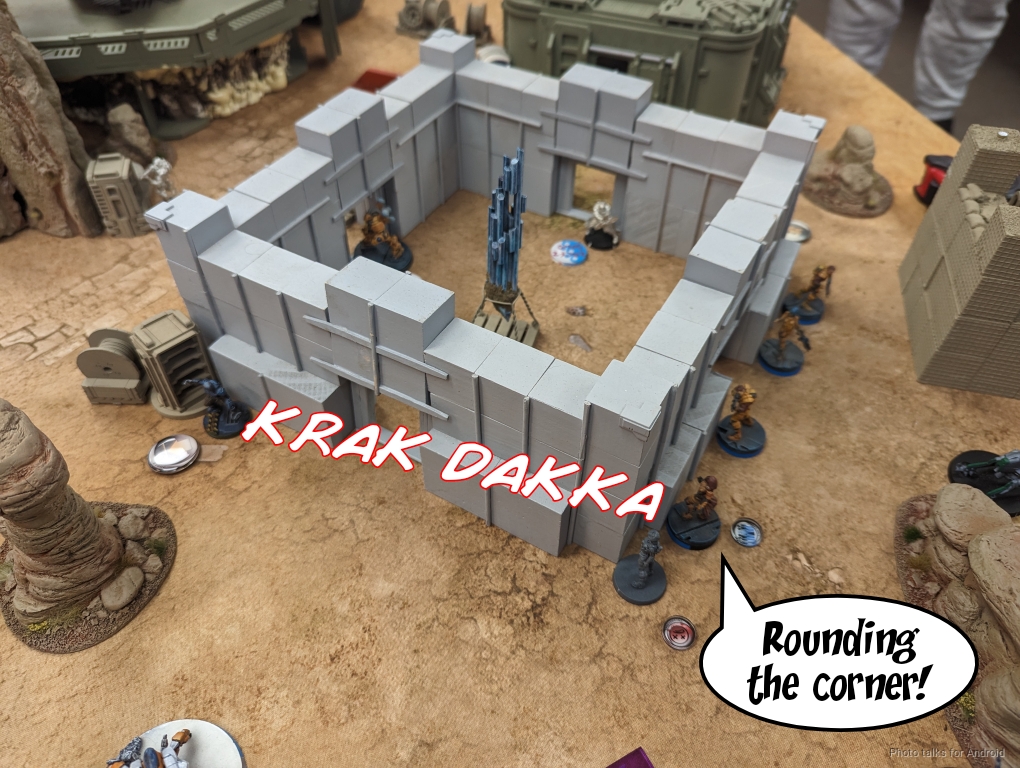
This means that Brady is forced to use the Securitate link, and because of the Grezner they have to go the long way around.

They start engaging the Spektr, but Mim -6 is incredibly difficult to get through and I manage to take out the first challenger…
and force the second one back into cover.
Bottom of 3 – Nomads
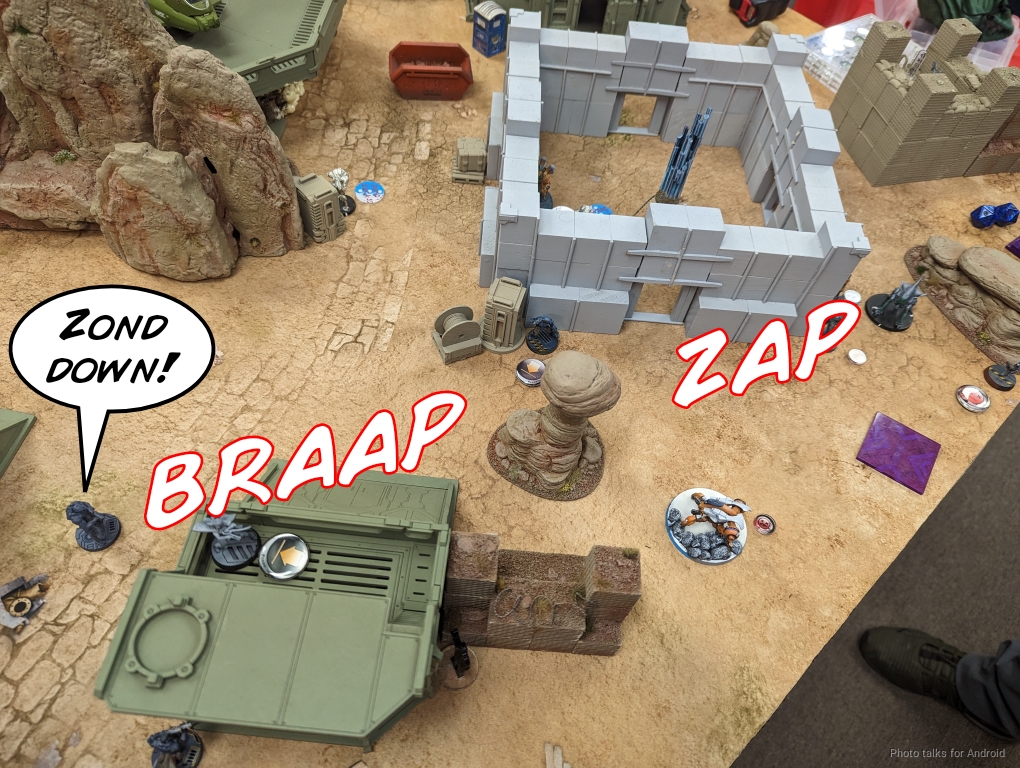
Okay. All I need to do is take out the Hollowman and possibly the Kriza, and I’ve got this. My Hollowman starts by clearing the Transductor and moving into my near zone.
This lets Aida hop off her building and start blasting.

It takes way too many orders but the Hollowman is eventually scrap.
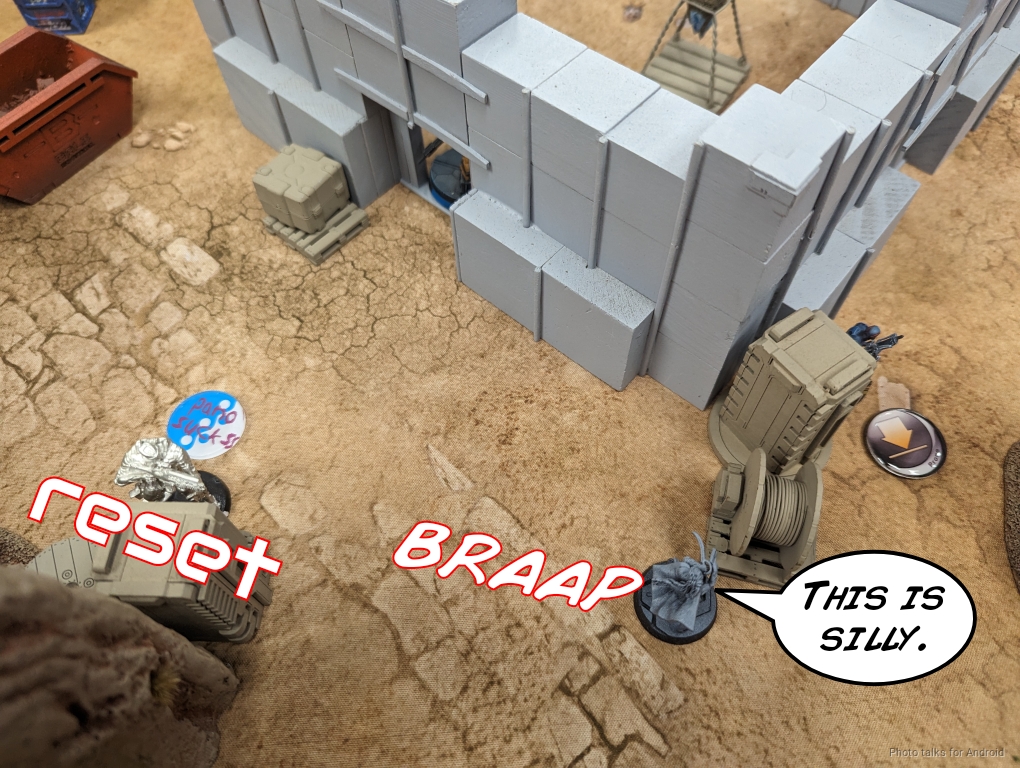
I walk Aida up to the Kriza, place a mine and then reveal Aida to the Kriza and ask for AROs. The mine will catch the Heckler behind the Kriza. Brady wisely decides to not do anything, so I dump a full burst of SMG into the Kriza. Sadly I only do one wound, and that’s game.

Fortunately, the Kriza is still in the far zone, so I’ve got my near and middle, and have killed the Key Ops with mine remaining alive!
6-1, 178-171 Nomad Victory!
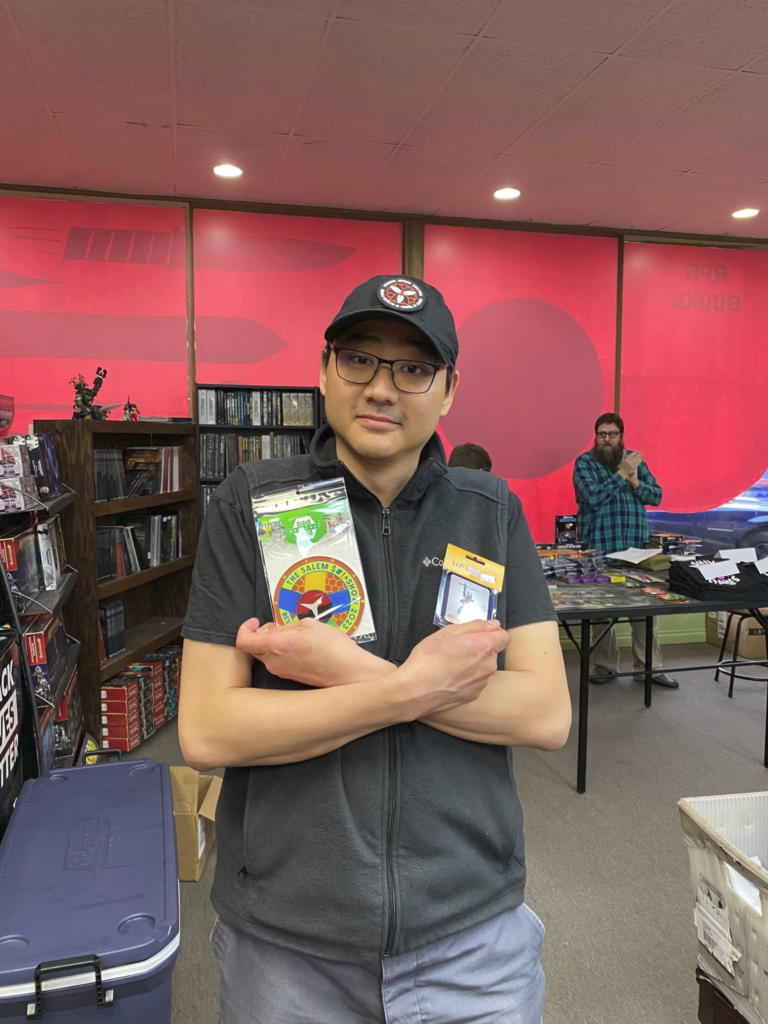
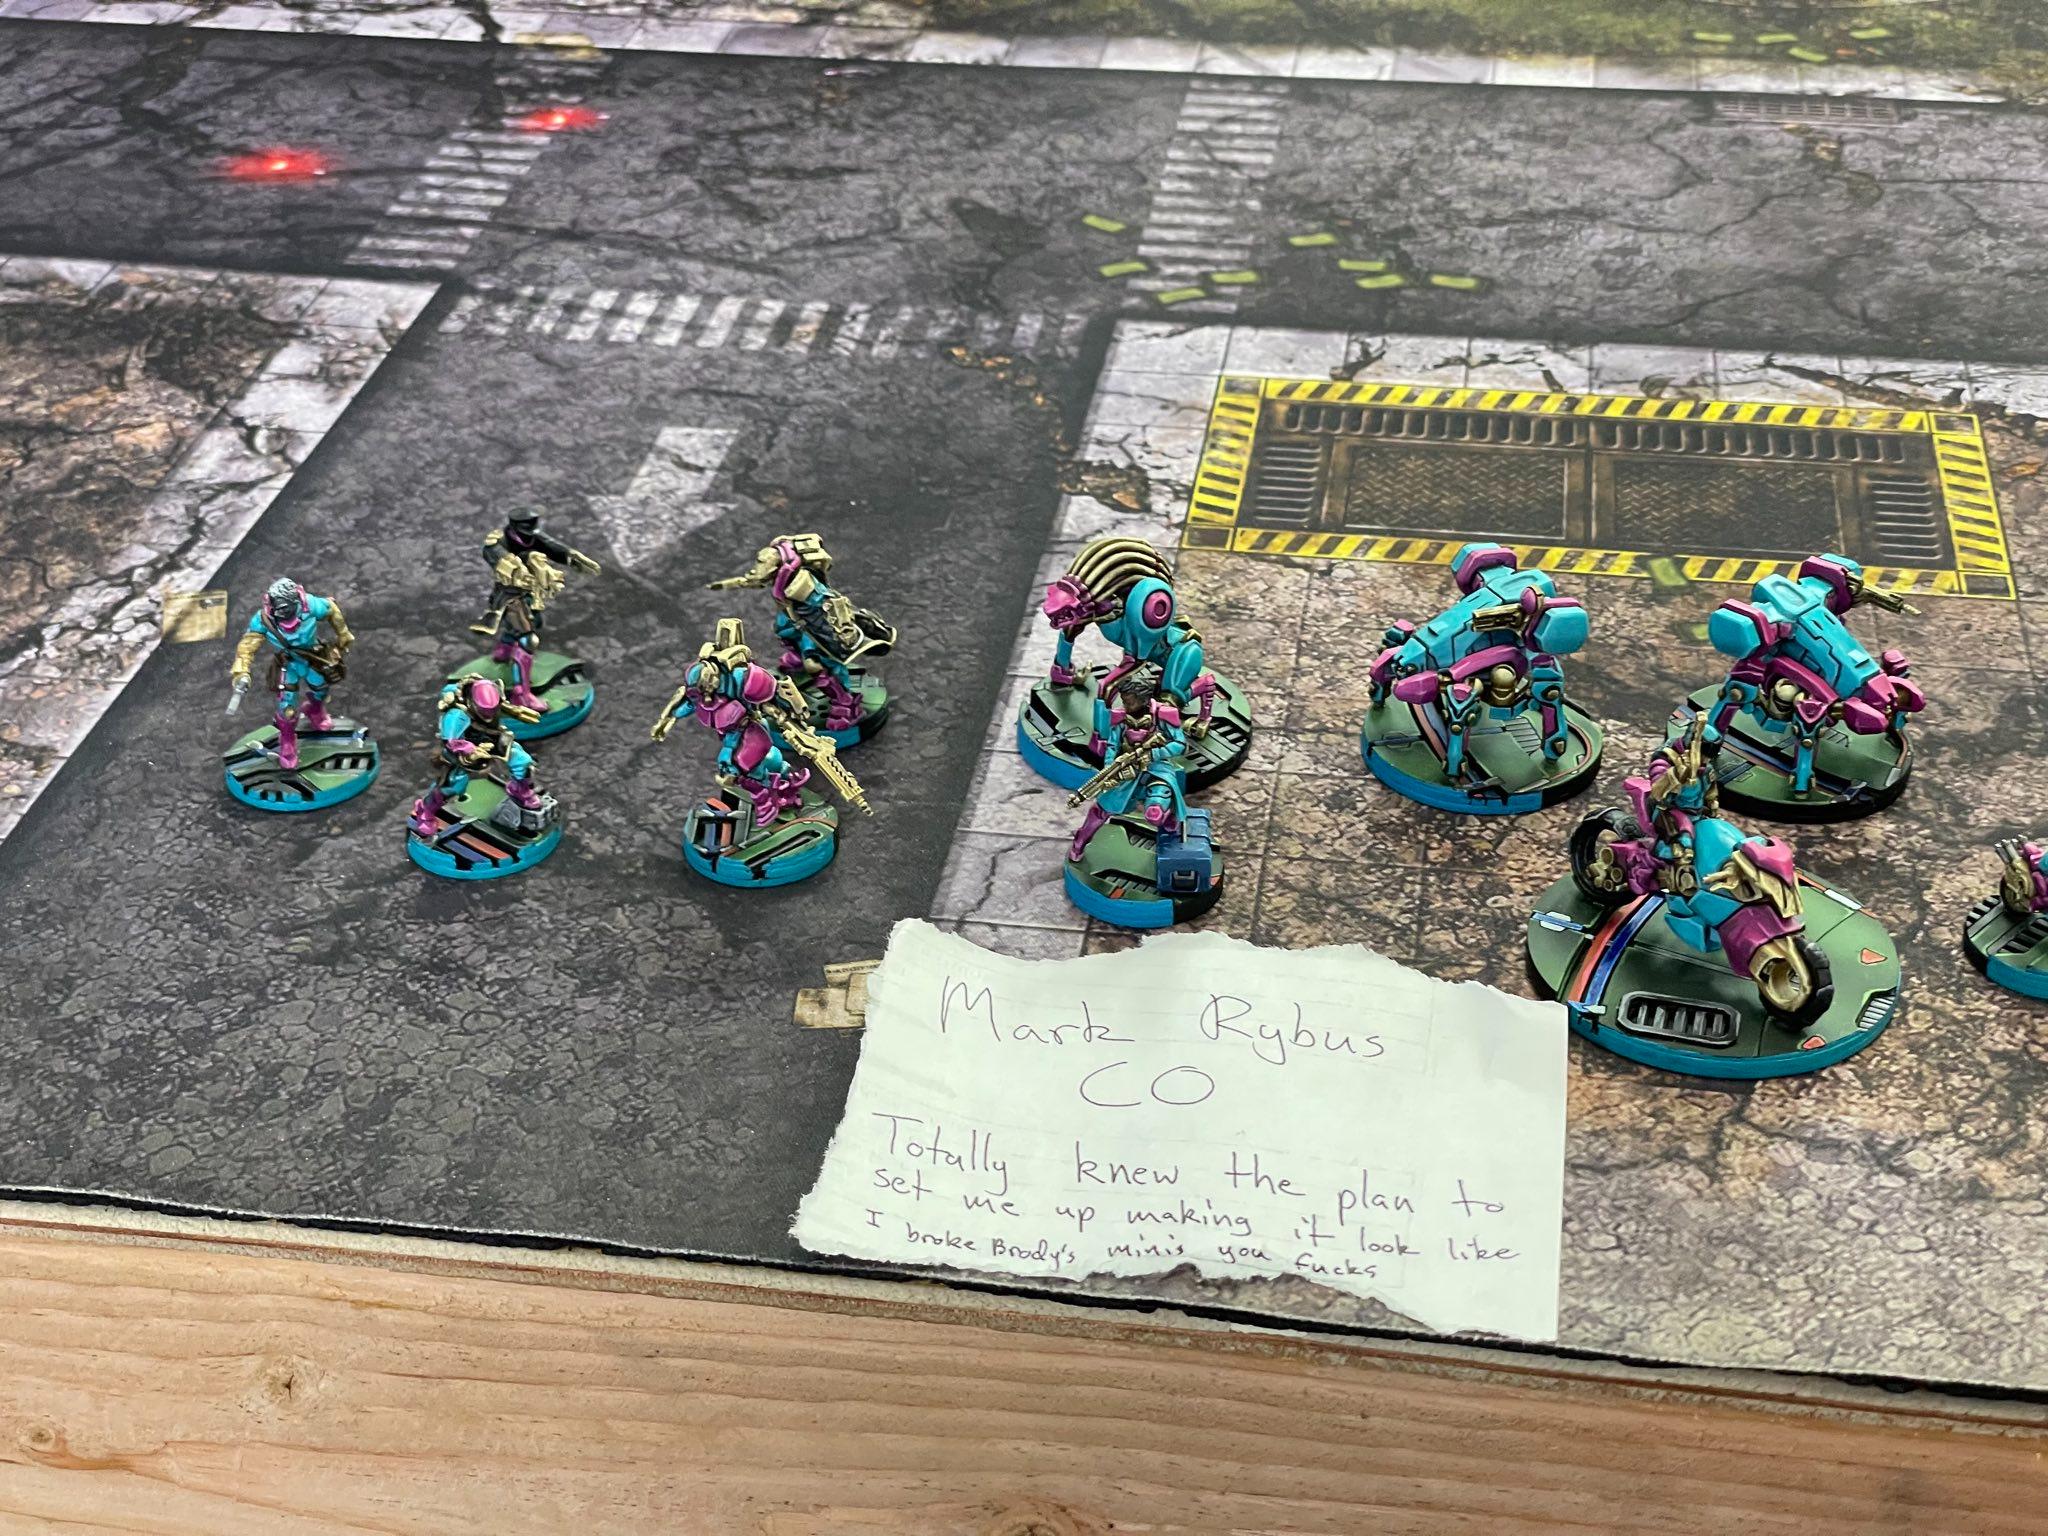
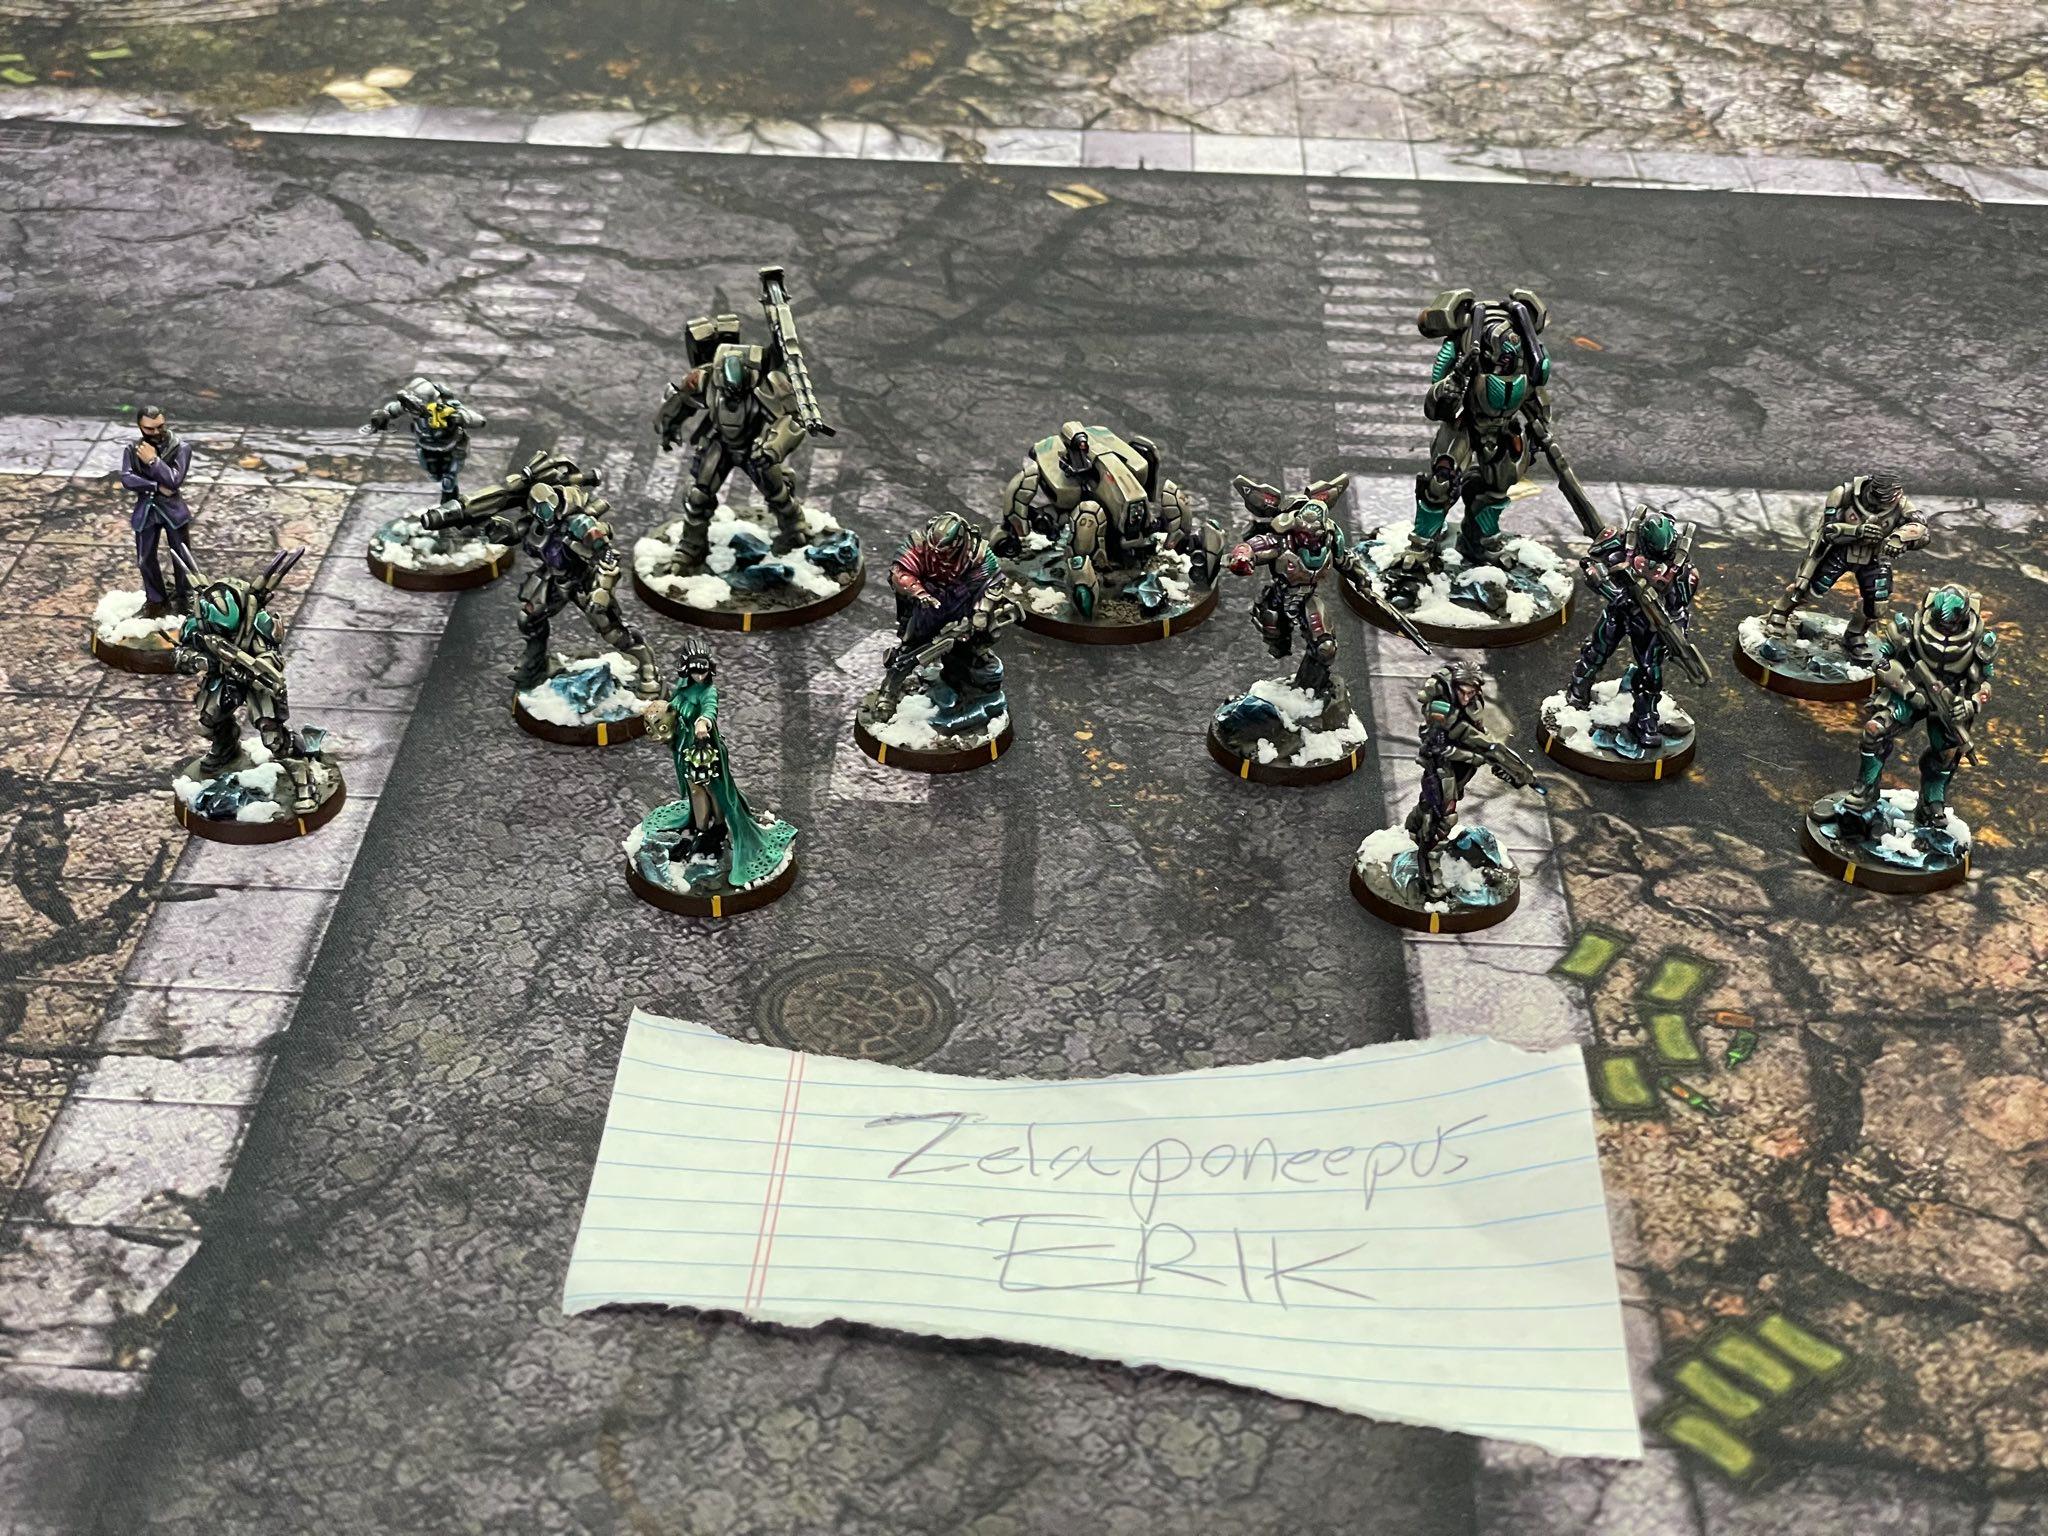
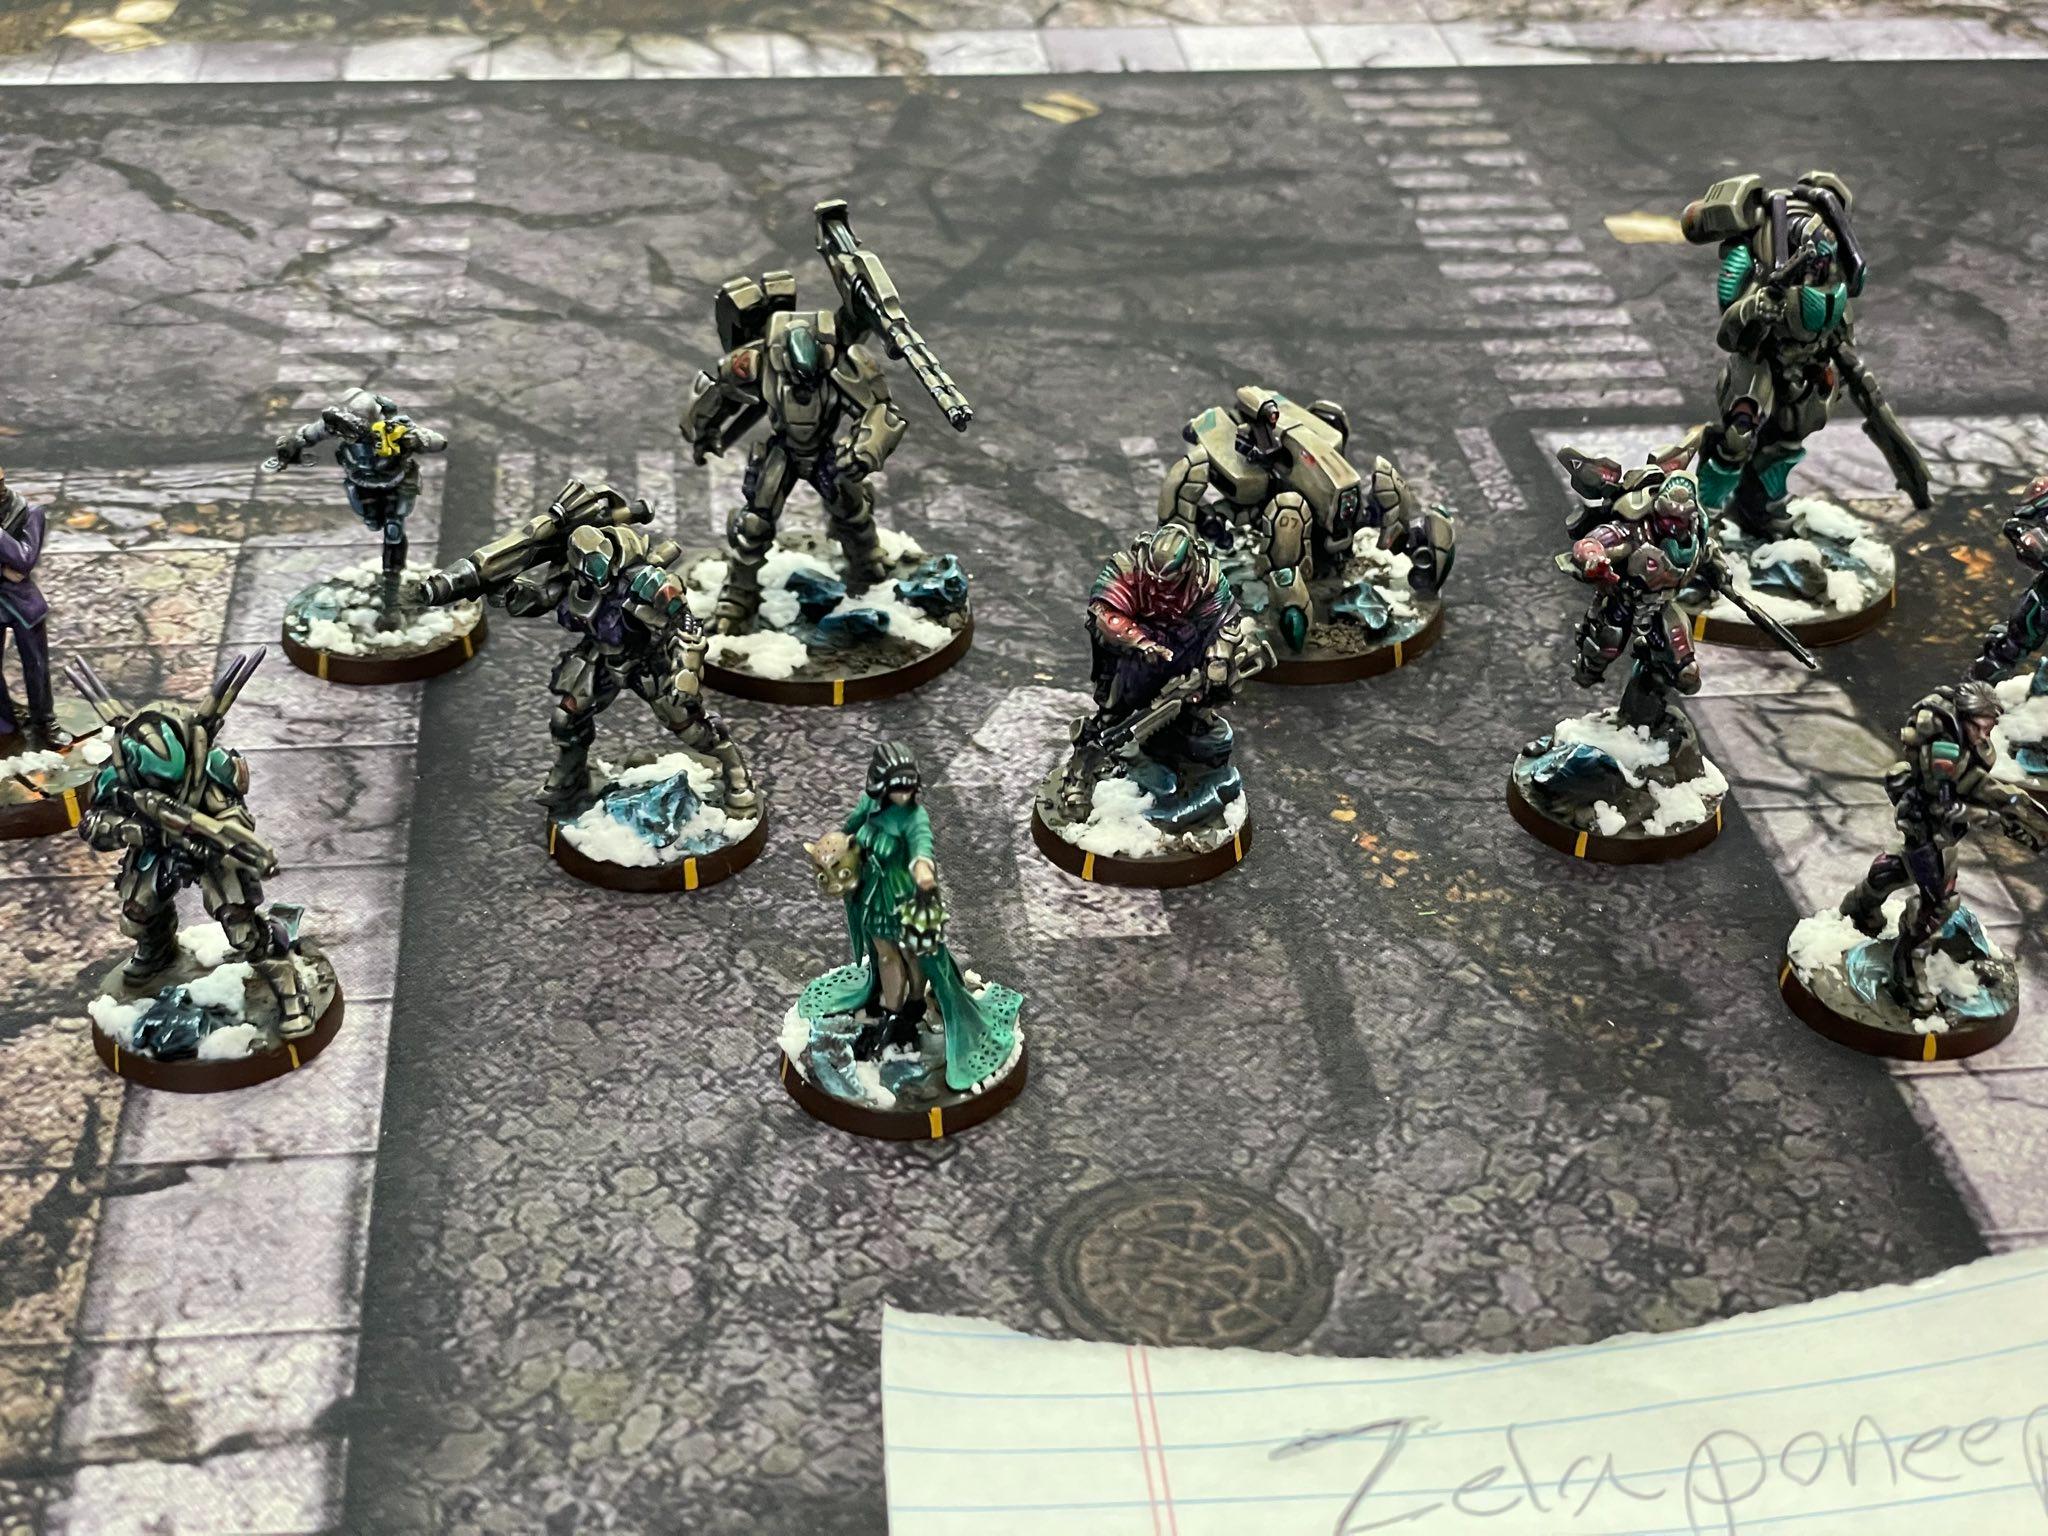
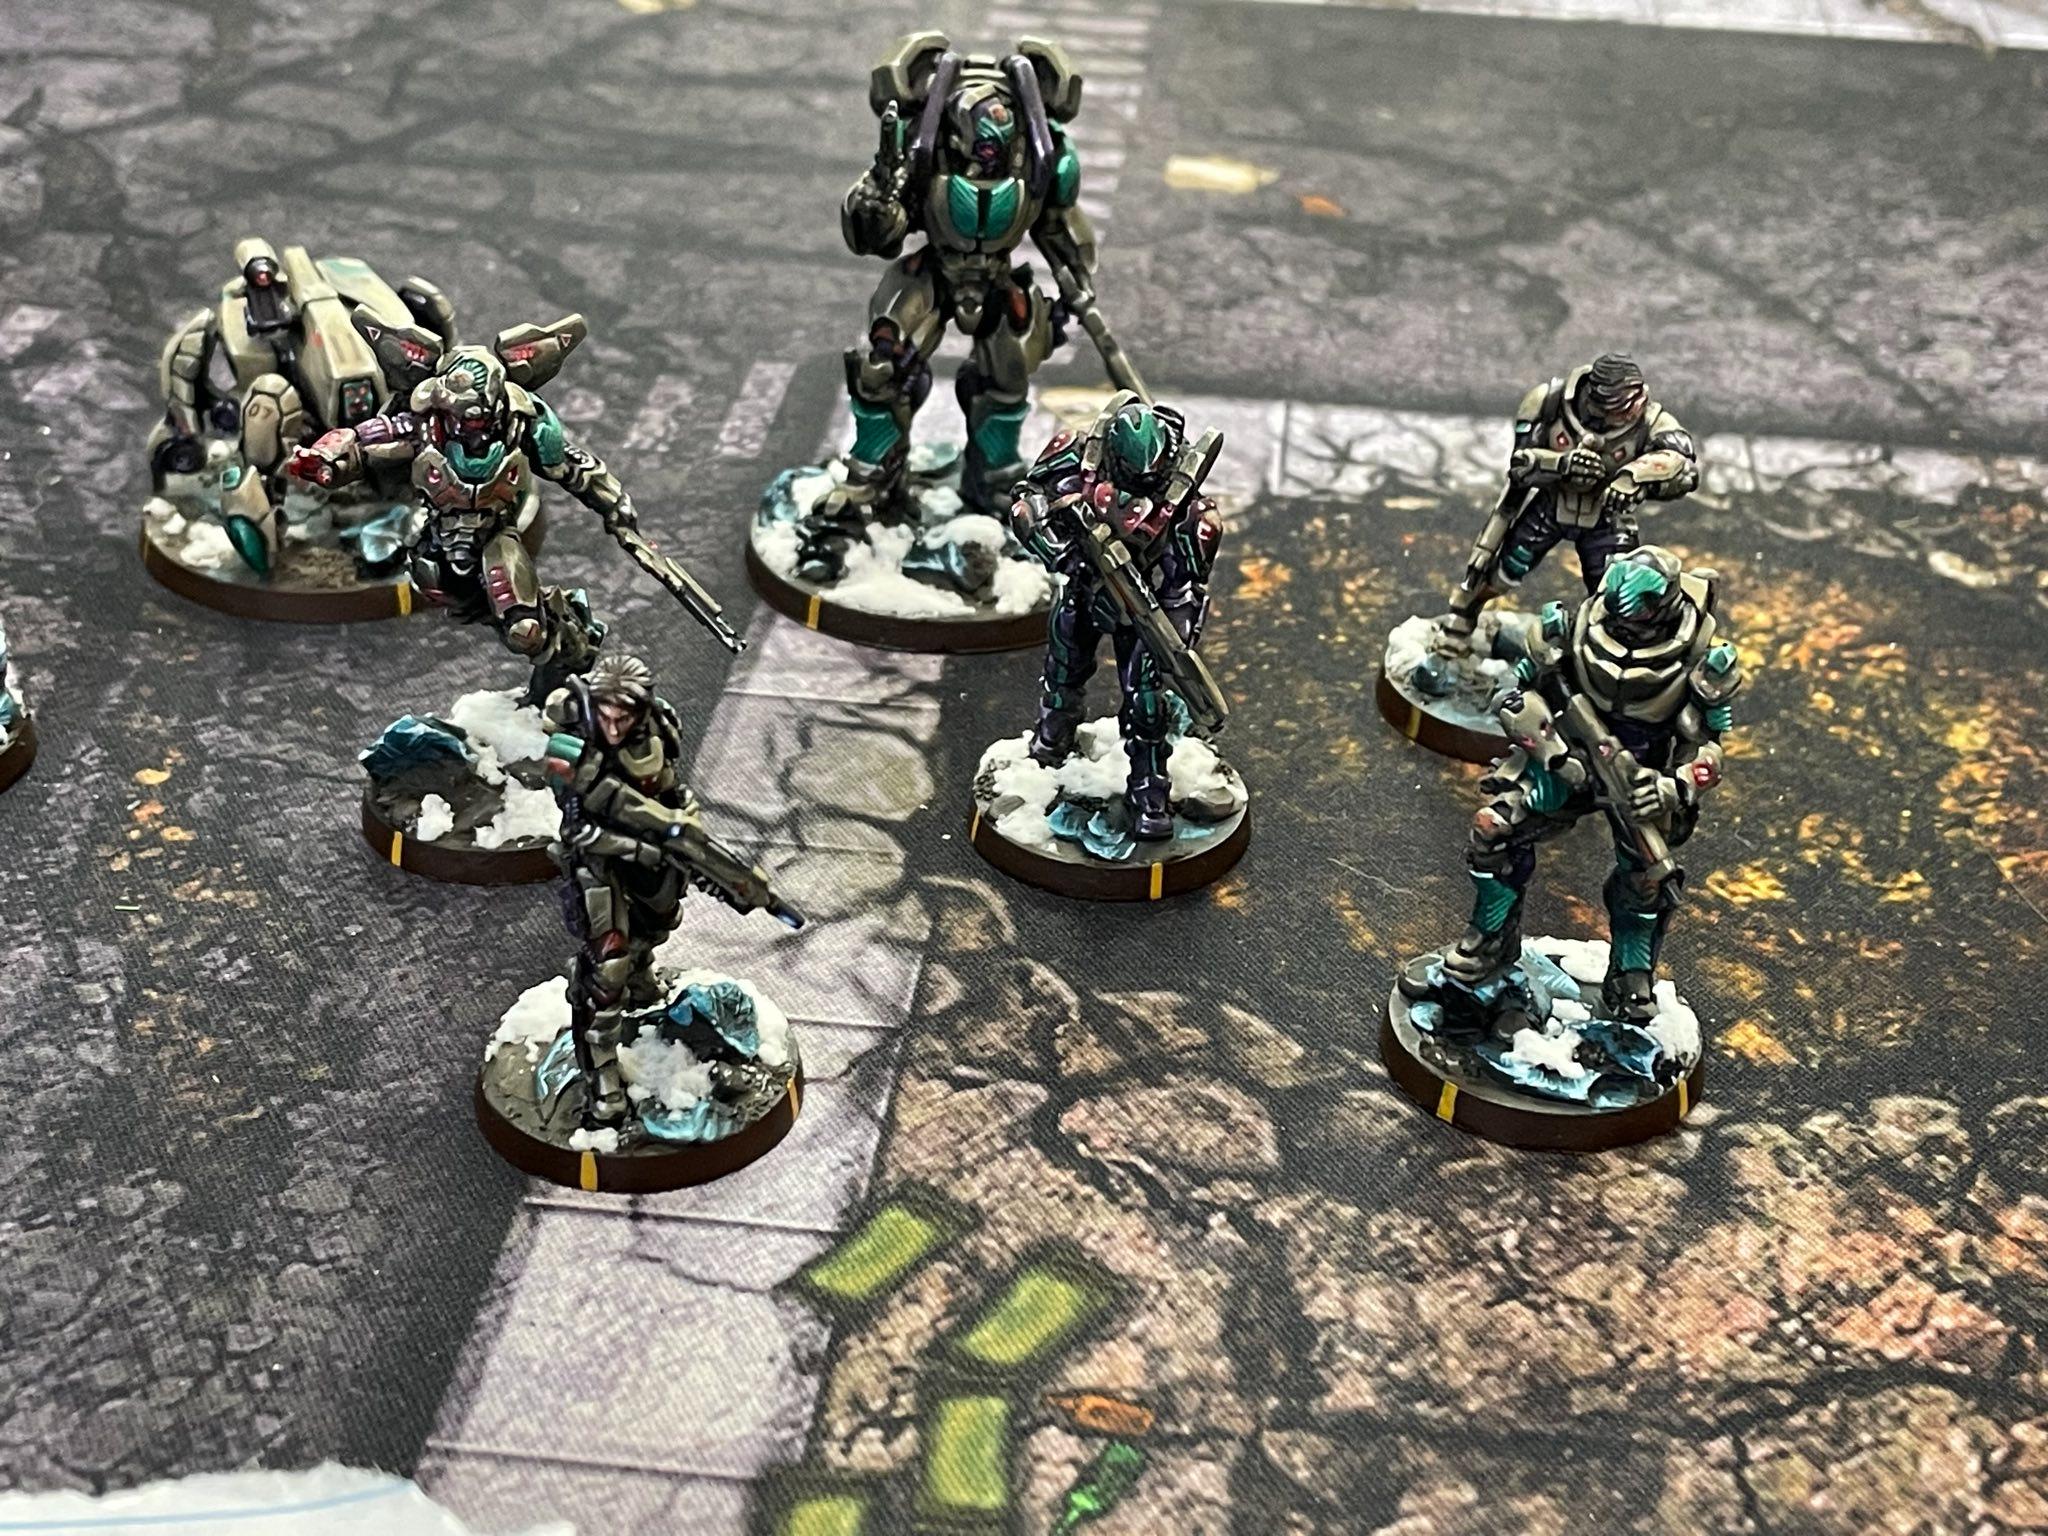
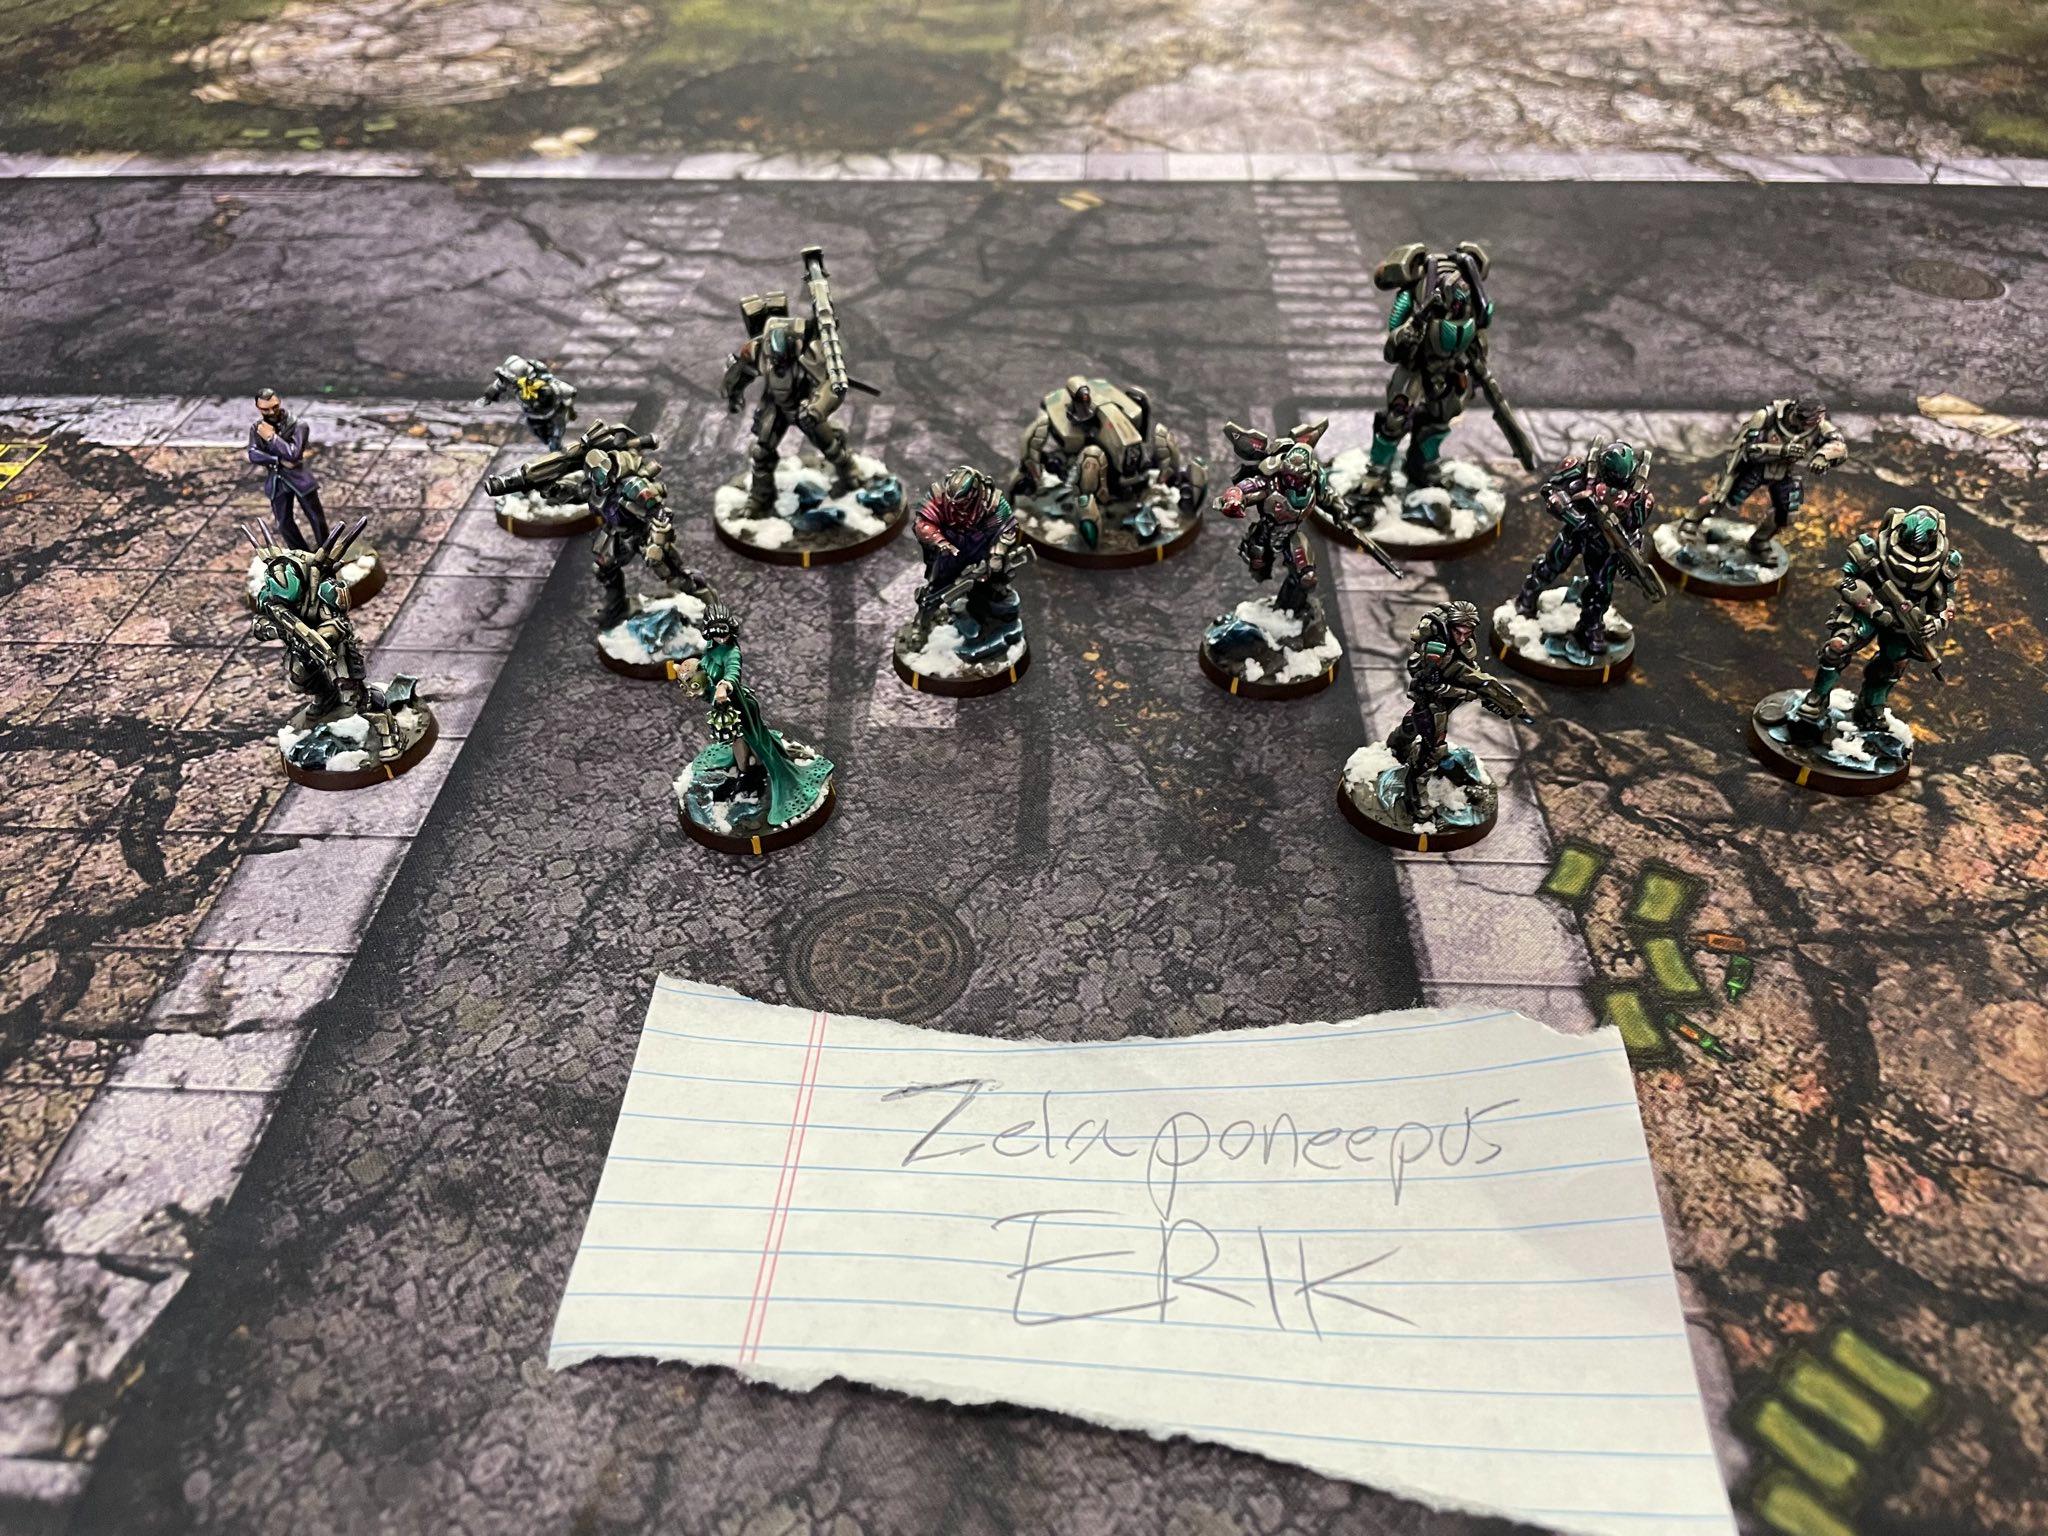
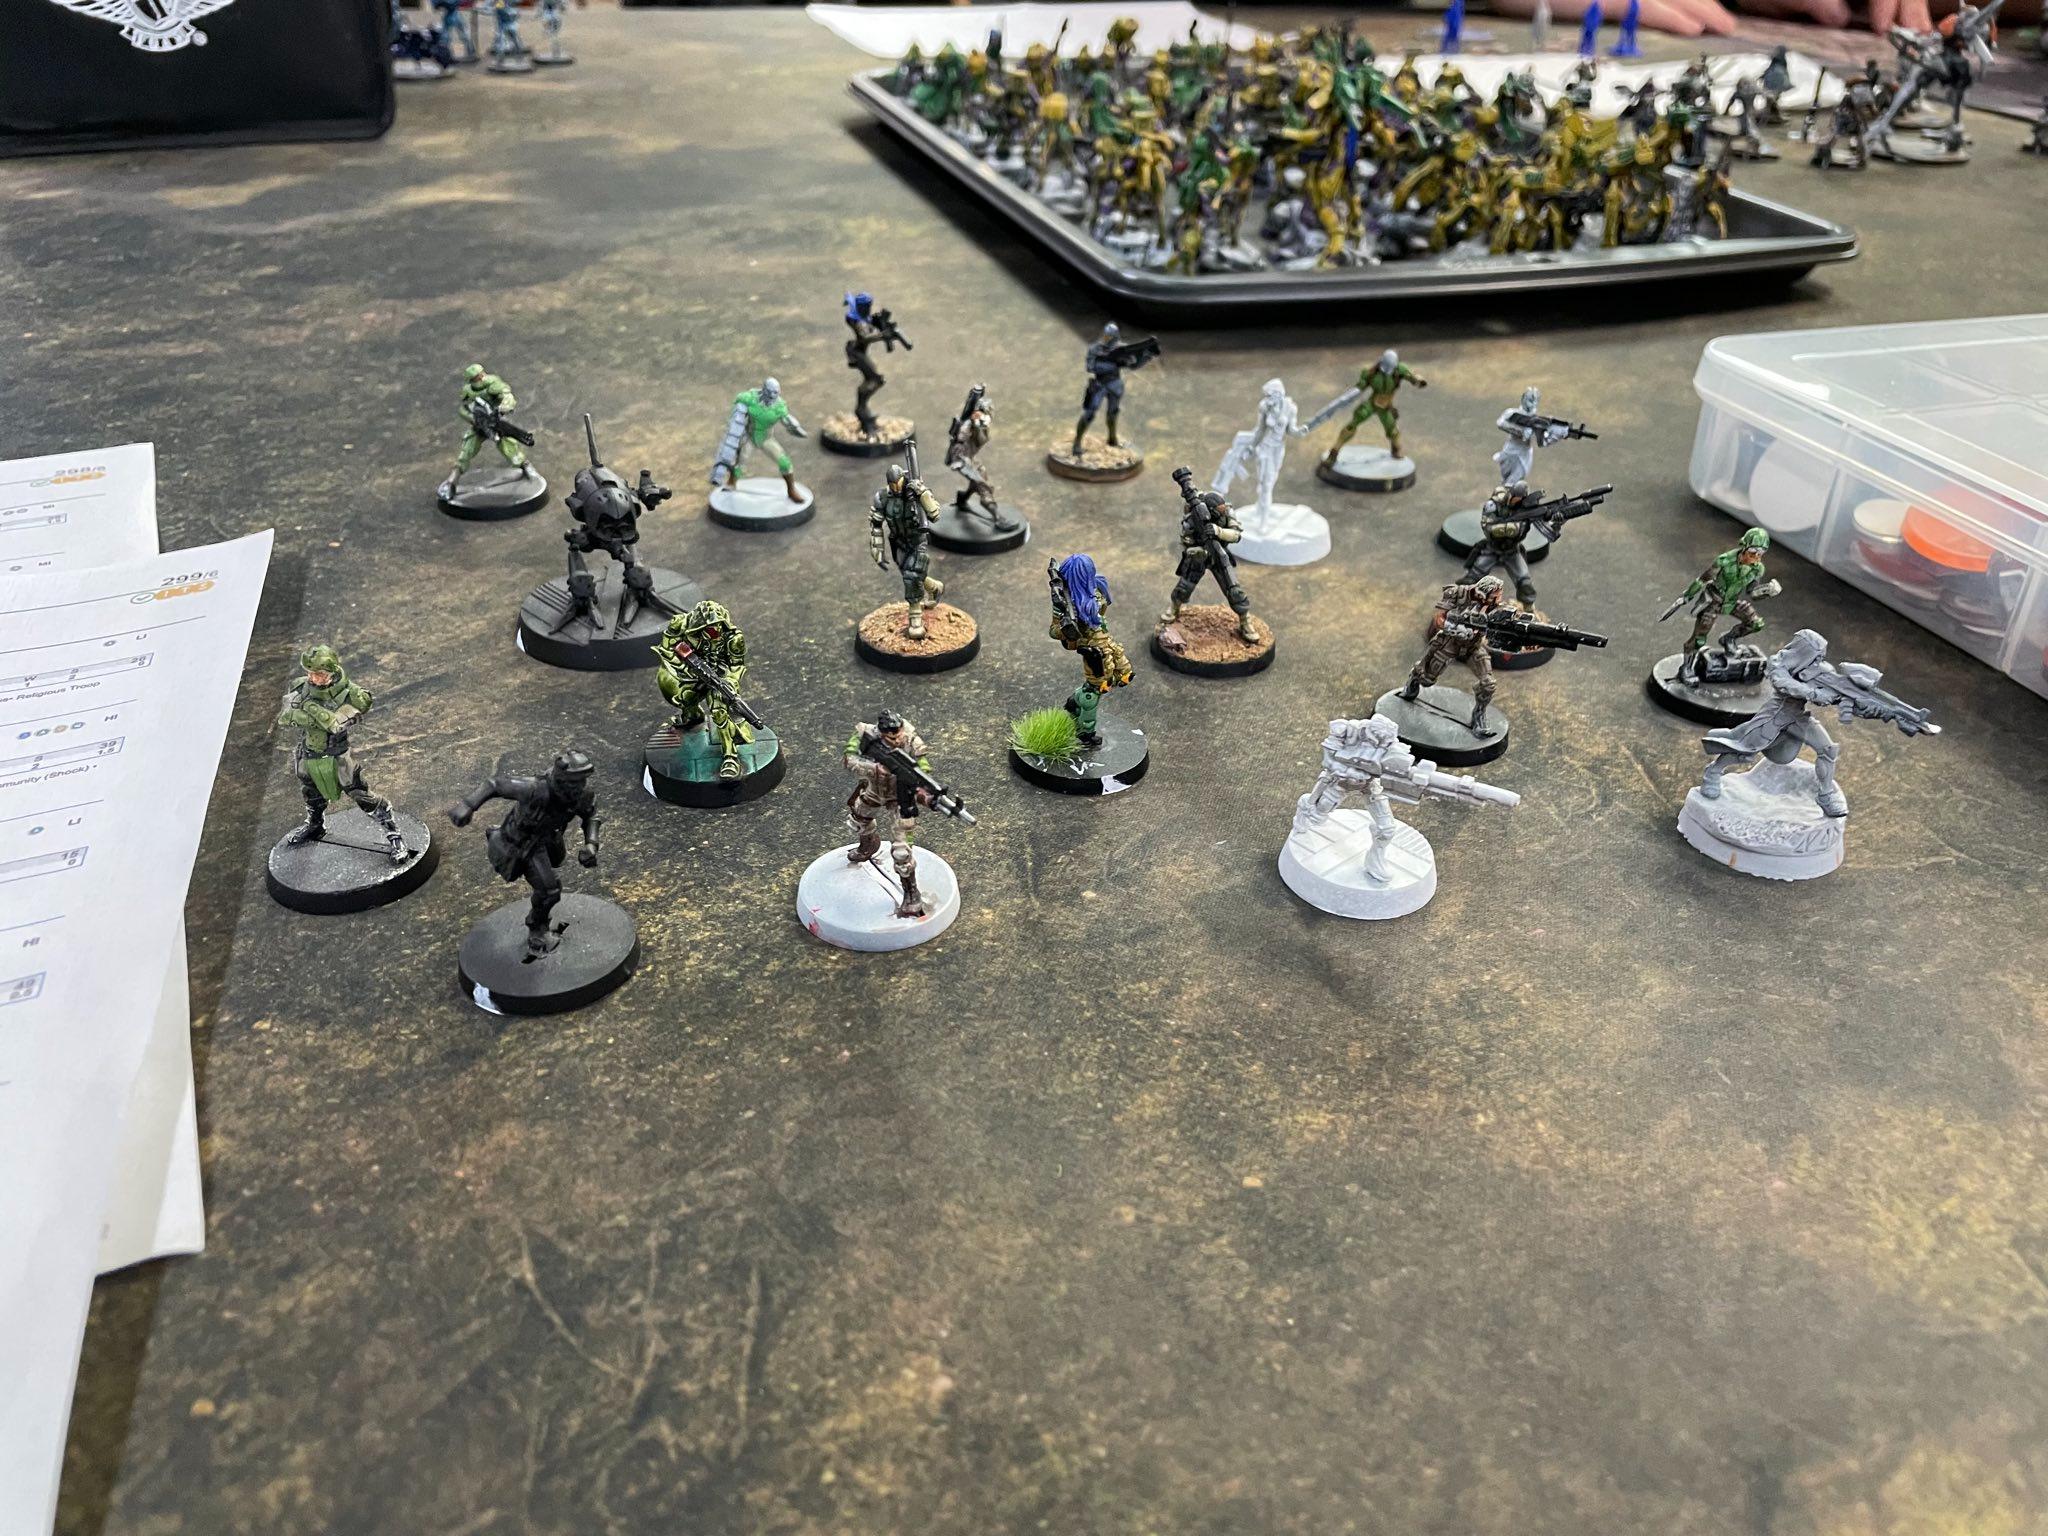
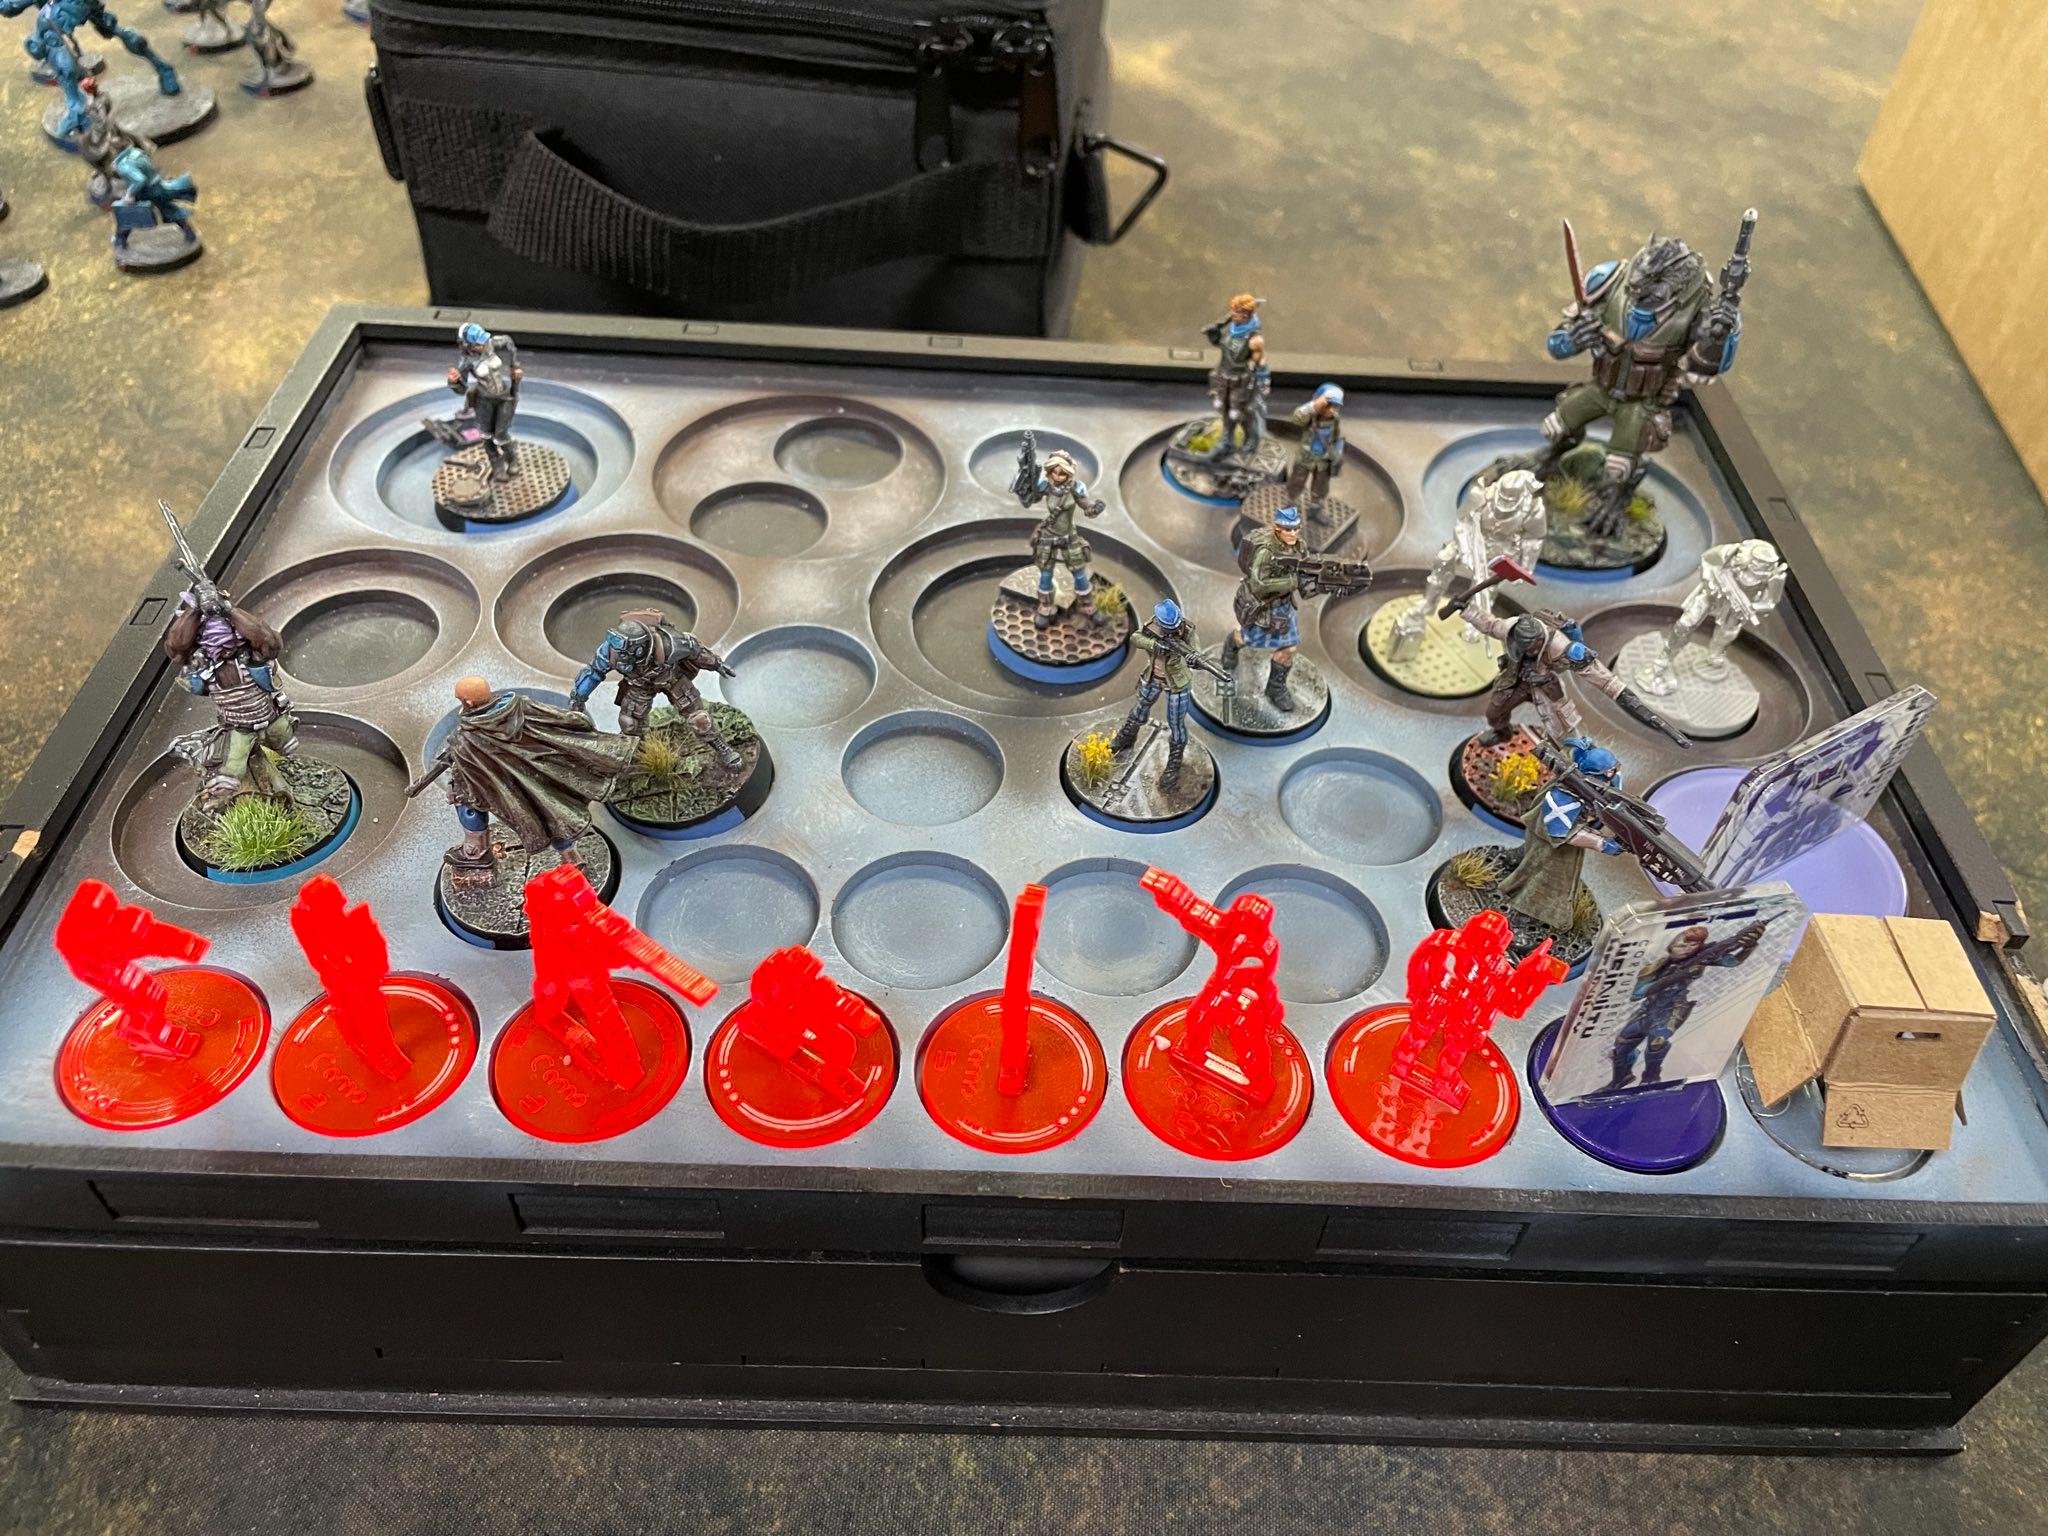
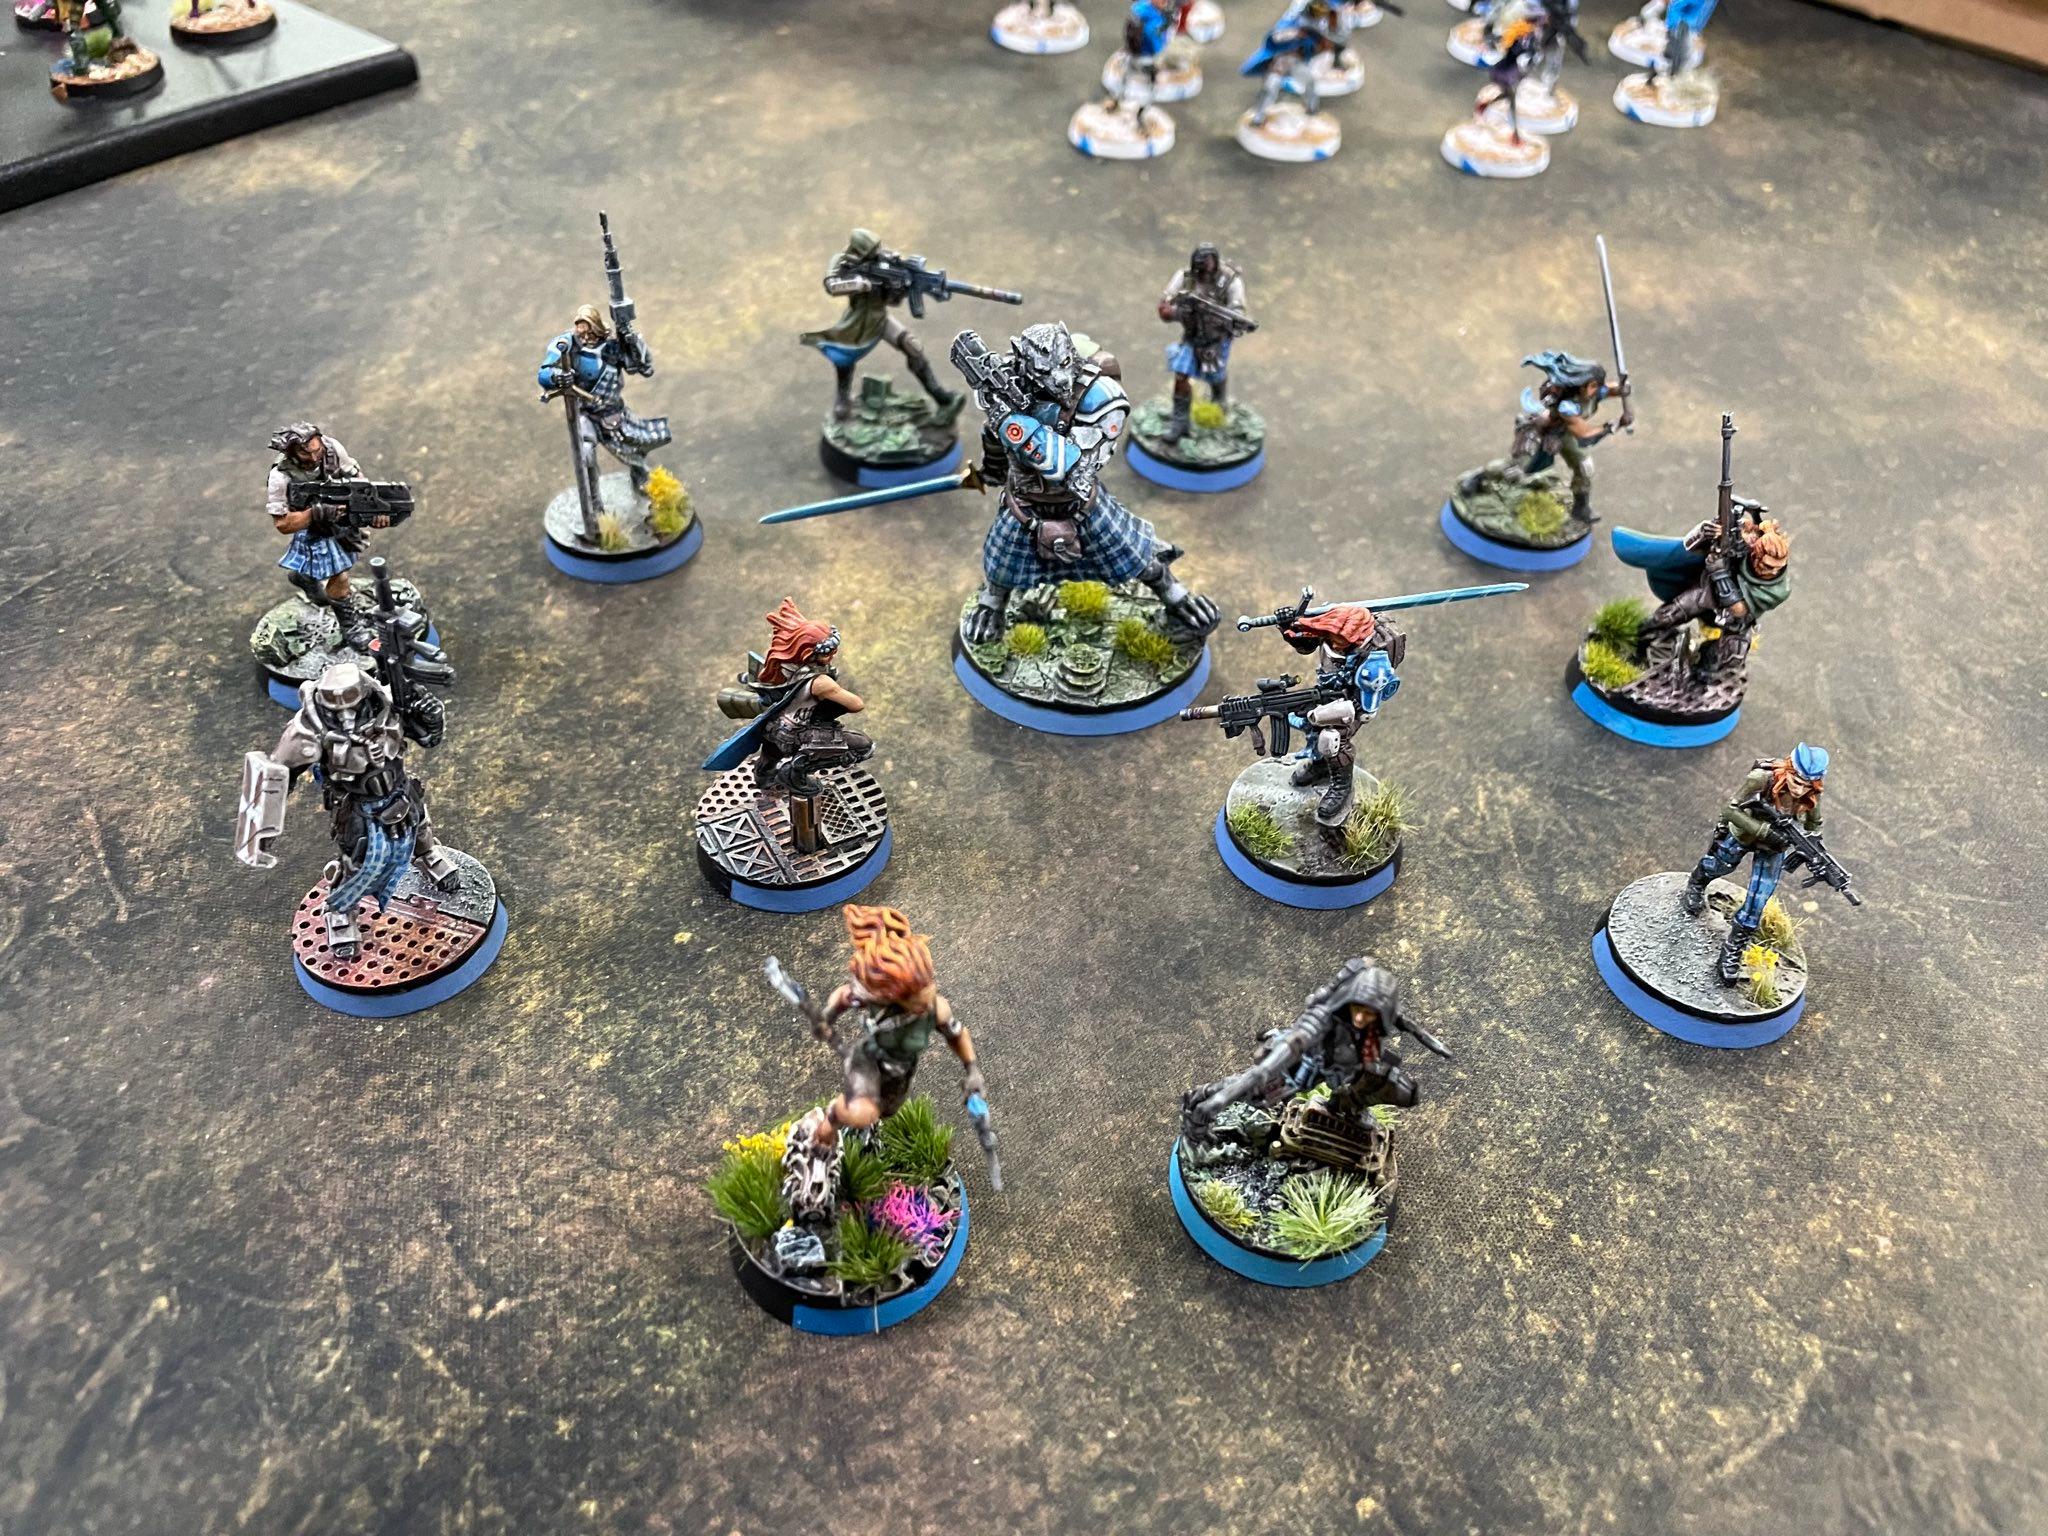
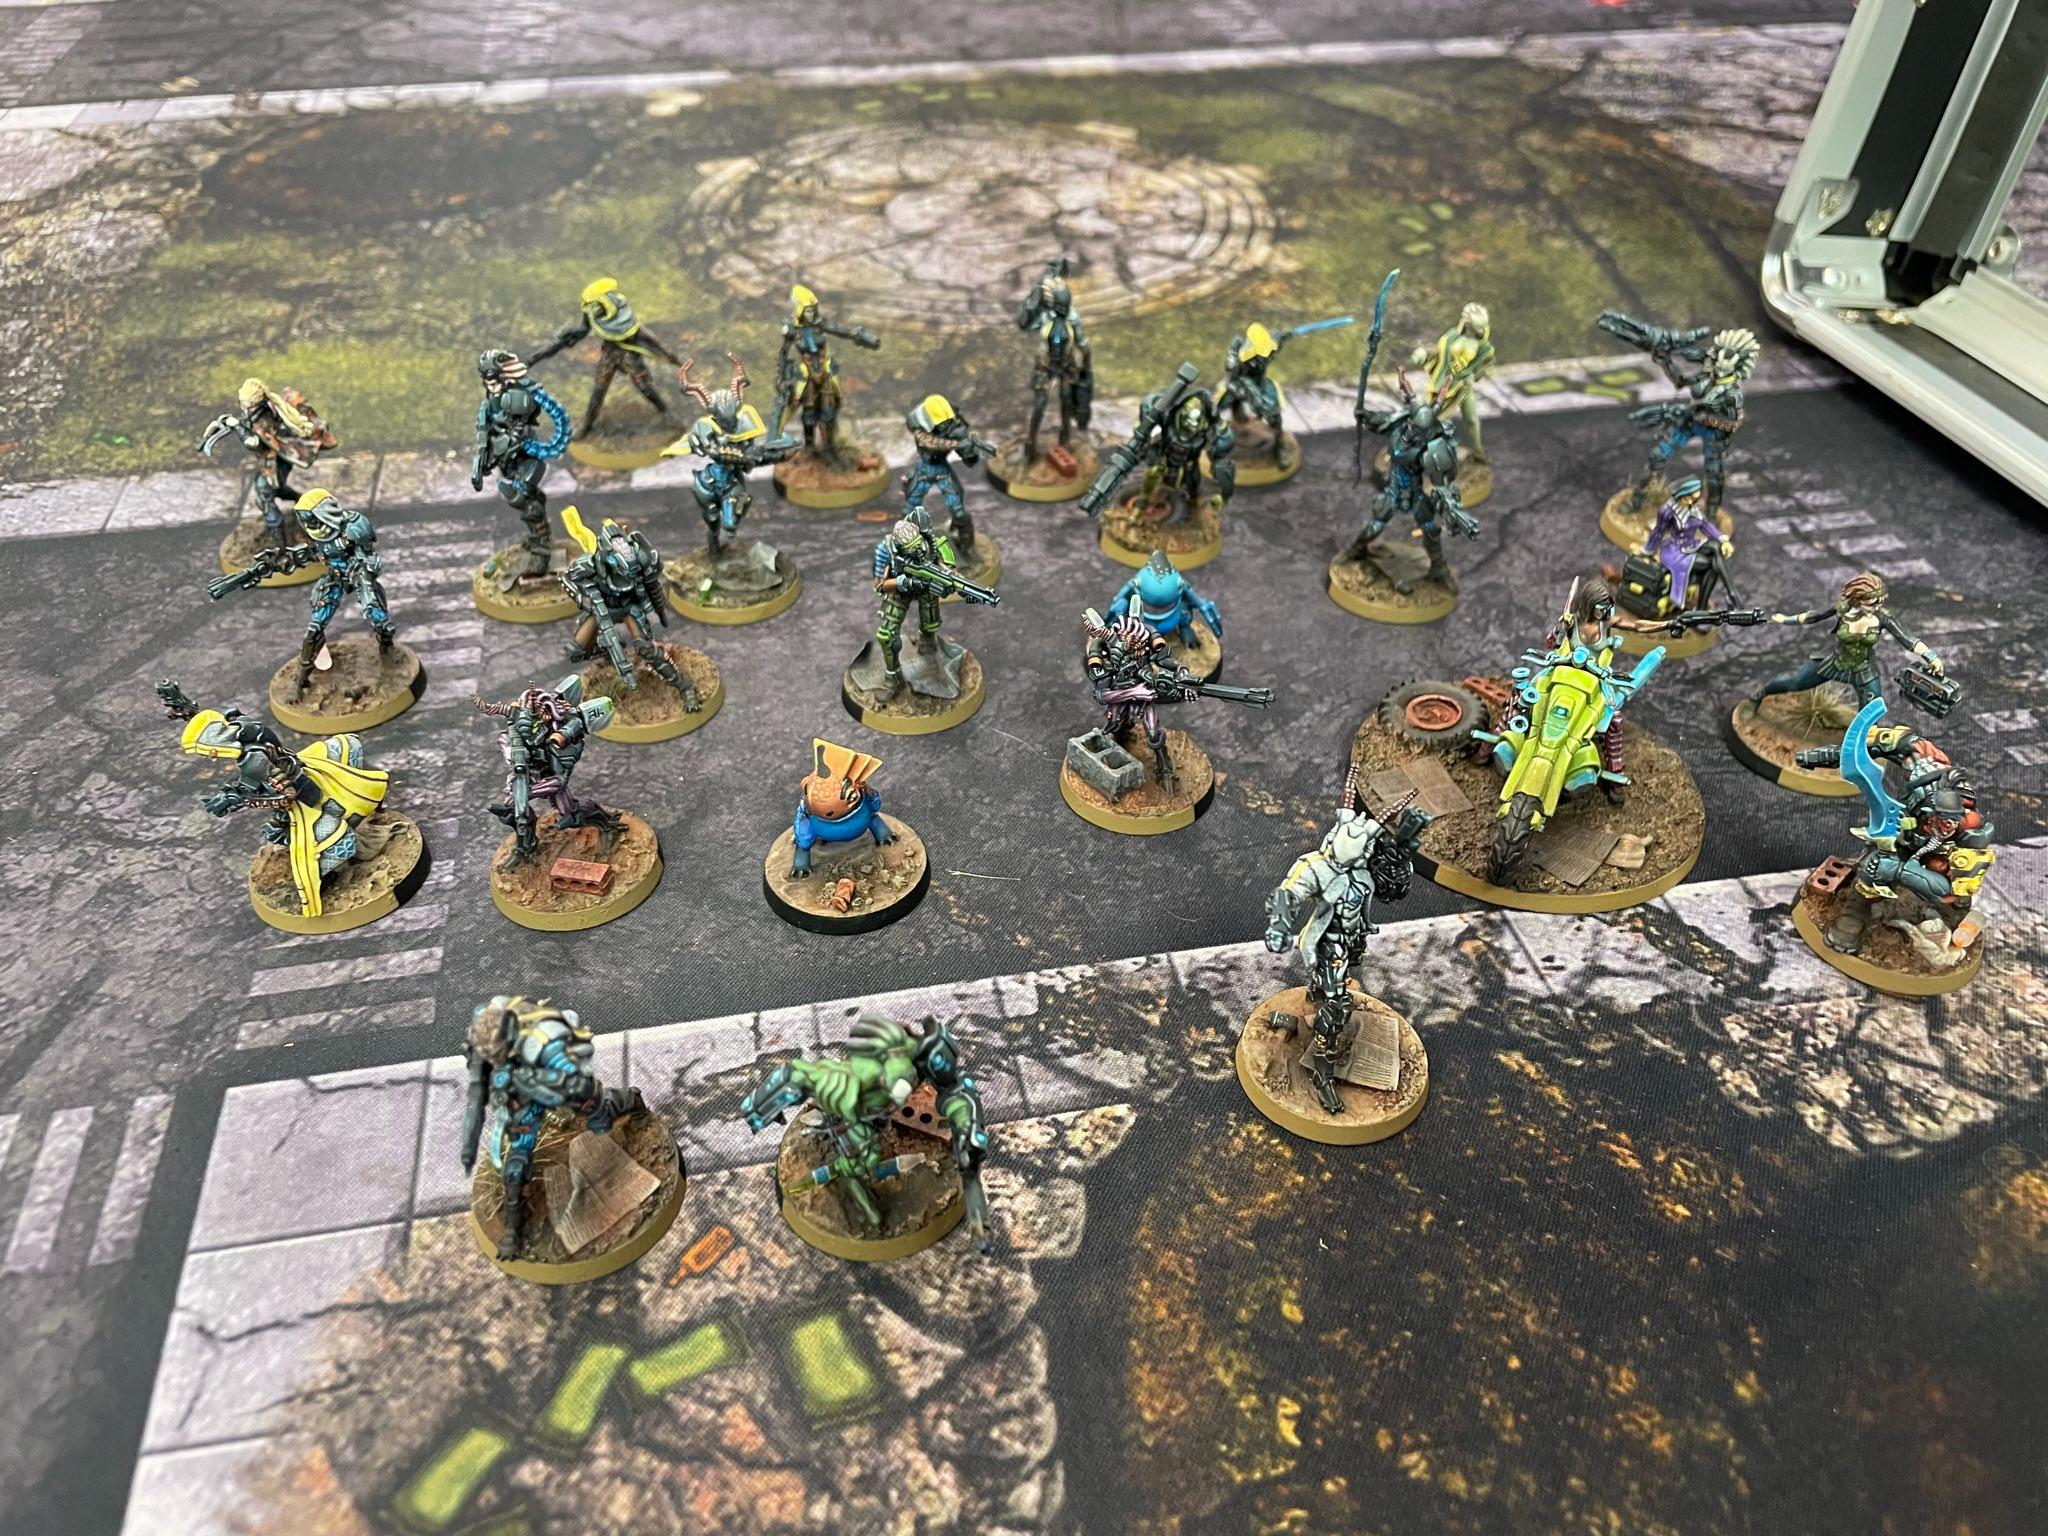
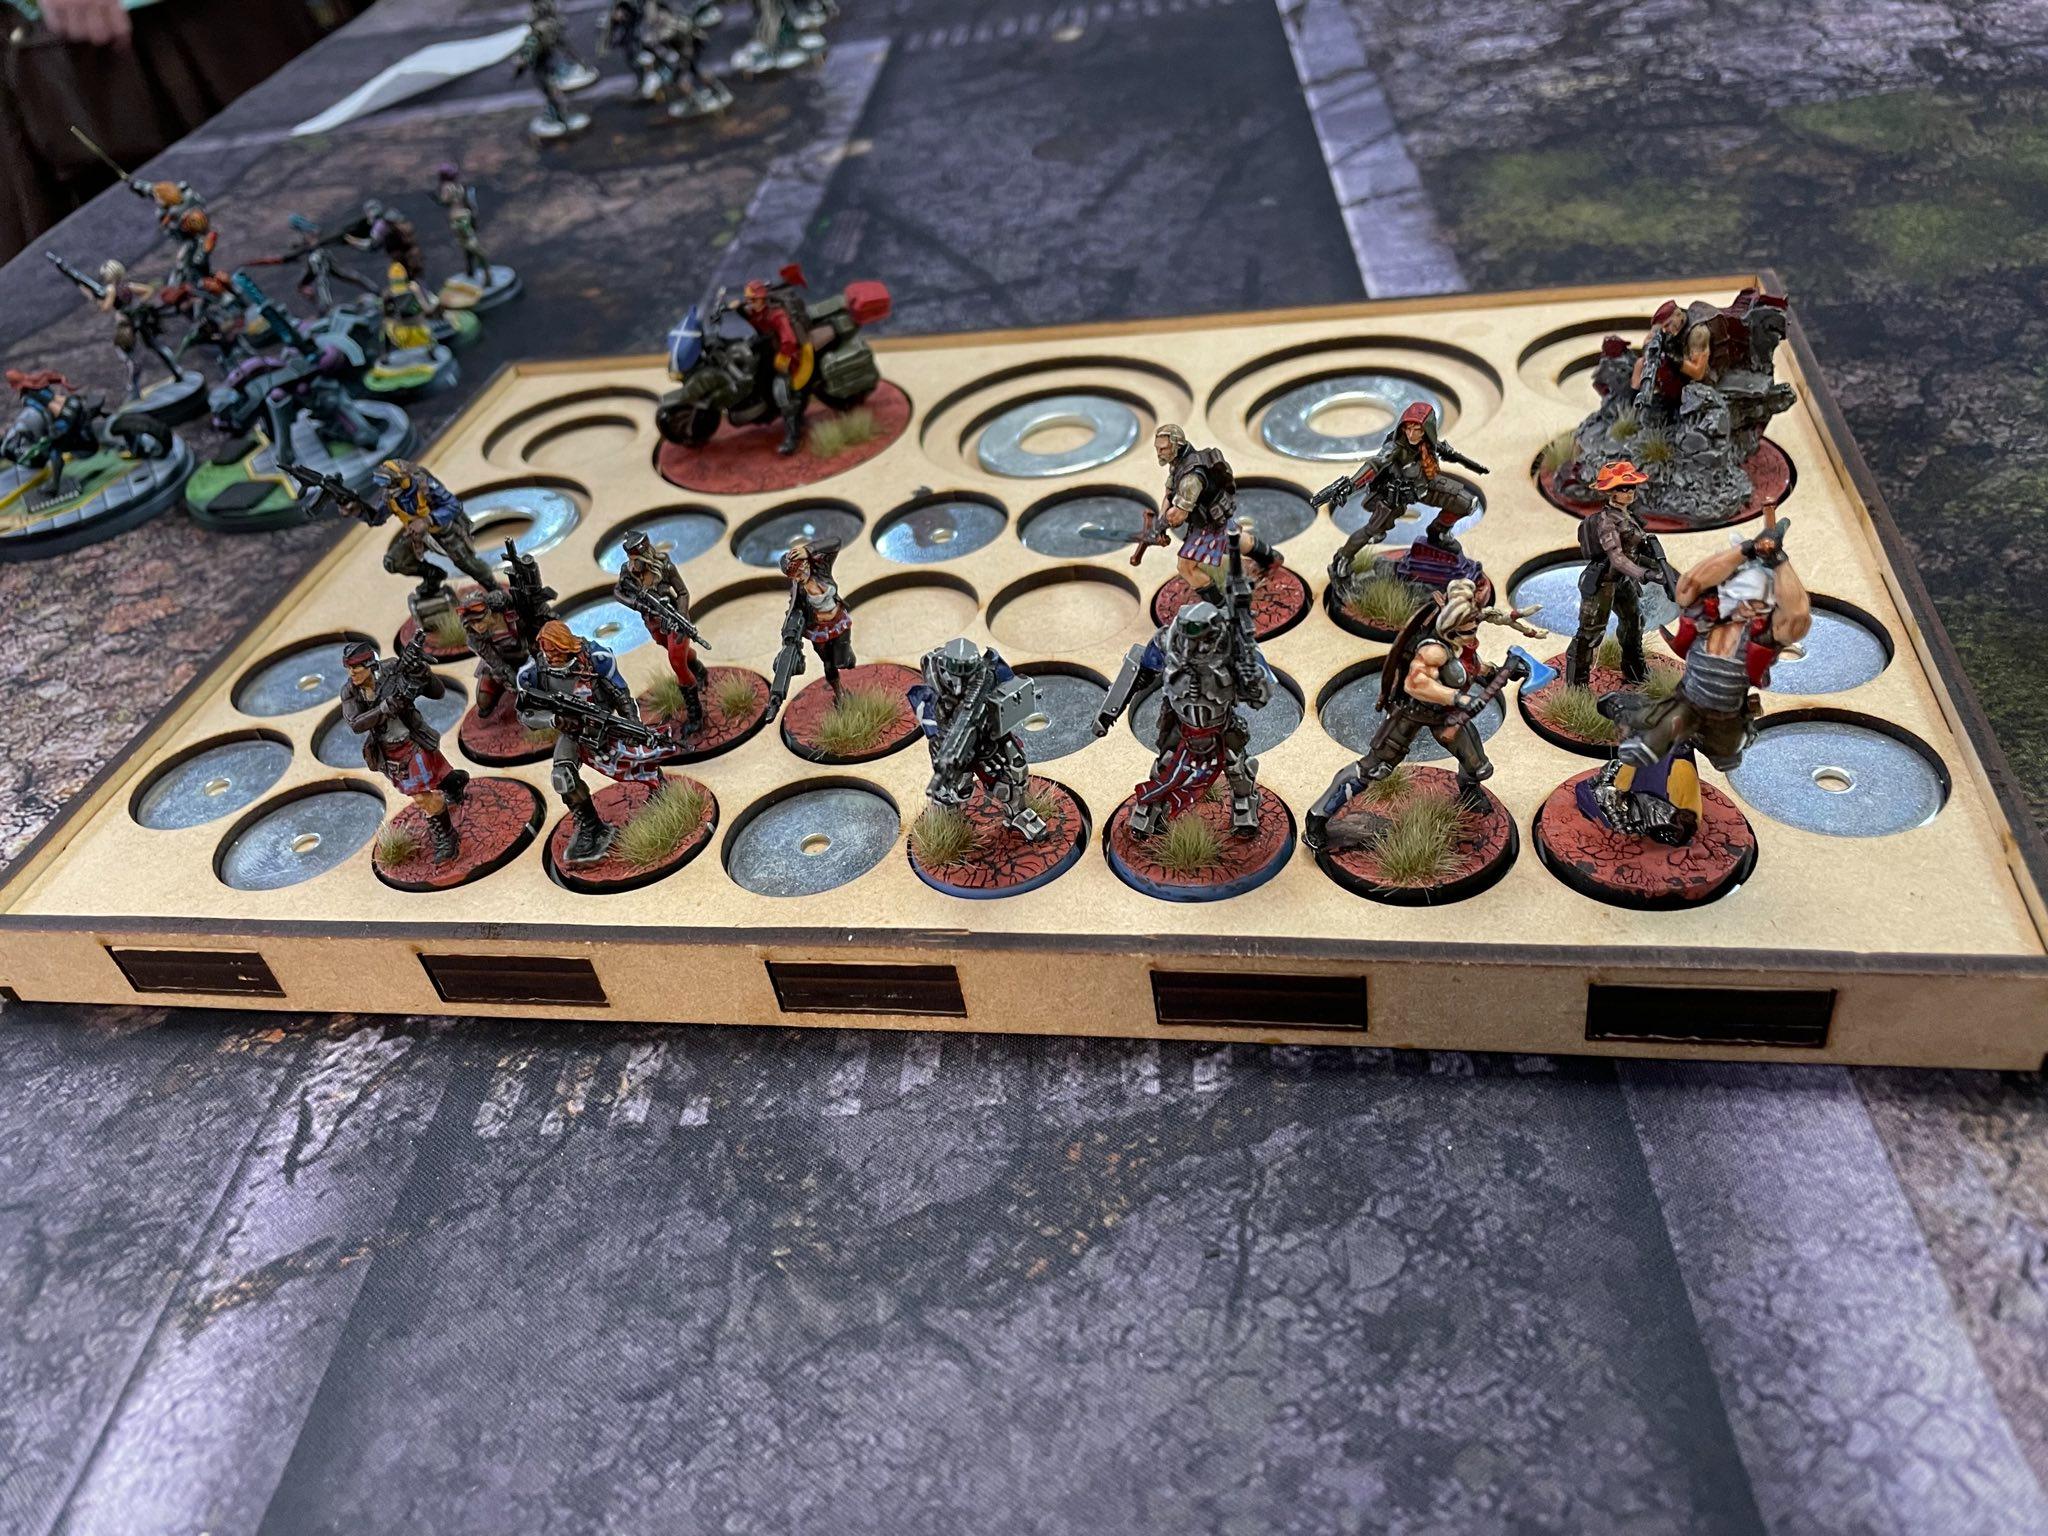
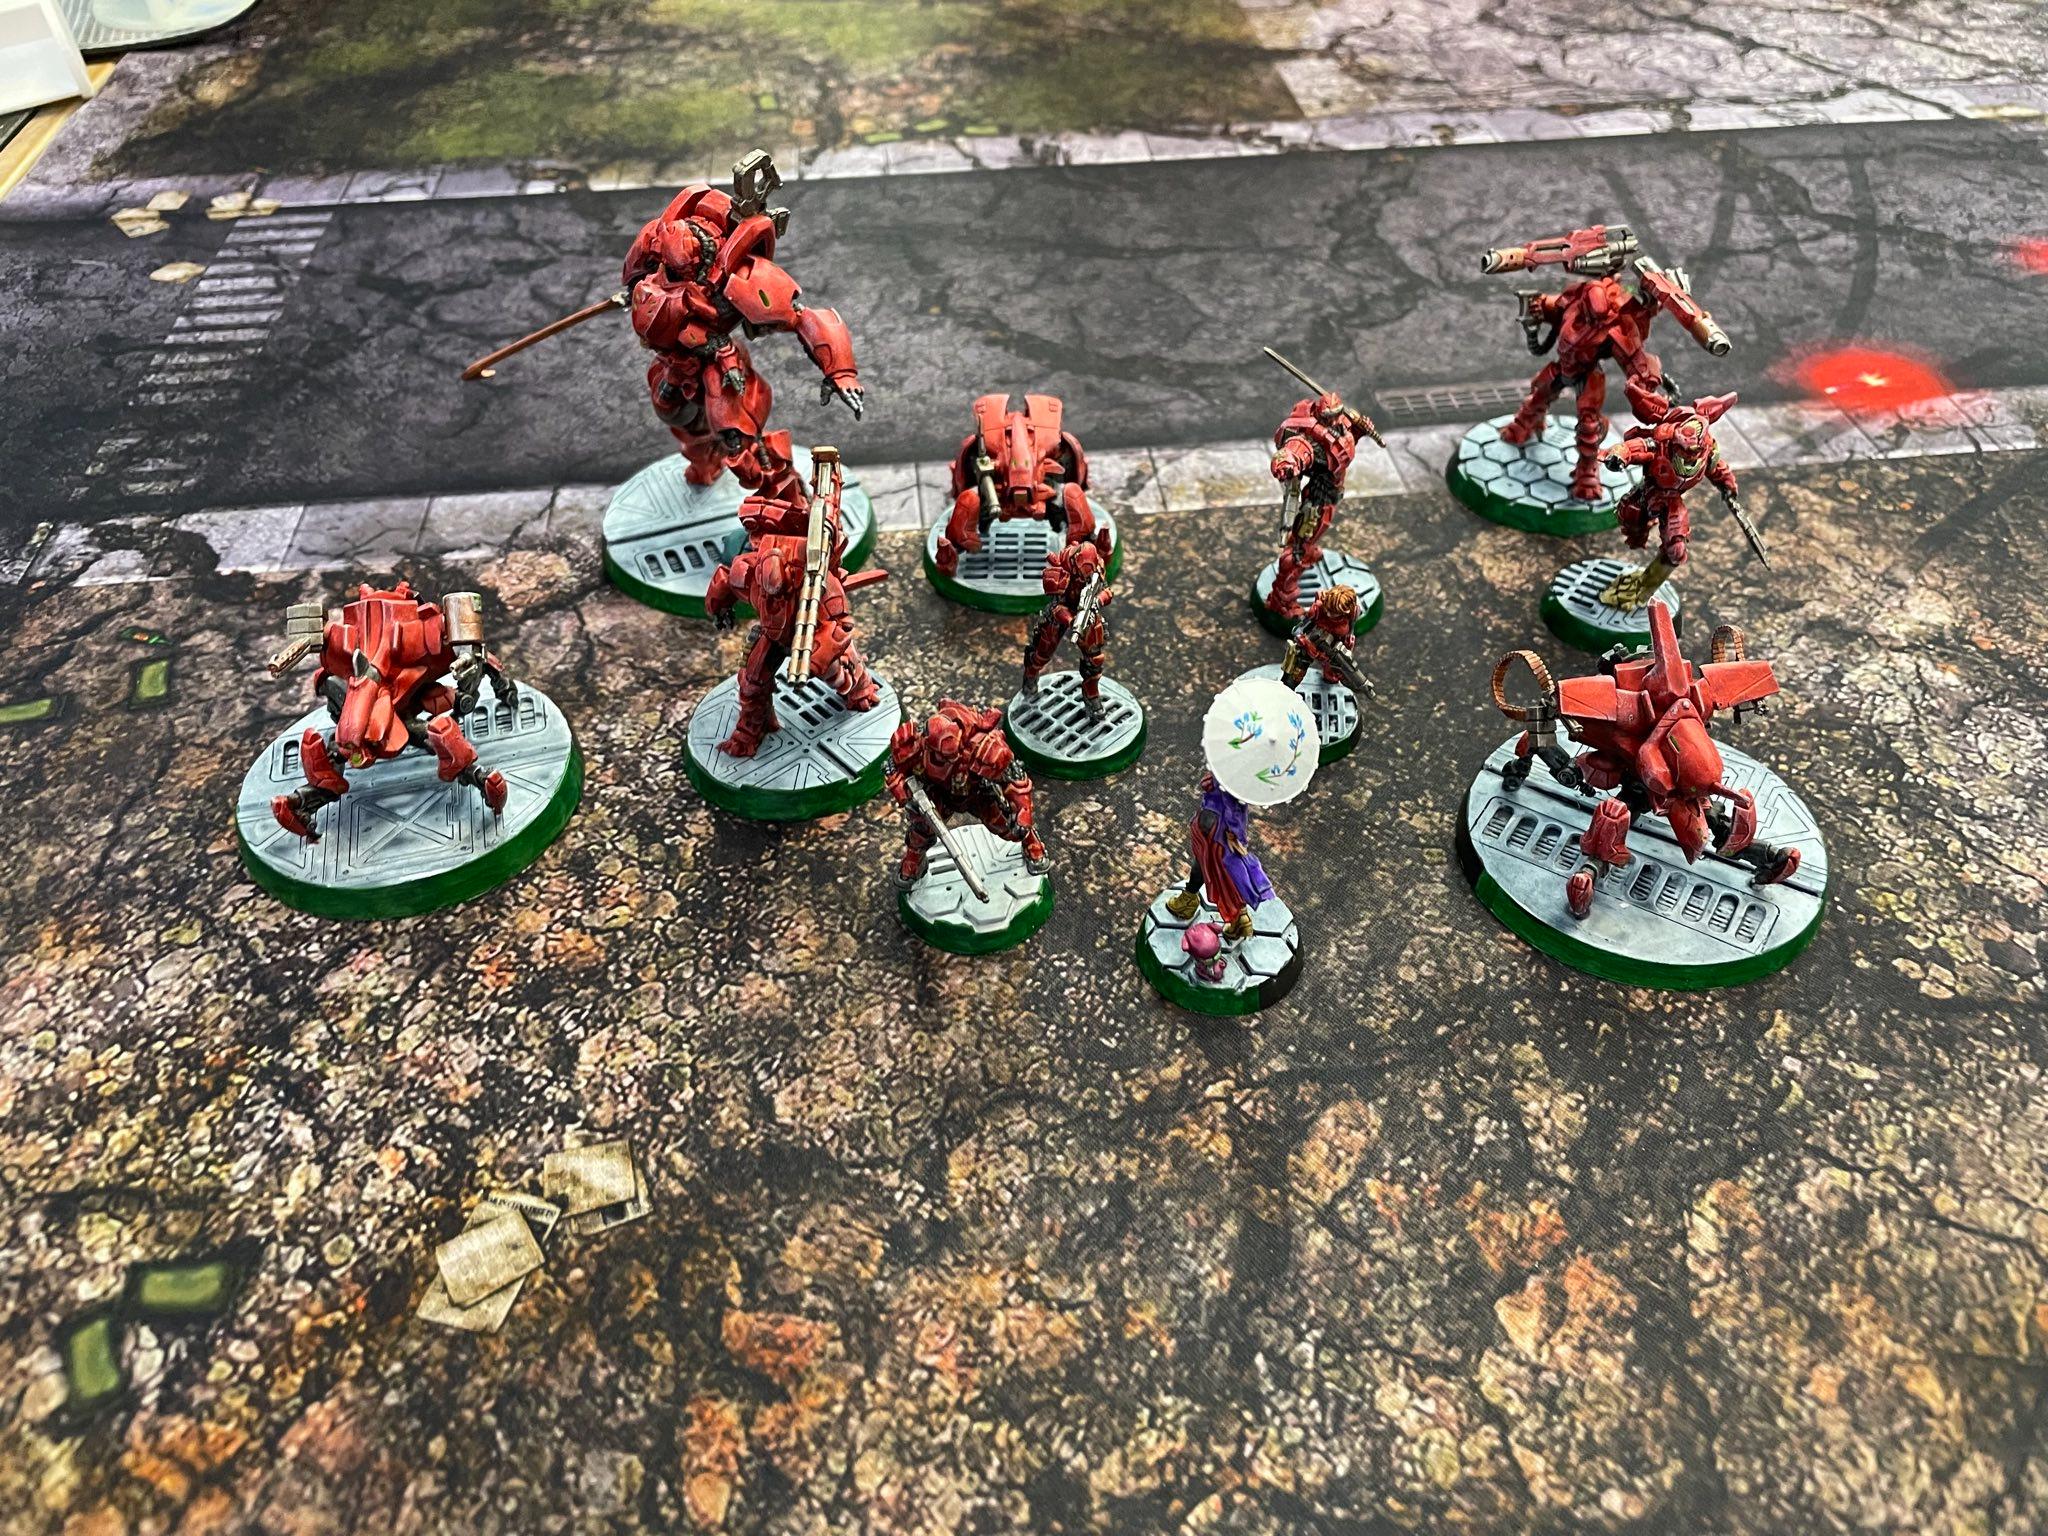
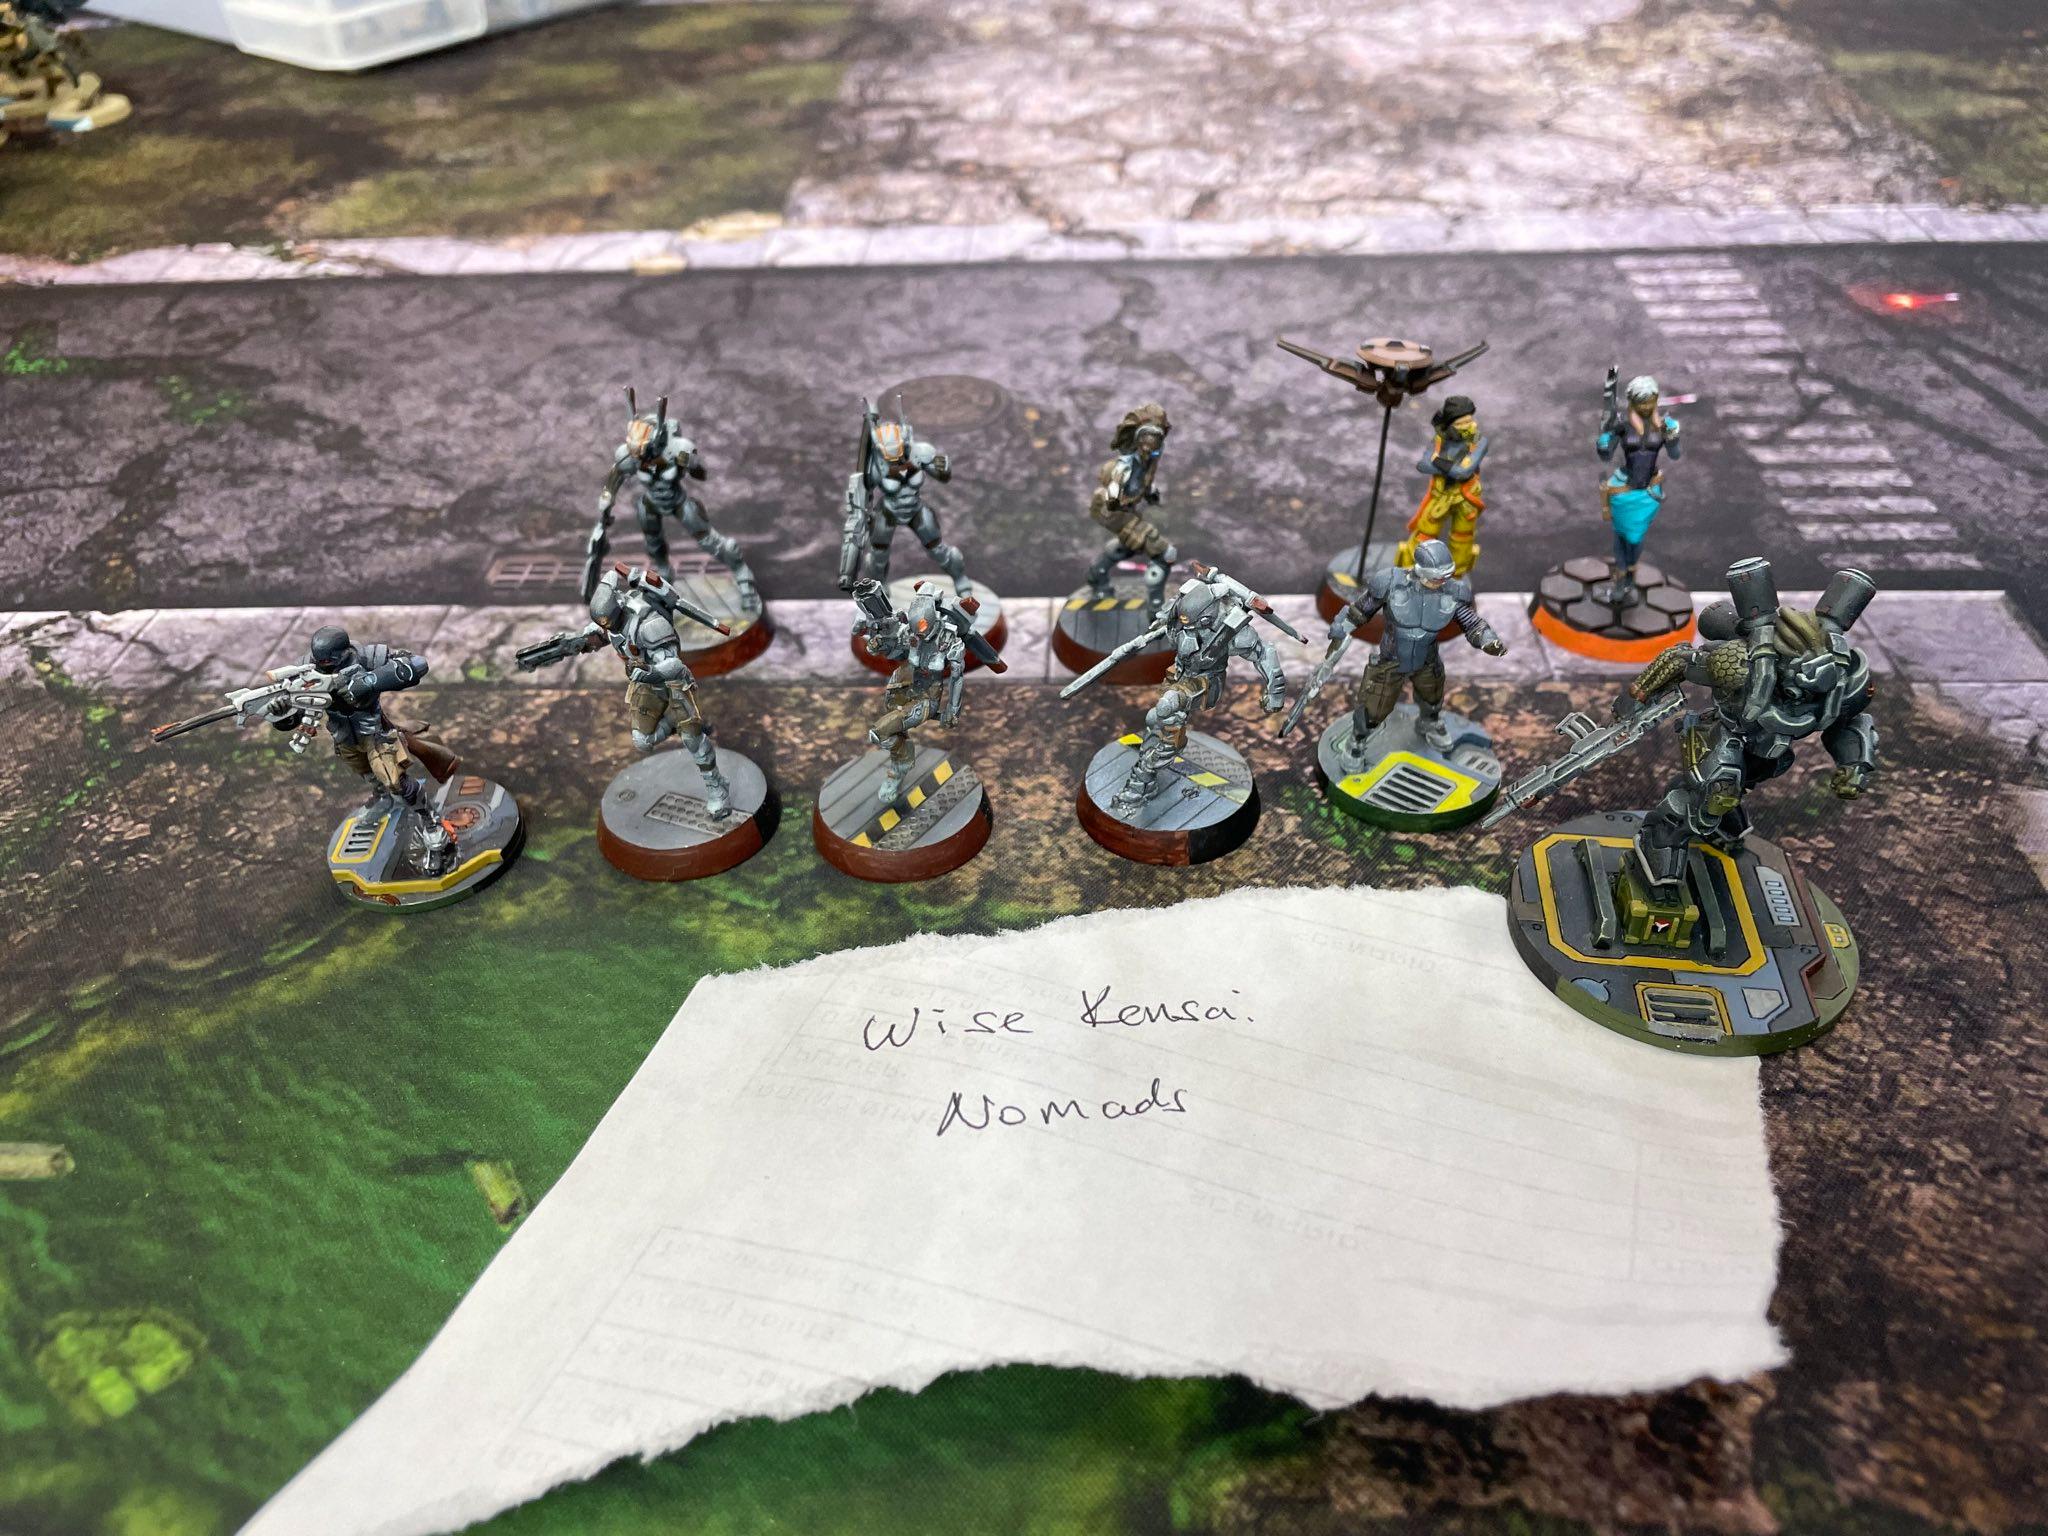
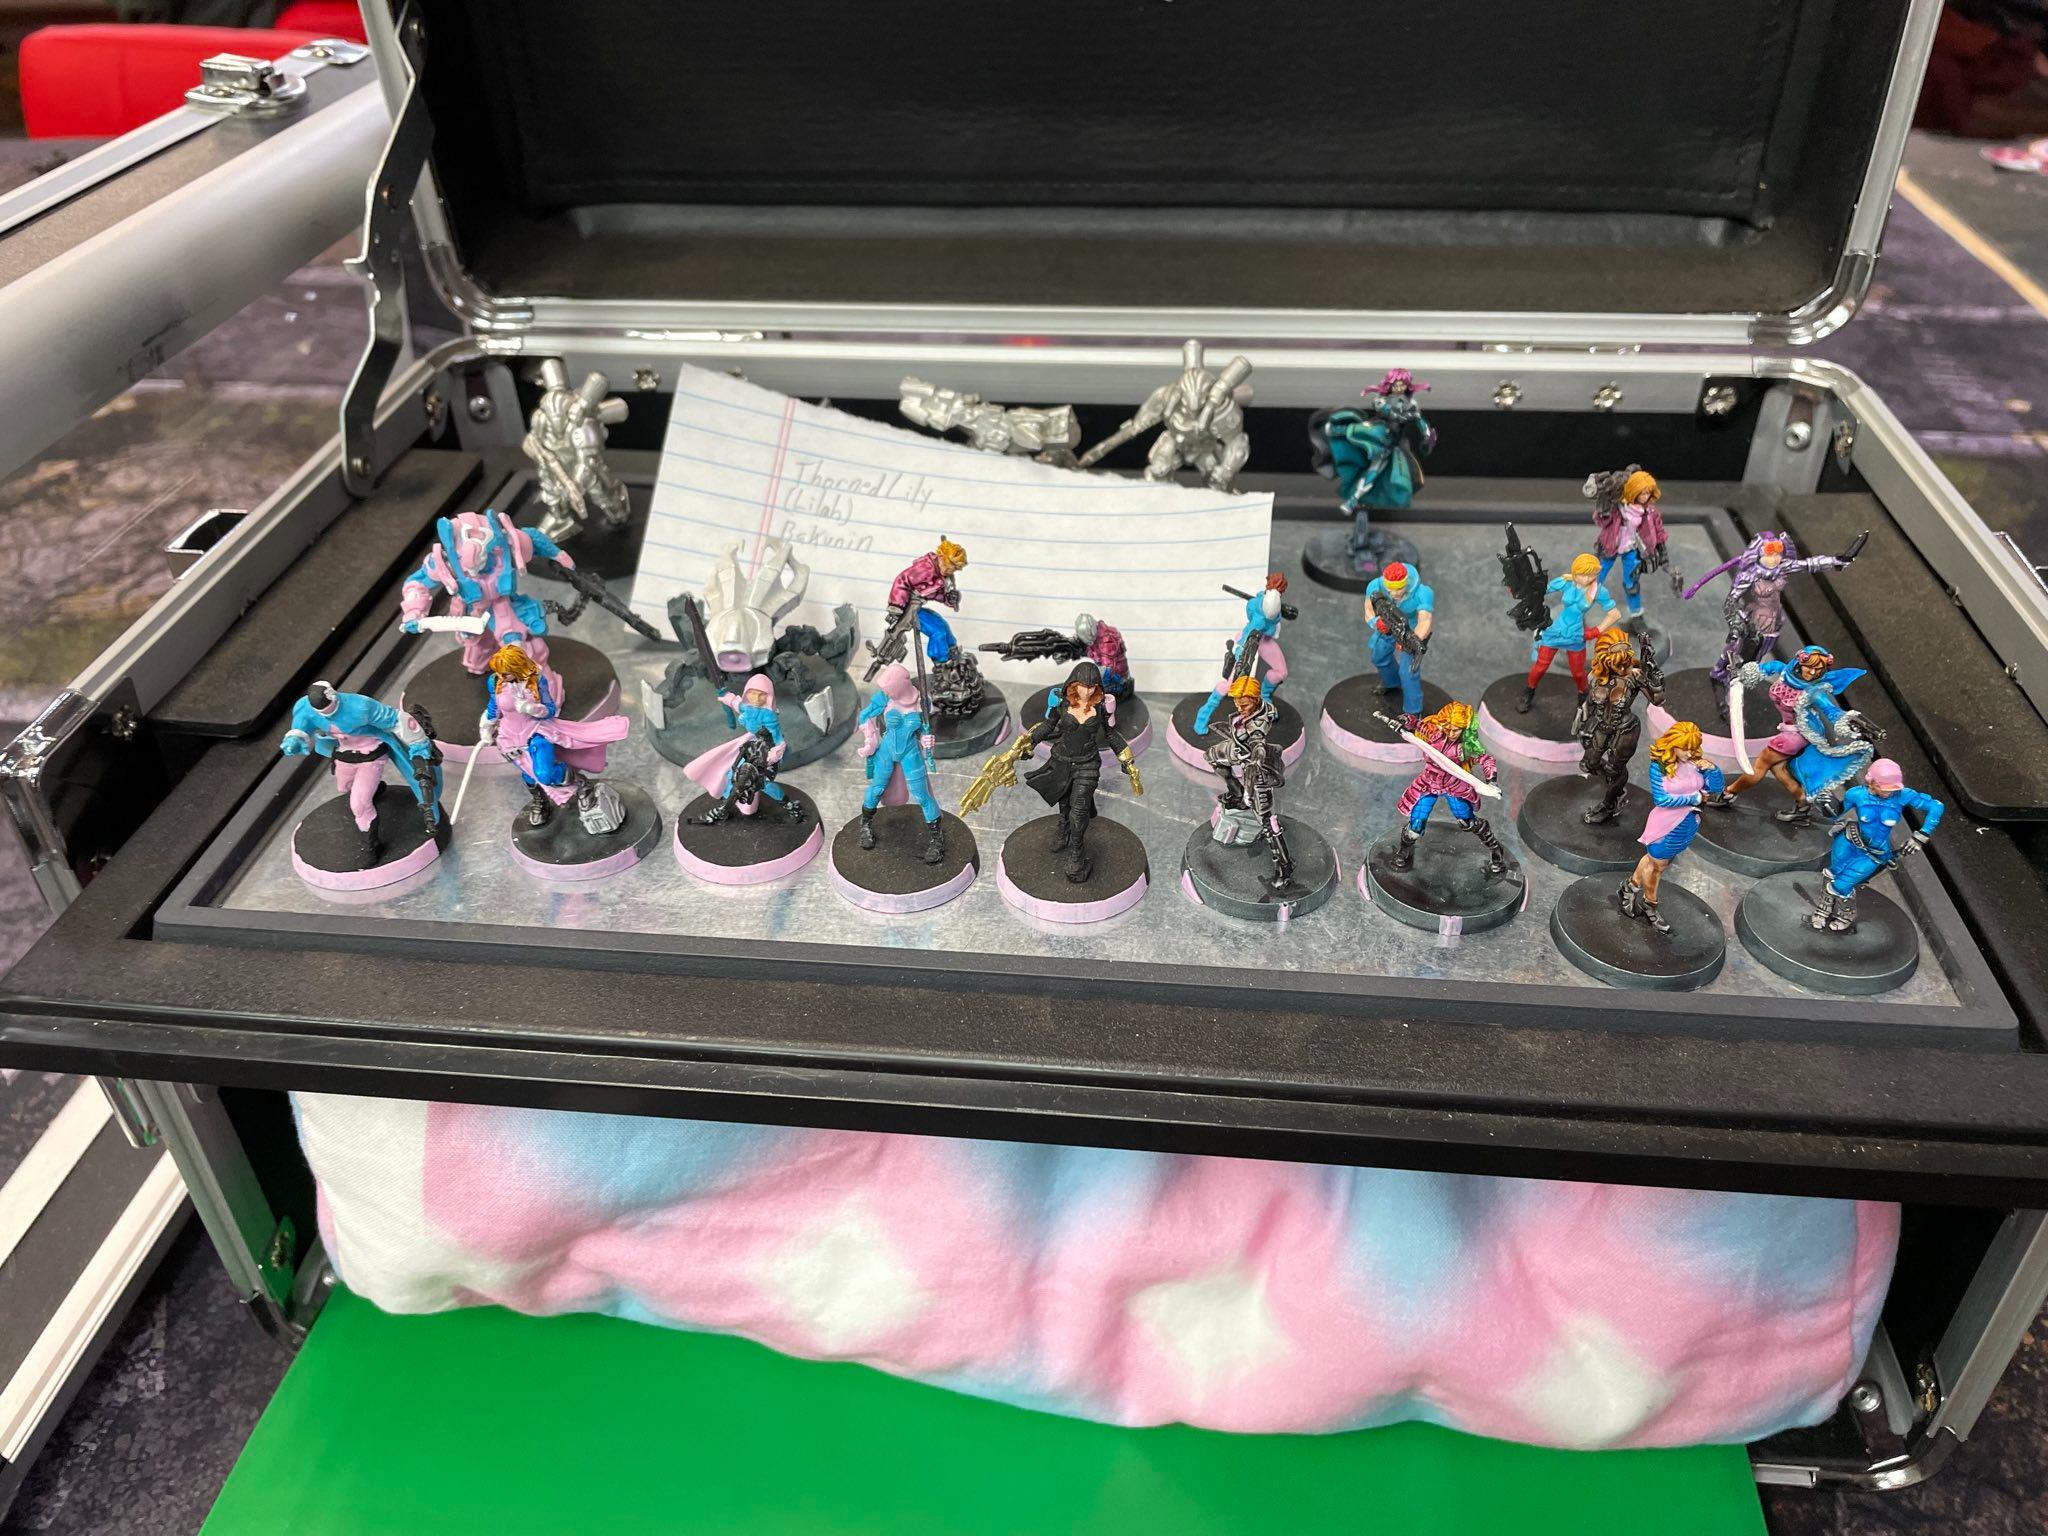
As anticipated, with a 3-2 record, I placed pretty near the middle of the pack at 12th. I did, however, win best painted for Nomads, so there’s that!
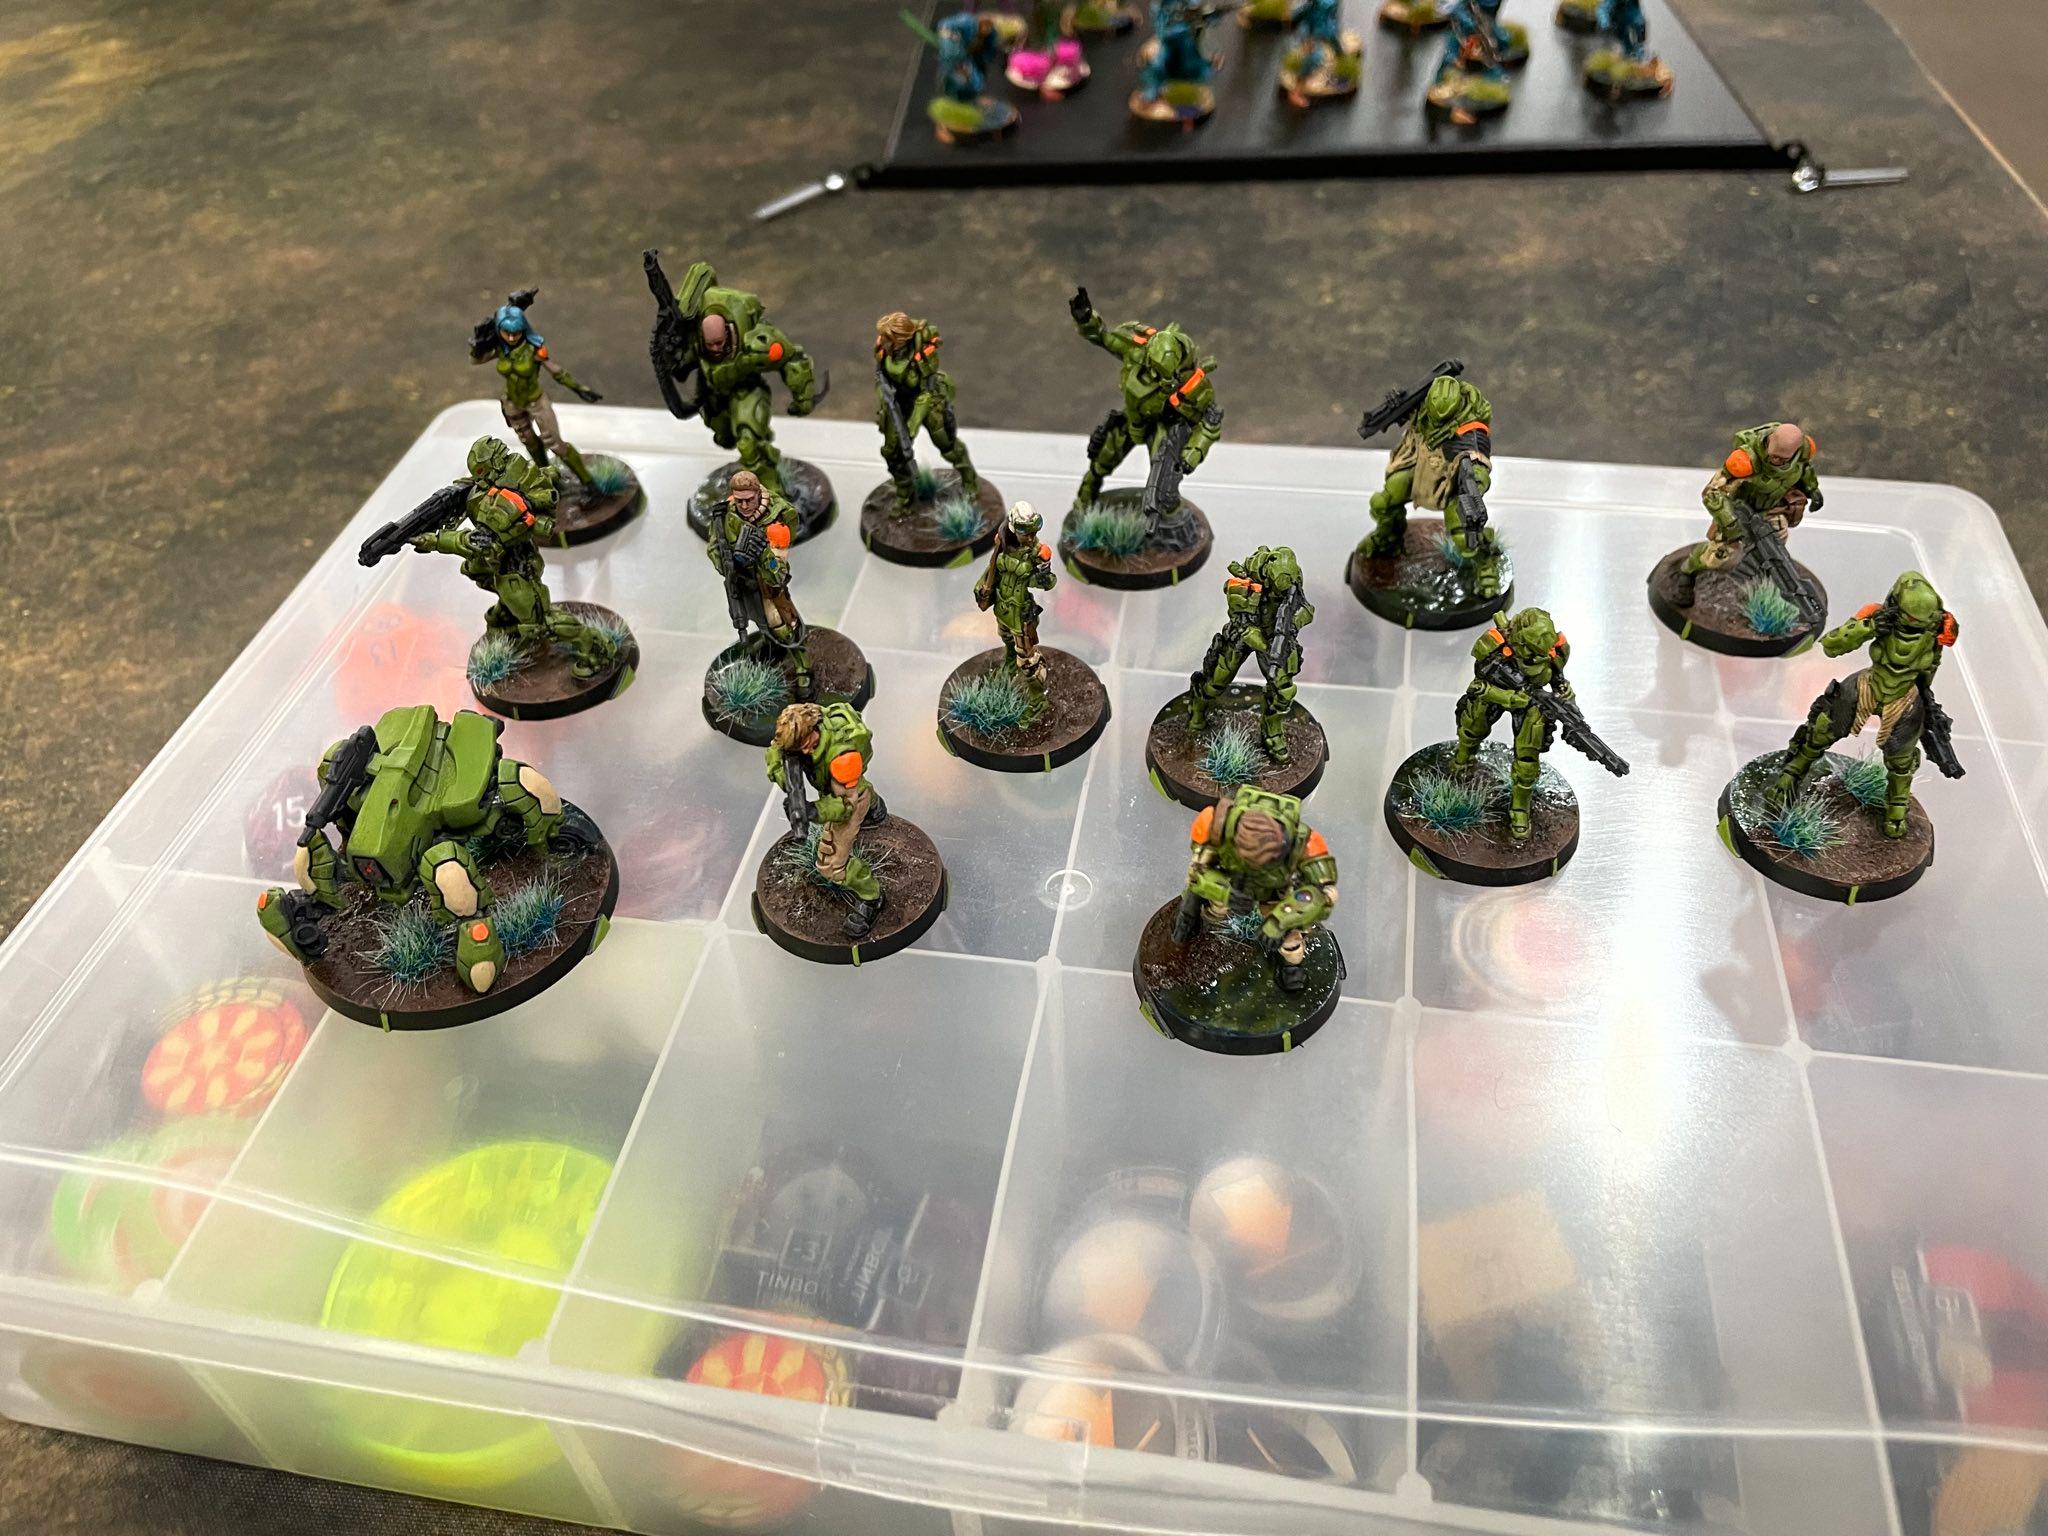
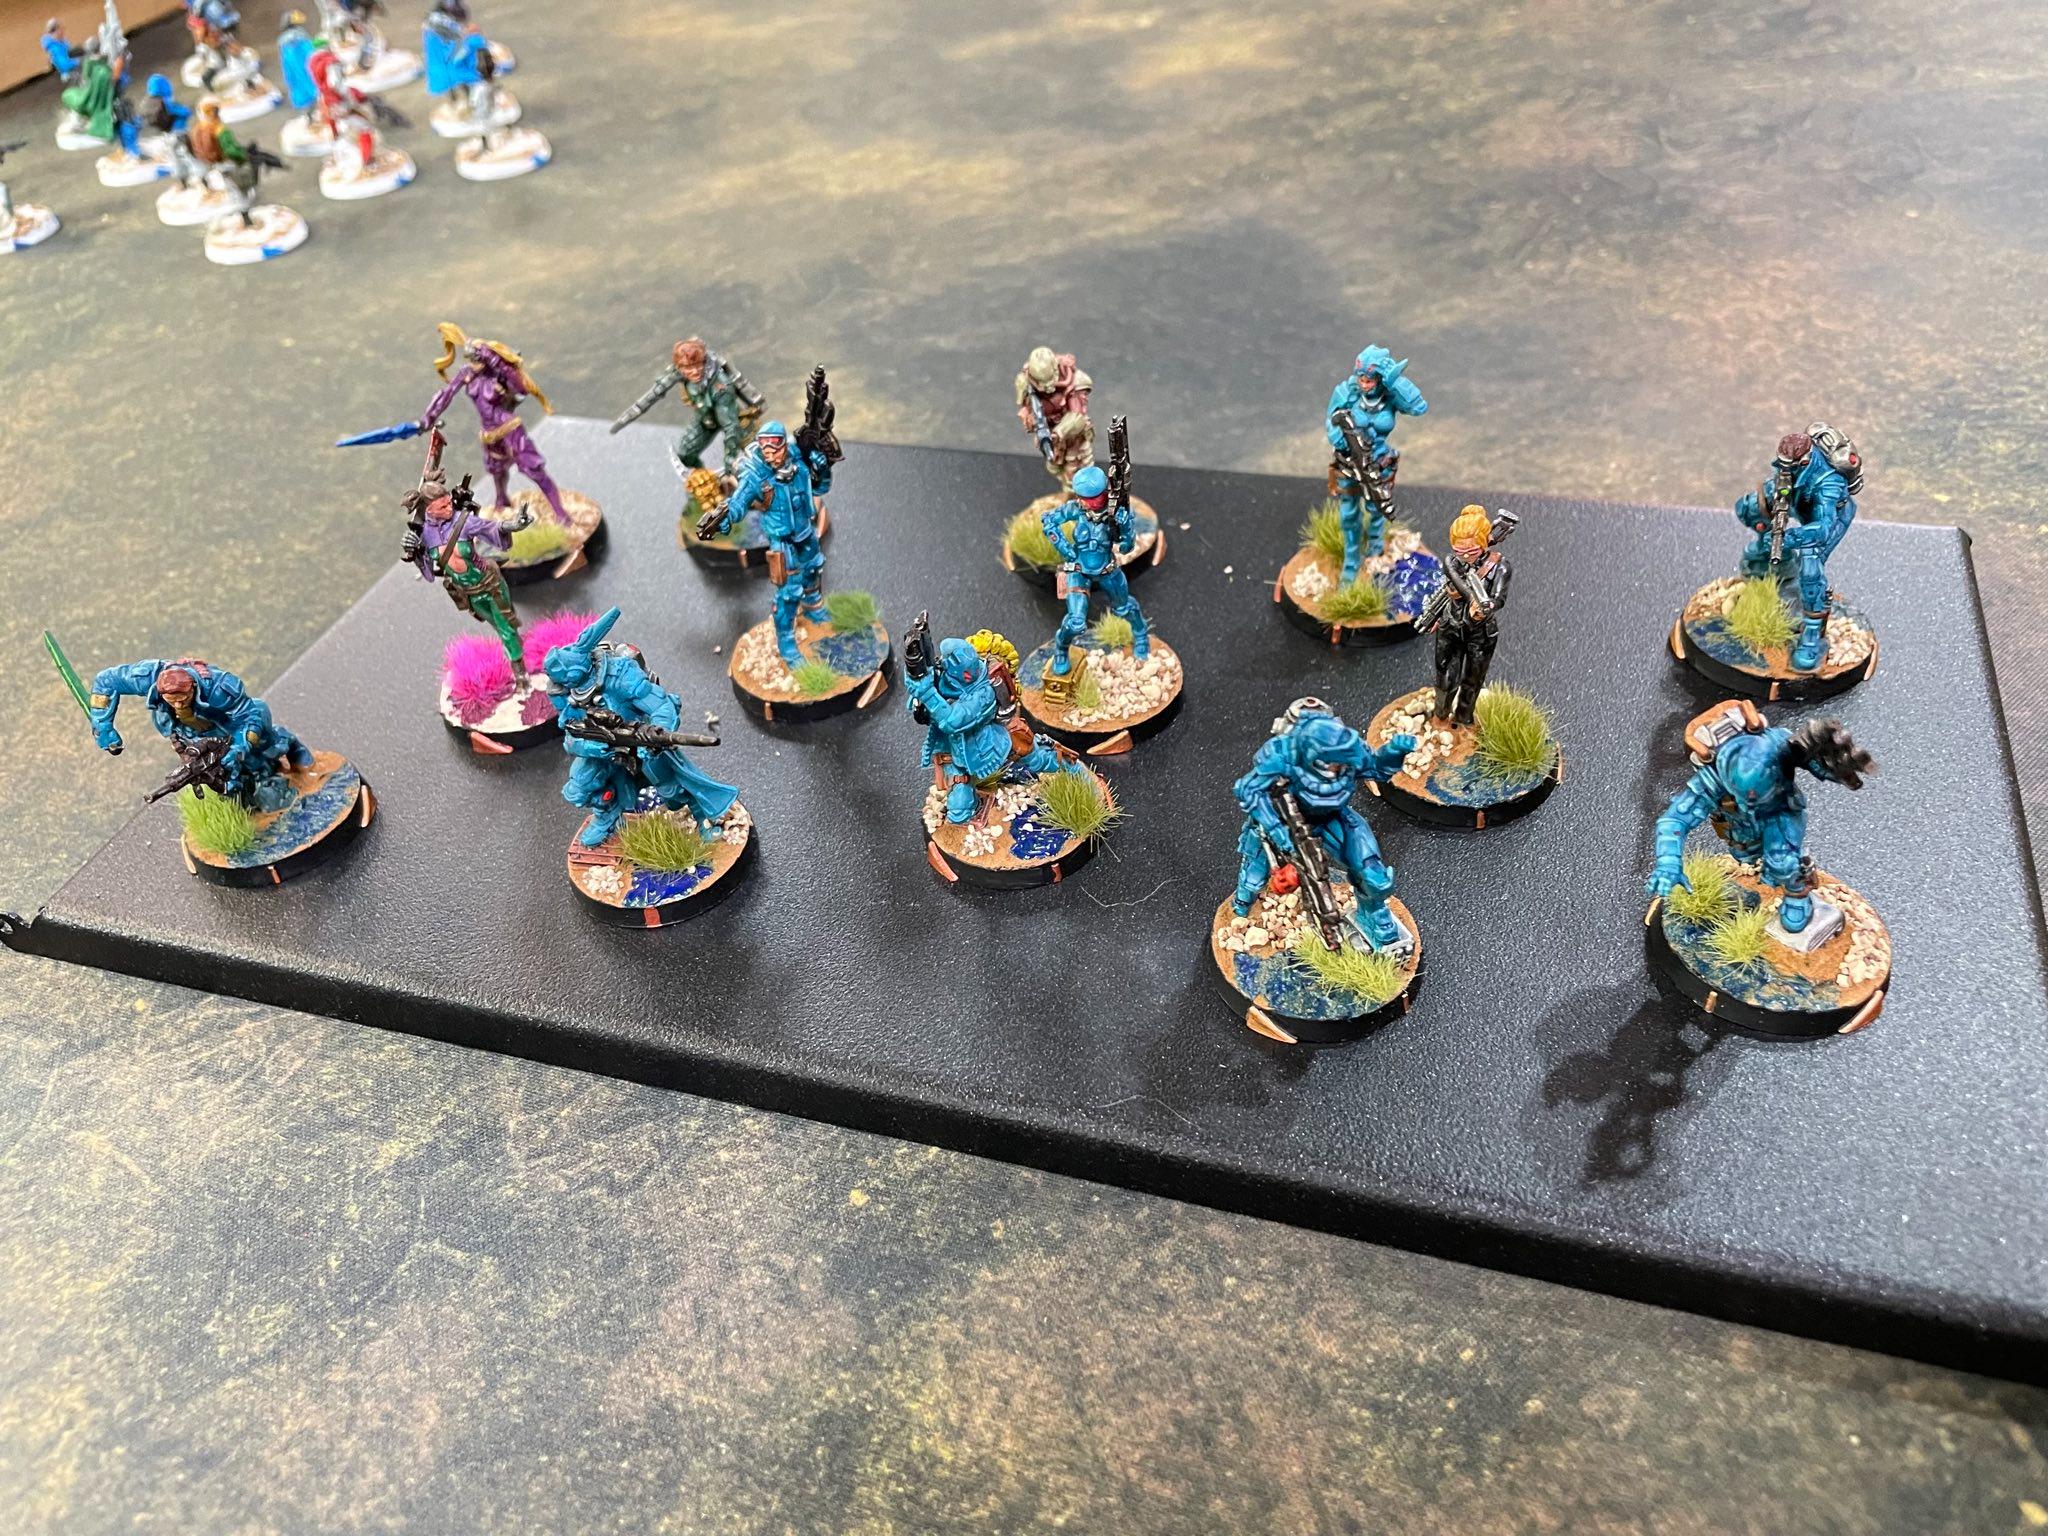
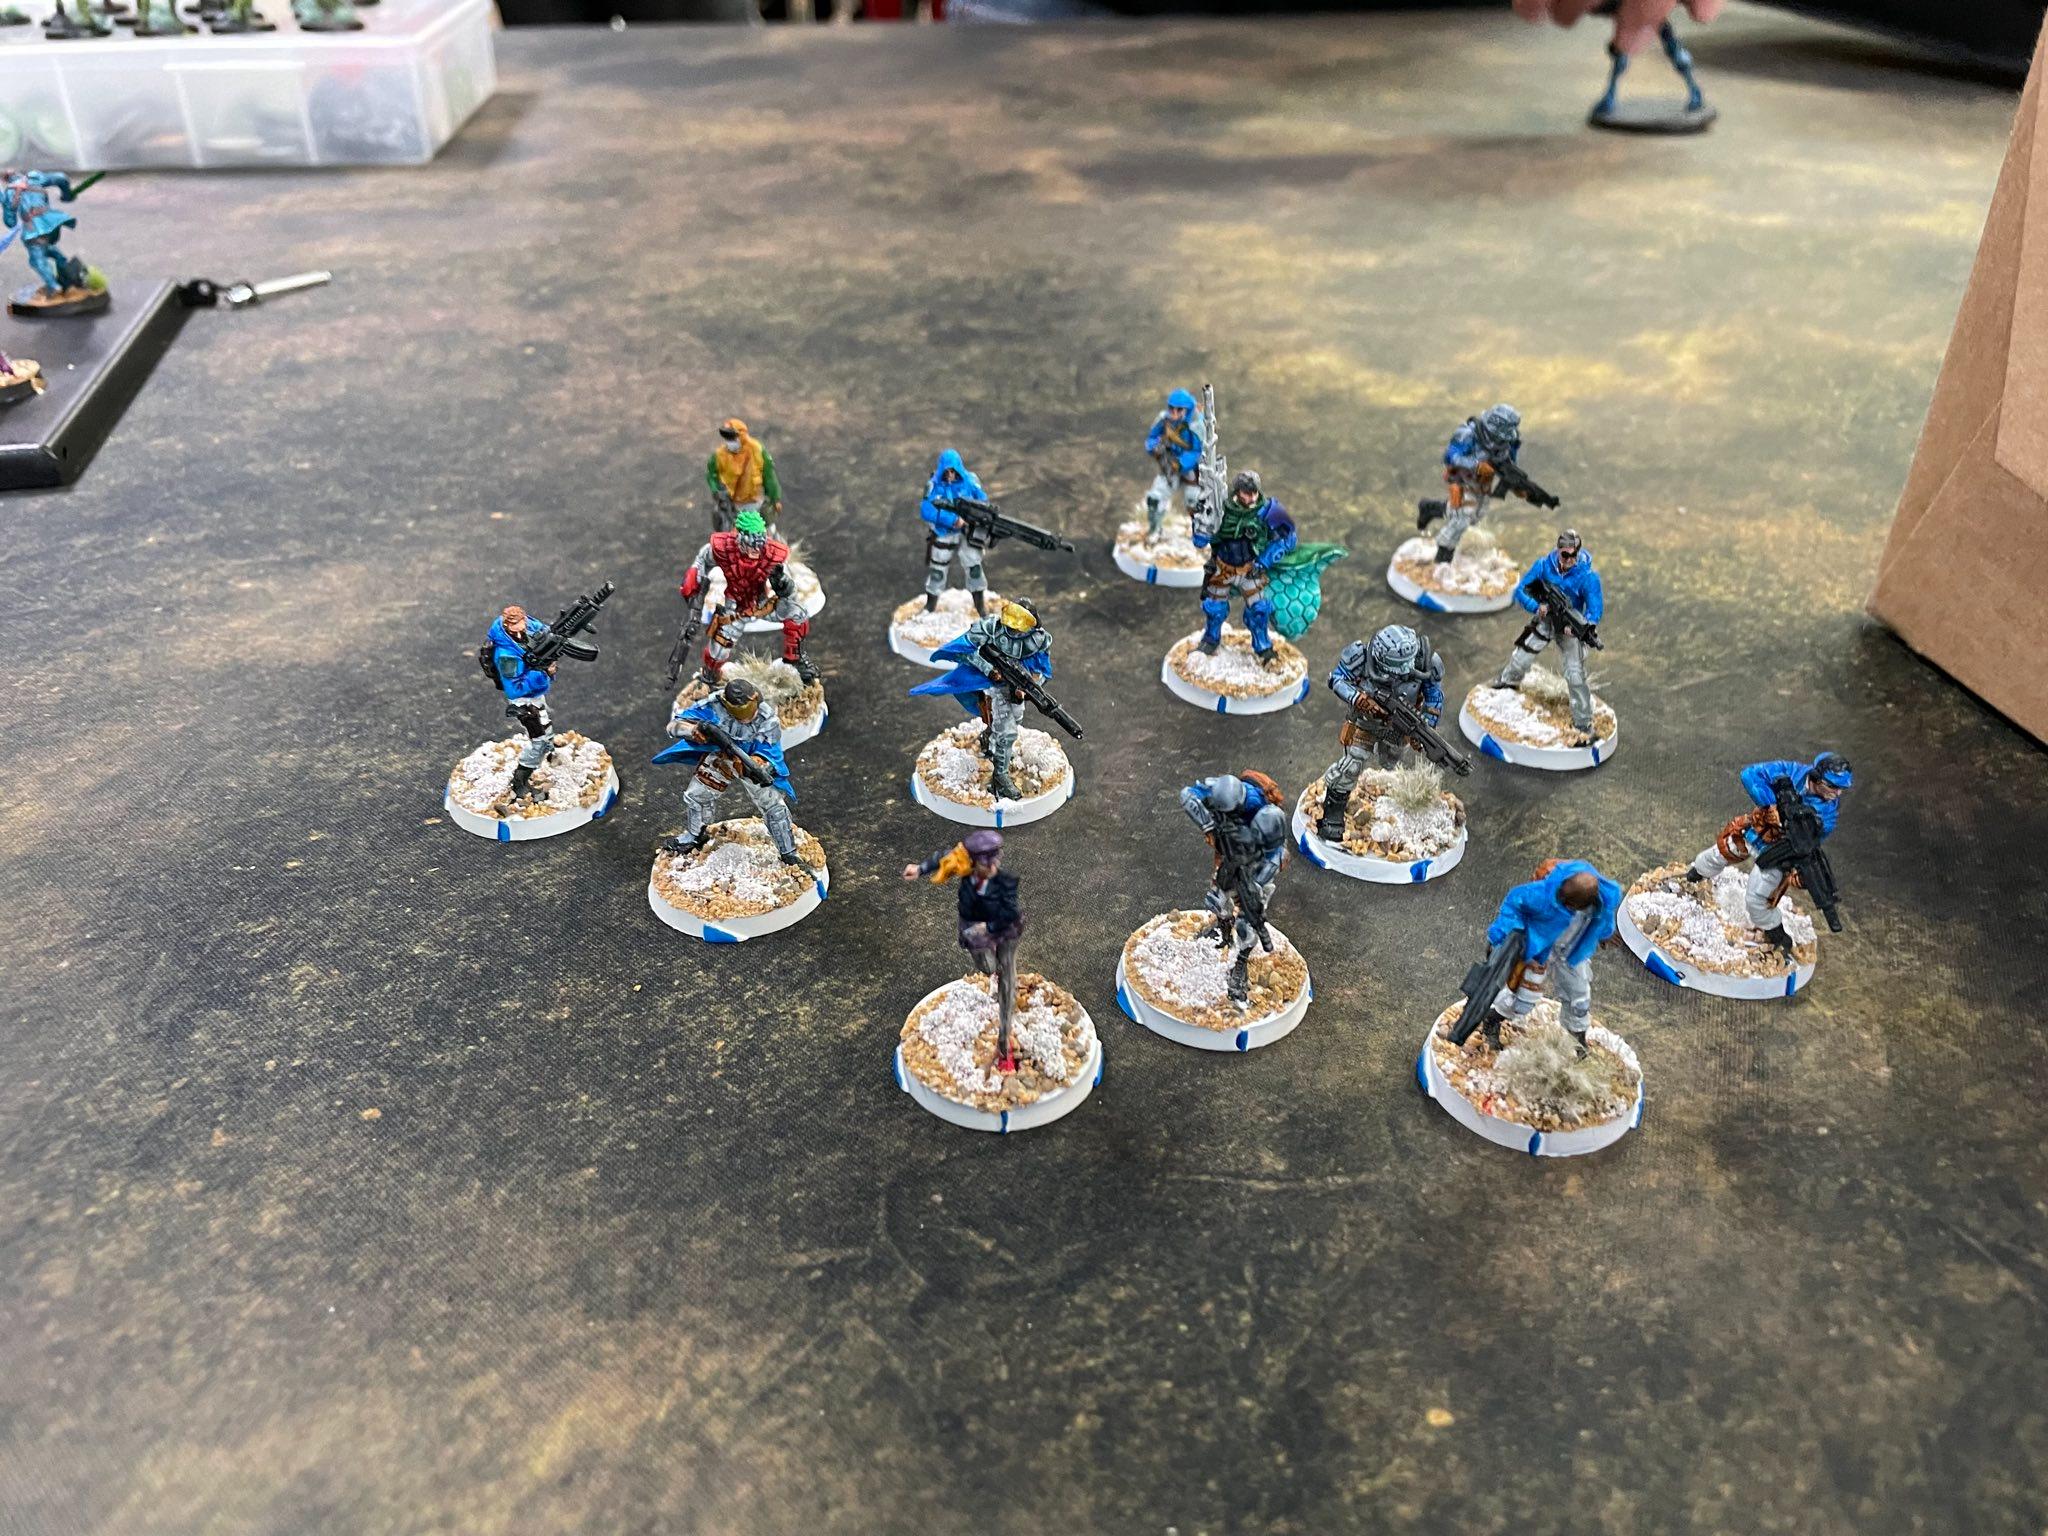
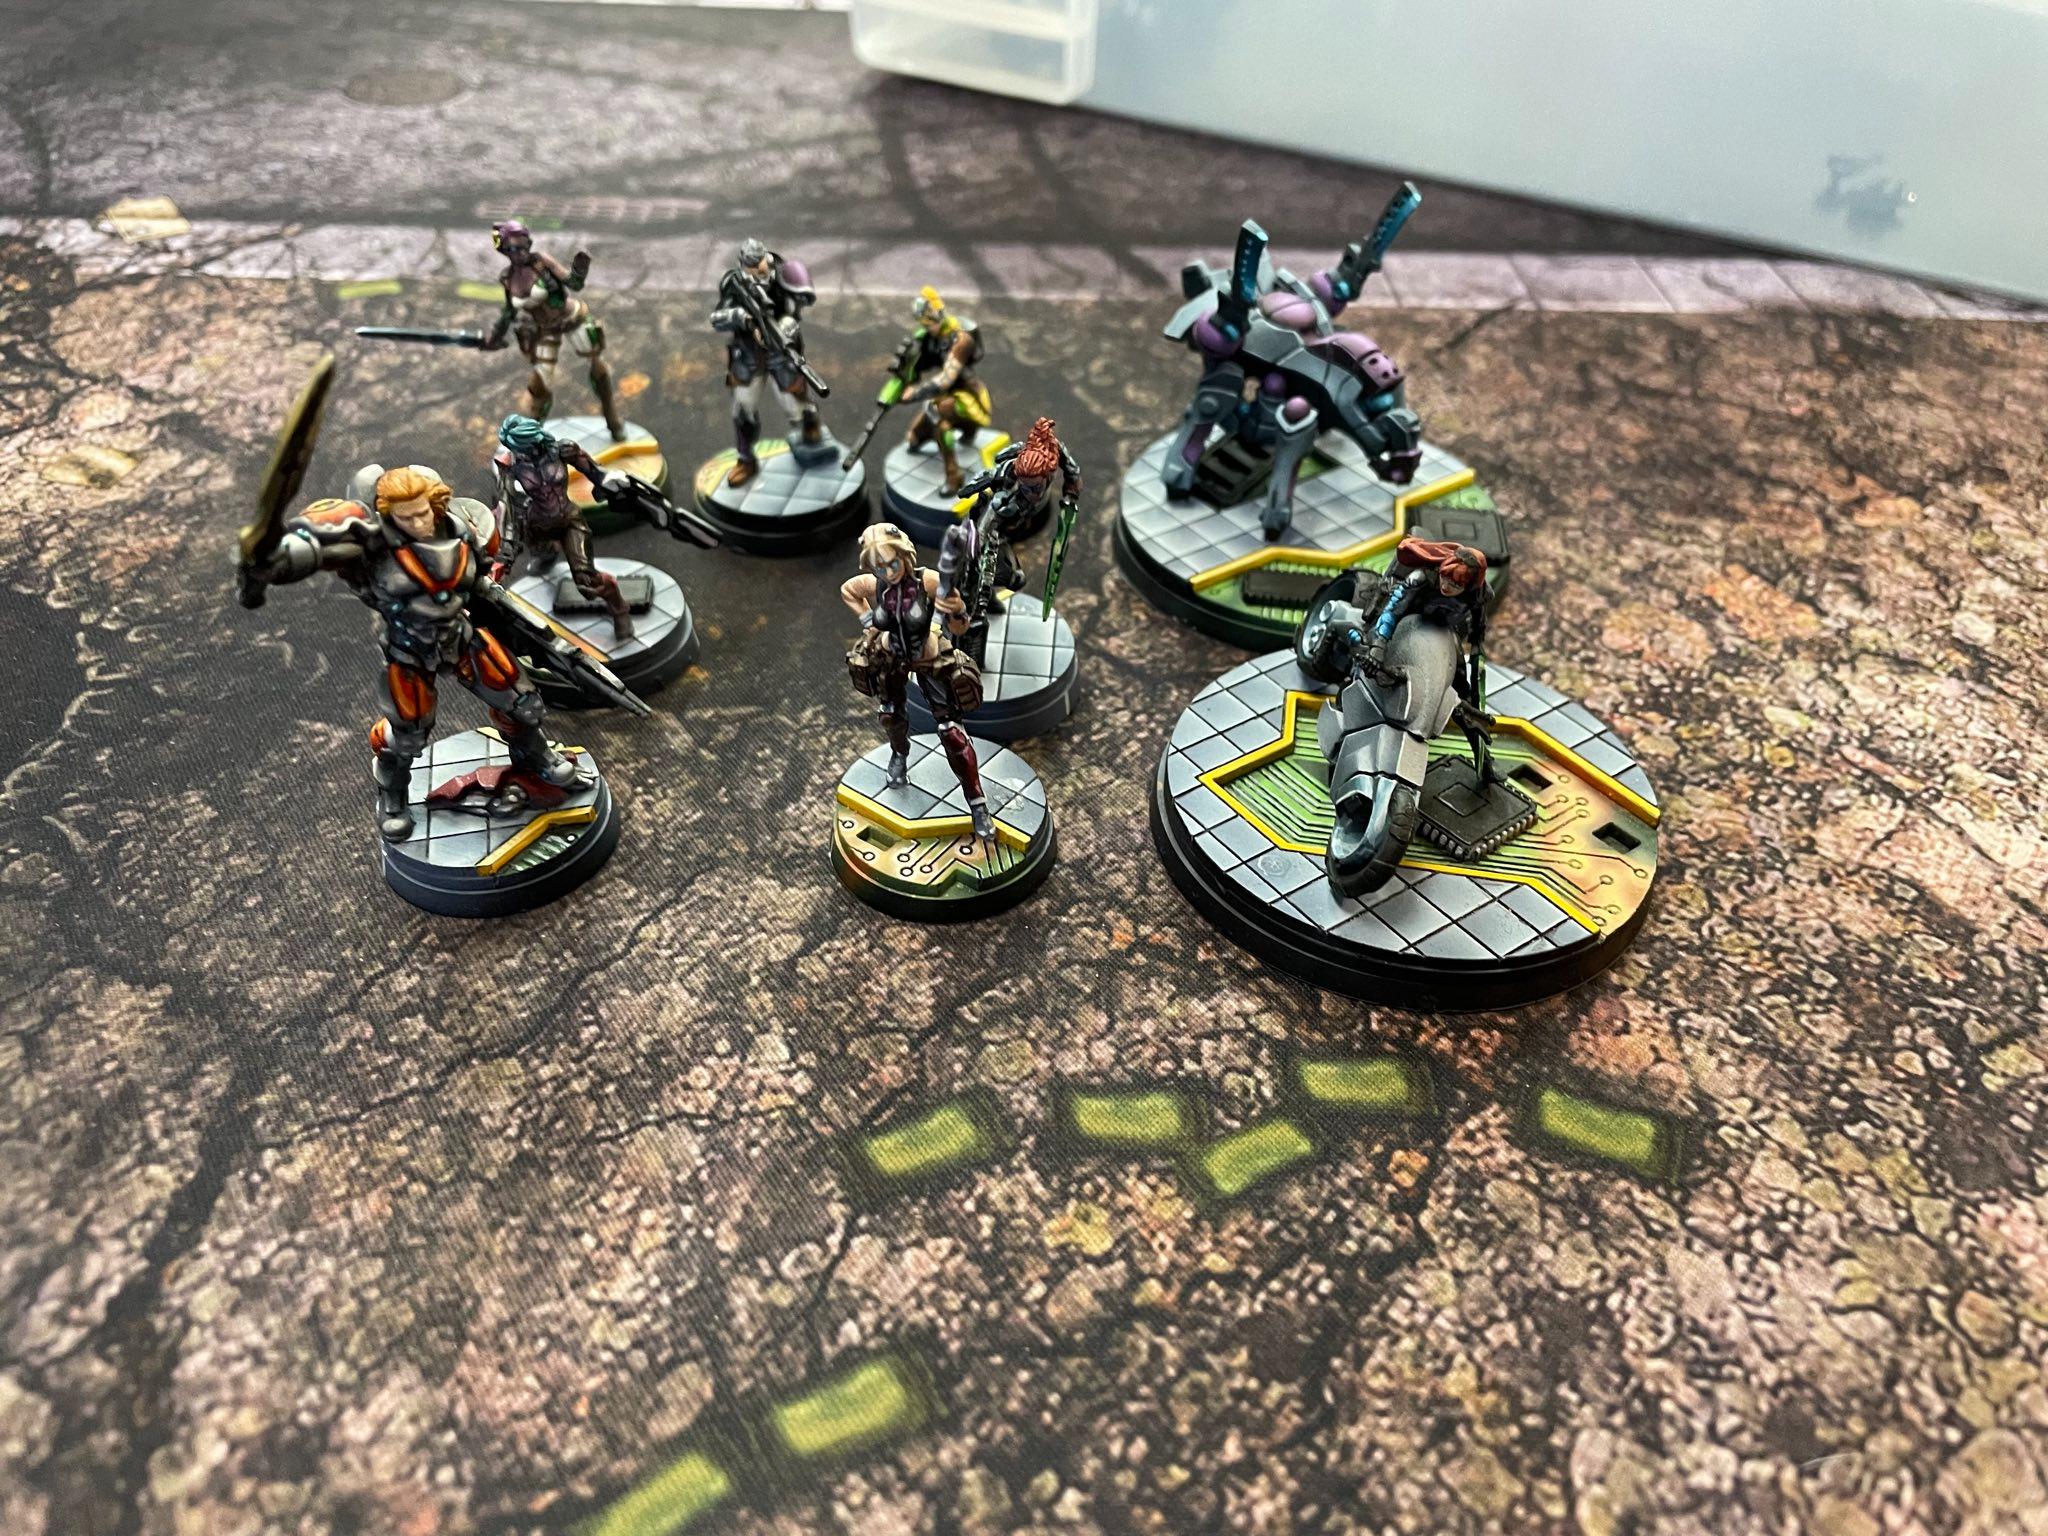
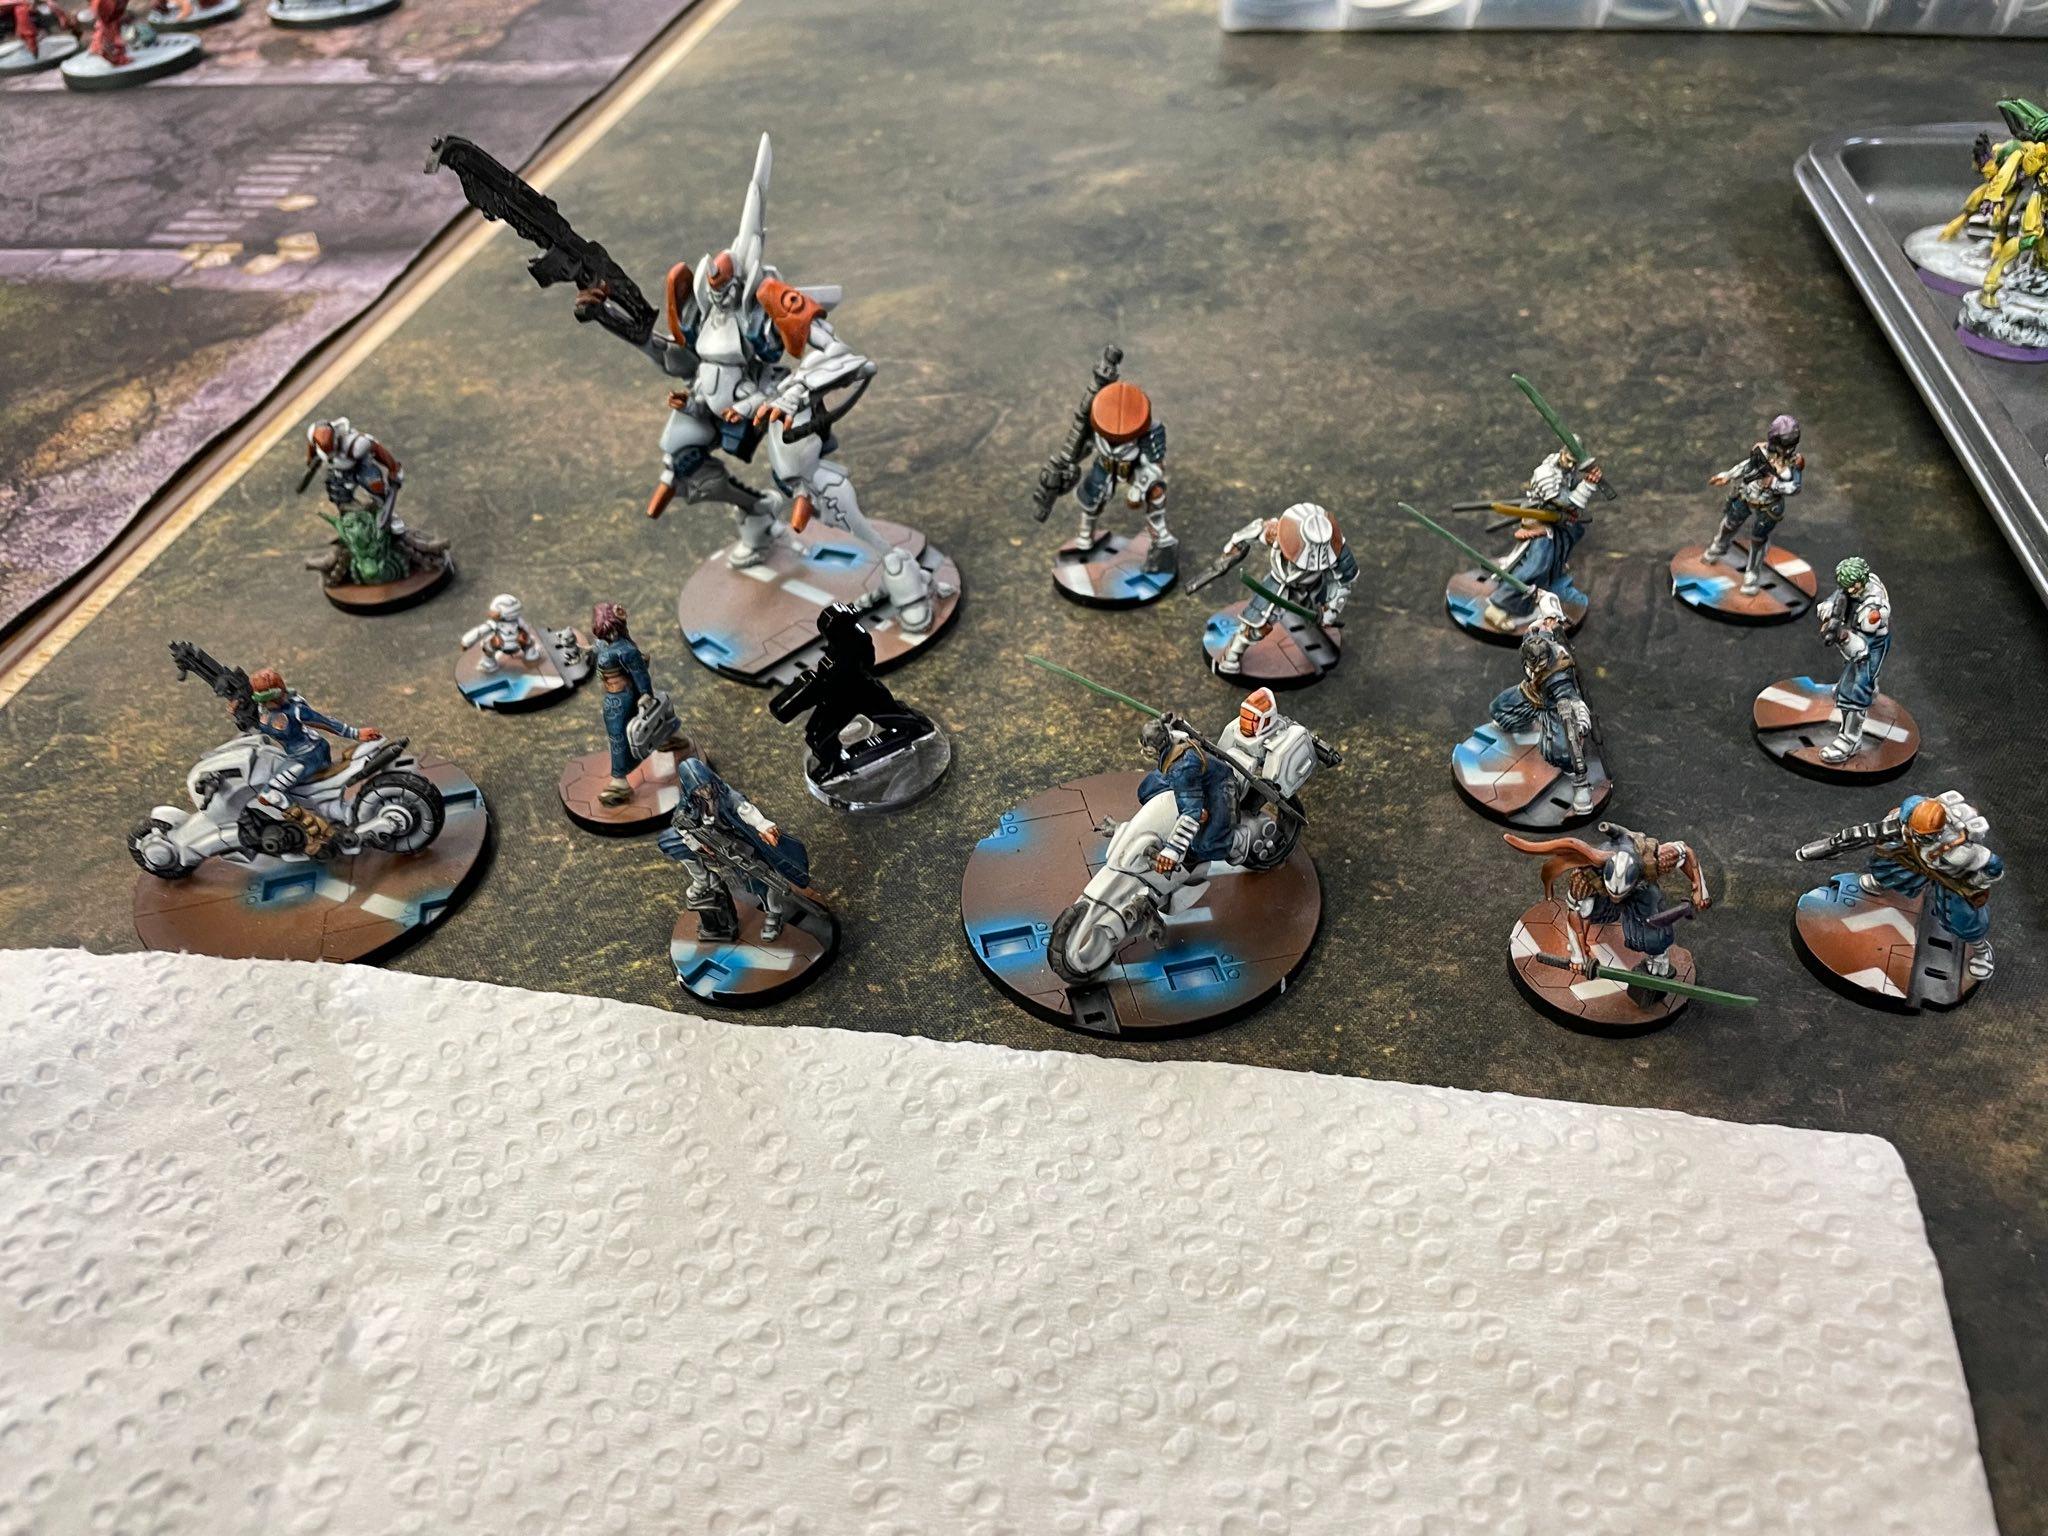
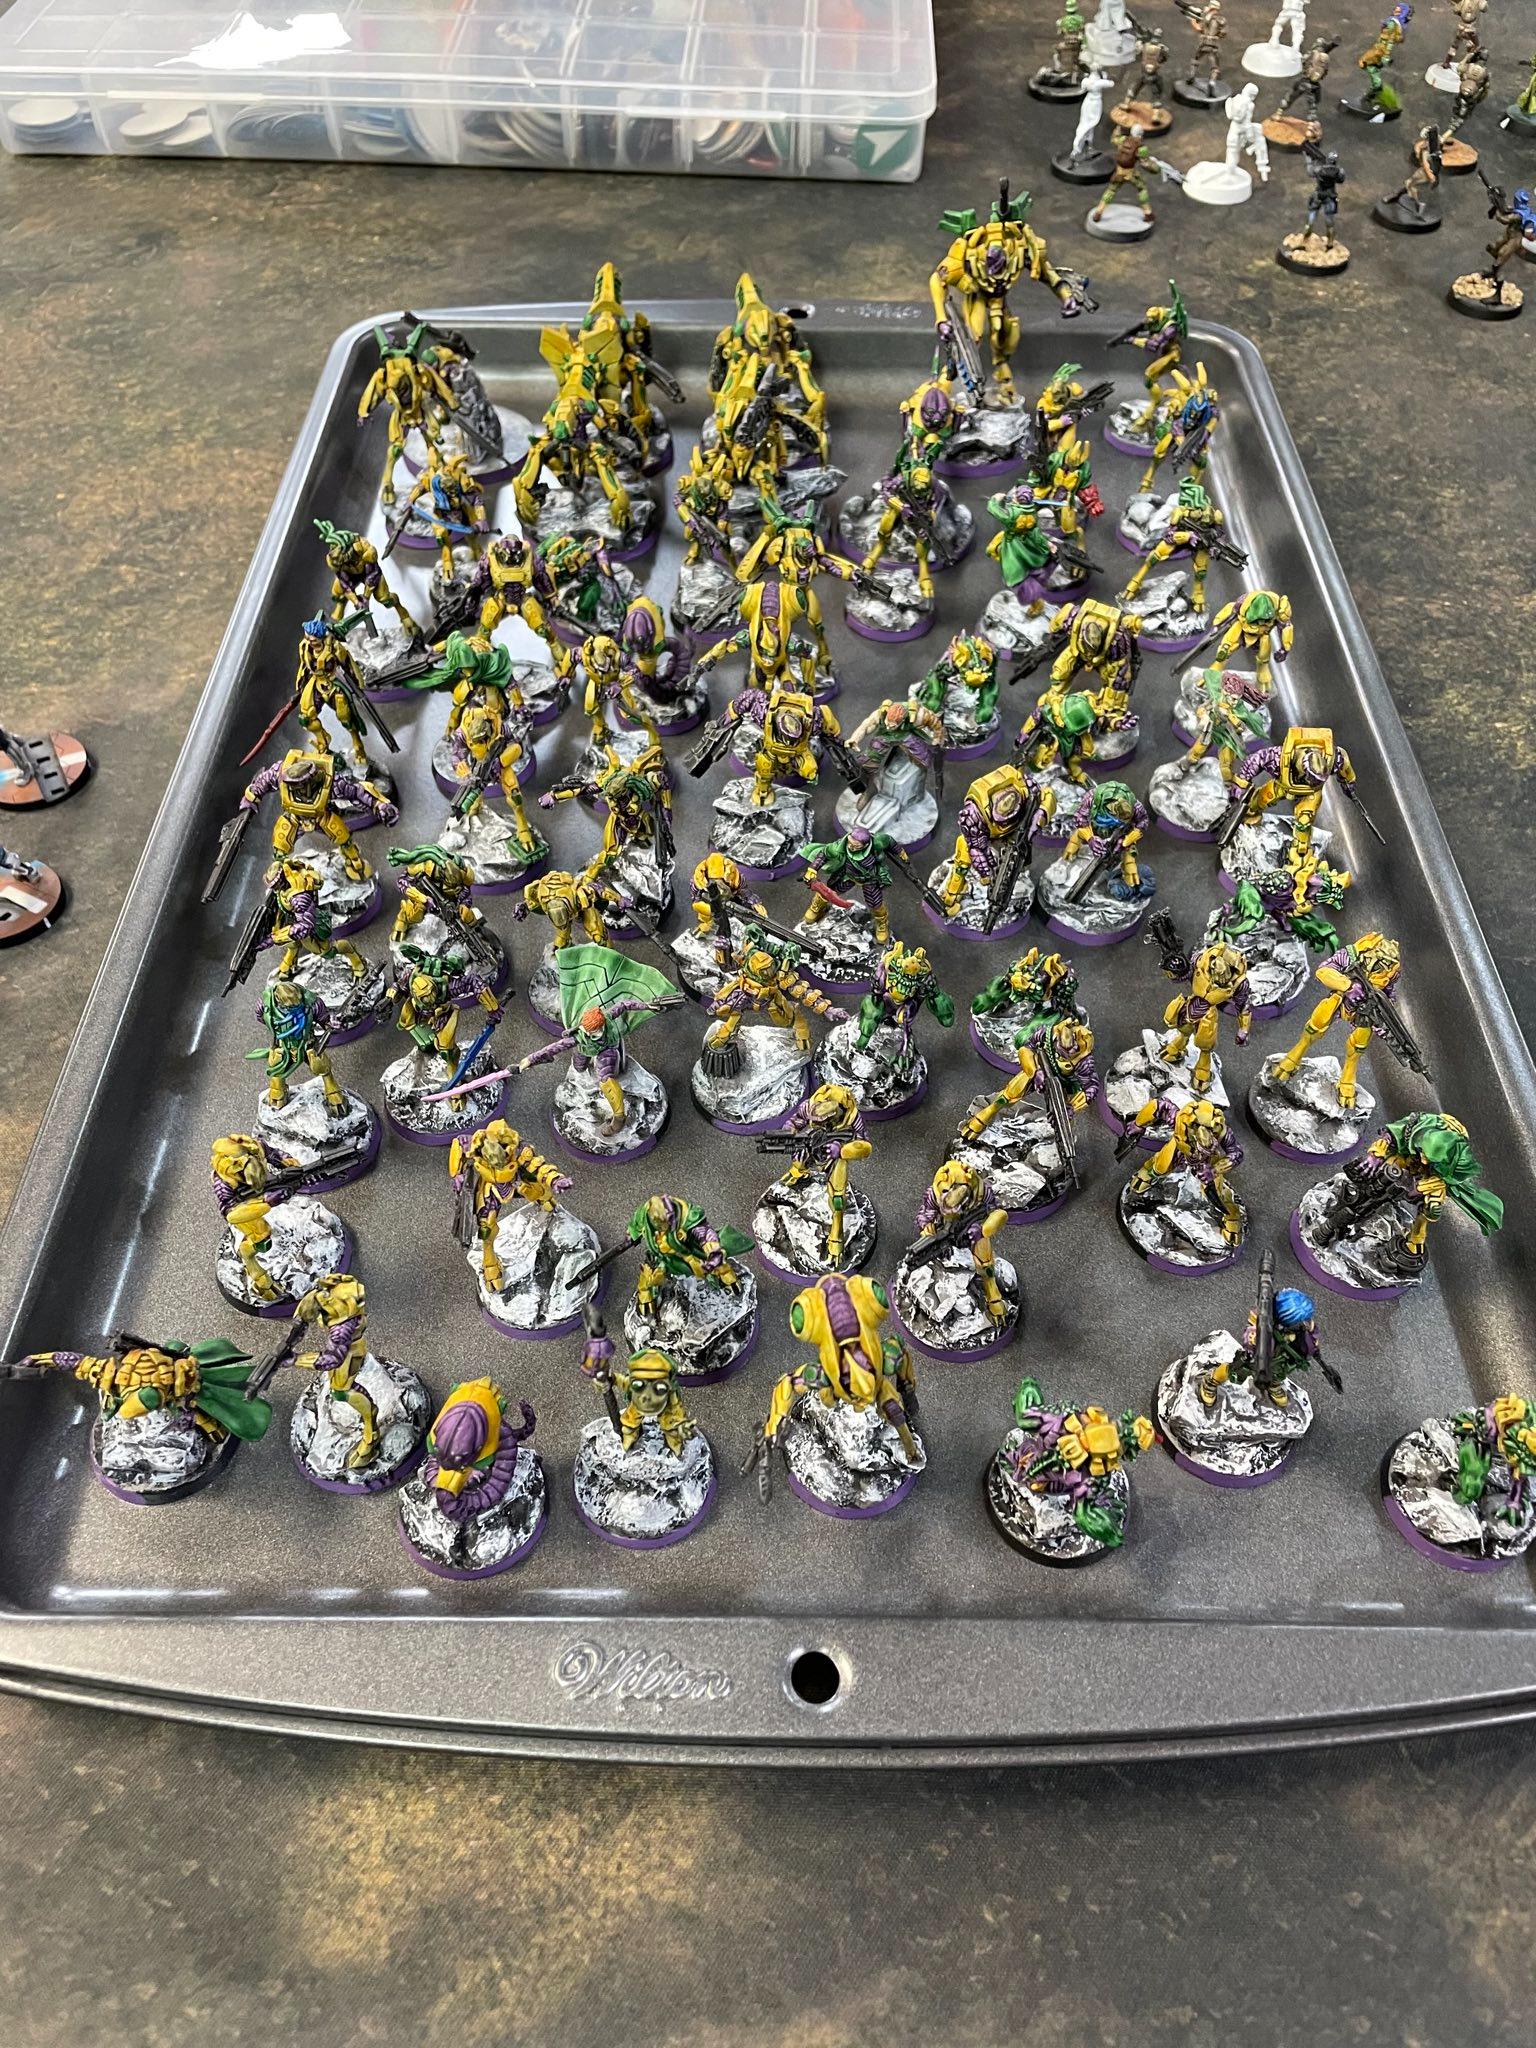
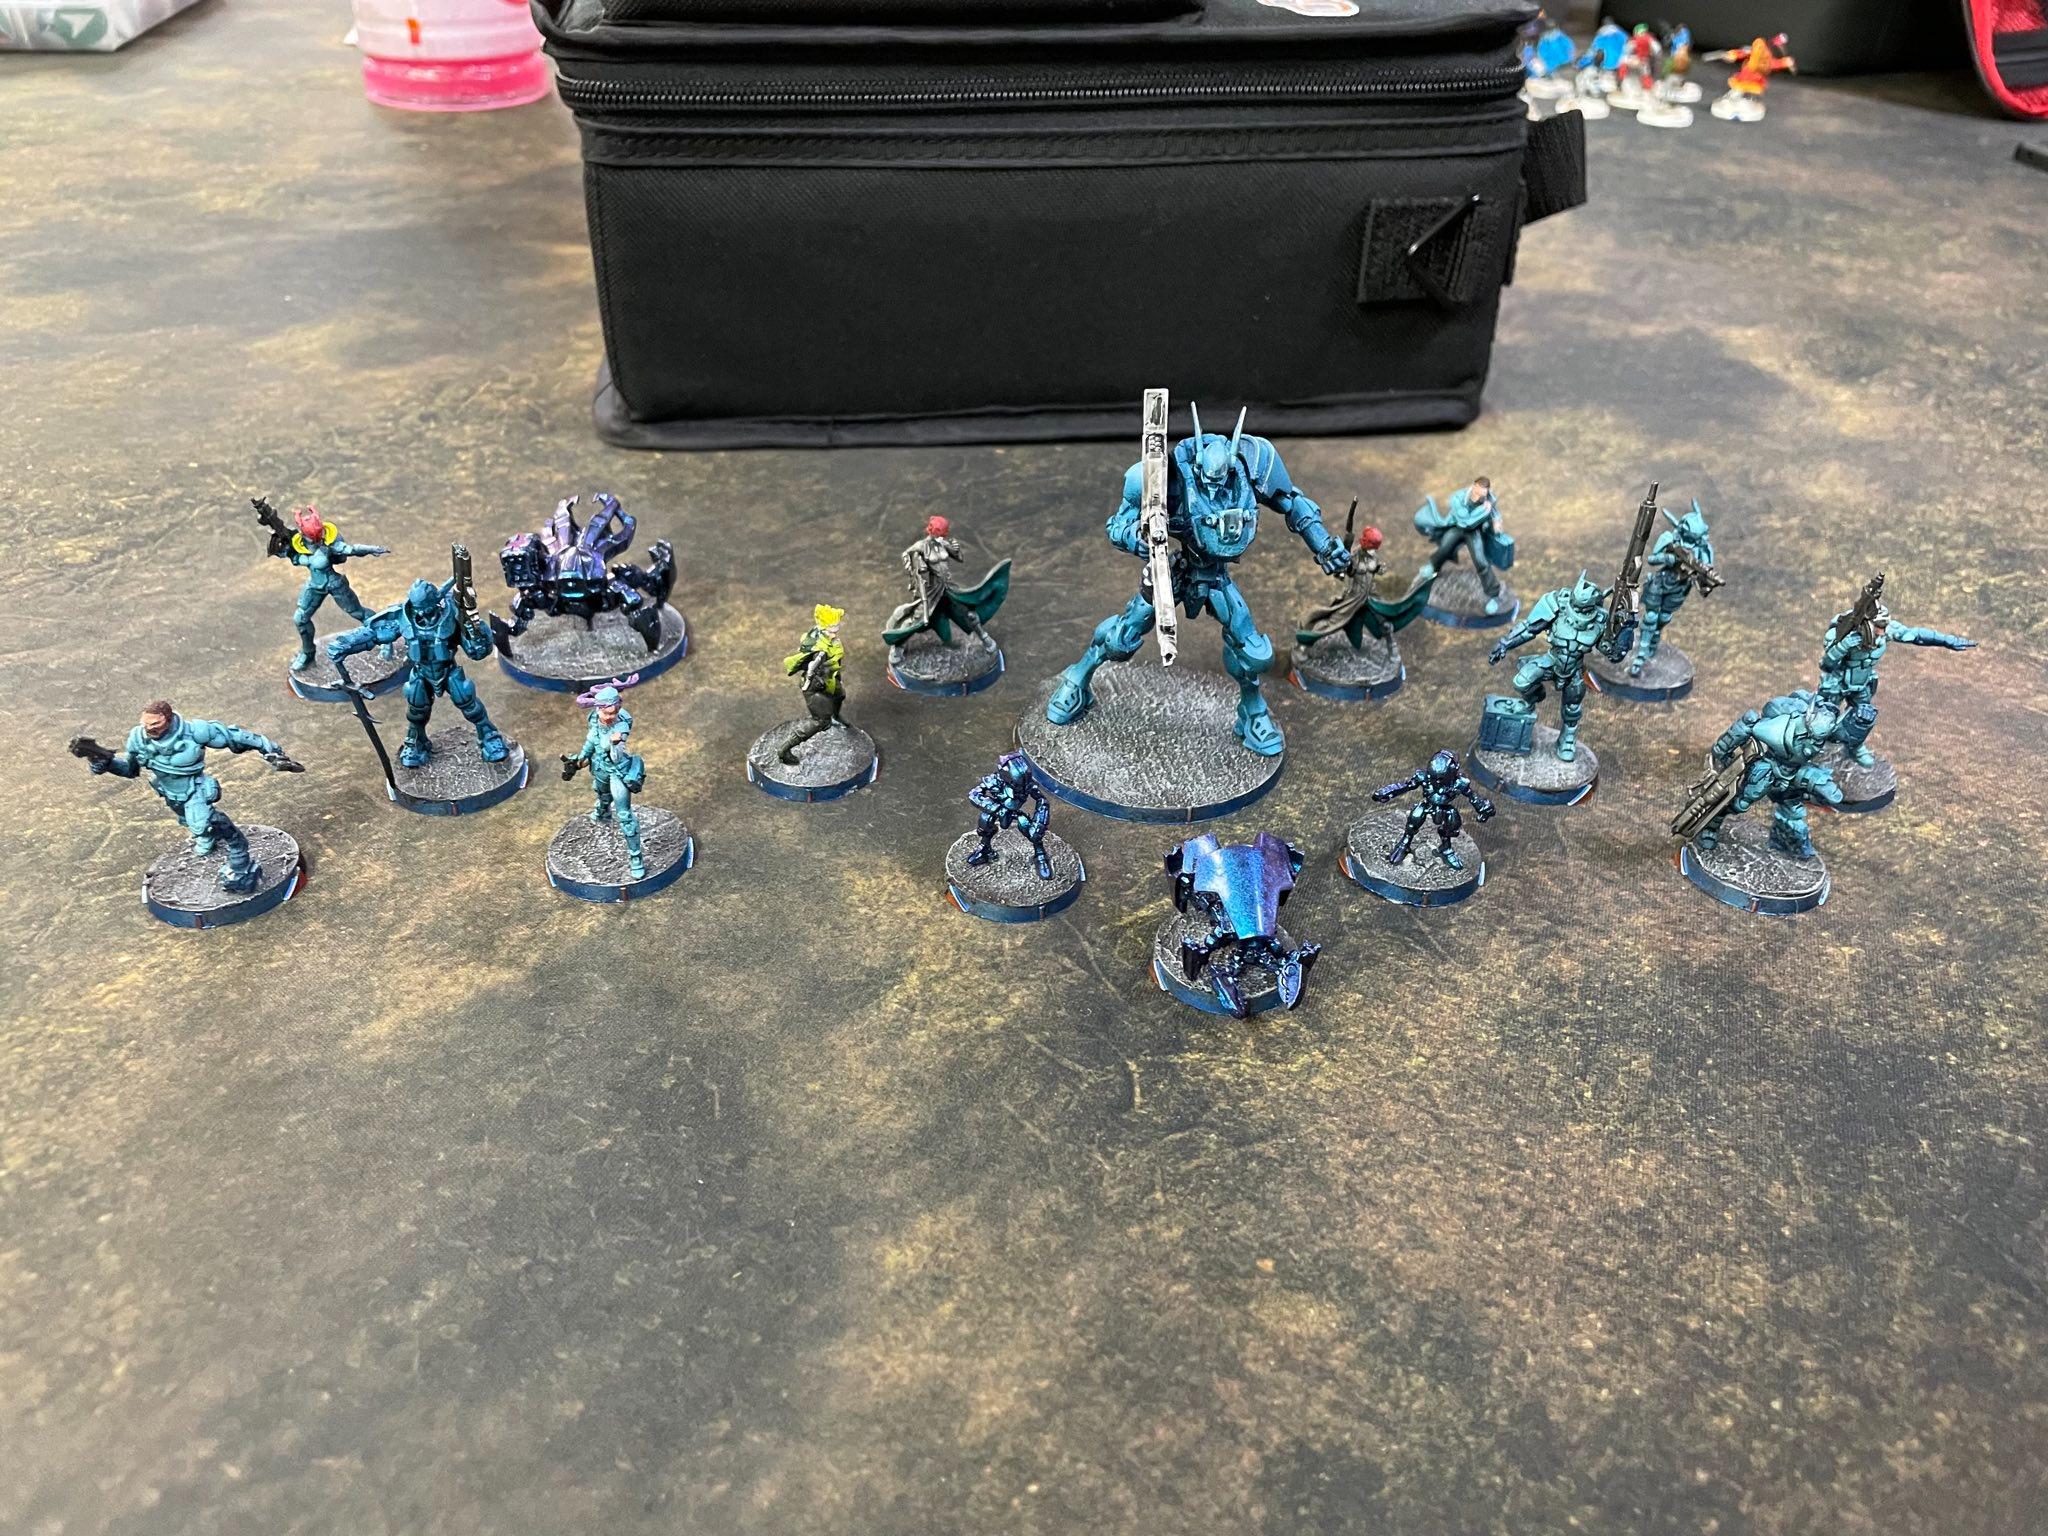
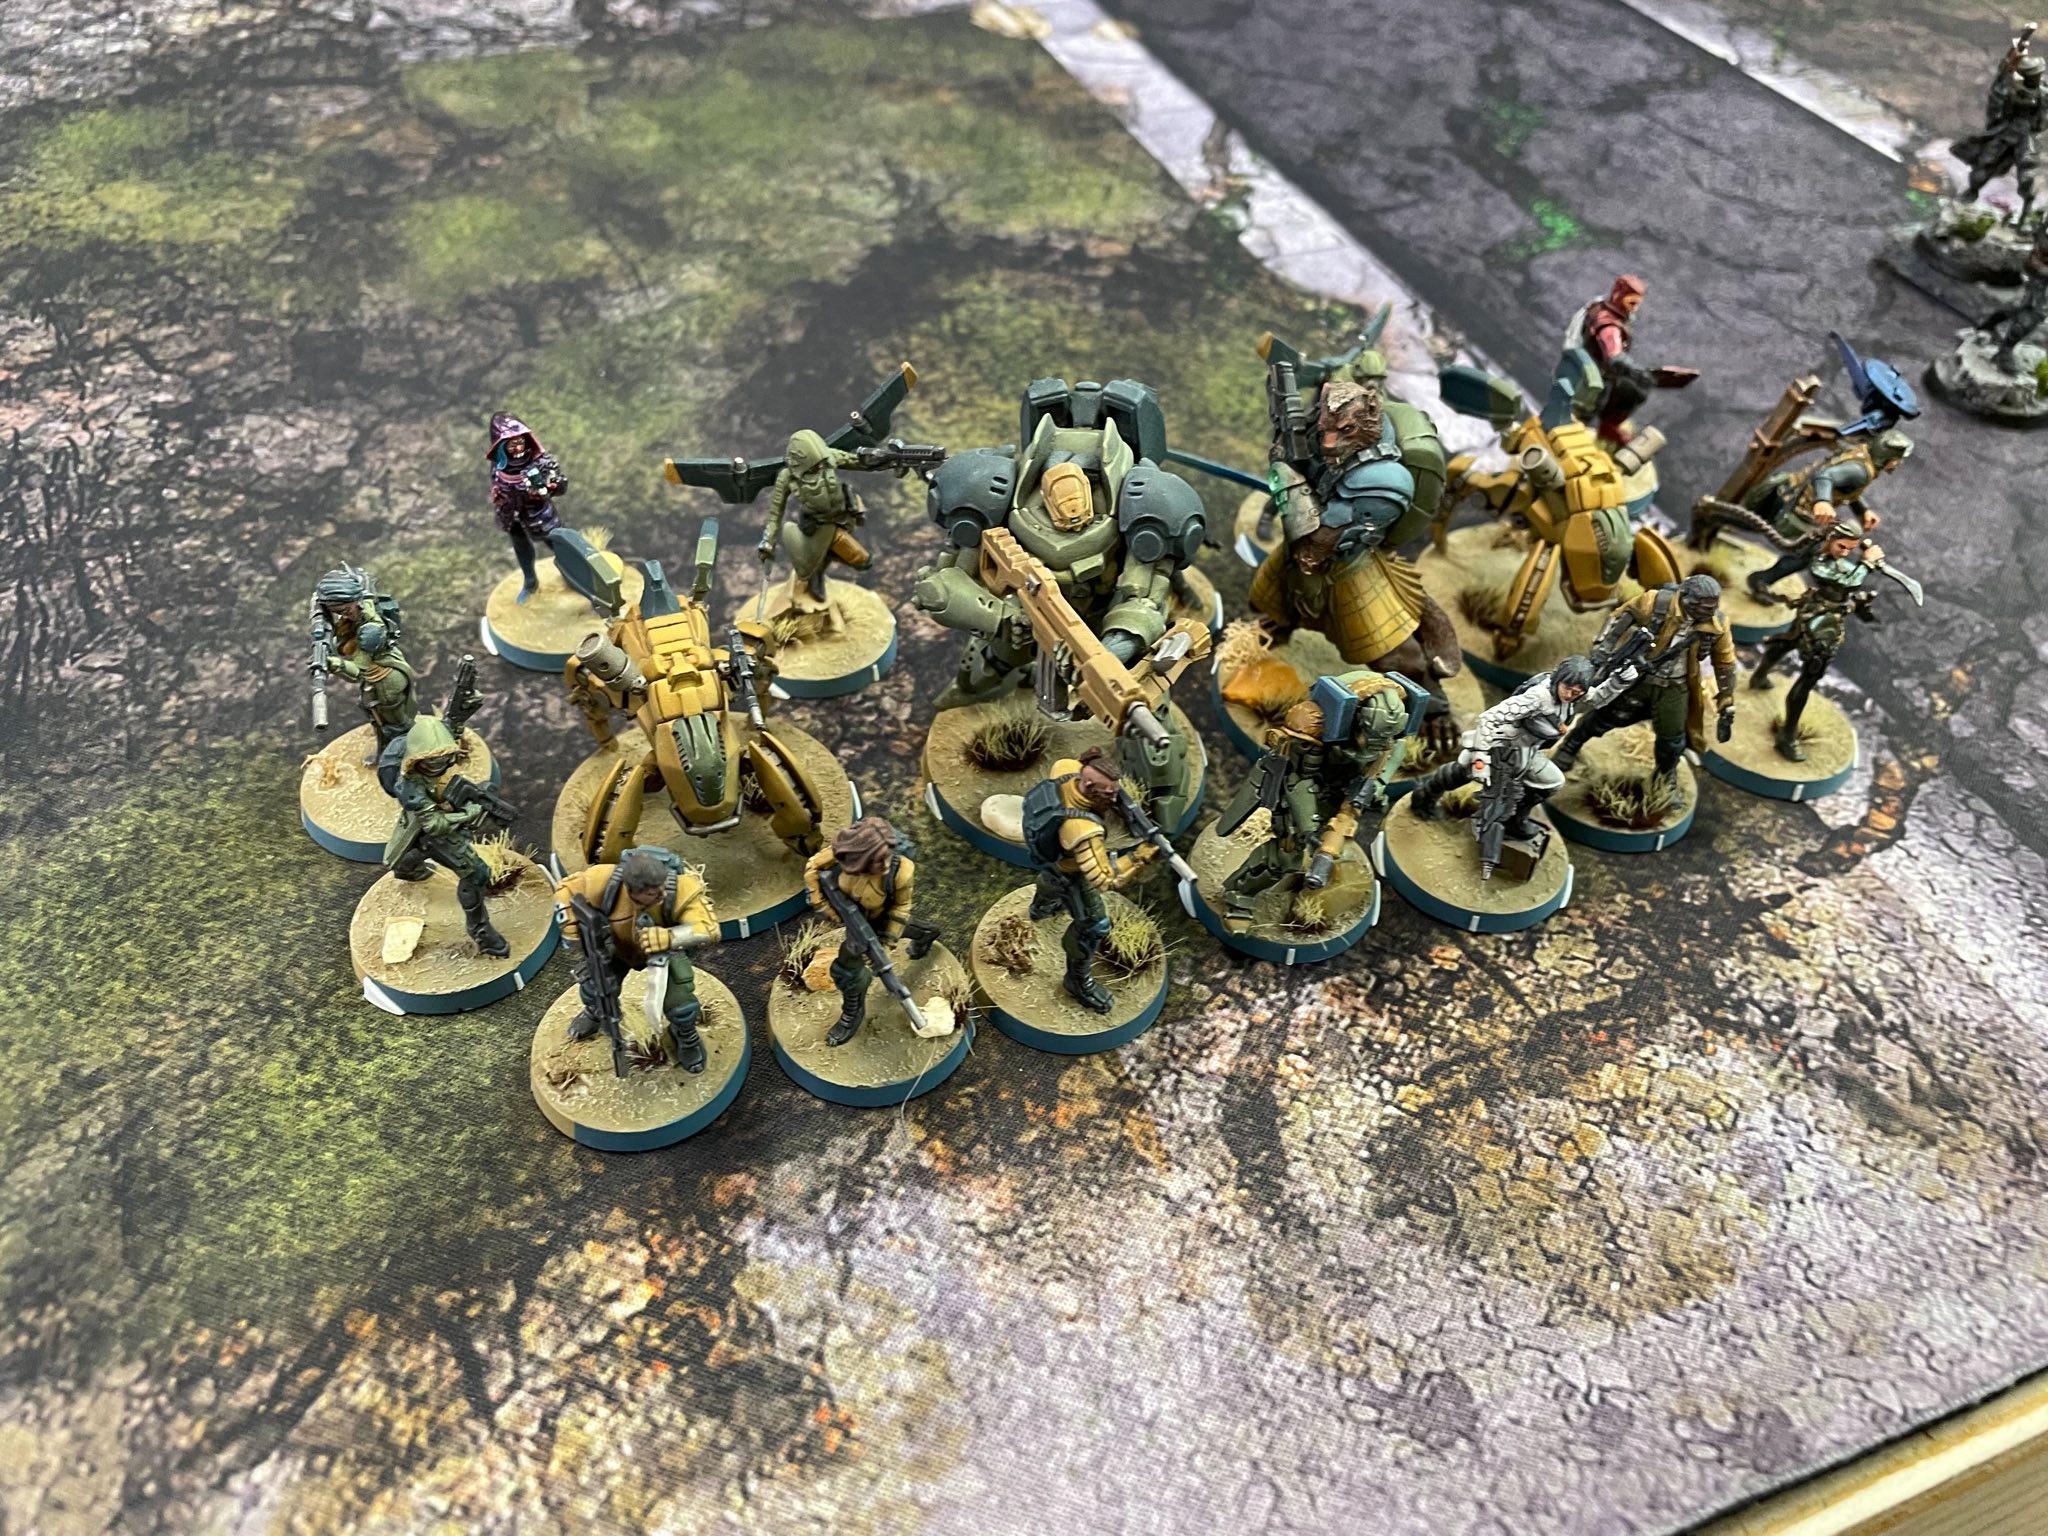
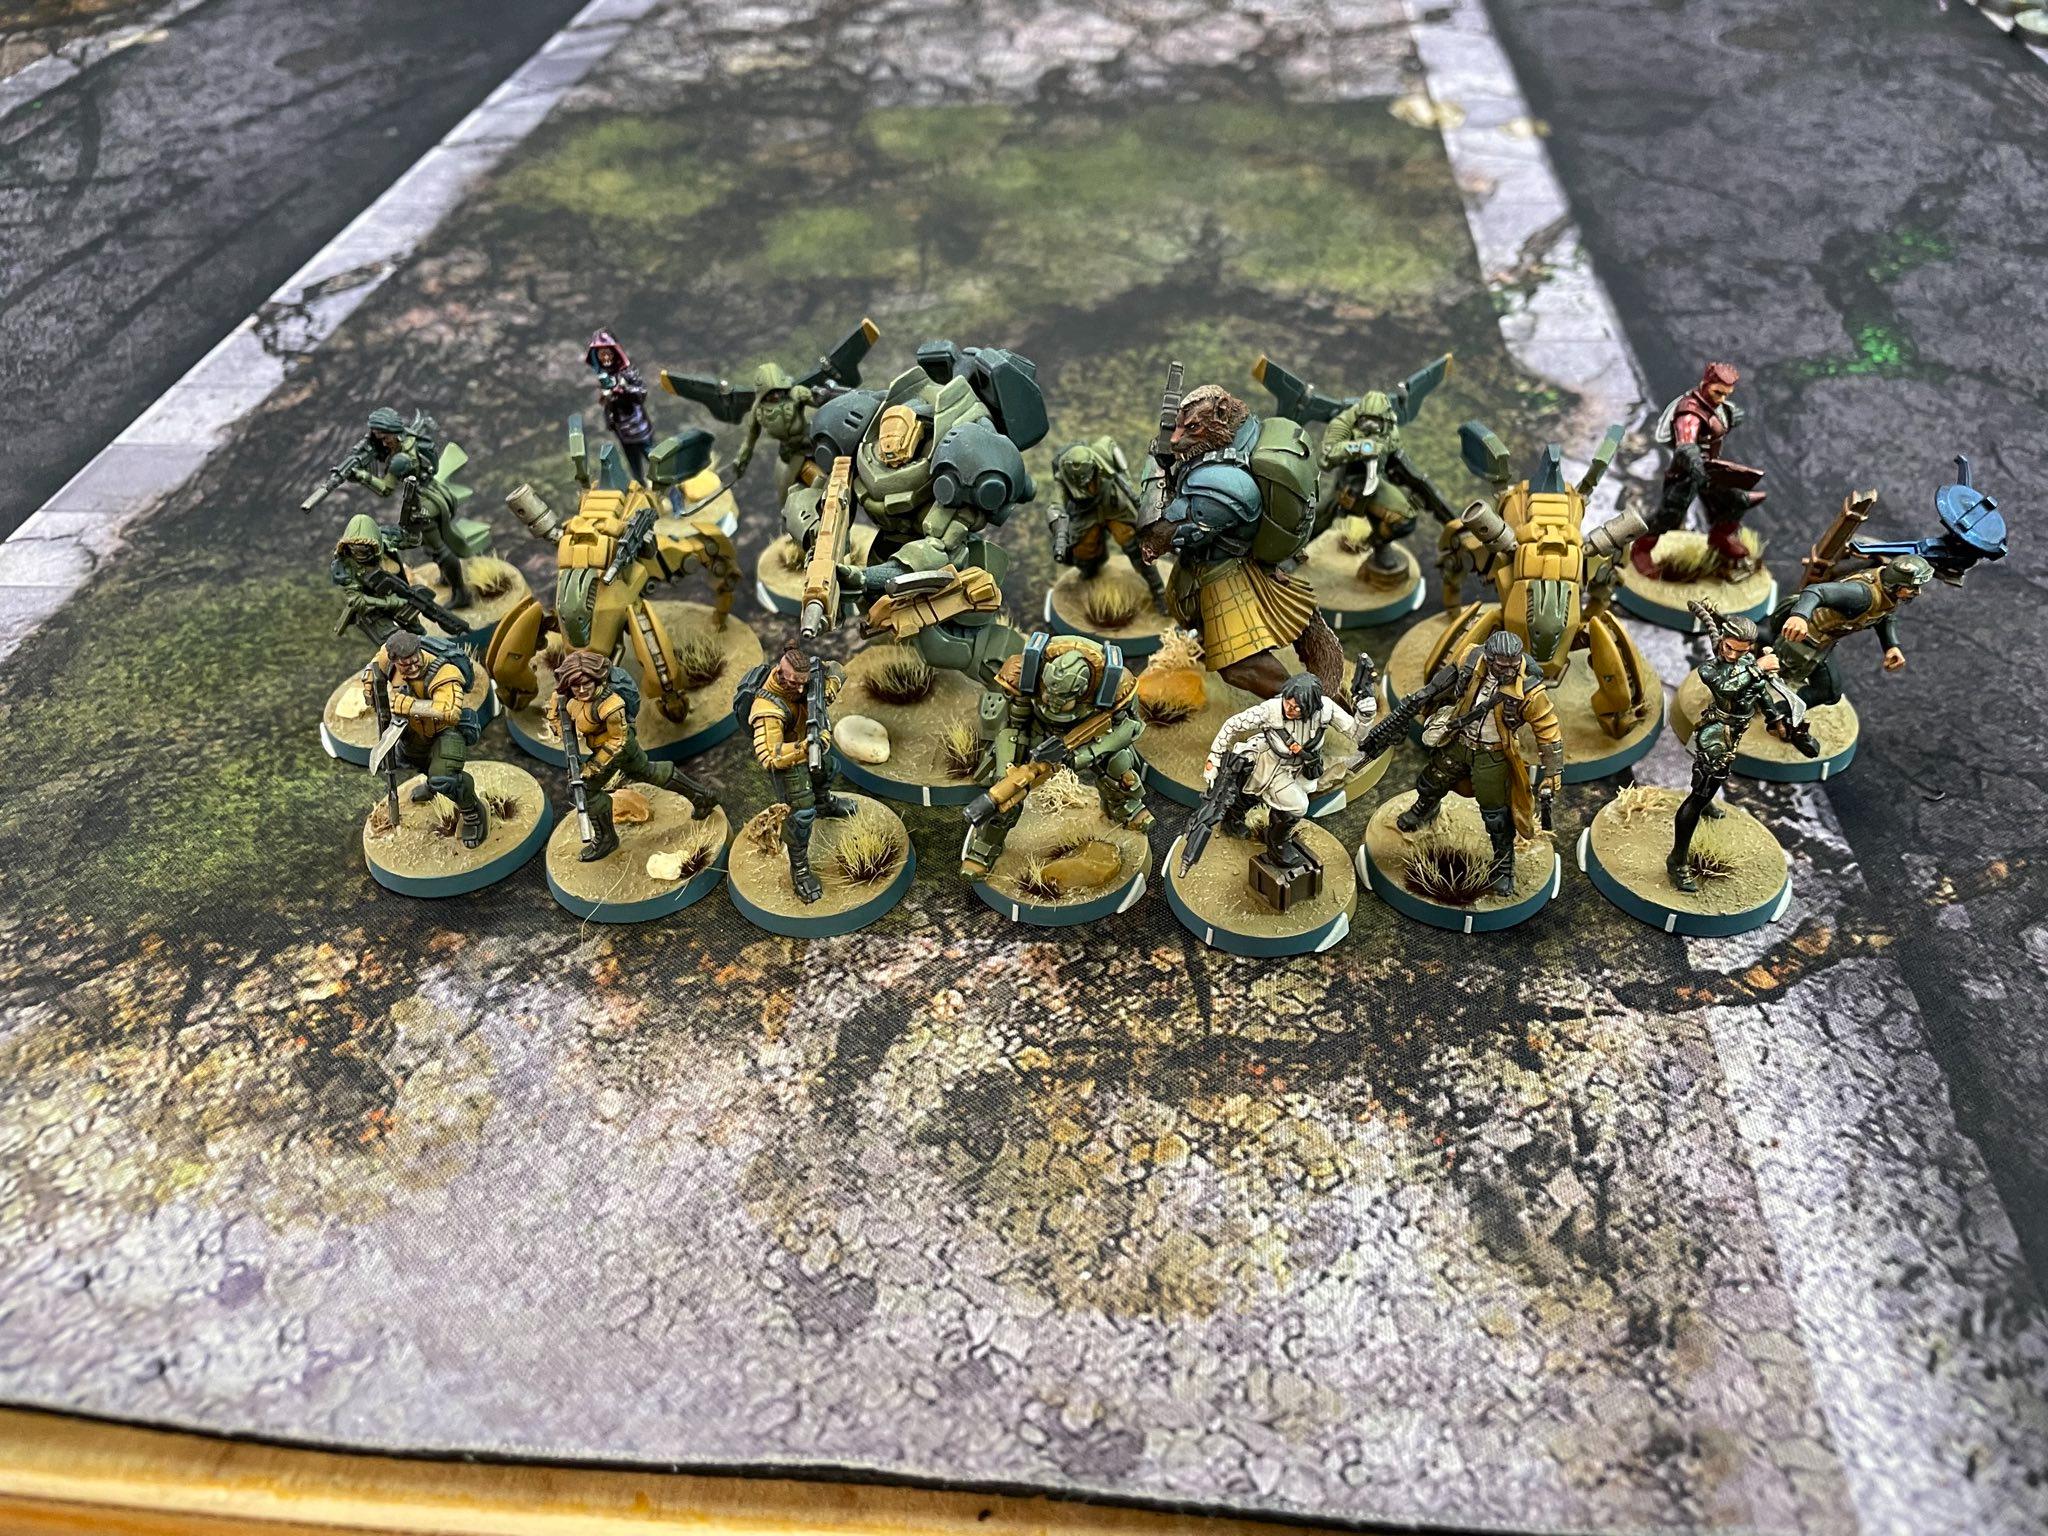
You can check out all the painted armies below! Steve (KingButt) of course trolled everyone with his Varuna entry. Can you guess which one?


Post Game Analysis
Well, that was a pretty unfortunate start to the game, but I finished strong. Brady commented after that I had really gotten a lot of efficiency out of the Spektr, and I have to agree. I think he played it well, and aside from my mistake with placing the mine first instead of the repeater, I don’t think either of us made any significant mistakes. There wasn’t much in the way of choice for me, it was just don’t die and set up for the next turn.
Really this just boiled down to laser focus on execution, and probably the thing to do for him to take the win would have been to throw the Hollowman under the bus to fight the Grenzer, which lets him move the Securitate into the middle safely. That’s game winning. Instead, I was able to do just enough damage and be in just the right place to sneak a win out of there. I will say that having to analyze these missions for Late Night Wargames has helped a lot in terms of helping me focus on the right objectives.
I really wanted to go put a viral mine down on the Securitate link, for example, but I knew that all I’d have to do was secure the middle and the near zone, and that would be a win for me. It’s not as cinematic, but it’s certainly less risky. I will say Brady and I had an absolute blast playing this game, and I really look forward to a rematch. Thanks for reading!

“Steve (KingButt) of course trolled everyone with his Varuna entry. Can you guess which one?”
Am I seeing a full Camo Varuna list? XD
Maaaybe 🙂