
Best of the Pacific Northwest 2020 – Day 1
This tournament came up really fast after the 2019-2020 holiday season. Somehow in spite of it all, James (RomanLegion) and I bundled ourselves up in my car for a very rainy drive up to Tacoma. If you’re looking for Day 2, here it is:
After a pretty delicious breakfast at Dirty Oscar’s Annex (that waffle + ham + bacon monstrosity that James somehow crammed into his gullet is called a Monte Cristo Waffle), we made our way to the venue, TerraCrux Games! Check them out below!

Tony (Zhukov2) was our organizer and he had set up a pretty crazy mission list coupled with a 400 point cap. To keep the playtimes down and the lists sane, he also included the Tactical Window extra, limiting us to a total of 15 order generators. To add to the challenge, I limited myself to burst 3 and below weapons in both of my lists (with the exception of Assault Pistols, because that would mean I can’t take Frontoviks or Briscards).
The point of this was to demonstrate that the “crutch” of burst 4+ weapons can often make players problem solve only with bullets as opposed to being careful and applying pressure exactly where you need it. I wrote up more thoughts on this in the current Bromad Academy mission, which you can find (and participate in) by clicking on the button below!
I built two lists for this tournament, one to cover Looting and Sabotaging & Capture and Protect and the other to cover Countermeasures, Highly Classified, and Power Pack. I probably went a little too all-in on the Looting and Sabotaging list, but I’m was pretty pleased with the Power Pack list.
Game 1 – The Kitchen Sink
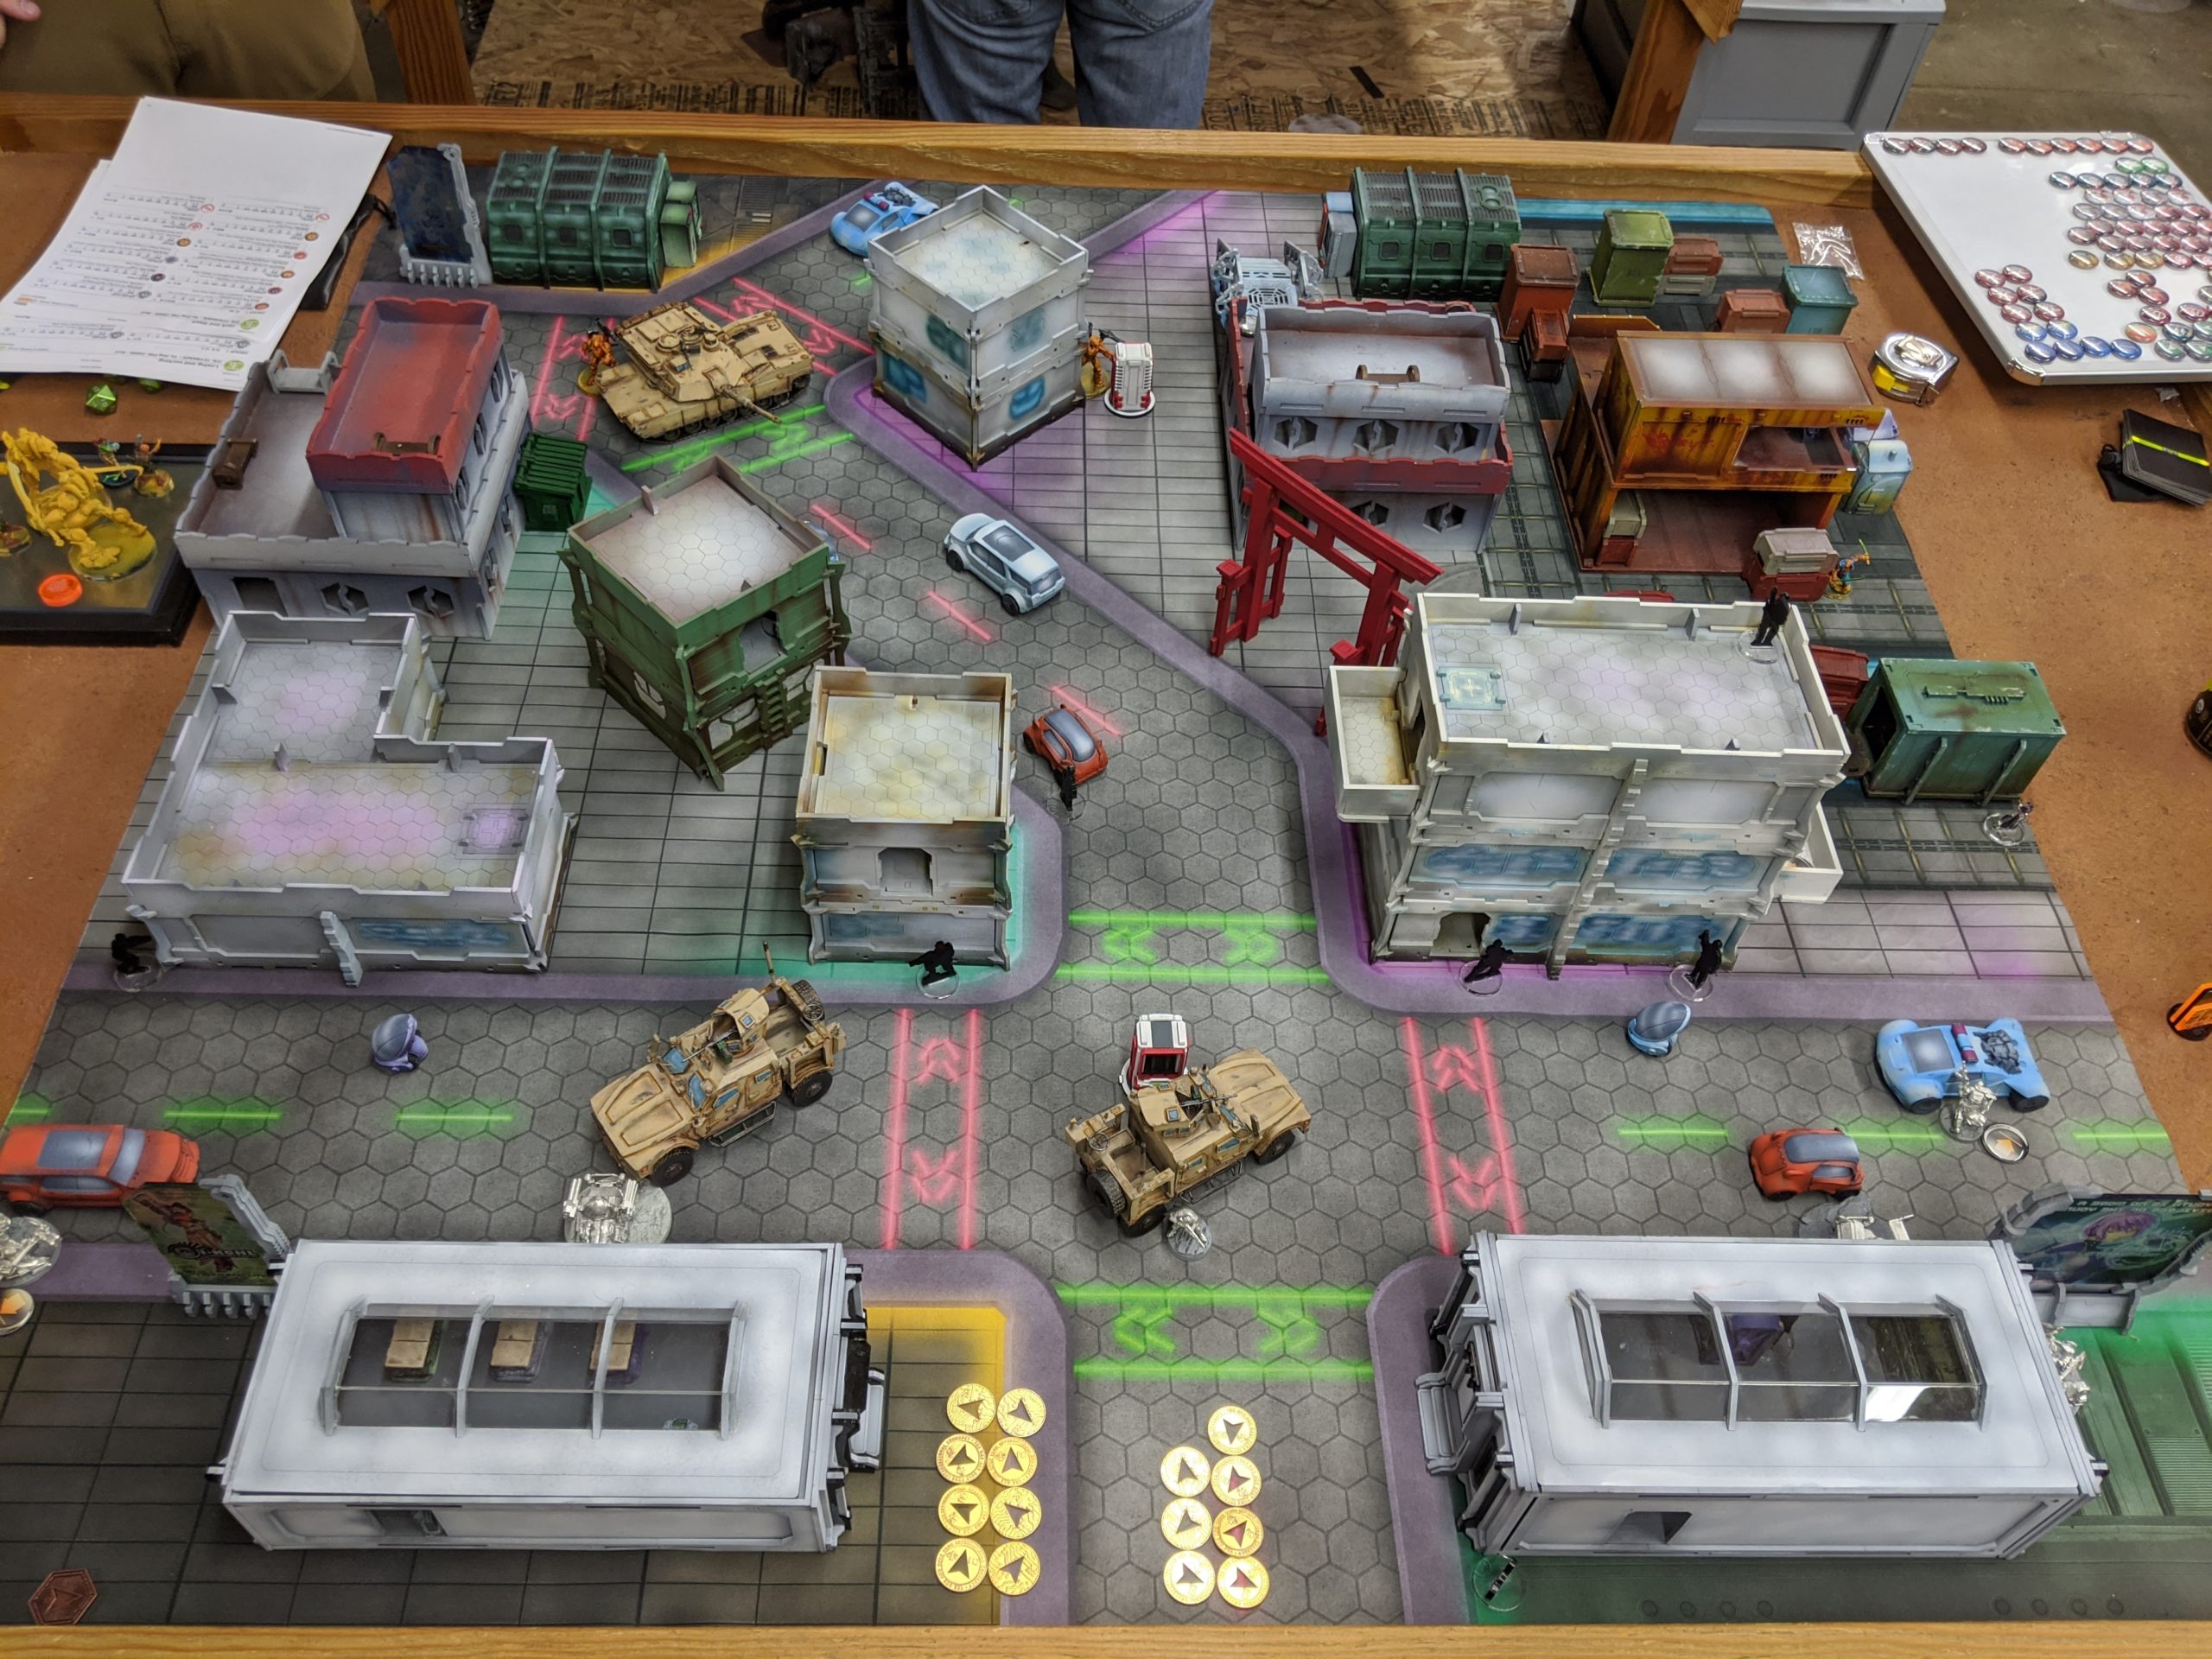
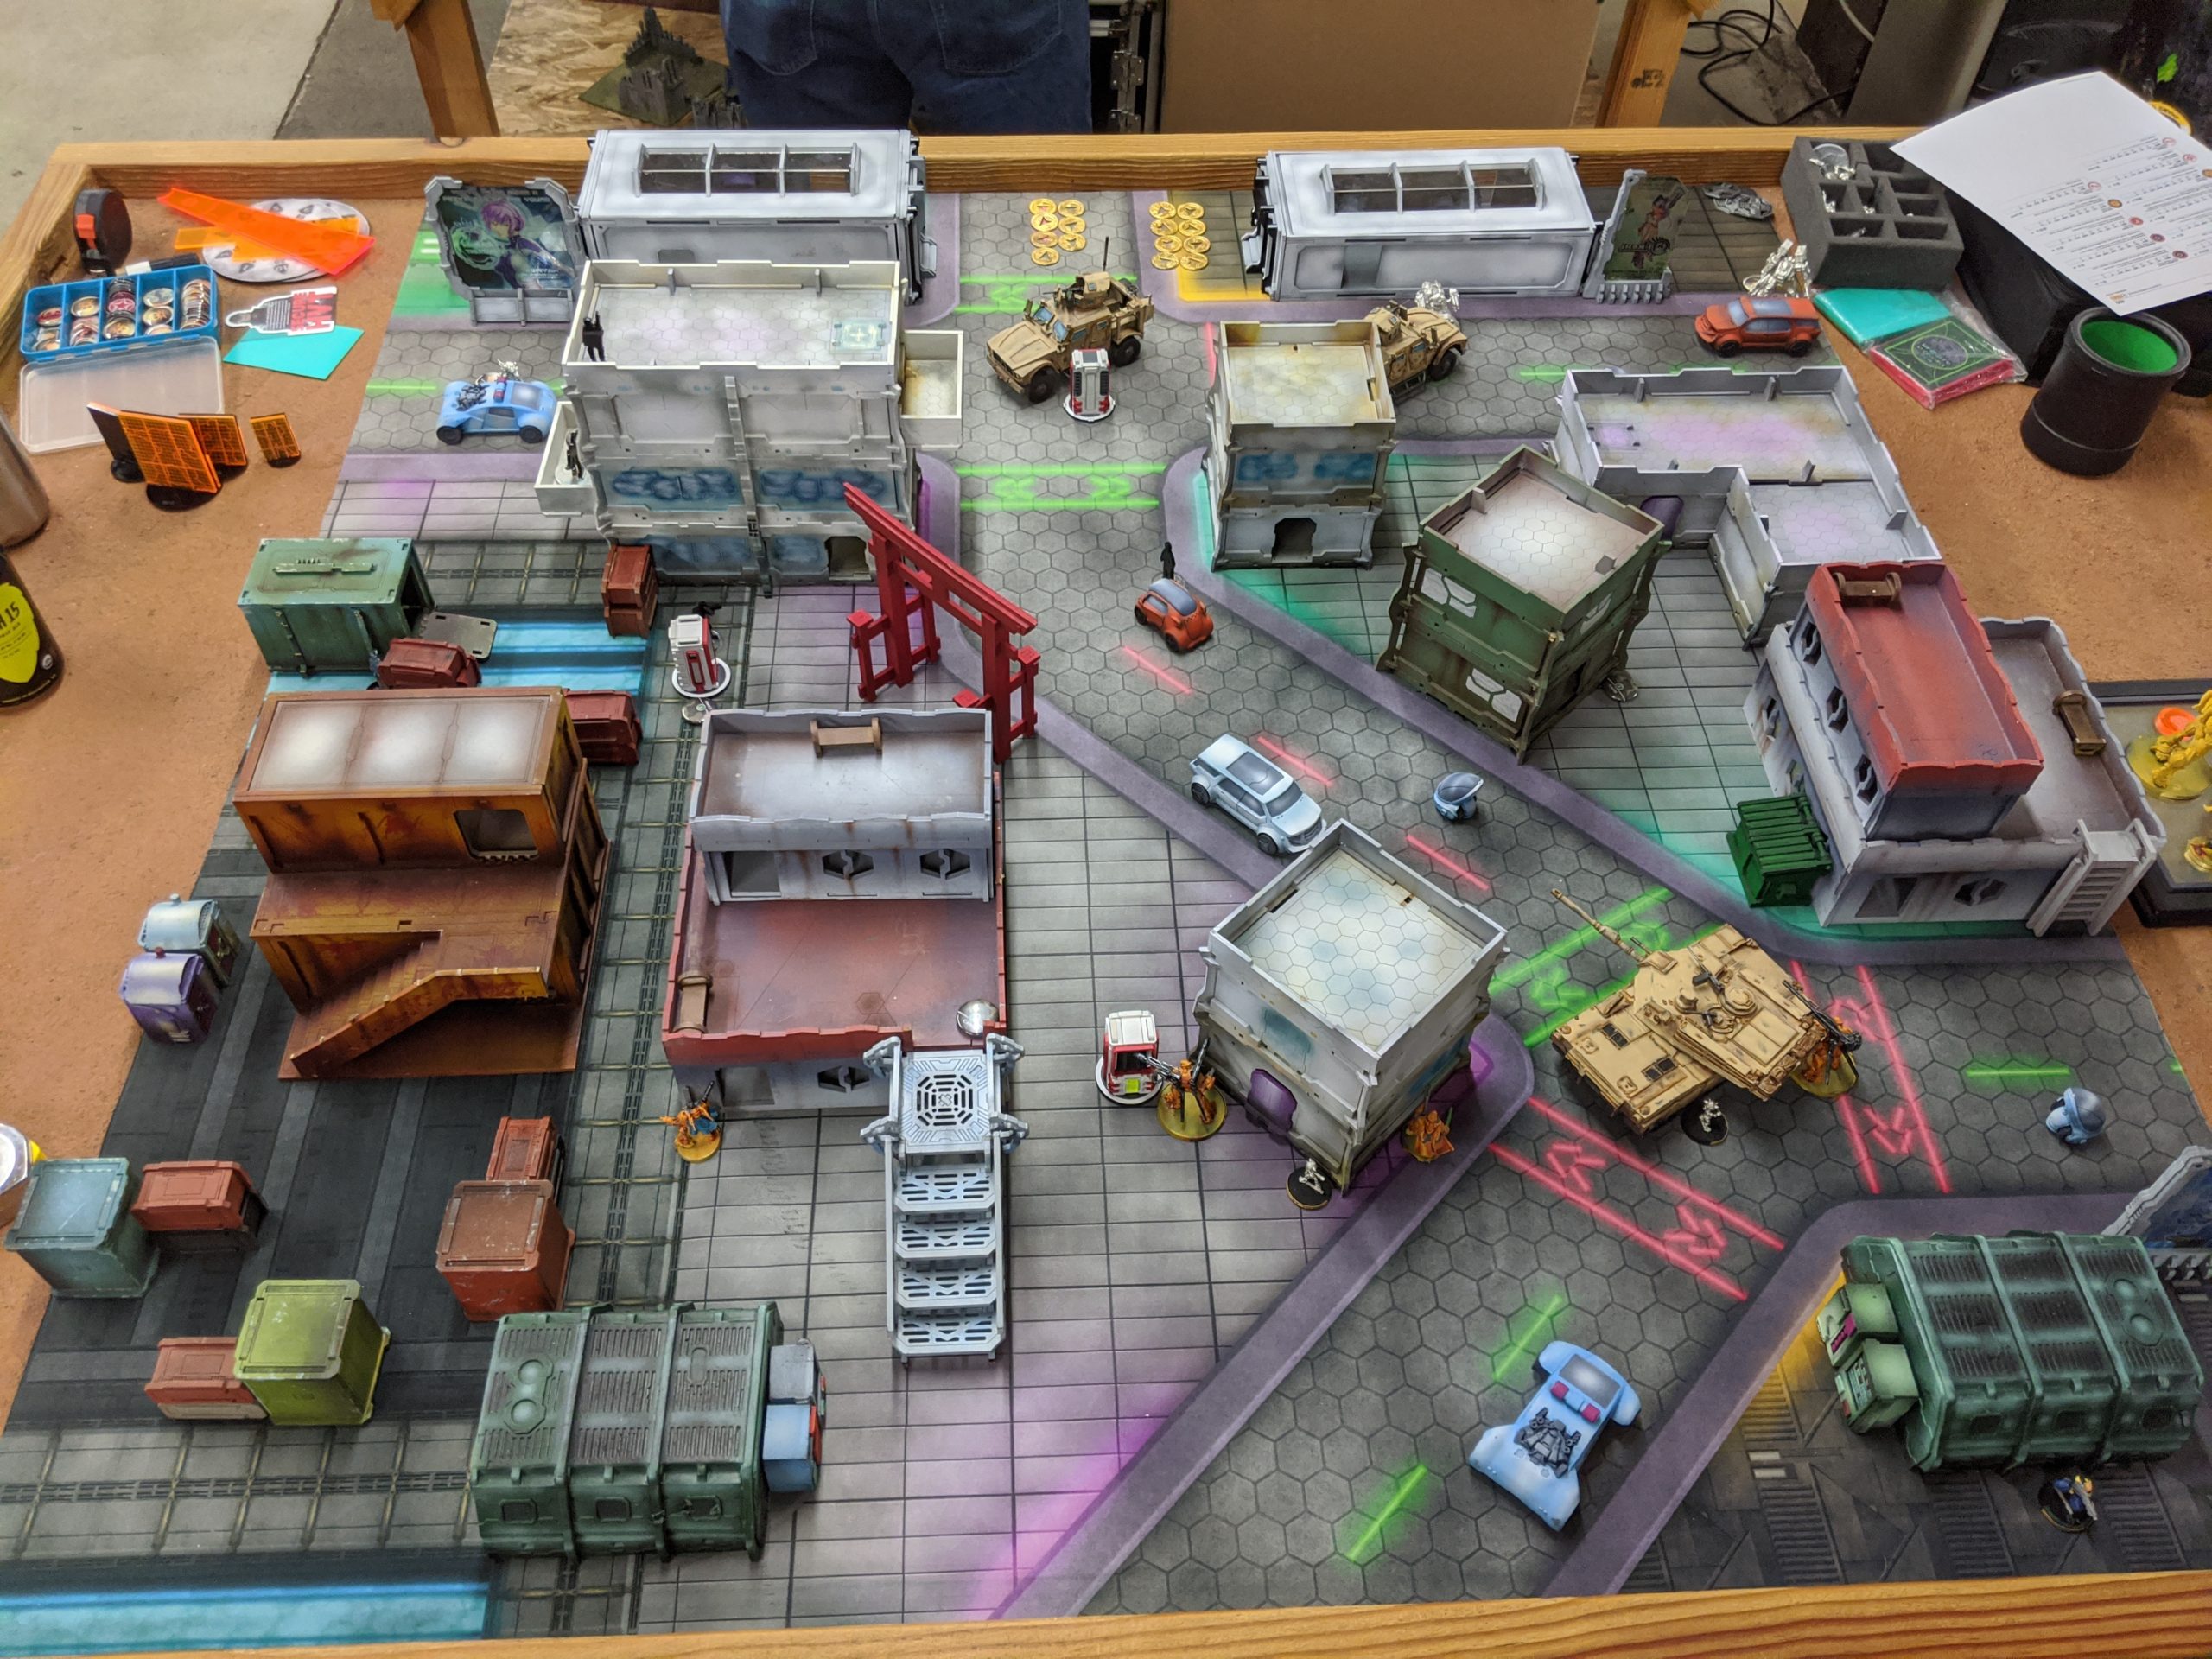
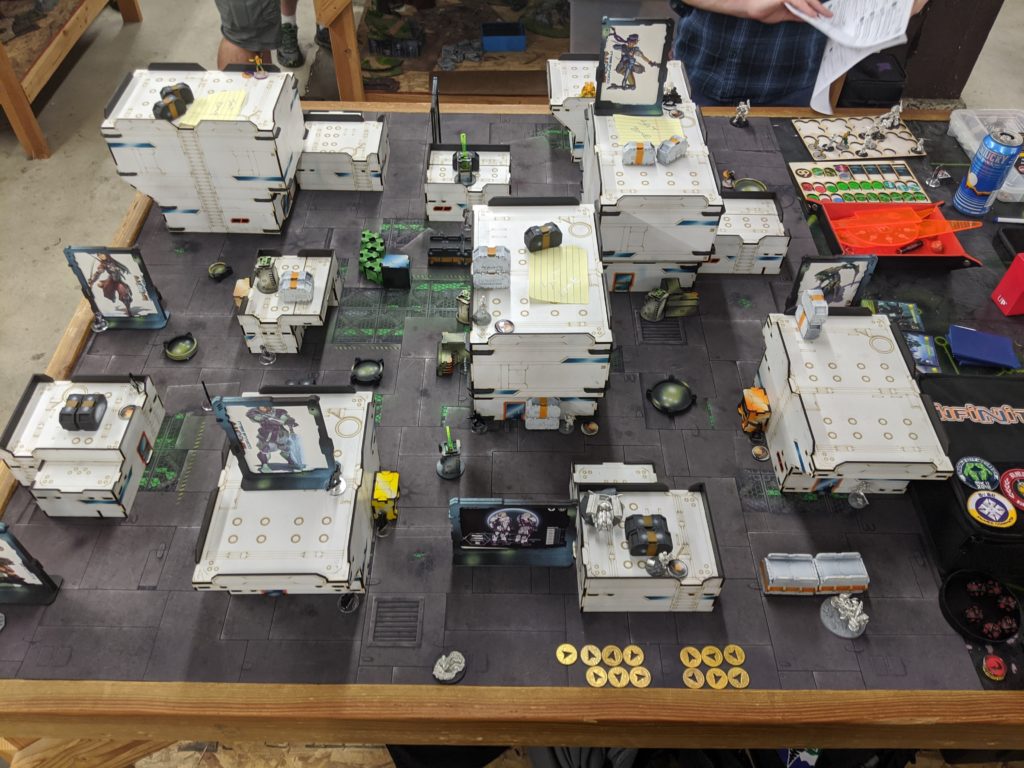
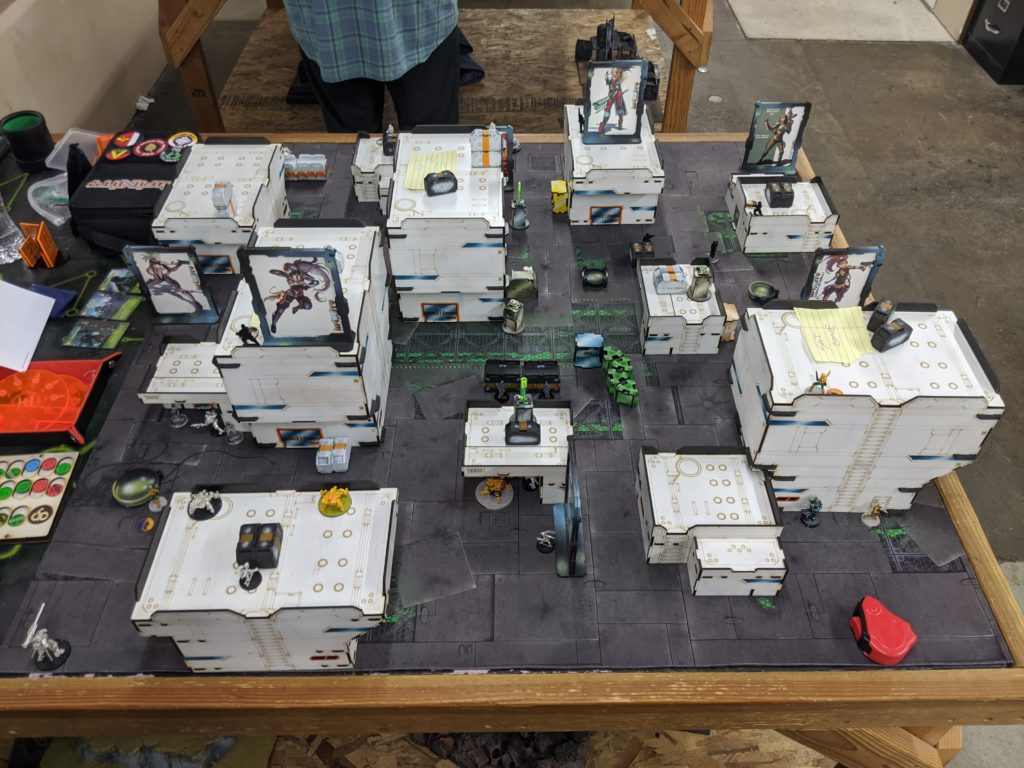
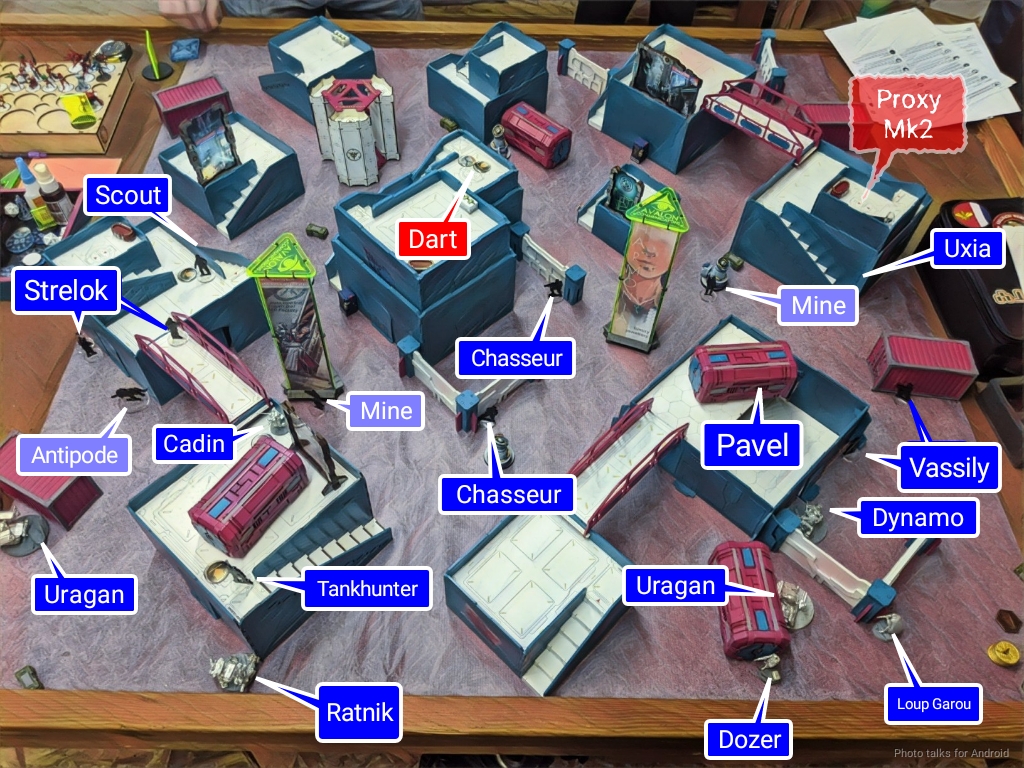
Game one was against the eponymous Burl, playing a limited insertion Yu Jing list at 400 points. I really liked this table. Something about the color scheme just clicked for me, and it’s very photogenic. It’s a bit sparse in LoF blocking terrain in the middle, which made the flanks very important.
Overview
- Mission: Capture and Protect
- Forces: Ariadna versus Yu Jing (400, Tactical Window)
- Deploy First: Ariadna
- First Turn: Ariadna
L&S 2.1
GROUP 1 |8
GROUP 2 |
VASSILY Lieutenant (Forward Observer) T2 Marksman Rifle, Akrylat-Kanone, D-Charges / Heavy Pistol, Knife. (0 | 35)
‘FIRSTSTRIKE’ DONN T2 Rifle, Grenade / Heavy Pistol, AP CC Weapon, T2 CC Weapon. (0 | 35)
TANKHUNTER Portable Autocannon, D-Charges / Pistol, Knife. (1.5 | 34)
STRELOK K-9 Submachine Gun, Chain-colt, Antipersonnel Mines + 1 K-9 Antipode / Pistol, Knife. (1 | 24)

SCOUT Ojotnik, D-Charges, E/Mauler / Pistol, Knife. (0 | 29)
DYNAMO (Forward Observer) Rifle / Assault Pistol, CC Weapon. (0.5 | 29)
CHASSEUR (Minelayer) Rifle, Light Flamethrower, Antipersonnel Mines / Pistol, Knife. (0.5 | 20)
DOZER (Traktor Mul Control Device) Rifle, D-Charges / Pistol, Knife. (0 | 14)
TRAKTOR MUL (Total Reaction) Uragan MRL / Electric Pulse. (1 | 18)
LOUP-GAROU Viral Rifle, Stun Grenades / Pistol, Knife. (0 | 21)
PAVEL McMANNUS Ojotnik, Chain-colt, Antipersonnel Mines / Pistol, T2 CCW, Knife. (0 | 31)
RATNIK Heavy Rocket Launcher, Heavy Shotgun / Heavy Pistol, Trench-hammer, Knife. (2 | 44)
UXÍA McNEILL (Covert Action) (CH: Limited Camouflage, Superior Infiltration, Specialist Operative) Boarding Shotgun, D-Charges, Smoke Grenades / 2 Assault Pistols, AP CCW, Knife. (0 | 27)
8 SWC | 399 Points | Open in Infinity Army
We were playing Capture and Protect, which meant I was taking my Looting and Sabotaging list. My gameplan was to cover my beacon with both Uragans, the Chasseurs, and the Loup Garou, then put the rest of my stuff in the midfield to flank Burl’s toys and grab the beacon. My primary plan was to use Strelok K-9, because it’s the speediest, the secondary plan is Uxia, and the tertiary plan is the Dynamo. I figured the Dynamo would be my DataTracker, and I’d just hand off the beacon on turn 3 and call it good.
Game 1 – Burl
SUN TZE Lieutenant (Advanced Command) MULTI Rifle, 2 Nanopulsers, Flash Pulse / Pistol, Knife. (0 | 65)
YĀN HUǑ 2 Missile Launchers + TinBot C (Neurocinetics) / Pistol, Knife. (2 | 56)
Zhanshi YĪSHĒNG Combi Rifle / Pistol, Knife. (0 | 15)
YÁOZĂO Electric Pulse. (0 | 3)
LÉI GŌNG Shock Marksman Rifle, Nanopulser, Blitzen / Breaker Pistol, Knife. (0 | 34)
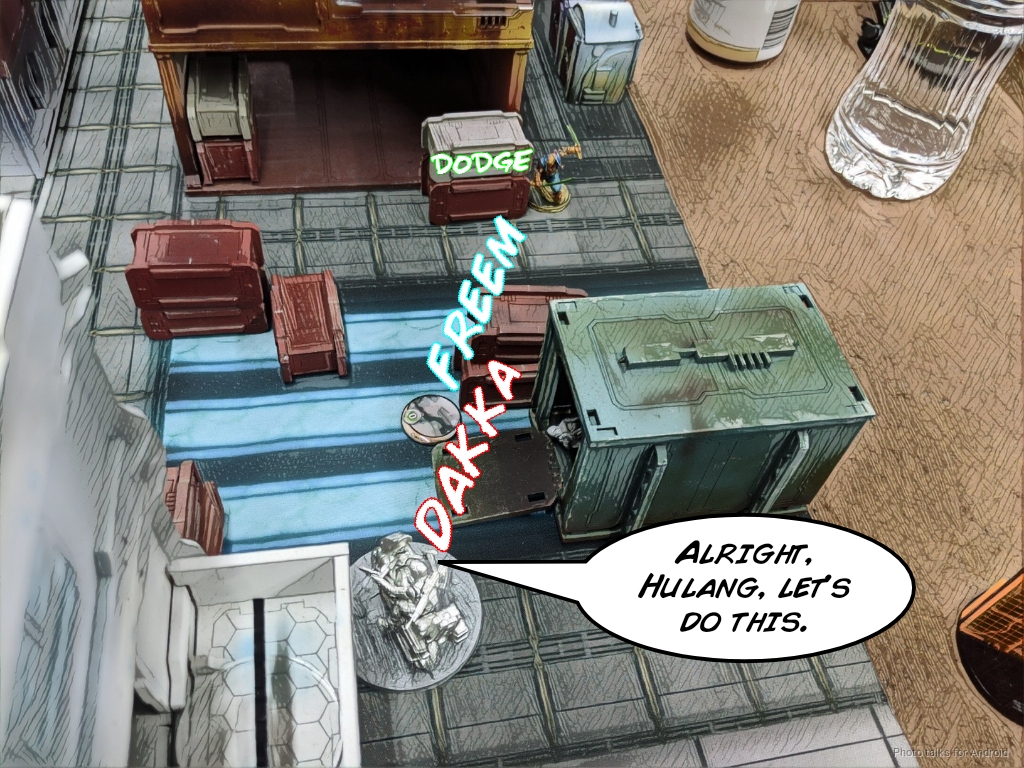
HÚLÁNG (Fireteam: Duo) Combi Rifle + Light Flamethrower, E/M Grenades, D-Charges / Pistol, Monofilament CC Weapon, Knife. (0 | 44)
KǍNRÈN Hacker (Killer Hacking Device) Combi Rifle, Chain-colt / Pistol, Monofilament CC Weapon, Knife. (0 | 29)
GŬILÁNG Hacker (Assault Hacking Device) Combi Rifle, Antipersonnel Mines / Pistol, Knife. (0.5 | 31)
ZHĒNCHÁ (Forward Observer) Boarding Shotgun, D-Charges / Pistol, Knife. (0 | 37)
MAJOR LUNAH Viral Sniper / Pistol, Knife. (1.5 | 29)
Burl’s plan was all about punching me in the face. Hard. Double Yan Huo, a Hulang, and Sun Tze himself backed up by Lunah and a doctor and bots. The Kanren and Guilang were nice touches to add some board control and midfield specialists. I think his plan largely focused on shooting me off the table with his Yan Huo and then diving Sun Tze onto the beacon on Turn 3. This was corroborated by his nominating of Sun Tze as his DataTracker.
Deployment
I won the rolloff and decided to take first turn. Burl took a look at the deployment zones and decided that one of them was decidedly worse, and that I’d have to deploy most of my stuff in the two buildings at the back of my deployment zones, so he gave me that one. Unfortunately for Burl, most of my stuff doesn’t need to start in my deployment zone.
The easiest part was placing the defensive troops like the Chasseurs and Uragans, which basically just sat on overwatch of my beacon. The Dozer backed up one of the Uragans and Vassily backed up the other.
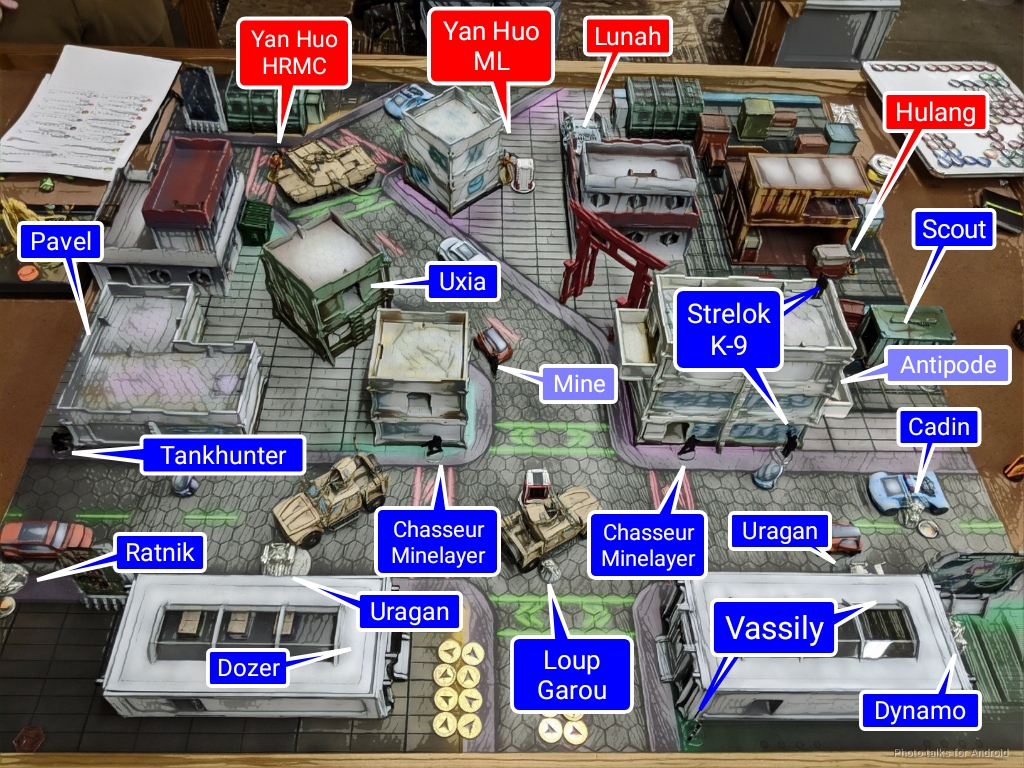
It looked like the easiest way to the beacon was through the collection of buildings on the right, and it looked like there would be ample opportunties to get into close combat on that side, so the Strelok and Cadin went there. I figured I’d need smoke over there, so the Dynamo went on the right as well. I really liked the Ratnik as a defensive piece in my test game against Adam…
so I put it on the left covering the objective. I didn’t know where to put the Scout, so I just stuck it in a small crate on the right, watching the centerline. Pavel and the Tankhunter went on the left, as it looked like I’d have some really good firelanes across the center of the table. Finally it was time to deploy Uxia. There was a convenient spot in a two story building where I thought she’d be safe. It was also pretty close to the objective and within spec-fire range for smoke to help someone get there.
Burl had Sun Tze so I couldn’t have any reserves. No matter. He deployed two Yan Huo on overwatch on the right and center, which would prove to be a real problem for me later. Lei Gong went between them, along with a Doctor + Yaozao support package.
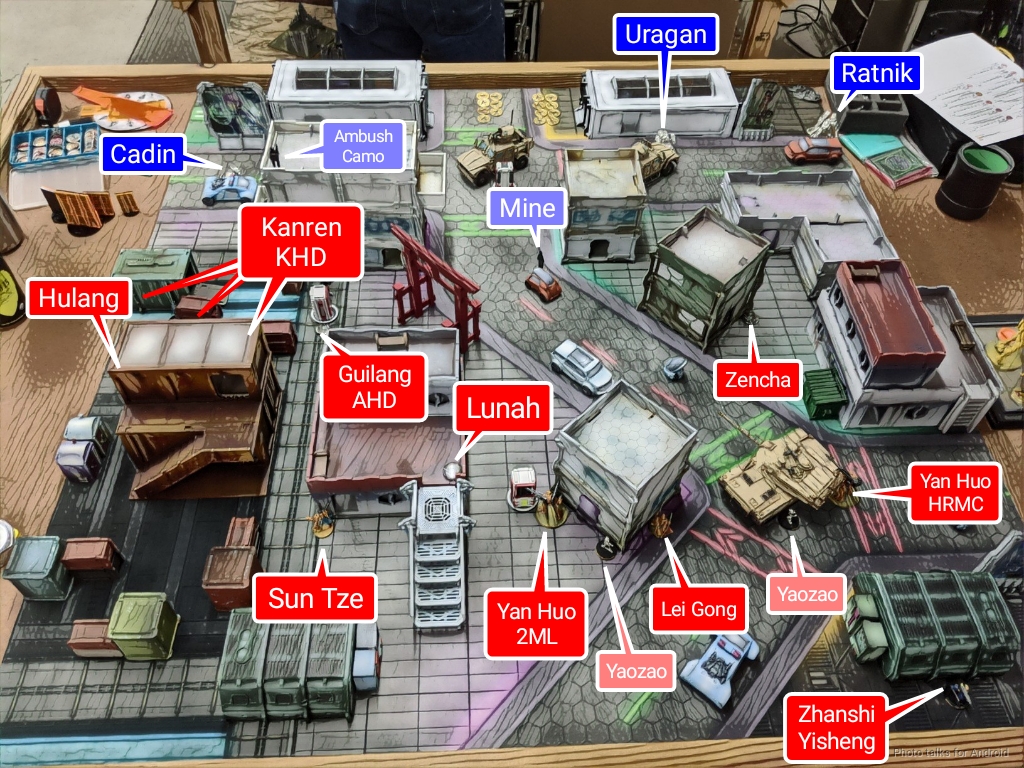
Lunah completed his ARO suite in the center. I had a pretty strong presence on his left, so Burl put a Hulang, Kanren KHD disguised as an AHD, and a Guilang AHD on his left, backstopped by Sun Tze. His Zencha balanced things on Burl’s right. With a hearty handshake, we were off!
Turn 1
Top of 1 – Ariadna
Since this whole tournament is supposed to be an example of the Bromad Academy mission, let’s talk about that really quick. By limiting myself to burst 3 and below for primary weapons, I was trying to force myself to work hard on positioning and playing to the objective, like I talked about in the Bromad Academy mission.
There wasn’t a realistic way I was going to shoot my way through two Yan Huo, Sun Tze, and Lunah on turn 1 and still have enough orders to get something to the beacon and to a place of safety. I could have smoked my way there, but not really unoppposed.
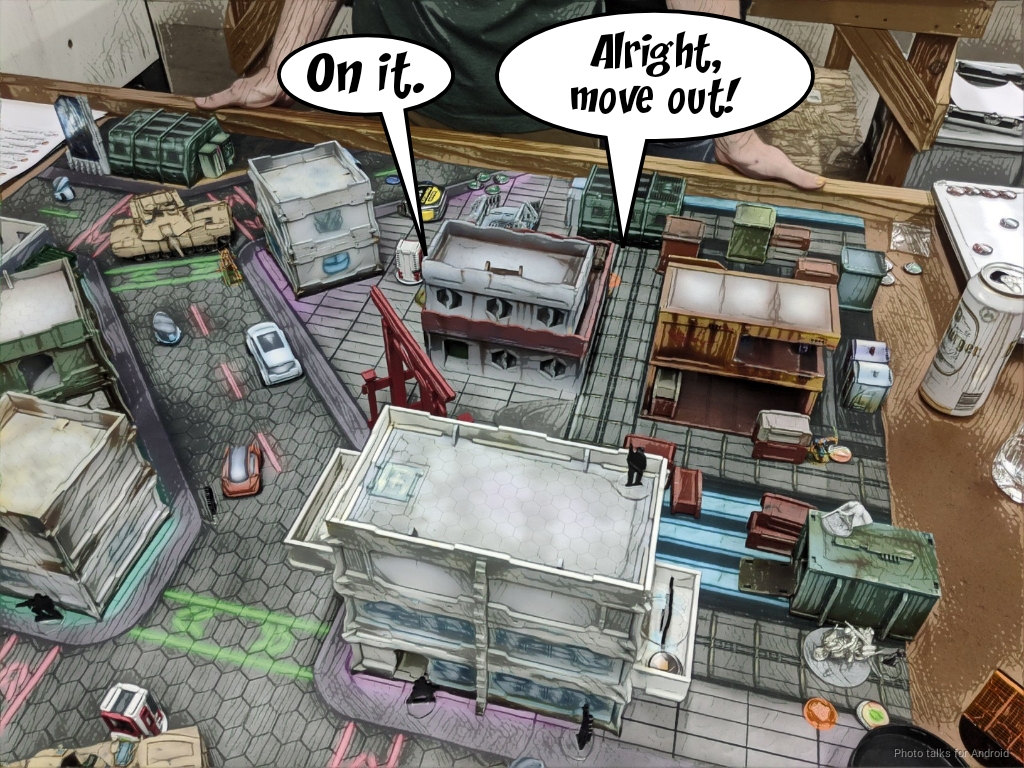
So, since I couldn’t directly accomplish the objecgive on turn 1, I needed to set myself up in a better position to accomplish the objective on turn 2 as well as deny Burl the objective. I decided to probe his defenses on my right to start, especially since there were so many things in marker state over there.
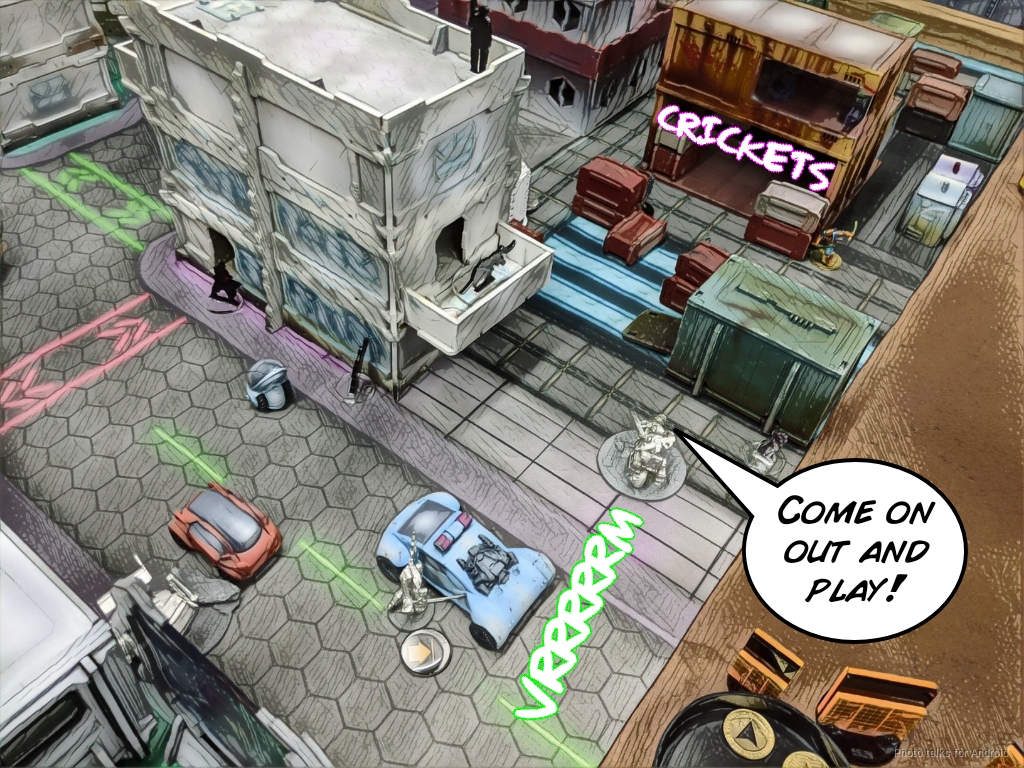
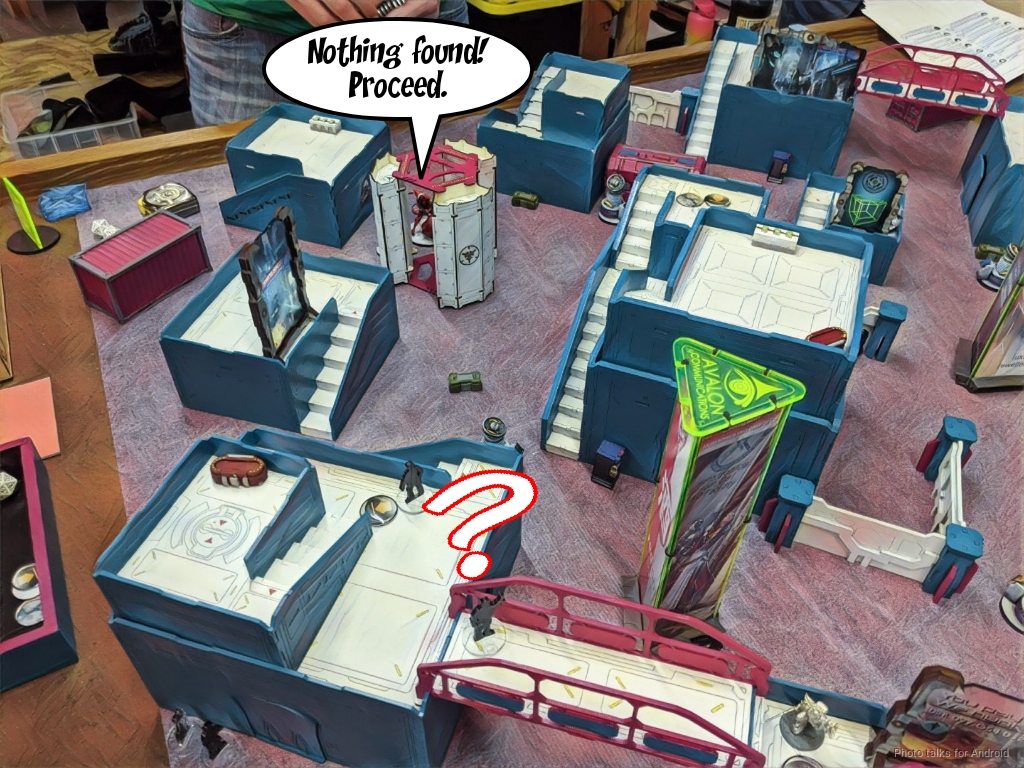
The Dynamo went in first, trying to provoke a response. Nothing happened, which let me get pretty close with my 12″ move.
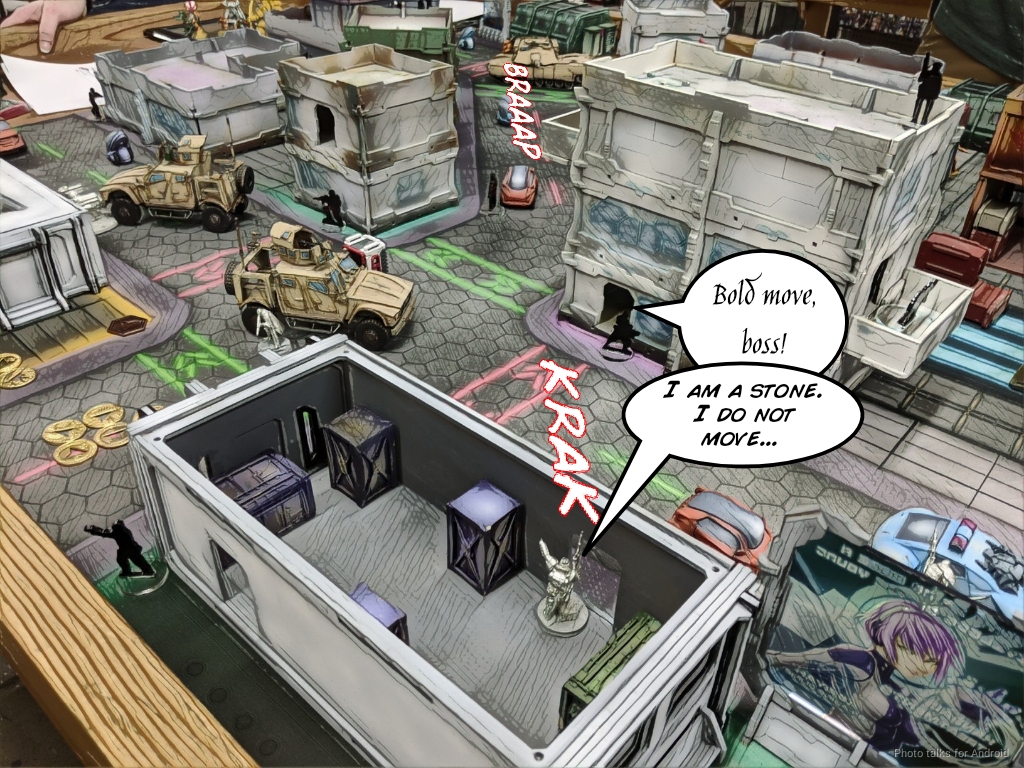
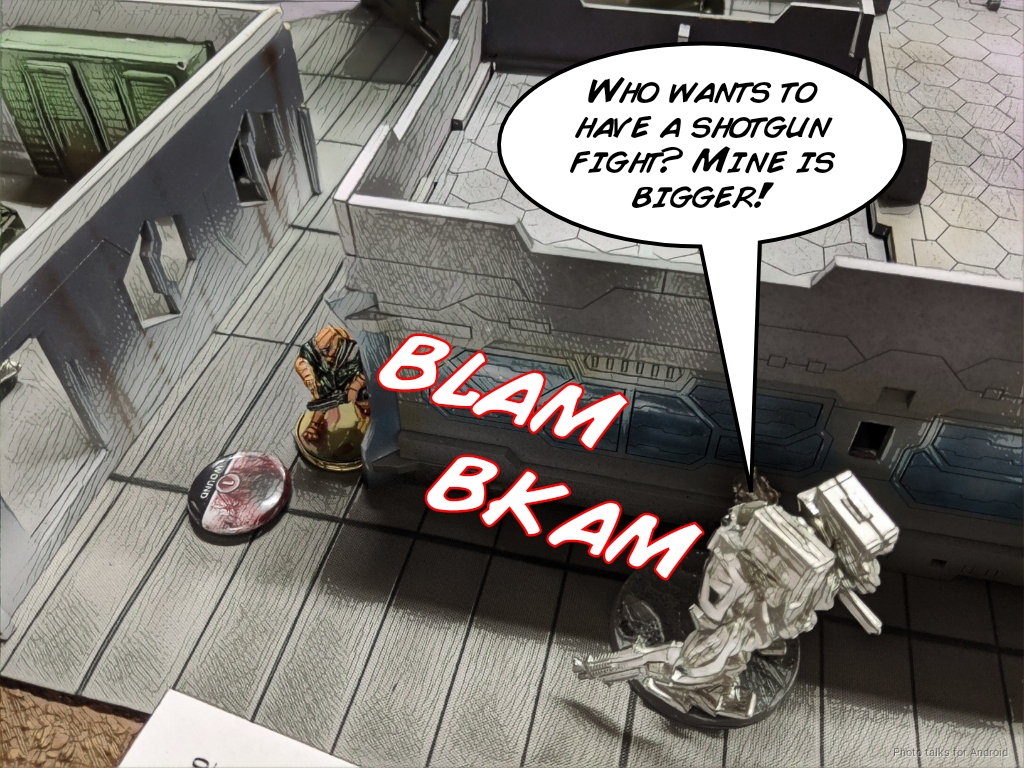
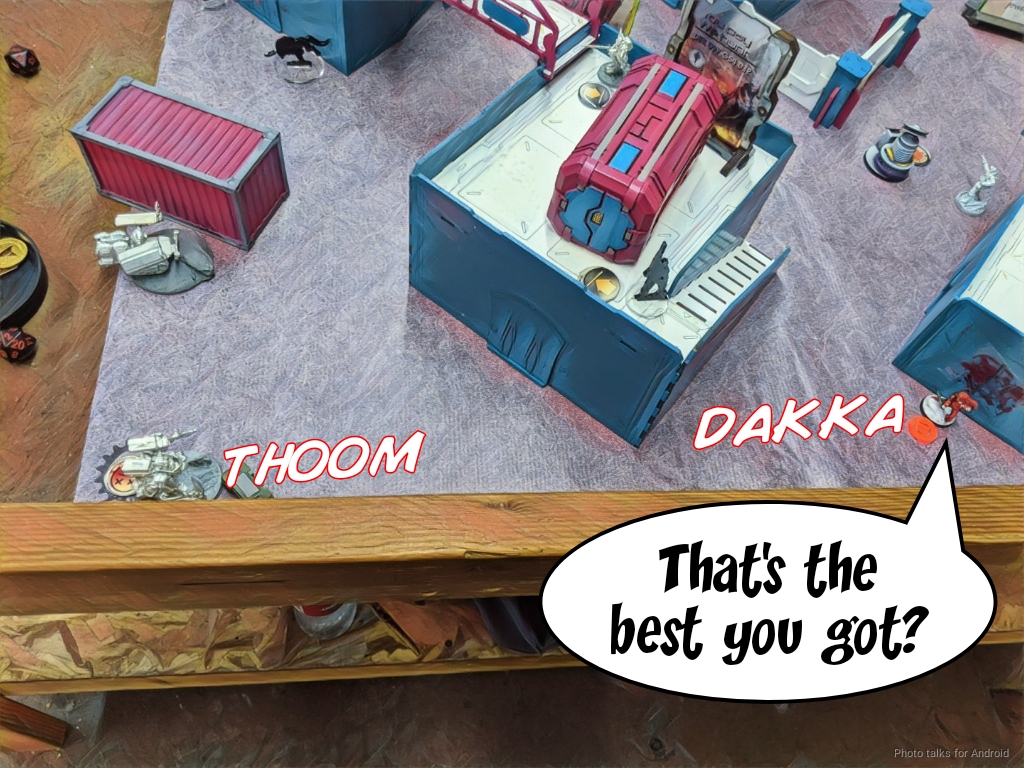
I decided to be super ballsy and try to take out the Yan Huo HRMC with Vassily, figuring that if it was successful I might open enough of a gap to make a play for the objective with Uxia.
| 41.64 | 51.29 | 7.08 |
I have reasonably safe odds here, but the likelihood of anything happening is only 50%. I’m also unwilling to try it without surprise shot, so after the Yan Huo makes both ARM saves against my hit, I don’t over-invest in this plan and stop.
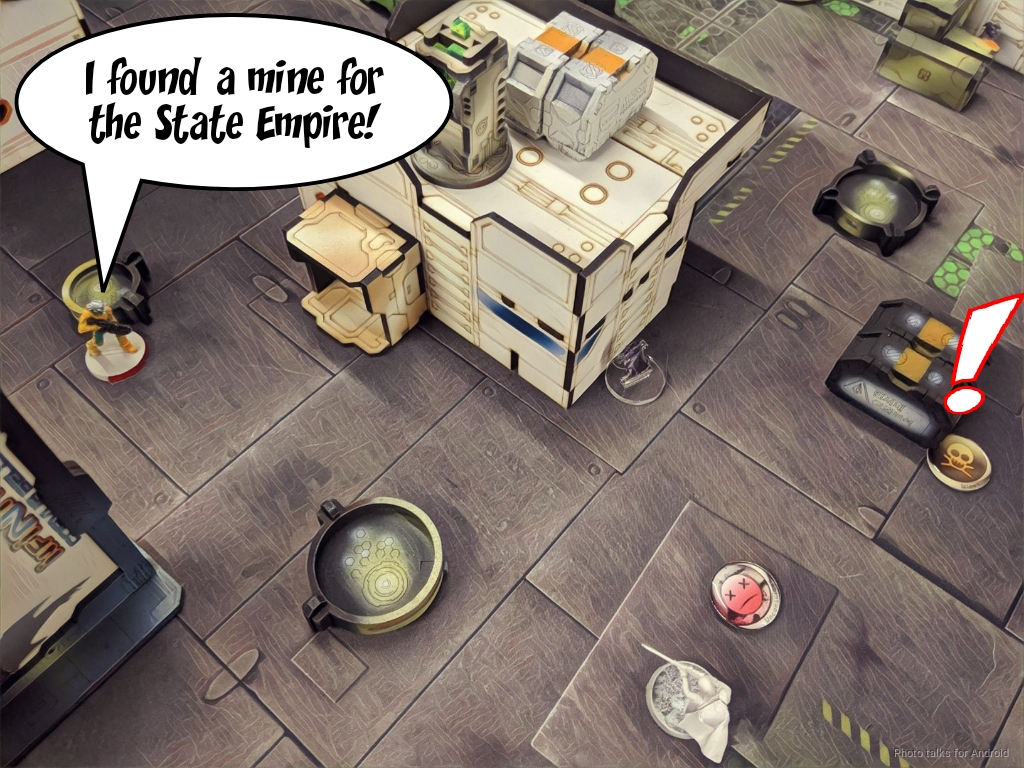
My throwaway attmept over, I return to the problem of the Guilang and Kanren. The Dynamo can see the Guilang now, so I try to bait the Kanren and Guilang by declaring Discover against the Guilang. Burl doesn’t bite, and I successfully Discover+Shoot the Guilang into unconsciousness.
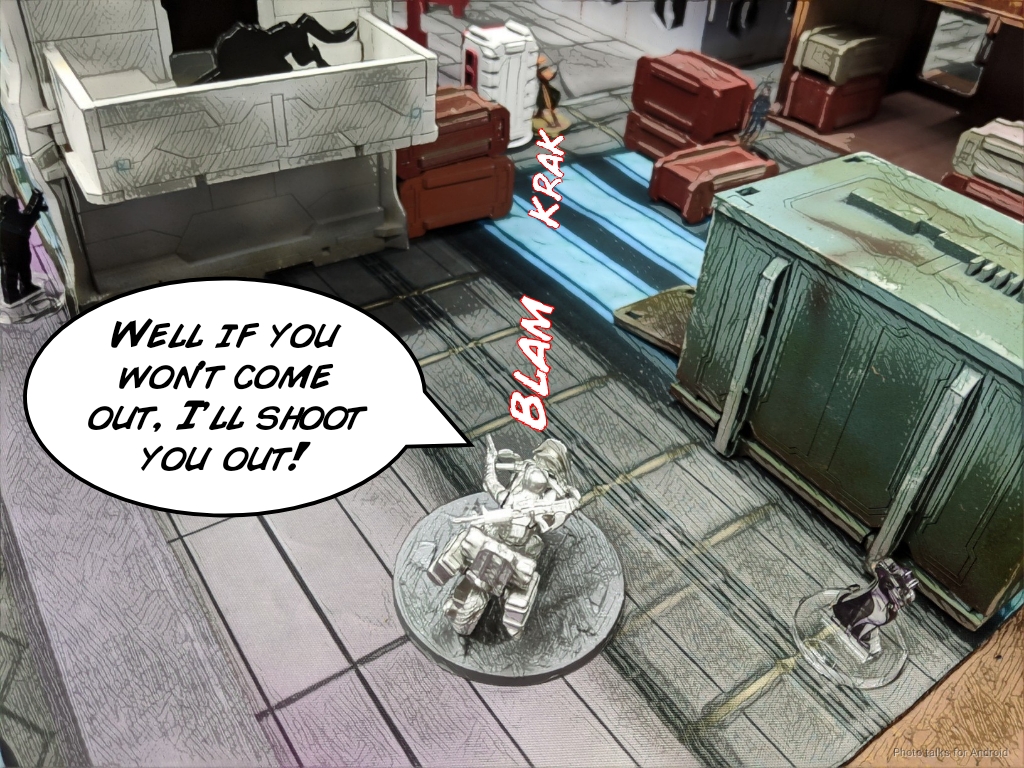
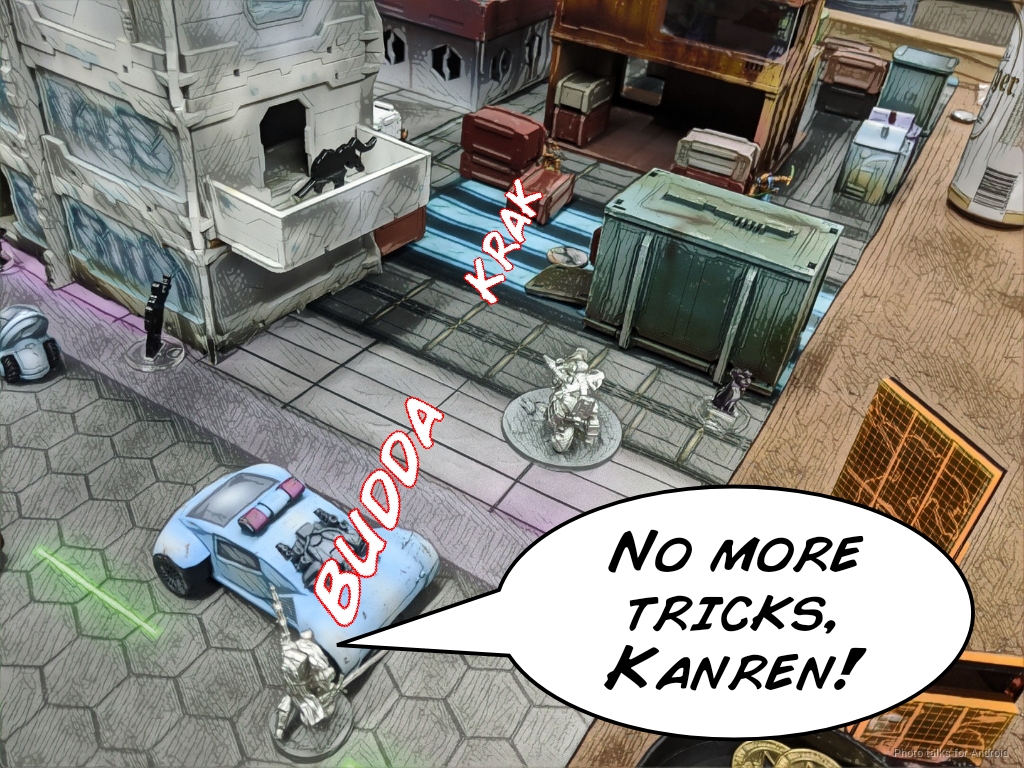
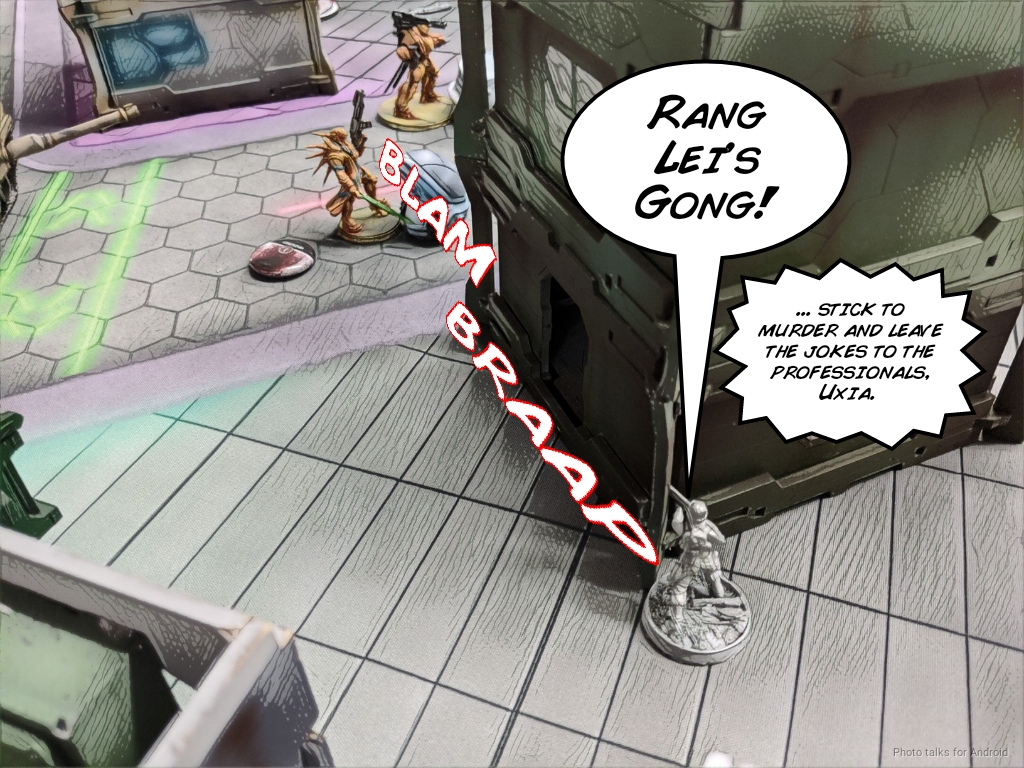
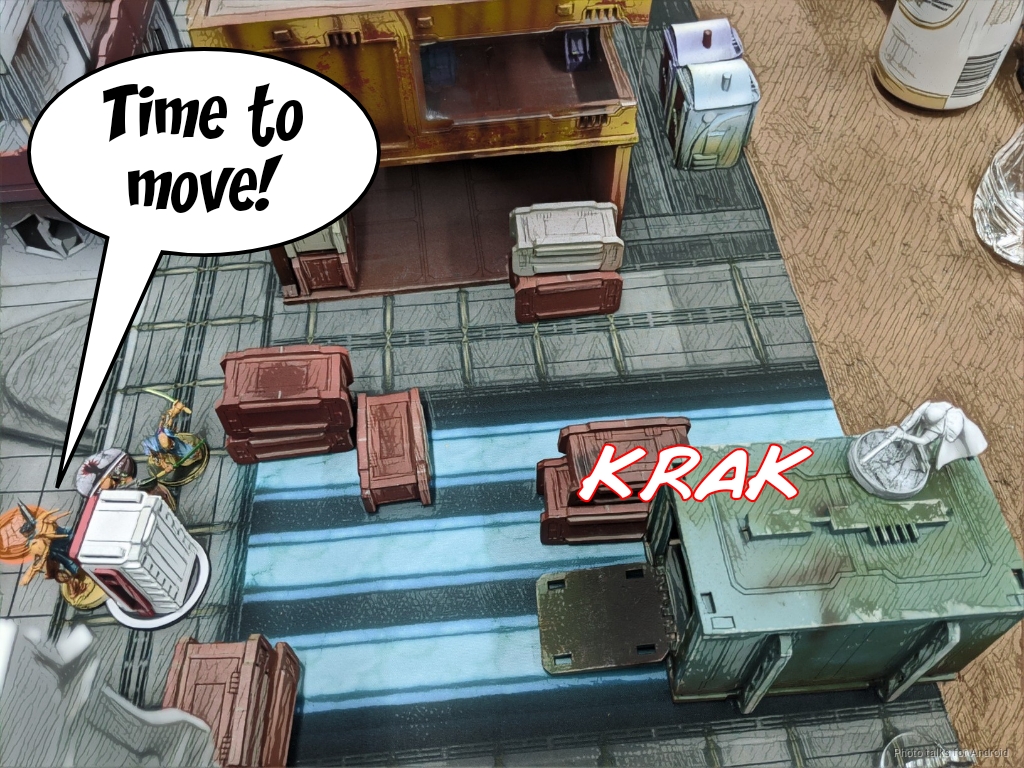
The Yan Huo HRMC is really locking down the midfield along with the Neurocinetics ML Yan Huo, so I decide to make use of Pavel’s Ojotnik.
| 63.01 | 30.65 | 6.34 |
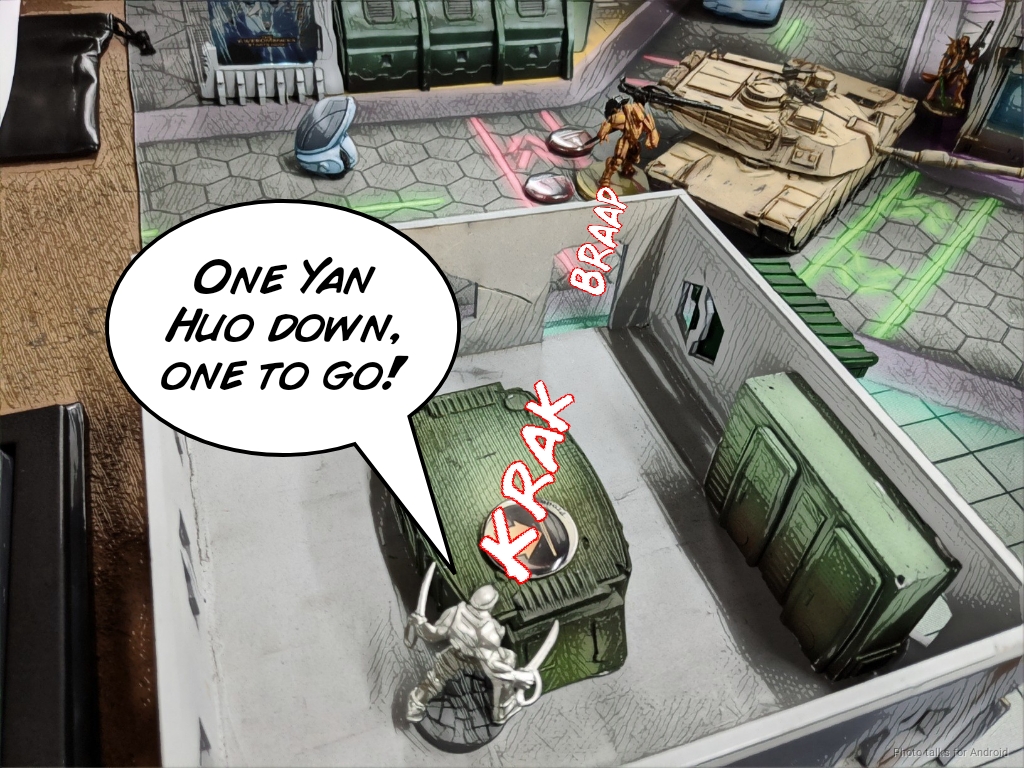
The odds are pretty decent here, because I spent the points to get FD2 and spend the orders to get the Yan Huo out of cover with an AP weapon. It takes two orders but I’m rewarded by removing the Yan Huo from the table.
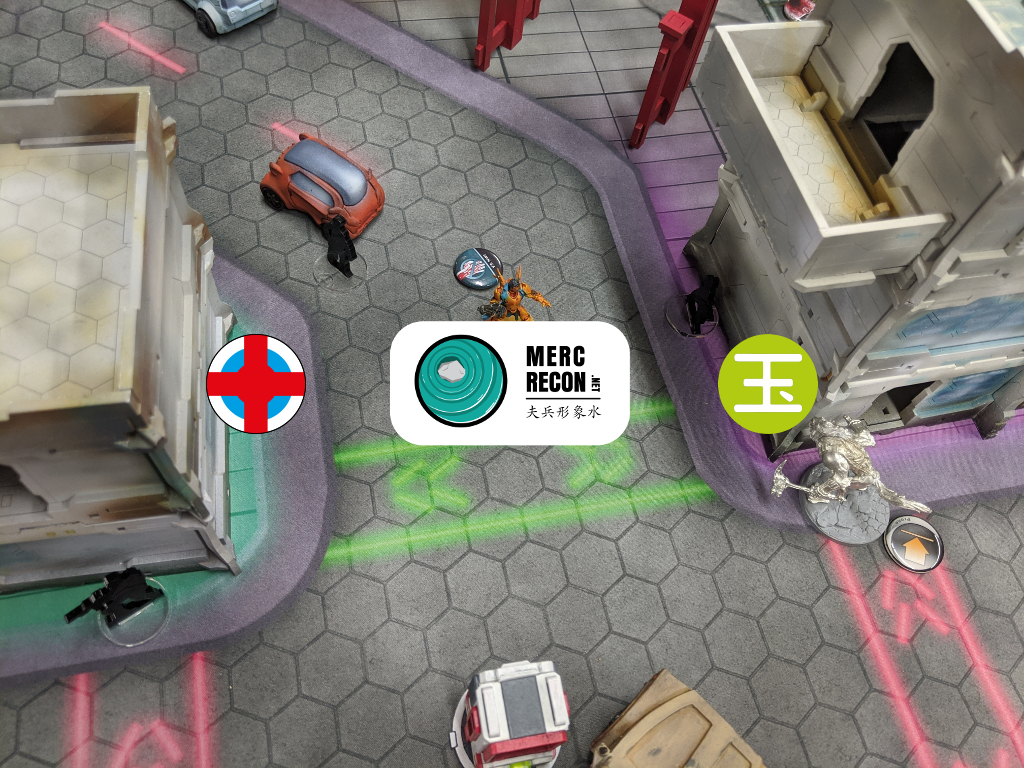
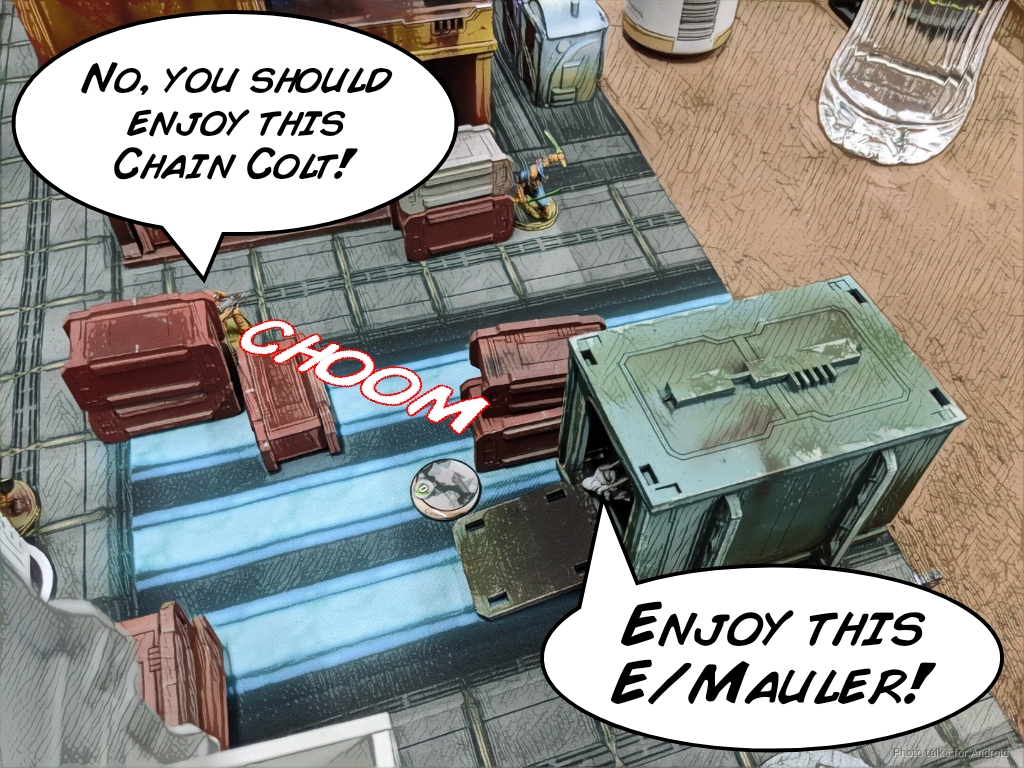
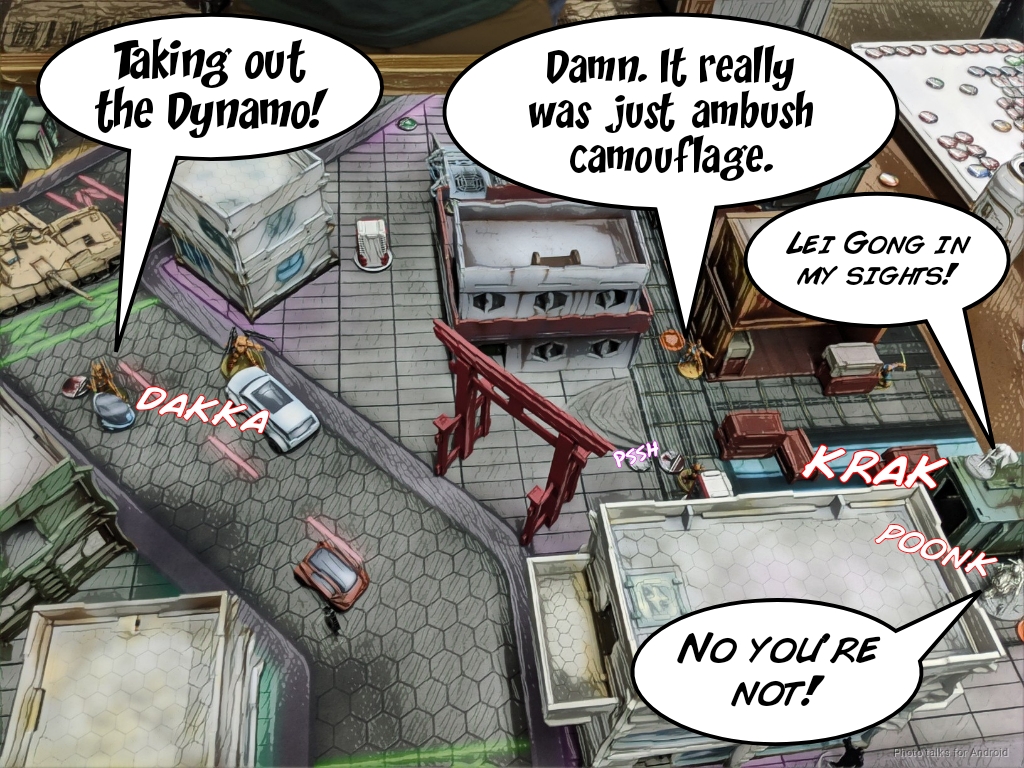
Given that the Kanren hasn’t reacted, and 2/3 Holoechoes are visible to the Dynamo, I figure the last Holoecho (which is out of LoF of everything) is the real one. I bring the Scout out to drop off an E/Mauler covering the Hulang and get chain colted by the real Kanren which is visible! Good work, Burl! Thankfully, I roll super high on ARM and the Scout survives to skulk back into the shipping container. I recamo Pavel to keep him safe.
I’m not convinced that the Dynamo won’t get Chain Colted, so I activate Cadiin to take out the Kanren, which he does in a single order.
With the Kanren and Guilang down, I feel comfortable enough to send in the Dynamo to trigger the E/Mauler on the Hulang. The Hulang fails its dodge but passes both ARM and BTS against the Dynamo’s rifle fire and the E/Mauler. Boo!
I retreat the Dynamo behind the Scout’s shipping container, recamo Vassily with his Lt order and pass turn. I’m pretty pleased with the first turn in retrospect, but at the time I felt like I hadn’t accomplished enough. I’ve taken 30% of Burl’s orders away from him, taken out Burl’s biggest gun, and removed two advanced units on my right flank, both of which had template weapons, which are dangerous to my camo troopers.
So now, to get any work done, Burl has to risk his Zencha, the Hulang, or worst yet, Sun Tze. So far, so good.
Bottom of 1 – Yu Jing
My Strelok’s Ambush Camo is in a very commanding position on the board. Burl decides that it’s too dangerous to leave there, so he attempts a discover with Sun Tze. Miraculously, he fails his WIP roll, so the Ambush Camo stays.
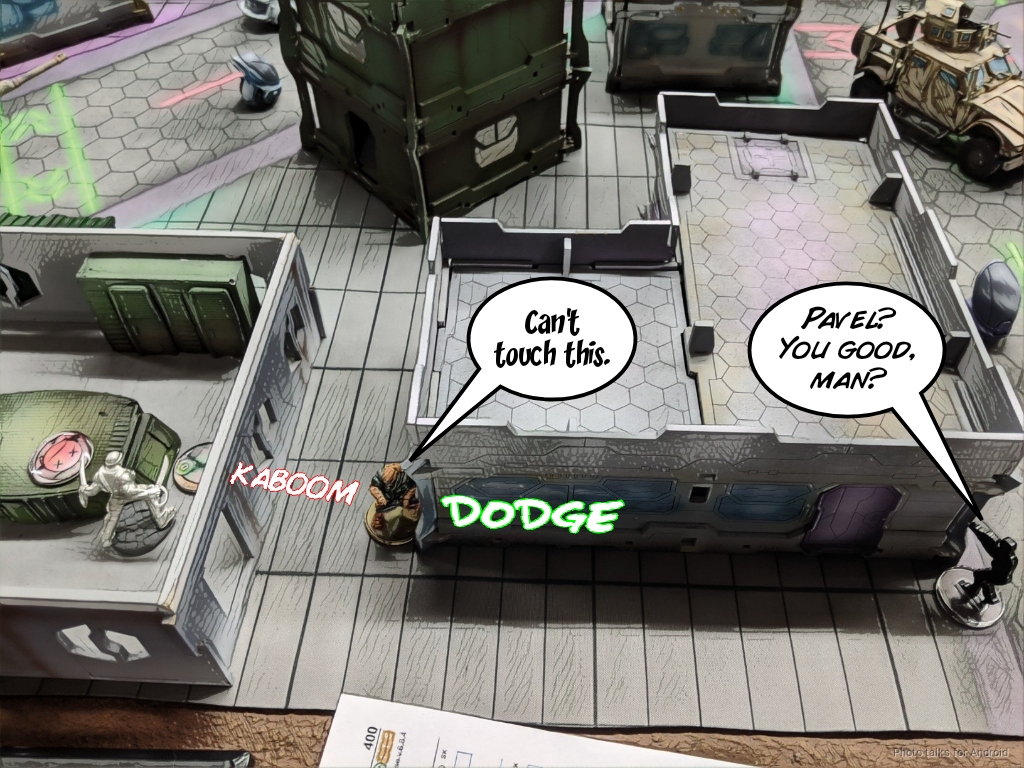
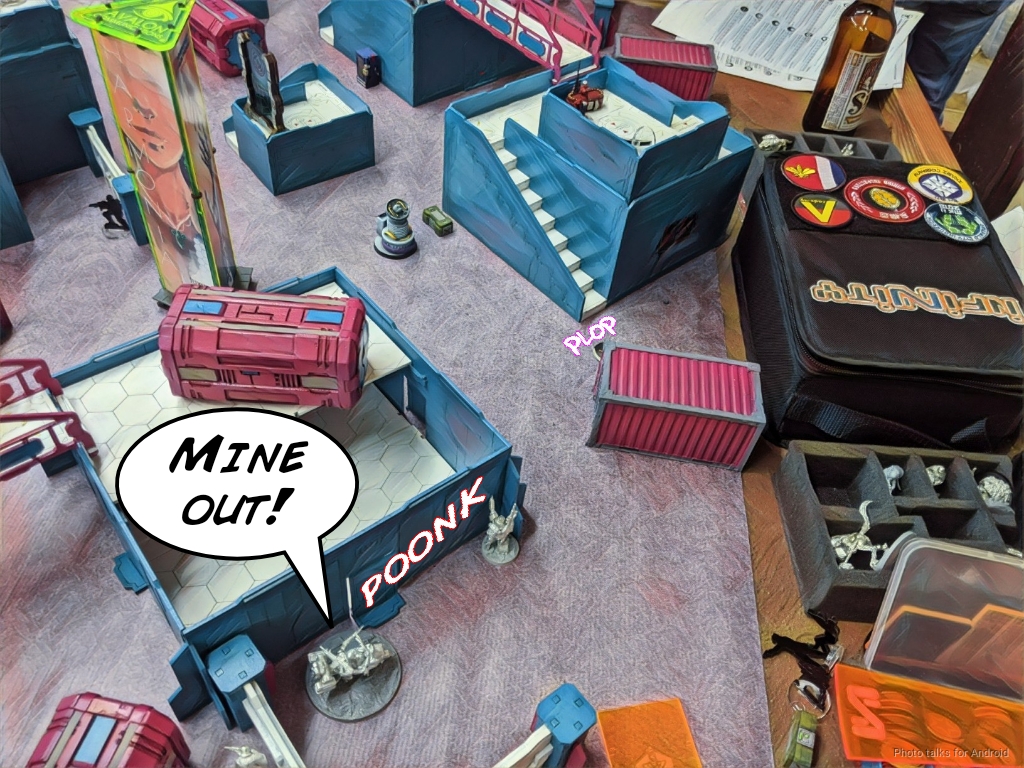
Burl decides he wants revenge against Pavel and sends in the Zencha. I discover the Zencha with the Uragan on its way in…
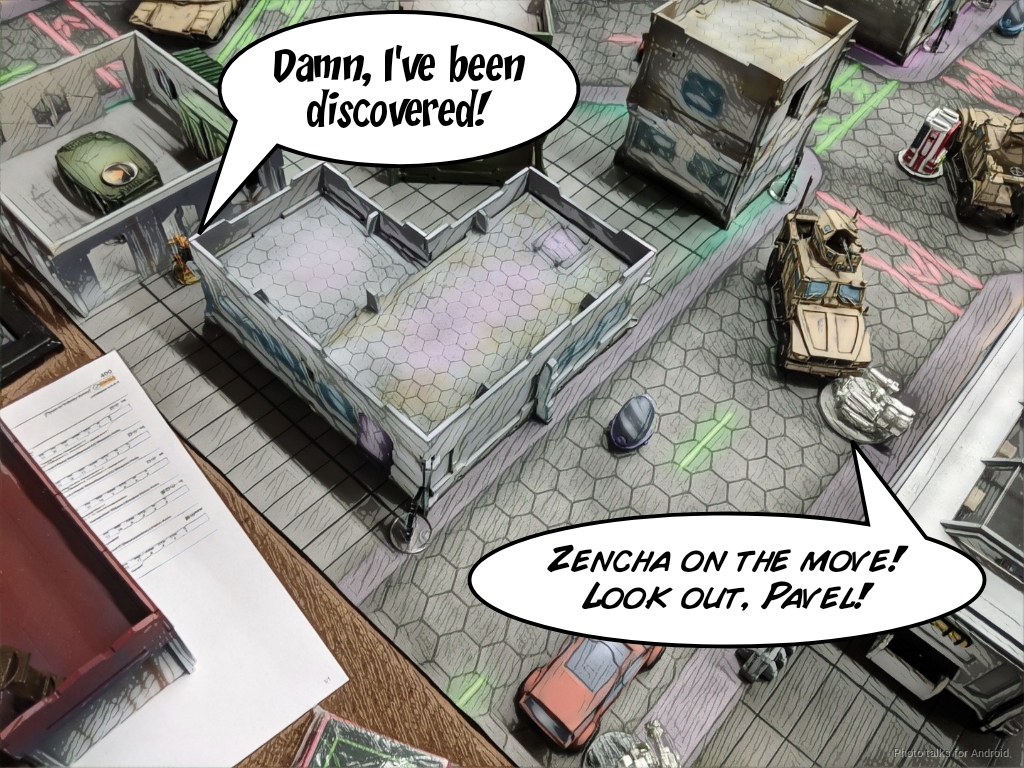
and Pavel drops a mine and gets shotgunned for his trouble. I figured there wasn’t a way to defend against a discover+shoot against a BSG Zencha within 8″, and the mine is the right way to get rid of the Zencha with the least amount of effort.

Of course, the Zencha dodges the mine. Sigh.
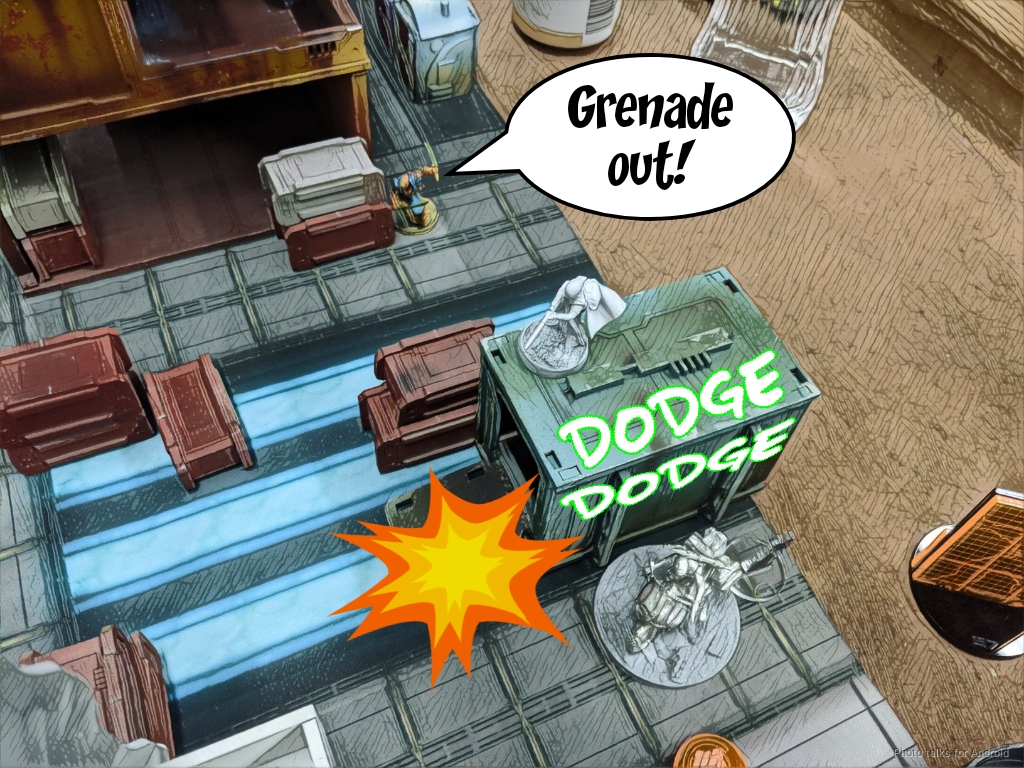
Now that Pavel is down, Burl feels like it’s time to push forward. He coordinates an order between the Yan Huo ML, Sun Tze, the Hulang, and Lei Gong. They attempt a discover on the Ambush Camo and pass this time.
The Hulang attempts a spec fired E/M grenade on the Scout and the Dynamo and on the second try manages to isolate the Scout.
Burl uses another coordinated order to get Lei Gong, the Yan Huo, and Sun Tze advanced, attempting to shoot the Dynamo off the table with Lei Gong as he does so. I smoke him out successfully and the Scout plinks a wound off Lei Gong with a normal roll on his Ojotnik.
Turn 2
Top of 2 – Ariadna
I’m pretty thrilled about this because Burl has done a lot of hard work for me by moving things forward where I can flank them. While Sun Tze is really hard to remove, even in the active turn, I don’t really need to. I just need to remove all his orders and support, so I set about doing that.
I decide to commit to the plan of removing Burl’s orders. This has the added benefit of removing AROs on Turn 3 so I can easily grab the beacon and also make it nearly impossible for Burl to do the same. I consciously decide to leave Sun Tze alive because while he’s around I’m basically not going to have to worry about putting Burl in retreat.
I still need to get rid of the Yan Huo and Lei Gong, but the Zencha is in the way. I send in the Ratnik to remove the Zencha. It takes I think 3 orders, but the heavy shotgun gets it done. The Ratnik’s ARM even shrugs off a hit from the Zencha while I’m at it.
I decide to develop Uxia’s position by pulling her off her 2nd story perch. To recoup some of my order investment, I assault pistol Lei Gong off the table.
| 85.25 | 10.84 | 3.91 |
For those wondering about the chances of her boarding shotgun, it’s not bad!
| 73.11 | 22.07 | 4.83 |
Now that Lei Gong and the Zencha are down, I can thread the needle with the Tankhunter. I’m within 16″, which I think is a net good thing.
| 69.01 | 14.95 | 16.04 |
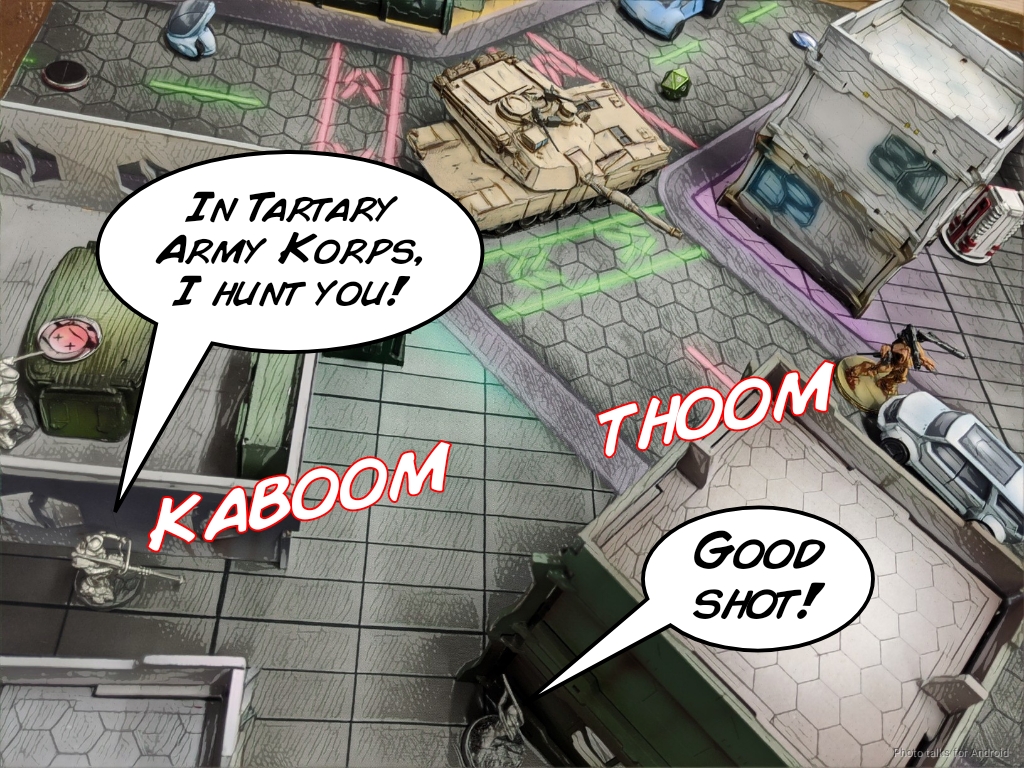
Two Autocannon hits is enough to remove the Yan Huo from the table, so buoyed by my success I go after Lunah. I move+discover and succeed on the discover. I’m within 32″ and sneak a single Autocannon hit through, which is enough against a soft target like Lunah.
Uxia is now in the best position to grab the objective, but I shift the Antipode to the center, getting discovered on the way, just in case. I figure both are pretty safe due to the damage I’ve done to Burl’s order pool. He’s only got 5 orders on the table, including Sun Tze’s Lieutenant and DataTracker orders.
Bottom of 2 – Yu Jing
Burl has done a great job of developing Sun Tze’s position, so now I’ve got to contend with 5 orders of Sun Tze. While this isn’t as scary as 12, it’s still scary. First he takes out the Dynamo.
Then he forces Cadin out of LoF, doing a wound in the process.
Burl wants to get the Hulang advanced as well, so he coordinates an order and flash pulses the Uragan, which manages to put a wound on the Hulang, I think.
Turn 3
Top of 3 – Ariadna
Unfortunately, the Hulang is watching Uxia’s approach to the beacon, so I spend my Lt order to try and T2 sniper it off the table. It passes ARM and makes it into cover, but now it’s facing away from Uxia. Excellent.

This leaves Uxia a window to get to the beacon. I spend a bunch of coordinated orders to get her to a building in Burl’s backfield because I don’t want to risk her getting shot by Sun Tze or the Hulang on the way back to my deployment zone. The other particpants of the coordinated orders are Vassily and Cadin who move to cover Sun Tze and the Hulang if they decide to come through the gap I sent the Dynamo through earlier.
I throw the Ratnik at the Hulang but it doesn’t work, and I’m forced to pass turn, hoping that I’ve got enough ARO coverage of Burl’s stuff.
Bottom of 3 – Yu Jing
Burl makes a move, spending his last coordinated orders to move the Hulang and Sun Tze forward. The Scout finishes off the Hulang, and then it’s a Sun Tze-only show.
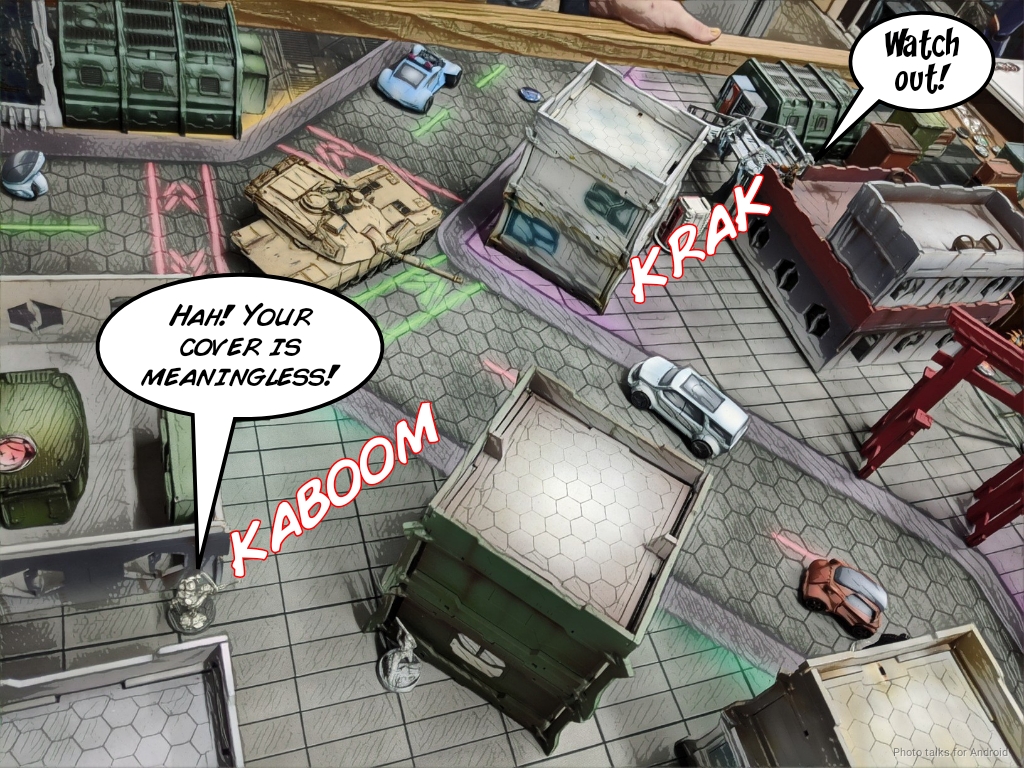
Burl doesn’t bother with subtlety and just goes for it, move-moving Sun Tze towards the objective and taking a mine, two flamethrowers, a full burst from an Uragan, and a rocket from the Ratnik.
Sun Tze does not survive.
6-0 Ariadna Victory!
Post Game Analysis
So. How did not taking burst 4 weapons win me this game? It’s not a direct causal relationship, so let’s get that out of the way first. Part of the reason I set up the Bromad Academy mission was to encourage people not to shoot their opponent off the table, which is exactly what I did. We ended the game with Lunah, the Guilang, and the Doctor + Bots being the only Yu Jing models physically on the table with only the Doctor + Bots being alive.
So, what was the actual difference? Well, let’s say I had a Vet Kazak AP HMG on the table. In a situation similar to what I faced at the beginning of the game where there were two Yan Huo out to ARO (assuming Burl still left them out), I’m probably going to have to work to get into my +3 rangeband and then start blasting away. Not impossible, and the odds are good!
| 63.70 | 27.40 | 8.90 |
Compare that to Vassily’s odds. The lower burst is definitely affecting us here. It’s worth noting that that 41.64% represents an unconscious Yan Huo thanks to T2 and the Vet Kazak’s 63.70% is just a single wound (26.44% KO).
| 41.64 | 51.29 | 7.08 |
So why use Vassily? Well, I’m a dumb human that falls into the lowest energy path out. If I had run the Vet Kazak I probably would’ve just kept blasting at the Yan Huo because:
- It was watching the whole center field that I needed to cross
- I have a big gun and it’s fun to use.
- The Yan Huo is high threat. The model is intimidating, the gun is intimidating, it just screams: “Kill me or I will kill you!”
Since the odds drop after Vassily loses surprise shot and I failed on the first go, I decided to abandon that plan because the activation energy on that line of play got too high and I evaluated other options like sending in the Dynamo to take out the Guilang and assist in taking out the Kanren.
Furthermore, I knew that I would be a little “under gunned” for this tournament, so I needed to really play the rangeband/positioning game. I invested heavily in units like the Tankhunter, Scouts, and Uxia, all of which have pretty scary guns. They also come with deployment skills, letting them get to a flanking position in less orders.
This is why that when I eventually circled back to my task of killing the Yan Huo HRMC, I chose Pavel. He was in the right place, had the right gun, and most importantly, had the right rangebands to mop up the Yan Huo with his Ojotnik. Same with Uxia and the Tankhunter. Burl pushed forward, enabling me to take shots at his exposed flank. Again, I’m playing the rangebands here. Uxia was within 8″ and the Tankhunter was within 16″. Yes, it’s not a good rangeband for the autocannon, but it’s terrible for a missile launcher against surprise shot.
So, to reiterate my points very clearly:
- My list is tailored to cover the “disadvantage” of not having a high burst weapon on a high quality chassis, covering that gap with units that have deployment tricks and dangerous guns.
- The lack of high burst weapons with good odds forced me to stop and think and find a better solution to my problem.
Also, this game had to be played across three turns. I couldn’t get to the beacon until Turn 3, which was okay with me. I used Turns 1 and 2 to degrade Burl’s limited insertion list–every kill I tally takes away 10% of his stuff and slowly develop my positioning, specifically Uxia’s who ended up sealing the deal for me.
I could have made the run on Turn 2 or even 1 to get the beacon, but I had no follow up plan with Uxia. She’d be left to fend for herself against a Sun Tze stomping up to shoot her in the face. By waiting till Turn 3 and reducing Burl to 5 effective orders (excellent choice choosing Sun Tze as the DataTracker, by the way), I left Burl with very little in the way of options. He was stalled out against my AROs and then eventually died to them at the bottom of 3.
Had I spent orders running Uxia in instead of killing stuff, he would’ve had 4 more orders to go kill Uxia, which wouldn’t have been hard and then he probably would’ve had enough orders to set up for a run on the beacon Turn 3. It’s really tempting to over-extend Uxia, but I decided against it. I just had to be really careful about keeping Burl out of retreat. I knew there was no way I was going to kill his Doctor or Sun Tze, so I didn’t bother worrying about it. All I had to do was keep one more thing alive, which in this case was the Hulang (which is really hard to kill and is exactly why I tried to E/Mauler it).
Flipping the discussion around, I think I would’ve been more aggressive with Sun Tze or the Hulang, just shooting up my stuff. They’re really hard to deal with in the reactive turn. That would’ve degraded my order pool and right flank and opened another path where I can’t shoot at them with the Tankhunter or Ratnik.
Also, I think advancing Lei Gong and the Yan Huo ML was a mistake. That let me get them out of cover. If Burl had left them where they were, I would’ve had to smoke my way to the objective, costing me precious orders to run Uxia to safety later. I’d have had to use the Antipode and camo state instead and just thrown him under the bus to pick up the beacon from the midfield off his corpse.
In any case, I’m glad to finally have played a game against Burl. I’ve had lots of great interactions with him and his lovely wife Cat, who also plays and should absolutely play at Rose City Raid! I look forward to getting a game in against her as well, and I’m excited for a rematch against Burl.
Game 2 – Line ’em Up
Game two was against my travel companion, James (RomanLegion). We always seem to get paired against each other at travel tournaments. At least it wasn’t first round like last year’s Adepticon. I was coming off a major and James off a tie, so we were a little confused. In any case, we knew it would be a quick game since we’ve played a bunch before.
We were playing on Canada Adam’s (avanst) table. Lots of verticality, which Adam wanted to mitigate with some saturation zones. James and I sadly glossed right over them till mid game–we were both on autopilot, so we just sort of left them out of the game. I wish we had used them, in retrospect. I don’t think it would’ve changed the game at all, really, but I wanted to get the full experience as Adam intended. Next time!
Overview
- Mission: Countermeasures
- Forces: Ariadna versus Yu Jing (400, Tactical Window)
- Deploy First: Ariadna
- First Turn: Ariadna
GROUP 1 |1
1
GROUP 2 |
EQUIPE MIRAGE-5 . (2 | 71)
DUROC 2 Chain Rifles, Grenades, Smoke Grenades / AP CC Weapon. (34)
BRISCARD (Forward Observer) Marksman Rifle / Assault Pistol, Knife. (0 | 25)
ZOUAVE (Sapper) Sniper Rifle / Pistol, Knife. (0.5 | 25)
ISOBEL McGREGOR T2 Rifle, Flash Pulse, D-Charges, E/Mauler / Pistol, Knife. (0.5 | 26)
8 SWC | 400 Points | Open in Infinity Army
I took my objectives list for this mission, because that was what I designed it for! I’m relying heavily on the Briscards to get stuff done as they’re Medium Infantry, have MSV1, and are Veteran troops. Between the Forward Observer and Paramedic, I can basically do all of the objectives with the exception of things that require a Hacker, Engineer, or D-Charges. I suppose Predator as well, but… whatever. That’s what Duroc is for.
GROUP 1 |GROUP 2 |
CELESTIAL GUARD Hacker (Hacking Device) Combi Rifle / Pistol, Knife. (0.5 | 21)
KOKRAM (Forward Deployment L1, Minelayer) Combi Rifle + E/Mitter, Chain-colt, E/Mauler / 2 Heavy Pistols, Knife. (0 | 42)
KENDRAT Vulkan Shotgun, Chest Mines / Pistol, DA CC Weapon. (0 | 24)
NINJA Hacker (Assault Hacking Device) Combi Rifle / Pistol, Shock CCW, Knife. (0.5 | 40)
LIÚ XĪNG (Specialist Operative) MULTI Rifle, D-Charges / Pistol, CC Weapon. (0 | 38)
HÙSÒNG Yaókòng HMG / Electric Pulse. (1 | 25)
KUANG SHI Chain Rifle / Pistol, Knife. (0 | 5)
LIBERTO (Minelayer) Light Shotgun, Chain-colt, Antipersonnel Mines / Pistol, Knife. (1 | 10)
RUI SHI Spitfire / Electric Pulse. (1 | 20)
7.5 SWC | 399 Points | Open in Infinity Army
James brought a list full of Yu Jing death. Two TR Bots, a Rui Shi, and some serious midfield fighters like the Hulang, Guilang, and Ninja. Just in case he didn’t have enough in the way of raw gunfighting capability, he brought a Yan Huo HRMC.
Deployment
I decided I wanted to go first and then had the unenviable task of deploying on a side that I really didn’t want to deploy on. I separated my HVTs and put them on my left where my Chasseurs and Uragan could cover them. I put my Briscard FO on the roof of the tall building in the center, figuring that I could forward observe whatever I needed to from up there, and the Scout and Dynamo could cover me if I needed to do more work.
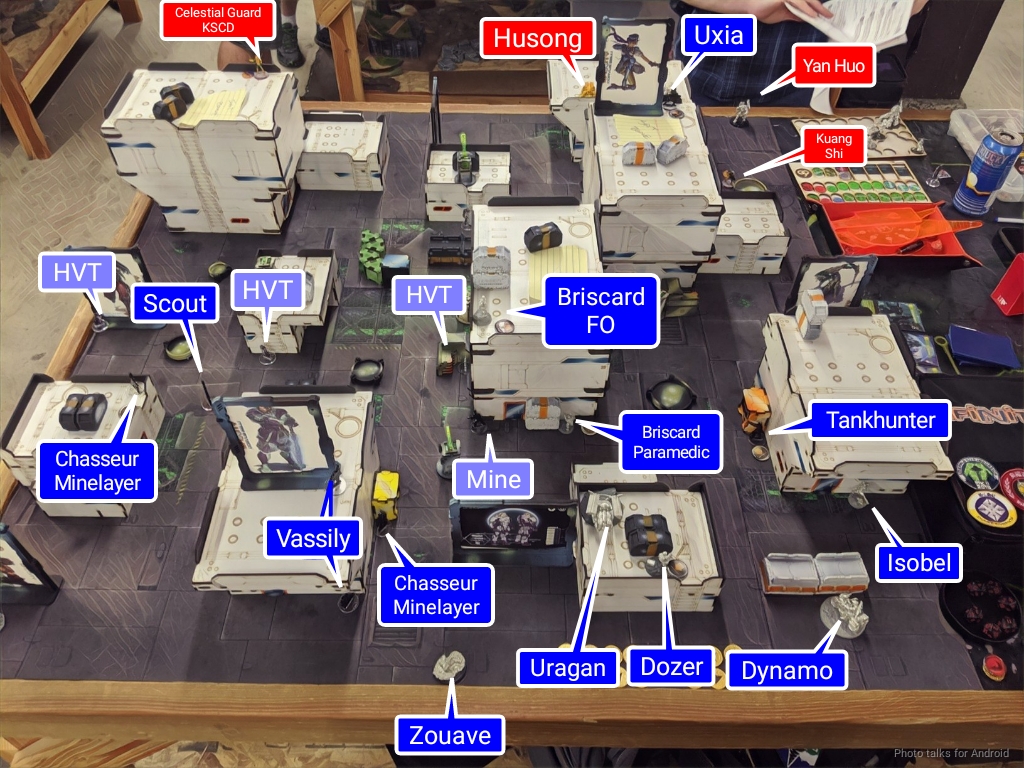
The Briscard Paramedic went basically underneath the Briscard FO, and then I put the Dynamo on my right behind some convenient crates. Isobel went nearby, figuring that I could advance her up the flank. I needed to be able to shoot my way up that flank, so I put the Tankhunter on that side as well. Vassily covered my gunfighting requirements on the left, with his Ambush Camo prominently displayed. I had some trouble placing my Scout, which I just ended up putting in No Man’s land on the left, figuring I’d fix his positioning on Turn 1.
James castled hard, covering both flanks with Kuang Shi and on the left doubling down with a Libertos minelayer. Very interestingly, James decided to line up all his HVTs in the center of the table, figuring he could cover them the best with his two TR bots on a roof. He made sure to cover them with a repeater, thanks to his Rui Shi, and even added an E/Mauler from Krit. The Ninja lurked nearby, as did the Hulang.
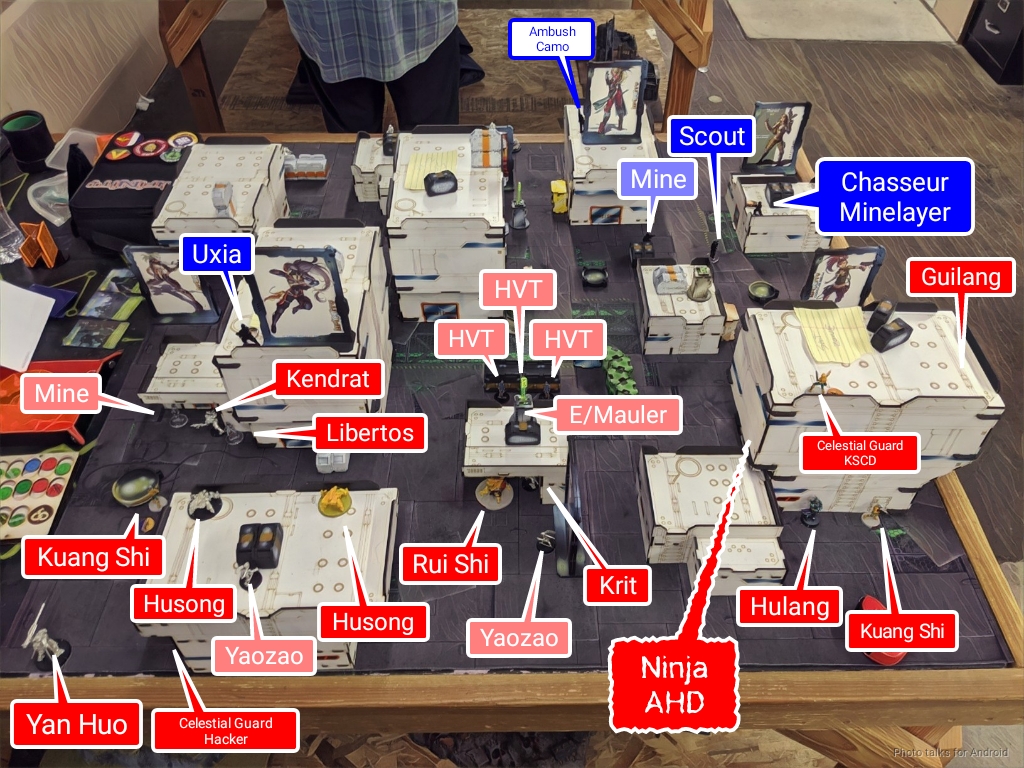
The rest of his troops were tucked into positions of safety where he felt they could do the most good. For example, the Celestial Guard with Kuang Shi Control Device was on roof from which he could rain smoke grenades.
I managed to stick the landing with Uxia on a roof within 8″ of one of the TR bots. I think this is where everything went to pieces for James. He was rightly concerned about losing his TR bot and me gunning things down from my lofty perch, so he deployed his Yan Huo in the open covering the little corner of the building where Uxia would have to appear to shoot the second TR bot (the yellow-painted one on the right, the unpainted one I could see safely by itself). Little did he know that this was on the same side as my Tankhunter…
Turn 1
Top of 1 – Ariadna
- HVT: Identity Check
- In Extremis Recovery
- Net-Undermine
James has done a great job denying me any good place to Airborne Deploy Duroc in. Duroc is tanky, but I don’t think he can tank an HRMC hit and two full TR bots worth of shooting. I actually think him being an impetuous Airborne troop is a good thing.
If your opponent leaves a hole, you’ve saved a ton of orders getting him up the field to do damage–the traditional benefit of Airborne Deployment. If my opponent doesn’t leave a hole, chances are there are things watching firelanes too, so a 6″ impetuous move is dangerous anyway. I still get to respond to my opponent’s deployment, so while I’m not getting an order advantage, I’m getting a reserve advantage and I get a free impetous cancel. For some more discussion of this, look at Adam (TheDiceAbide)’s excellent article:
TL;DR: Mirage-5 is amazing. I ended up dropping Duroc behind a building near my deployment zone on my right to be able to use smoke or attack on that flank. Also, Duroc is fast enough that the “loss” in order efficiency isn’t really all that bad. It’s not the extra 2″ of move, it’s the super jump that provides the speed because I can ignore certain board geometries.
In any case, now that Duroc is safely on the board and I’ve waxed poetic about him enough, let’s return to our regularly scheduled programming. I hadn’t intended on Lieutenant hunting this game, but I cannot ignore this low hanging fruit.
| 81.35 | 9.99 | 8.66 |
I send in the Tankhunter and in a single order take the Yan Huo off the table. It’s worth noting that I have a 68.99% chance to KO the Yan Huo and a 46.16% chance to do 3 or more wounds, which is exactly what happened.
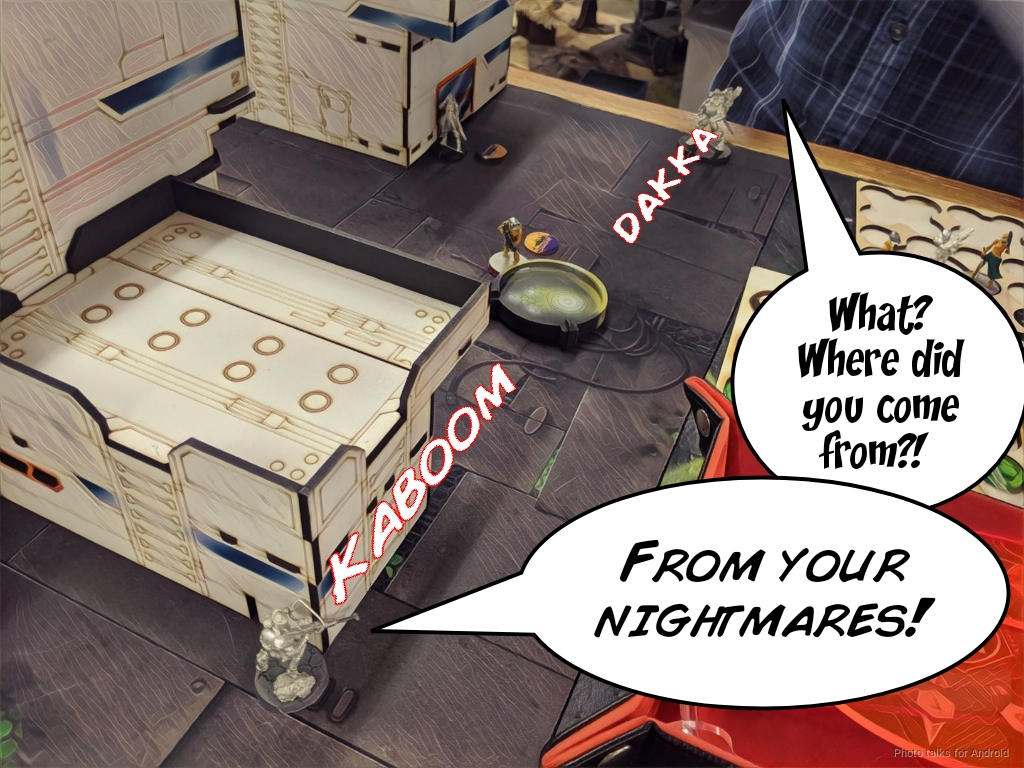
I want to get my Briscard Paramedic upfield to get some objectives done, but the unpainted TR bot is watching a sliver of his approach. I really don’t want to play the cautious move game and I want a dead TR bot, so I send in Uxia. This is less of a Bromad Academy burst < 4 thing and more of a Uxia is stupidly good thing. In any case, she guns down the TR bot.

The Briscard Paramedic does his thing, getting me HVT: Identity Check and Net Undermine before tucking himself into a corner. I still have to fix the Tankhunter’s positioning as Kendrat and a Kuang Shi are right there, so I climb him onto a building and recamo.
Bottom of 1 – Yu Jing
- Extreme Prejudice
In Extremis Recovery- HVT: Kidnapping
- Sabotage
James decides he doesn’t want In Extremis Recovery, so he ditches it to get a completely fresh set of objectives. While he’s in loss of lieuteant, I know that is not really a consideration. James is too good for me to relax. His Kuang Shi makes a beeline for my side of the table and somehow survives a barrage of Uragan fire.
Since he’s still got an irregular order on the Kuang Shi, James sacrifices the Kuang Shi to Uragan fire in order to discover the Tankhunter. With the Tankhunter revealed, James can then shoot my poor Tankhunter with his Kuang Shi Hacker in his backfield.
| 57.08 | 21.38 | 21.54 |
While the odds are definitely in my favor, 20% is still 20%, and I lose the Tankhunter.
The other Kuang Shi baits out my Scout on its impetuous move, surviving the first shot. James tries to gun the Scout off the table with his remaining TR bot, but I dodge out of LoF. Sadly, the Kuang Shi activates again and pistols down my Scout.
James keeps spending orders on the Kuang Shi, burning command tokens, and discovers one of my Chasseur’s mines.
He doesn’t invest too heavily and shuffles the rest of his troops (in particular the Hulang and Kendrat) around to set up for next turn.
Turn 2
Top of 2 – Ariadna
Extreme Prejudice- HVT: Inoculation
- HVT: Kidnapping
- Sabotage
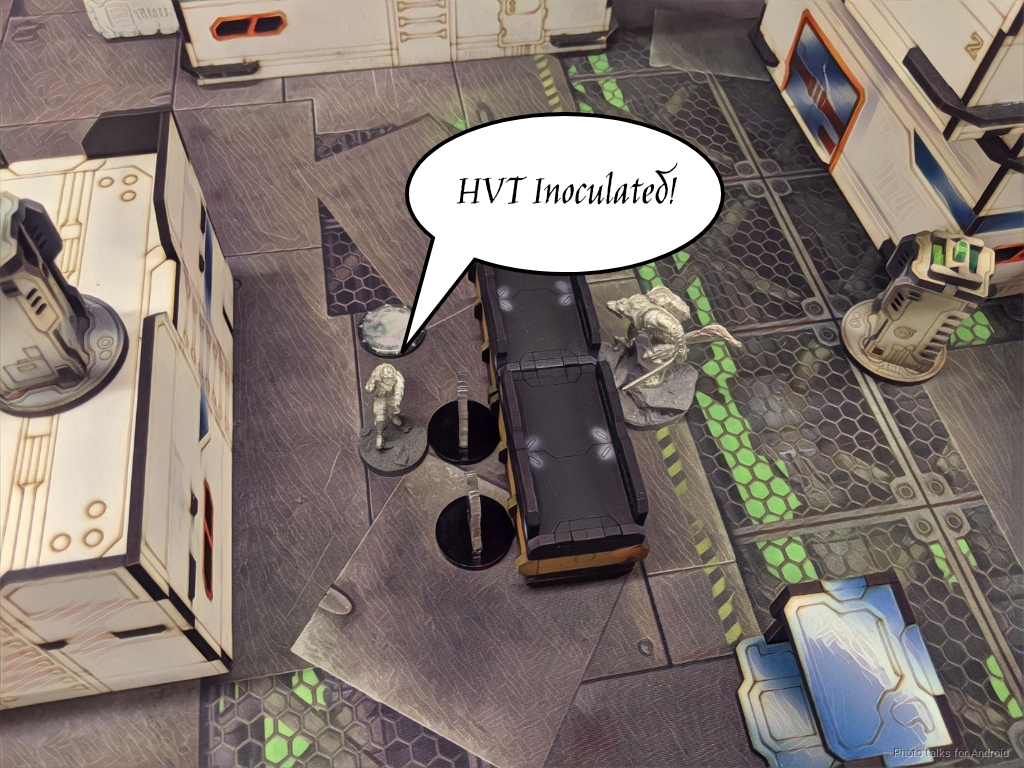
I really have no interest in letting James have Extreme Prejudice, especially with my Tankhunter being unconscios and so close to Kendrat, so I get rid of it, revealing HVT: Inoculation. Perfect! More stuff for my Briscard Paramedic!
Thankfully, Duroc is in a different pool (almost like I planned it that way) and dodge-clears the E/Mauler for me then sets up smoke for the Briscard.
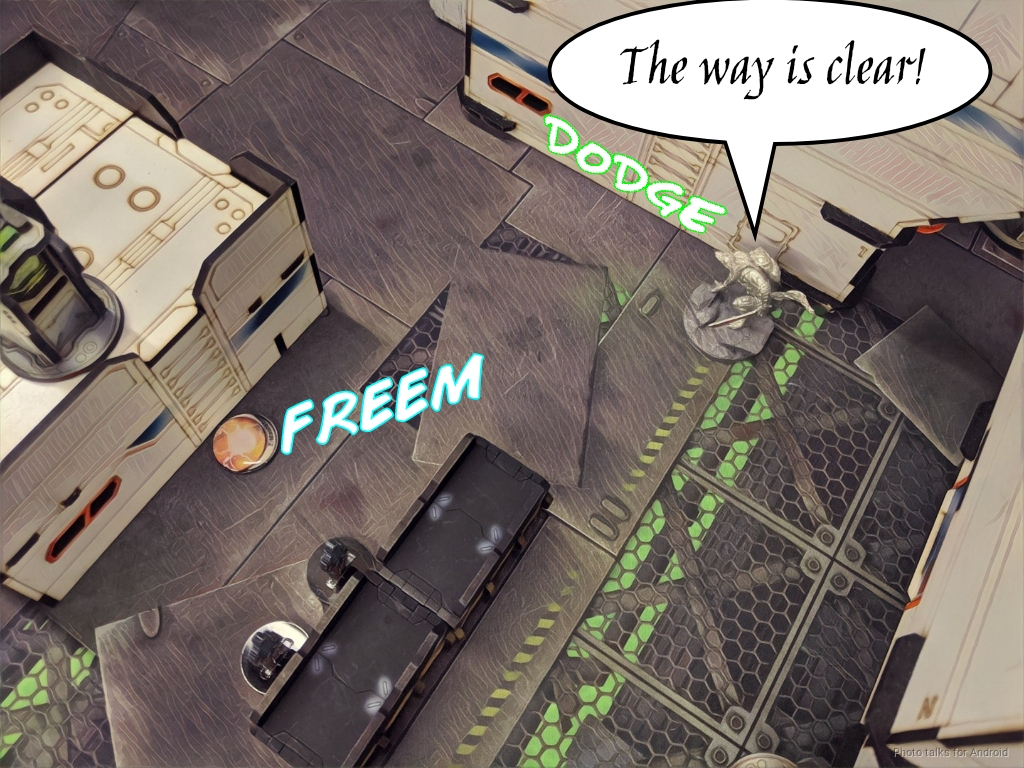
I walk down the line of HVTs, grabbing HVT: Inoculation and HVT: Kidnapping, retreating the Briscard back to my side of the table, dragging the HVT with him in case I have more HVT classifieds come up.
Duroc has served his purpose, so I send him in to get rid of the Rui Shi, which is a very dangerous threat still. James reveals the Libertos and shoots with everything. I just double-chain rifle the Rui Shi, killing the Yaozao, the Rui Shi, and putting a wound on Krit.
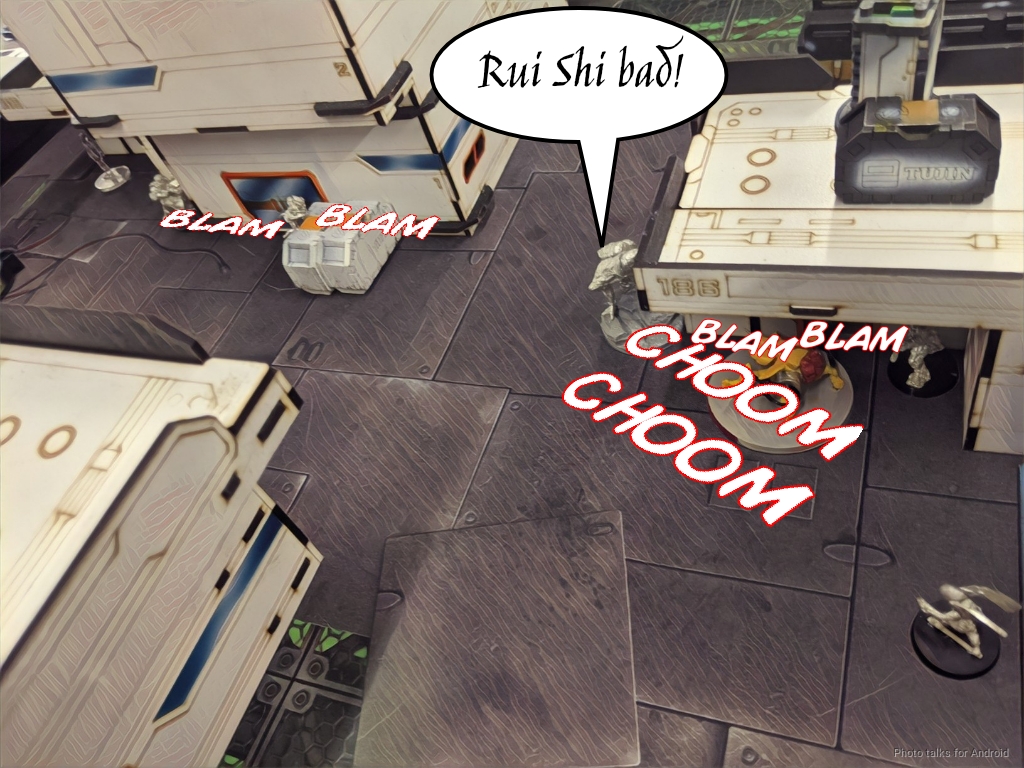
I lose Duroc to all the fire, but it’s totally worth it.
Bottom of 2 – Yu Jing
- Experimental Drug
- Predator
- Sabotage
Predator comes up for James, which he could conceivably accomplish–he’s just worried about moving Kendrat around because I still have an Uragan on the table. His remaining Kuang Shi clears a mine with its impetuous order, which is annoying for me but not a huge deal.
James then tries to drop in a Liu Xing on my Uragan and Dozer, but Isobel hacks the Transport Aircraft and the Liu Xing deviates to the rooftop of a nearby building where it takes a wound from the Uragan’s fire.
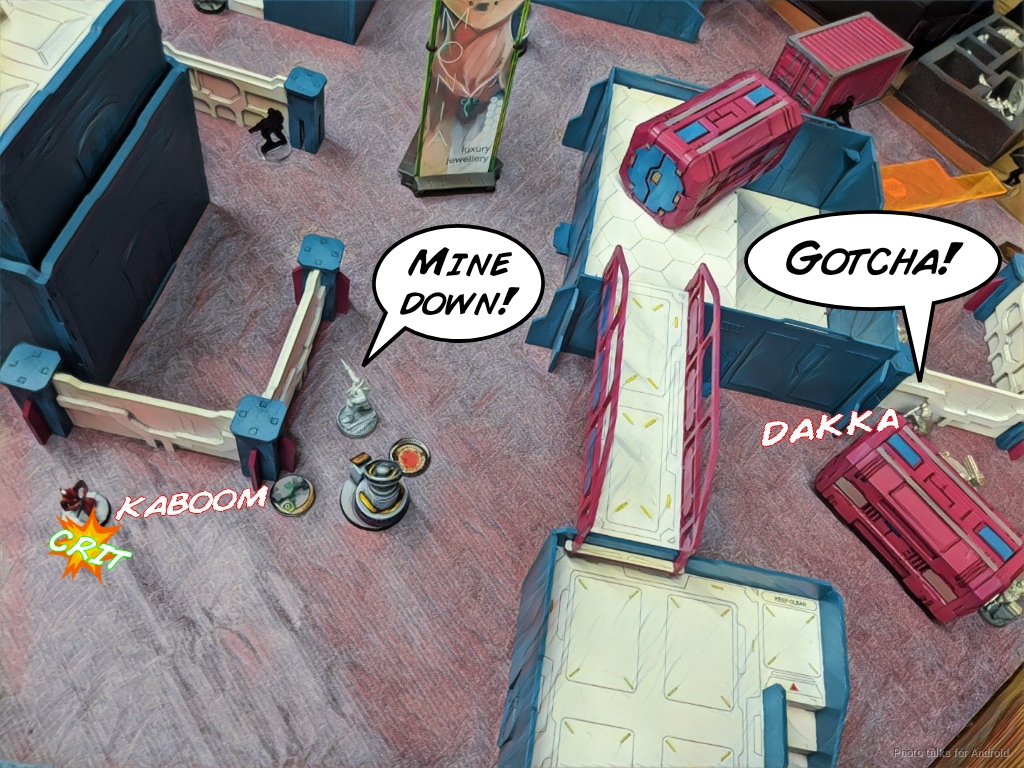
With the Uragan still watching Kendrat, James decides to go for Sabotage with the Hulang.
He takes out the Uragan at long range and then blows something up with D-Charges, getting him a DataTracker objective. Good work!
He did reveal that the Hulang was his Lieutenant though by spending the Lt order.
Turn 3
Top of 3 – Ariadna
- Data Scan
Nanoespionage- Predator
- Rescue
The last two turns are pretty quick. I get rid of Nanoespionage to deny James an easy objective, which reveals Data Scan. I pick up the Uragan, blow all of my orders in my second pool trying to get Data Scan with Isobel on the nearby Liu Xing (very frustrating).
I vent my frustration on the Liu Xing with my Briscard FO, finishing it off, and do the same to the Hulang. I think one of my Chassuers took out the remaining Kuang Shi, and then I pass the turn back to James.
Bottom of 3 – Yu Jing
- Data Scan
- Predator
- Rescue
James is in loss of lieutenant again, but he gamely makes an effort to get Data Scan with his as-yet-unrevealed Ninja AHD. This is why you save your command tokens, kids! He just makes it and nabs Data Scan off my downed Scout, making it a
10-4 Ariadna Victory!
Post Game Analysis
Putting the HVTs in a line is SUPER dangerous. I don’t think that was a good idea. Also, James made the decision to hold the Yan Huo instead of his Ninja, which we both agreed was a mistake. He could’ve hid the Yan Huo on his right and put the Ninja behind Uxia. That would’ve left him in a much better position (i.e. not in Loss of Lieutenant).
There really isn’t a whole lot of nuance to talk about in this game. James did everything he possibly could to claw his way back–some key rolls just didn’t go his way. The Liu Xing not landing was really bad, as that could’ve given him Predator easily and thus protected him from having to push so hard with the Hulang, getting it killed.
What this game boils down to is James made two deployment mistakes:
- The Yan Huo being left out of cover to protect a totally throwaway TR bot.
- The HVTs being in a line.
I heavily exploited both mistakes and kept the pressure on all game. It’s worth pointing out that had I not kept the pressure on, James would have recovered, I think. He’s an excellent player and I kept having to degrade his options in order to secure my victory.
It’s a bit of a shame that all four objectives were accomplishable by one unit, my Briscard Paramedic. It’s also a shame that I could literally just walk down a line of HVTs to get them done too. I do think that James could’ve made that more difficult by putting the Libertos there in addition to the E/Mauler. I would’ve had to sacrifice Duroc to that to clear the way for the Paramedic, and then I wouldnt’ have had smoke to protect the Briscard from the Ninja AHD which was watching the HVTs.
In any case, this game is an example of how quickly deployment mistakes can snowball into a defeat. James still managed to achieve two objectives under that much pressure (in loss of lieutenant twice!) so massive kudos to him on that. Looking forward to our next game, James. Hopefully it will not be at a travel tournament!
Game 3 – Moral Victory
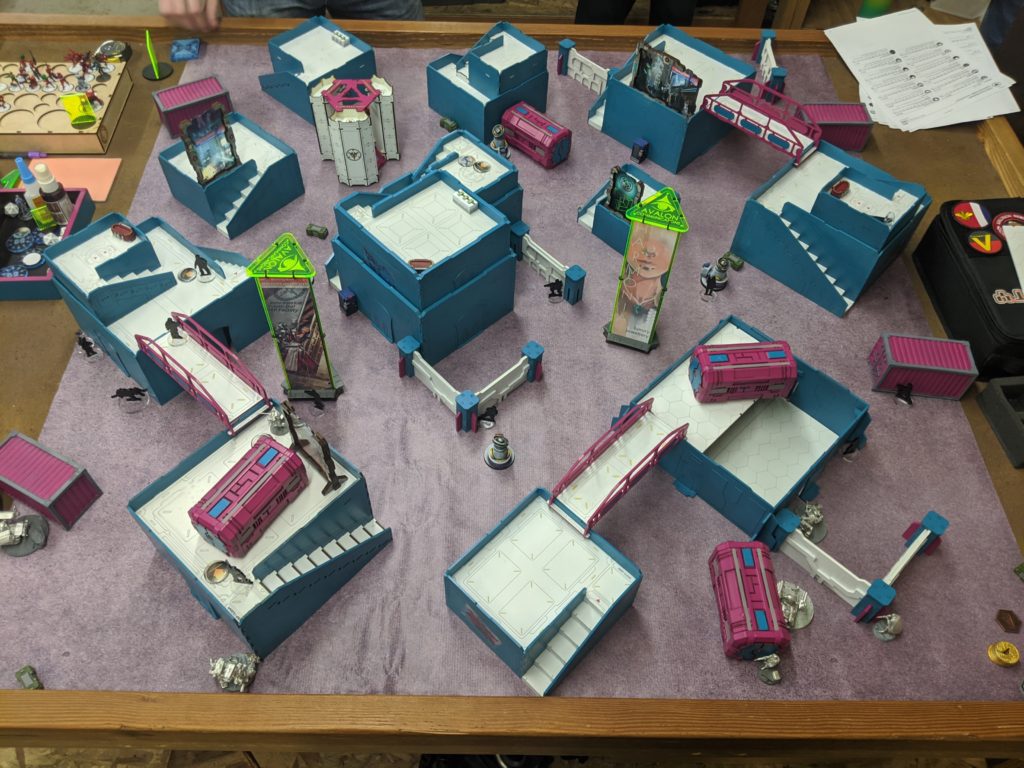
Game three rolls around, and I’m facing Leif (norsecompass). At this point, I’m pretty brain dead and facing one of the best players in the Pacific Northwest. He’s playing ALEPH, my worst matchup, and we’re on his table.
Okay. Ego massaged and whinging over. I want to make sure that I say that Leif is amazing in every respect. Not only is he a great player, he’s a great person. I had the pleasure of meeting some of his family, and they’re pretty rad too! Anyway, this was actually our second game ever and is a rematch of the same mission! You can check our first game out here:
Okay, on to the game.
Overview
- Mission: Looting and Sabotaging
- Forces: Ariadna versus ALEPH (400, Tactical Window)
- Deploy First: ALEPH
- First Turn: ALEPH
GROUP 1 |GROUP 2 |
8 SWC | 399 Points | Open in Infinity Army
I took the list I designed for Looting and Sabotaging, which I’ve already discussed, but to recap it’s basically all in on Uxia and the Strelok. Cadin might get there… but probably not.
Game 3 – Leif
MARUT Lieutenant (Strategos L3) MULTI HMG, Heavy Flamethrower, Nanopulser / AP CCW. (3 | 120)
ACHILLES Spitfire, Nanopulser / Pistol, EXP CCW. (2.5 | 75)
NAGA (Minelayer) Boarding Shotgun, Antipersonnel Mines / Pistol, Knife. (0.5 | 27)
PROXY Mk.1 Doctor (MediKit) Combi Rifle, Nanopulser / Pistol, Knife. (0 | 10)
PROXY Mk.2 MULTI Sniper Rifle, Nanopulser / Pistol, Knife. (1.5 | 24)
PROXY Mk.5 (Forward Observer) 2 Submachine Guns, Nanopulser, E/M Grenades / Pistol, Knife. (0 | 10)
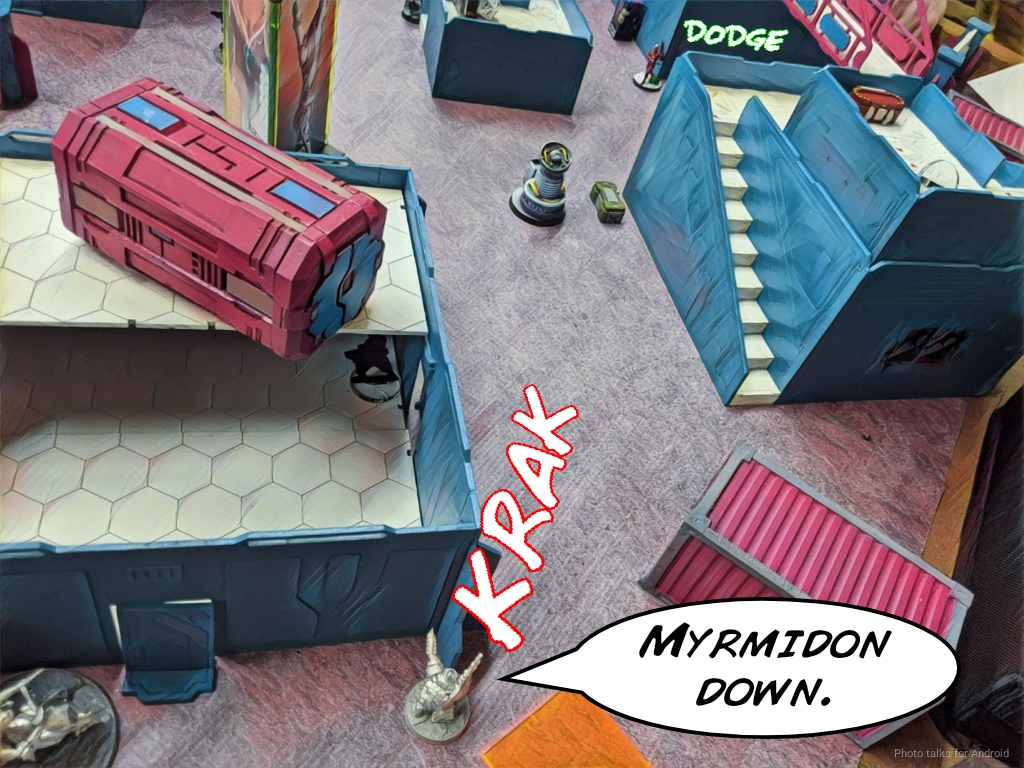
MYRMIDON Chain Rifle, Nanopulser, Smoke Grenades / Pistol, AP CCW. (0 | 16)
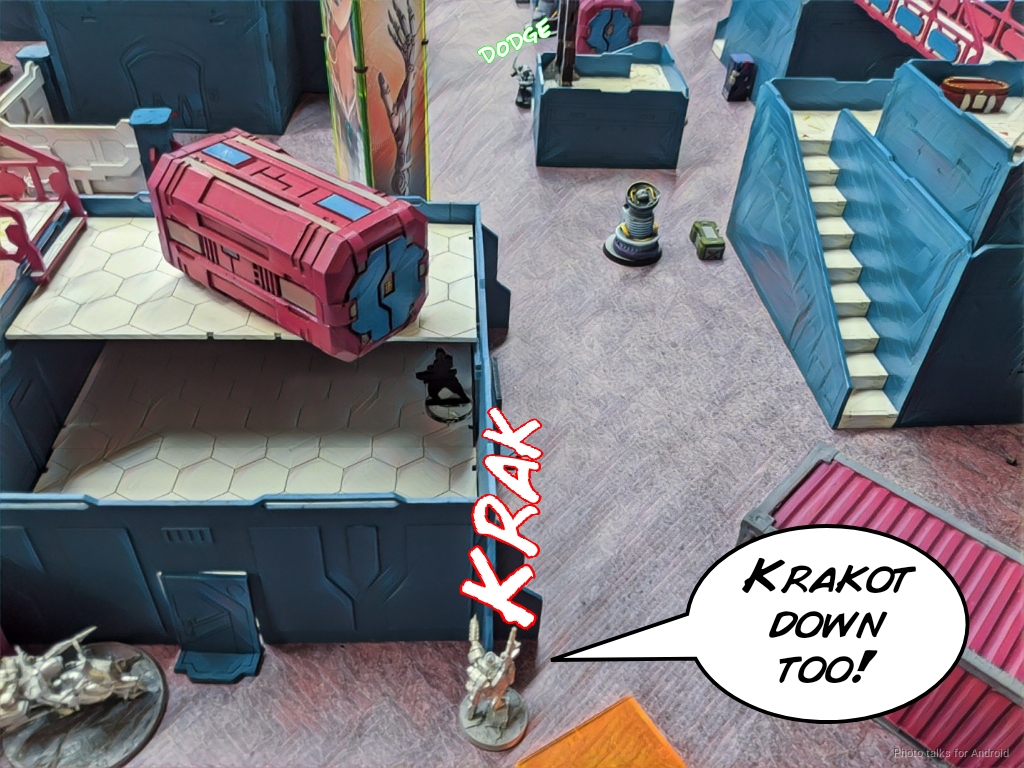
KRAKOT RENEGADE 2 Chain Rifles, Grenades / Pistol, DA CC Weapon. (0 | 14)
ACMON Combi Rifle, Panzerfaust, Nimbus Grenades, D-Charges / 2 Breaker Pistols, Knife. (0 | 27)
DART Submachine Gun, Viral Tactical Bow, E/M Grenades / Pistol, Shock CC Weapon, Knife. (0 | 34)
Leif brought a two TAG ALEPH list consisting of 1) Achilles and 2) a Marut. The rest is just good stuff ALEPH, including my nemesis, the Proxy Mk2 sniper.
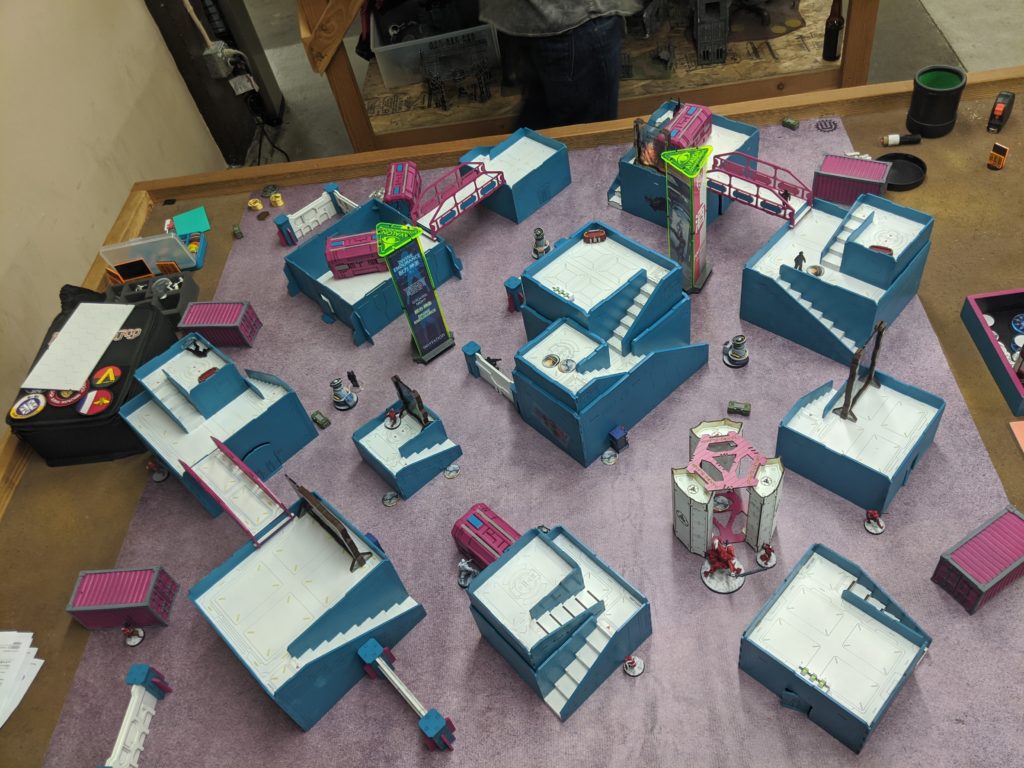
Deployment
Well, I win the roll off and lose the game by choosing deployment and letting Leif go first. He informs me that Strategos is active, holds back Achilles and the Marut, and then just puts stuff on the table. Let’s be honest here, the only things that are really relevant are Achilles and the Marut…
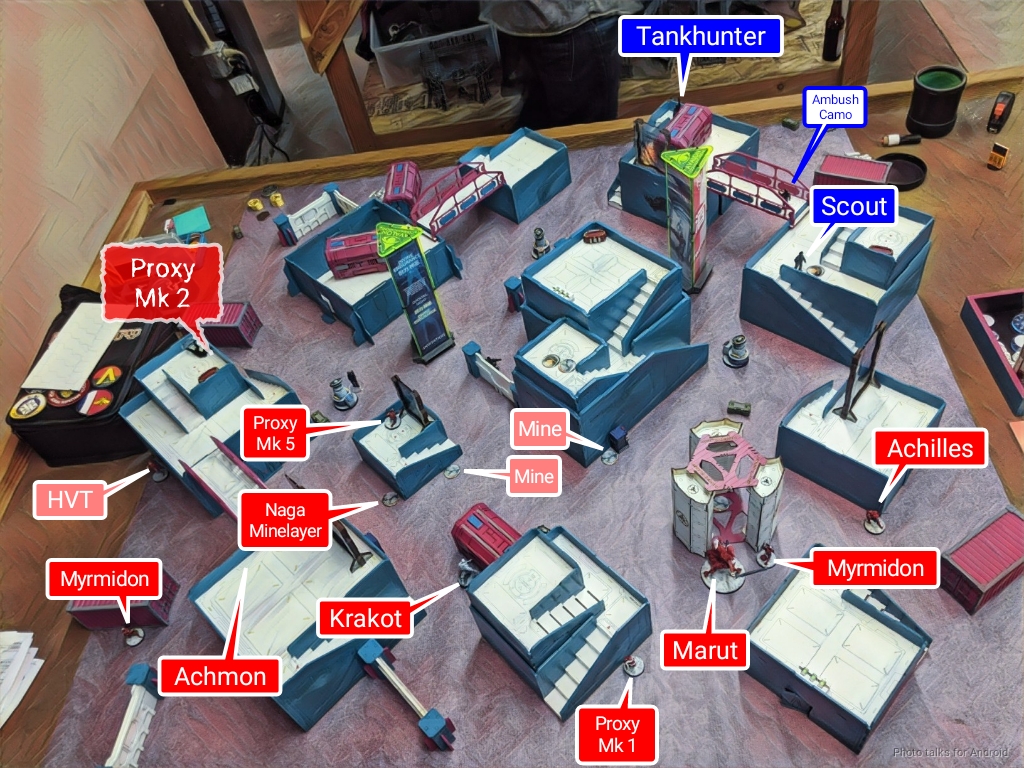
But more seriously, Leif puts a Myrmidon on each side to give himself options for smoke, covers his AC2 with mines and Nagas, and then sets up some Proxies in really annoying spots.
I do my best to set up for a bottom of 1 run and cover my AC2. I’m really concerned that I’ll just get shot off the table so I am very conservative with my sight lines and cover a lot of short range approaches to the AC2. I do cover the Proxy Mk5 with a mine, which I found entertaining, and do my best to cover the flanks with scary things like Uxia, the Strelok, and the Scout.
I’m careful and try not to telegraph which camo token is Uxia, but Leif isn’t fooled. In any case, my deployment is far too conservative to protect the AC2 from Achilles, but at least I’m not going to get my face shot off by the Marut on Turn 1.
Leif drops the Marut in a position where it can cover the AC2 and then put Achilles on the same side (my left) to make the attack run.
Turn 1
Top of 1 – ALEPH
Leif starts off by trying to discover the Strelok’s Ambush Camo with the Marut and miraculously fails. He figures that it’s not a big deal and takes Achilles off his leash.
He does a coordinated order with Achilles and two Myrmidons, one of which is visible to the Ratnik, so I take a long range shot and whiff.
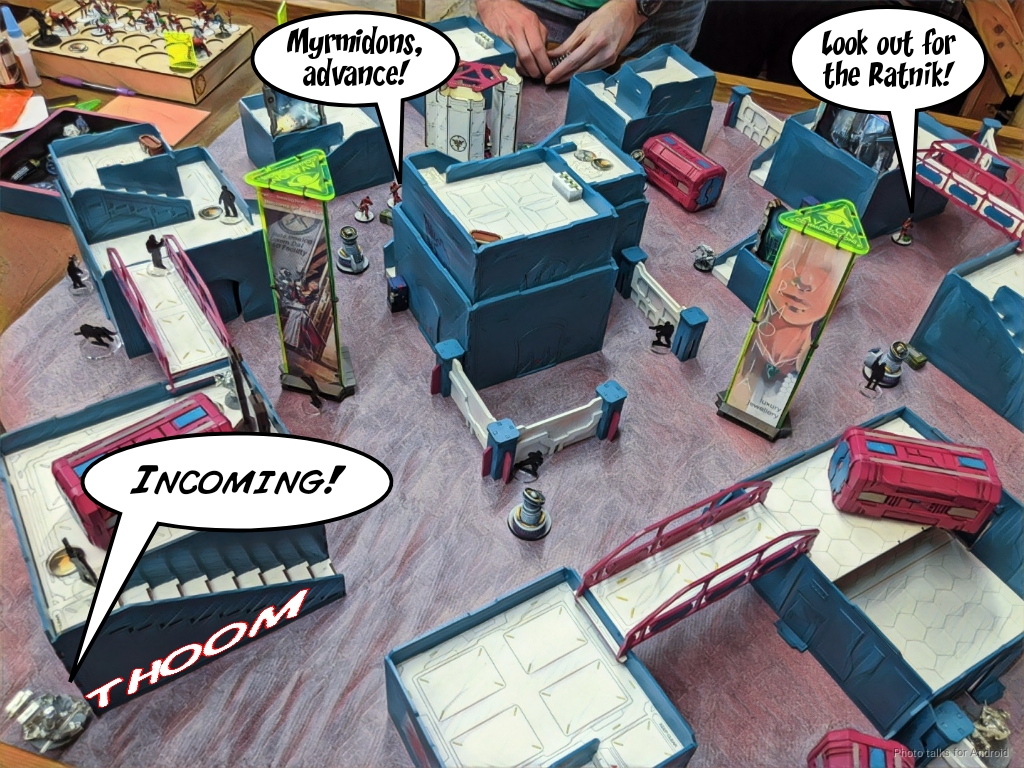
The Myrmidon sets up smoke… I think on burst two? Which is not a thing? Hmm. Not sure what’s going on in these photos. Did I mention that I was really out of it by game 3?
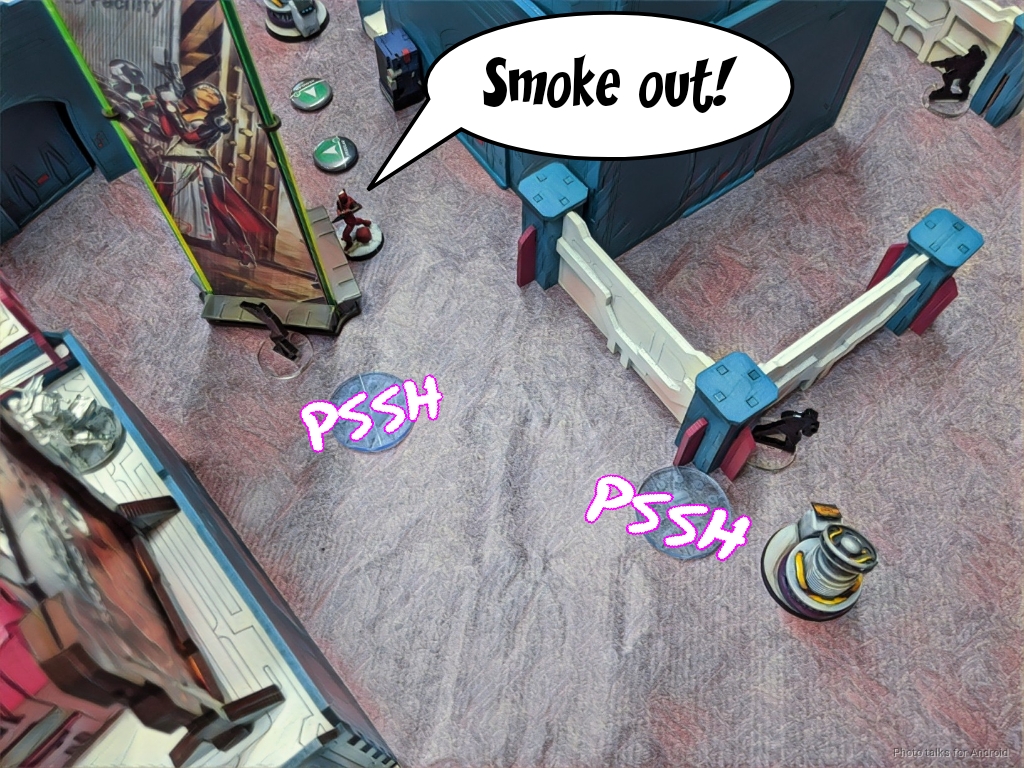
Anyway, more smoke later, the Myrmidon and Achilles try to make it to the AC2 and are forced to dodge a mine, which they both do successfully.
This lets Achilles smack the AC2 and kill it all the way dead in one order. Sigh.
Leif sends Achilles after the Ratnik and eventually I chicken out and fail guts around a corner, letting Leif throw the Marut, Achilles, the Proxy Mk5 and Achmon into suppression. Hilariously, this sets off the nearby mine and kills the Mk5. I’ll take it!
Bottom of 1 – Ariadna
I’ve now got to get rid of Achilles and an advanced Myrmidon. I’m basically not going to be able to make a play on the objective till Turn 2, so I plan on just clearing the way this turn and setting myself up.
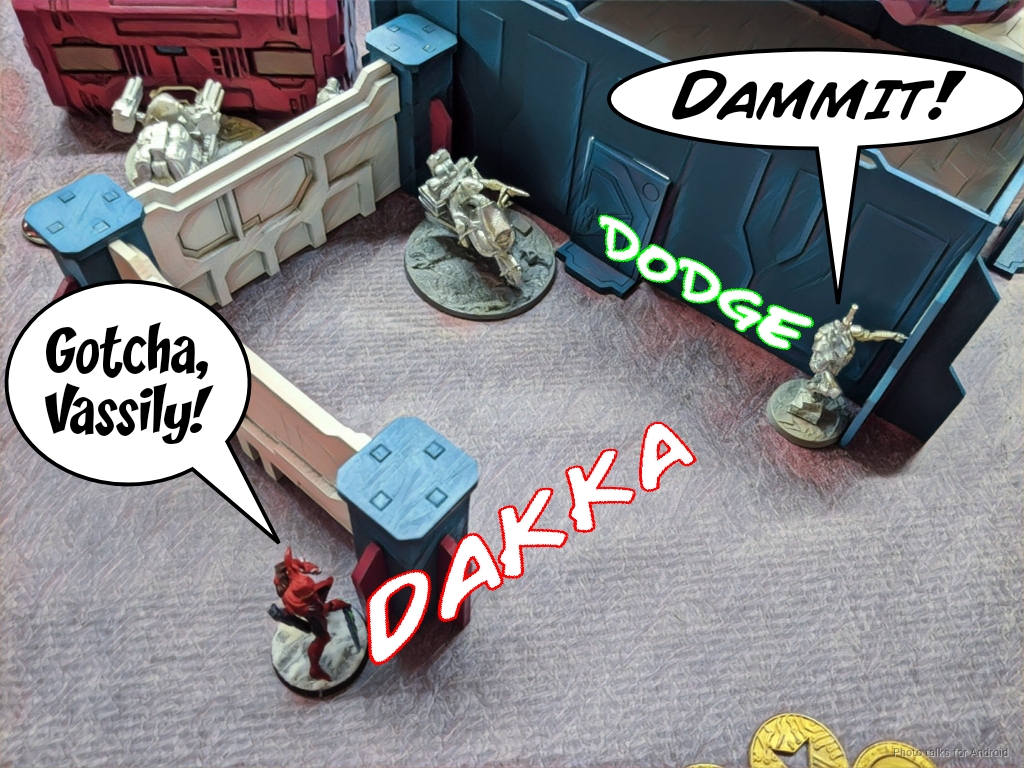
I plant a mine with my Chassuer and then gun down the Myrmidon with my Loup Garou from outside of 16″. Thanks to X-Visor, I crit the Myrmidon on a 6. A bit overkill, but hey, one down.
The other Myrmidon goes down to Vassily…
and then I take out the Krakot too.
I figure at this point I should throw my Chasseur at Achilles and flamethrower him from behind. Sadly, it’s at this point that Leif chooses to reveal his Proxy Mk2 and takes a shot at the Chasseur, who gets knocked out. The other Chasseur is too far to do anything, so I decide that maybe Pavel is the solution to the Mk2.
I miss that the Marut has LoF to Pavel’s path up to shank the Proxy and elect to not take it back, figuring I might get lucky with the roll. Of course, the Marut discovers me and I get pasted. Sigh.
Well, I feel like the rest of my stuff is pinned by the Mk2 and Achilles is a very real problem still, so I back the Ratnik up to out of 16″ and prone behind a tiny box and start firing away.
| 17.77 | 52.52 | 29.71 |
Of course, with odds like that I get shot off the table.
I basically don’t have enough orders at this point to try anything else to deal with Achilles which puts the final nail in the coffin on my hopes of recovering this game. The Mk2 is watching Vassily too, so I can’t recamo him. I land a mine on the Mk2 with the Dynamo and then drive out and back to shoot at it. It dodges everything. Sigh.
Turn 2
Top of 2 – ALEPH
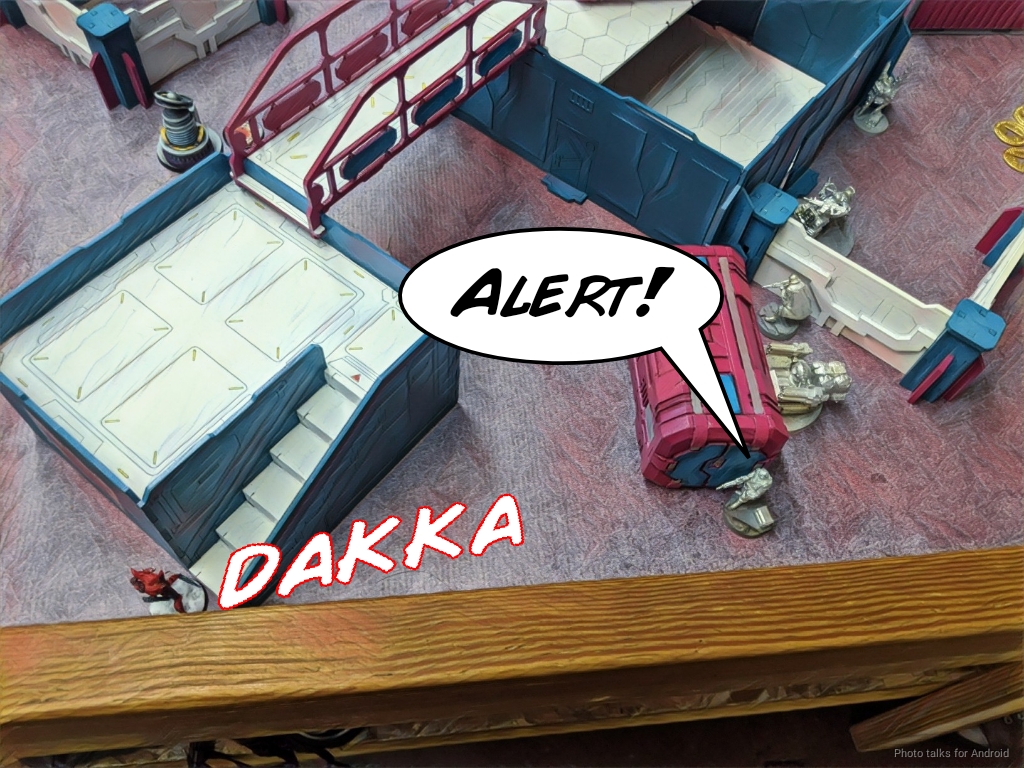
Whelp. My right flank crumbles to Achilles. It starts with the Dozer, who alerts everyone to at least face the right way…
and then Achilles unleashes the Nanobees on the Loup Garou and the Uragan, KOing them…
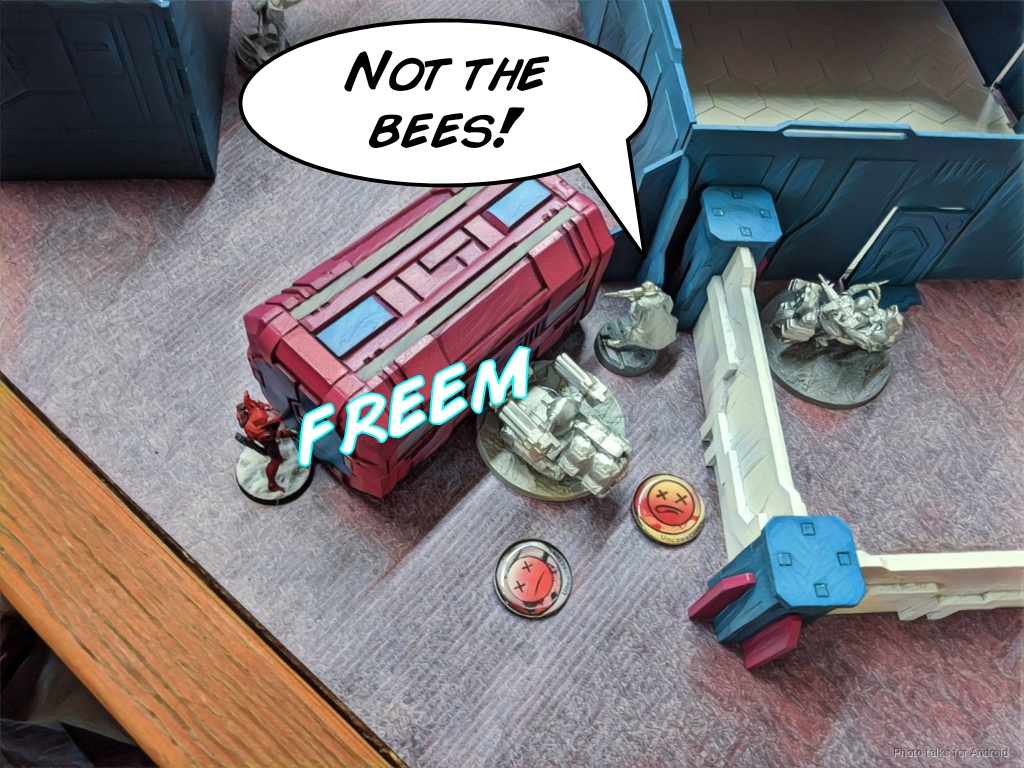
then I lose Vassily as well, putting me in loss of lieuteant.
I at least manage to land smoke with the Dynamo, saving me an order for later.
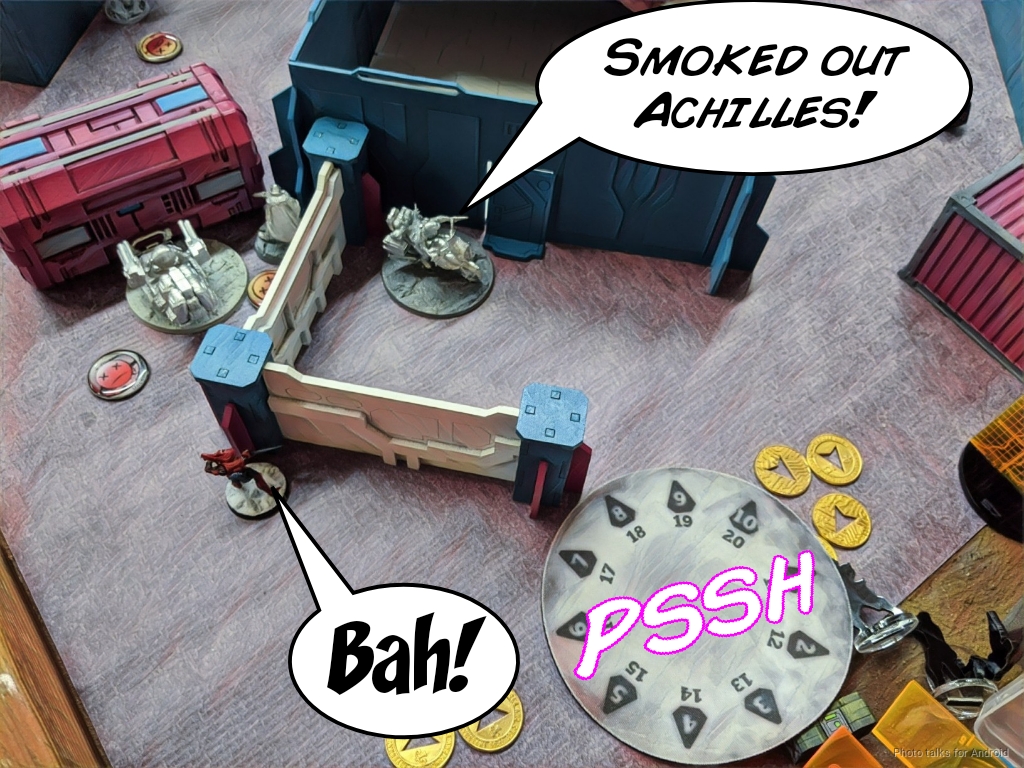
Bottom of 2 – Ariadna
I try the mine trick again with the Dynamo and just get shot in the face instead with the mine’s shrapnel just bouncing off the Mk2.
I try to get set up for a Turn 3 run by shifting things forward on their own orders, and then pass turn after nominating my Strelok as Lt, figuring that’s the most likely model to not get killed by Achilles and also the most useful on Turn 3.
Turn 3
Top of 3 – ALEPH
Achilles kills my remaining Chasseur…
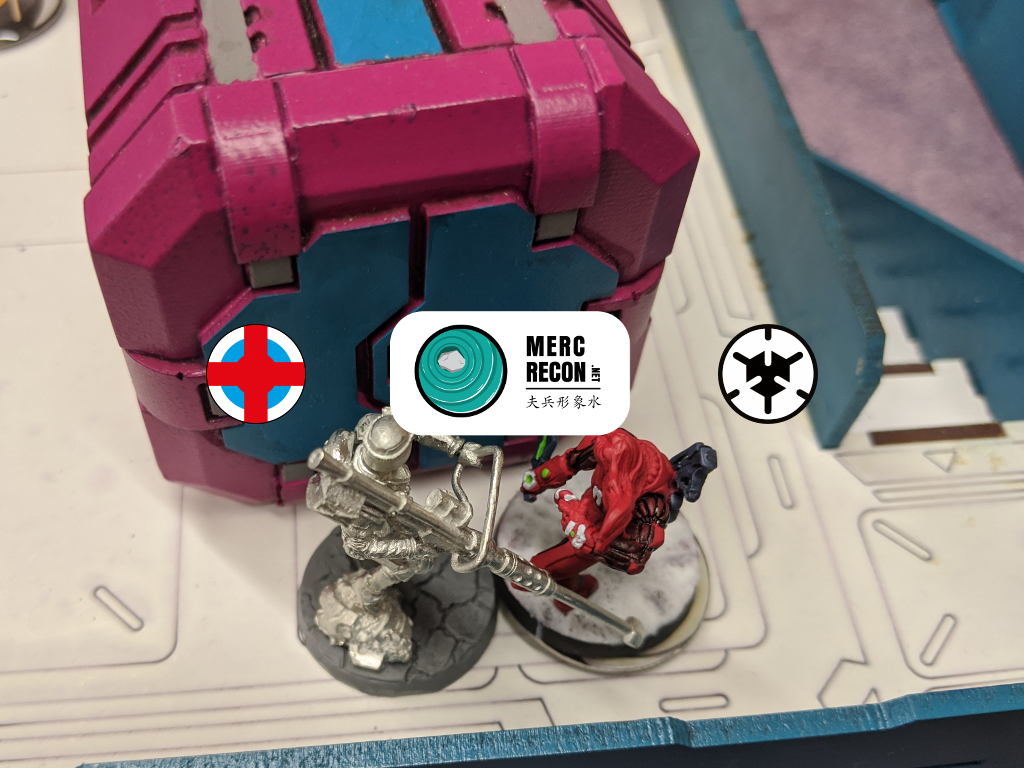
then sneaks up on my Tankhunter and tries to kill him. My Tankhunter comes through for me and crit D-Charges Achilles in the face, doing two wounds! The Tankhunter does not survive the next round of combat.
Achilles puts a wound on Cadin, who fails guts off the side of the building thanks to Climbing Plus, and then he’s thankfully out of orders.

Bottom of 3 – Ariadna
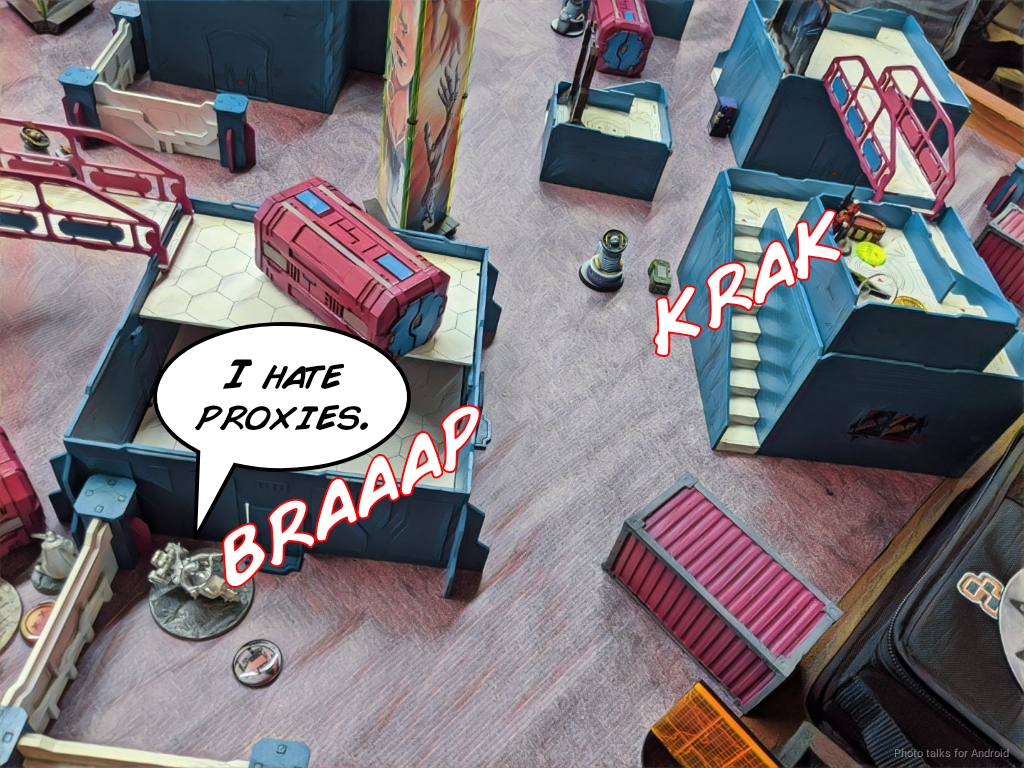
I try to make a run with the Strelok but misjudge the distance to a mine and lose the Antipode, which means I’m stuck with grabbing something out of the Panoply for the single point.

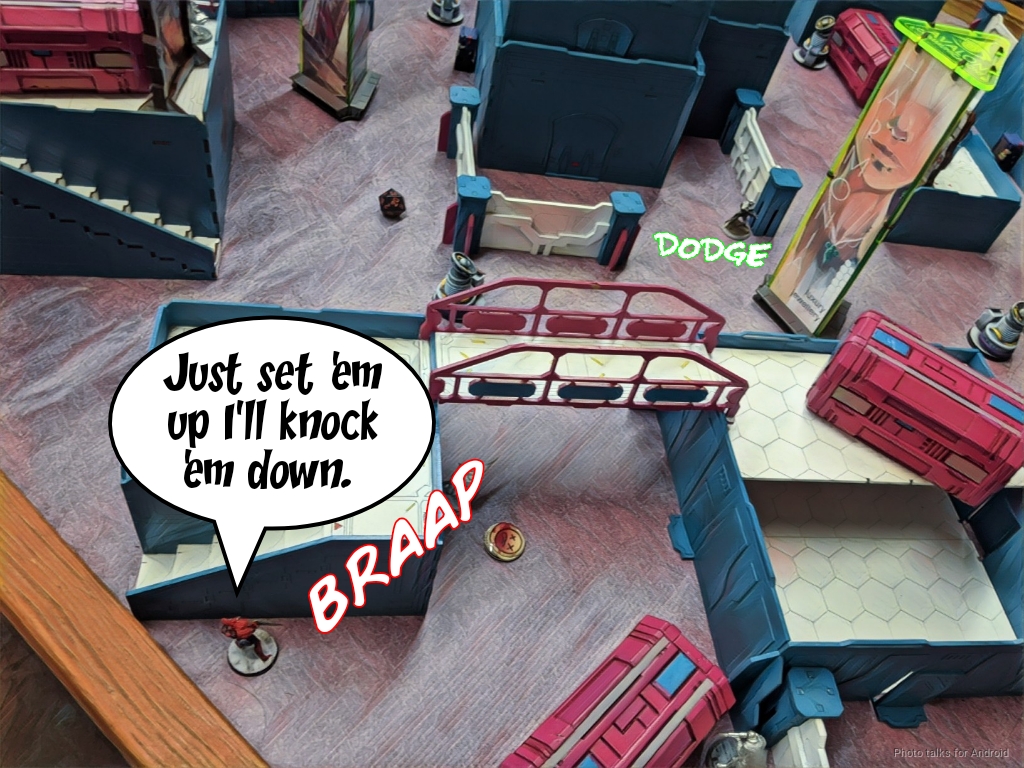
Uxia is securing Leif’s HVT for a second point, and then I’m left at a loss for as what to do with my last order or two. Leif points out that Cadin is in 8″ of Achilles, so I start hucking grenades. The second try takes and Achilles finally drops.
Overall, it’s a
9-2 ALEPH Victory!
Ariadna Moral Victory! Achilles is dead!
Post Game Analysis
This was not a very good game for me. I should definitely have taken first turn, deployed Uxia next to the objective, and forced Leif to do some pretty silly things to defend the objective. That gets us into serious “what-if” territory, so let’s move on and look at what I could have done better during the game.
So, I did a bad job at deploying and should have been a little more aggressive. I could have deployed with more coverage of firelanes to fight Achilles and hopefully not get gunned down by the Marut. The other thing I could have done was limited Leif’s command tokens, which he used quite often to get smoke down. I think that was a huge mistake on my part as well.
Okay, that’s what I could have done in deployment and turn order. Now let’s assume I still made those mistakes and I need to recover at the botom of one. Here are a few options:
- Do a better job of leveraging smoke with the Dynamo
- Blocking the Mk2 with smoke to recamo Vassily and be able to move stuff around.
- Hit Achilles with spec-fired smoke then hit him with a intuitive attack with the other Chasseur from behind.
- Leverage more spec fire
- I totally forgot Loup Garou had stun grenades. Achilles has super high PH so not all that great, but it’s something. Then I can Ratnik till the cows come home.
- I can also just try to throw real greandes at Achilles with Cadin, who has a pretty reasonable chance to land one.
- Check LoF before I made the run on the Mk2.
Long story short, I got overwhlemed with the pressure of the Mk2 and Achilles, so I made some bad decisions and just fell back into direct application of force because it’s the simplest and easiest path.
Leif absolulely deserved the victory, he exploited the weaknesses in my defense and kept the pressure on, revealing the Mk2 at the worst possible time for me. So yeah. I didn’t have a good plan, ceded initiative to Leif, and then failed to break out and regain sente all game. We’re now 1-1. I’m looking forward to our next match, Leif! Hopefully I’ll give you more a challenge next time!
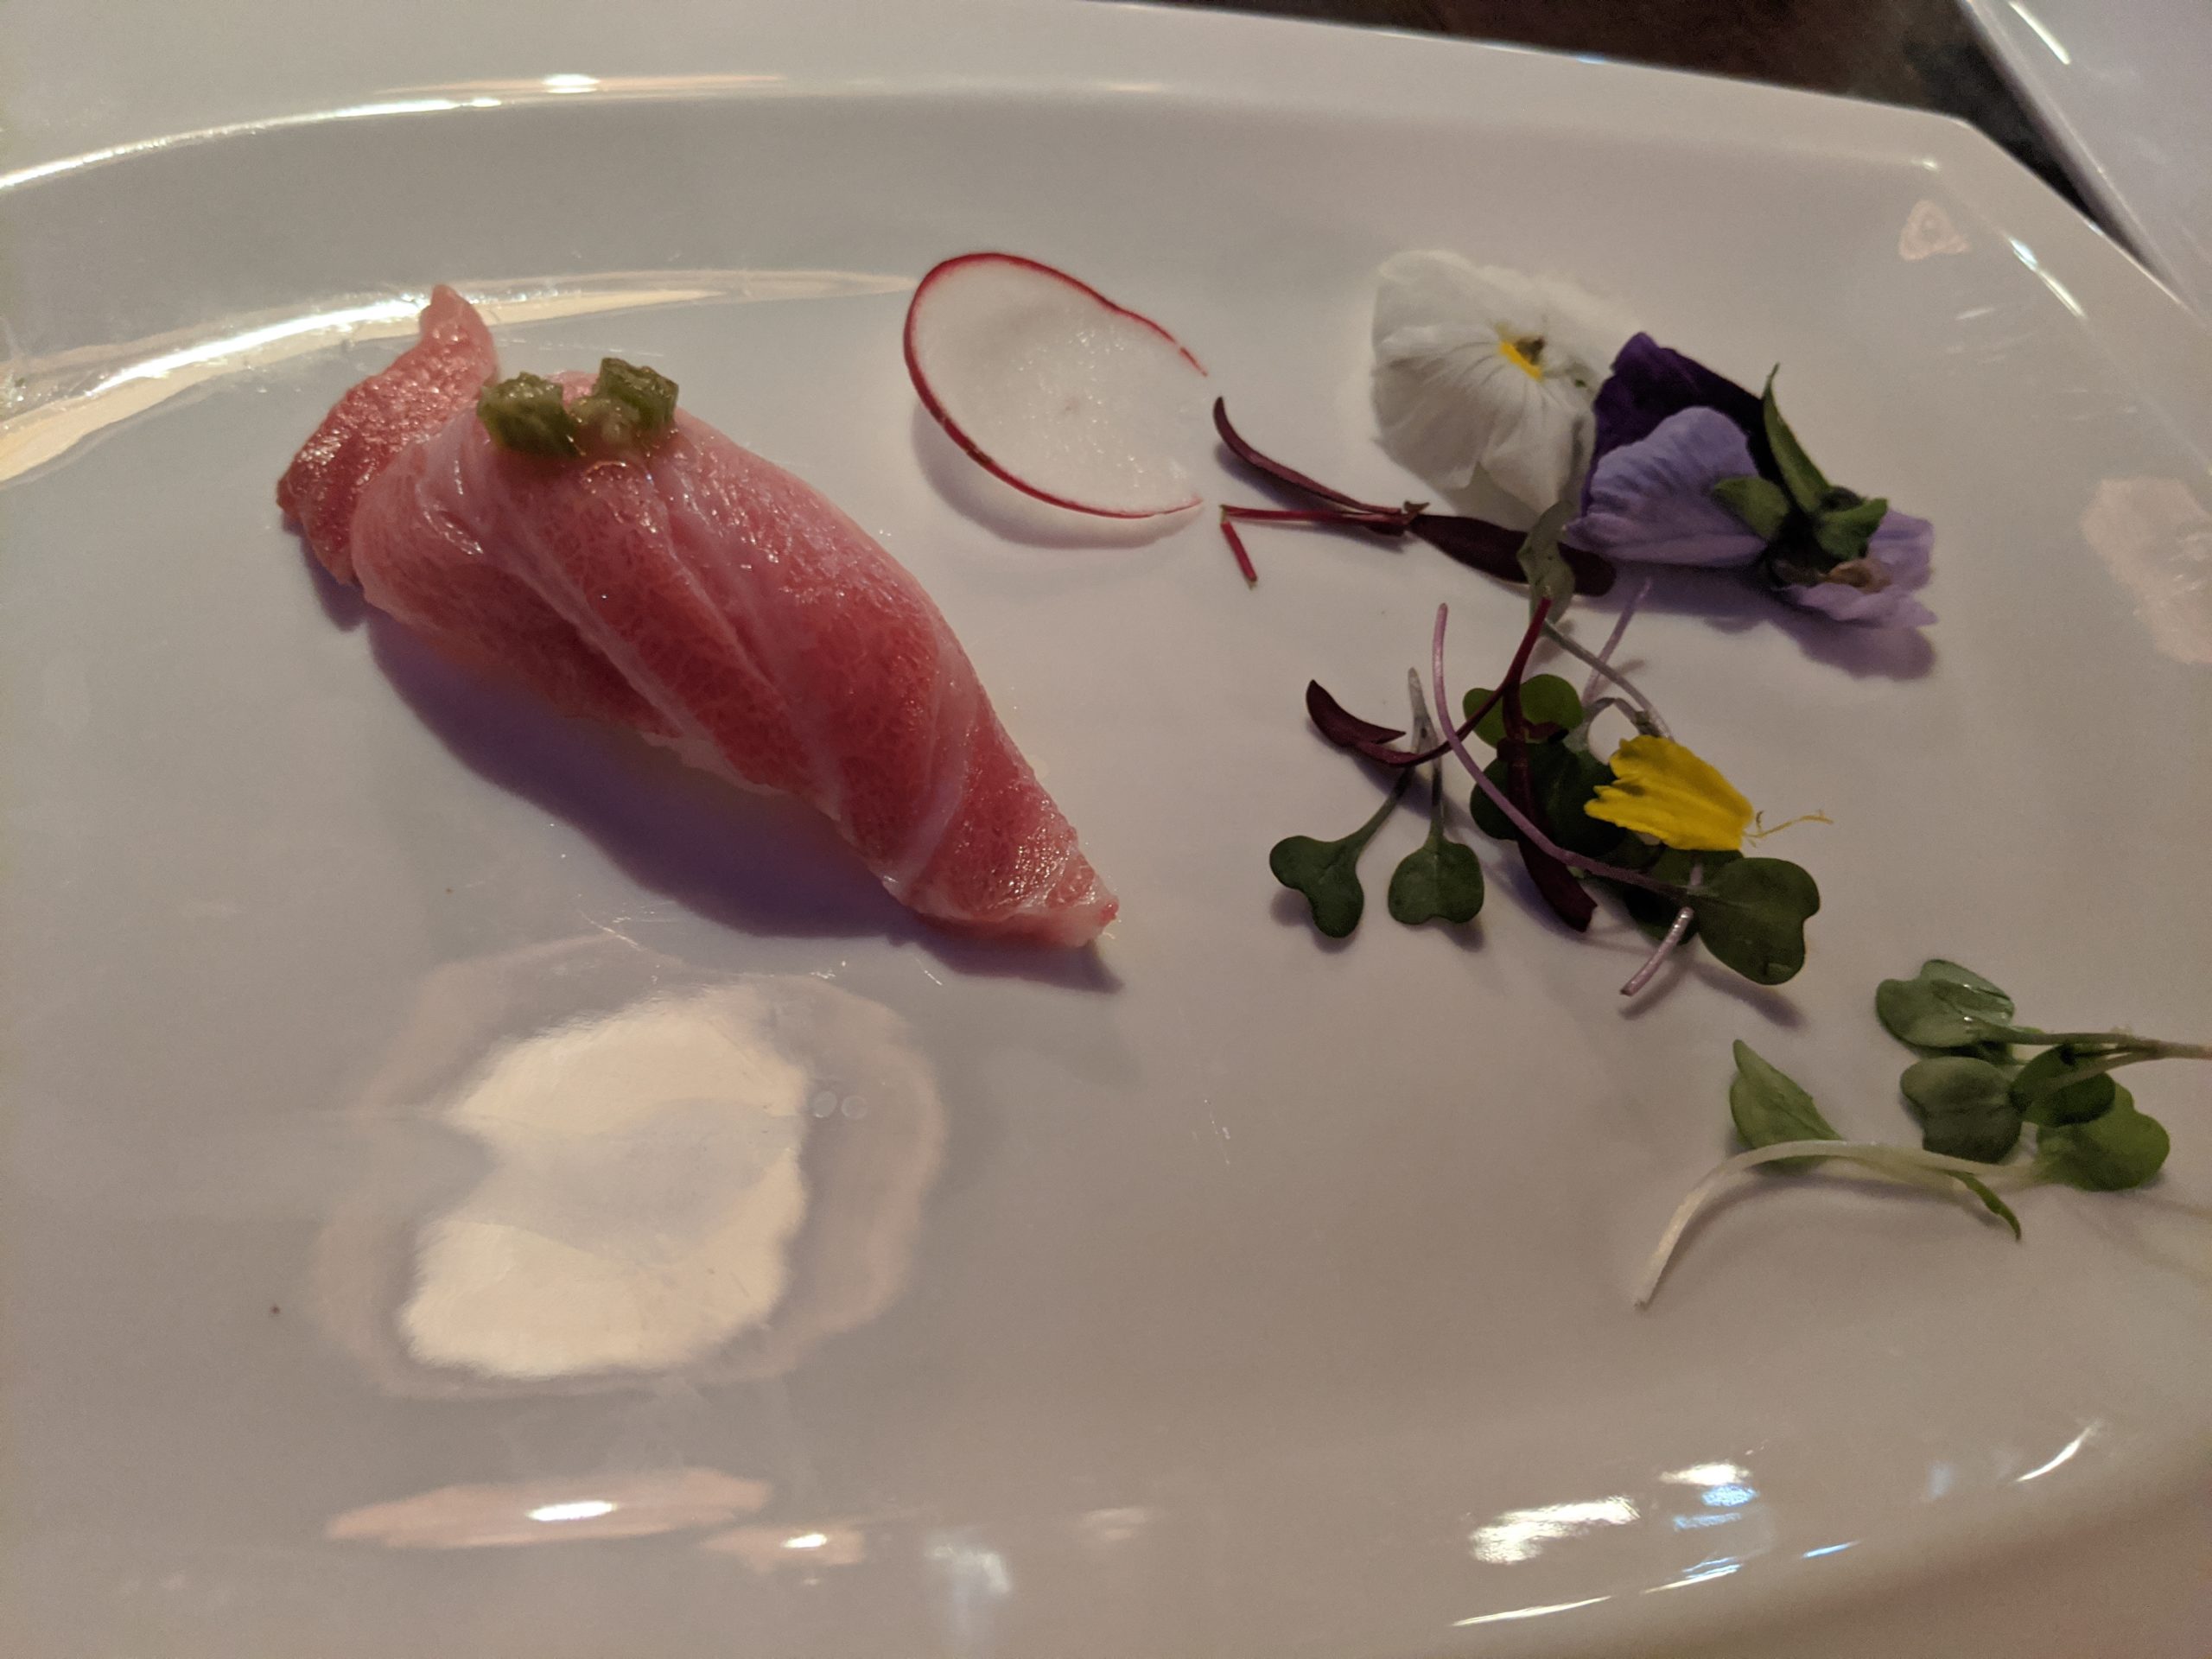
I consoled myself with some O-Toro at the TheKoi, a very fancy and delicious restaurant in Tacoma! Most of the folks went for pizza afterwards, but James and I had watched people eat delicious sushi at TheKoi the day before (we had already eaten and randomly bumped into people when we checked out the game store), so we wanted to try it for ourselves.
After pizza, there was much drinking and Karaoke, but James and I decided to be old farts and retire to the AirBnb for some R&R before Day 2. Thanks for reading!