High Speed Low AR
In preparation for our Late Night Wargames episode on what people buy next for Peace River, I first had to put them on the table! I’m a firm believer that data in context is the bare minimum when it comes to discussing wargames, so I had to roll some dice before I could run my mouth. If you’re interested in checking out our thoughts on Peace River, you can check out the episode here:
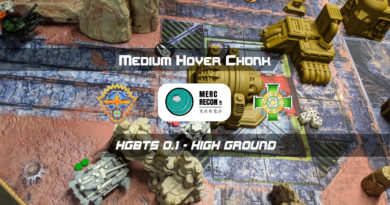
Adam and I are backing off on the 150 TV games for a bit, as we want to explore 100TV for the Heavy Gear Blitz! Tournament System. We broke out his USAriadna mat and some rock formations for our game and went to town.
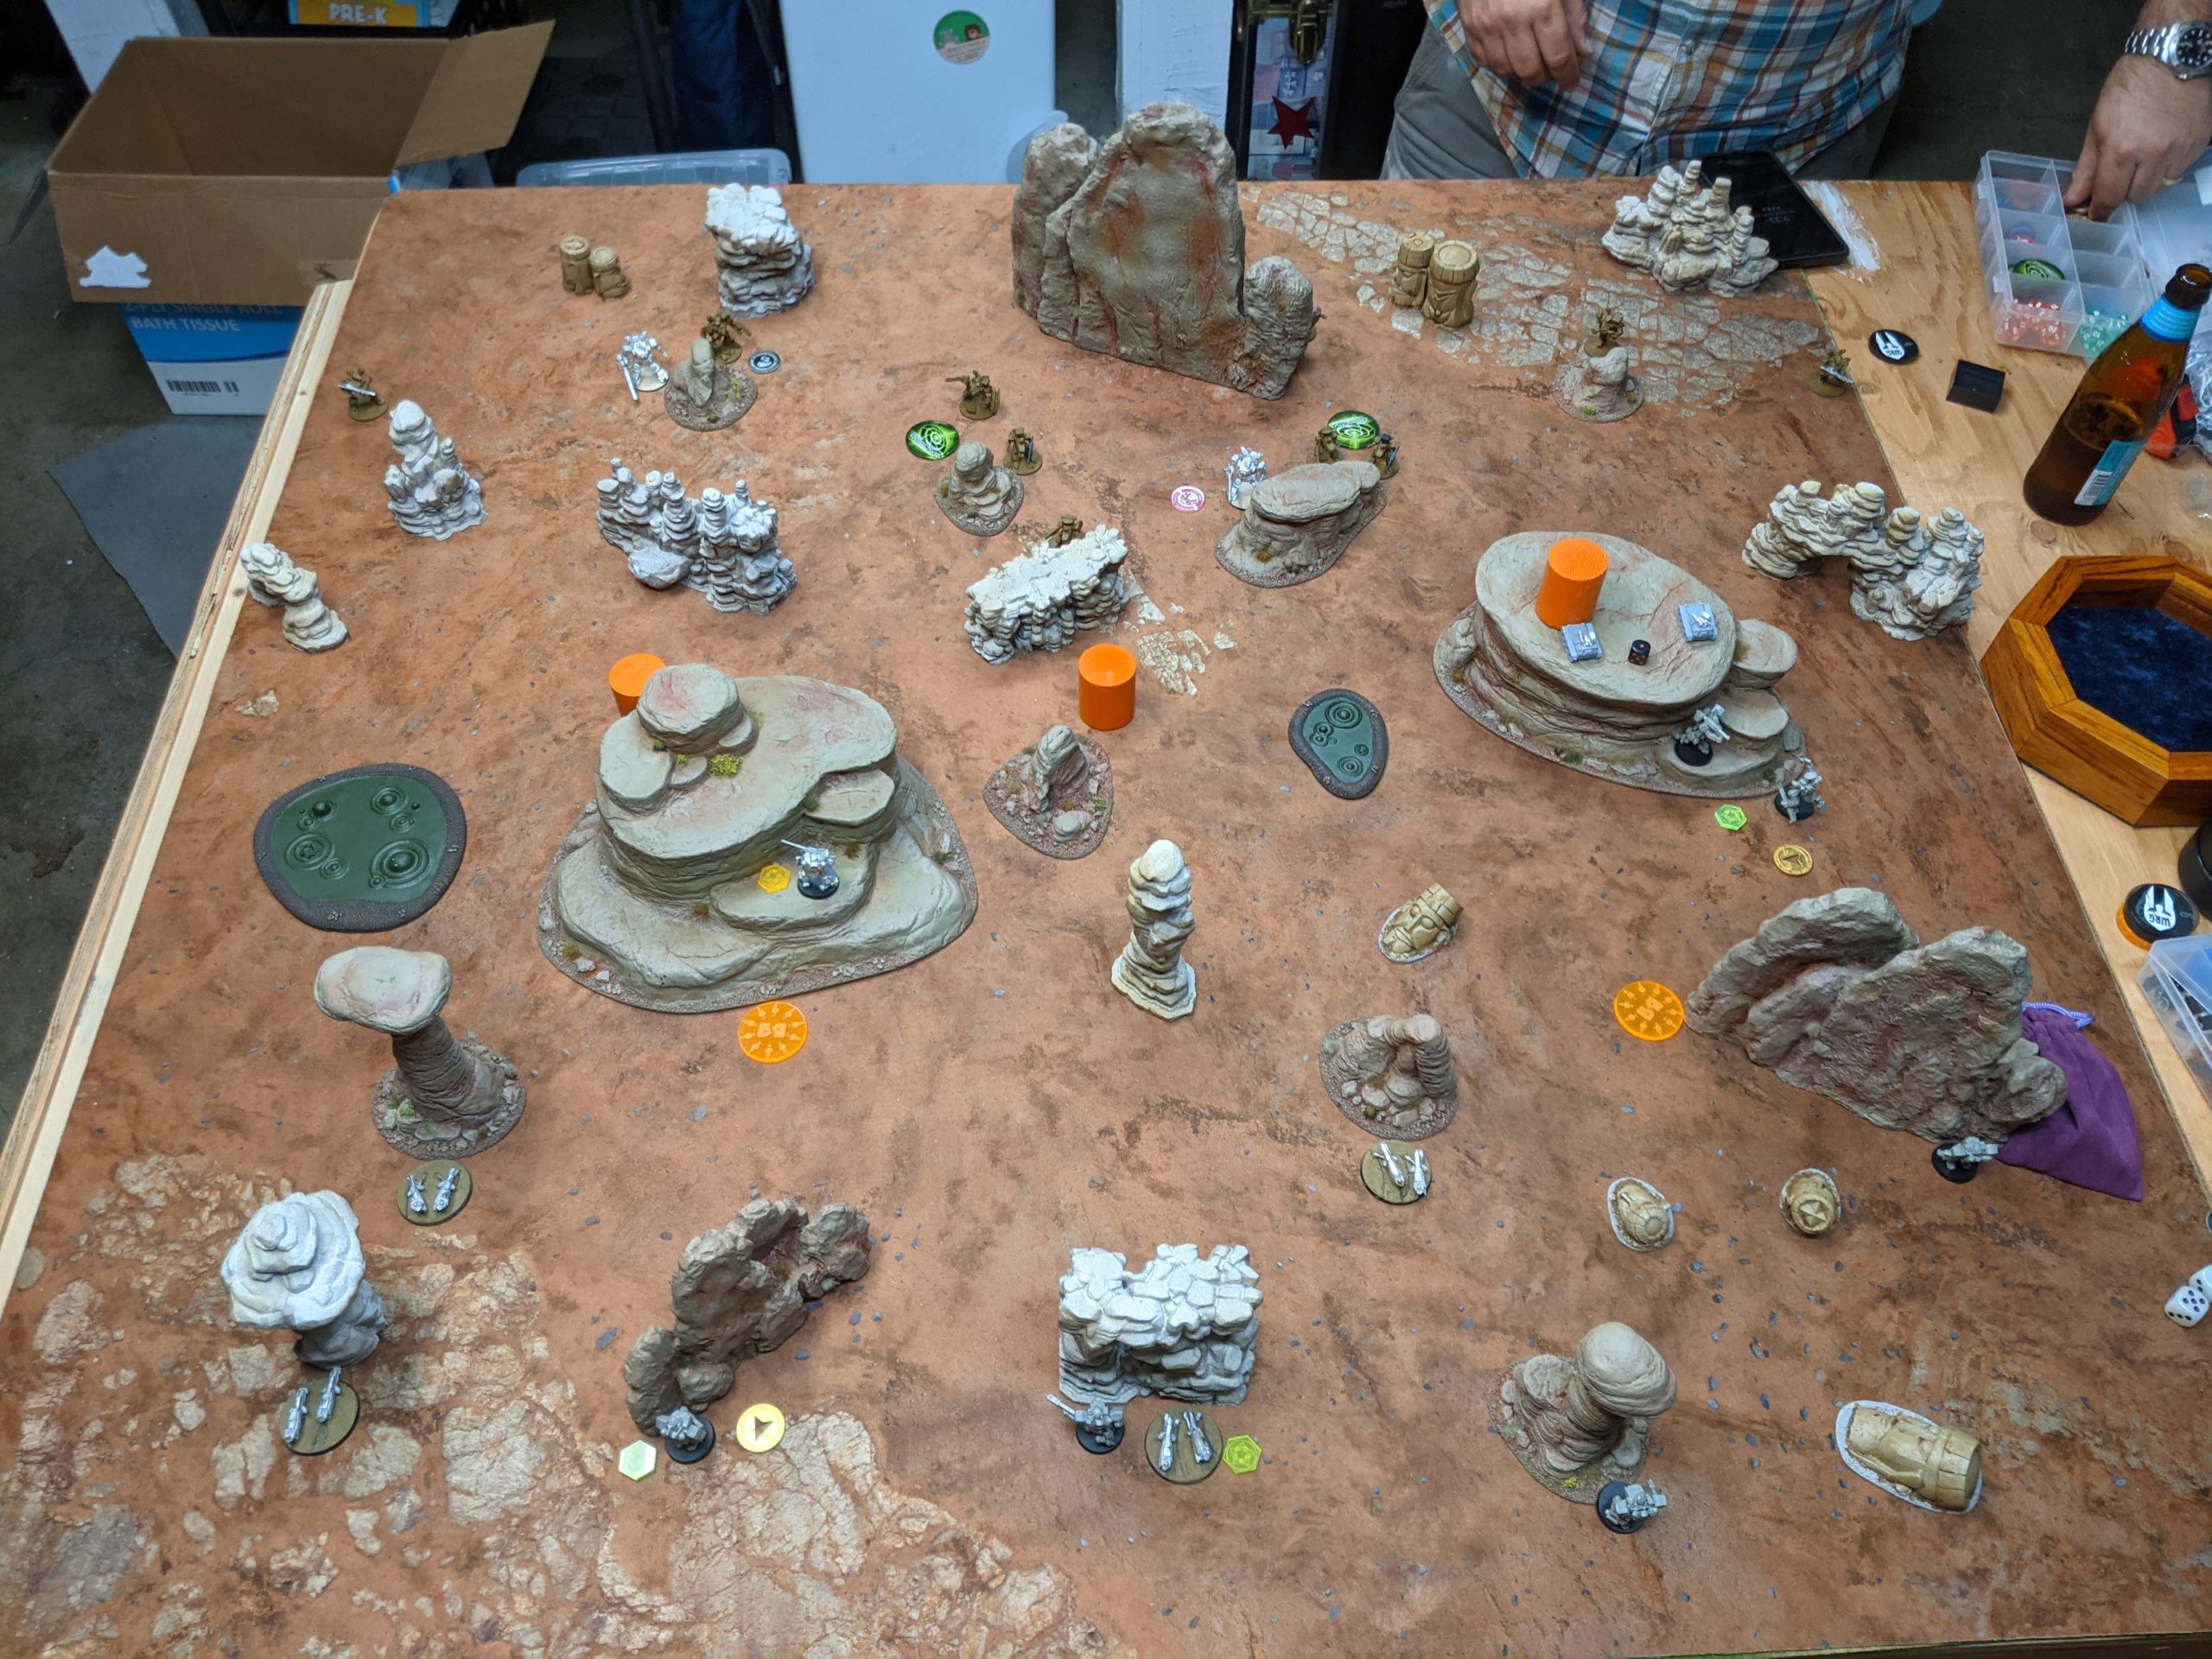
Overview
We decided to play Supply Raid, which is basically Supplies from Infinity, as it’s part of the current Lumbering Sprocket mission!
As I mentioned before, I’m playing Peace River, and Adam decided to play his North to provide a reasonable baseline reference point.
- Mission: Supply Raid (HGBTS 0.1)
- Forces: Peace River (HGSF) versus North (WFP)
For those of you not in the now, Supply Raid has three “Secure Asset Markers” in the midfield of the table:
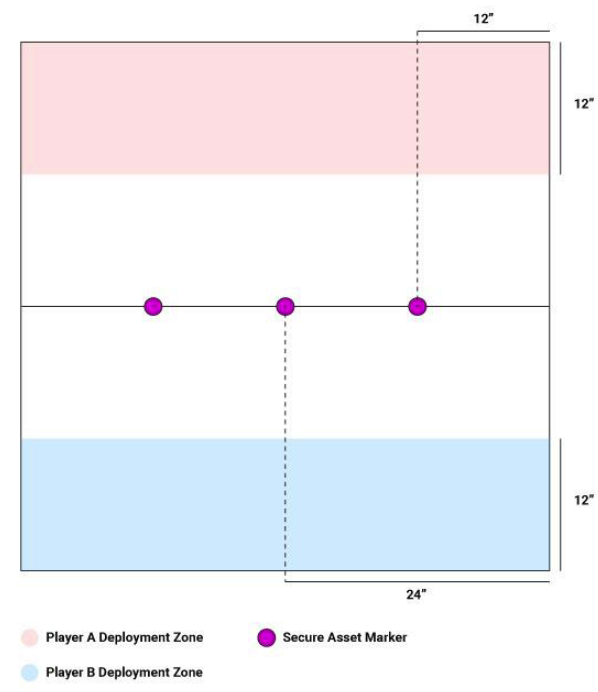
Any model may spend an action in base contact with the marker to take the “asset,” at which point the objective marker is removed. Having a model alive at the end of the game in possession of an asset is worth a point per marker, and having more assets is worth a point. If a model dies while carrying the asset, it drops it in base to base, and any model may then pick it up (meaning your opponent can steal them!). Then of course you have 3 secondary objectives worth up to 2 points each.
To make things as familiar for me as possible, I took a Combat Group of Spitz bikes, just so I could focus on trying out the other aspects of the list without worrying too much about being able to grab the assets from dead North gears or from the markers themselves. I decided to try out the Home Guard Security Forces (HGSF) Peace River sublist because they have High Tech rule. High Tech allows me to break availability limits for any models that have weapons with the Advanced or Guided traits, meaning I could spam Pilum Warriors in a single group. I figured Adam might do something rude like take a Mammoth at 100TV, so I wanted to be prepared with some serious anti-armor. Having 4 LATMs that can respond to a single FO felt sufficient at 100 TV.
| Name | TV | A | Weapons | Traits | |
|---|---|---|---|---|---|
| CG1 GP |
Spitz Monowheel Squad | 5 | 1 | »LIW, »LIGL, »LICW | Agile, CGL, IS:5+, CP:1, Rank:2 |
| Spitz Monowheel Squad | 5 | 1 | »LIW, »LIGL, »LICW | Agile | |
| Spitz Monowheel Squad | 5 | 1 | »LIW, »LIGL, »LICW | Agile | |
| Spitz Monowheel Squad | 5 | 1 | »LIW, »LIGL, »LICW | Agile | |
| CG2 GP |
Pilum Warrior Chieftain | 9 | 1 | »LAC, »LVB, LATM(LA:2), LAPGL | Hands, ECM, Comms, CGL, IS:5+, CP:1, Rank:2 |
| Pilum Warrior | 8 | 1 | »LAC, »LVB, LATM(LA:2), LAPGL | Hands, ECM | |
| Pilum Warrior | 8 | 1 | »LAC, »LVB, LATM(LA:2), LAPGL | Hands, ECM | |
| Pilum Warrior | 8 | 1 | »LAC, »LVB, LATM(LA:2), LAPGL | Hands, ECM | |
| CG3 SK |
Sweeper Skirmisher Tag | 11 | 1 | »MFC, »LVB, LHG, LRP | Hands, Agile, Airdrop, Comms, ECM+ ((Aux)), Sensors:36 ((Aux)), TD, ECCM ((Aux)), CGL, IS:5+, CP:1, Rank:2 |
| Shamshir Warrior IV | 11 | 1 | »MBZ, »LVB, MRP, LAPGL | Hands, ECM, Airdrop, Sensors:24 (Aux) | |
| Arbalest Mameluk | 5 | 1 | »LRP(T), »HMG(T) | Airdrop | |
| Arbalest Mameluk | 5 | 1 | »LRP(T), »HMG(T) | Airdrop | |
| CG4 RC |
Shinobi Assassin | 15 | 1 | »HRF(Silent), »LVB, LRP | Hands, Agile, Airdrop, Vet, Comms, ECM+, Sensors:24 ((Aux)), Stealth ((Aux)), Duelist, Auto:1Wpn |
| Total | 100 | 13 |
Then I decided to try some Peace River stuff–specifically the Shamshir Warrior IV and the Mameluks. 5 TV for an airdrop vehicle with an LRP seems really good, and they’re the right role to support the Shamshir Warrior IV and the Skimisher. I figured that this group would support the Spitz bikes in getting an objective, or just start next to an objective and be able to book it away with the Ground: 8 MR of the Mameluk! Finally, I rounded out my list with a Shinobi Assassin Duelist. As you’ve probably figured out by now if you’ve been reading these, I like to maximize Combat Groups to give me an activation economy advantage. Being able to threaten a shot with an HRF for free is very good as well.
| Name | TV | A | Weapons | Traits | |
|---|---|---|---|---|---|
| CG1 GP |
Wildcat UC | 7 | 1 | »MFC, »MVB, LRP, LPZ | Hands, Agile, Brawl:1, Comms, CGL, IS:5+, CP:1, Rank:2 |
| Wildcat UC | 7 | 1 | »MFC, »MVB, LRP, LPZ | Hands, Agile, Brawl:1, Comms | |
| Stripped-Down Assault Hunter | 6 | 1 | »MSC, »LVB, LAPGL, LPZ | Hands | |
| Stripped-Down Assault Hunter | 6 | 1 | »MSC, »LVB, LAPGL, LPZ | Hands | |
| GP2 SK |
Lion Initiate | 14 | 1 | »HRC, »LCW, MAR, LAPGL, MSG(Link) | Hands, Climber, Brawl:1, CGL, IS:5+, CP:1, Rank:2, Vet, SP:1 |
| Tiger | 9 | 1 | »MAC, »LVB, MRP, LAPGL | Hands | |
| Tiger | 9 | 1 | »MAC, »LVB, MRP, LAPGL | Hands | |
| Stinger | 4 | 1 | »LMG(T), MABM(T) | – | |
| CG3 RC |
Lion Initiate | 12 | 1 | »HRC, »LCW, MAR, LAPGL, MSG(Link) | Hands, Climber, Brawl:1, CGL, IS:5+, CP:1, Rank:2 |
| Ferret Sniper | 7 | 1 | »LRF, »LVB, LRP | Hands, Brawl:-1, Comms, ECCM, Sensors:36 (Aux), TD | |
| Ferret Sniper | 7 | 1 | »LRF, »LVB, LRP | Hands, Brawl:-1, Comms, ECCM, Sensors:36 (Aux), TD | |
| Wild Ferret | 6 | 1 | »LSMG, »LVB | Hands, Brawl:-1, ECM, ECCM, Comms, VulnH, SatUp (Aux), Sensors:36 (Aux) | |
| Wild Ferret | 6 | 1 | »LSMG, »LVB | Hands, Brawl:-1, ECM, ECCM, Comms, VulnH, SatUp (Aux), Sensors:36 (Aux) | |
| Total | 100 | 13 |
Adam decided to try something odd at 100TV as well–a mostly AR 5 list! He figured I might take some melee guys or a high AR target of my own, so he took a pair of Wildcats and Hunters with snub cannons to dish out the damage. He then brought the dakka with a Lion/Tiger/Stinger group, and rounded things out with a bunch of butt-wheelin’ Ferrets lead by a Lion (that was a cool sentence to type). He’s got one less combat group than me, which I think affected this game a lot.
Deployment
I lost the deployment roll, so Adam had me deploy first on the side he didn’t want. Bikes are a great “sure I’ll deploy first and give you no info about my plan” option, so I put them down first. With Ground: 11 MR, I can put them wherever they need to be–they’re basically GREL Hoverbikes, and I am very comfortable using them. I took them as Squads because I built them on 40mm bases before the bike nerf–I would probably build them on 25mm bases now. The Spitz just went down in cover, scattered across my deployment zone. Adam put down his Wildcat/Hunter group next, just spread out to also deny me information and provide board coverage.
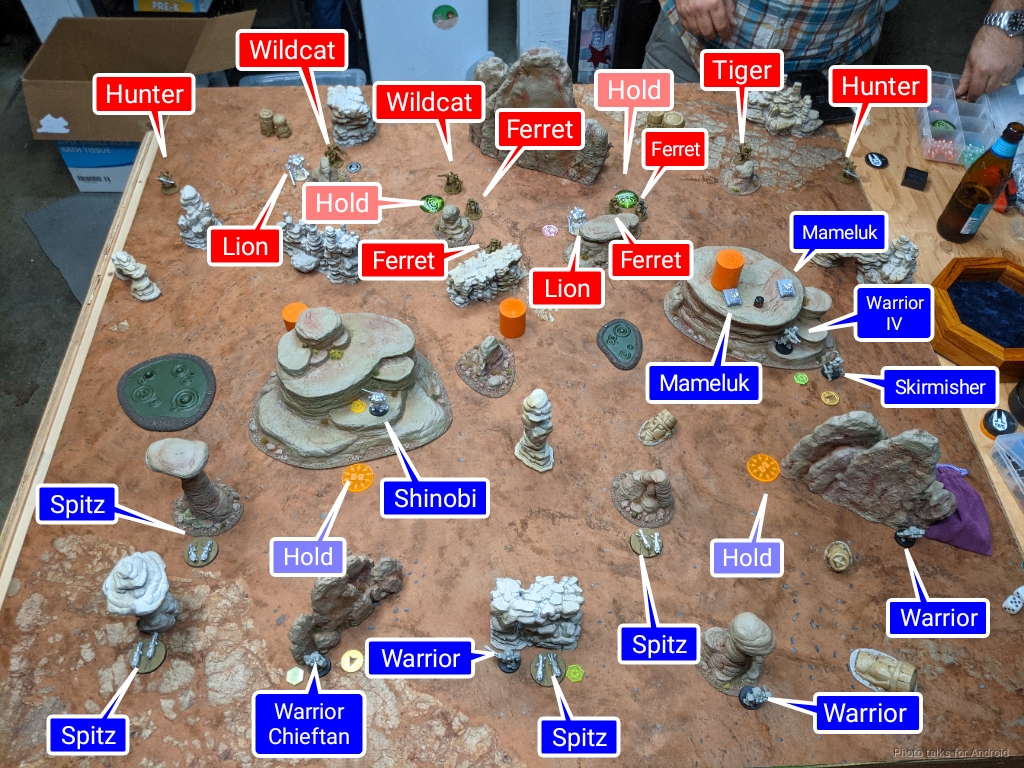
The Pilum group serves a similar role to the bikes in this list as far as deployment goes–I don’t care where they go since LATM reach out to 36″, and I just want them spread out to take shots with their LAC once they’re out of ammo. Adam put down his Lion/Tiger team next, also spread out.
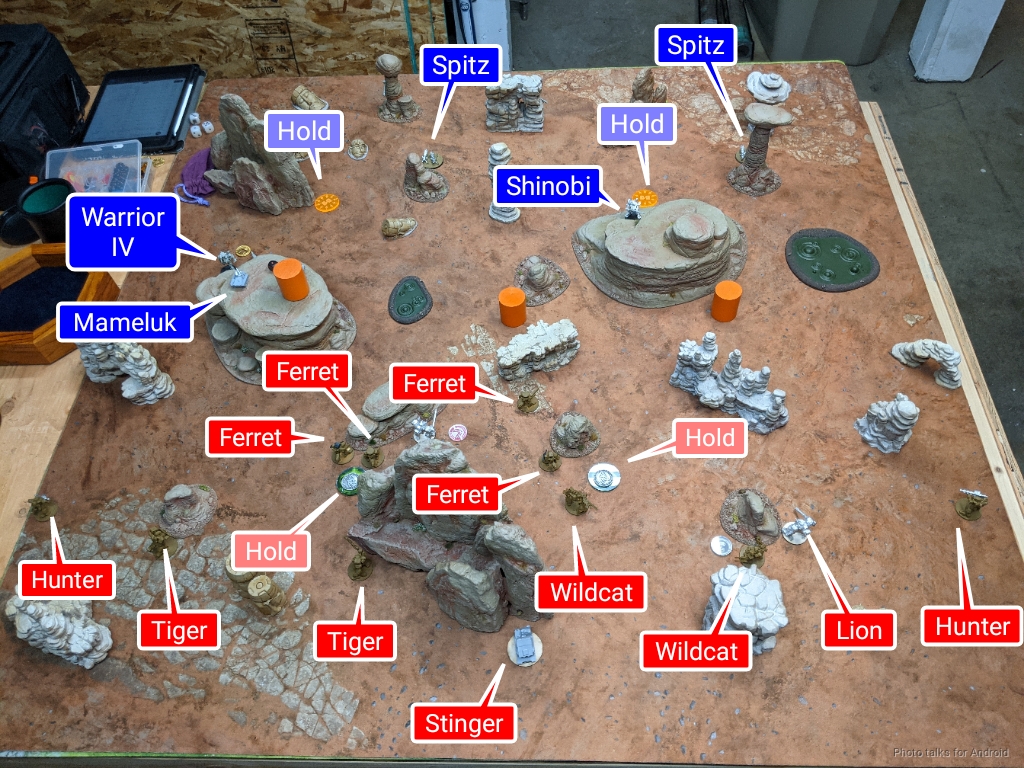
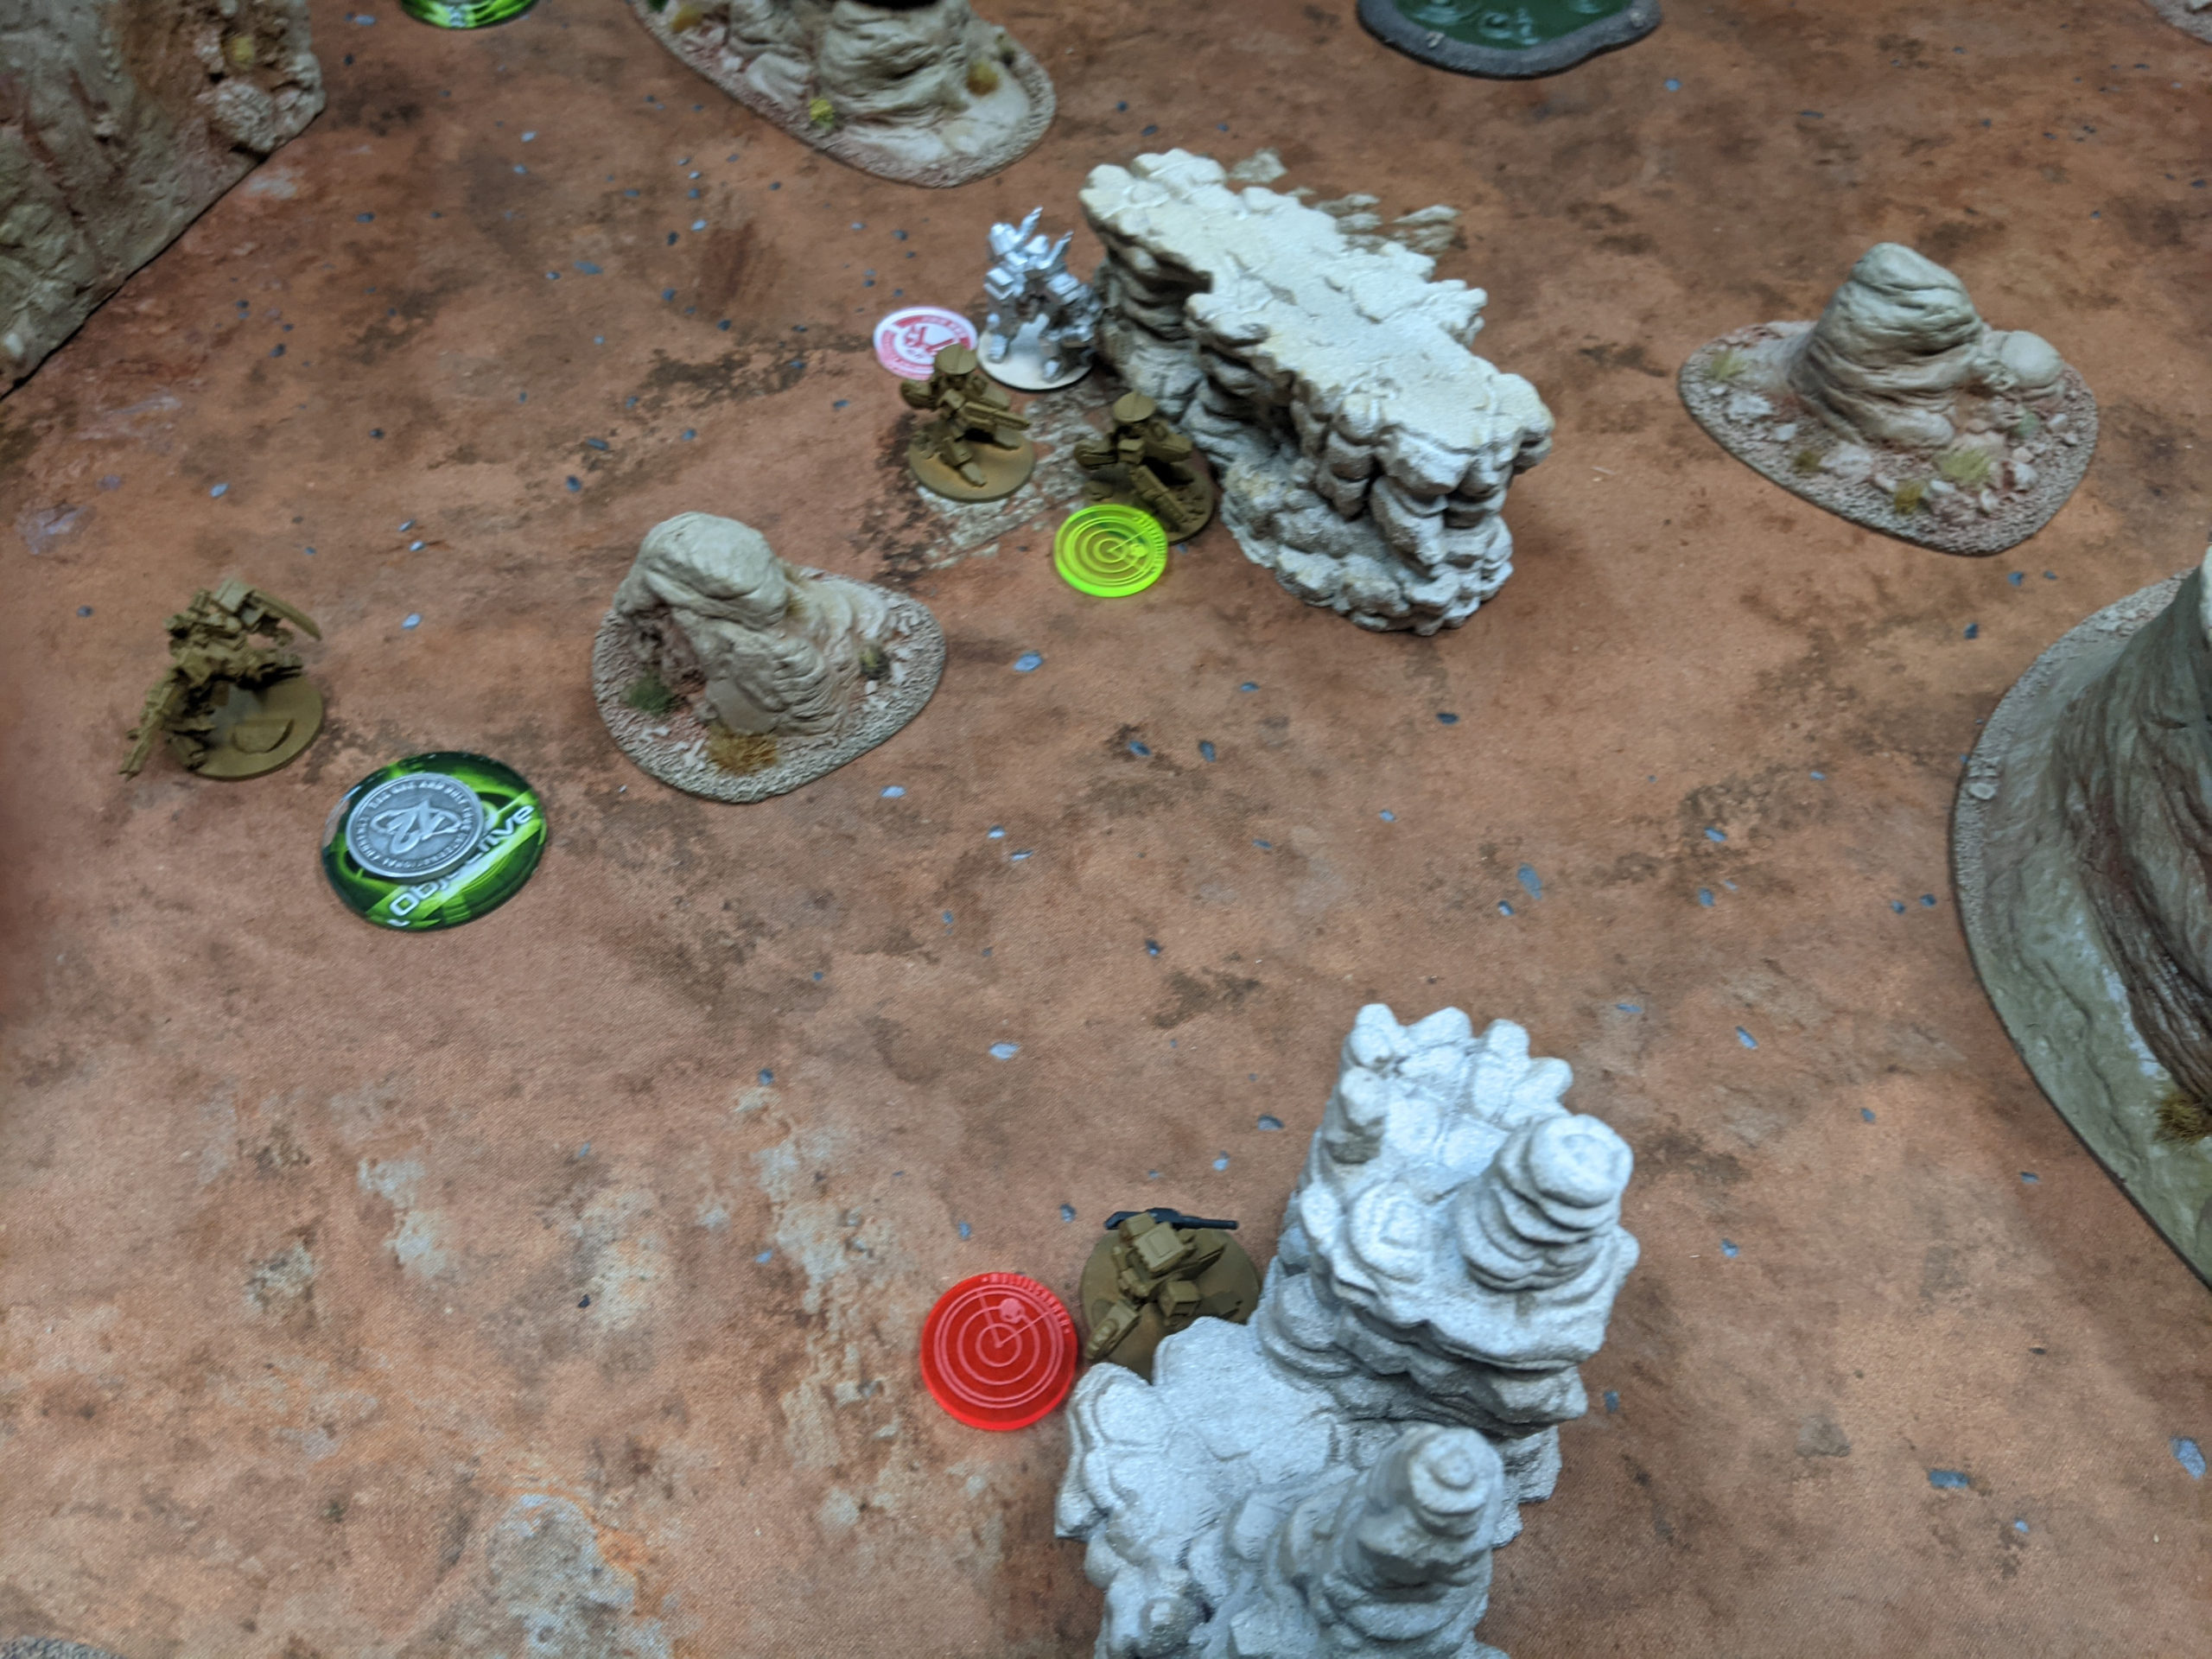
I deployed my Shinobi next using Pathfinder, figuring I could take a shot on the Hunter on my right if it tried to threaten my Pilum there, and then Adam put down his Ferrets, sniper paired with ECM Ferret, and then tucked the Lion behind some cover. He used Pathfinder deployment to get them close to the objectives. I decided to try and snipe the objective on the rock formation immediately, and airdropped my Mameluks up there, supported by the Warrior IV and Skirmisher below.
Objectives
- Peace River (HGSF)
- Assassinate (Lion and Wildcat)
- Break the Line
- Hold
- North
- Assassinate (Skirmisher and Warrior Chieftain)
- Break the Line
- Hold
We took the exact same objectives–I was really concerned about my ability to achieve Capture, which is what I had originally planned. Once I saw Adam’s list with all the snub cannons and stabby Wildcats, I decided that I might be able to sneak a Spitz into his deployment zone, and changed things up to Break the Line instead.
Fight!
I won the rolloff for initiative. My plan was to grab the objective on the rock formation and put the hurt on Adam’s Ferrets for three reasons:
- I know how annoying/dangerous Ferrets can be, and they needed to go.
- Ferrets are probably going to be Adam’s go fast and get the objective options, so if I could take them down that’d be good for me.
- If I can take out his RC group by killing his Ferrets, I’ll have a 2:1 advantage on him in activation economy.
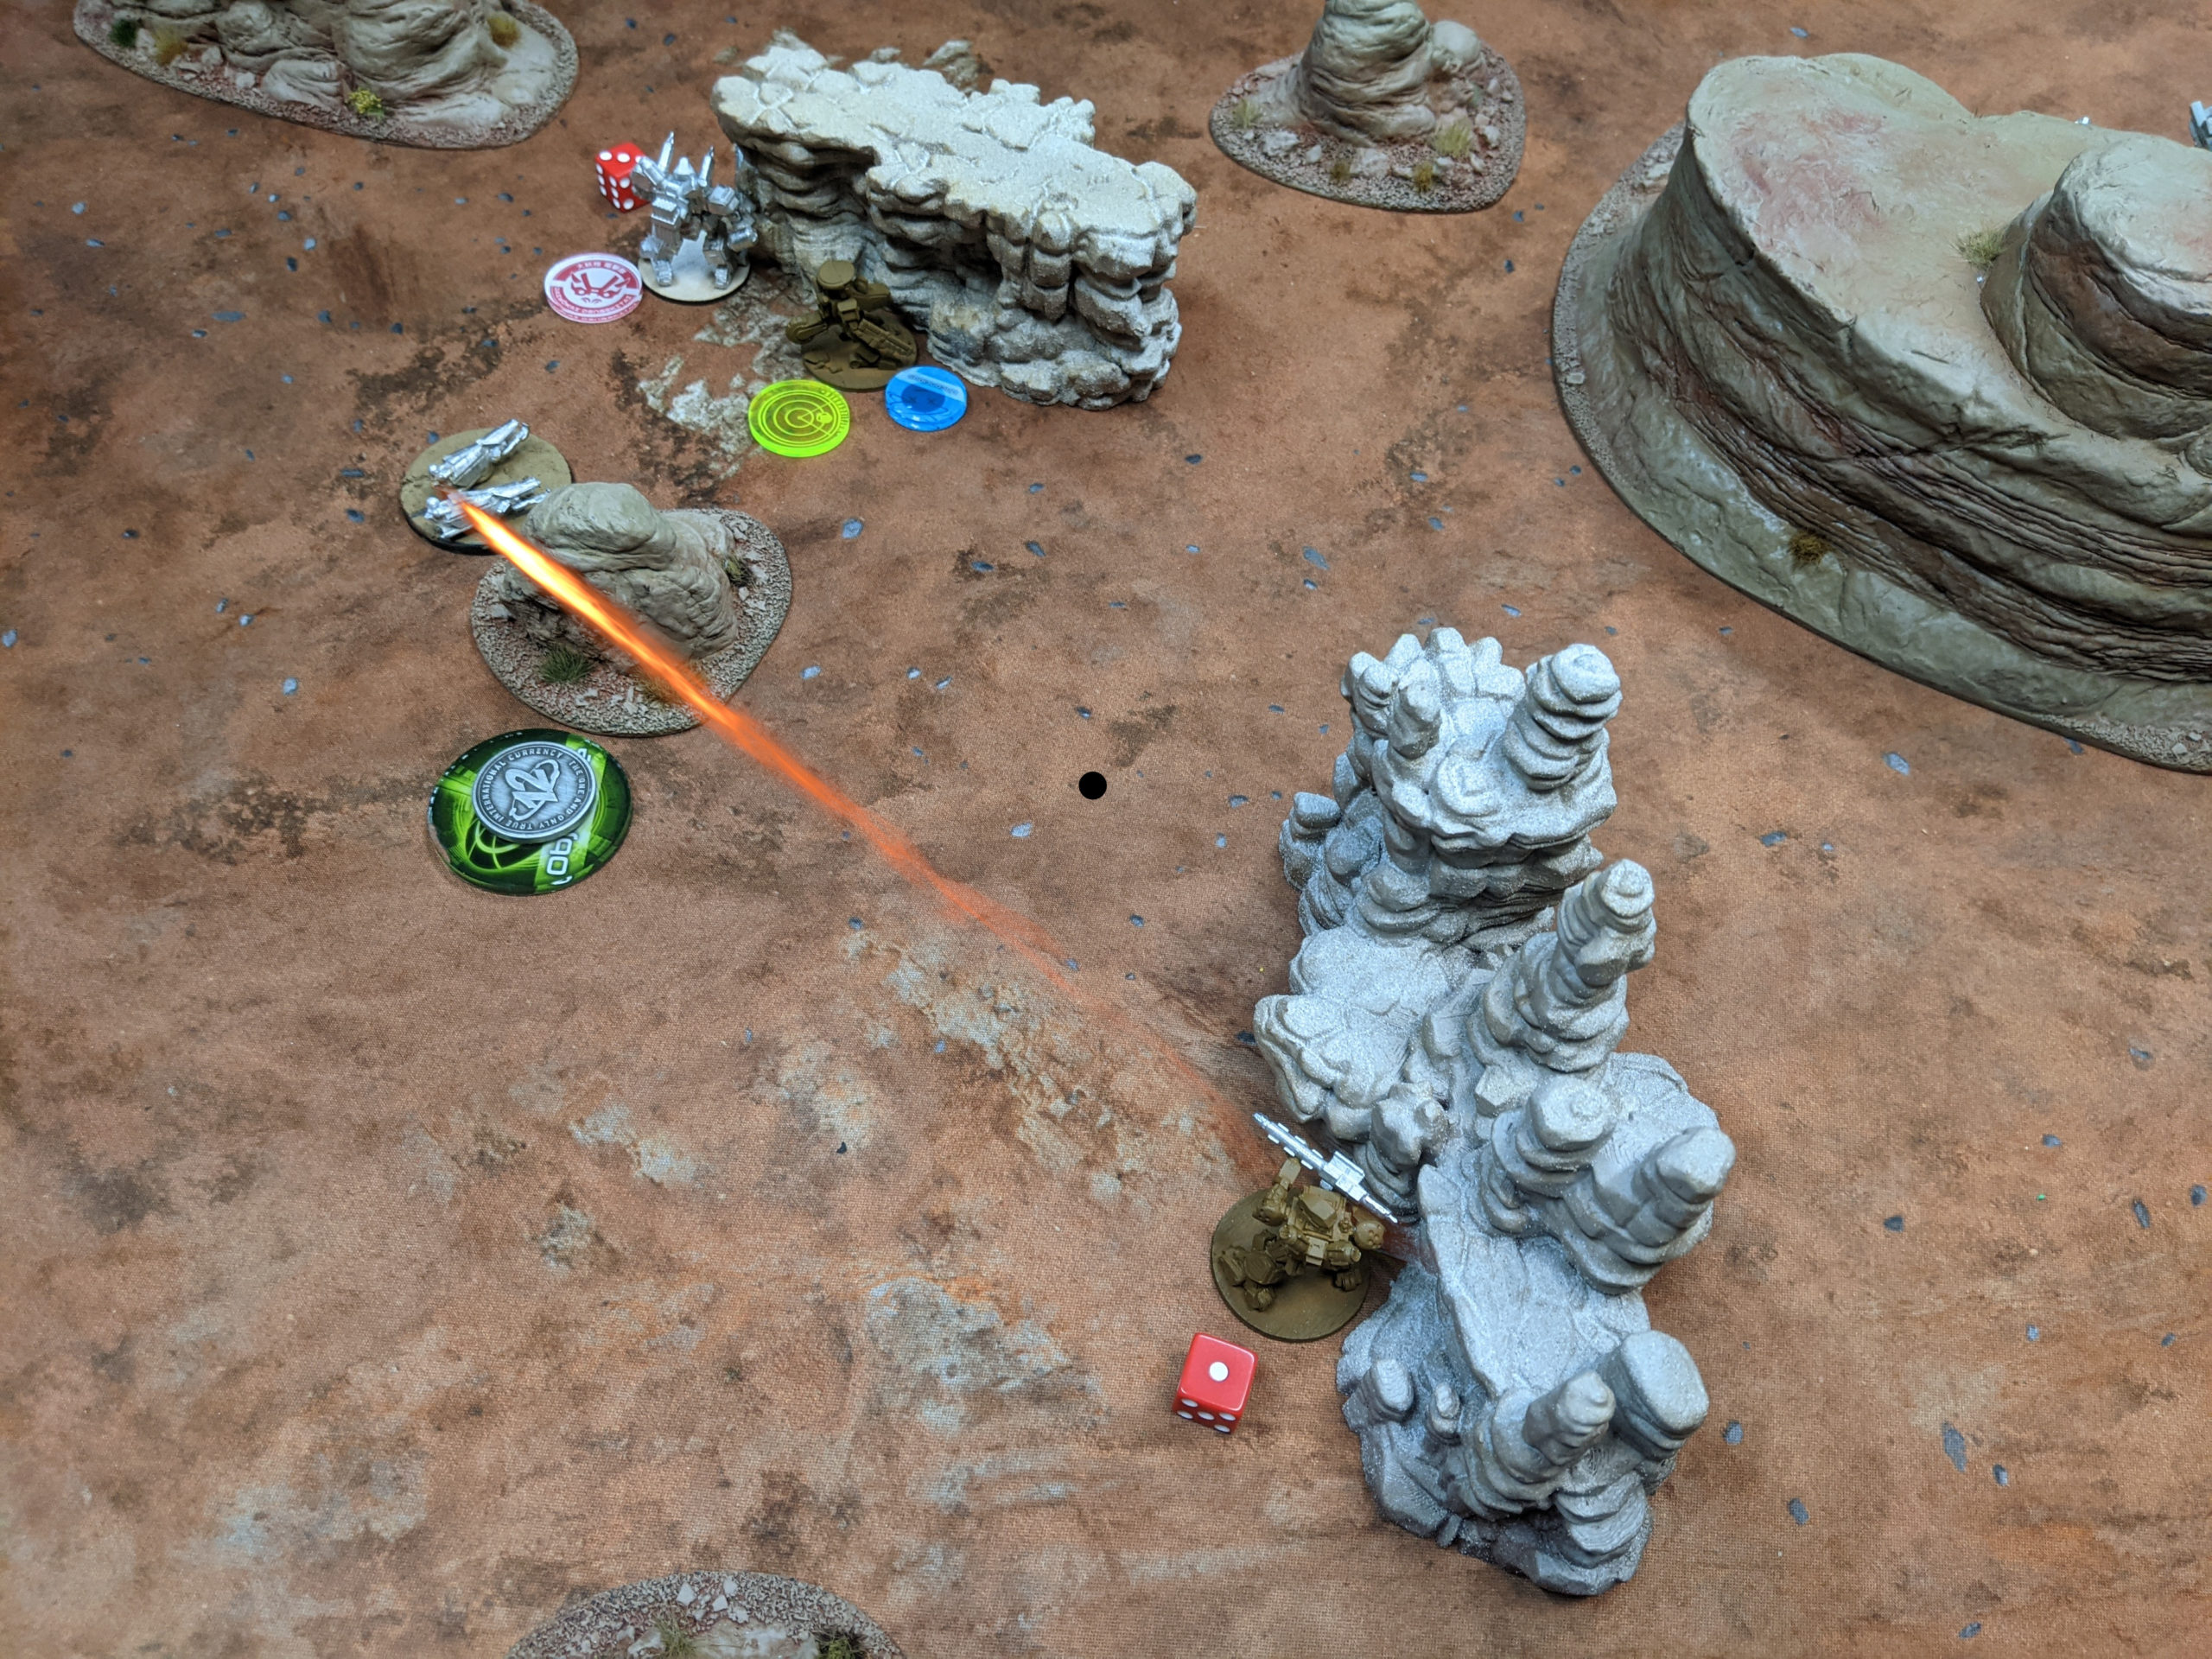
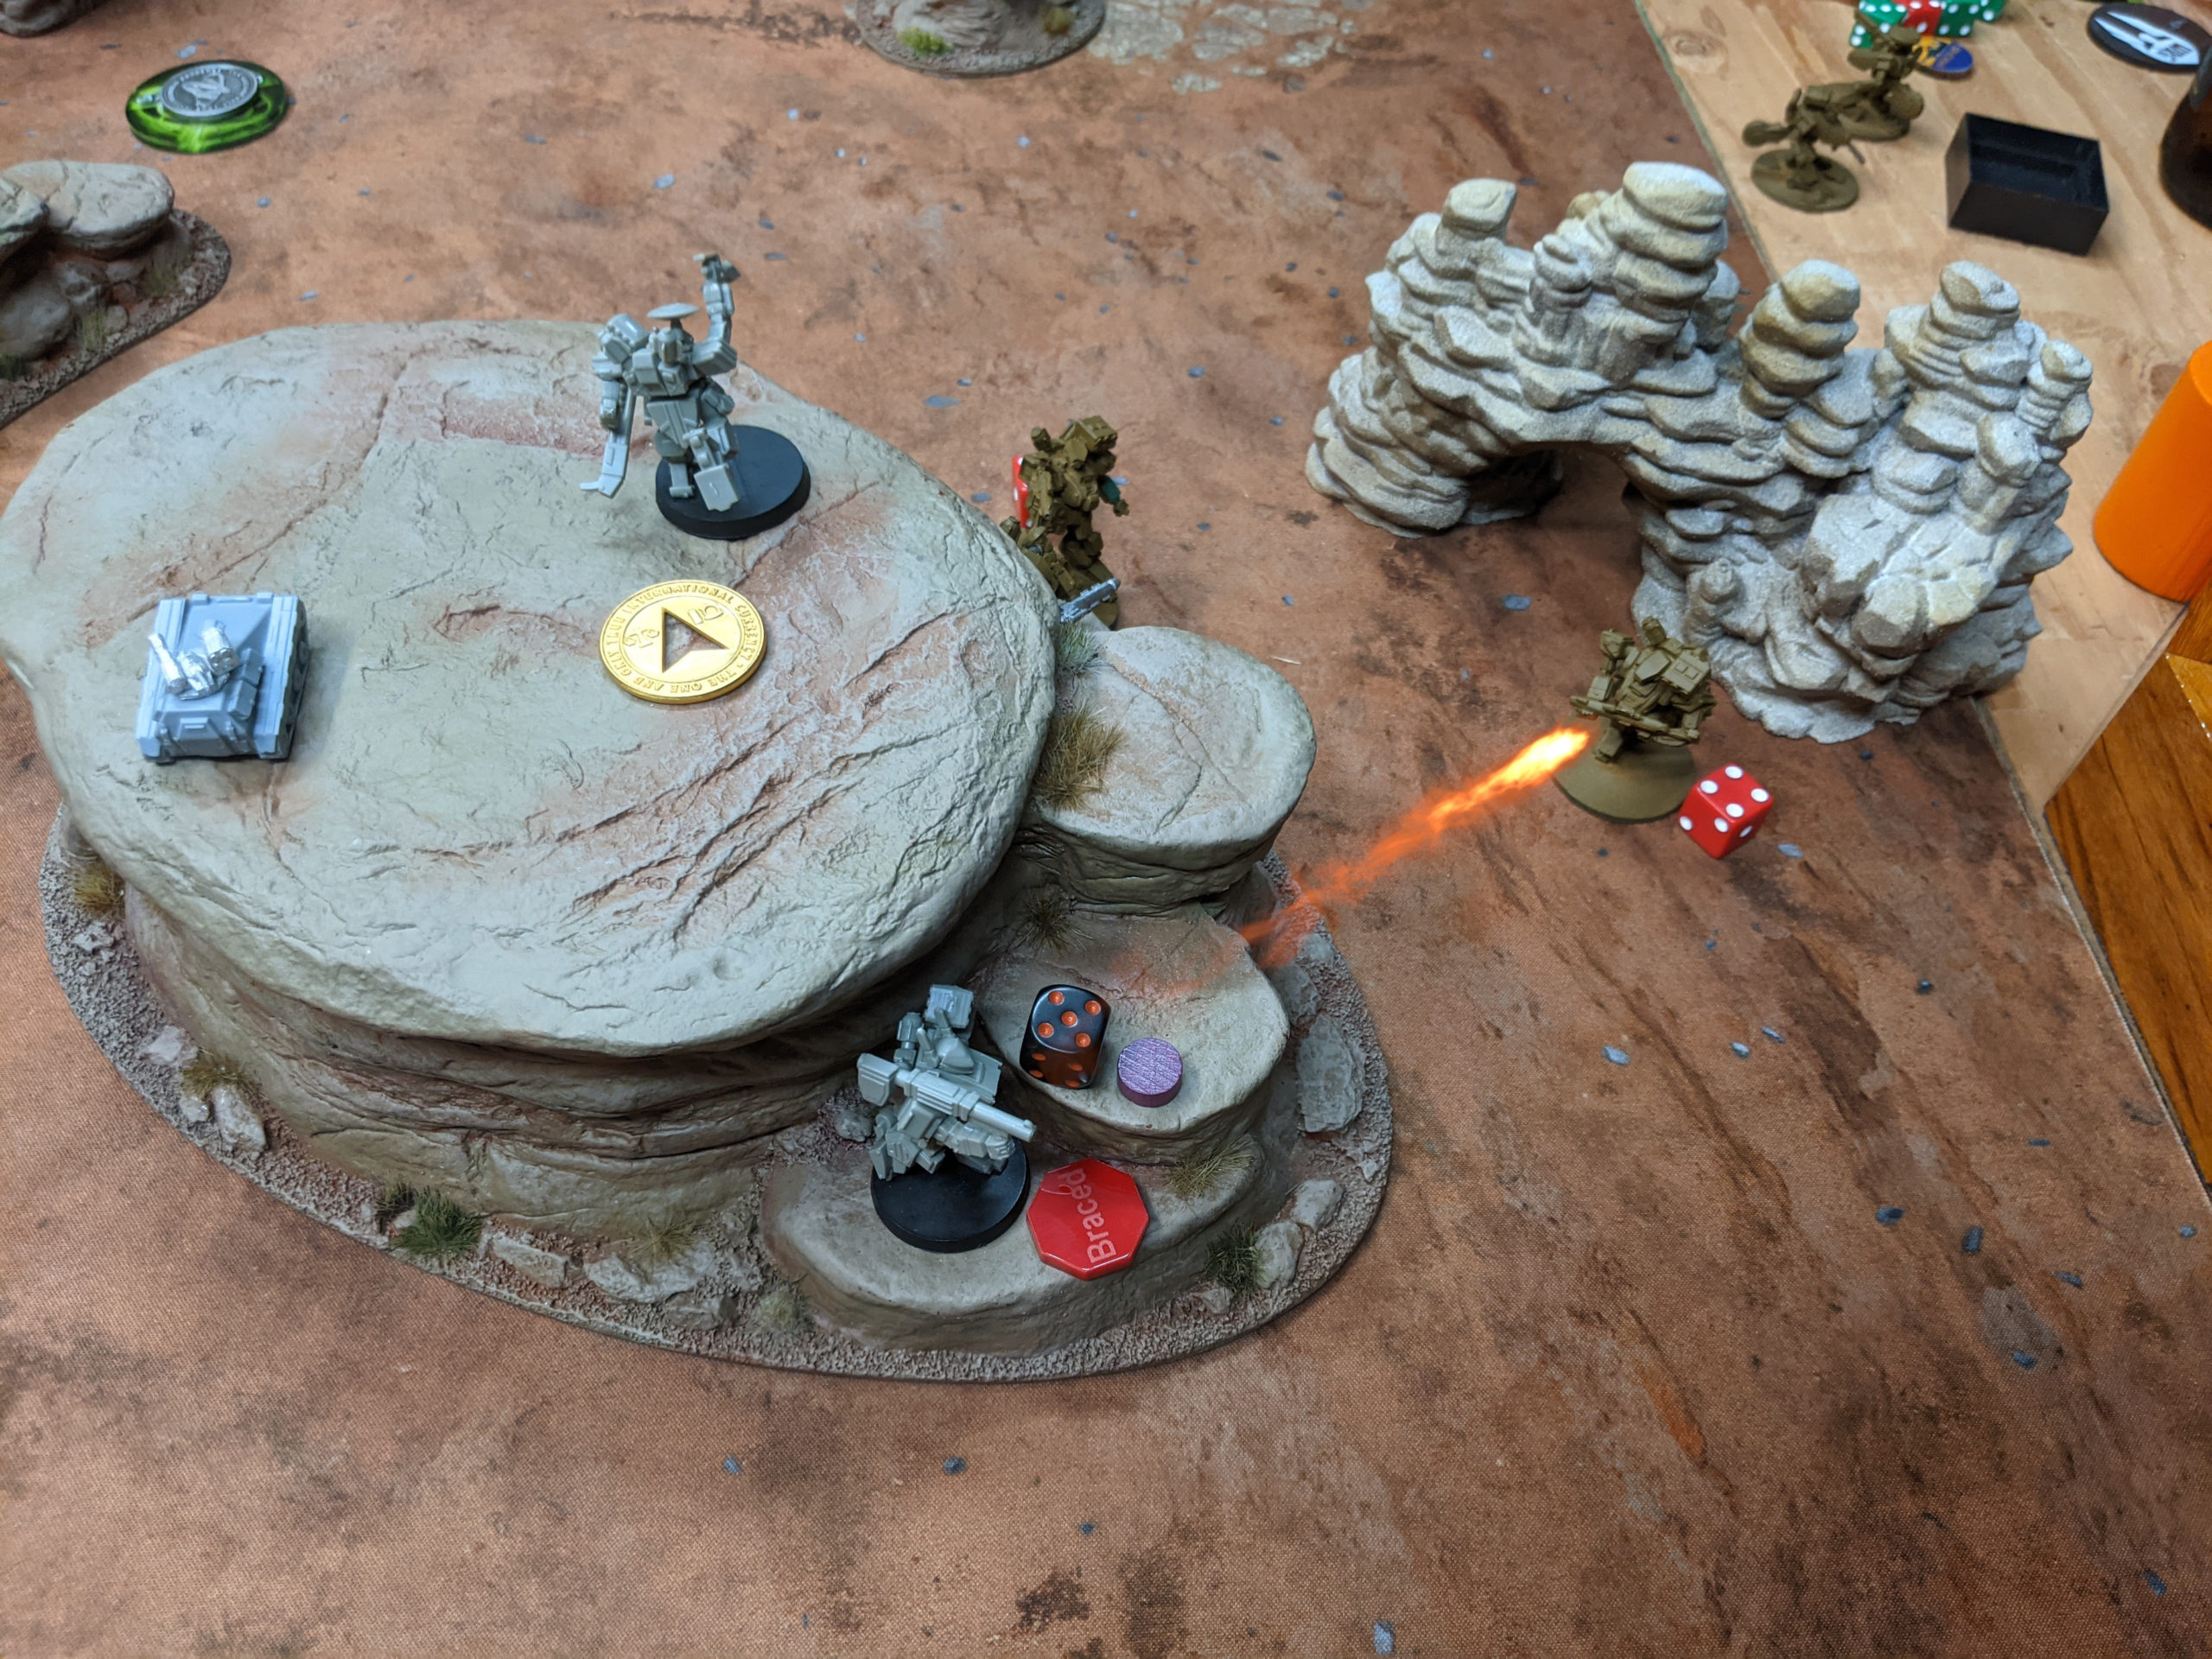
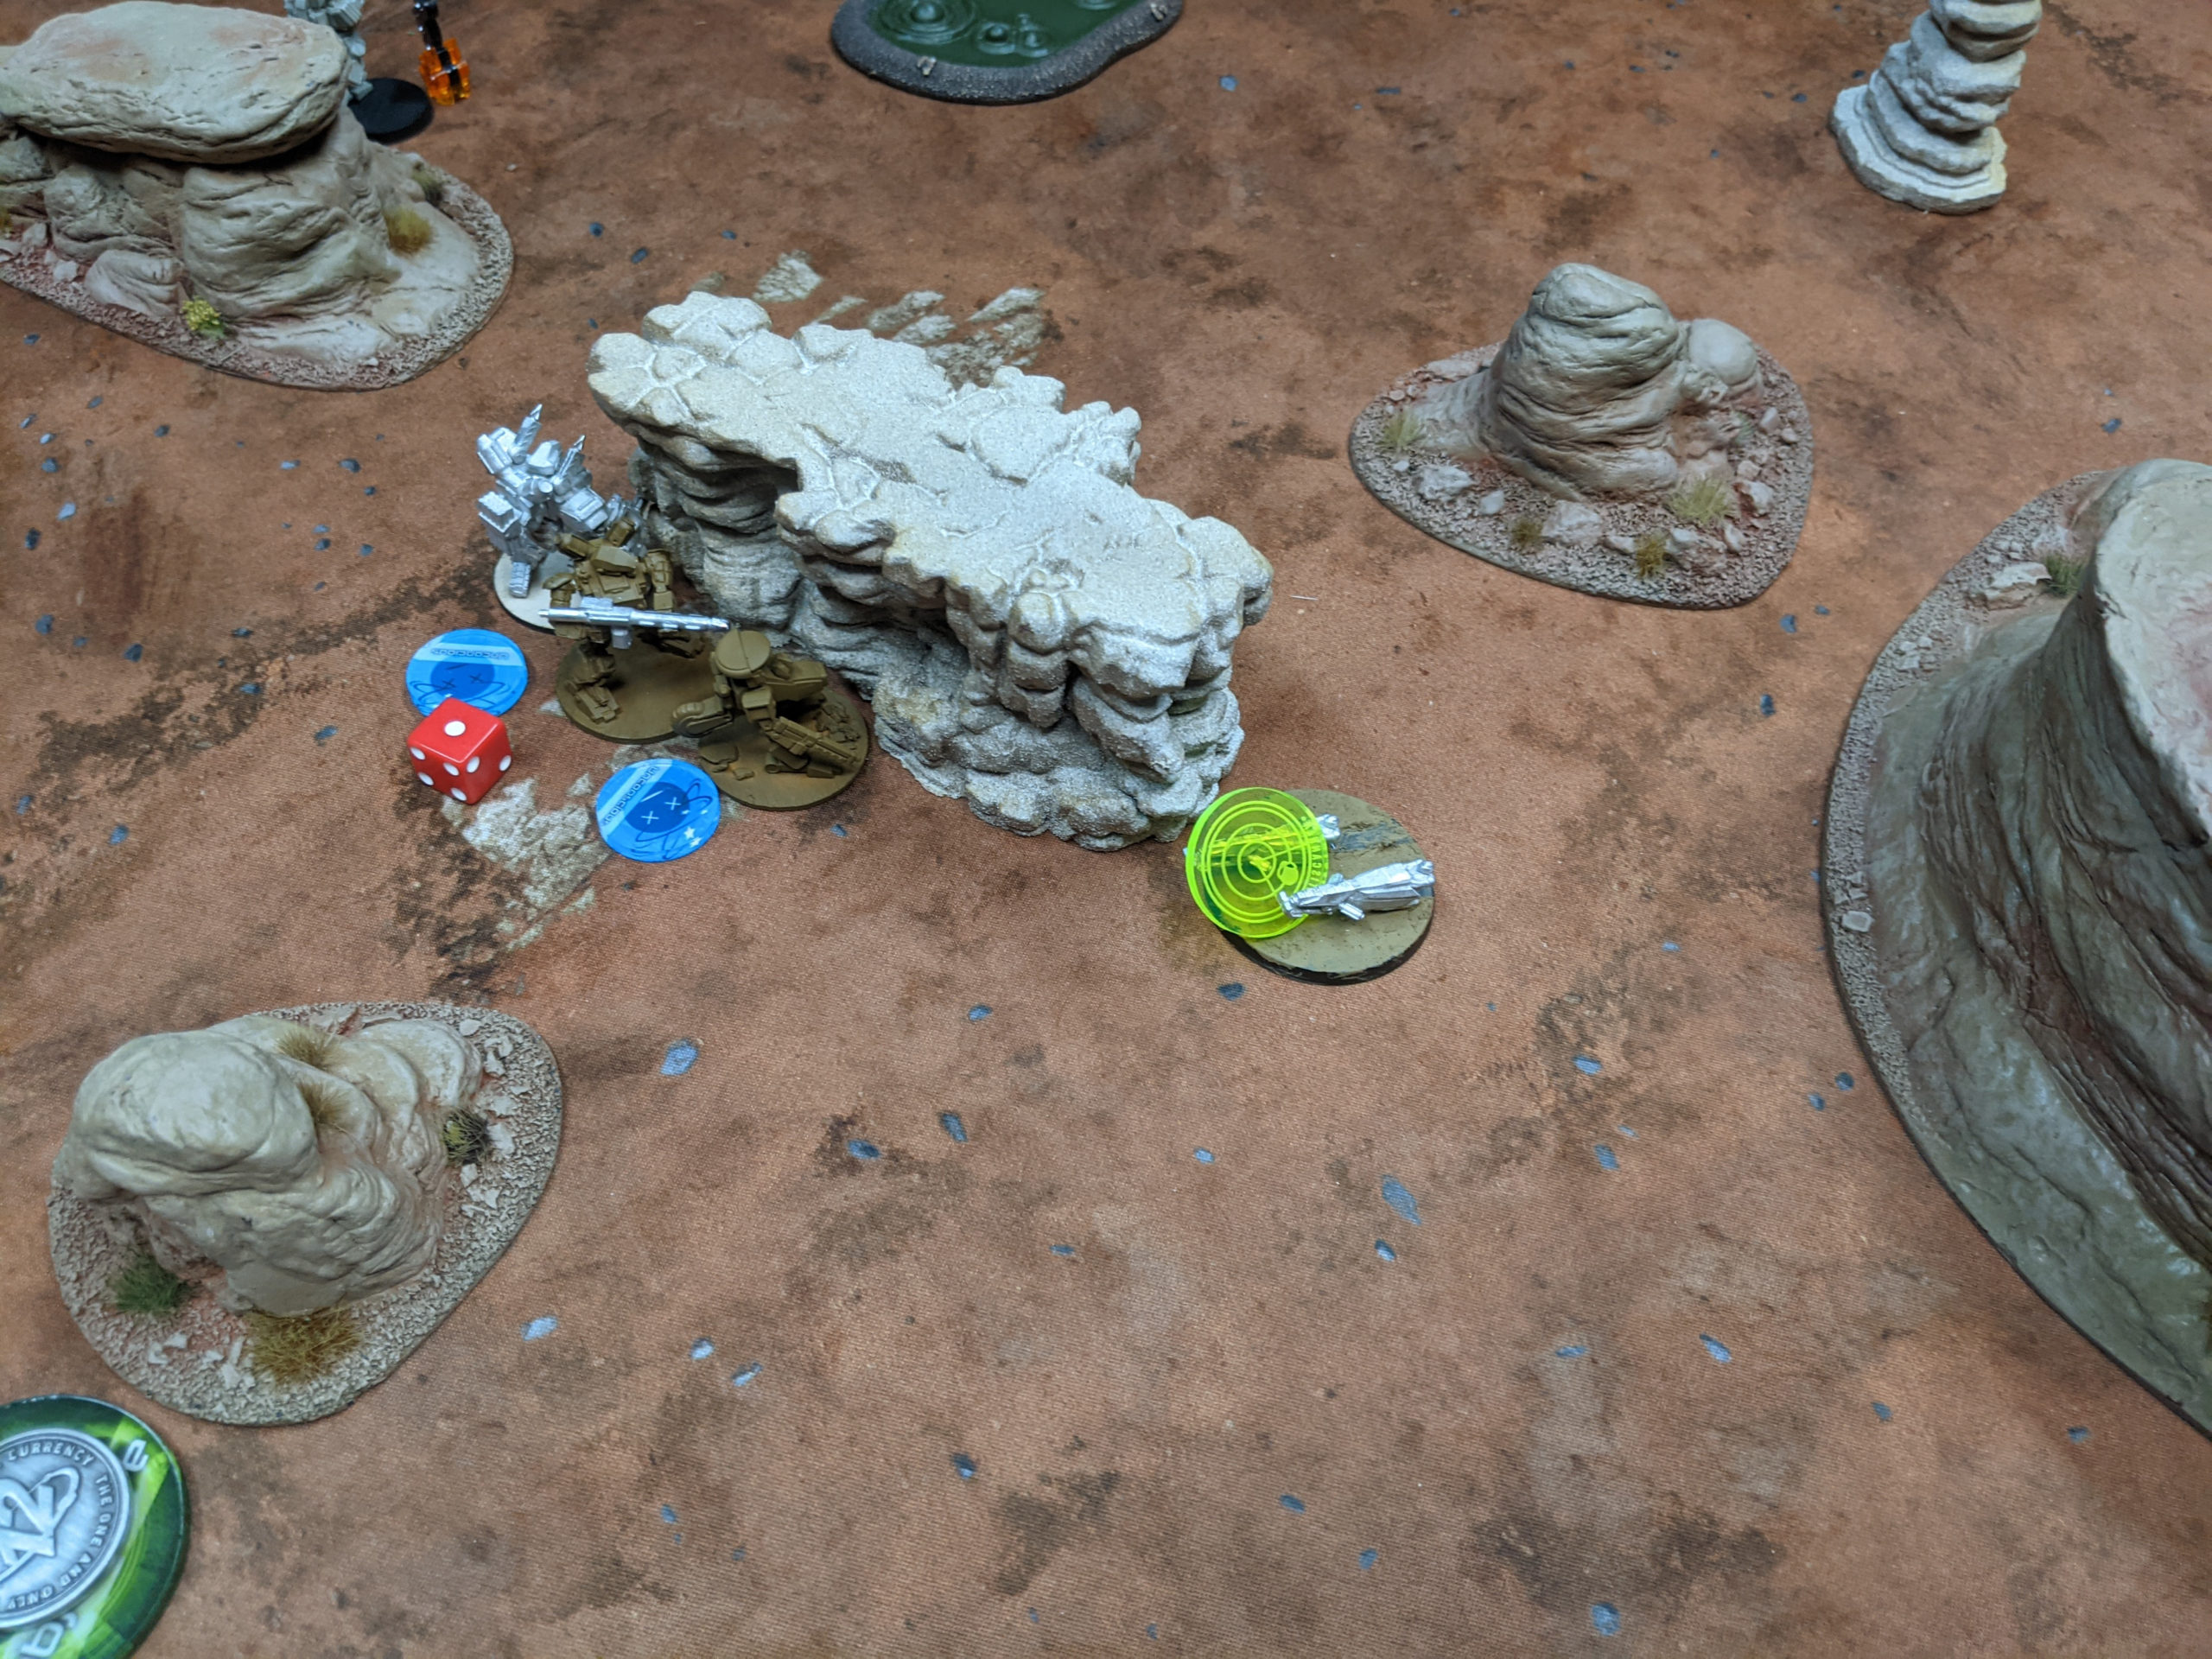
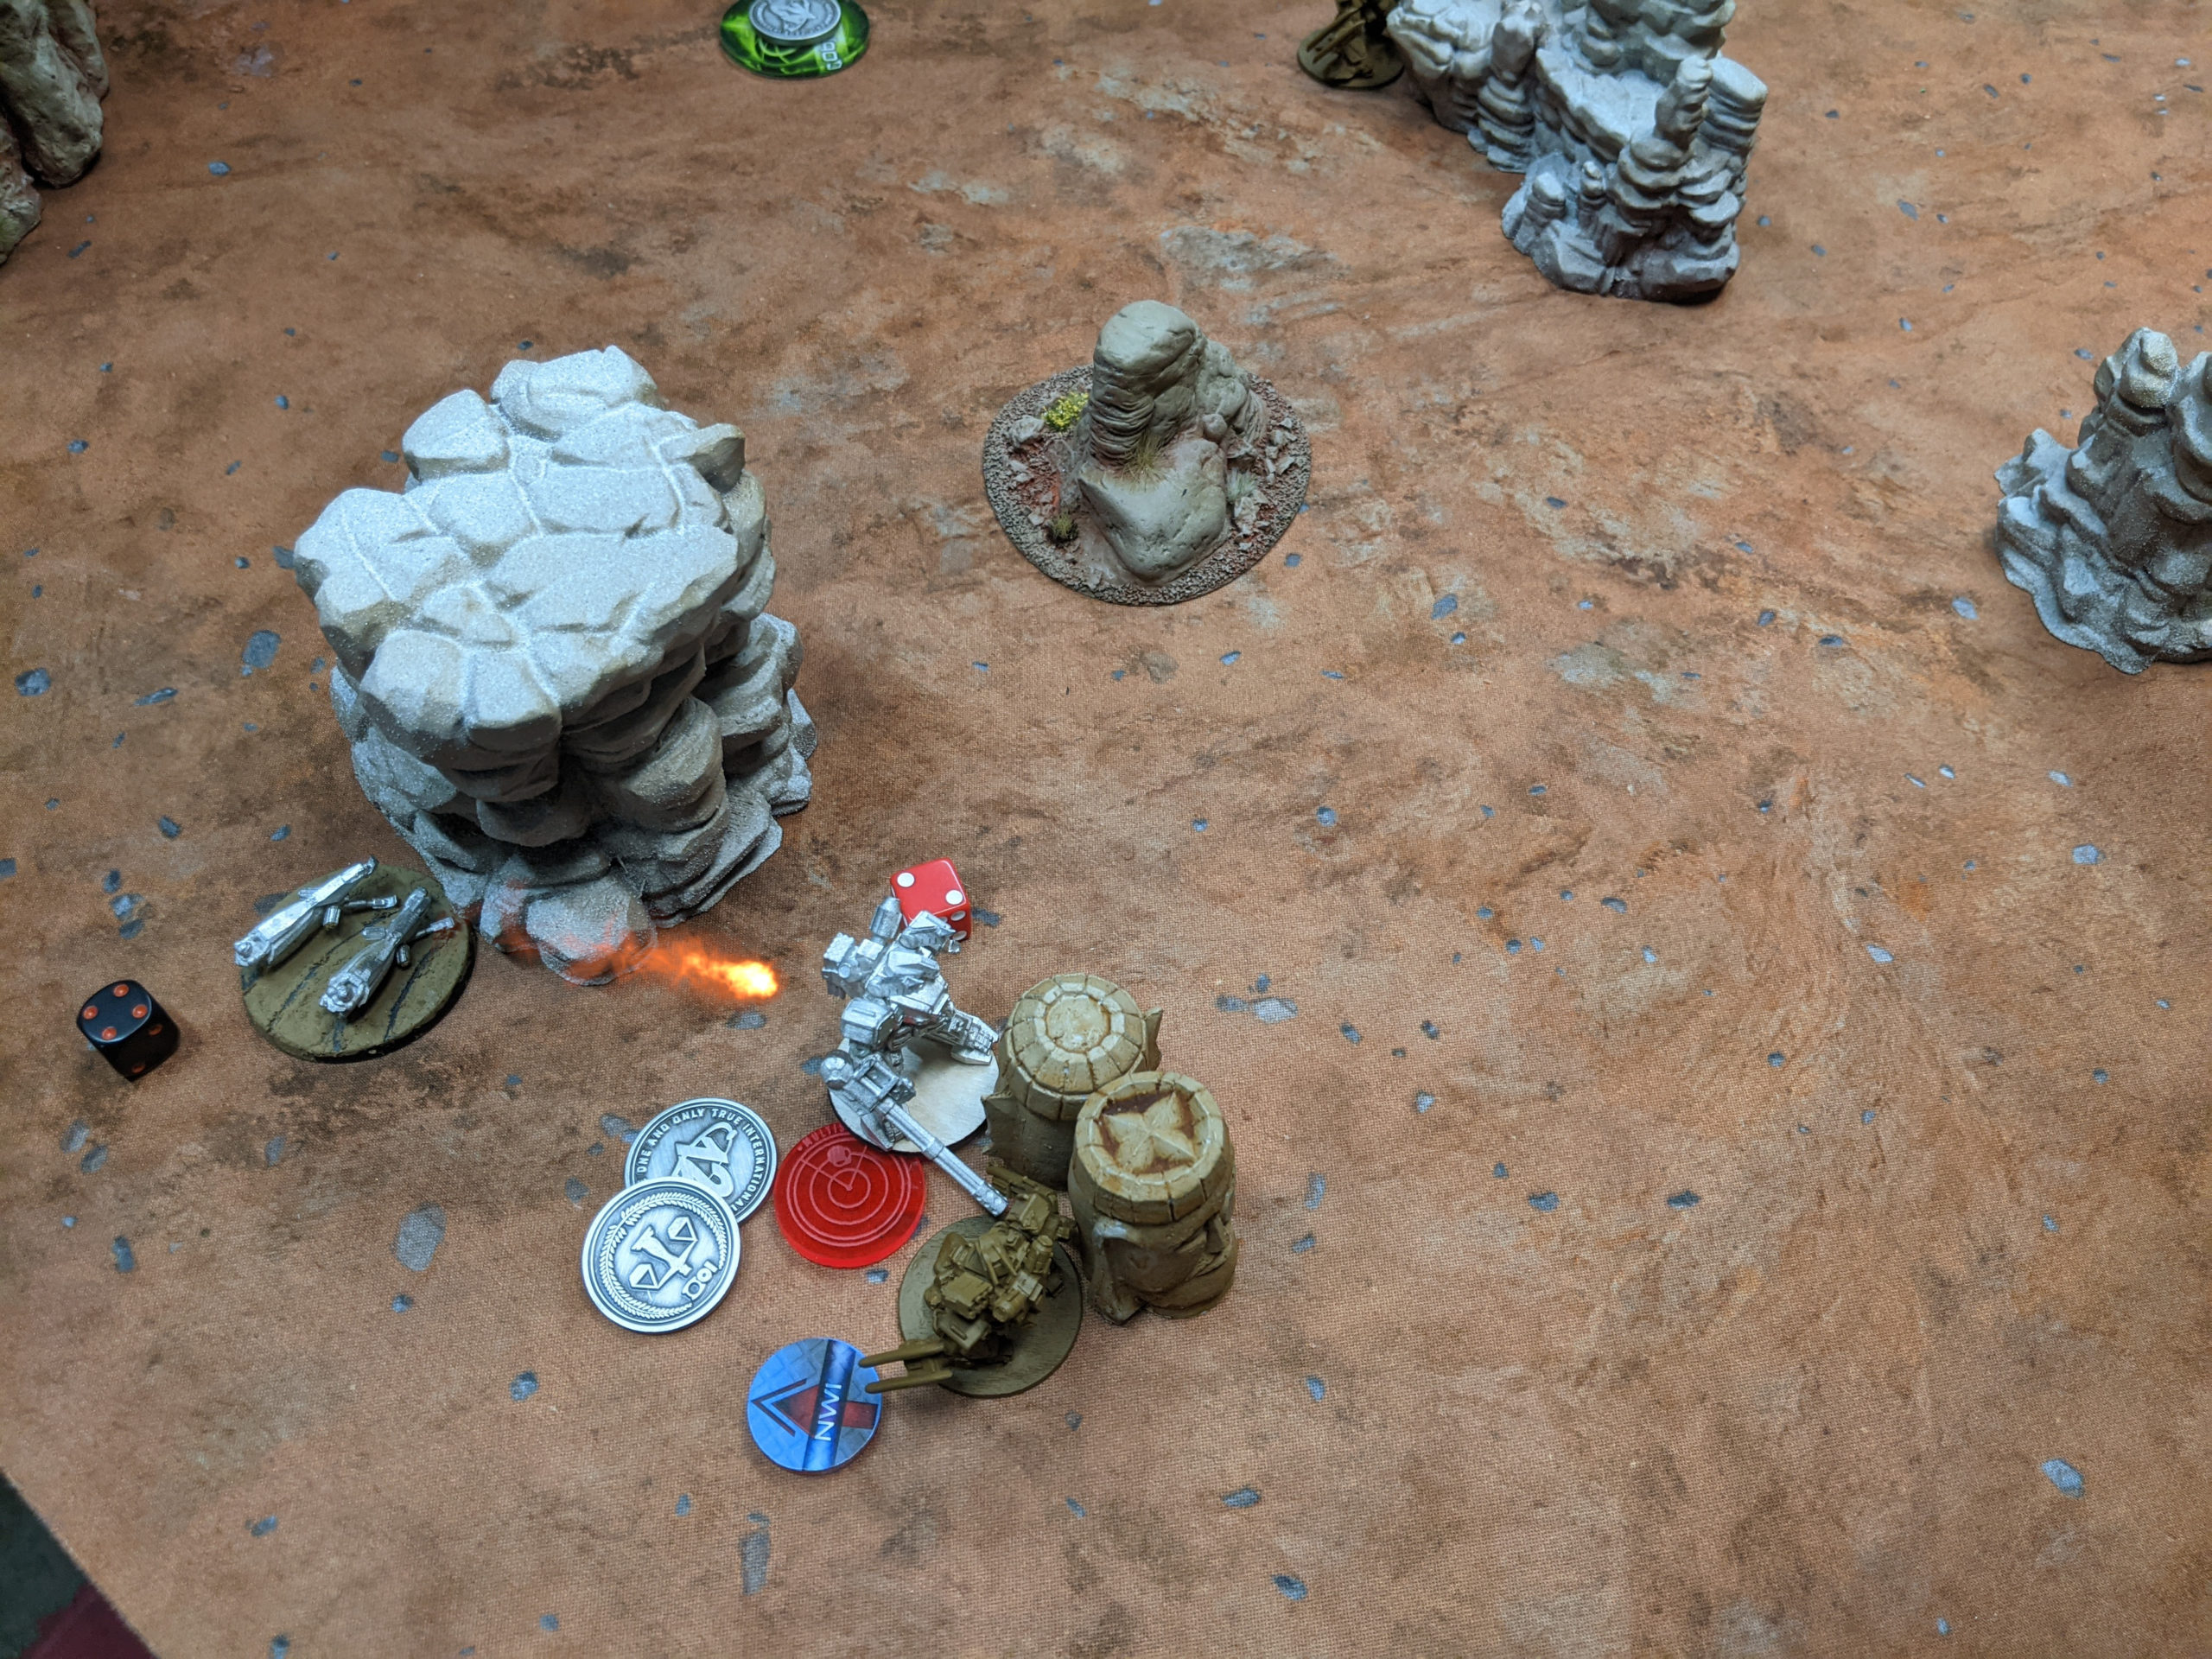
Of course, his stupid Wild Ferrets have ECM so I had to try to ECM Hack it off them. I started off by trying with the Warrior IV and failed, even using the buffs from the Skirmisher. Adam’s Sniper Ferret plinked a wound off the Warrior IV in retaliation. The Skirmisher tried next and failed, which meant I was just left with doing it the old fashioned way.
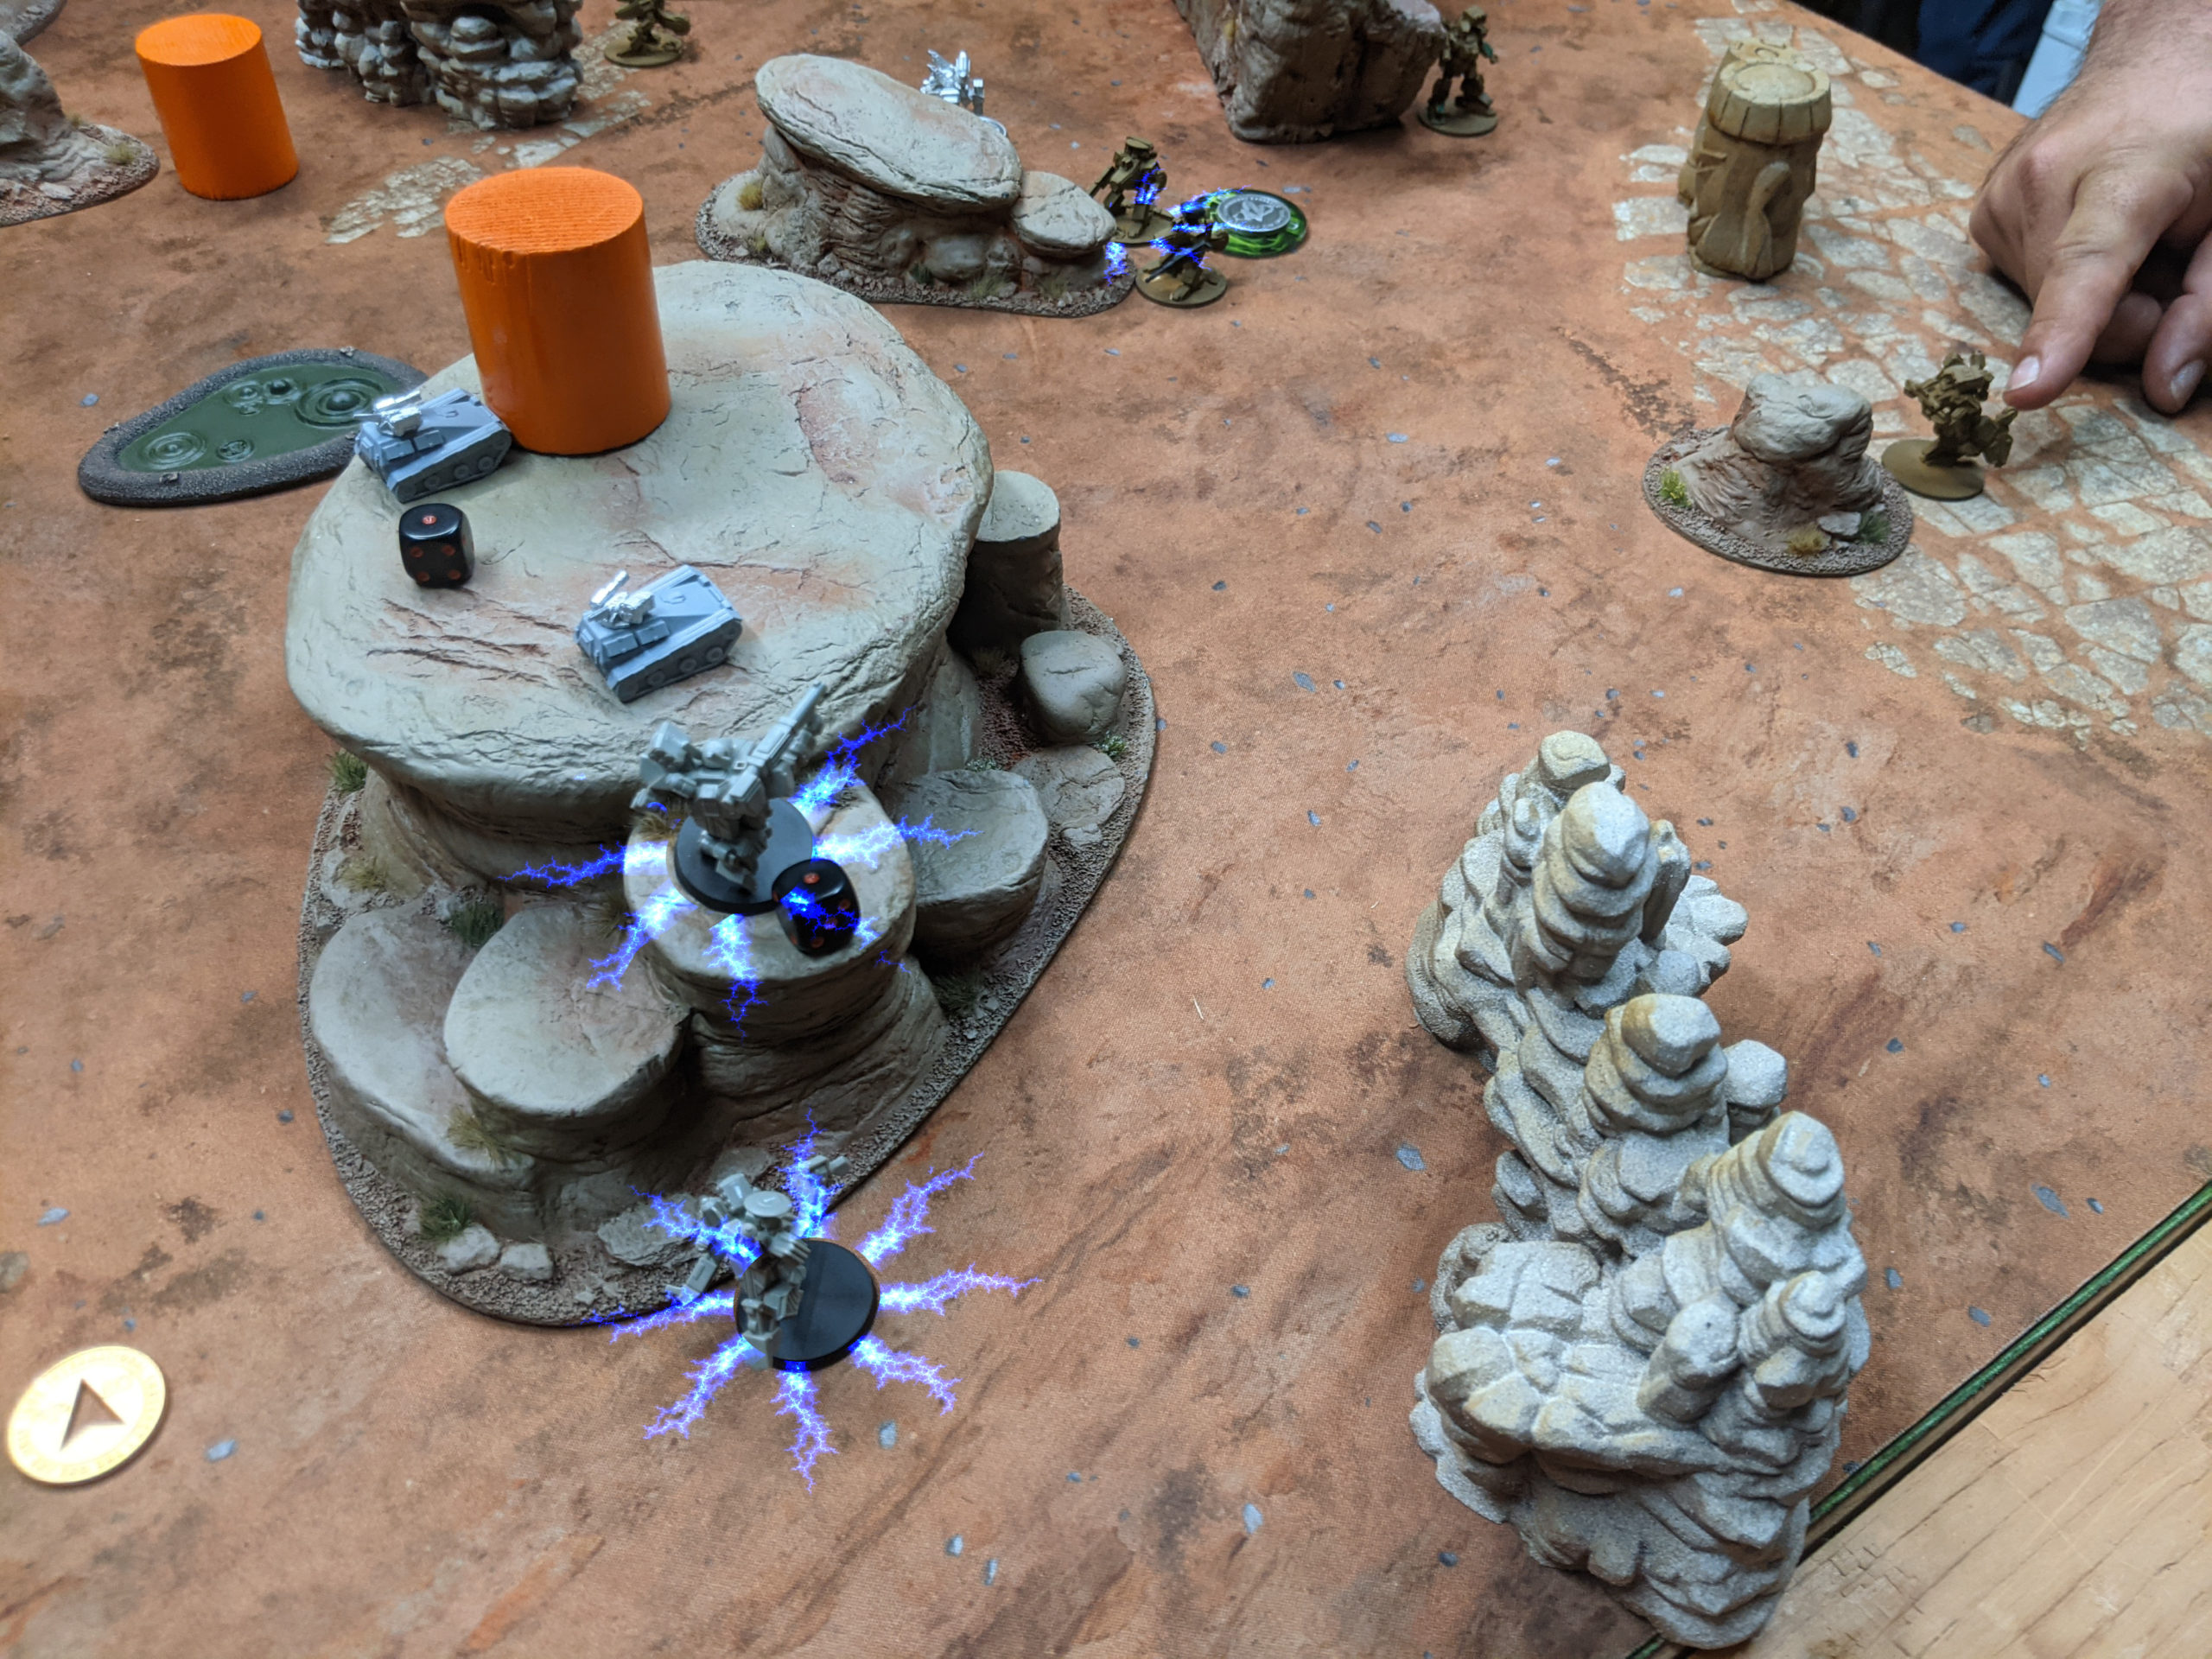
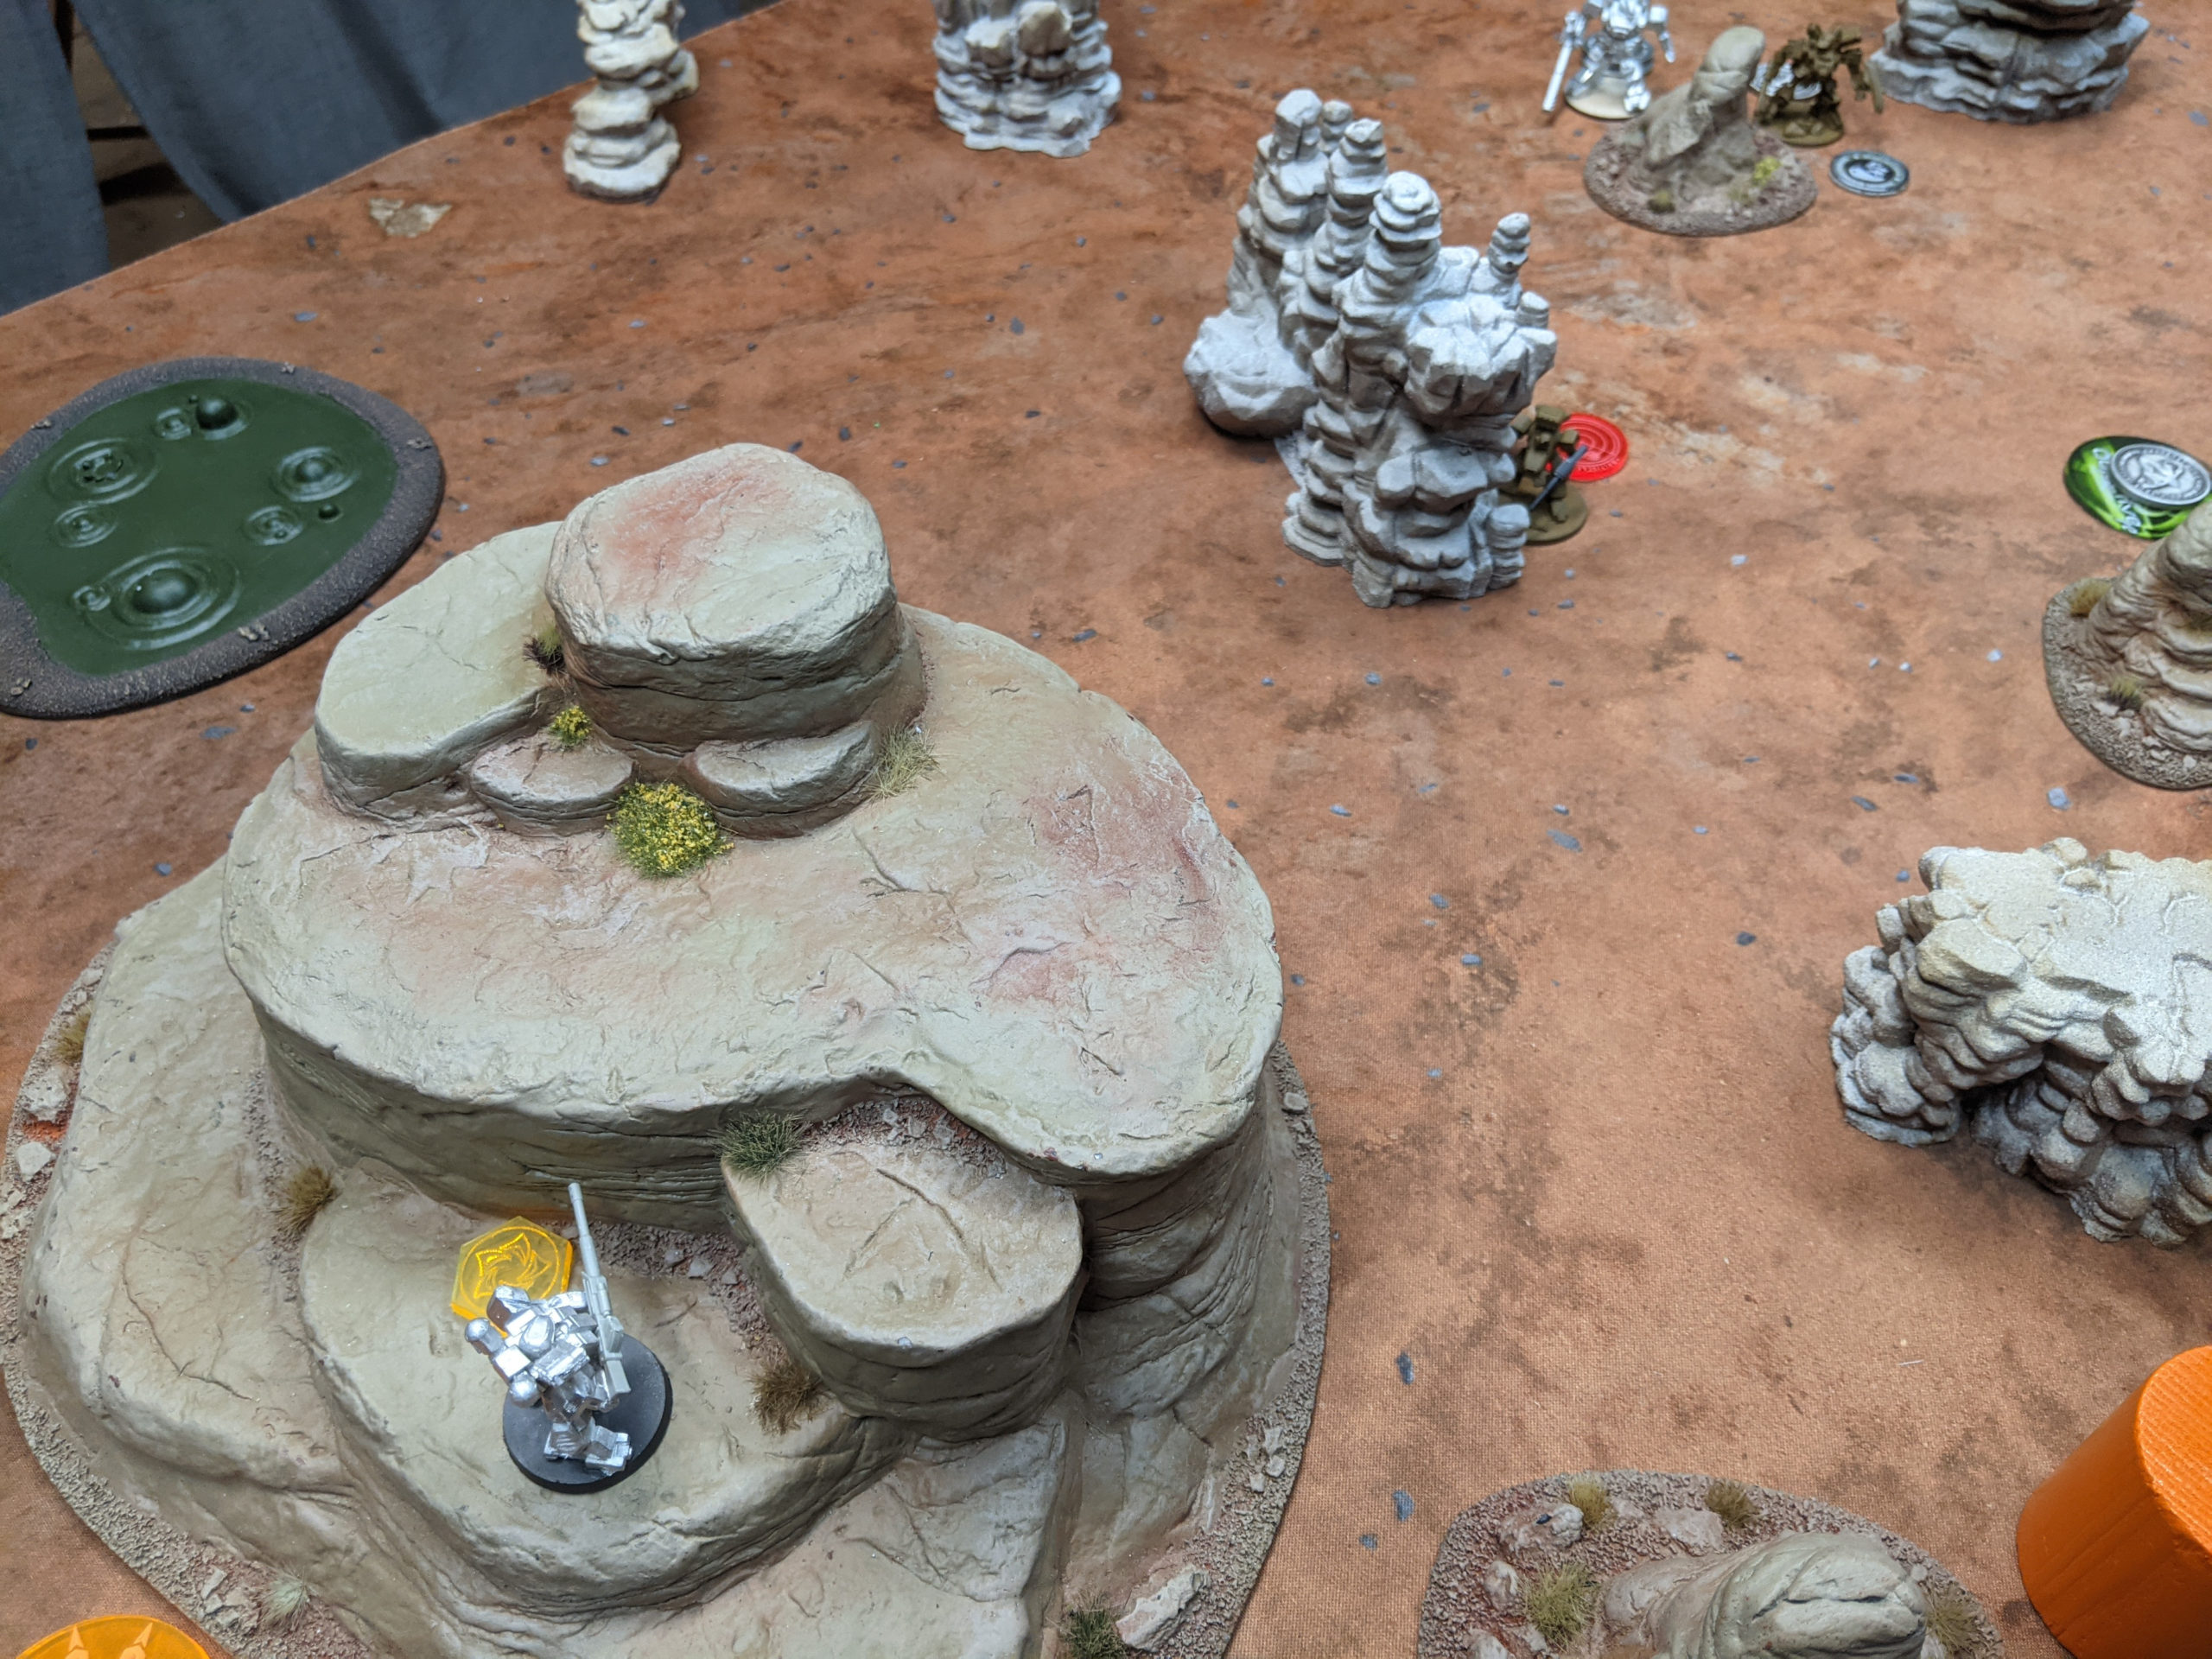
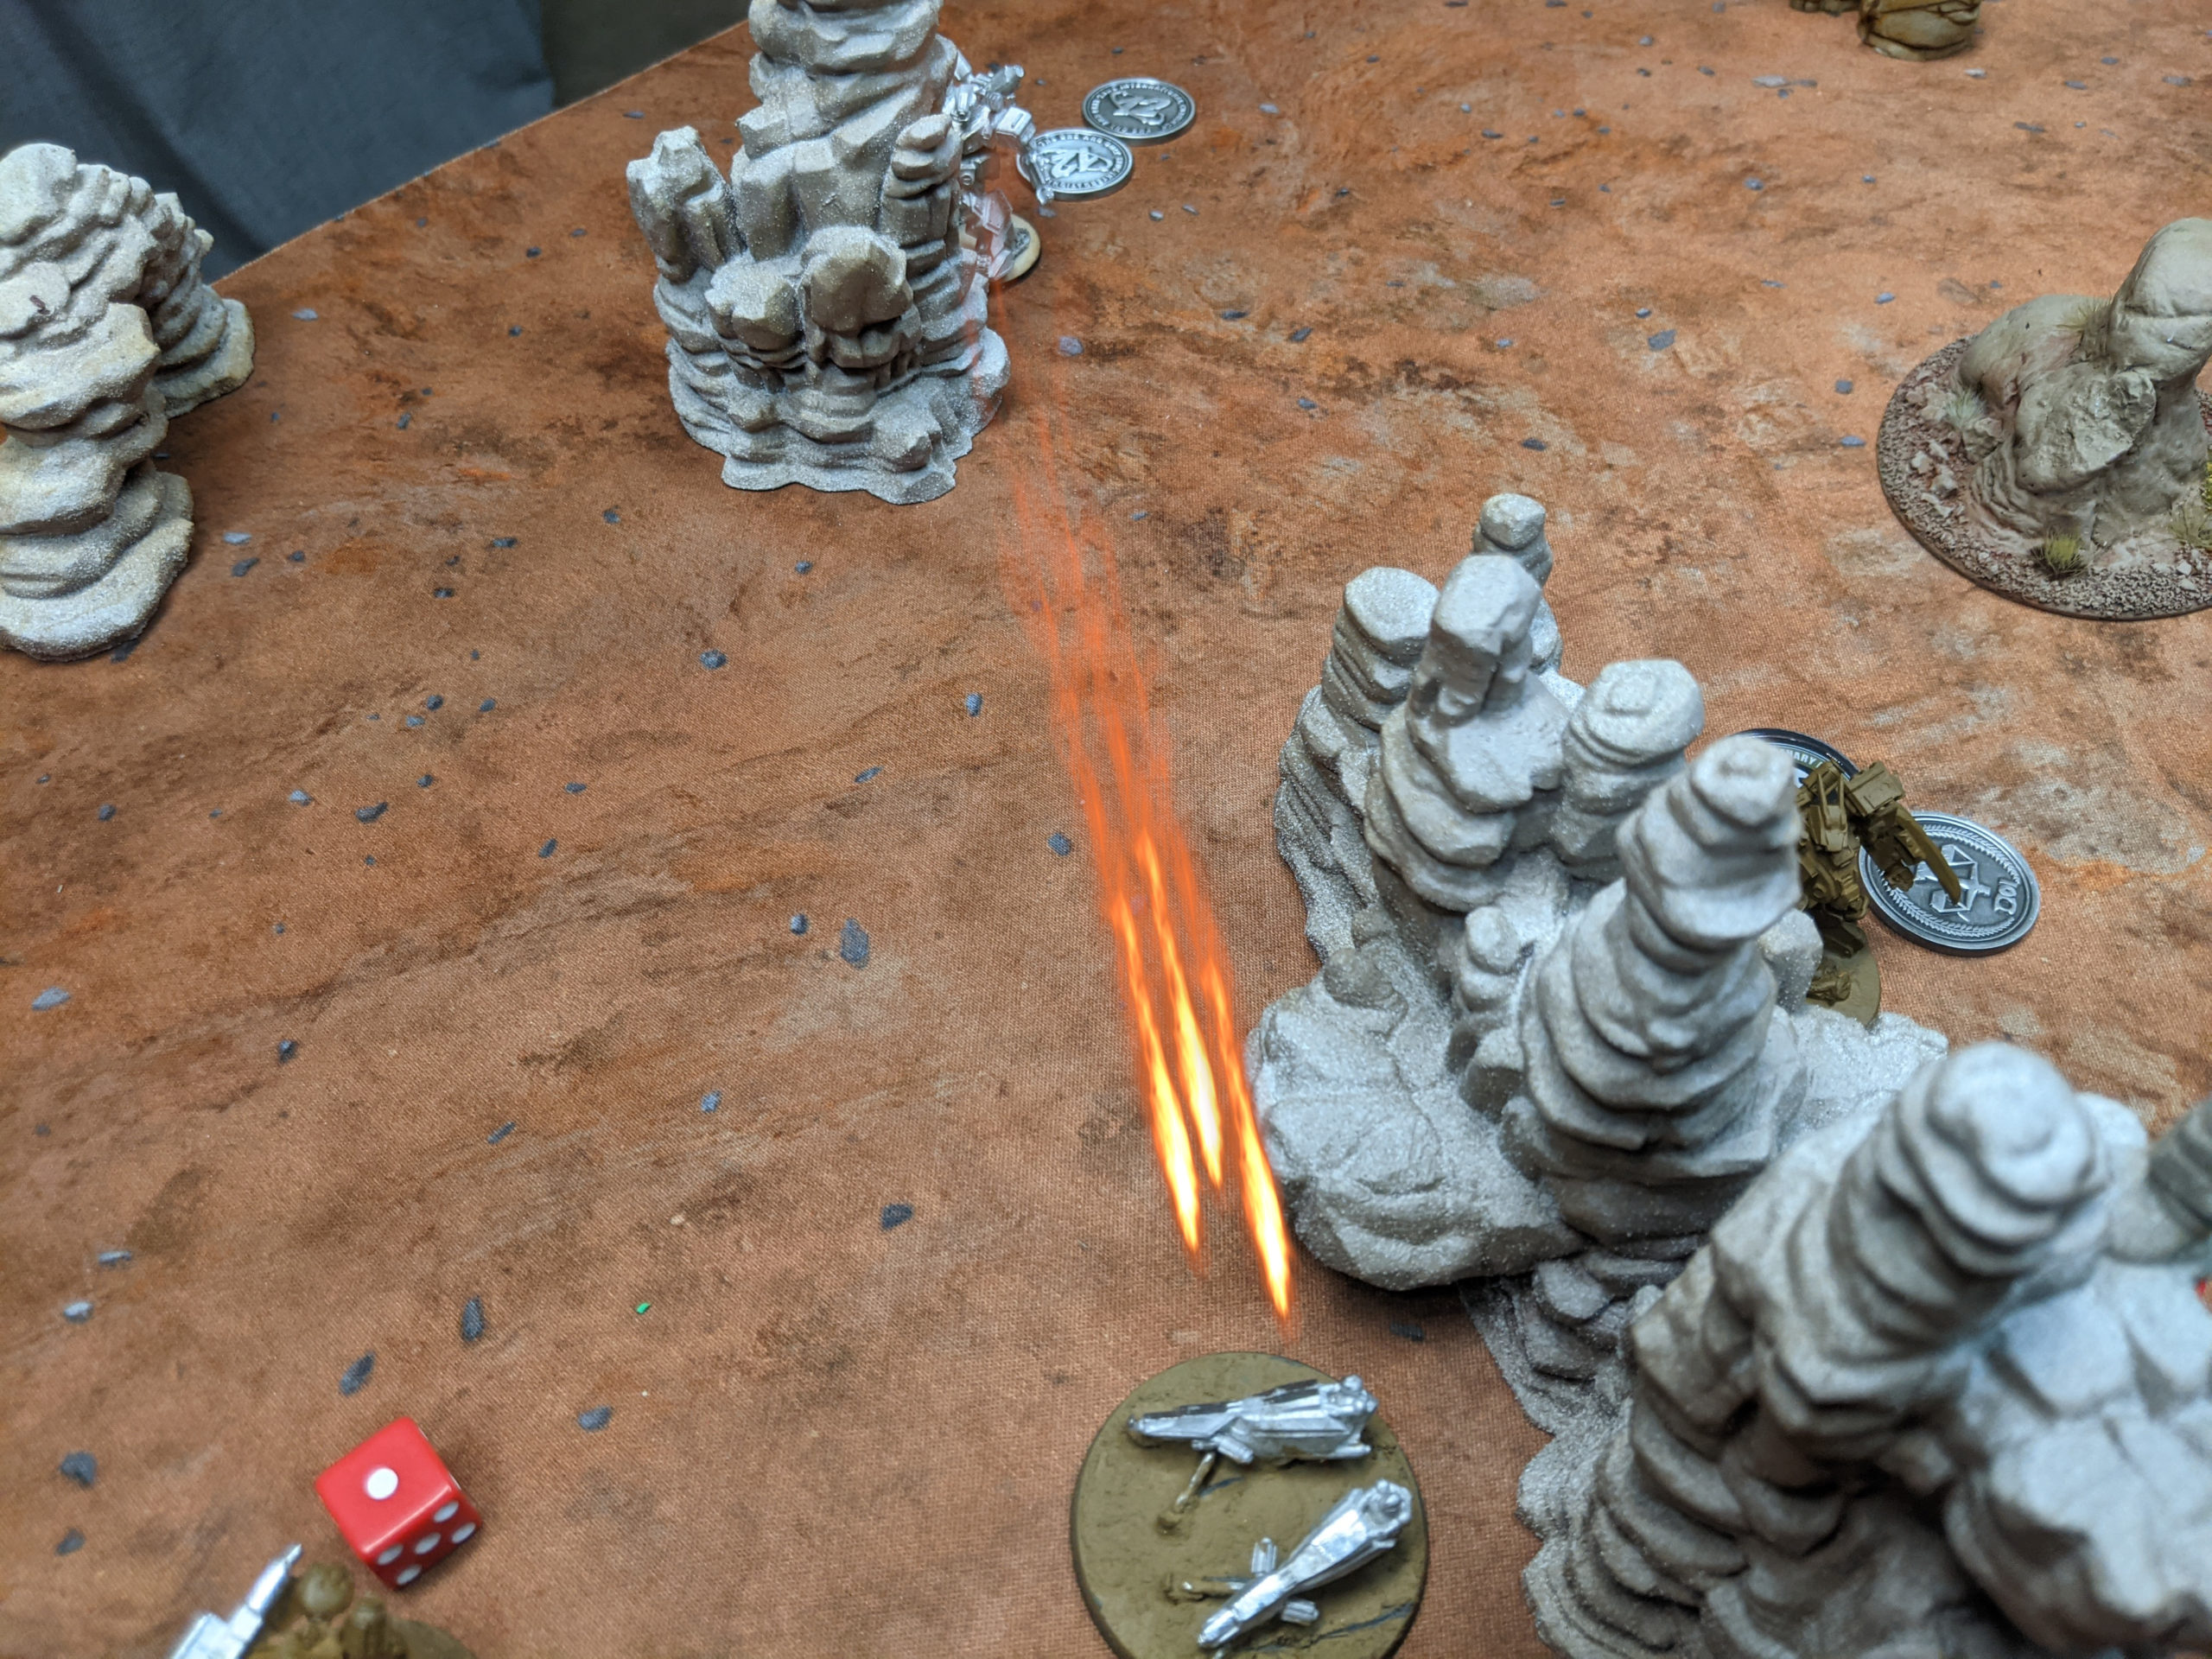
I threw up Let them Have It! and managed to do a bit of damage on the Ferrets using a Mameluk’s LRP, and then I absconded with the objective on the high ground. We realized later that the Mameluk couldn’t have gotten off the rock, but clearly the gears could have done it. Rather than rewind time through deployment, Adam was gracious and we decided to treat the rocks as if they were a ramp. I don’t often have to worry about terrain like this–the only real change would have been me using the Warrior IV or something to do this instead. No big deal.
Adam tried to take down the offending Mameluk with his Lion’s rotary cannon. Thankfully I rolled very well and my Mameluk was safe!
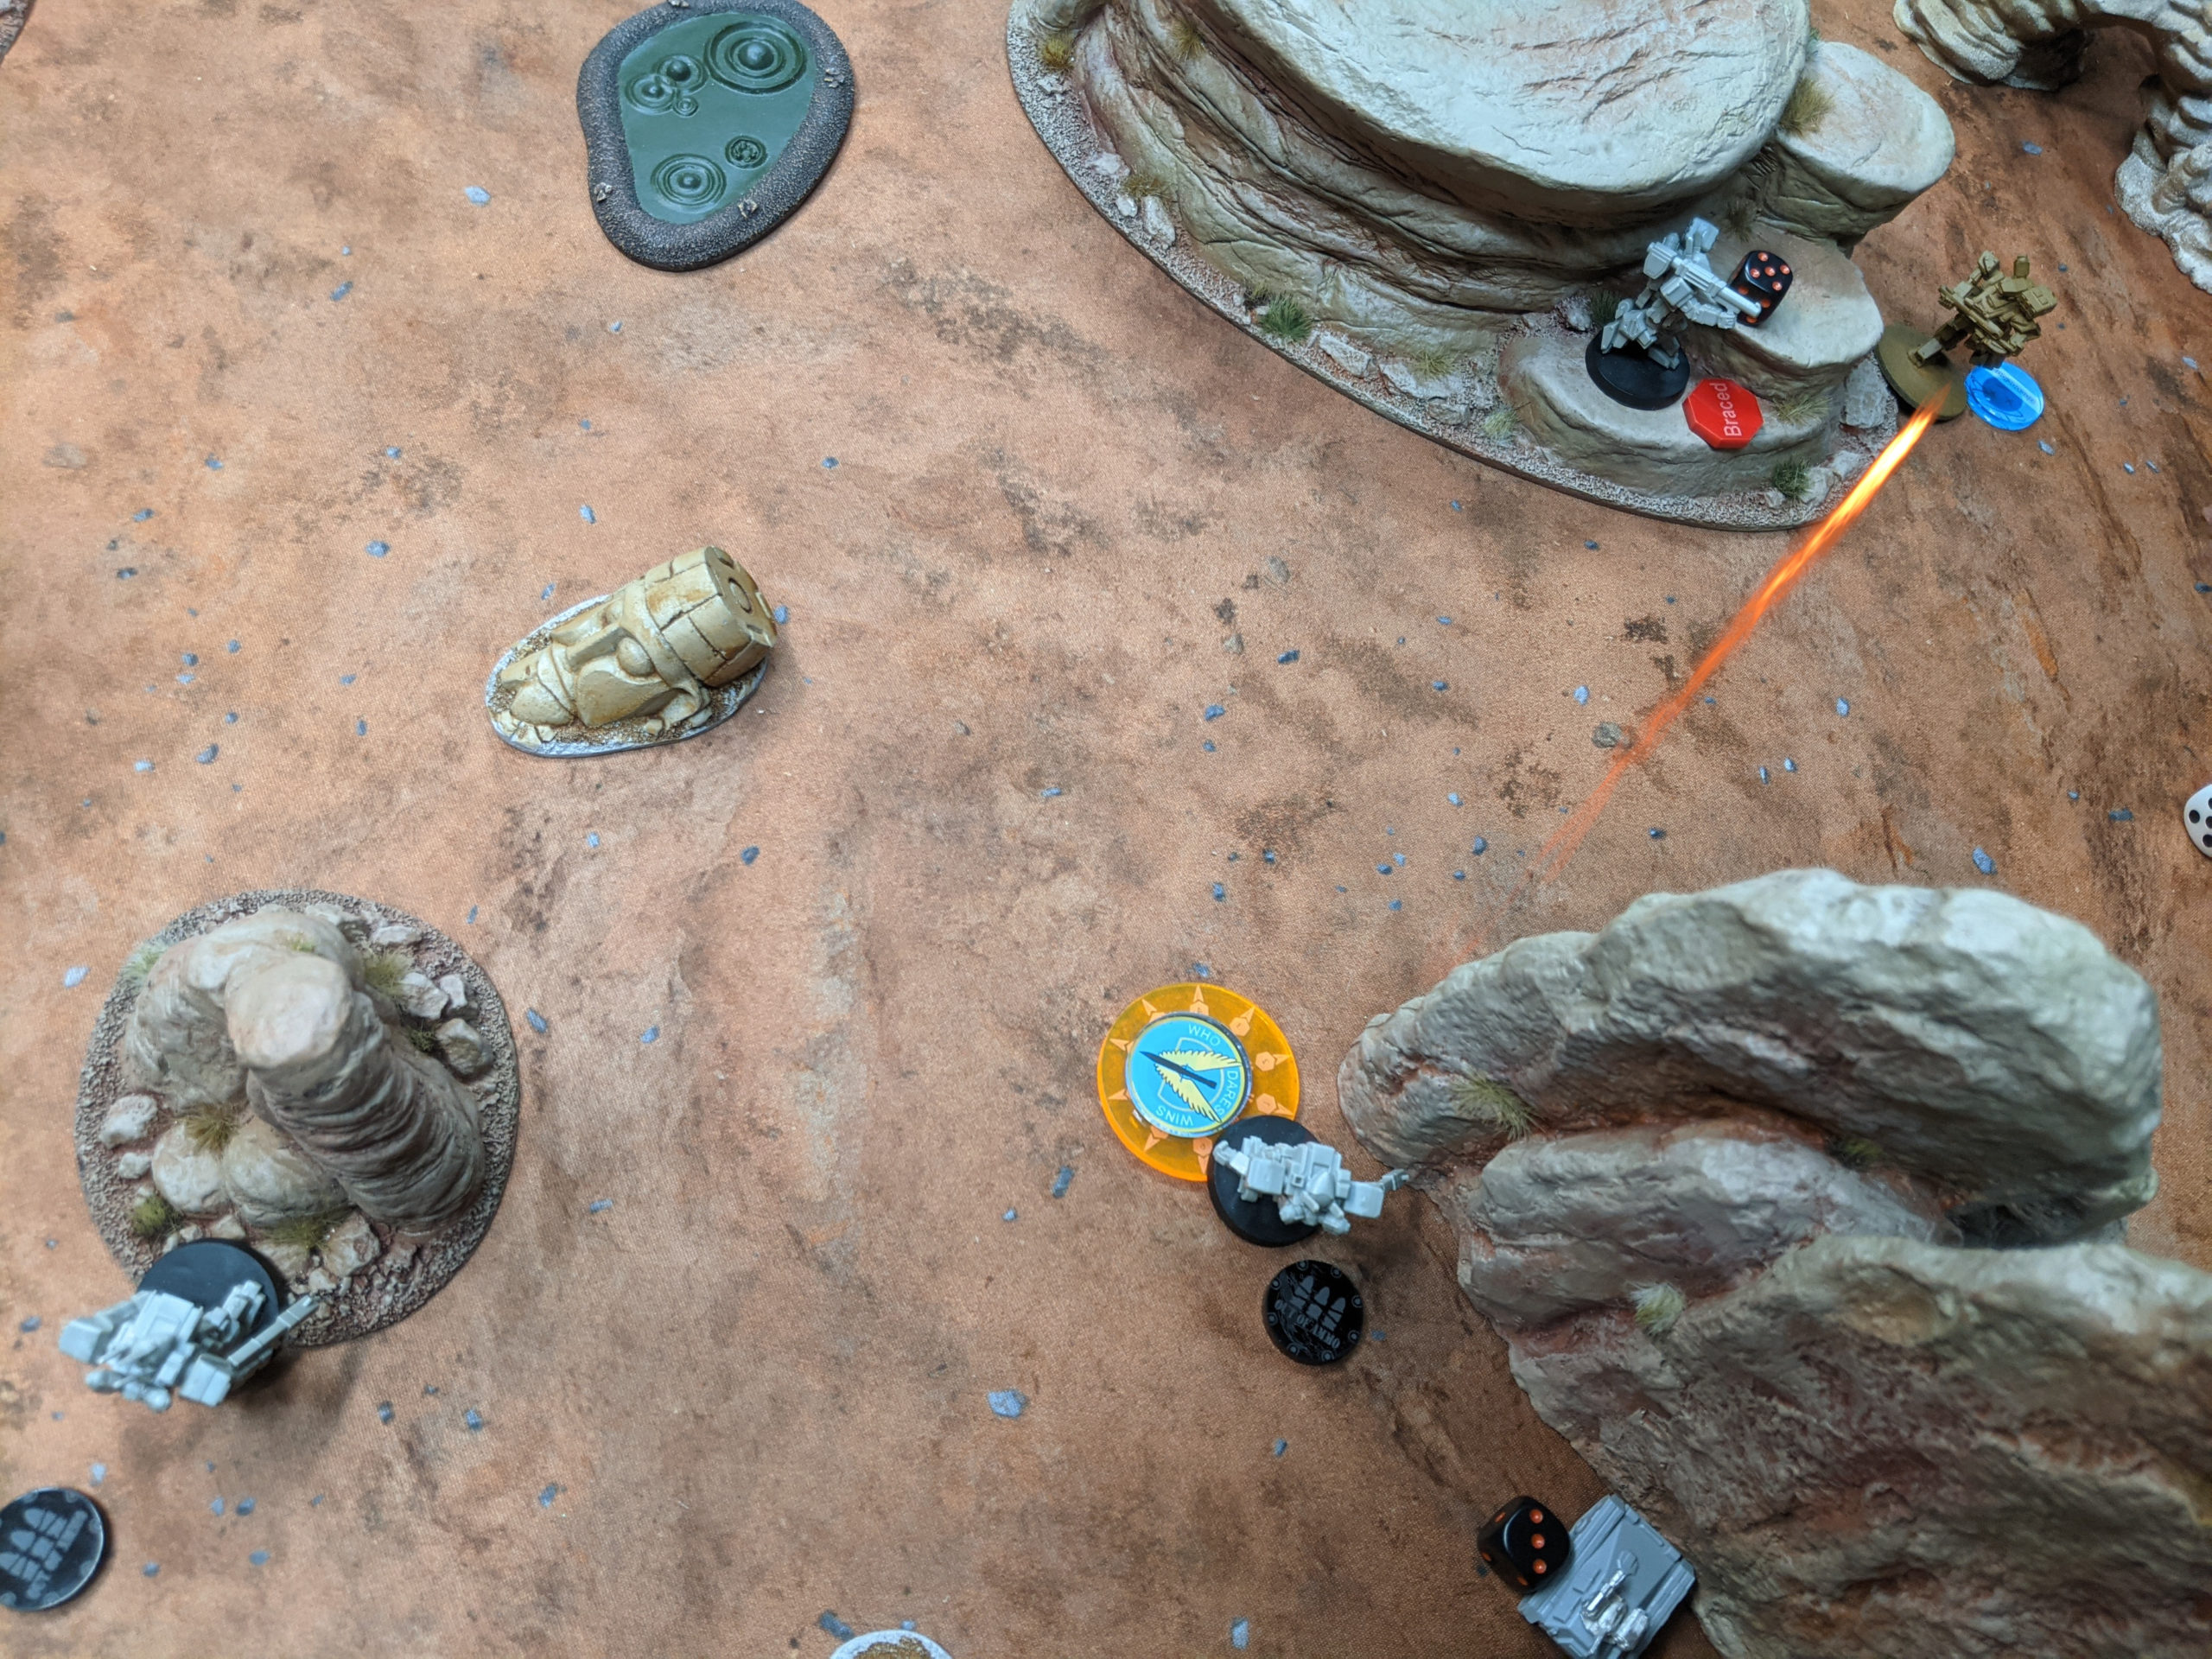
Adam had to do some fancy footwork with a Ferret to try and avoid getting shot by my Shinobi, who was watching the objective. I ended up having a shot, but I decided I’d rather spend the auto reaction on keeping his Hunters with snub cannons back. The Ferret scurried away with an objective.
One of Adam’s other Ferrets made it to safety with the other objective as well. Not good!
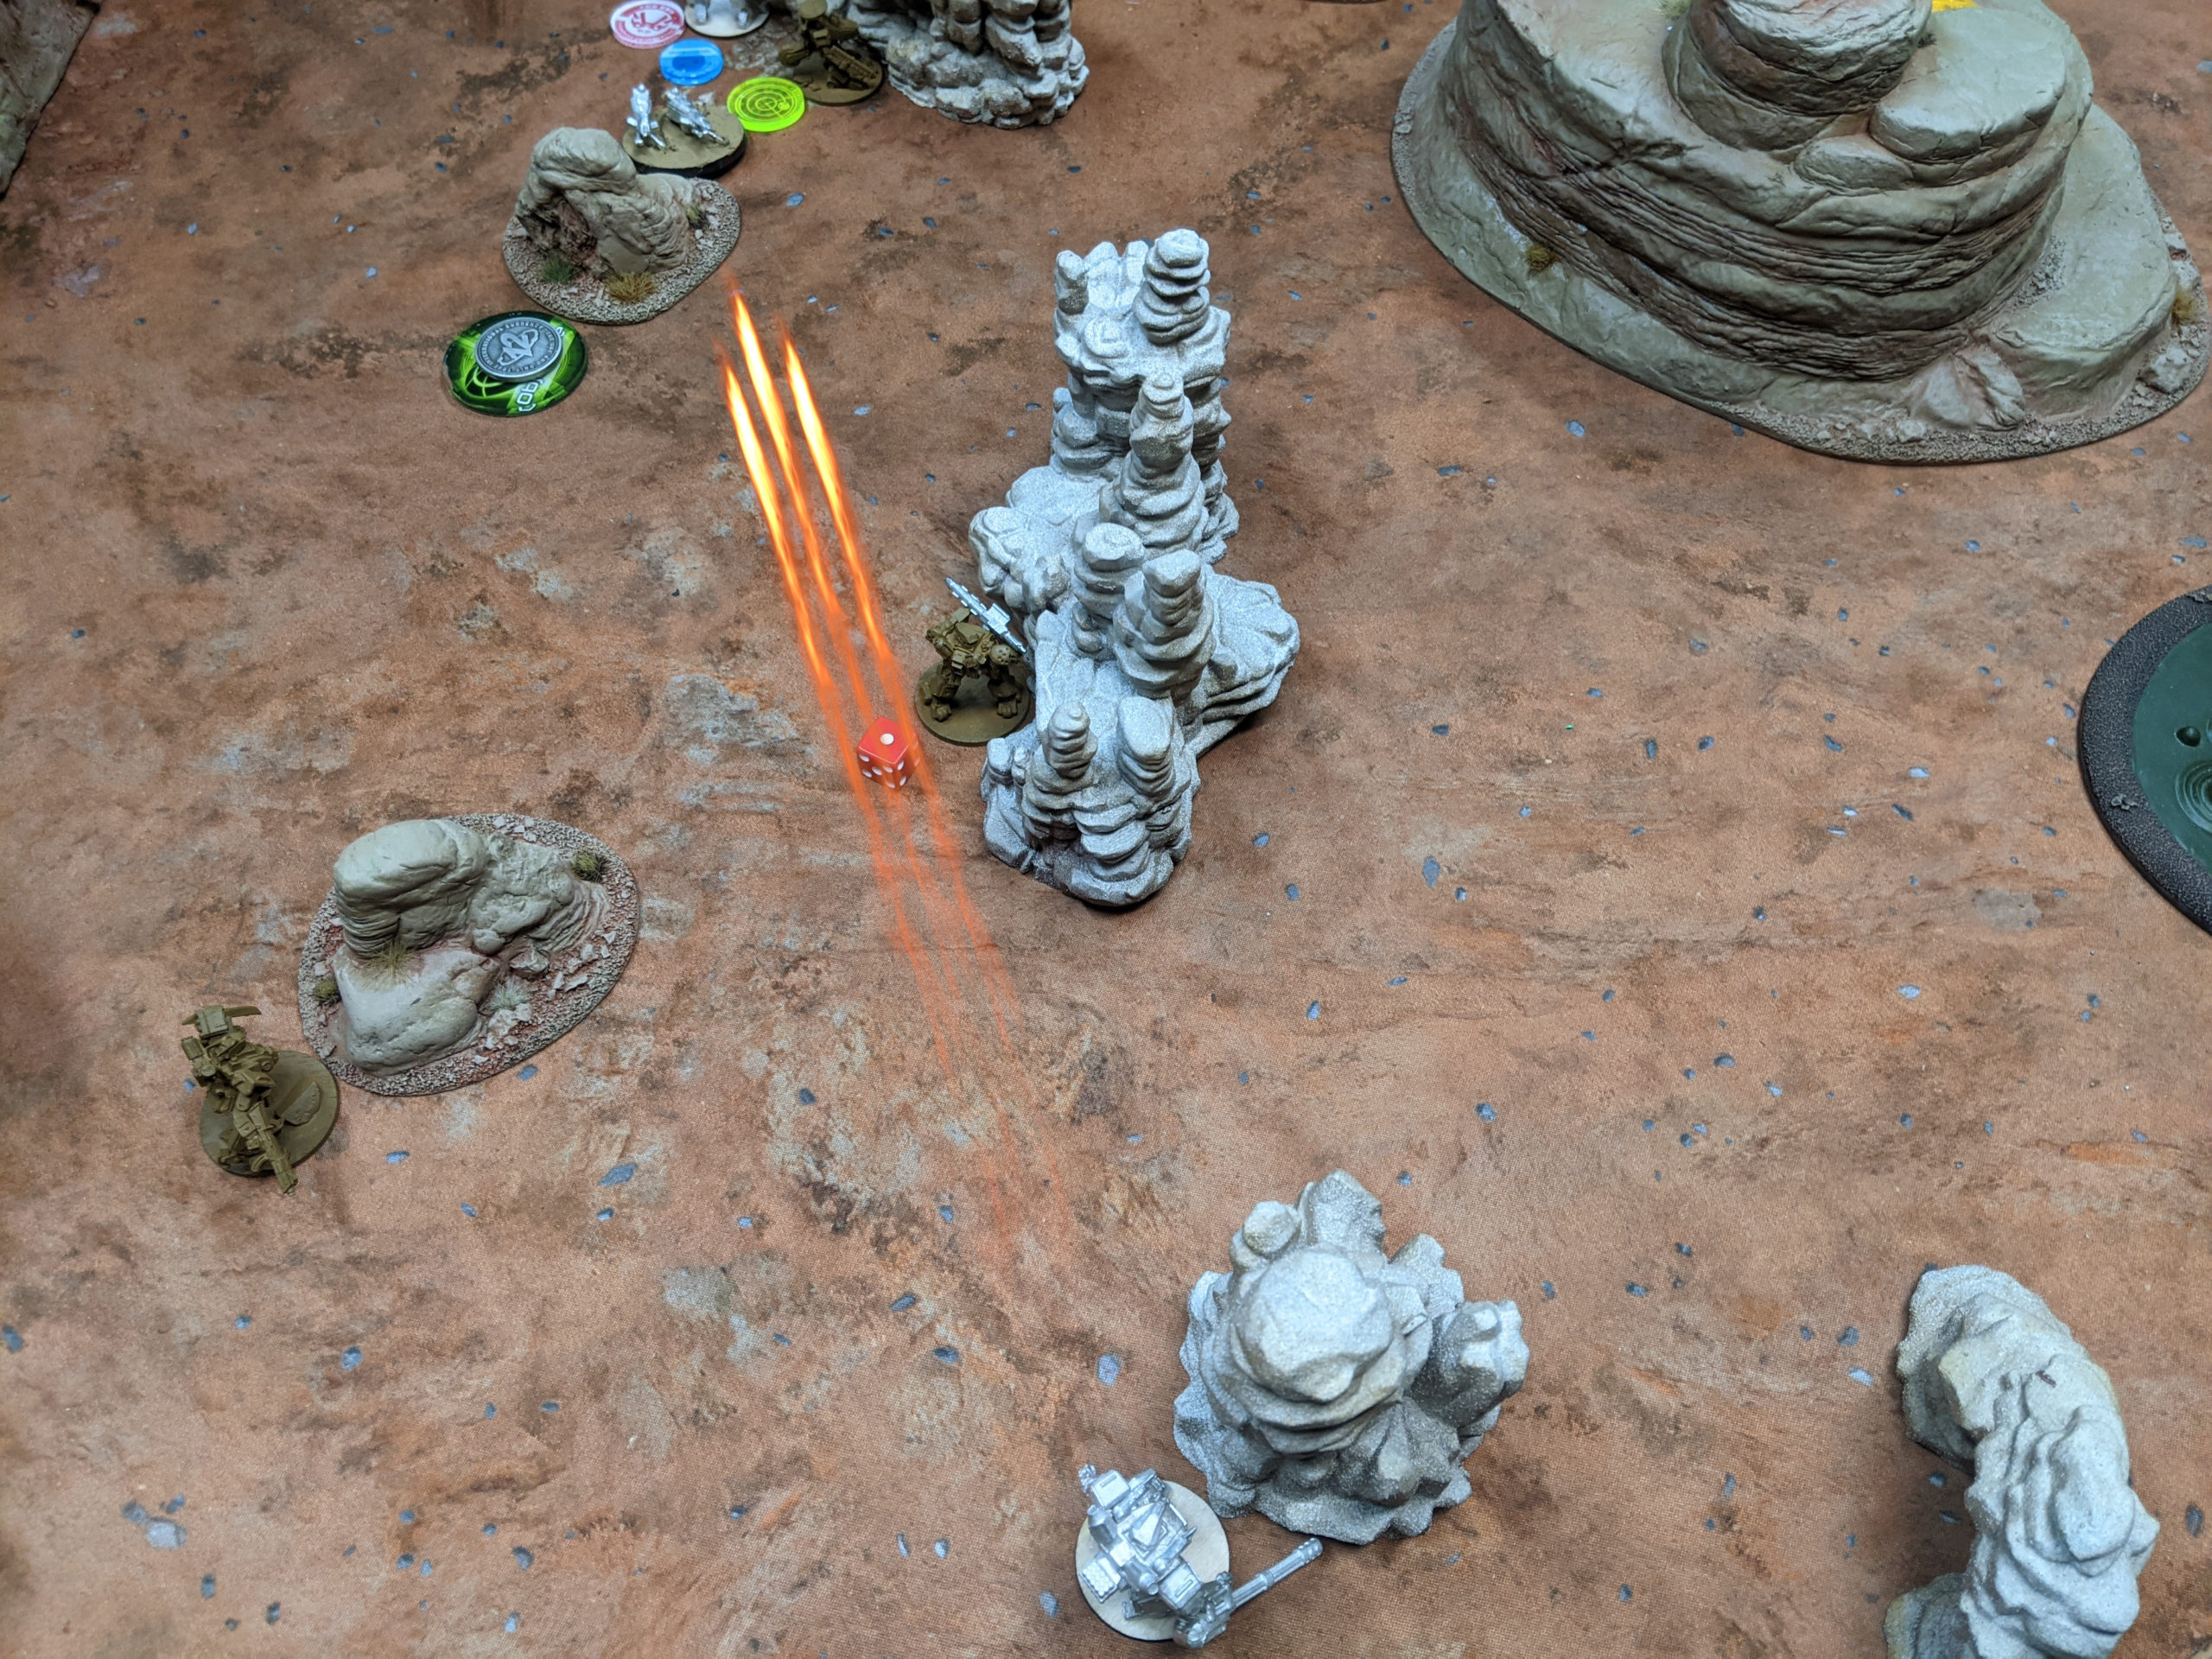
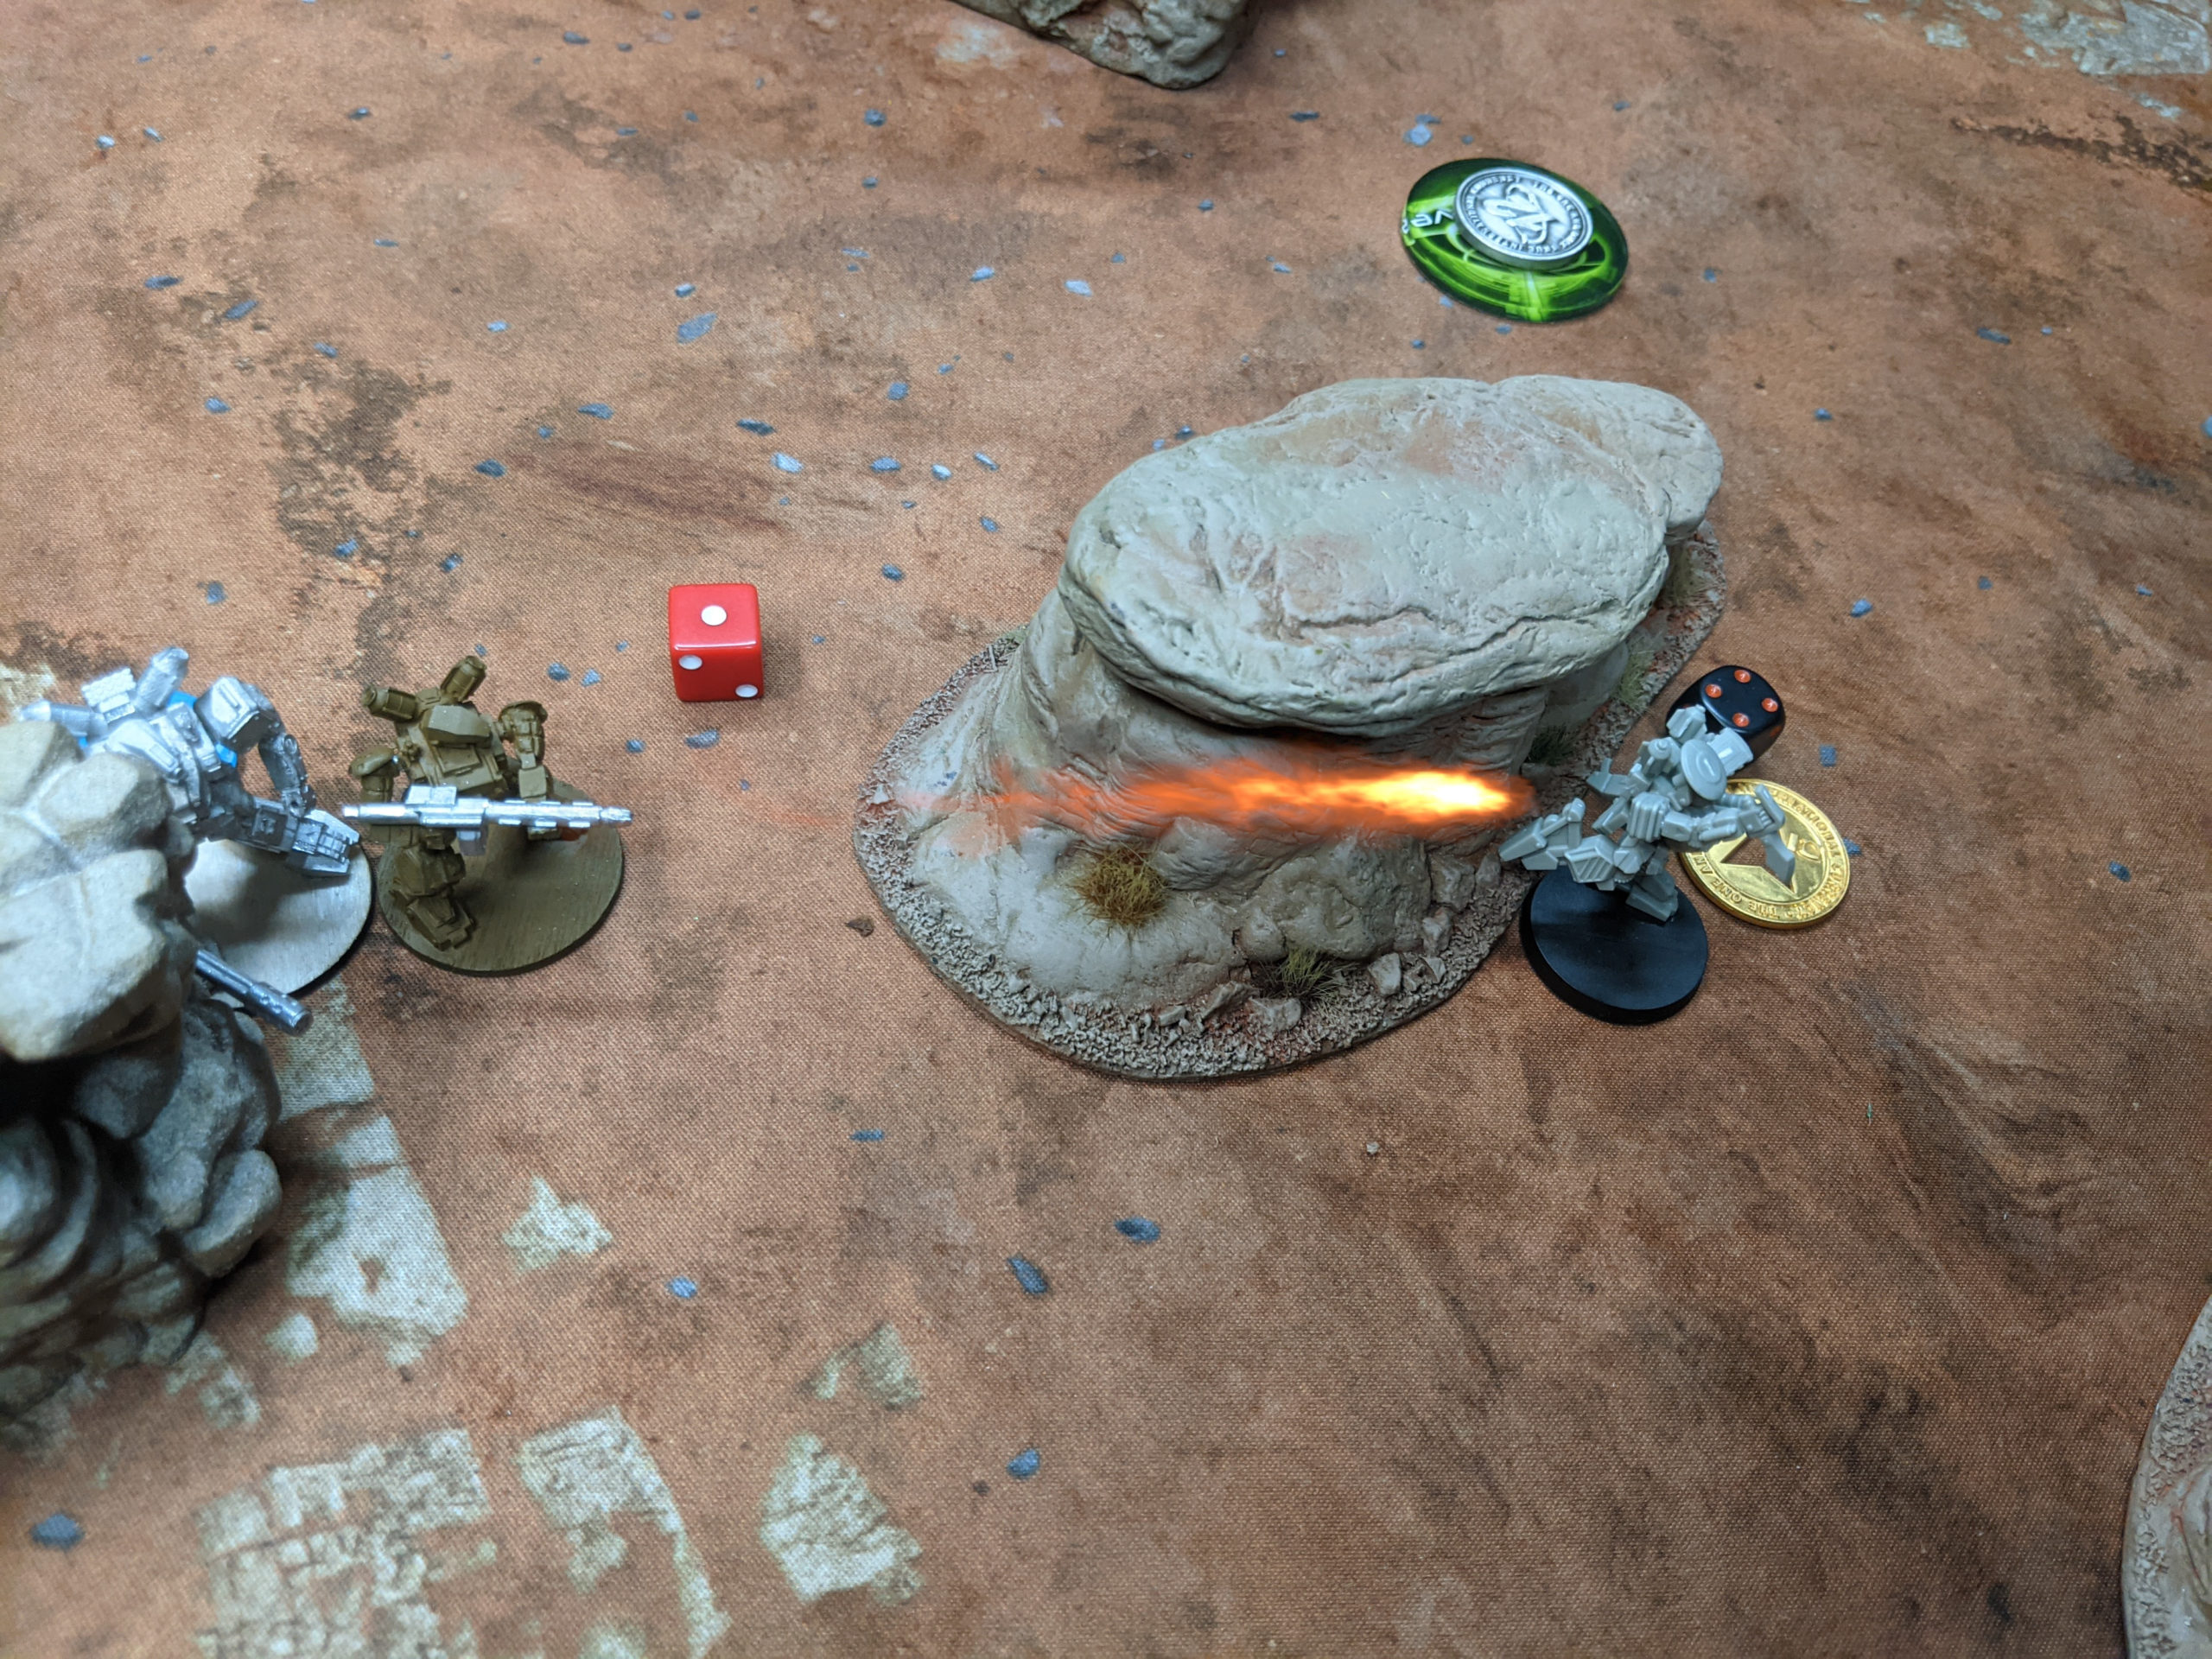
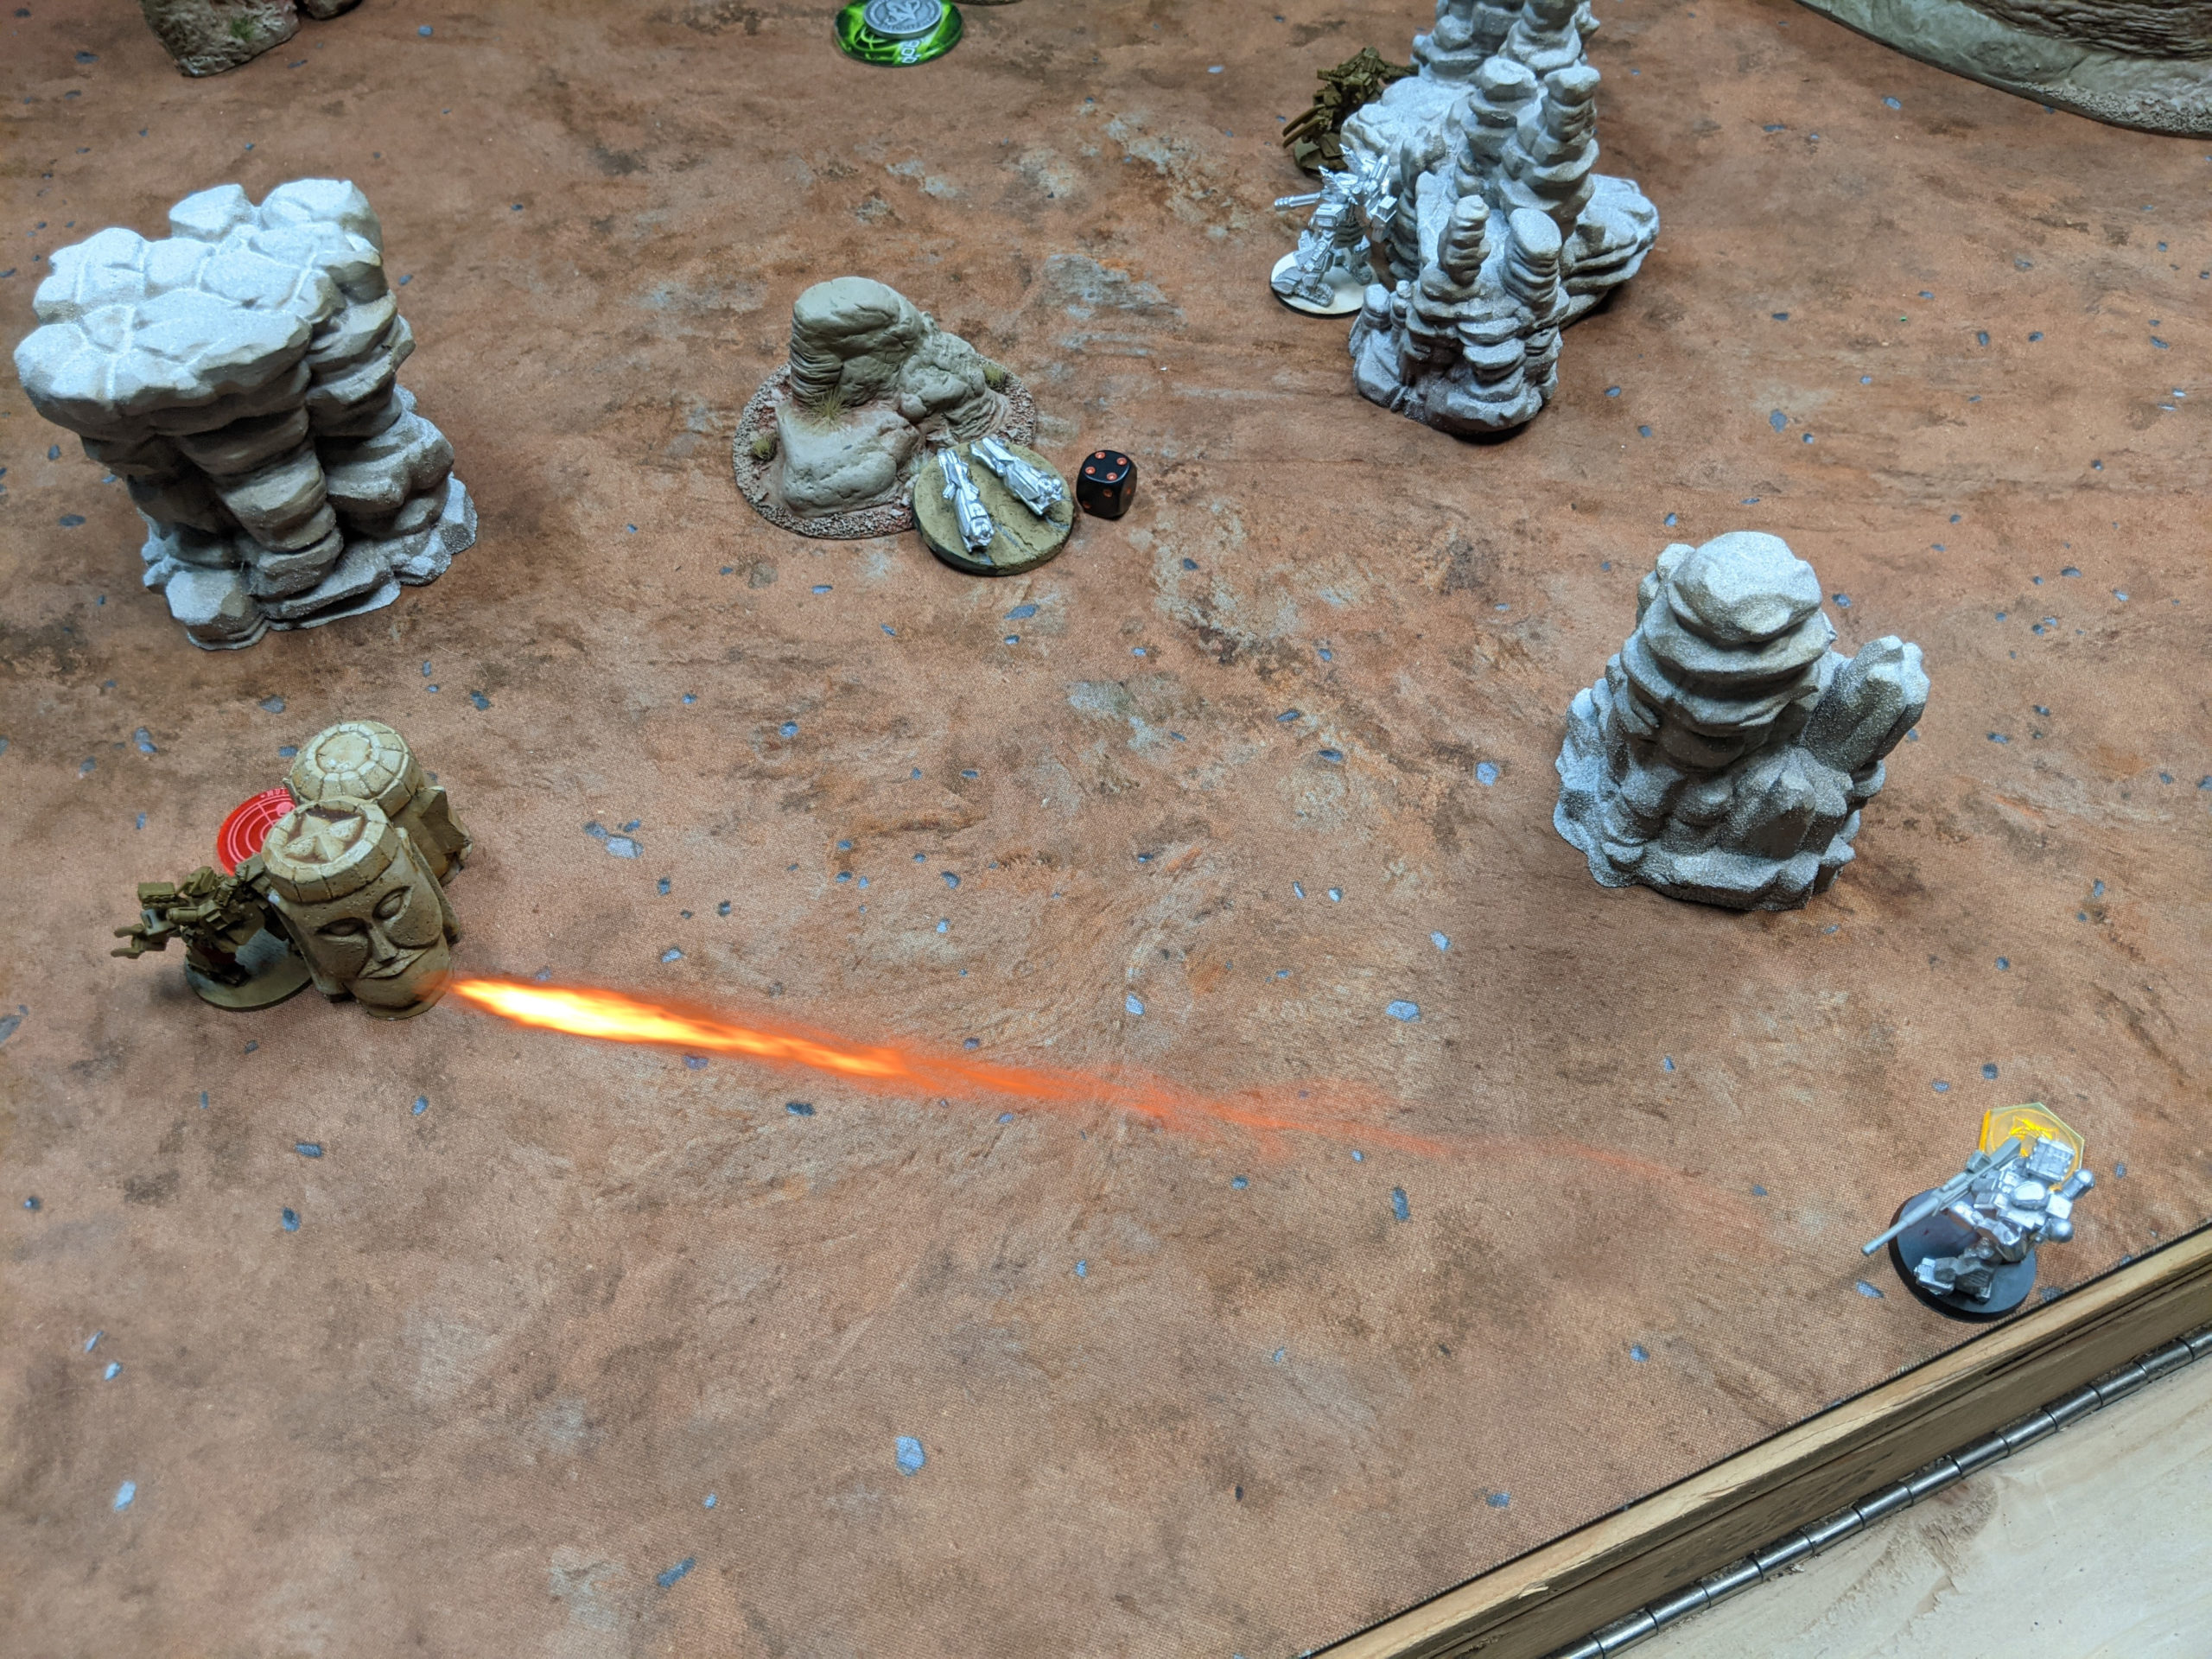
I decided to chase down his Ferrets with my bikes. I managed to take one out with the first bike…
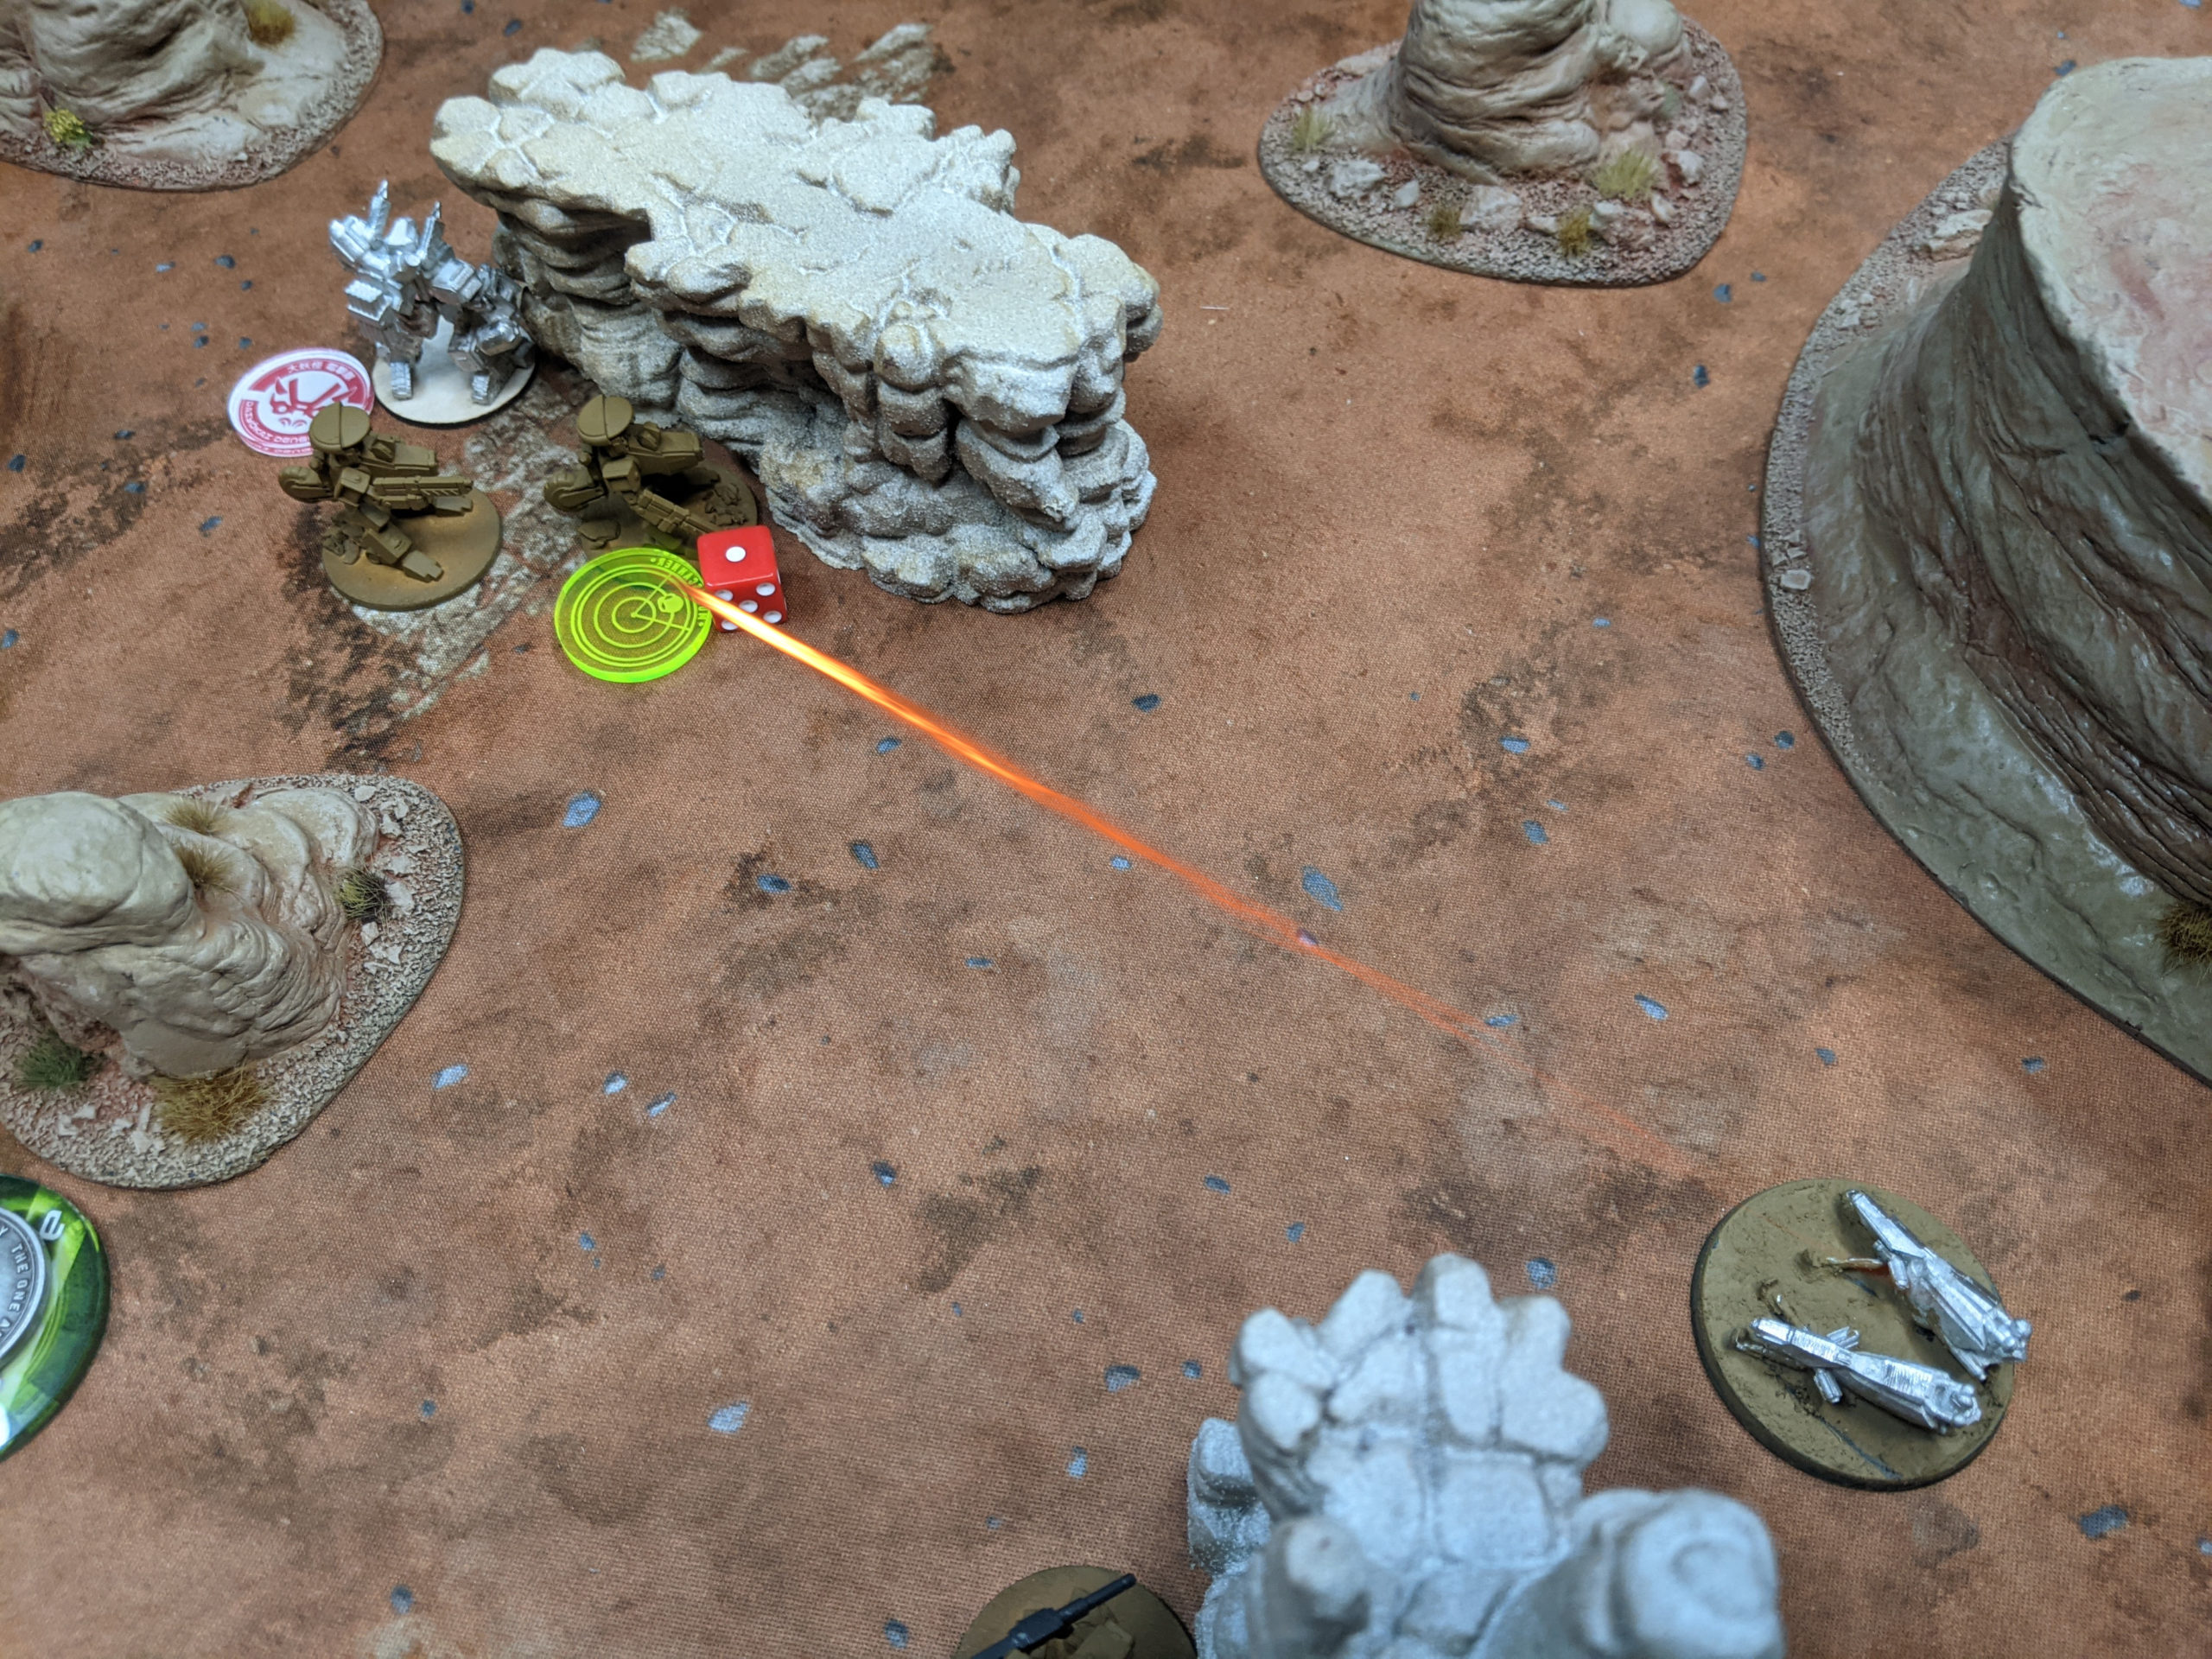
and then I KO’ed the second one with another. I’ve taken out 2/5 of his RC squad now, I just need to keep up the pressure!
Adam pushes up his Tigers next, and the Shinobi takes a shot one of the tigers in reaction, doing a bit of damage.
I lose one of the bikes to Adam’s Lion in that group. Rotary Cannons are mean!
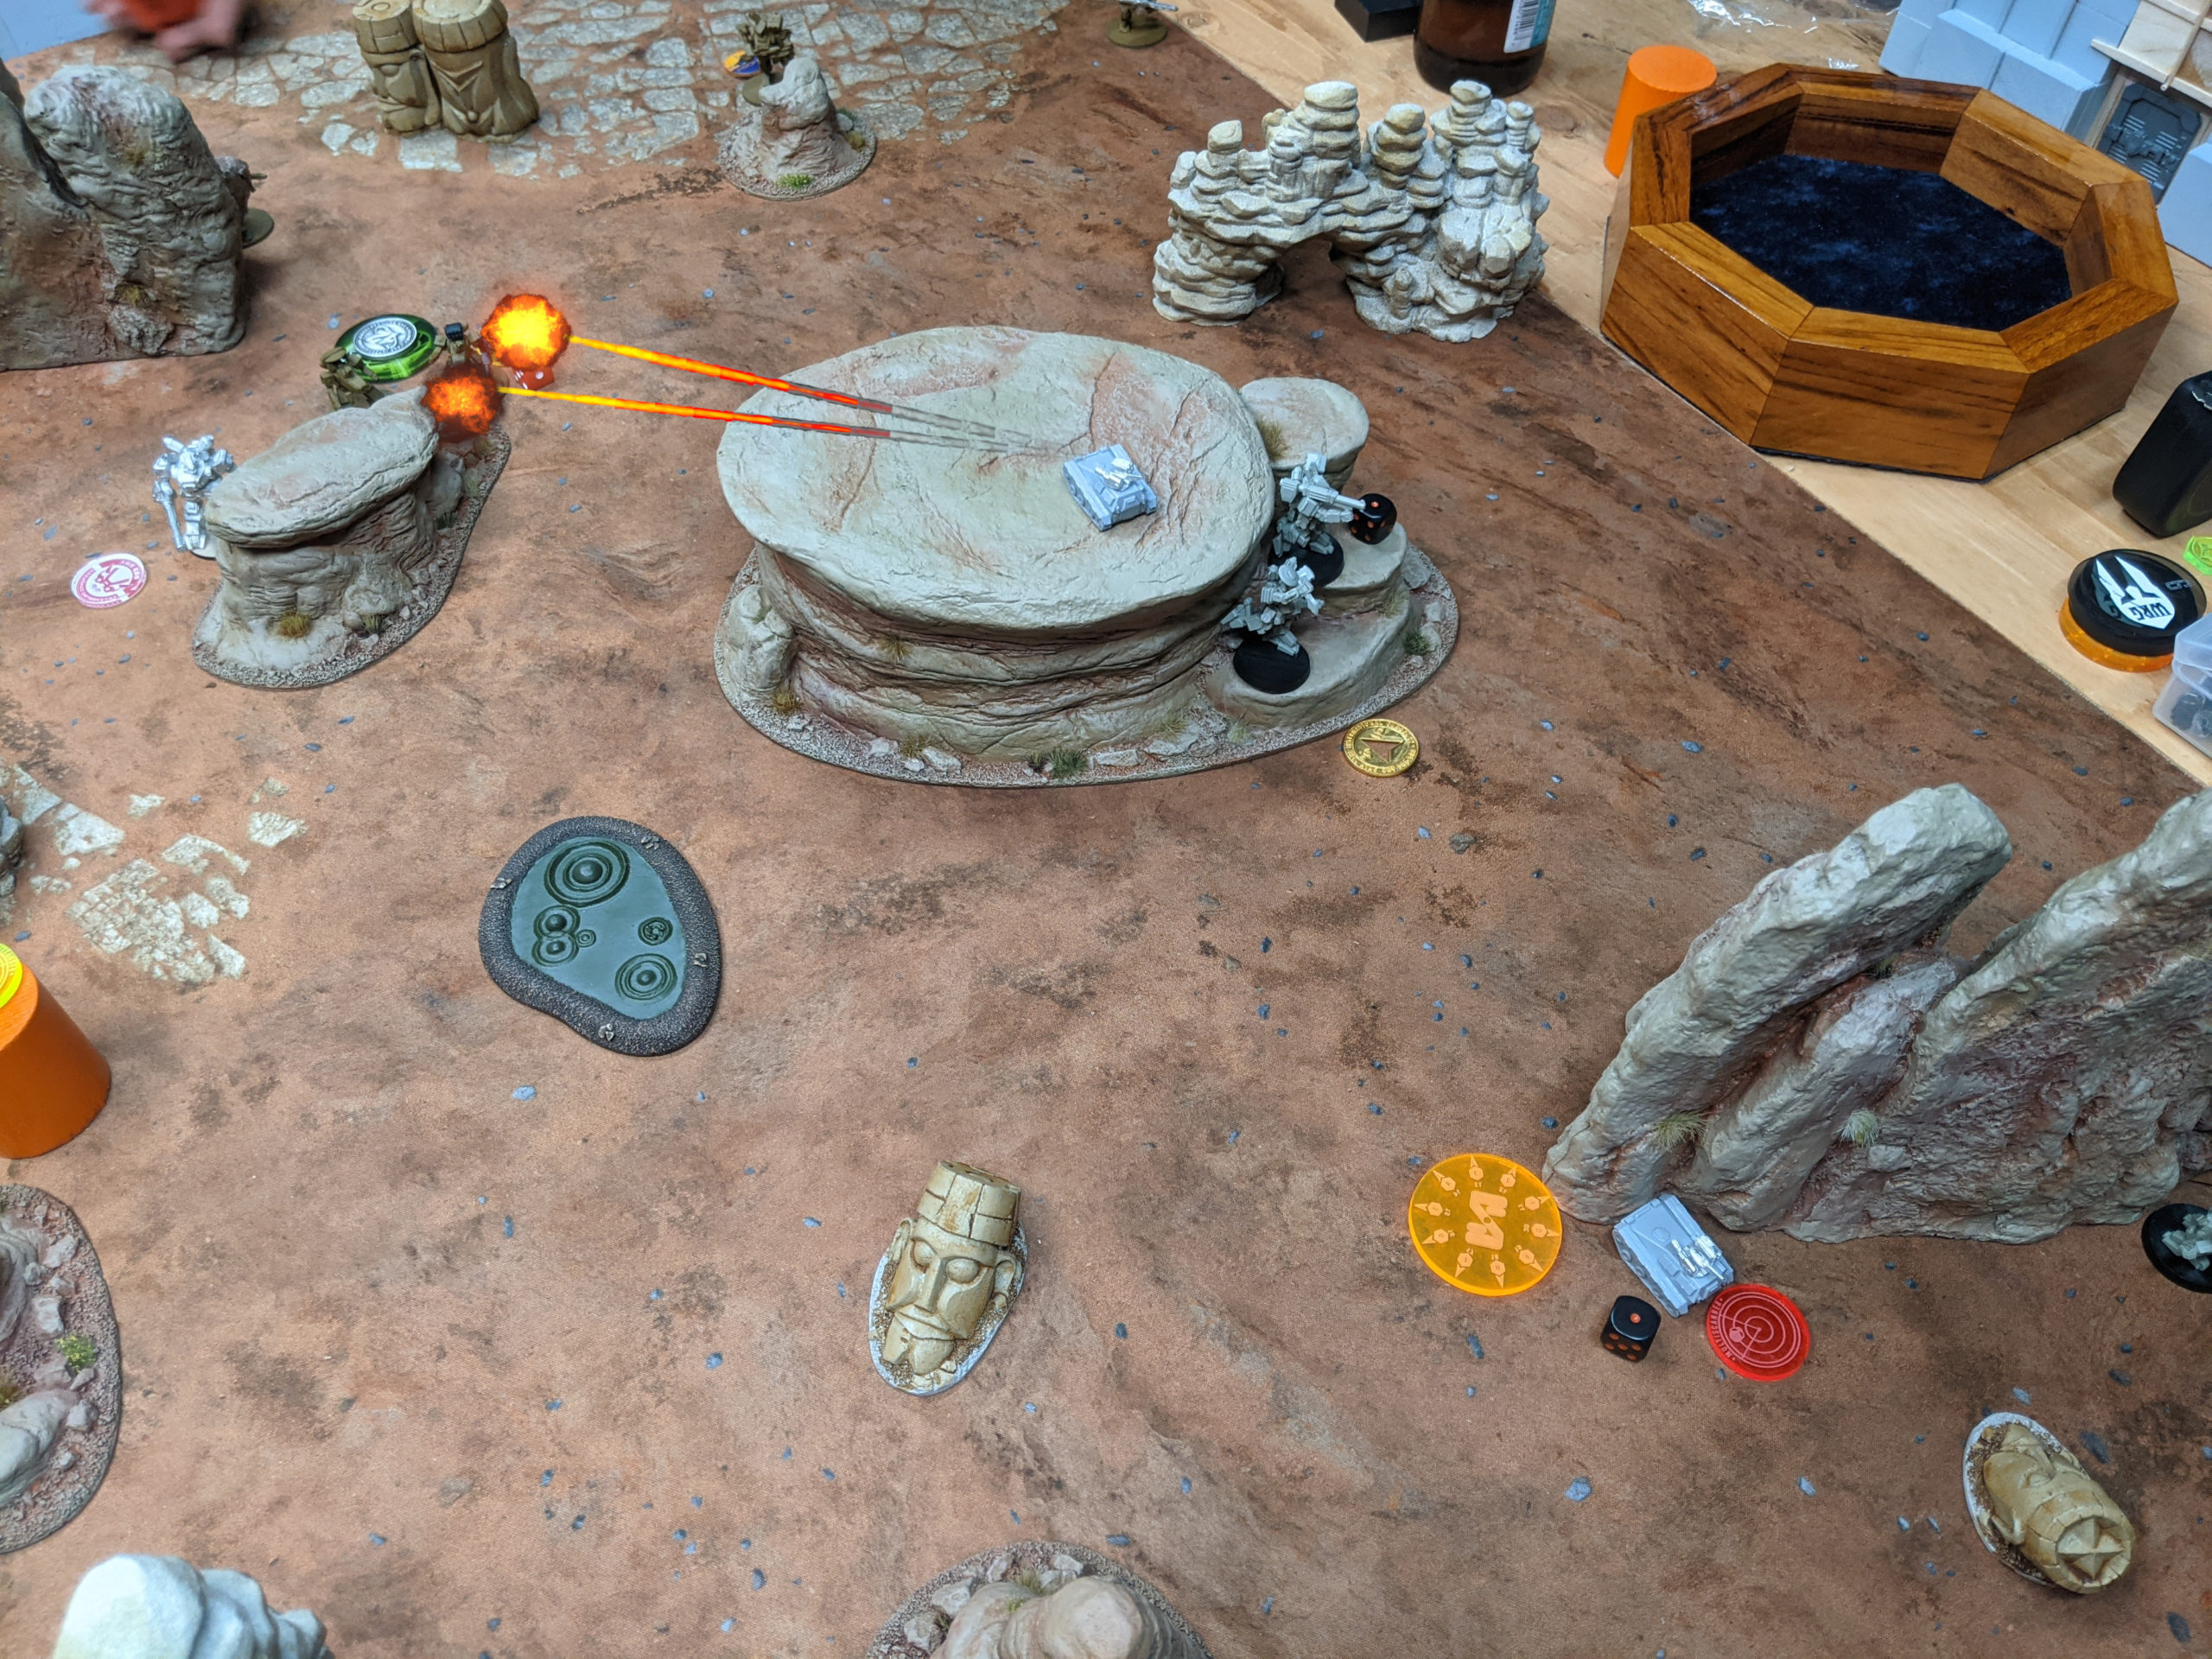
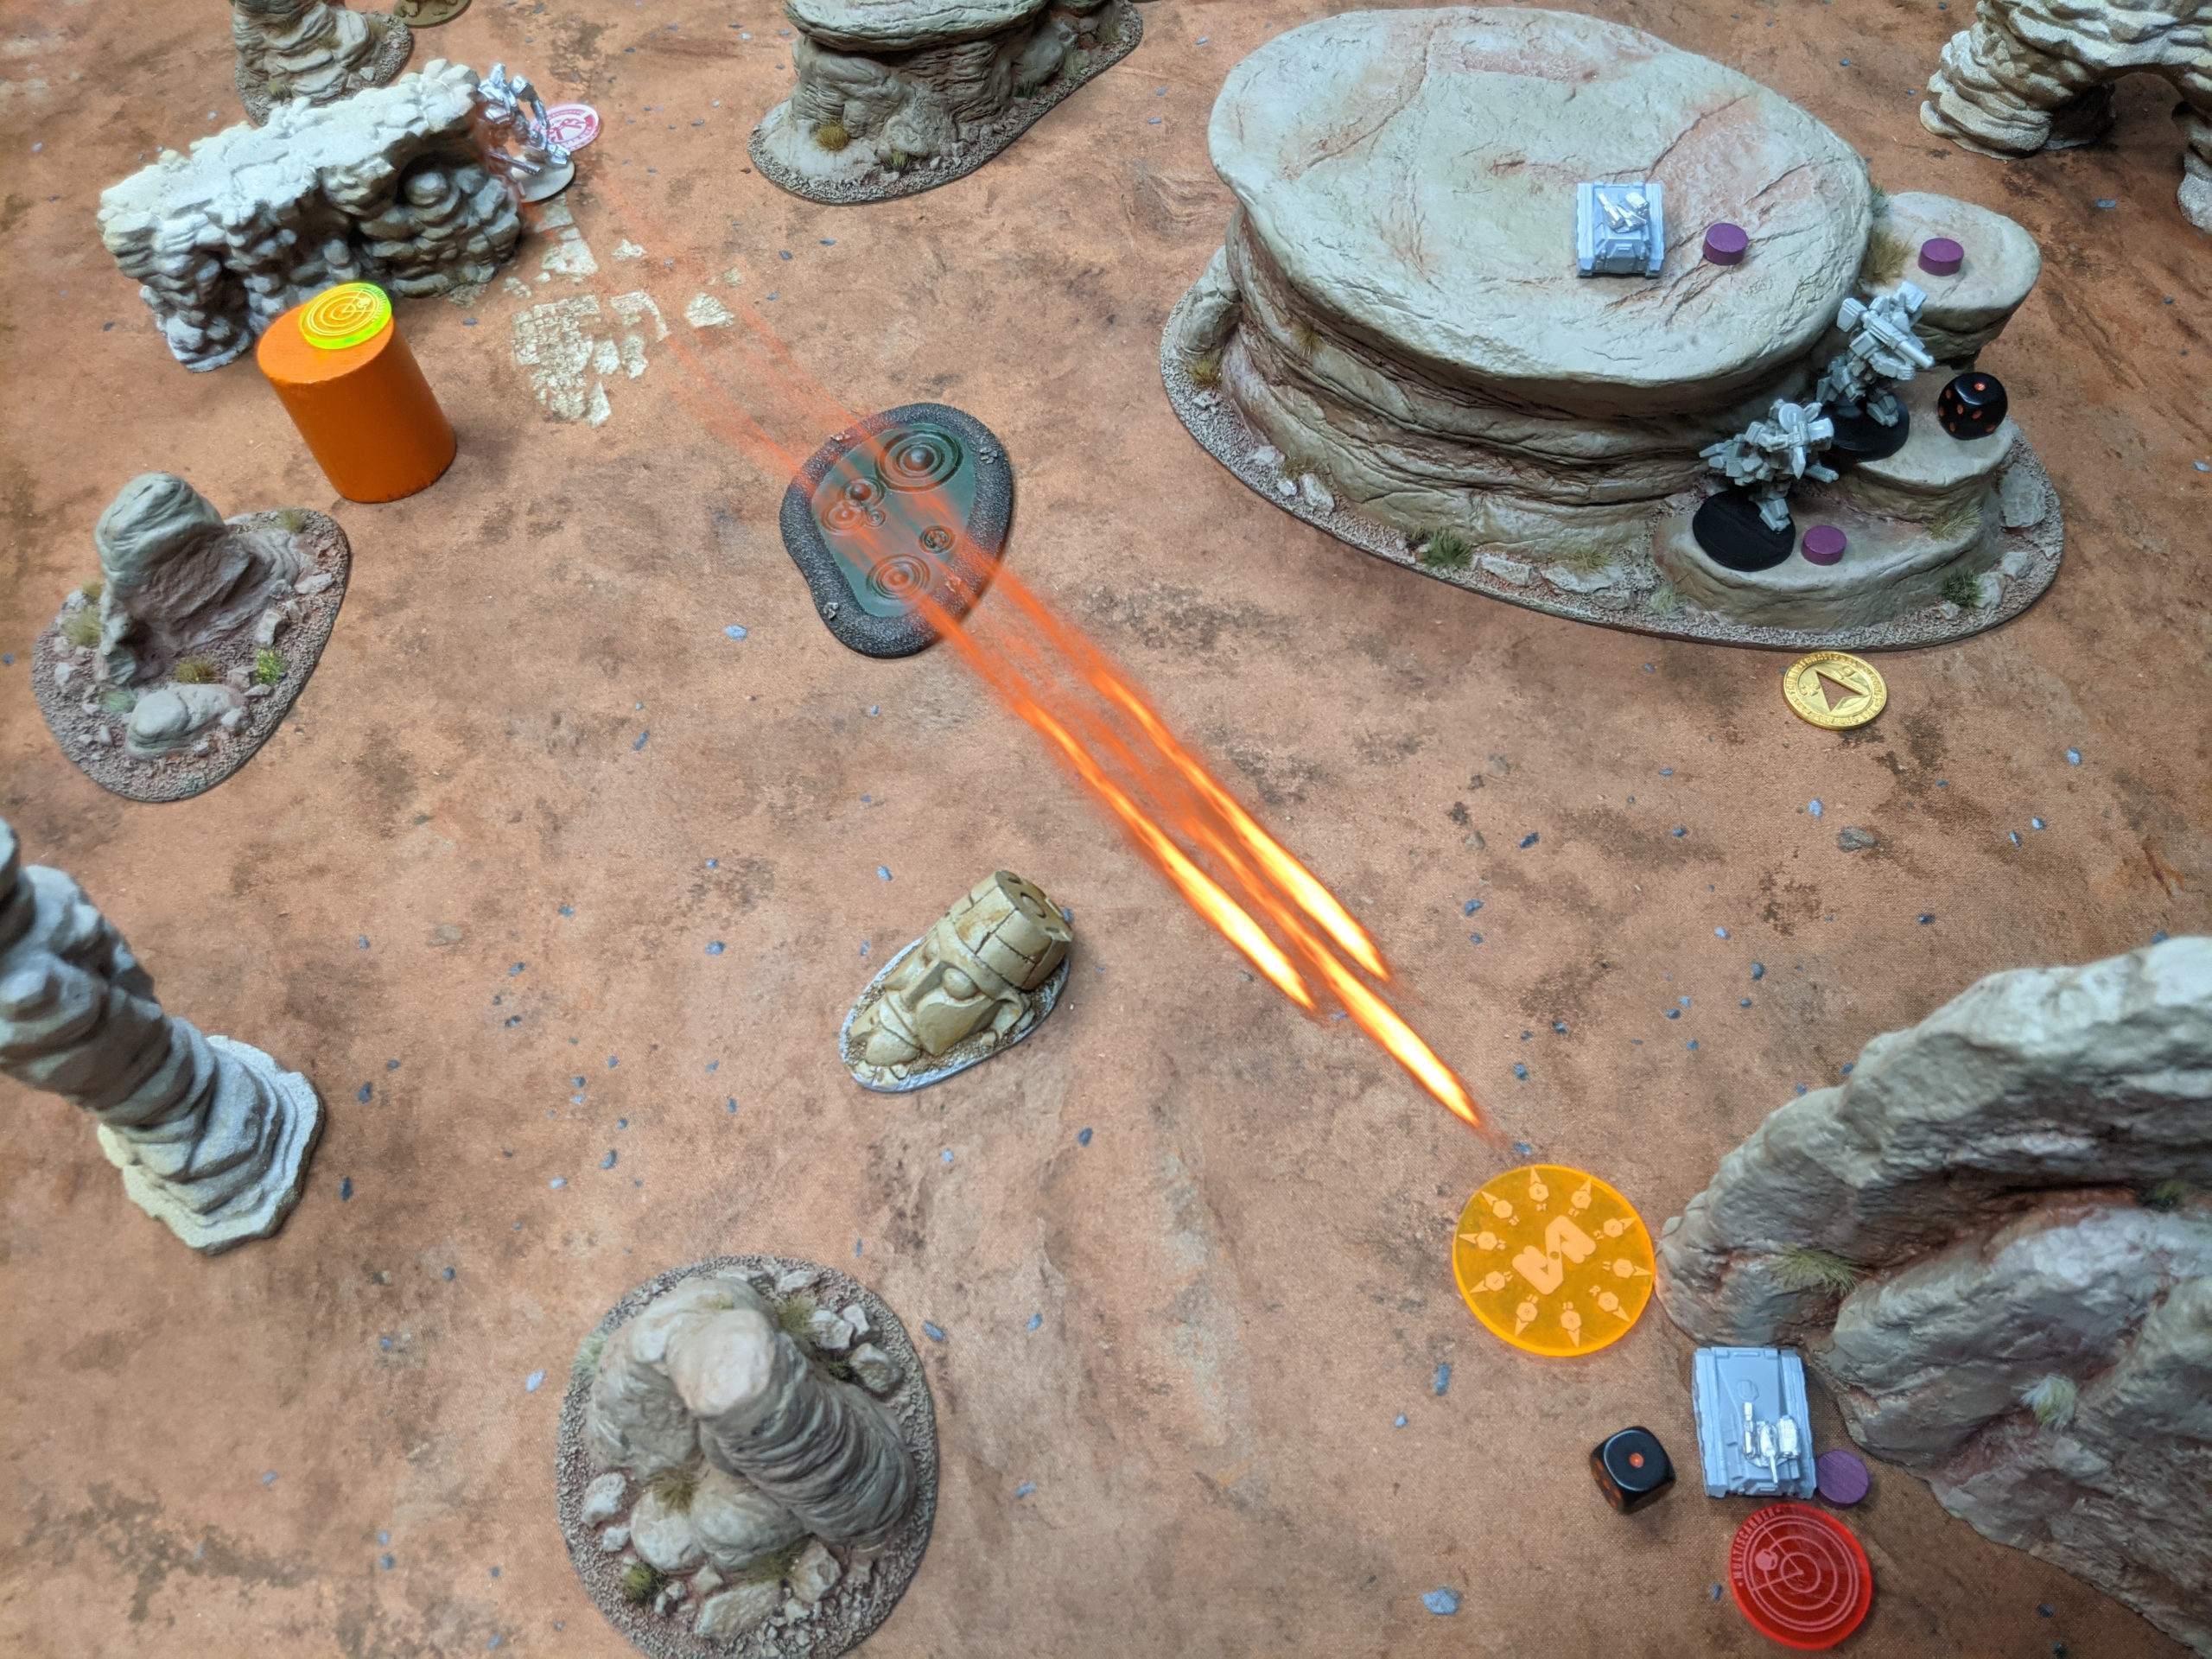
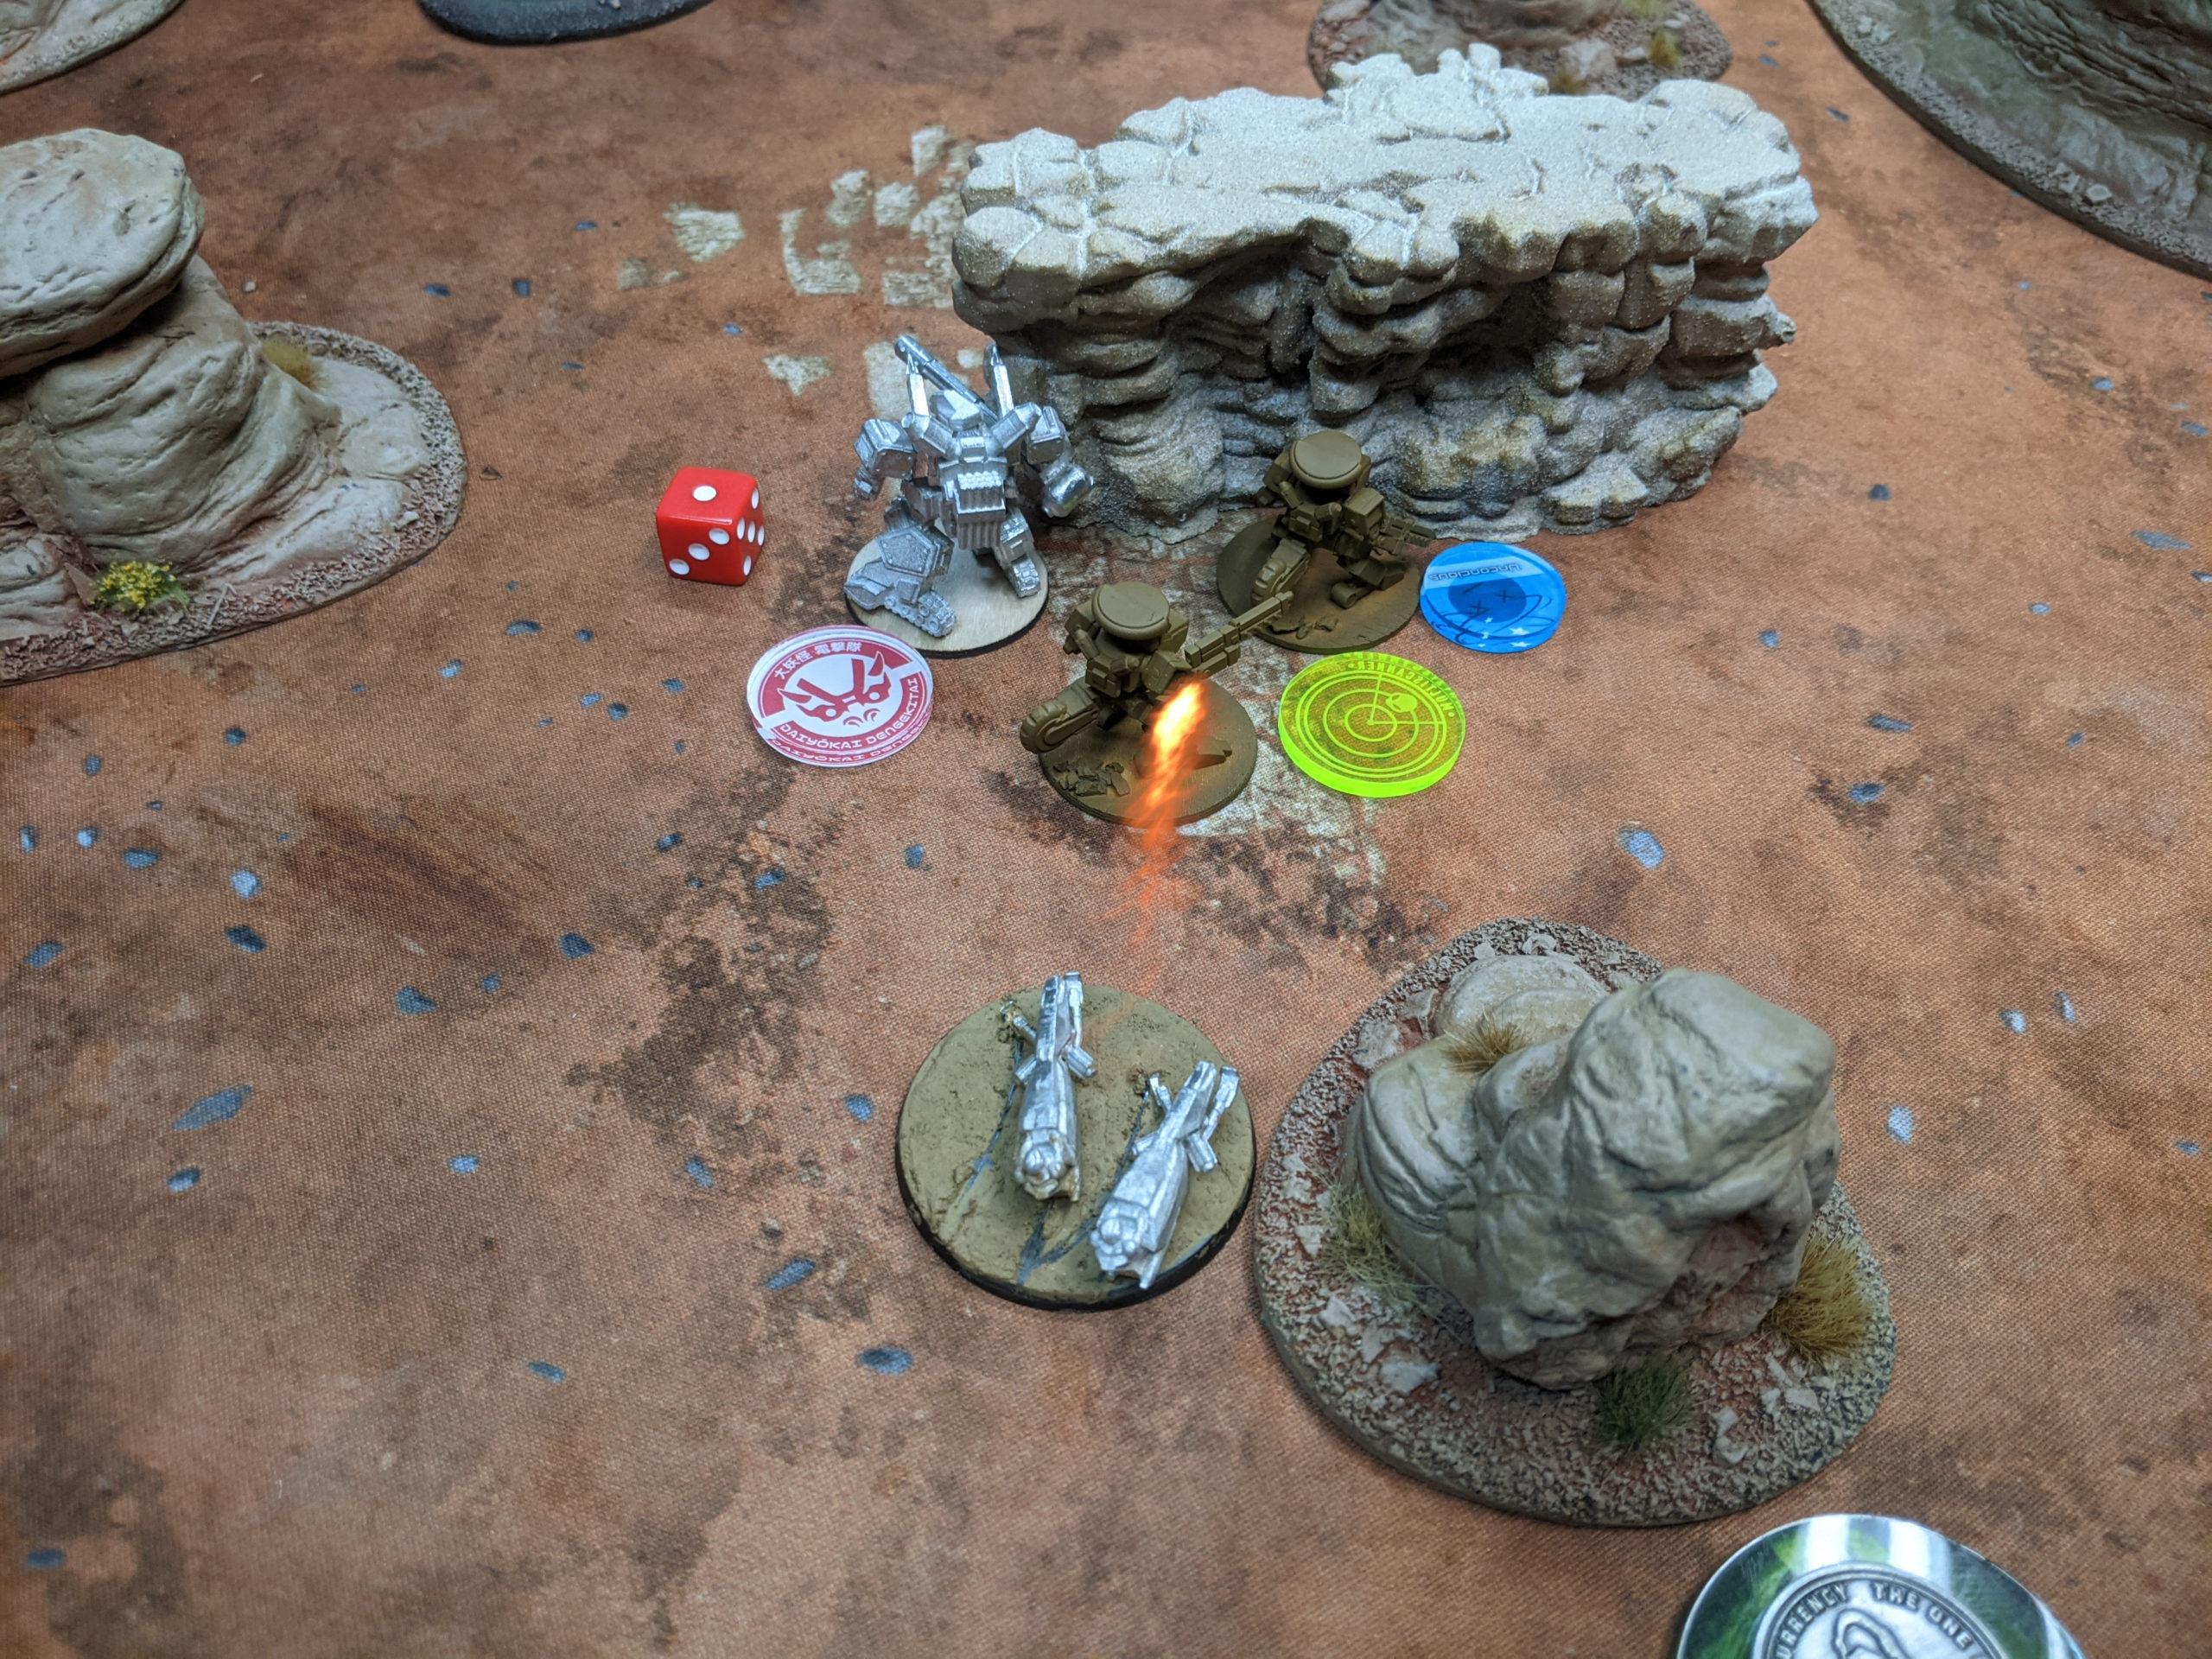
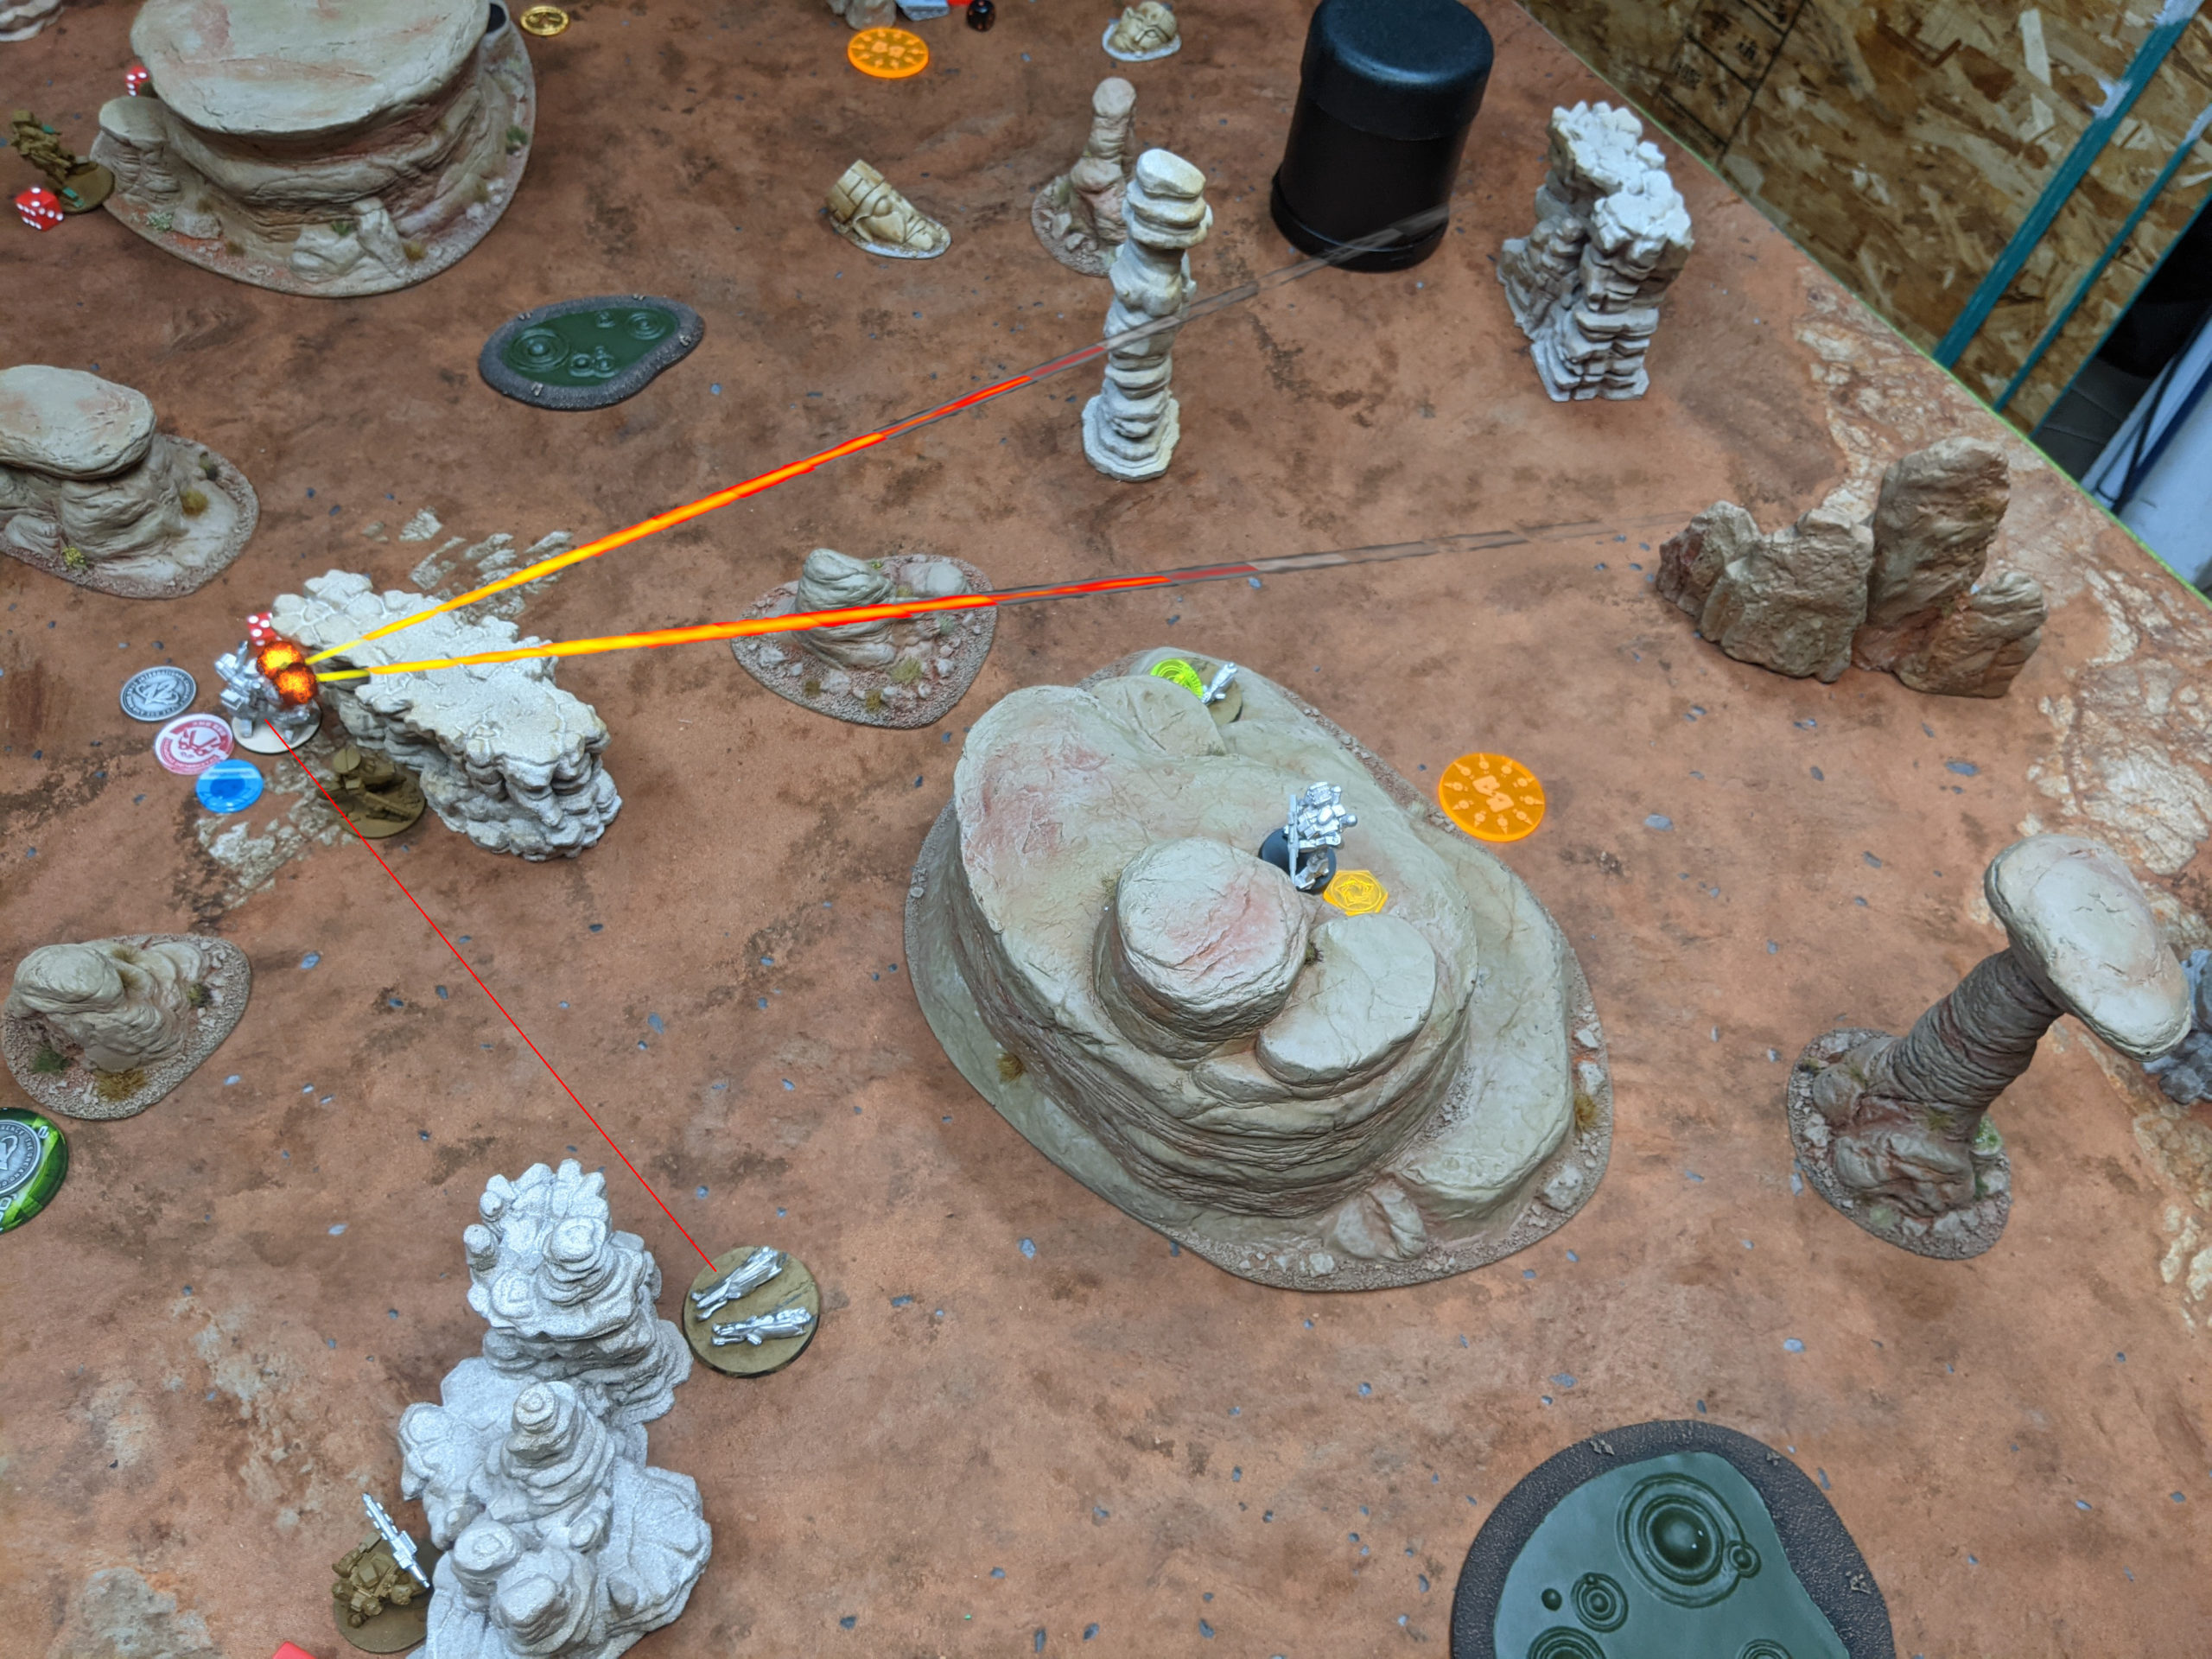
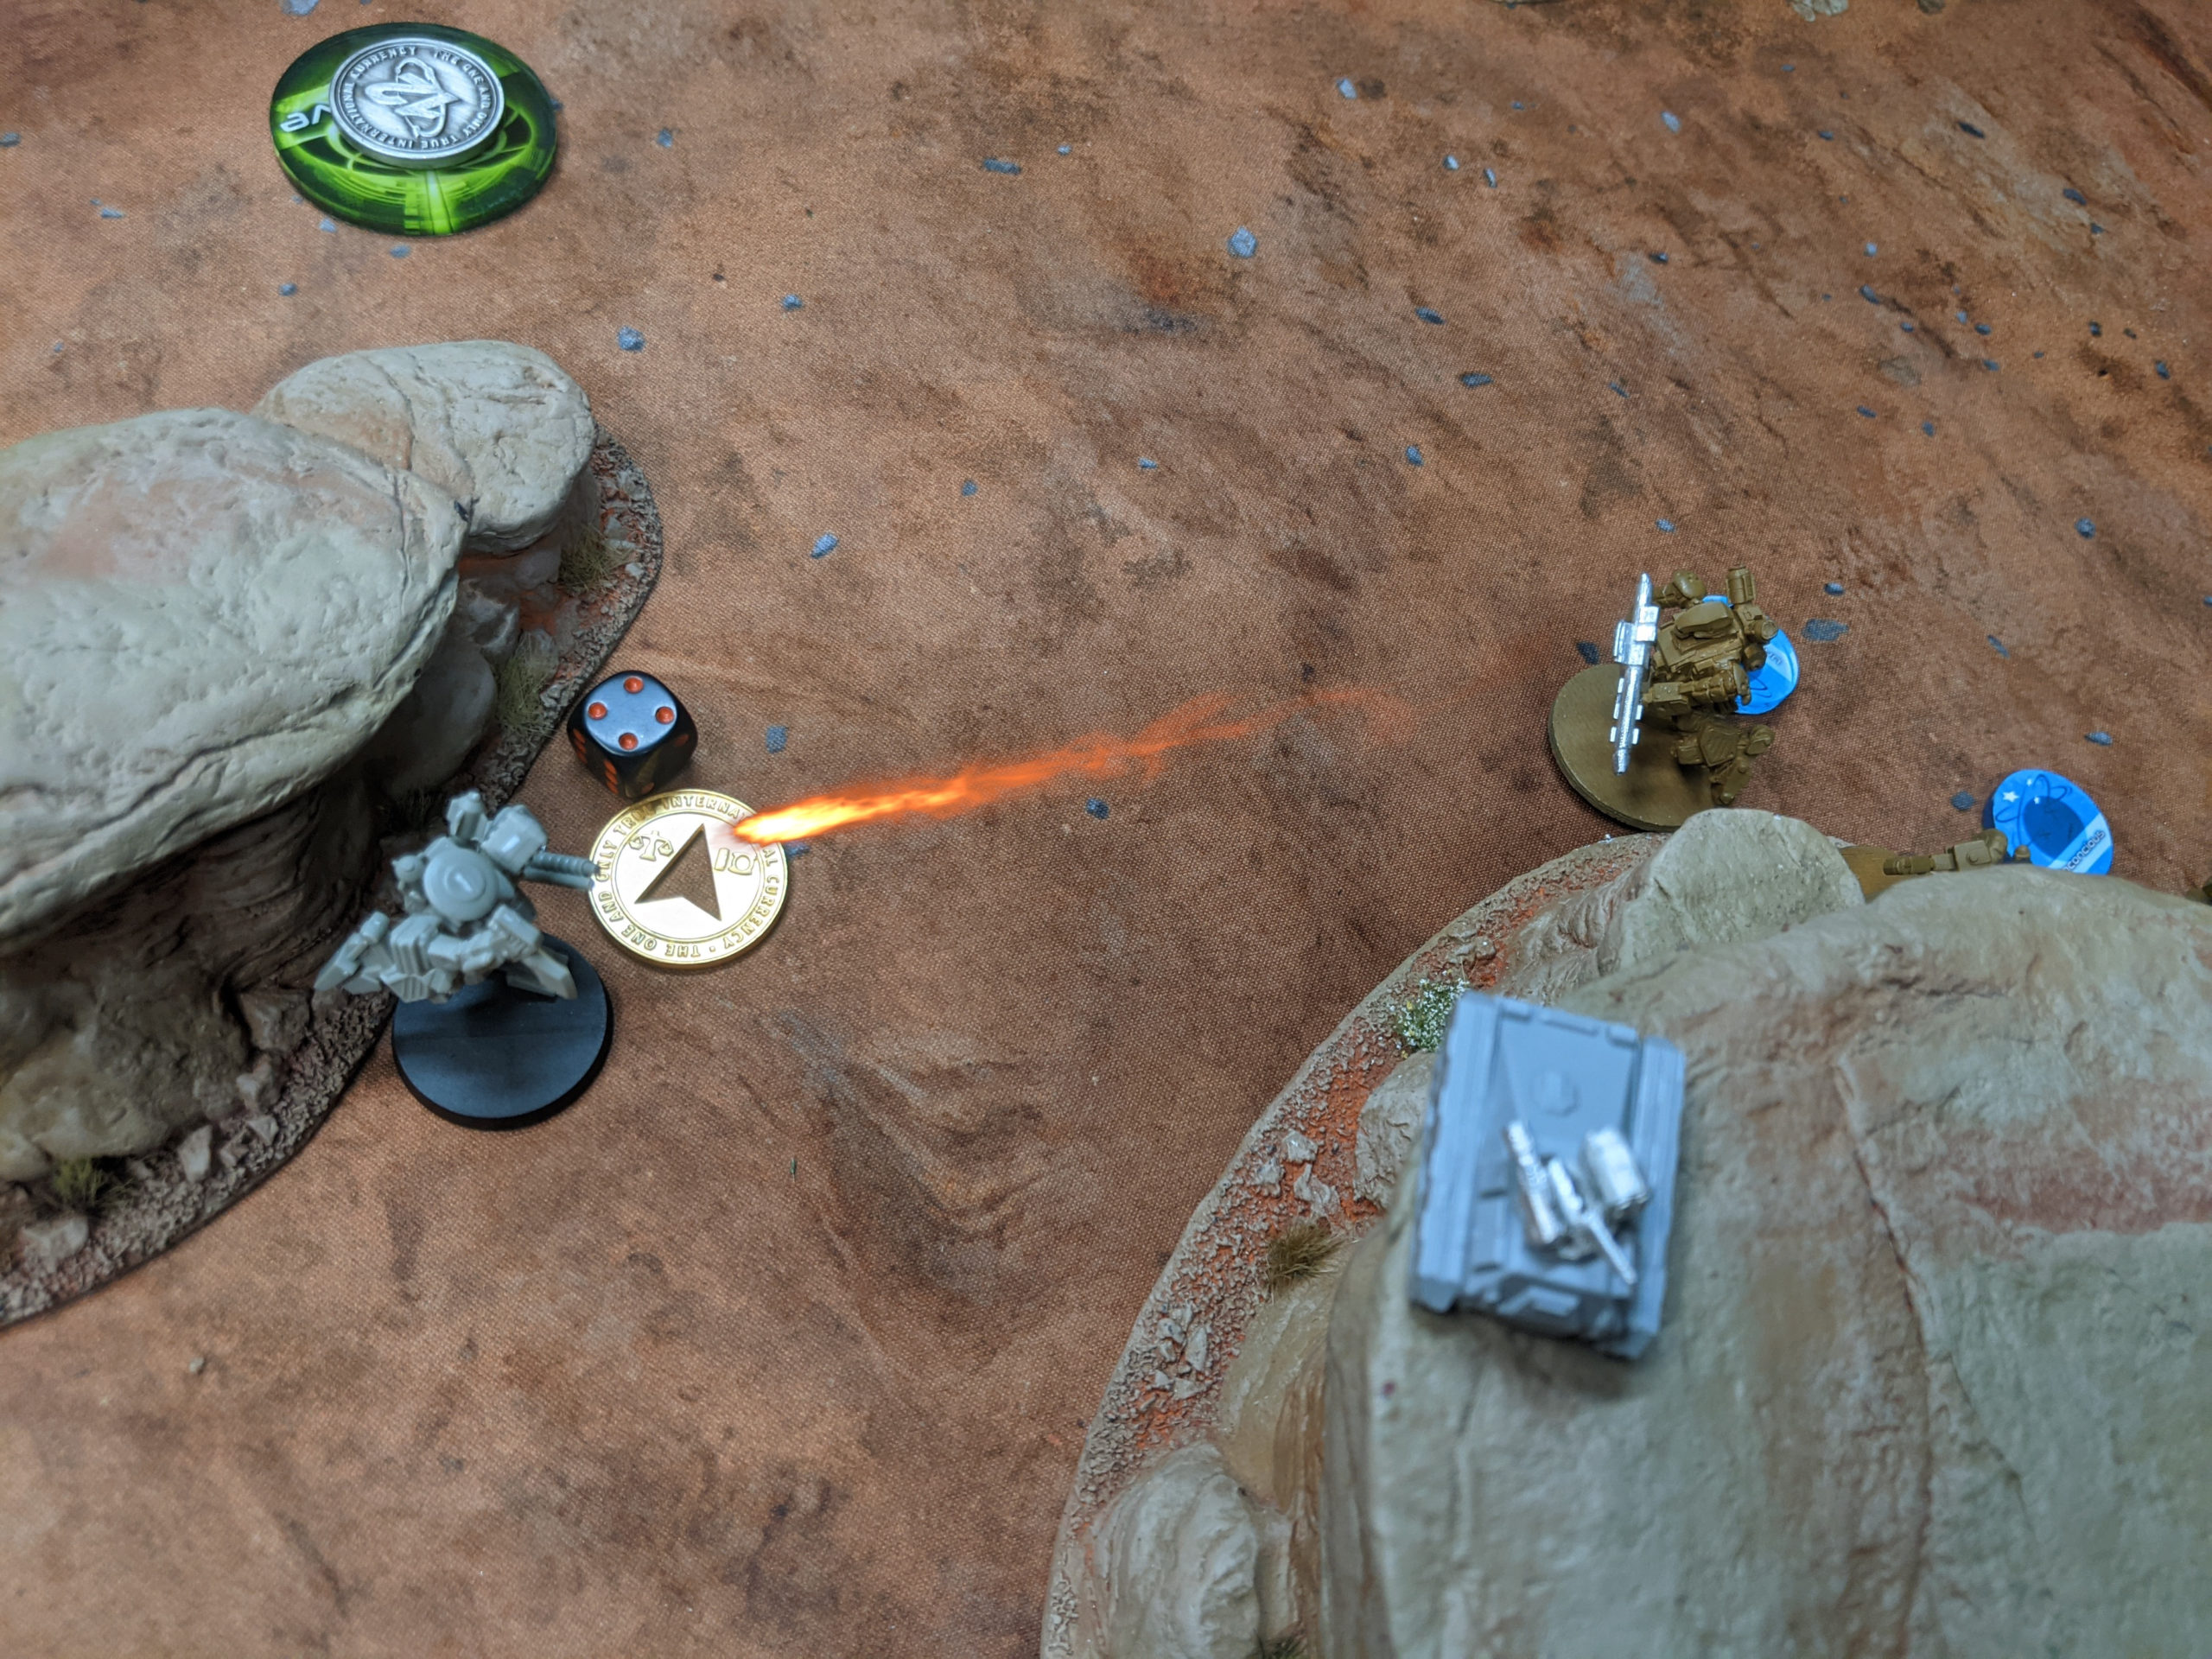
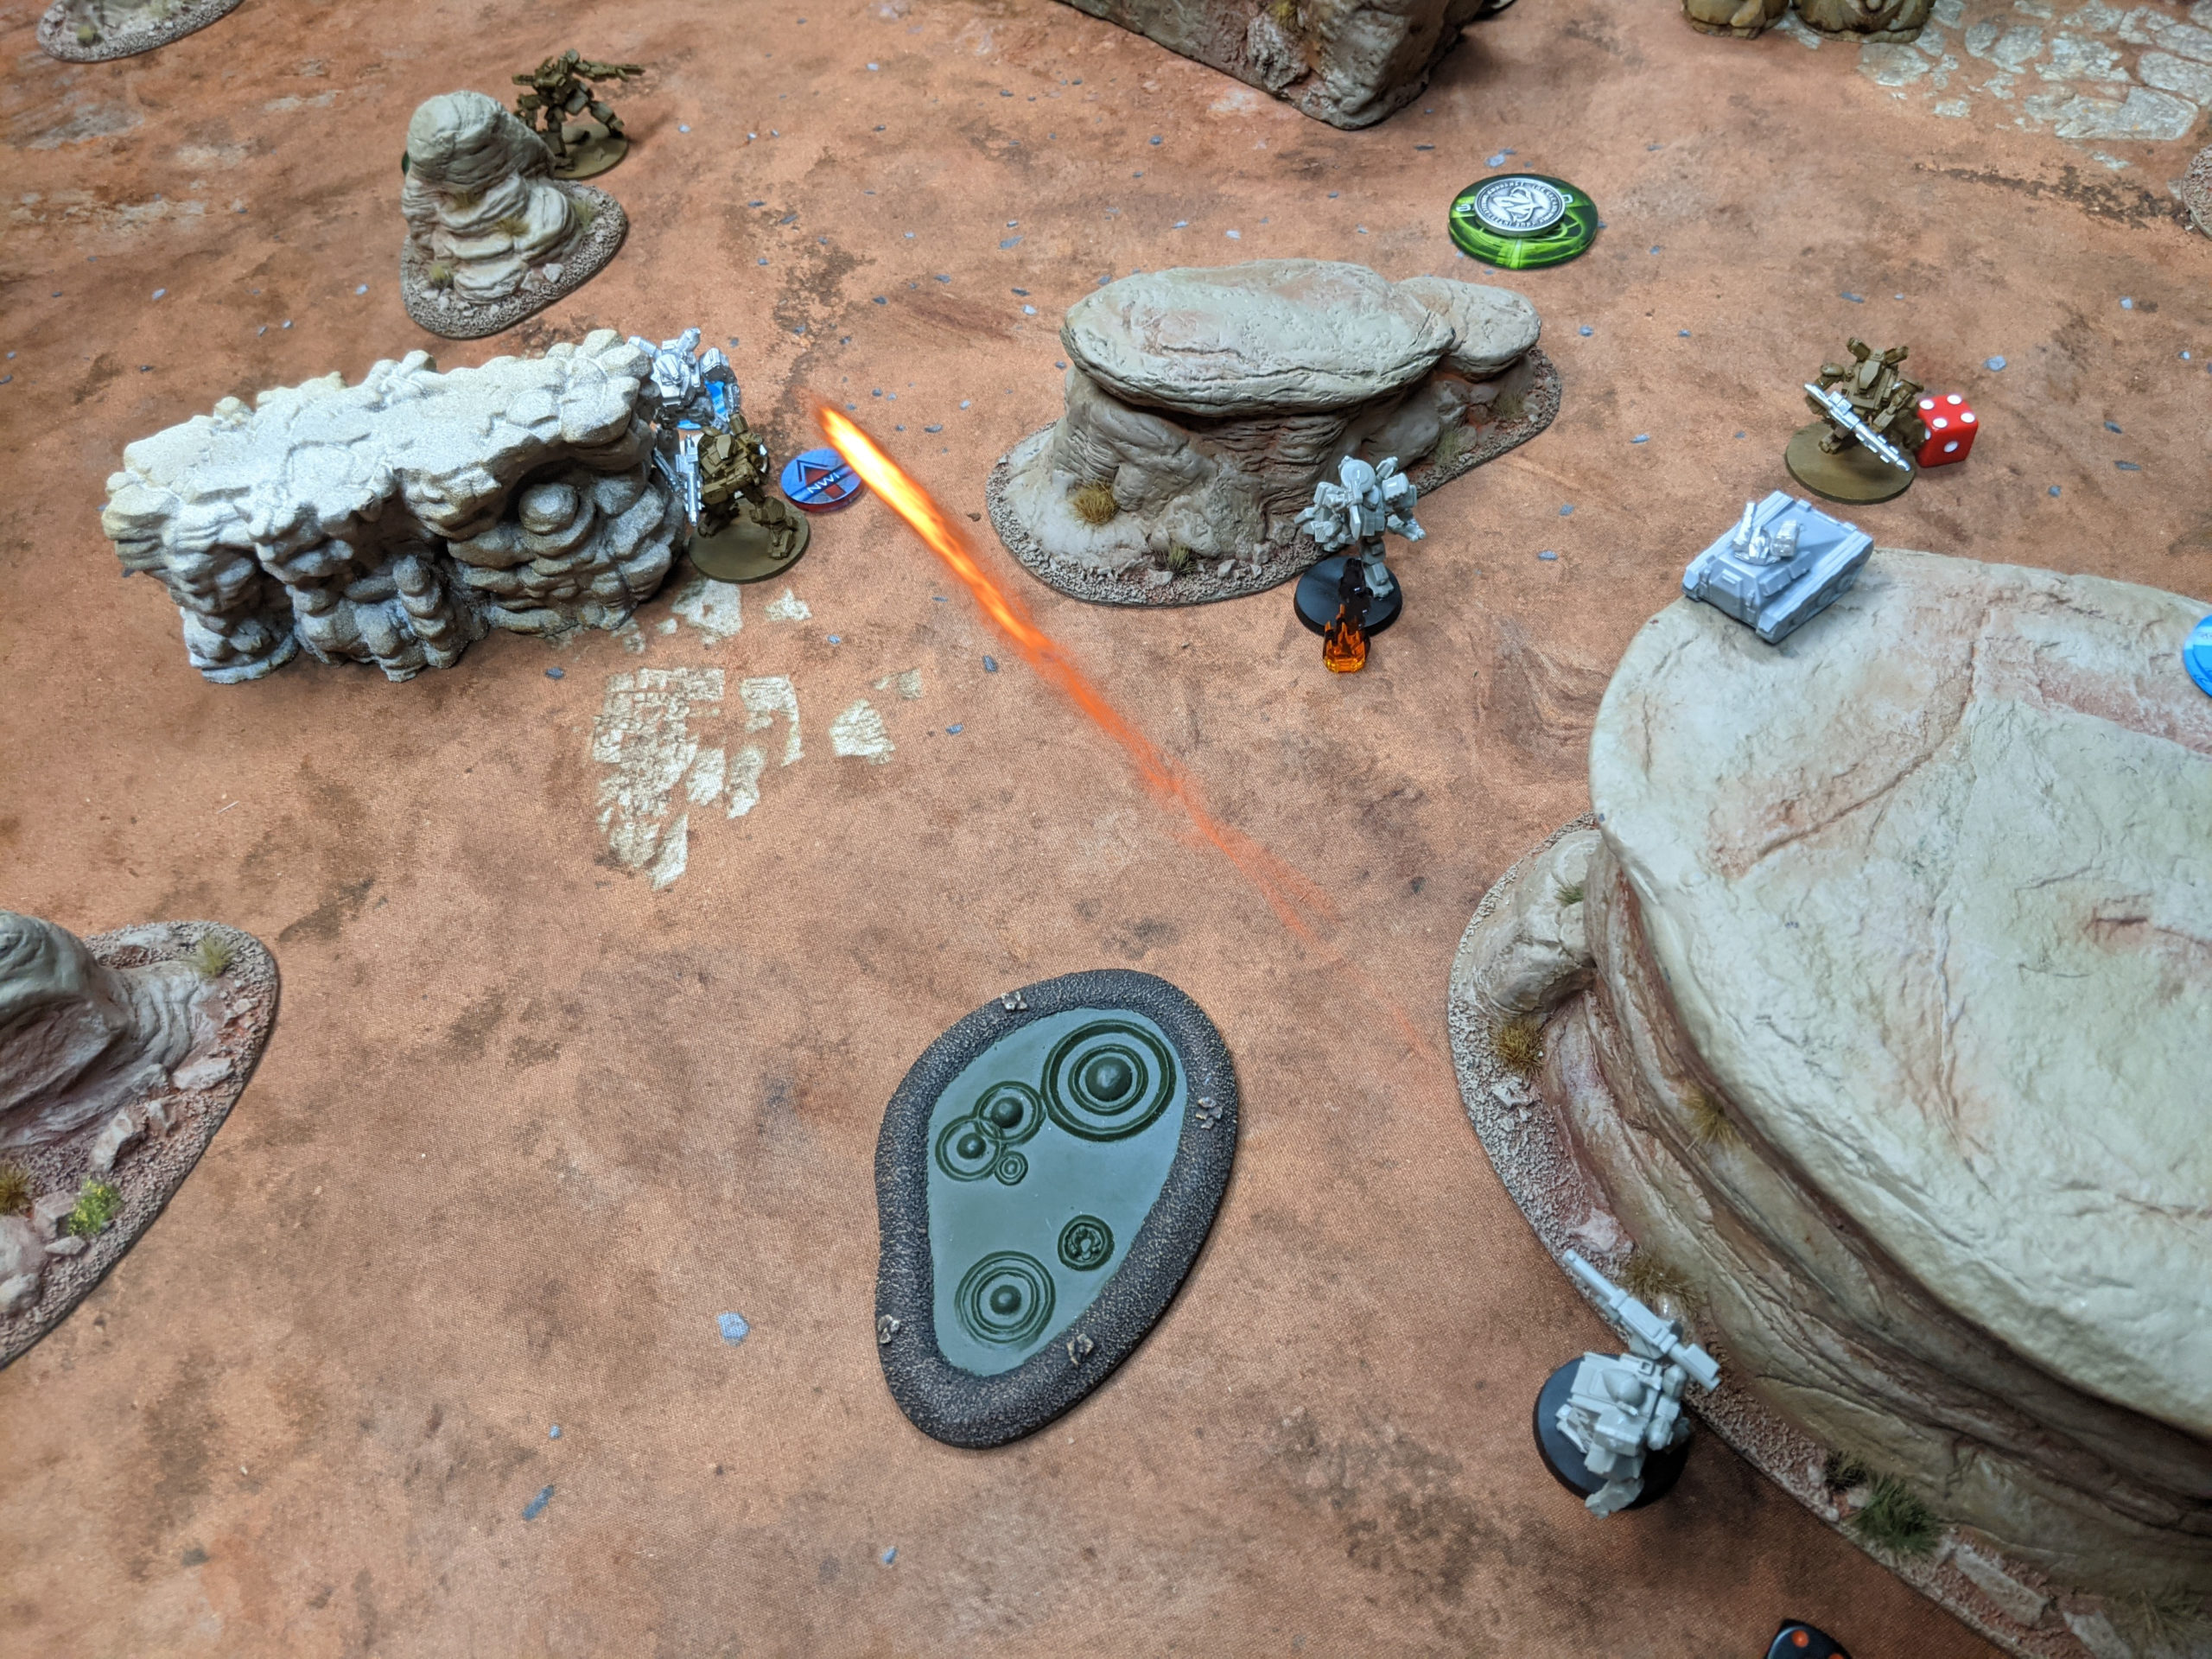
Adam has a Lion poking out from when it shot at my Mameluk, and I punish it by hitting it with a pair of LATMs from my Pilums.
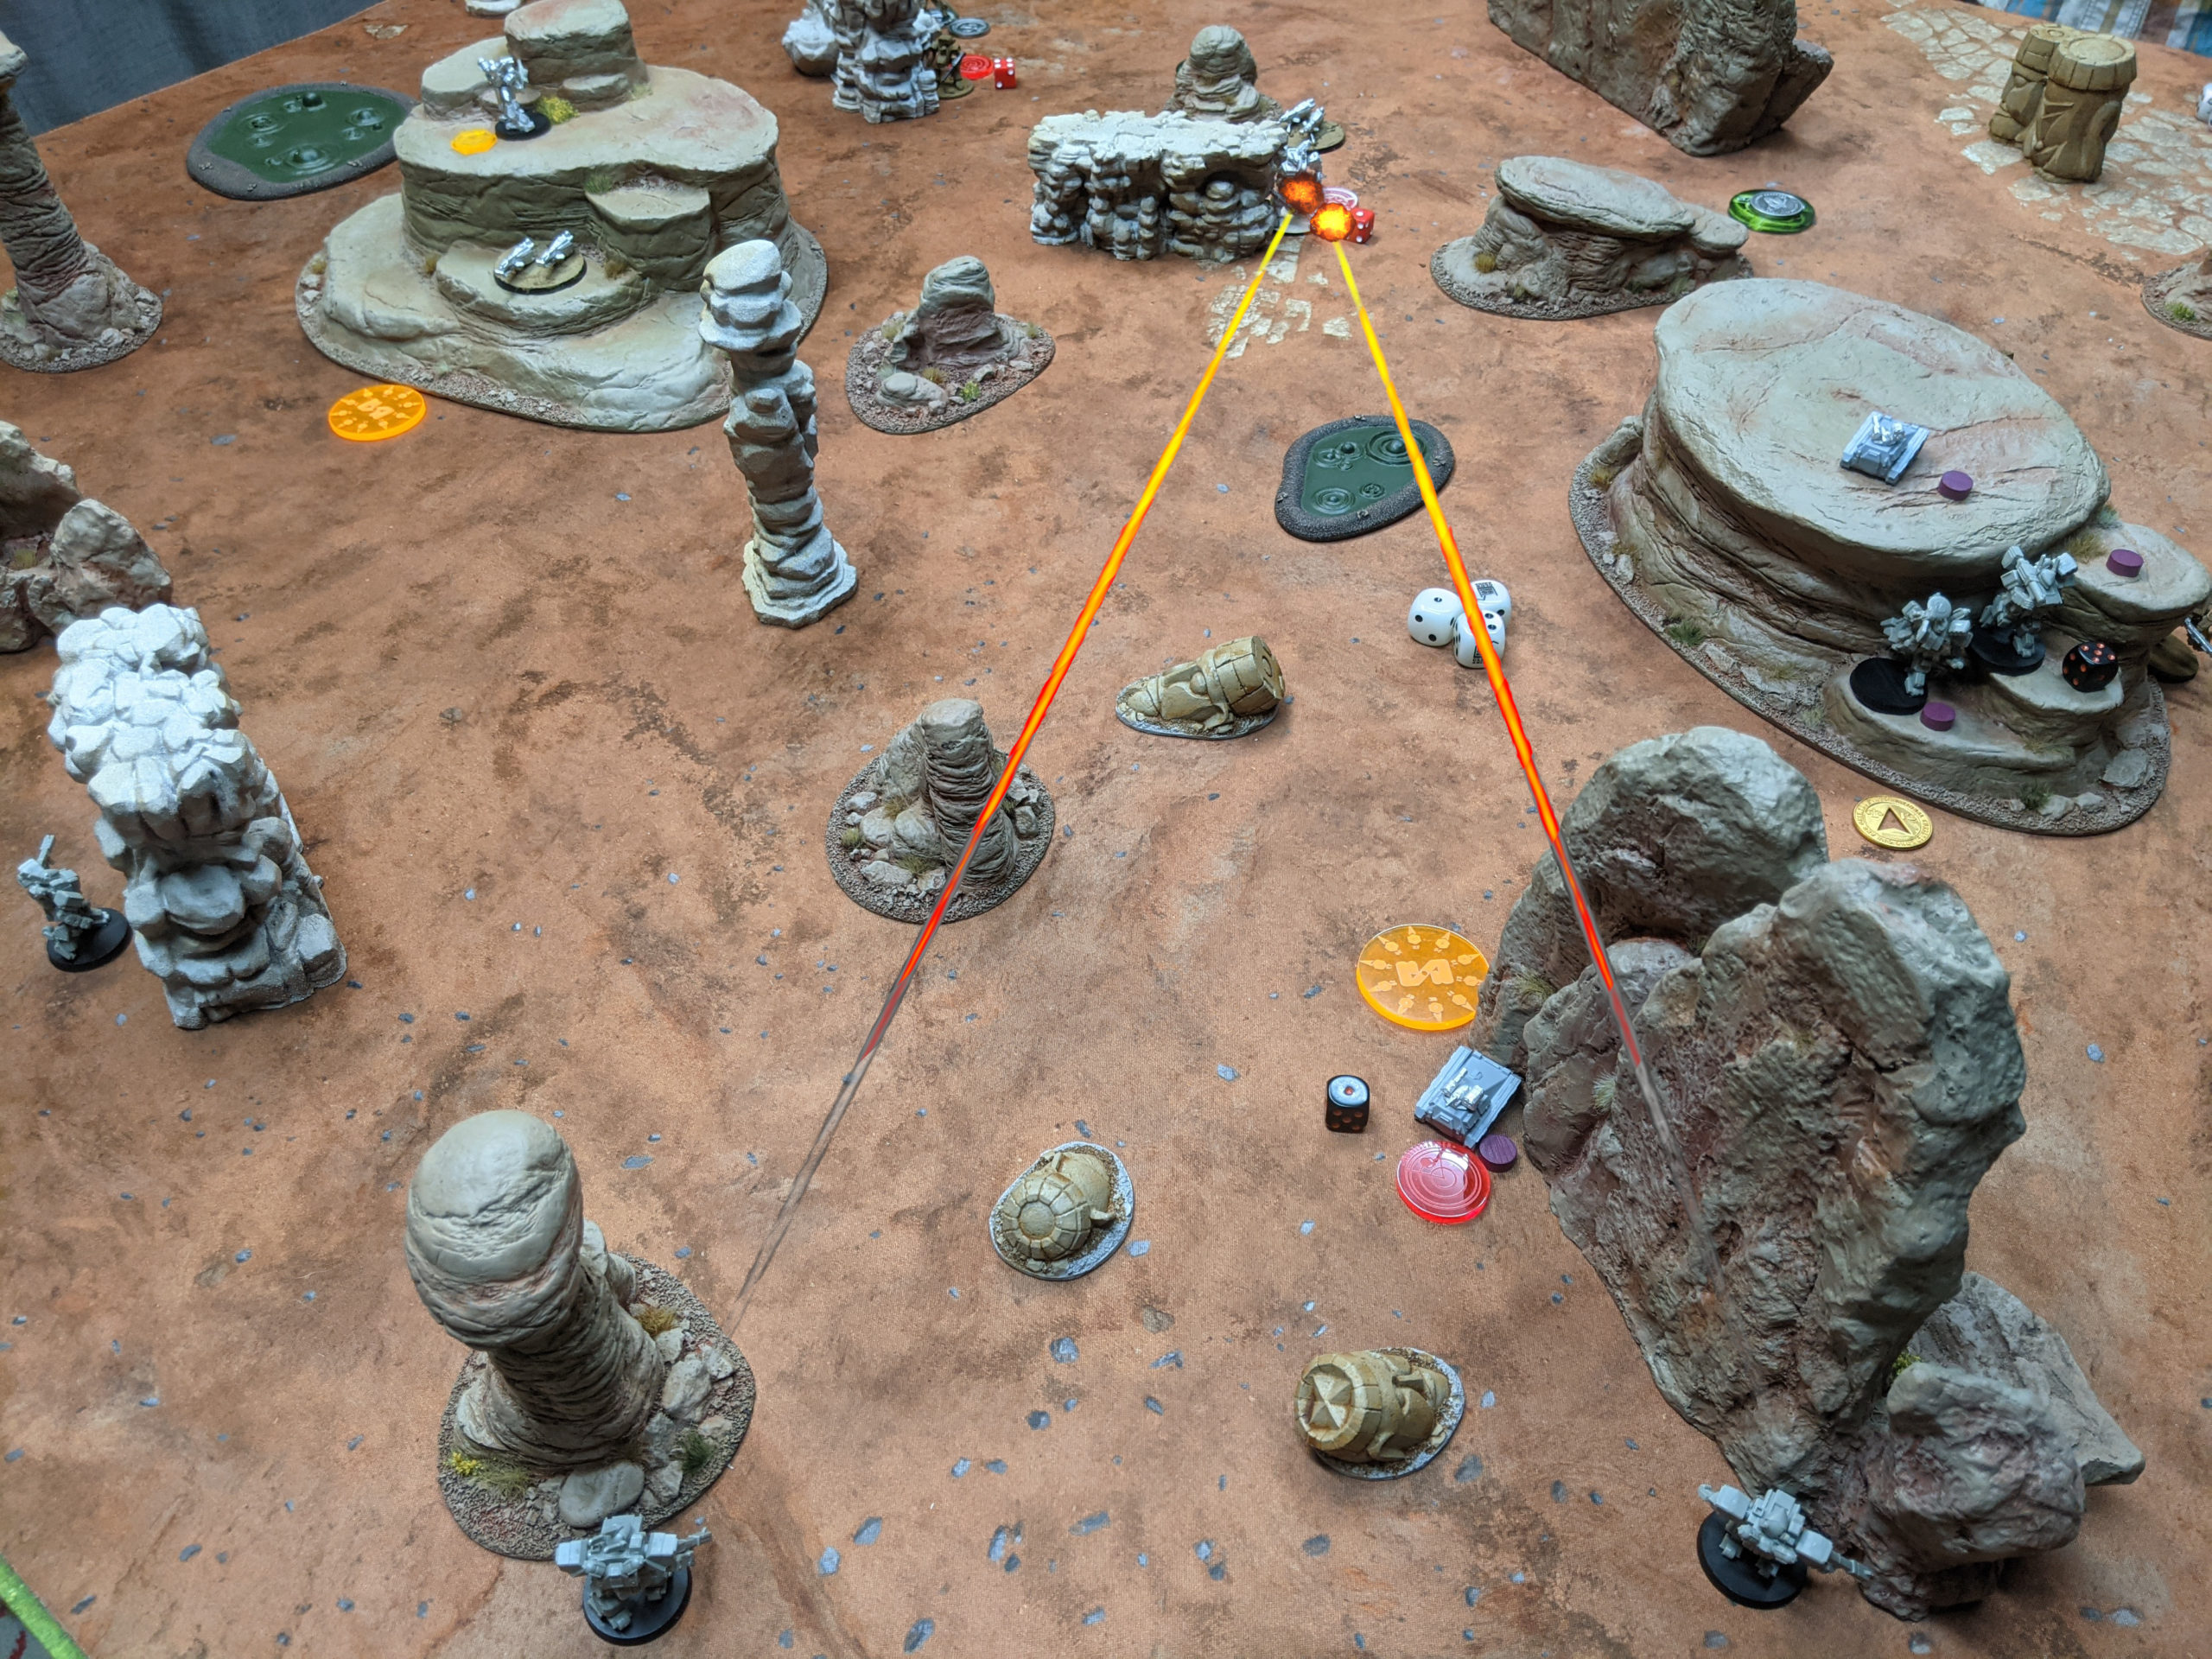
It’s not crippled yet, so another LATM shot from the Pilums doesn’t finish it off, but I do obliterate the other Ferret carrying an objective! So now Adam’s dropped both objectives, and he’s down 3/5 of that RC group.
The Wildcat group activates next, and they try to take out my bikes and fail. One of the Wildcats sets up to defend the objective the ATM’ed Ferret dropped, as it is just out of movement to grab it.
It’s a new turn and Adam wins initiative. I take nasty snub cannon hit on my Warrior IV, and the other Hunter with snub cannon tries again to take on my bikes. Thankfully they survive. The Wildcat near the downed Ferret scurries away with the red objective, leaving me to go after the green one.
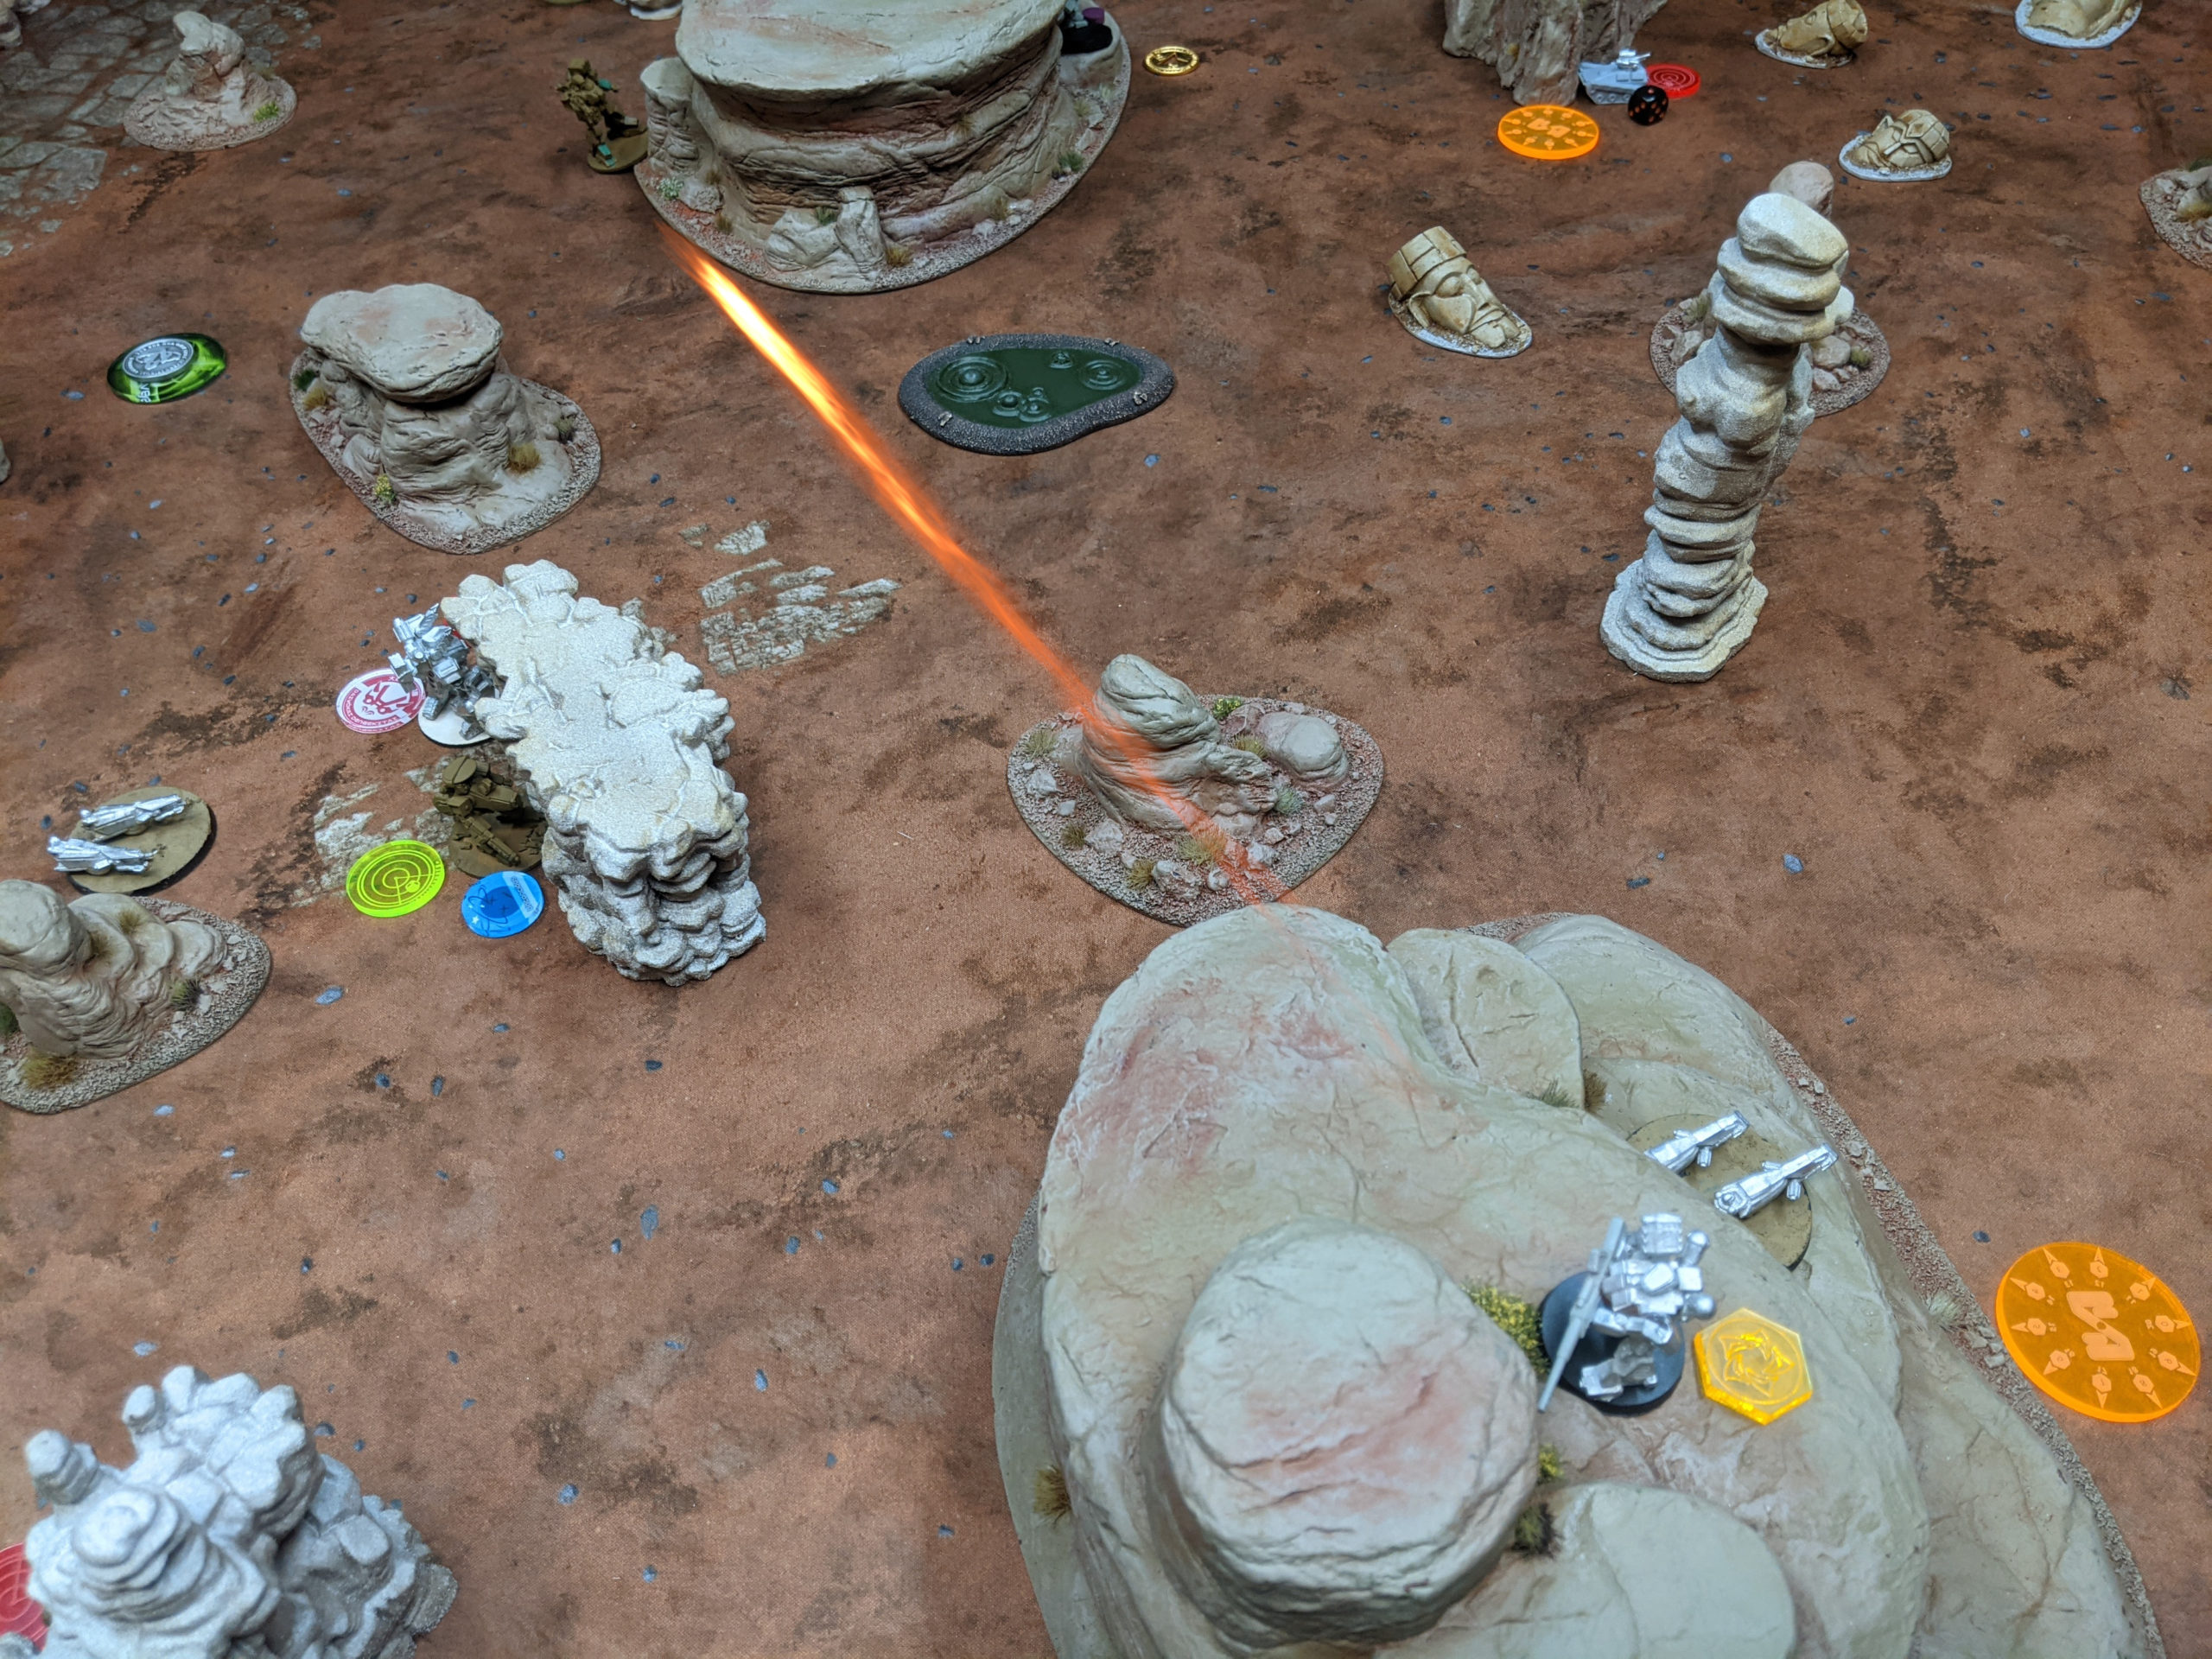
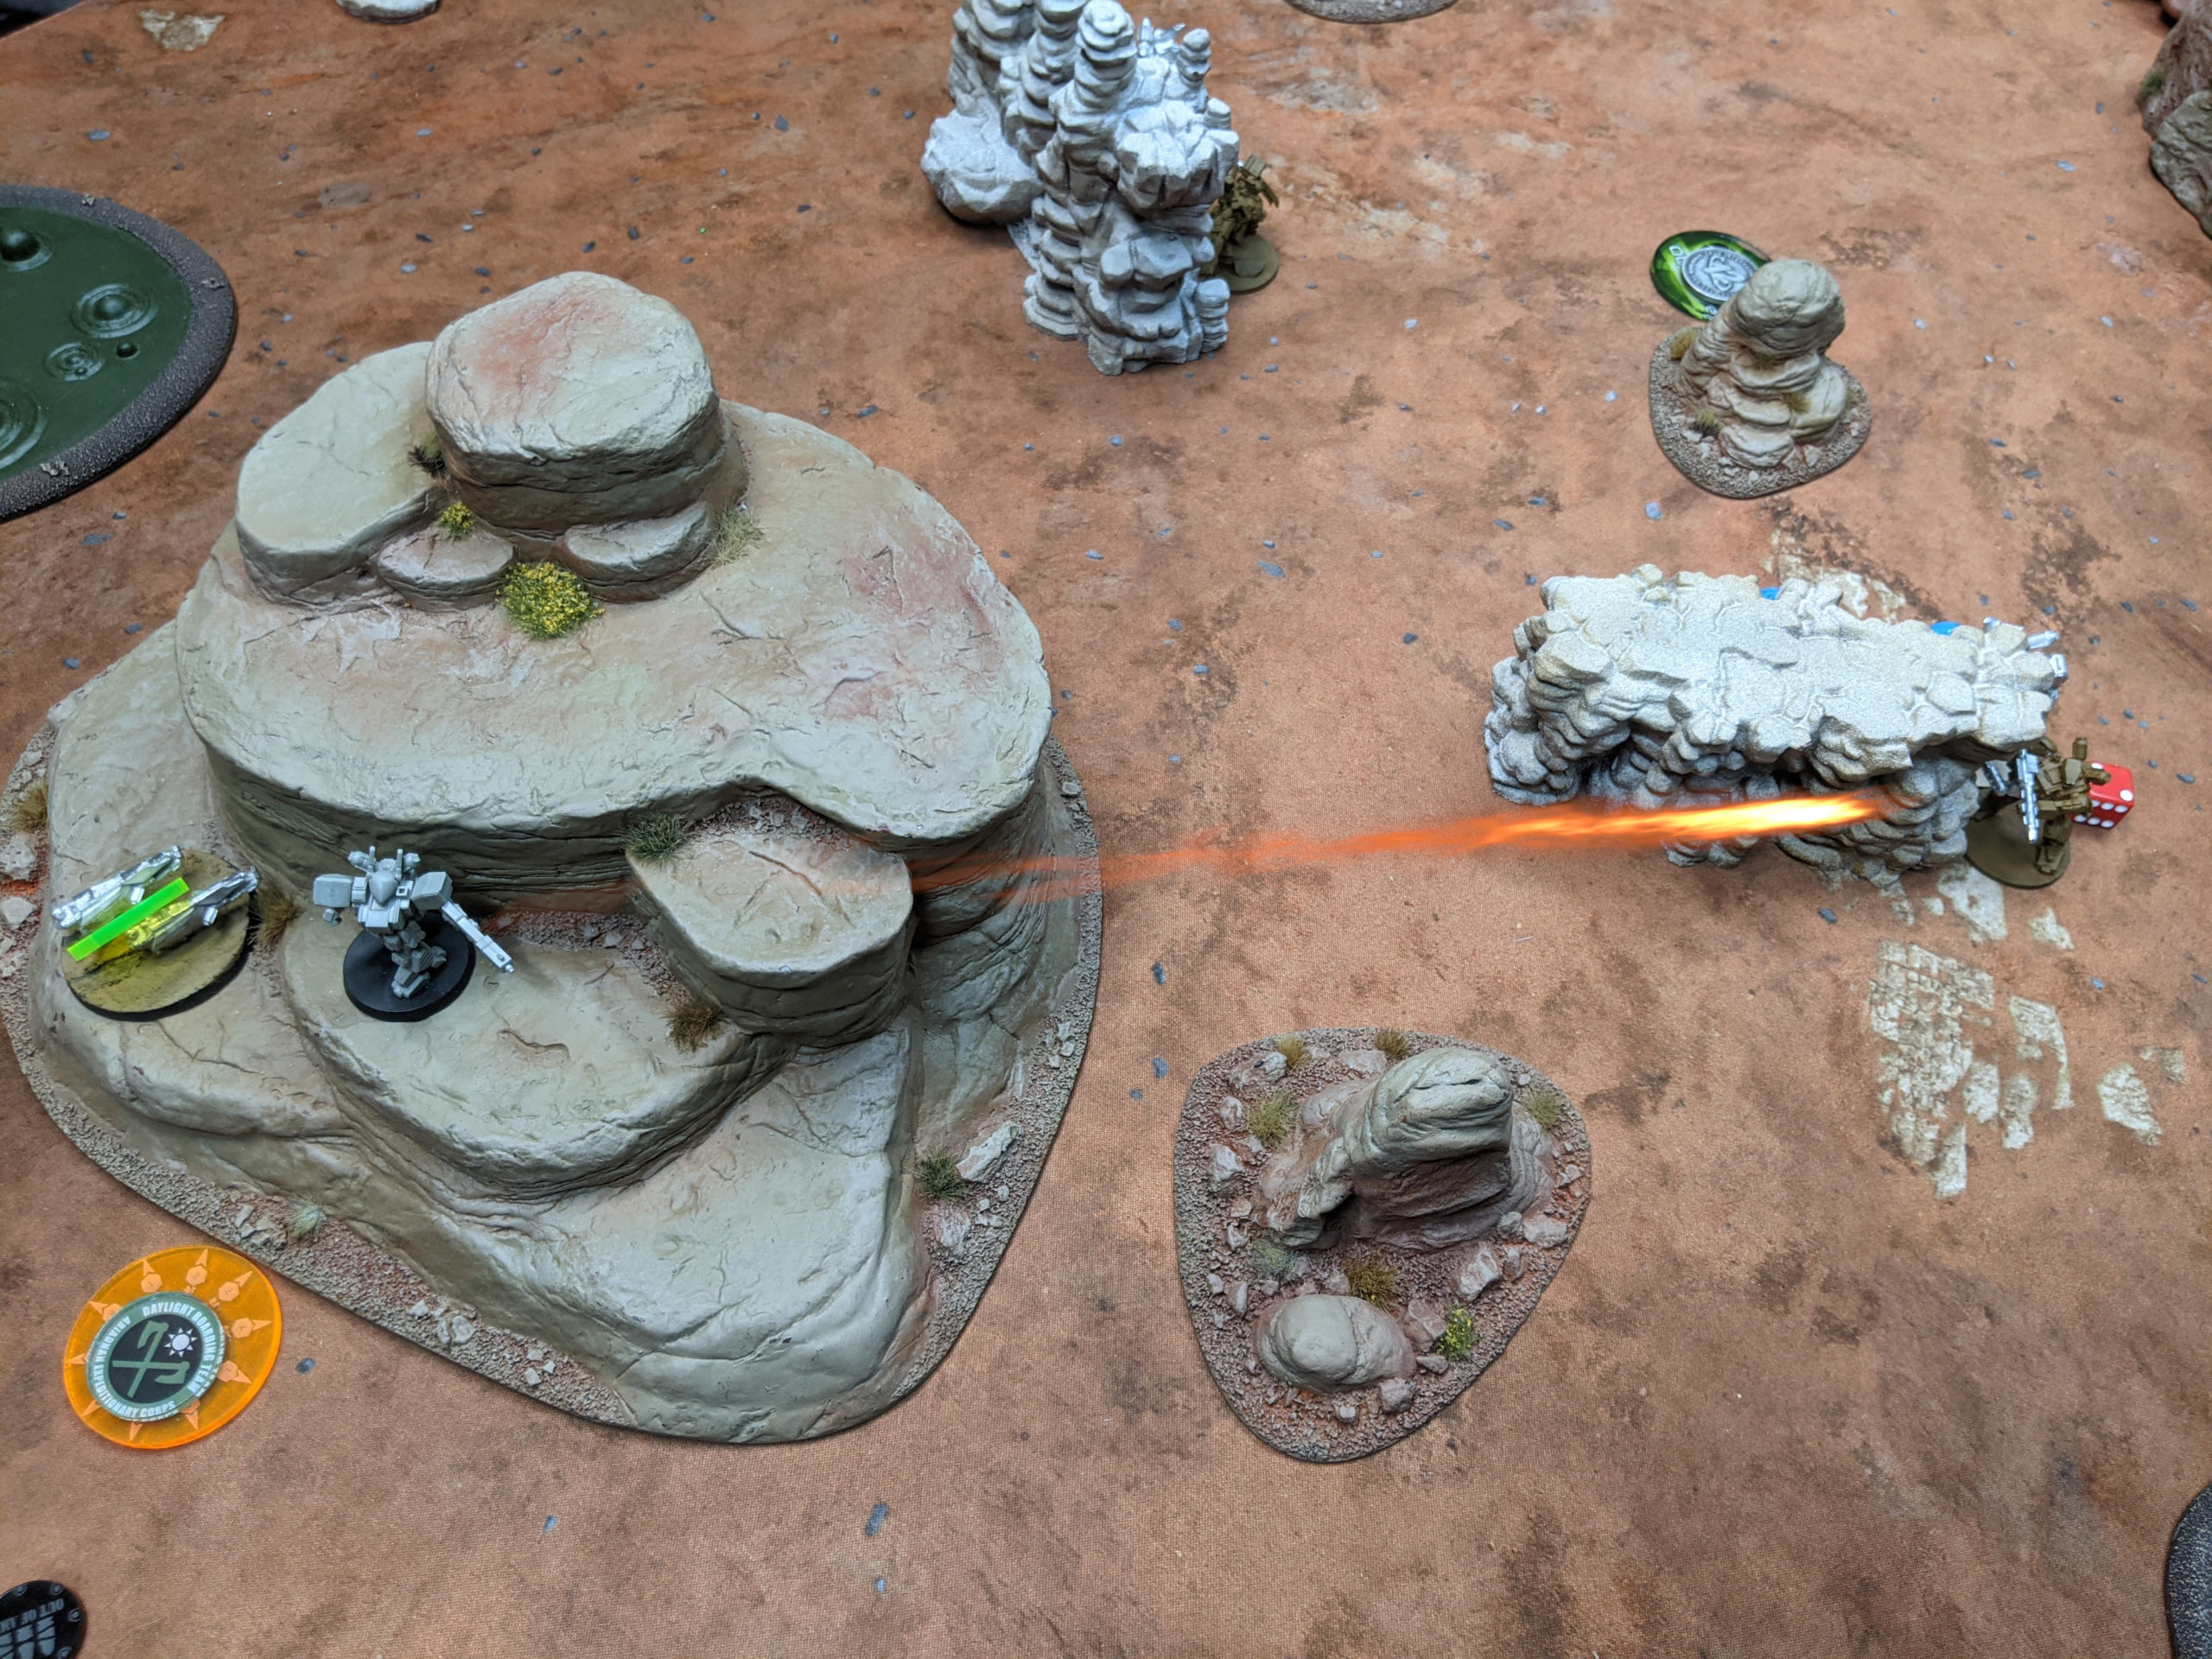
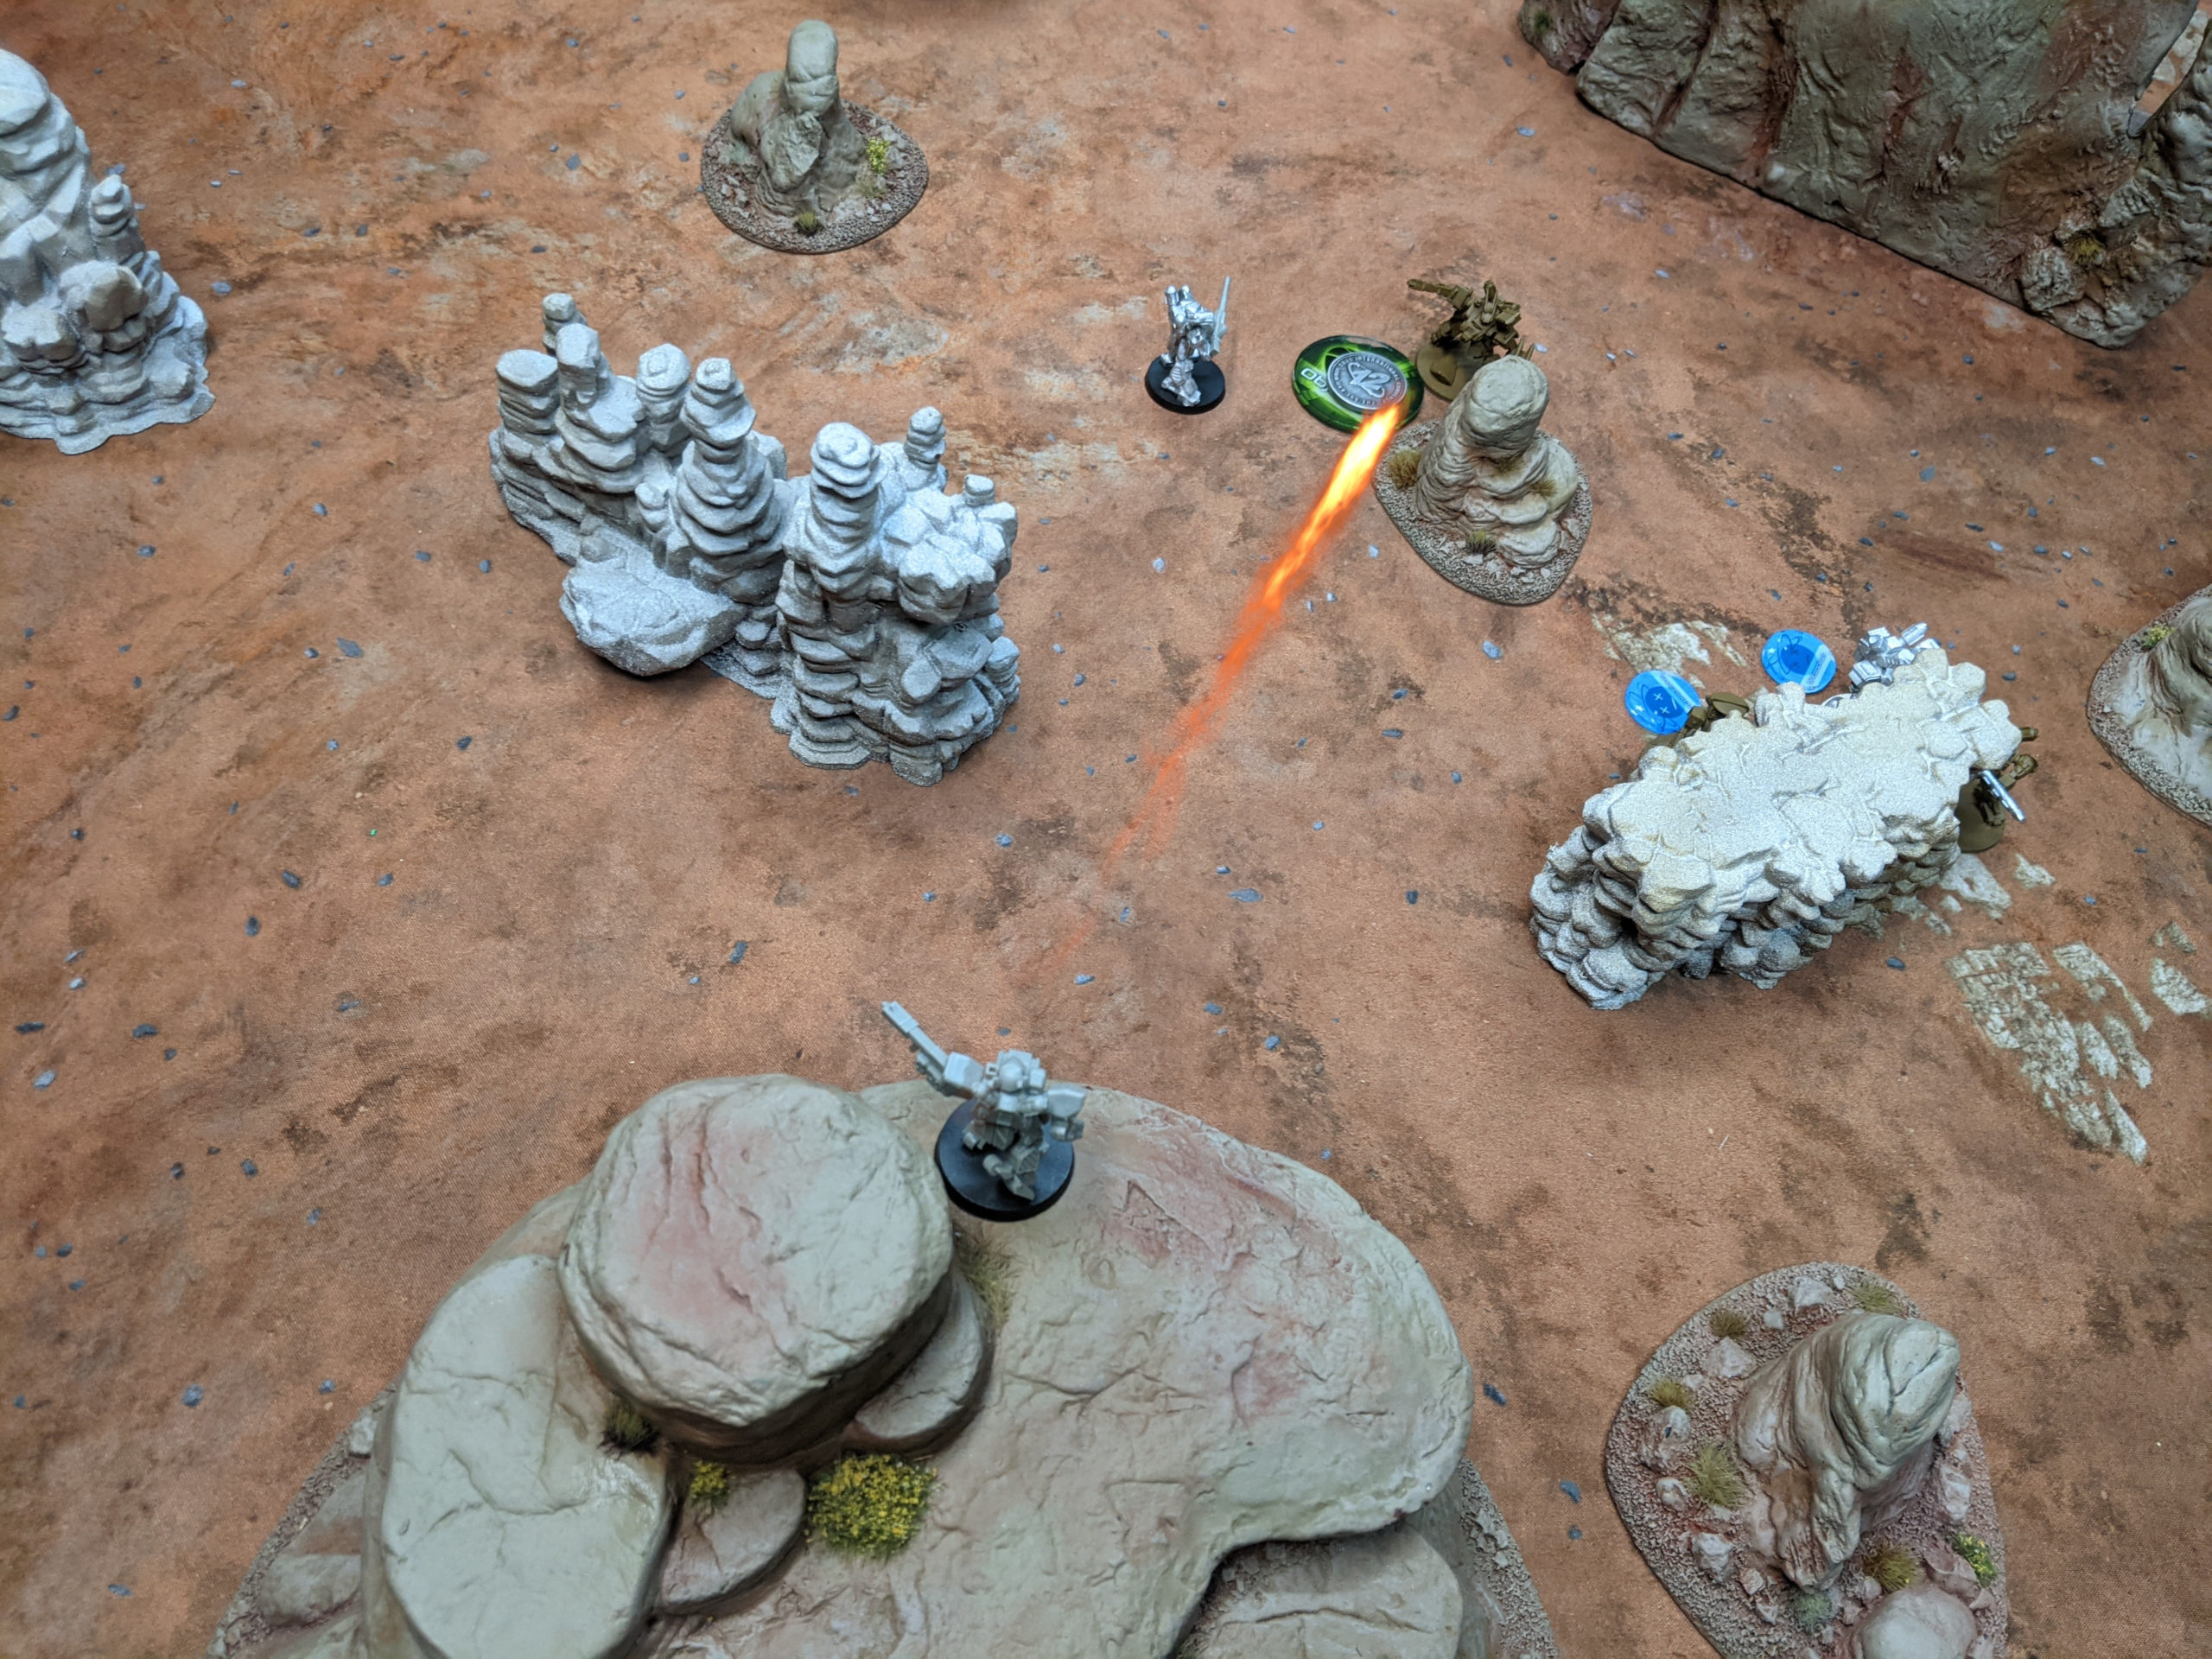
I try to grab it with the nearest bike, but they get gunned down by a watchful Lion.
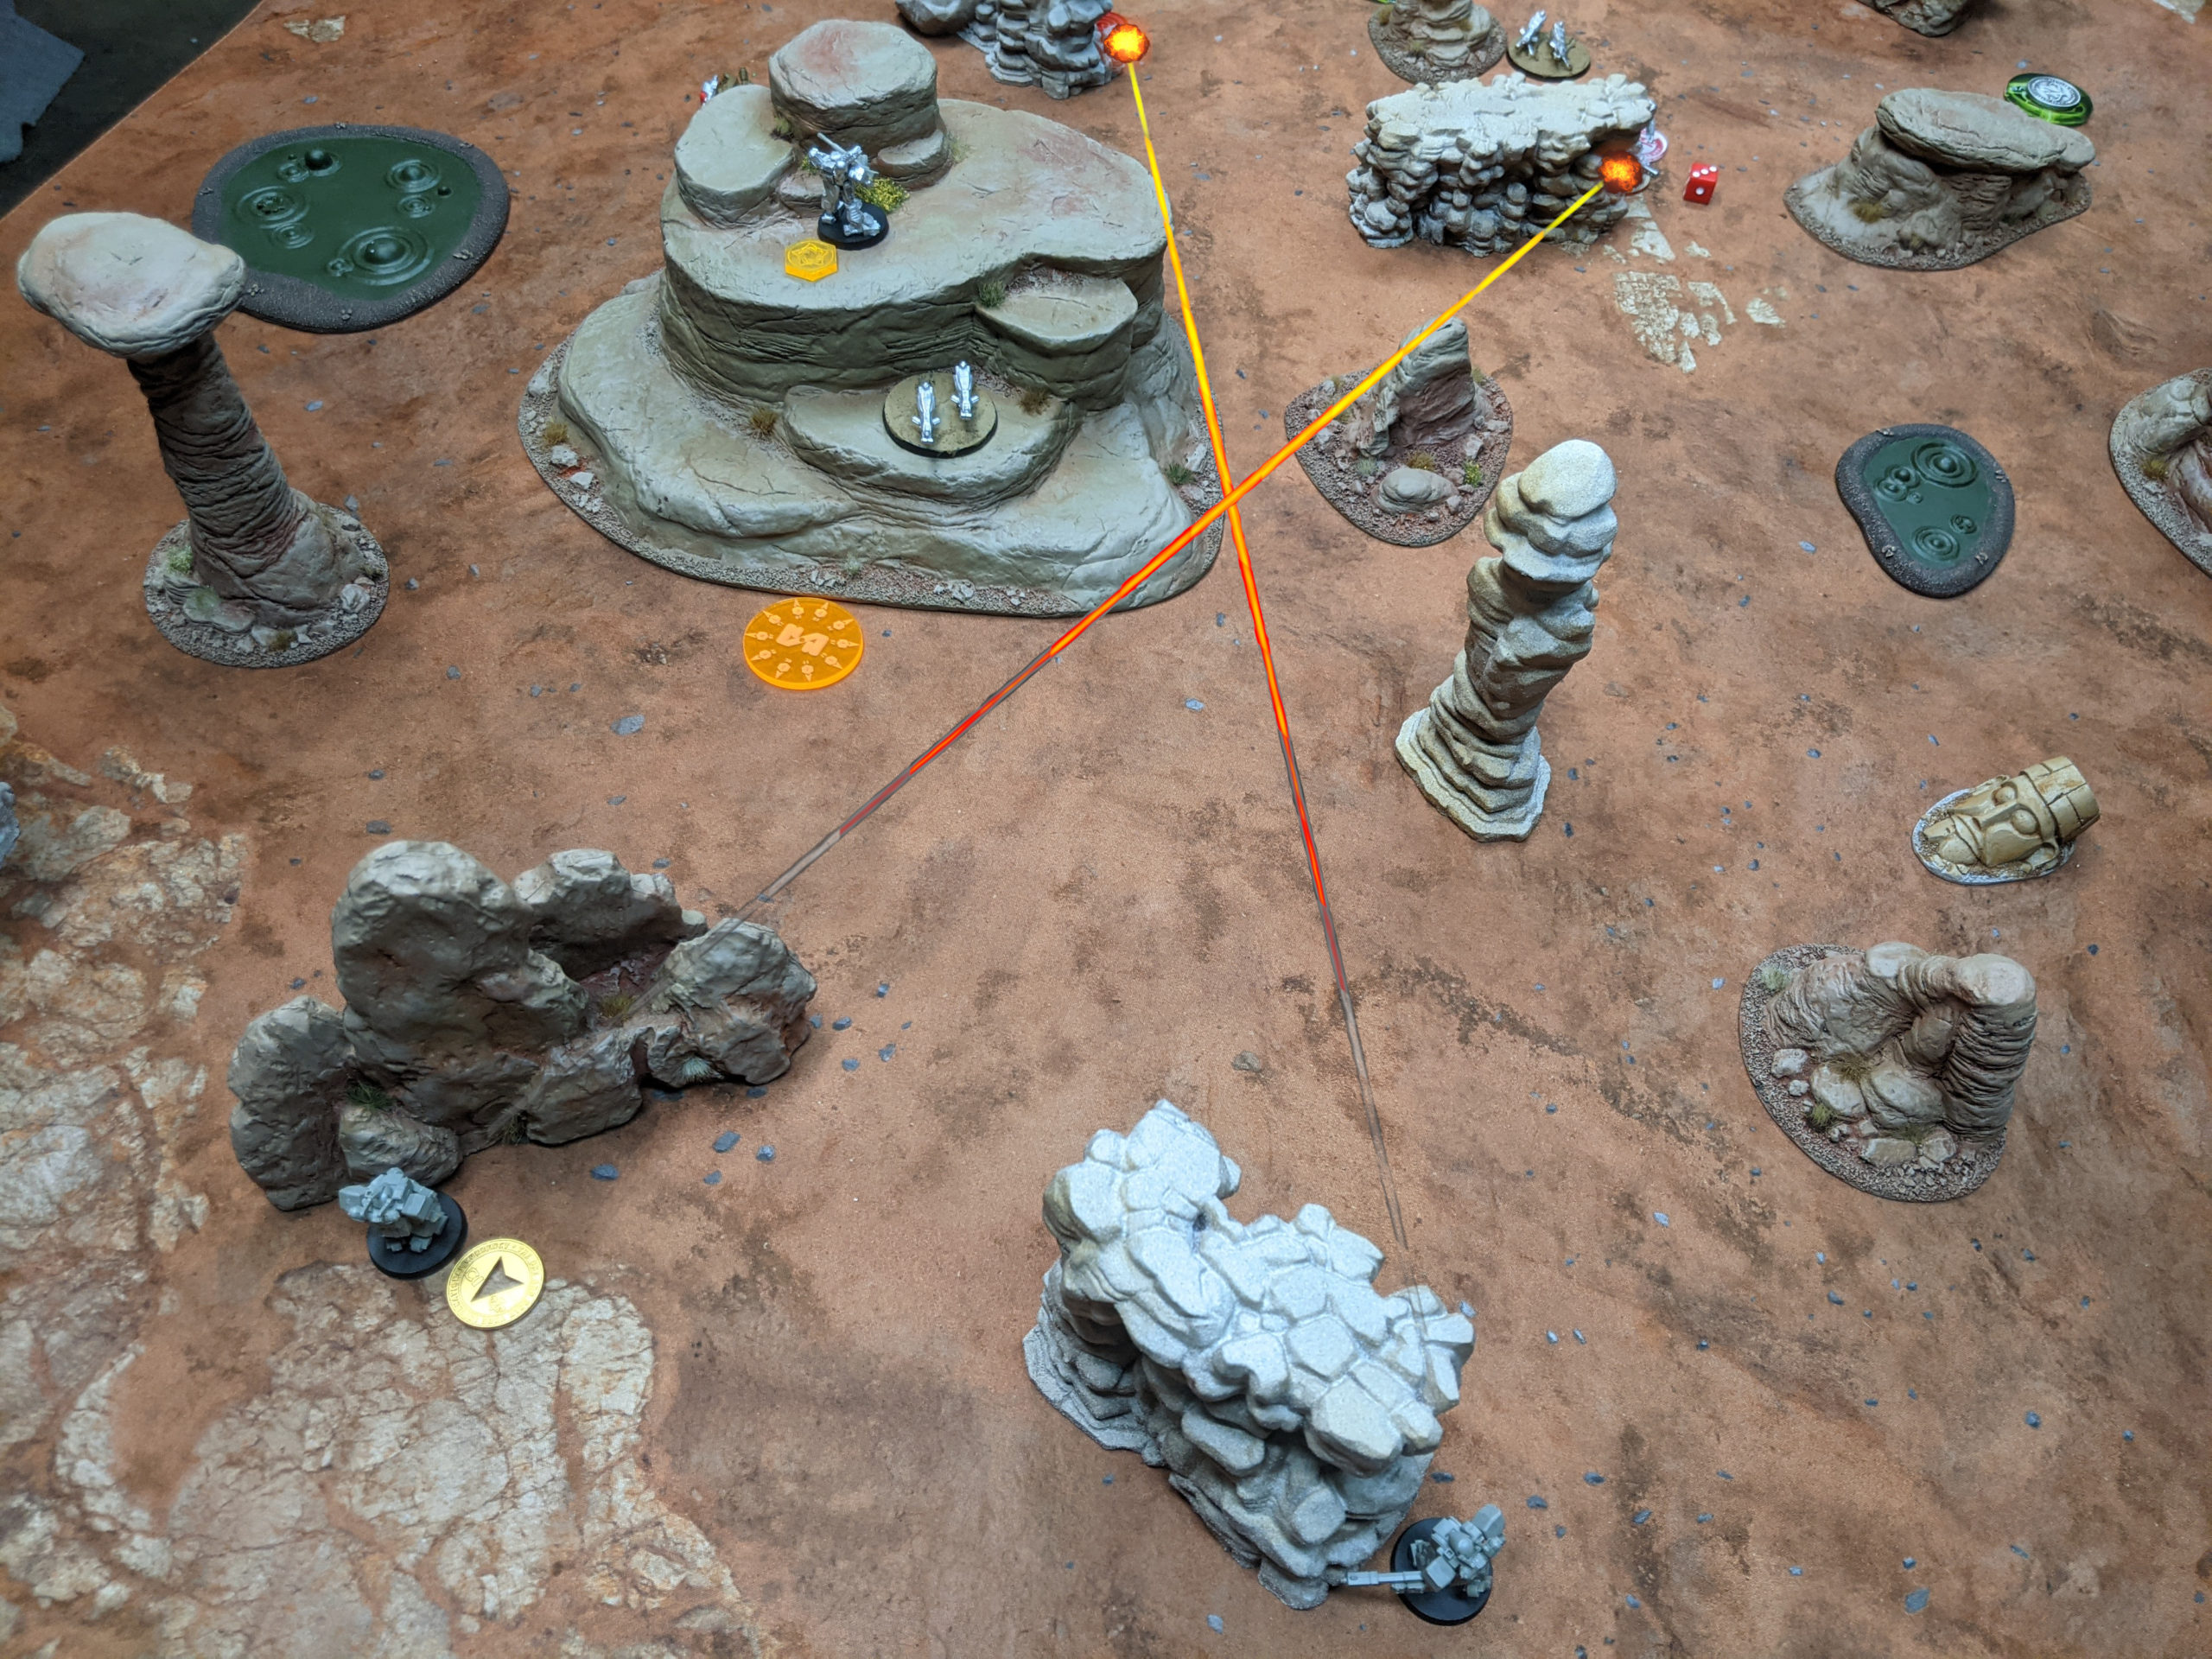
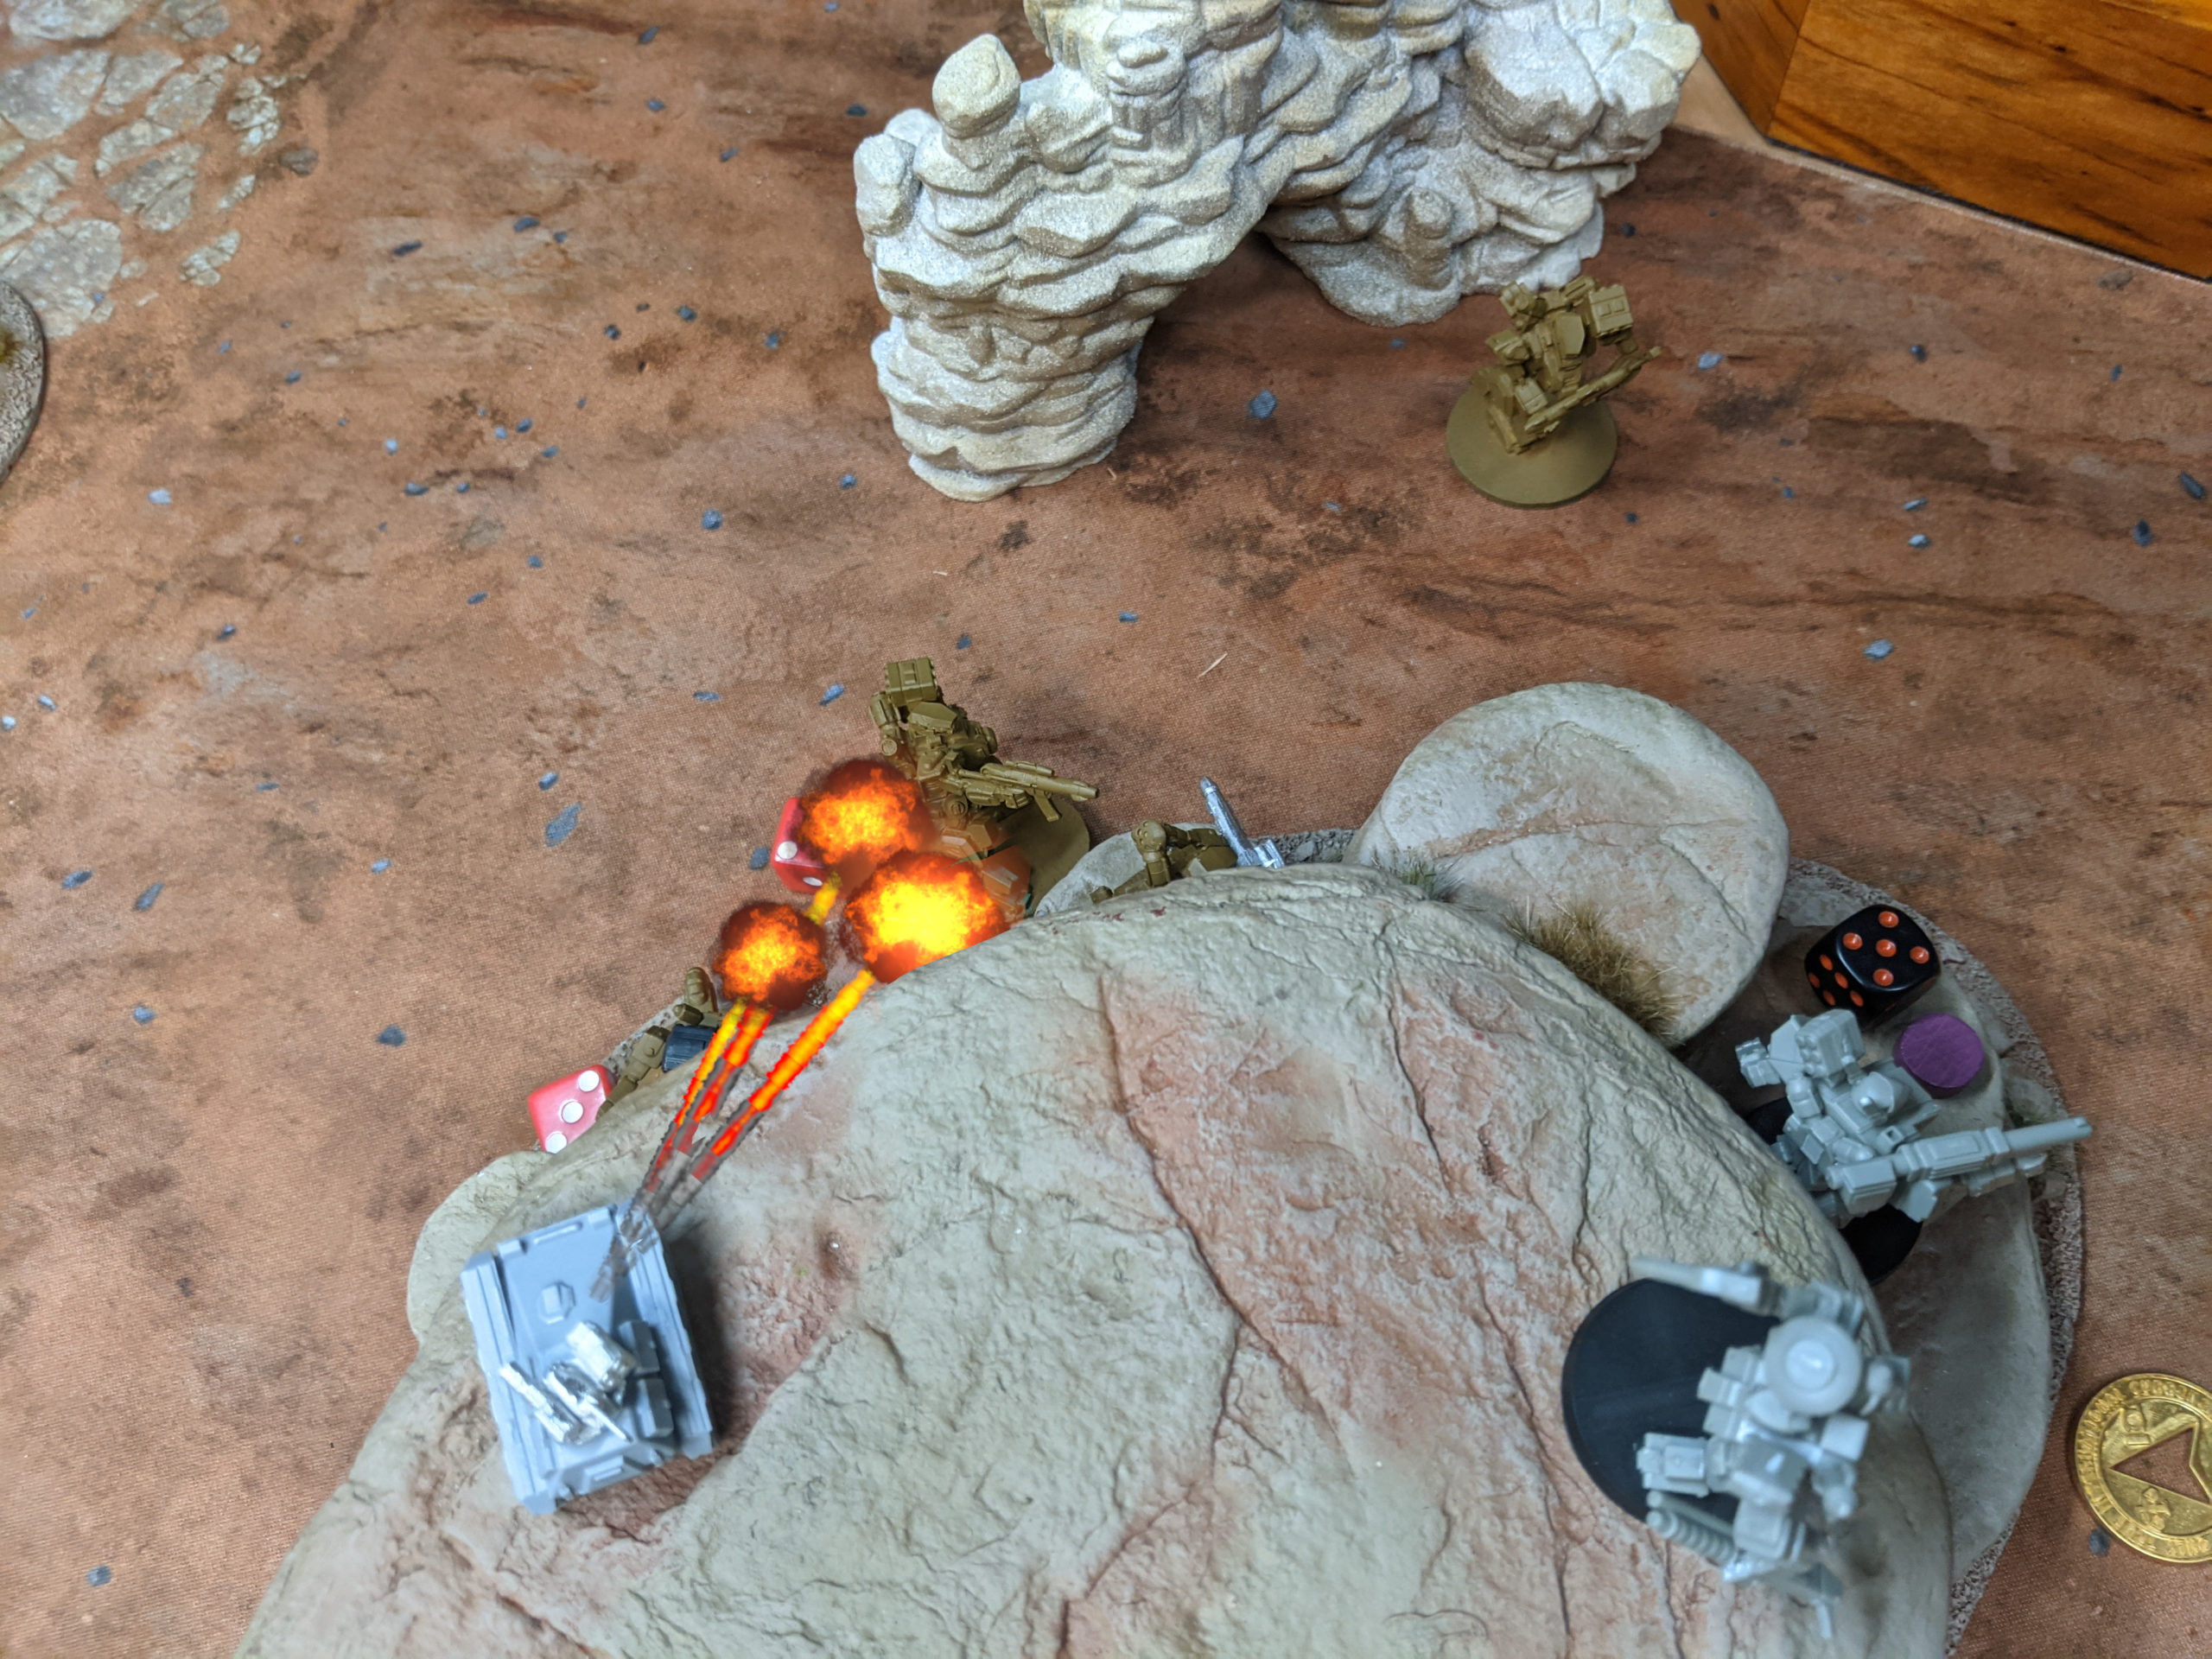
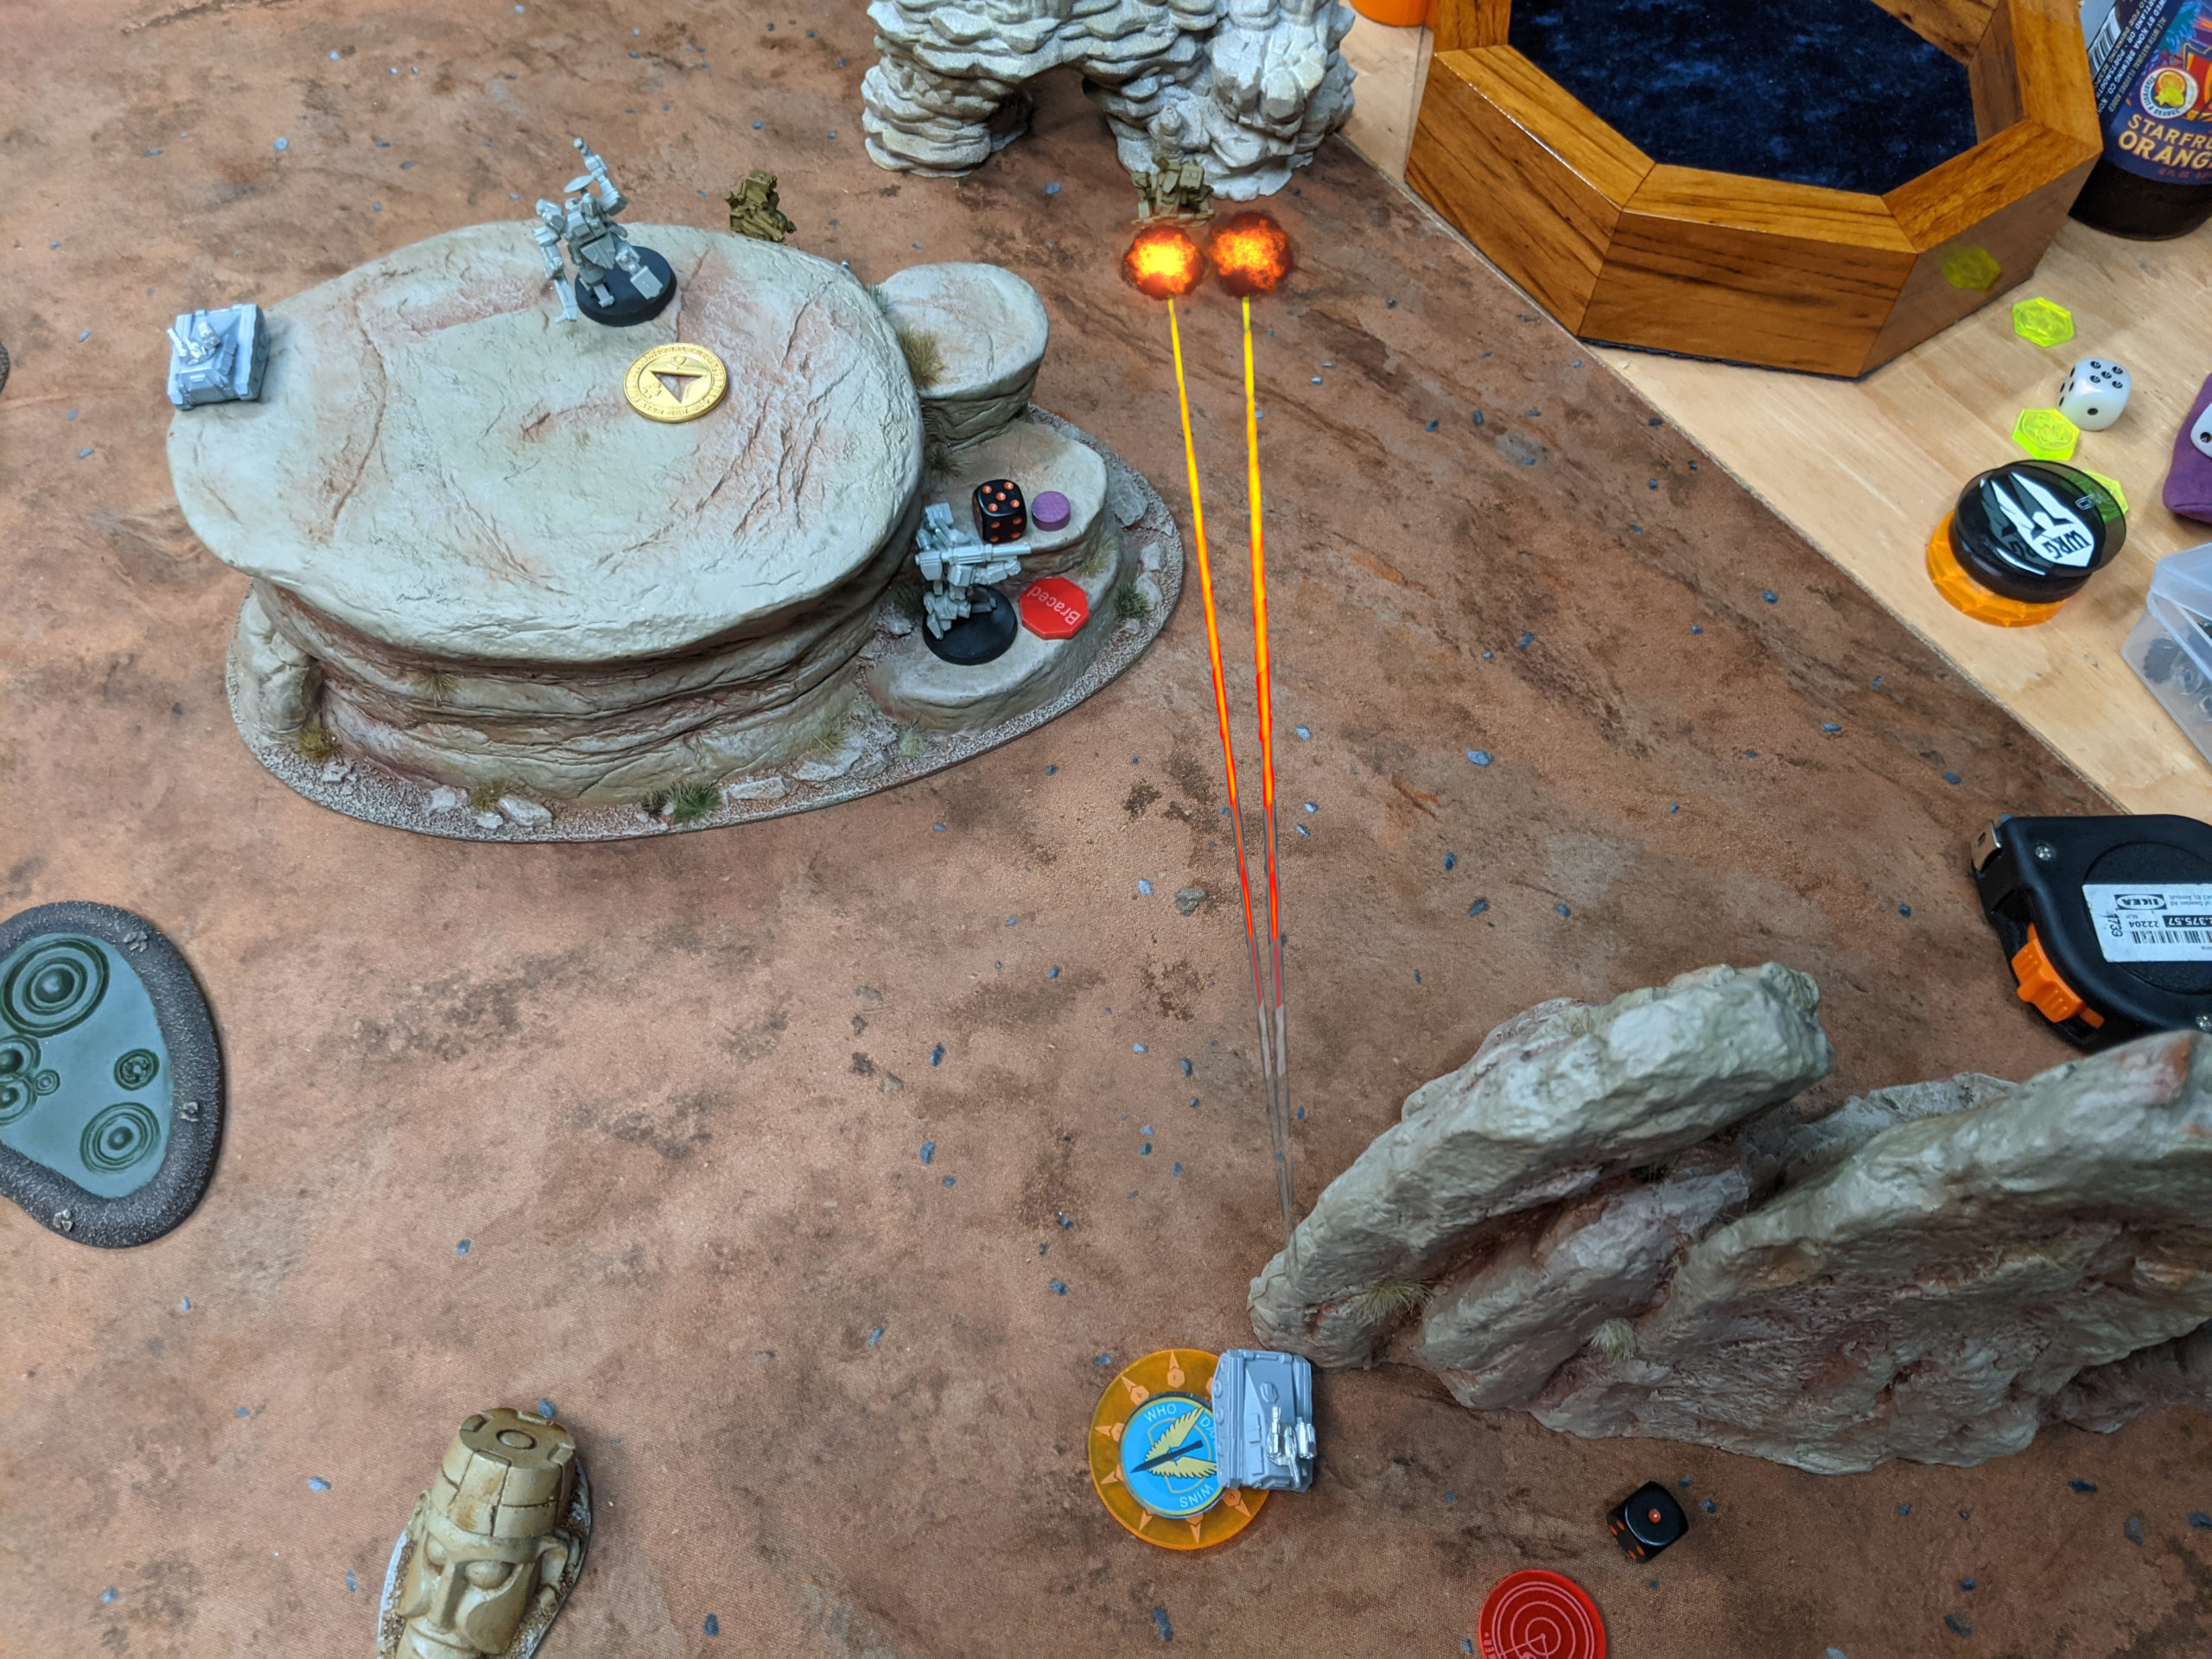
Thankfully, I have more bikes nearby and I abscond with the green objective, scooting the bike behind a big rock. The last bike in my group scoots behind the Lion I’m supposed to assassinate and lights it up for a Fire Mission. I dedicate two Pilum Warriors to the task, and they bring down the Lion.
Adam activates his only remaining Ferret, mostly to just have a null activation, and then I drop a bunch of rockets on it and its friends, taking out his RC group for good. We’re finishing up turn 2 now, and I’ve got a full 2 activations on him. Things are looking okay.
My Shamshir Warrior IV braces and cripples a Tiger, and then I get cheeky and try to use the Skirmisher to Forward Observe the Wildcat with the objective, all the way in the back of Adam’s deployment zone. As I’m writing this, I think we forgot that Adam’s Lion had already reacted to my bike, and he shot at my Skirmisher again, crippling it–whoops. Oh well.
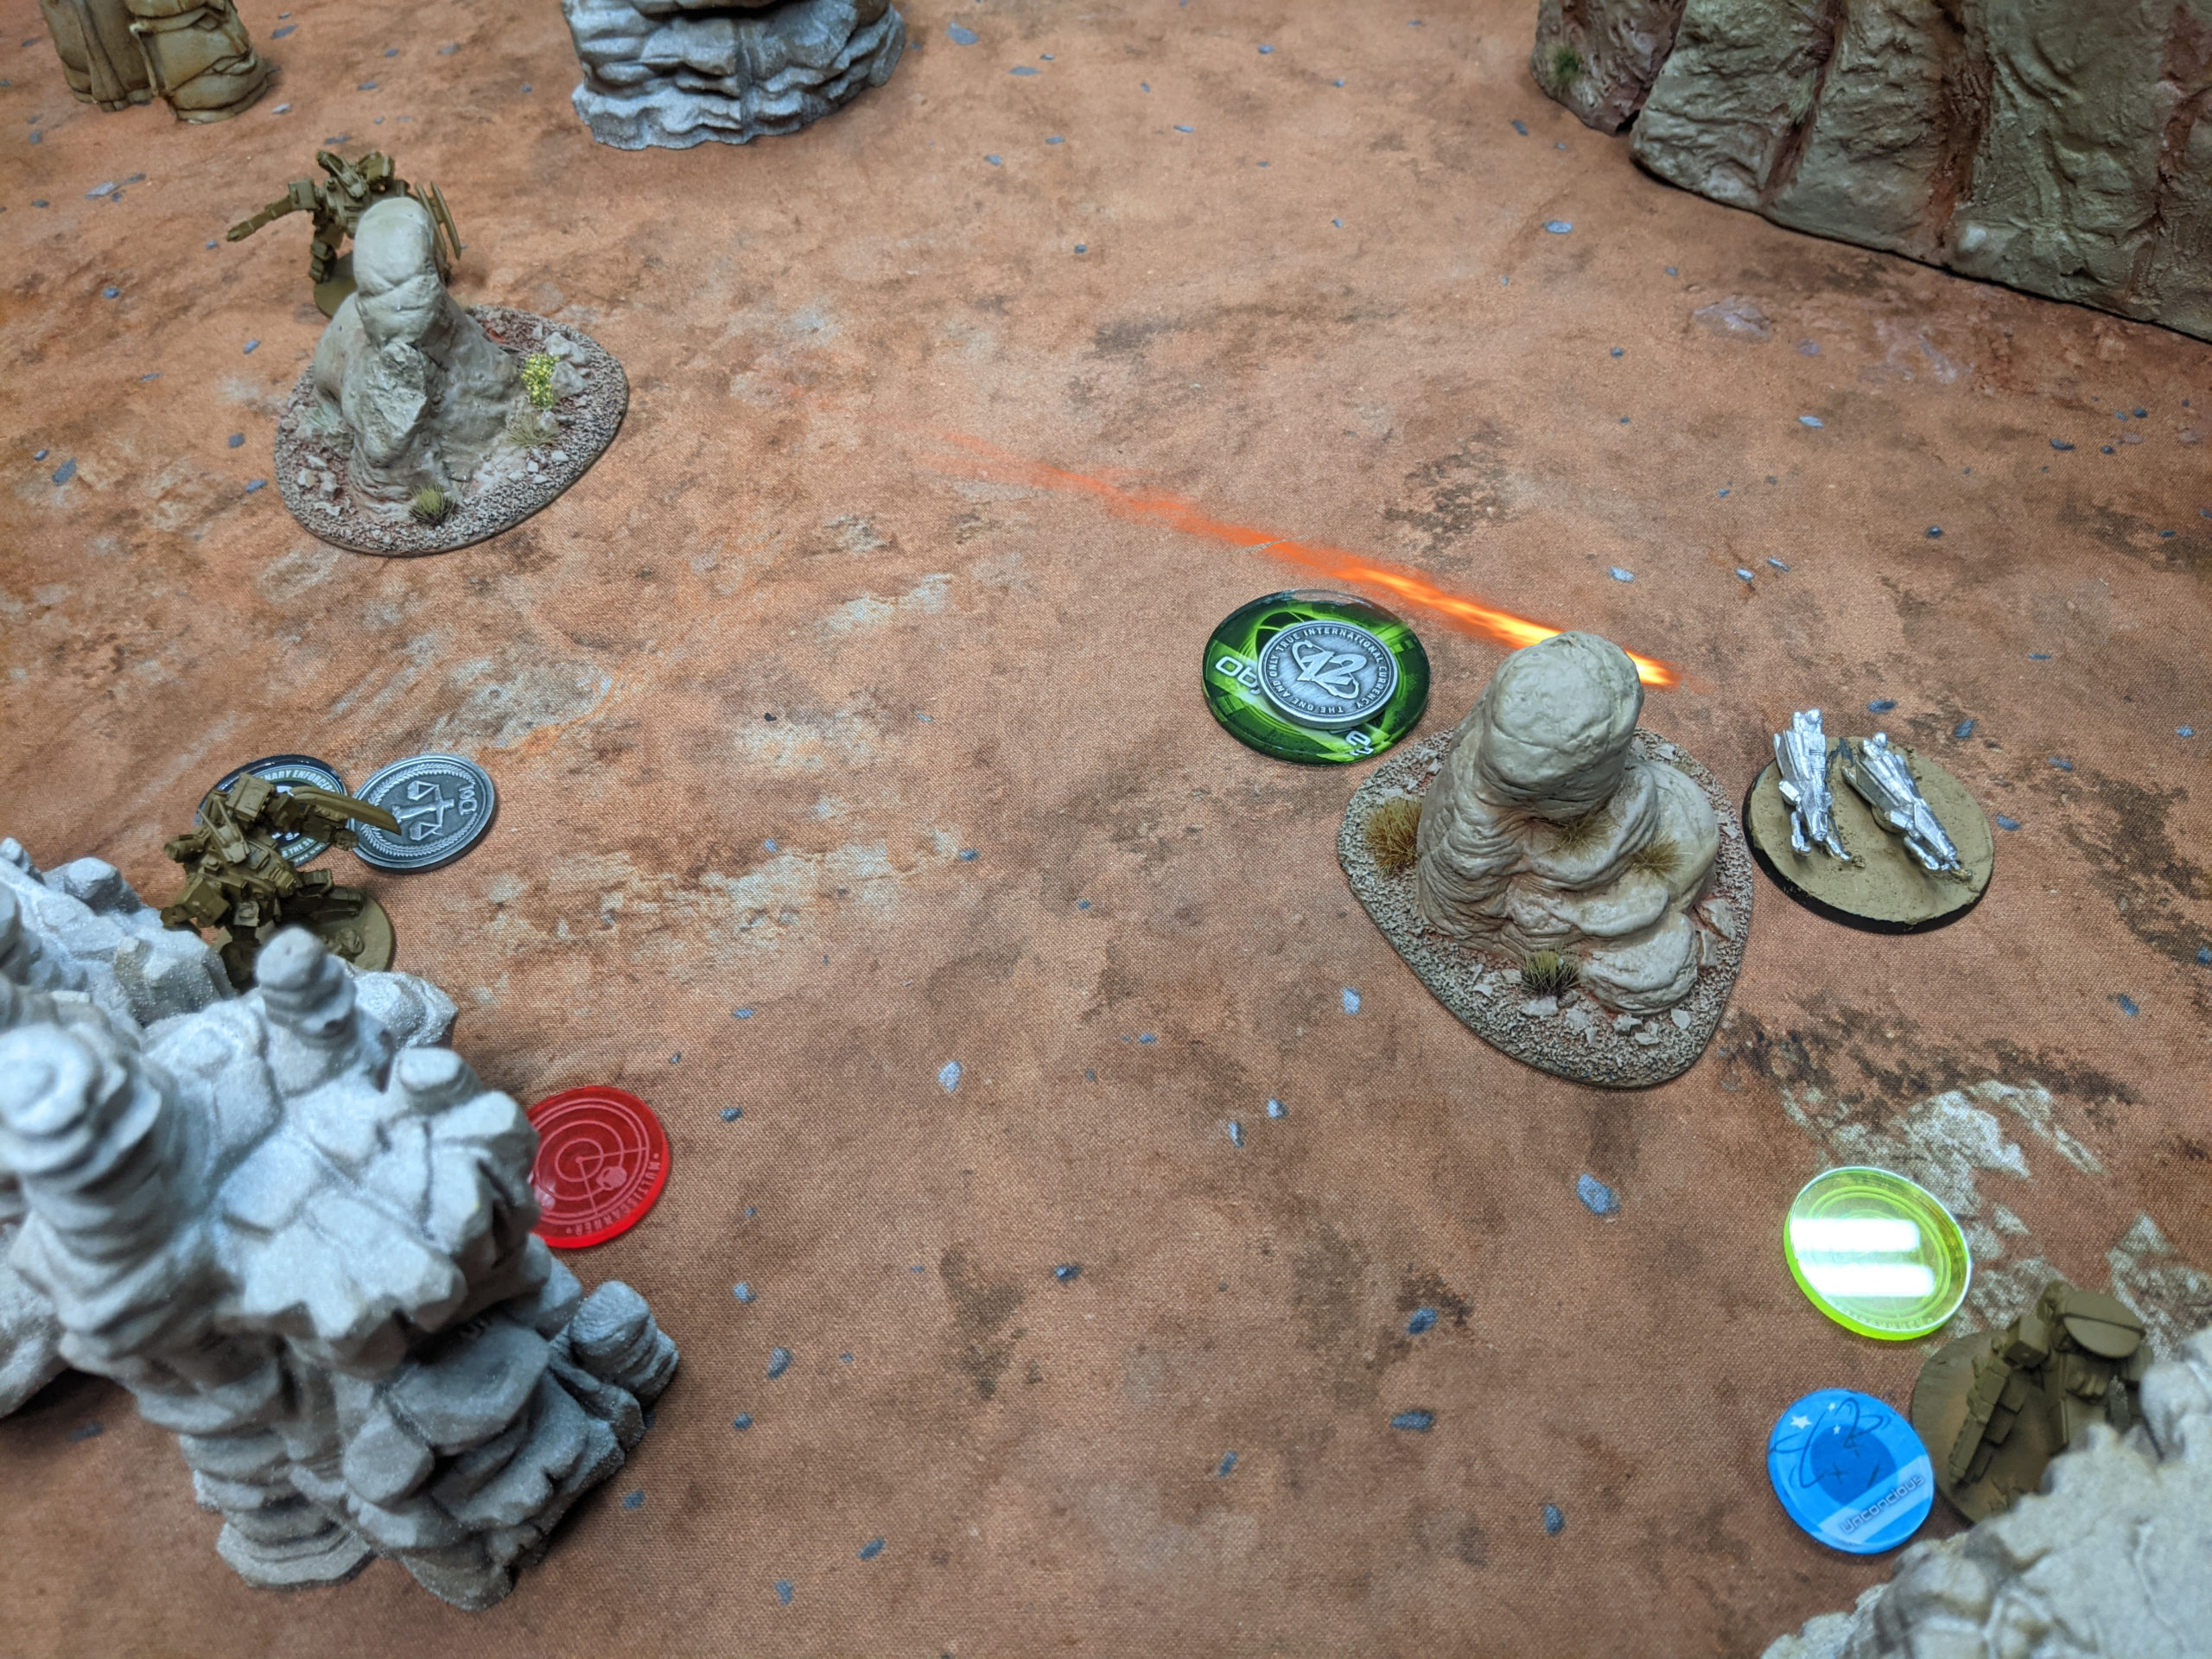
I plink another point of damage off with my objective-carrying Mameluk.
My Pilums move forward, and the Shinobi tries to shoot the Wildcat in the back, with no results. Adam really wants to take down my Skirmisher, as it’s an assassinate target for him. The first Hunter with Snub Cannon fails to get the job done, and I take it out with the Skirmisher’s frag cannon, as it was already damaged.
The second Hunter with snub cannon shows up and shoots the Skirmisher in the back, netting Adam that point.
I get super cheeky and rush my objective carrying bike out to shoot the offending Hunter, crippling it. Adam positions his Lion/Tiger squad a bit, nothing happens.
My other bike makes it to Adam’s deployment zone, and I take another shot with the Shinobi at the Wildcat’s back, taking it out, getting me an assassinate point and forcing Adam to drop the objective.
My Pilums go to work, finishing off the Tiger…
and a snub-cannon hunter.
Last turn of the game, Adam picks the Wildcat’s objective back up with his remaining Lion. I try to take it down with some bikes, but fail.
He gets a Wildcat onto one of his Hold objectives, and I try to shoot it off, first with the Shamshir Warrior IV, who is somehow still alive…
and a Pilum… both fail. I get the Shinobi onto the same objective to deny it to him.
Adam’s got one objective and one point for Assassinate. I have both my Assassinate points, both my Hold points, both my Break the Line points, and two assets, making it a
9-2 Peace River Victory!
Post Game Analysis
Well, this was meant to be a Peace River test game, but it turned more into an example of how important activation economy is. By the bottom of two, I had a 2:1 lead on activations over Adam and was doing a pretty good job of reducing his materiel in general. AR 5 doesn’t stand up very well to… well… anything, really. Certainly not LATM fire. The Lions and Tigers were more survivable, but again, LATMs are more than enough to take them down when necessary. So I think this was a pretty tough matchup for Adam here.
I was able to expose only what I needed to, and use my Spitz bikes to get work done. I’m impressed with how powerful LIGL are, especially with Let Them Have It and rear-arc bonuses. I suppose I shouldn’t be surprised given my love of the MIGL on GREL Hoverbikes. I will say that it’s been really nice having multi-purpose units as opposed to the generally more “optimized” CEF units.
I am really enjoying the Mameluks in particular–they are so cheap for the tools you get. They’re not stunning, by any means, but they really offer no appreciable downside. Having SK and Airdrop lets them pad out a Warrior IV squad in the midfield so easily. And I think this is where Peace River, at least for me, is going to shine. Since ECM and ECM+ are just so available, I don’t have to make decisions about when or where I want it. It’s sort of like hacking in Nomads for Infinity–I’m going to have them just by clicking around in the army builder whether I like it or not.
In my other armies (CEF/NuCoal), I have to make a conscious decision to try and include ECM. Not so for Peace River. That makes airdrop a lot easier to fit into a list–the midfield of the table is so deadly that you really want an ECM bubble in there, and Peace River has so many options to choose from. Coupled with the cheapness of the Mameluks and the striking power of the Fusillade and Shamshir Warrior IV’s, I think Peace River is very happy to get into a midfield scrap with you.
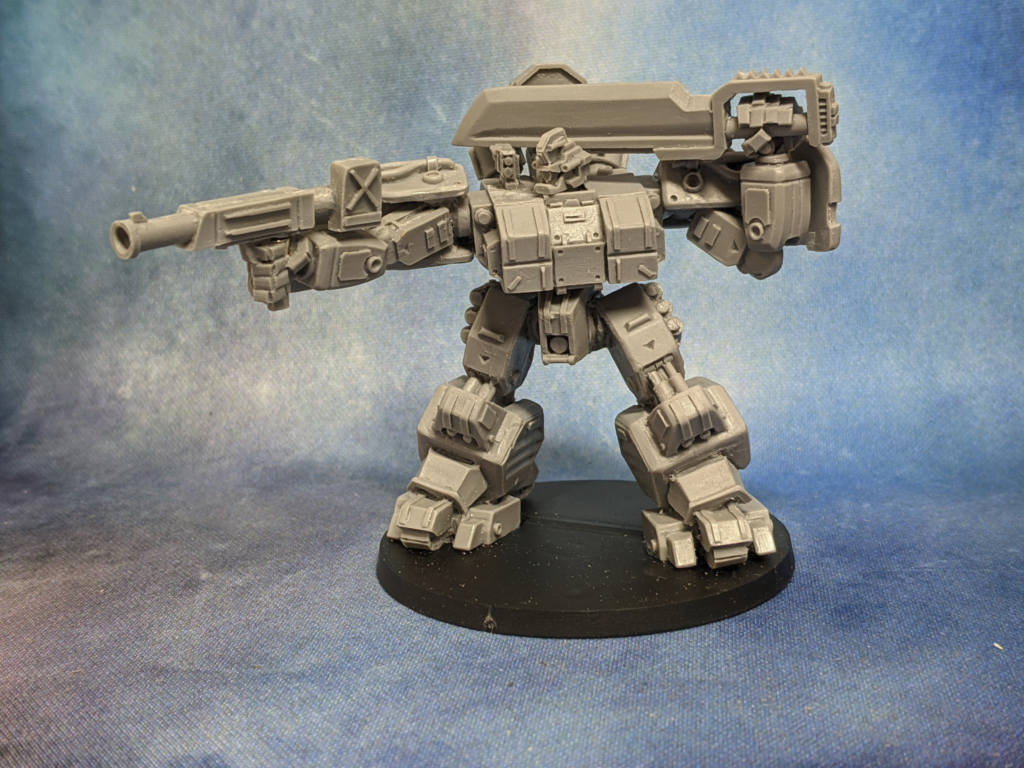
I’m pretty happy with the composition of my list–I really don’t think I had to make any sacrifices when building it. I had speed thanks to the Spitz, anti-armor with the Pilum spam, midfield presence thanks to Warrior IV + Mameluks, and then all of the above from the Shinobi. The thing that I wanted to include was a melee component to the list, but that’s more for anti-armor and for fun than anything else. The Pilum are more than capable of filling that role at 100 TV. I’d add in some more stuff related to melee at higher point values, and possibly throw in a Cataphract, because OMG that model:
I definitely don’t have enough data to give a complete picture of Peace River yet, but here’s my current hot takes:
- Widespread ECM availability is enough. I don’t necessarily need to lean into E-War if I don’t want to, but I can if I need to. I’ve seen other people really buff their E-War by adding all sorts of upgrades, but I don’t think it’s strictly necessary.
- Anti-Armor on Pilum Warriors and via melee. ATMs are not rare, but definitely not plentiful in Peace River. I think they are probably the best suited to use melee to deal with high AR units thanks to widespread access to MVB and Brawl. Caprice is in a similar boat.
- Midfield Presence – I think they’re pretty well suited to hanging out in the midfield. Of everything I’ve played so far, I’m the most confident in just dropping them in and expecting them to get stuff done. Of course I haven’t taken this duelist yet:

In any case, I’m happy to have Peace River in my toolbox, and I’m looking forward to exploring their melee options in the future. Thanks for reading!