
La Bête et la Bête
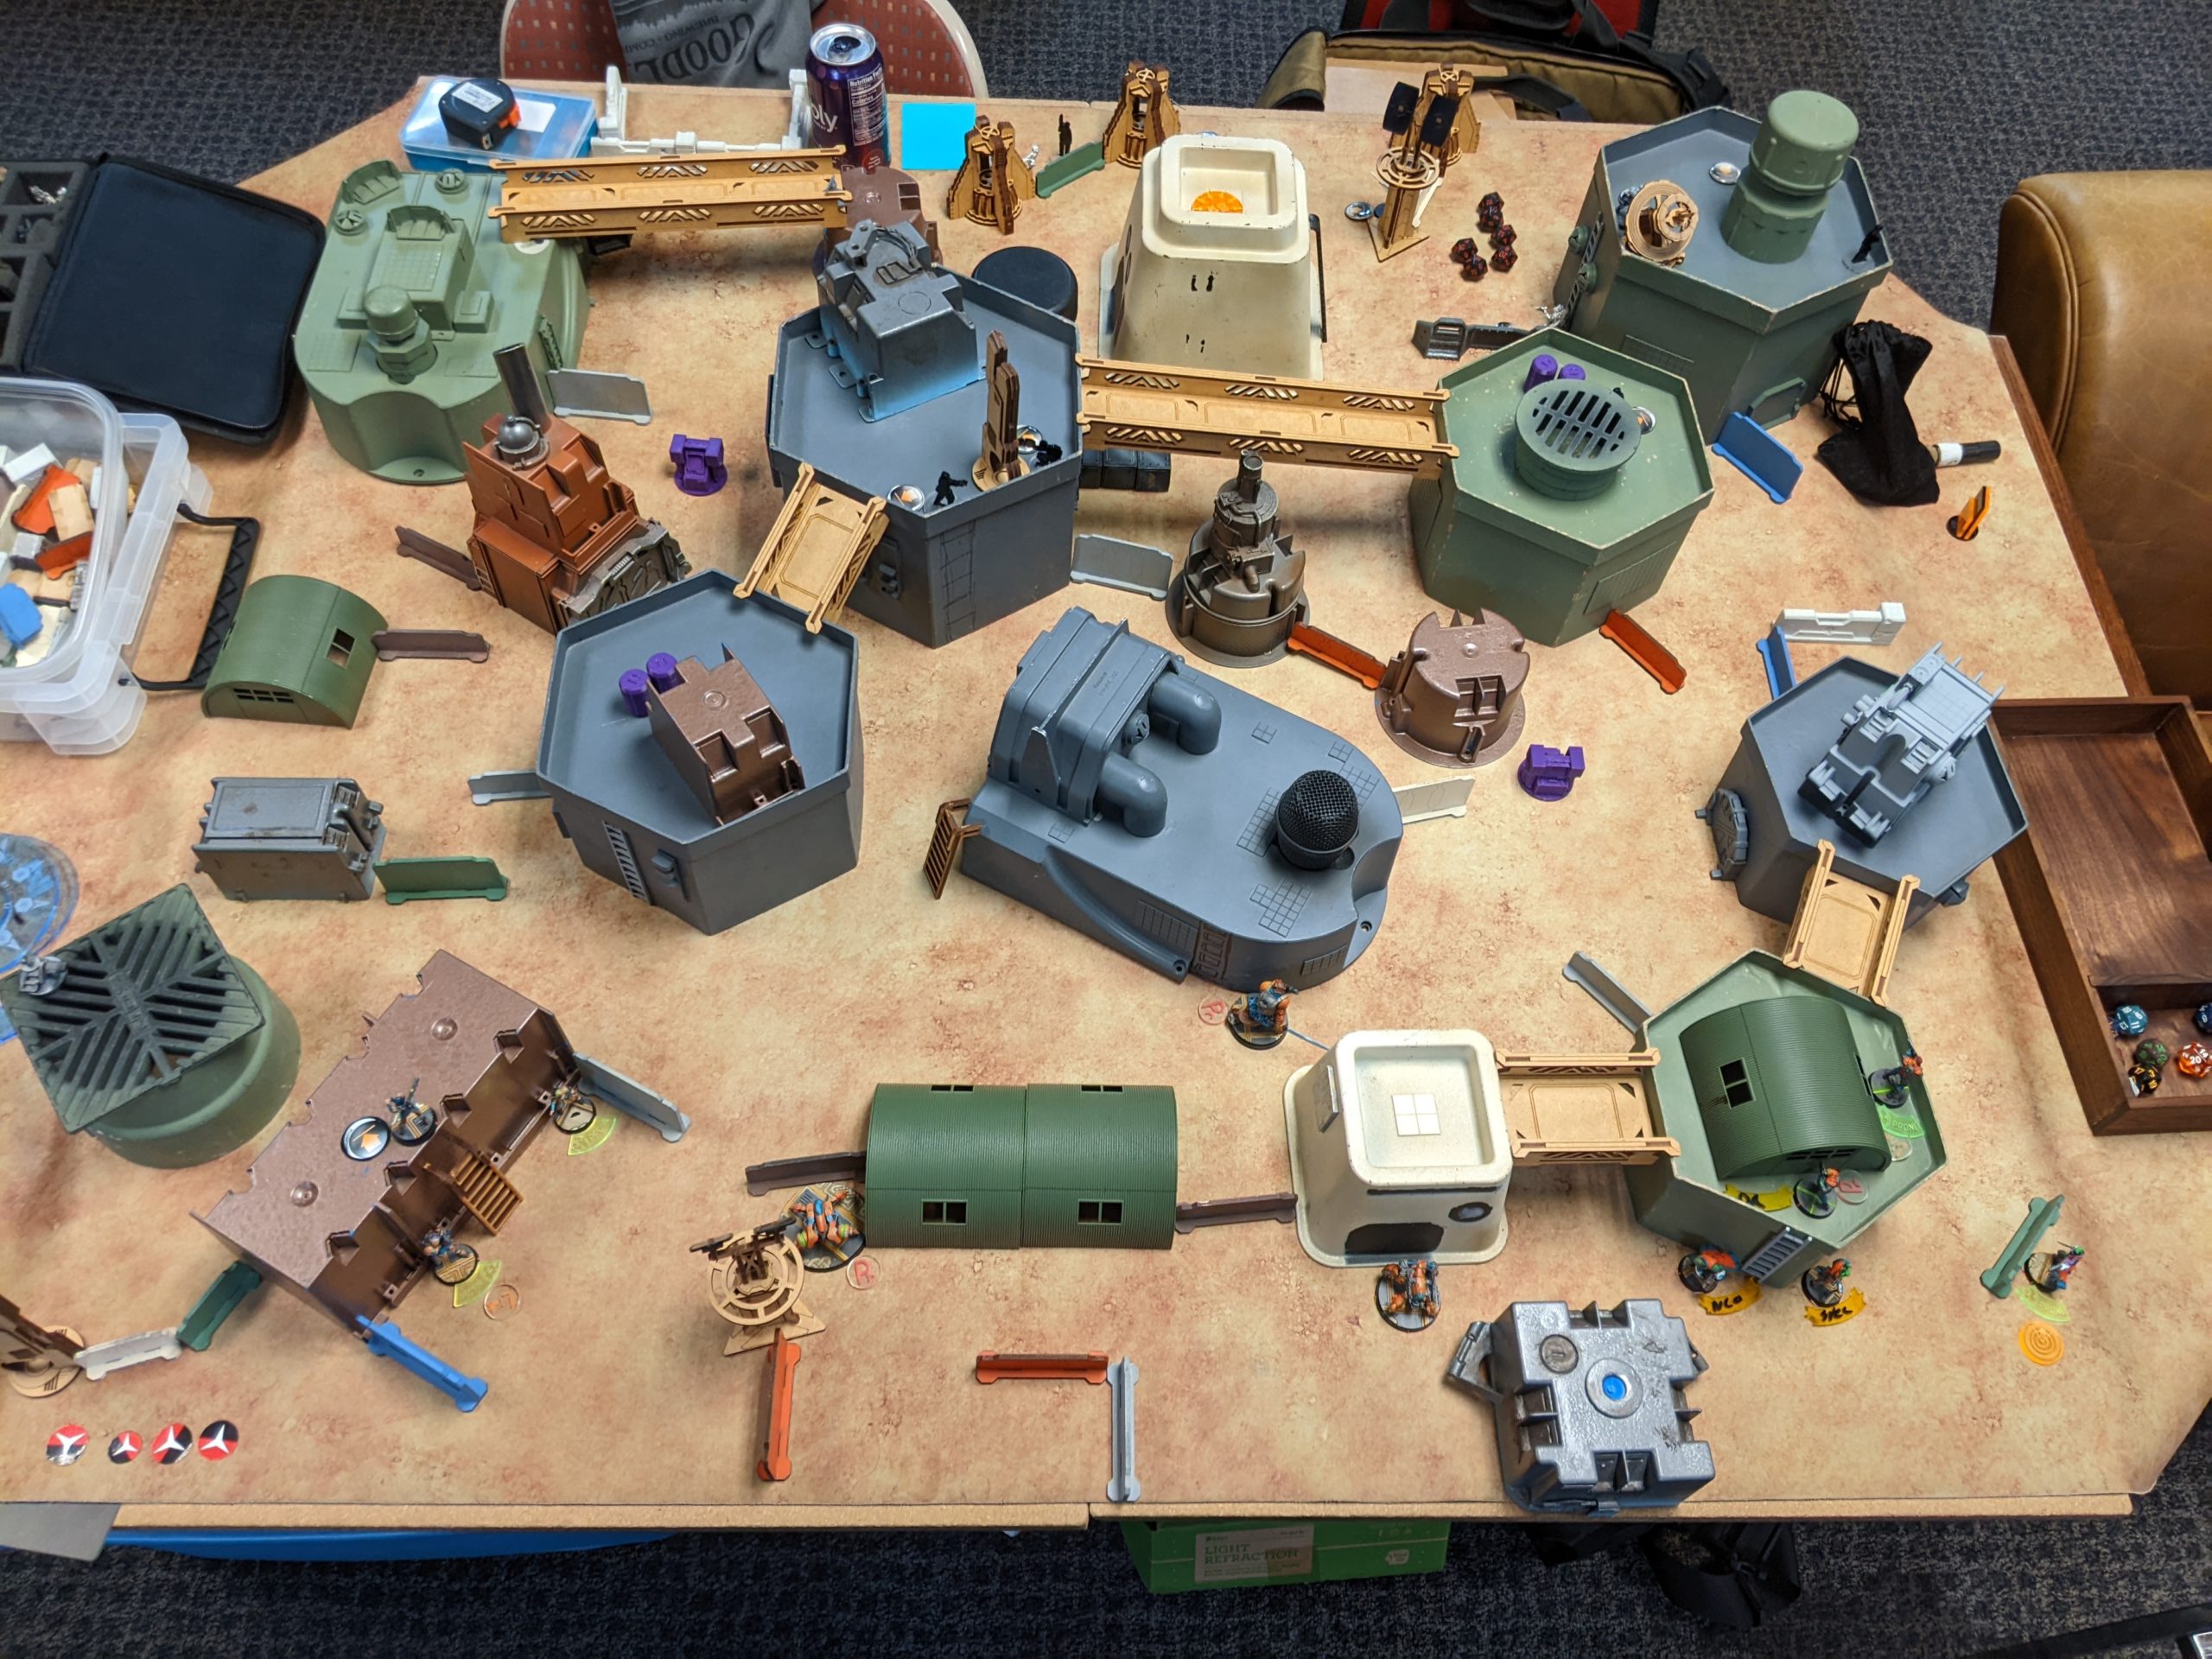
Andy (Antilles) asked me for a teaching game versus his Corregidor. He’s a longtime wargamer (and excellent painter), and has started the Infinity skill ladder climb pretty recently. Piloting link teams has been giving him a lot of trouble, so he asked me to be his sparring partner to help him sort it out. We played on this table made of store terrain:
Overview
- Mission: ITS14 Cryogenics
- Forces: White Banner versus Jurisdictional Command of Corregidor
- Deploy First: Corregidor
- First Turn: Corregidor
My list is an edit to the one from my last game of Yu Jing:
My primary complaint from the previous game was that I just wasn’t happy with the Hac Tao HMG and wanted Bixie in that slot. So I started with the previous list, made the change… and then realized that I was basically playing all White Banner units. So I decided to just play White Banner. I’ve got two links in here, the Liang Kai + 2 Shaolin order battery, and a Zhanshi HMG, Lt, and Beasthunter link as a secondary striking piece in the list.
Might as well White Banner
GROUP 1
9
1
ZHANSHI (Lieutenant) Combi Rifle / Pistol, CC Weapon. (0 | 11)
BEASTHUNTER FTO (Minelayer) Heavy Flamethrower, Panzerfaust, AP Mines / Pistol, DA CC Weapon. (0 | 9)
GROUP 2
DÀOFĚI Spitfire, D-Charges / Pistol, Shock CC Weapon. (1.5 | 55)
BÌXIÉ MULTI Rifle, Zapper, Flash Pulse / Pistol, E/M CC Weapon. (0 | 41)
GŬILÁNG (Hacker, Hacking Device) Combi Rifle, Shock Mines ( ) / Pistol, CC Weapon. (0.5 | 30)
LÓNG YÁ (Minelayer) Panzerfaust(+1B), Flammenspeer(+1B), Submachine Gun, AP Mines / PARA CC Weapon(-3). (0.5 | 17)
HÙNDÙN (X Visor) Heavy Rocket Launcher ( ) / Pistol, CC Weapon. (1.5 | 27)
3
WÈIBĪNG Yaókòng Combi Rifle, Flash Pulse / PARA CC Weapon(-3). (0 | 15)
LIANG KAI Chain Rifle, Light Shotgun, Flash Pulse / Pistol, EXP CC Weapon. (0 | 21)
SHAOLIN Chain Rifle, Smoke Grenades / Pistol, DA CC Weapon. (0 | 6)
6 SWC | 300 Points | Open in Infinity Army
Primary tools are the Guilang, the Daofei, and Bixie. I figured I’d get some efficiency out of the new ITS14 update to messenger drones with Tac Aware, ECM Hacker (-3), and Marksmanship as well, so a Weibing made it in the list. Finally, to replace Lunah, I threw in a Hundun with HRL. Obviously not equivalent, but he does a similar thing which is ARO stuff and shoot stuff in the active turn maybe. He has the added surprise of hidden deployment, which is always fun.
Andy’s list is a pretty link heavy Corregidor list, by design. He wanted to take a core and a haris to practice moving links around. His haris was three Mobile Brigada with the ML there to handle long range threats in ARO, and the core was a mixed Alguacil/Lobo core. I’m not sure I’m a fan of that choice, as Lobo are paying a lot for that Biometric visor, but the Lobo NCO Red Fury is a sometimes choice if you use your Wildcat slot on not the Spitfire.
Link Practice
GROUP 1
MOBILE BRIGADA (Lieutenant) MULTI Rifle, Light Flamethrower / Pistol, CC Weapon. (0 | 35)
TSYKLON Spitfire, Pitcher / PARA CC Weapon(-6). (1 | 33)
ALGUACIL Combi Rifle / Pistol, CC Weapon. (0 | 10)
LOBO (Specialist Operative) Breaker Combi Rifle, Heavy Riotstopper, Flash Pulse(+1B) / Breaker Pistol, PARA CC Weapon(-6). (0 | 25)
GROUP 2
McMURROUGH Chain Rifle(+1B), Grenades, Smoke Grenades / AP + DA CC Weapon. (0 | 27)
REAKTION ZOND Heavy Machine Gun / PARA CC Weapon(-3). (1 | 25)
5 SWC | 299 Points | Open in Infinity Army
He’s got a Tsyklon as a spare tire for the Brigada link if he wants it, and he took McMurder and a TR bot. The TR bot by itself in the second group is an odd choice, but the objective is to push links around the table and get reps in, not to build the best possible Corregidor list. For the stated purpose, I think the list is fine.
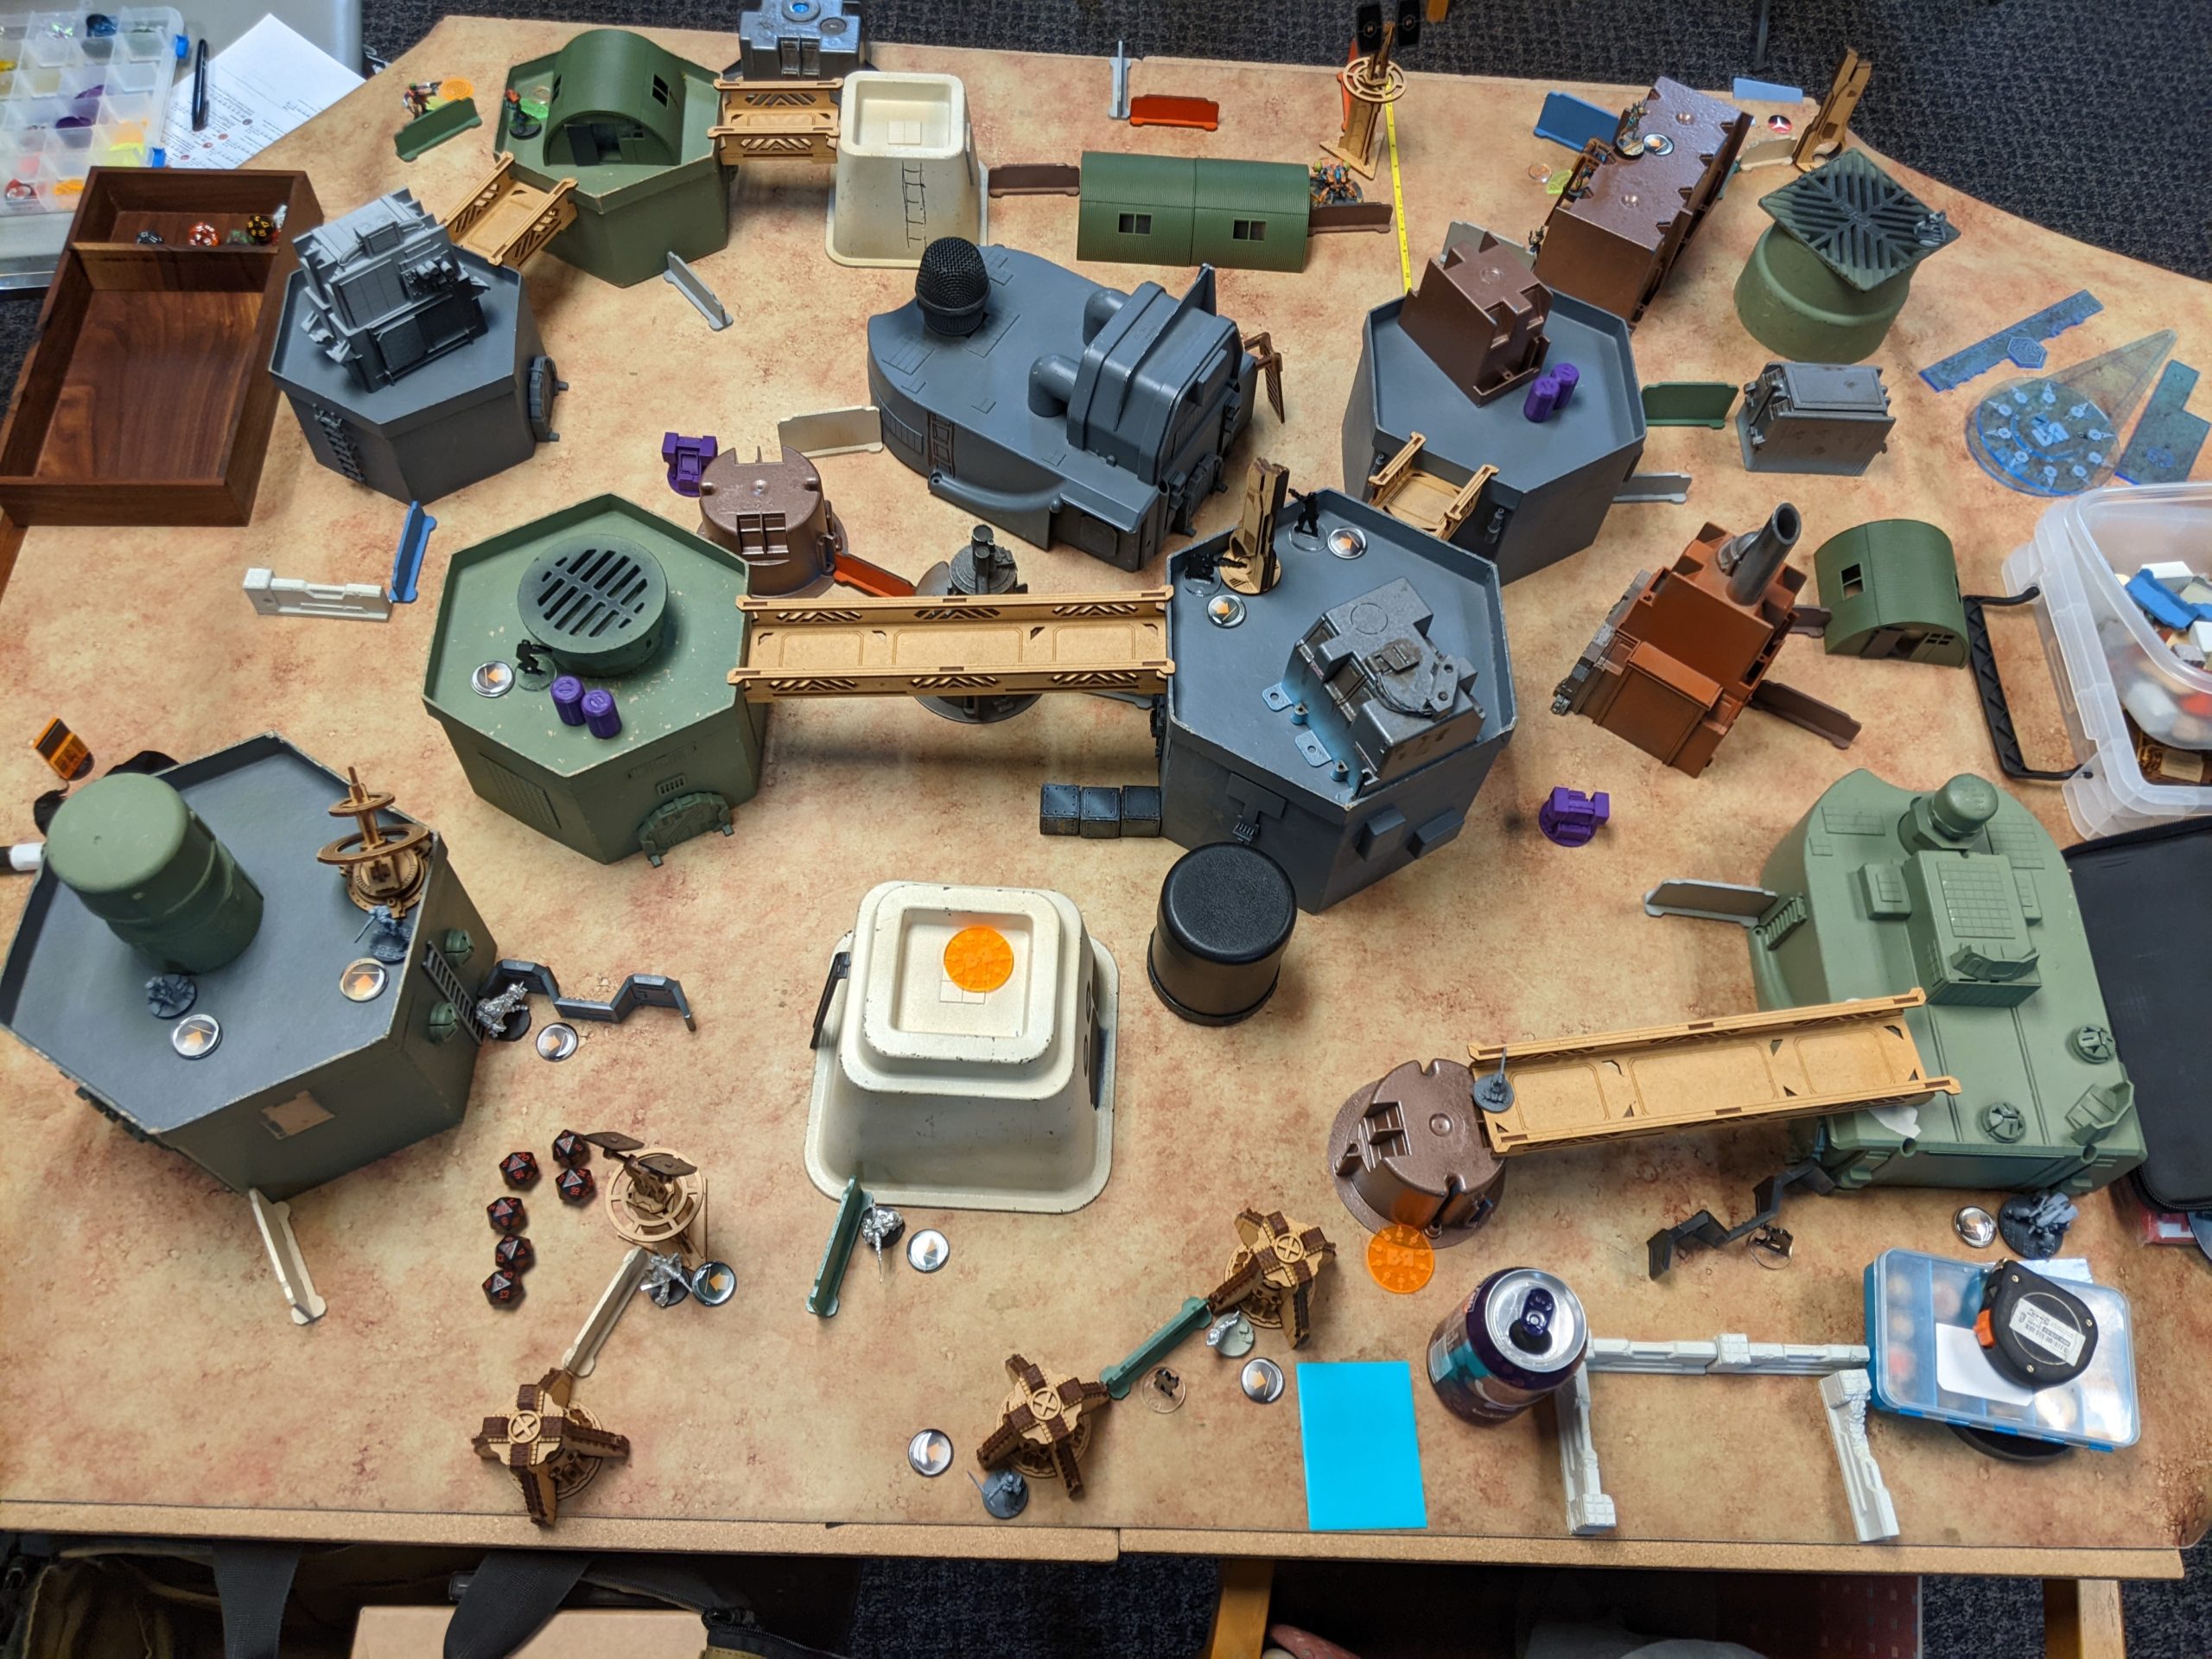
Deployment
We decided to play the new Cryogenics mission, which is essentially Supremacy with random moveable objectives. You can get a breakdown in the Late Night Wargames episode on the ITS14 season:
Andy won the rolloff, but had some trouble deciding whether he wanted to go first or take deployment. I suggested that going second is generally better in area control missions because you have the last say in model placement before scoring happens. His original impulse was to go first, as he’s had some bad experiences getting alpha-striked by other members of our meta. After some consideration, he decided to stick with his gut and go first, which is reasonable. I find second guessing yourself in Infinity generally leads to a loss, so having a reasonable plan and sticking with is it alright.
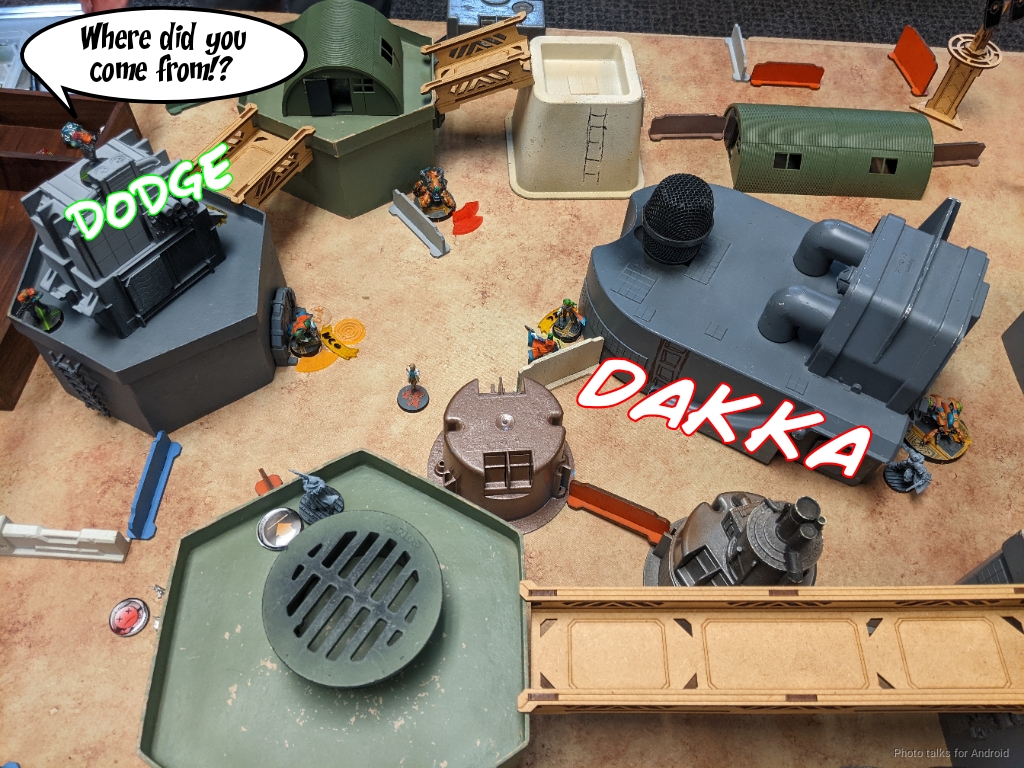
I decided to take the side with a more defensible deployment zone. I’ve seen him play Carlota before, so I wanted to have some options in defending against her. We talked through his deployment a bit. The Brigada ended up on the left with the Tsyklon nearby to be the aforementioned spare tire. Frank Washburn introduced me to that term in the context of Infinity and I gotta say I really like it. Concise. Gets the point across.
I think the Brigada placement was fine, the MULTI and the Hacker were generally pretty safe for a first turn player, and the missile launcher saw a few key firelanes and avenues of advance. The Reakton Zond was hidden behind a building, and when I asked him why, Andy said it was to be able to respond to my deployment by spending an order on his first turn, which I kinda like. Given that his second group is literally just the TR bot, he’s got one order to climb it to the roof if I’m not contesting the roof with an ARO, or push it around the corner somewhere.

The Lobo/Algaucil link deployment is pretty constraining though. By putting both Alguacil on the rooftop, he really limits the mobility of the link. After the game, we discussed this, and he said that it was to create distance between the members of the link to prevent impact templates from killing everything. For a defensive link where you don’t intend to go anywhere, this is very reasonable, even recommended. However, if the plan is to move forward and take and hold ground in the midfield, then being tied to two link members on a roof runs counter to that plan. There’s a case in which you break the link and only move the members on the ground into the midfield, but that’s not what this link was designed to do. McMurder just hung out at the edge of Andy’s deployment zone. I forget what his reserve was.
He did have two Lieutenant options on the table though, and deployed like both of them were in play, which I think is a really good move for a Corregidor player. In any case, it was my turn to deploy. I didn’t see any visors on his side of the table so I stood the Long Ya up. I put both of them contesting McMurrough’s advance, and then put their mines in places that would make it difficult for any Hellcats or Carlota.
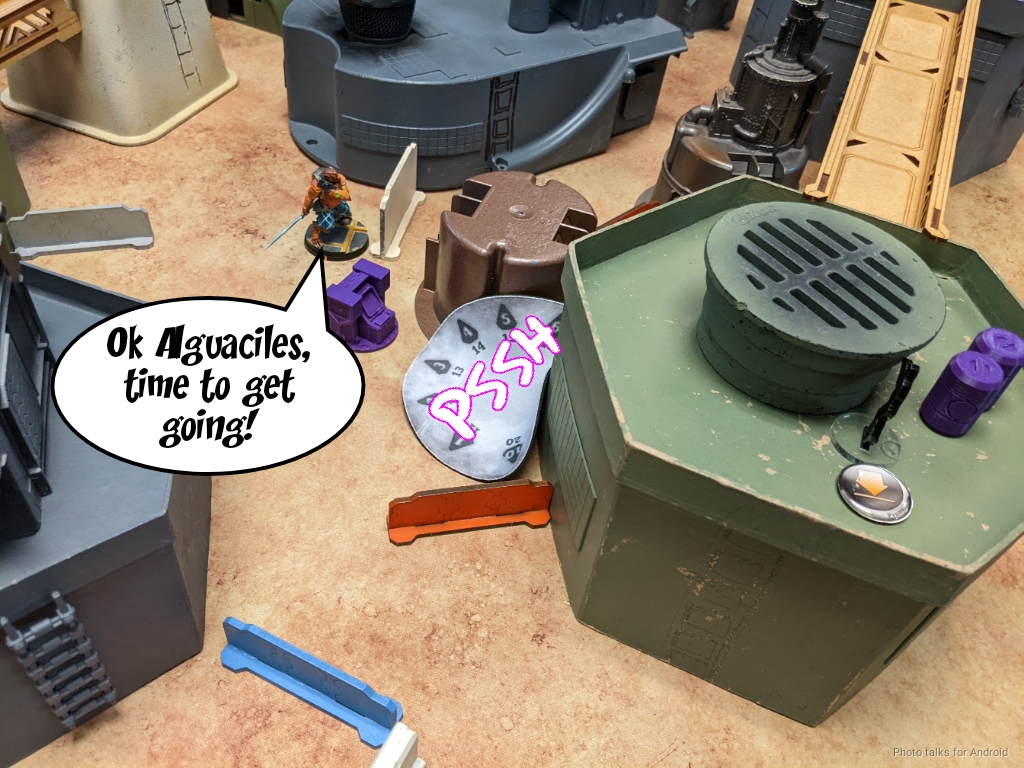
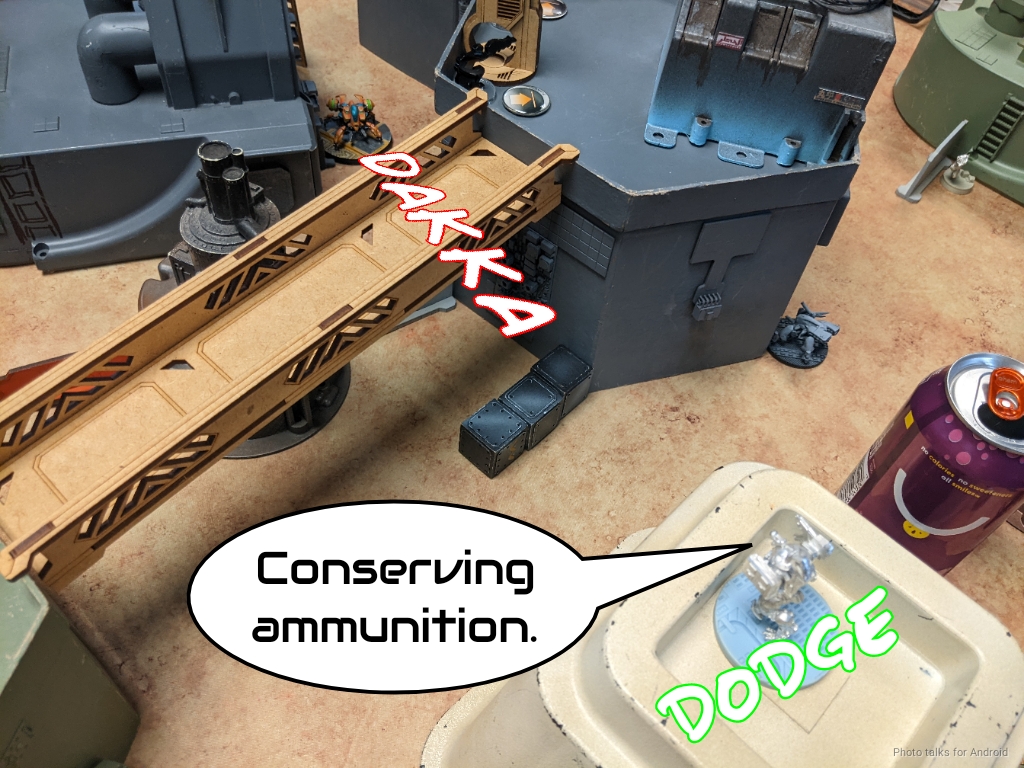
I don’t have a very well calibrated sense for how expensive Lobo are since they’re so new, so I wasn’t sure if there was something lurking off table or not. The Shaolin went down on the left of my deployment zone, locking down that area with chain rifles. I put the Hundun watching the Mobile Brigada ML, hoping to catch it as the rest of the link moved around.
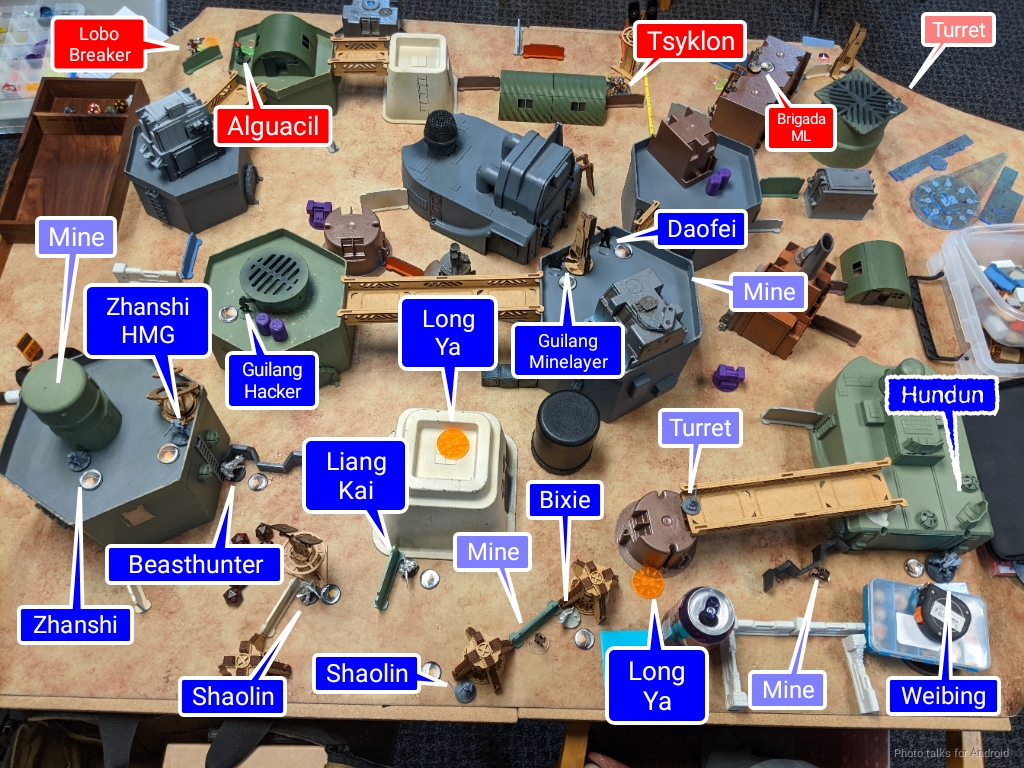
I put the Zhanshi core on the roof of the big building on the left of my deployment zone, figuring that I could use the HMG to punish any overextended members of the Lobo/Alguacil link. I did leave the Beasthunter on the ground floor just in case I needed to flamethrower something, and put the Beasthunter’s mine on the roof with the Zhanshi to discourage Hellcats from landing. My midfield was two Guilang and the Daofei, mostly set up to grab an objective on the left and to drop a repeater to harass the Brigada if I needed it.
I decided to put a mine down instead of a repeater with the Minelayer, because I figured that was more generally useful and I didn’t want to give the Brigada Hacker an attack surface on my Guilang Hacker. The Weibing went on the right with the intent of being able to grab the objective in my near right quadrant, and then it was reserve time. I think Andy’s might have been the TR bot? Not sure. In any case, mine was Bixie, who ended up in the middle of my deployment zone as there wasn’t a clearly better spot for her on one of the flanks.
I felt reasonably safe against Corregidor’s excellent AD options, and I had some easy attack vectors forward as well as some reasonably safe approaches to objectives. Both our turrets were placed to contest the right side of the board (from my perspective, but there were enough bridges and tall bulidings creating LoF shadow zones that neither was particularly oppressive. Of note is the fact that the Long Ya on my left was set up primarily to Flammenspeer the Brigada if they moved up and to shoot at McMurrough if he started jumping around on buildings on my left. While it did see the objective on my frar left, it really couldn’t see much else because of bridges or tall buildings, even though it looks pretty commanding.
Andy selects his Lobo NCO as his Master Breacher, and I choose Bixie as mine.
Turn 1
Top of 1 – Corregidor
I’m really not concerned about the TR bot having an order this turn, but I am very concerned about McMurrough having 11 orders, so i take two away from him. He sets up smoke on the left objective with his impetuous order to give cover from my Long Ya and then the rest of the list sets about doing some work.
The TR bot moves into position on the ground, which I didn’t expect–I fully had expected it to climb the building and take an overwatch position, especially with smoke down. Still, it was commanding a good portion of my left side of the table and would definitely keep my Guilang Hacker’s head down. Then the Alguacil link had some trouble moving forward, rubber-banded as they were to the Alguaciles on the roof. McMurrough had to throw some more smoke with his irregular order to keep them safe, but in some sense that’s why he’s there.
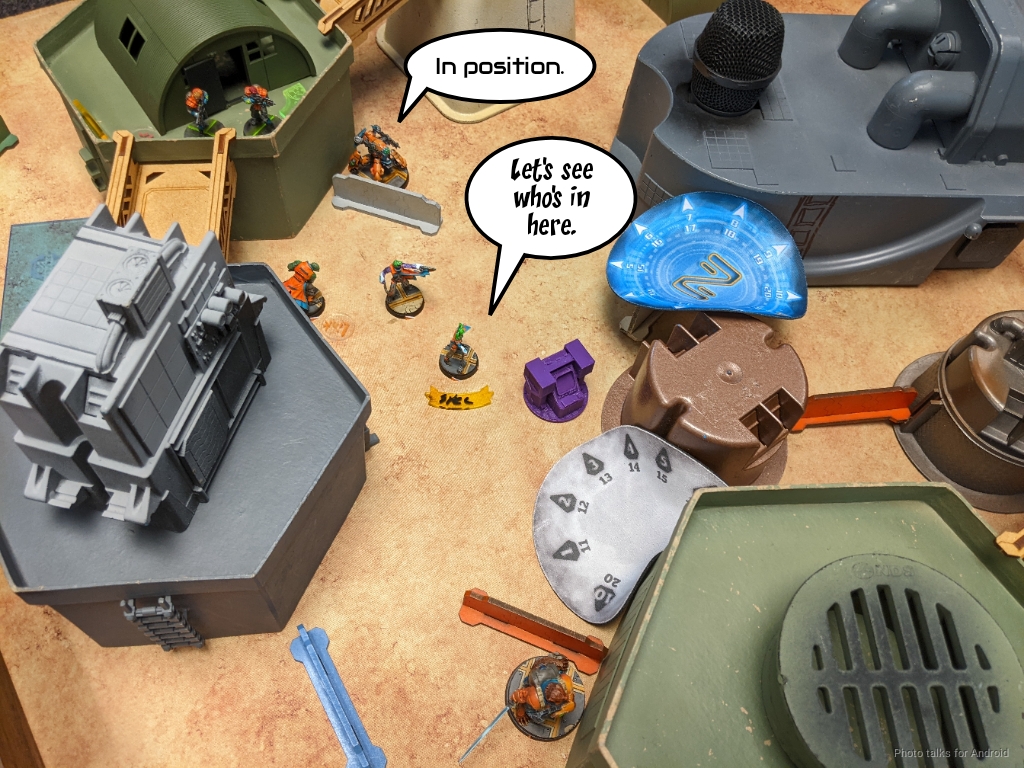
The Lobo Specialist operative WIP rolls the console and reveals an HVT. Not a big fan of the random aspect of the mission, but it does introduce an element of having to adapt, which I’m fine with, so it’s a bit of a wash.
Andy’s not exactly flush with orders at this point, having burned a lot of them trying to get the link into a better position. We talk about how he wants to set up the link for the following turn, and where he wants them to go. He decides to hide the Alguacil and the Lobo pretty far apart from one another, with the Lobo NCO as the link leader to keep everyone in coherency as they’re almost 16″ apart.
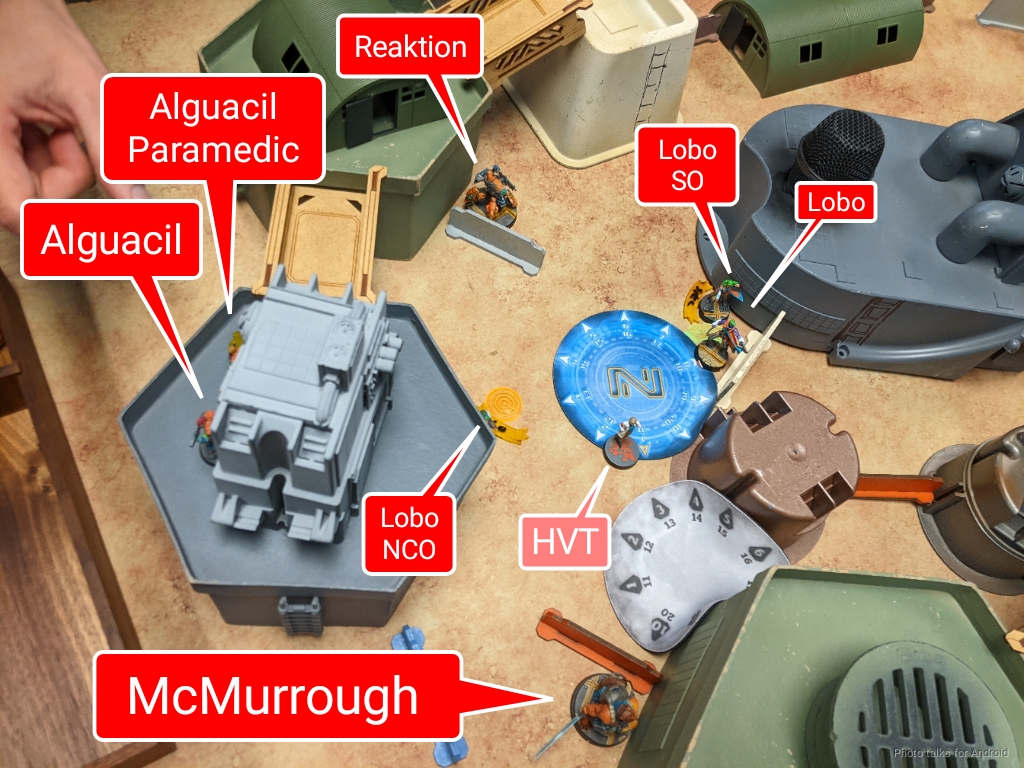
This is pretty dangerous, especially because the Lobo NCO isn’t in total cover and his is Master Breacher. I mention this to him, but he’s more concerned with preserving the other four members of the link and so we leave it as it lies.
Bottom of 1 – White Banner
My objective for this turn is to kill McMurrough and to break the Alguacil link by killing the Lobo NCO and thereby also killing Andy’s Master Breacher and denying him a bunch of points over the course of the game. I also need to get Bixie into a quadrant that I’m dominating to conversely get a bunch of points over the course of the game.
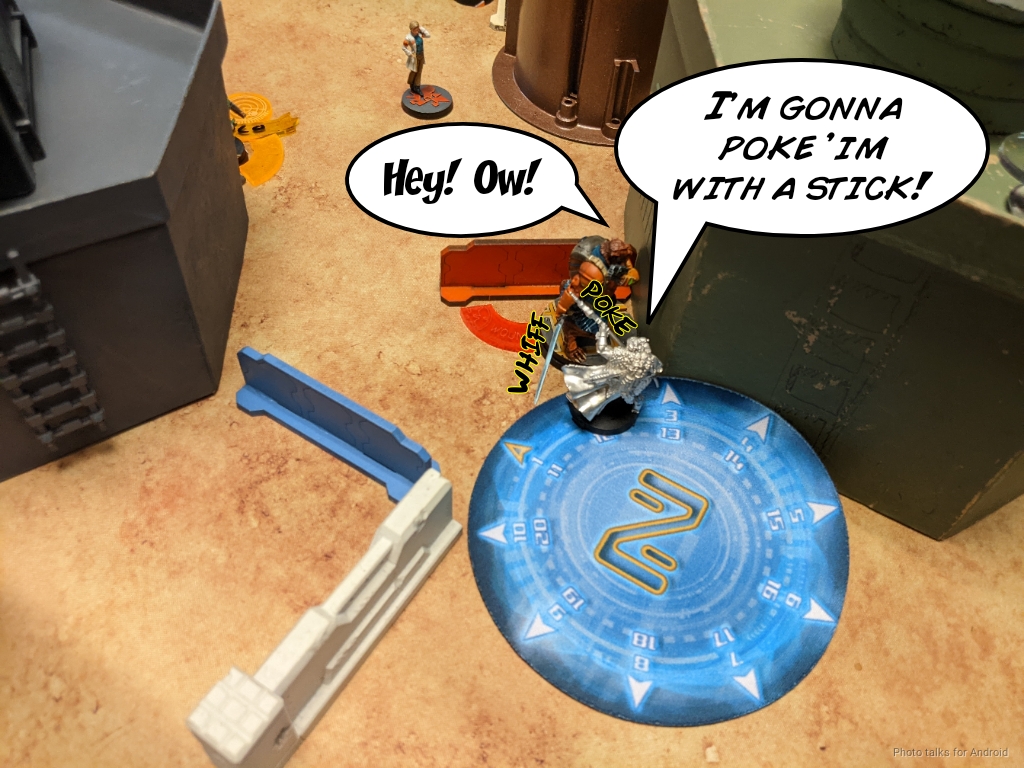
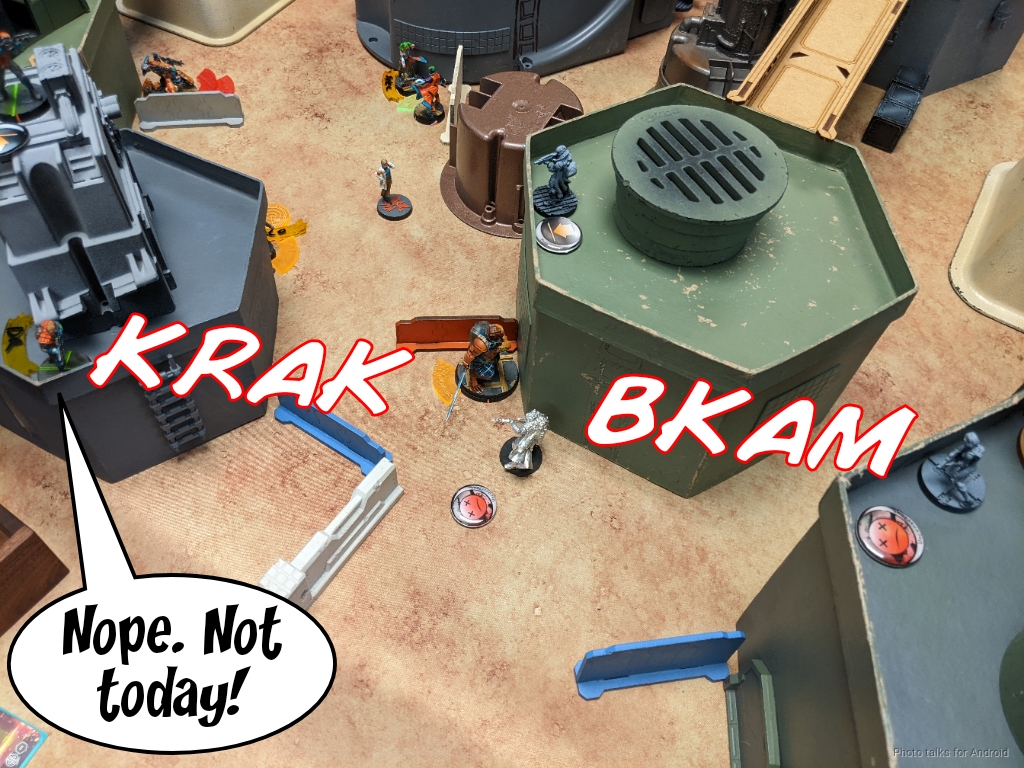
The Zhanshi HMG proves that sometimes BS 11 is enough if you’re on burst 5 and downs the Lobo NCO in one order while the Beasthunter advances. My plan is to force McMurrough to throw smoke and then I’ll intuitive attack flamethrower or something to get hits on him. I might even have to throw the Guilang Hacker under the bus to shoot through the smoke while getting chain rifled, but I hope that doesn’t happen.
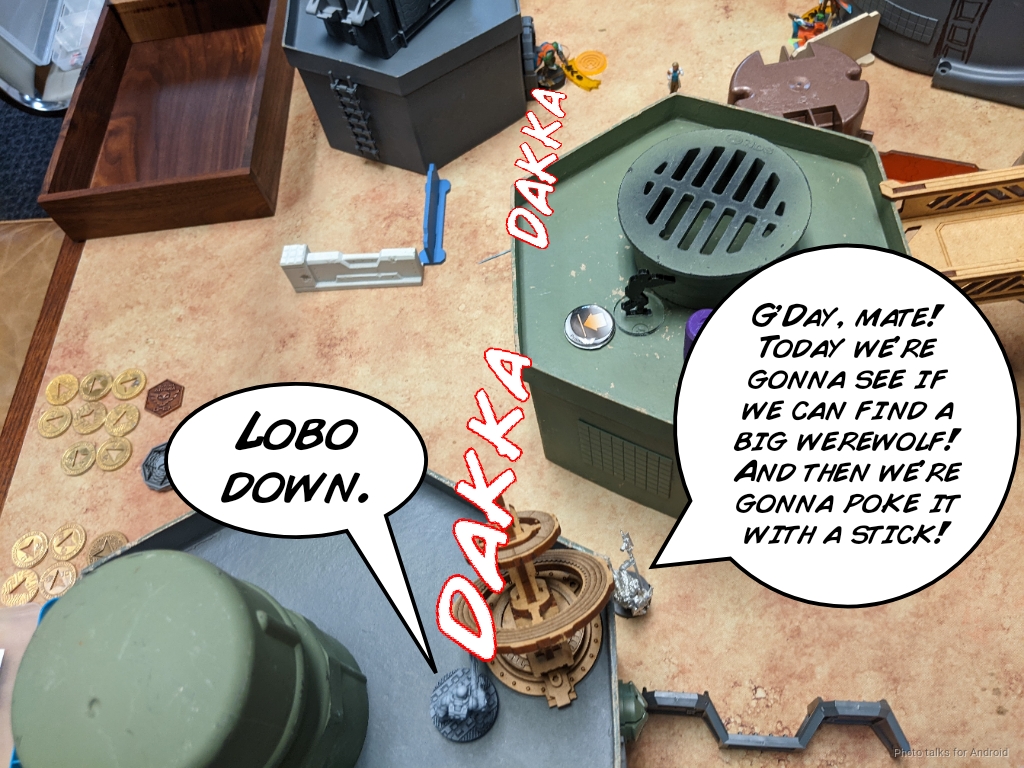
With the Lobo down, I can “safely” engage McMurrough with the Zhanshi HMG while the Beasthunter continues to creep closer. I beat the smoke roll but can’t get through McMurrough’s armor.
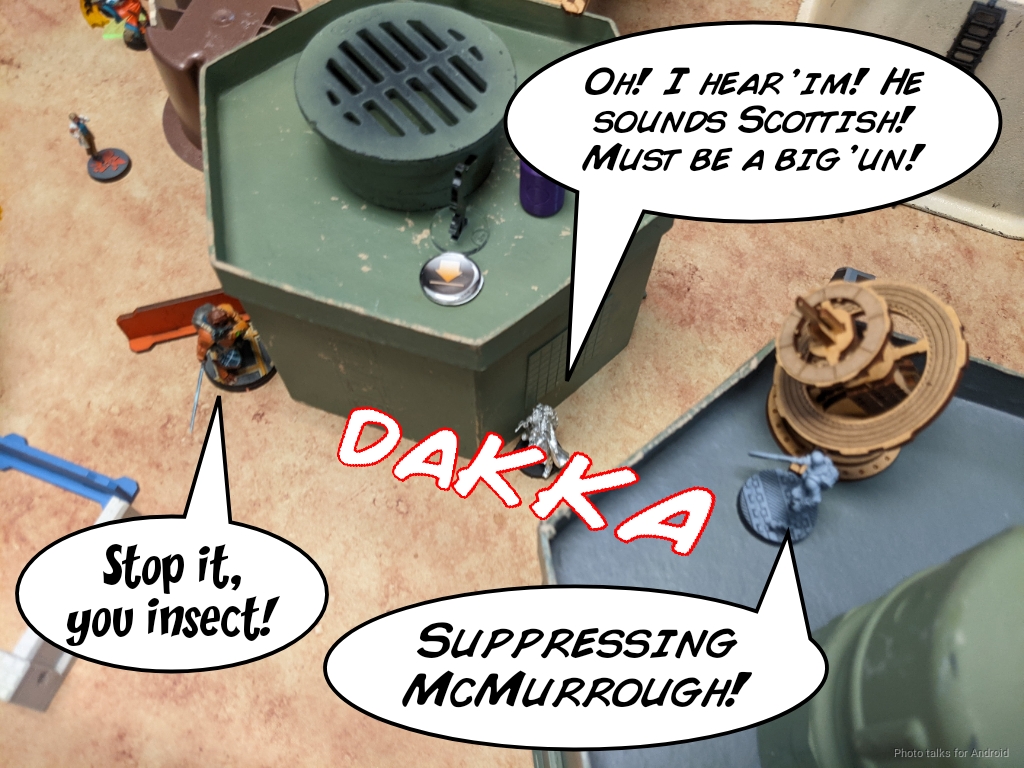
The Beasthunter moves into view as I keep firing with the HMG, but this time smoke lands.
I intuitive attack with the flamethrower as planned, and McMurrough dodges. I think the correct play here is to chain rifle, as I can only do one wound, but Andy wants to get into close combat, hence the dodge.
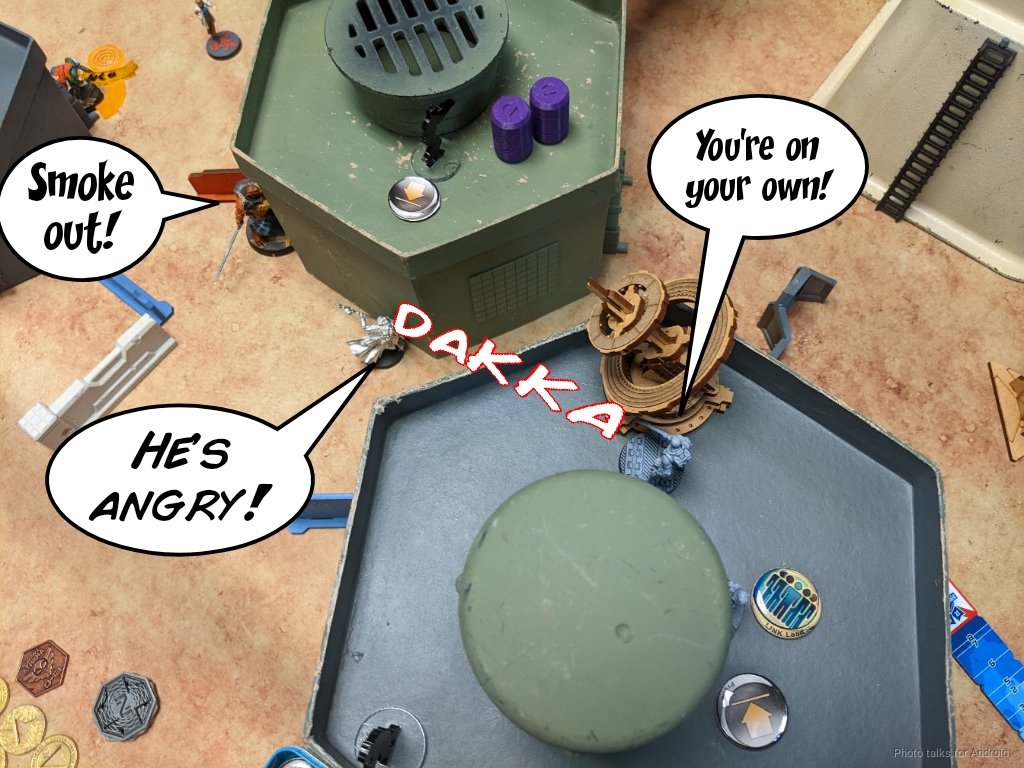
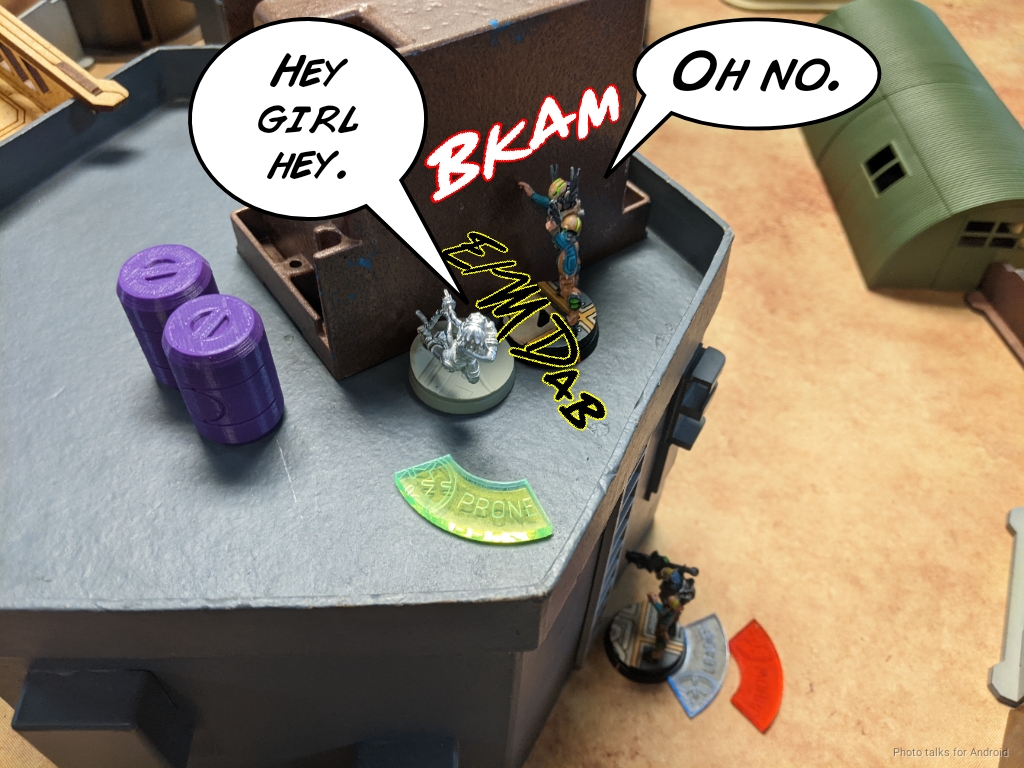
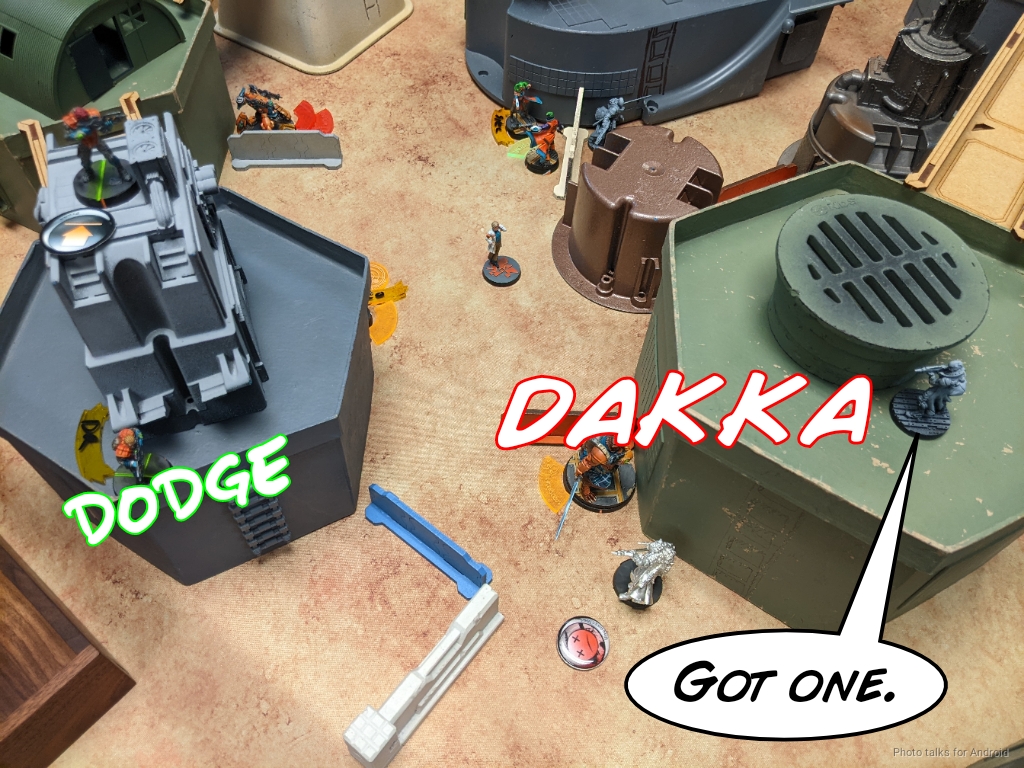
The Beasthunter is no slouch in close combat though, so I move into base to base and actually knock out McMurrough!
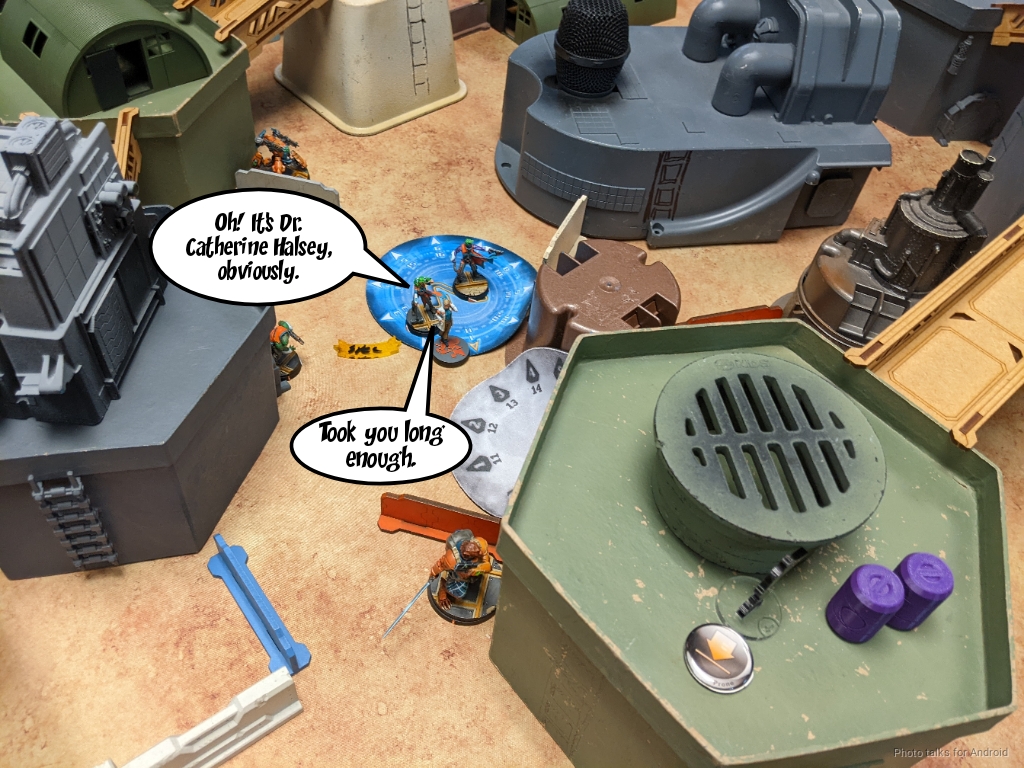
With McMurrough down, I can use the Guilang Hacker as the State Empire intended and ah… find “nothing” in the Cryo pod. Definitely not an assassination target that we can just unplug life support from. Nope. Nothing to see here! I think it’s a pretty fluffy bit of headcanon for the mission, albeit quite dark, of course.
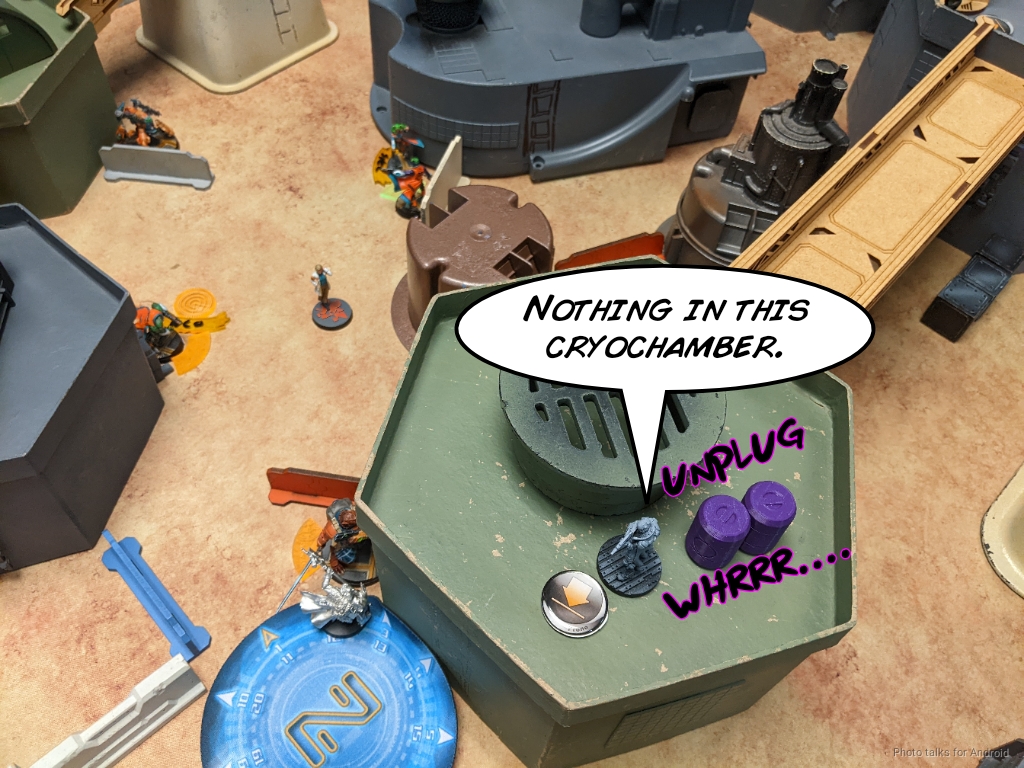
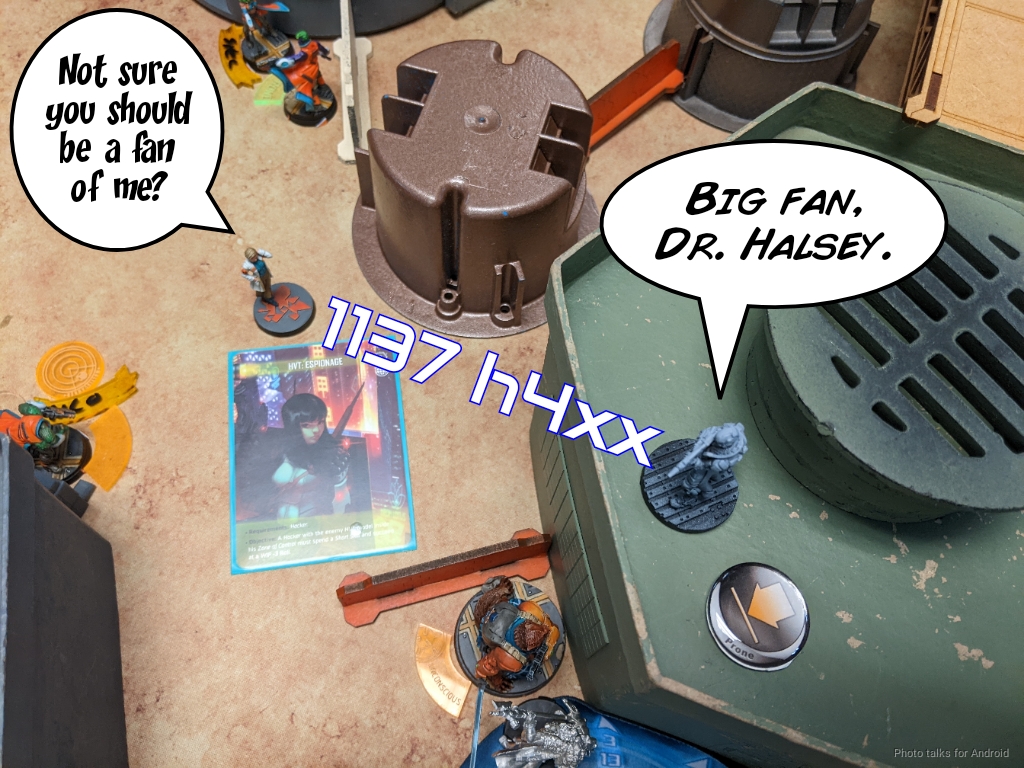
Dr. Halsey the HVT is actually pretty close to my Hacker, so I quickly snag HVT: Espionage.
Bixie makes a run for the console on the right, but somehow fails both a dodge to get extra movement and a WIP roll on the console, so I put her in the corner to think about what she did. The Weibing has 5 orders to get the job done thanks to Tac Aware, and after also failing once manages to find nothing in this cryo pod either before retreating to a pretty risky position in the midfield. I’m not happy about it, but that’s what happens when it takes 3 WIP rolls to open a box!

Turn 2
Top of 2 – Corregidor
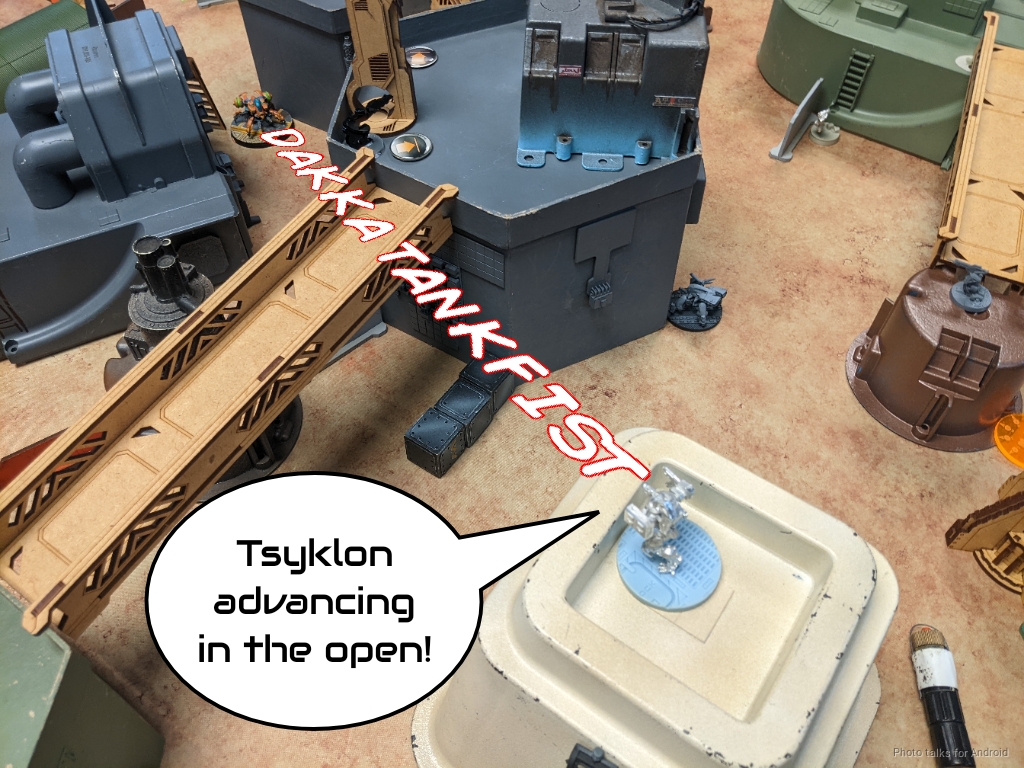
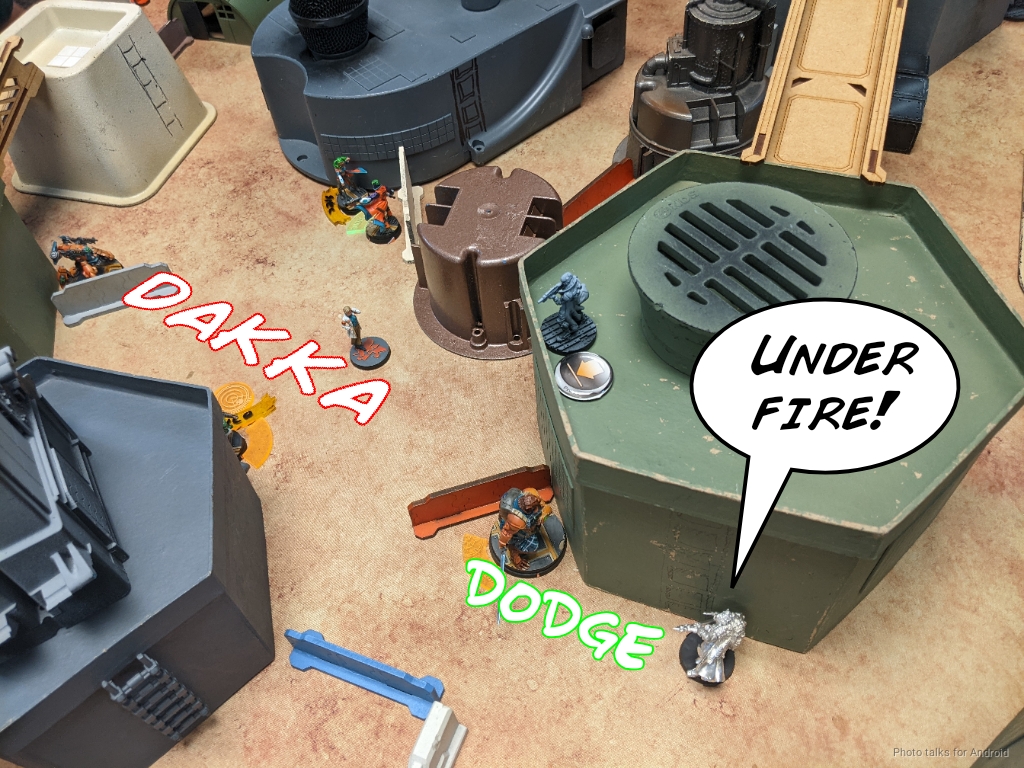
Andy decides he wants to challenge my Long Ya and moves the Mobile Brigada ML into a spot where it can see it before moving it back, threatening a discover. I hold the Hundun in hidden camo, figuring I’ll reveal it when he tries to attack the Long Ya. The Brigada fails the discover though, so I’ll have to wait a bit.
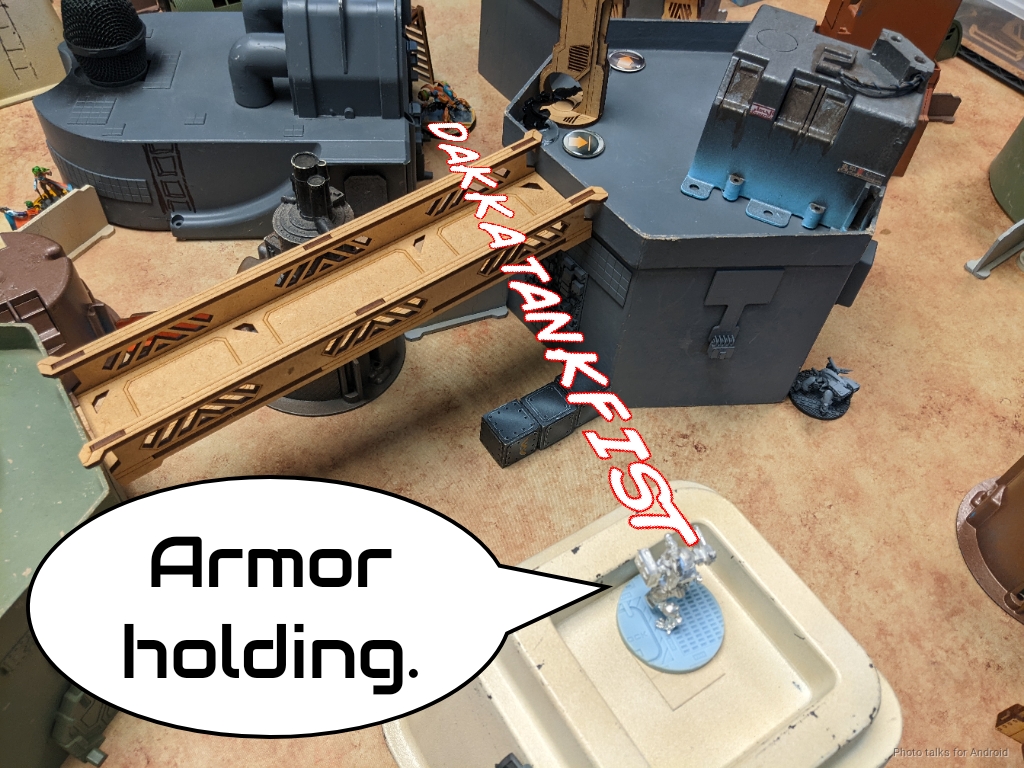
The Tsyklon, however, does not fail the discover, so we start exchanging fire between the robots. The Long Ya isn’t winning face to face rolls, but is passing ARM rolls like a boss.
This goes on for another order until I’m down to just Flammenspeers.
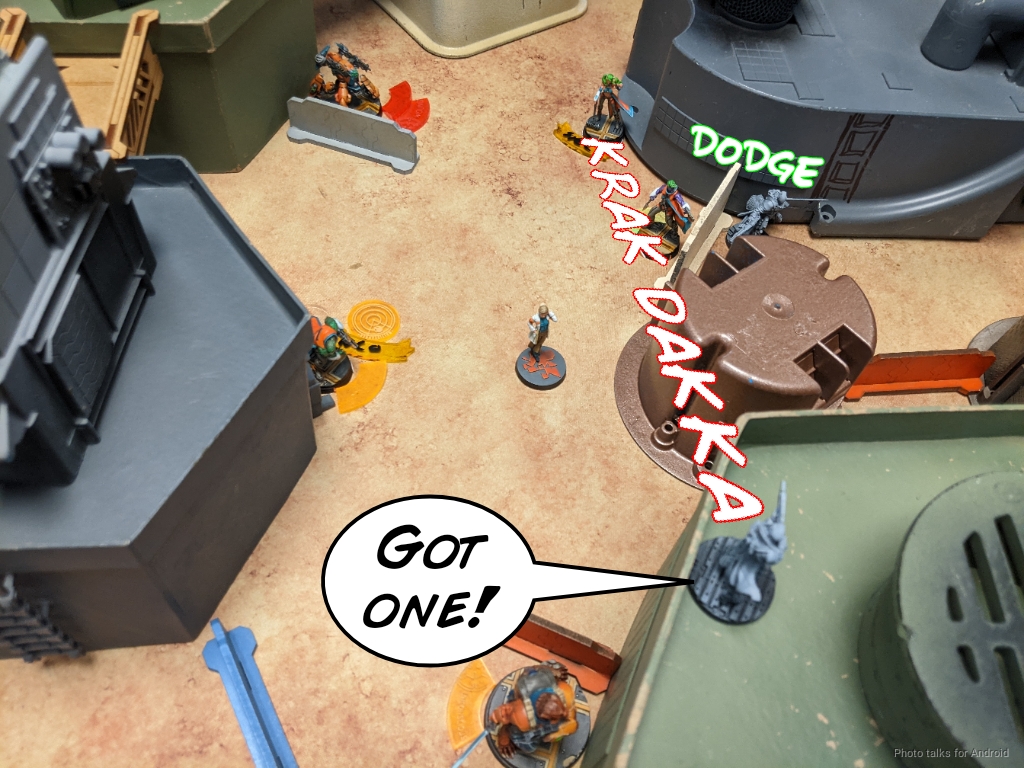
At this point, Andy decides to take a shot with the Brigada, so I reveal the Hundun. This forces Andy to dodge, which I think he crits against the Flammenspeer and HRL, both in hit mode. Alas.
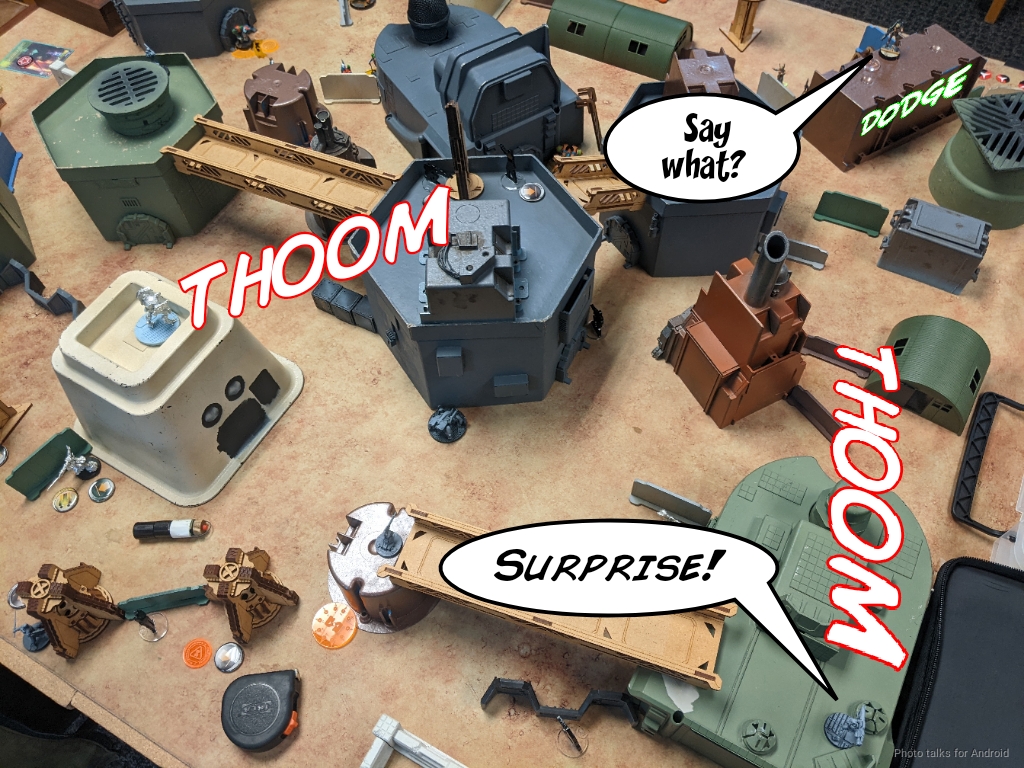
The Brigada ended movement seeing only the Hundun though, so Andy spends another order walking the Brigada down a nearby ladder to safety while shooting at the Hundun with full burst. I’ve got cover and camo and good range, so I do a wound to the Brigada as it runs away.
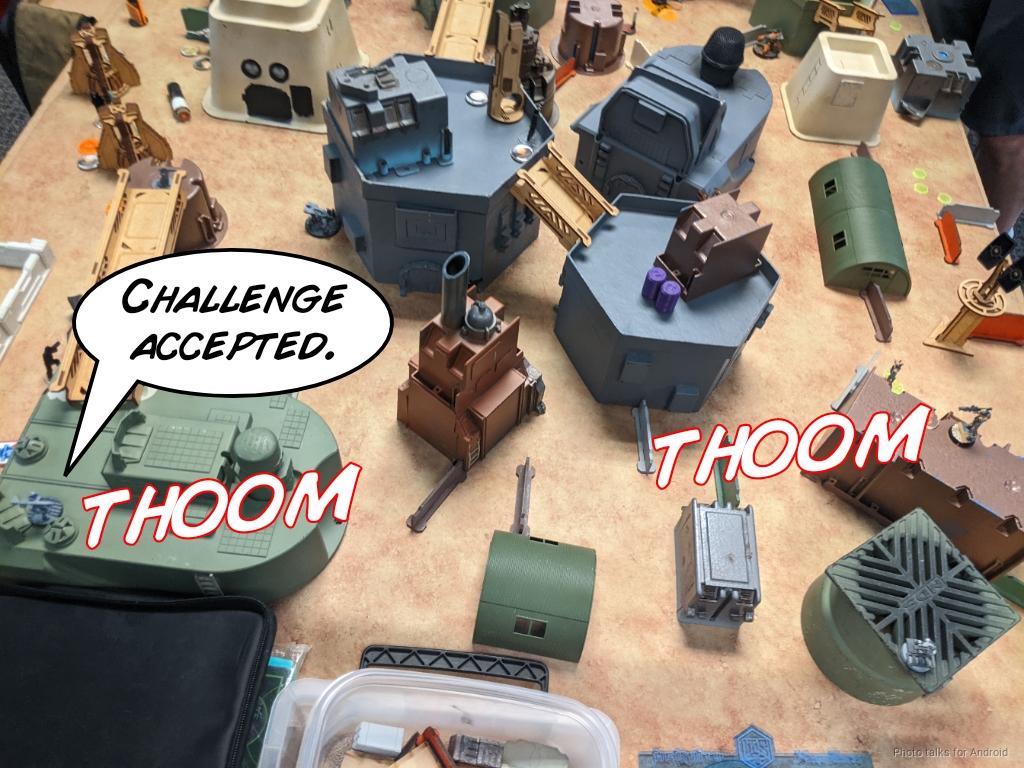
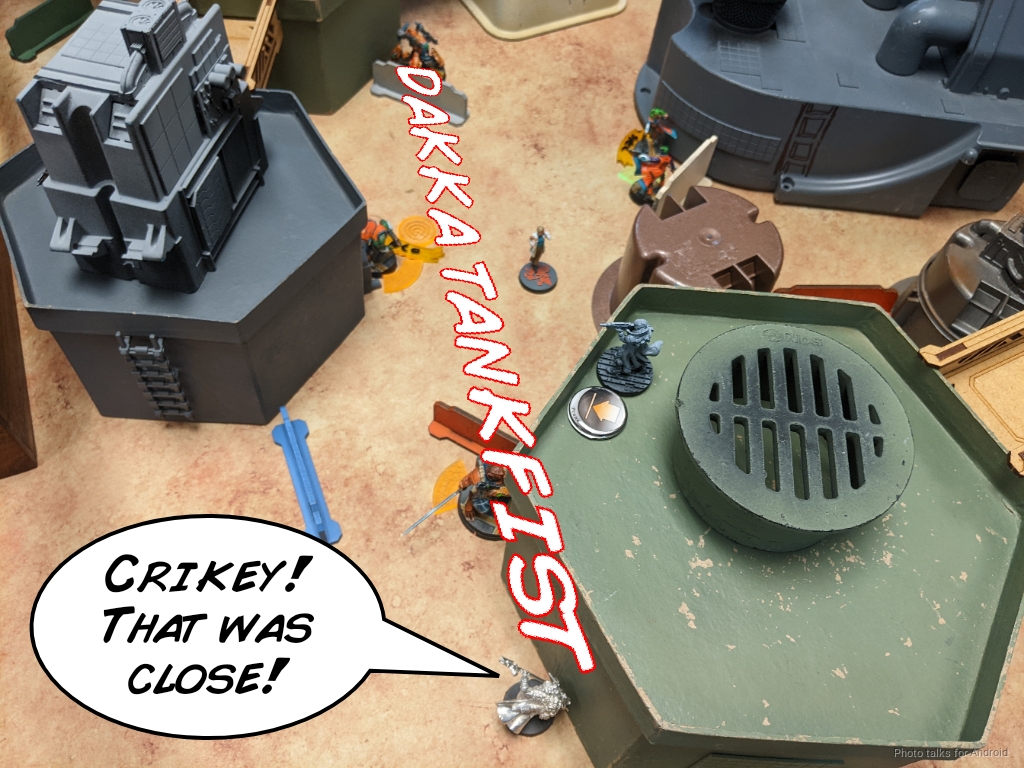
The Tsyklon resumes firing at the Long Ya, and I decide I want to keep the Flammenspeer for a rainy day and dodge, but this time my ARM saves fail me and the Long Ya goes down. The Tsyklon at this point has pushed up far enough to trigger the Guilang’s mine, so both robots are down.
Andy spends the TR bot’s only order trying to take out the Beasthunter, but I manage to dodge back into cover, if not out of line of fire.
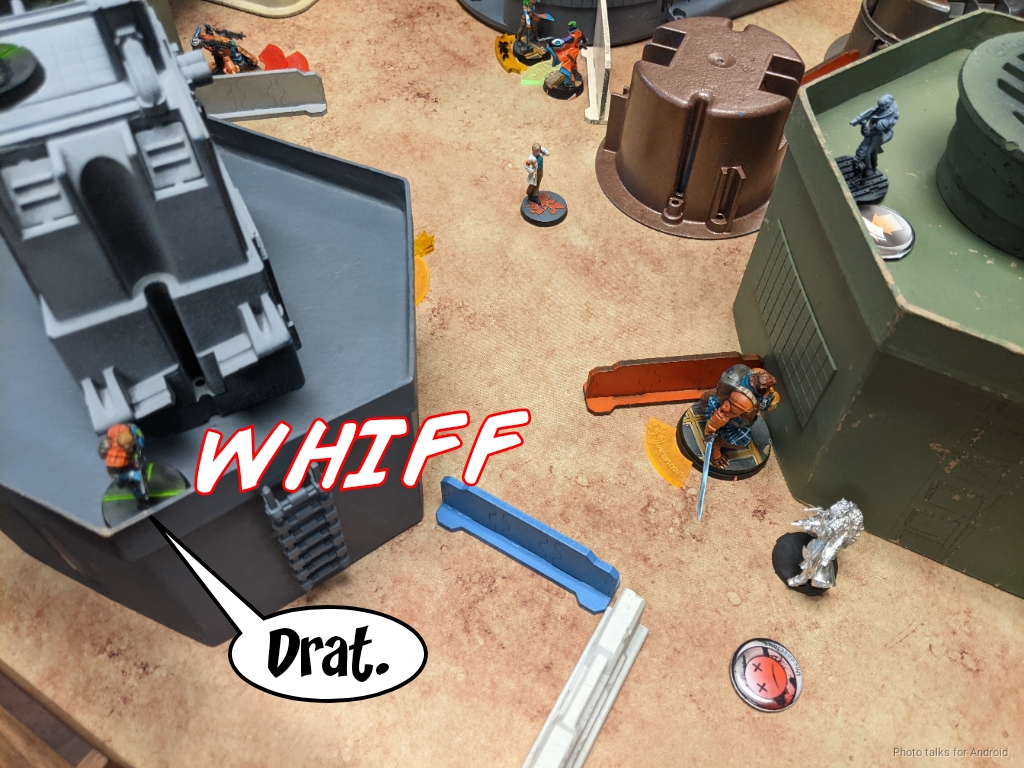
Andy wants to set up for the next turn and climbs the Brigada hacker up onto the roof near the last unopened console. I have a shot with my turret, but whiff, and the Brigada tucks herself into the corner behind the brown junction box.
With that, Andy passes turn back to me.
Bottom of 2 – White Banner
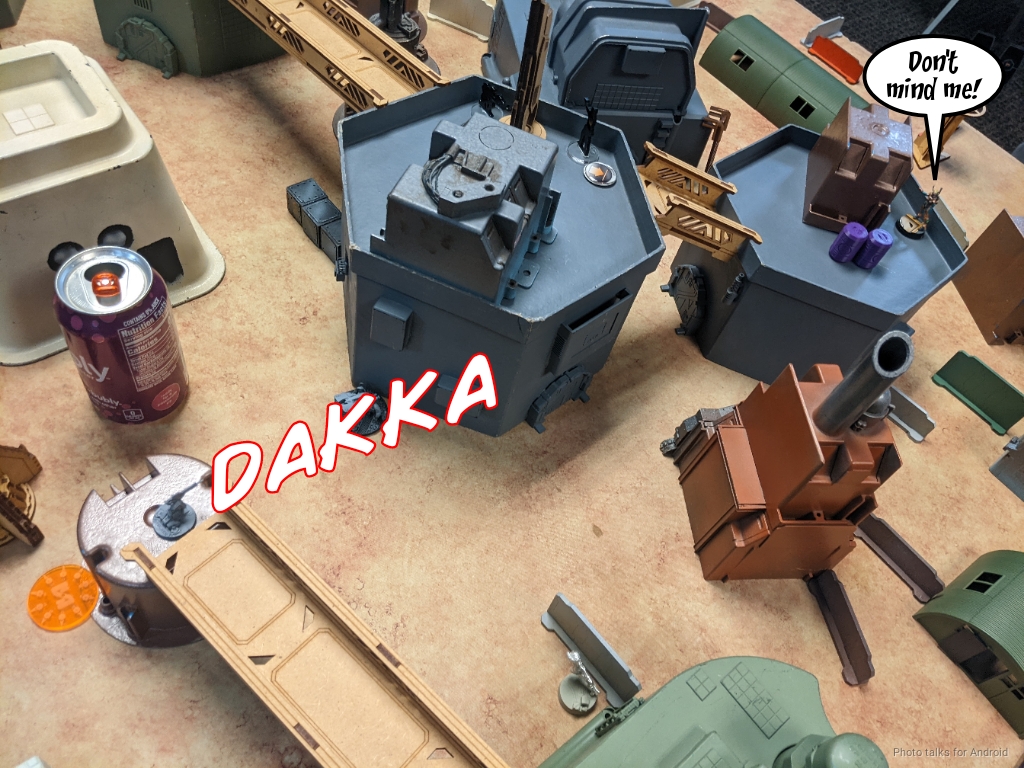
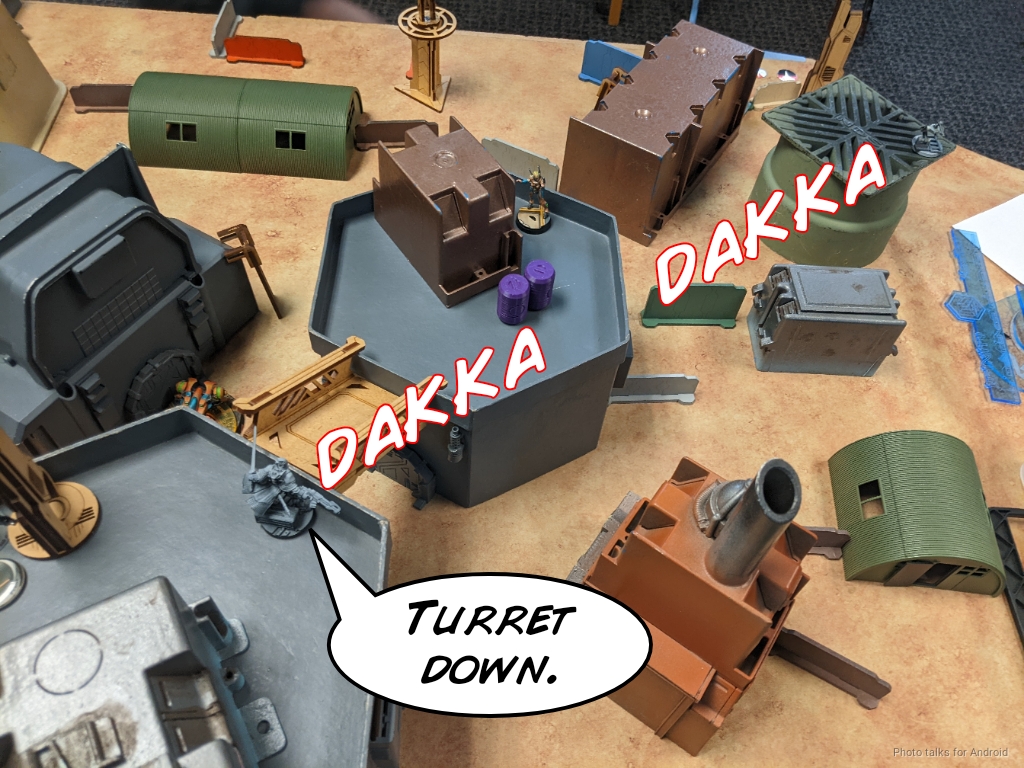
I want the last console to deny Andy the points for opening consoles, so I need to deal with his turret and the Brigada. The Daofei makes short work of the turret and then tries to take out the Brigada, but she manages to tuck even further into that corner.
This is exactly what Bixie is for though, and I stealth my way into close combat and crit the Brigada hacker unconscious.
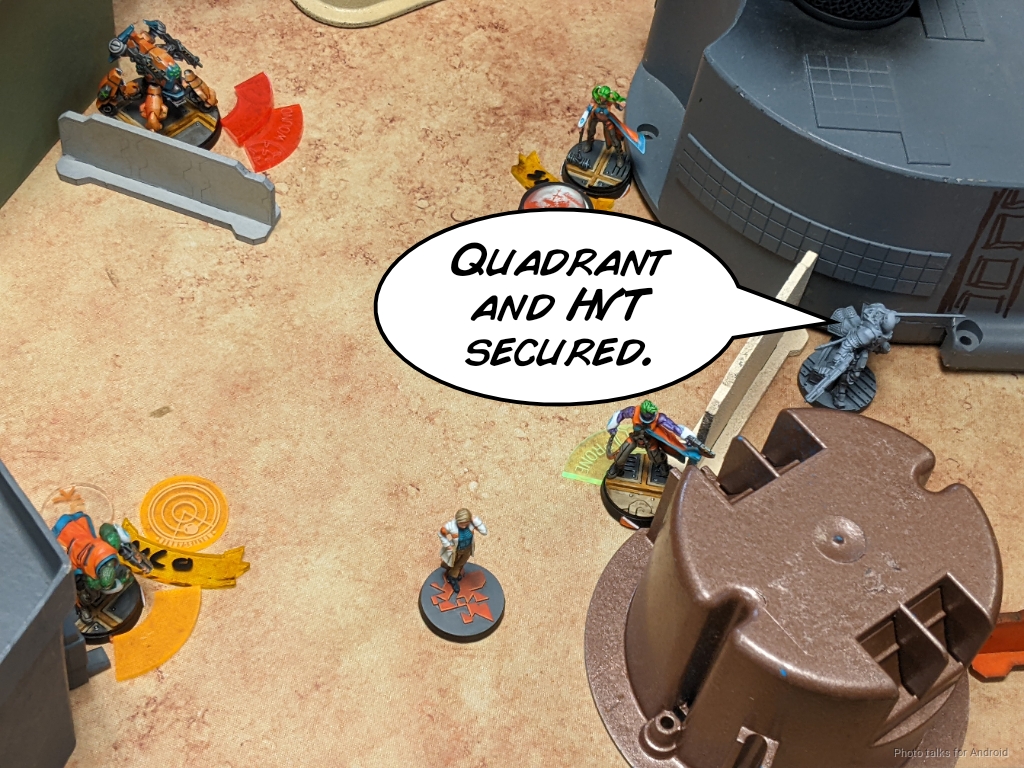
Bixie opens the last cryo pod to find my HVT. I fail to sync it though (what is with these failed WIP rolls!?), and am forced to retreat to continue dominating a quadrant. The Weibing cleans up after Bixie by climbing up the building and syncing the civilian. I can’t retreat, so I just stay there prone. The benefit to this though is I do have a repeater covering both Brigada, so I can at least drain some orders from them if I need to.
Turn 3
Top of 3 – Corregidor
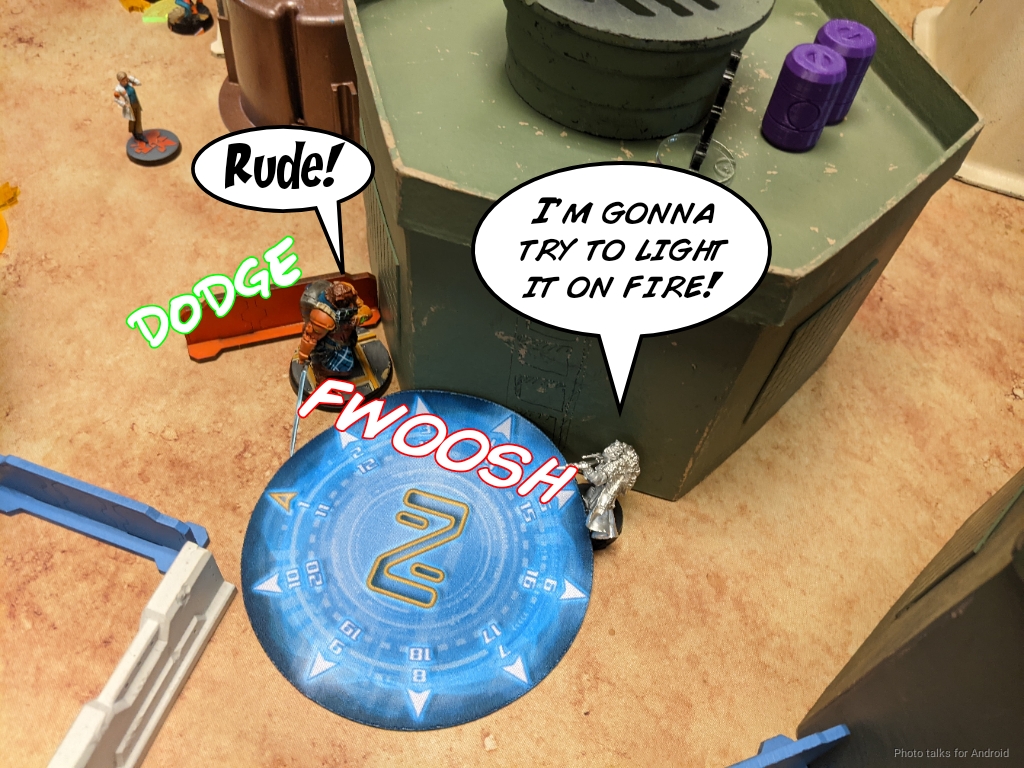
I haven’t technically put anything in the dead state yet, so Andy has to spend two command tokens to get the TR bot into the primary group. I get why that mechanic is there, but man is it annoying! In any case, the TR bot challenges my Beasthunter, and over the course of two orders manages to get itself panzerfausted into unconsciousness.
Andy exacts revenge with the Alguacil, taking out the Beasthunter and my Zhanshi HMG. The Paramedic attempts to pick up McMurrough which would be most unwelcome, but thankfully misses the MediKit shot on Andy’s last order. I’ll take it!
Bottom of 3 – White Banner
I just need to get the Weibing into Bixie’s quadrant, which is a short jaunt across a bridge away, and then I need to take the quadrant with Andy’s HVT, killing as much as I can and getting a high point model into that quadrant. The two Alguacil are annoyingly standing up now, so I have to force them prone with the Daofei who climbs off the roof firing his spitfire.
I try to get some additional efficiency by taking out an Alguacil with my Zhanshi Lt, but I can’t make the dice work and I lose her.
The Daofei is in the quadrant though, and I do some quick math and determine that I need to kill one of the Alguacil and one of the Lobo and I’ll outpoint what’s left with the Daofei. I don’t want to activate the Daofei because the Lobo have riotstoppers, so I use the Guilang to drop an Alguacil…
and the more expensive Lobo that remains, the specialist operative one.
The remaining Lobo can see the Weibing as it crosses the bridge, so I set up some smoke with the Shaolin and then sneak the Weibing over the bridge, HVT in tow.
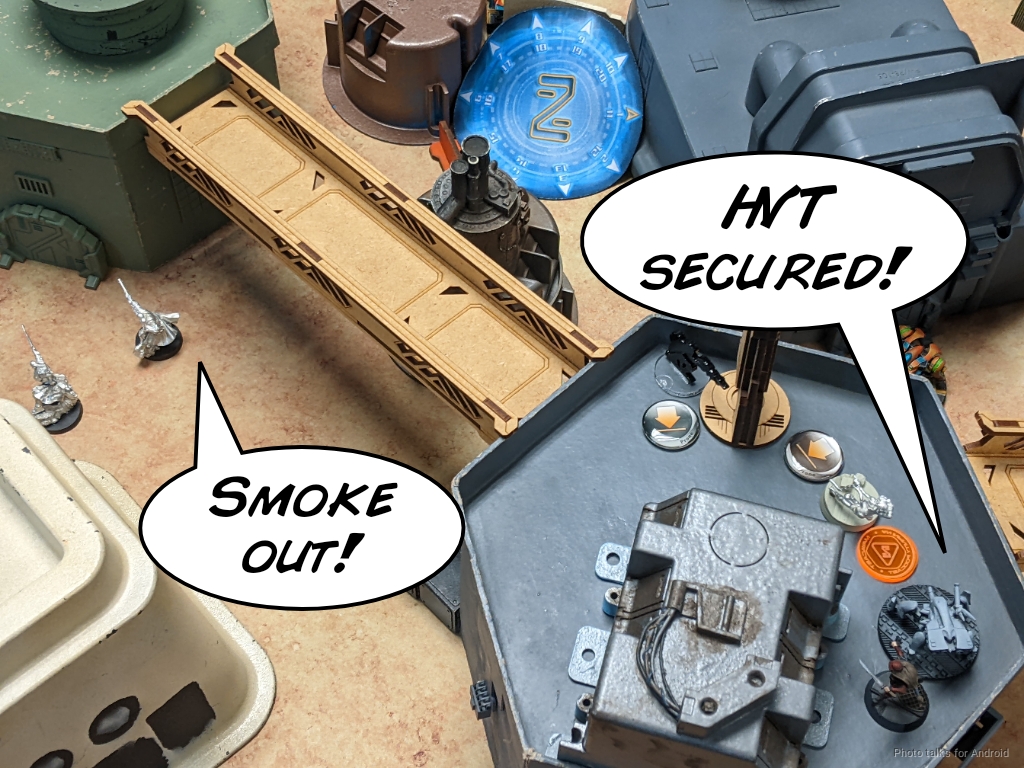
I’m holding both quadrants with HVTs, my master Breacher has dominated a quadrant every round, and I’ve activated three consoles/tech coffins/whatever they’re called. Andy’s threatening a single HVT.
I did one classified and my Daofei is Securing the HVT, meaning it’s a
10-1 White Banner Victory!
Post Game Analysis
Well, I think that was a successful game for both of us. Andy got some more practice with links and I got to test the new mission and Bixie together. Andy hasn’t really been playing with links much at all, so this was a good learning experience for him. We talked about how links are difficult to keep safe in the midfield, and how you it’s not always necessary to separate links vertically to keep them safe from templates.
Just lots of little lessons about links, like how to soft counter them by setting up multiple AROs to link members like I did with the Hundun and the Long Ya (sort of). This of course can be done in the active turn with coordinated orders and the like. I think the real big lesson was regarding the Lobo NCO though, and how you really do need to keep everyone within 8″ to prevent that exact situation.
Links are very difficult to pilot effectively. You need to master not just where to position each individual member of the link efficiently, but also when to do so. A lot of the reasons why links die in the midfield is because they move up too early when the opponent has a lot of materiel to throw at them to degrade them. It’s hard to simultaneously learn tempo and link positioning, especially a full 5-member core, so I’m a big proponent of learning links with 3-model cores. You get all of the complexity of having to move multiple models simultaneously while also keeping the problem bounded. You also get the key benefits (although you do lose out on 6th sense).
I think Andy’s instincts were good though–having a spare member for the Brigada link as well as keeping the Alguaciles safe until the last turn when he needed them. As for the rest of the game, I think he misplayed McMurrough a little bit. It was a choice to extend him that far. I don’t think it was an over extension, it was more presented as a problem for me to solve. I’m going to solve it, but it’s going to cost me resources.
Andy is trading McMurrough for my orders on the first turn, which is reasonable. I personally would rather have McMurrough pushed up on Turn 2, but it’s not a bad play. I do think that not chain-rifling the Beasthunter on the intuitive attack was probably a mistake. Granted, I can always tank the save and nothing would have changed, but that’s probably the safer play and keeps McMurrough alive. I’d have to send in the Shaolin otherwise, which is not really something I want to do.
The important part, of course, is that I successfully hunted the beast with my Beasthunter! Achievement unlocked.
I’m pretty impressed with Bixie’s performance this game, in spite of my bad dice. She has all the right tools on an excellent chassis. I expect to be playing her a lot when I reach for my Yu Jing models. I would really like to figure out a way to make Jing Qo work, but she sort of sits in this weird awkward slot that fights with Liang Kai and Bixie for points. I think there’s absolutely a use case for her as a wildcard in a more standard link, but she needs some careful list crafting to get her to do well.
In contrast, Bixie just slots in solo or linked and there really isn’t a downside. I’m not sure how I feel about the messenger bot changes. Obviously the extra order is welcome, but the fact that we’re adding all these orders back into the game suggests that maybe the 15 order cap wasn’t the right solution to a nebulously defined problem. I don’t have strong opinions on that, but it does seem like Corvus Belli is sort of applying a strange balance patch to undo some of the patching they did earlier to the game, if that makes any sense.
My opinion aside, the changes are fine and will just cause a meta shift. This keeps the game fresh and exciting, which is a good thing. It will also help drive sales, which is a polarizing decision, but I think is probably a net positive for the health of the company.
As far as the Cryogenics mission is concerned… it’s fine. It asks a lot of your list in terms of mobility and ability to exist in the midfield, like Supremacy does. It also asks you to adapt to a changing situation and potentially “wasting” orders opening an empty cryo pod or whatever, like Countermeasures. I don’t think it’s my favorite mission, probably because it feels like just a re-skinned Supremacy, but it is fun, which is the point.
It does encourage you to be pretty aggressive and interact in the midfield early, and it does have some weird degenerate cases where you could potentially have a very high scoring tie, but that outcome is pretty unlikely without high levels of cooperation between players. Smoke is quite important, as you potentially might need to steal an HVT out from under someone’s nose, which is pretty darn cool.
In any case, I’ve rambled long enough. Thanks to Andy for a fun teaching game and to you for reading!
The Weibing cleans up after Bixie by climbing up the building and syncing the civilian.
Sadly REMs are not allowed to sync civies 😉
Pingback: Slagging Skiavoros – MERC Recon