Raiding Ariadna’s Supply Depots
The November 2017 tournament is going to be an escalation tournament, with Supplies at 200, Safe Area at 300, and Firefight at 400. Leading up to the tournament, we generally practice one mission a week with the fourth week being an opportunity to revisit any mission that gave you trouble. We get three lists, one for each mission. I probably won’t be able to make this tournament, but I’m practicing like I’m going to, and I want to try out sectorials as I practice. This week’s mission was Supplies at 200!
Game 1 – Cracking the Kazaks
I’ve played Than a few times now, and I think he’s won every game we’ve played thus far! This game has both of us trying out new armies. Than has been working on a Kazak-only Vanilla Ariadna army in prepartion for when the sectorial comes out, and I decided to play Bakunin for the second time ever. I decided to try and take the Uberfall more, to get used to their toolbox and movement patterns, so I brought a double MSR Moderator link and a pile of Morlocks and Zeros to have some crutches to lean on while I learn something new.
Overview
- Mission: Supplies
- Forces: Jurisdictional Command of Bakunin versus Ariadna (200)
- Deploy First: Ariadna
- First Turn: Ariadna
[img]https://assets.infinitythegame.net/infinityarmy/img/_logosweb/logo_503.png[/img][b] Supplies[/b]
[b]GROUP 1 | [/b][img]https://assets.infinitythegame.net/infinityarmy/img/_logosweb/orden_regular.png[/img]9 [img]https://assets.infinitythegame.net/infinityarmy/img/_logosweb/orden_irregular.png[/img]1 [img]https://assets.infinitythegame.net/infinityarmy/img/_logosweb/orden_impetuosa.png[/img]1
[img]https://assets.infinitythegame.net/infinityarmy/img/_logosweb/503/logo_1.png[/img] [b]MODERATOR[/b] MULTI Sniper Rifle / Pistol, Electric Pulse. (1.5 | [b]17[/b])
[img]https://assets.infinitythegame.net/infinityarmy/img/_logosweb/503/logo_1.png[/img] [b]MODERATOR[/b] MULTI Sniper Rifle / Pistol, Electric Pulse. (1.5 | [b]17[/b])
[img]https://assets.infinitythegame.net/infinityarmy/img/_logosweb/503/logo_1.png[/img] [b]MODERATOR[/b] Combi Rifle + Pitcher / Pistol, Electric Pulse. (0.5 | [b]10[/b])
[img]https://assets.infinitythegame.net/infinityarmy/img/_logosweb/503/logo_1.png[/img] [b]MODERATOR Paramedic (MediKit)[/b] Combi Rifle / Pistol, Electric Pulse. (0 | [b]11[/b])
[img]https://assets.infinitythegame.net/infinityarmy/img/_logosweb/503/logo_1.png[/img] [b]MODERATOR Lieutenant[/b] Combi Rifle / Pistol, Electric Pulse. (0 | [b]9[/b])[img]https://assets.infinitythegame.net/infinityarmy/img/_logosweb/503/logo_7.png[/img] [b]RIOT GRRL (Specialist Operative)[/b] Combi Rifle, Blitzen, Stun Grenades / Pistol, Knife. (0 | [b]30[/b])
[img]https://assets.infinitythegame.net/infinityarmy/img/_logosweb/503/logo_9.png[/img] [b]ZERO (Forward Observer)[/b] Combi Rifle, Antipersonnel Mines / Pistol, Knife. (0 | [b]19[/b])
[img]https://assets.infinitythegame.net/infinityarmy/img/_logosweb/503/logo_9.png[/img] [b]ZERO Hacker (Assault Hacking Device)[/b] Combi Rifle, Antipersonnel Mines / Pistol, Knife. (0.5 | [b]24[/b])
[img]https://assets.infinitythegame.net/infinityarmy/img/_logosweb/503/logo_9.png[/img] [b]ZERO Hacker (Killer Hacking Device)[/b] Combi Rifle, Antipersonnel Mines / Pistol, Knife. (0 | [b]21[/b])
[img]https://assets.infinitythegame.net/infinityarmy/img/_logosweb/503/logo_11.png[/img] [b]BAKUNIN ÜBERFALLKOMMANDO[/b] . (0 | [b]23[/b])
[img]https://assets.infinitythegame.net/infinityarmy/img/_logosweb/sep.gif[/img] [img]https://assets.infinitythegame.net/infinityarmy/img/_logosweb/503/logo_11.png[/img] [b]CHIMERA[/b] Combi Rifle, Nanopulser, Eclipse Grenades / Viral CCW. (0 | [b]20[/b])
[img]https://assets.infinitythegame.net/infinityarmy/img/_logosweb/sep.gif[/img] [img]https://assets.infinitythegame.net/infinityarmy/img/_logosweb/503/logo_11_2.png[/img] [b]x3 PUPNIK[/b] DA CCW. (0 | [b]3[/b])[b]GROUP 2 | [/b][img]https://assets.infinitythegame.net/infinityarmy/img/_logosweb/orden_irregular.png[/img]3 [img]https://assets.infinitythegame.net/infinityarmy/img/_logosweb/orden_impetuosa.png[/img]3
[img]https://assets.infinitythegame.net/infinityarmy/img/_logosweb/503/logo_10.png[/img] [b]MORLOCK[/b] Chain Rifle, Smoke Grenades / Pistol, E/M CCW. (0 | [b]6[/b])
[img]https://assets.infinitythegame.net/infinityarmy/img/_logosweb/503/logo_10.png[/img] [b]MORLOCK[/b] Chain Rifle, Smoke Grenades / Pistol, E/M CCW. (0 | [b]6[/b])
[img]https://assets.infinitythegame.net/infinityarmy/img/_logosweb/503/logo_10.png[/img] [b]MORLOCK[/b] Chain Rifle, Smoke Grenades / Pistol, E/M CCW. (0 | [b]6[/b])
[b] 4 SWC | 199 Points |[/b] Open in Infinity Army
[img]https://assets.infinitythegame.net/infinityarmy/img/_logosweb/logo_301.png[/img][b] Ariadna[/b]
[img]https://assets.infinitythegame.net/infinityarmy/img/_logosweb/301/logo_1.png[/img] [b]LINE KAZAK Lieutenant[/b] Rifle / Pistol, Knife. (0 | [b]9[/b])
[img]https://assets.infinitythegame.net/infinityarmy/img/_logosweb/301/logo_1.png[/img] [b]LINE KAZAK[/b] Sniper Rifle / Pistol, Knife. (0.5 | [b]16[/b])
[img]https://assets.infinitythegame.net/infinityarmy/img/_logosweb/301/logo_1.png[/img] [b]LINE KAZAK[/b] Sniper Rifle / Pistol, Knife. (0.5 | [b]16[/b])
[img]https://assets.infinitythegame.net/infinityarmy/img/_logosweb/301/logo_1.png[/img] [b]LINE KAZAK (Forward Observer)[/b] Rifle / Pistol, Knife. (0 | [b]10[/b])
[img]https://assets.infinitythegame.net/infinityarmy/img/_logosweb/301/logo_1.png[/img] [b]LINE KAZAK (Forward Observer)[/b] Rifle / Pistol, Knife. (0 | [b]10[/b])
[img]https://assets.infinitythegame.net/infinityarmy/img/_logosweb/301/logo_17.png[/img] [b]KAZAK DOKTOR[/b] Rifle / Pistol, Knife. (0 | [b]13[/b])
[img]https://assets.infinitythegame.net/infinityarmy/img/_logosweb/301/logo_3.png[/img] [b]SPETSNAZ (CH: Ambush Camouflage)[/b] HMG / Pistol, CCW, Knife. (1.5 | [b]38[/b])
[img]https://assets.infinitythegame.net/infinityarmy/img/_logosweb/301/logo_12.png[/img] [b]SCOUT (Forward Observer)[/b] Ojotnik, D-Charges, Antipersonnel Mines / Pistol, Knife. (0 | [b]30[/b])
[img]https://assets.infinitythegame.net/infinityarmy/img/_logosweb/301/logo_12.png[/img] [b]SCOUT (Forward Observer)[/b] Ojotnik, D-Charges, Antipersonnel Mines / Pistol, Knife. (0 | [b]30[/b])
[img]https://assets.infinitythegame.net/infinityarmy/img/_logosweb/301/logo_16.png[/img] [b]DOG-WARRIOR[/b] 2 Chain Rifles, Grenades, Smoke Grenades / AP CCW. (0 | [b]27[/b])
[img]https://assets.infinitythegame.net/infinityarmy/img/_logosweb/orden_regular.png[/img]9 [img]https://assets.infinitythegame.net/infinityarmy/img/_logosweb/orden_irregular.png[/img]1 [img]https://assets.infinitythegame.net/infinityarmy/img/_logosweb/orden_impetuosa.png[/img]1 [b]| 2.5 SWC | 199 Points |[/b] Open in Infinity Army
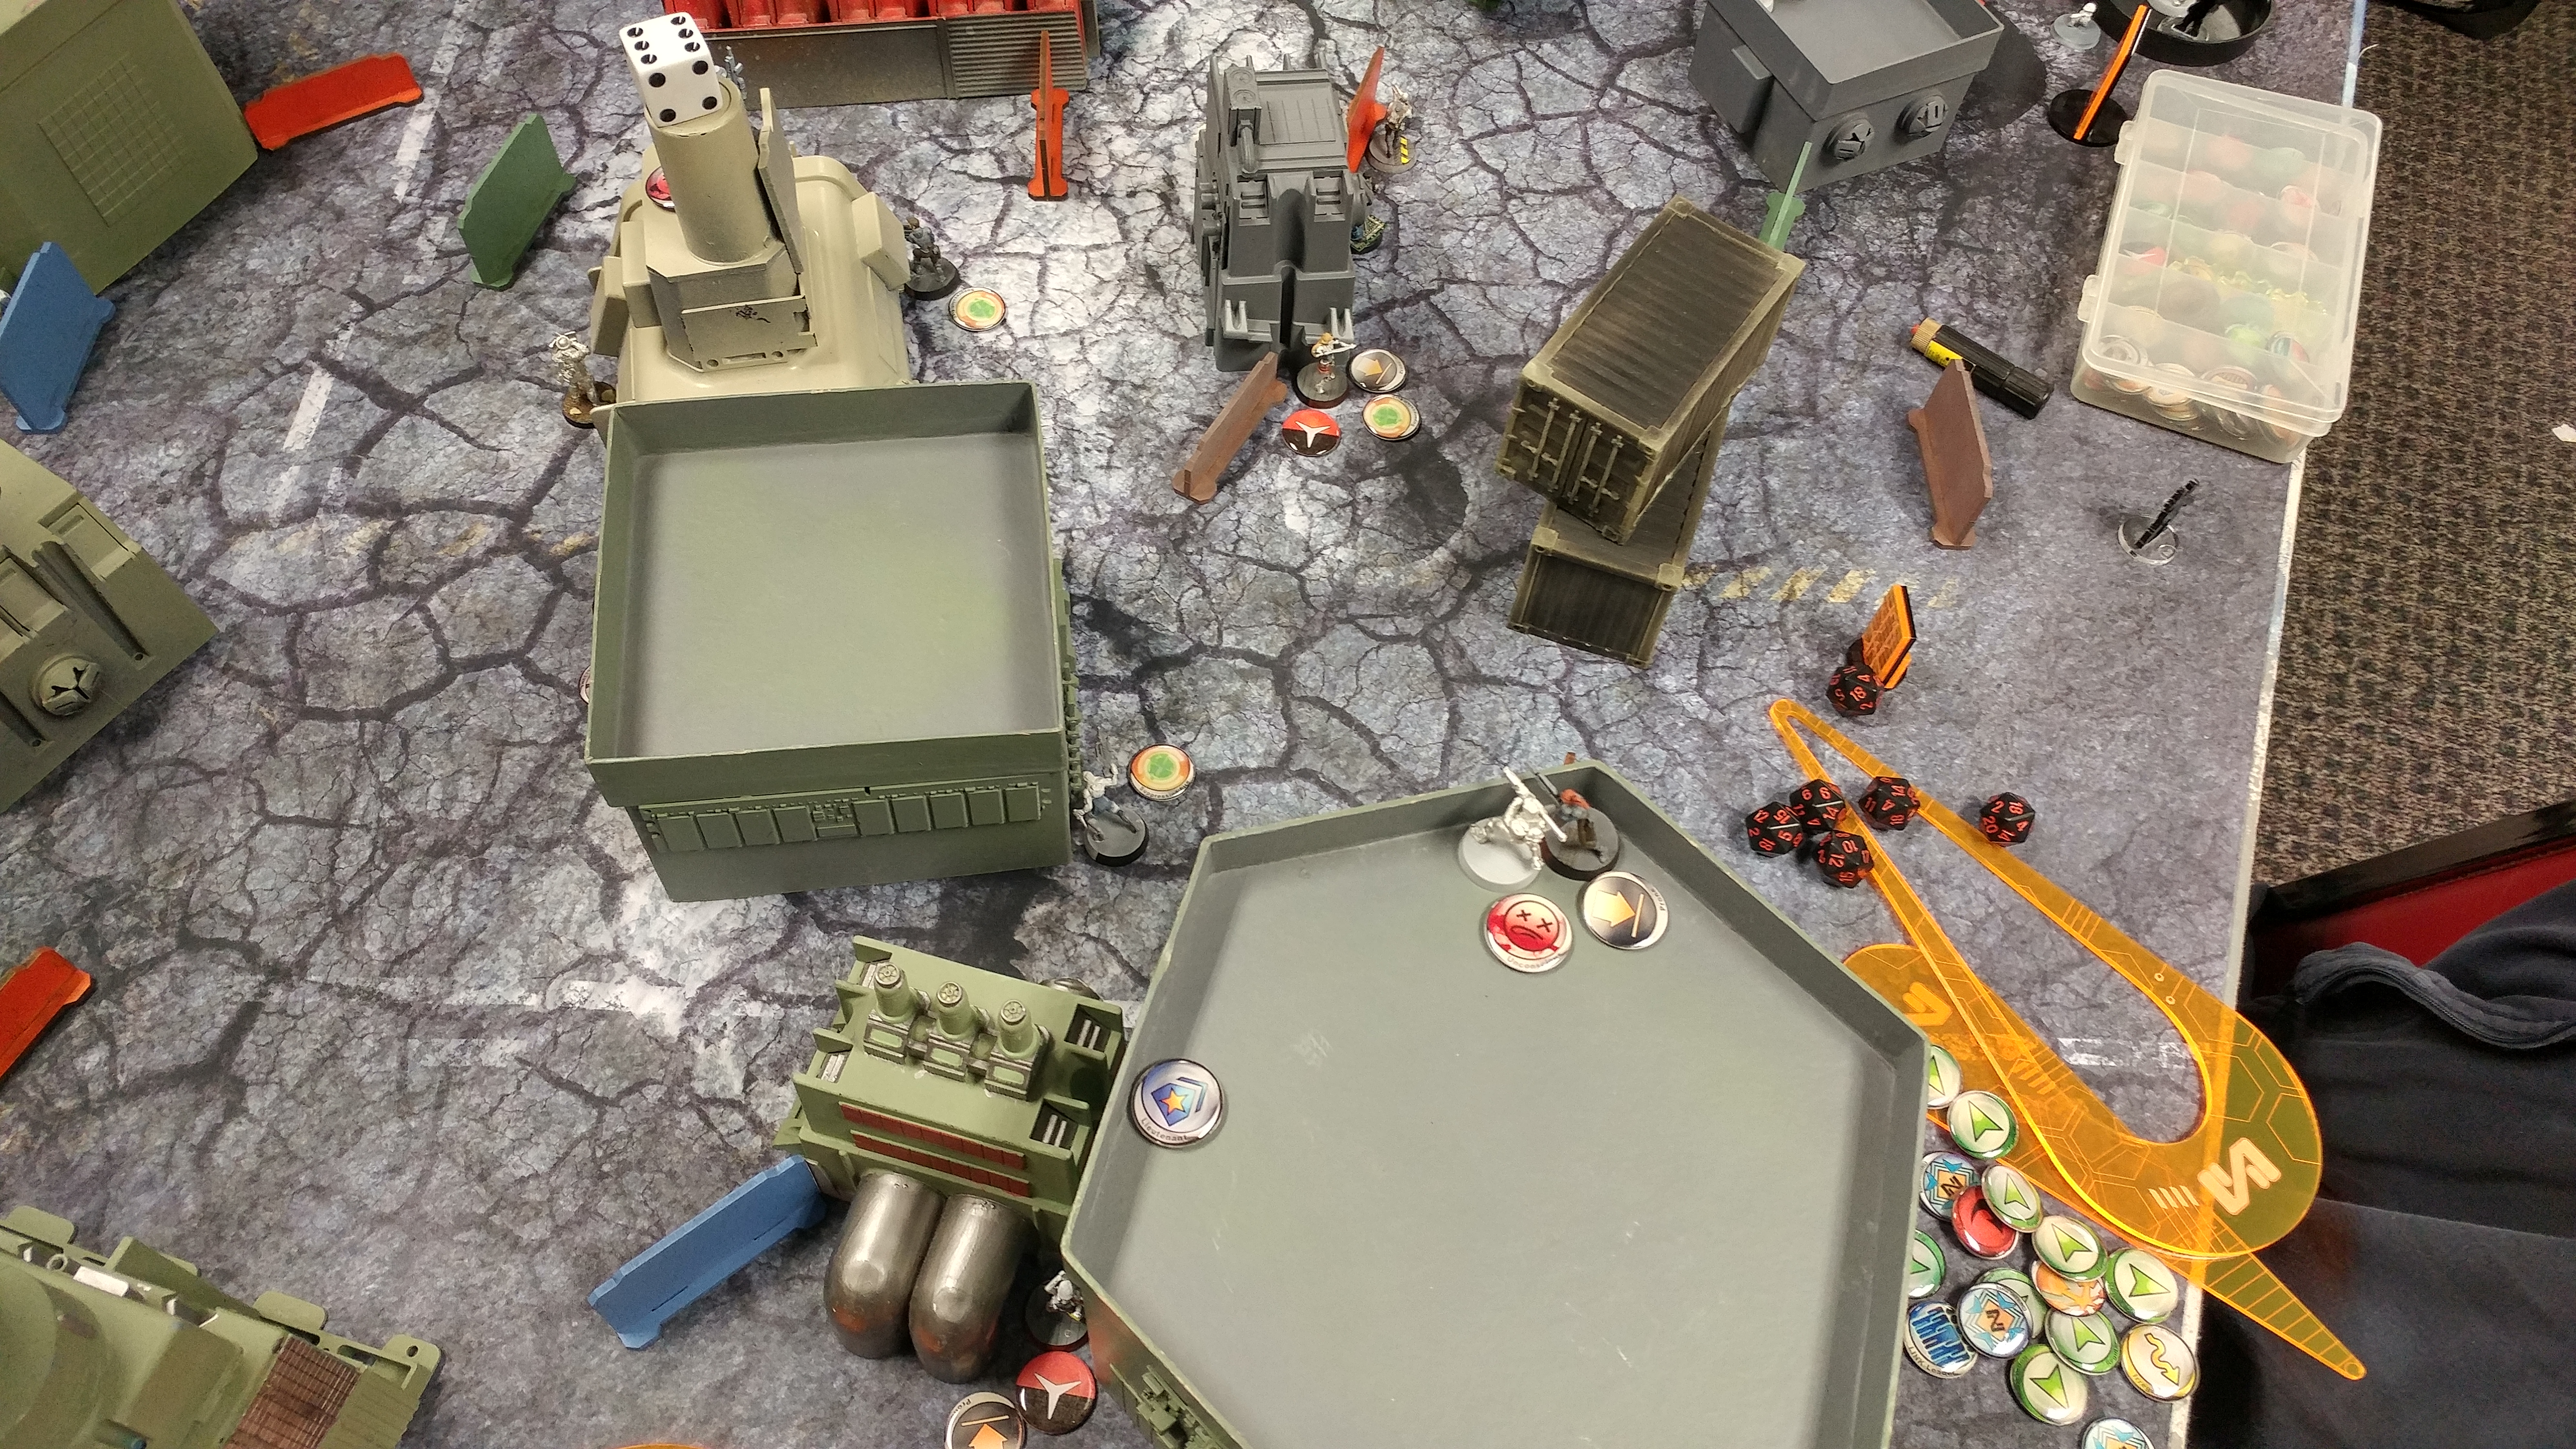
Deployment
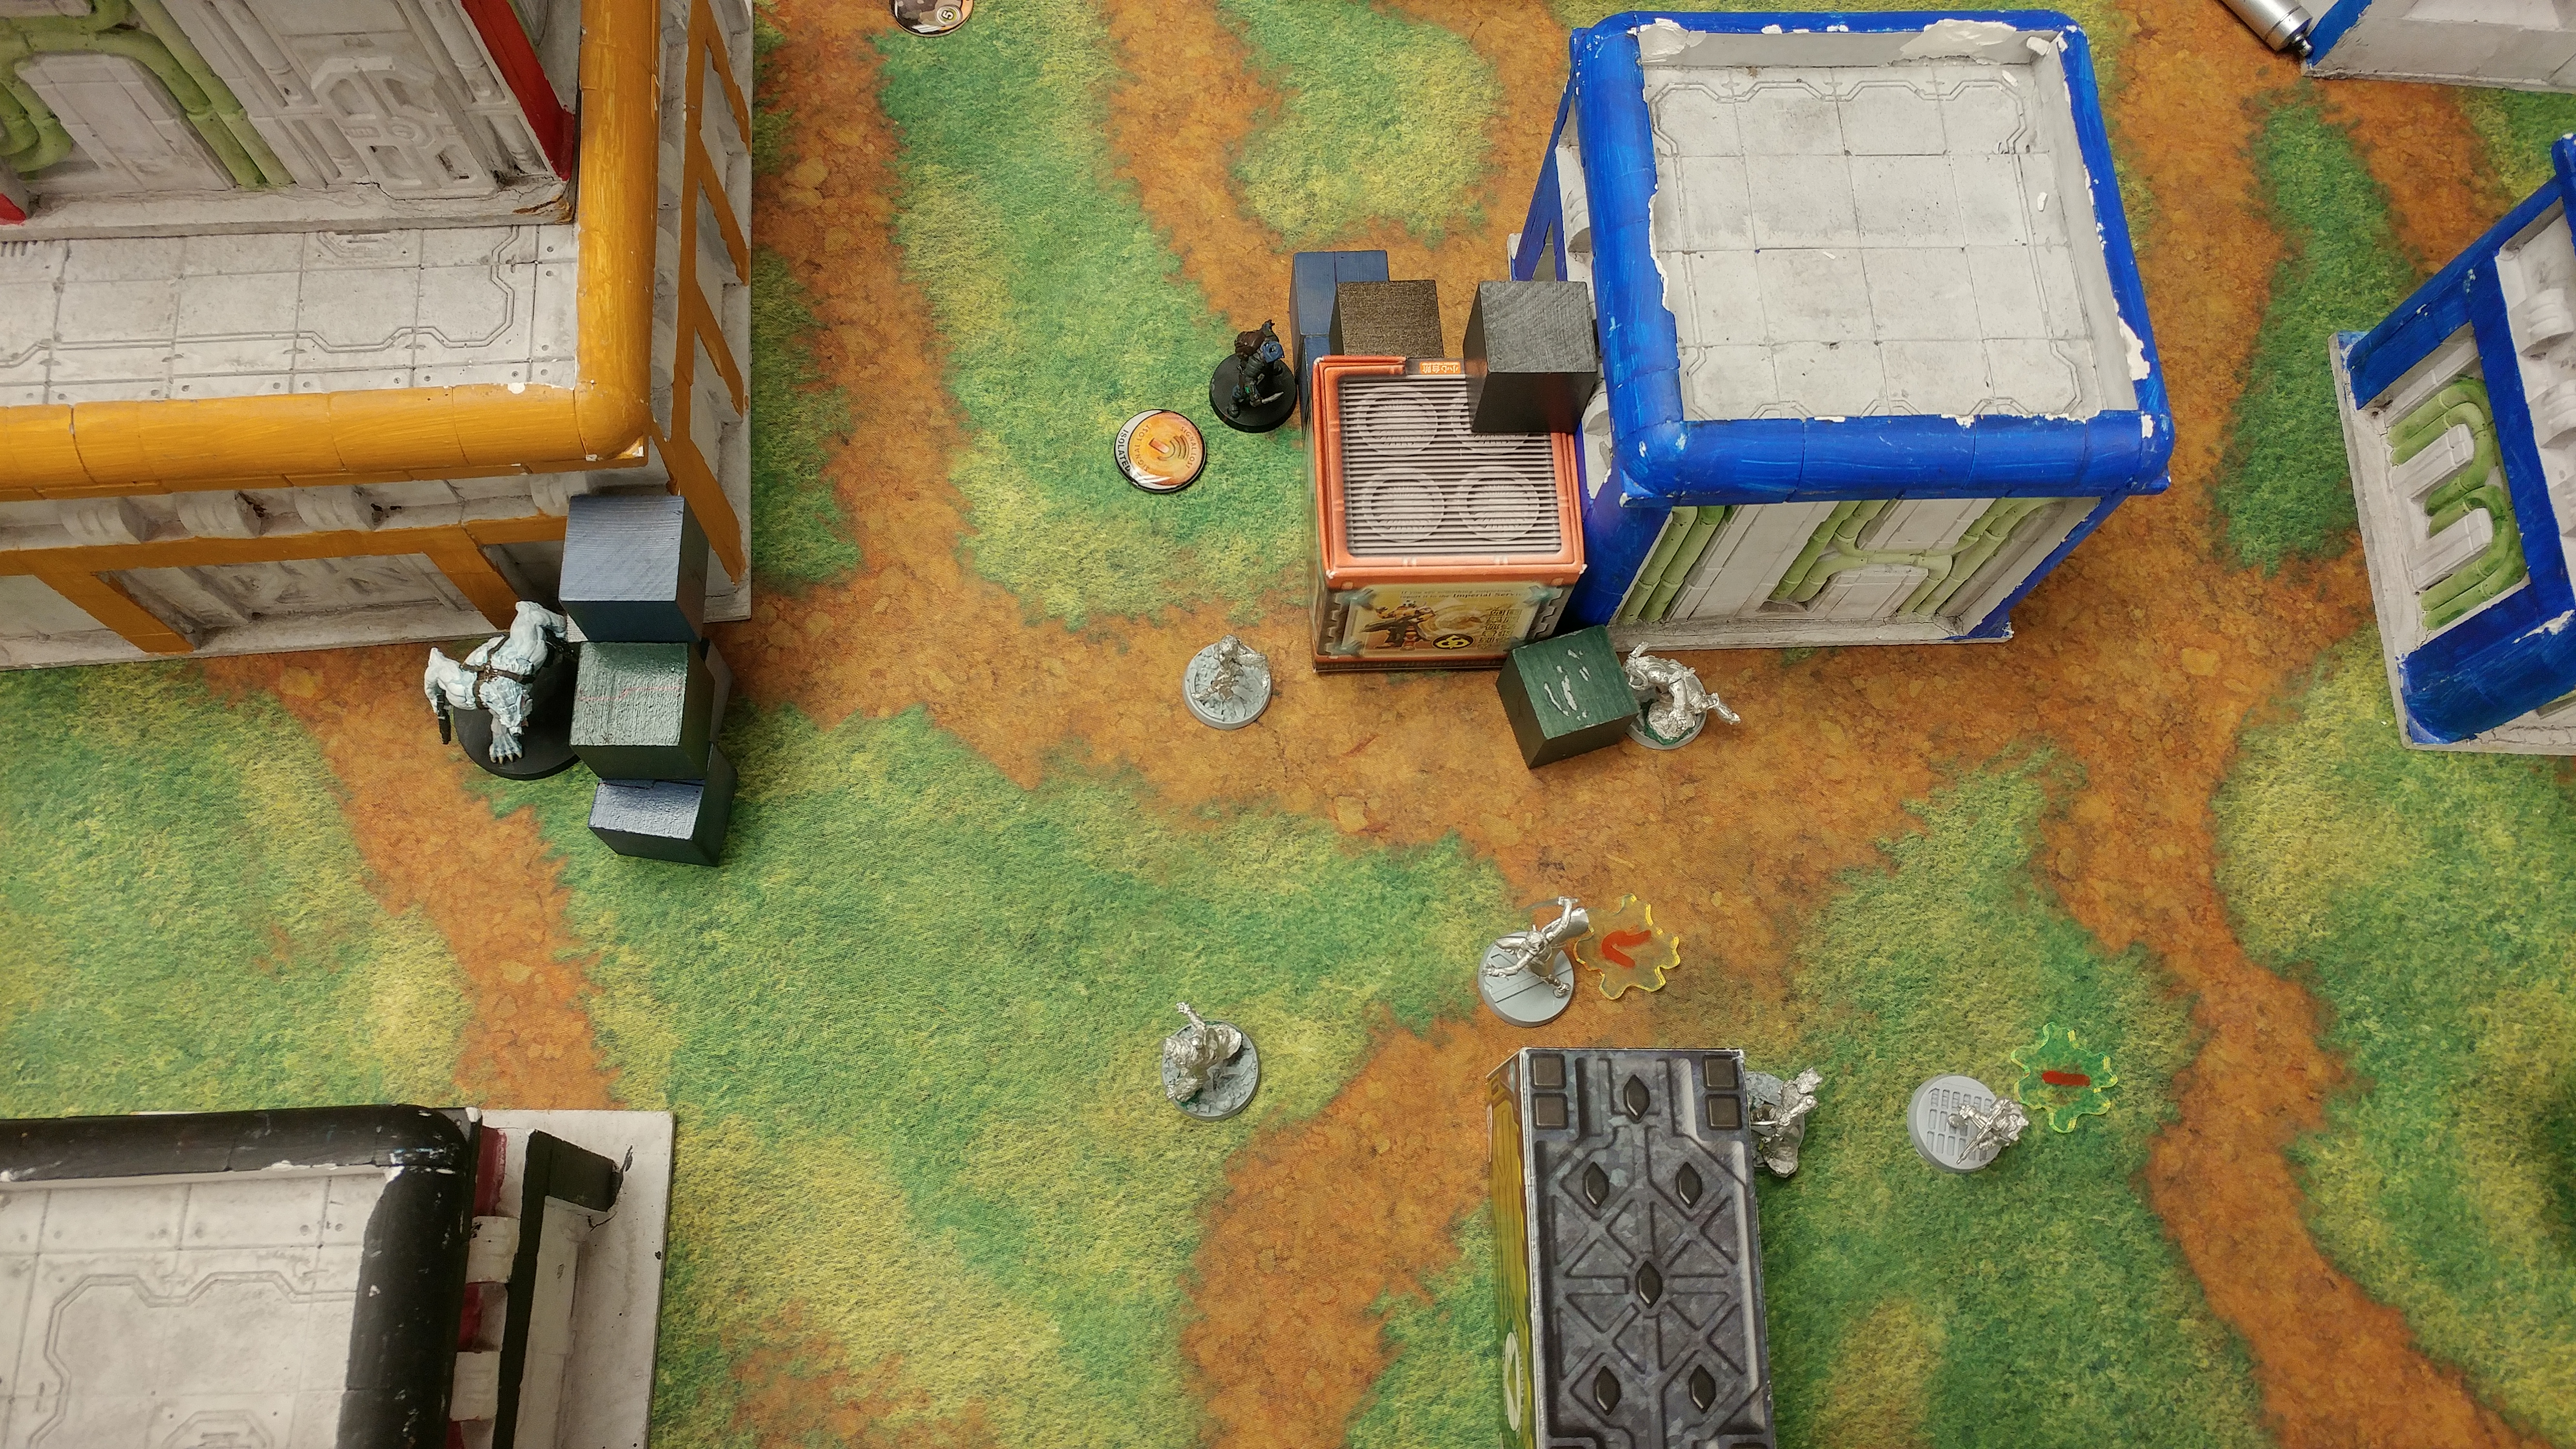
Than sets up his Line Kazak snipers on either side of the board, one on the left atop a building and the one on the right behind a building. The Line Kazak FOs come down in the middle with the Kazak Doctor, with the Kazak Lieutenant hiding on a roof in the back. The Spetznaz’s two camo tokens show up, one atop a roof and the other on the ground hiding behind a box. The two scouts infiltrate next to the middle and left objectives with Than’s Dog Warrior arriving on the left , and it’s my turn to deploy. I don’t remember what he held in reserve?
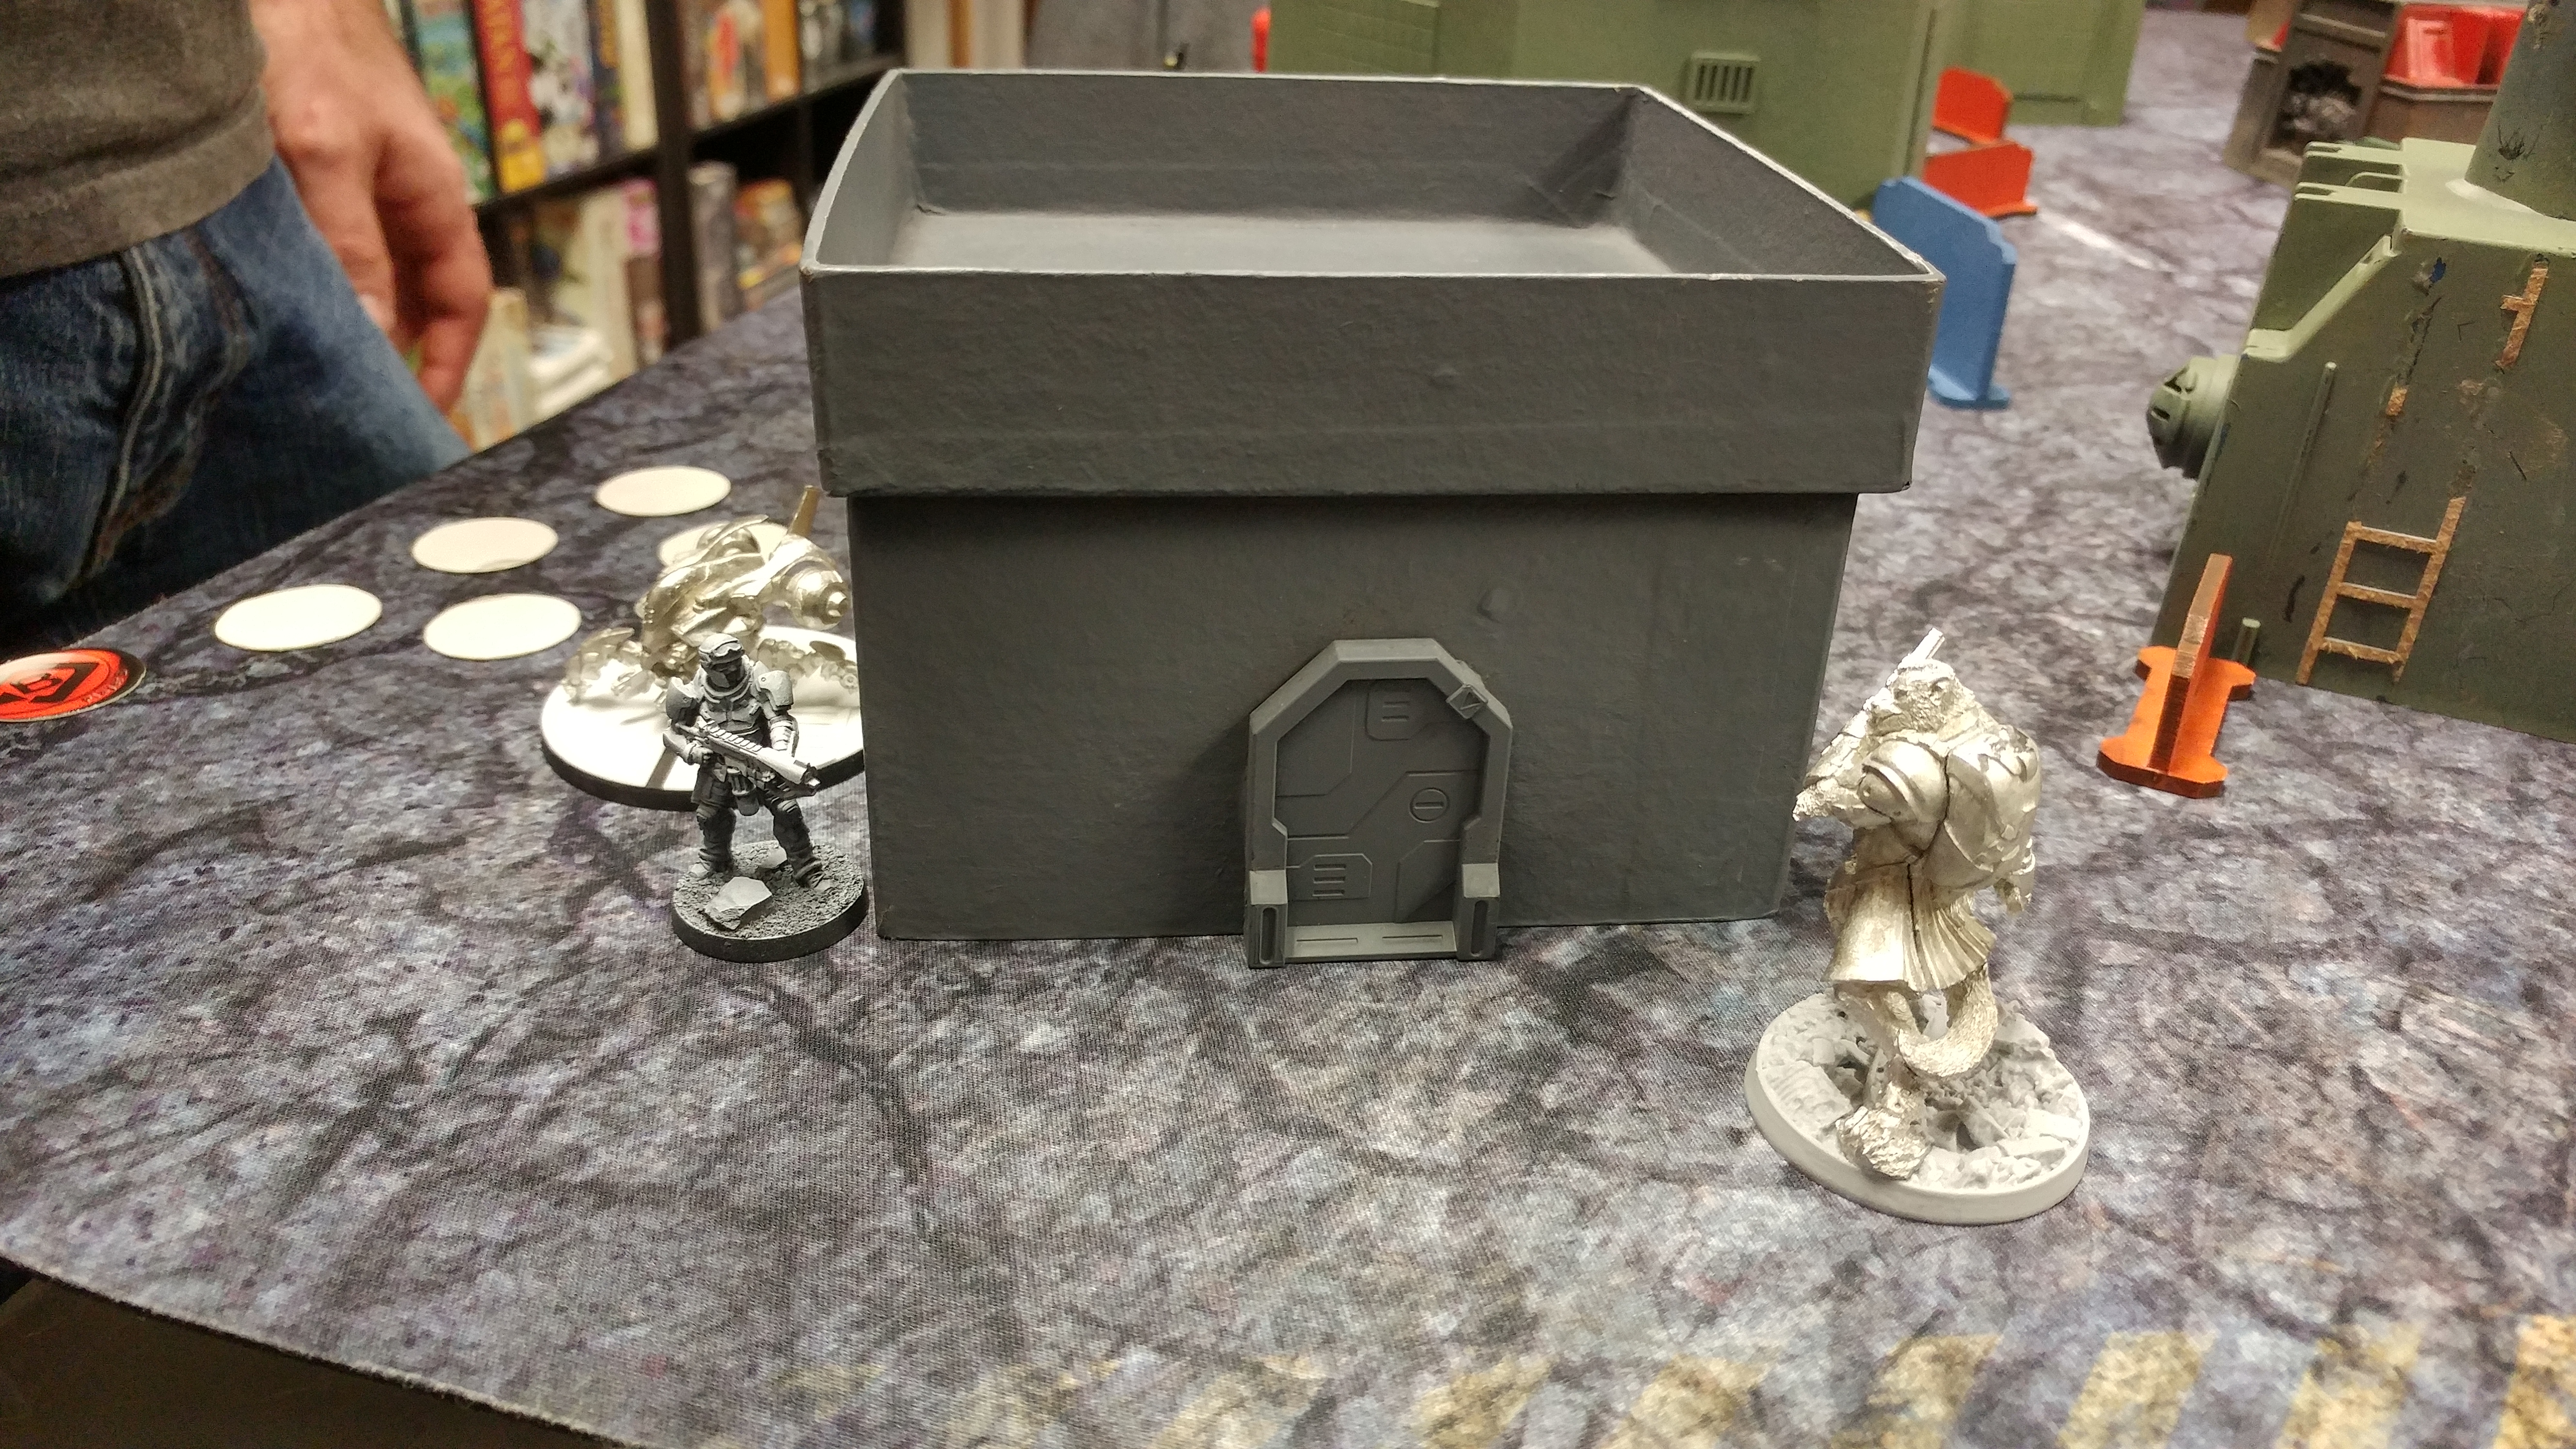
 I put the Moderator link team in my backfield on the right, with the two MSRs counter-deploying what I think is a Tankhunter camo token atop a building (which is really a fake Spetznaz token) and the Dog Warrior on the left. The rest of the Moderators hang out below the building, with my Lt safely ensconced behind the building. I deploy my three Zeros across the centerfield, AHD on the left, FO in the middle, and KHD on the right, within an order or two of the objectives. I put a Morlock on the left and the right, and then pile up my Uberfall in a blob on the left. I have no idea what to do with them so I just sorta… mush them into a building there.
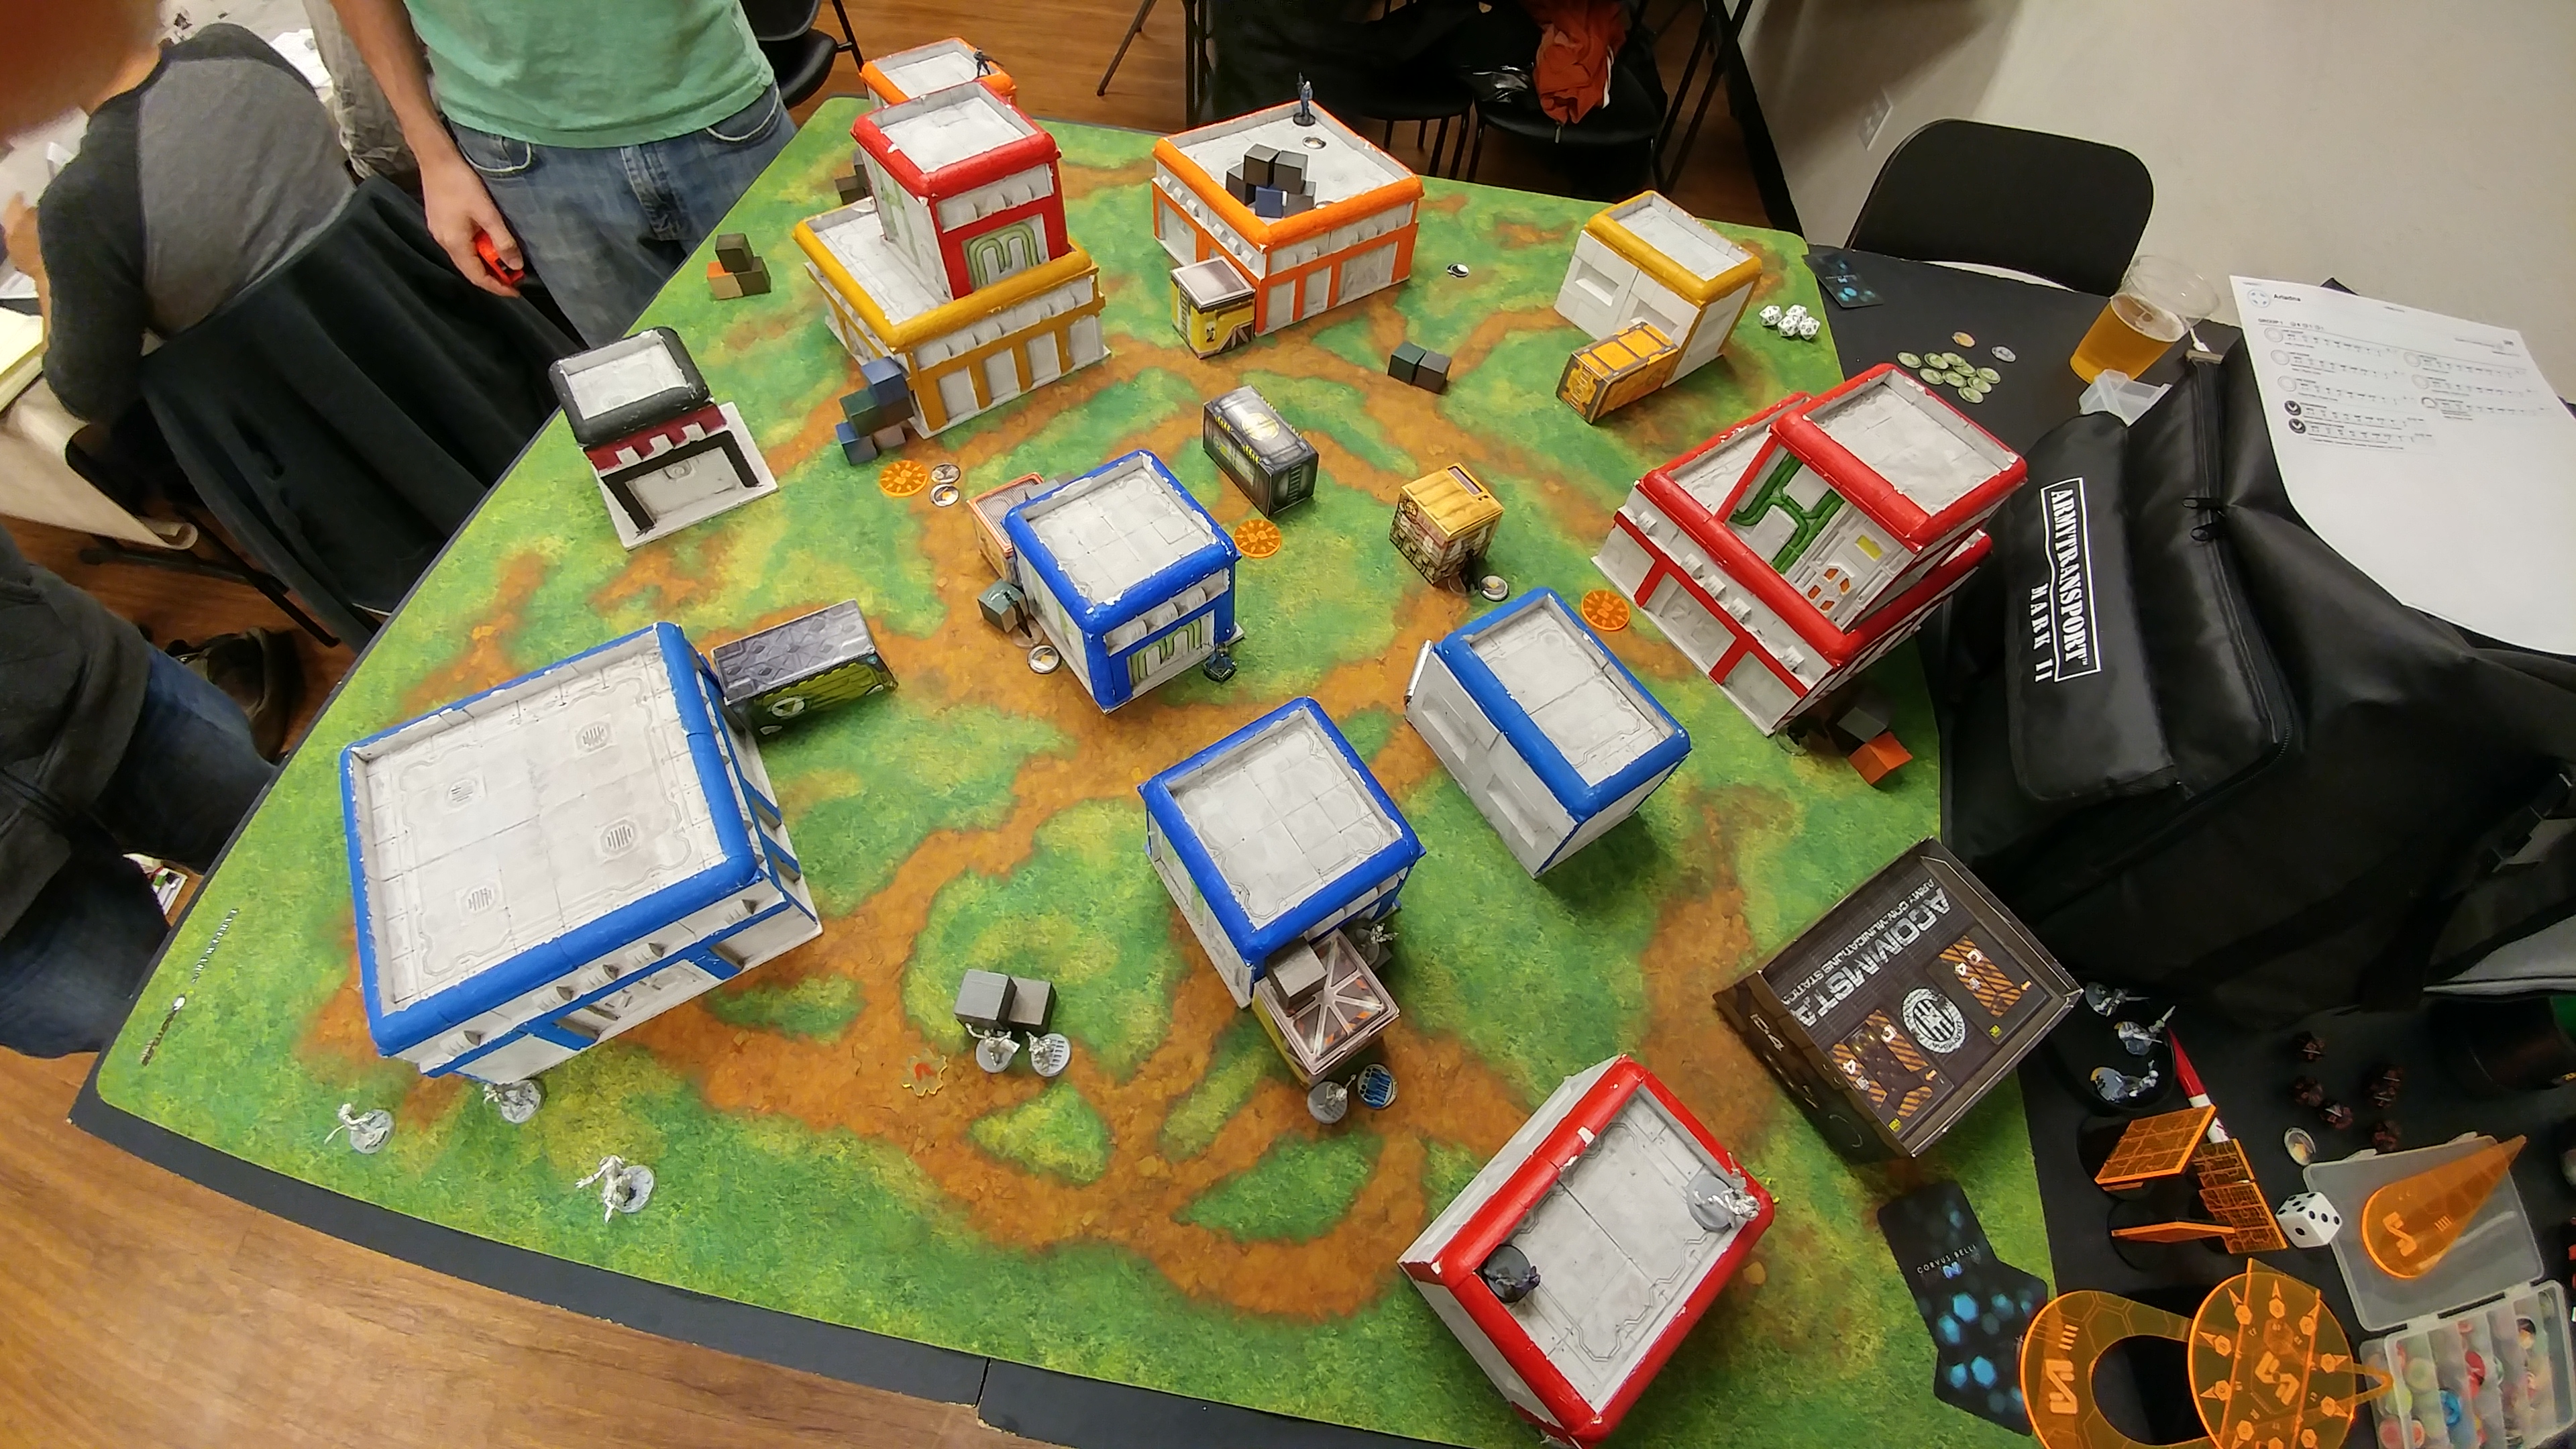
Than deploys whatever reserve model it was he had.. perhaps a Scout? Then I deploy my Riot Grrl on the left, overwatching the approach of the Devil Dog and the Scout on the left.
Turn 1
Top of Turn 1 – Ariadna
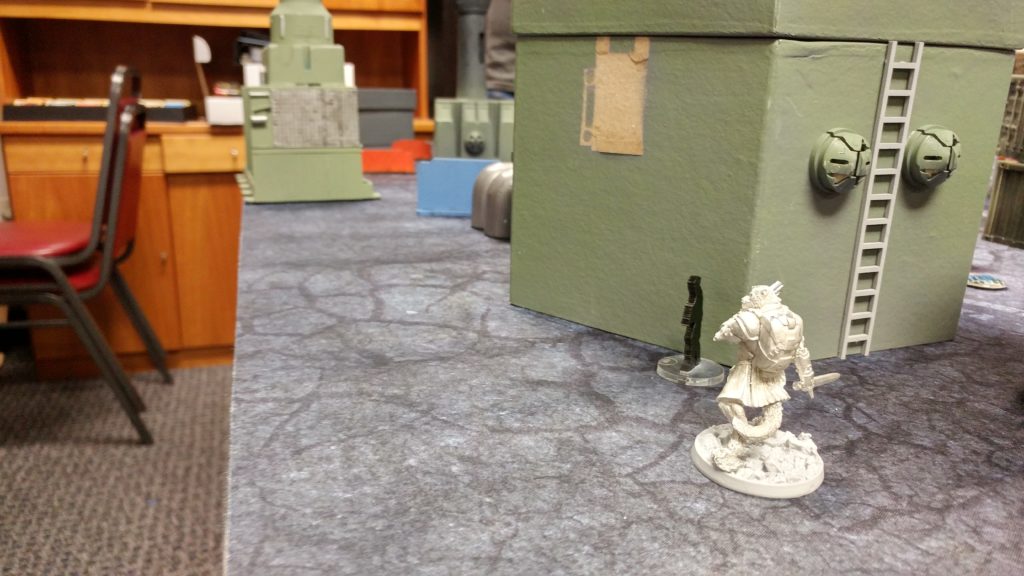
The Dog Warrior makes a beeline for my Riot Grrl, wrapping his way around a building but in total cover from the Riot Grrl and Moderator MSR watching that firelane. As he ends his movement, he’s exposed to my Morlock on the left, so I take a free pistol shot and crit!
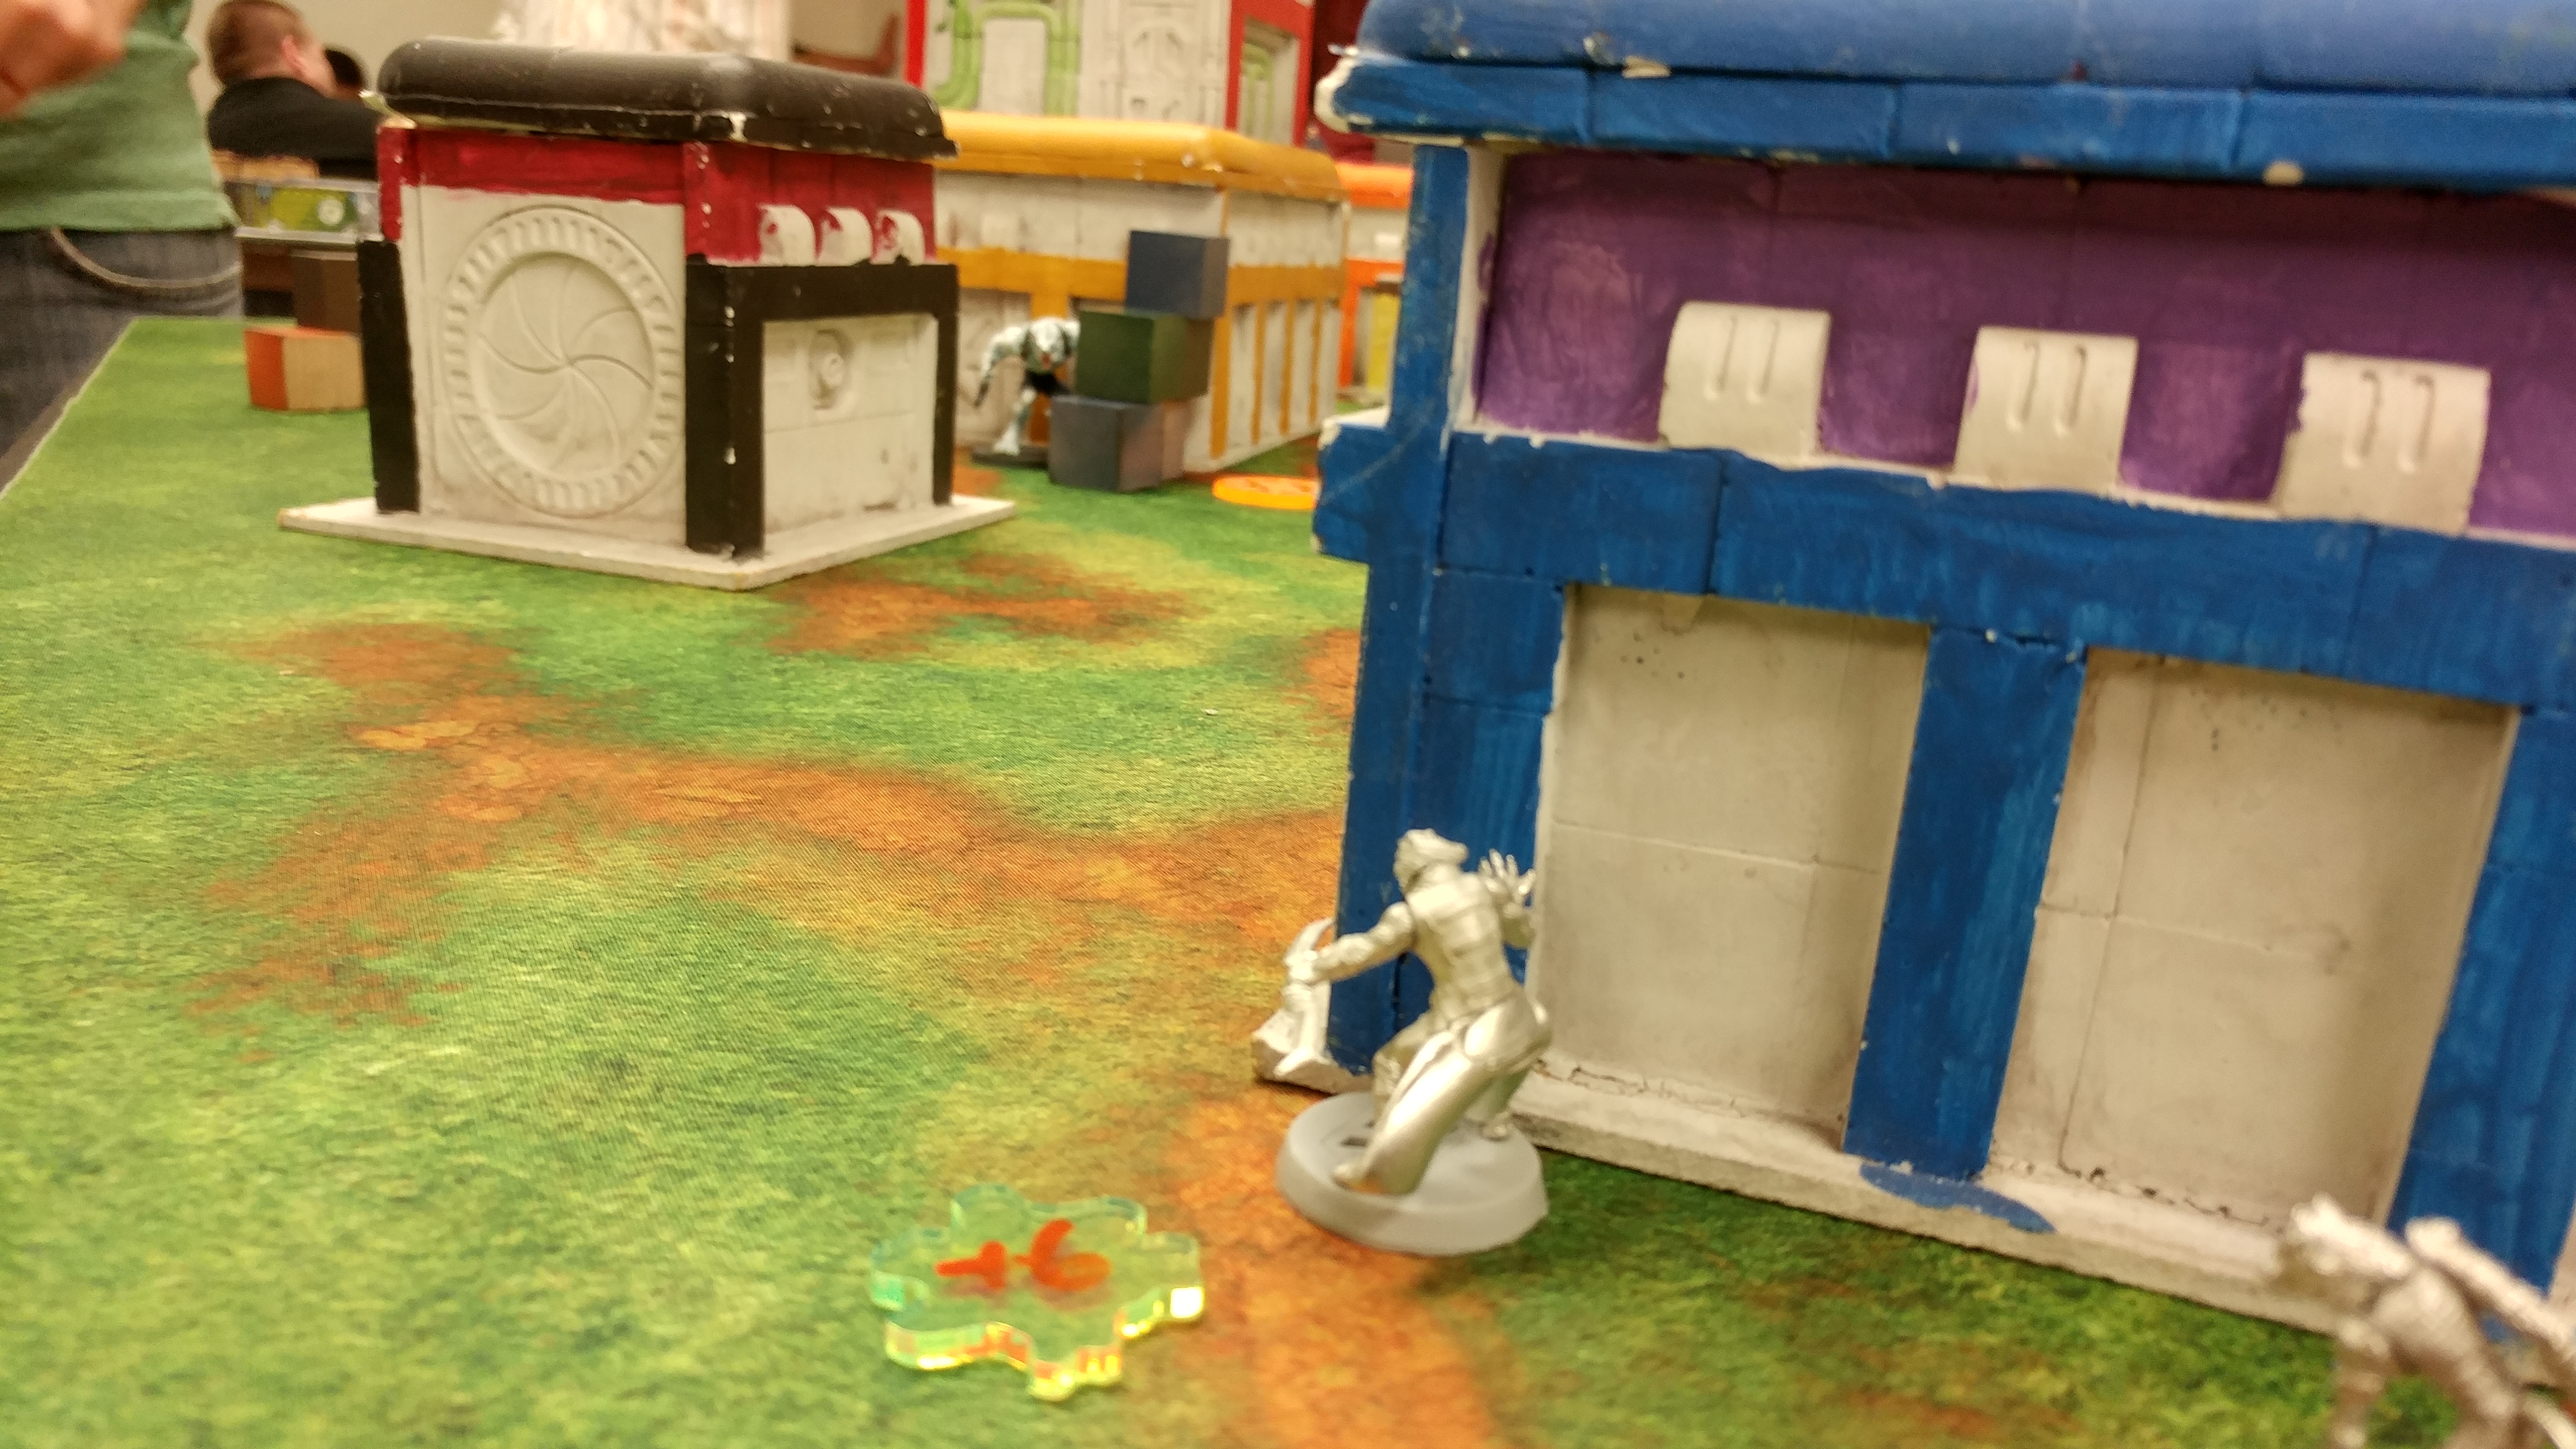 The Dog Warrior goes from S2 to S6, so now I can see him over the boxes he used to be hiding behind. As he advances again, the Moderator MSR takes her shots and stuns the Dog Warrior out in the open. The Scout takes this moment to try and grab the box, relying in his camo and cover to protect him, but I throw a Blitzen from the Riot Grrl at him as he fails WIP to open the supplies box and fails two BTS saves. Than activates the Spetznaz AP HMG and guns down the other Moderator MSR, but I only go unconscious due to the Moderator’s shock immunity.
 The way now open, Than’s other Scout manages to snag the box from the middle objective and sneaks away. The Spetznaz HMG guns down the Morlock on the left as he makes his way to safety, overwatching the right objective as the Scout retreats with his package.
 Bottom of Turn 1 – Bakunin

My remaining Morlock moves up, chucking smoke against the crinos-form Dog Warrior. I push the Uberfall in the same direction, trying to figure out how best to use them, but just end up bunching them up. I throw some eclipse smoke, intending to cover my Zeros’ movement on the right, but I misjudge it and leave an LoF gap, so I just shift them back towards the Dog Warrior.
 Now that there’s smoke on the left thanks to the Morlock, my Zero AHD slips in, unnoticed, and steals some supplies out from under the isolated Scout’s nose, scurrying away with his prize. I throw a Coordinated Order into her movement to advance my Riot Grrl, the Zero KHD, and the Zero FO while the AHD with the box retreats some more. A final order gets my Zero AHD into cover, poking out a bit to ARO anything that approaches.
Turn 2
Top of Turn 2 – Ariadna
The good news is that I’ve advanced everything, the bad news is I’ve made Than a very juicy chain rifle target. I figure my chances to dodge are good enough with all the HyperDynamics and high PH models there, so I roll with it. Sure enough, Than places two chain rifle templates against all my dodges, while my units farther back unleash a hail of bullets. The Morlock dodges closer and the Riot Grrl dodges into partial cover. I declared Engage with the Uberfall, and while the Pupniks make their roll, the Chimera doesn’t. I had her way too far forward. Drat. The Uberfall go down without doing much of anything. They’re really hard to move around with the impetuous movement and the fact that the Chimera is so squishy. My Zero AHD manages to land a wound through the Dog Warrior’s ARM, and the Moderator MSR stuns him again.
Than activates the Dog Warrior again, but everyone just guns him down, finally removing the threat. With a coordinated order, Than moves up his Line Kazaks and his Spetznaz, but my Zero FO takes out one of his Line Kazak FOs. The Spetznaz scoots around the corner to take out my box-carrying Zero AHD, killing my Morlock on the way, but I spend the Riot Grrl’s remaining Blitzen on him and connect, with him failing BTS. It ends up not mattering because the Zero FO also has an angle and crits down the Spetznaz. However, the Zero AHD does go down, leaving her box atop her corpse.
The Isolated Scout plants some D-Charges, and the other Scout blows them up in a great show of order efficiency and teamwork, achieving Sabotage! Than shifts up his Kazak doctor and tries to pick up his Spetznaz. My Zero FO tries to distract him by shooting him, and succeeds as the Kazak Doctor fails his doctor roll, killing the Spetznaz even though he passes his ARM against the Zero’s bullets.
Bottom of Turn 2 – Bakunin
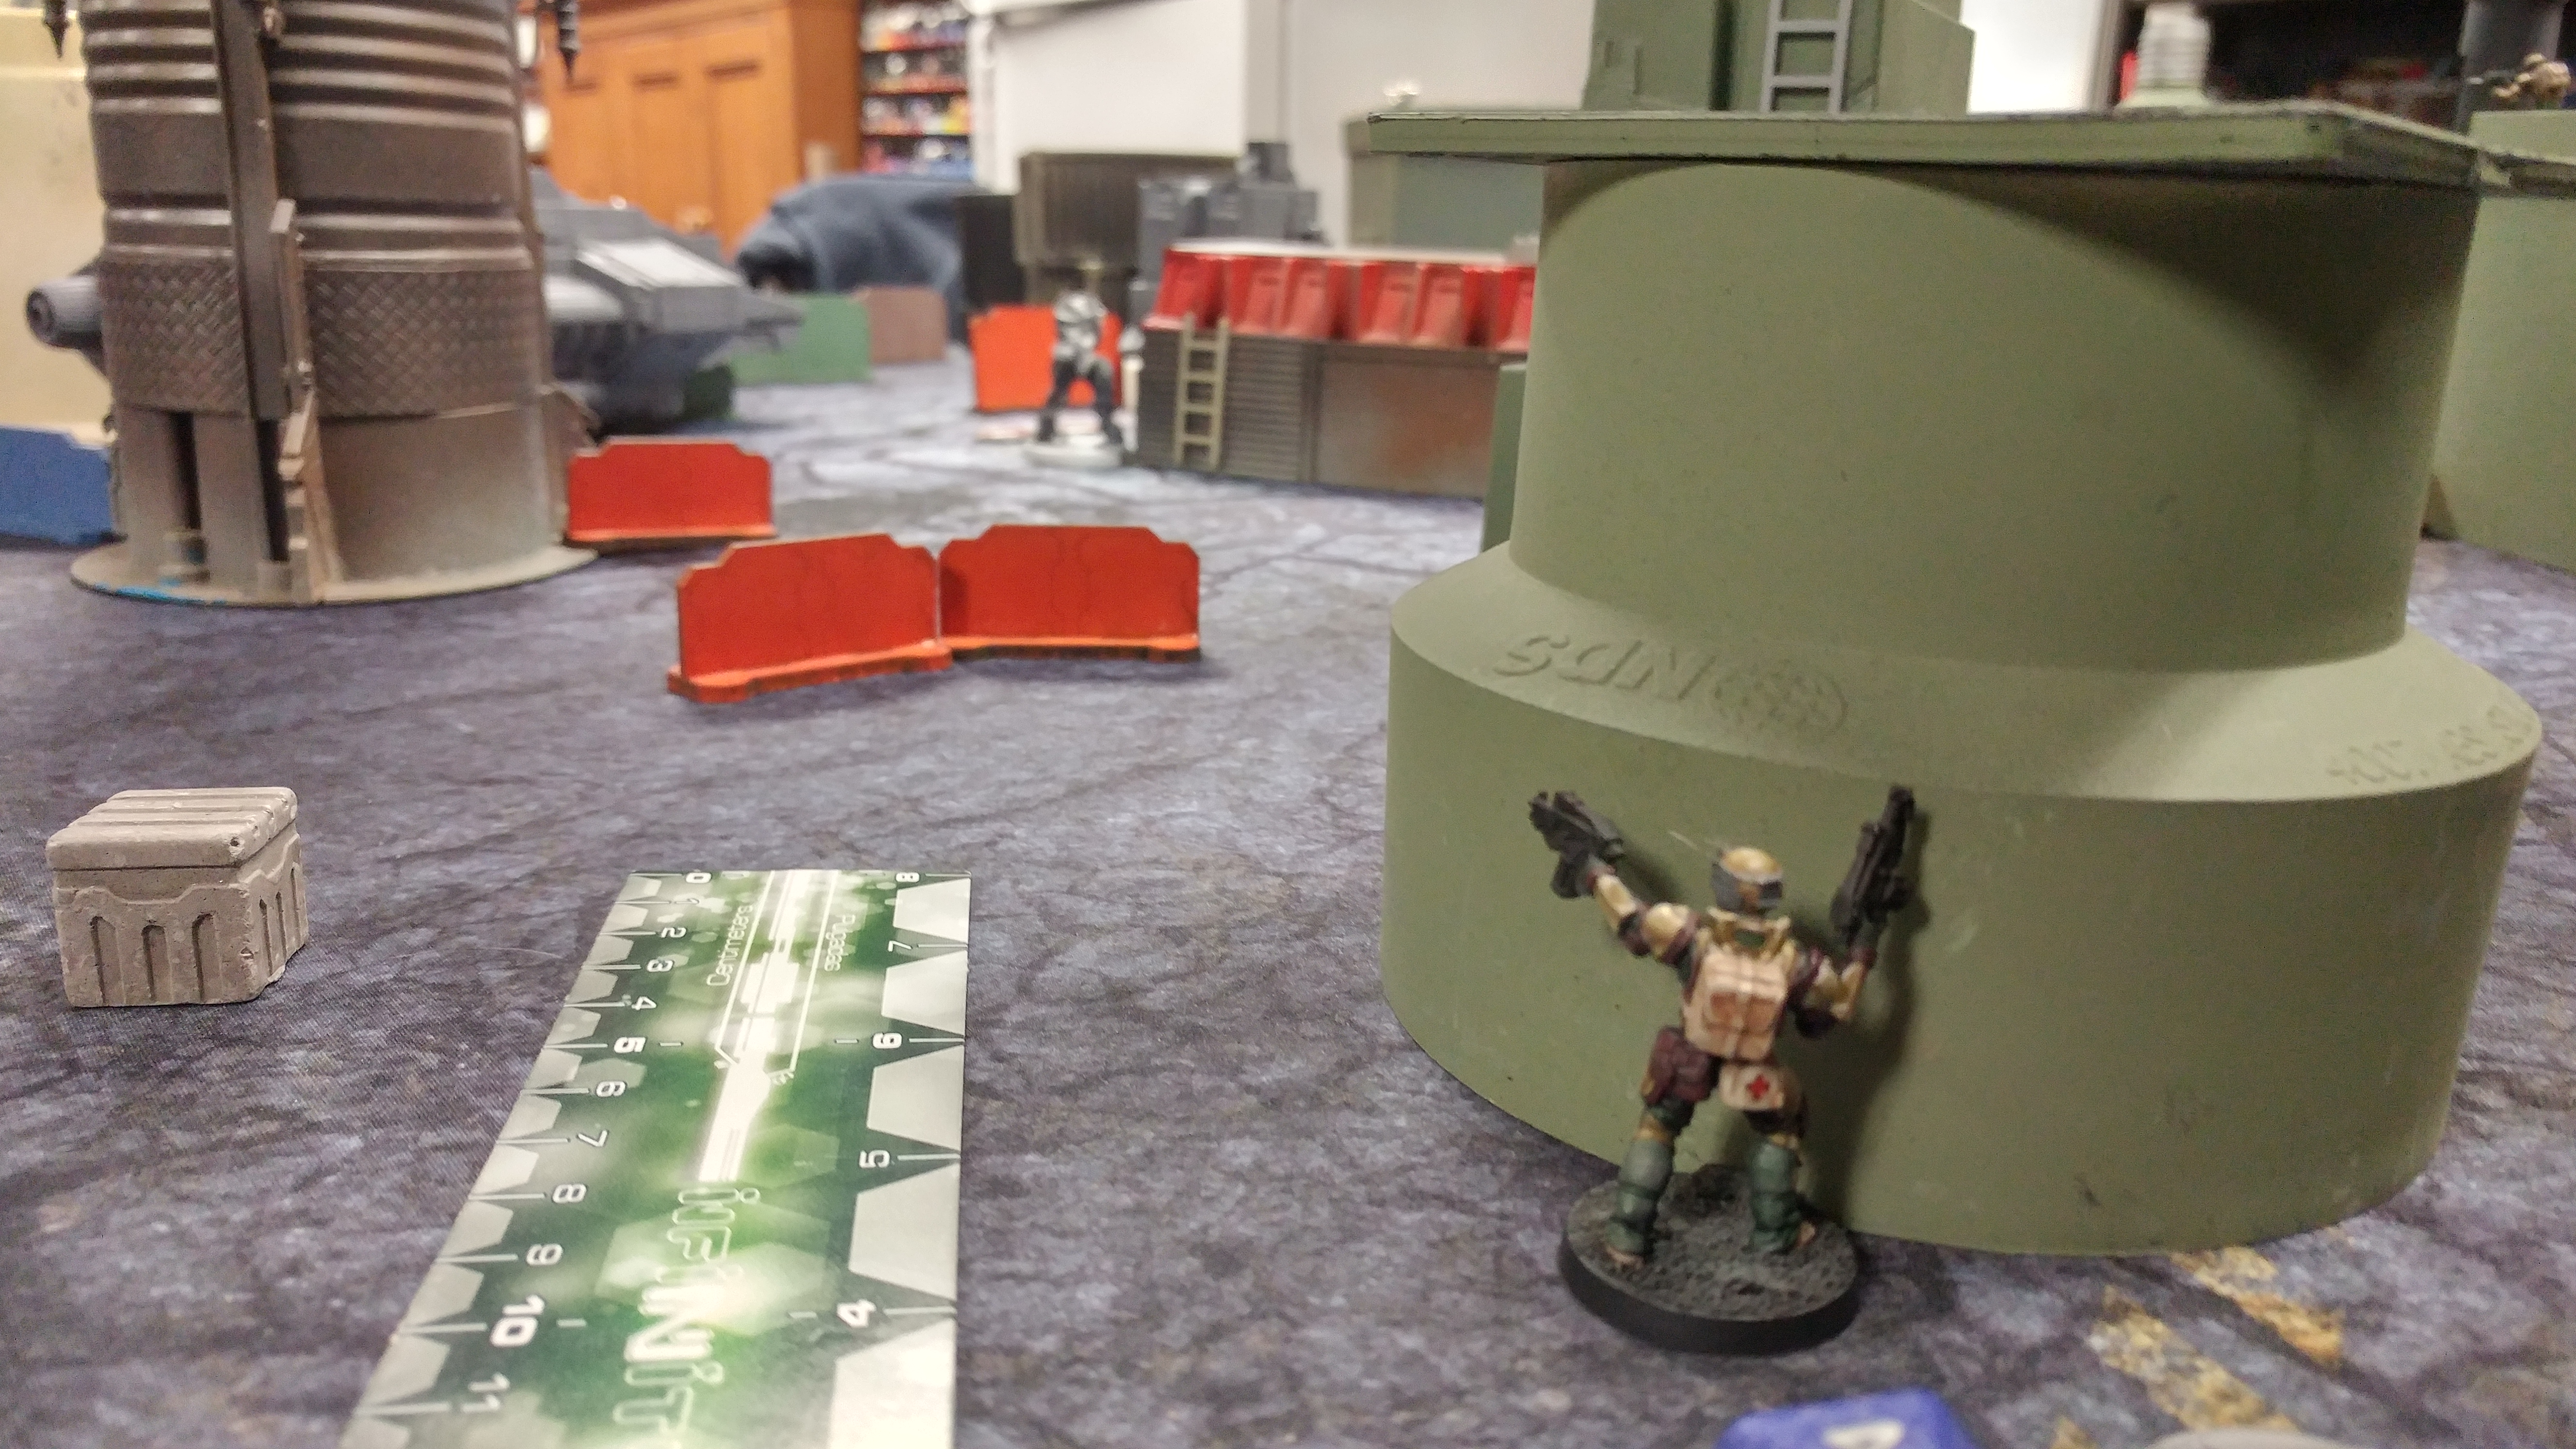
With the Spetznaz gone, I need to remove the Line Kazak sniper on the left, which is overwatching the approach to the remaining objective. I activate the link team, moving the Moderator MSR in position to deal with the Kazak sniper and the Moderator pitcher towards the dead Zero AHD’s box. The Moderator plasters the Kazak without trouble. I activate the Riot Grrl to flush out the Kazak Doctor, and force him to dodge away, right into the Moderator MSR’s sights.
 She guns down the Doctor as the Moderator Pitcher makes it all the way to the dead Zero’s box. The Zero KHD snags the box on the right and retreats behind the tall red and white building on the right. Shortly thereafter, I spend an order on the Moderator Pitcher, breaking her out of the link to grab the dead Zeros’s box and hide her, prone, behind the boxes there. I FO the dead Kazak FO with the Zero FO for a classified and pass the turn.
Turn 3
Top of Turn 3 – Ariadna
Than needs to tie it up, so he pops his Lt up and attempts to break my Moderator link by killing the Moderator MSR. It doesn’t go well. With his remaining orders, he tries to get his Line Kazak sniper into position to get a pistol shot on my Zero KHD on the right, but he doesn’t have enough orders as he has to spend half an order exchanging fire with my Zero FO. With that, we call it. Since my Zero FO is dead, I’m no longer securing the HVT.
6-2 Bakunin Victory!
Notes
- This game is a good data point for the debate between linked light infantry MSRs versus MLs. They’re the same burst in ARO, very similar rangebands, and in most cases the EXP ammo is better than the DA ammo, especially given that it can come with a side of AP should the situation warrant it. Not to mention that the ML is usually a few points cheaper.
- I think the stun option from the MSR is an underused ammo option. Forcing double BTS saves on half BTS is very useful, and they only have to fail one roll to stop them in their tracks. This is particularly strong against dogfaces, because of their 0 BTS and total immunity invalidating most of the other ammo types, but I would wager that stun is good against TAGs and HI as well. In general, it’s probably better to just use the DA ammo to outright kill them, but if you have to chew through a ton of wounds, maybe the stun option is worth it. Food for thought.
- Dodging in ARO to get free movement with Morlocks isn’t all that great. I think throwing smoke is probably better, assuming you don’t have other things with AROs behind you. You get the +3 to your PH and you prevent any more attacks.
- I royally messed up with the Uberfall this game. As I use them more I think I want to use the Pupniks as a screening force and run them around the corner before you can even see the Chimera. This is really hard to do in practice, and sort of denies me the ability to cover the Pupniks with smoke. I really need to practice with them more. To give you a sense of where I feel I am right now, wielding an Intruder feels like I’m using a scalpel, piloting a link team feels like I’m trying to cut a tough steak with a spoon, and using the Uberfall makes me feel like I’m a panda trying to perform an autopsy on a squirrel with a spatula.
- I’m really liking solo Riot Grrls, especially in low-point games. They have such a great toolkit and can avoid frenzy with their nonlethal weapons. Blitzens also are a great tool to deal with problem units with high ARM.
- Speaking of good units, holy moley is the Spetznaz HMG good. REALLY good.
- Scouts are interesting. I am very jelly of their Ojotniks.
- I should’ve deployed the Moderator Paramedic on the roof, so as to be able to heal the downed MSRs. Ah well.
- Three camo infiltrating specialists for supplies is just good. Period. I wish I could work in some minelayers and also have specialists, but now I’m just asking for all the things.
- On that note, I think I need some more tools to slow down or stop someone from walking off with all the boxes on the first turn. The Moderators can only cover so much. I think I have to lean on the Zeros and the Riot Grrl to get other angles, and maybe think about a Zero Minelayer.
- Barring the Uberfall, I don’t have a great way of getting into the backfield and ganking box carriers. Perhaps the right way to address this is to run the Uberfall into the backfield on the first turn and just leave them there as a nuisance. I’m not sure how effective this will be in the long run.
Game 2 – Goading the Grunts
 Jordan has embarked on a project to practice the same two 300 point lists over and over, so we decided to try a 300 point game of supplies. I had been planning on taking a Gecko at 200, so 300 let me work in McMurrough and some Intruders to go long with my budget TAG. I lost the roll and chose to go first to dictate the tempo and make some early gains in objectives.
Overview
- Mission: Supplies
- Forces: Jurisdictional Command of Corregidor versus USAriadna Ranger Force (300)
- Deploy First: Corregidor
- First Turn: Corregidor
[img]https://assets.infinitythegame.net/infinityarmy/img/_logosweb/logo_502.png[/img][b] Supplies 300[/b]
[b]GROUP 1 | [/b][img]https://assets.infinitythegame.net/infinityarmy/img/_logosweb/orden_regular.png[/img]8 [img]https://assets.infinitythegame.net/infinityarmy/img/_logosweb/orden_irregular.png[/img]2 [img]https://assets.infinitythegame.net/infinityarmy/img/_logosweb/orden_impetuosa.png[/img]1
[img]https://assets.infinitythegame.net/infinityarmy/img/_logosweb/502/logo_5.png[/img] [b]INTRUDER (X-Visor)[/b] MULTI Sniper Rifle / Pistol, CCW. (1.5 | [b]43[/b])
[img]https://assets.infinitythegame.net/infinityarmy/img/_logosweb/502/logo_22.png[/img] [b]LUPE BALBOA[/b] Combi Rifle, Nanopulser, Panzerfaust, Smoke Grenades / Pistol, CCW. (0 | [b]23[/b])
[img]https://assets.infinitythegame.net/infinityarmy/img/_logosweb/502/logo_1.png[/img] [b]ALGUACIL[/b] MULTI Sniper Rifle / Pistol, Knife. (1.5 | [b]18[/b])
[img]https://assets.infinitythegame.net/infinityarmy/img/_logosweb/502/logo_1.png[/img] [b]ALGUACIL[/b] Missile Launcher / Pistol, Knife. (1.5 | [b]15[/b])
[img]https://assets.infinitythegame.net/infinityarmy/img/_logosweb/502/logo_1.png[/img] [b]ALGUACIL Paramedic (MediKit)[/b] Combi Rifle / Pistol, Knife. (0 | [b]12[/b])
[img]https://assets.infinitythegame.net/infinityarmy/img/_logosweb/502/logo_1.png[/img] [b]ALGUACIL (Forward Observer, Deployable Repeater)[/b] Combi Rifle / Pistol, Knife. (0 | [b]12[/b])
[img]https://assets.infinitythegame.net/infinityarmy/img/_logosweb/502/logo_8.png[/img] [b]GECKO[/b] Mk12, Chain-colt, Blitzen / . (0.5 | [b]54[/b])
[img]https://assets.infinitythegame.net/infinityarmy/img/_logosweb/sep.gif[/img] [img]https://assets.infinitythegame.net/infinityarmy/img/_logosweb/502/logo_8.png[/img] [b]GECKO PILOT[/b] 2 Assault Pistols, Knife. ([b][/b])
[img]https://assets.infinitythegame.net/infinityarmy/img/_logosweb/502/logo_26.png[/img] [b]McMURROUGH[/b] 2 Chain Rifles, Grenades, Smoke Grenades / Templar CCW (AP + DA). (0 | [b]31[/b])
[img]https://assets.infinitythegame.net/infinityarmy/img/_logosweb/502/logo_10.png[/img] [b]MORAN (Forward Observer)[/b] Combi Rifle, CrazyKoalas (2) / Pistol, Knife. (0.5 | [b]22[/b])
[img]https://assets.infinitythegame.net/infinityarmy/img/_logosweb/502/logo_9.png[/img] [b]BANDIT Hacker (Killer Hacking Device)[/b] Light Shotgun, Adhesive Launcher / Pistol, DA CCW. (0 | [b]25[/b])[b]GROUP 2 | [/b] [img]https://assets.infinitythegame.net/infinityarmy/img/_logosweb/orden_regular.png[/img]2
[img]https://assets.infinitythegame.net/infinityarmy/img/_logosweb/502/logo_5.png[/img] [b]INTRUDER Lieutenant[/b] Combi Rifle + Light Flamethrower, Grenades / Pistol, CCW. (0 | [b]35[/b])
[img]https://assets.infinitythegame.net/infinityarmy/img/_logosweb/502/logo_11.png[/img] [b]JAGUAR[/b] Chain Rifle, Smoke Grenades / Pistol, DA CCW. (0 | [b]10[/b])
[b] 5.5 SWC | 300 Points |[/b] Open in Infinity Army
[img]https://assets.infinitythegame.net/infinityarmy/img/_logosweb/logo_304.png[/img][b] Traktor Mul List[/b]
[b]GROUP 1 | [/b] [img]https://assets.infinitythegame.net/infinityarmy/img/_logosweb/orden_regular.png[/img]10
[img]https://assets.infinitythegame.net/infinityarmy/img/_logosweb/304/logo_2.png[/img] [b]MINUTEMAN Lieutenant[/b] AP HMG / Pistol, CCW. (1 | [b]34[/b])
[img]https://assets.infinitythegame.net/infinityarmy/img/_logosweb/304/logo_1.png[/img] [b]GRUNT (Marksmanship LX)[/b] Sniper Rifle / Pistol, Knife. (0.5 | [b]18[/b])
[img]https://assets.infinitythegame.net/infinityarmy/img/_logosweb/304/logo_1.png[/img] [b]GRUNT (Marksmanship LX)[/b] Sniper Rifle / Pistol, Knife. (0.5 | [b]18[/b])
[img]https://assets.infinitythegame.net/infinityarmy/img/_logosweb/304/logo_1.png[/img] [b]GRUNT Paramedic (MediKit)[/b] Rifle / Pistol, Knife. (0 | [b]12[/b])
[img]https://assets.infinitythegame.net/infinityarmy/img/_logosweb/304/logo_1.png[/img] [b]GRUNT (Forward Observer)[/b] Rifle / Pistol, Knife. (0 | [b]11[/b])
[img]https://assets.infinitythegame.net/infinityarmy/img/_logosweb/304/logo_1.png[/img] [b]GRUNT[/b] Heavy Flamethrower, Light Shotgun / Pistol, Knife. (0 | [b]10[/b])
[img]https://assets.infinitythegame.net/infinityarmy/img/_logosweb/304/logo_7.png[/img] [b]DOZER (Traktor Mul Control Device)[/b] Rifle, D-Charges / Pistol, Knife. (0 | [b]14[/b])
[img]https://assets.infinitythegame.net/infinityarmy/img/_logosweb/304/logo_3.png[/img] [b]FOXTROT[/b] Sniper Rifle, Antipersonnel Mines / Pistol, Knife. (0.5 | [b]24[/b])
[img]https://assets.infinitythegame.net/infinityarmy/img/_logosweb/304/logo_13.png[/img] [b]AIRBORNE RANGER[/b] Submachine Gun / Pistol, AP CC Weapon, Knife. (0 | [b]20[/b])
[img]https://assets.infinitythegame.net/infinityarmy/img/_logosweb/304/logo_8.png[/img] [b]TRAKTOR MUL[/b] Katyusha MRL / Electric Pulse. (1 | [b]11[/b])[b]GROUP 2 | [/b][img]https://assets.infinitythegame.net/infinityarmy/img/_logosweb/orden_regular.png[/img]7
[img]https://assets.infinitythegame.net/infinityarmy/img/_logosweb/304/logo_3.png[/img] [b]FOXTROT (Forward Observer)[/b] Rifle, Antipersonnel Mines / Pistol, Knife. (0 | [b]18[/b])
[img]https://assets.infinitythegame.net/infinityarmy/img/_logosweb/304/logo_3.png[/img] [b]FOXTROT (Forward Observer)[/b] Rifle, Antipersonnel Mines / Pistol, Knife. (0 | [b]18[/b])
[img]https://assets.infinitythegame.net/infinityarmy/img/_logosweb/304/logo_3.png[/img] [b]FOXTROT[/b] Rifle, Light Grenade Launcher / Pistol, Knife. (1 | [b]20[/b])
[img]https://assets.infinitythegame.net/infinityarmy/img/_logosweb/304/logo_1.png[/img] [b]GRUNT (Inferior Infiltration)[/b] Heavy Flamethrower, Light Shotgun / Pistol, Knife. (0.5 | [b]11[/b])
[img]https://assets.infinitythegame.net/infinityarmy/img/_logosweb/304/logo_1.png[/img] [b]GRUNT (Inferior Infiltration)[/b] Heavy Flamethrower, Light Shotgun / Pistol, Knife. (0.5 | [b]11[/b])
[img]https://assets.infinitythegame.net/infinityarmy/img/_logosweb/304/logo_1.png[/img] [b]GRUNT (Inferior Infiltration)[/b] Heavy Flamethrower, Light Shotgun / Pistol, Knife. (0.5 | [b]11[/b])
[img]https://assets.infinitythegame.net/infinityarmy/img/_logosweb/304/logo_5.png[/img] [b]VAN ZANT (Executive Order)[/b] AP Rifle / Heavy Pistol, AP CCW. (0 | [b]39[/b])
[b] 6 SWC | 300 Points |[/b] Open in Infinity Army
Deployment
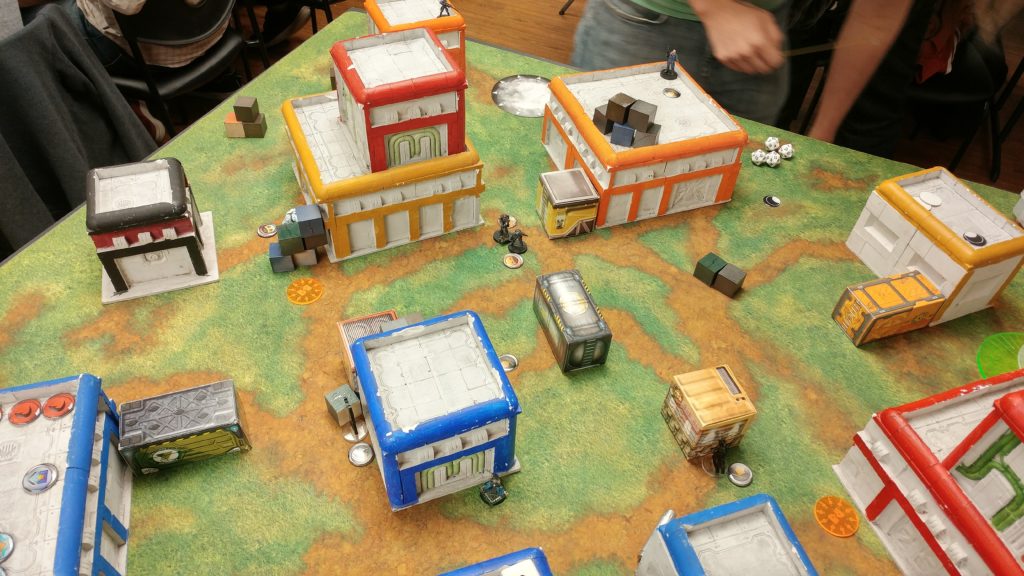
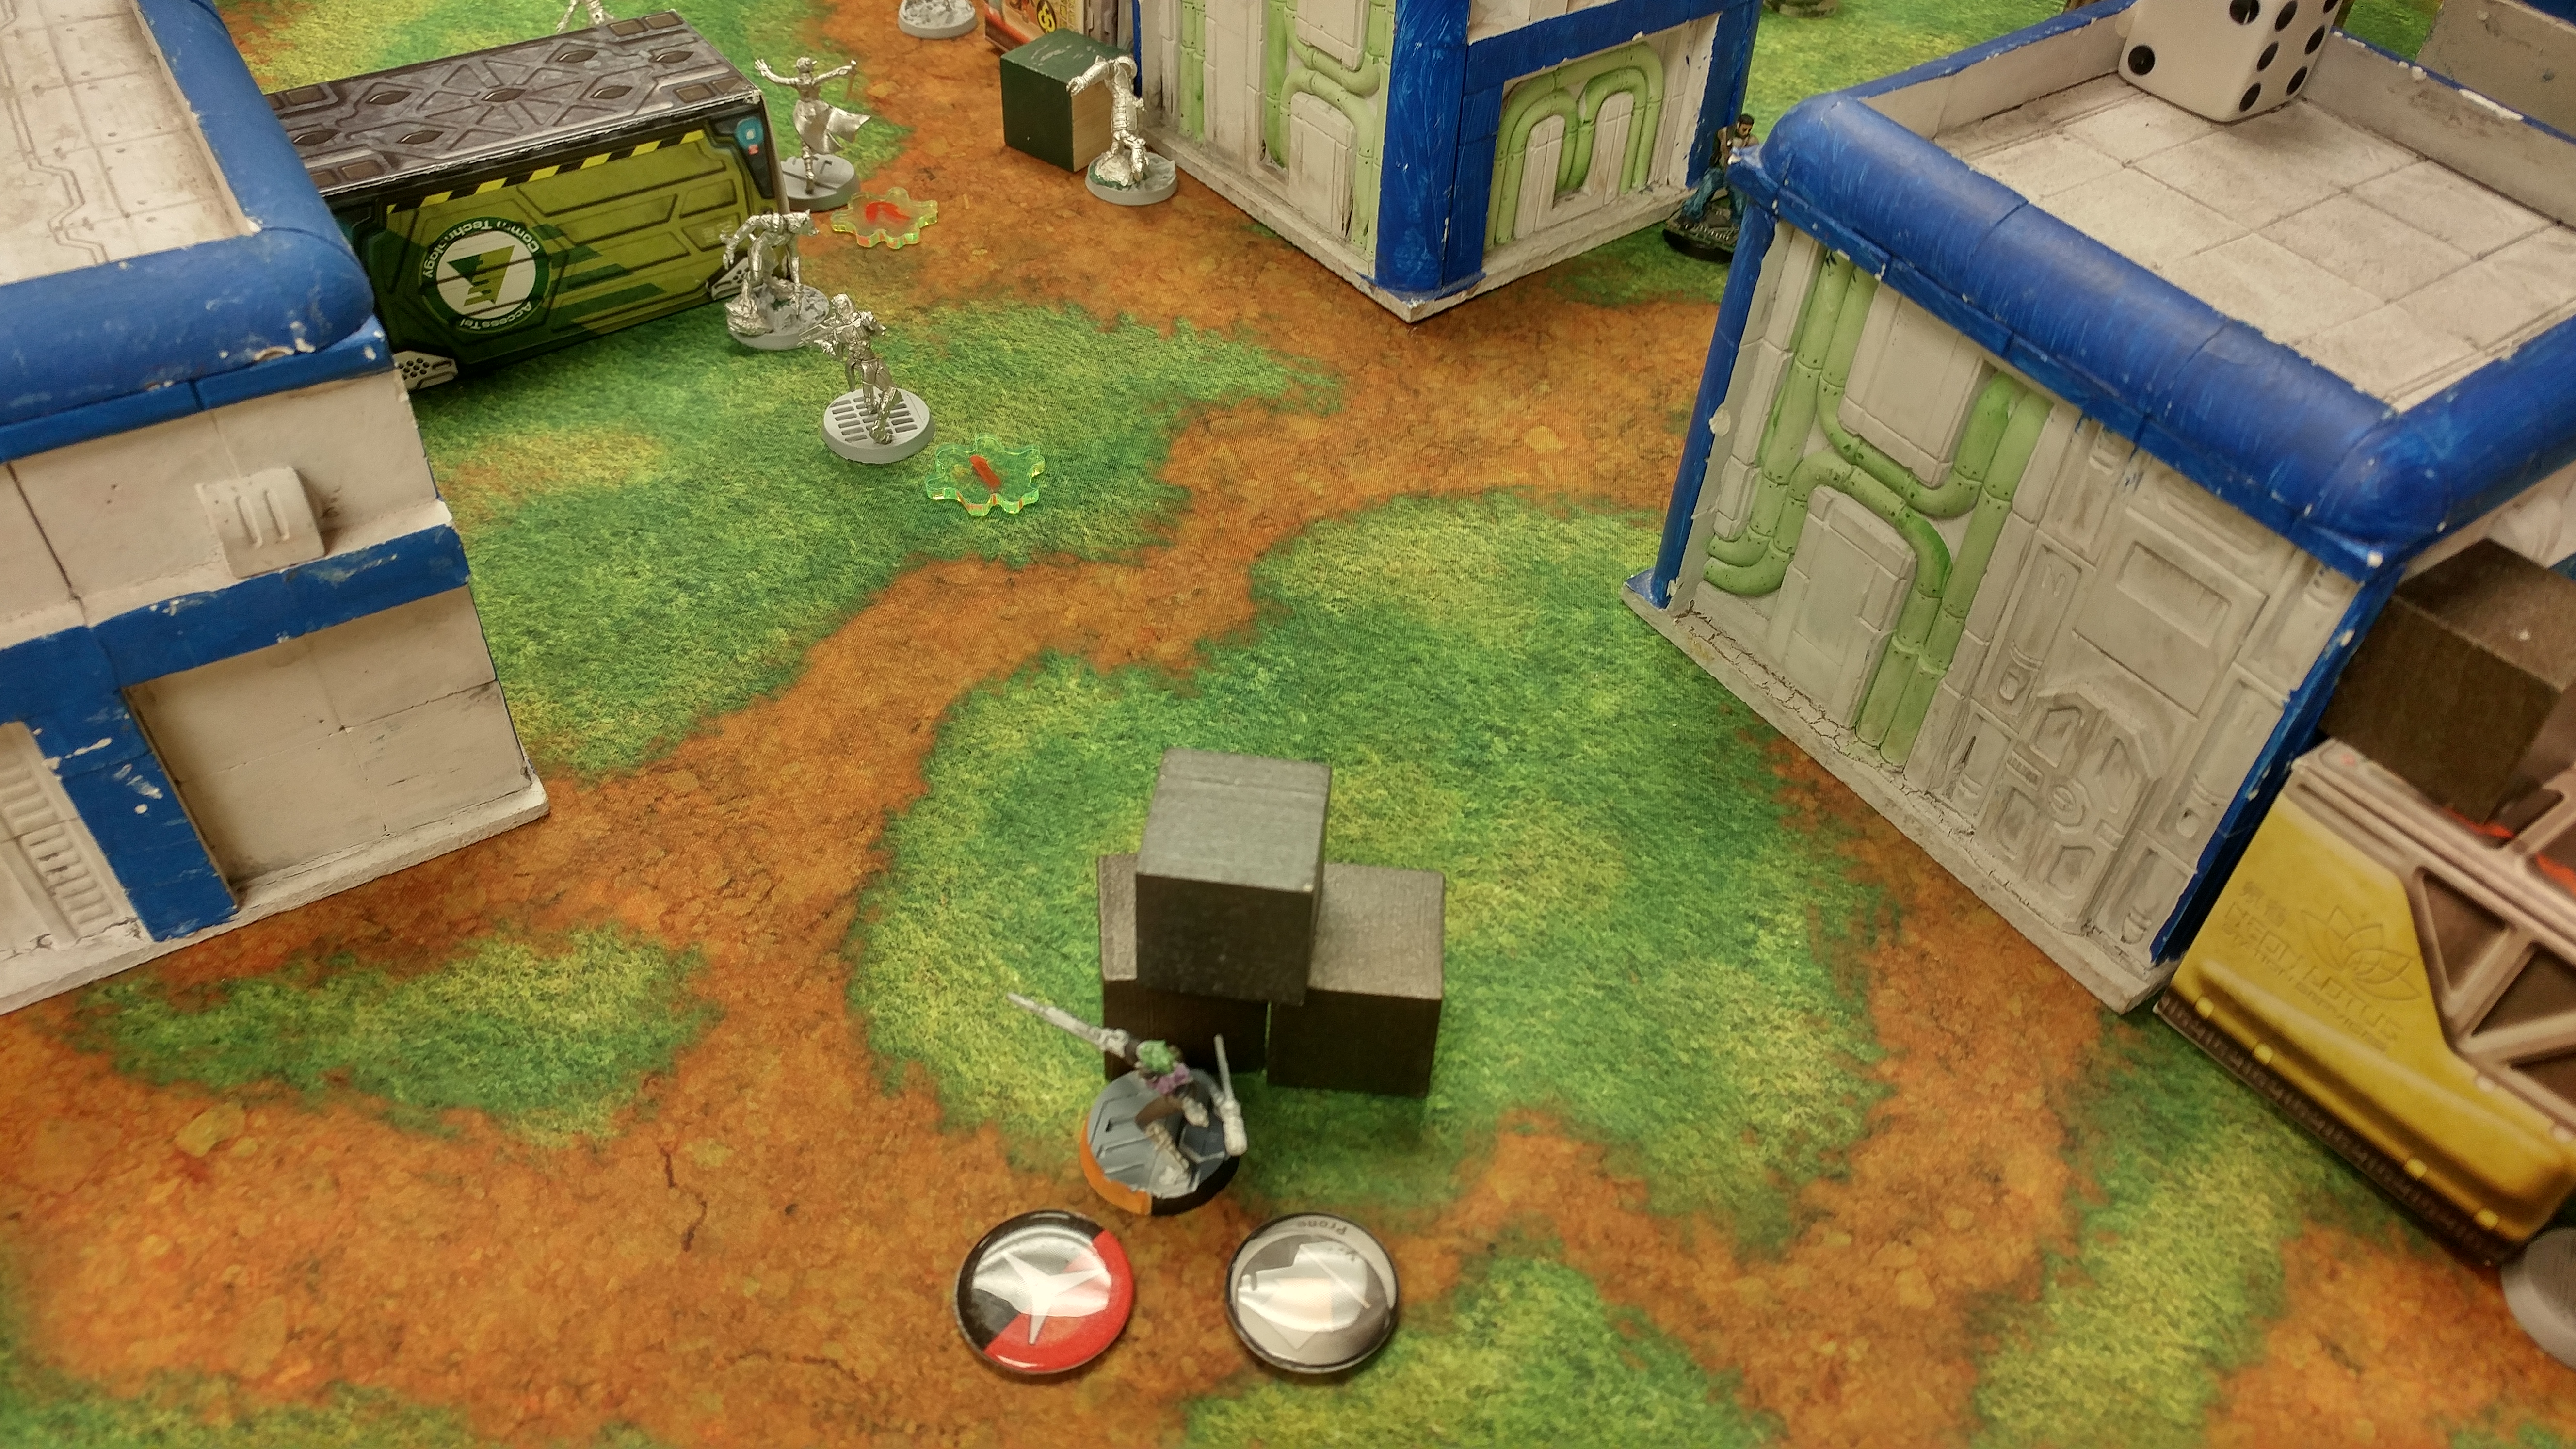
I deploy the Alguacil link team across the left hexagonal building and the shipping containers. The ML is on the roof, exposed, with the Paramedic prone behind him, and the MSR is tucked atop the lower of the two stacked shipping containers, prone, watching the narrow diagonal gap to the back left side of the board. Lupe and the FO are at the base of the shipping containers, facing my back board edge to contest Van Zant. My Intruder MSR is atop the square grey building on the right of my deployment zone, with a Jaguar CR nearby to provide smoke.
My Moran is prone on top of the building in front of the Alguaciles, with one of his Crazy Koalas blocking AD:1 on the left side of the board and the other gumming up the approach to the middle objective. McMurrough anchors my left side, which includes my Intruder Lt who is watching the left side and the entirety of my backfield against Van Zant. My Bandit hides near the left objective, and with that, it’s Jordan’s turn to deploy!
 After our last game, Jordan decides to put his two Grunt snipers prone atop a building with the Grunt FO poking out the right side of the building, the flamethrower grunt on the left of the building (both from my perspective). He tries to infiltrate his three inferior infiltration Grunts to just outside my deployment zone, but flubs all three rolls and they end up spread across his back table edge. The AP HMG minuteman hides behind the green pipe building on my right, and The Foxtrot LGL stands up in camo atop the cream white building in the center, with a Foxtrot FO covering the left objective. The other Foxtrot FO contests the center objective, and the Foxtrot sniper settles himself into a sniper’s nest atop the tall tower on the right side. I put my Gecko down on the right, ready to charge up the field, and the Traktor Mul Katyusha is behind the square building on the left.
Turn 1
Top of Turn 1 – Corregidor
Jordan docks me two orders from Group 2, preventing me from throwing smoke for my Intruder MSR. INGENIOUS! McMurrough is all the way on the left, so I’m not getting him in place to cover for the Jaguar. Oh well.McMurrough advances up the field and as part of his irregular order, exposes himself to the Foxtrot FO there, who reveals flash pulses McMurrough. I get greedy and throw a regular grenade at him from outside 8″ instead of breaking LoF with smoke and get punished, losing the F2F and failing my BTS roll.
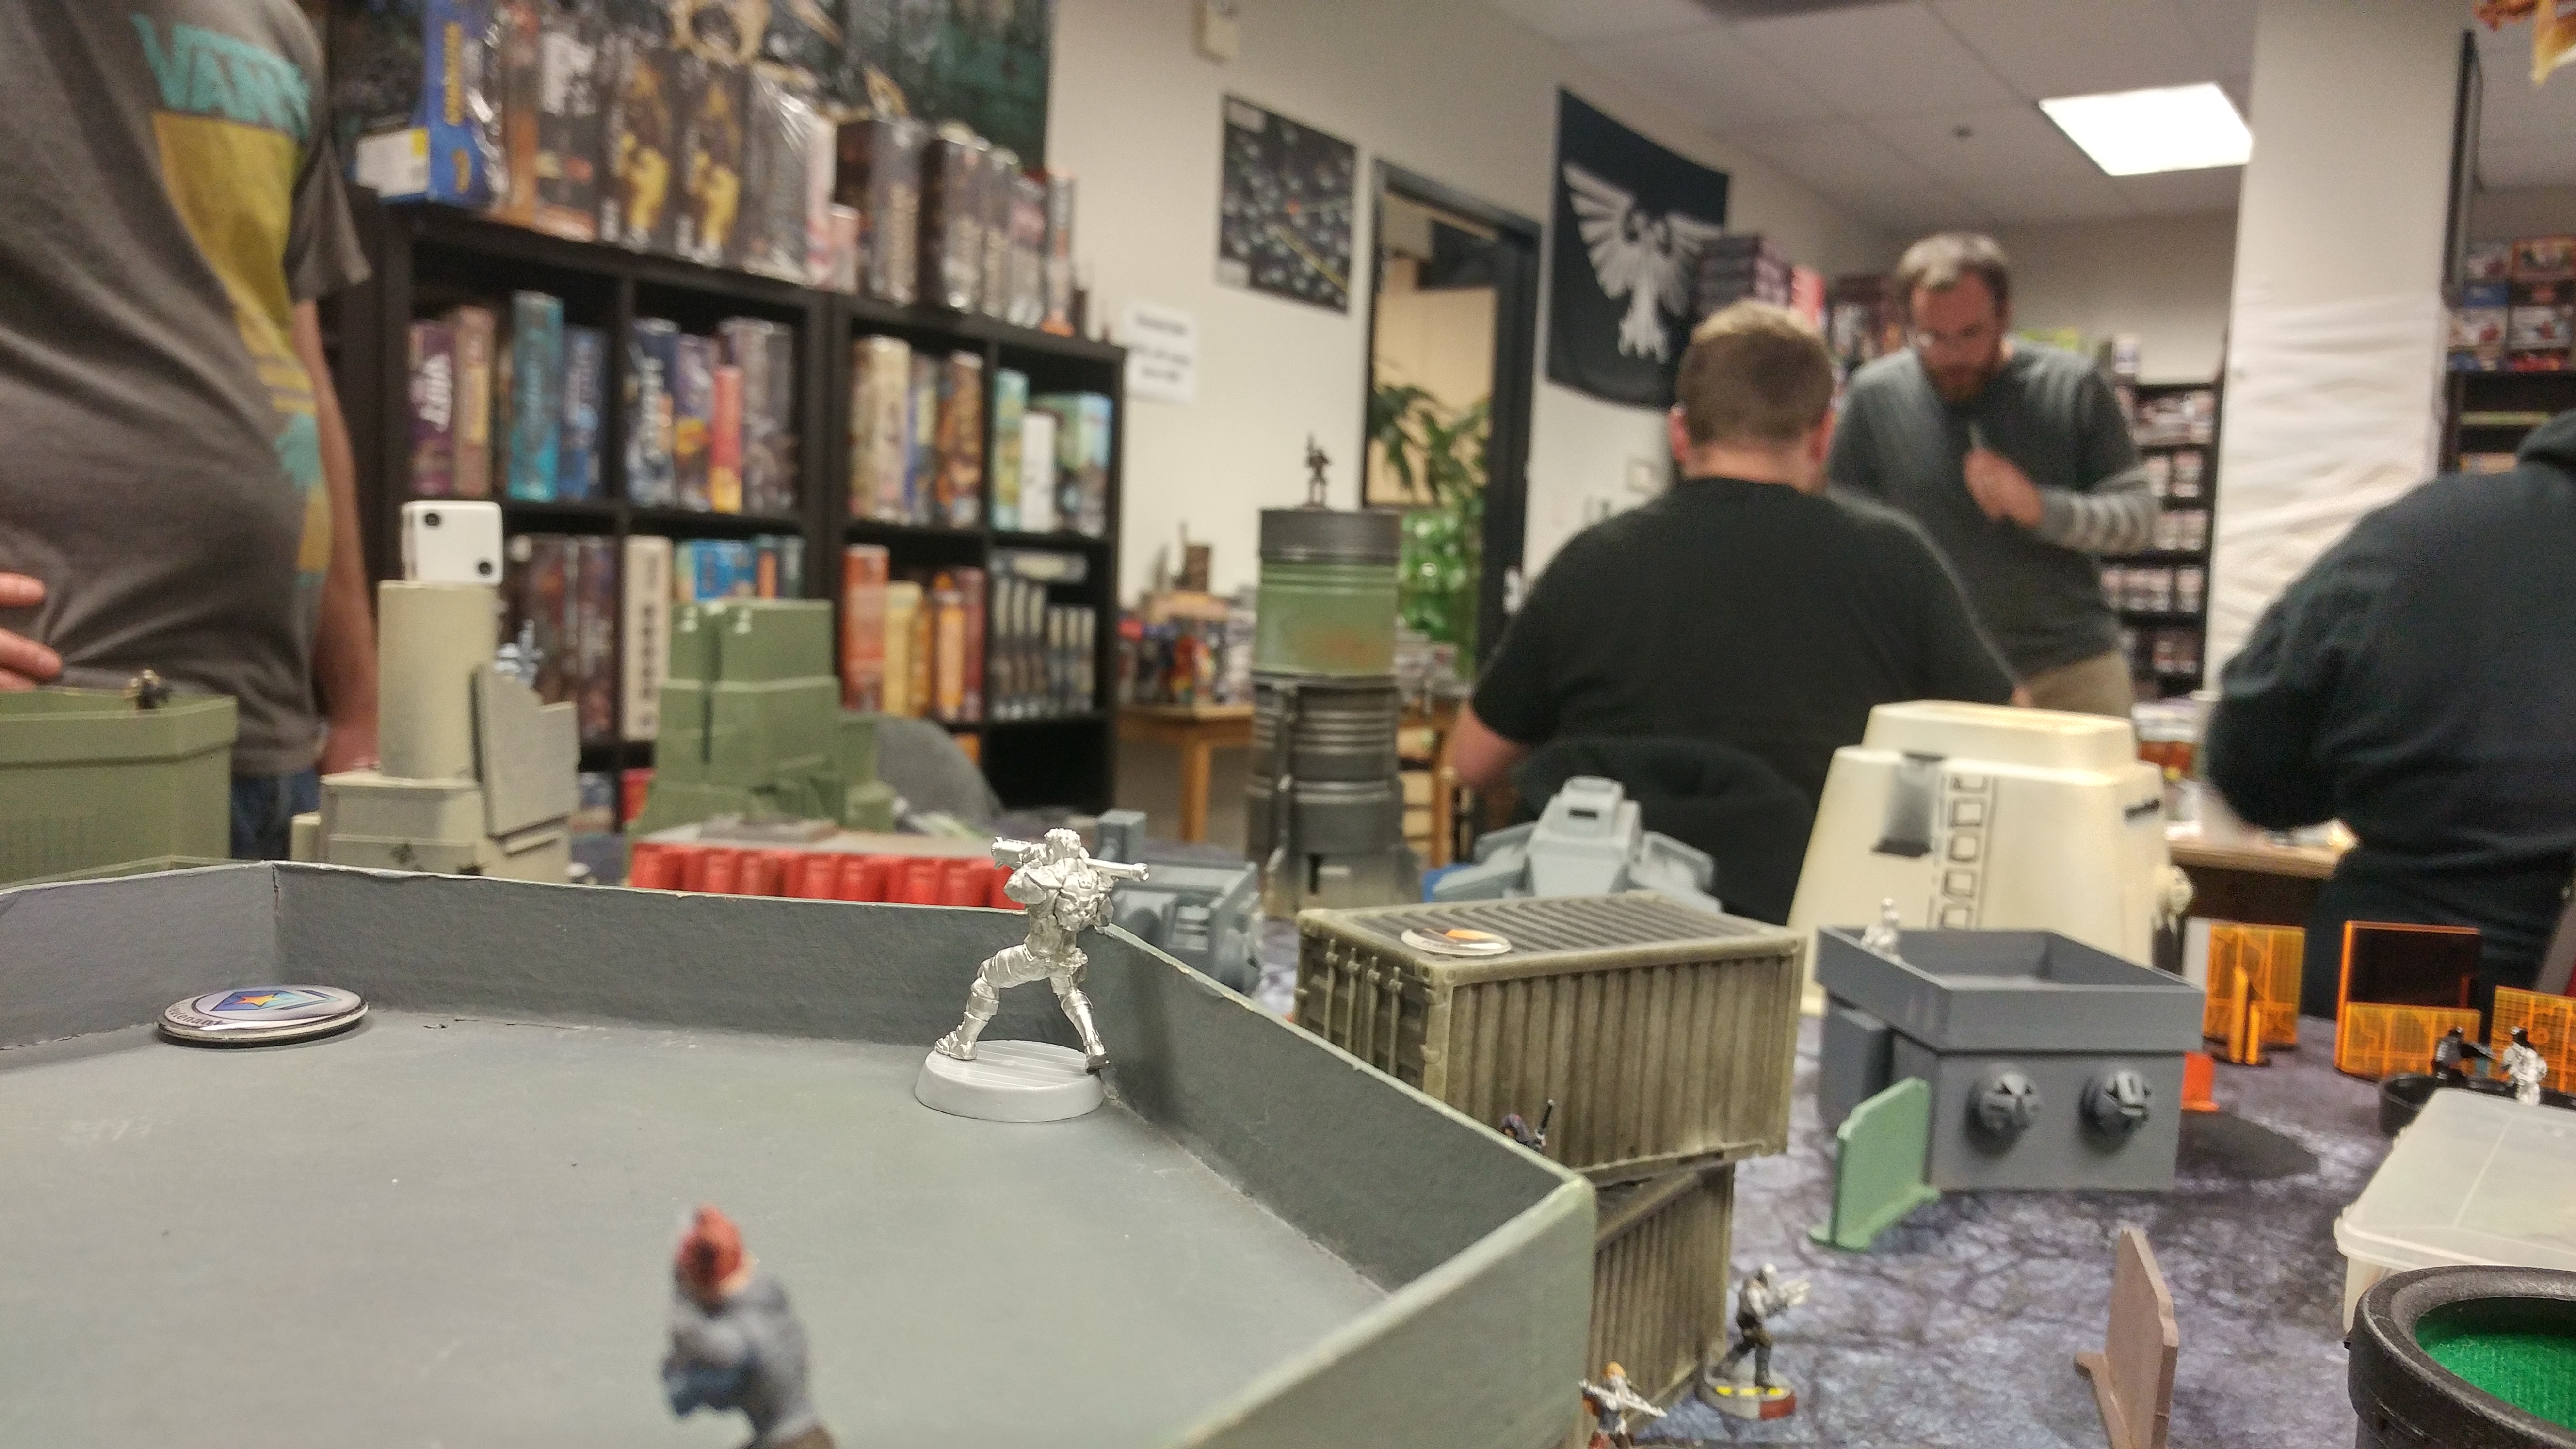
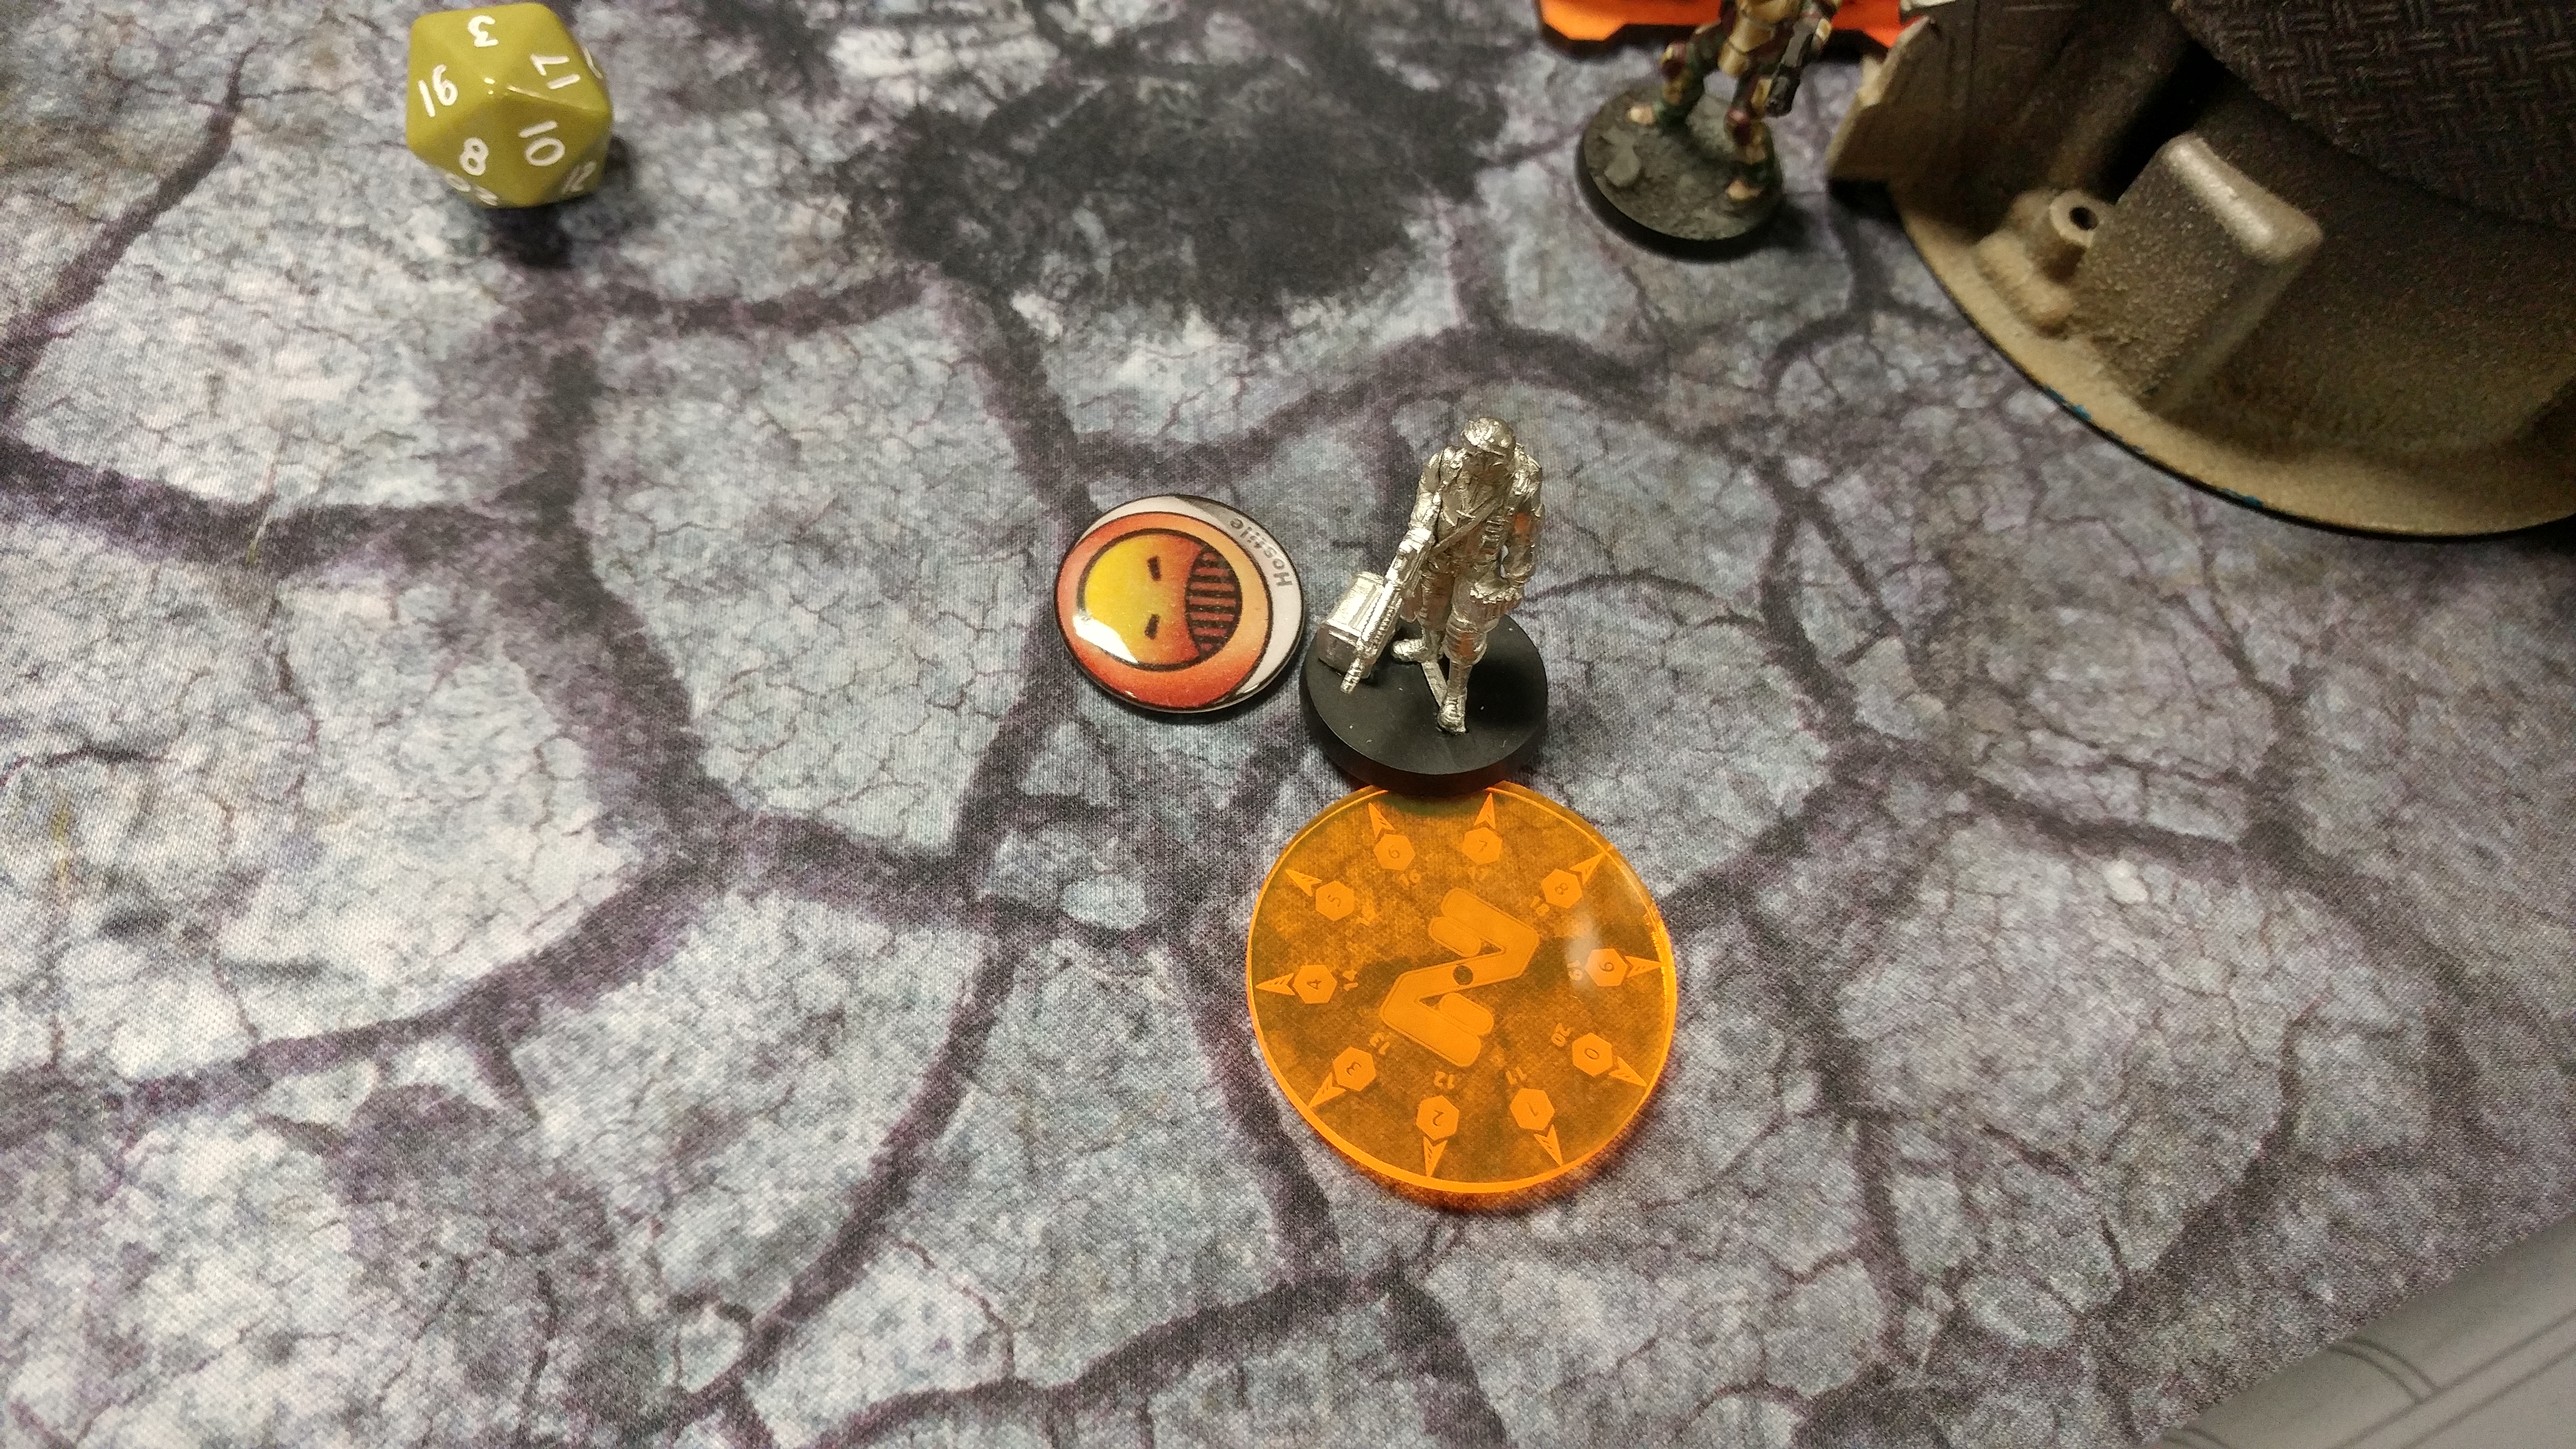
Whelp, time to lean on my reliable Bandit. She scoots around the corner and shotguns down the Foxtrot, throwing a cheeky wink at the stumbling McMurrough as she steals the box and retreats. I advance my Gecko in the open, hoping to bait a reveal from the Foxtrots on the right. They don’t bite, so I settle for dumping shots into the Grunt FO. Of course, Jordan rolls a crit, and I’m forced to sheepishly dump another order into shooting the Grunt. This time, he reveals the Foxtrot LGL, so I split burst and manage only to knock the Grunt FO unconscious while the Foxtrot’s grenade detonates harmlessly against the Gecko’s armor. I spend a coordinated order moving the Gecko into cover and activating the Intruder MSR and my Moran, who climbs down the ladder. The Foxtrot LGL manages to crit the Gecko again, but the Moran and Intruder knock him out. 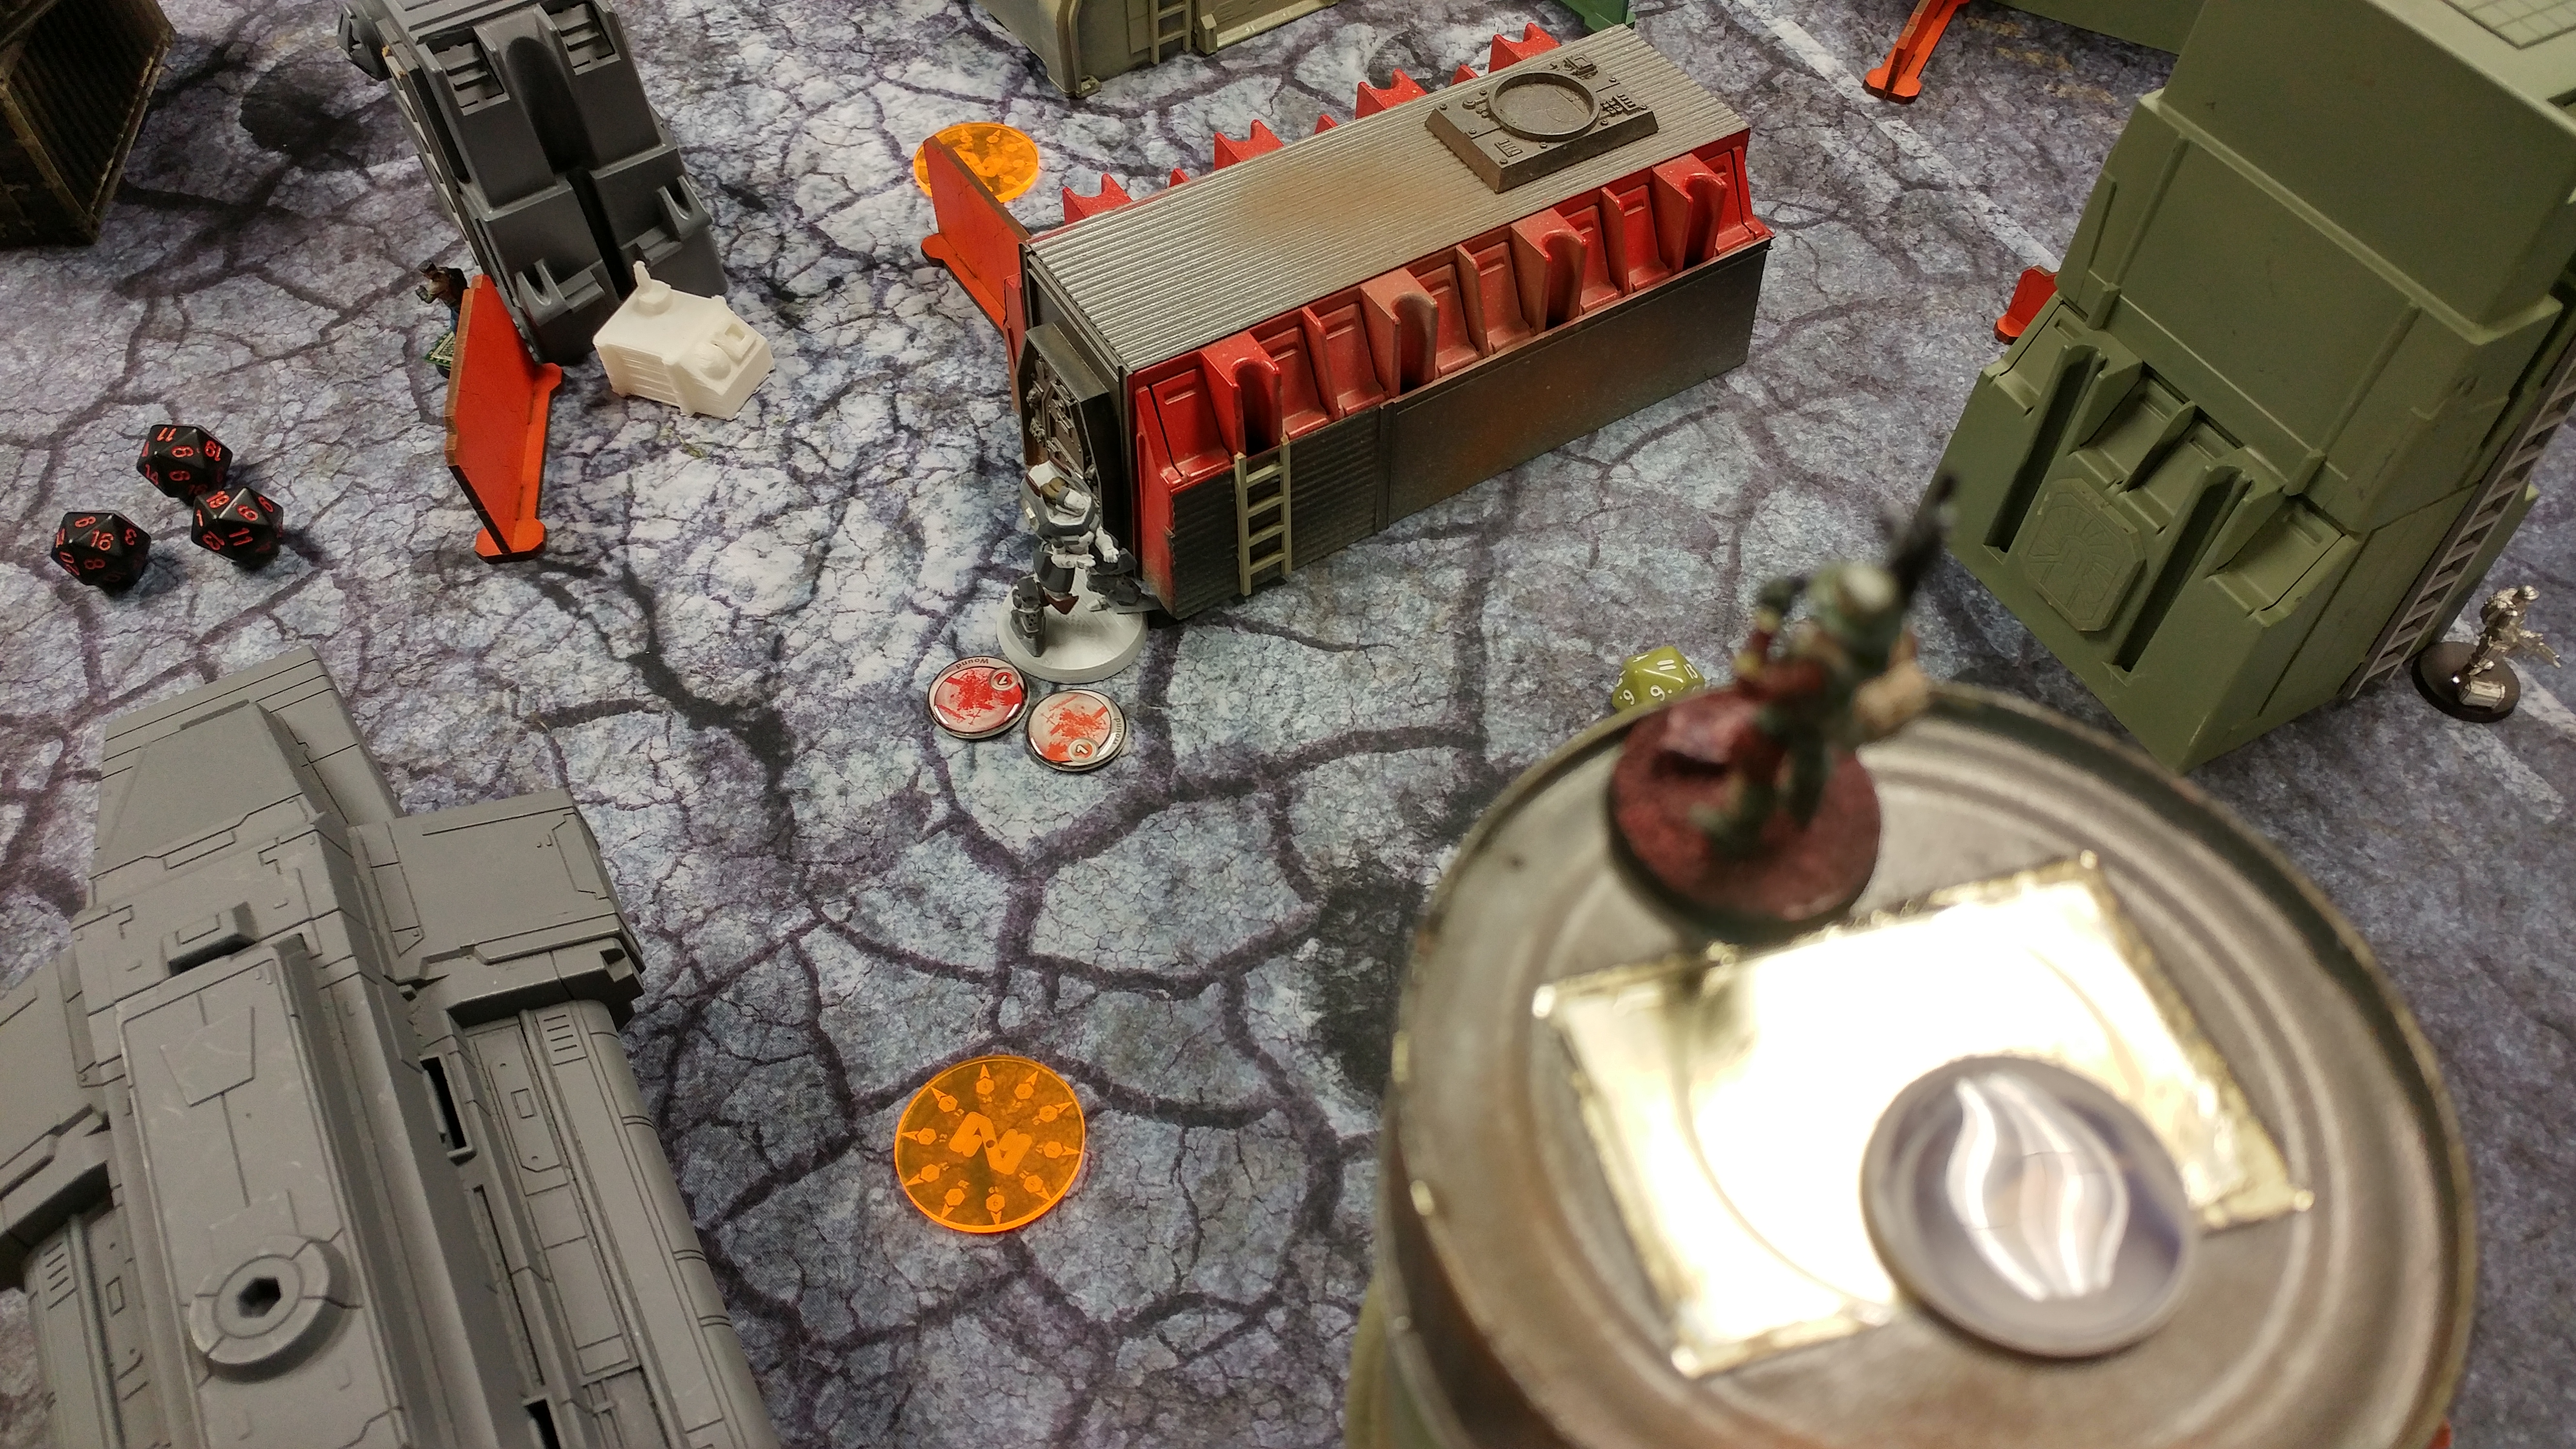
I declare discover with my Intruder against the Foxtrot sniper, and he shoots back. We roll three 20s between the two of us. UGH. With only one order left and my Bandit exposed on the left, I coordinate an order on her and McMurrough to tuck her into the safety of a cubbyhole on the left and advancing McMurrough to be a roadblock on the left.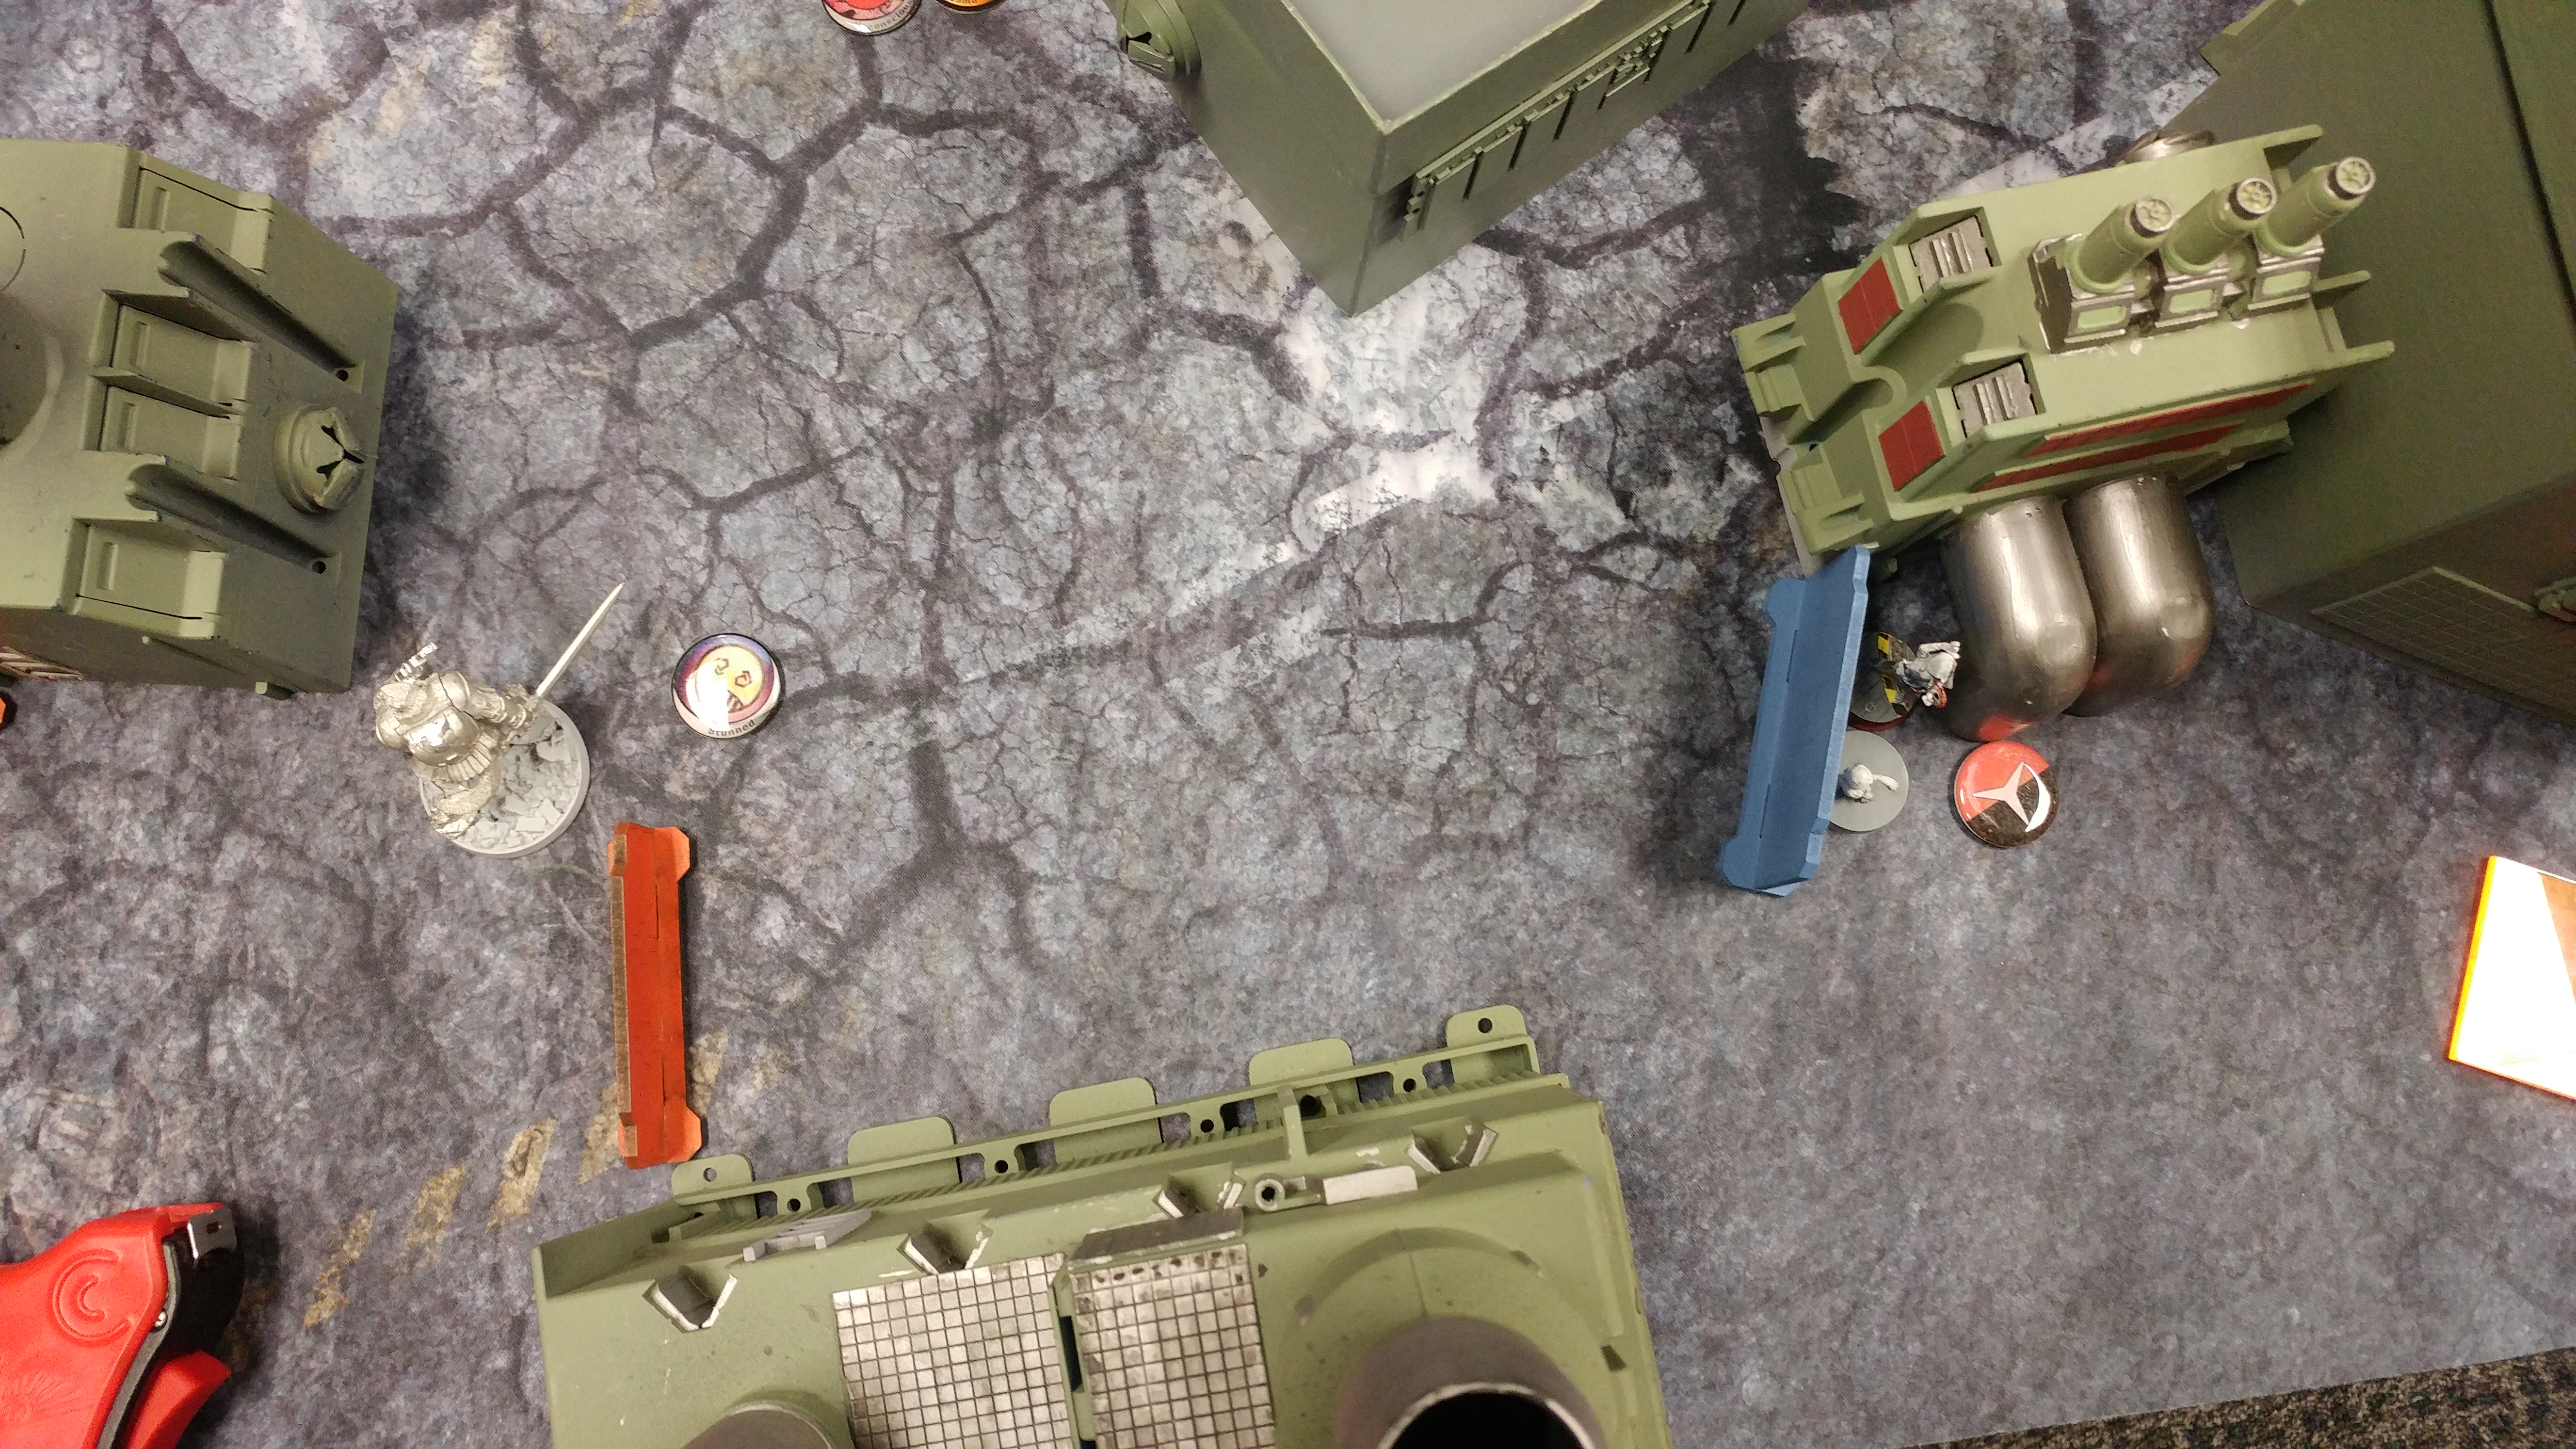
Bottom of Turn 1 – USARF
Van Zant runs onto the board to take out my Bandit, who’s holding the box. Jordan places Van Zant away from the Koala, which puts me into prime ADHL range, and it’s also right within light flamethrower range of this suspicious camo token… I manage to glue Van Zant as well as forcing two failed ARM rolls against fire out of him, and that solves that problem for me.
 The Grunt paramedic fires a syringe into the rear end of the Grunt FO, who wakes up!
 Eager to use his Katyusha, Jordan reveals his remaining Foxtrot FO and tries to forward observe my Alguacil ML. Before he can acquire a good lock, the Foxtrot is blown off the table by two missiles. Jordan settles for spec-firing the Katyusha at McMurrough, who is near enough to be in good range, but McMurrough just dodges closer. Now that McMurrough’s closer, the Grunt infiltrator steps out and spends a few orders trying to flamethrower McMurrough, but I keep dodging and passing ARM.
 I dodge away from the Grunt infiltrator but end up dodging towards the Grunt link! McMurrough waggles his eyebrows tauntingly at the Grunt and dodges the answering double flamethrower shots from the linked Grunt. The Grunt switches to his shotgun, so McMurrough knows it’s time to get serious and chucks a frag grenade at the Grunt. The Grunt rolls a crit, but McMurrough beats out his other two successes and only takes one wound. Another volley of shotgun fire, and it’s another crit from the Grunt! McMurrough’s grenade throw is also a crit though, so the shotgun blasts harmlessly detonate the grenade in mid-air, the fragments pattering off everyone’s armor without effect. A third volley does the trick, and McMurrough is down for the count.
 The Foxtrot sniper, having survived the Intruder’s two rolls of 20, decides to take on the Alguacil ML and gets blown up for his trouble. Jordan spents the AP HMG’s Lieutenant finishing off my wounded Gecko, blasting it off the table so I can’t even drop the operator out. Drat.
 With that, Jordan puts the groggy Grunt FO, still nursing a sore spot from the Paramedic’s syringe, into suppression.
Turn 2
Top of Turn 2 – Corregidor
I break the Alguacil MSR out of the link to climb her up to the top box to see the Grunt FO. It’s a full order, but we’re outside of 24″ so the suppression shots fall short.
She goes prone and spends two orders knocking out the Grunt FO again. Probably should’ve kept her in the link to get some free movement for Lupe out of it. Ah well.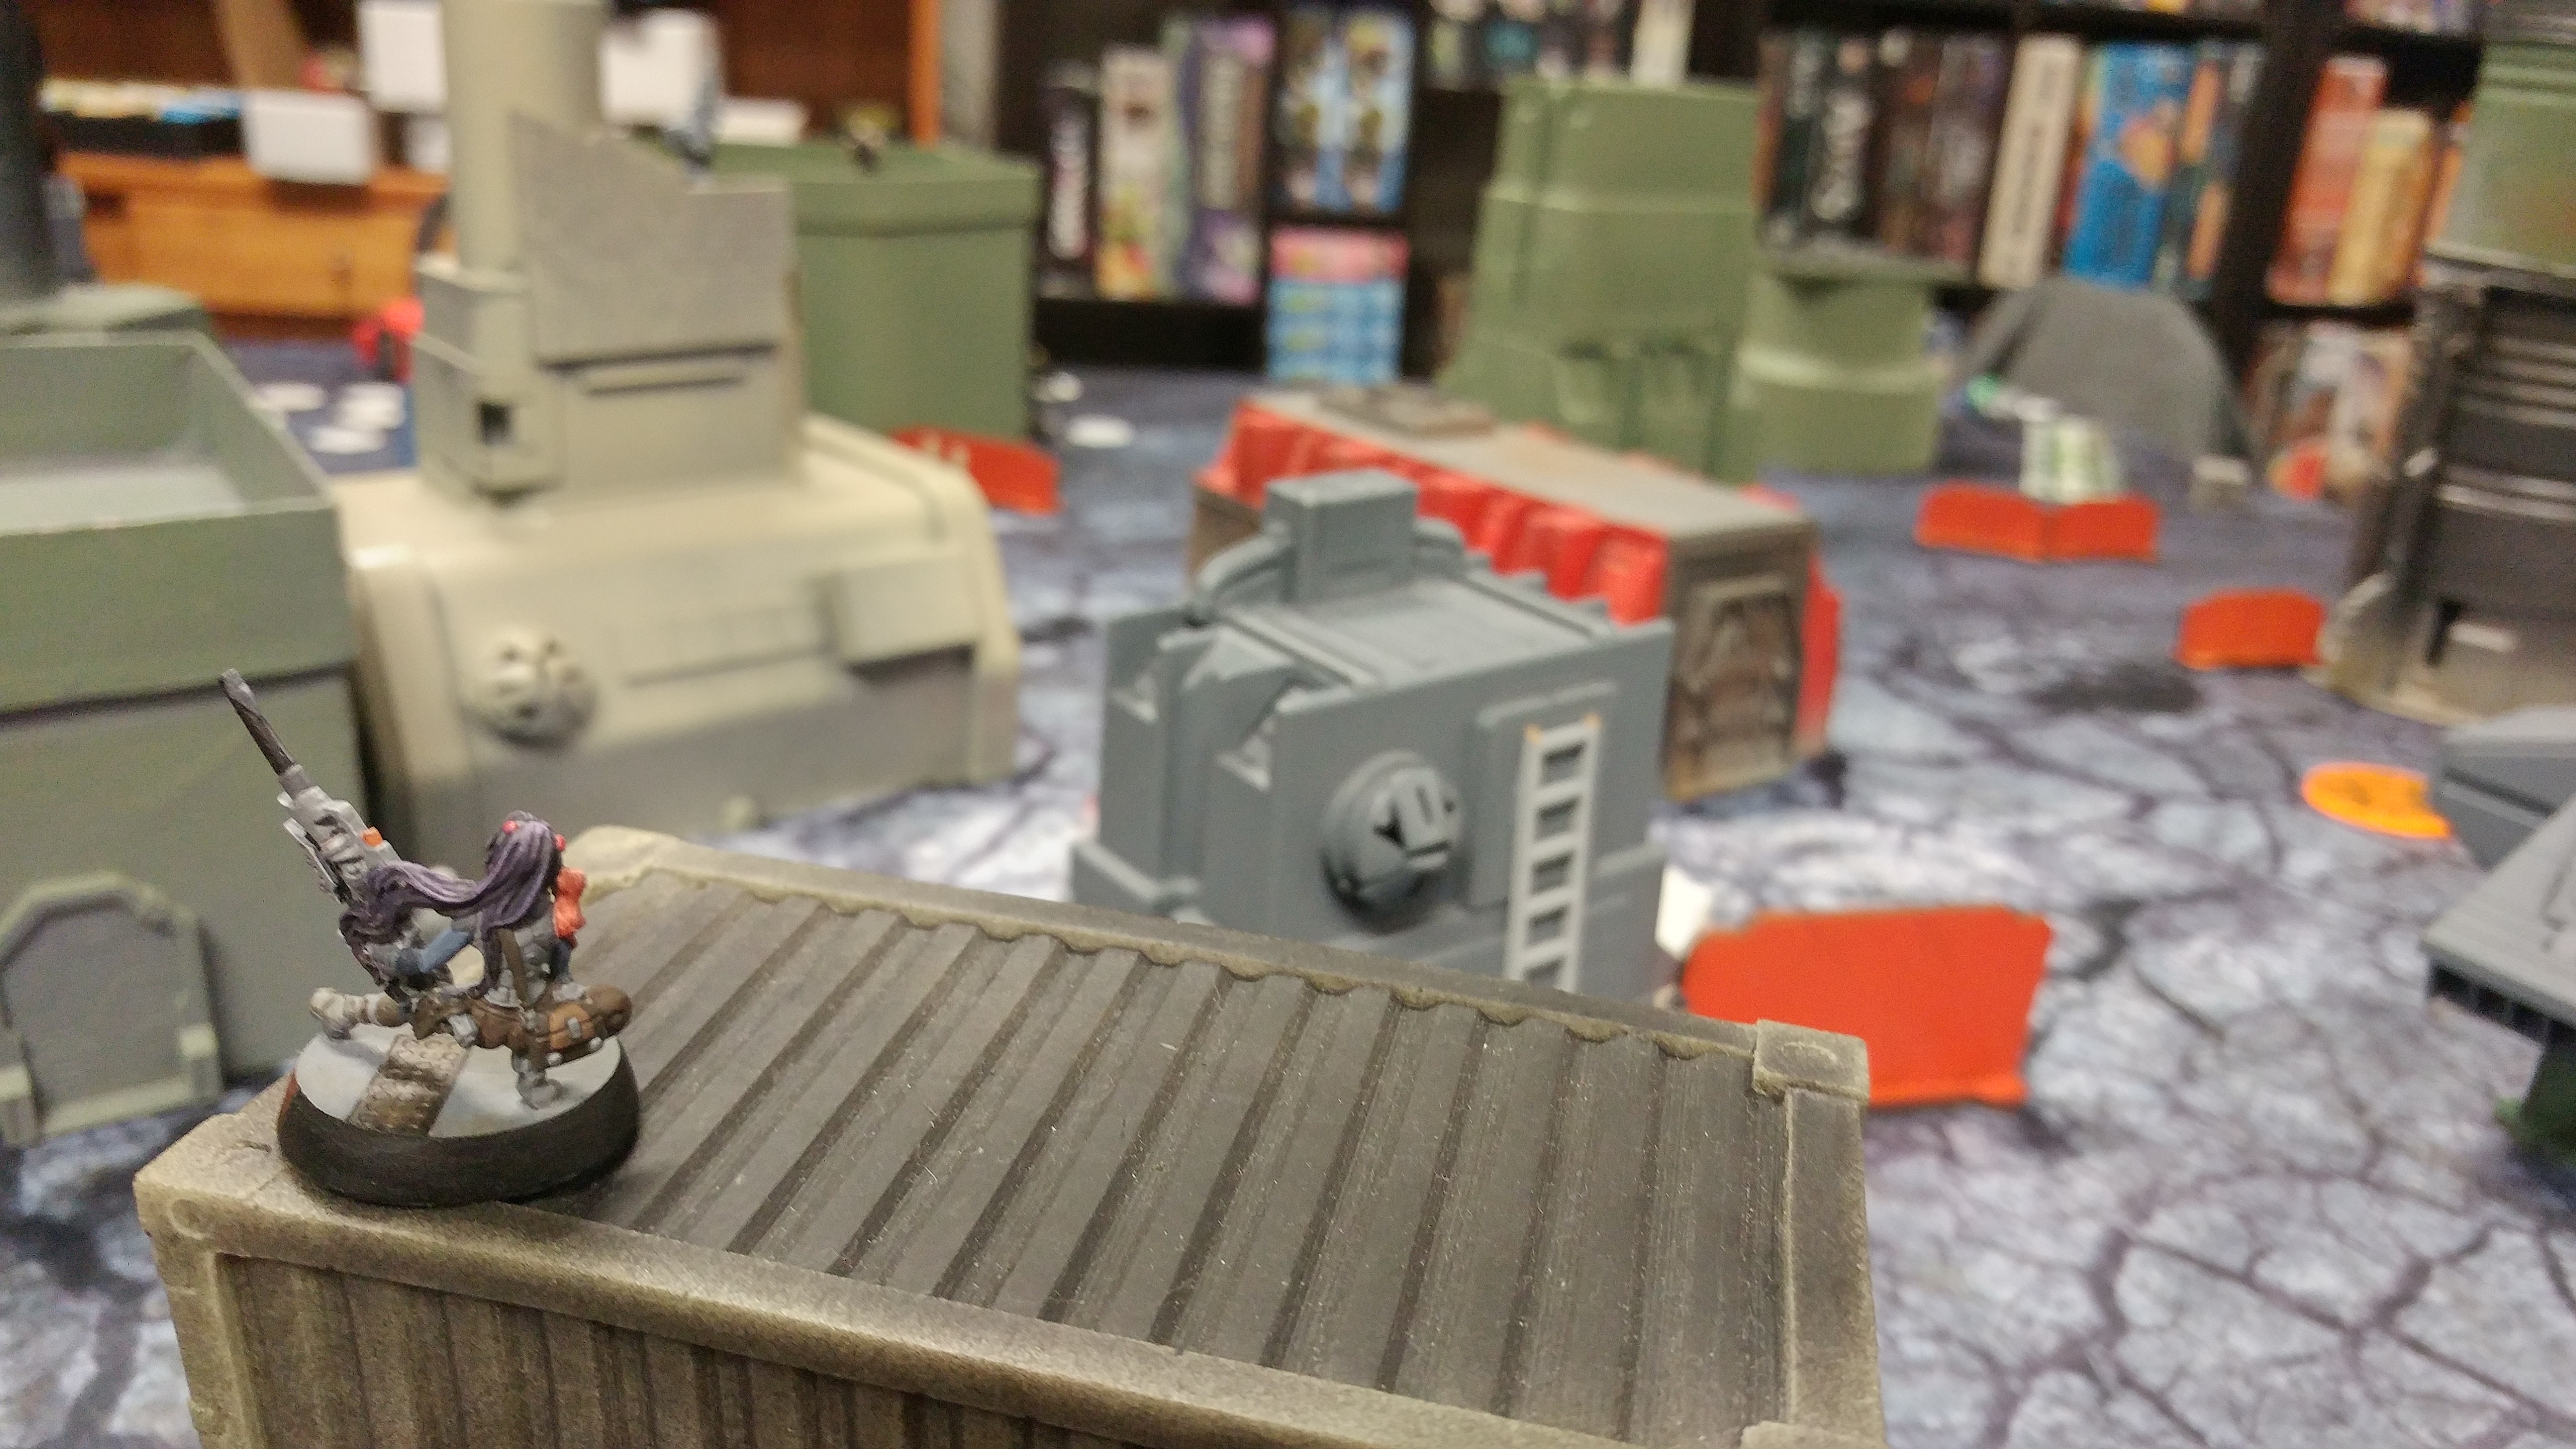 I advance the Alguacil link and throw a pair of missiles at the Grunt flamethrower that took out McMurrough, but he dodges into total cover. I use the movement to get Lupe and the Alguacil FO up the board, and finally get Lupe to the box, retrieve the contents, and retreat her into cover. All the Intruders recamo, and I throw Lupe, the Alguacil FO, the Moran, and the Alguacil Paramedic into suppression.
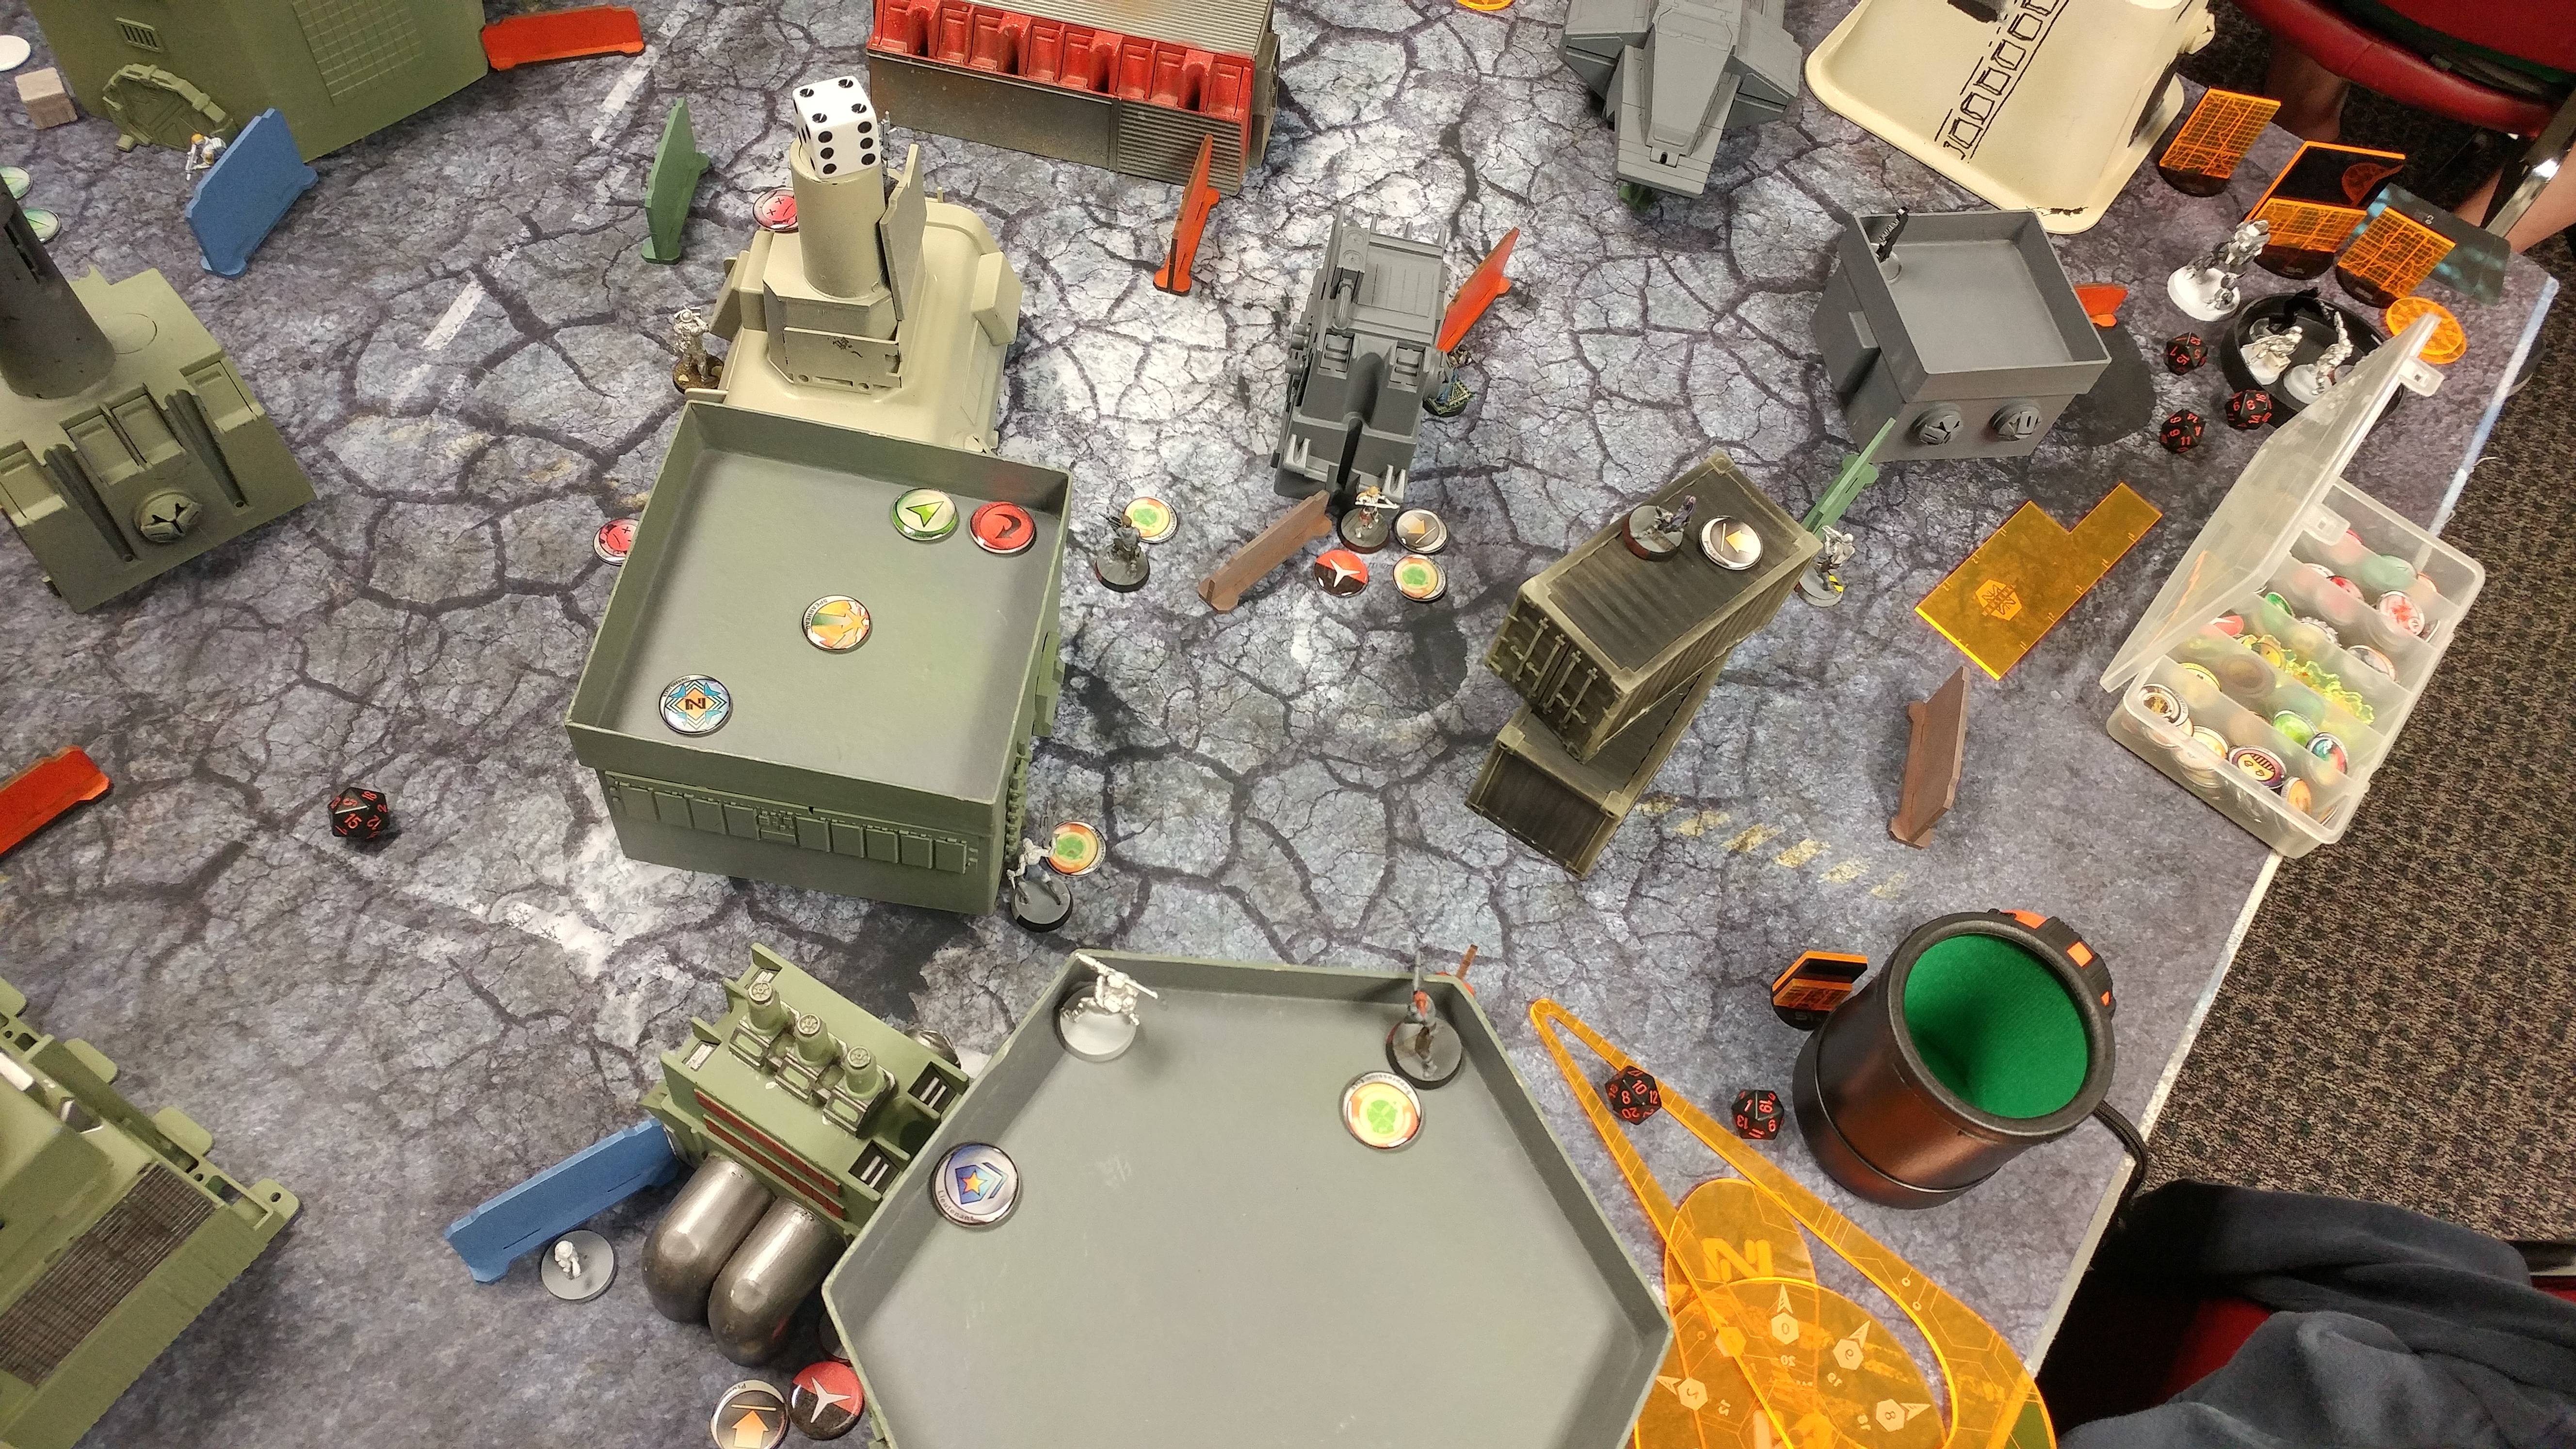
Bottom of Turn 2 – USARF
The AP HMG Minuteman scoots around the corner, prone, and guns down the Alguacil MSR.
 Jordan nominated the same zone that Van Zant wanted to walk into for his AD:1 Airborne Ranger, but I’ve got a Koala, an Intruder, and a Bandit watching his entry. He elects to walk the Ranger on atop a building, but he can’t get outside the Koala’s ZoC and the Ranger gets a free hug.
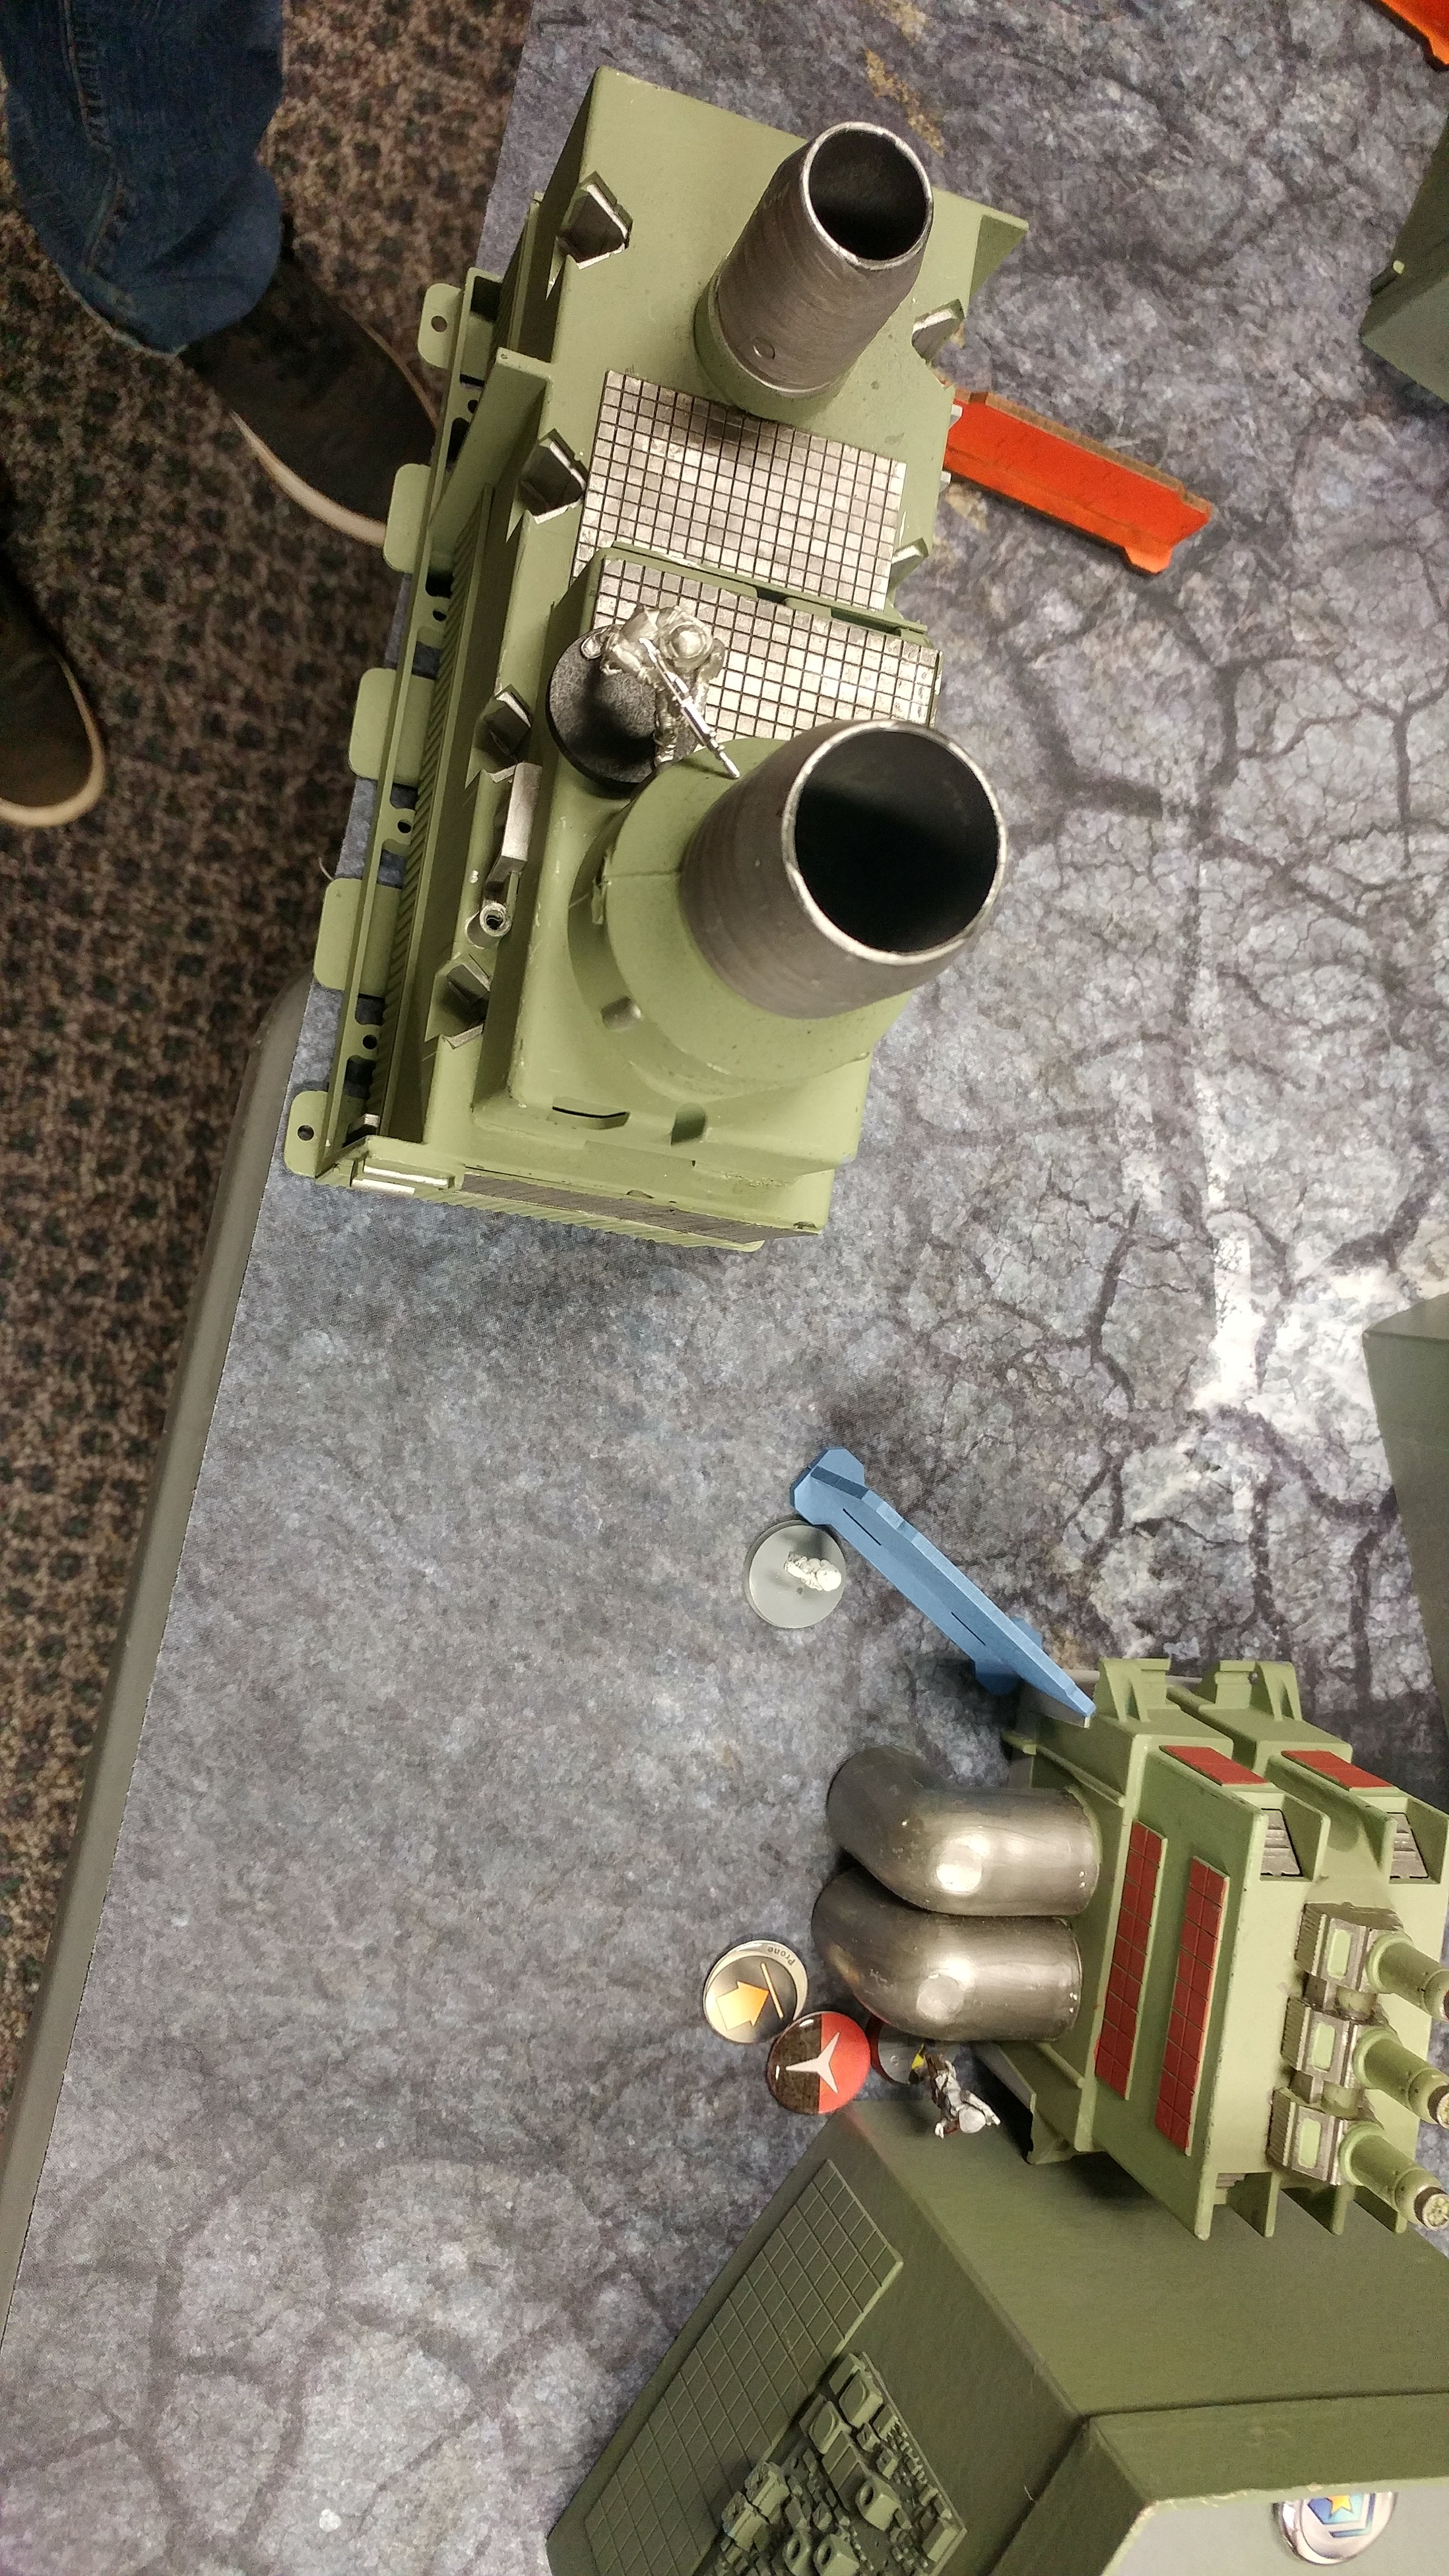
My ML has been been a real pain, to so remove it, Jordan stands up one of the Grunt snipers. The Grunt gets blown up by the Intruder and now unlinked Alguacil ML. The AP HMG continues his rampage, standing up to see the Intruder MSR and gunning her down over two orders and two passed ARM saves. Double 16’s! The Grunt FO gets another syringe shot into his butt and is jolted awake by synthetic adrenaline.
Turn 3
Top of Turn 3 – Corregidor
I activate the Alguacil FO and knock out the Grunt FO for the third time, forward observing him with another order for my classified. I reposition my Jaguar to protect Lupe from the approaching AP HMG Minuteman, and try to get lucky with the Alguacil ML. Unfortunately, the AP HMG outguns my Alguacil ML and he takes a nap right next to my Paramedic. I throw the Forward Observer back into suppression and pass the turn.
 Bottom of Turn 3 – USARF
The AP HMG Minuteman does more work, gunning down my Moran, and my Jaguar throws some smoke to block off the AP HMG’s view to Lupe. My Alguacil in suppression locks off the approach of the Grunt Paramedic, so Jordan brings in the Dozer that has been lurking on the right for the whole game.
 In order to give me a chain rifle shot in the event that the AP HMG Minuteman approached, I positioned the Jaguar’s smoke pretty far away, giving the Dozer enough cover to grab the last objective.
 Still, even with a supply box, it’s not enough. I’ve got 2 boxes, a classified, and I’m controlling the HVT.
7-1 Corregidor Victory!
Notes
- Well, don’t get greedy with McMurrough. Even though he has BTS 3, not getting flash pulsed is better than having to roll BTS. I also didn’t need to harass the Grunt link team with McMurrough, although I did eat pretty much all of Jordan’s orders that turn.
- I could’ve left the linked MSR exposed on the first turn, and just studiously not used the link team. After all I have McMurrough, the Gecko, a Bandit, and an Intruder to spend orders on. This one little difference would’ve saved me a ton of orders later.
- Breaking the MSR out to climb her up was foolish. Nothing had LoF to anything, so I could’ve saved some orders and more importantly command tokens. Basically the lesson here is be more efficient with link teams.
- There is, however, a good time to break people out of the link, and it works great if you just move them out of coherency into a position where you needed them anyway.
- I lean on Jaguar Panzerfausts so hard, it was nice to have a Jaguar chain rifle on the table again, and watch him work his magic!
- I like the new Intruder MSR model, it’s more compact and easy to move around on the table. From an aesthetic point I like them both though.
- I need to spend some more time working with the Gecko. I was pretty cavalier with it, but intentionally so to bait out Foxtrot reveals. I think it’s worth moving the Gecko from cover to cover as opposed to into the open, because if my goal is to bait something out they can still catch me in the open so it’s still enticing.
- I really wanted to use the Gecko as cover for the pilot, but sadly it didn’t happen this game.
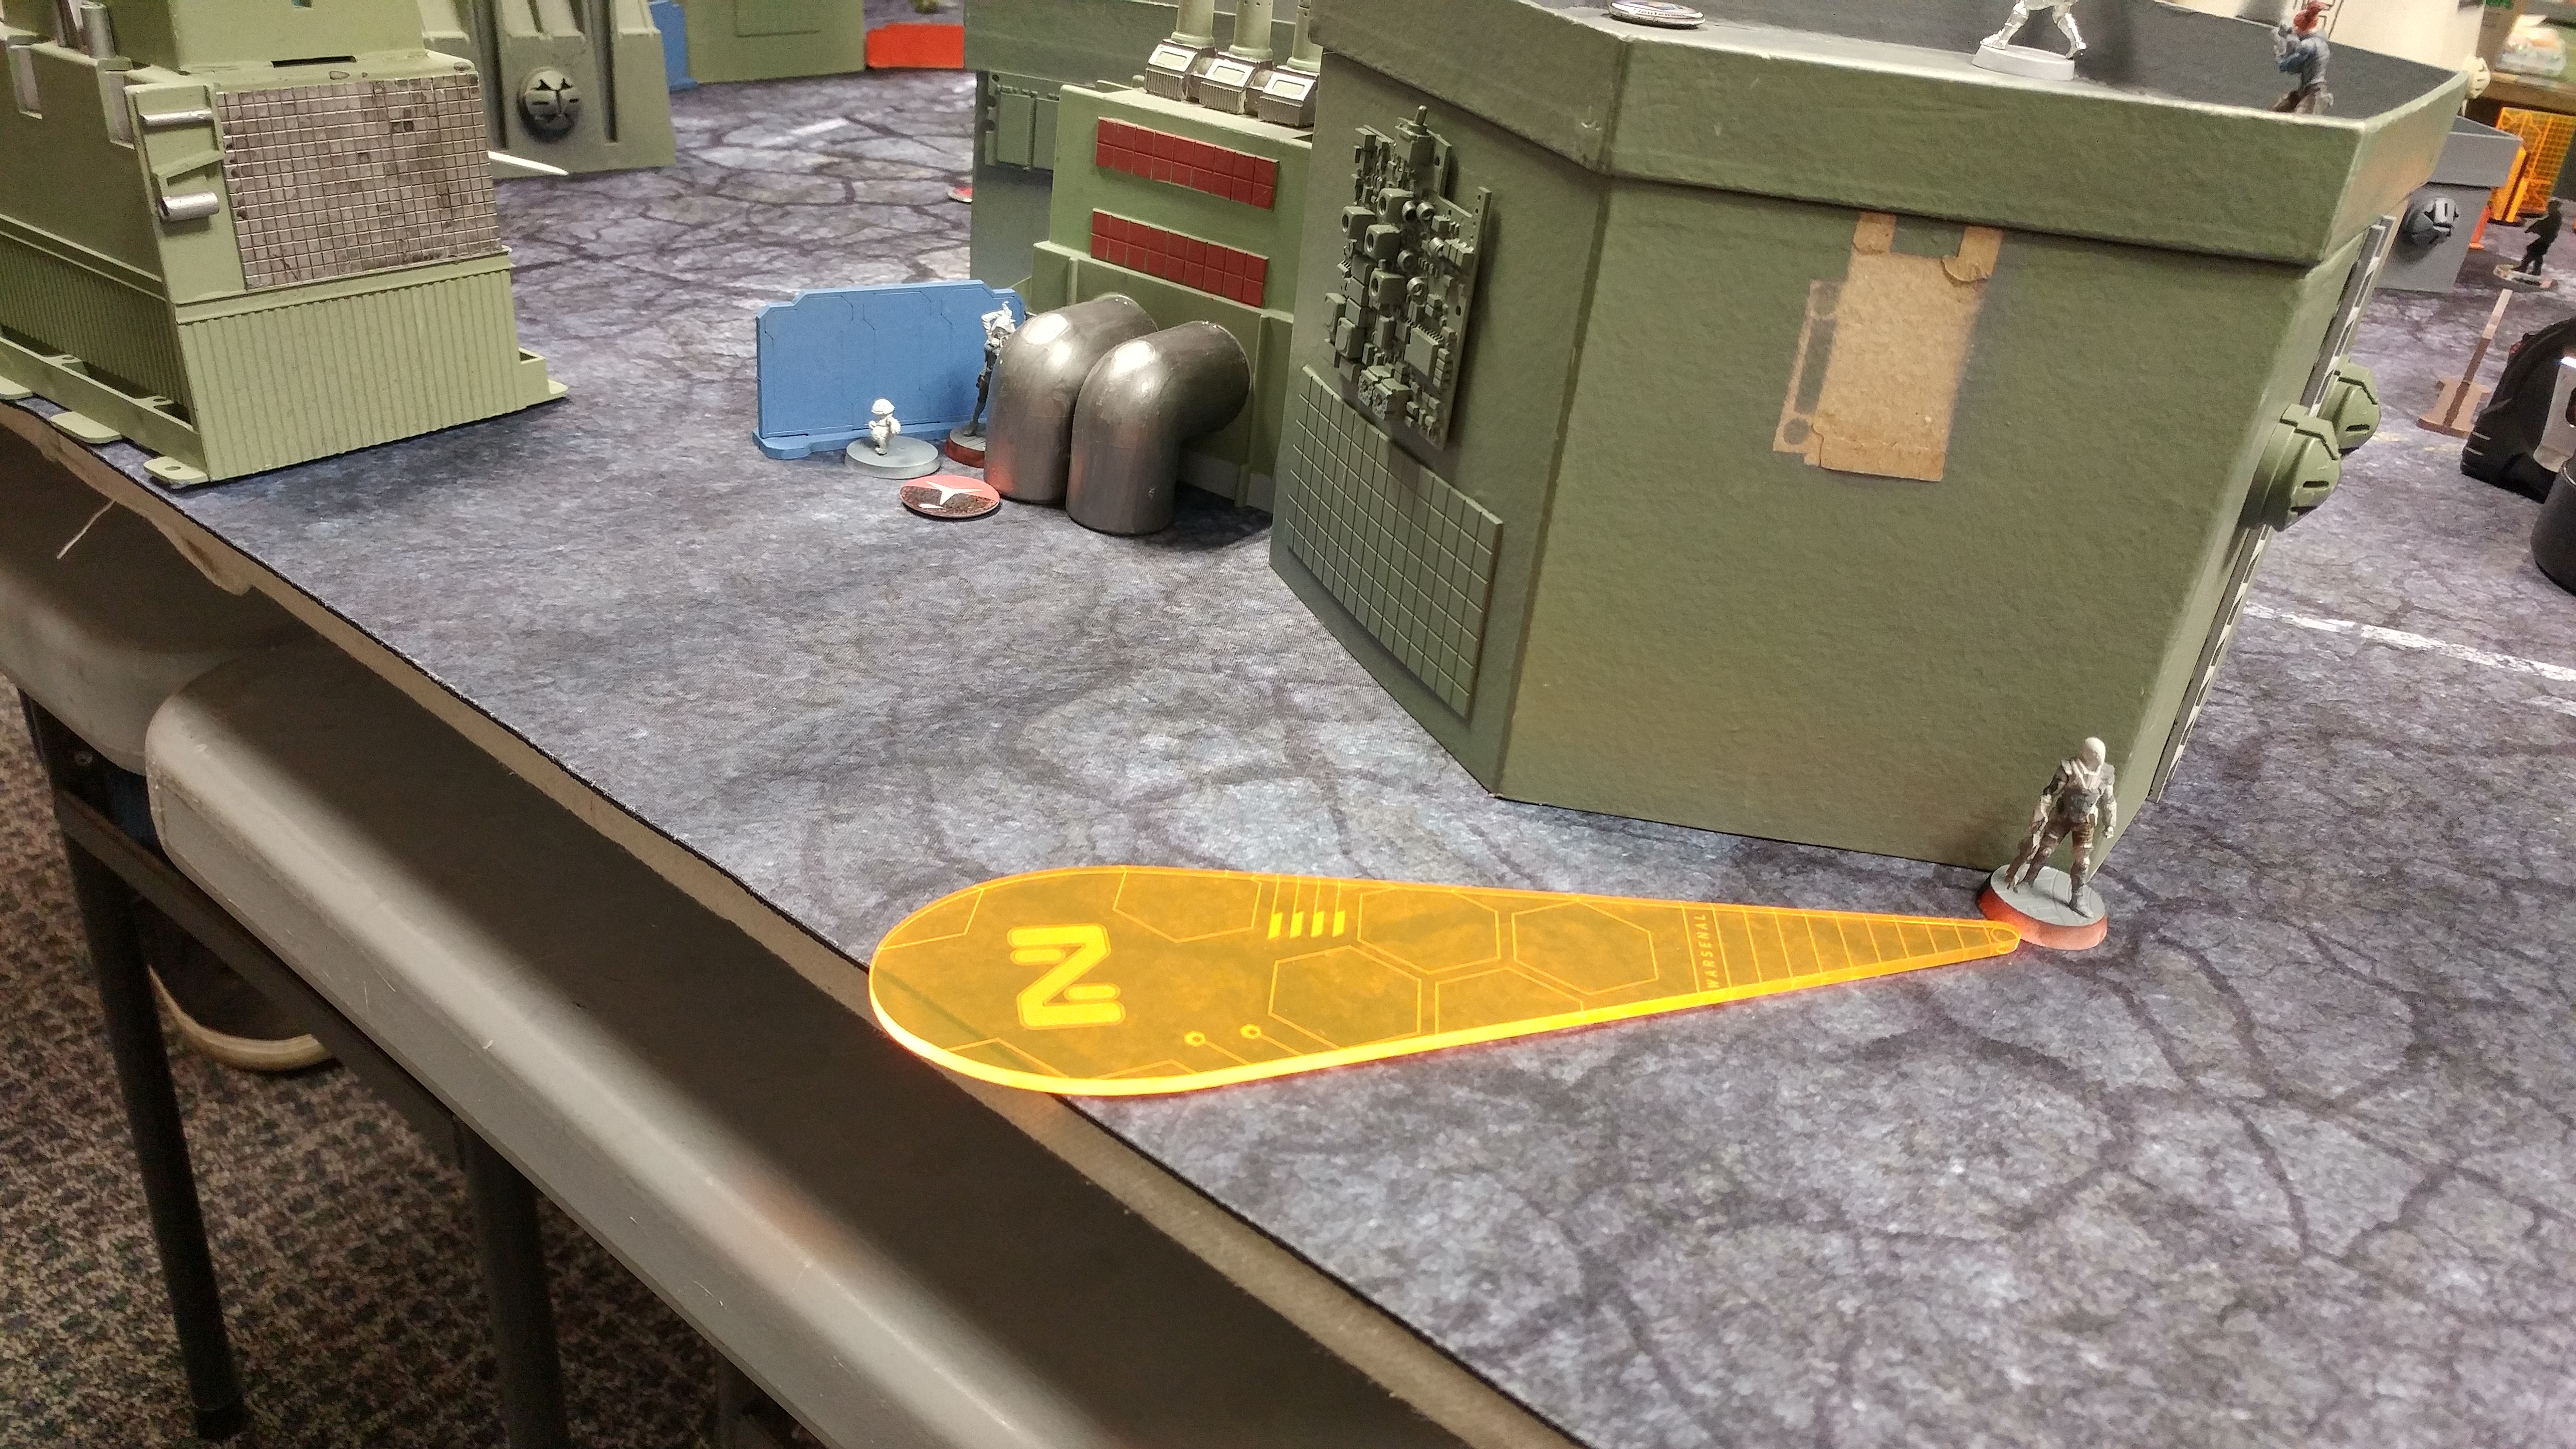
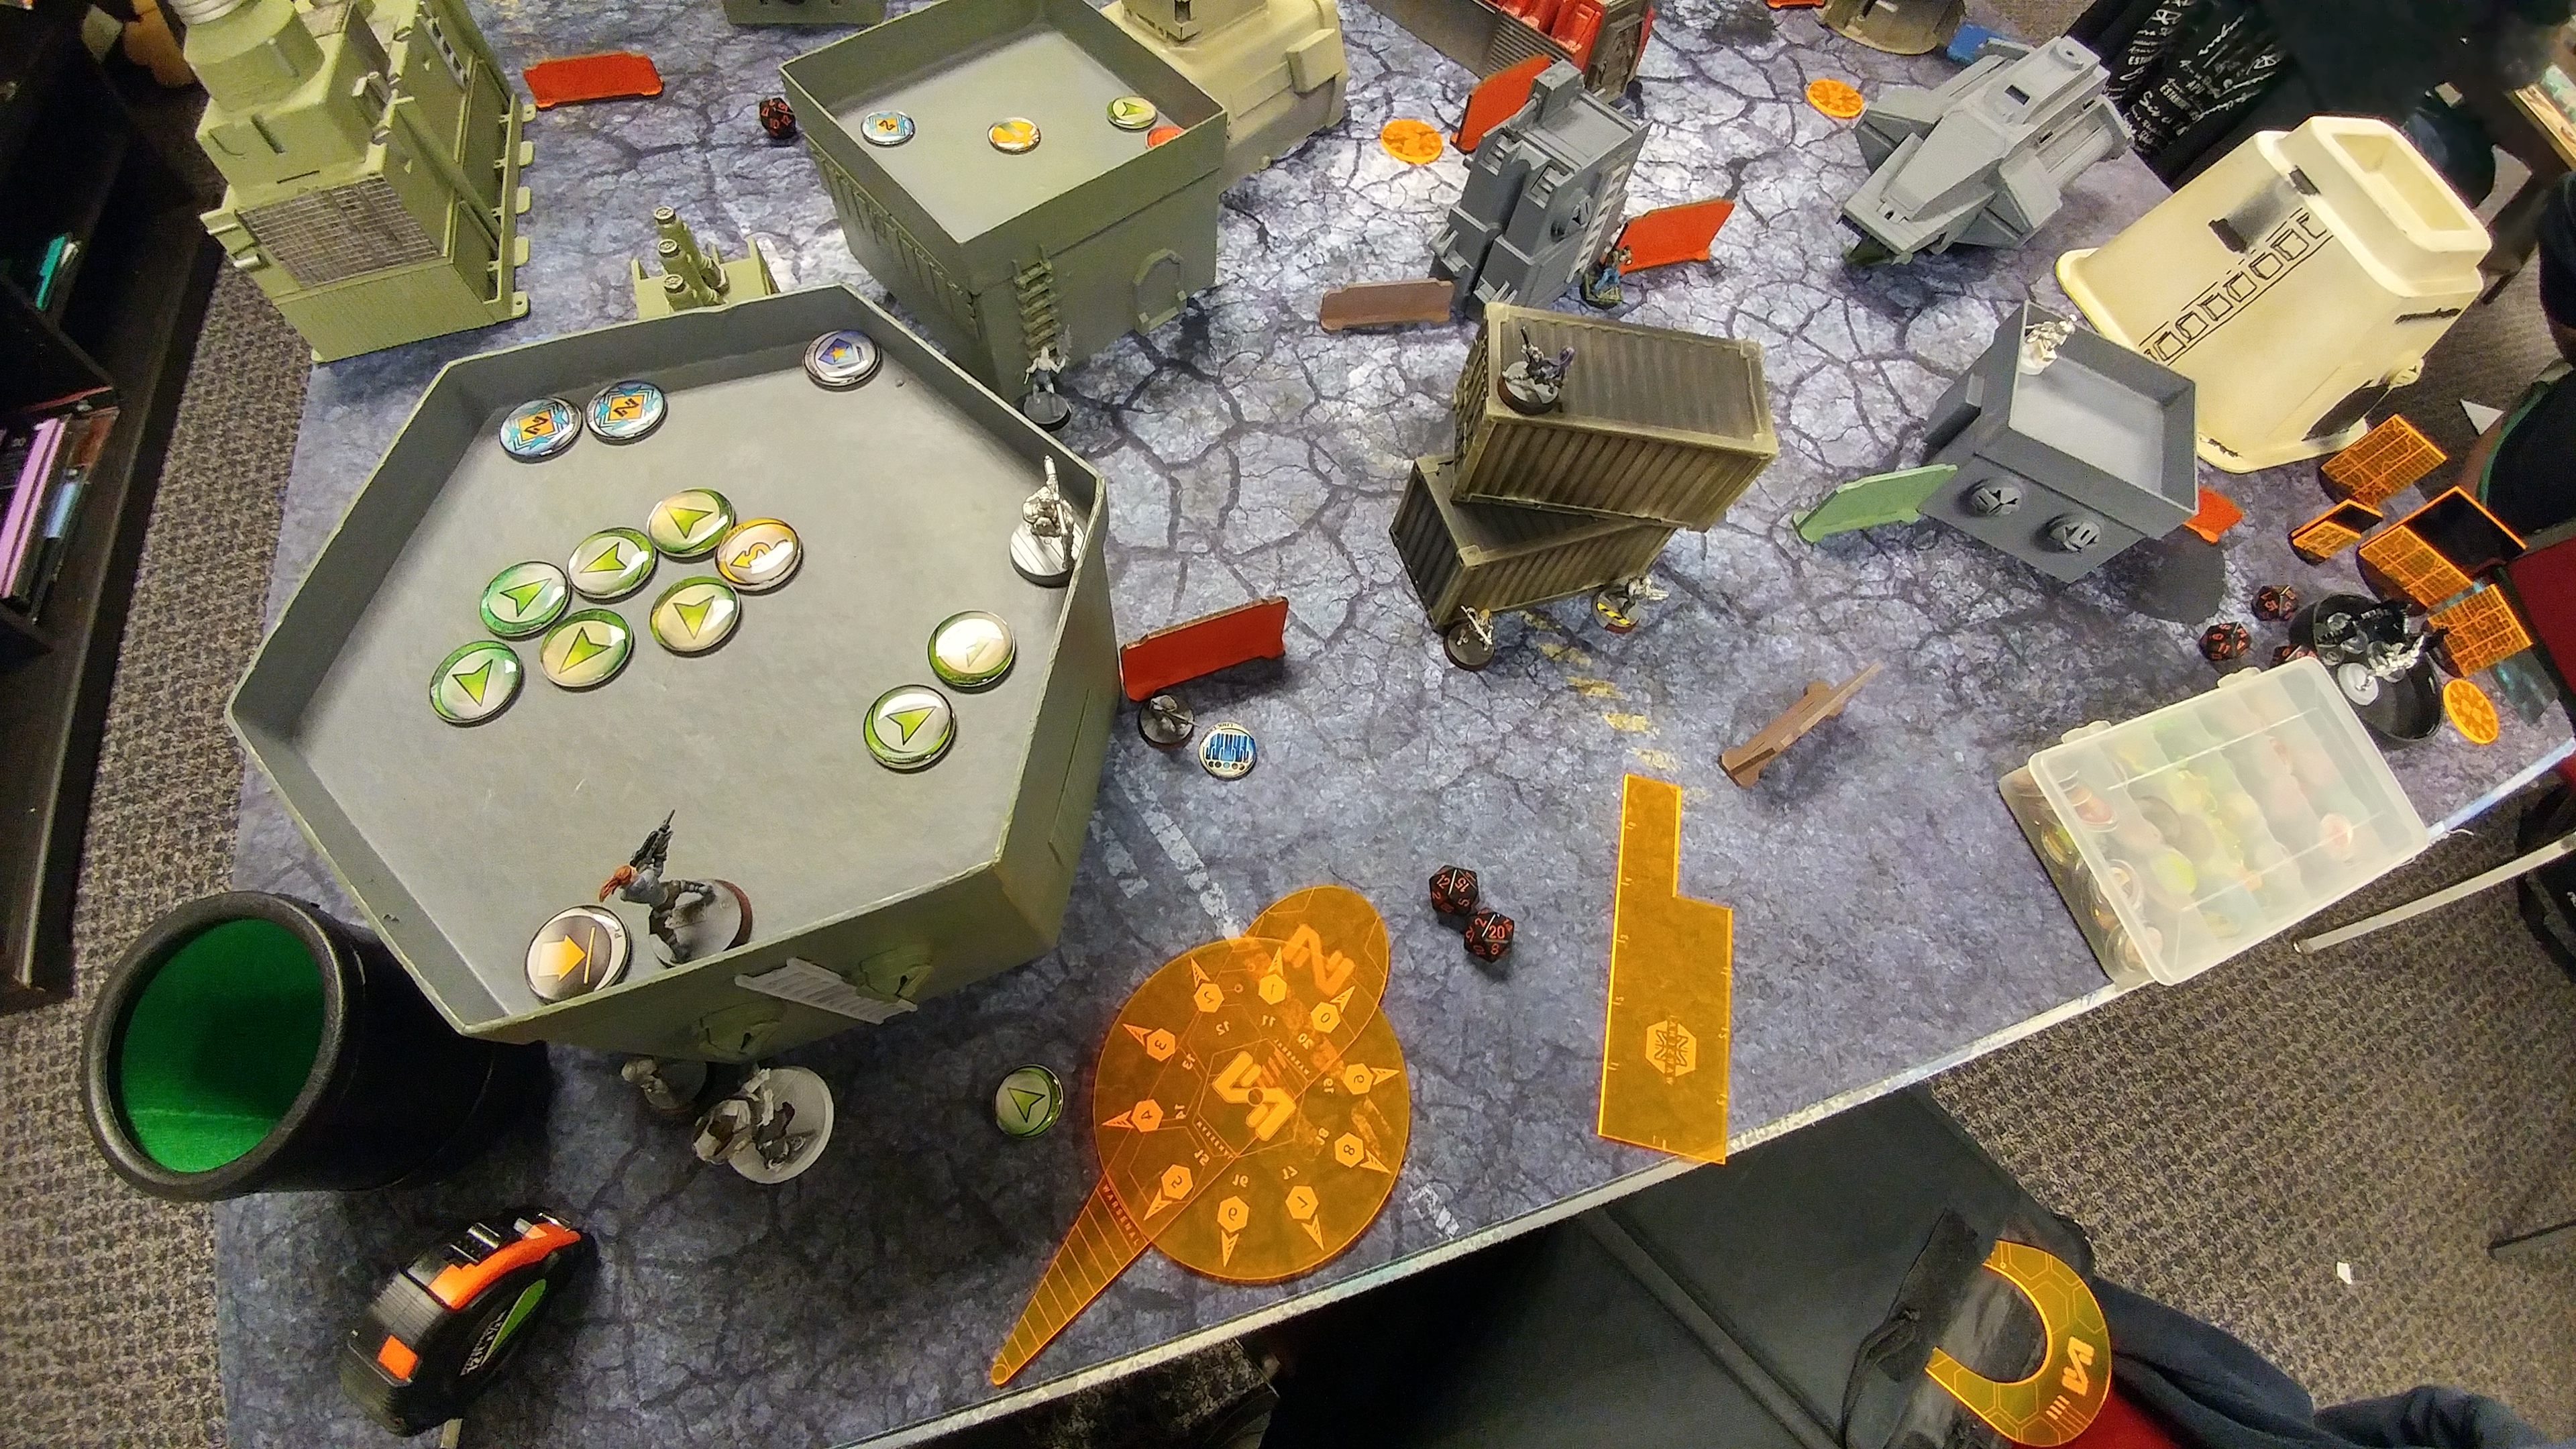
- I made a point of taking more… cinematic pictures this time. I’m liking the results.
- Intruder Lt makes a great anti-AD flank piece, as does deploying a Moran near the side of the board.
- Watch out for the Minuteman HMG! He’s so good!
- Probably best to outright have killed the Grunt FO. Ends up being a net order win for the opponent whether or not they have to pick them up, you have to deal with them again too!
- The Bandit makes for a horrible box carrier in supplies. After I get the box, what am I supposed to do with the irrregular order? Keep running the bandit back into the DZ? Eventually I’ll reach a good defensible position and I can stop. I’d rather use her as a midfield harassment piece to deal with the enemy’s skirmishers. Lupe is probably a better box carrier with her amazing toolkit and more importantly, regular order.
- I need to take Lupe more in vanilla, it’s just hard to find the points…