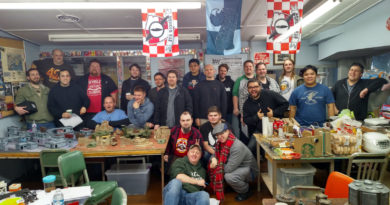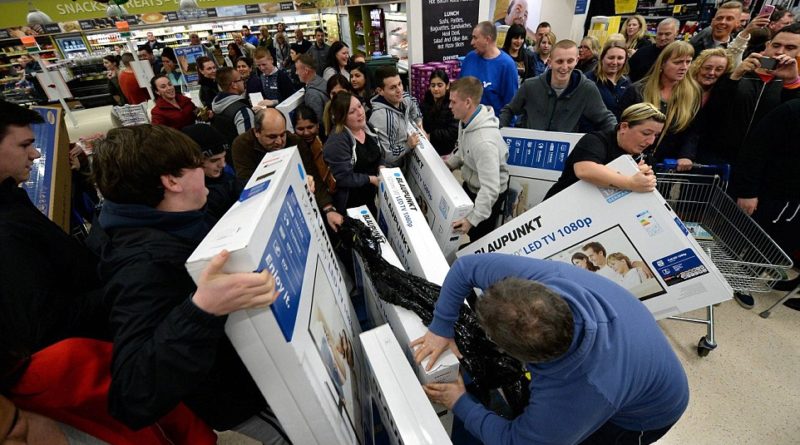
Black Friday Rush
Thursday means game night at Glimpses. Everyone was looking to play Looting and Sabotaging, which is a really challenging mission. You either need to have an amazing CC unit or a pile of them in base to base with the enemy AC2 and beat it into scrap. It’s ARM 8, STR3, so really your best shot is getting a pile of units into base to base and hoping for the best–kinda like the pile up that happens at a Black Friday store opening! I had been thinking about two lists, one Vanilla Haqq and the other Corregidor.
The Corregidor one was similar to the one I played in the Adepticon 2018 team tournament, where I ran a Jaguar Haris up the board and along with Robert Paul’s Fiday smashed the AC2 into scrap with a pile of dice. This time though, I had access to my entire library of Corregidor models, which meant I could bring Lunokhods and Intruders to protect my own AC2. McMurrough himself is a great lone wolf (no pun intended) AC2 killer with his AP+DA Templar CCW and PH16 base. My Vanilla Haqq list brought a Fiday and a pile of infiltrators to help him smash the AC2. In any case, I was really excited to get a game with either list–I just wanted to try something out!
Unfortunately, I had a very irritating work emergency that kept me there until well after dinner. My scheduled opponent, Daniel (Cephas4) was an absolute gentleman and waited a whole hour and a half for me to wrap up work, cram dinner into my face hole (my better half had my back too!), throw my table into the car, and make my way to the game store. We set up a much less dense version of my Strompost Alpha table (there were buildings still in my plastic tote that we didn’t use), sorta just to prove that it can be done.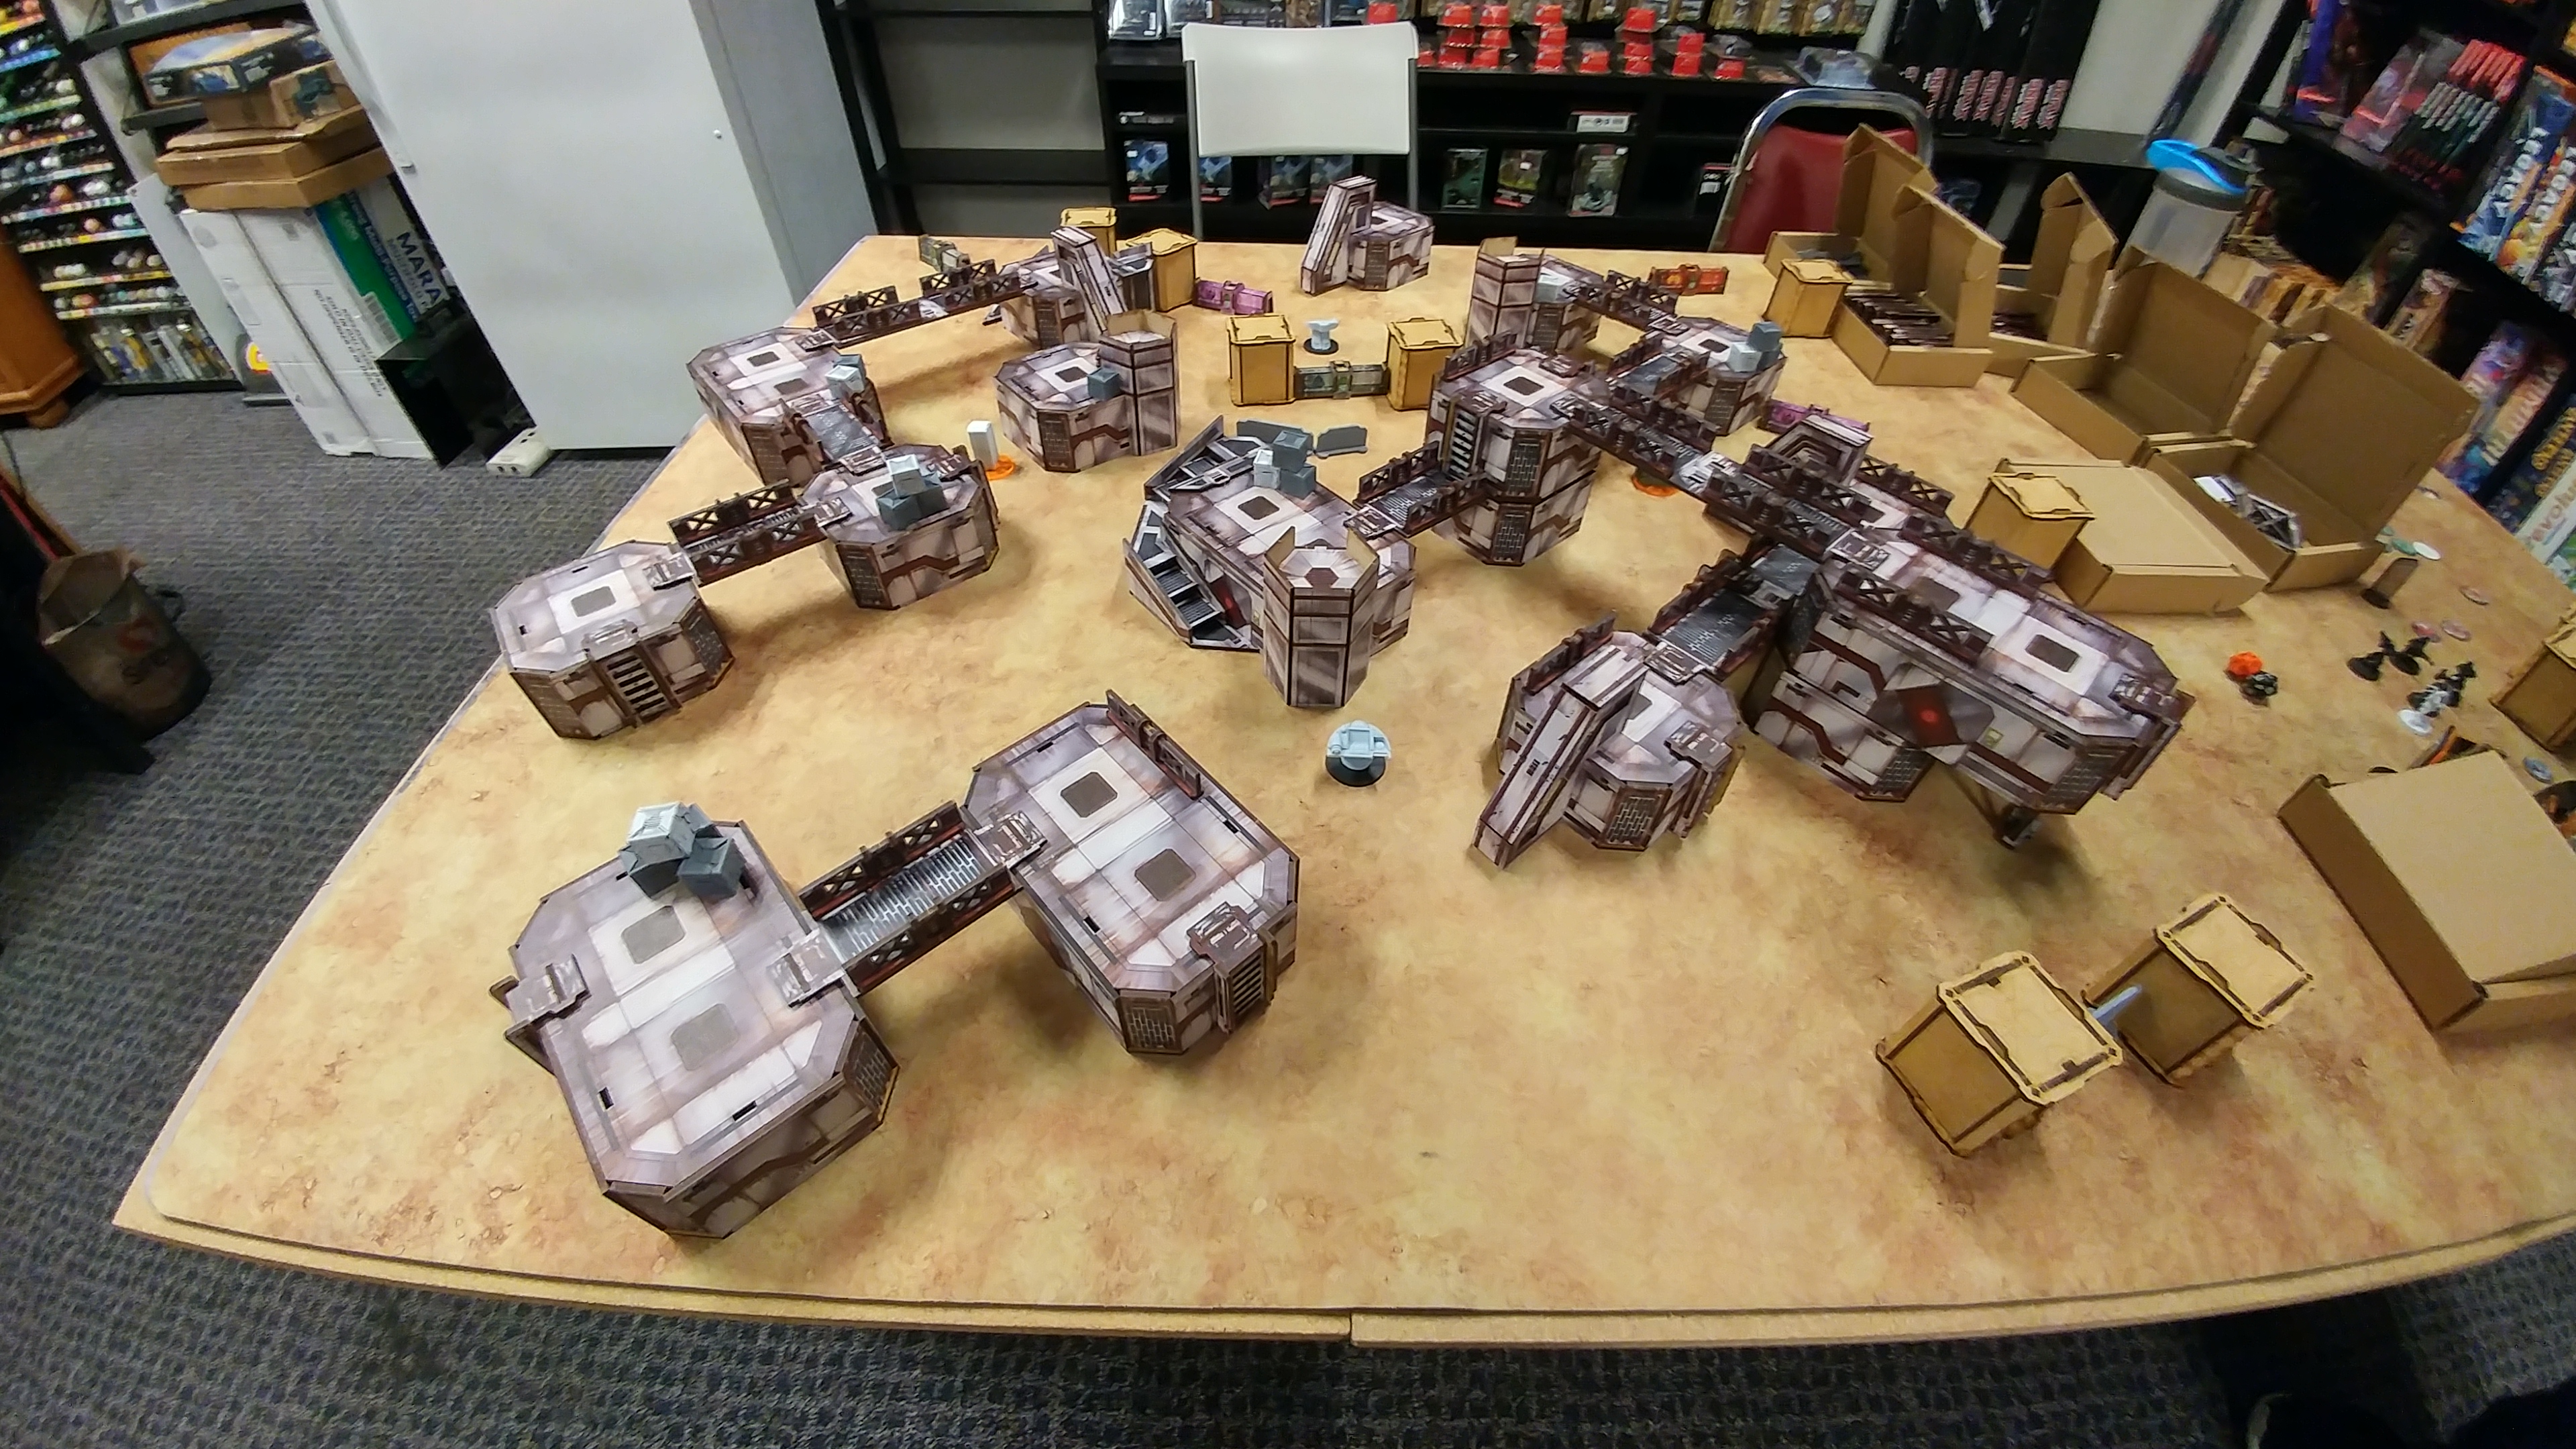 The deployment zones were a little sparse, but we definitely were in a rush to get the job done so we could get our game in. I had plenty of scatter left in my bag of scatter terrain and buildings in the tote, so this was a 100% solvable problem, we just didn’t prioritize it. Besides, it’s good to get a little flavor for other table densities to keep you sharp.
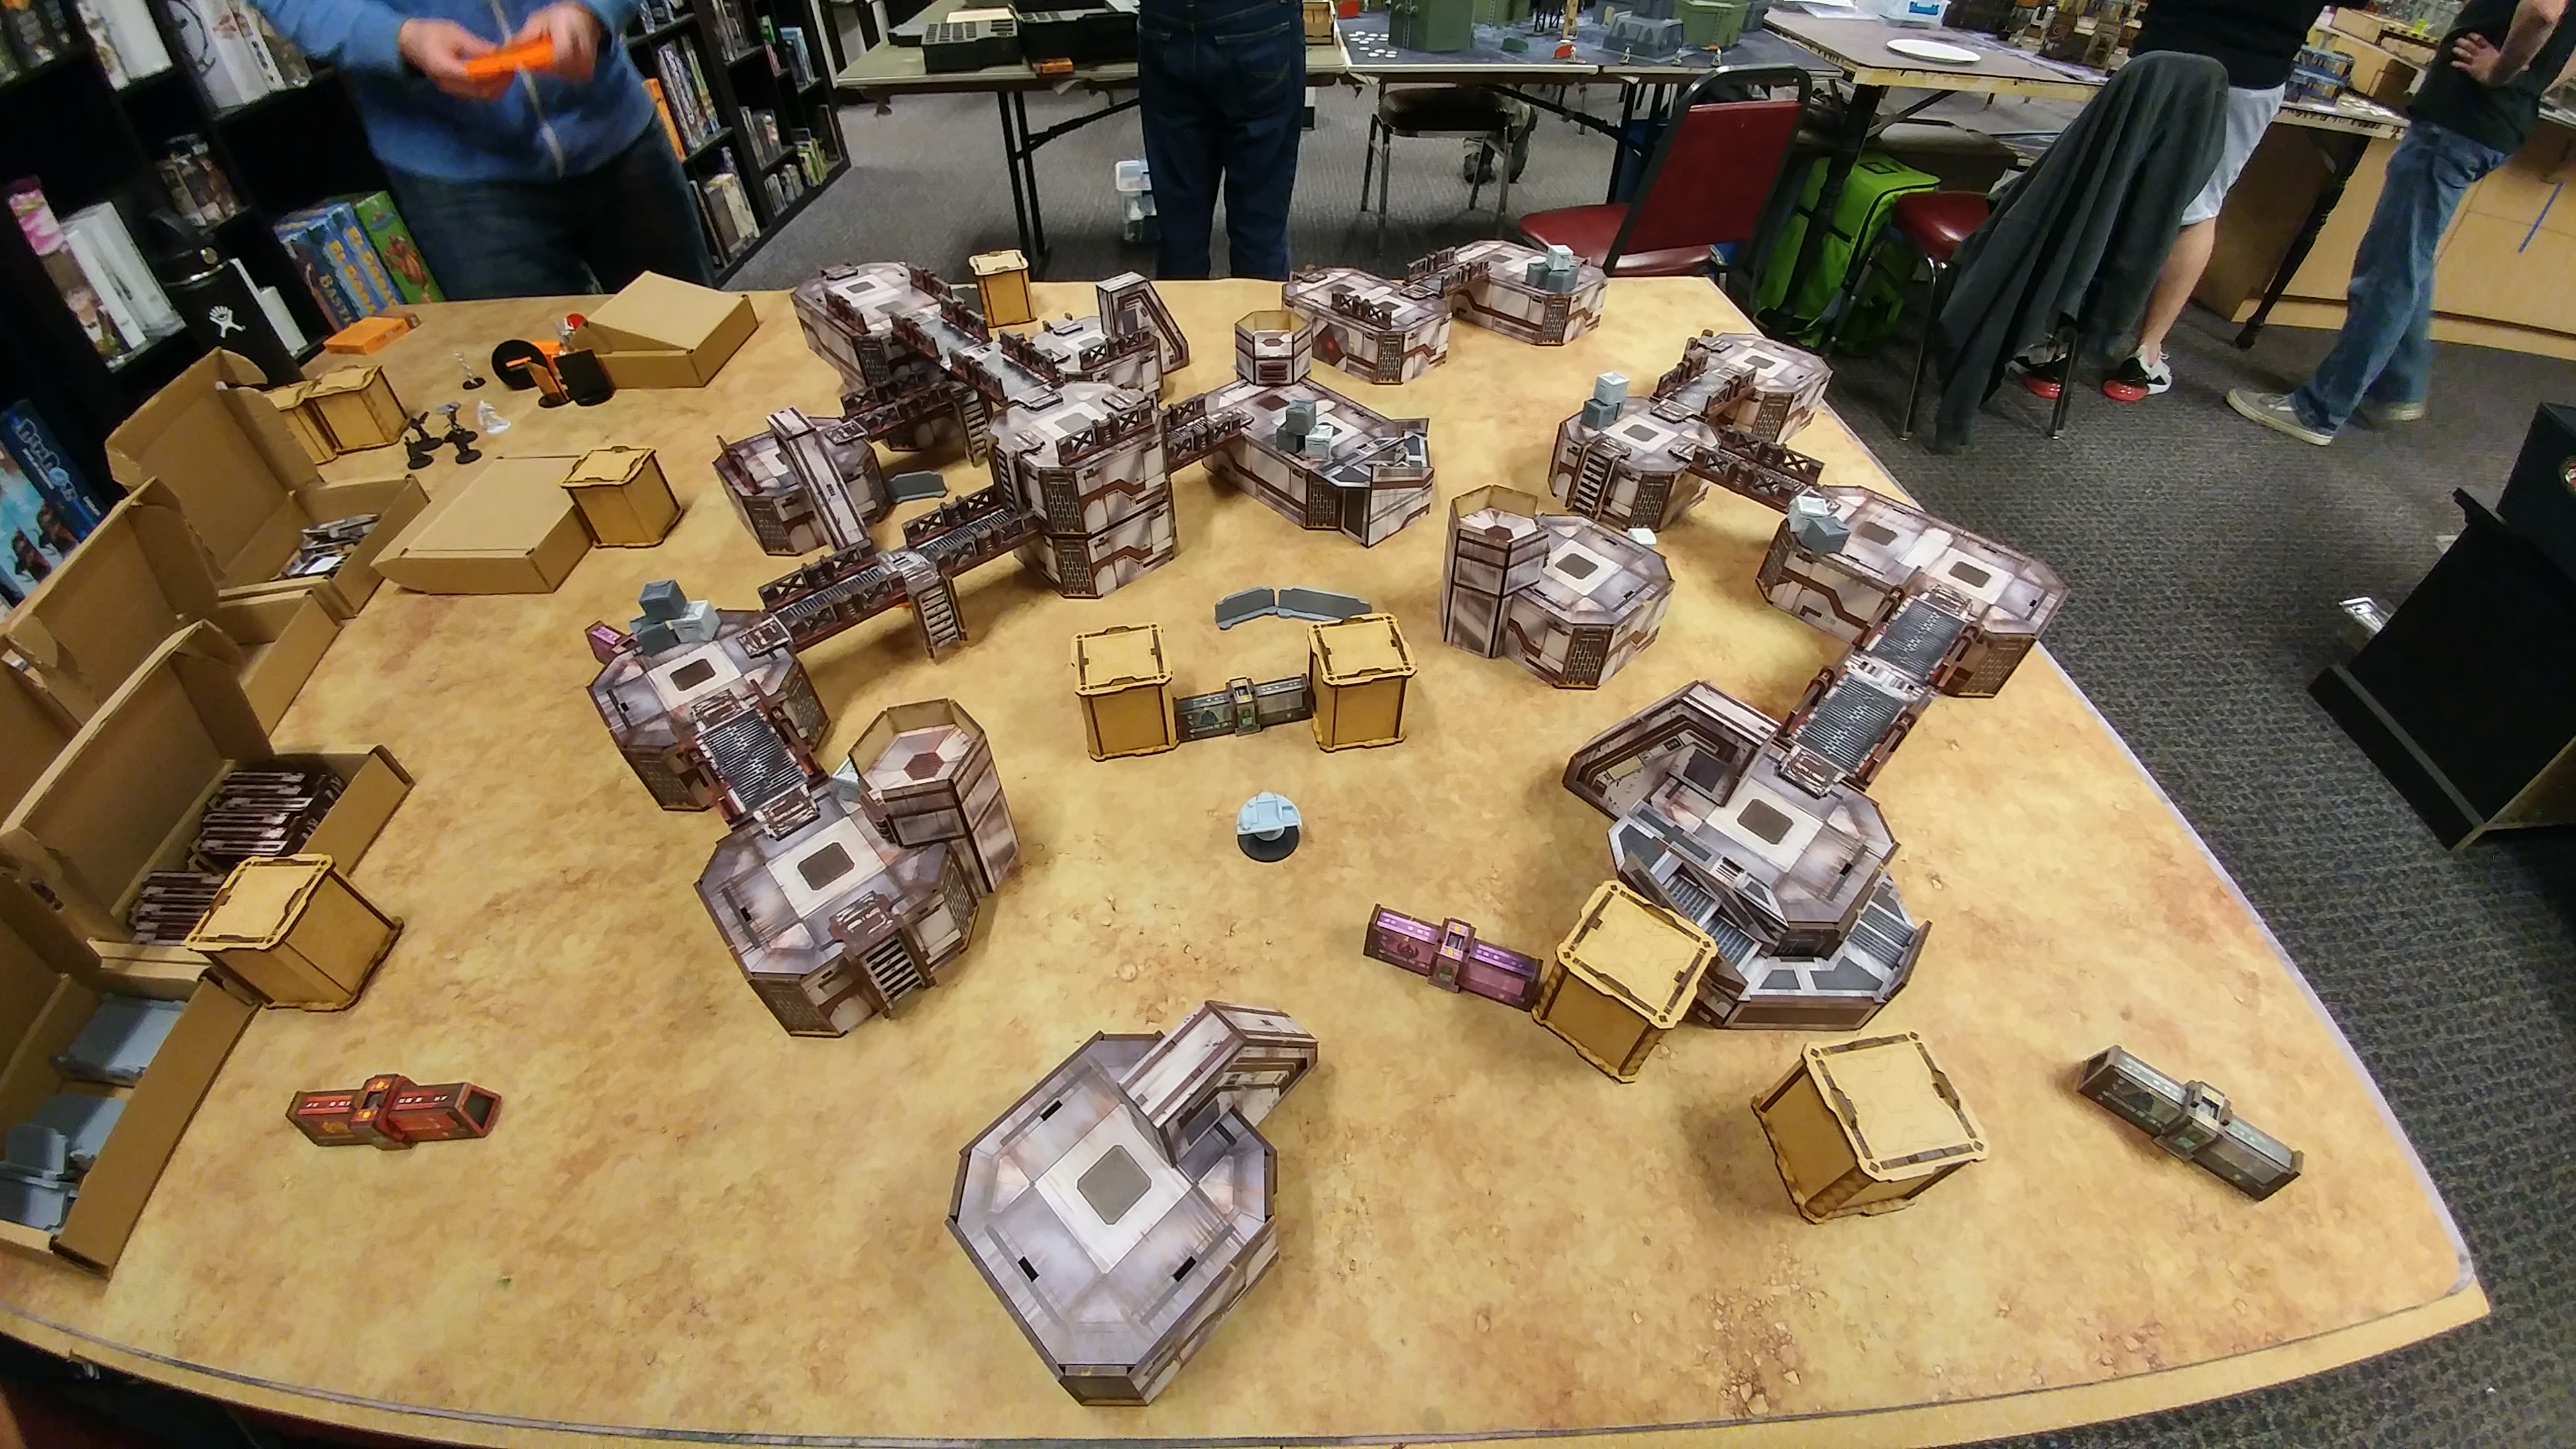 Anyway, I couldn’t really decide which list to play, so I brought both and left it to Daniel to decide. He chose Vanilla Haqq, giving me my first opportunity to put them on the table! How exciting!
Overview
- Mission: Looting and Sabotaging
- Forces: Haqqislam versus Japanese Secessionist Army (300)
- Deploy First: Haqqislam
- First Turn: Haqqislam
[img]https://assets.infinitythegame.net/infinityarmy/img/_logosweb/logo_401.png[/img][b] Looting and Sabotage[/b]
[b]GROUP 1 | [/b][img]https://assets.infinitythegame.net/infinityarmy/img/_logosweb/orden_regular.png[/img]10 [img]https://assets.infinitythegame.net/infinityarmy/img/_logosweb/orden_impetuosa.png[/img]1
[img]https://assets.infinitythegame.net/infinityarmy/img/_logosweb/401/logo_2.png[/img] [b]NAFFATÛN Lieutenant[/b] Rifle + Light Flamethrower, Grenades / Pistol, Knife. (0 | [b]12[/b])
[img]https://assets.infinitythegame.net/infinityarmy/img/_logosweb/401/logo_6.png[/img] [b]DJANBAZAN[/b] HMG / Pistol, Knife. (1.5 | [b]35[/b])
[img]https://assets.infinitythegame.net/infinityarmy/img/_logosweb/401/logo_6.png[/img] [b]DJANBAZAN[/b] Shock Marksman Rifle / Pistol, Knife. (0 | [b]29[/b])[img]https://assets.infinitythegame.net/infinityarmy/img/_logosweb/401/logo_43.png[/img] [b]FASID[/b] HMG + (Smoke and Normal) Light Grenade Launcher, Antipersonnel Mines / Heavy Pistol, Knife. (2 | [b]53[/b])
[img]https://assets.infinitythegame.net/infinityarmy/img/_logosweb/401/logo_31.png[/img] [b]HAWWA’ Hacker (Assault Hacking Device)[/b] Boarding Shotgun, D-Charges / Pistol, Knife. (0.5 | [b]26[/b])
[img]https://assets.infinitythegame.net/infinityarmy/img/_logosweb/401/logo_12.png[/img] [b]FIDAY[/b] Rifle + Light Shotgun, Smoke Grenades / Pistol, DA CCW, Knife. (0 | [b]31[/b])
[img]https://assets.infinitythegame.net/infinityarmy/img/_logosweb/401/logo_48.png[/img] [b]KRAKOT RENEGADE[/b] 2 Chain Rifles, Grenades / Pistol, DA CC Weapon. (0 | [b]14[/b])
[img]https://assets.infinitythegame.net/infinityarmy/img/_logosweb/401/logo_41.png[/img] [b]HASSASSIN HUSAM YASBIR (Infiltration, Holoprojector L2)[/b] Rifle + Light Shotgun, Nanopulser, Smoke Grenades / Pistol, Viral CCW, Knife. (0 | [b]34[/b])
[img]https://assets.infinitythegame.net/infinityarmy/img/_logosweb/401/logo_26.png[/img] [b]HAFZA[/b] Heavy Rocket Launcher / Assault Pistol, Knife. (1.5 | [b]18[/b])
[img]https://assets.infinitythegame.net/infinityarmy/img/_logosweb/401/logo_11.png[/img] [b]TUAREG Doctor Plus (MediKit)[/b] Rifle + Light Shotgun, Antipersonnel Mines / Pistol, Knife. (0 | [b]33[/b])[b]GROUP 2 | [/b][img]https://assets.infinitythegame.net/infinityarmy/img/_logosweb/orden_irregular.png[/img]3 [img]https://assets.infinitythegame.net/infinityarmy/img/_logosweb/orden_impetuosa.png[/img]3
[img]https://assets.infinitythegame.net/infinityarmy/img/_logosweb/401/logo_40.png[/img] [b]MUTTAWI’AH[/b] Chain Rifle, E/Marat, Jammer, Smoke Grenades / Pistol, Knife. (0 | [b]5[/b])
[img]https://assets.infinitythegame.net/infinityarmy/img/_logosweb/401/logo_40.png[/img] [b]MUTTAWI’AH[/b] Chain Rifle, E/Marat, Jammer, Smoke Grenades / Pistol, Knife. (0 | [b]5[/b])
[img]https://assets.infinitythegame.net/infinityarmy/img/_logosweb/401/logo_40.png[/img] [b]MUTTAWI’AH[/b] Chain Rifle, E/Marat, Jammer, Smoke Grenades / Pistol, Knife. (0 | [b]5[/b])
[b] 5.5 SWC | 300 Points |[/b] Open in Infinity Army
[img]https://assets.infinitythegame.net/infinityarmy/img/_logosweb/logo_903.png[/img][b] Japanese Secessionist Army[/b]
[b]GROUP 1 | [/b][img]https://assets.infinitythegame.net/infinityarmy/img/_logosweb/orden_regular.png[/img]9 [img]https://assets.infinitythegame.net/infinityarmy/img/_logosweb/orden_irregular.png[/img]1 [img]https://assets.infinitythegame.net/infinityarmy/img/_logosweb/orden_impetuosa.png[/img]1
[img]https://assets.infinitythegame.net/infinityarmy/img/_logosweb/903/logo_17.png[/img] [b]YURIKO ODA[/b] Combi Rifle + E/Mitter, D-Charges, Antipersonnel Mines / Pistol, CCW. (0 | [b]23[/b])
[img]https://assets.infinitythegame.net/infinityarmy/img/_logosweb/903/logo_2.png[/img] [b]KEMPEI (Chain of Command)[/b] Boarding Shotgun / Pistol, CCW, Electric Pulse. (0 | [b]21[/b])
[img]https://assets.infinitythegame.net/infinityarmy/img/_logosweb/903/logo_2.png[/img] [b]KEMPEI (Multispectral Visor L2)[/b] Shock Marksman Rifle / Pistol, CCW, Electric Pulse. (1 | [b]25[/b])
[img]https://assets.infinitythegame.net/infinityarmy/img/_logosweb/903/logo_1.png[/img] [b]KEISOTSU[/b] Missile Launcher / Pistol, Knife. (1.5 | [b]14[/b])
[img]https://assets.infinitythegame.net/infinityarmy/img/_logosweb/903/logo_1.png[/img] [b]KEISOTSU[/b] Missile Launcher / Pistol, Knife. (1.5 | [b]14[/b])[img]https://assets.infinitythegame.net/infinityarmy/img/_logosweb/903/logo_9.png[/img] [b]DAIYŌKAI[/b] MULTI Marksman Rifle, Panzerfaust / Pistol, DA CC Weapon, AP CC Weapon. (0 | [b]52[/b])
[img]https://assets.infinitythegame.net/infinityarmy/img/_logosweb/903/logo_3.png[/img] [b]RYŪKEN (Forward Deployment L2, ODD)[/b] Submachine Gun, Antipersonnel Mines, D-Charges / 2 Breaker Pistols, Knife. (0.5 | [b]24[/b])
[img]https://assets.infinitythegame.net/infinityarmy/img/_logosweb/903/logo_26.png[/img] [b]MIYAMOTO MUSHASHI (Regular, Fireteam: Haris)[/b] Chain Rifle, Flash Pulse / Pistol, AP CCW, EXP CCW. (0.5 | [b]28[/b])
[img]https://assets.infinitythegame.net/infinityarmy/img/_logosweb/903/logo_29.png[/img] [b]YOJIMBO[/b] Contender, Nanopulser, Smoke Grenades, CrazyKoalas (2) / Pistol, DA CCW. (0 | [b]21[/b])
[img]https://assets.infinitythegame.net/infinityarmy/img/_logosweb/903/logo_28.png[/img] [b]SAITO TOGAN (Specialist Operative)[/b] Combi Rifle, Smoke Grenades / Pistol, EXP CCW, Knife. (0 | [b]40[/b])[b]GROUP 2 | [/b][img]https://assets.infinitythegame.net/infinityarmy/img/_logosweb/orden_regular.png[/img]1 [img]https://assets.infinitythegame.net/infinityarmy/img/_logosweb/orden_impetuosa.png[/img]1
[img]https://assets.infinitythegame.net/infinityarmy/img/_logosweb/903/logo_15.png[/img] [b]KUROSHI RIDER Lieutenant[/b] Combi Rifle + Light Flamethrower / Breaker Pistol, AP + Shock CCW. (0 | [b]33[/b])
[b] 5 SWC | 295 Points |[/b] Open in Infinity Army
Deployment
Well, it was time to set up and get a pile of models into base to base with Daniel’s AC2. On the first turn. It really is like a mad dash to get a Tickle Me Elmo (yeah, just like it’s 1996). To make matters worse, I knew Daniel was going to dock me two orders so this was really going to be difficult. In any case, I set up my Mutts to advance along the left, right, and center, with the central Mutt there to throw smoke for my Krakot, who was slightly in front of my AC2. My Naffatun Lt was right next to the AC2 so I could get her into position with her Lt order if I wanted to. I backed her up with my Al Fasid as a centrally located problem solver. I forgot his has minelayer and neglected to place one.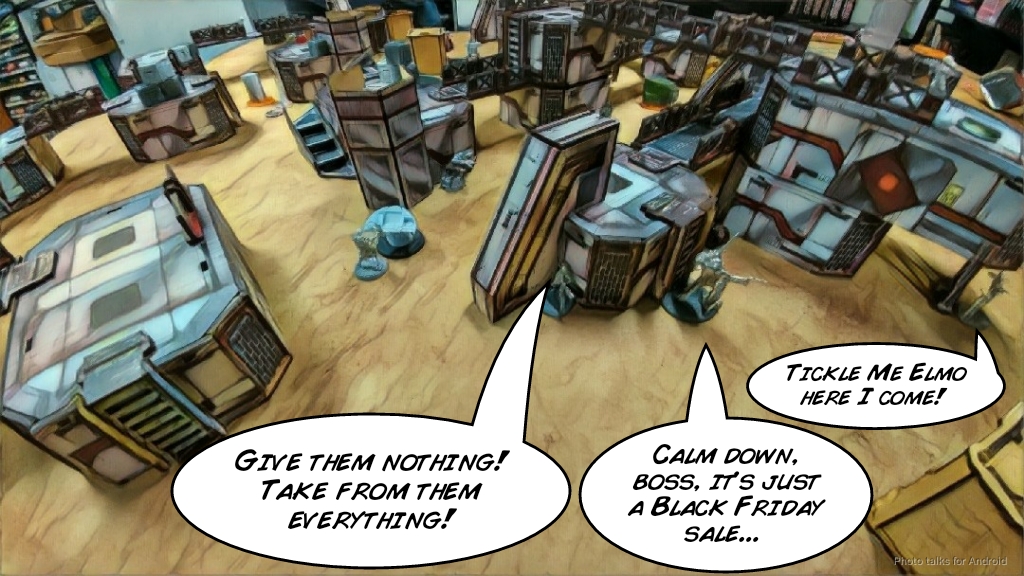 I stuck my Djanbazan Shock Marksman Rifle watching my AC2 from the back of my deployment zone, with my Djanbazan HMG on the left, watching a diagonal firelane. I figured that I could use him to pressure the left flank if I needed to get rid of something. My Hafza pretended to be Leila on a rooftop, just in case I needed to set something on fire. My Al’Hawwa and Tuareg were as close to the centerline as possible, with Yasbir and his Holoechoes parked on my right. I put the real Yasbir on a catwalk with the fake ones below, and with that I was deployed except for the Fiday.
 Daniel dropped Musashi near his AC2 with Yojimbo on the other side of his AC2, with a Koala covering the AC2. His link deployed along some stairs with his ubiquitous double ML exposed on the rooftops. Kuroshi Rider was on his right flank in her own combat group with the Daiyokai MMR on the far left behind a box, guarded by the Ryuken 9 and her mine, which was covering the bottom two “Yasbirs.”
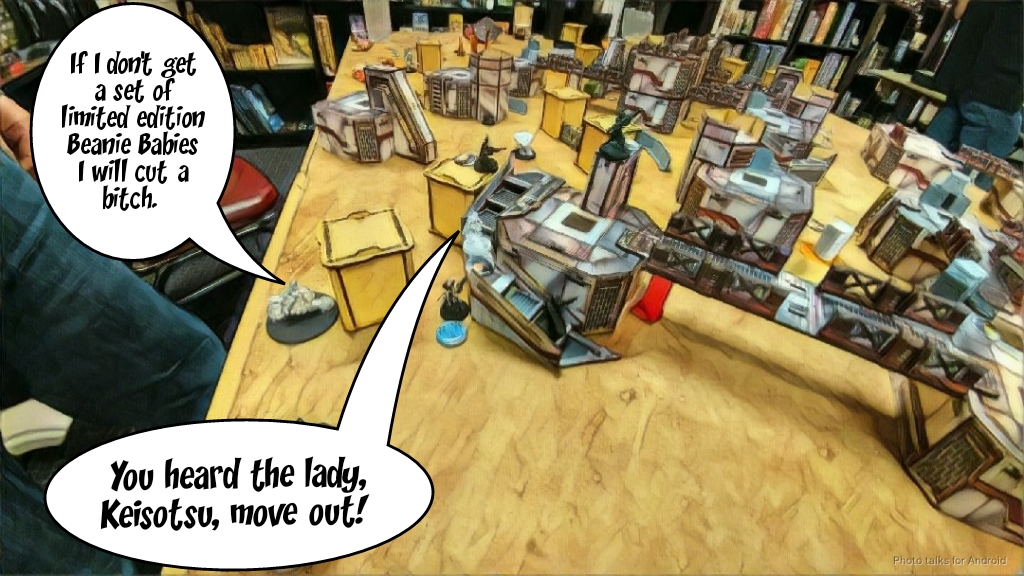 I dropped the Fiday in cover just on the other side of the AC2, outside of Daniel’s deployment zone, and Saito showed up on my left on a roof behind some scatter terrain. It’s worth noting that I made a huge mistake and the Fiday DA CCW profile doesn’t have mines! Fortunately, the mines did NOTHING all game, so it’s… fine? With that, we were off!
Turn 1
Top of Turn 1 – Haqqislam
My Mutts did their thing and made it up the field without incident. I had smoke cover for the Djanbazan on the left in case, but it didn’t look like I was going to need it. My Krakot ran into the central Mutt’s smoke and that was that. I then started the Black Friday rush. I dumped a series of coordinated orders into getting the Fiday, the Tuareg, the Al’Hawwa, and Yasbir into base to base with the AC2. It took a good few orders–the first coordinated order was spent on movement and shooting the Crazy Koala. This also had the added benefit of clearing the mine with Yasbir’s holoechoes. Some more rifle fire from the Fiday to clear the Crazy Koala later, I managed to drop smoke on top of the AC2 and was CCing away with a pile of dice.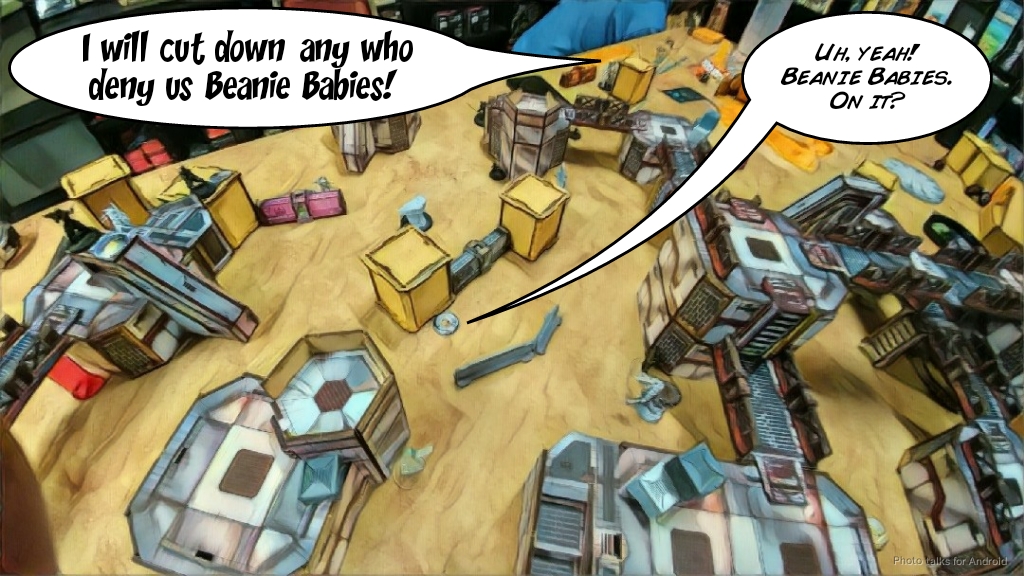 T’was a good thing I did too, because even with Martial Arts 2 and a pile of dice and the PH bonus from friends, it took the Fiday a good two orders to smash the AC2 into scrap and extract my prize–a mint condition Tickle Me Elmo! I spent my last coordinated order on a CC attack and moving the team out of base to base with the AC2, kinda leaving them flapping in the wind. I only have the Mutts’ three irregular orders left in the second pool and two orders in the main pool, thanks to Daniel docking me orders. I figure I should spend these last to orders trying to hurt Daniel’s chances of getting his own CC specialists into base to base with my AC2, so I send Yasbir out of the smoke to take some shots at Yojimbo, who is the most dangerous threat to my AC2 thanks to his movement speed and smoke.
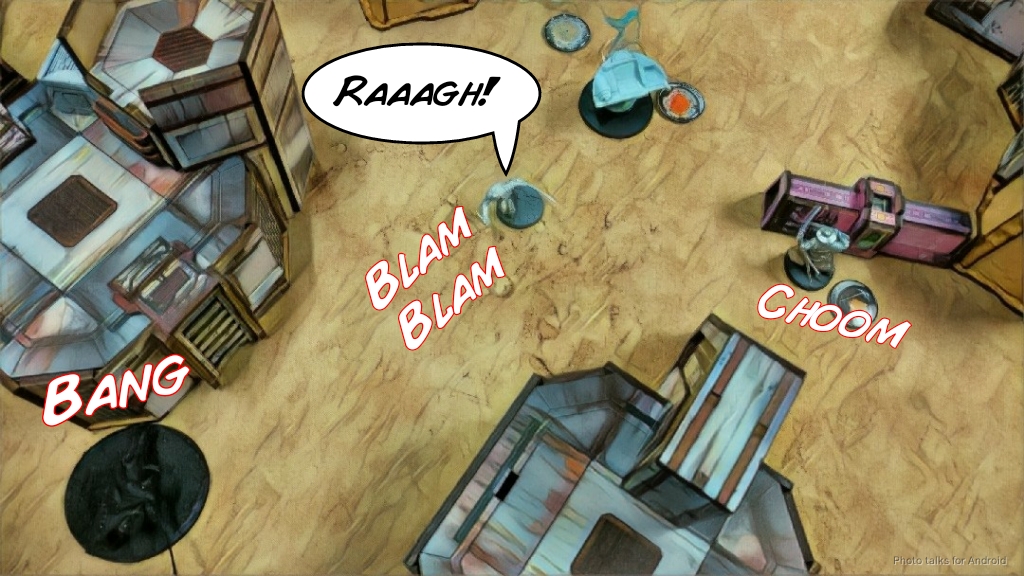 Yasbir fails to kill Yojimbo but at least puts him into NWI. Musashi’s chain rifle and fire from the link team blast Yasbir off the table, but I’ve got that all important wound on Yojimbo!
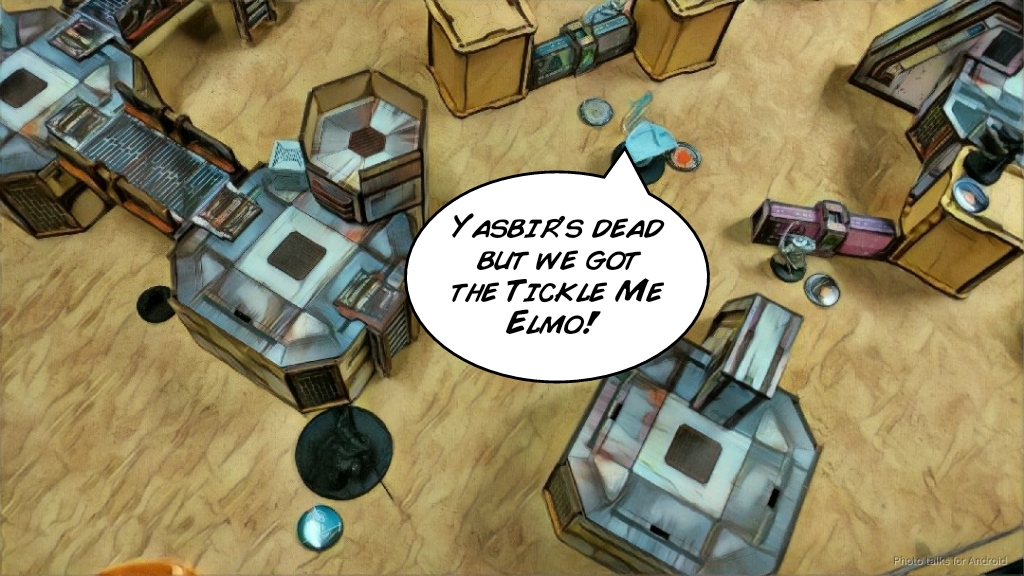 I send in the Tuareg next, which is also an abject failure thanks to a smoke crit from Daniel.
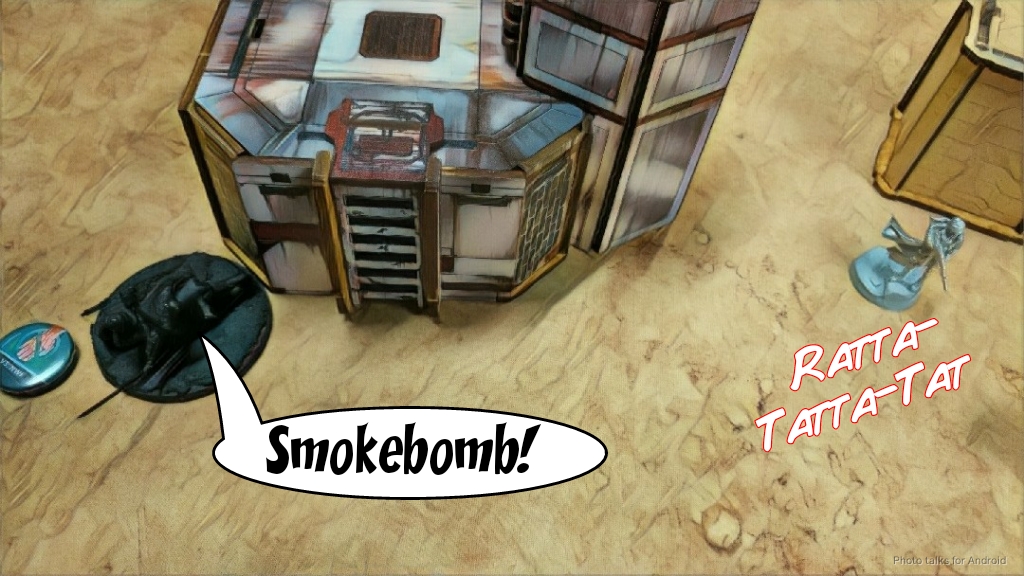 Well, this is no good. No good at all. But, I have a pile of difficult to remove models in cover right outside of Daniel’s deployment zone that he needs to punch through to get to my AC2, so hopefully this will tie him up for long enough. I move the Mutts into more defensible positions and pass the turn.
Bottom of Turn 1 – JSA
Yojimbo rolls in on his impetuous order, throwing smoke. I roll like crap on shotguns from the Tuareg and the Fiday, so the smoke lands. I lose the Tuareg to Yojimbo on the next order (Kuroshi Rider canceled her impetuous). Daniel activates the Daiyokai next and guns down the Mutt on the right, but I land smoke on my central Mutt (this will be very important later). This Daiyokai trades some fire with my Al Fasid but I eventually land smoke in front of my Al Fasid. Maybe I should’ve shot, but he was in cover and I had a better target number with smoke. The Krakot can see this so he gets a free dodge closer to the Yojimbo action. Musashi also makes it closer under the cover of Yojimbo’s first smoke grenade that allowed him to kill the Tuareg.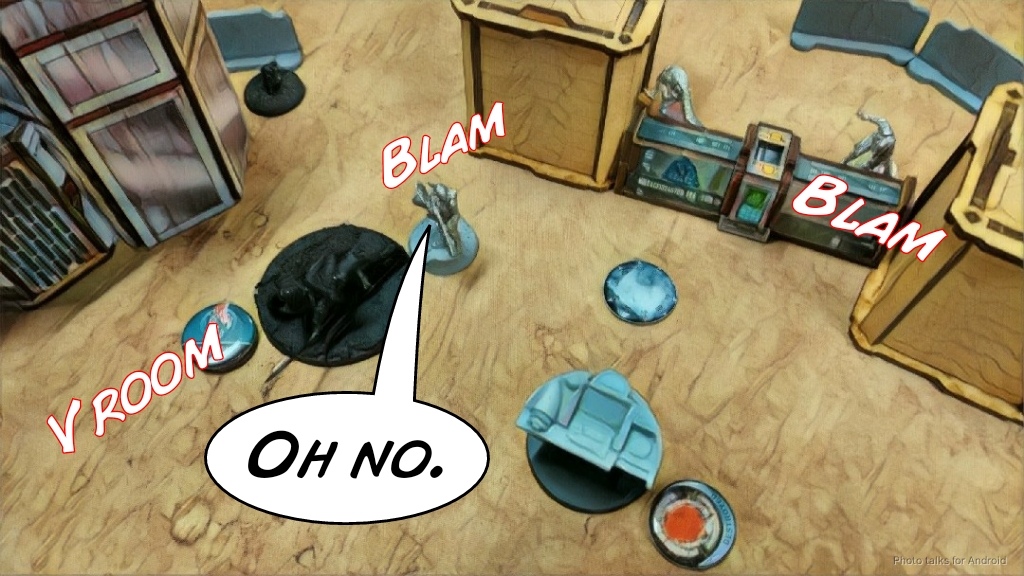 Daniel then rolls Yojimbo around the corner to continue being a nuisance. I chain rifle him with the Krakot, shotgun him with the Al’Hawwa, and drop a mine with the Fiday (which I can’t do, wrong Fiday profile, sorry Daniel!), just in case.
 Daniel throws smoke, canceling my crap shotgun roll from the Al’Hawwa and tanks the chain rifle like a boss. SIGH. Daniel risks Musashi to the mine, moving him around to my left behind the crate, and of course he makes his dodge roll (See? It’s fine. I can cheat and Daniel can just make all the rolls to beat me since he’s a boss). The Daiyokai settles into cover and goes into suppression then Daniel passes the turn back to me.
Turn 2
Top of Turn 2 – Haqqislam
The Mutt on my left tries to throw smoke for my central Mutt but eats some shock rounds from the Daiyokai. I run my central Mutt straight at the Daiyokai and pray that he’s in E/Marat range. Daniel suppresses me again, and I lay the template. It’s really hard to tell so we call Isaac to be an impartial third party. He has the brilliant idea of just measuring the template, so we do–it’s 10.25″, so I measure that out, and sure enough, the tip of the template touches the Daiyokai! I of course lose the Mutt to the suppression fire, but that’s meaningless compared to what has to happen next. Daniel picks up a die to make his BTS save and we all pucker up… it’s a 5! The Daiyokai is out of commission and his only engineer (Yuriko Oda) is across the table!
While this is tragic for Daniel, it’s pretty good for me! I need to take out Yojimbo and Mushashi, then I’m in great shape. The Krakot runs straight at Musashi, electing to double chain rifle him–I forgot about Berzerk. Daniel MA4’s the Krakot, wiping it off the table and tanks both chain rifles. Argh!  I can’t activate the Fiday or the Al’Hawwa without both of them taking a nanopulsar to the face… so it’s time for the Al Fasid to earn his hazard pay. I walk him around the corner to see a sliver of Yojimbo’s base, but it’s enough and I start pumping HMG fire into him. Yojimbo rolls yet ANOTHER smoke crit, but I fish out a crit of my own from my four dice. Another order sees smoke land for real. This isn’t the worst possible thing, so I drop a mine with the Fiday (cheaty cheaty me! Whoops!), walk him around the corner and drop Mushashi with the Fiday’s LSG, catching a Keisotsu ML in the template. I beat all their rolls and both go down for the count. Alright! One CC specialist down…
 I’m basically out of options now, so I just throw the Fiday back into impersonation, throwing my poor Al’Hawwa under the bus.
Bottom of Turn 2 – JSA
Daniel moves Kuroshi rider into his main pool, then the Al’Hawwa goes down to Yojimbo while the Fiday watches. Of course, Yojimbo just tanks the mine like a boss. Hooray for Daniel’s invincible Yojimbo canceling out my cheating! Ugh. I need to read my damn unit profiles. This is the second time I’ve got a profile wrong with Haqq skirmishers related to mines! Kuroshi Rider is suspicious of the Fiday but fails to discover him. Yojimbo races away to get the mission accomplished, and I reveal my Fiday to shoot him the back, finally killing him.
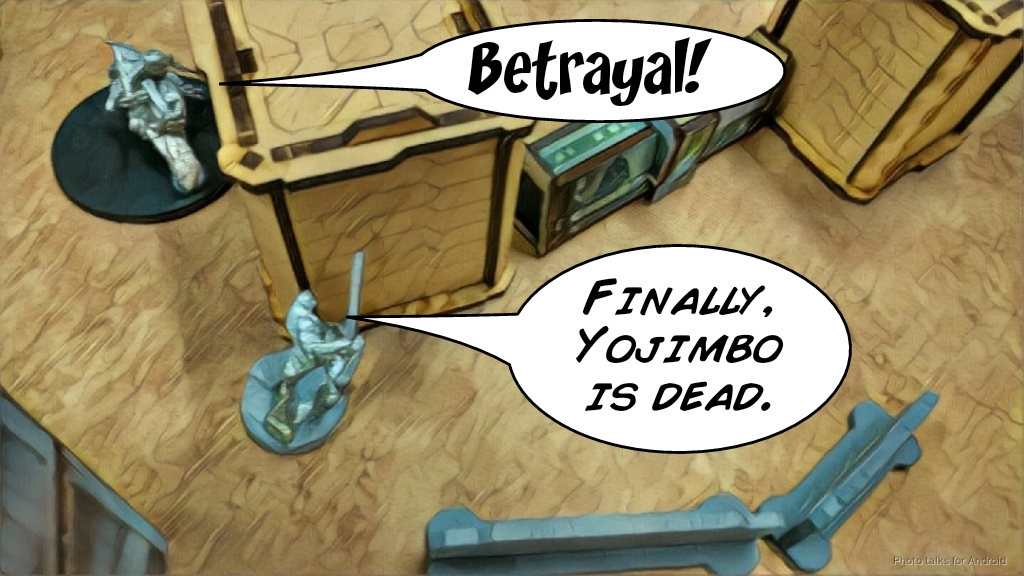 At final count, Yojimbo survived 6 rifle shots, 8 HMG shots, 3 shotgun shots, and an (illegal) mine before finally going down to the Fiday’s shotgun, and all in good rangebands too! Give that guy a medal! Kuroshi Rider takes out the Fiday, finally, and my screen of models outside of Daniel’s deployment zone is gone. With the Daiyokai out of commission, Mushashi dead, and Yojimbo finally stopped, Daniel brings his fourth CC specialist out to play. Saito Togan makes his way up the catwalk system on my left, getting discovered by my Djanbazan shock marksman rifle as he goes.
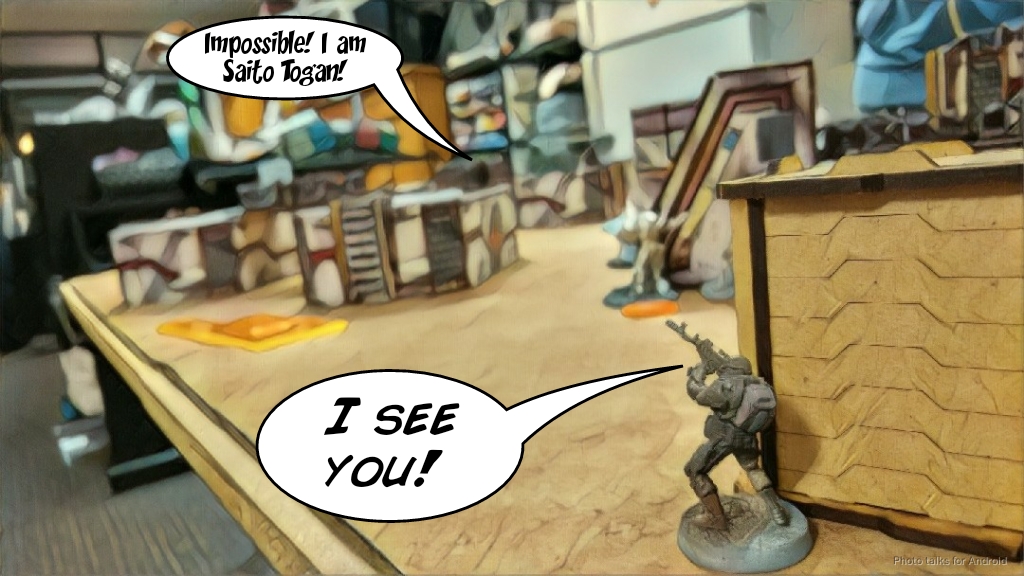 Now revealed and in LoF of both Djanbazan and the Al’Fasid, Daniel elects to drop smoke to protect Saito. I remind him that MSV2 can see through smoke, but Daniel is adamant and wants to face to face the Al’Fasid, hoping that I’ll miss with the Djanbazan thanks to cover and bad rangebands. The way we’ve been rolling, this isn’t insanity, but it’s not the decision I would’ve made.
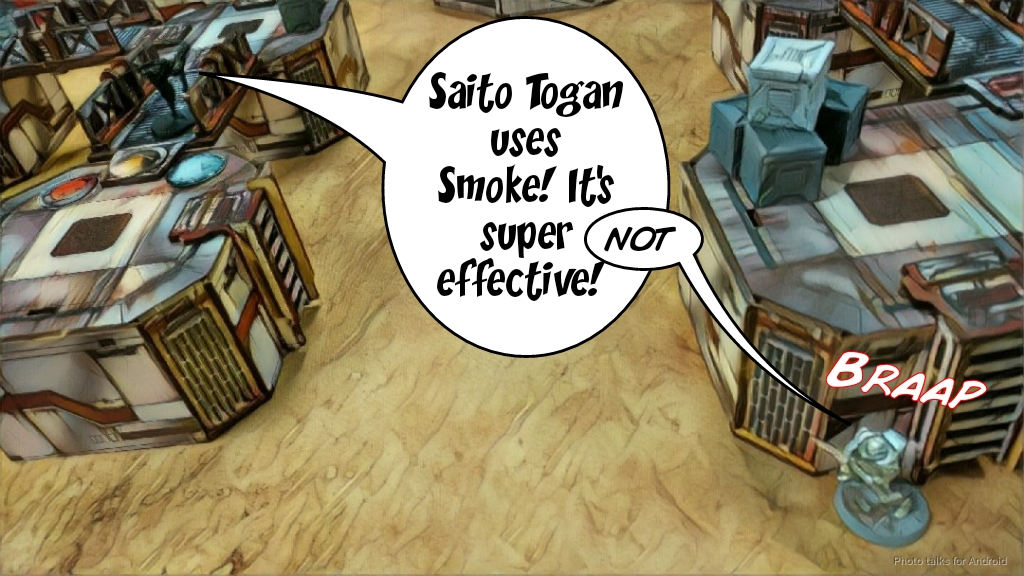 In any case, both Djanbazan hit. The HMG punches through Saito’s armor but the shock Marksman Rifle round pings off the catwalk’s railing. Daniel’s mostly out of things to do so he settles for opening the left Panoply with Asuka–I mean Kuroshi Rider and the right one with the Major… I mean the Ryuken-9. With that, he passes the turn.
Turn 3
Top of Turn 3 – Haqqislam
All of my impetuous orders are gone, I’m out of command tokens, and I’ve got something like half an order pool left. I spend three of my precious orders covering my AC2 with a mine and putting Kuroshi Rider into dogged with the Al Fasid’s HMG. Daniel had grabbed a Panzerfaust from the panoply instead of D-Charges, so this definitely was scary!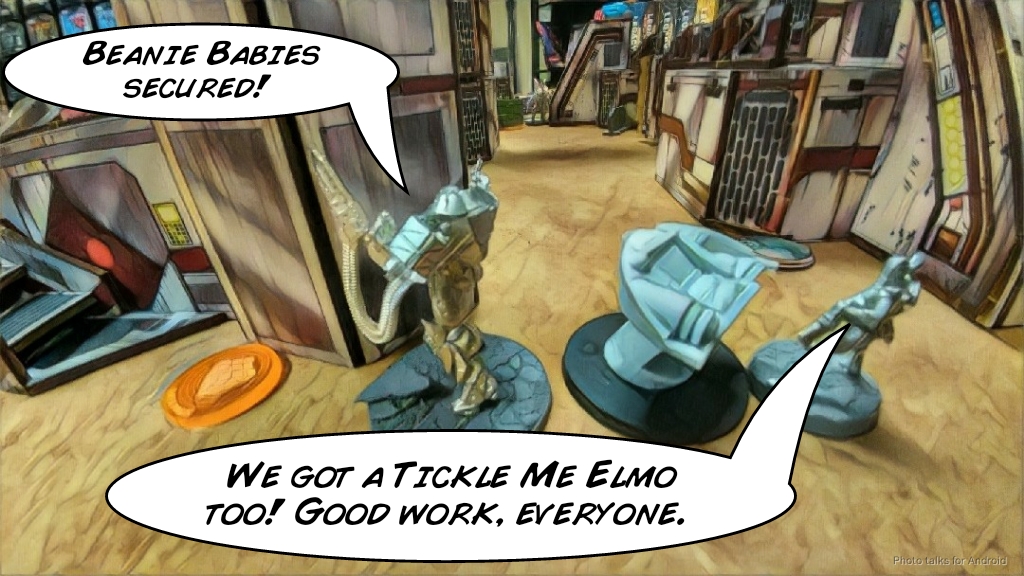 I spend my last two orders and my Lieutenant order repositioning my Djanbazan shock Marksman Rifle and Naffatun Lt to cover the Ryuken-9’s approach and throw the Djanbazan into suppression.
Bottom of Turn 3 – JSA
Thankfully, Daniel’s also pretty low on orders–he’s only got 4/5 link team members and the Ryuken-9 left in his order pool. He does have a MULTI Rifle from the panoply though, and D-Charges, so the Ryuken-9 dashes towards my AC2, hoping to drop all three of my units watching it and survive the mine. Daniel’s luck runs out here though, and my Djanbazan finishes off his last attack vector, giving me an undeserved
7-2 Haqqislam Victory!
Daniel got two points for the panoplies and for securing my HVT. So, the Fiday’s illegal mines were definitely a game changer, but perhaps not a game breaker. It may have meant that Mushashi and Yojimbo would still have been alive, but I still had a Krakot in the way that would’ve eaten some orders, and then the Hafza could’ve seen some usage, blowing up Musashi or something. Who knows. In any case, the real turning point of the game was landing that E/Marat on the Daiyokai. The rest of it was just dice. Sorry Daniel! I honestly don’t see myself taking the non-mine options regularly except for this scenario so it will be hard to remember…
Notes
Notes for Me
- Well, don’t cheat and use mines you don’t have. WHOOPS. My bad! Thankfully this was a friendly practice game.
- I made some bad coordinated order mistakes. If you’re moving with a coordinated order, then MOV-MOV is the most efficient way of doing it. I think I could’ve saved at least an order or two to put things into suppression or otherwise be more annoying and have things in a better position!
- I was very impressed with the Al Fasid’s toolkit. I will be taking that profile again, for sure.
- Two MSV2 troops watching the AC2 and/or approaches to your DZ is very strong. My Corregidor list has two Intruders for similar reasons.
- Naffatun was great, I felt very secure having her near the AC2.
- Daiyokai are scary! Basically you’re forced to E/M them or outshoot them. I definitely don’t want to CC them.
- I think multiple units smashing the AC2 into scrap is a great strategy, especially because you end up leaving them there to tie up your opponent. This would be much scarier in the Jaguar core case, but I made do with the Haqq.
- I can definitely do a better job piloting this list and deploying it. Still getting used to Holo and my infiltrators in Haqq.
- Fidays rock! My bumrush of the AC2 was really really clunky but I’ll do better next time.
- Whoo. Been awhile since I’ve played with warbands. Very rusty, need more practice with Mutts and Morlocks! Got super lucky with the E/Marat though. Mutts are just SO stupid.
- First turn alpha-striking the AC2, leaving your guys there, then hunting down the other guy’s CC specialists and D-Charge carriers seems to be quite strong.
- Having the DataTracker point is relevant for major victories. You have to keep them entirely off your AC2 (which is hard) to get a 7-2 victory, and having the extra point of margin + classified is probably what you need to secure the major consistently. Fiday is sorta obligated to be the DataTracker here though.
Notes for Daniel
- Daniel lamented after the game that he didn’t have his MSV2 Kempetai watching the AC2. I’m sure he won’t make that mistake again!
- I think the Kuroshi Rider was probably the right call to get to the AC2 on Turn 3. Grab D-Charges, get out of the way of my Al Fasid’s LoF, then on his Turn 3 rocket his way up the board. I don’t think I had the orders to really effectively defend myself from that.
- CCing the Fasid is probably a reasonable way to go… but I guess I would’ve had the orders to throw him into suppression… I dunno. It’s all bad.
- I honestly think just rocketing Yojimbo up the board and ignoring the blob of units I had just outside his deployment zone was probably the best play. The AC2 is where all the points are.
- Keep rolling ARM saves and smoke throws like a boss! It’s working for you! Jeeeebus.
- I think I’ve found consistent ways to deal with his double ML link team. That said, the addition of the MSV2 Kempetai is troublesome. Will have to think about that more. Leverage that guy more! He’s great!
Thanks for reading!