
Draining Power Packs
First off, please pardon the convoluted reference to Infinity order batteries for TAGs, the mission title, and video game references and pictures (the latter borrowed from here). References are better when you explain them, right? Or was does that ruin them… hmmm. In any case, we had a pretty full house. 7 players showed up so we had three tables and someone spectating for a bit. We hung out for awhile, discussing the finer points of PanO health care (aka taking a round from the standard issue PanO side arm to the head), and then paired off for some games. I ended up across the table from Mike (crashprone) for a hilarious game of Power Pack. We of course forgot to honor the Saturation Zone for the whole game. It’s been awhile since I played it last and it was Mike’s first time, so it just totally slipped our minds. This is why we play practice games though, right?
Overview
- Mission: Power Pack
- Forces: Nomads versus Military Orders (300)
- Deploy First: Nomads
- First Turn: Nomads
- Mike’s Report: 2 Seraphs No Orders
[img]https://assets.infinitythegame.net/infinityarmy/img/_logosweb/logo_501.png[/img][b] List B[/b]
[b]GROUP 1 | [/b][img]https://assets.infinitythegame.net/infinityarmy/img/_logosweb/orden_regular.png[/img]9 [img]https://assets.infinitythegame.net/infinityarmy/img/_logosweb/orden_irregular.png[/img]1 [img]https://assets.infinitythegame.net/infinityarmy/img/_logosweb/orden_impetuosa.png[/img]2
[img]https://assets.infinitythegame.net/infinityarmy/img/_logosweb/501/logo_16.png[/img] [b]INTERVENTOR Hacker Lieutenant (Hacking Device Plus)[/b] Combi Rifle / Pistol, Knife. (0.5 | [b]25[/b])
[img]https://assets.infinitythegame.net/infinityarmy/img/_logosweb/501/logo_30.png[/img] [b]MORAN (Forward Observer)[/b] Combi Rifle, CrazyKoalas (2) / Pistol, Knife. (0.5 | [b]22[/b])
[img]https://assets.infinitythegame.net/infinityarmy/img/_logosweb/501/logo_58.png[/img] [b]ZONDNAUT[/b] Boarding Shotgun / Pistol, Knife. (0 | [b]24[/b])
[img]https://assets.infinitythegame.net/infinityarmy/img/_logosweb/sep.gif[/img] [img]https://assets.infinitythegame.net/infinityarmy/img/_logosweb/501/logo_58.png[/img] [b]ZONDMATE[/b] Chain Rifle, Smoke Light Grenade Launcher / Electric Pulse. ([b]5[/b])[img]https://assets.infinitythegame.net/infinityarmy/img/_logosweb/501/logo_48.png[/img] [b]KRAKOT RENEGADE[/b] 2 Chain Rifles, Grenades / Pistol, DA CC Weapon. (0 | [b]14[/b])
[img]https://assets.infinitythegame.net/infinityarmy/img/_logosweb/501/logo_33.png[/img] [b]LUNOKHOD[/b] Heavy Shotgun, Heavy Flamethrower, D-Charges, CrazyKoalas (2) / Electric Pulse. (0 | [b]25[/b])
[img]https://assets.infinitythegame.net/infinityarmy/img/_logosweb/501/logo_60.png[/img] [b]HECKLER[/b] Combi Rifle, Jammer, 1 FastPanda / Pistol, Knife. (0 | [b]23[/b])
[img]https://assets.infinitythegame.net/infinityarmy/img/_logosweb/501/logo_9.png[/img] [b]BANDIT Hacker (Killer Hacking Device)[/b] Light Shotgun, Adhesive Launcher / Pistol, DA CCW. (0 | [b]25[/b])
[img]https://assets.infinitythegame.net/infinityarmy/img/_logosweb/501/logo_56.png[/img] [b]KRIZA BORAC[/b] HMG / Heavy Pistol, CC Weapon. (2 | [b]54[/b])
[img]https://assets.infinitythegame.net/infinityarmy/img/_logosweb/501/logo_4.png[/img] [b]INTRUDER[/b] HMG, Grenades / Pistol, CCW. (1.5 | [b]42[/b])
[img]https://assets.infinitythegame.net/infinityarmy/img/_logosweb/501/logo_61.png[/img] [b]PUPPET MASTERS (Minelayer)[/b] Submachine Gun, Antipersonnel Mines / PistolKnife. (0.5 | [b]14[/b])
[img]https://assets.infinitythegame.net/infinityarmy/img/_logosweb/501/logo_61.png[/img] [b]PUPPETBOT (Marksmanship L1)[/b] AP Marksman Rifle / Electric Pulse. (0 | [b]14[/b])[b]GROUP 2 | [/b][img]https://assets.infinitythegame.net/infinityarmy/img/_logosweb/orden_irregular.png[/img]3 [img]https://assets.infinitythegame.net/infinityarmy/img/_logosweb/orden_impetuosa.png[/img]3
[img]https://assets.infinitythegame.net/infinityarmy/img/_logosweb/501/logo_12.png[/img] [b]MORLOCK[/b] Chain Rifle, Smoke Grenades / Pistol, E/M CCW. (0 | [b]6[/b])
[img]https://assets.infinitythegame.net/infinityarmy/img/_logosweb/501/logo_12.png[/img] [b]MORLOCK[/b] Chain Rifle, Smoke Grenades / Pistol, E/M CCW. (0 | [b]6[/b])
[img]https://assets.infinitythegame.net/infinityarmy/img/_logosweb/501/logo_12.png[/img] [b]MORLOCK[/b] Chain Rifle, Smoke Grenades / Pistol, E/M CCW. (0 | [b]6[/b])
[b] 5 SWC | 300 Points |[/b] Open in Infinity Army
[img]https://assets.infinitythegame.net/infinityarmy/img/_logosweb/logo_103.png[/img][b] Joan Cheer Squad[/b]
[img]https://assets.infinitythegame.net/infinityarmy/img/_logosweb/103/logo_1.png[/img] [b]FUSILIER Lieutenant[/b] Combi Rifle / Pistol, Knife. (0 | [b]10[/b])
[img]https://assets.infinitythegame.net/infinityarmy/img/_logosweb/103/logo_1.png[/img] [b]FUSILIER[/b] Combi Rifle / Pistol, Knife. (0 | [b]10[/b])
[img]https://assets.infinitythegame.net/infinityarmy/img/_logosweb/103/logo_1.png[/img] [b]FUSILIER[/b] Missile Launcher / Pistol, Knife. (1.5 | [b]15[/b])[img]https://assets.infinitythegame.net/infinityarmy/img/_logosweb/103/logo_11.png[/img] [b]SERAPH[/b] Spitfire, Nanopulser + AUXBOT_1 / EXP CCW. (2 | [b]82[/b])
[img]https://assets.infinitythegame.net/infinityarmy/img/_logosweb/sep.gif[/img] [img]https://assets.infinitythegame.net/infinityarmy/img/_logosweb/103/logo_11.png[/img] [b]AUXBOT_1[/b] Heavy Flamethrower / Electric Pulse. (- | [b]4[/b])
[img]https://assets.infinitythegame.net/infinityarmy/img/_logosweb/sep.gif[/img] [img]https://assets.infinitythegame.net/infinityarmy/img/_logosweb/103/logo_11_2.png[/img] [b]AUXBOT_1[/b] Heavy Flamethrower / Electric Pulse. (- | [b]4[/b])
[img]https://assets.infinitythegame.net/infinityarmy/img/_logosweb/103/logo_11.png[/img] [b]SERAPH[/b] Spitfire, Nanopulser + AUXBOT_1 / EXP CCW. (2 | [b]82[/b])
[img]https://assets.infinitythegame.net/infinityarmy/img/_logosweb/sep.gif[/img] [img]https://assets.infinitythegame.net/infinityarmy/img/_logosweb/103/logo_11.png[/img] [b]AUXBOT_1[/b] Heavy Flamethrower / Electric Pulse. (- | [b]4[/b])
[img]https://assets.infinitythegame.net/infinityarmy/img/_logosweb/sep.gif[/img] [img]https://assets.infinitythegame.net/infinityarmy/img/_logosweb/103/logo_11_2.png[/img] [b]AUXBOT_1[/b] Heavy Flamethrower / Electric Pulse. (- | [b]4[/b])
[img]https://assets.infinitythegame.net/infinityarmy/img/_logosweb/103/logo_3.png[/img] [b]CRUSADER[/b] Boarding Shotgun / Pistol, Knife. (0 | [b]25[/b])
[img]https://assets.infinitythegame.net/infinityarmy/img/_logosweb/103/logo_27.png[/img] [b]WARCOR (Aerocam)[/b] Flash Pulse / Stun Pistol, Knife. (0 | [b]3[/b])
[img]https://assets.infinitythegame.net/infinityarmy/img/_logosweb/103/logo_2.png[/img] [b]SPEC. SERGEANT (CH: TO Camouflage, Infiltration, Forward Observer)[/b] Combi Rifle, Antipersonnel Mines / Pistol, Knife. (0 | [b]27[/b])
[img]https://assets.infinitythegame.net/infinityarmy/img/_logosweb/103/logo_2.png[/img] [b]SPEC. SERGEANT Hacker (Hacking Device)[/b] Combi Rifle / Pistol, Knife. (0.5 | [b]21[/b])
[img]https://assets.infinitythegame.net/infinityarmy/img/_logosweb/103/logo_3.png[/img] [b]CRUSADER[/b] Boarding Shotgun / Pistol, Knife. (0 | [b]25[/b])
[img]https://assets.infinitythegame.net/infinityarmy/img/_logosweb/orden_regular.png[/img]9 [img]https://assets.infinitythegame.net/infinityarmy/img/_logosweb/orden_irregular.png[/img]1 [b]| 6 SWC | 300 Points |[/b] Open in Infinity Army
Deployment
Mike was playing his Military Orders, which is his current project, complete with Joan of Warcor in his double Seraph list. For those not in the know, in our meta Military Orders (all of PanO really) is a Joan fan club and they literally cheerlead for her, so I’ll be keeping that going in this battle report. I won the rolloff and elected to go first to try out a Zondnautica Alpha strike. Power Pack has really weird deployment zones, so I made the best of it. I put my Moran and my Bandit near the midfield objectives and covered my backfield objective with my Heckler. I got a little mixed up due to the weird firelanes in Power Pack–you think there are some pretty scary sniper perches in the other guy’s deployment zone only to find out that they’re not even in the other guy’s deployment zone. In this case, I thought Mike might be able to get some sort of horrible ARO on top of the green building at the top left of the above pictures, so I pushed my Morlocks pretty far back on my left in response. I wanted to try using the AP Marksman Puppetbot aggressively, so I stuck it on the right, proxied by old-school Pi-Well.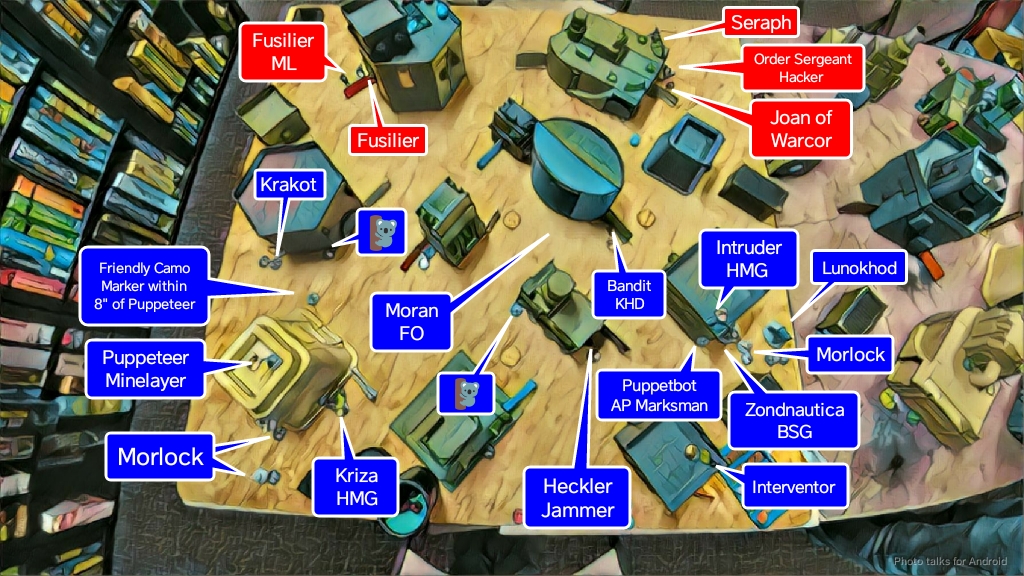 I knew I’d want to get my Krakot into his deployment zone ASAP, along with my Zondnautica, so they went basically right up at the edge of their allowed deployment on the left and right, respectively. My Kriza covered a big firelane on my left, and my Intruder covered the right side along with a diagonal shot to the left. I hid my Puppeteer and Interventor on roofs, and struggled with a good spot to put my Puppeteer’s mine, eventually settling for putting it in front of his building, which ended up being a mistake. My third Morlock sat on the right to give my Intruder some smoke and to cover for the Zondnautica if need be, and then I held my Lunokhod in reserve to respond to Mike’s deployment.
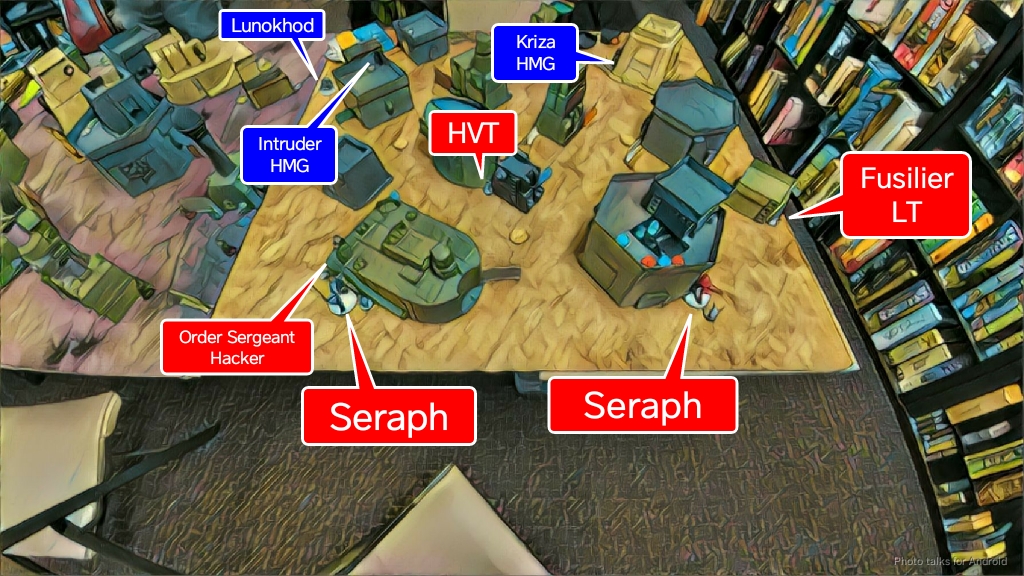 Mike plunked down two Seraphs, one on each side, and then tucked a Fusilier “Haris” on his right with the ML left out to ARO. On the left, he stuck a Order Sergeant Hacker to counter-hack any hackers interested in going after his Seraph, then defended the approach to both with Joan of Warcor. Fusilier Angus the “LVT,” as Mike likes to put it, hung out in the middle of his two deployment zones. I knew Mike probably had TO on the table after he shooed me away to put a Order Sergeant FO near the right midfield objective (his perspective), but I had no idea he had a pair of Akalis waiting in a dropship. I never see AD except out of Adam and Nate these days, so I’ve gotten a little complacent. Time to get paranoid again! In any case, I stuck the Lunokhod on my right to deal with the right Seraph, since the Moran was on the left (sort of) and could maybe get a repeater in range if it was relevant. Mike forgot to hold something in reserve, which didn’t really turn out to be all that relevant, so after nominating DataTrackers (a Fusilier and my Moran) it was time to start spending impetuous orders for me.
Turn 1
Top of Turn 1 – Nomads
My impetuous orders went off without a hitch. Both Morlocks on the left got up the field, and the Zondnautica and Morlock on the right made it their full movement as well without getting shot. Hooray! I canceled the Krakot’s order so as to not eat a ton of shots to the face from Mike’s Seraph and Fusilier ML, and then it was on to the rest of the turn. After getting smoke in place for both the Krakot on the left and my Intruder on the right, I started the task of picking apart Mike’s AROs so I could get at the pit at the center of the Mike avocado, the Seraphs (what is with these metaphors today?! I blame sleep deprivation. And Isaac.). After a quick coordinated order to advance the Krakot into the smoke on the left, get my Puppetbot into a better position, advance Lunokhod some more, and stand the Intruder up and get him into cover behind smoke, I was ready. I dropped the Intruder prone with a new order, still behind smoke, and zapped the Fusilier with his HMG, hitting all four times and blasting the poor Fusilier blueberry off the table (as I mentioned earlier, we forgot the Saturation Zone, but it really didn’t seem to matter this game). I attempted to force the Seraph back into cover with my Kriza, but ARM 10 in cover with Religious isn’t really going anywhere.
 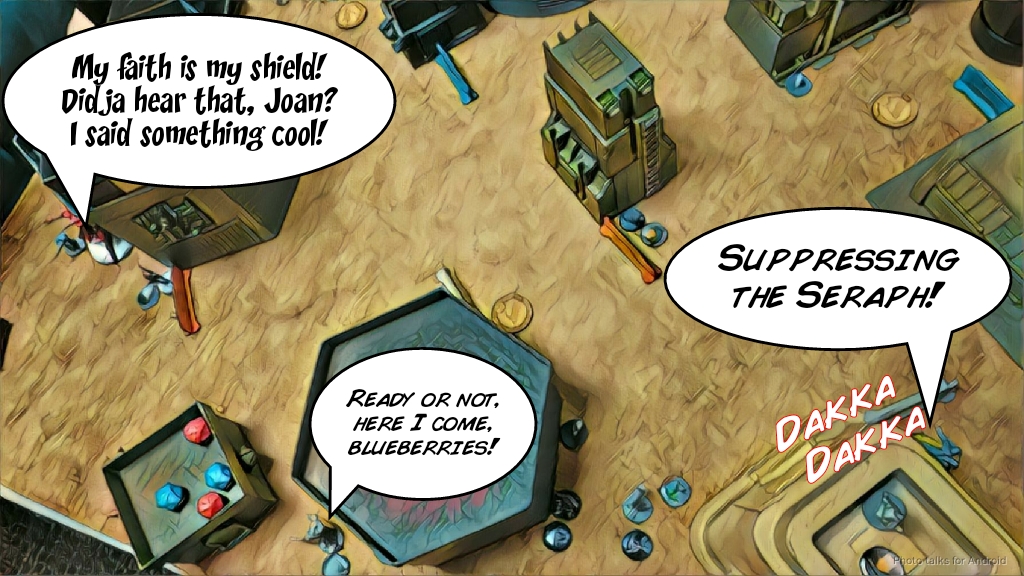 I made sure to tuck the Kriza back into total cover as part of that order, so as to protect him from the fury of the Seraphs later. I sorta felt like my attack had stalled out a bit on the left, so I shifted my attention to the right to let my subconscious problem solve the left for awhile. Also, it was time to really try out the Zondnautica. After using that glorious 8″ move, I dumped a pair of boarding shotgun shots at Joan of Warcor from outside of 8″. I lost the face to face but tanked the flash pulse. My next order saw me dismount the Zondnautica in full view of Joan.
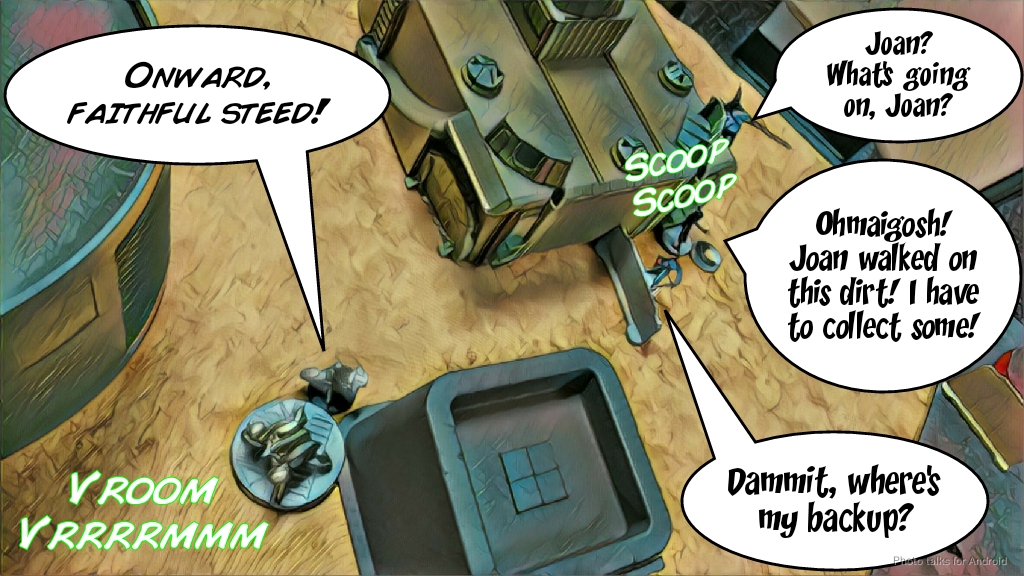 Not really in the mood for subtlety, I just shoved the Zondmate and the Zondnaut straight at Mike’s cluster of units on the right. The Order Sergeant hacker had been prone, presumably literally worshiping the ground that Joan had walked on, but now was in full view of the Zondmate’s chain rifle as were Joan of Warcor and the Seraph.
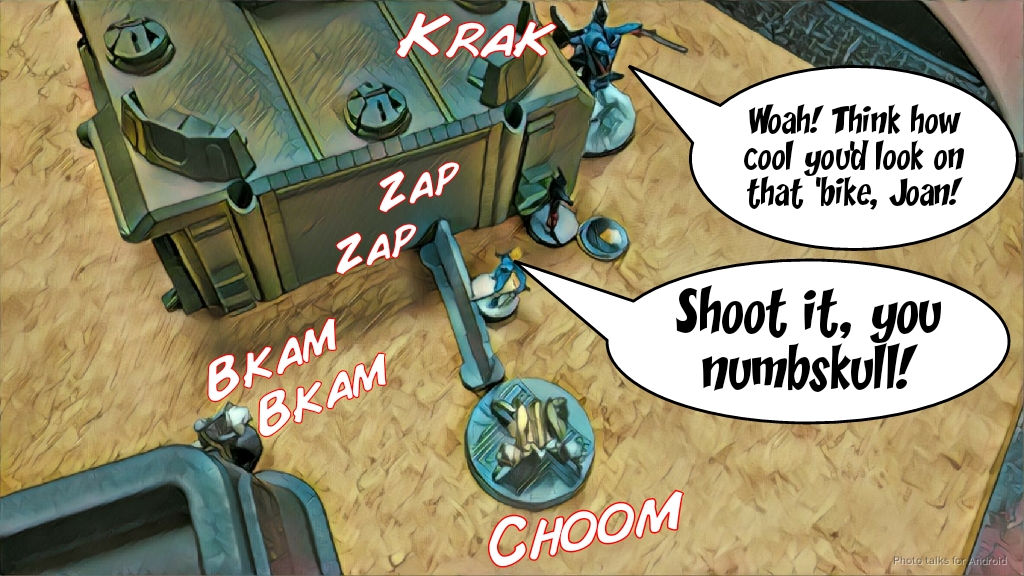 Joan chose to face to face my Zondnaut’s shotgun, the Seraph fired at the Zondmate, and the Order Sergeant attempted a dodge. Unfortunately for Mike, the dice went overwhelmingly in my favor. I tanked the Seraph’s Spitfire and killed both Joan of Warcor and the Order Sergeant. The chain rifle even managed to scrape a STR off the Seraph!
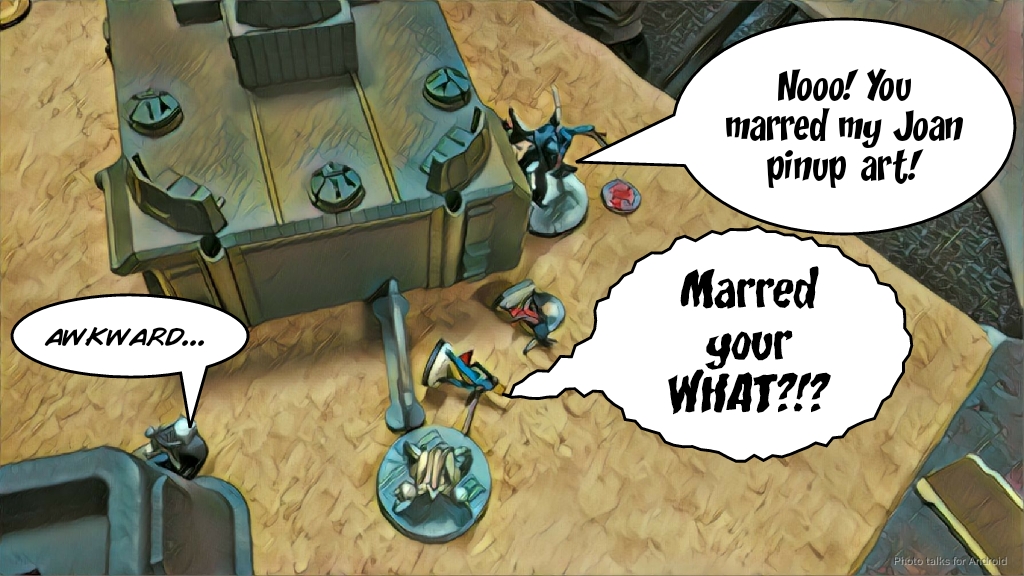 I went for broke and drove the Zondmate into base to base with the Seraph and advanced the Zondnaut into prime shotgun range, forcing Mike to choose between shooting the Zondnaut or just eating an oppposed Electric Pulse to the face. Mike wisely chose to CC the Zondmate, taking it off the table with the Seraph’s EXP CCW. My Zondnaut’s BSG was unable to penetrate the Seraph’s armor, but the Zondmate’s chain rifle took out the troublesome flamethrower ‘bot.
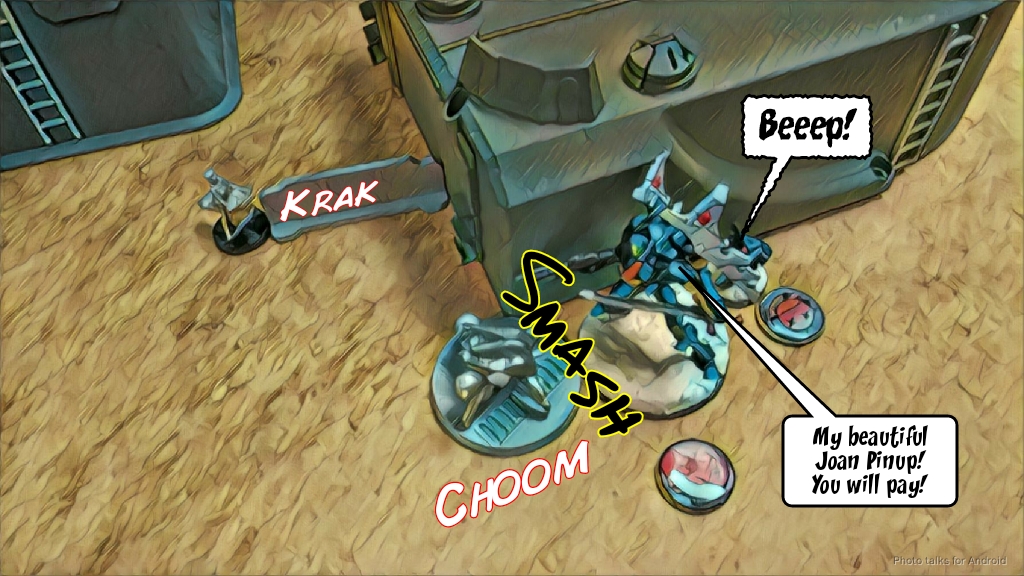 With the view unobstructed by the Zondmate, I attempted to take out the Seraph with the Zondnaut’s boarding shotgun again, popping it out enough to deny cover then retreating out of LoF. My dice luck took a turn for the worse, and I rolled double 19’s to Mike’s single 4, which meant I was down a Zondnautica team. Worth it, I’d say.
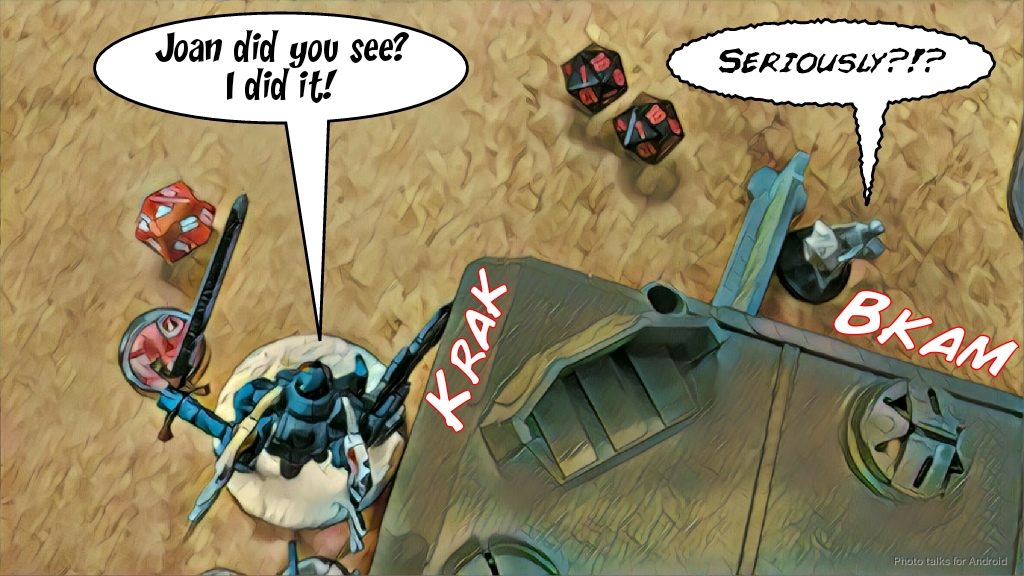 I only had two orders left, so I opted to spend them to deplete Mike’s order battery, draining his Seraphs’ power packs. Eh? Eh? I ran the Krakot out to see the Seraph and one of the Fusiliers, knowing that I’d likely survive the return fire thanks to having rolled V:Dogged and Total Immunity. The Fusilier failed his dodge and went down to double chain rifles, and I tanked the Seraph’s Spitfire shot.
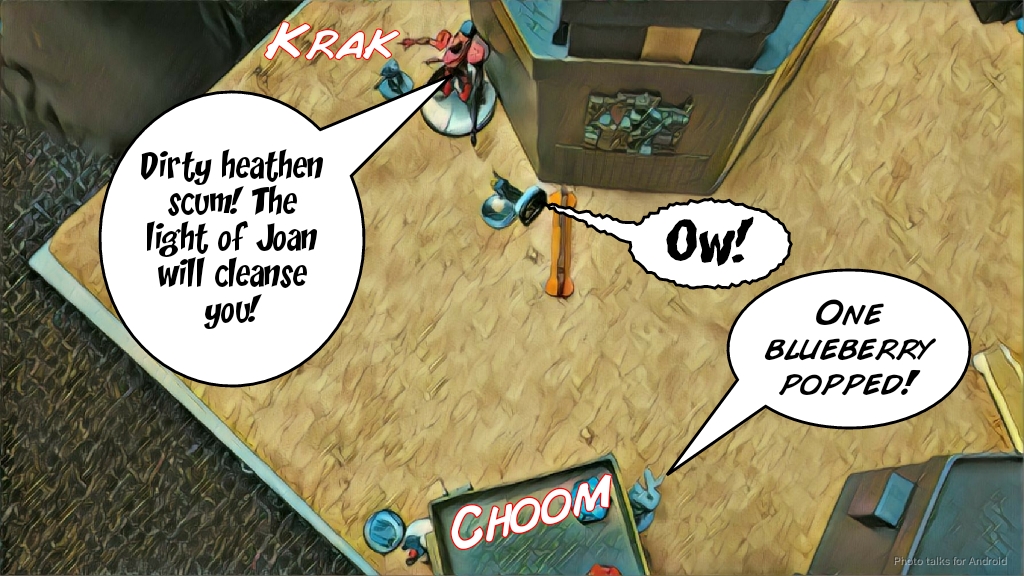 I flipped the Bandit’s order regular and rushed the Krakot around the corner of the building, feinting towards the center to telegraph that I might split my chainrifles across the Seraph and the Fusilier.
 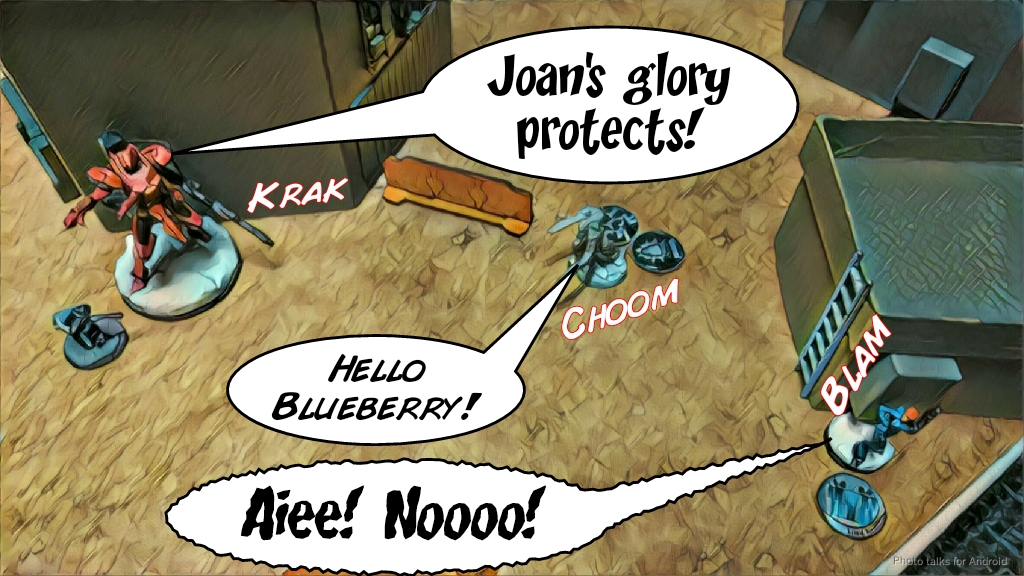 Mike didn’t fall for my trap of trying to get him to double dodge and just shot the crap out of my Krakot (successfully this time), but I dropped both chain rifles on the Fusilier, knocking out Mike’s lieutenant. After buffing my Lunokhod with Burst 2 in ARO using Zero Cool’s lieutenant order, I passed the turn.
Bottom of Turn 1 – Military Orders
At this point, Mike’s only got two Seraphs on the table, which leaves me feeling pretty okay about weathering the next turn. I know there’s TO on the table, but there’s not really enough orders to get it anywhere dangerous. Mike informs me that he’s also in Loss of Lieutenant, which is not something I had expected. I thought that the Seraph had a Lt profile, but apparently not! Mike started his turn by attempting to drop in a pair of Akali BSGs right behind my Kriza. RUH ROH! 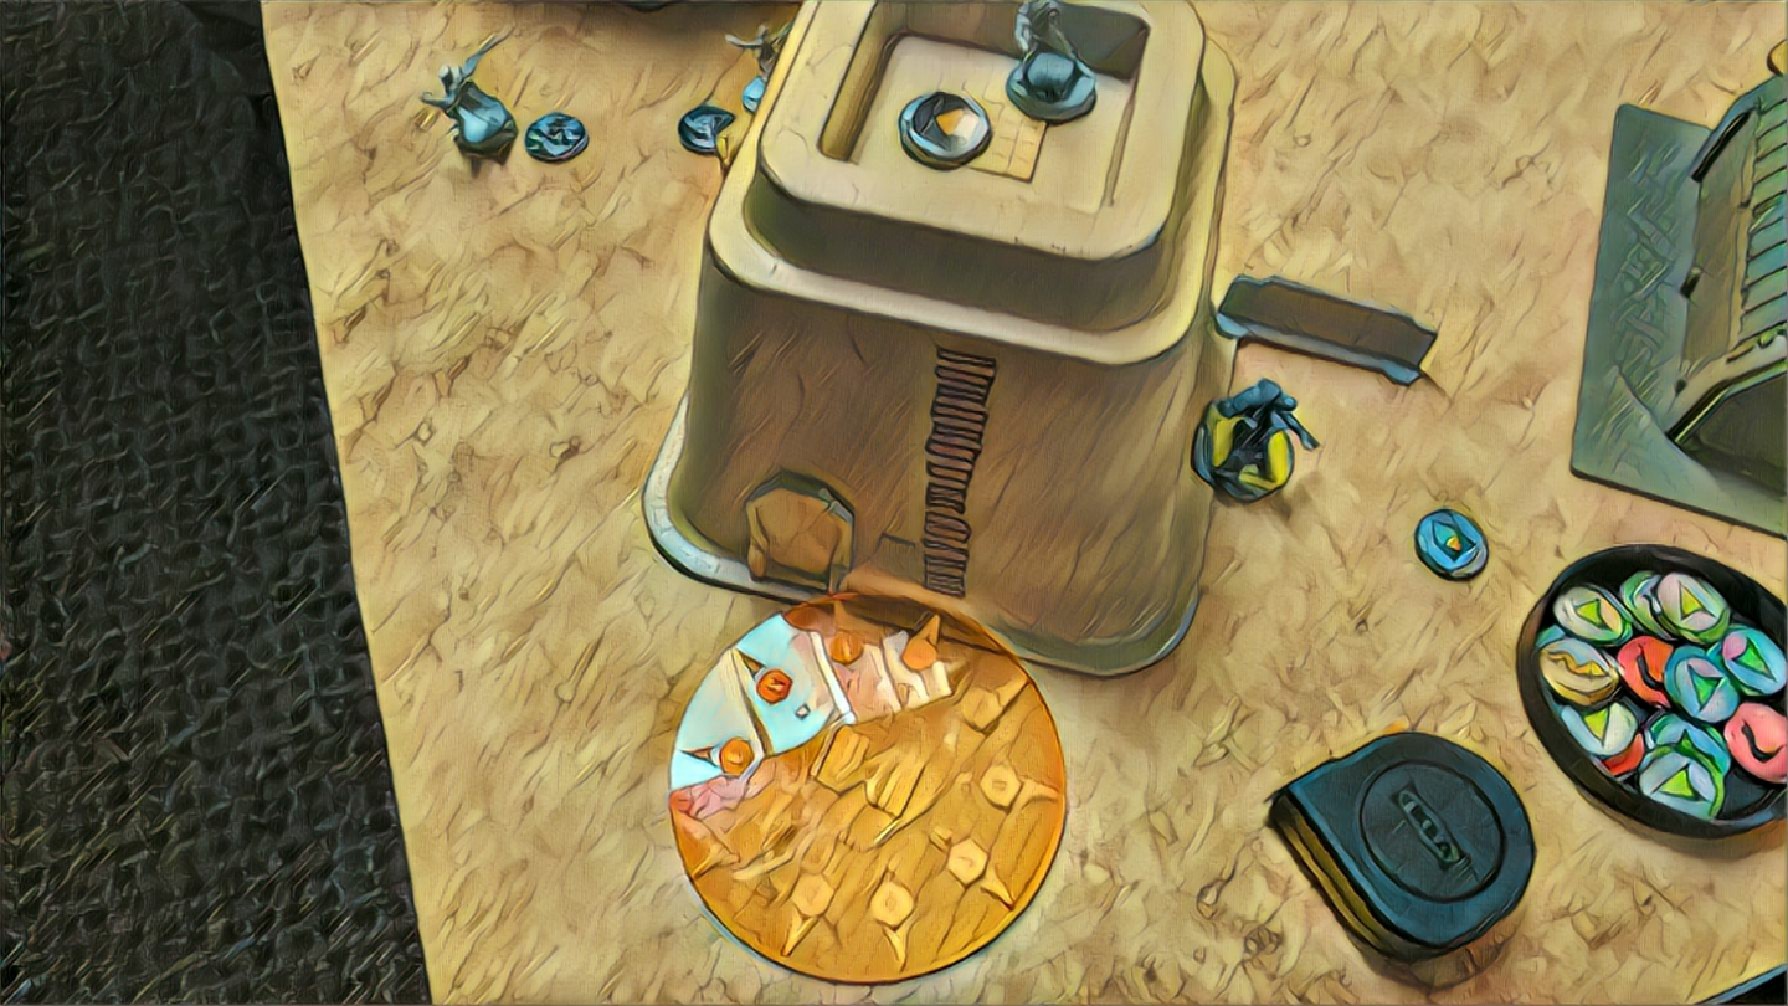 I had prepped my midfield for this, but not my backfield. I really wish I had put the Puppeteer’s mine behind the building instead of the front. I mentally prepared myself to lose my Kriza, but as luck would have it Mike failed both AD rolls. The dice really were punishing this game! Zero Cool even managed to Hack Transport Aircraft on one of the Akali, diverting it right in front of a Morlock’s pistol, knocking it out with a roll of a 1!
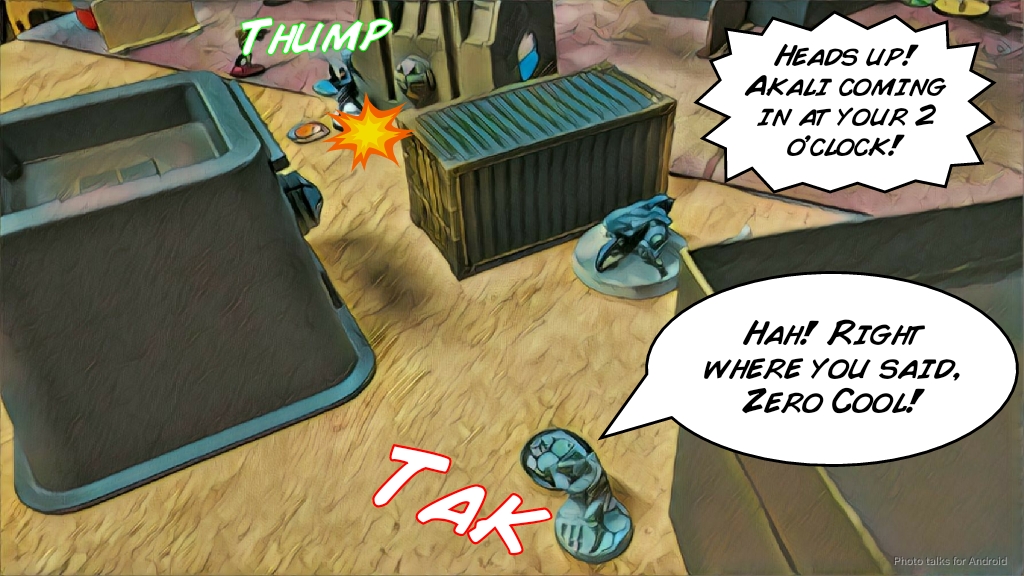 Mike threw both Seraphs into suppression and passed the turn, cheerfully laughing at all of the horrible things that were happening. I would’ve been a salt mine at this point, so kudos to Mike for chuckling through the whole thing.
Turn 2
Top of Turn 2 – Nomads
With Mike pretty much boxed into his deployment zone, now was the perfect time to go after the objectives. My left Morlocks pushed up without incident, and then it was time to get the Moran into play. I gunned down the remaining Akali at outside 24″ and grabbed the center objective with the Moran while the Bandit grabbed the right objective.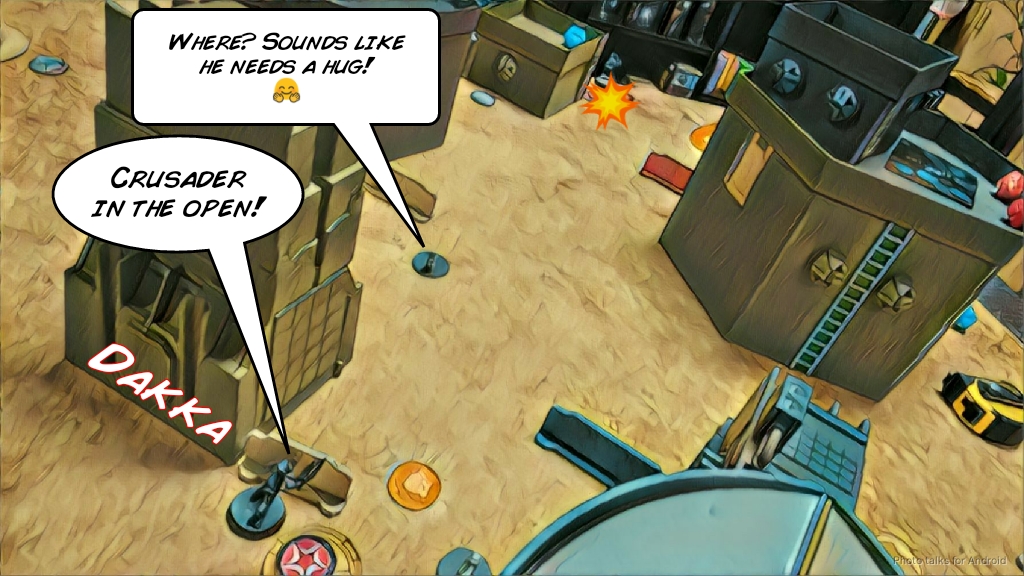 After running the Moran all the way to Mike’s backfield objective and beep booping the button, it was time to try to take out one of the Seraphs.
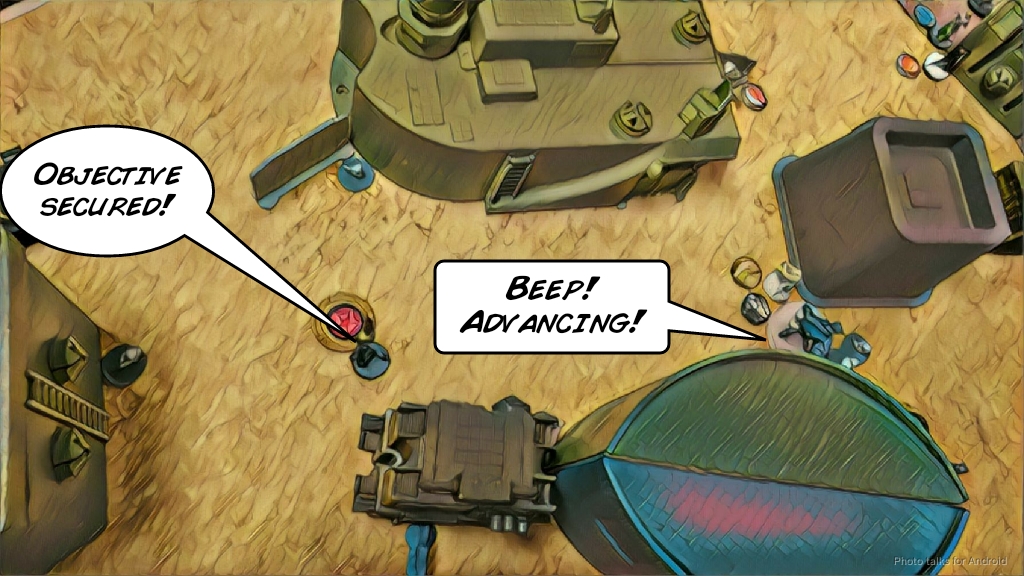 I climbed the Lunokhod behind the Seraph and got Mike to break suppression for an attempted change face. The Seraph of course tanked both ARM rolls from the Heavy Shotgun.
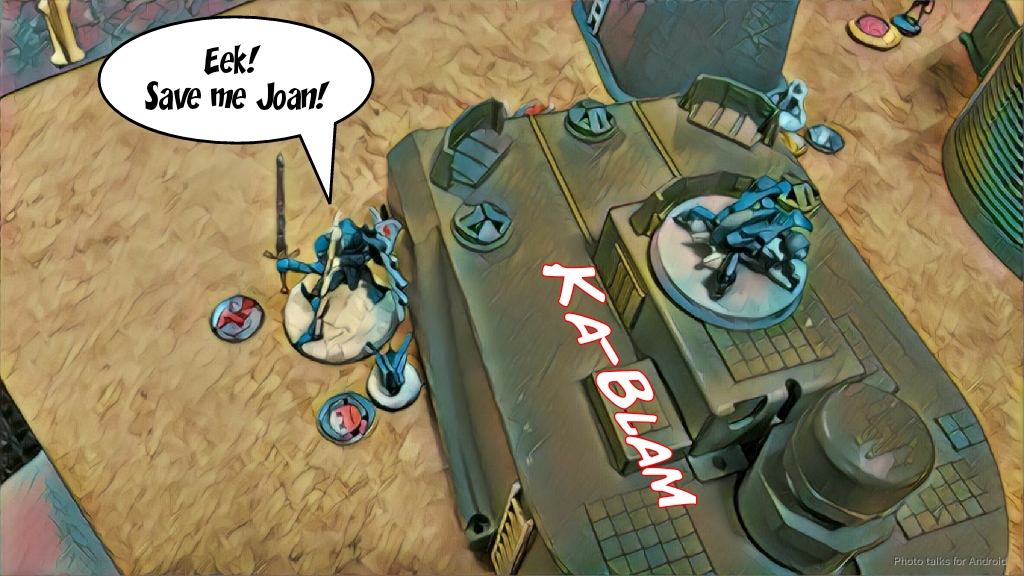 I didn’t really have any more orders, so I just settled for retreating the Lunokhod into cover, again buffing it with Burst 2 thanks to Zero Cool’s Lt order and his HD+.
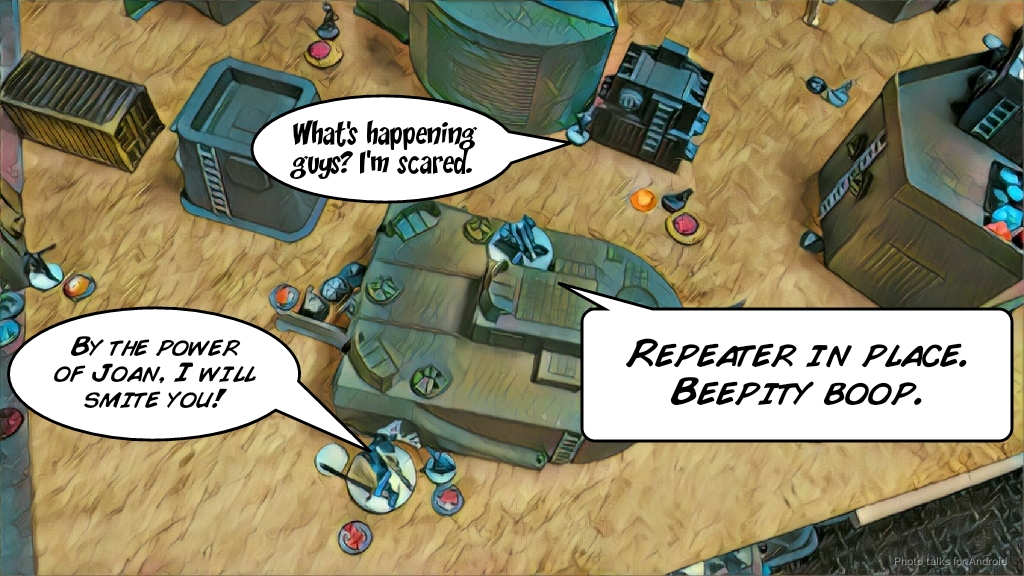 After pushing my Morlocks all the way up with their irregular orders, I passed the turn.
Bottom of Turn 2 – Military Orders
Mike super jumped his rightmost Seraph to get the Lunokhod out of cover and split burst 3-1 between the Lunokhod and the Morlock, who attempted to Engage.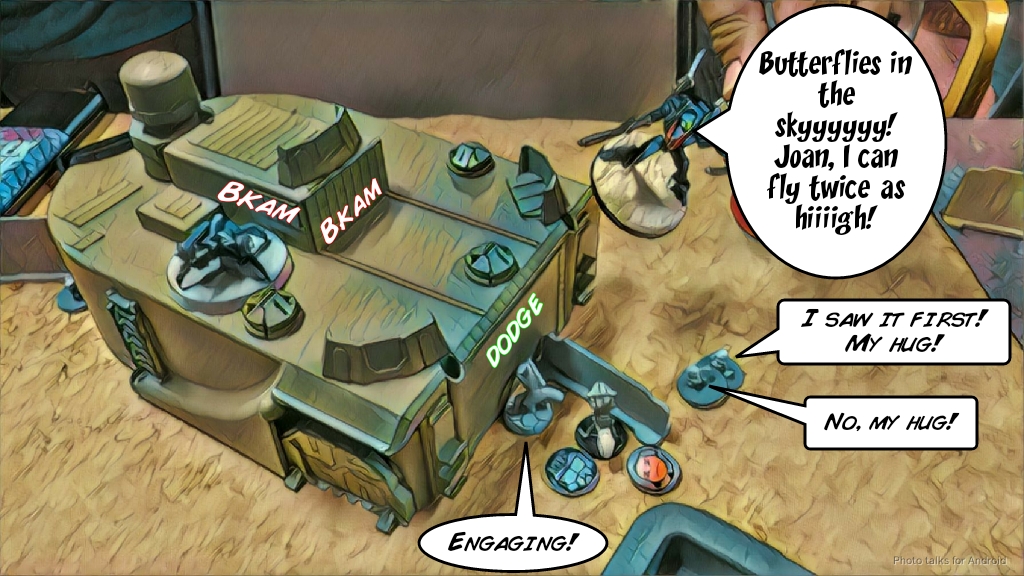 This triggered two Koalas as well, and between the Lunokhod’s shotgun and the two Koalas punched enough holes in the Seraph’s armor to send it unconscious.
 Sadly, the Morlock went down to the single Spitfire shot. On the other side of the table, Mike revealed a TO Order Sergeant who shot my Morlock over there in the back. My dodge change face, even at -6, was enough to cancel all but one shot, which I tanked. Mike needs new dice!
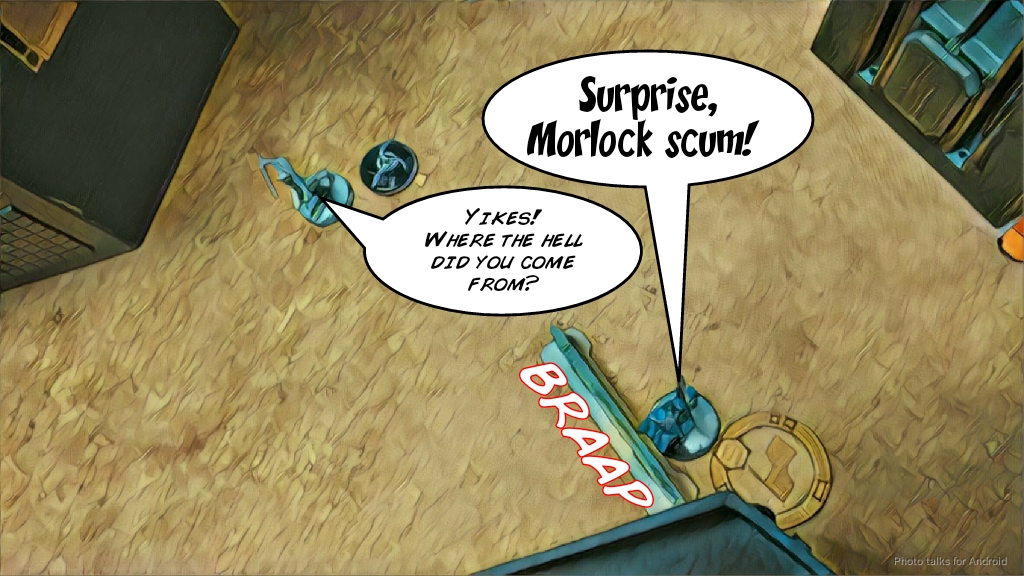 Now that I’m facing Mike’s Order Sergeant, and in Chain Rifle range, Mike goes for the button instead of trying to kill my Morlock.
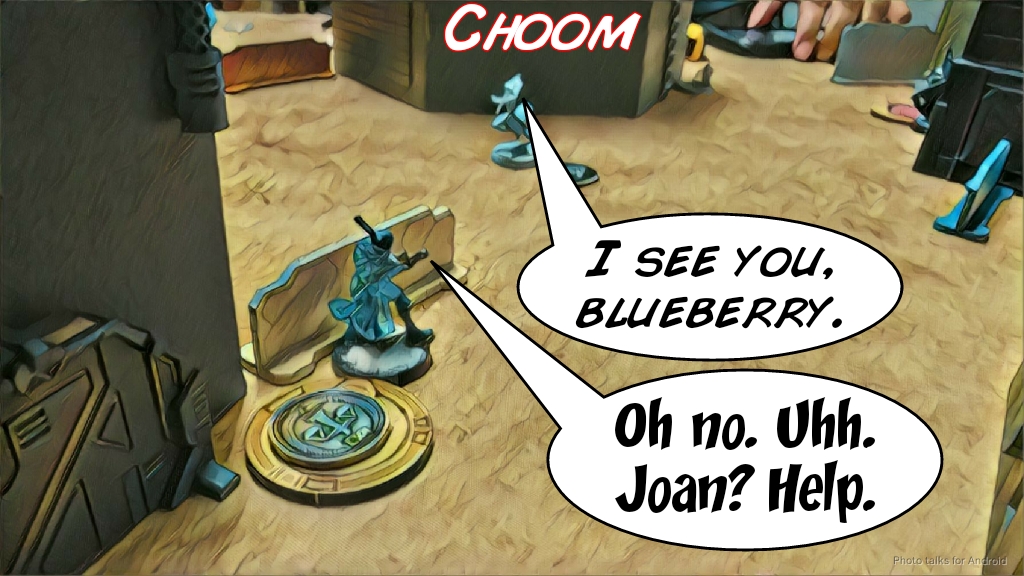 He succeeds, and even tanks the chain rifle! Good work, Mike’s dice! There’s hope for you yet! Mike doesn’t want to leave that Morlock alive on my turn, so he flamethrowers it off the table with the remaining Seraph’s Lt order.
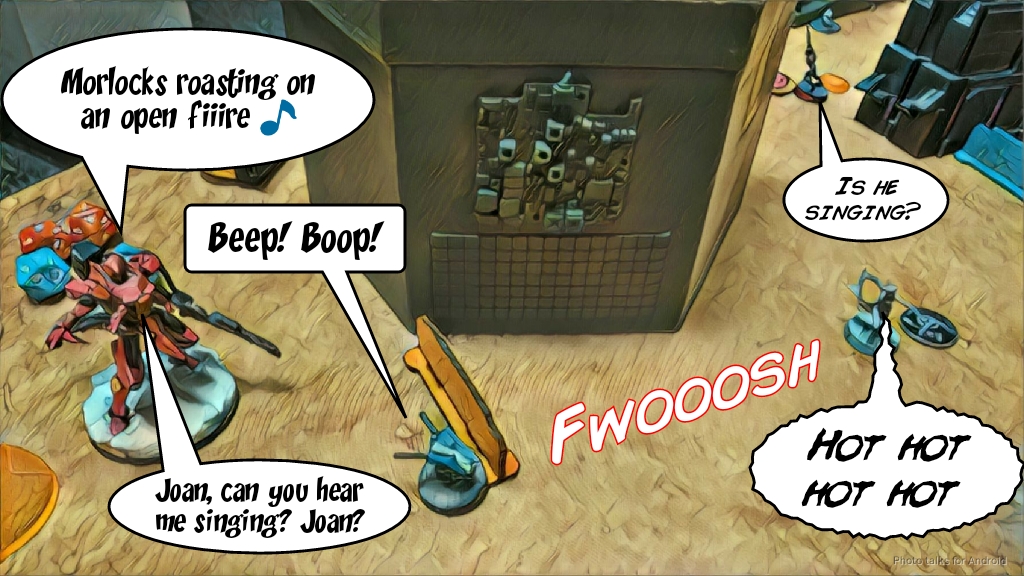 With that, Mike passes the turn back to me.
Turn 3
Top of Turn 3 – Nomads
My last Morlock dies to the Seraph/Auxbot team, sadly. 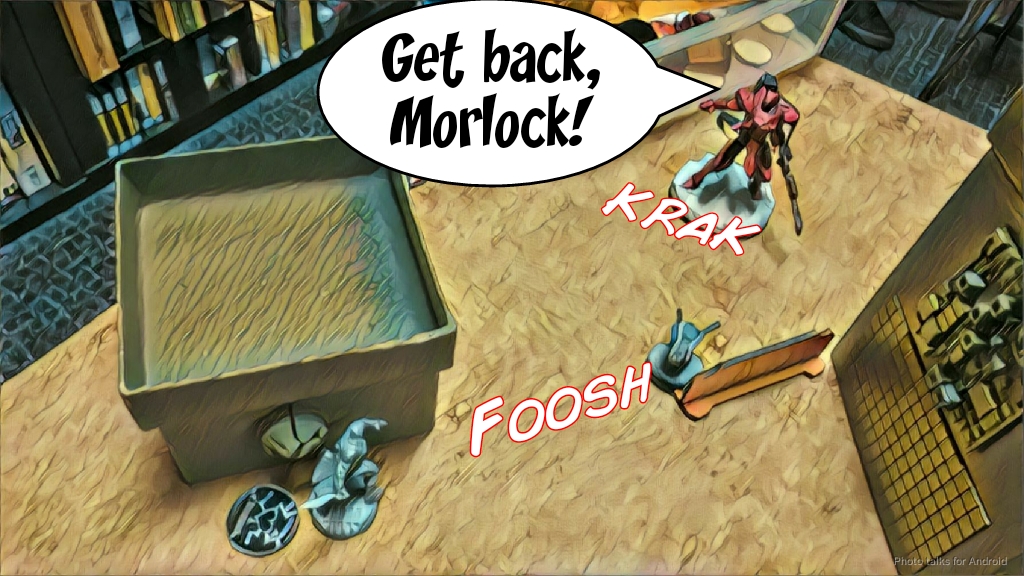 That TO Order Sergeant needs to go, but I can’t see him from the Intruder’s roof. I climb down and poke out to see the Order Sergeant and blast it off the table with an MSV2 HMG.
 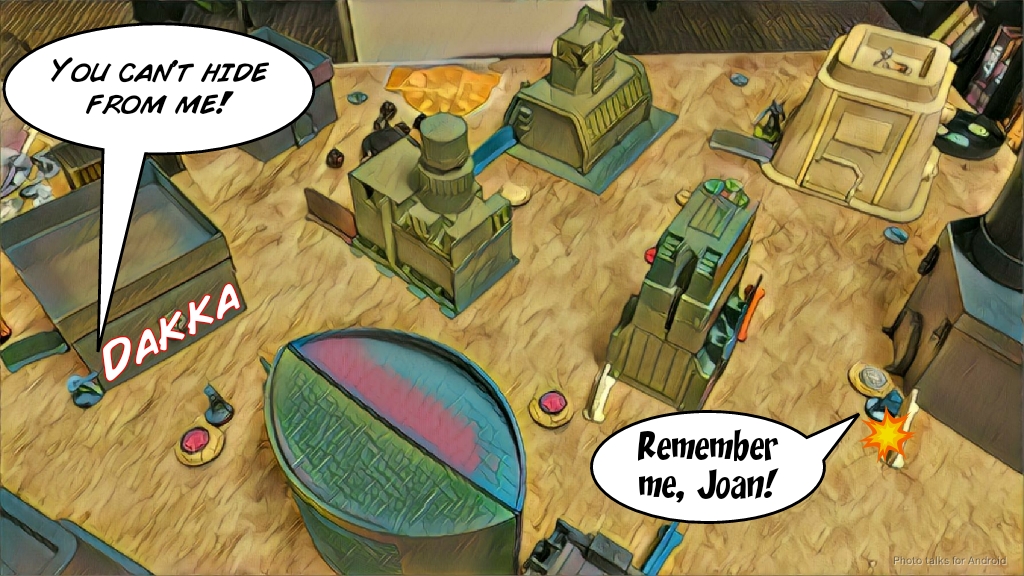 With the Seraph in the open, the Kriza spools up Annicka, his HMG, and does three wounds in an order, dropping it unconscious.
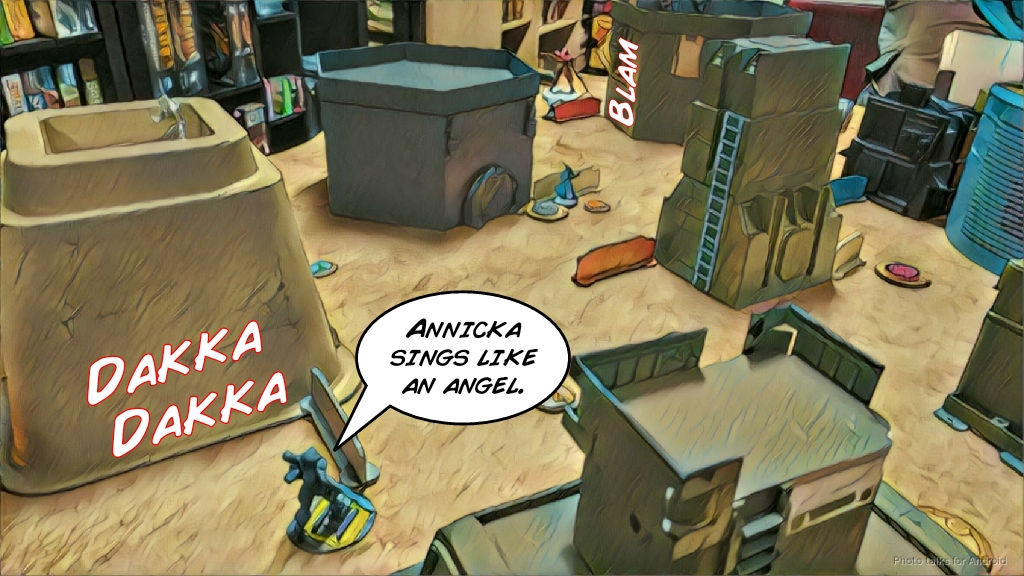 I’ve got a few orders left, so I just grab my Extreme Prejudice classified with the AP Marksman Puppetbot.
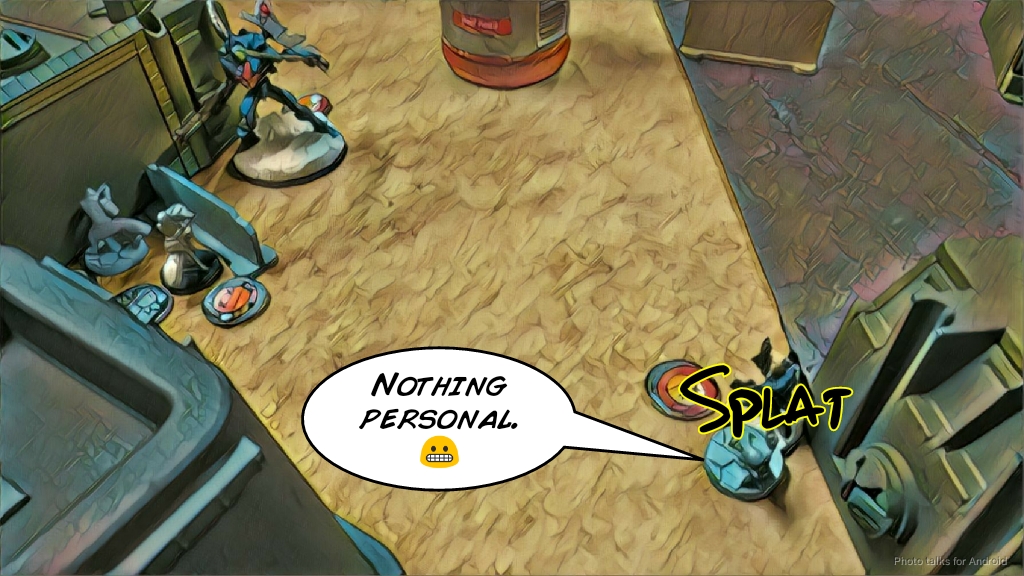 At this point, Mike informs me that he’s got nothing left, so we call it.
10-0 Nomad Victory!
Mike is the real winner of this game, laughing through the whole thing and taking pictures for his own (I’m sure hilarious) battle report. Thanks for the great game, Mike!
Notes
Notes for Me
- Well, when faced with a two TAG list, go after the order pool. That seemed to work fine.
- The Zondnautica BSG was pretty gross. I got lucky tanking that first flash pulse though.
- I think that you need some additional smoke support to fully utilize the Zondnautica, otherwise you’re wasting the first 8″ move.
- Just playing the BSG alone makes me think that the three profiles will behave pretty differently on the table due to the rangeband differences. Have to try it to know for sure though.
- I can see some shenanigans with body blocking and so forth with the Zondmate. I think I ticked a few of the shenanigan boxes this time though: chain rifle + shotgun forcing bad decisions and the electric pulse threat. Have to explore some more.
- Getting complacent with my anti-AD. I did fine with the midfield and right side, just not with the Kriza and the puppeteer’s mine.
- Aggressive Lunokhods are awesome. My Koalas finally killed something! That rarely happens these days.
- I think that after taking out the cheerleaders on the right I should’ve activated the Krakot on the left. Purely an order of operations thing, but I should’ve prioritized taking out the rest of the cheerleaders and then gone back with the Zondnaut to try and finish the Seraph on the right.
- I’m also choosing to go first a lot. I think I need to start choosing deployment more often. I’ve said this before, but perhaps it’s time to return to this.
Notes for Mike
- I didn’t really have a lot of AROs to fight through except for the ML Fusilier and Joan of Warcor. Joan of Warcor wasn’t really in the fight until she was basically in shotgun range. Deploying the Seraphs near 16″ and using the auxbots to cover approaches would probably have been pretty rough for me. Tough call. I think you’d be relying heavily on the Auxbots to protect you from Morlocks. I had a little bit of hacking, but certainly nothing super scary and order efficient. Probably would’ve been okay. Hard to say though.
- I don’t know if I would’ve brought the Akalis on in your loss of lieutenant turn. Walking them on might’ve been better on the right, and there probably was a hole somewhere on the left to pop them in safely. Or bring one one but leave the other off. AD troops want a lot of orders, period, and that really stinks in a LoL turn.
- TO Order Sergeant was deployed well.
- I think you deployed as if you had a 12″ deployment zone and didn’t leverage all of the 16″. Looking in more detail at the deployment zones now, perhaps you chose the wrong table side?
- Great game! Your dice were really rough on you, but great job chuckling through the whole thing. Thanks again for the game!

HAHAHAHA NICE! Love the report! I’m just about done with mine too. Good game!