

Best of the Pacific Northwest 2019 – Day 2
After a decent breakfast omelette, it was time to head back to Critical Strike Games for Day 2 of the Best of the Pacific Northwest. Two day tournaments are pretty brutal, but coffee goes a long way. Just gotta remember to hydrate! Here’s Day 1, just in case:
Game 4 – I am a JEDI!

I drew Tony, the TO, and his Hassassins as my opponent. Uh oh. He was playing due to an odd number of participants (we had a last minute drop, I think). He’s also quickly turning into my white whale, with a 2-0 win record against me. You can see our other games here:
If our last two games were any indication, I knew I could expect a great game with lots of RIDICULOUS dice rolls.
Overview
- Mission: Decapitation
- Forces: Japanese Secessionist Army versus Hassassin Bahram (300)
- Deploy First: JSA
- First Turn: JSA
Decap/Show of Force
SHINOBU Lieutenant Combi Rifle, Nanopulser, Smoke Grenades / Pistol, Monofilament CCW. (1 | 47)
O-YOROI AP HMG + Heavy Flamethrower, CrazyKoalas / EXP CCW. (2 | 86)
KEMPEI (Multispectral Visor L2) Shock Marksman Rifle / Pistol, CCW, Electric Pulse. (1 | 25)
YURIKO ODA Combi Rifle + E/Mitter, D-Charges, Antipersonnel Mines / Pistol, CCW. (0 | 23)
KEISOTSU (Forward Observer) Combi Rifle / Pistol, Knife. (0 | 10)
RYŪKEN (Forward Deployment L2, ODD) Submachine Gun, Antipersonnel Mines, D-Charges / 2 Breaker Pistols, Knife. (0.5 | 24)
ARAGOTO Hacker (Assault Hacking Device) Combi Rifle + Light Shotgun / Pistol, Knife. (0.5 | 28)
10
1 | 5.5 SWC | 299 Points | Open in Infinity Army
The plan here is to hide Shinobu on the roof as a camo token with Yuriko’s mine covering her and Koalas nearby. Of course, in the car ride over Adam convinced me to be aggressive with her, so I did so against my better judgement.
Game 4 – Tony
GROUP 1 |2
AL-DJABEL Rifle + Light Shotgun, Smoke Grenades / Pistol, Viral CCW, Knife. (0 | 35)
LEILA SHARIF Hacker (Killer Hacking Device) Shock Marksman Rifle, D-Charges / Breaker Pistol, Knife. (0 | 20)
MUYIB (X Visor) Spitfire, D-Charges / Pistol, Knife. (1 | 28)
GROUP 2 |
FIDAY Rifle + Light Shotgun, Antipersonnel Mines, Smoke Grenades / Pistol, AP CCW, Knife. (0 | 31)
ÁYYĀR (Surprise Shot L2) Shock Marksman Rifle / 2 Viral Pistols, CCW, Knife. (0 | 39)
DAYLAMI (CH: Limited Camouflage, Inferior Infiltration) Light Shotgun, Panzerfaust / Pistol, Knife. (0.5 | 8)
RAFIQ REMOTE Rifle + Light Shotgun, Sniffer / Electric Pulse. (0 | 16)
MUTTAWI’AH Chain Rifle, E/Marat, Jammer, Smoke Grenades / Pistol, Knife. (0 | 5)
FANOUS REMOTE Flash Pulse, Sniffer / Electric Pulse. (0 | 8)
WARCOR (Aerocam) Flash Pulse / Stun Pistol, Knife. (0 | 3)
GHULAM Rifle + Light Shotgun / Pistol, Knife. (0 | 12)
4.5 SWC | 300 Points | Open in Infinity Army
Tony’s got a great board control list here. Mutts and Daylami can cover the board with annoying AROs, and he’s got a Muyib core to protect his Lt. For offense, it’s hard to go wrong with two Fidays. Definitely jealous of the board control that HB can bring for cheap in comparison to JSA’s options.
Deployment
Should title this section “How to lose a game.” or something. Spoilers! This board was pretty tough. It’s half wide open and half enclosed in a corridor system that doesn’t really have any entrances and exits except very close to each deployment zone. This meant that anything I put down on one side would be cut off from the other.
I didn’t see a way to get a strong board presence on this board without exposing things, so I opt for mostly a denied flank and shove everything on the right. The link bundles itself up, trying to break up a shotgun template by having some guys prone behind walls. I make Kitsune a castle with some Koalas and Yuriko’s mine on the roof, and then put Ryukens forward and in cover. My Designated Target went on the right, covered by a Ryuken and her mine.
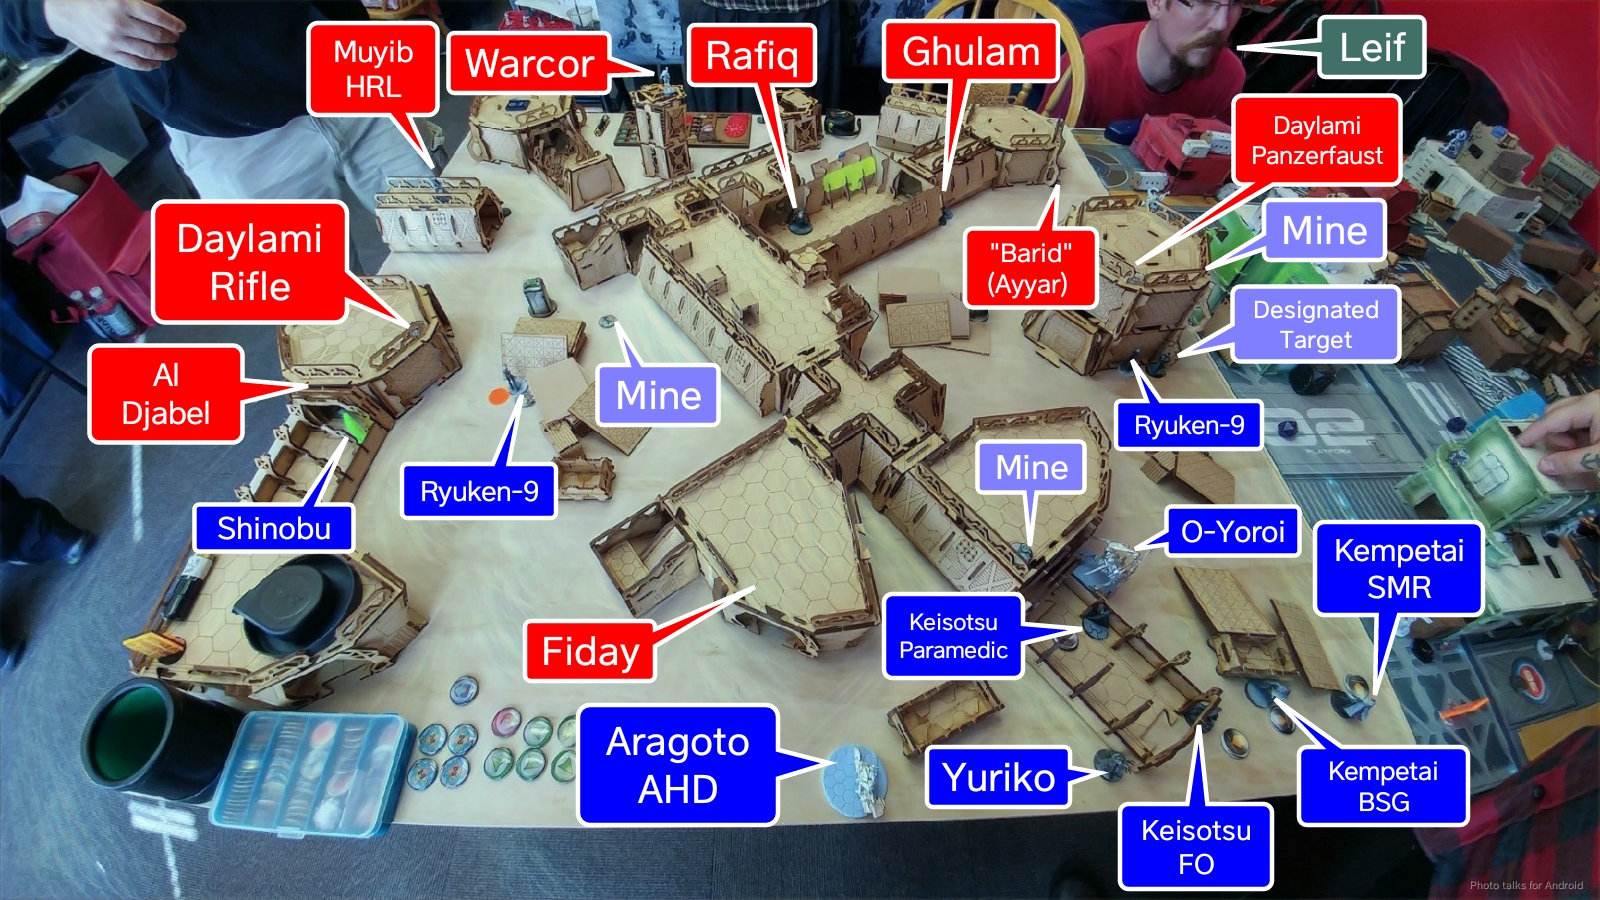
Just a look at the picture below should give you an idea of how much better Tony’s list did at board coverage. He’s got a line of Mutts across the table, two Daylami that made their rolls, and a Ayyar on the left. He cleverly disguised it as a Barid Hacker to draw out any Ninja KHDs (of which I had none.
Seeing that I had basically nothing on his right except for a Ryuken and a Aragoto, Tony blocked my Aragoto’s path with a Muyib HRL and a Fiday, and then castled his Lt and the Designated Target on the right, near my Ryuken.
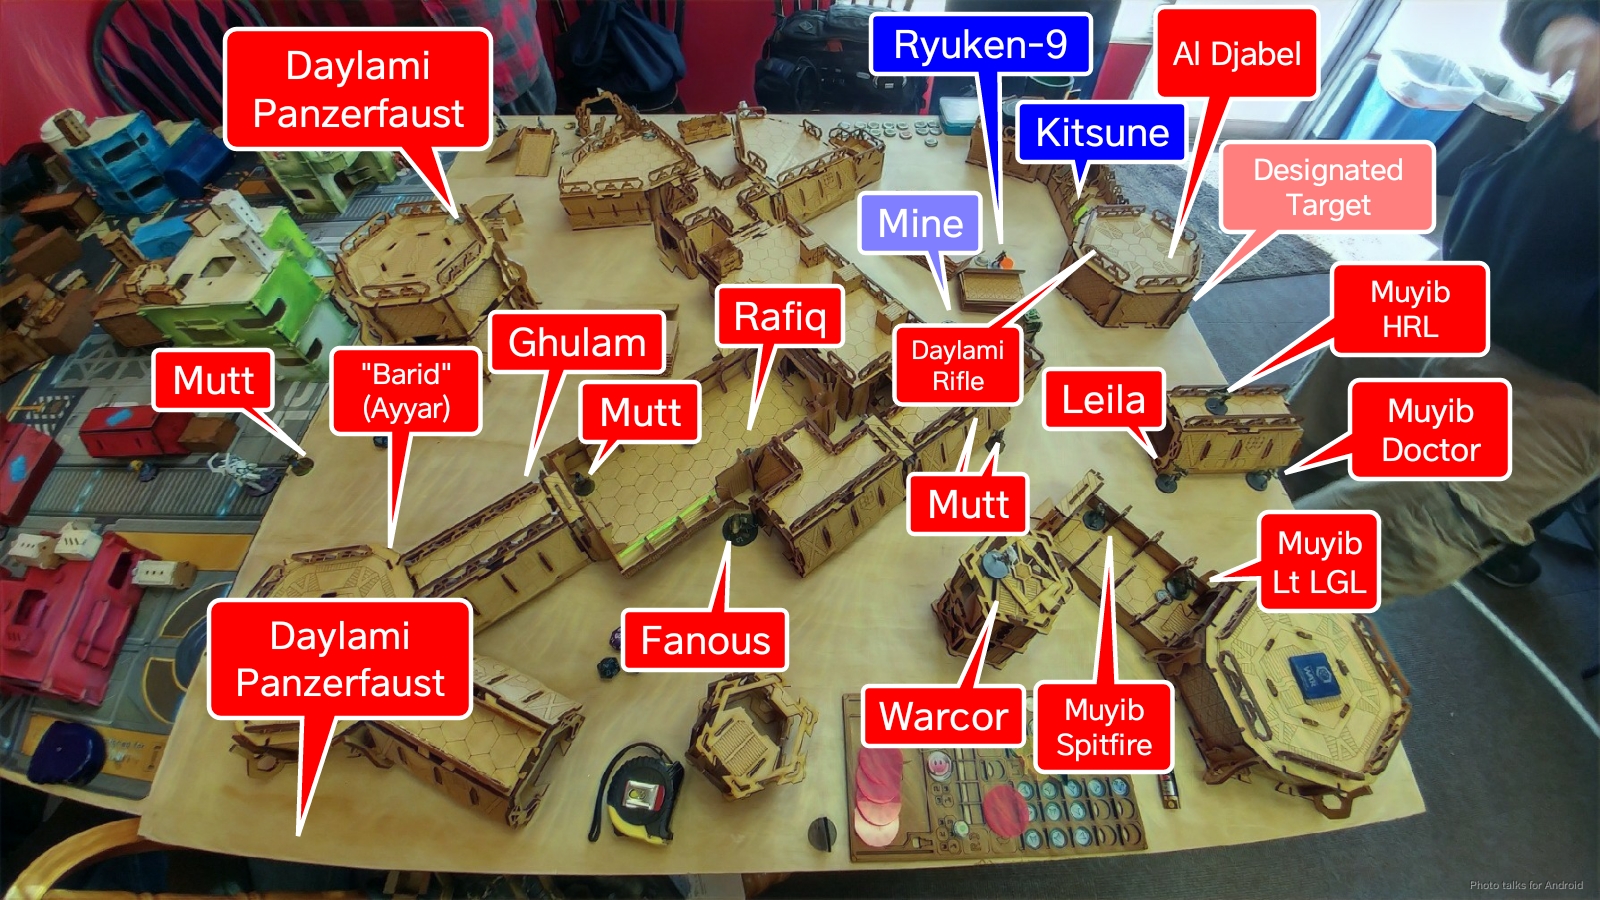
He topped everything off with a Warcor. I stuck Kitsune as a TO camo token near the Muyibs and the Designated Target, because you have to have your Lt on the board in Decapitation, and Tony countered with Al Djabel right next to her. Great. This was going to be reaaaaally tough.
Tony picks a Ghulam as his DataTracker, which suggests Yasbir to me, and I choose my Ryuken near the Designated Target. I basically have a plan with a razor thin margin for success, and no follow up. Go dice go!
Turn 1
Top of 1 – JSA
I cancel the Aragoto’s order, because there’s no sense in running it out in front of a linked HRL, some sort of Daylami, and a Fiday. That seems awful. So I don’t do it. Instead, I scoot Kitsune away from Al Djabel. As I scoot away, I have to vault a small wall, which briefly reveals my silhouette to the Warcor and the camo token that’s totally a Daylami nearby. Al Djabel and the Warcor declare discover, and the Daylami delays. I just move move and get out of LoF from everyone except the Warcor. I spend another order smoking out the Warcor and setting up some smoke for a run on the Designated Target.
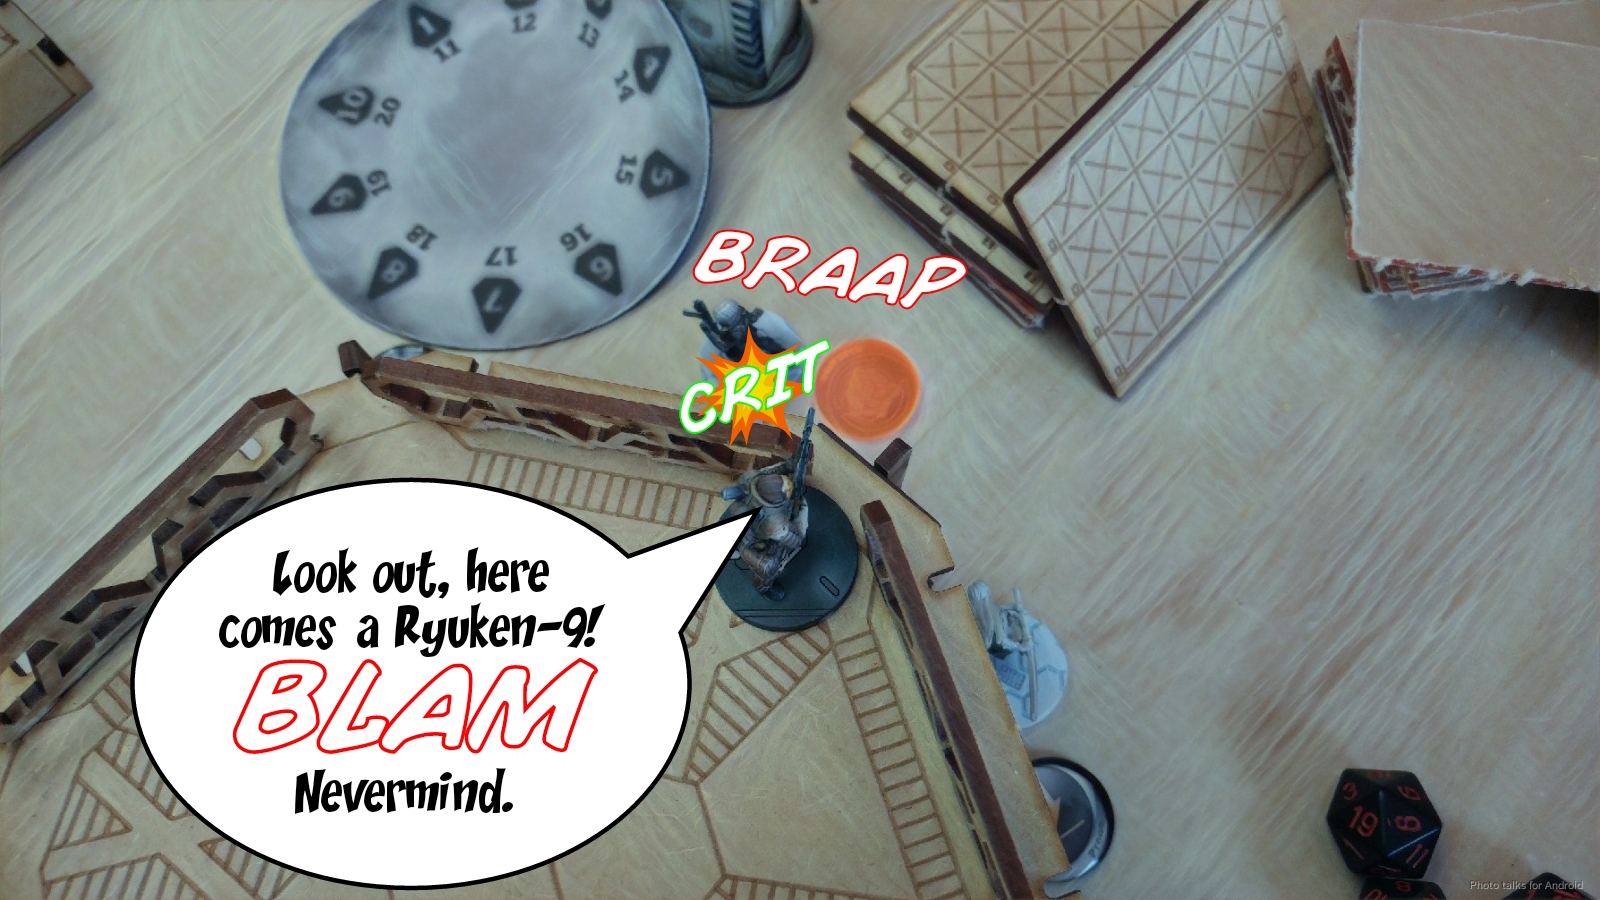
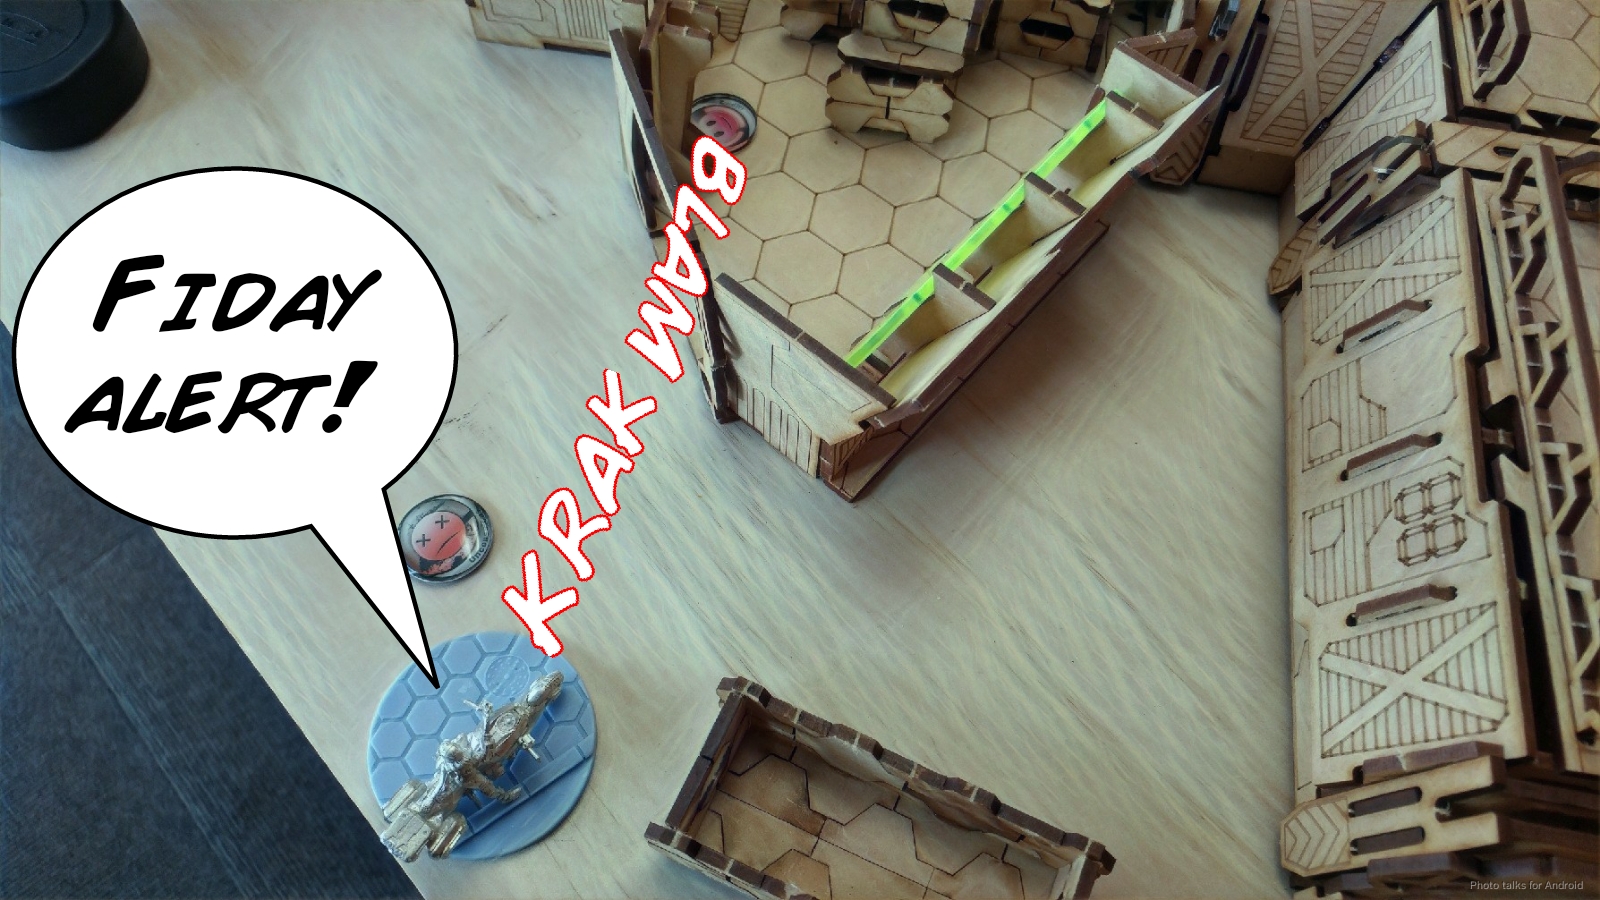
I start that run with the Ryuken, which baits out the Daylami. I’m 3 on 12s versus his one on 11s, so I feel pretty okay about this. Of course, I immediately get crit.
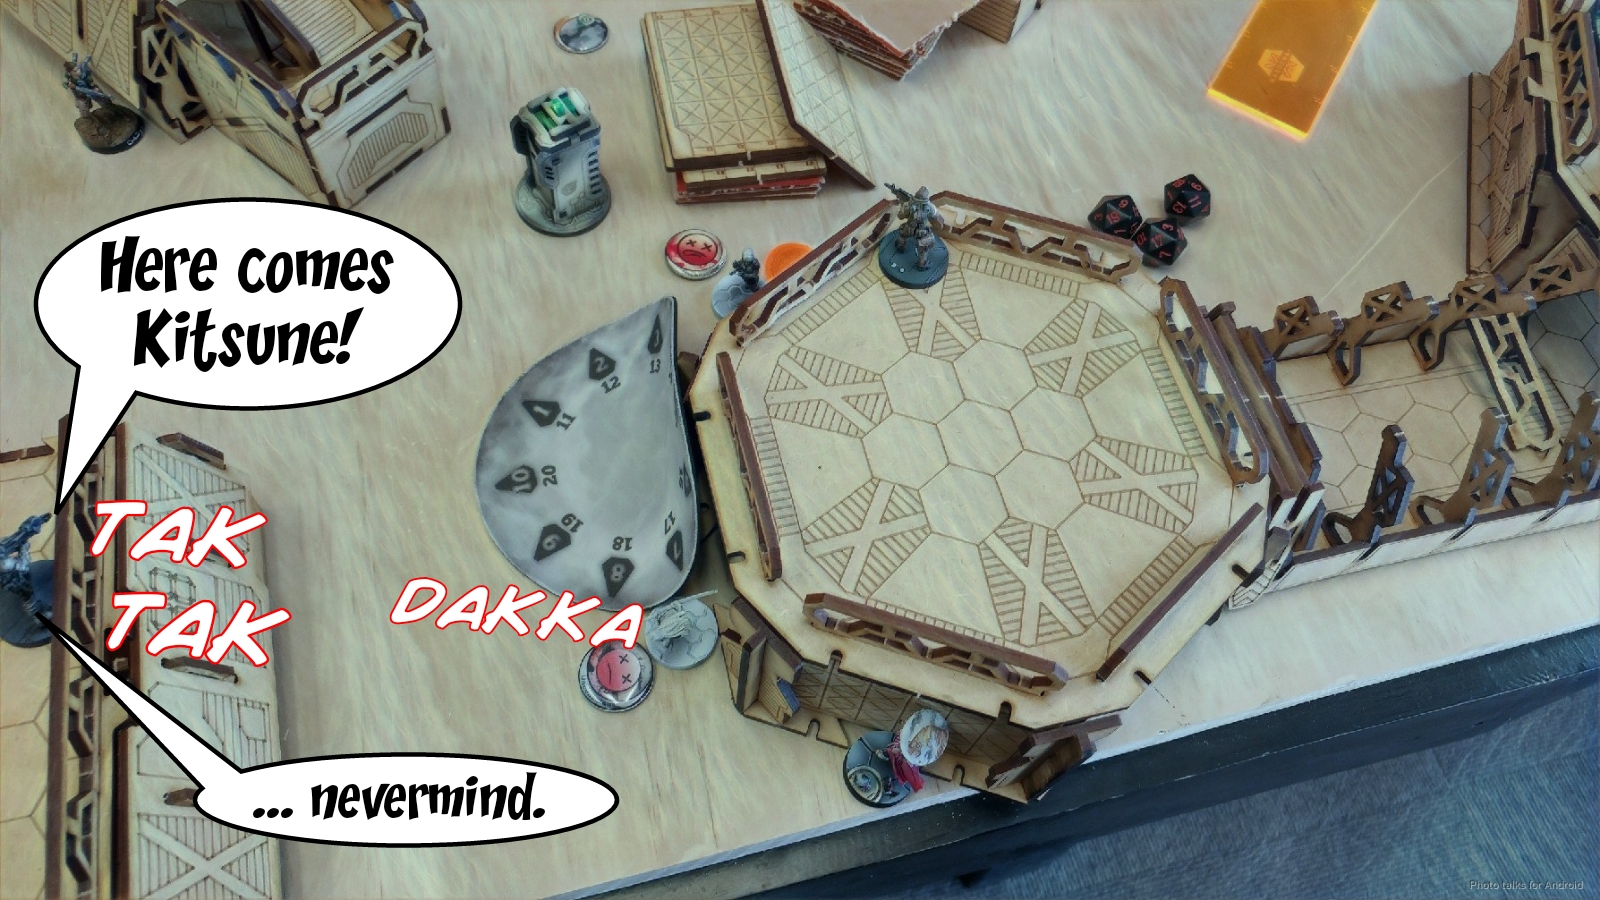
Kitsune sneaks by, and I figure I can take out the HRL Muyib on the way to the Designated Target, which is not a good idea. My dice confirm that it’s a bad idea, and Kitsune dies. So, I’ve basically given Tony all the points for free, in his reactive turn, and have essentially made an Lt or Designated Target attack run an impossibility.
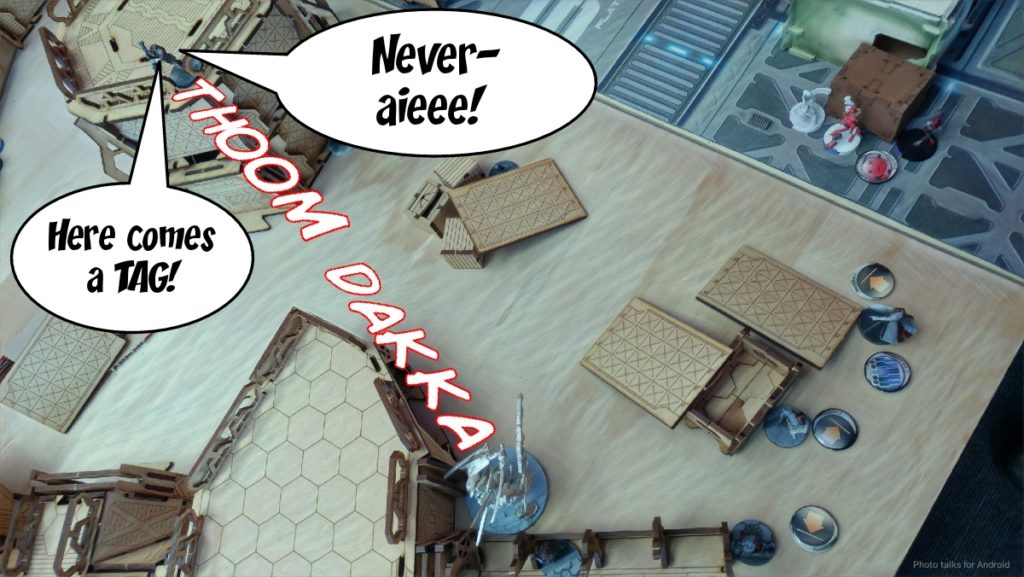
Tony stops me here and asks why I didn’t go for the CC kill after recamoing, to which I respond in true Kip Parcell fashion: “because I’m an idiot.” Well, it’s time to try and recover as best I can. I send in the O-Yoroi, which takes out the Panzerfaust Daylami on the right
I want to remove his DataTracker, which is visible to my TAG. Turns out it’s actually just a Ghulam, which Tony uses as a Lt decoy in other scenarios, and it goes down without incident.
I finish by knocking out the Mutt on the right table edge, and then pass turn, decidedly frustrated and disappointed in myself.
Bottom of 1 – HB
The Mutts move up, and one of them hits a mine and dodges successfully.
I had forgotten about Tony’s remaining Panzerfaust Daylami, which was hiding in the back. It spends two orders and with its second Panzerfaust, puts two wounds on the TAG.
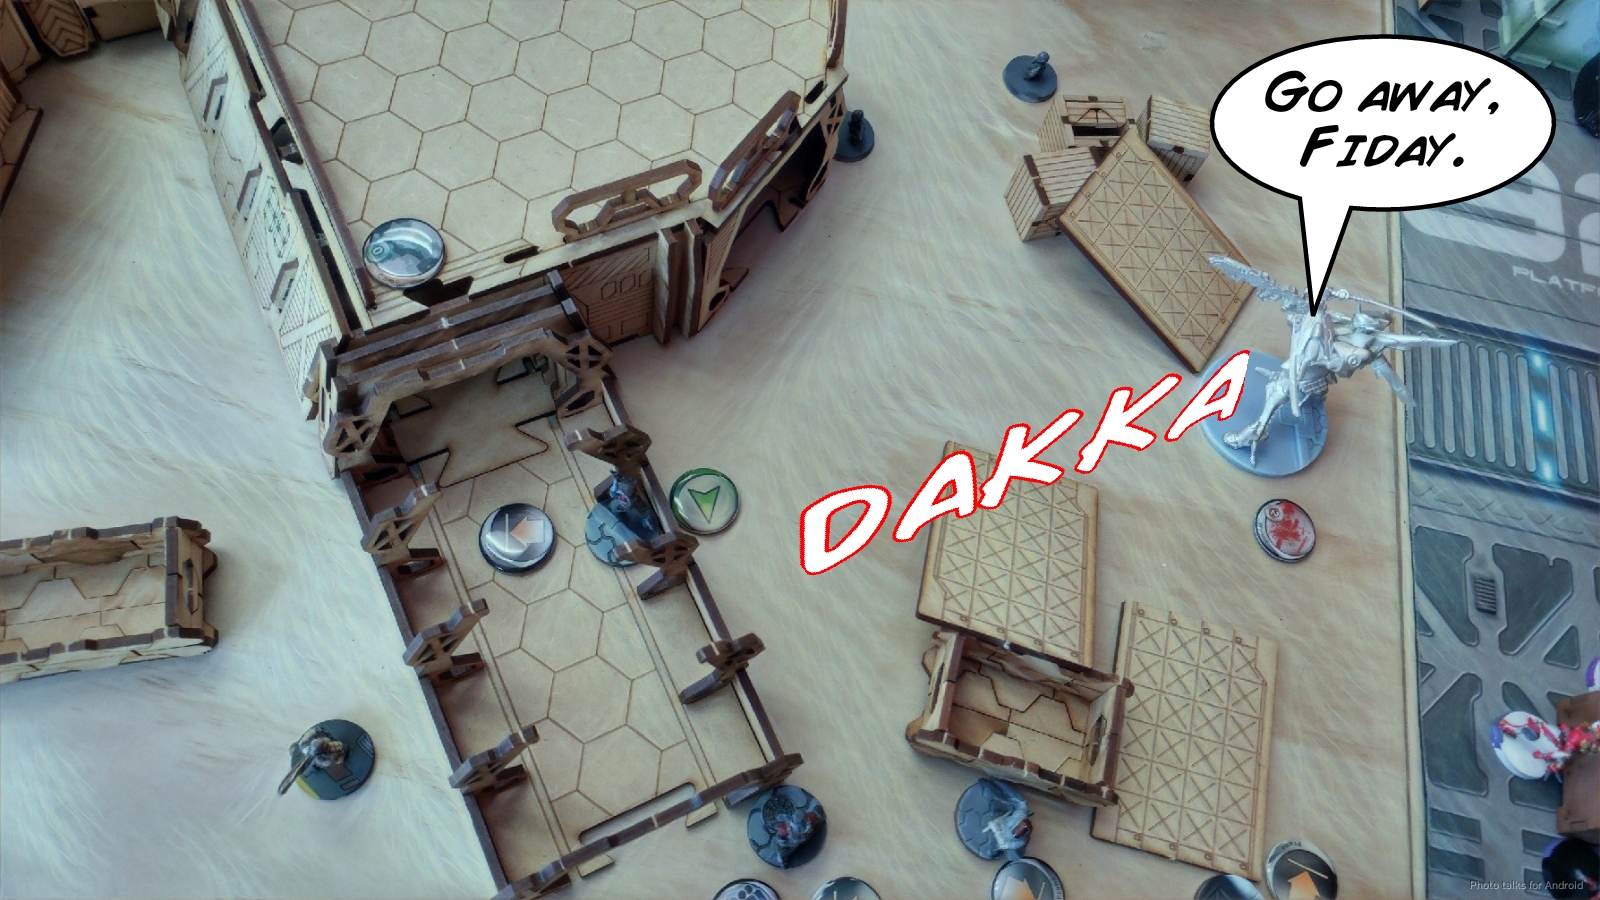
The Fiday watching my Aragoto kills it, then goes after my link. He manages to take out Yuriko, who drops a mine and stalls his advance. The walls do a little to mitigate the damage of the shotgun template, which is a small victory amidst a pile of poo. Then Tony starts advancing his “Barid.”
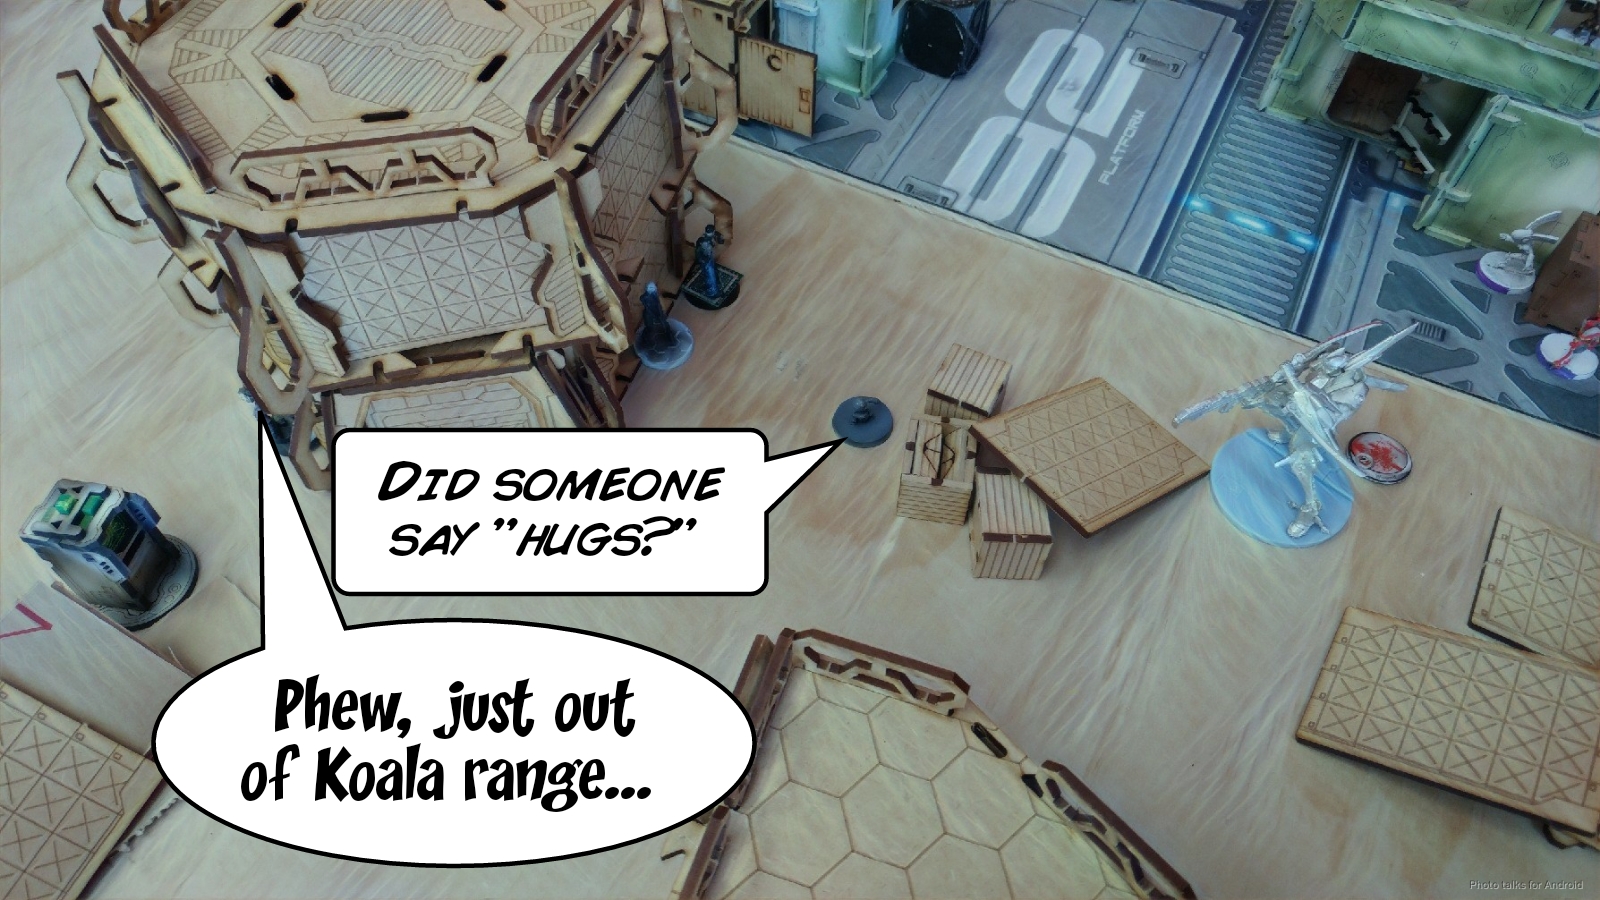
I figure he’s trying to hack my TAG. Fortunately my Koalas are close enough now that it deters Tony from moving forward too aggressively and he stays back, just out of range.
At this point, the face punching is mostly over, and I get to do stuff.
Turn 2
Top of 2 – JSA
It takes me two orders to delete the Fiday who is harassing my link.
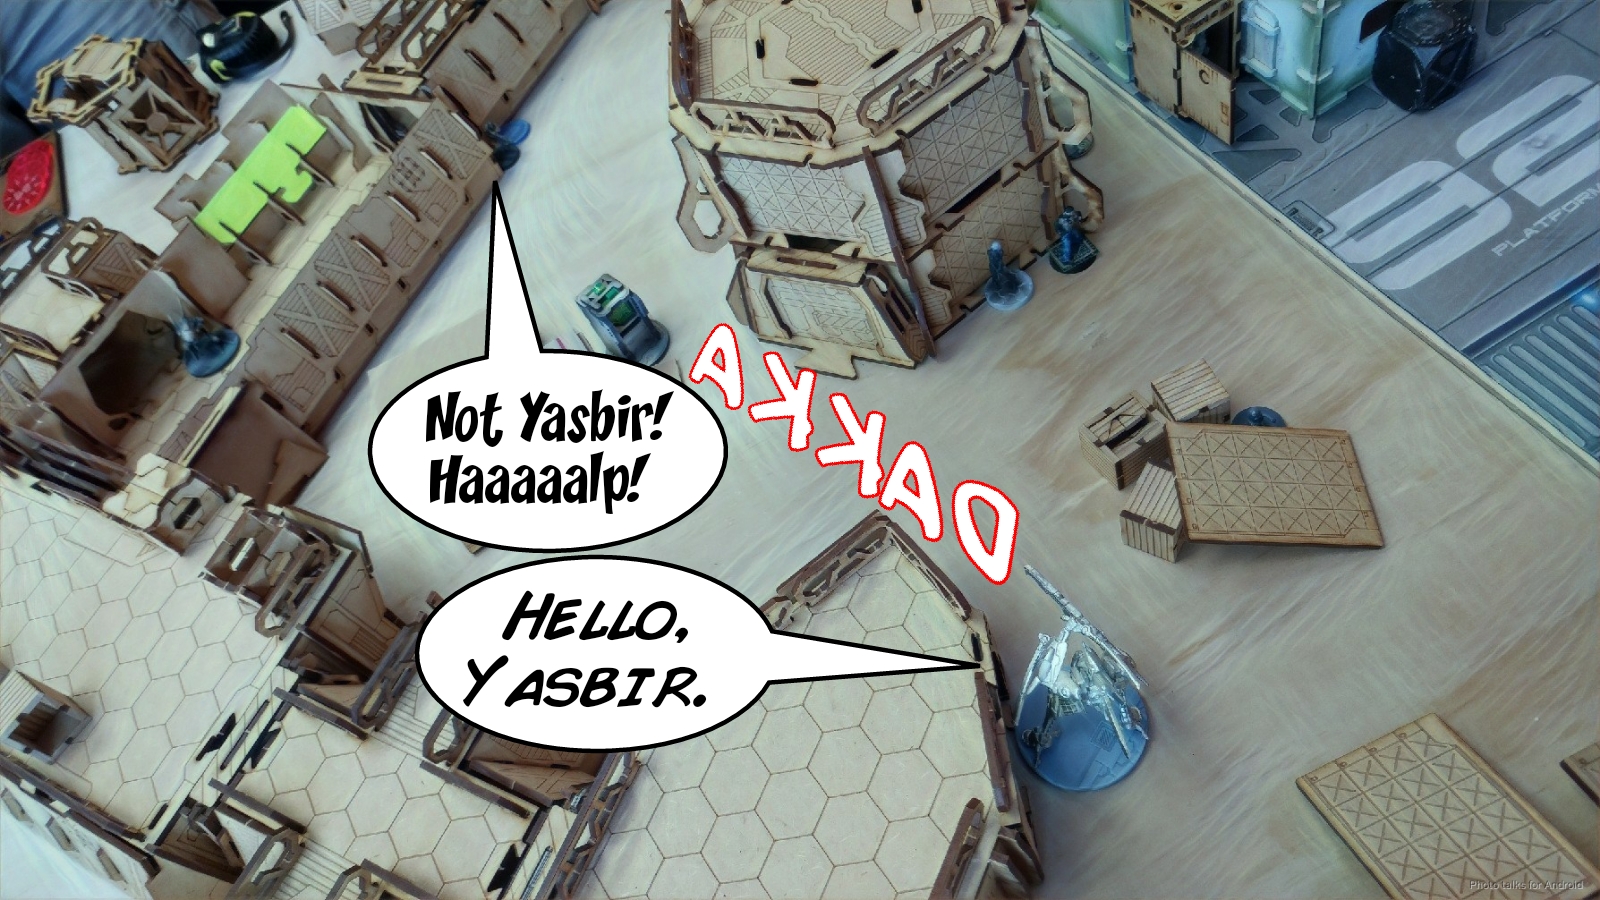
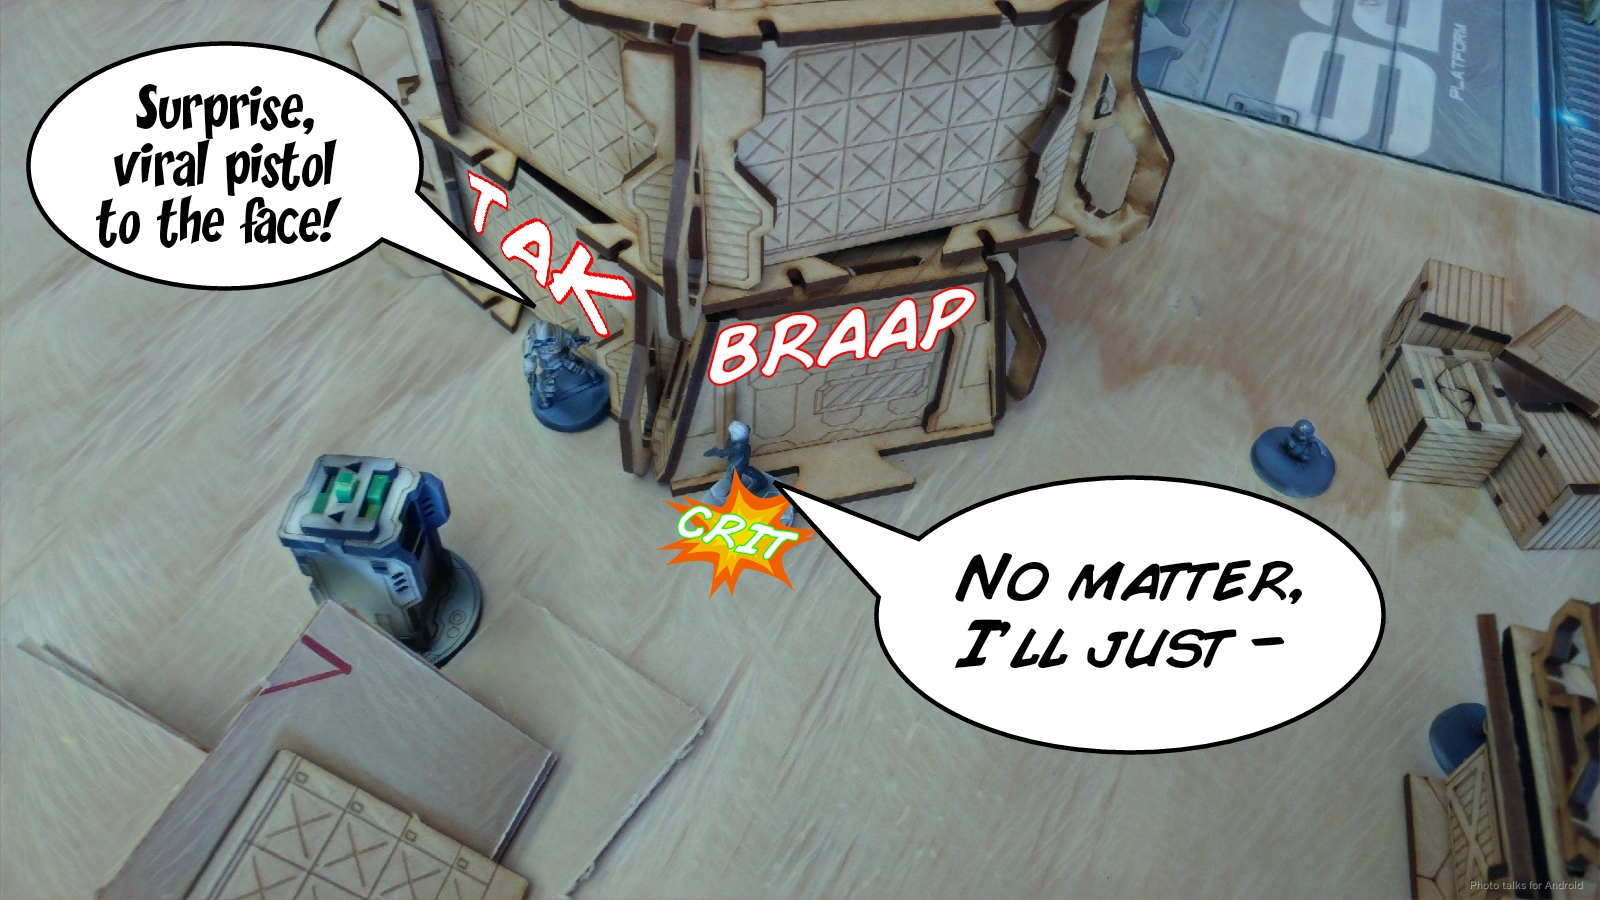
I’m low on orders, so I send in the Ryuken-9 to take out the “Barid.” I don’t have orders to drop a mine first, so I just come into view. Tony gleefully announces that he’s shooting me in the face with a viral pistol, because it’s an Ayyar! Of course, he crits, and my Ryuken dies.
I’m totally out of orders at this point, so I just throw a bunch of stuff, including the TAG, into suppression.
Bottom of 2 – HB
The Mutts roll in, and my Koalas and suppressive take care of one of them.
Another one makes it to my back table edge by using the corridor system and some careful prone crawling. It pops up and drops a chain rifle template on my link. Yuriko’s mine is a millimeter too far from the edge of the building to be useful at all, so it just sits there. Everyone but the Kempetai shock marksman dodges, and only the Mutt and my Kempetai BSG die. Sigh. That’s two lieutenants now. The Rafiq scoots up closer to my TAG, inside the corridor system.
Tony goes after my Keisotsu FO now with the Ayyar and tanks the Koala. I whiff my false pulse because of the -6, but make all my ARM rolls.
Tony gets a little greedy here, and starts splitting burst against my Keisotsu FO and the Kempetai in suppression.

It takes him the rest of his turn, but he manages to take out the Kempetai and then passes things back to me.
Turn 3
Top of 3 – JSA
I’ve got three orders left, and lament that I have to suicide the TAG into the Ayyar. Tony suggests that it’s not likely that’ll happen… Anyway. I decide to go after his Rafiq for no reason in particular, and move the Keisotsu Paramedic after it, failing the F2F and tanking ARM. I then coordinate an order with the two remaining Keisotsu to take it out. The Ayyar has re-holo-echoed at this point, and I expose myself to what I think is the real one for a free shot. Tony doesn’t take it, which in my mind tells me which one is the real one.
In any case, the Rafiq dies, and I pass turn.
Bottom of 3 – HB
Tony sends in the Ayyar, and I shoot the “real one,” with the TAG. Due to the Holoecho misunderstanding I had, I chose poorly. Of course, I could’ve and should’ve delayed, and Tony just hits three times with his viral pistols, forcing 6 BTS saves, which the TAG does not survive. It’s unlikely that it would’ve gone any other way, but that doesn’t’ excuse bad play on my end. It’s not like I was winning anything but a moral victory here. In any case, Tony totally outclasses me with a
7-0 Hassassin Bahram Victory!
Post Game Analysis
Yeah. So I derped really hard that game, which is what triggered the Tracy Jordan “I am a JEDI” reference. A few things.
- The table was quite difficult. That’s not an excuse, it just means I did not spend long enough thinking about deployment. I had no plan to secure the central corridors, nor a plan to cross table sides if things went poorly. They did.
- I had a very unsafe plan to address the key goals of the mission: kill Lieutenants and the Designated Target. Shinobu as a Lt in this mission was an interesting idea, but the more I think about it, the less I like it. I think I would’ve been better served with an O-Yoroi Lt instead, which would’ve let me put Shinobu in hidden deployment. Then I can wait for the Mutt cloud to “dissipate” before making my attack run. Still learning how to use Oniwaban. Gardening requires patience.
- I was too conservative in my deployment. I needed to be more aggressive with my ARO presence, especially in the middle of my deployment zone, which was very safe except from Mutts. There’s not much I can do except be sad about Mutts, so some more presence there could’ve helped a lot.
- Stop listening to Adam and his silly ideas. Honestly though, being aggressive with Shinobu wasn’t a bad idea, but it definitely was against a strong board control presence. Had this been against an LI list with not much in the way of passive board control, that would’ve been a great plan. I just committed when I knew I shouldn’t have.
In an ideal world, I’d have taken the same list, but swapped the O-Yoroi and Shinobu as a lieutenant. Sure, I lose an order for her, but that’s fine. I deploy similarly, castling on the right, and then put a Ryuken in the middle of the corridor system so I can defend in there, and skew my link to the right. I use something to body-block the Fiday watching my Aragoto to get it out of the danger zone, and then set up for a turn 2 run on my targets.
I think that’s probably the key when playing JSA against something with so much board control. Turn 1 is spend trying to set up for their counter punch and removing Daylami, and then Turn 2 is the attack run. I got too greedy. Tony had a good point, which was that given my smoke placement, there was a way to recamo Shinobu and make it into the room with his Lieutenant, prone. So I’d basically get one shot at ganking the Lt, which is likely given Shinobu’s awesomeness. If she survives I can try to do other things.
One could point to the crits and say: “Oh, well had Tony not crit with the Daylami on my Ryuken, you would’ve been in much better shape,” and sure, that’s true. But dice are an integral aspect of this game, as are crits, and you have to plan around them. I had no backup plan whatsoever, and I think said as much aloud. JSA is a very difficult faction to play and to master, and I’ve only taken the first step down that path. They don’t generally have the points and material to have a solid plan B, but against a savvy player like Tony, you absolutely need to have one. I need to “git gud” as the kids are saying these days.
As far as Tony’s game was concerned, there’s nothing that really stands out on the negative side. Lots of solid play, a few totally inconsequential small issues, and just a great example of how to play a very controlling, aggressive Hassassin Bahram. I look forward to our next game! Maybe I’ll take one from you next time. Until then…
And this is what ye have shipped for, men! to chase that white whale on both sides of land, and over all sides of earth, till he spouts black blood and rolls fin out. What say ye, men, will ye splice hands on it, now? I think ye do look brave. –Ahab
Game 5 – I’m Reaganing, Lemon

Still smarting from the drubbing that Tony gave me in Game 4, I was paired up with Doug (Kiboshed), who is one of our locals in Portland. I don’t think I’d played him before, but he’s been at tournaments that I’ve run. He’s a pretty wide ranging player, and has armies from Shasvastii to Tunguska. Today, he brought his Shas.
Overview
- Mission: Frontline
- Forces: Japanese Secessionist Army versus Shasvastii Expeditionary Force (300)
- Deploy First: JSA
- First Turn: JSA
GROUP 1 |
KUROSHI RIDER Lieutenant Combi Rifle + Light Flamethrower / Breaker Pistol, AP + Shock CCW. (0 | 33)
GROUP 2 |
TOKUSETSU EISEI Doctor (MediKit) Combi Rifle / Pistol, Knife. (0 | 14)
YÁOZĂO Electric Pulse. (0 | 3)
WARCOR (Aerocam) Flash Pulse / Stun Pistol, Knife. (0 | 3)
MIYAMOTO MUSHASHI (Regular, Fireteam: Haris) Chain Rifle, Flash Pulse / Pistol, AP CCW, EXP CCW. (0.5 | 28)
TANKŌ Missile Launcher / Pistol, Monofilament CC Weapon, Shock CC Weapon. (1.5 | 32)
YOJIMBO Contender, Nanopulser, Smoke Grenades, CrazyKoalas (2) / Pistol, DA CCW. (0 | 21)
5.5 SWC | 300 Points | Open in Infinity Army
I took my Unmasking list, mostly because I was tired of playing the other list. Either would’ve been fine.
Game 5 – Doug
ASWANG Lieutenant Combi Rifle, Adhesive Launcher / Pistol, Knife. (0 | 26)
SEED-SOLDIER Combi Rifle + Light Shotgun / Pistol, Knife. (0 | 14)
NOCTIFER Missile Launcher / Assault Pistol, Knife. (1.5 | 32)
IKADRON (Baggage, Repeater) 2 Light Flamethrowers, Flash Pulse / Pistol, Electric Pulse. (0 | 9)
SPECULO KILLER Boarding Shotgun, Smoke Grenades / Pistol, Monofilament CCW, Knife. (1 | 34)
SPHINX Spitfire, 2 Heavy Flamethrowers / EXP CCW. (2 | 106)

AÏDA SWANSON 2 Submachine Gun, Viral Mines / Viral Pistol, Shock CC Weapon, Knife. (0 | 24)
After deployment, was was visible out of this list was three camo tokens, two Ikadrons, the Speculo, and Aida. I assumed that this was Doug’s Show of Force list, which meant there was a Sphinx and a Noctifer on table. I did not expect two, but I had no idea what was under the camo tokens. Pretty fun looking list.
Deployment
I set up the two Tankos on the left, mostly because there was a two story building there which let me keep them out of missile template range of each other while still making it difficult to pie slice them. My link basically Null deployed on the right side of my deployment zone, with only the Kempetai spitfire watching anything. I put the Doctor’s bot on the building with the Tanko, and then the Doctor herself behind the link.
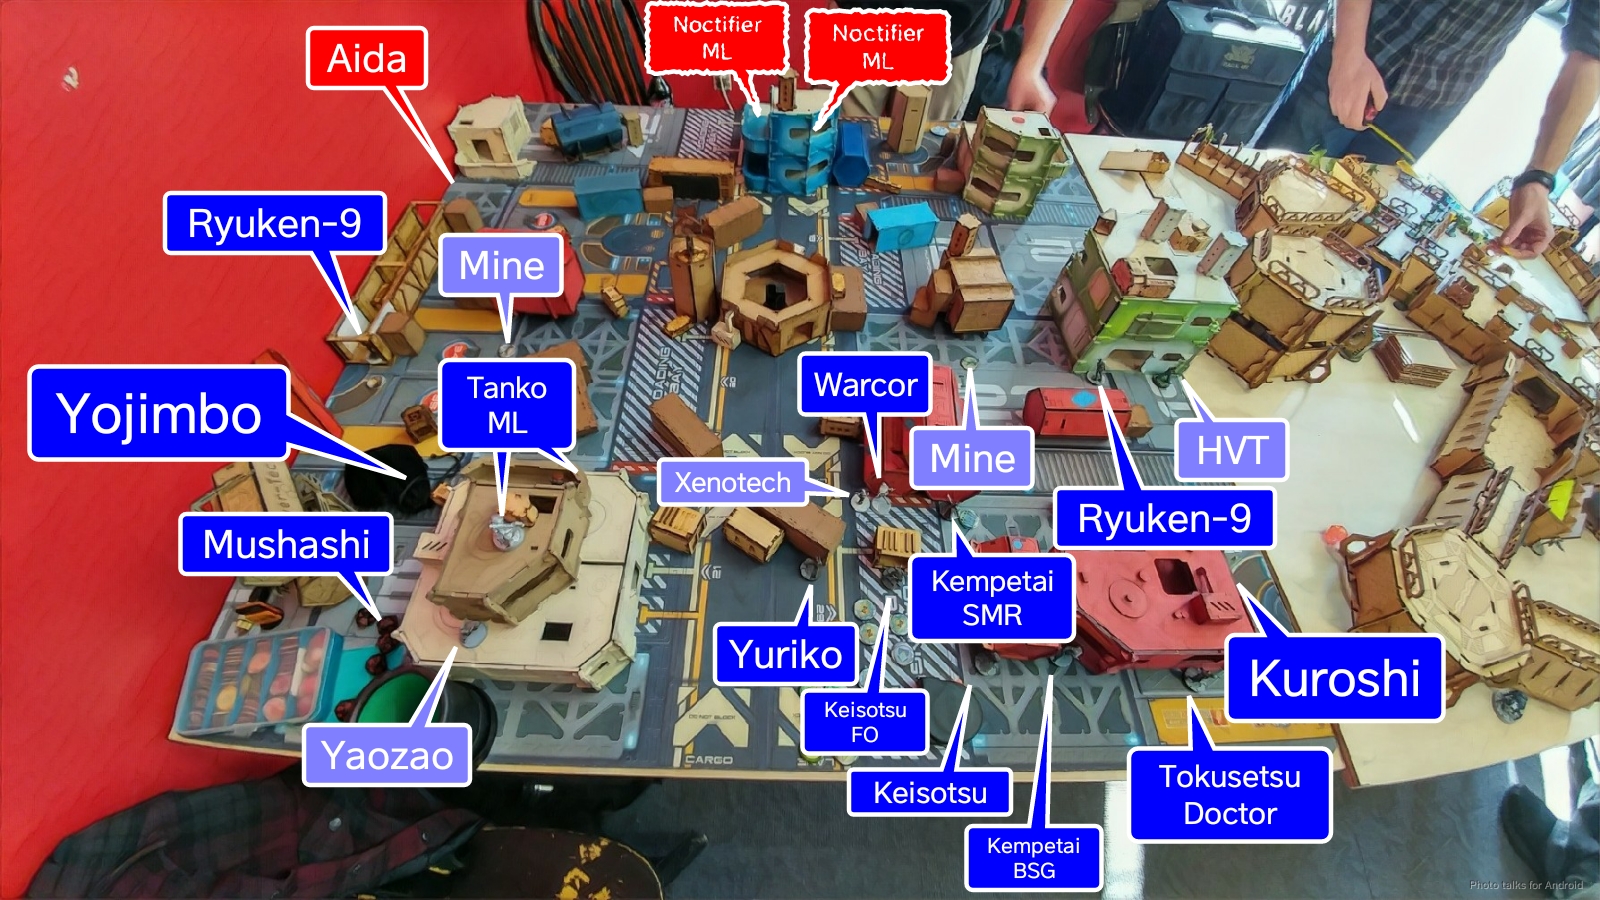
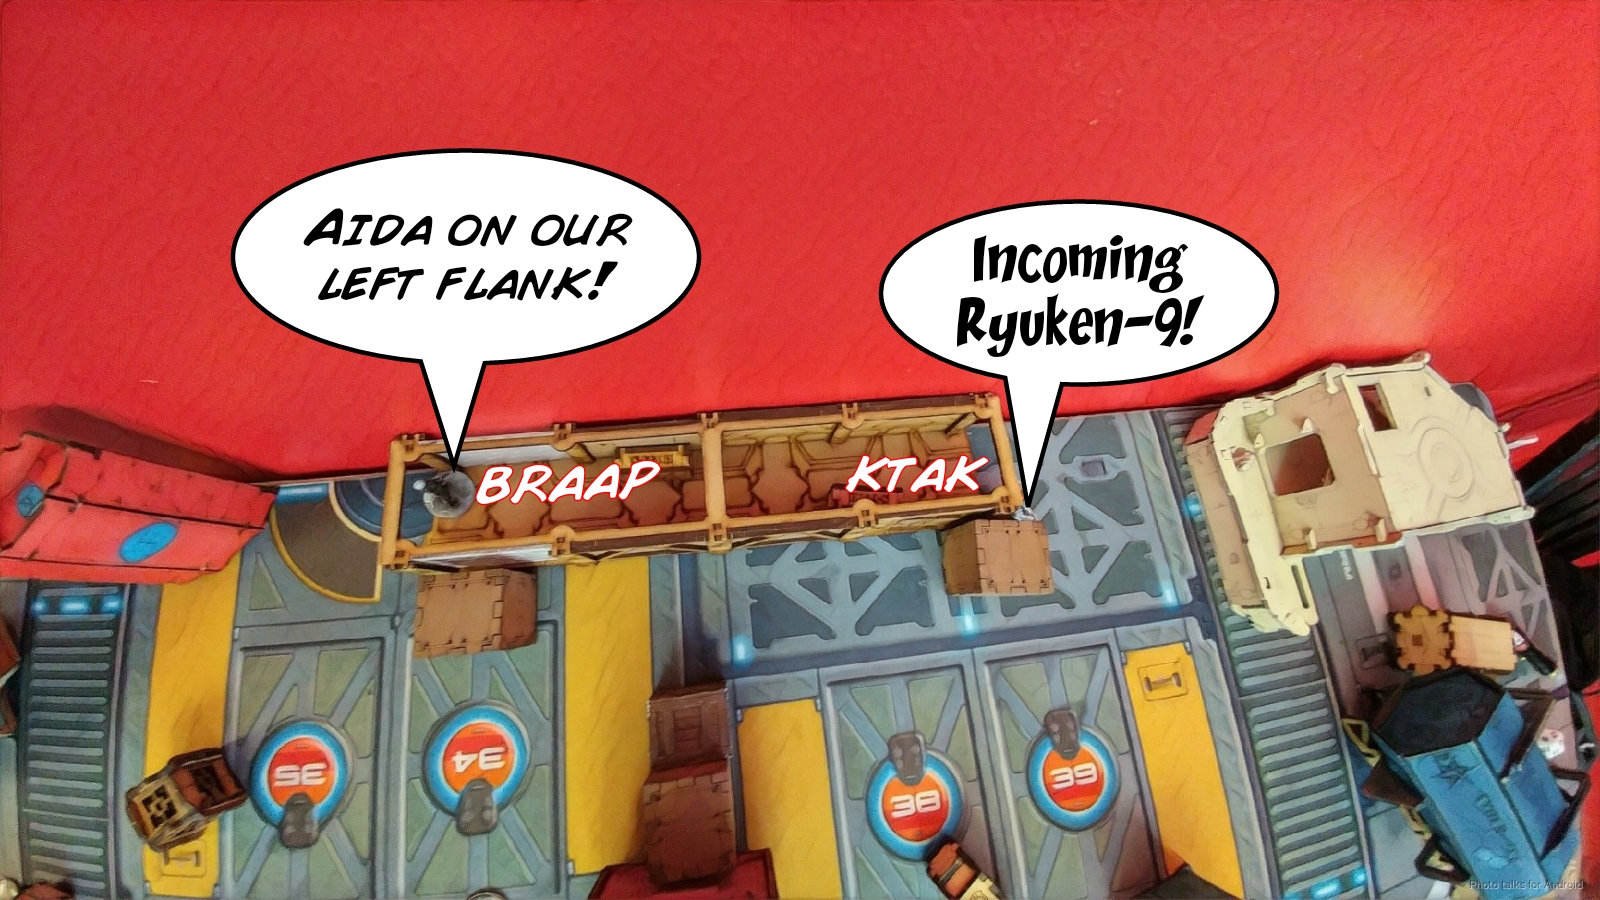
There was a weird little shipping container corridor thing on the left, which looked like a really great way of getting my Ryuken-9 safely up the table, so I planned to do exactly that. The other Ryuken-9 watched over my HVT on the right, with the Warcor synced to the Xenotech in the middle. There’s a safe spot for Kuroshi on the right, which is mostly covered from AROs during her impetuous move, so I put her over there.
I went to the bathroom, leaving Doug to his secrets I come back to Aida facing off against my Ryuken on the other side of the weird corridor thing, a pair of Ikadrons on each flank, and three camo tokens. Well alright. Fine.
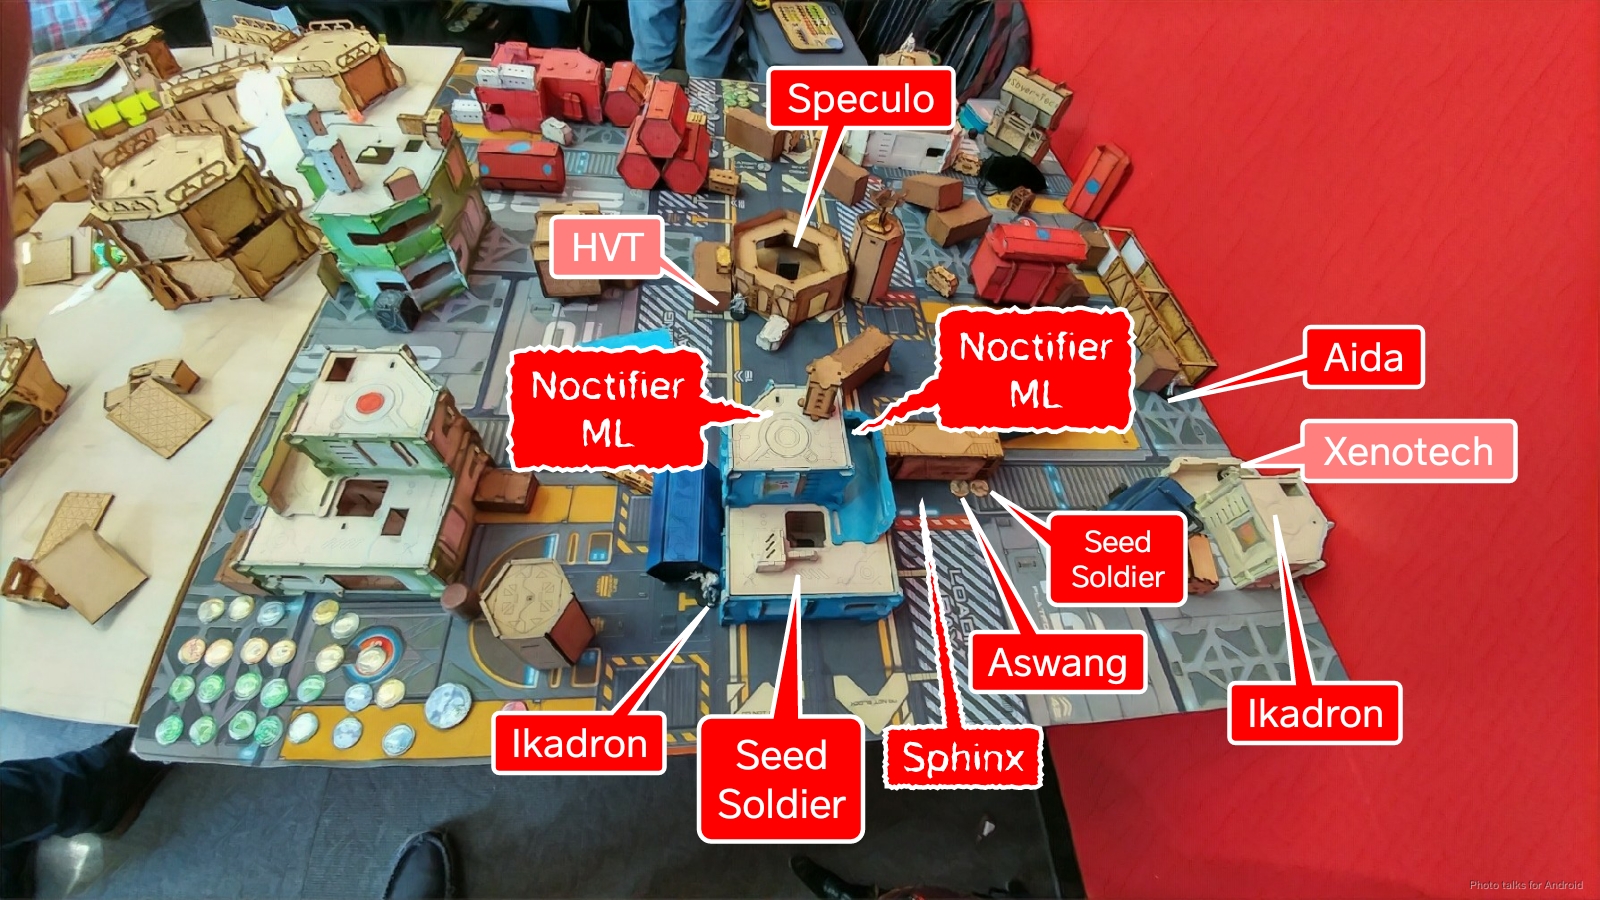
The camo tokens are in the backfield, so I suspect Seed Soldiers. I’ve never fought them before, but I do recall them being mostly harmless in discussions I’ve had with others. I suspect that they’re just there for orders. I know there’s a Sphinx somewhere, at least one Noctifier, and maybe a Malignos in the midfield. I drop Yojimbo down on my left, and Doug sticks a Speculo in the central building. This makes me think no triple Noctifer, so that’s good at least?
Turn 1
Top of 1 – JSA
Kuroshi and Yojimbo try to bait out Noctifers by using their impetuous orders. Doug doesn’t bite. He’s waiting for my link to move, I think. I send the Ryuken after Aida, and succeed only in forcing her out of LoF. I scurry up and drop a mine covering Aida.
Yojimbo rolls into view, firing his contender, which she dodges along with the Mine blast, but now Yojimbo is in range of Aida. He rolls in, and Doug elects to go down fighting, declaring CC instead of dropping a viral mine.
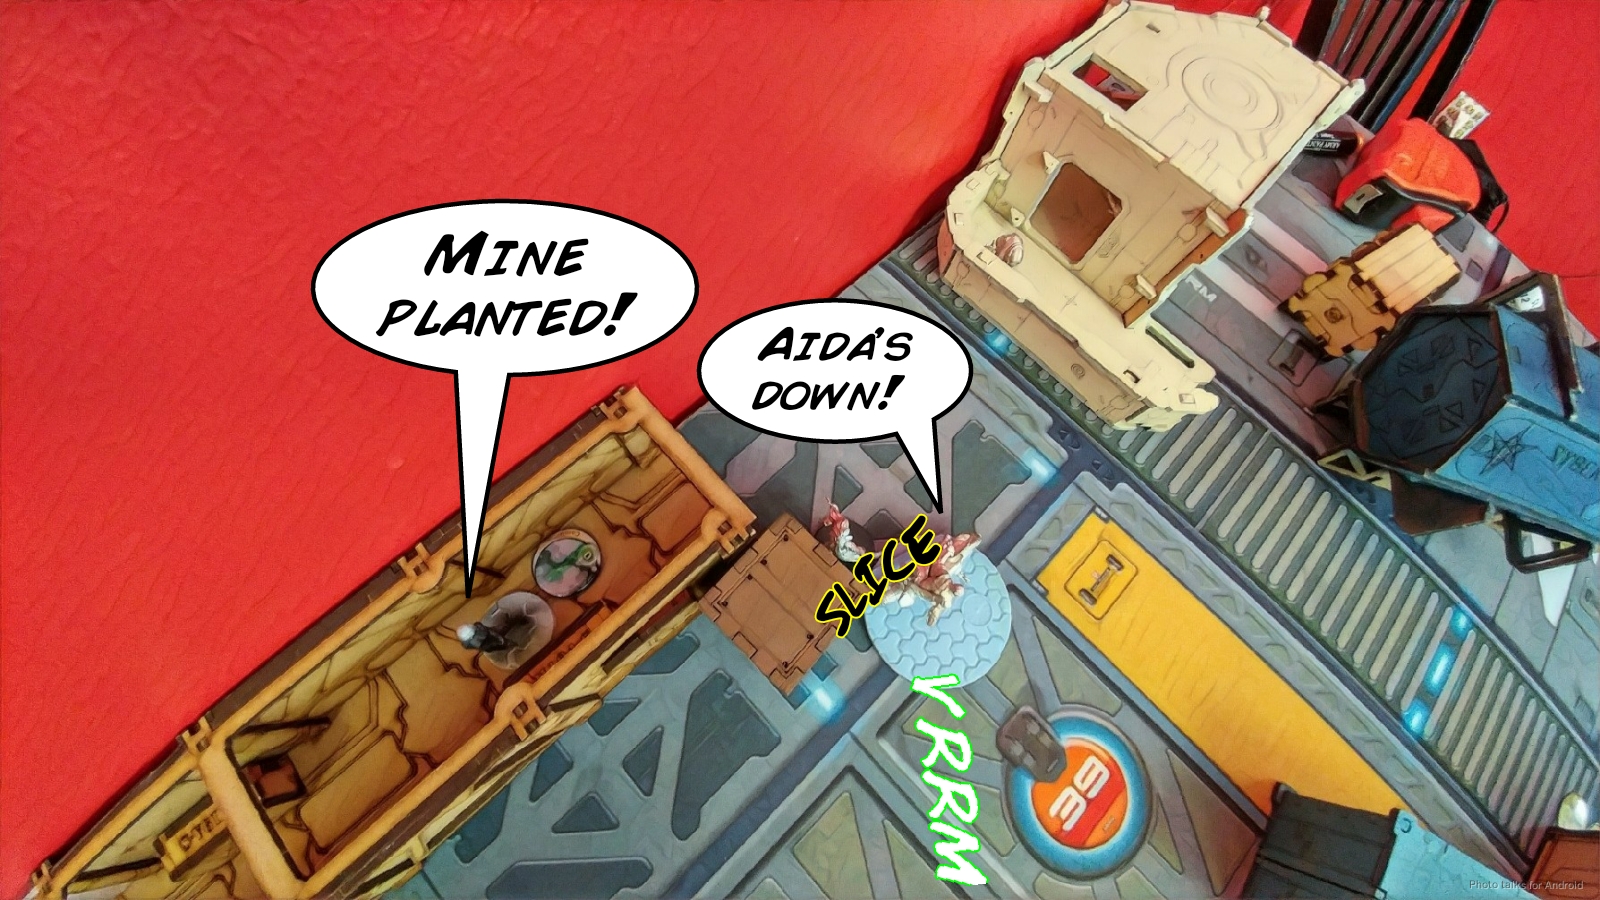
Yojimbo does what Yojimbo does best, which is slice and dice the enemy. I shuffle one his Koalas towards the sketchy camo tokens hiding out in Doug’s deployment zone. This frees up the Ryuken to advance and see the Ikadron hiding in a building. It gets cover, but that’s not enough to stop the Ryuken, who kills it in a spray of SMG fire.
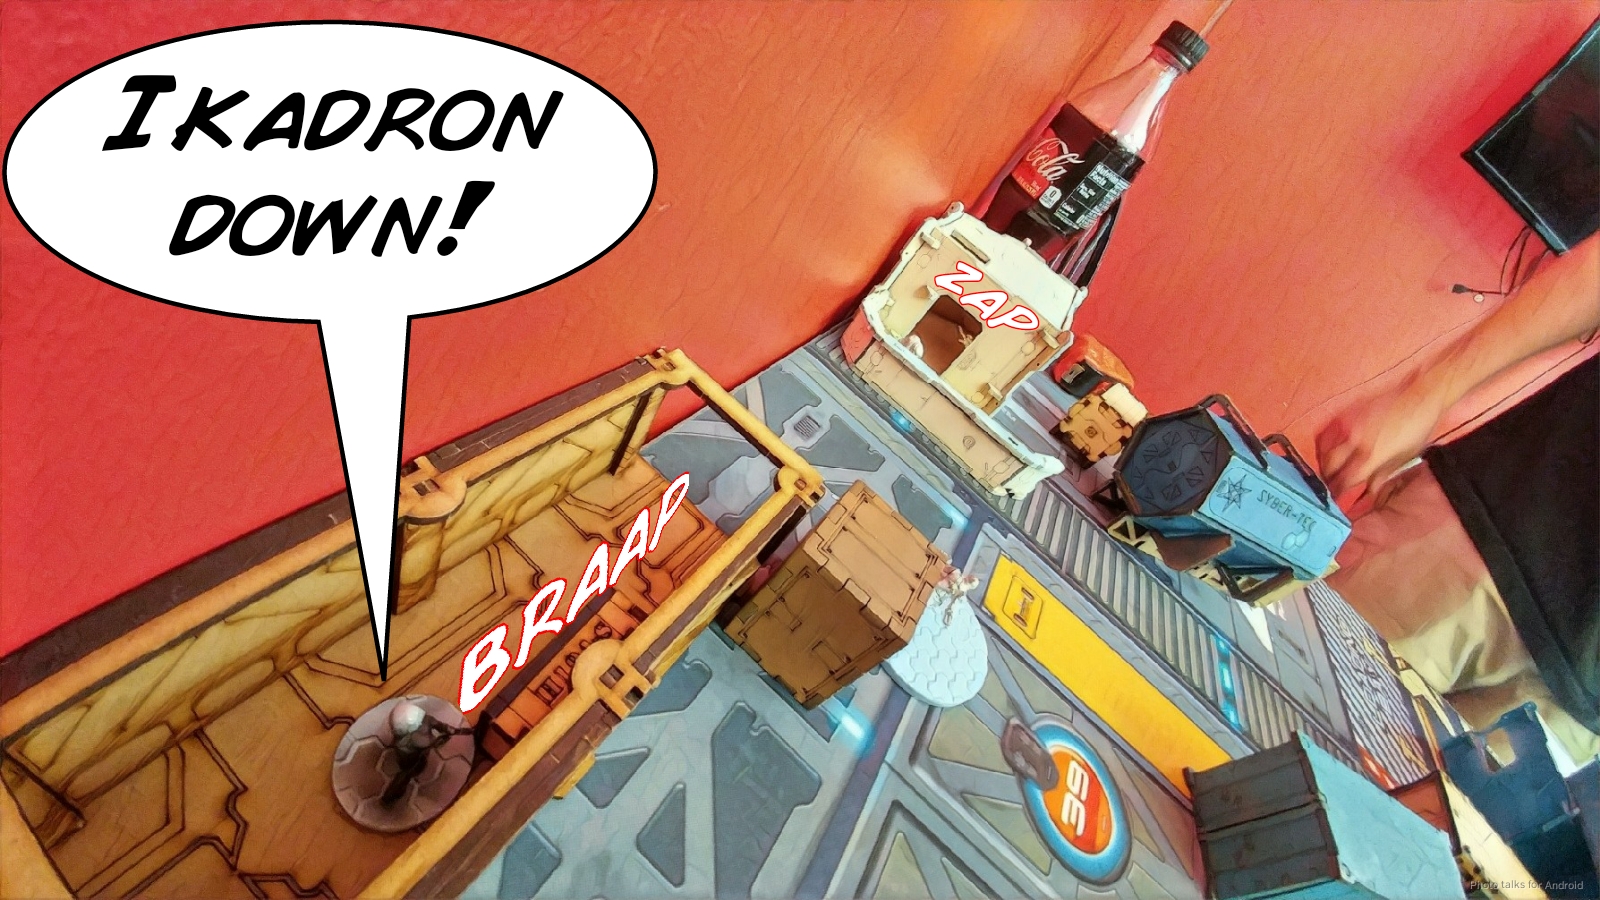
I roll Kuroshi Rider into Doug’s backfield and try to take out the other Ikadron, but get stunned instead. I don’t want to give him basically a free pistol shot, so I leave her there. At this point, I decide to advance the Warcor with Xenotech in tow, intending to handle the annoying Xenotech stuff next turn. Doug blows my mind by revealing a Noctifer ML to take out my lowly Warcor! I had not expected this at all. I made sure to warn him to use hit mode so my Xenotech wouldn’t cancel the template.
I eyeball the range, and it looks like I ended my first short skill just inside 24″, so I declare flash pulse. Thankfully, I was right, but I forget that flash pulse is burst two in active turn (honestly, how often do you use flash pulse in active turn!) and roll only one die. We both roll 3’s and share a good laugh. I’ve got two orders left, so I decide to be ballsy. That went really well for me in Game 2, what could possibly go wrong?
I cautious move the link through the Noctifier’s LoF to safety, and then on my second order get my Kempetai into LoF of the Noctifier to take a shot. Doug blows my mind again by revealing a second Noctifier, who is standing in the room next to the first one! WHAT?! I decide that the second one is more likely to be in 24″ than the first, because geometry, and throw all 5 burst at it. I fail all my rolls, and both Noctifiers hit, obliterating my Kempetai. I reform the link with a command token and pass turn.
Bottom of 1 – SEF
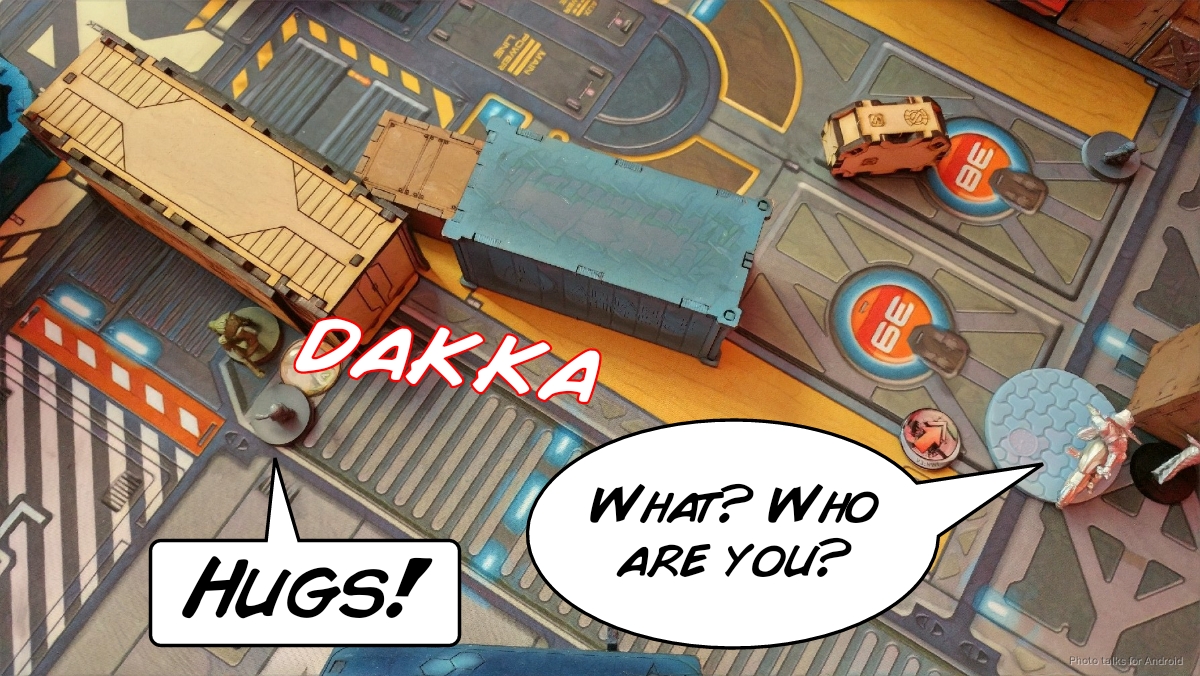
Doug throws his Aswang at Yojimbo, doing a wound with its combi against smoke. Fortunately for me, he forgot about the Koala and my eucalyptus huffing robot hugs his Aswang to death. Two kills on the board for Yojimbo!
Doug then takes a big risk and starts firing missiles at my Tanko with one of the Noctifiers. He’s got 1 die on 12s versus my two on 7s. Not great odds. Not to mention the two unopposed dice on 7s from the other Tanko!
We roll, and of course I whiff everything, and Doug plasters one of the Tankos with a missile, but I’ve got another ARO coming! Yojimbo has advanced far enough upfield to catch the active Noctifier out of cover and in good range, and he CRITS the Noctifier with his Contender, taking it out! Chalk up one more kill for Yojimbo!
Doug then tries to finish off the other Tanko with his remaining Noctifer. He manages to put a wound on it, but the next order sees my Tanko splatting the alien bug! HAH! Take that!
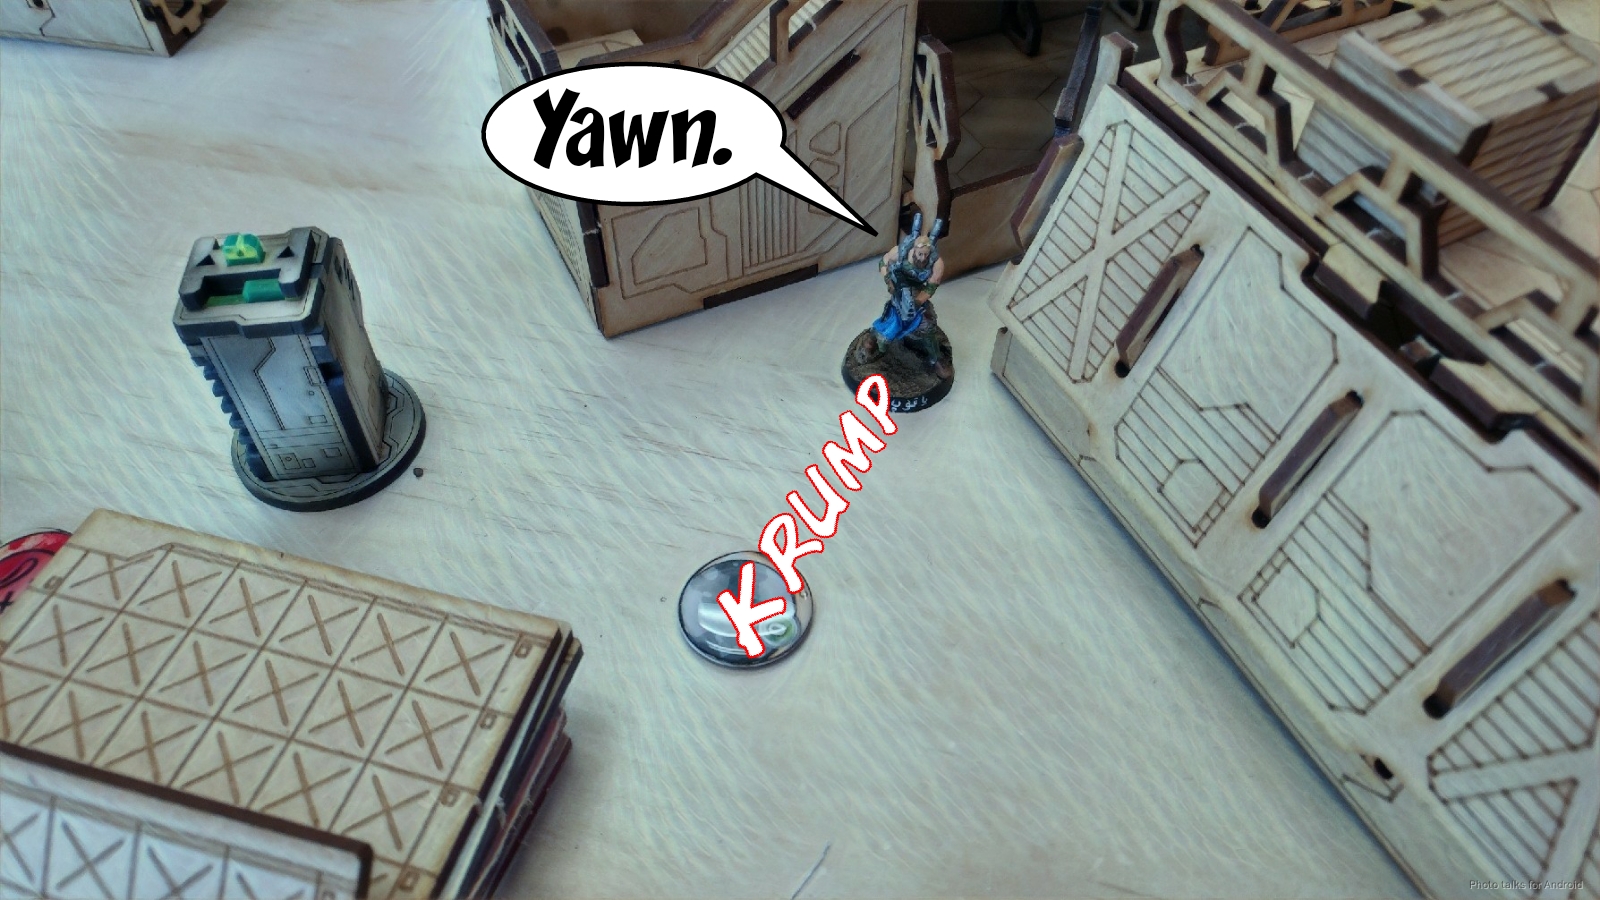
Doug then goes after Kuroshi Rider with his Ikadron. I know he’s down on orders, so I opt to dodge. She fails, but passes both ARM saves against the Ikadron’s double flamers.
Doug’s out of orders, so he passes the turn, lamenting his dice luck.
Turn 2
Top of 2 – JSA
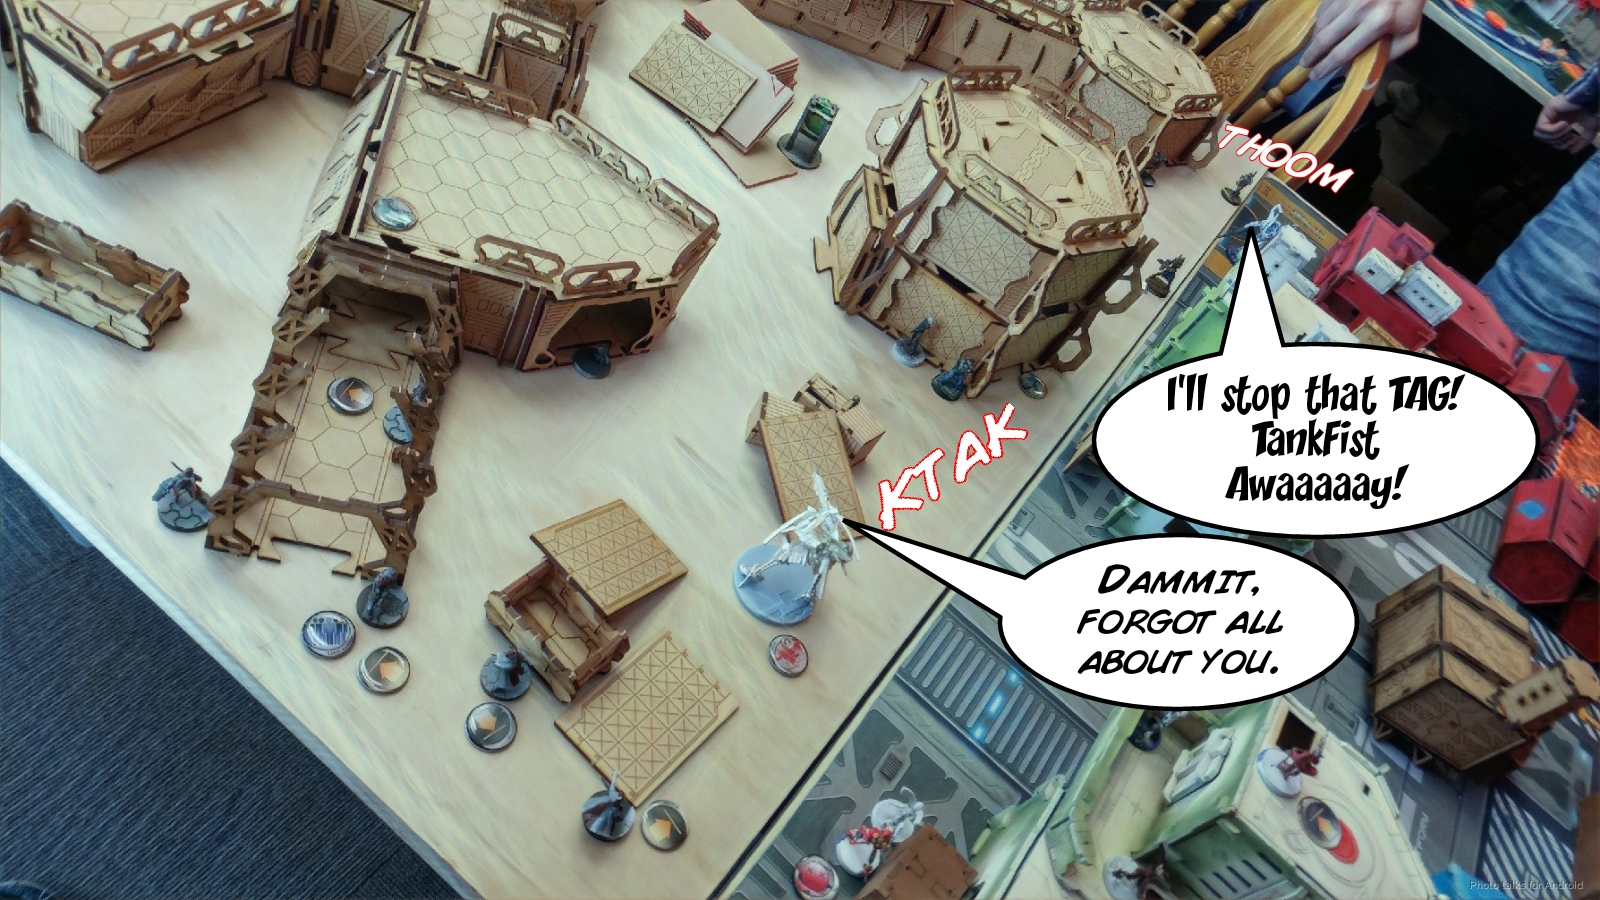
I cancel Kuroshi Rider’s order, no sense in running her into a flamer. The Ikadron has its back towards Yojimbo, so I use his impetuous order to go after it. This drives Yojimbo right by Doug’s Sphinx, which pops out of camo and elects to drop a flamethrower on him. I dodge, successfully, and then rocket Yojimbo into base to base with the Sphinx. Doug flamers again, and I roll double crits!
Sadly, Doug rolls two ARM saves and I roll a fail on my flamer save, and the TAG lives to fight another order. I spend that order to get the Ryuken that was dancing around with Aida into view, and finish off the Sphinx with an SMG crit. I think it’s only fair that Yojimbo get credit for that kill, bringing his kill total to something like 188 points and 3.5 SWC. Monstrous.
I roll my other Ryuken up to get into what I think is a scoring zone, and then finish off the Ikadron with Kuroshi Rider, losing Iher. All Doug has left on the board are the two Seed Soldiers, so I move my link into my near zone to prevent him from getting it with his Speculo if something funny happens, and then pass the turn after getting a Ryuken into secure the HVT range and dropping the Multiscanner with the Warcor.
We call it here. I’ve got my near and far zones, and the Speculo has the middle. I’ve got a classified and the Multiscanner point, and Doug loses a point from his two, making it a
7-1 Japanese Secessionist Army Victory!
Post Game Analysis
Well, things went just about as well as they could have gone. I did miss the Kempetai MSV2, but it worked out just fine, mostly because Yojimbo is a monster. 188 points is basically 9x his points back, which is pretty ridiculous.
I think that Doug should’ve sent in the Sphinx on the bottom of two. A coordinated order against the Tankos would’ve been pretty rude and much safer. As it stands, letting me dictate tempo and continuously apply pressure won me the game. Thanks to Doug for a great game and for a great end to the tournament!
Tournament Summary
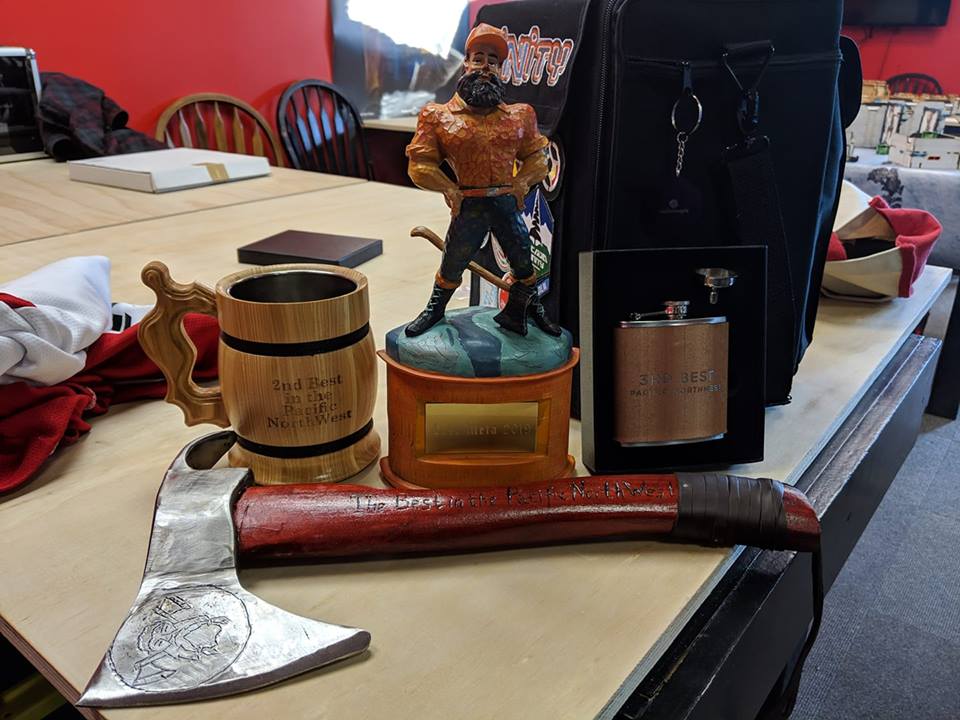
Thanks again to Tony and to Critical Strike Games for putting on the event! I definitely learned a lot about my JSA and had a great time. Critical Strike also got us some prize support for future tournaments. Stay tuned for details. Credit to Tony Fern and Erik Grey for the photos below.


I love reading your battle reports.