ITS Xenotech: Narrative Tournament
Our LGS bought a narrative tournament pack, the one with Victor Messer and the limited edition Guija, so we ran a tournament to share the wealth! The narrative tournament itself has some pretty crazy rules:
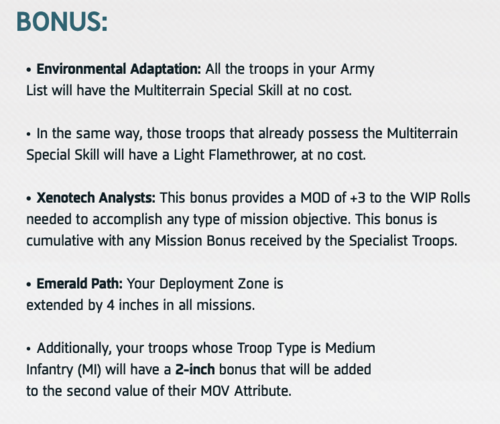
I had intended to run a Merovingan army for this, but with Asteroid Blues in full swing I was obligated to represent Nomads as the Grand Poobah of the Nomad Council. We had intended to run a full three round tournament, but enough of us had family/social obligations that after two really really long first games we had to pack it in after only two games.
Game 1 – In Tomcat We Trust
My first game was against Isaac (xammy), who has put down his PanO for the foreseeable future to play O-12. This was my first game ever against O-12, so despite studying the army a little I was full of trepidation!

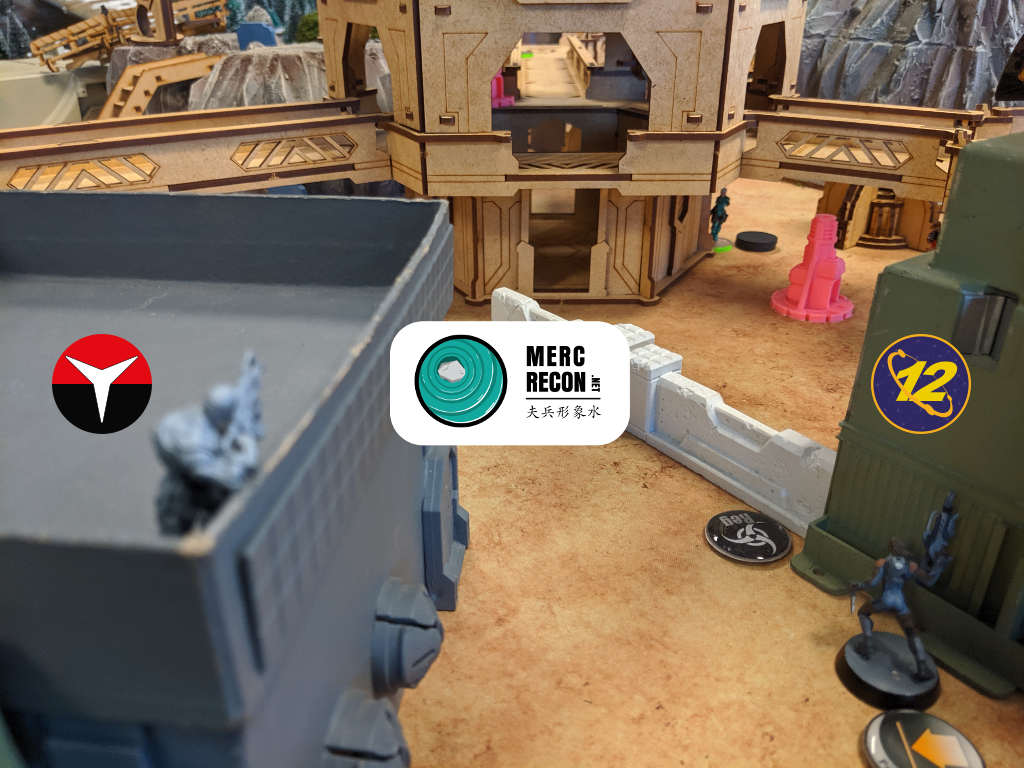
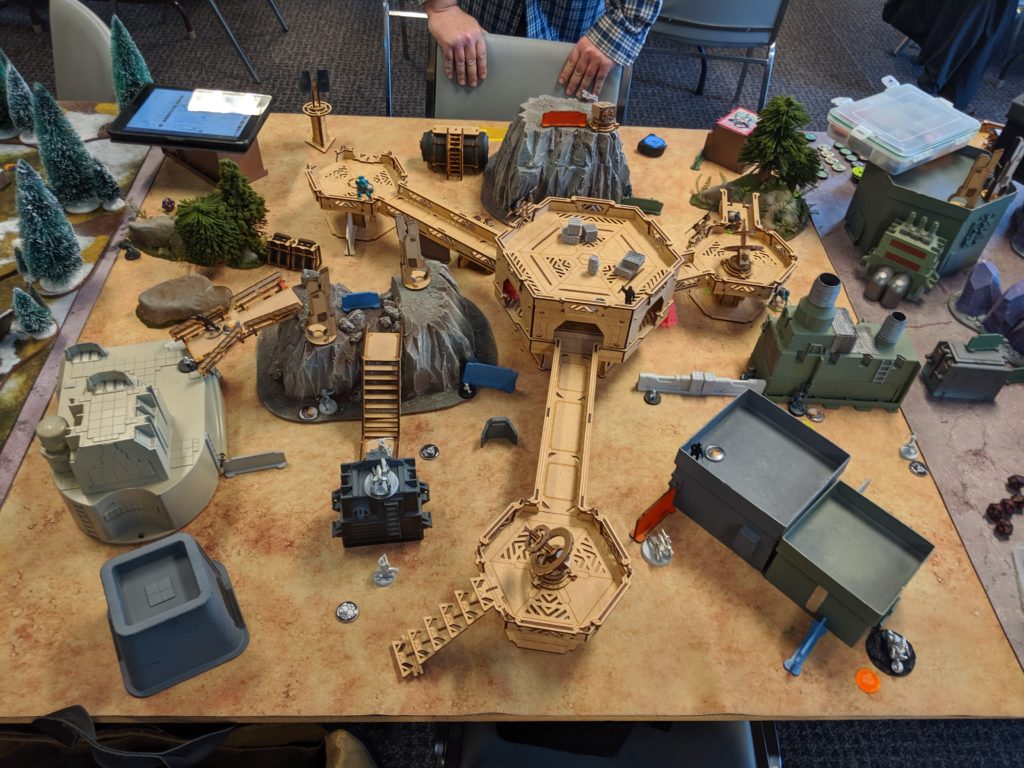
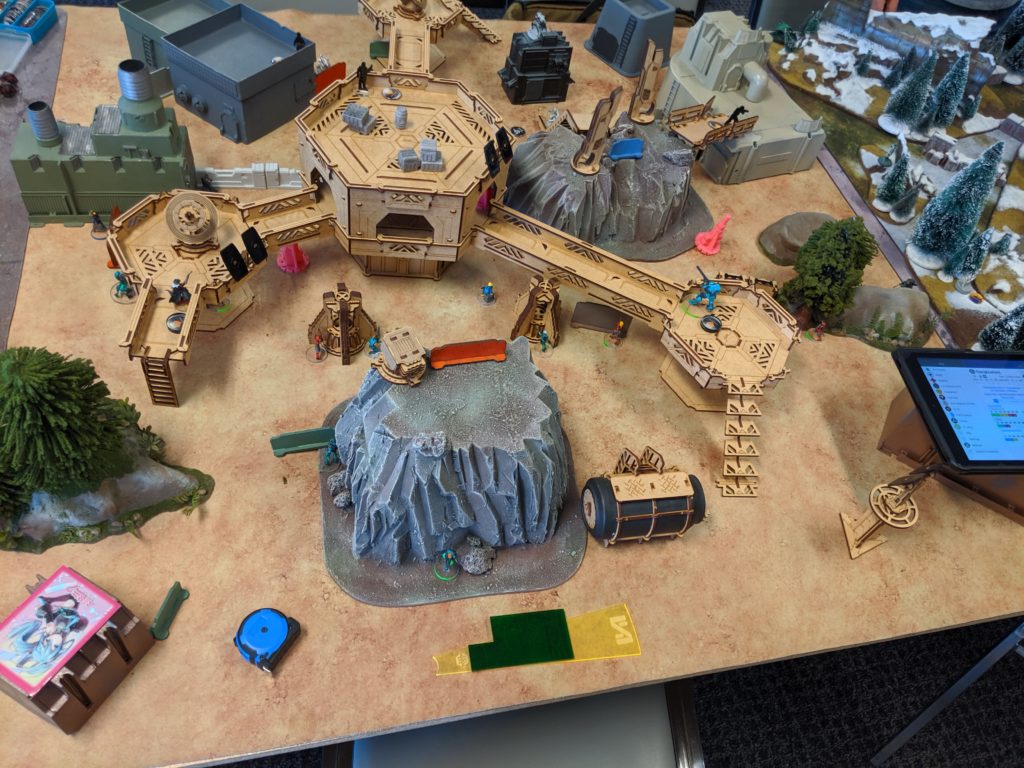
Isaac’s a shrewd and careful player, so I was in for a tough game. The board itself was full of tall mountains and structures, and I tucked some fun catwalks and buildings into the mix to provide some more ways of getting around the table.
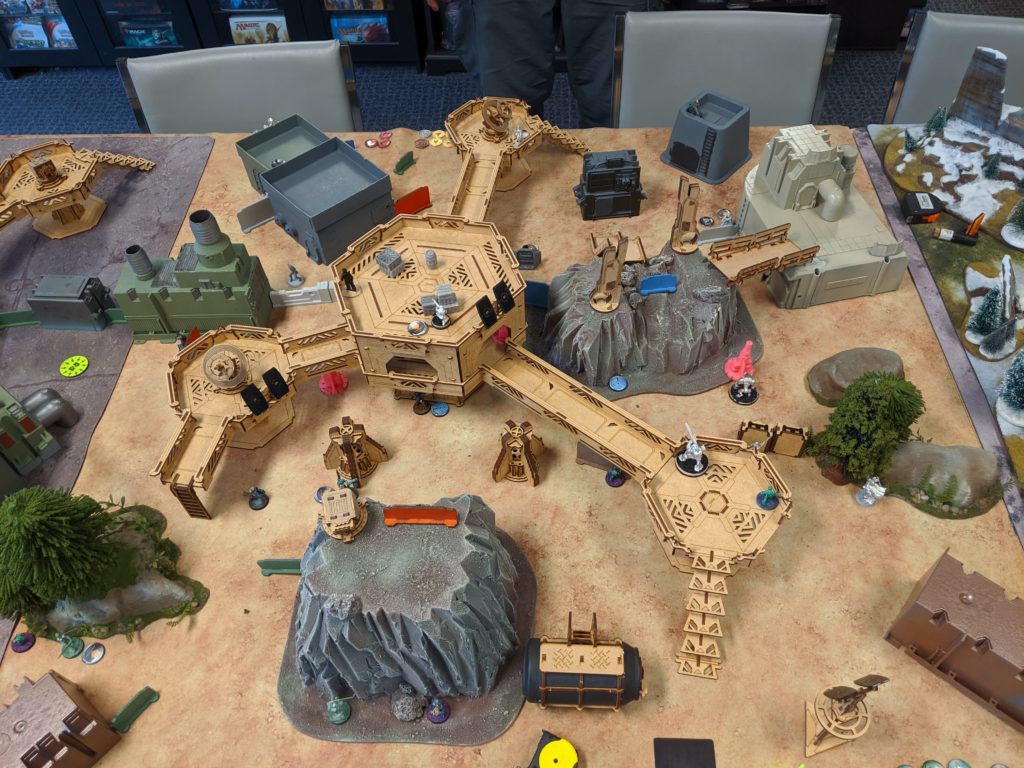
Isaac’s actually responsible for putting all this MDF together, so I’m glad he’s getting to enjoy it!
Overview
- Mission: Frontline (Xenotech Narrative)
- Forces: Nomads versus O-12
- Deploy First: O-12
- First Turn: O-12
Frontline
GROUP 1 |9
1
1
GROUP 2 |
INTERVENTOR Hacker Lieutenant (Hacking Device Plus) Combi Rifle / Pistol, Knife. (0.5 | 25)
ZOE & PI-WELL . (0 | 47)

ZOE (Hacking Device. UPGRADE: Stop!) Combi Rifle, D-Charges / Pistol, Knife. (0 | 28)
PI-WELL Combi Rifle / Electric Pulse. (0 | 19)
ZERO Hacker (Killer Hacking Device) Combi Rifle, Antipersonnel Mines / Pistol, Knife. (0 | 21)
TOMCAT Engineer Combi Rifle + Light Flamethrower , D-Charges + 1 Zondcat / Pistol, Knife. (0 | 26)
ZONDCAT Electric Pulse. (4)
KNAUF MULTI Sniper / Heavy Pistol, Knife. (1.5 | 32)
KRAKOT RENEGADE Submachine Gun, Chest Mine / Pis tol, DA CC Weapon. (0 | 15)
LIZARD MULTI HMG, Heavy Grenade Launcher / . (2.5 | 87)
LIZARD PILOT Submachine Gun / Pistol, Knife. ()
LIBERTO (Minelayer) Light Shotgun, Chain-colt, A ntipersonnel Mines / Pistol, Knife. (1 | 10)
3
3
MORLOCK Chain Rifle, Smoke Grenades / Pistol, E/ M CCW. (0 | 6)
5.5 SWC | 300 Points | Open in Infinity Army
I threw a list together without much more focus than “bring a Lizard.” The rest sort of fell into place after that. Double engineers because I didn’t have points for a bot for Zoe, and Knauf to deal with some of the scarier dogged O-12 things.
Game 1 – xammy
ALPHA Lieutenant (Strategos L2) 2 Light Shotguns , 2 Nanopulsers / Pistol, DA CC Weapon. (0 | 26)
LAMBDA Doctor (MediKit) Combi Rifle / Pistol, K nife. (0 | 16)
YUDBOT Electric Pulse. (0 | 3)
GANGBUSTER Hacker (Killer Hacking Device) Subma chine Gun, MadTrap / Pistol, Knife. (0 | 21)
GAMMA Feuerbach / Heavy Pistol, Knife. (1.5 | 58)
OMEGA HMG / Pistol, Knife. (2 | 48)
SIRIUS Red Fury + 1 SiriusBot / Pistol, Knife. (1 | 29)
EPSILON MULTI Sniper, Nanopulser / Pistol, Knife. (1.5 | 30)
VARANGIAN Submachine Gun, Chain Rifle, Smoke Grenades / Pistol, AP CC Weapon. (0 | 12)
HIPPOLYTA Breaker Combi Rifle, Nanopulser, Flash Pulse, Eclipse Grenades / Pistol, EXP CC Weapon. (0 | 38)
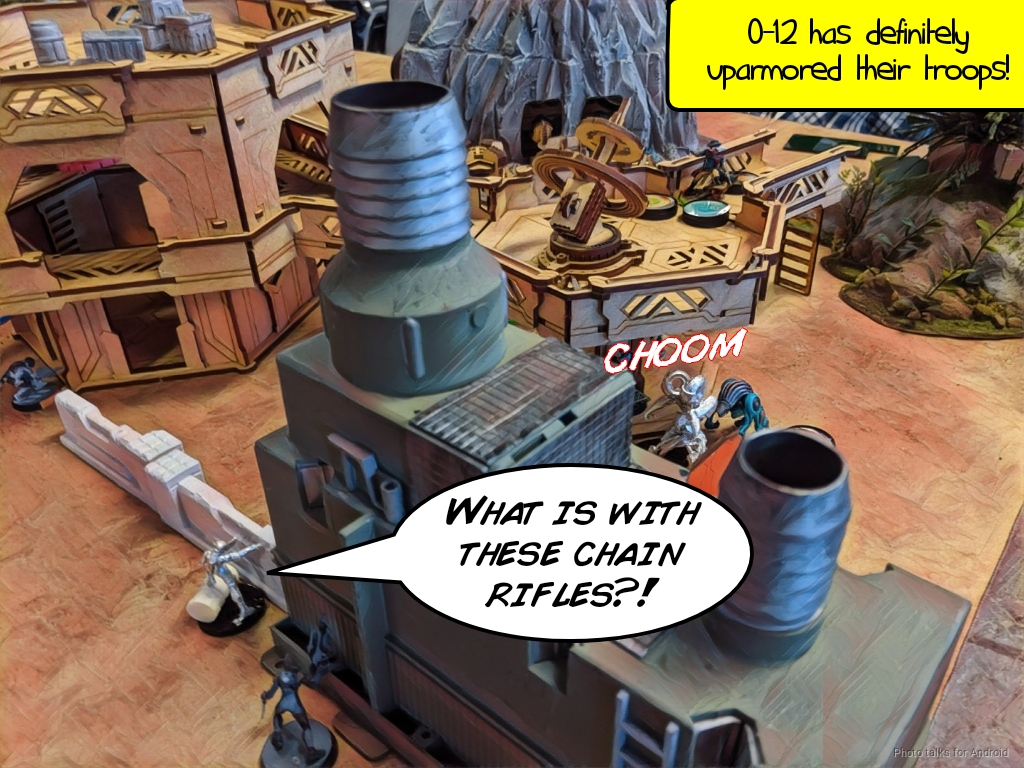
Isaac brought a list of O-12 beefcakes along with a Hippolyta cruise missile and a Gangbuster to help lock down the midfield. As a former PanO player, Isaac was really ready to shoot whatever I left out off the table, so I resolved to not do that.
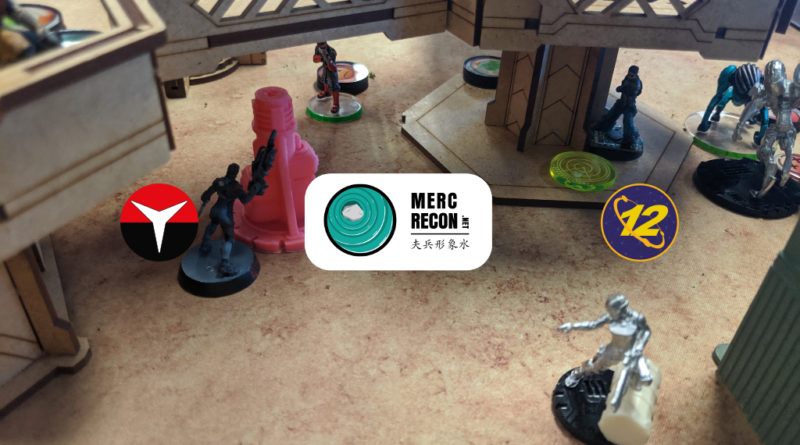
Deployment
I chose deployment and gave Isaac the side with less cover in his deployment zone. It wasn’t a huge deal with the vastly extended deployment zones, so Isaac didn’t really have a huge problem deploying.
He basically mirrored his deployment, a heavy hitter (Omega + Lambda) on either side, Varangians on one side, Hippolyta on the other. The Gangbuster and Sirius covering both sides of the midfield, and a smattering of Yudbots for the Lambda doctor everywhere. His Alpha was on the left, tucked behind a building way in the back of his deployment zone.
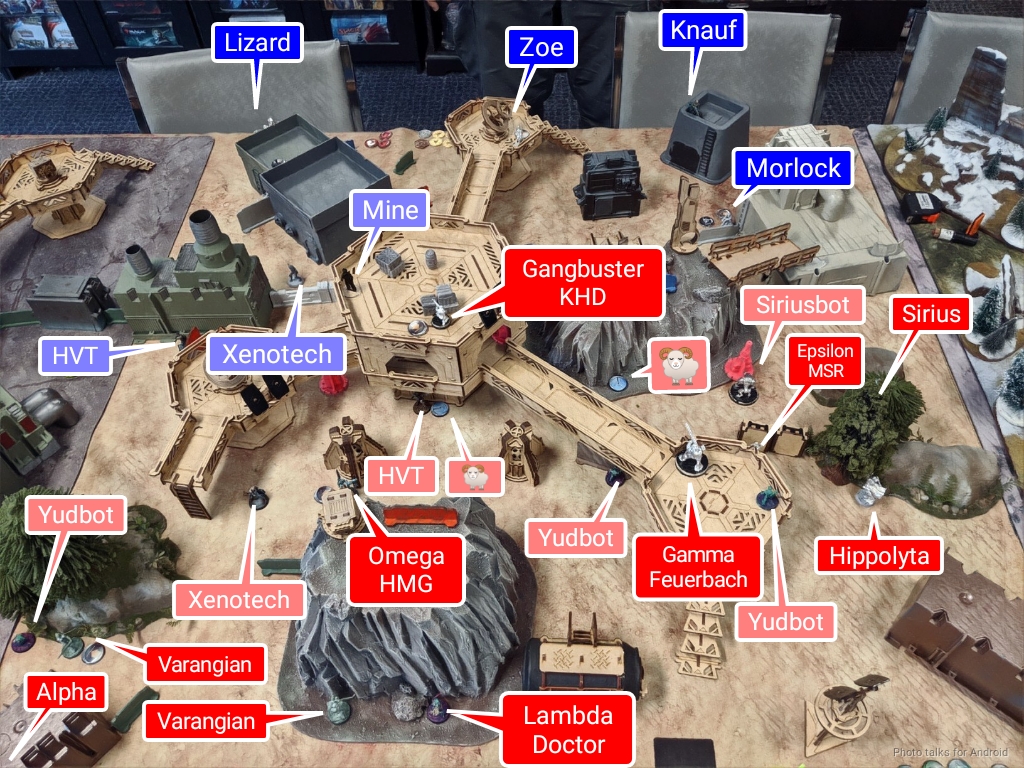
At this point, there were so many scary things on Isaac’s side of the table that I knew I’d have to be really careful in setting up a defense. Just enough had to be left out ARO, and I’d have to defend a lot of corners. Isaac told me he would have two reserves (the Lambda and Epsilon) so I knew I’d have to set up two safe spots for the TAG to live.
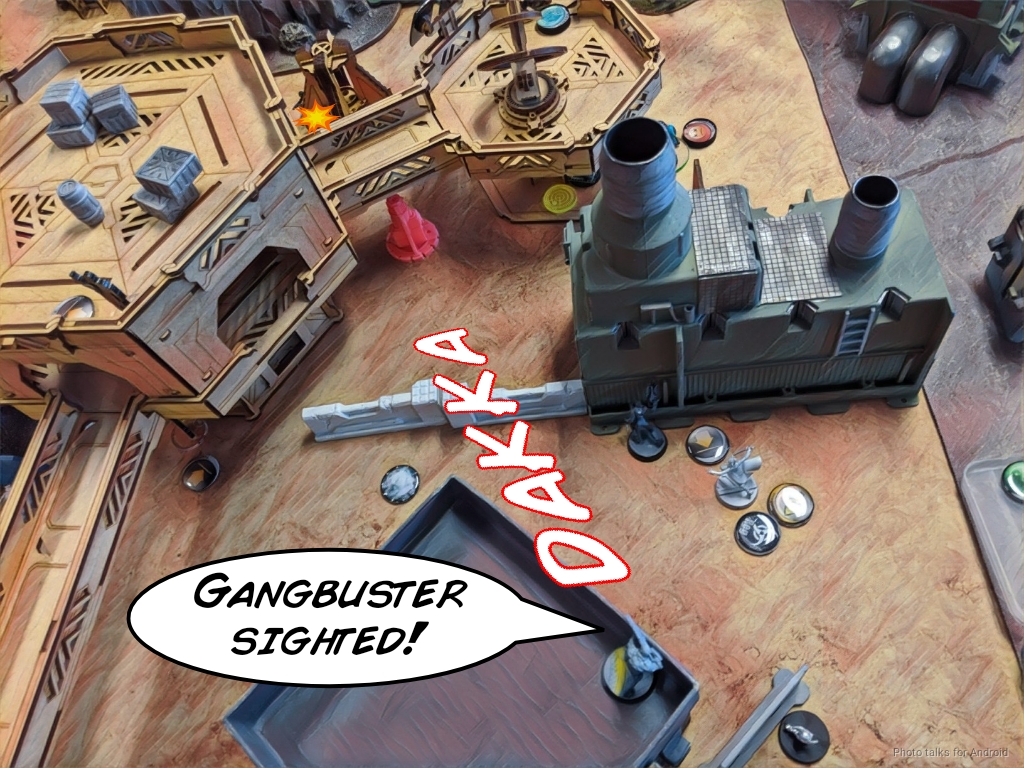
There were basically only two spots to hide the TAG, on the left behind the dark grey building, and on the right behind the smaller of the two boxes. I set up some chain rifles (or chest mines in the case of the Krakot) on either side, and then screened access to my Interventor with Pi Well. Zoe hid on a roof, without much else to do, and then I cheekily put a mine covering the Gangbuster with the Libertos and the Zero KHD lurking below.
Isaac put the Epsilon on the left to back up the Sirius, and the Gamma on the left to challenge Knauf, who was watching Hippolyta’s avenues of approach. I stuck the Gecko all the way on the right, as far away from Hippolyta’s EXP CCW as possible.
Turn 1
Top of 1 – O-12
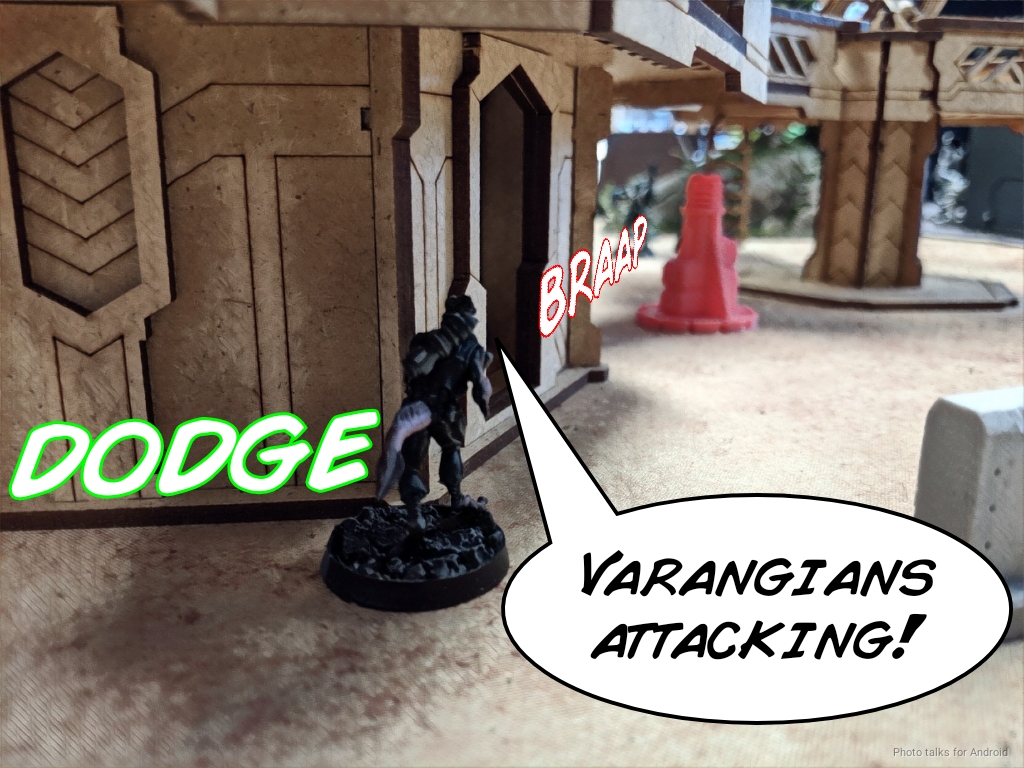
Isaac elects to cancel Hippolyta’s impetuous order and the two Varangians advance safely. I missed that the Epsilon can see the Libertos inside the ground floor of the big central building, so Isaac starts things off by discover+shooting my poor fishman. I leverage HyperDynamics L2 to dodge out of the building safely.
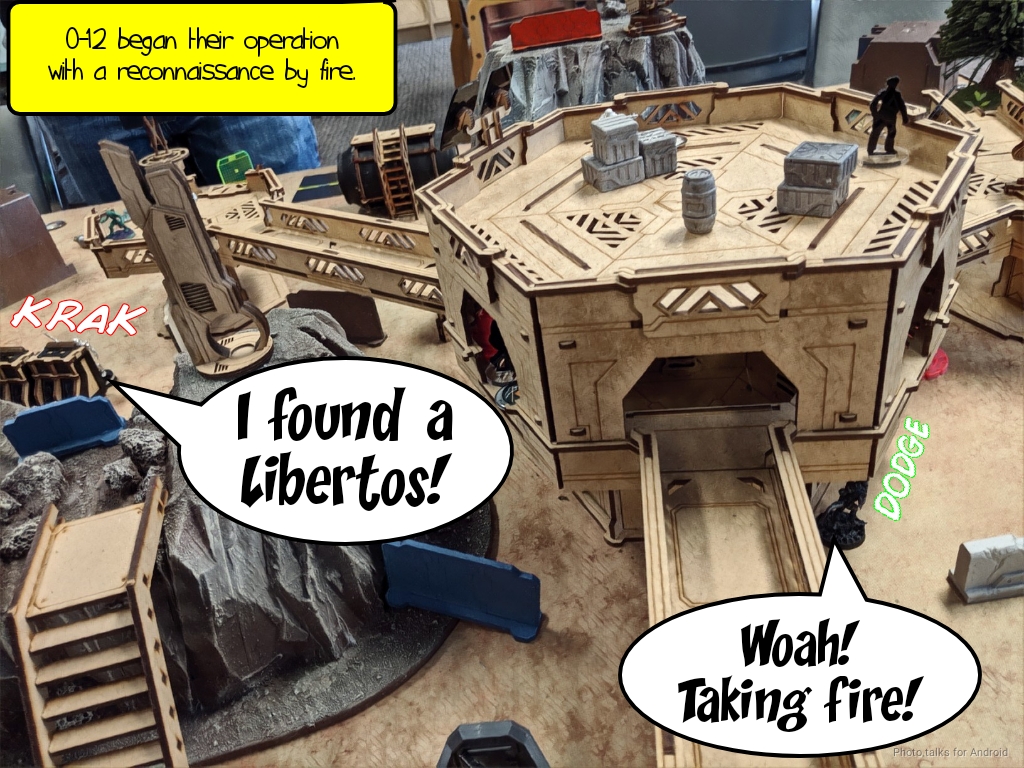
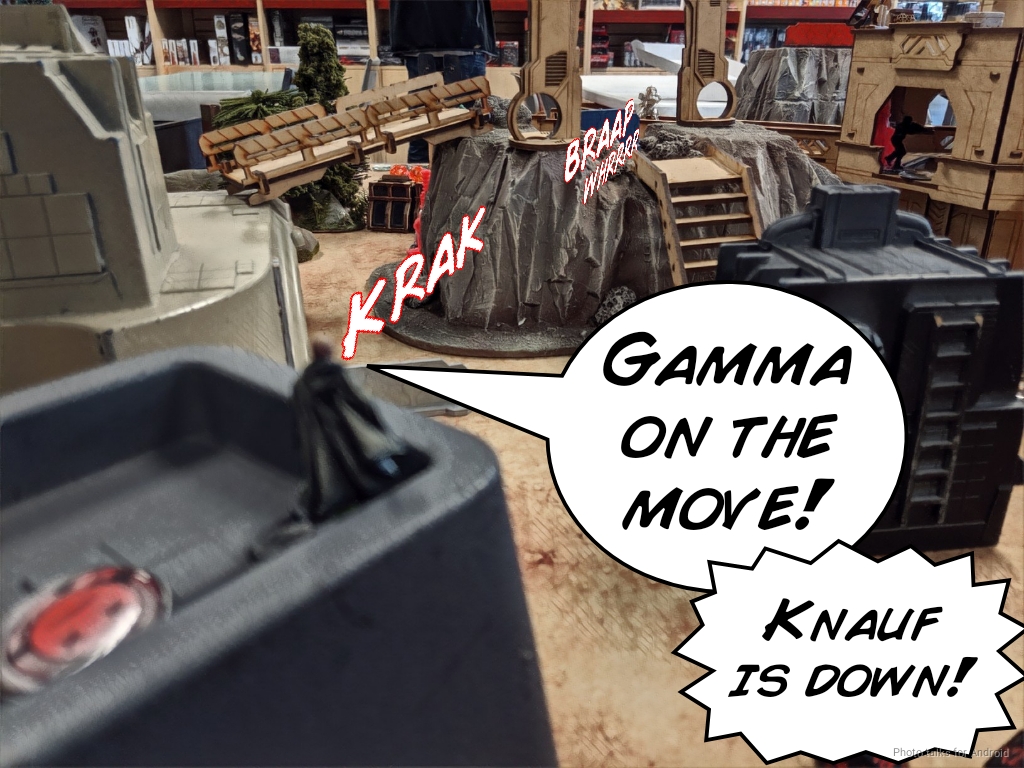
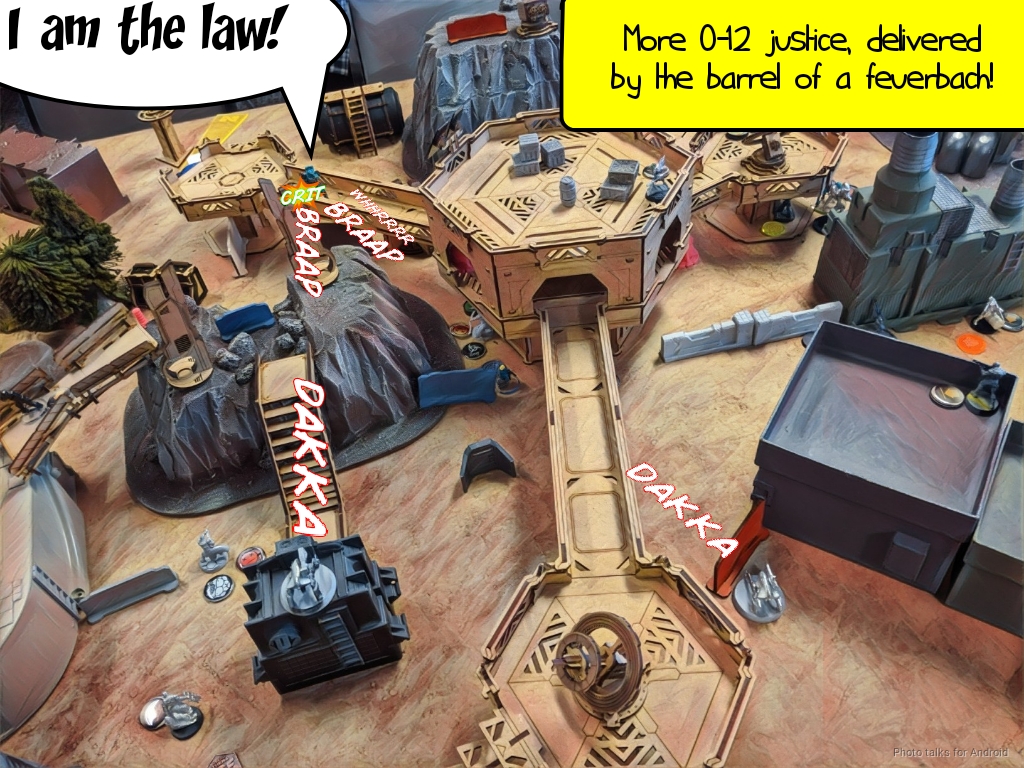
The Gamma can see Knauf after moving a bit, and it only takes one order to drop him. Boo!
Isaac tries to get rid of the Libertos with one of the Varangians’ SMGs, but I dodge around the corner to safety.
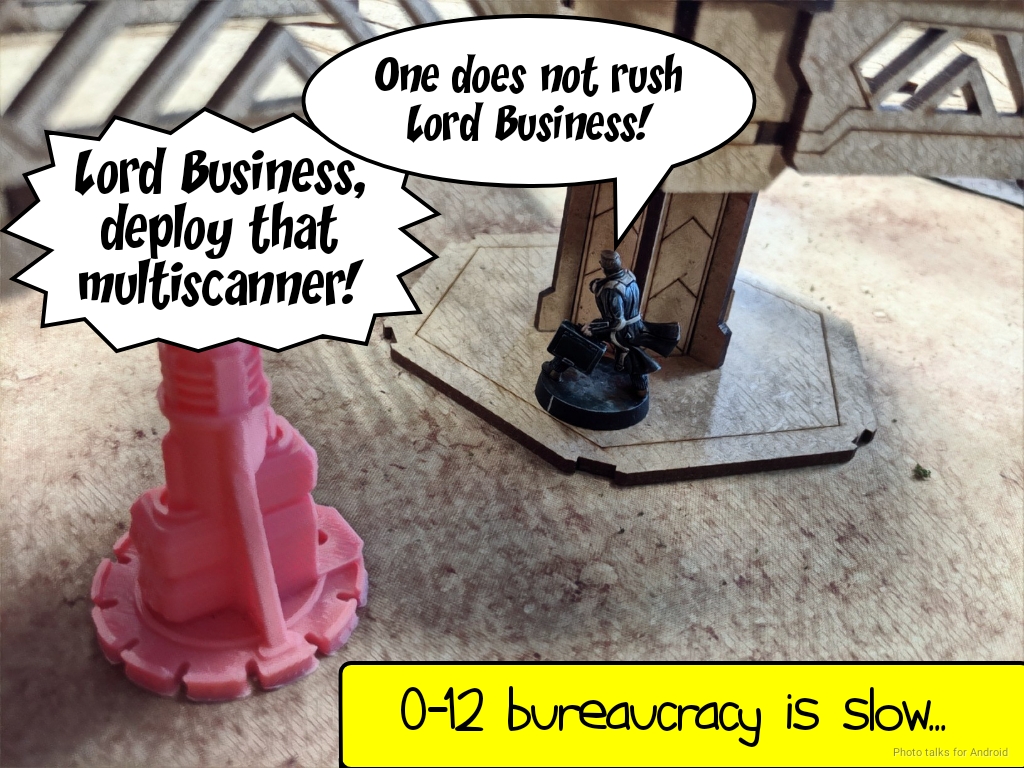
This lets the Omega start wandering around while ordering Lord Business (Isaac’s Xenotech) to deploy the Multiscanner. It takes two orders but it finally got done.
This does let the Omega get into a position where it can see my Zero KHD to discover it on the second short skill. I hope Isaac will roll poorly, but he discovers successfully.
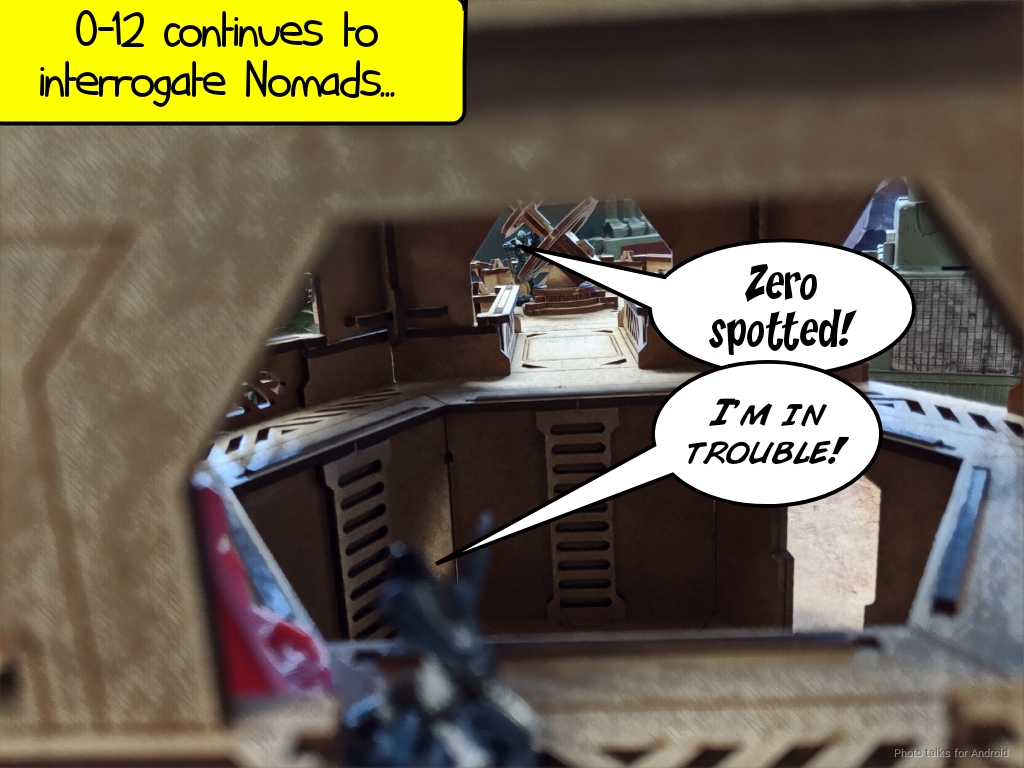
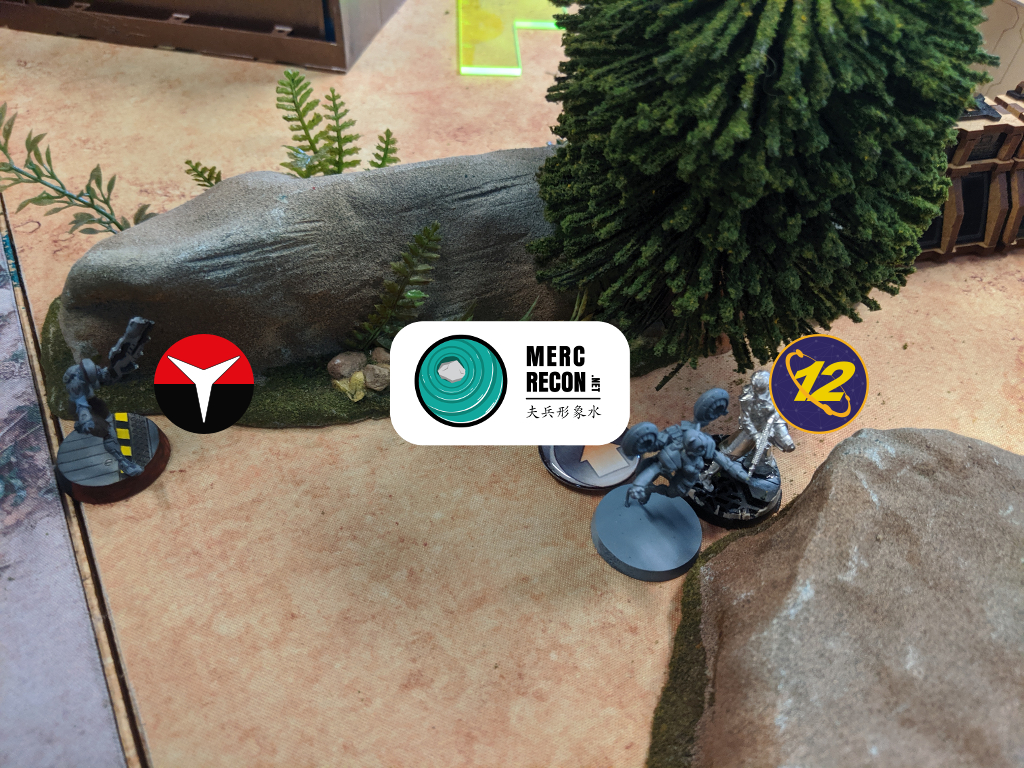
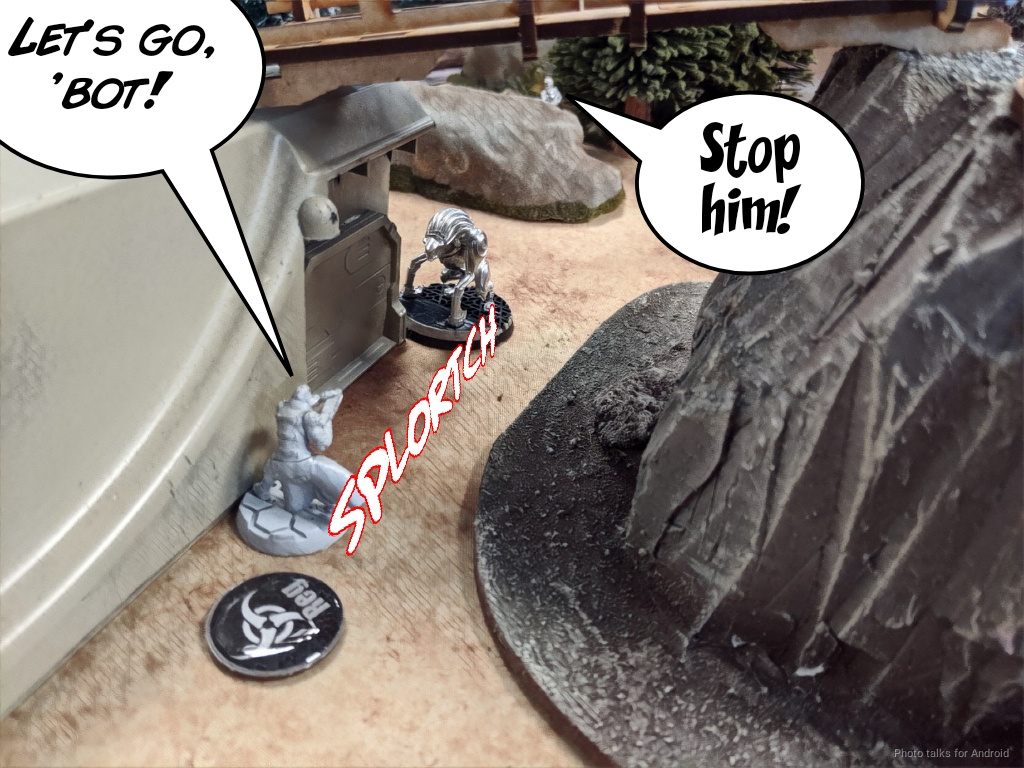
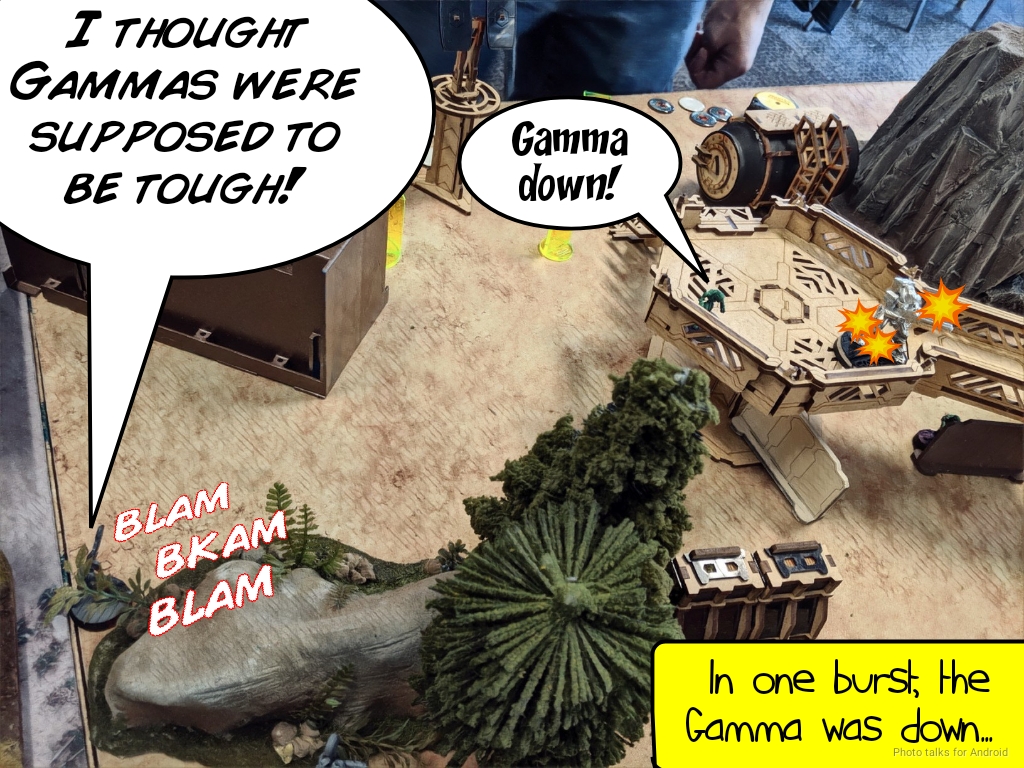
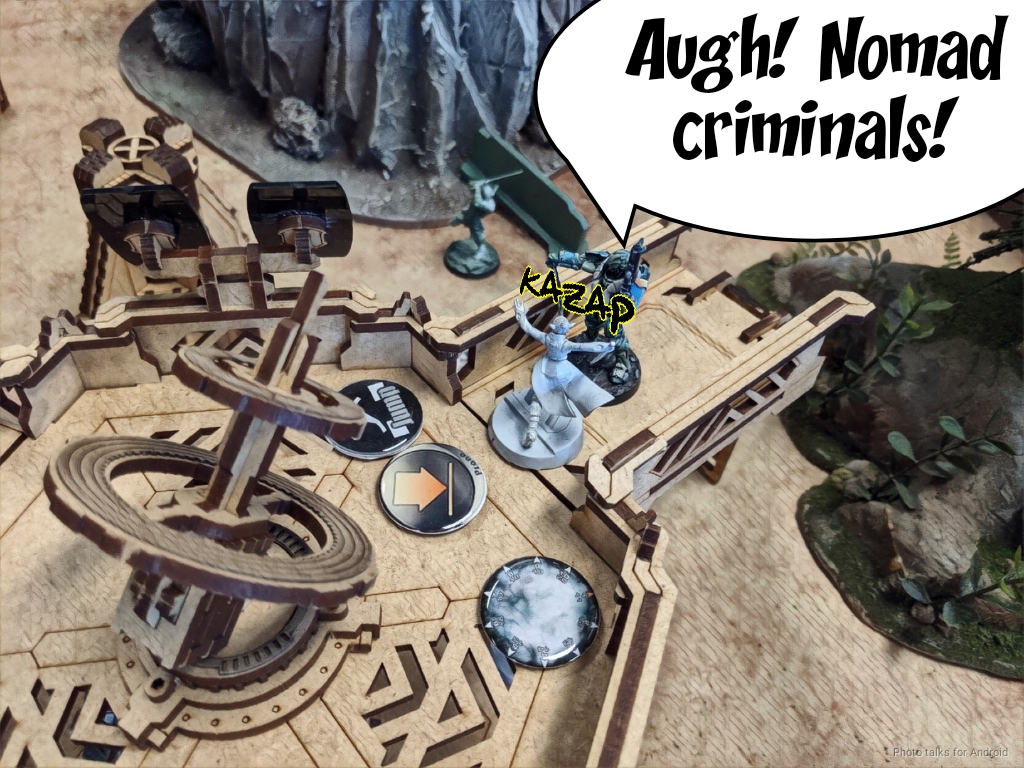
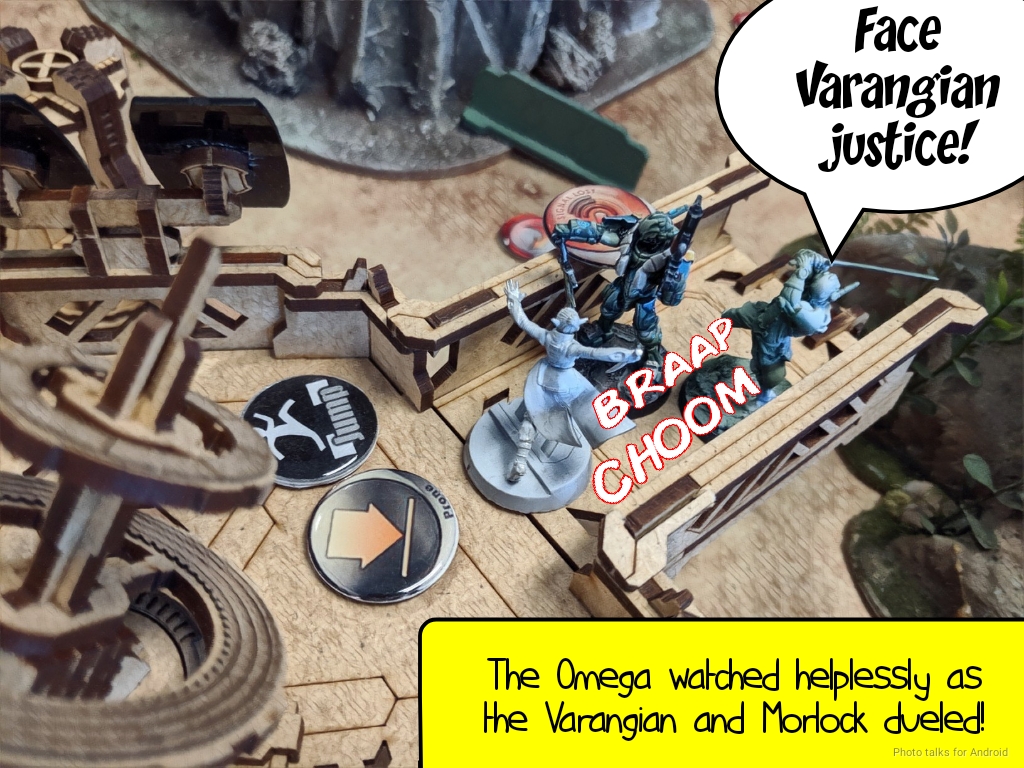
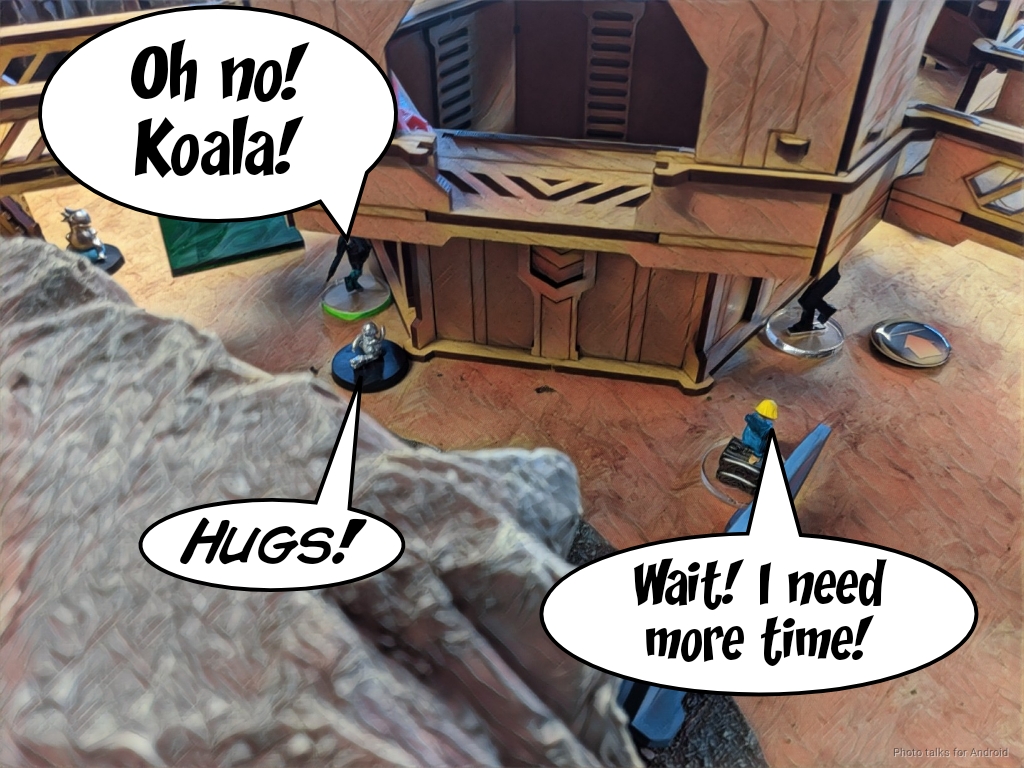
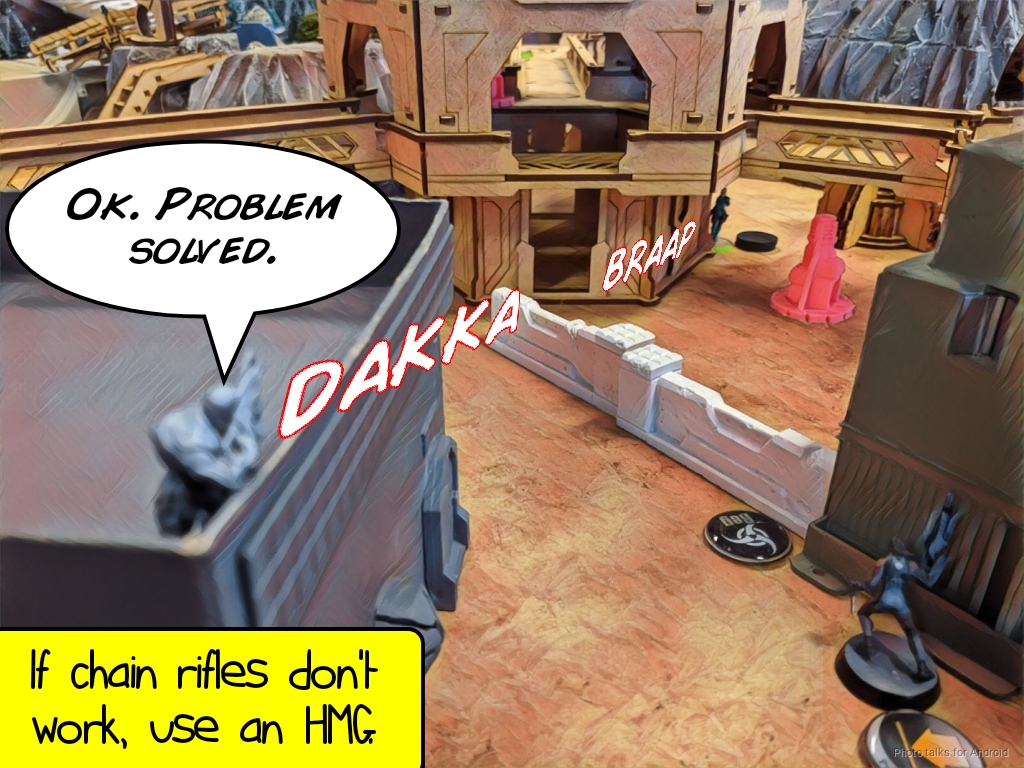
Isaac’s got a few more orders so he decides he wants to get Hippolyta into the fight. She super jumps into view of the Zero KHD and the Libertos, forgetting that the Zero has a light flamethrower thanks to the special tournament rules!
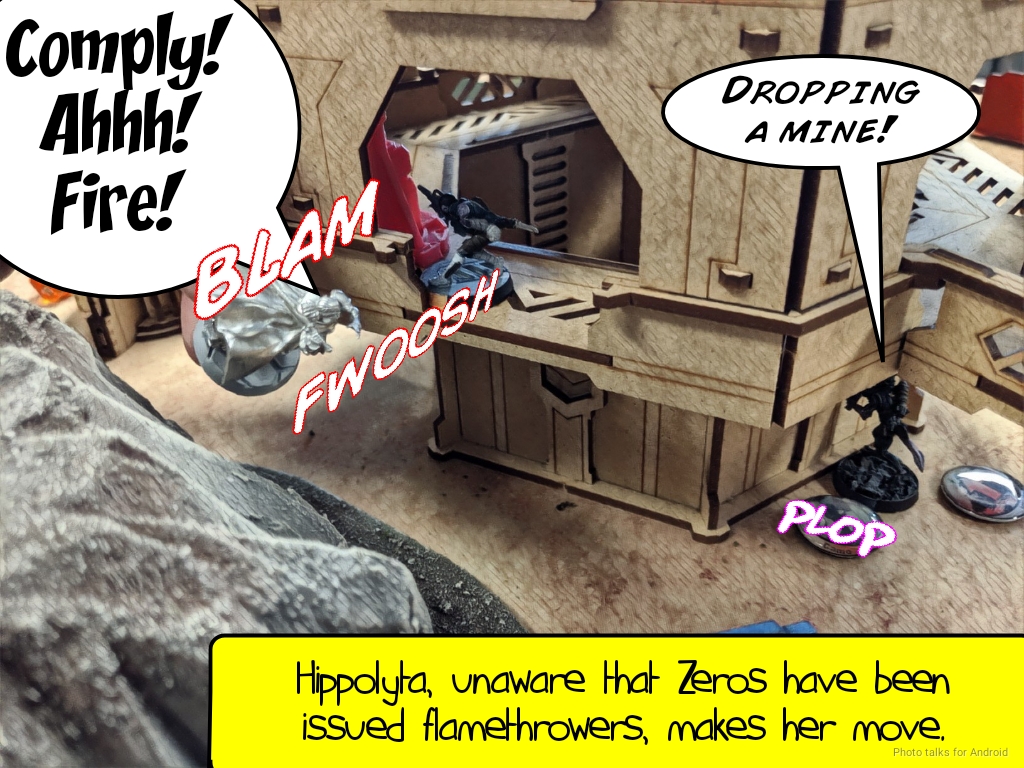
I drop a mine with the Libertos and torch Hippolyta with the Zero’s flamethrower, burning off her ODD and a wound, putting her into NWI. I lose the Zero and the Libertos goes dogged as a result of her breaker combi rifle fire though. After a bit of mild self flagellation for his perceived mistake, Isaac decides to commit Hippolyta to try and take out two Morlocks.
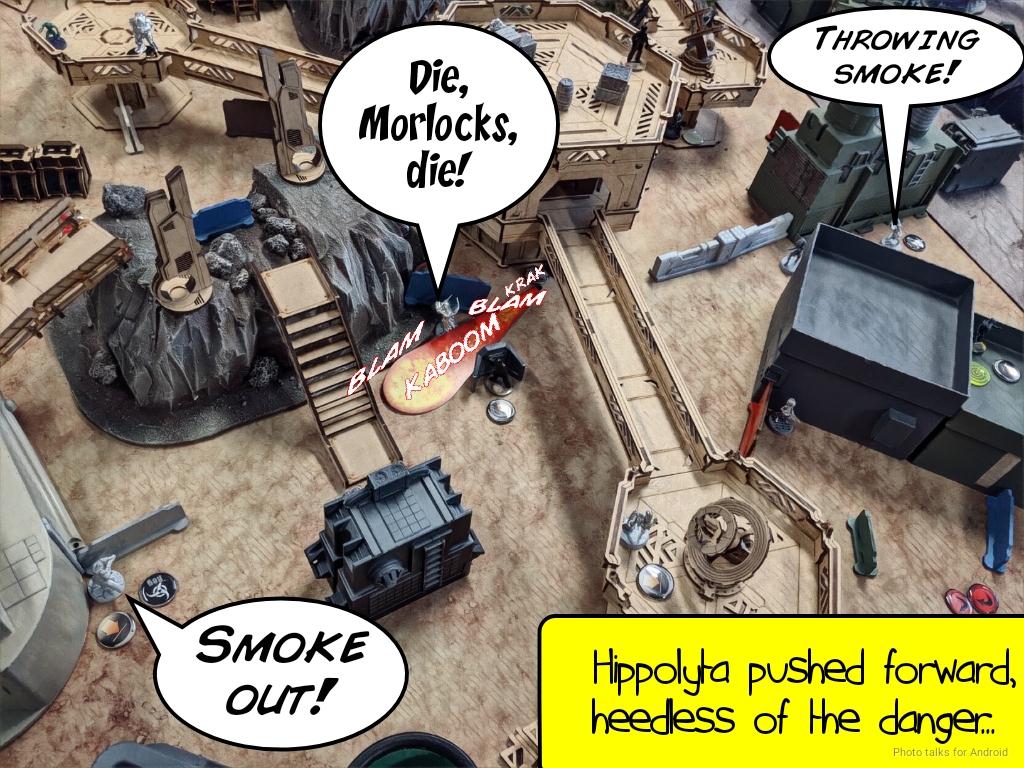
Both Morlocks successfully protect themselves with smoke, and Hippolyta goes down to a combination of the mine and the Libertos’ shotgun. With his last order, Isaac shifts the Siriusbot into a more aggressive position covering my Morlock.
Bottom of 1 – Nomads
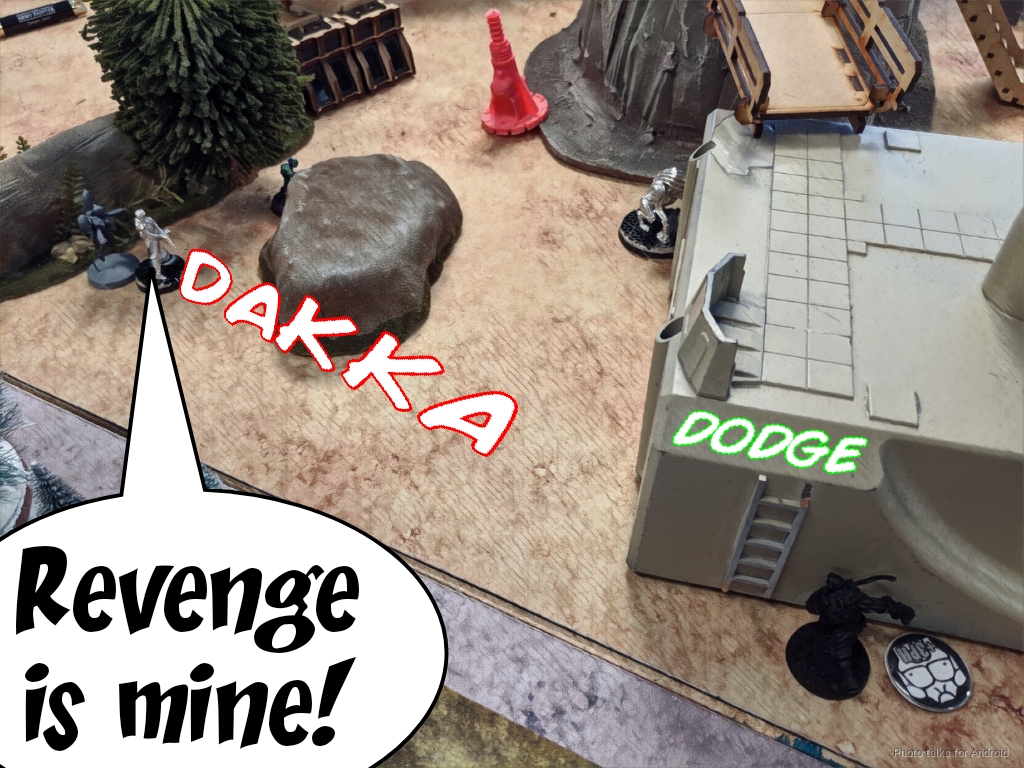
I sacrifice the Morlock staring down the Siriusbot to a cloud of riot adhesive and throw smoke for the Krakot. The other two Morlocks make it safel though. I spend some time discussing the finer points of LoF with Isaac, regarding the Krakot’s approach to the Sirius, and even with the Morlock’s smoke there’s no safe way forward under the watchful eye of the Gamma.
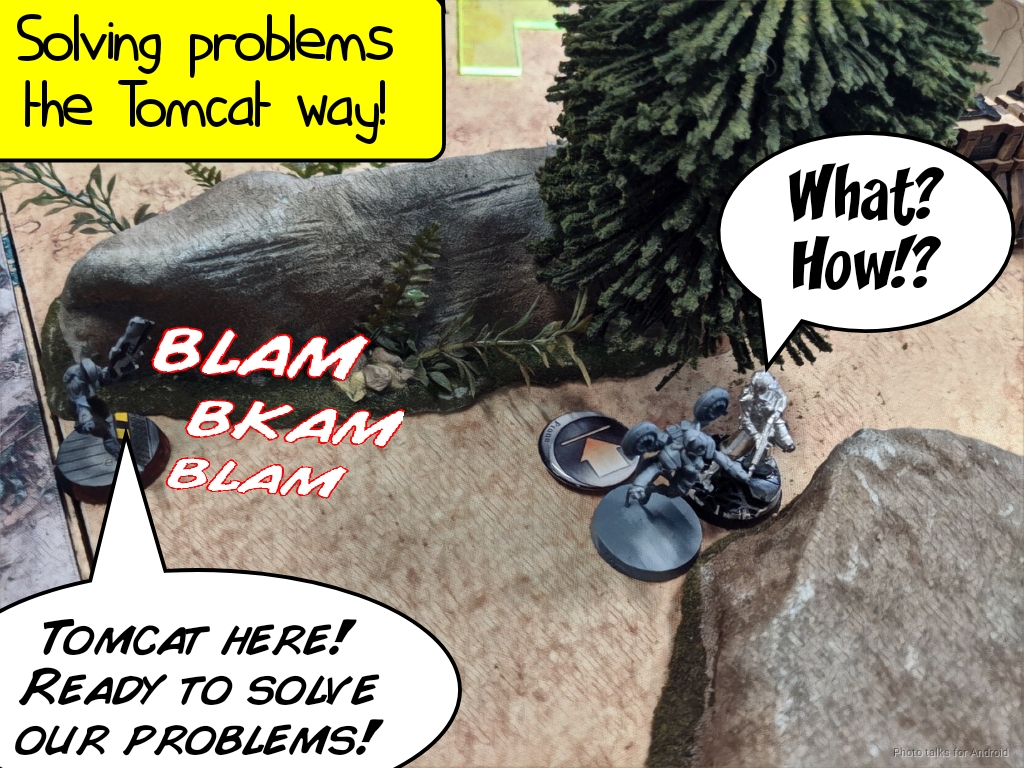
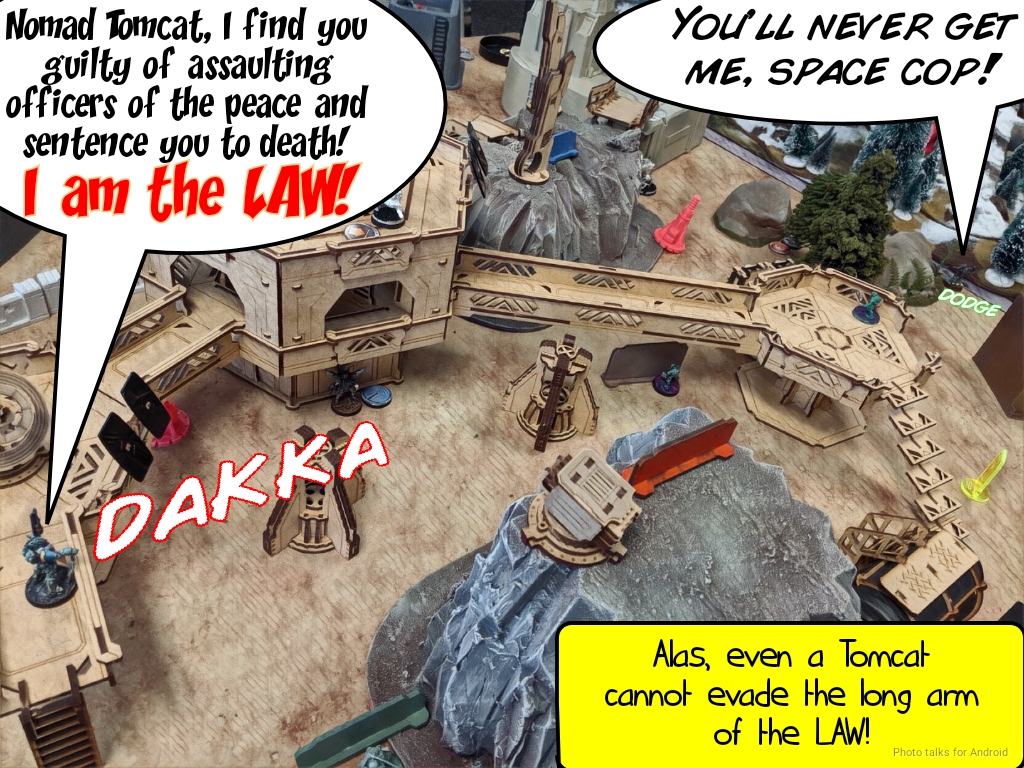
Well, all that means is that it’s Tomcat time. I bring on the Tomcat and threaten an electric pulse. Isaac dodges in response, but the Tomcat’s rifle fire drops it unconscious.
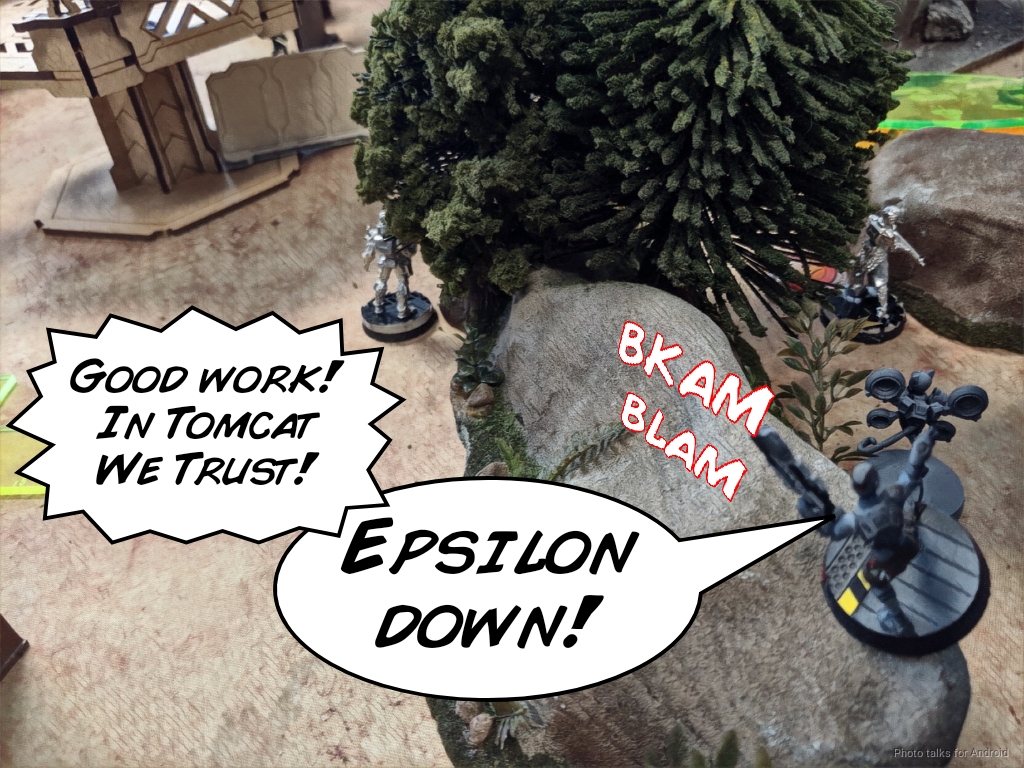
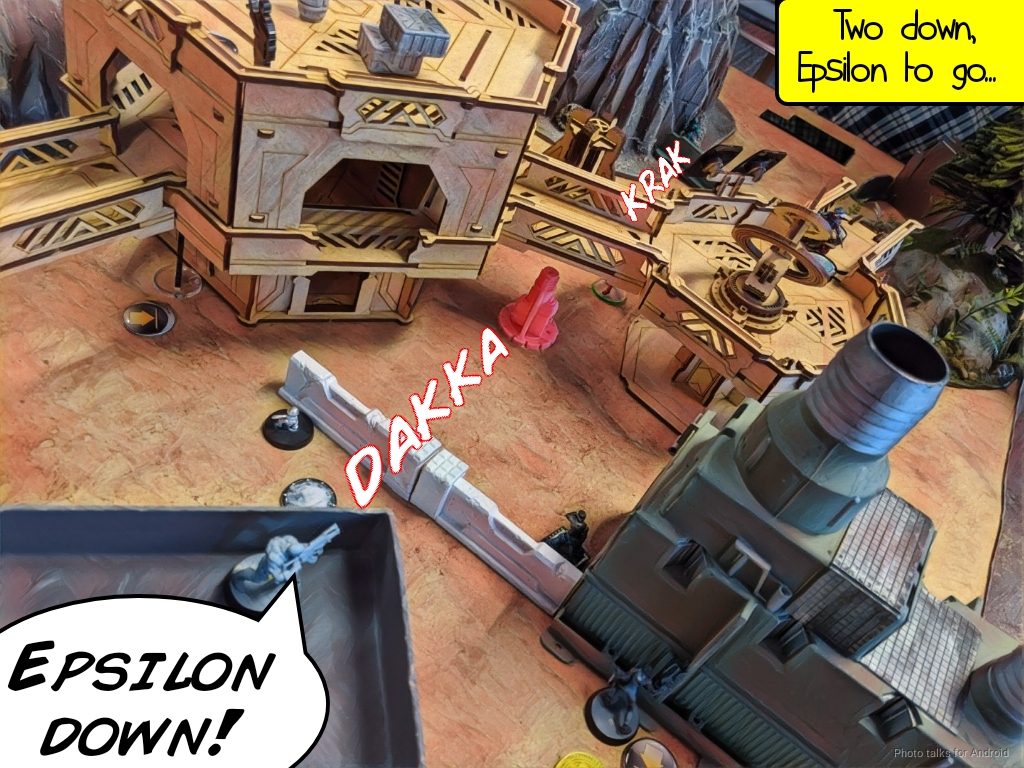
Some light bouldering later, the Epsilon is down for the count as well!
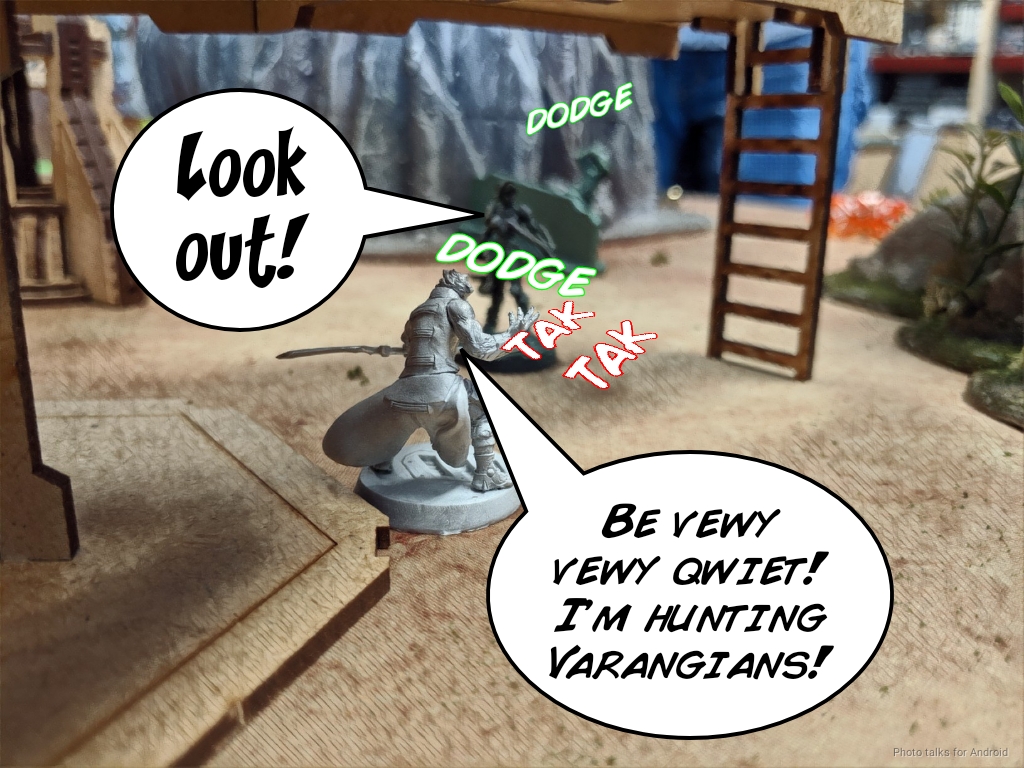
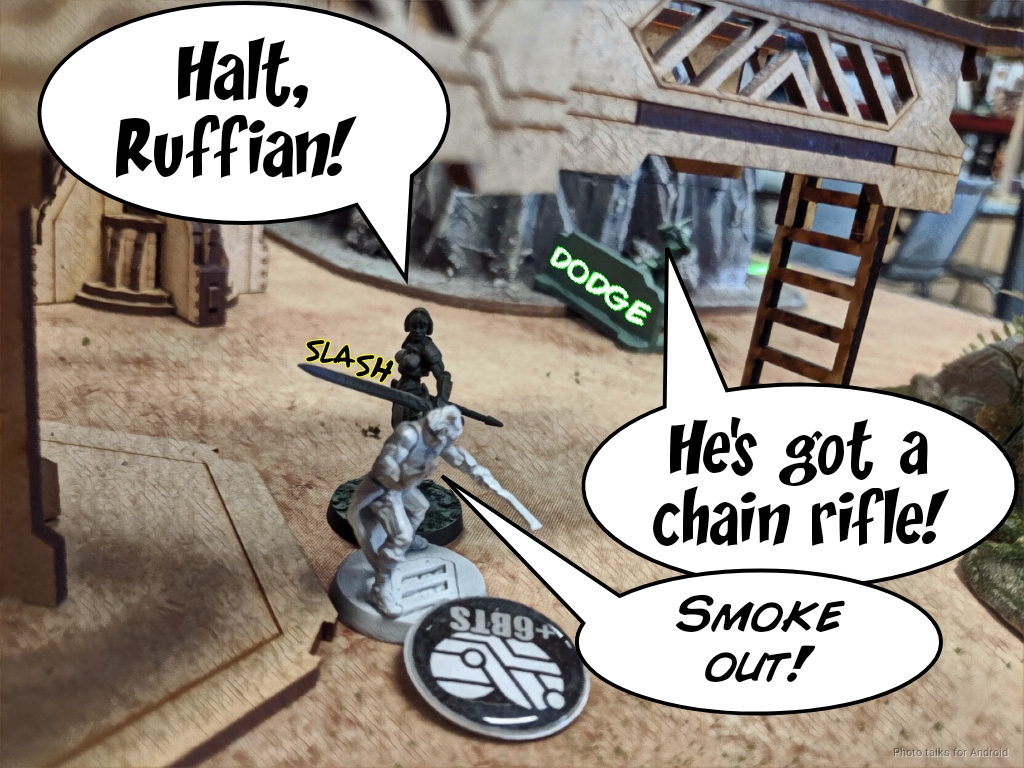
I spend a command token to slingshot a Morlock on the right into chain rifle range of both Varangians. They dodge, and I attempt to pistol one down but whiff. At least I left the Morlock in an inconvenient spot for Isaac on his turn.
I really want to get rid of the Gamma. After failing to take it out with the Lizard’s tactical awareness order, we discover that the Tomcat is in its rear arc! I take advantage of this, and in a single burst cause three failed ARM rolls, shooting it off the table! Almost as good as shooting Joan off the table in one order with a Chasseur!
I didn’t have any more orders after that, but I think that was a pretty good final order of the turn!
Turn 2
Top of 2 – O-12
After not spending the Varangians’ impetuous ordres, Isaac starts things off by exacting retribution for the downed Gamma by shooting across the table with his Omega. Sadly, this is enough to drop my Tomcat.
Isaac then demonstates the superiority of O-12 over PanO by picking up the Epsilon…
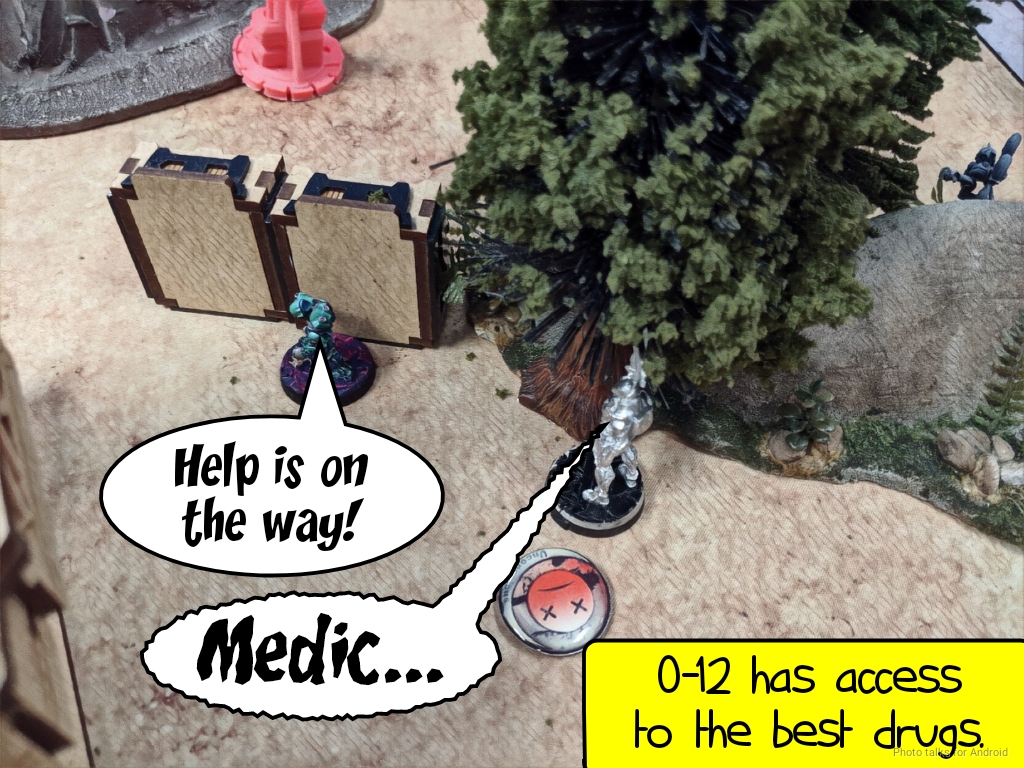
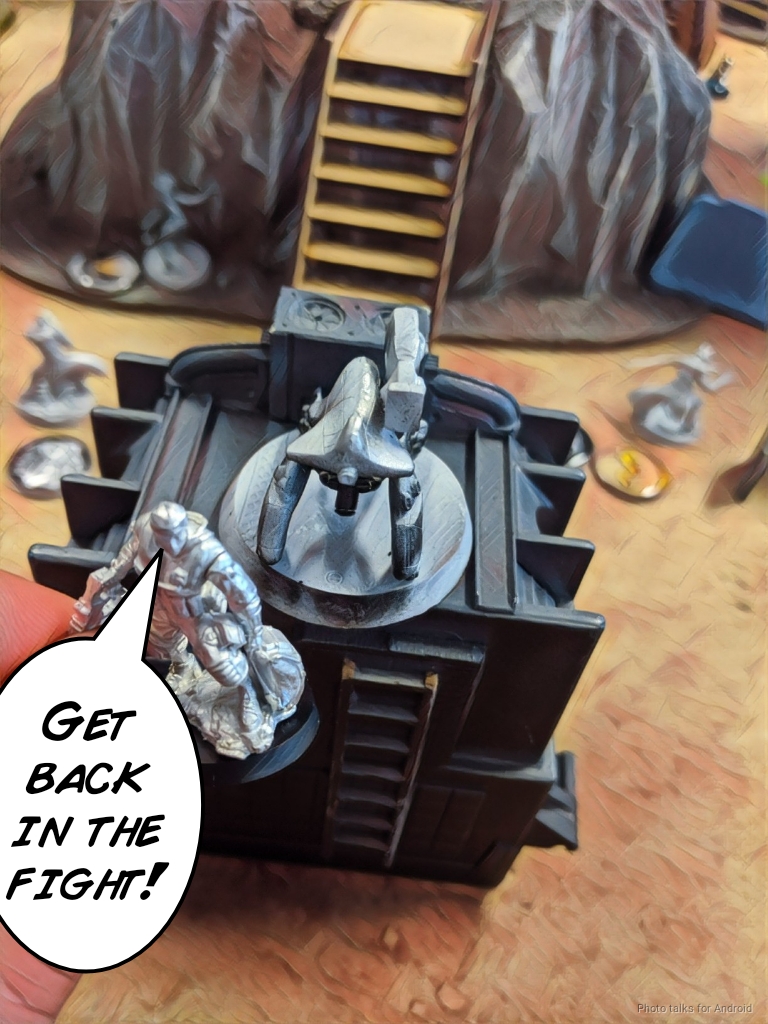
and the Sirius with his WIP 14 Lambda doctor! It still takes him a command token, but at least the Lambda’s Yudbots weren’t issued with pistols instead of MediKits. I suppose the real takeaway is that O-12 quartermasters are better than PanO ones? I dunno.
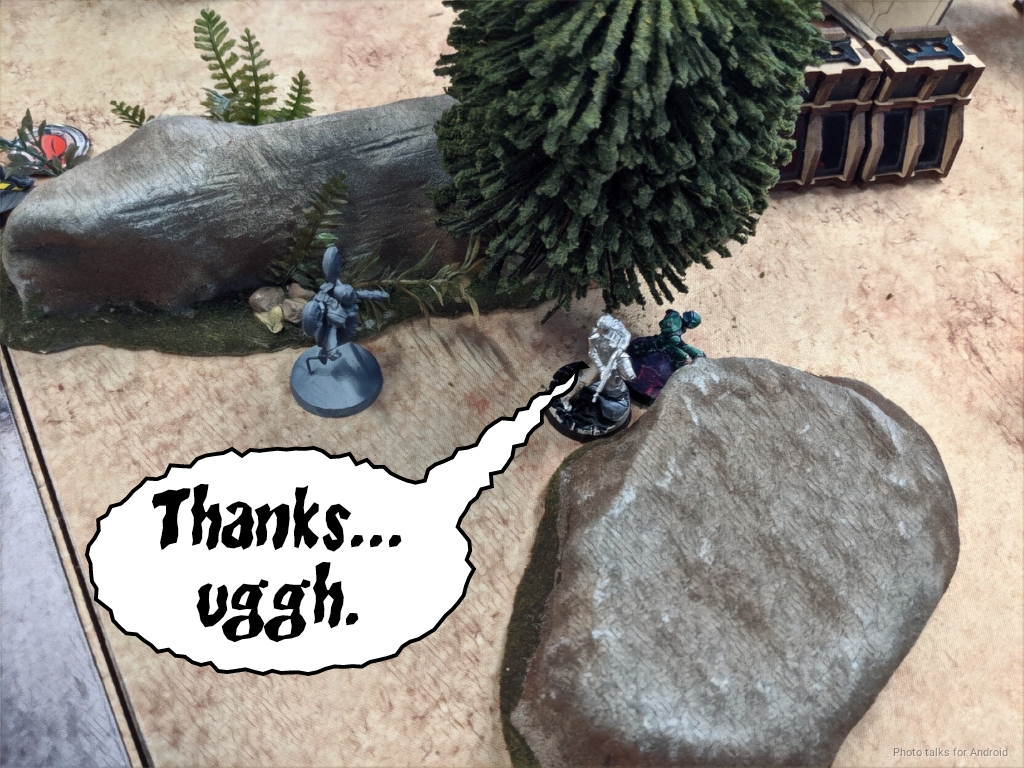
The freshly healed Sirius Red Furies down my Krakot, and then Isaac carefully doesn’t activate the Varangians in the face of my Morlock’s chain rifle.
Bottom of 2 – Nomads
My threatening Morlock moves into base to base with the nearest Varangian. Isaac Berserks in response, with the other Varangian dodging. I surprise him by throwing smoke to protect the other Morlock, sacrificing this one to the Varangian’s sword.
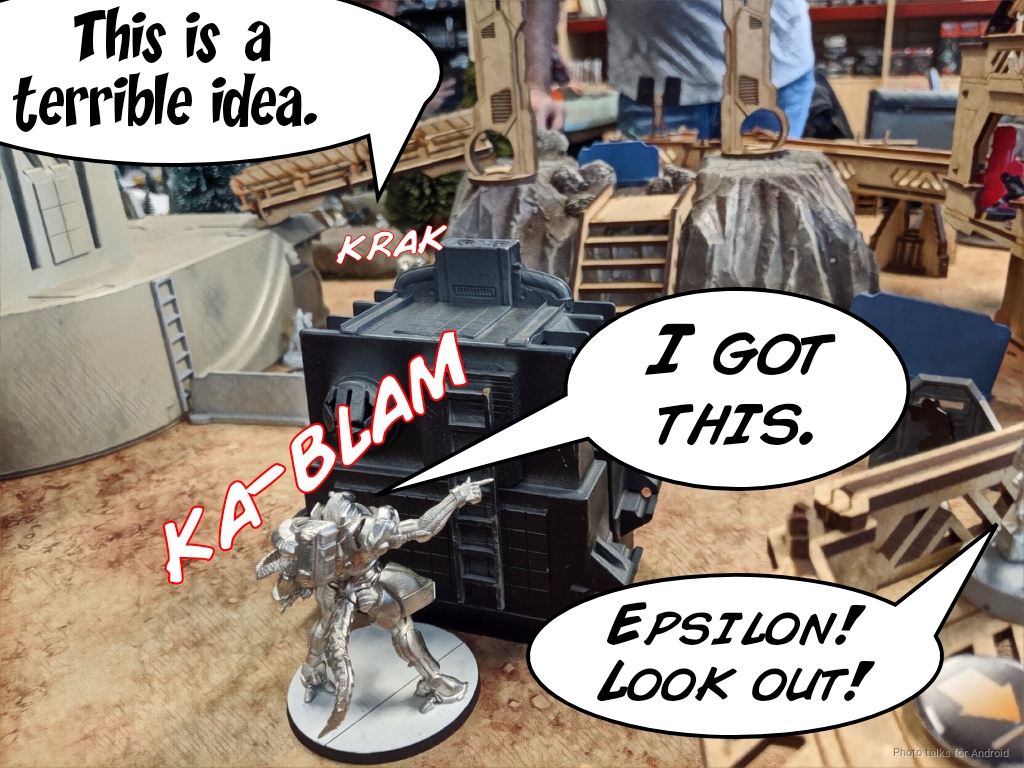
This lets me carefully super jump onto the Omega’s roof, throwing smoke and crawling into place to avoid getting shot through the smoke by the Epsilon. I get one swing in on the Omega, and while it’s not a crit, Isaac fails BTS and passes ARM, meaning the Omega is IMM-2 and Isolated!
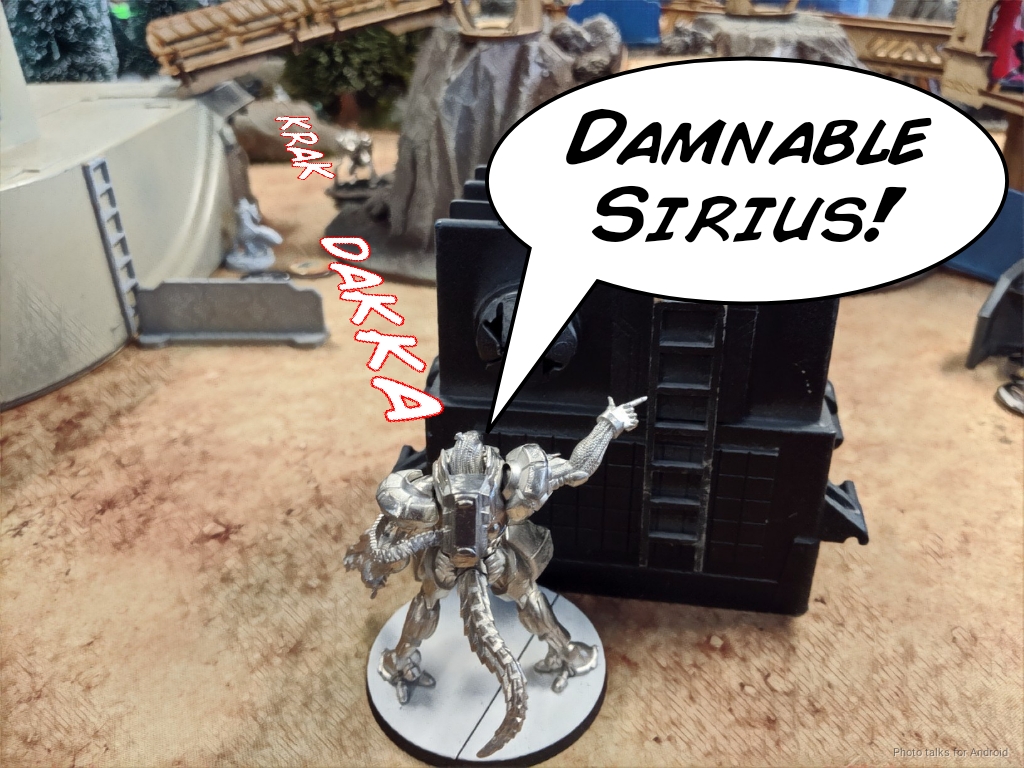
With the Gamma gone, I can push my TAG away from the Varangians and towards Isaac’s weaker flank on my left. I spend pretty much all of my remaining orders trying to take out the Sirius and failing, with Red Fury rounds just bouncing off the TAG’s armor as I lose face-to-face after face-to-face roll. I spend my last order shooting the Siriusbot unconscious as well before passing turn, throughly discouraged by the TAG’s performance.
Turn 3
Top of 3 – O-12
The Varangians swarm the Morlock on the catwalk and drop her. Ah well. She did her job.
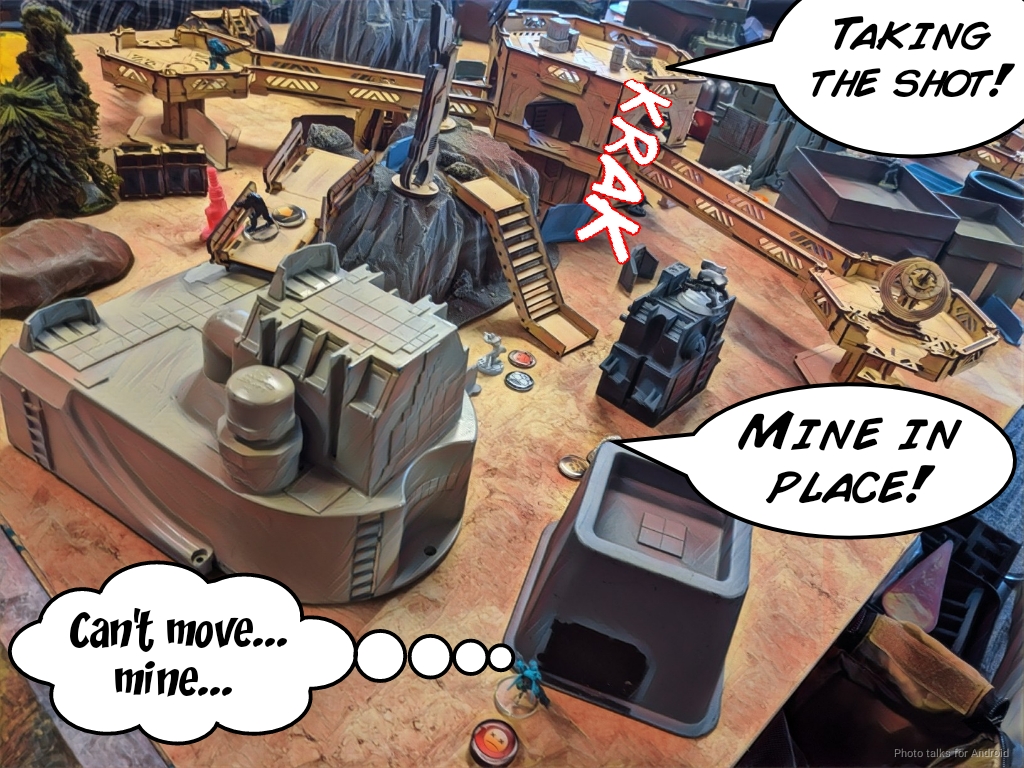
Then one of the Varangians normal jumps into view of the mine covering the Gangbuster and clear it, surviving the mine and the fall damage! UGH.

Isaac’s got a few orders left to try silly things, so he announces (loudly) that he’s going to do something very stupid. He gets the Epsilon into LoF of the Lizard and immediately loses it to a EXP round.
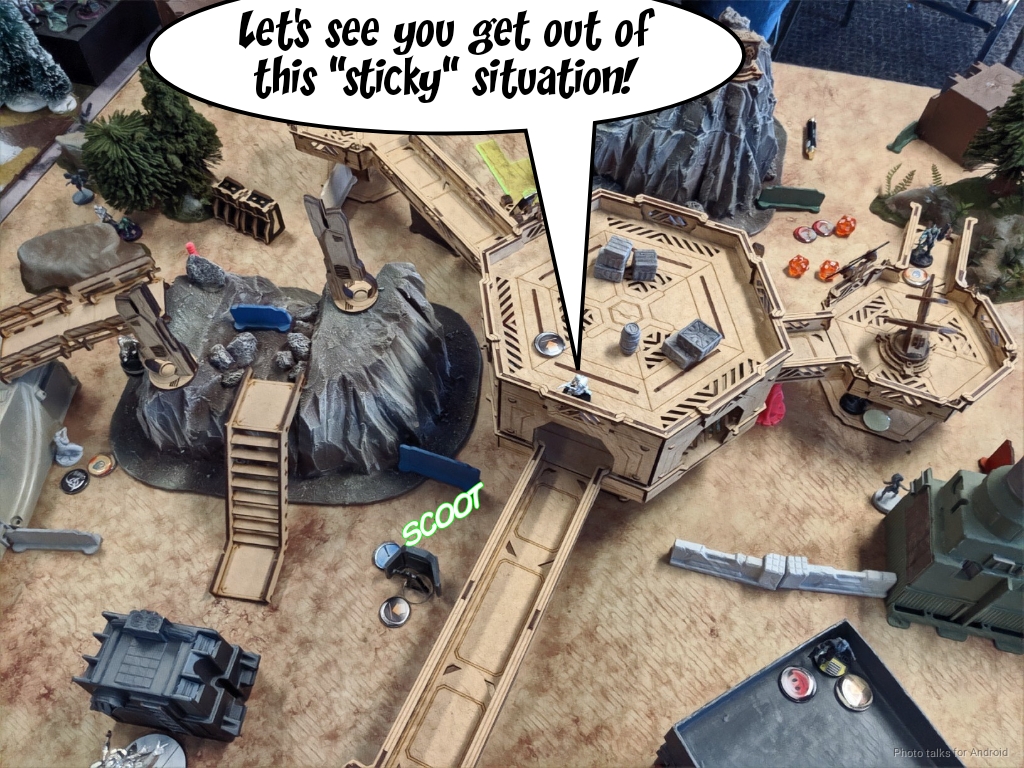
He spends the last orders of his turn advancing his Alpha and very carefully getting the Gangbuster pushed forward along with its MadTraps, hoping to glue my Lizard.
Bottom of 3 – Nomads
I dash his hopes by clearing the MadTraps with a successful dodge from my remaining Zero. The rest of my turn is just driving my Lizard across the board, gunning down the Sirius and tanking some rounds from the Alpha.
I manage to get the Lizard all the way into the far zone, out-pointing the Alpha and the Omega there. Isaac’s got the middle zone on lock, but I have my near zone and am securing his HVT, making it a
7-3 Nomad Victory!
Post Game Analysis
That was a really tough game. I think I leveraged my tools really well at the right points and got lucky with some key dice rolls. The Tomcat taking out three models was very strong, especially just one-shotting the Gamma. That was pretty statistically aberrant, with only a 2.57% chance of doing all three wounds!
Using the Morlock to take out the Omega was also great, and is exactly why I consistently take the E/M CCW variant. Sometimes you just need a one-shot-stop and a 6 point Morlock can deliver that for you. I keep hearing feedback from others about my list that I need some more regular orders in group two. I agree, I would love to have some, but it seems to be working so far… it’s just not as bursty of an attack option, you have to develop it over the course of multiple turns. It requires patience.
This being the first game against O-12, I think it’s warranted to discuss them a little bit. They have an excellent shooting game with lots of mod stacking or high armor. The Gangbuster is also a standout profile. Isaac and I discussed the game a little bit on the walk to lunch from the game store, and he and I both agreed that he misplayed Hippolyta. Saving her for a turn two push would’ve been more effective. The Omega and Gamma are of course standout profiles–I honestly would take the Gamma Feuerbach as my lieutenant, having played the Kriza so often. The Alpha is a good (if obvious) option as well.
The Team Sirius combination is also very effective. The Red Fury gives them a lot of striking power and the mimetism is very effective as well. MSV is definitely something to start prioritizing if your meta has a lot of O-12 in it. A very elite army that requires some careful play. To me, it seems like a mix between PanO and Nomads that is very distinct from ForCo. All the Nomad tricks, but PanO gunfighter quality. There are just so many troops with BS14! Always a great game with Isaac.
Game 2 – TR Not
After lunch it was time to face another O-12 player, Joel (Paladin_Eks)! He’s a player with broad experience across multiple armies. I’ve seen him play Druze, Tohaa, JSA, and now O-12. All very different experiences! I was excited to see his take on O-12 and how it differed from Isaac’s.
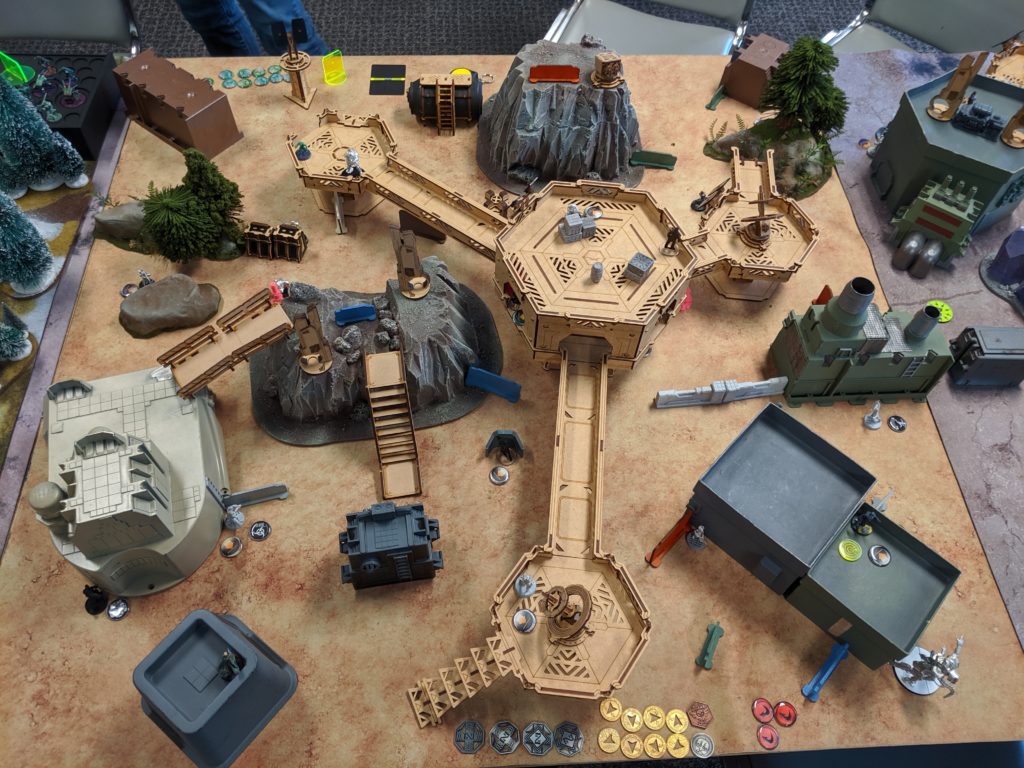
We ended up playing on the same table, with me taking the same side. We left the table choice up to a die roll, so not much to be done about that! I liked my side better and wanted to capitalize on knowing the battleground.
Overview
- Mission: Acquistion (Xenotech Narrative)
- Forces: Nomads versus O-12
- Deploy First: O-12
- First Turn: O-12
GROUP 1 |GROUP 2 |
INTRUDER Lieutenant Combi Rifle + Light Flamethrower, Grenades / Pistol, CCW. (0 | 35)
MORAN (Forward Observer) Combi Rifle, CrazyKoalas (2) / Pistol, Knife. (0.5 | 22)
ZONDNAUT Hacker (Assault Hacking Device) Combi Rifle / Pistol, Knife. (0.5 | 31)
REAKTION ZOND HMG / Electric Pulse. (1 | 26)
MONSTRUCKER Submachine Gun, Chain Rifle, Drop Bears / Pistol, Knife. (0 | 13)
5 SWC | 299 Points | Open in Infinity Army
I had originally planned on taking my Lizard list for Acquisition, but at this point I knew we weren’t going to get in a third game and wanted to play my other list. I had designed this list for Supplies, hence the Zondnautica and the plethora of midfield specialists. I decided that I would just try and play a careful board control game and make a run on the last turn to secure the objectives. With two Morans, two TR Bots, and a pair of Intruders backed by Morlocks I felt that this should be pretty achievable.
GROUP 1 |GROUP 2 |
WILD BILL Rifle / 2 MULTI Pistols, Knife. (0 | 27)
DEVA (Multispectral Visor L2) Spitfire, Nanopulser / Pistol, Knife. (1 | 33)
DELTA Hacker (Killer Hacking Device) Combi Rifle + Light Riotstopper, D-Charges / Pistol, Knife. (0 | 25)
KAPPA Lieutenant Combi Rifle / Pistol, Knife. (1 | 12)
6 SWC | 300 Points | Open in Infinity Army
Joel brought a similar list to Isaac, dropping the Omega to get some more Varangians, a Delta, and a few orders in the second pool to get some button pushing done. To retain some gunfighting ability, he added a Deva and Wild Bill.
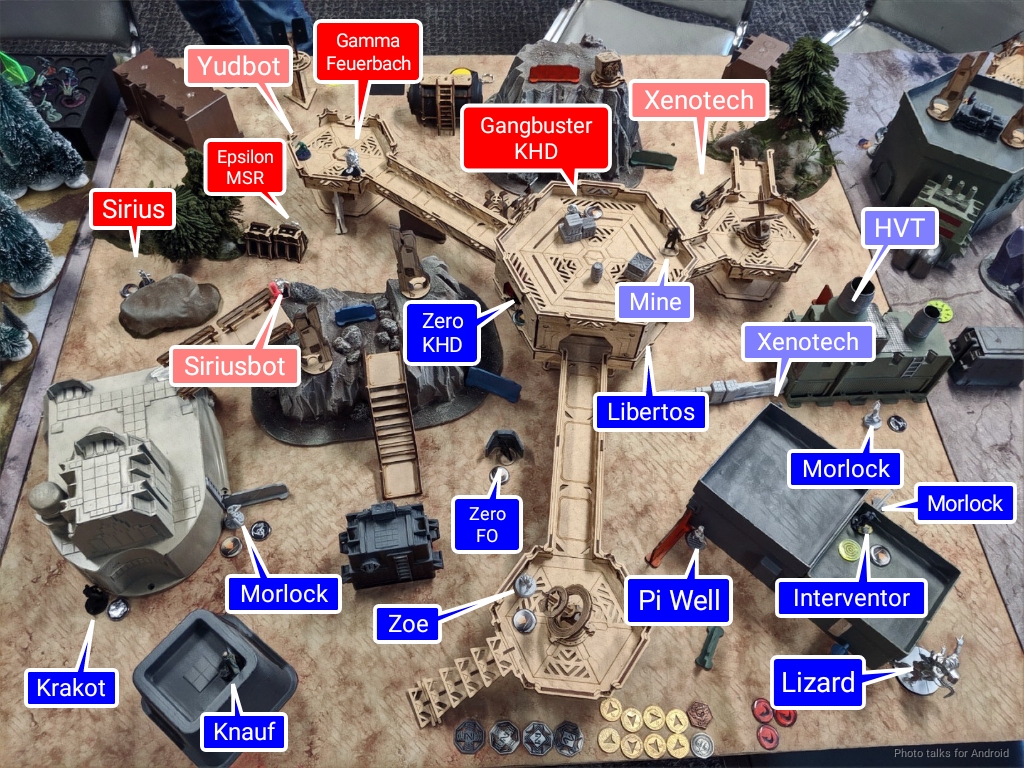
Deployment
Joel set up a little differently than Isaac. The Gamma ended up in the exact same place though. He hid both Kappa Lt options in places of safety deep in his deployment zone, then strung some Varangians across his lines.
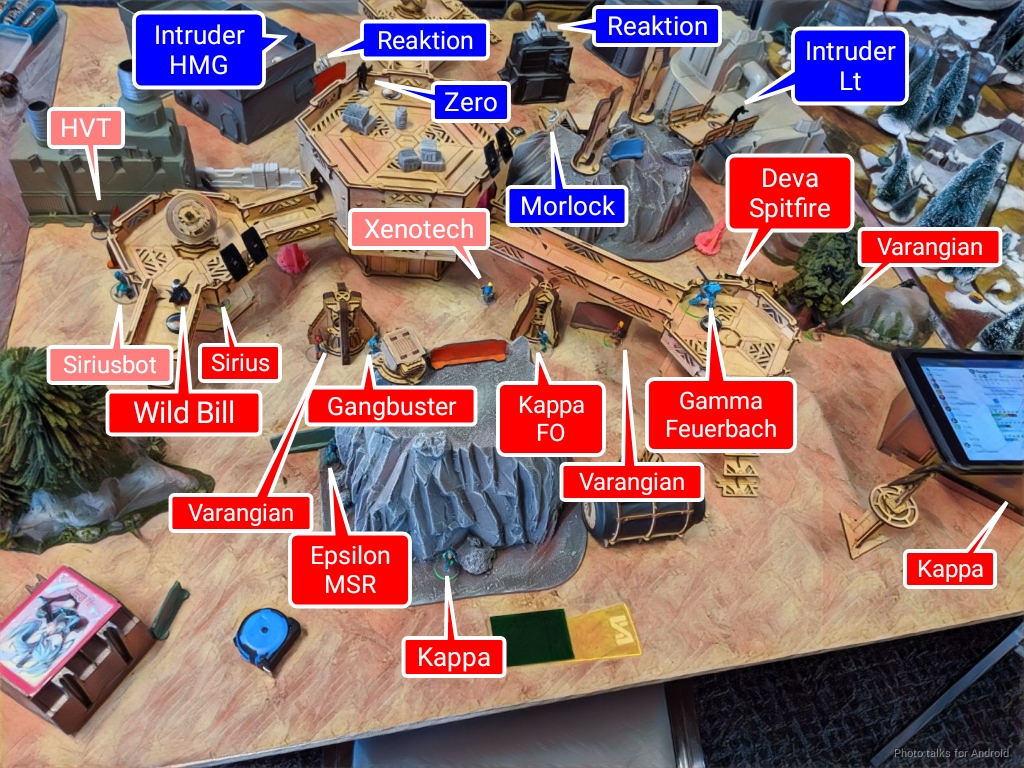
Most of his gunfighting strength was on his left, with Team Sirius, Wild Bill, and the Epsilon (who would appear out of reserve) on that side. The Kappa FO synced with the Xenotech in the middle of his deployment zone. It’s worth noting that I had the advantage of having played the table before, and knew the various lines of fire, especially to the Gamma who had given me so much trouble in the game against Isaac.
I set up both TR bots to cover the Gamma. As soon as it stood up, both would be able to fire upon it, and said as much to Joel to make sure he was aware. The Morans set up to cover and secure both of the objectives on either flank, and protect me from any airborne deployment troops walking in from the sides. I decided I might want to snipe out key targets of opportunity with some plunging fire, so I set up a Zero on the roof of the highest building in the center, and hid my Intruder Lt on a catwalk that would be out of LoF from basically anything until I stood him up.

I decided I wanted some more options on my left for smoke, so weighted my Morlock deployment more heavily there. I figured the right would be handled by the Zondnautica. The two TR bots were backed up by a ‘bot-less Monstrucker within walking distance of both, and my last Morlock was on the right to provide smoke for my Intruder HMG who deployed out of reserve after Joel placed his Epsilon.
Turn 1
Top of 1 – O-12
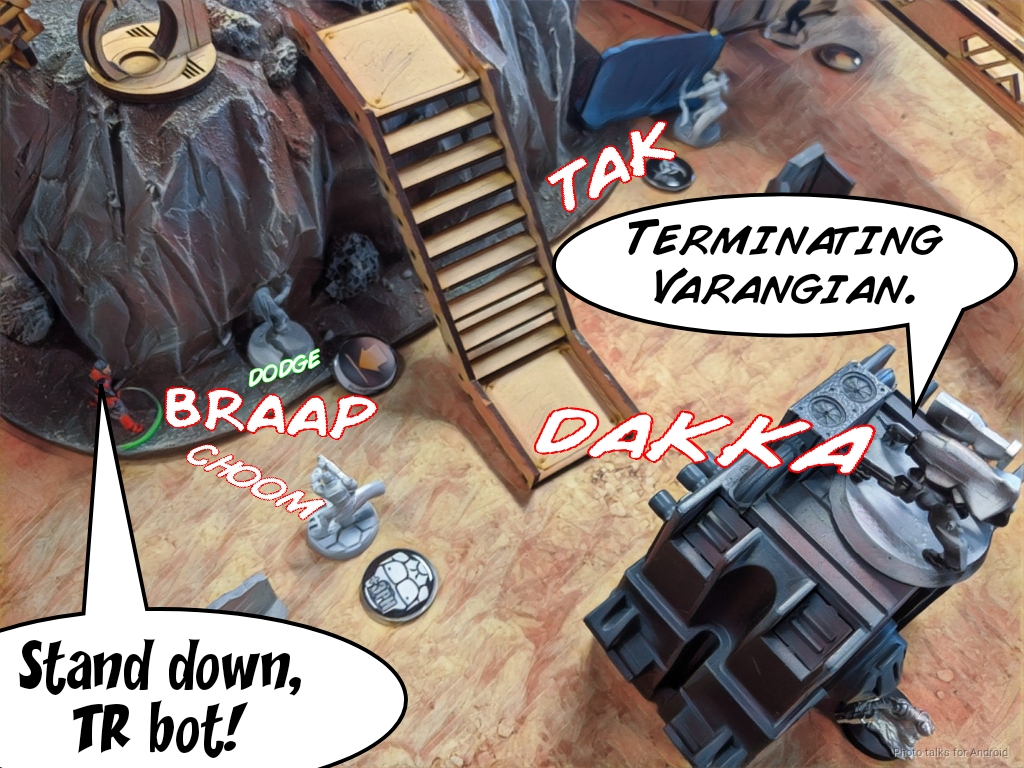
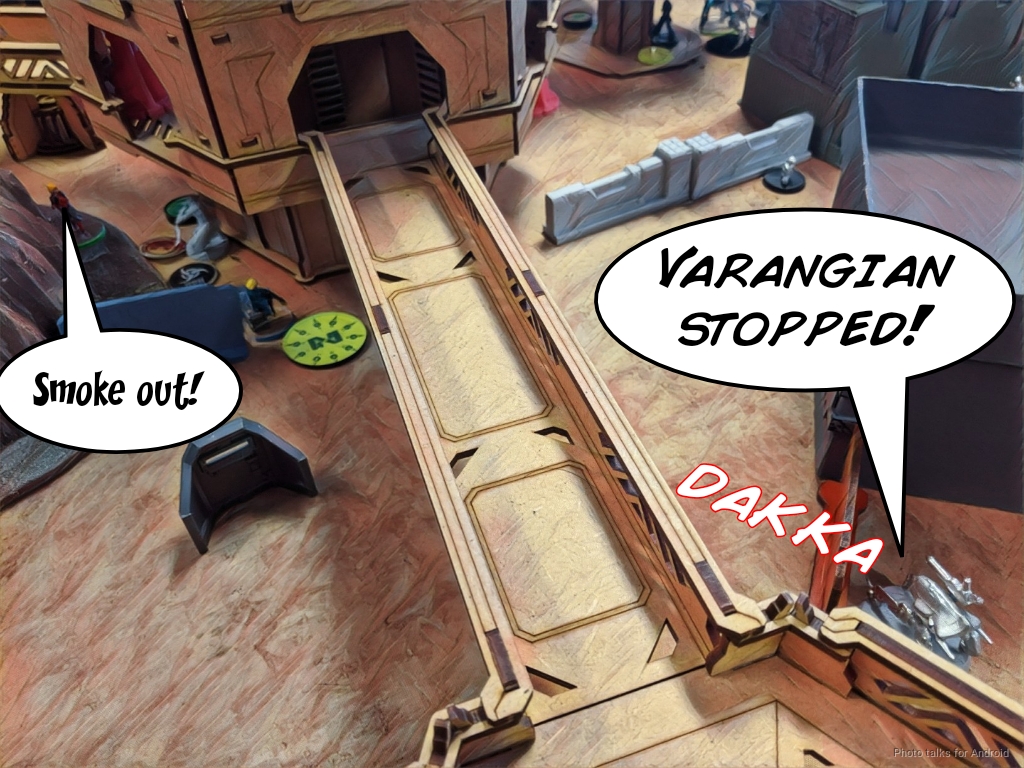
Joel starts things off by advancing a Varangian on my left. My TR bot gets off a full burst by the Varangian smokes it out.
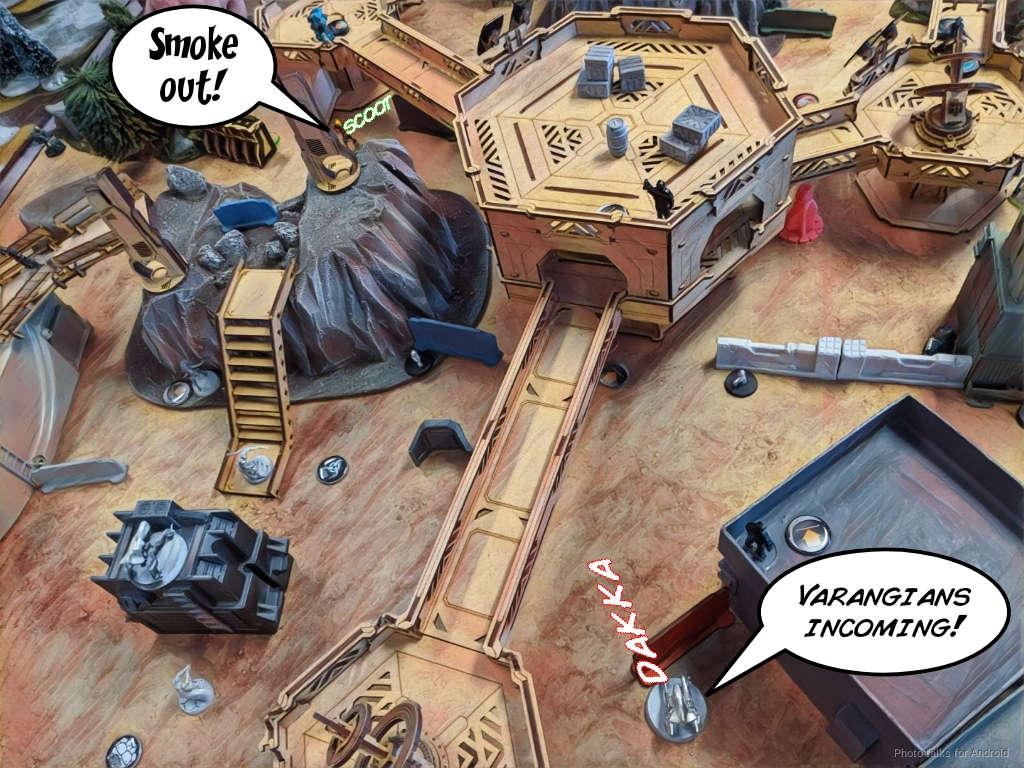
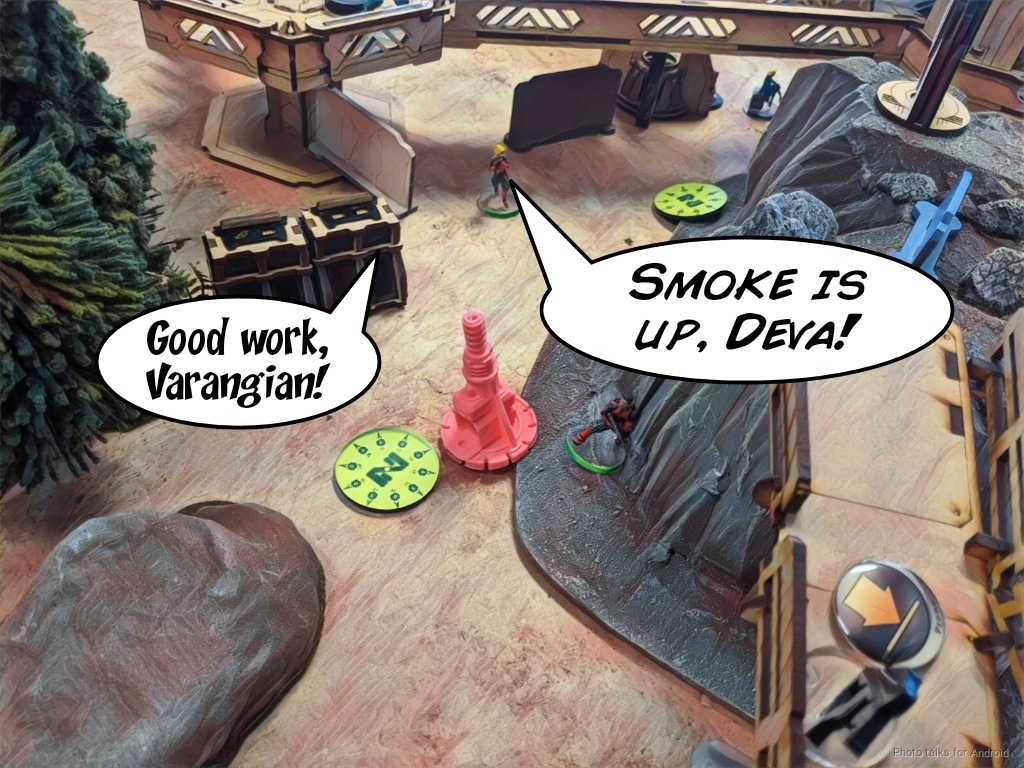
The other two keep pushing forward, throwing smoke as they go, mostly to set things up for the Epsilon and the Deva.
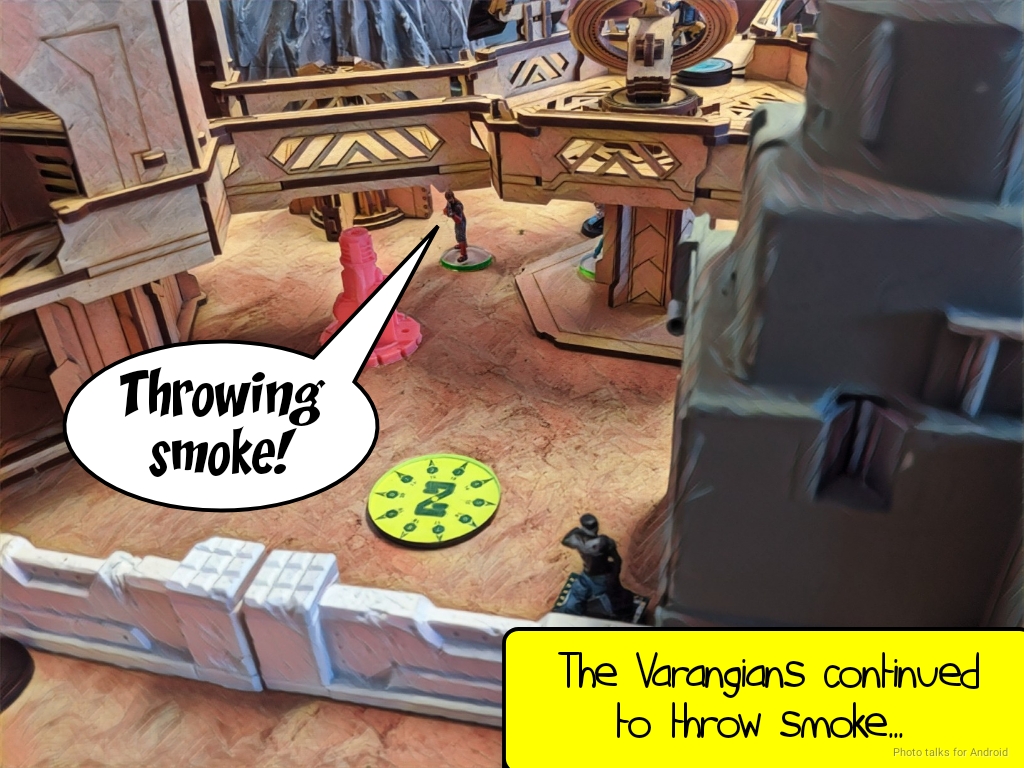
They keep advancing. One triggers a Koala but manages to dodge it, and then sets up more smoke for the Deva.
The Deva swings around into the cloud of smoke and completes HVT: Identity Check, then starts gunning for my TR bot.
The Deva is out of cover and outside of 16″, so I’m only on -3 net, which is a pretty dangerous proposition, even for an MSV spitfire. I prove the danger by rolling a crit.
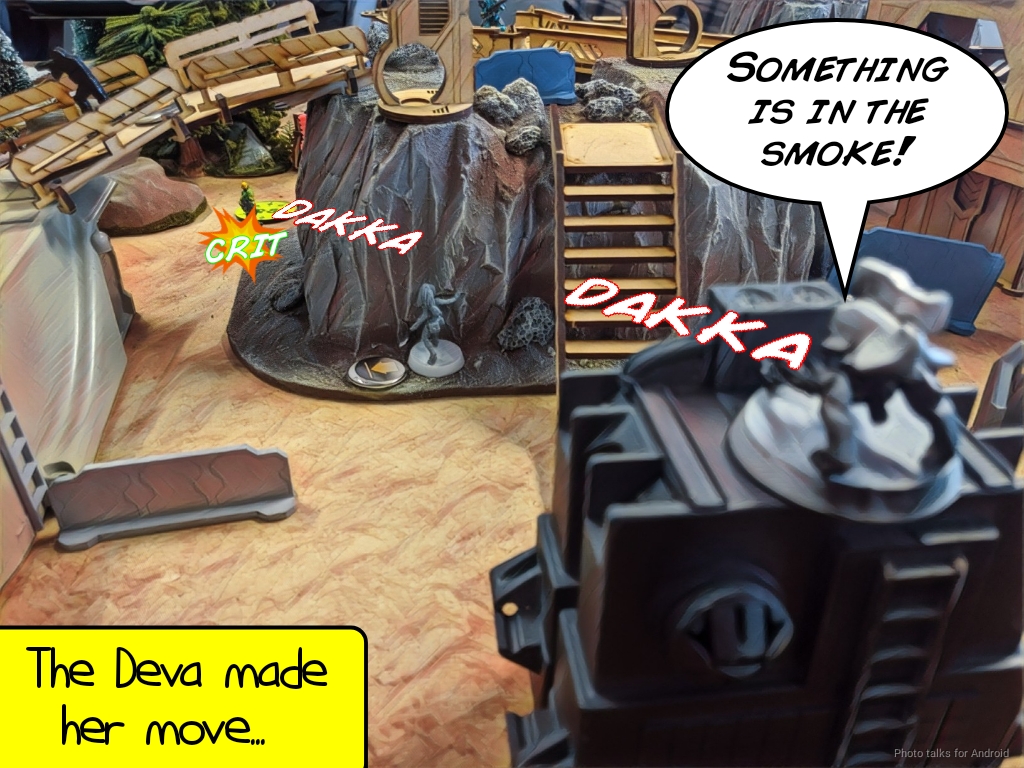
Now in NWI and with a TR bot still watching her… one might say the Deva was in… The Danger Zone!
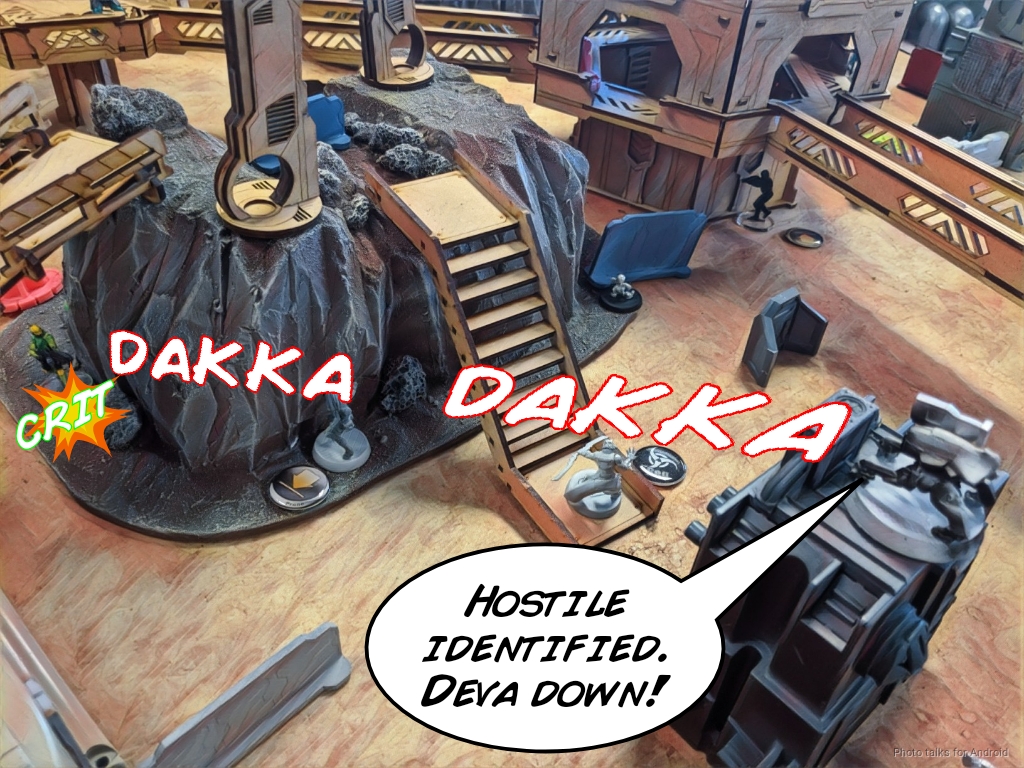
The Deva pushes forward into cover, appearing out of smoke in cover. I elect to shoot it in smoke, as once it’s in cover it’s within 16″, so my odds are the same, and I want to deny it cover for the ARM roll. It doesn’t matter, because I crit the Deva again. Joel informs me that this is just how his games usually go–he just gets crit off the table.
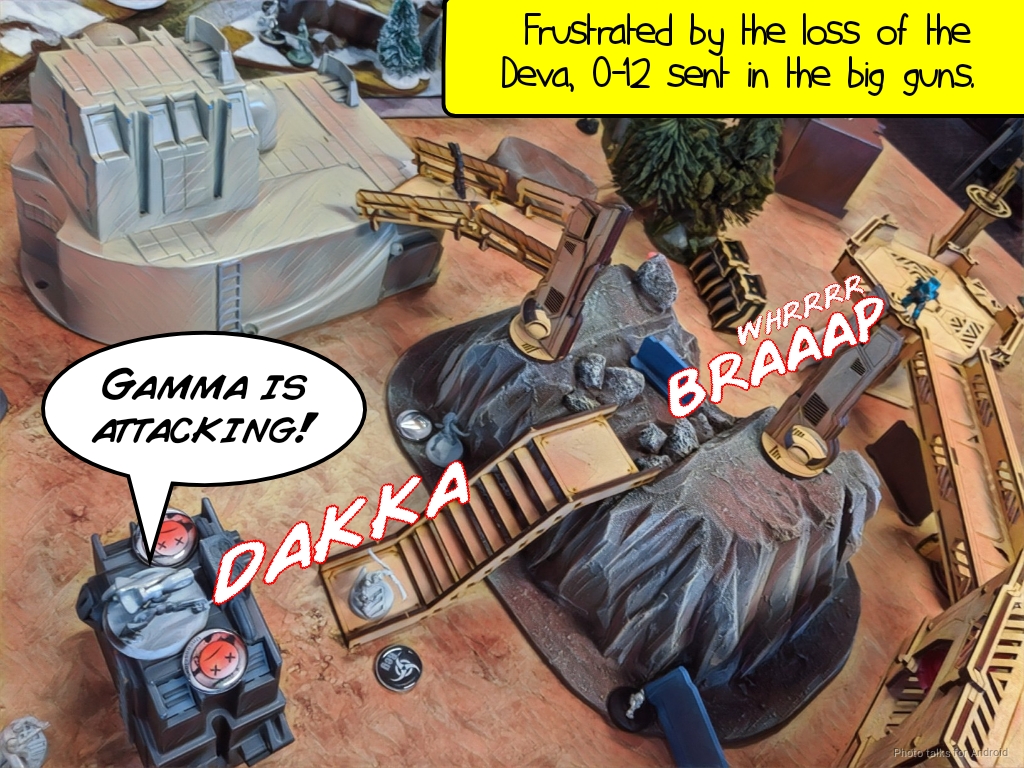
The Gamma pops up next, and only has to face off against one TR bot because the other is blocked by some smoke from the Varangians. One AP+DA round sneaks through and knocks out my ‘bot.
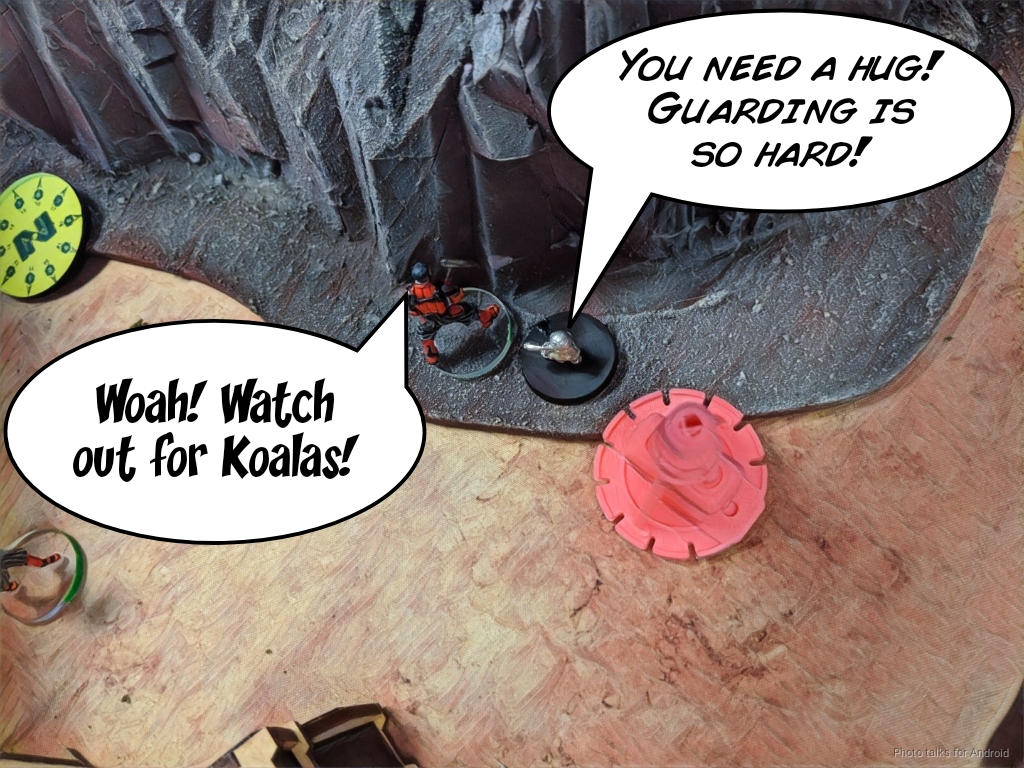
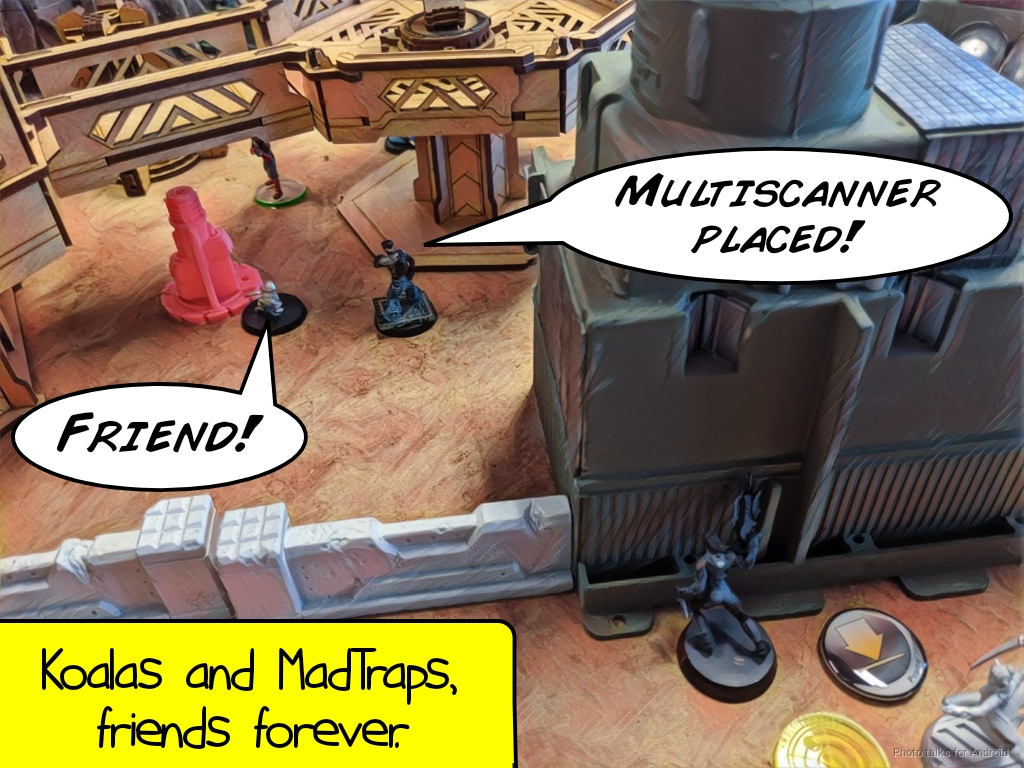
Joel is basically out of orders in his first pool at this point, so he moves on to the three Kappas in pool two. He gets the Xenotech to where she needs to be, but fails to place the Multiscanner. The Kappa FO gets hugged by a Koala, and thankfully for Joel survives.
The last order of the turn sees the Multiscanner placed, and the Kappa FO in cover.
Bottom of 1 – Nomads
My two Morlocks on the left are out of LoF of anything, so they advance without incident, and the one on the right sets up smoke for the Intruder. The Zondnautica elects to not run out in front of the Epsilon and stays put.
My Intruder goes to work, taking out a Varangian, forcing the Sirius back into cover, and taking out the Siriusbot. I poke a little further forward to challenge the Epsilon as well, and take it out.
My Moran clears a MadTrap with a Koala and has my Xenotech place the Multiscanner as well. Two orders to clear a MadTrap and get the scanner down is pretty efficient, if you ask me!
I flip a command token and a Morlock’s order to get the Monstrucker in place to repair the downed TR bot, and then I’ve got one order left in the main pool after I reposition my Morlocks.
I can see a sliver of the Gangbuster with the Intruder, so I drop it as the Intruder himself drops prone.
Turn 2
Top of 2 – O-12
Joel has a Varangian in place to try and take out my TR bot, so he gives that a go. It sadly doesn’t work out, especially as we’re just outside of 8″.
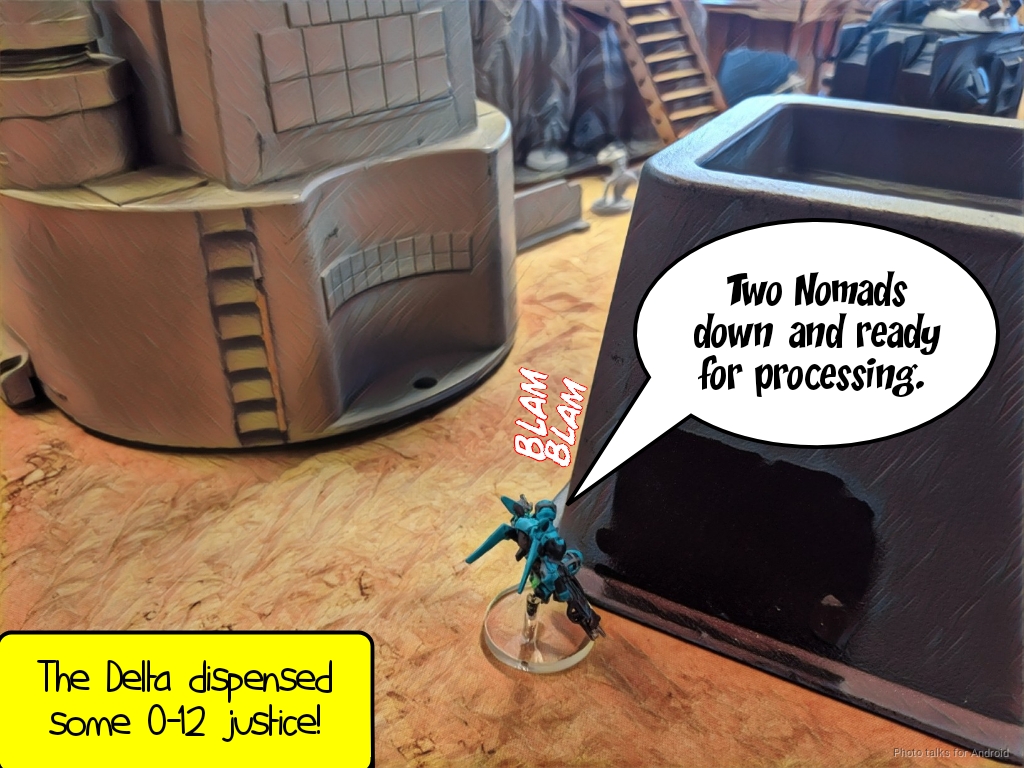
He decides to drop in a Delta behind my Moran and a Morlock on the left, taking them both out with a split burst from the Delta’s combi rifle.
After putting basically everything he can that’s remotely relevant into suppression, Joel passes turn.
Bottom of 2 – Nomads
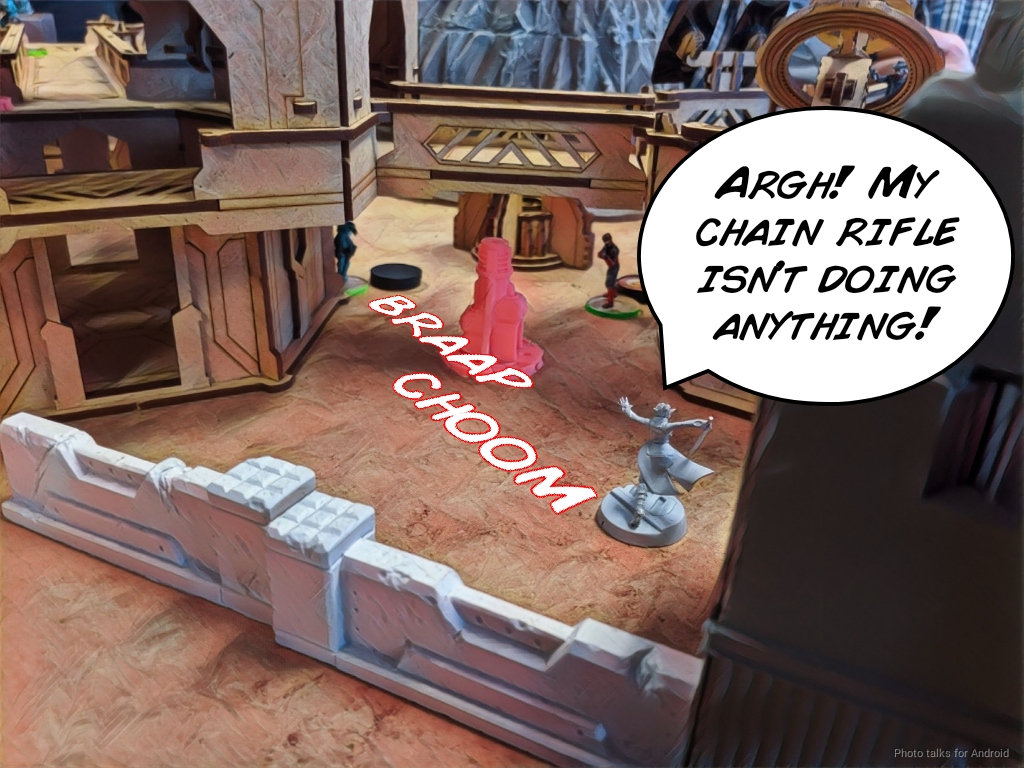
I lose the remaining Morlock on the left to a gunfight with a Varangian. I then try to chain rifle the Kappa FO in suppression with my other Morlock, but the chain rifle shot bounces off while the Varangian’s SMG rounds do not!
The Intruder follows up and takes care of that problem.
The Sirius in suppression is guarding the approach to the central tech coffin. I try to clear it with a surprise shot from my Zero on the ground, but the bullets bounce off as does the Zondmate’s chain rifle.
I need to handle the Delta as well, so I get a Drop Bear covering it and then surprise shot the Delta with my other Zero on the roof. Joel thinks for a bit before deciding to do nothing to avoid setting off the mine. It’s a long shot for me, but I manage to land a single shot on the Delta with the Zero, dropping it. At least my Zero’s bullets work!
I retreat everything to safety, especially my DataTracker Zondnaut, and then passed turn, annoyed at all the ARM saves.
Turn 3
Top of 3 – O-12
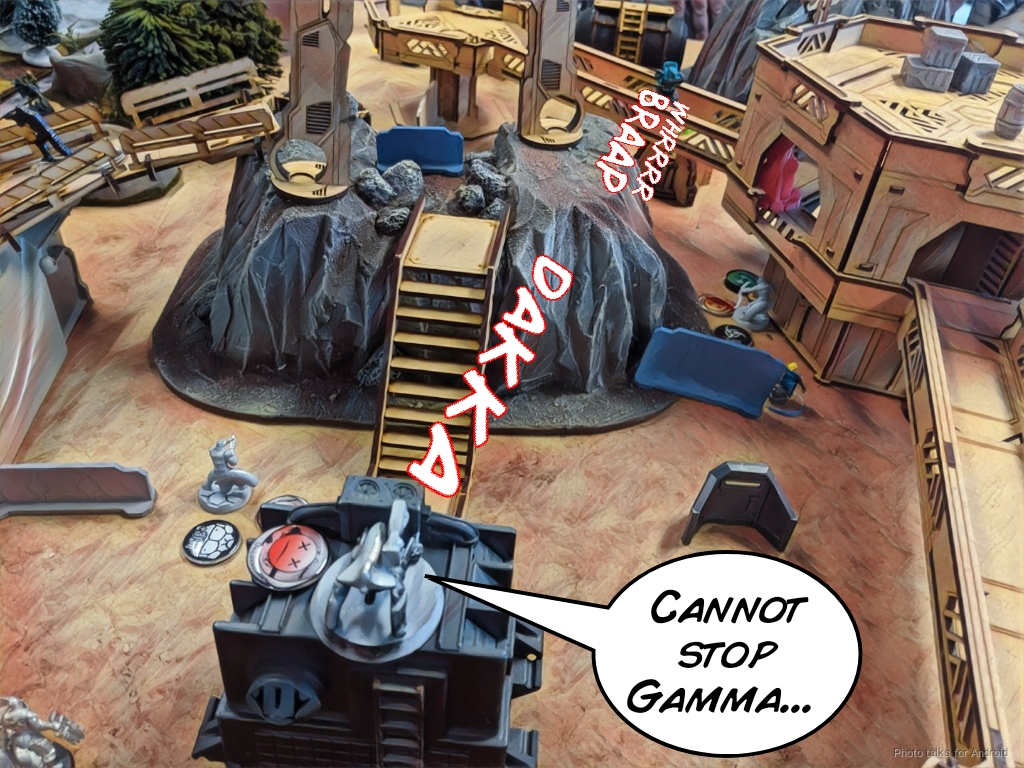
The last surviving Varangian dies to one of my TR bots, and then Joel decides to just go for broke with the Gamma.
He splits burst against two TR bots in good range, which is quite ambitious. It pays off–he takes a crit from the one on the roof and knocks out the one on the ground.
Another order sees the one on the roof go down, then Joel sets up to secure the central Tech Coffin.
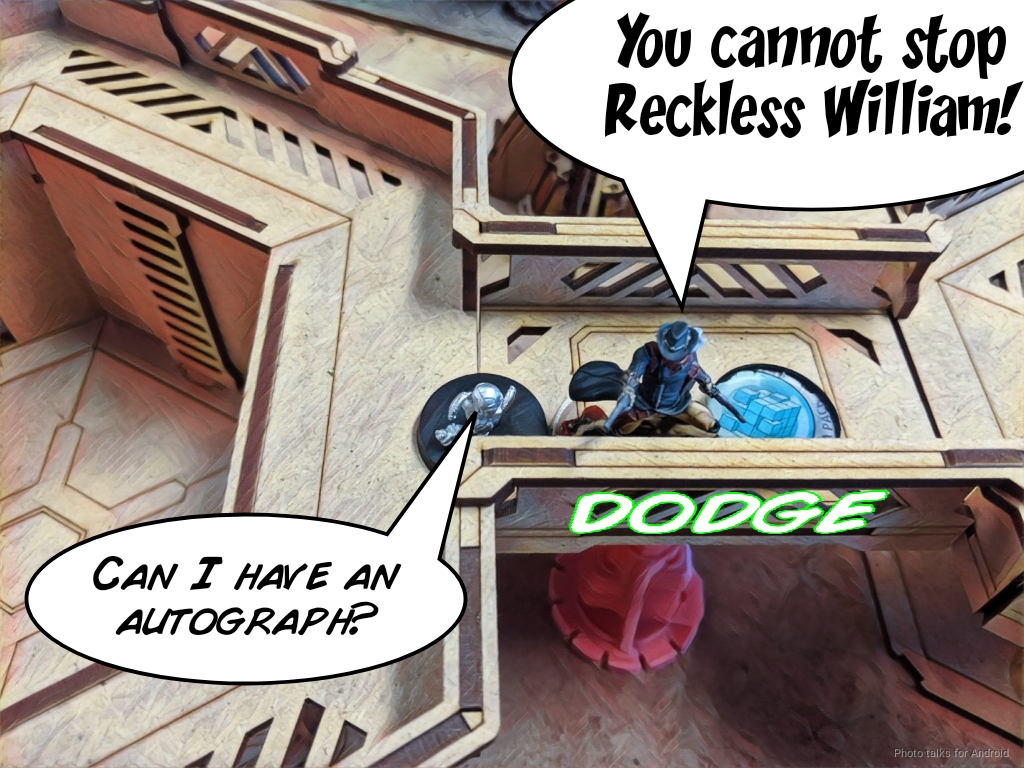
Wild Bill dodges a Koala on the way to the central structure with the Tech Coffin (we took the roof off for playability reasons), and then goes into suppression.
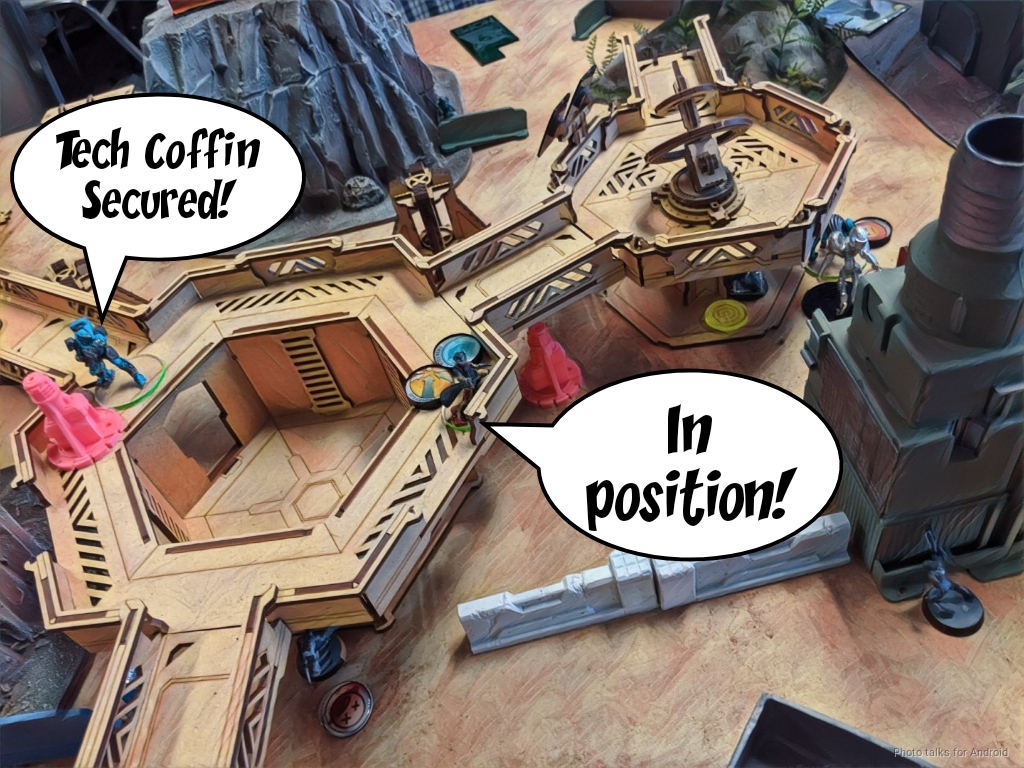
The Tech Coffin is secure by the Gamma who just sidles up to it and leans on it.
Bottom of 3 – Nomads
I figure I can deny Joel the central antenna with my Intruder Lt by jumping across the gap. I have to take out Wild Bill first though. I fail to do so with my Lt order, so I set about doing other things.
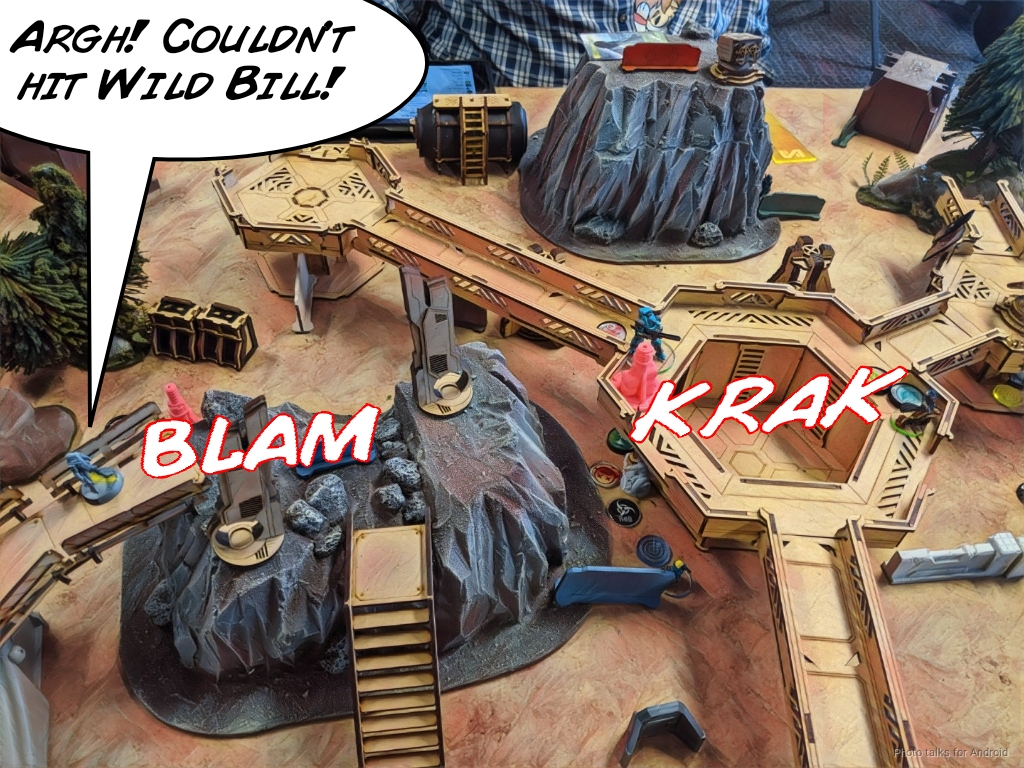
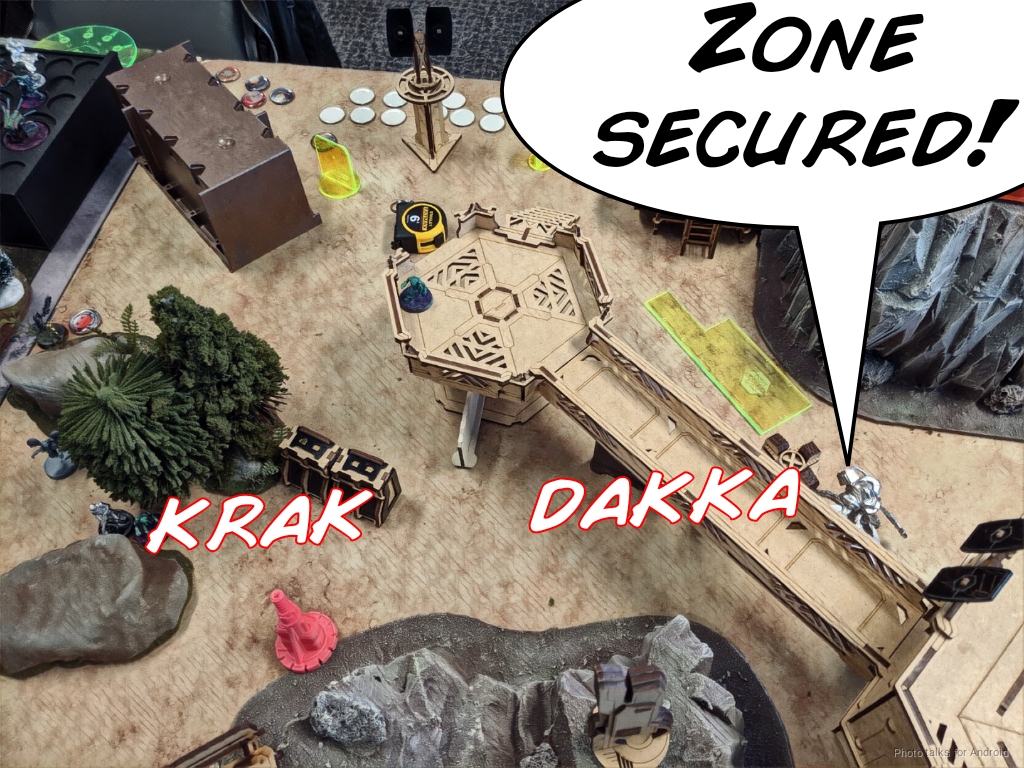
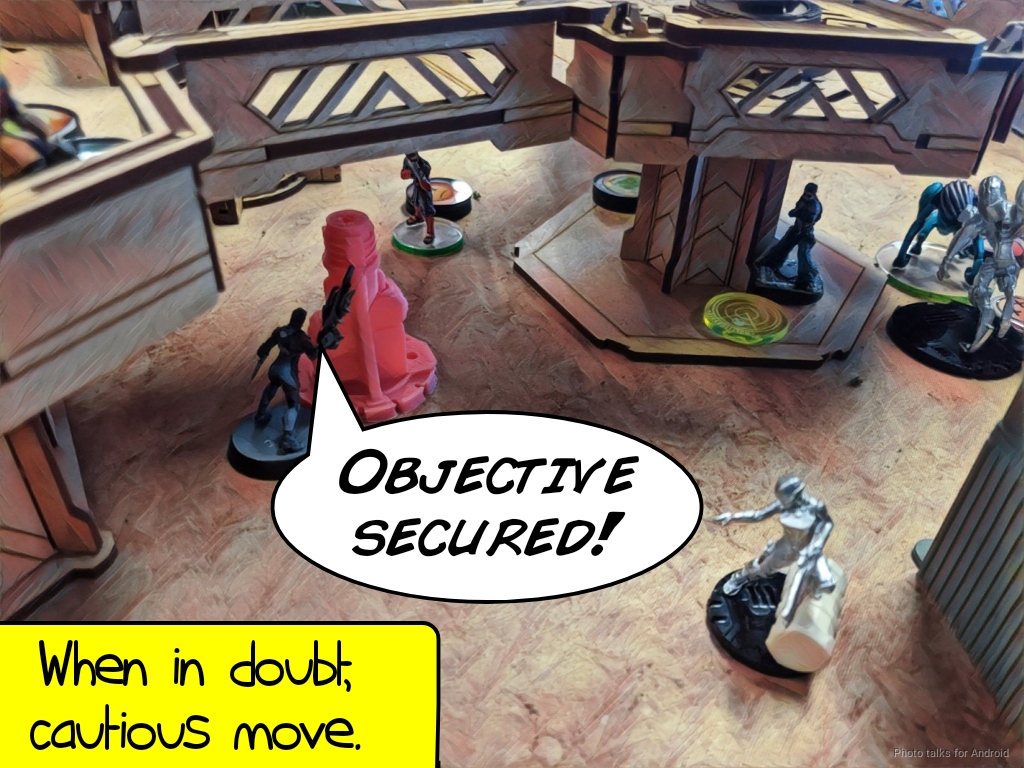
My Monstrucker races across to the left antenna (I put him in the first combat group), securing it and pushing the button, and then I cautious move past the Sirius in suppression to the right antenna and do the same.
I’m securing Joel’s HVT, making it a very close
5-4 Nomad Victory!
Post Game Analysis
Lots of passed ARM saves, but I can’t really be upset with the dice after having double crit a Deva. I actually crit Joel a few more times during the game, but most of those face to face rolls were pretty favorable for me already. I honestly haven’t seen such consistently bad dice luck for someone in a game–talking to others at the tournament, they confirmed that Joel gets a lot of crits rolled against him. All anecdotal of course and super prone to bias, but the perception and emotional response is there, and those things can definitely affect your play. Really rough!
I was pretty happy with my list and the way I played it, although I think I could’ve done a better job preparing for the Delta that I knew was coming. For some reason I thought it was AD2, not AD4, so I guess that mitigates my mistake a little. I also think I need to start taking some more assault pistol Morlocks. If only the Assault Pistol profile was also toting an E/M CCW, I’d find the extra points!
I think I made a mistake in sending in the Zondmate to chain rifle the Sirius–I probably should’ve just fired smoke and done it that way. I didn’t have a good way of dealing with Wild Bill, unfortunately. He’s really been an absolute PITA in every game I’ve faced him in. Joel absolutely did the right thing by keeping him prone most of the game. I think getting him into base to base with the central objective would’ve been a better use of his orders in the last turn, after gunning down the top TR bot with the Gamma. That said, there was basically no way I was going to get the Gamma off the objective with the tools I had left. The Intruder HMG could’ve done it, maybe, but it would’ve taken too many orders. Forgot about my Tomcat, but oh well.
In any case, a close game. I’m really not a fan of Acquisition the mission, but I very much enjoyed this game with Joel!