
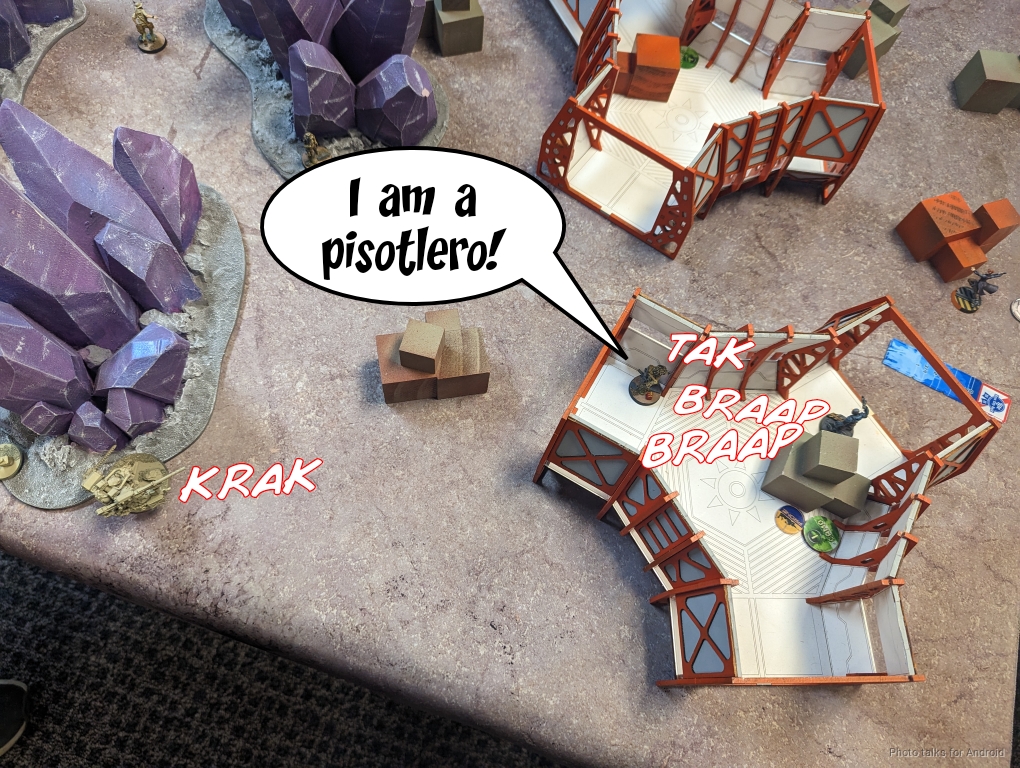
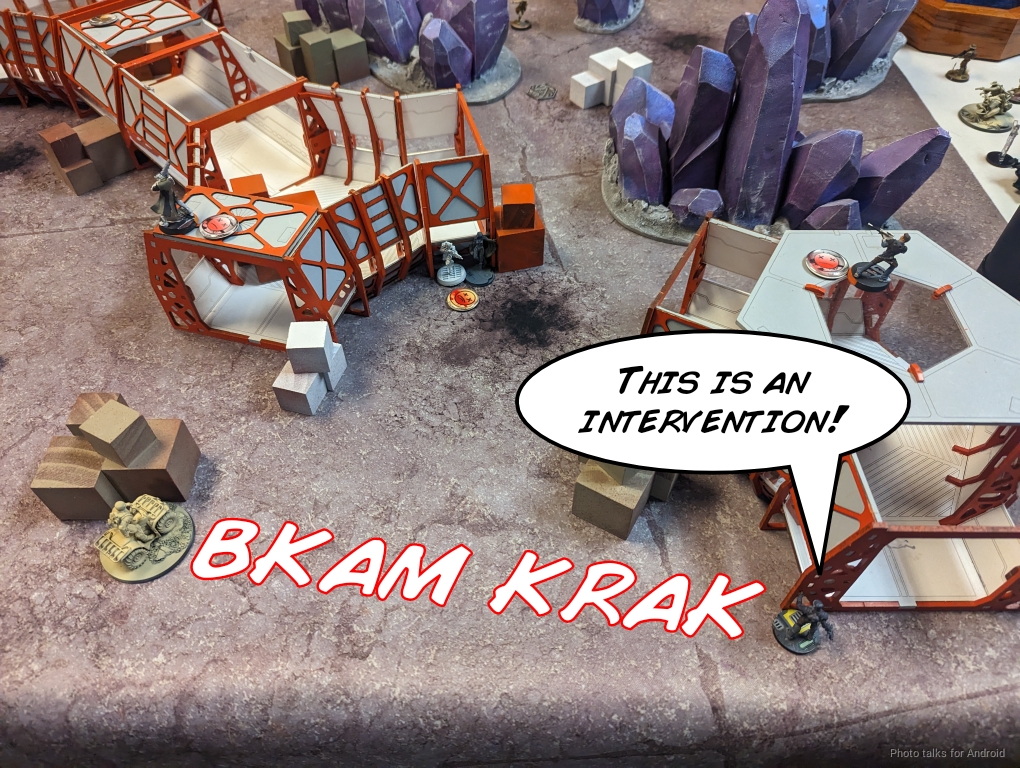
This is an Intervention
After my terrible showing against Isaac, it was time for a redux, this time against Adam:
Overview
- Mission: ITS14 Decapitation
- Forces: Nomads versus USAriadna Random Force (300)
- Deploy First: USARF
- First Turn: USARF
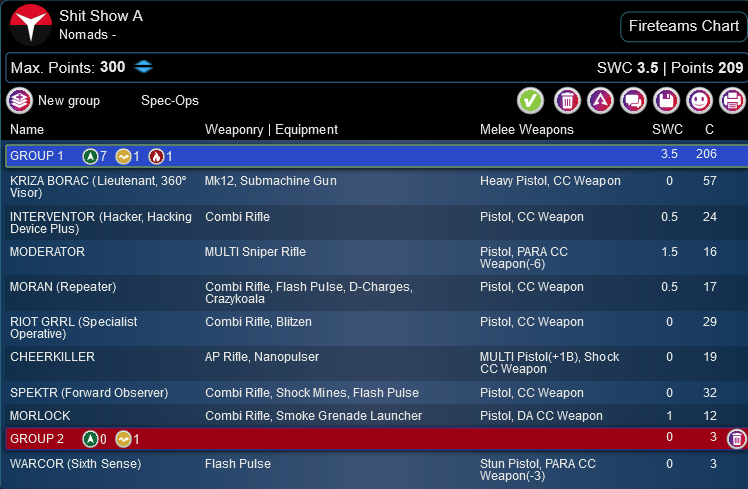
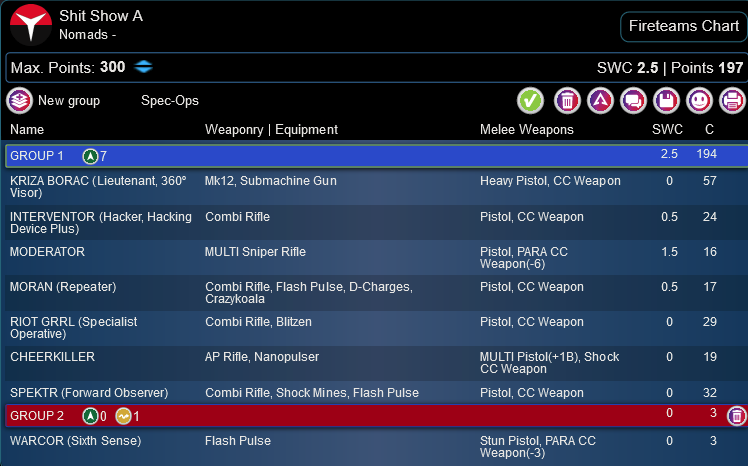
Based on the feedback from the last game, I decided to try and go for the Morlock in the first group and the Puppet Master in the second group.
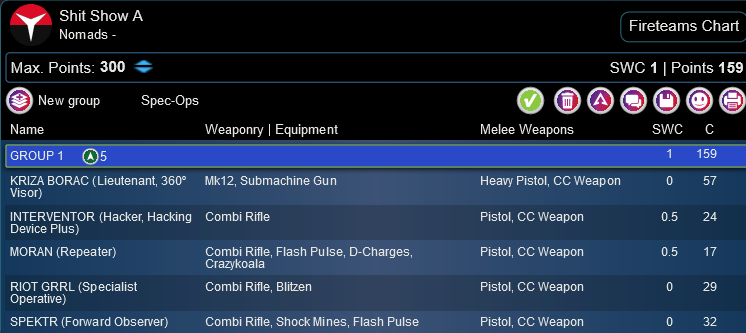
Shit Show A
GROUP 1
9
1
1
KRIZA BORAC (Lieutenant, 360º Visor) Mk12, Submachine Gun ( ) / Heavy Pistol, CC Weapon. (0 | 57)
CHEERKILLER AP Rifle, Nanopulser / MULTI Pistol(+1B), Shock CC Weapon. (0 | 19)
GROUP 2
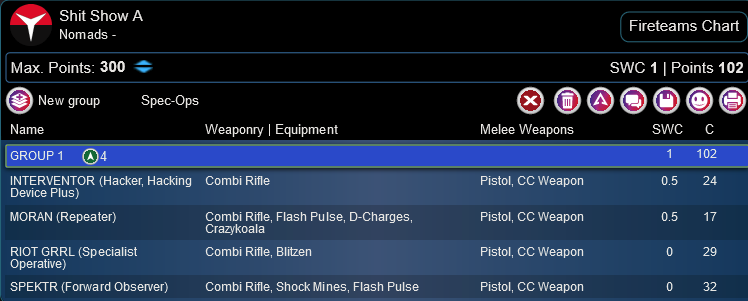
INTERVENTOR (Hacker, Hacking Device Plus) Combi Rifle ( ) / Pistol, CC Weapon. (0.5 | 24)
MODERATOR MULTI Sniper Rifle / Pistol, PARA CC Weapon(-6). (1.5 | 16)
MORAN (Repeater) Combi Rifle, Flash Pulse, D-Charges, Crazykoala ( ) / Pistol, CC Weapon. (0.5 | 17)
MOBILE BRIGADA (Hacker, Hacking Device) Combi Rifle, D-Charges ( | TinBot: Firewall [-6]) / Pistol, CC Weapon. (0.5 | 39)
RIOT GRRL (Specialist Operative) Combi Rifle, Blitzen / Pistol, CC Weapon. (0 | 29)
SPEKTR (Forward Observer) Combi Rifle, Shock Mines, Flash Pulse / Pistol, CC Weapon. (0 | 32)
SIN-EATER Heavy Machine Gun / Pistol, CC Weapon. (1.5 | 32)
MORLOCK Combi Rifle, Smoke Grenade Launcher / Pistol, DA CC Weapon. (1 | 12)
WARCOR (Sixth Sense) Flash Pulse / Stun Pistol, PARA CC Weapon(-3). (0 | 3)
PUPPET MASTERS (Hacker, Hacking Device) Submachine Gun ( ) / Pistol, CC Weapon. (0.5 | 17)
6 SWC | 297 Points | Open in Army | Copy Code
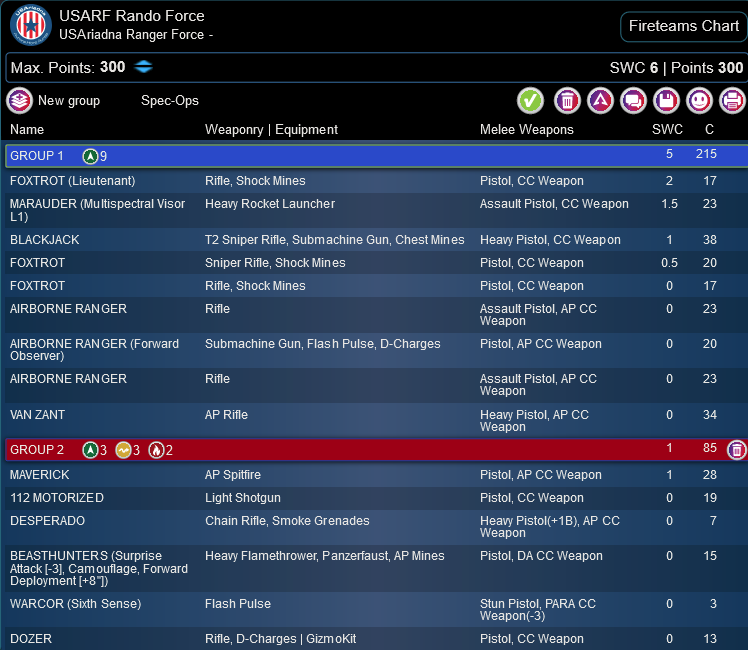
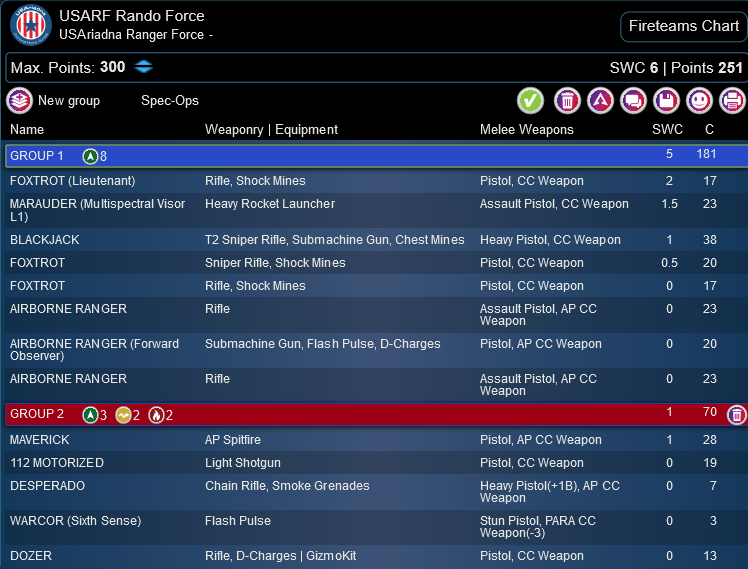
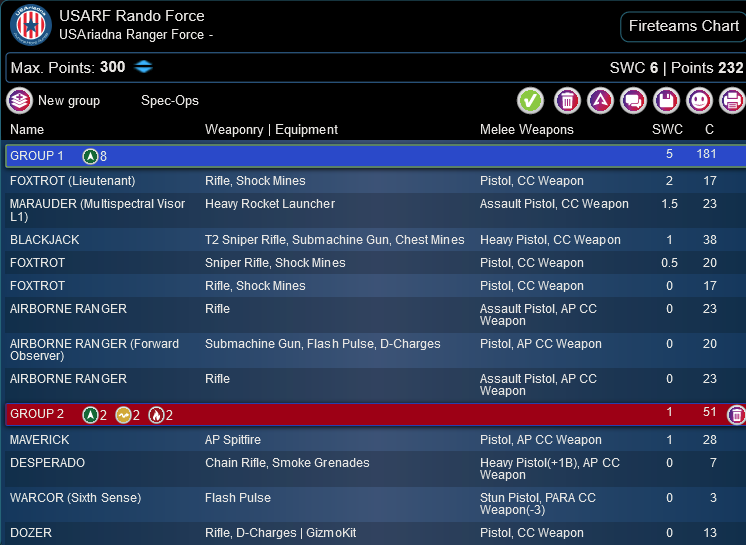
Adam rolled this random USARF force, so we were on somewhat even footing… but not really. That’s a lot of useful guns, troops, and midfield presence! The Foxtrot Lieutenant is perfect for decap as well, so there’s that.
USARF Rando Force
GROUP 1GROUP 2
FOXTROT (Lieutenant) Rifle, Shock Mines / Pistol, CC Weapon. (2 | 17)
MARAUDER (Multispectral Visor L1) Heavy Rocket Launcher ( ) / Assault Pistol, CC Weapon. (1.5 | 23)
BLACKJACK T2 Sniper Rifle, Submachine Gun, Chest Mines / Heavy Pistol, CC Weapon. (1 | 38)
AIRBORNE RANGER Rifle / Assault Pistol, AP CC Weapon. (0 | 23)
VAN ZANT AP Rifle / Heavy Pistol, AP CC Weapon. (0 | 34)
MAVERICK AP Spitfire / Pistol, AP CC Weapon. (1 | 28)
112 MOTORIZED Light Shotgun / Pistol, CC Weapon. (0 | 19)
DESPERADO Chain Rifle, Smoke Grenades / Heavy Pistol(+1B), AP CC Weapon. (0 | 7)
BEASTHUNTERS (Surprise Attack [-3], Camouflage, Forward Deployment [+8″]) Heavy Flamethrower, Panzerfaust, AP Mines / Pistol, DA CC Weapon. (0 | 15)
DOZER Rifle, D-Charges ( | GizmoKit) / Pistol, CC Weapon. (0 | 13)
6 SWC | 300 Points | Open in Army | Copy Code
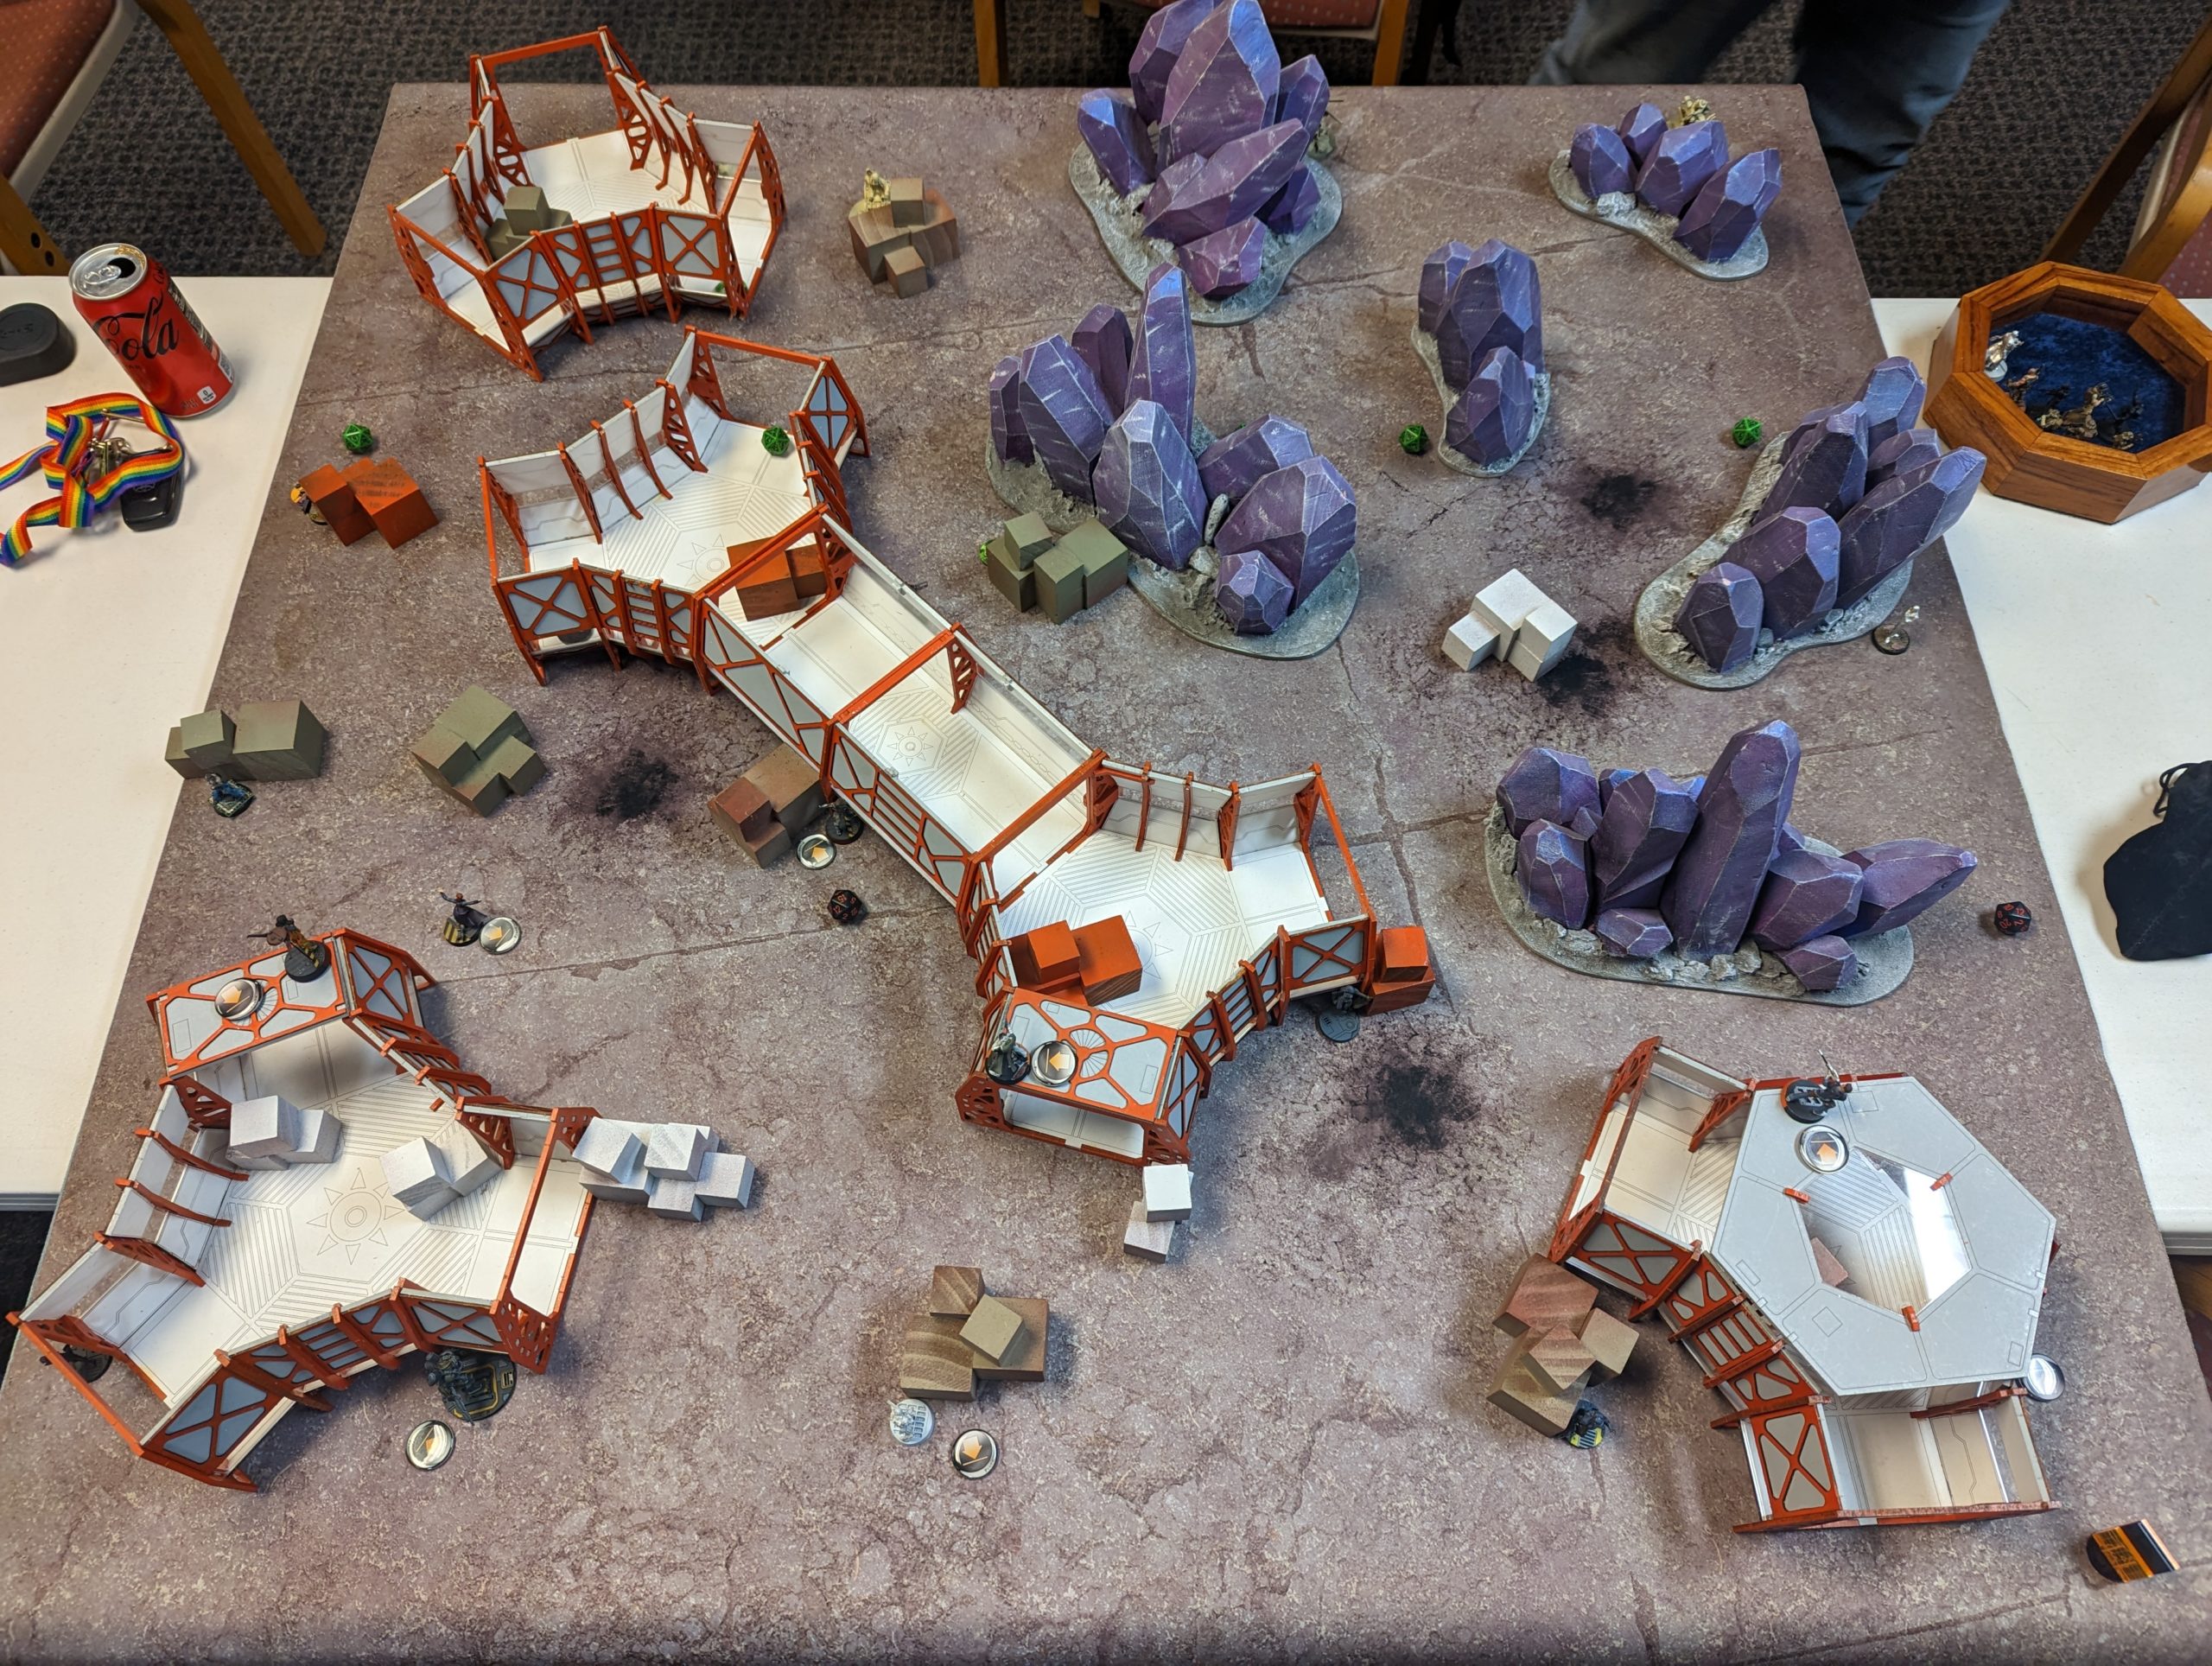
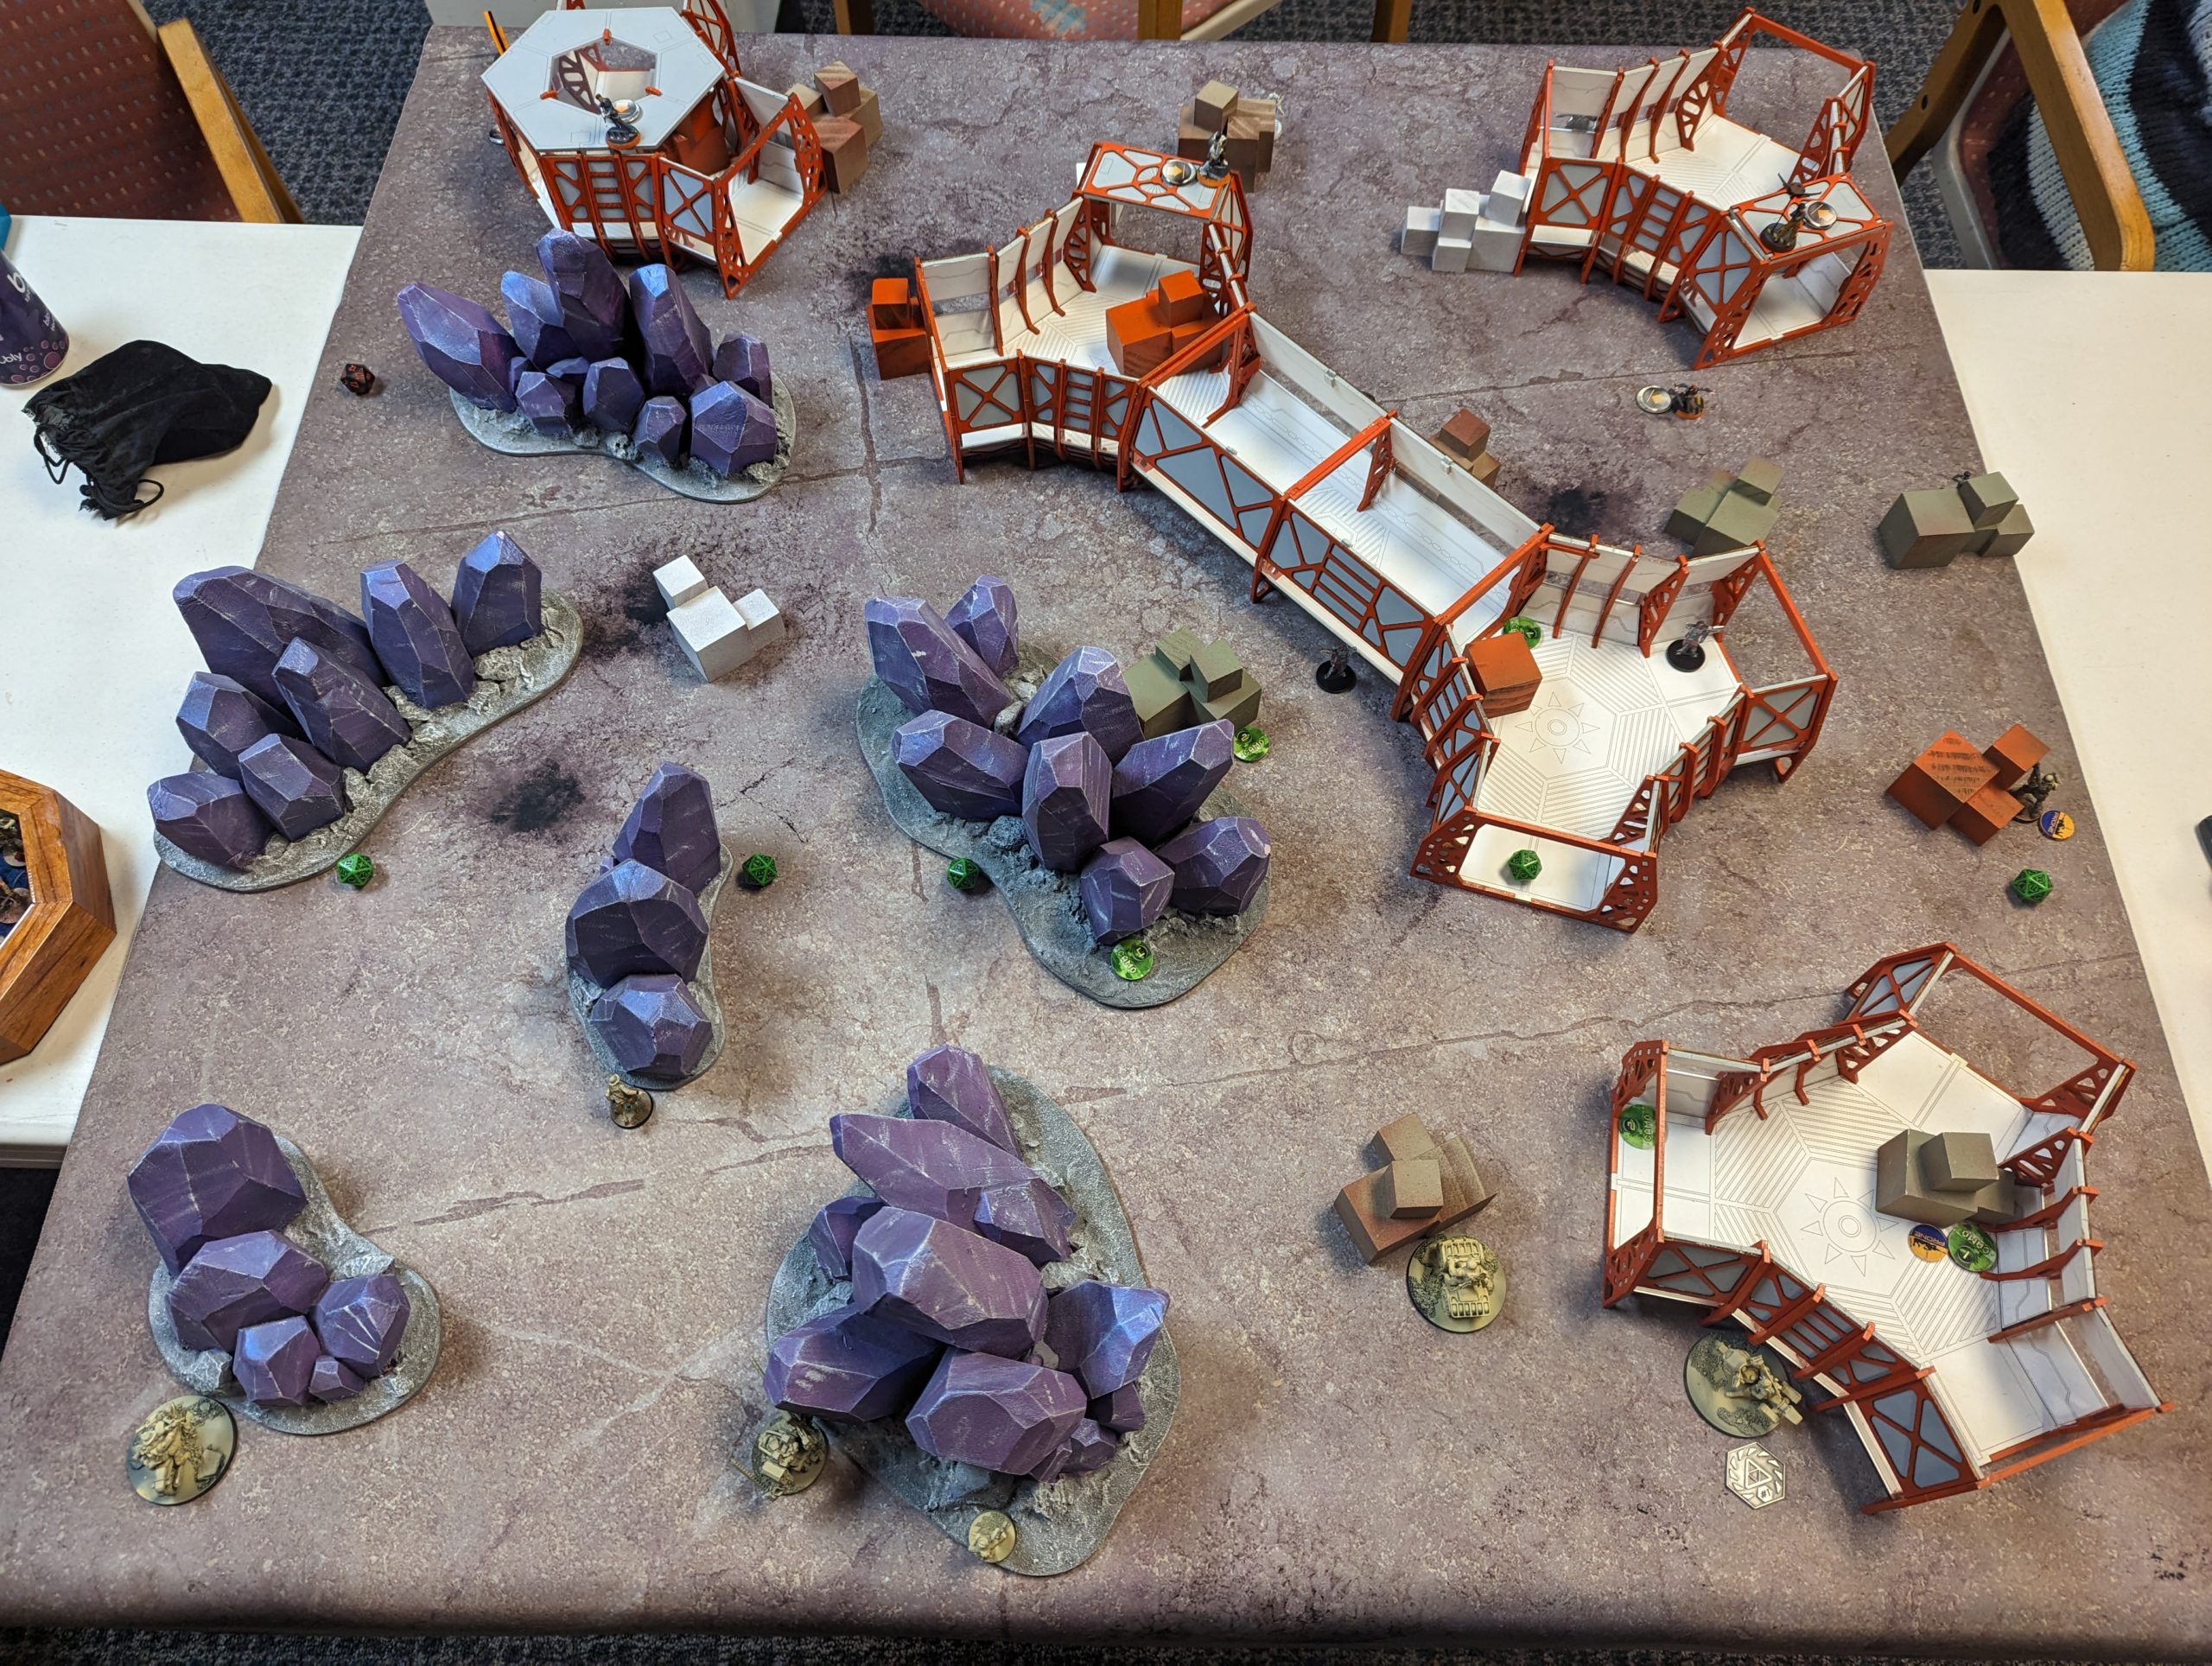
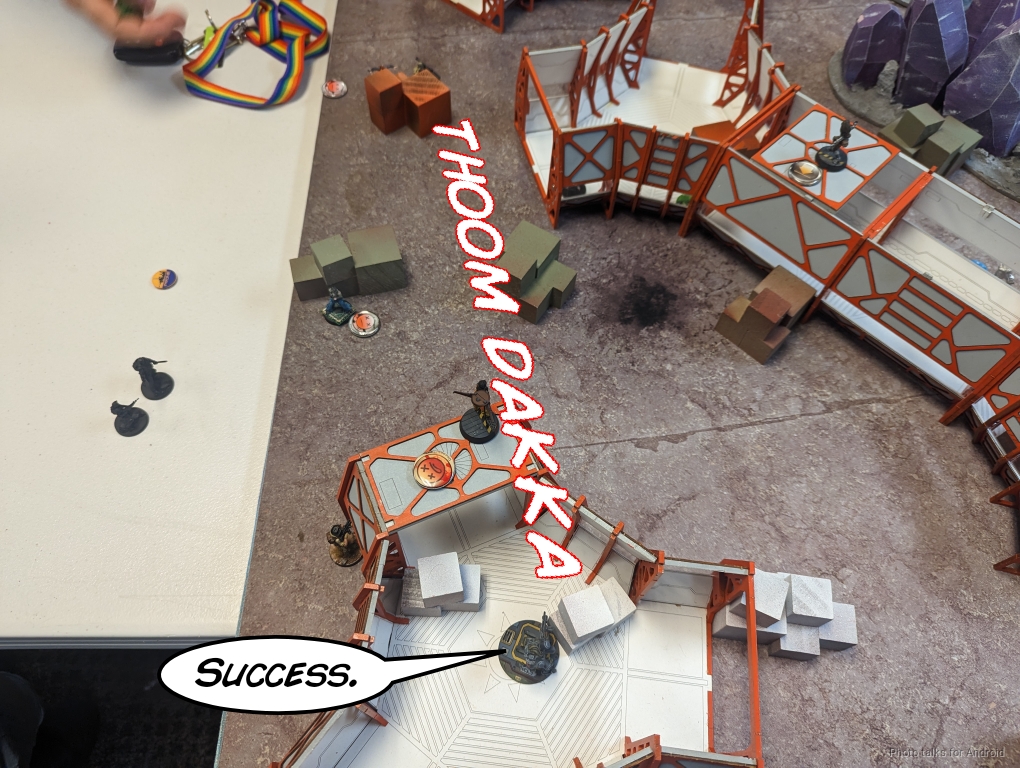
Deployment
Adam won the roll off and took first turn. He put his Marauder really far up on the right to threaten a diagonal firelane into my deployment zone and shape my deployment. The Foxtrot and Beasthunter hung out in the middle of the table, with the bikes behind. The Blackjack covered the longest firelane from DZ to DZ, and Adam protected his Lieutenant with the Foxtrot sniper. The two HVTs were nearby, and Adam cheated and thought the Beasthunter was also a minelayer so he put a mine next to one of his HVTs. No matter!
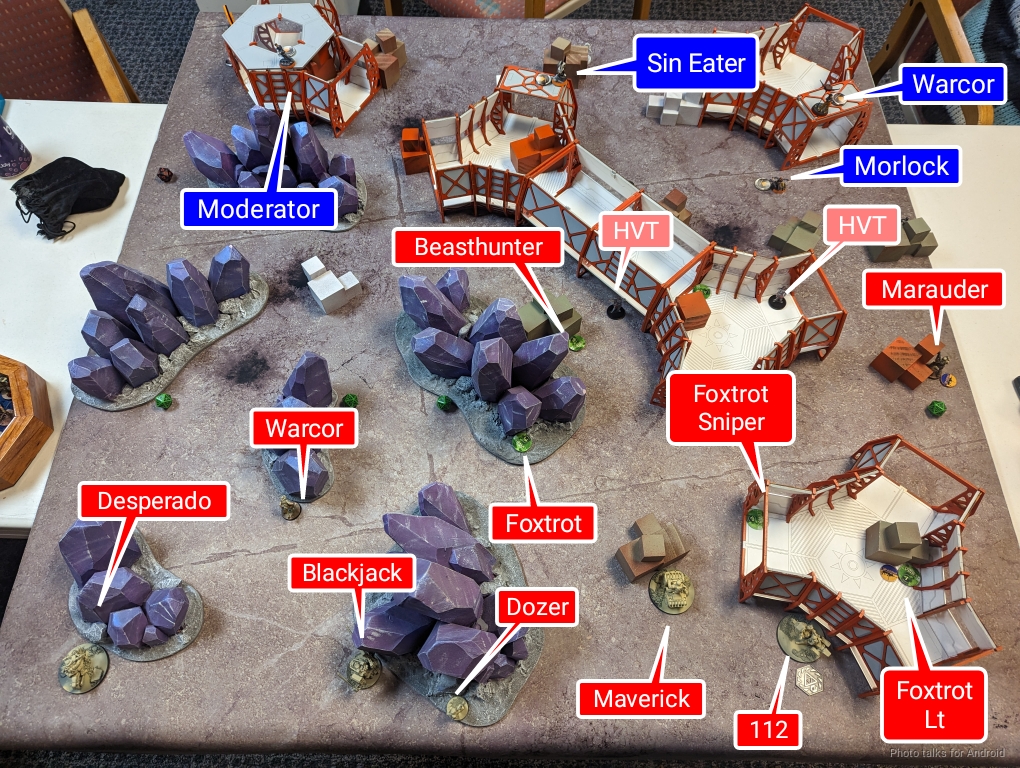
I covered both board edges with the Brigada and Cheerkiller. I knew Adam would have no trouble getting to the HVTs with all the bikes, so I made sure to force him to have to advance on two different lines instead of just getting shots on them with one unit. I put the Moran and in a spot to protect me from camo tokens advancing up the central corridor. The rest of my units were covering the back table edge with the exception of the Riot Grrl and Morlock, who were threatening the Marauder.
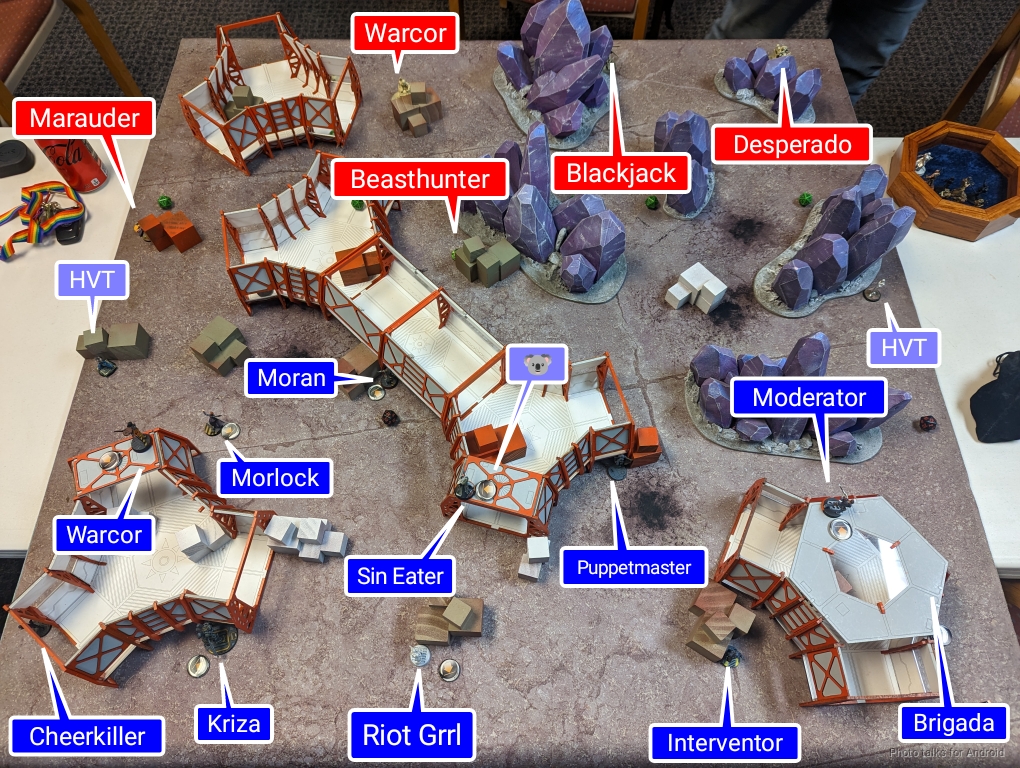
The Moderator was hiding behind the crystals on the roof, watching the approach of most things, but shielded from the Blackjack. I forget what Adam’s reserve was, but mine was the Sin Eater, which I placed in a position to watch the Marauder. I honestly forgot about Van Zant, because it’s been awhile since I’ve thought about USARF and why would a random list have him?
If I had remembered, the right thing to do would have been to put him in the back right corner to just hard stop Van Zant. Whoops.
Turn 1
Top of 1- USARF
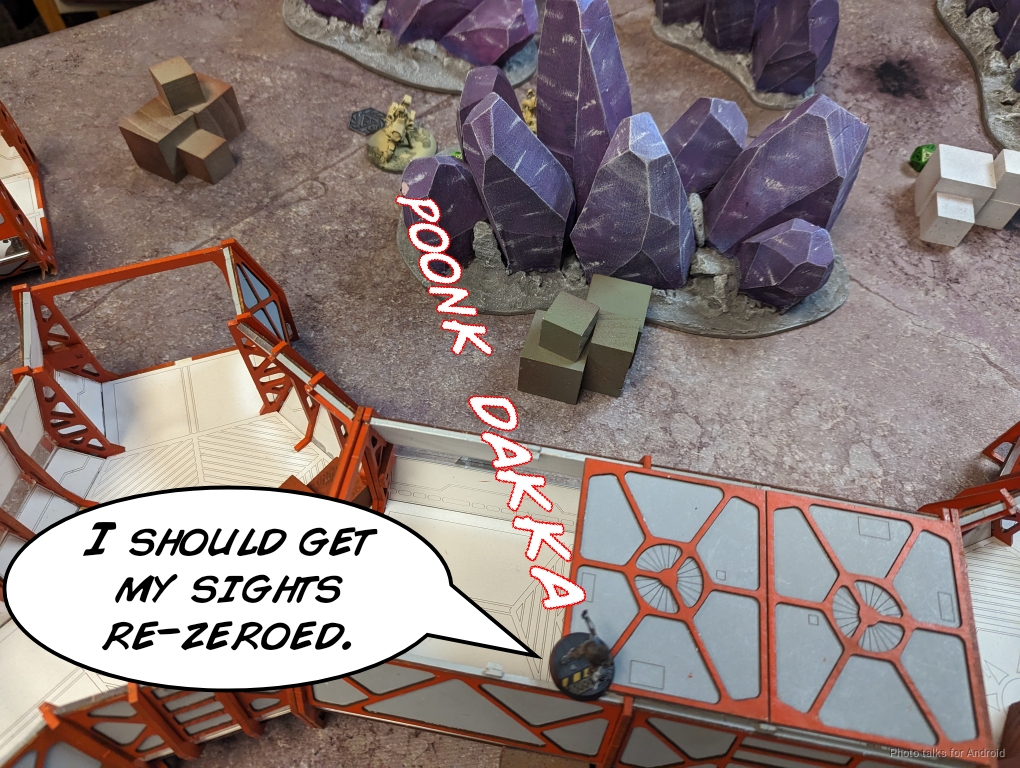
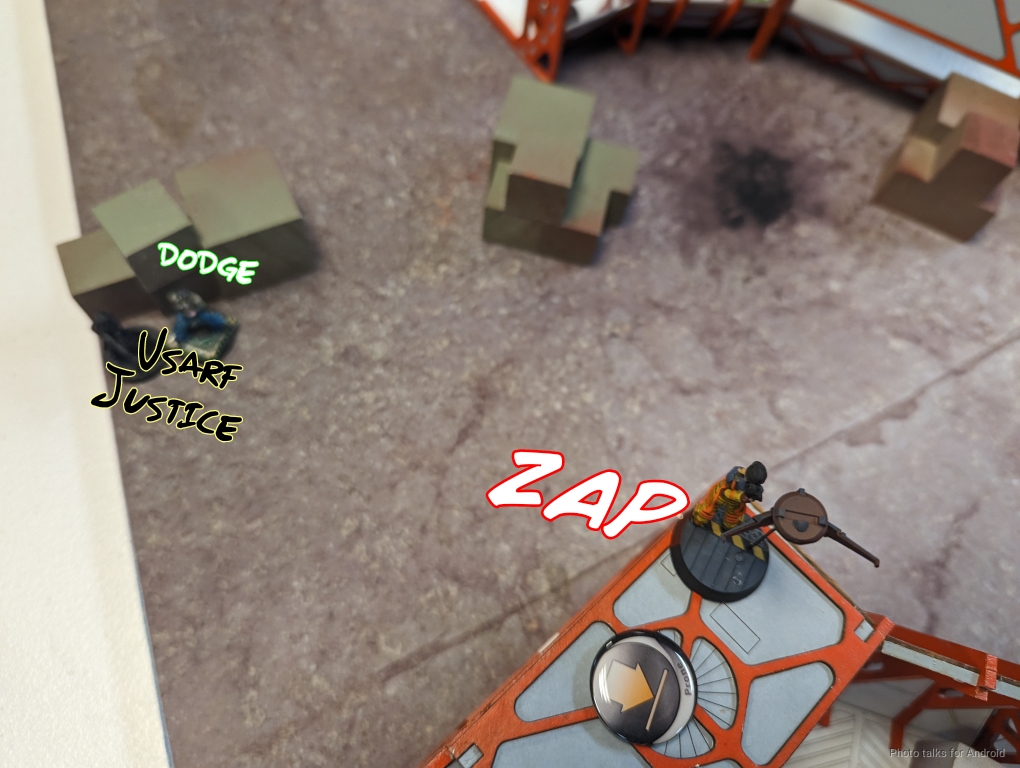
Instead of docking orders, I put the Kriza in suppression, figuring that will disincentivize attacks. That 360 visor is already a pretty big disincentive. The Desperado makes it way forward to go after the HVT on my right.
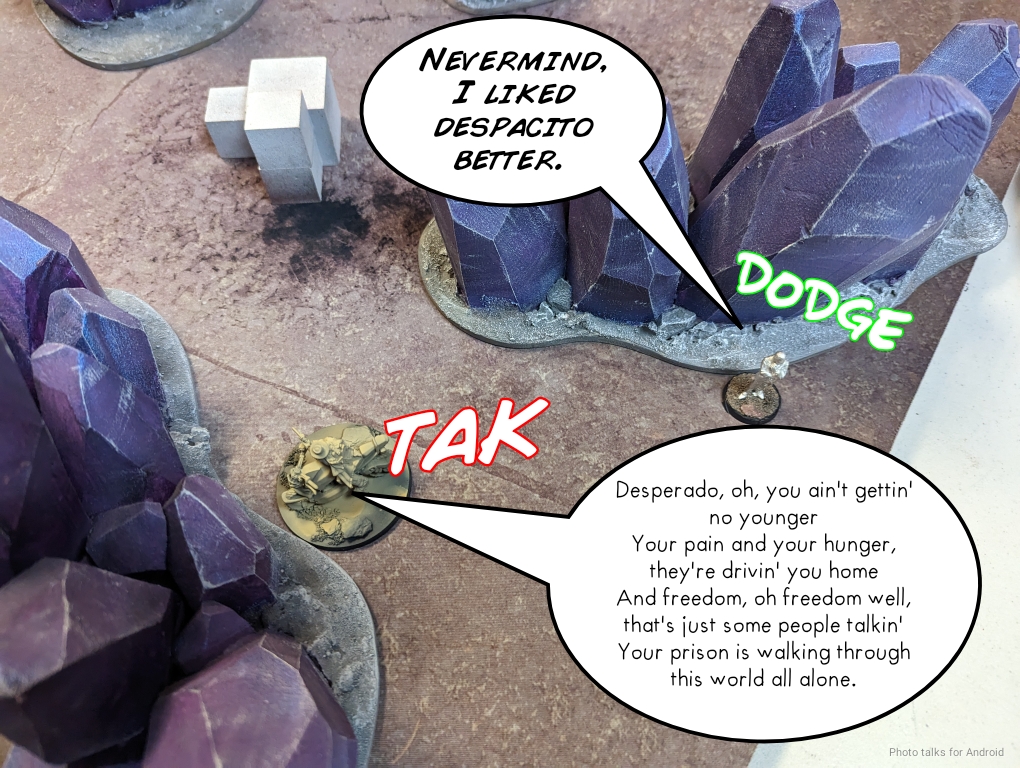
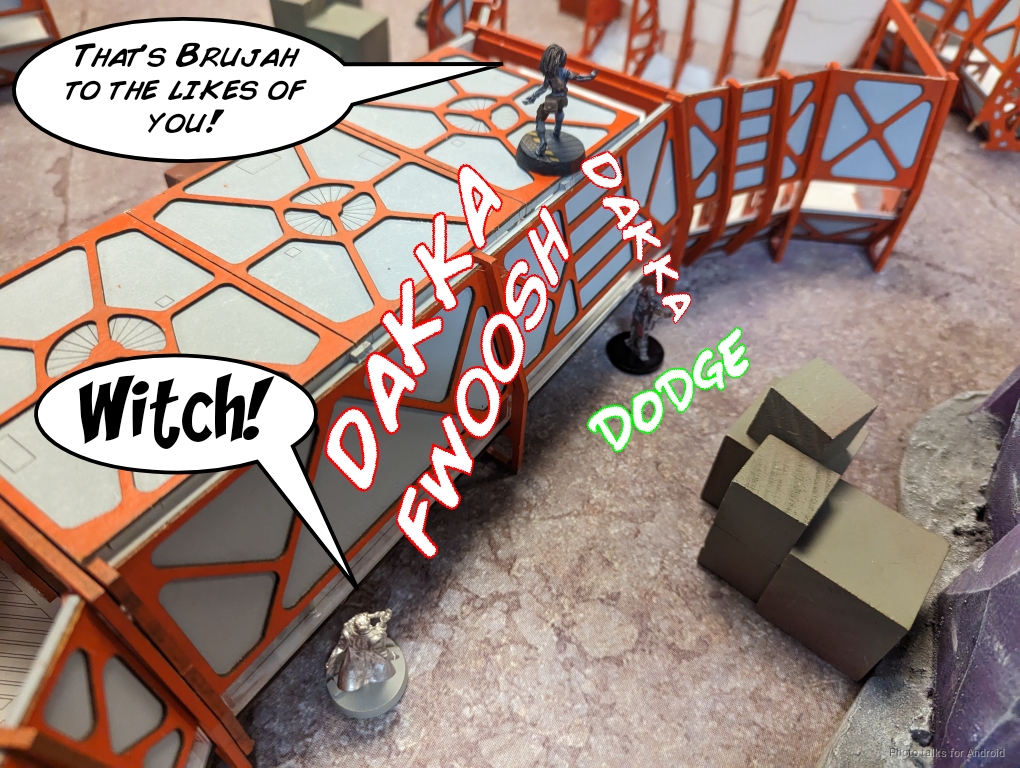
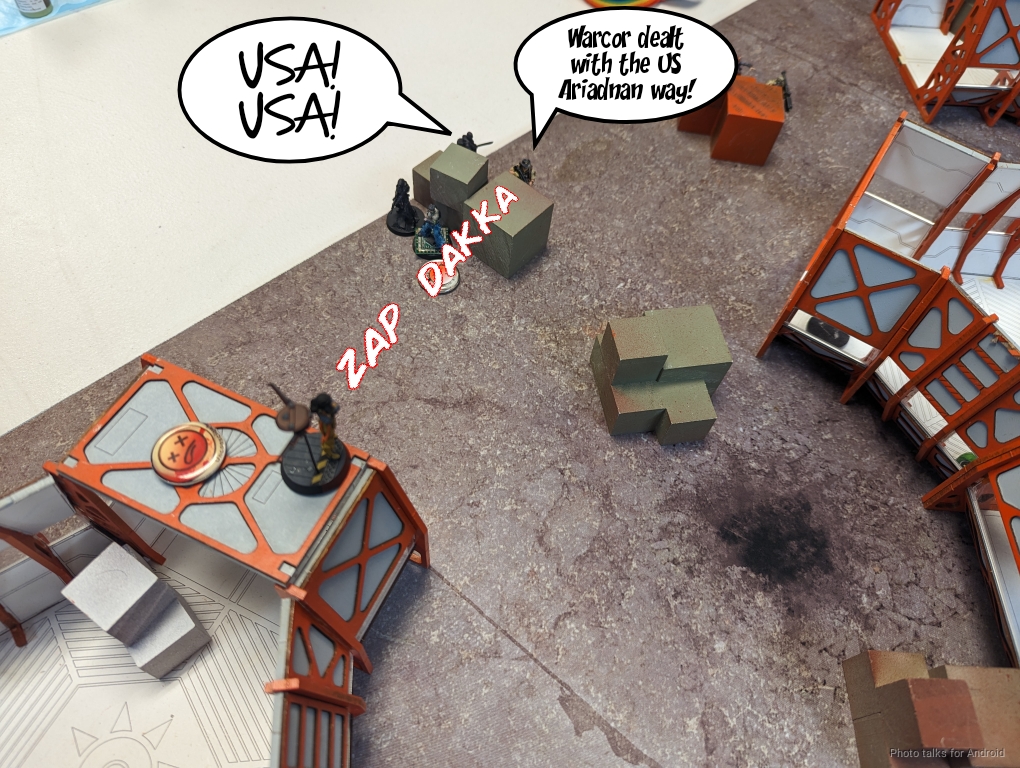
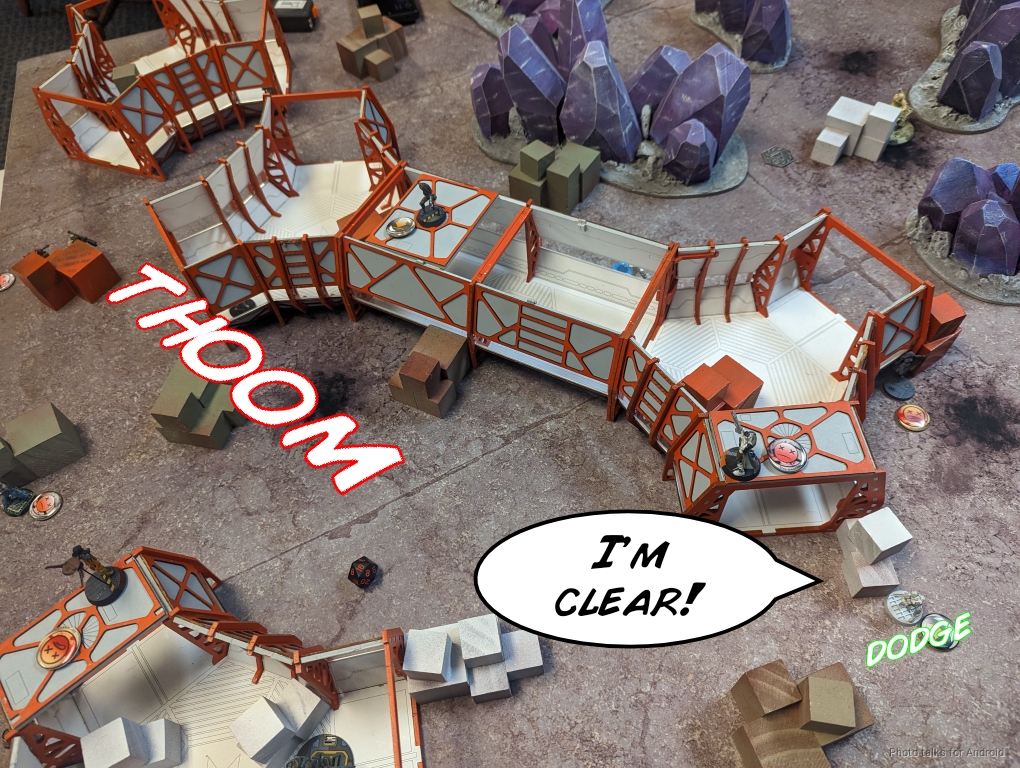
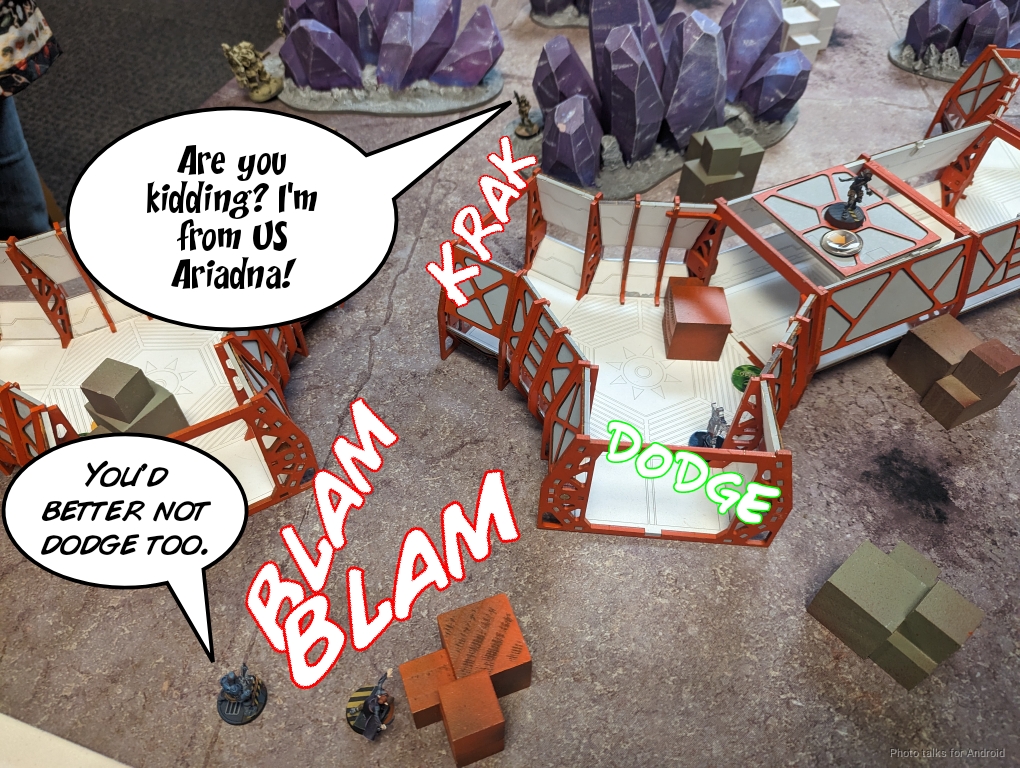
Anyway, Adam brings on Van Zant next to the Brigada, and I’m facing the wrong way, which is just a silly mistake on my part. I dodge into cover to face him.
The Interventor spotlights and the Moderator dodges while the Brigada tries to fight Van Zant. I lose the face to face and take a wound even at ARM6 effective.
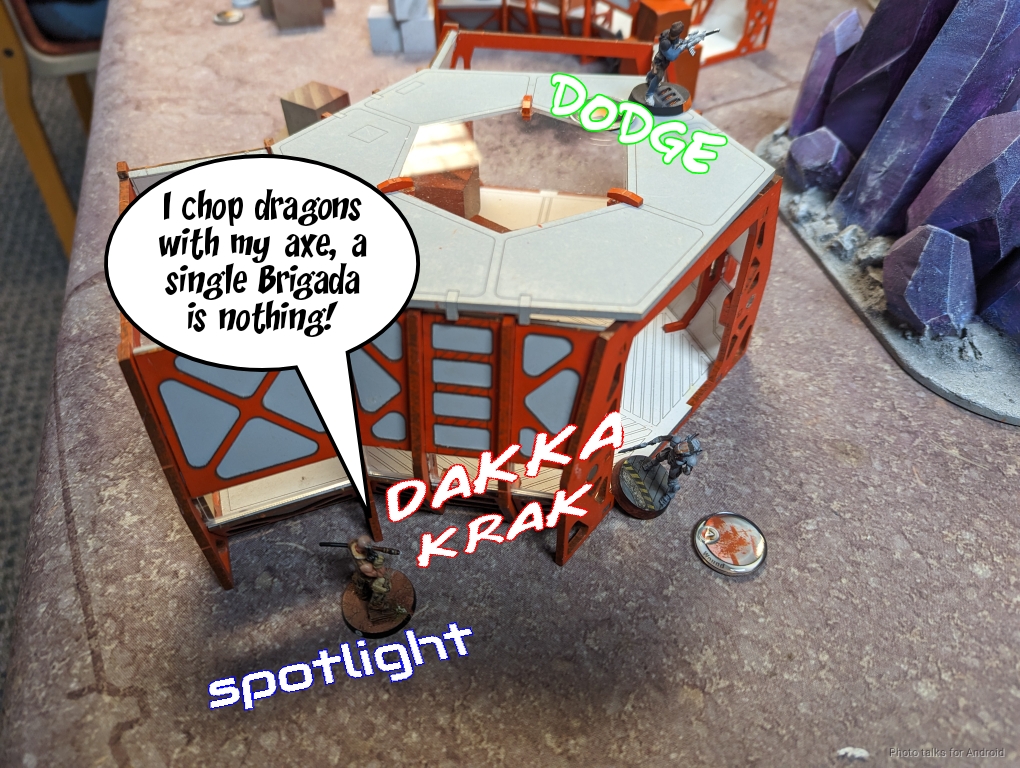
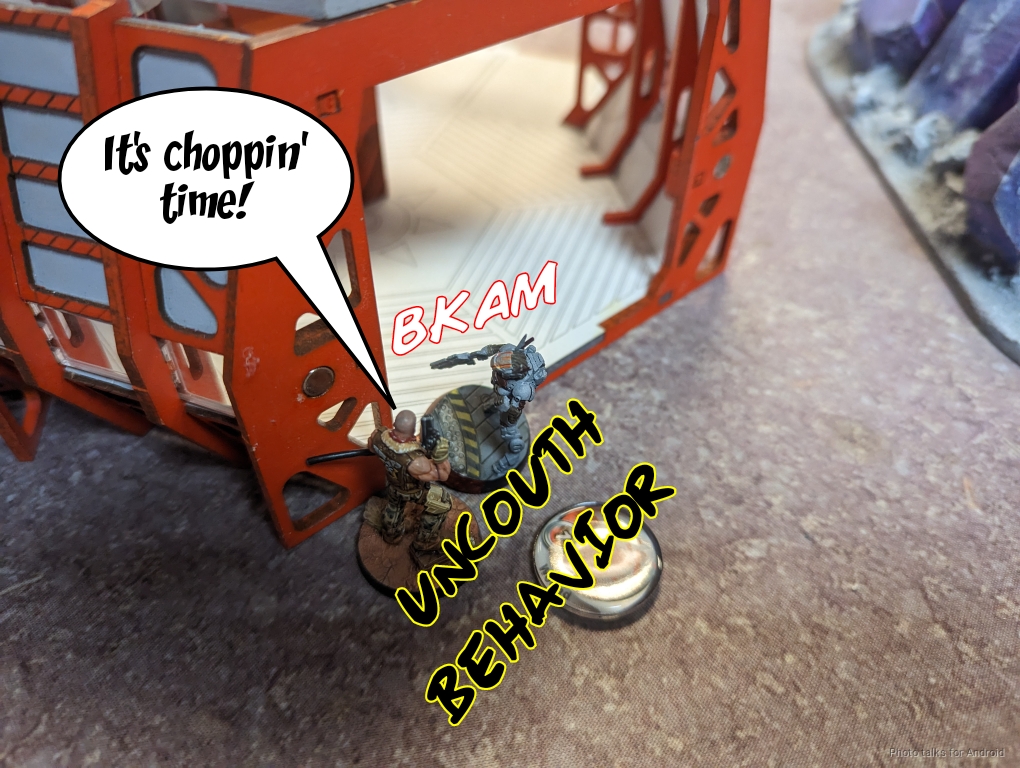
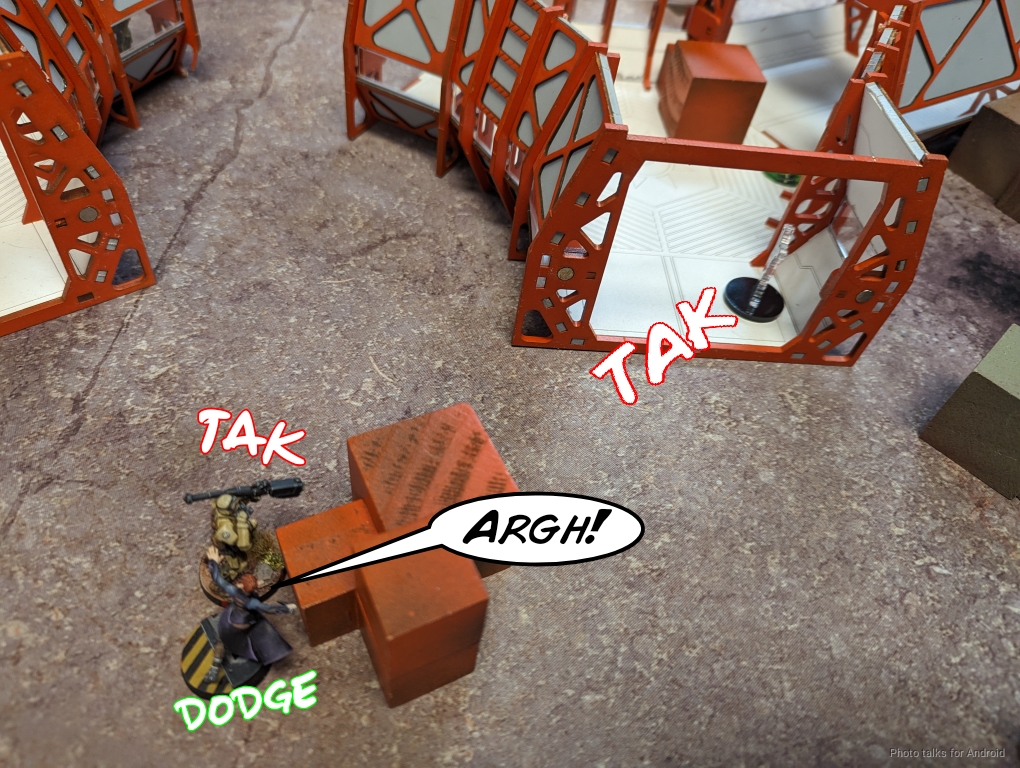
Van Zant comes in and beats down my Brigada in close combat. Alright, that’s annoying but not the end of the world. Now that the Brigada is prone, Van Zant can see the Puppetmaster and takes her out.
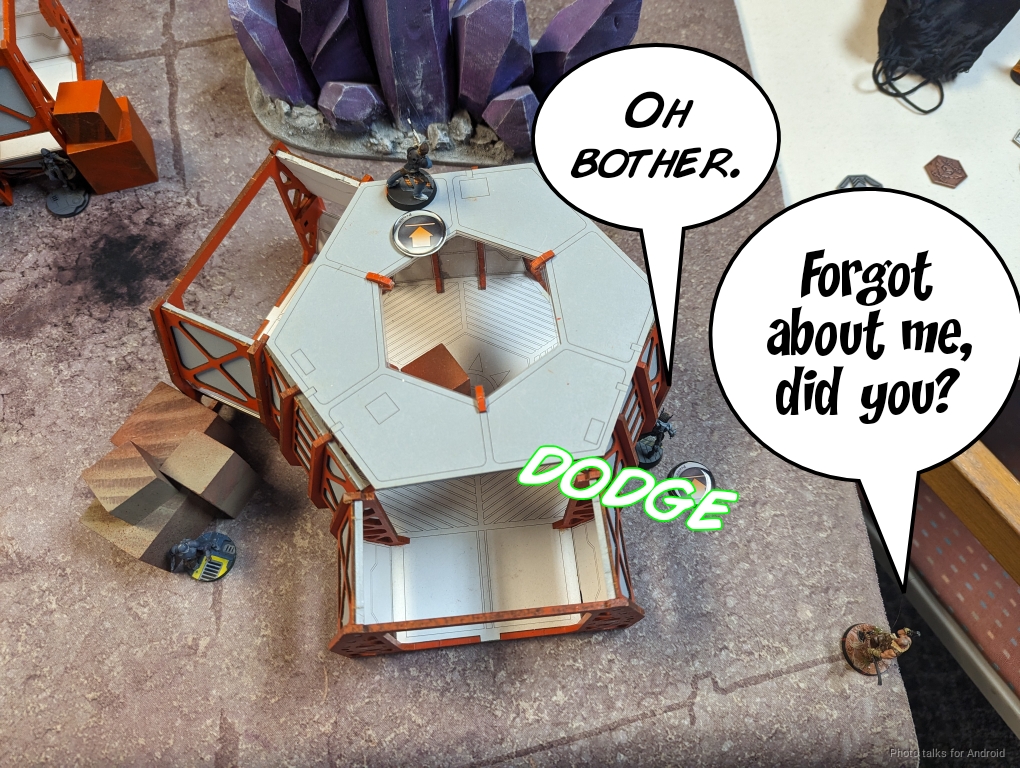
The Moderator has just been failing dodges all turn up on the roof, but the one time it matters he makes the dodge against the Foxtrot Sniper’s surprise shot. I’ll take it!
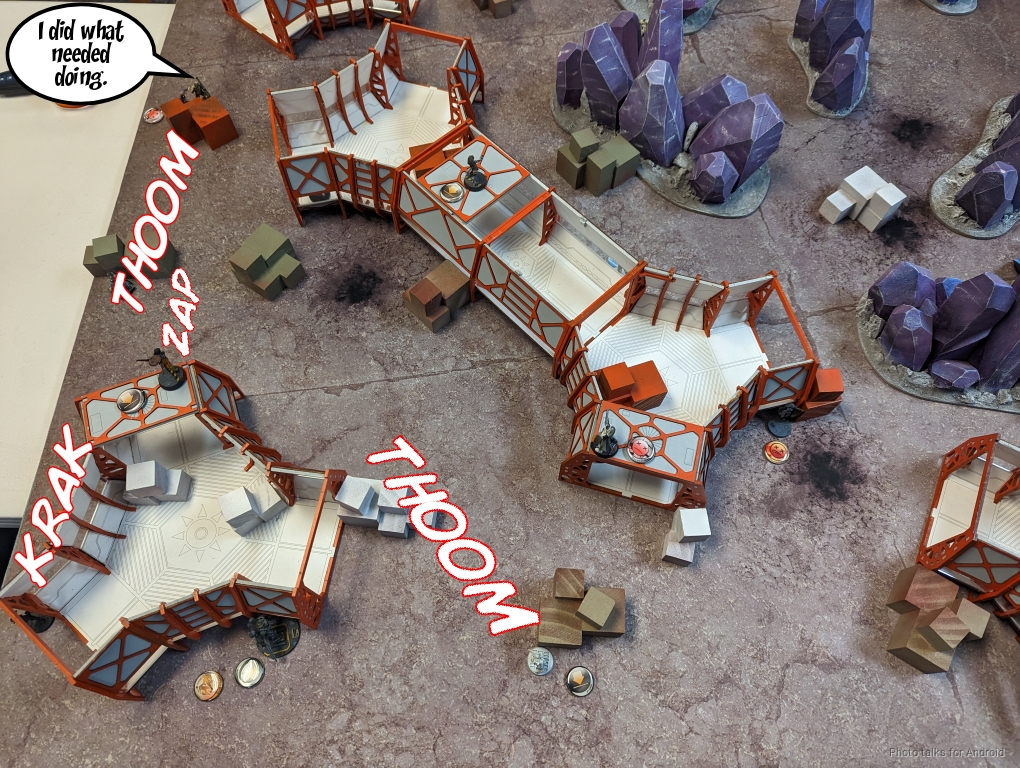
Now the really unfortunate loss–Van Zant climbs up the ladder and aces the Sin Eater in the back. Sigh.
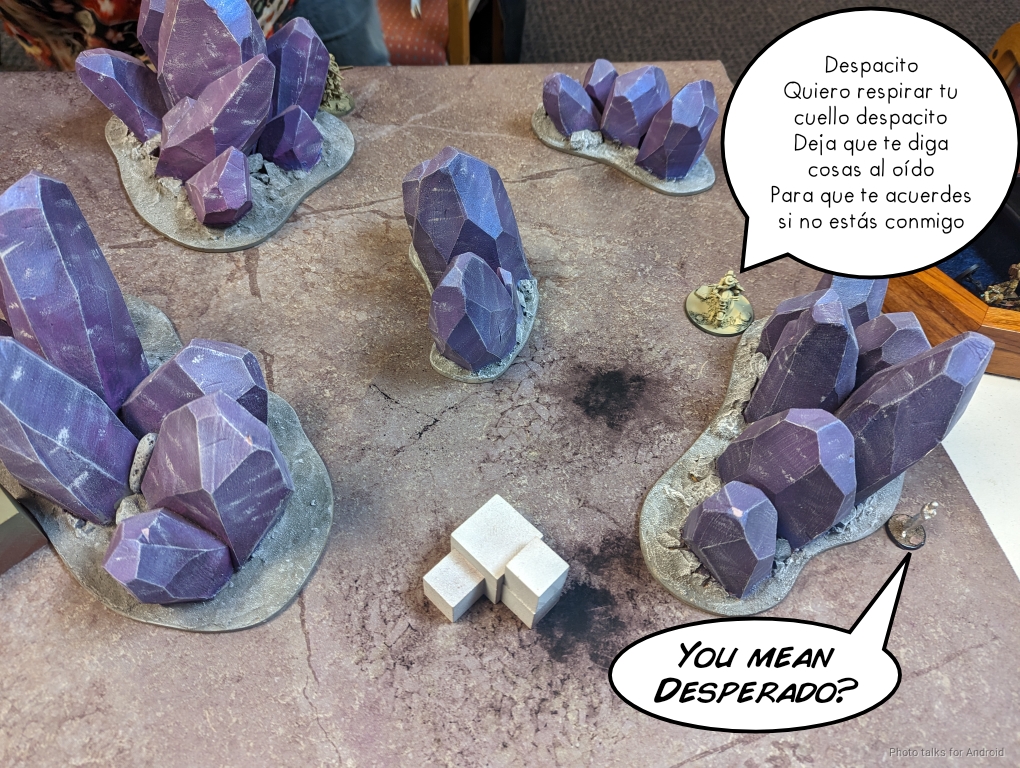
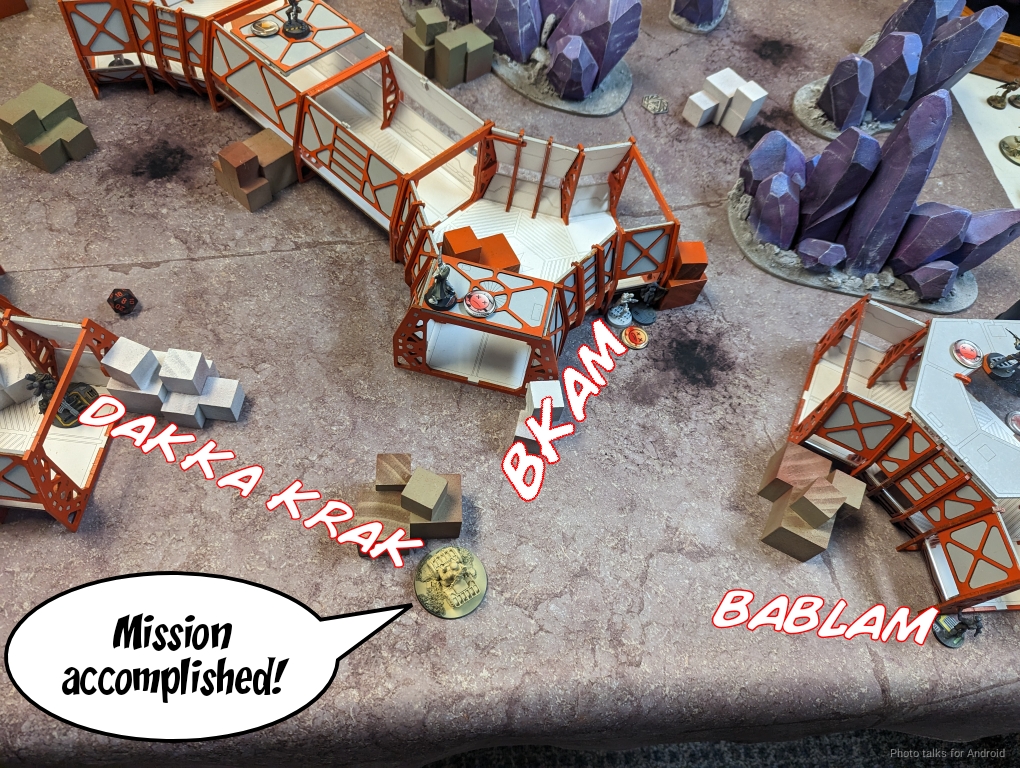
The Desperado takes out the HVT on the right now that the Moderator has dodged away from the Foxtrot.
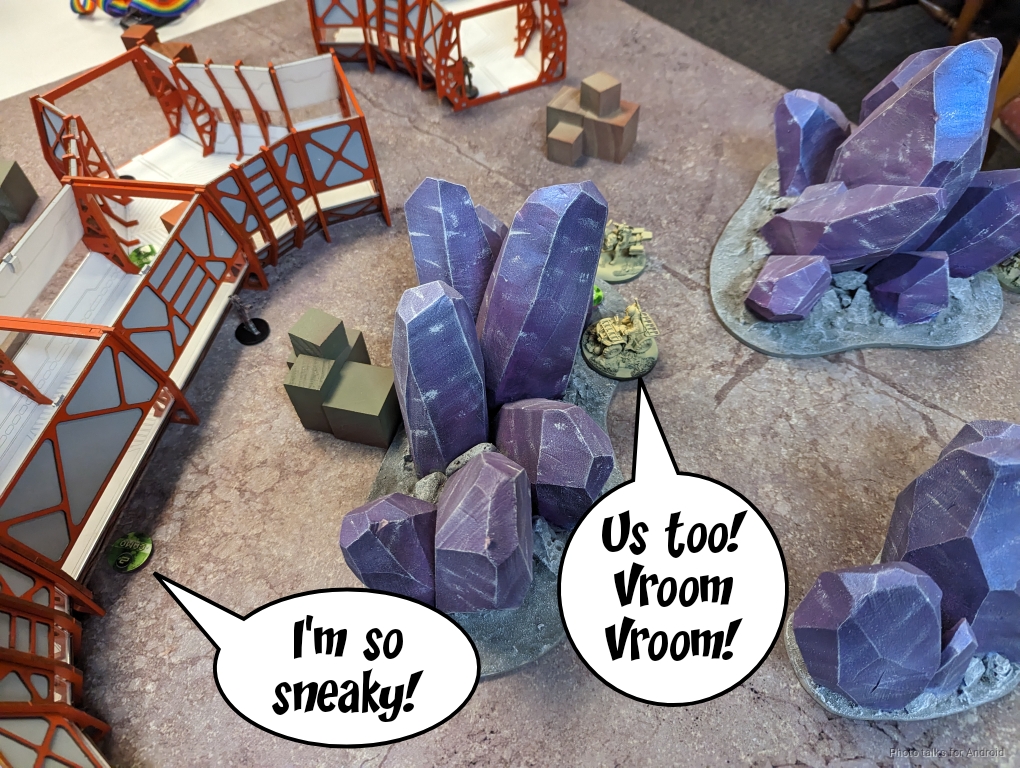
Now it’s time for the Beasthunter and the Maverick/112 duo to move forward to set up for Turn 2.
Bottom of 1 – Nomads
Well, I need to stabilize and get rid of near-DZ threats like the Marauder, Desperado, and especially Van Zant. If I can get some points on the board by hitting the HVTs that’d be good too.
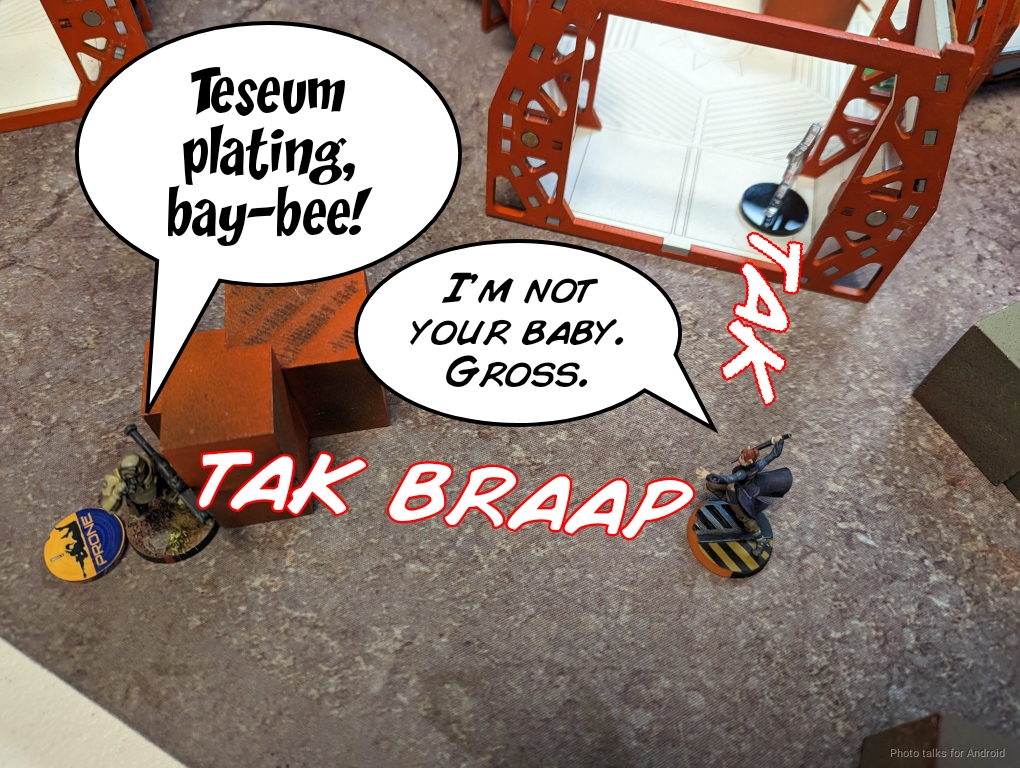
I start things off by trying to take on the Marauder with the Morlock. I focus fire on the Marauder to try and take it out against its pistol shot. The HVT shoots its stun pistol at me and unfortunately hits! The Marauder gets hit too, but ARM6 is very good (except when I’m rolling) so it survives unscathed.
Well, when life gives you combi rifles, you go to work. Zero Cool the Interventor rolls around the corner and takes out Van Zant.
The Moderator tries to take down the Foxtrot sniper but gets hit instead. Somehow, I make ARM!
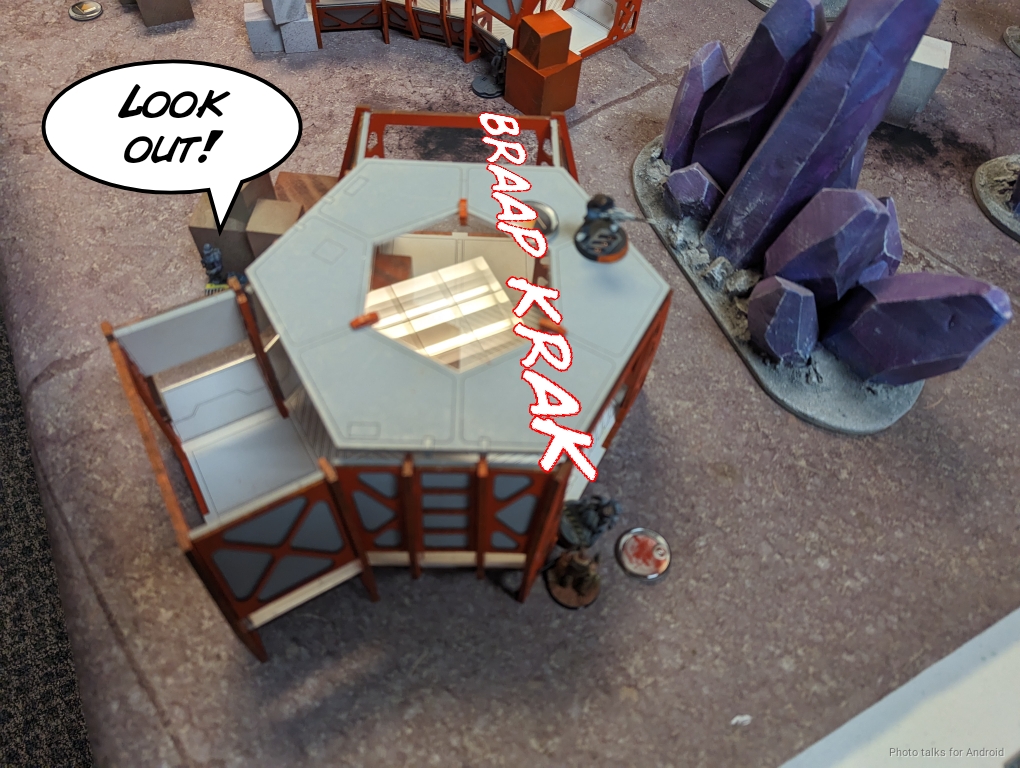
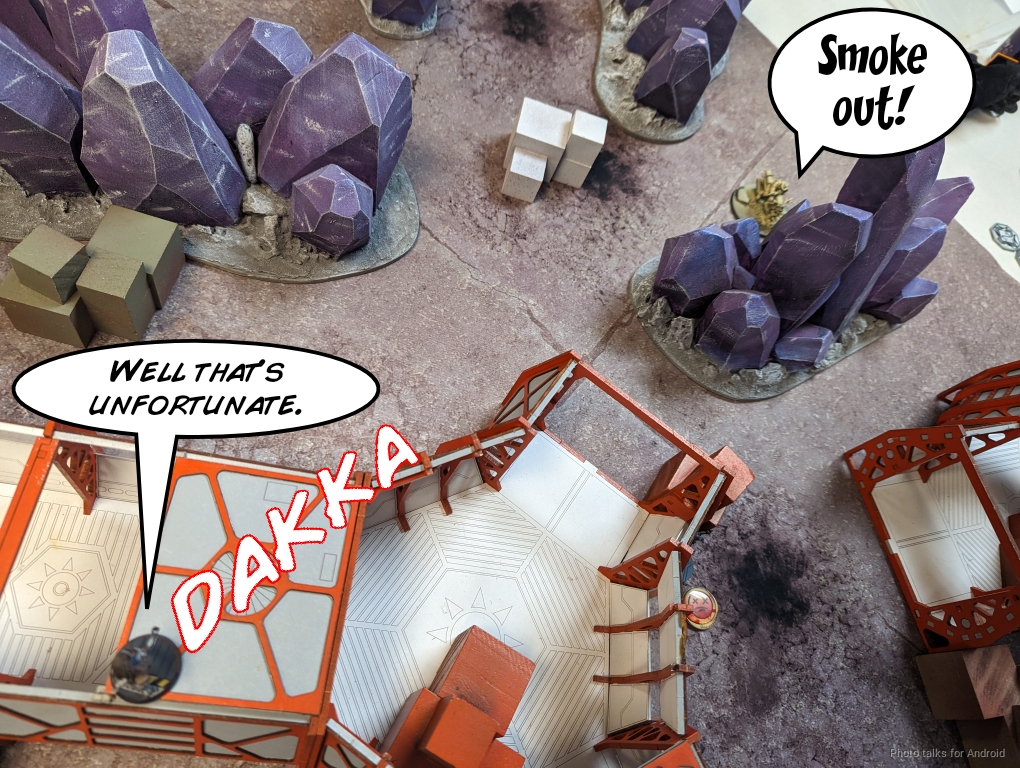
I need to get rid of the Desperado, and the Moran can do it in one order by climbing a ladder… or so I thought. The Desperado successfully smokes her out.
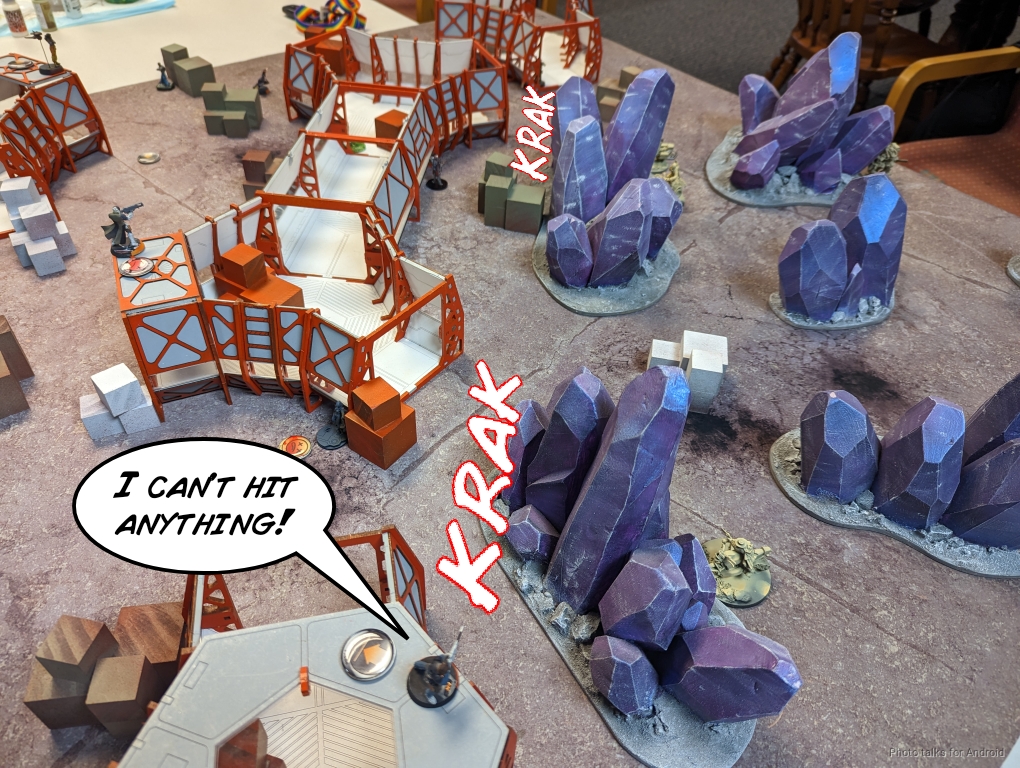
The 112 fails to smoke out the Moran, but I can’t get through anyone’s armor! I lose LoF to the biker medic as it scoots around the corner.
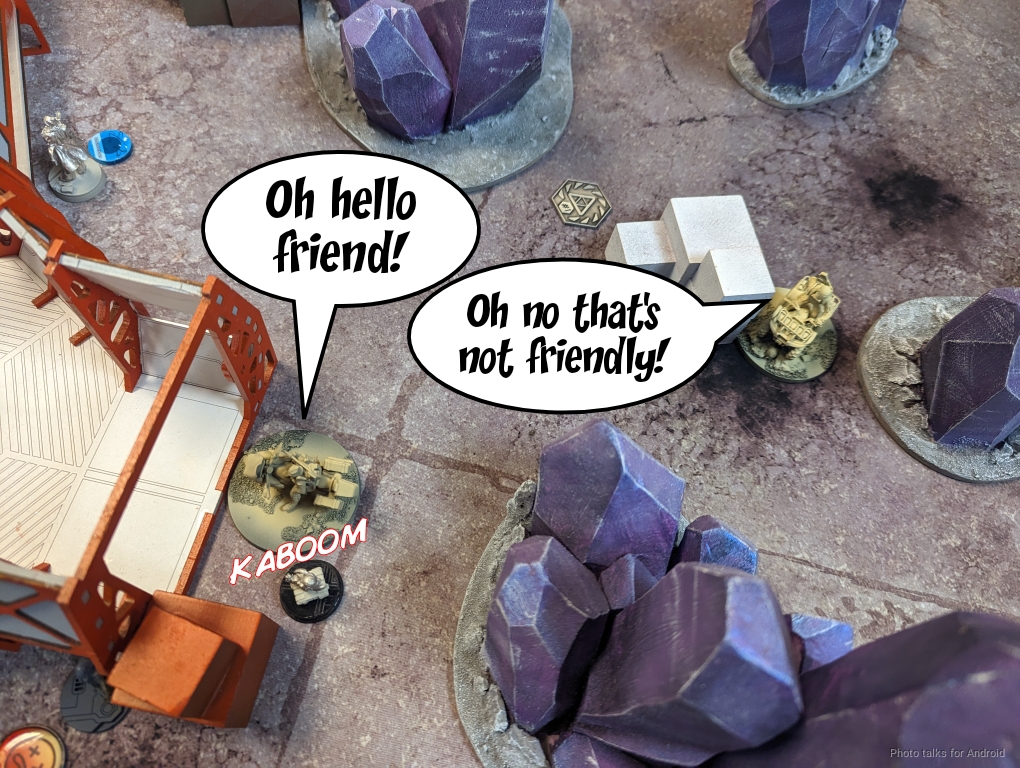
No matter, I’ll take on the nearby HVT. This baits a reveal from the Beasthunter to flamethrower me! I decide to split burst, one on the Beasthunter, two on the HVT. This is greedy but I might as well go for it. I manage to take out both of them while surviving the flamethrower! I use the free movement from the guts fail to go prone on the roof so I don’t immediately get my Moran shot to pieces.
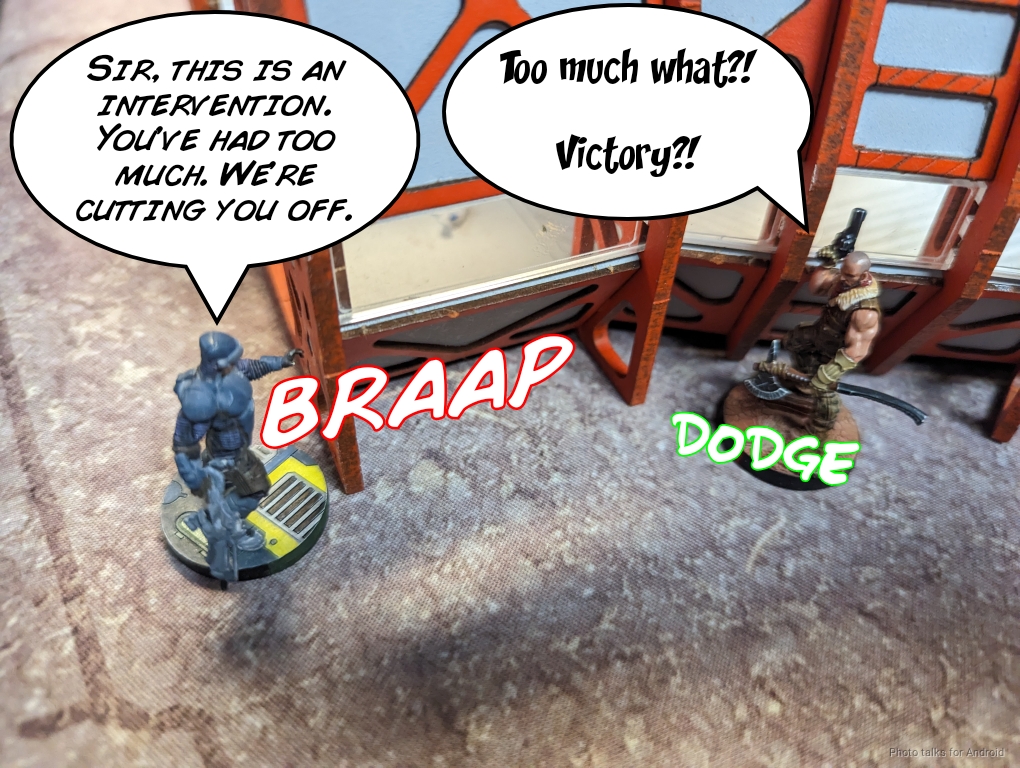
I decide to try and get into base to base with the Marauder with the Morlock’s irregular order, figuring that I can at least tie it up in close combat. I dodge in on -3 PH thanks to being stunned, but roll a 1 and the Maurader takes out the Morlock. BOO.
Turn 2
Top of 2 – USARF
I’m hemorrhaging orders and not really getting much done, but at least we’re tied on points at this point. Hopefully I can keep my order pool intact this turn.
The Marauder activates and pastes the Cheerkiller. I do manage to isolate it with a Blitzen from the Riot Grrl and stun it with the warcor, but the Cheerkiller is down along with her AP Rifle. Maybe I’ll get to use that model at some point.
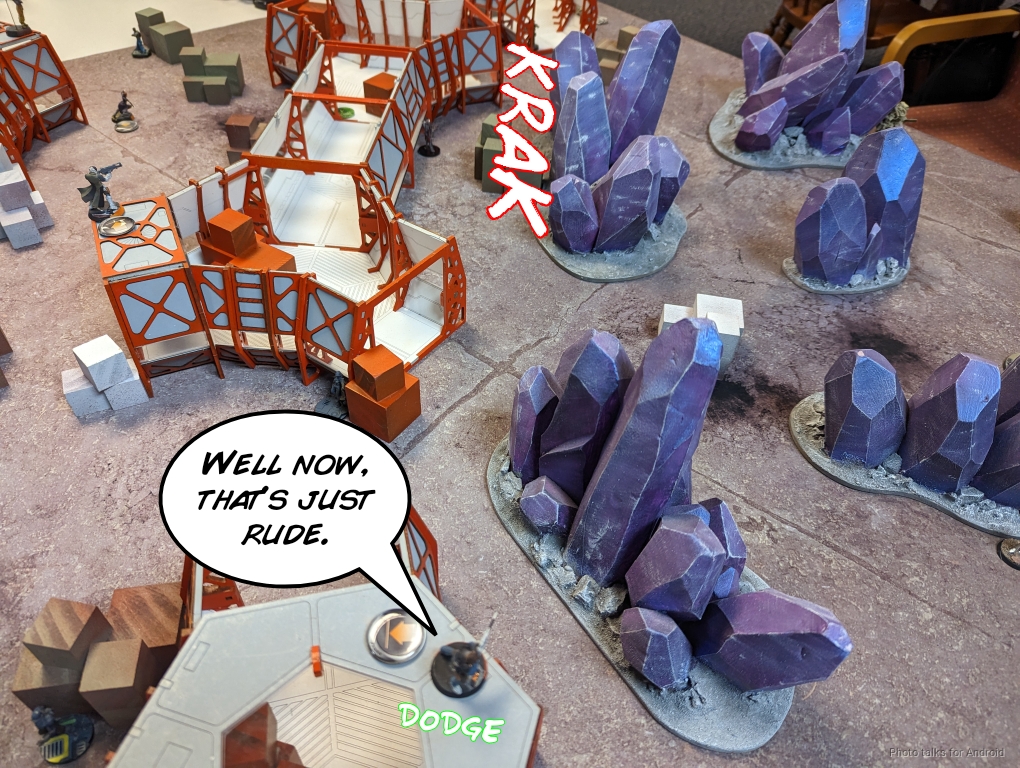
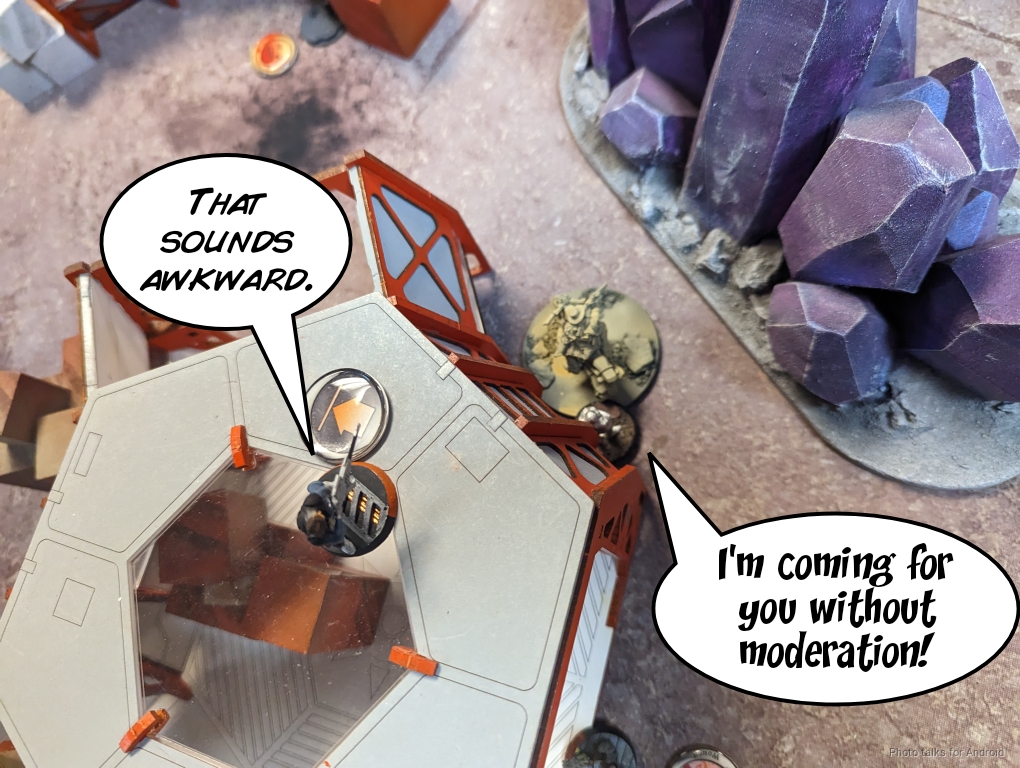
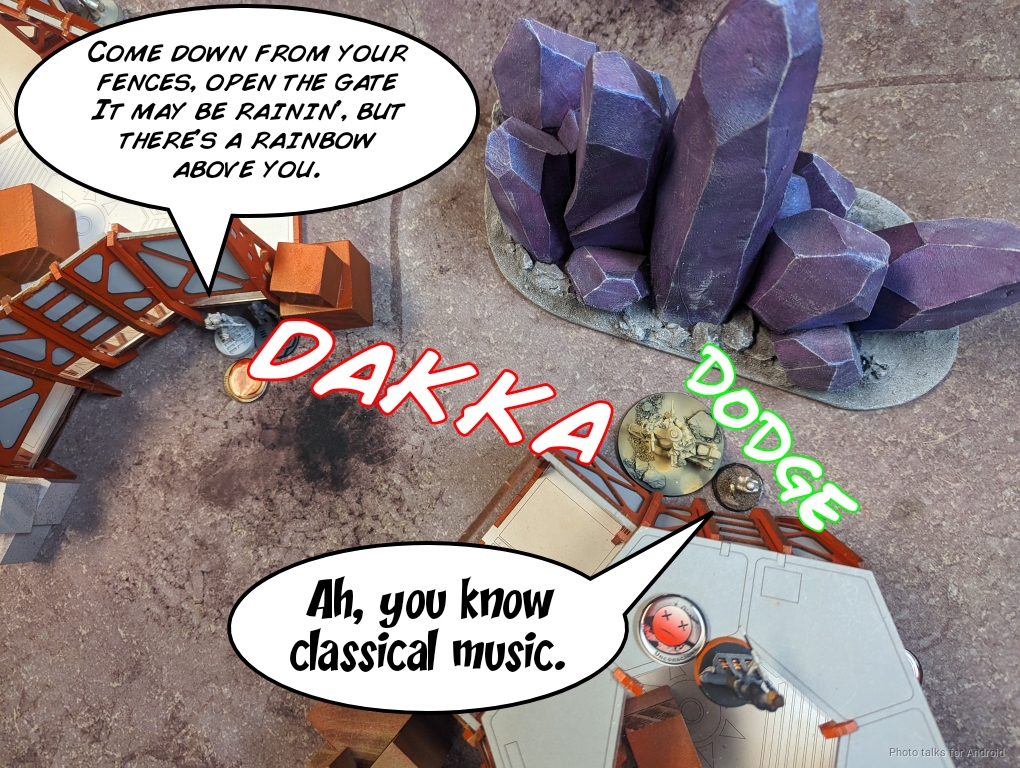
The Desperado rudely accosts my Moderator, who dodges to safety. Must be the paint I put on him recently!
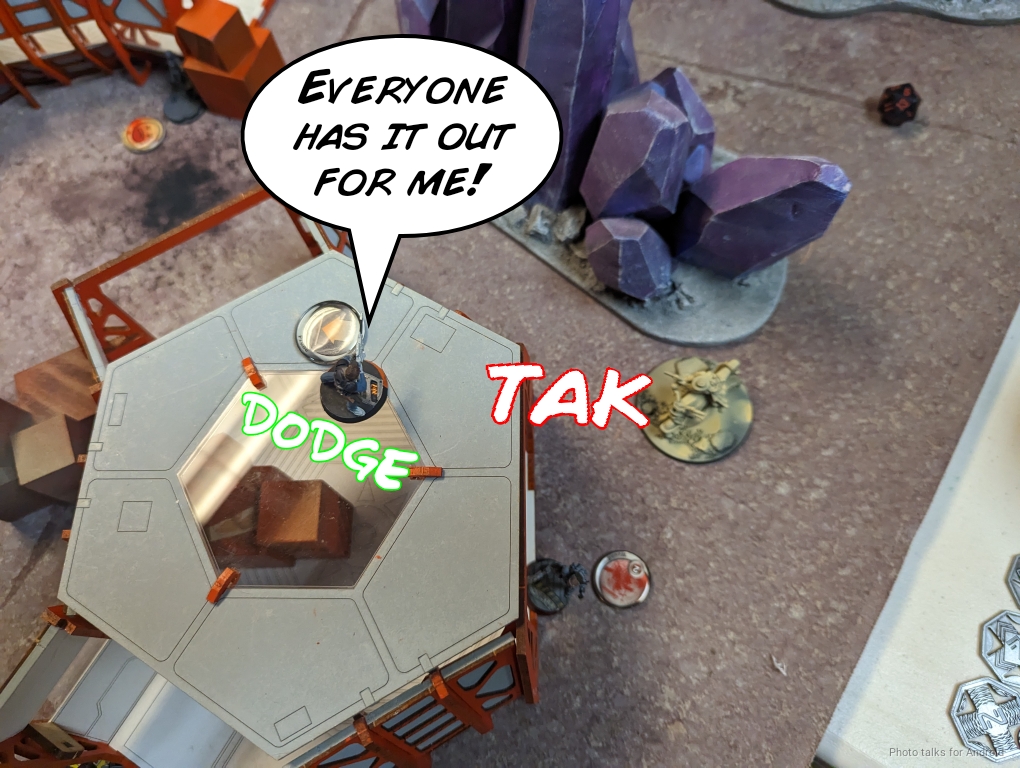
Adam springs the weirdest trap ever and brings on the first of three Airborne Rangers.
This Ranger attempts to take out the Warcor, but I manage to zap it.
Then two more come on and finally take out the Warcor and the HVT.
Unwilling to take no for an answer, the Desperado climbs off his bike and comes to bother my Moderator, shooting him in the face and killing him.
Adam then miscalculates the range of the Koala and gets the 112 killed on its way to set up smoke for the Maverick, who pulls back without her buddy.
The rest of Adam’s orders are spent flooding the Airborne Rangers into and around the building where the Kriza is, which is certainly going to be a mess of orders to unpack with the Marauder watching the building.
Bottom of 2 – Nomads
This isn’t looking good. I need to clear out the Rangers ASAP. Fortunately, this particular Kriza profile is designed for such things. I SMG one…
then another…
and even put the Marauder dogged with the Mk12.
I don’t have orders to do much beyond that here, and that Desperado needs to go, so I swing the Riot Grrl into play, dodging away from the wounded Marauder’s HRL shot.
With my last order I take out the dismounted Desperado.
Turn 3
Top of 3 – USARF

Adam’s got a pretty good play still, which is to send the Maverick after my Kriza. It gets past the Riot Grrl, no problem.
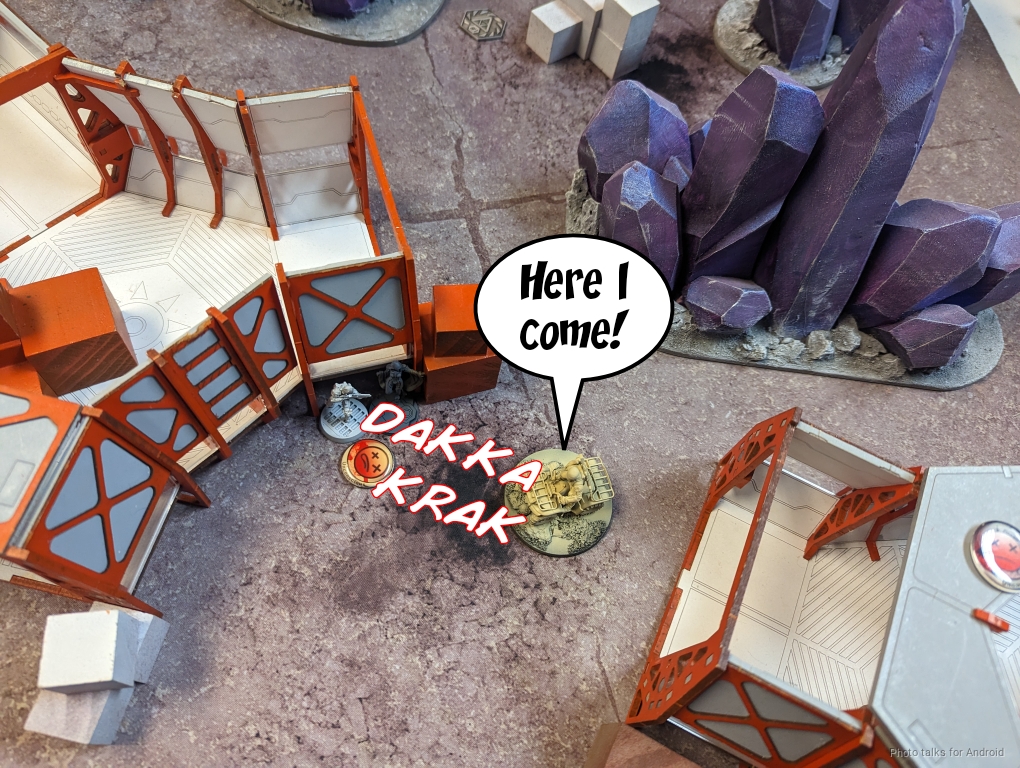
Then it gives unopposed shots to both the Riot Grrl and the Interventor as it puts all its shots into the Kriza. It gets hit by everyone and passes all the ARM saves.

The Maverick then one-shots the Kriza, again tanking shots from the Riot Grrl and Interventor. Sigh. Irritating.
The last order is spent on the remaining Airborne Ranger, who takes a shot on the Interventor, who successfully makes it around the corner by failing guts.
Bottom of 3 – Nomads
Okay, Adam’s got 2 HVTs and a Lieutenant kill, and I’ve got 1 HVT. Not good.

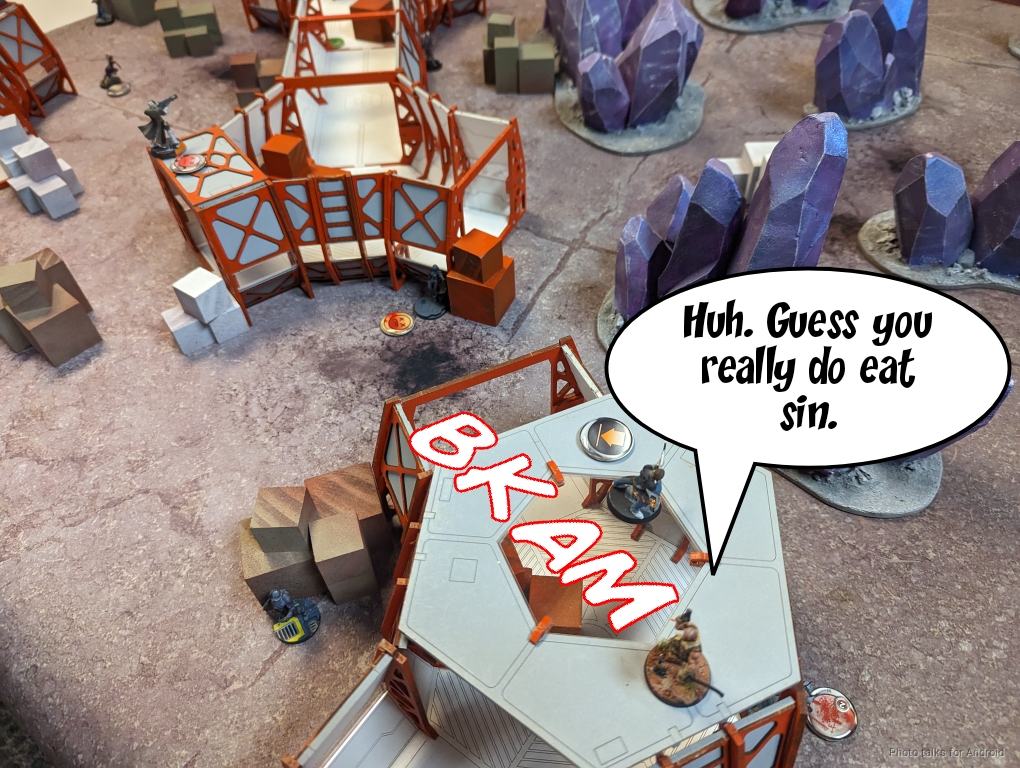
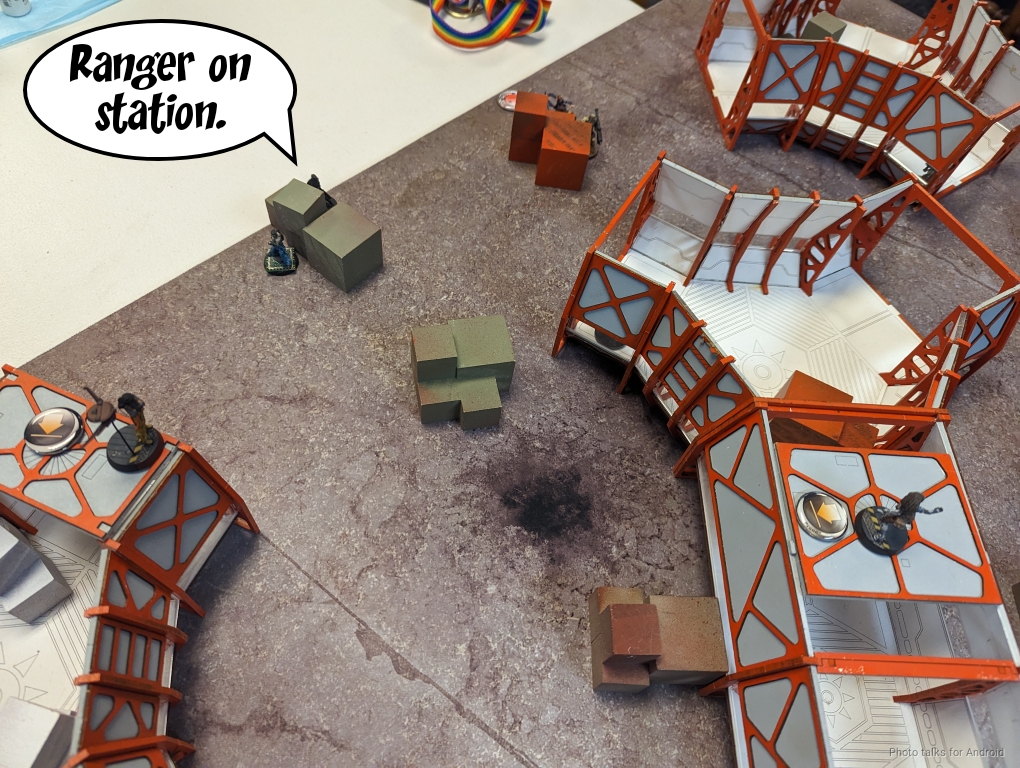
I can just barely make this work if I’m careful with the Spektr. The Spektr pushes forward and takes out one of the remaining Foxtrots and the last HVT.
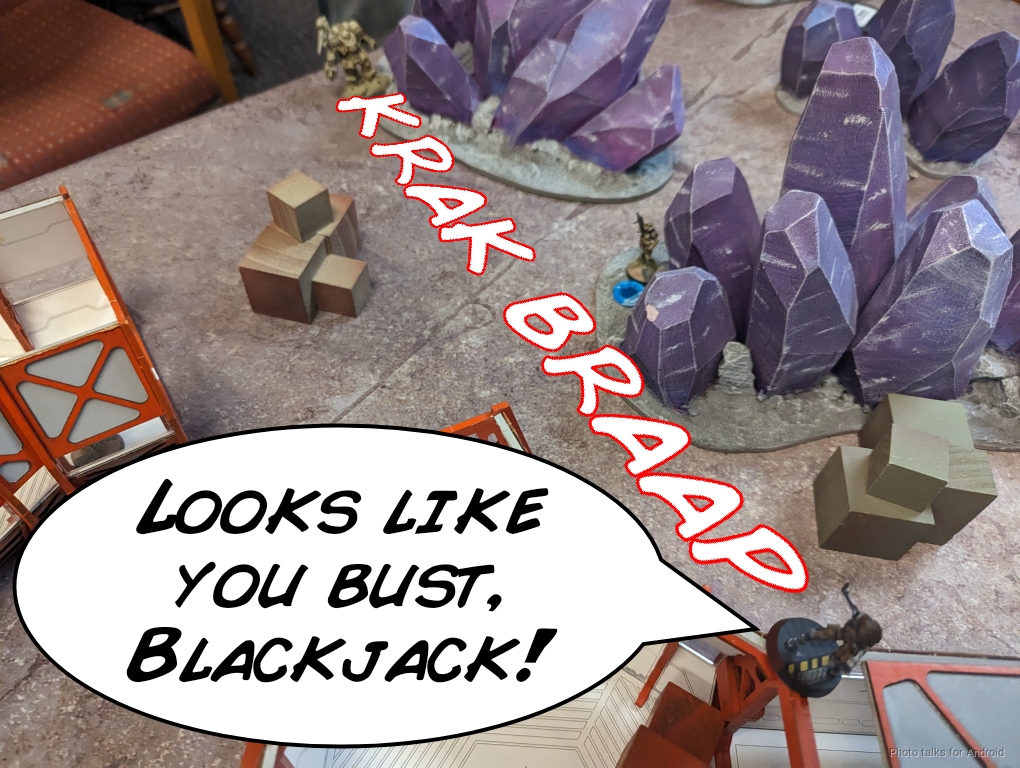
I hop onto some boxes so on my last order I can discover-shoot the Foxtrot lieutenant (I took the picture before I moved the model) and split burst against the Blackjack and the nearby Foxtrot sniper. The Foxtrot sniper drops the Spektr but I do manage to put a wound on the Blackjack!
I spent my Lieutenant order on my spiritual lieutenant, Zero Cool, and he blaps the Maverick and the Airborne Ranger, knocking them out!
I’ve got one last chance here, so I move to a spot where I catch the Blackjack out of cover with the Moran and gun it down with my last order.
This pushes me into more points killed, which means its a
7-7, 70-53 Tie!
Post Game Analysis
Absolutely wild game. Basically I lost because I didn’t put the Sin Eater on the back table to adequately defend against Van Zant. I don’t think I made any particularly good decisions, I just took risks at appropriate times and the dice were kind to me at pivotal moments. In a lot of ways, Adam was robbed of a full victory here by his Blackjack going down.
I think this game really illustrates the power of combi rifles. I think all models I killed were with combi rifles, with the exception of the Kriza run on the Airbrone Rangers. A lot of that is simply because I only have combi rifles to work with, really. I think really I made a some pretty significant deployment mistakes but kept my cool and prioritized targets and didn’t over-commit or over-extend until absolutely necessary.
I’m really pleased to have kept the Spektr hidden till the last turn. I think it was really important to have done so, even though I could have really made problems for the Airborne Rangers in the second turn. The Moderator is just performing way above his points cost here, mostly just in terms of sinking orders. It ate three orders from a Bolt last game and a bunch of orders this game. I can’t ask for more–it doesn’t even need to kill anything it just needs to drain orders.
This game was pretty frustrating, because I was just very annoyed with myself for forgetting about Van Zant. It’s really easy for me to go on tilt about it, but I instead chose to be very focused. I think that conscious decision kept me cool and detached, which gave me the ability to more accurately prioritize threats.
What’s actually pretty funny is the Riot Grrl didn’t go impetuous, because she didn’t do any wounds! I don’t think it would have made anything more efficient, but maybe if she had gotten something early in the game it would have been relevant. Frenzy is a very strong skill because it not only grants a points discount but also allows you to choose when you enter the impetuous state, which is powerful. You don’t always get the choice–i.e. if you have to shoot something in ARO for example, but with the Riot Grrls high dodge number it actually might be more of a choice.
I’ll have to see if I can leverage that in future games with this list. It’s just difficult establish to and hold board control with this list. Anyway. Learnings from this game are that it really wants stuff to come to it so it can kill stuff. I had a much better experience going second that going first here. In terms of what I can take from this list moving back into constructed lists–I should be more aggressive with Morans more often. That and Spektrs continue to be awesome. Thanks for reading.

Pingback: Sacrificial Spektr – MERC Recon
Pingback: Mission 055: HI Ho, Solo! – Bromad Academy