
Raindog’s Rampage 2019 Tournament Report
Every year, Eric (raindog) runs a charity tournament to support various causes he’s involved in. This year, he was collecting on behalf of the same women’s shelter as last year as well as a cancer initiative that he’s involved in. Everyone’s busy these days, but I’m going to keep making time for this tournament. Eric’s a great guy and I really want to support the work he’s doing!
Eric generally runs Raindog’s Rampage as a 200 point, 4 round tournament with four custom missions he designs and releases a few months in advance so we can practice. This year, he added a new restriction, which was to make it 200 point limited insertion.
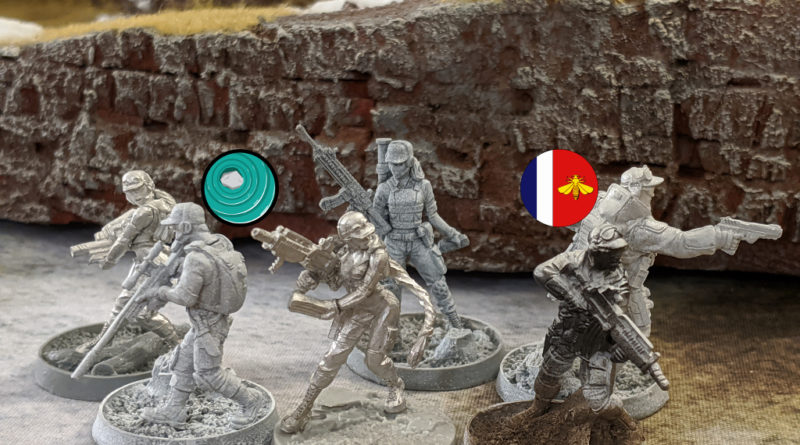
I was originally going to take Foreign Company, but after all the White Noise episodes on the Merovingians lately, I decided to run FRRM instead. Those of you who have followed this blog for awhile know that FRRM was what I really wanted to play when I started in N2, but someone in my small 3 person meta back then was already playing CHA and I wanted to make the meta a little more diverse. I made a more traditional list, tailored to the missions which incentivized you to take Forward Observers, Engineers, and Hackers:
Do stuff!
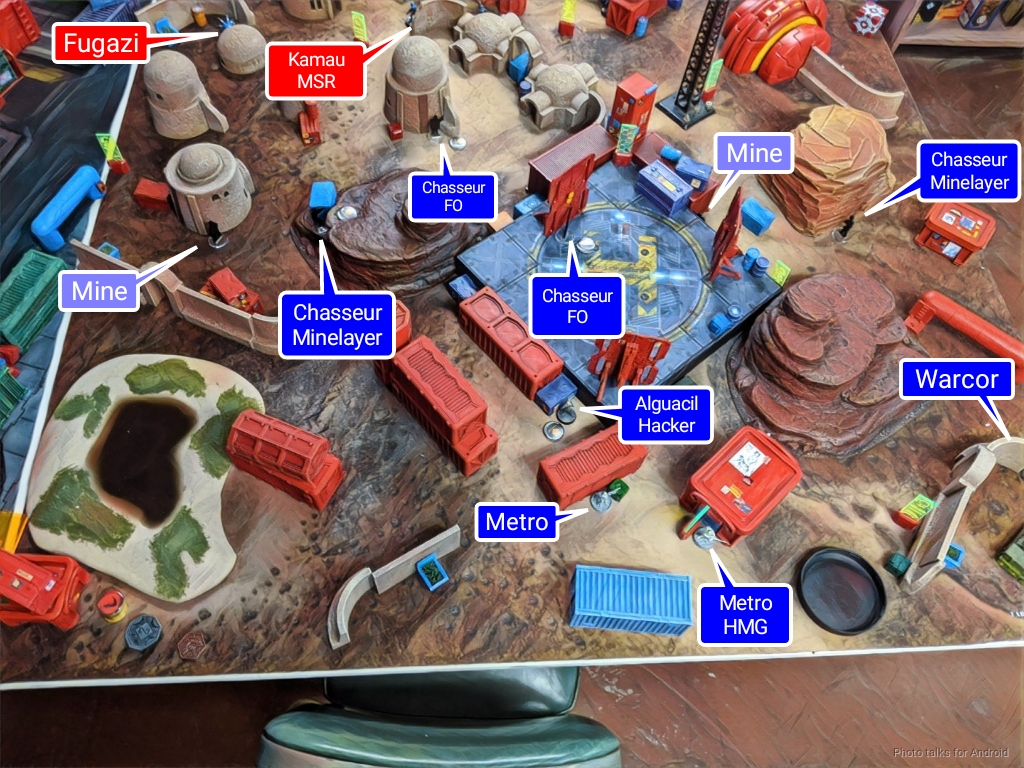
MÉTRO Lieutenant Rifle / Pistol, Knife. (0 | 8)
MOBLOT (Sapper) HMG / Pistol, Knife. (2 | 31)
ALGUACIL Hacker (Hacking Device) Combi Rifle / Pistol, Knife. (0.5 | 18)
CHASSEUR (Minelayer) Rifle, Light Flamethrower, Antipersonnel Mines / Pistol, Knife. (0.5 | 20)
ZOUAVE (Sapper) Sniper Rifle / Pistol, Knife. (0.5 | 25)
DOZER Rifle, D-Charges / Pistol, Knife. (0 | 13)
10 | 4 SWC | 200 Points | Open in Infinity Army
I definitely wanted to take max AVA Chasseurs, because they’re gross and they make Adam (TheDiceAbide) sad, so that’s enough reason for me. The 3-man Metro link is anchored by a Moblot HMG (Sapper) and carts around a Moblot Engineer and Alguacil Hacker to do the mission things. It also has a backup engineer and a Zouave, because Zouave is fun to say.
EQUIPE MIRAGE-5 . (2 | 71)

DUROC 2 Chain Rifles, Grenades, Smoke Grenades / AP CC Weapon. (34)
WARCOR (360º Visor) Flash Pulse / Stun Pistol, Knife. (0 | 3)
2
1 | 4 SWC | 199 Points | Open in Infinity Army
Spoiler alert, but the Mirage 5 list above is the one I ended up taking the entire day. It started as my joke list, but it just ended up clicking for me. A Warcor is a perfectly acceptable 3 point “regular” order if you’re careful with your command tokens. Unless you’re “that guy” who lays a bajillion mines in coordinated orders, it’s more than adequate. And who doesn’t like flash pulsing stuff?
Game 1 – Desert Rain
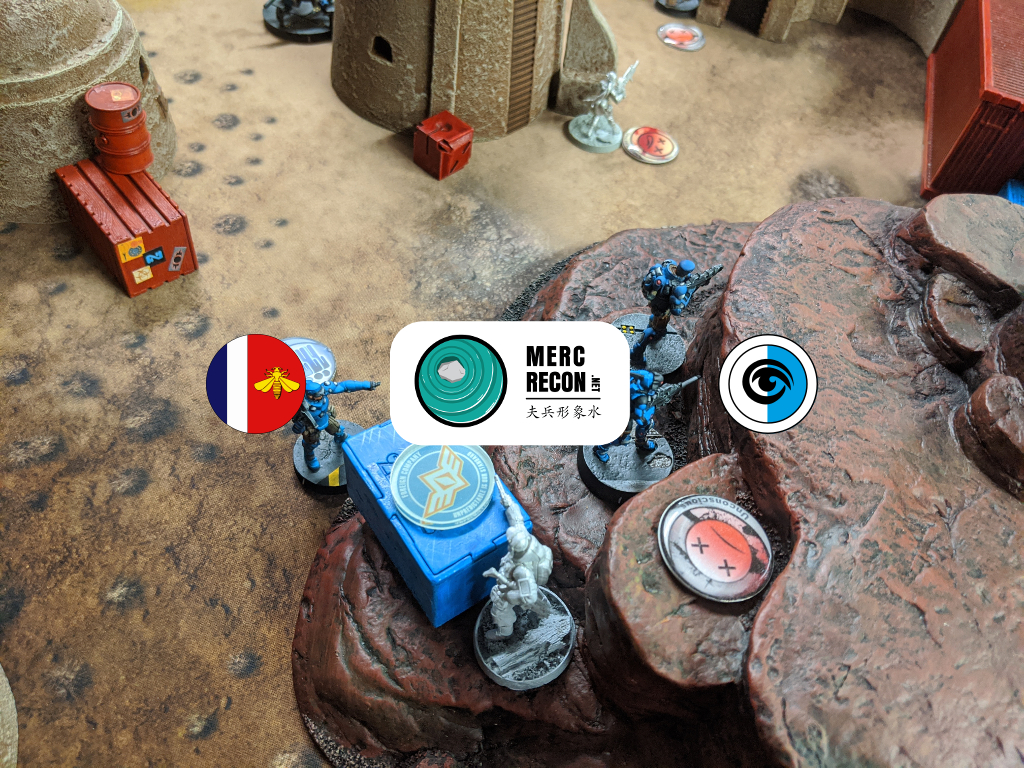
Game 1 was against Shane. The last time I played him was in 2017! He’s recently gotten back into the game after a 2 year hiatus due to a crazy work schedule, and it’s been really great having him back in the scene. Shane’s been at game night for a month or two now, but we haven’t gotten a chance to play, so when Eric called for challenges I threw down against Shane to make sure we got a chance to roll dice together!
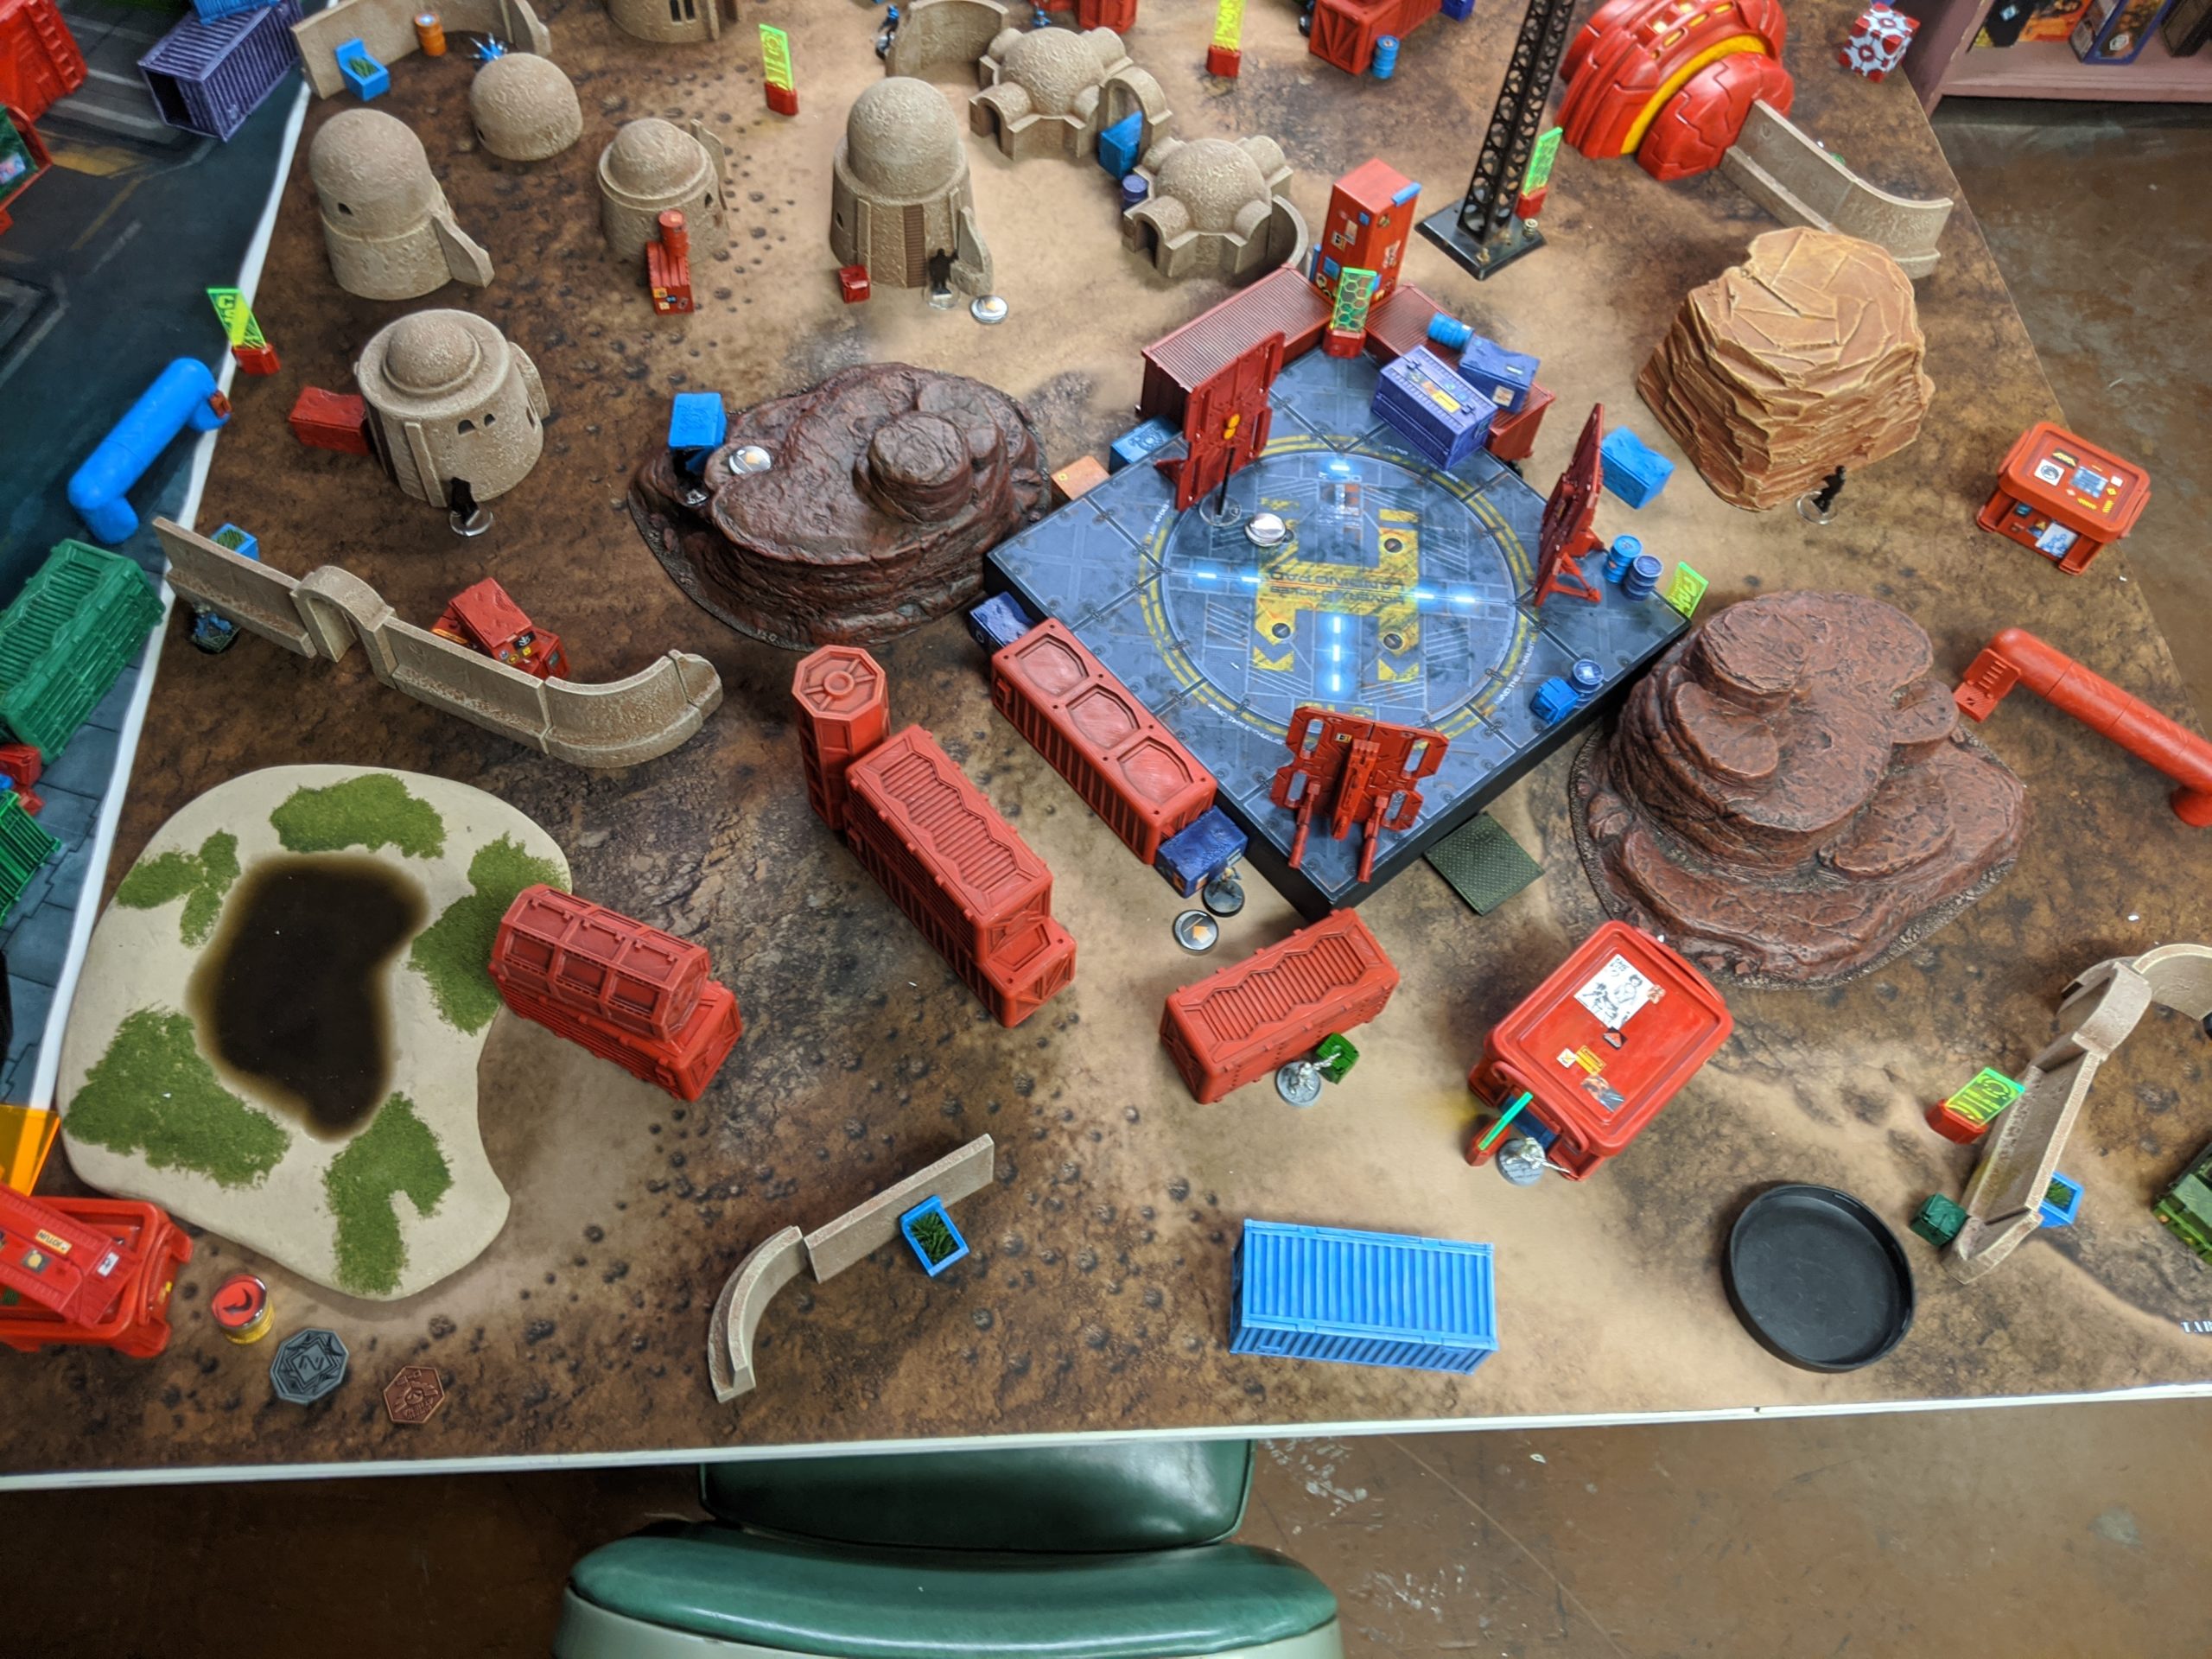
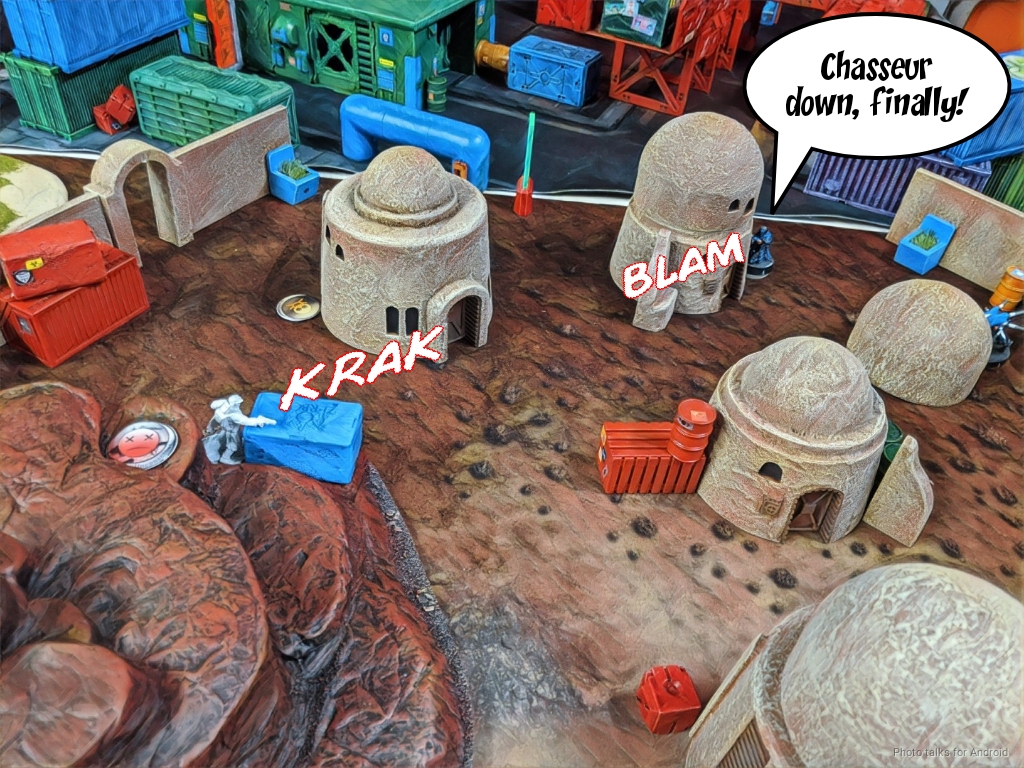
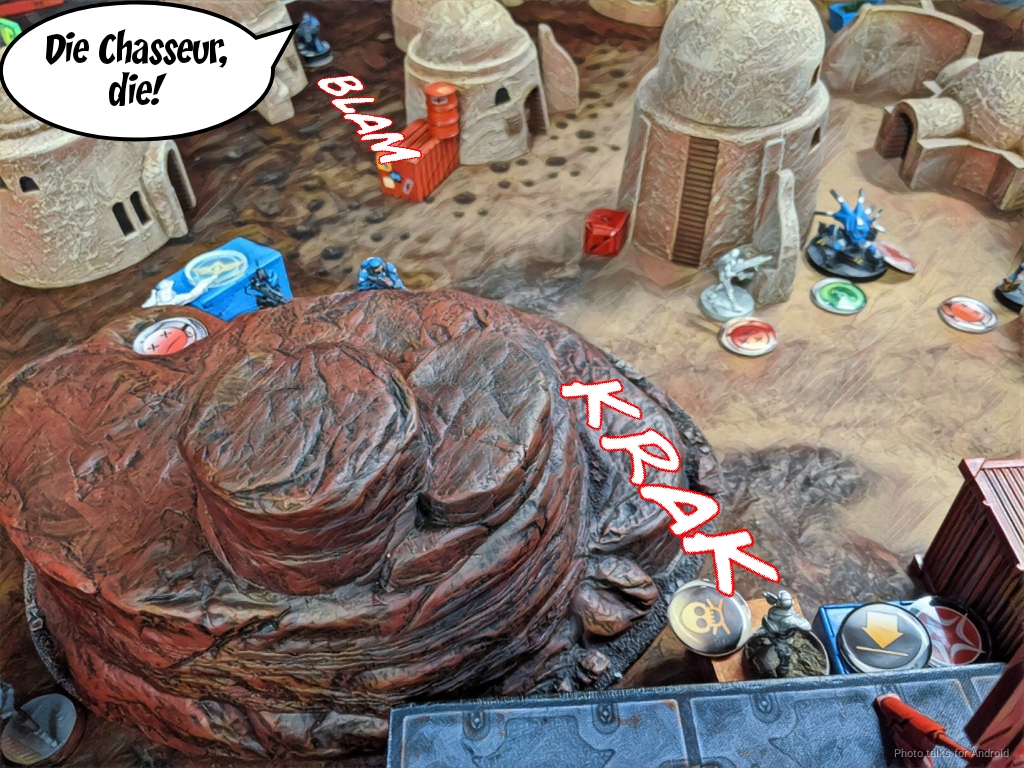
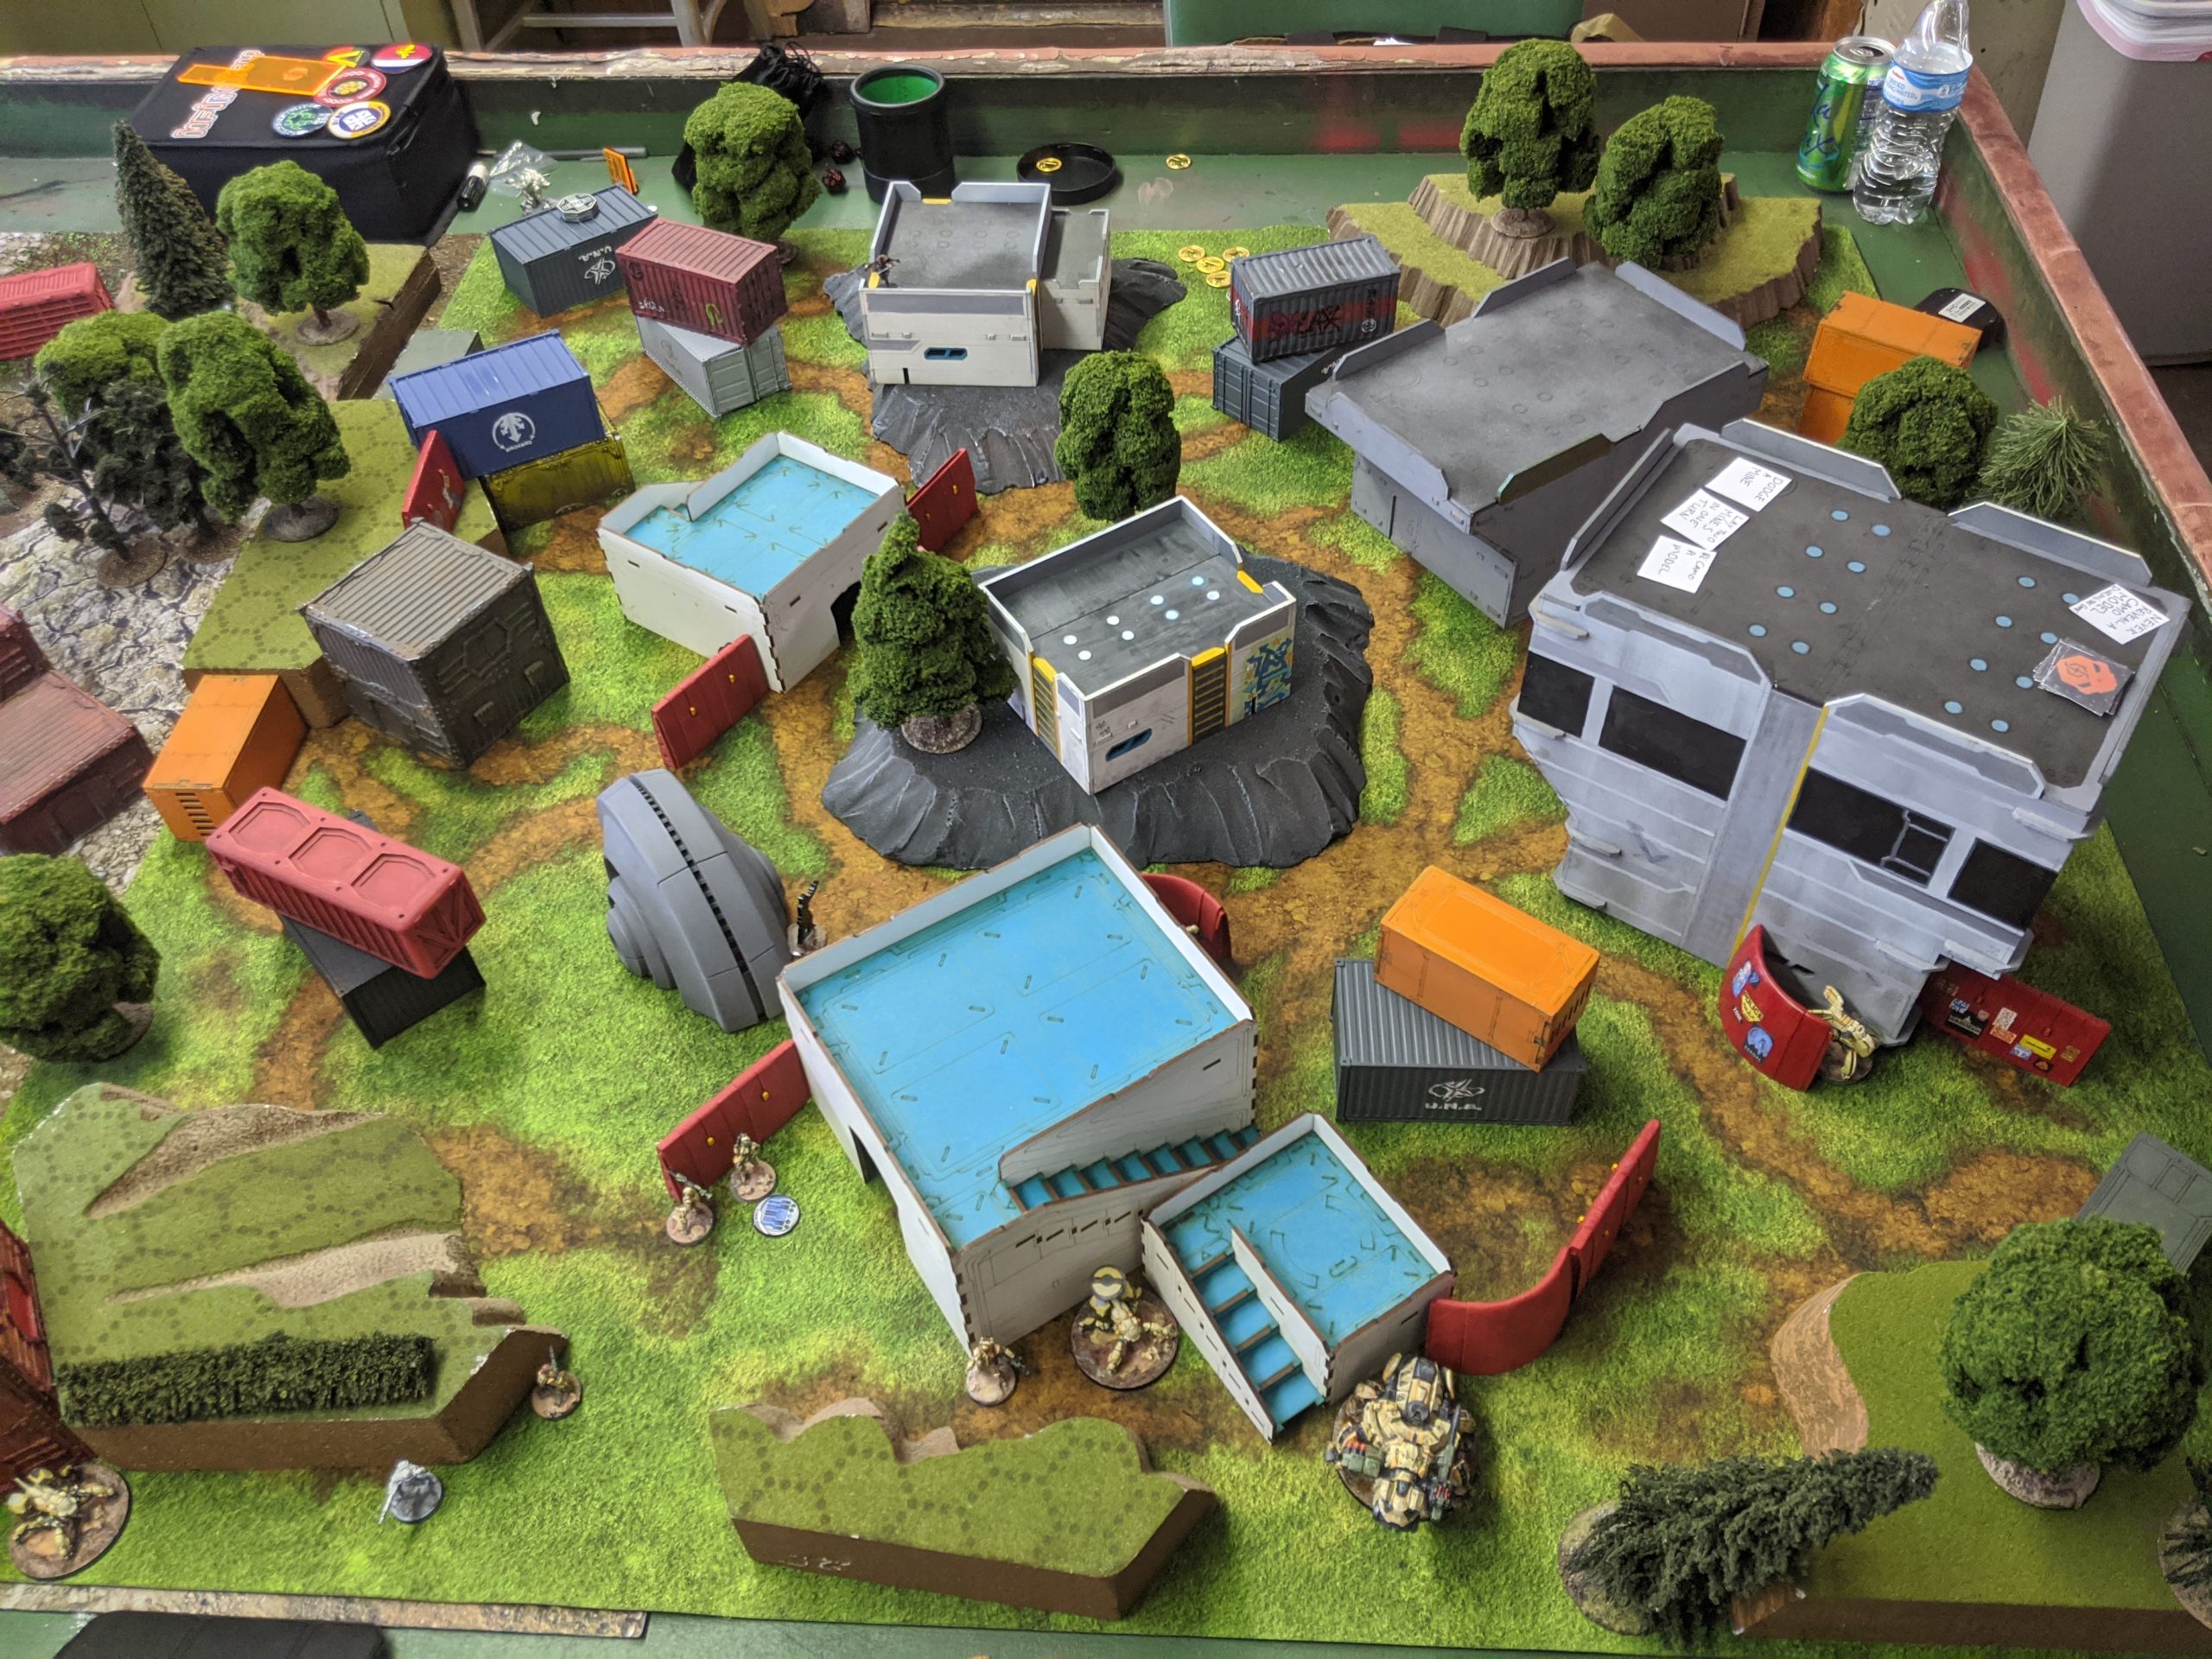
I have no idea of the provenance of these tables, but I gotta say I really like this one. The little huts are fun. I think they’re from a pre-painted kit for Star Wars or something? I dunno. Anyway, they go great with the mat.
Overview
- Mission: Console Crunch
- Forces: Force de Réponse Rapide Merovingienne versus Varuna Immediate Reaction Division (300)
- Deploy First: VIRD
- First Turn: FRRM
Console Crunch
There are five consoles on the table. It is your job to activate and control them.
There are three consoles on the center line of the table. One is in the dead center. The other two are 12 inches from each table edge.
The other two consoles are placed in on the center of the 12 inch deployment line for each side.
Any model can activate a console at WIP -3. A Specialist model can activated a console with the best of two WIP rolls. A Hacker can activate a console with the best of two WIP rolls and a +3 bonus. A console can be activated by both players for scoring purposes.
Each console is controlled by having the most points in ZoC at the end of the game. A model can only score in one zone.
Scoring
- 1 point for each console activated
- 1 point for each console controlled.
I gotta say that I misread the mission and thought I had to be in base to base with the console to control it. Ah well. Pretty forgiving. Basically a weird Transmission Matrix where you have to turn on the antennas, which are in a “+” configuration instead of an “x” configuration, and everyone has enough training to push a button.
Game 1 – Shane
ZULU-COBRA Lieutenant (Sensor) Combi Rifle, Jammer / Assault Pistol, Knife. (0 | 29)
KAMAU (Multispectral Visor L2) MULTI Sniper Rifle / Pistol, Knife. (1.5 | 32)
FUSILIER Combi Rifle / Pistol, Knife. (0 | 10)
PATSY GARNETT Submachine Gun, Nimbus Plus Grenades, D-Charges / Pistol, Knife. (0 | 37)
FUGAZI DRONBOT Flash Pulse, Sniffer / Electric Pulse. (0 | 8)
Shane’s long been a vanilla PanO player (wrong faction, right sectorial, in my mind… I kid, I kid), but he’s been taking VIRD out for a spin lately. In 200, it’s hard to really make use of all their toys, but he’s got the usual suspects: a Kamau MSV2 MSR in a Fusilier link, and some Zulu Cobras. Patsy was a fun addition to fill the link back up as it degraded.
Deployment
Shockingly, after I won the rolloff and chose deployment, Shane gave me first turn! He’s never played against Merovingia before, so I explained Chasseurs and Mirage 5, and then we got down to it. Pretty standard sectorial deployment. Blobbed up link the middle, flash pulse bots and long guns watching the table edges, and a few cool things (Zulu Cobra + Patsy) scattered about.
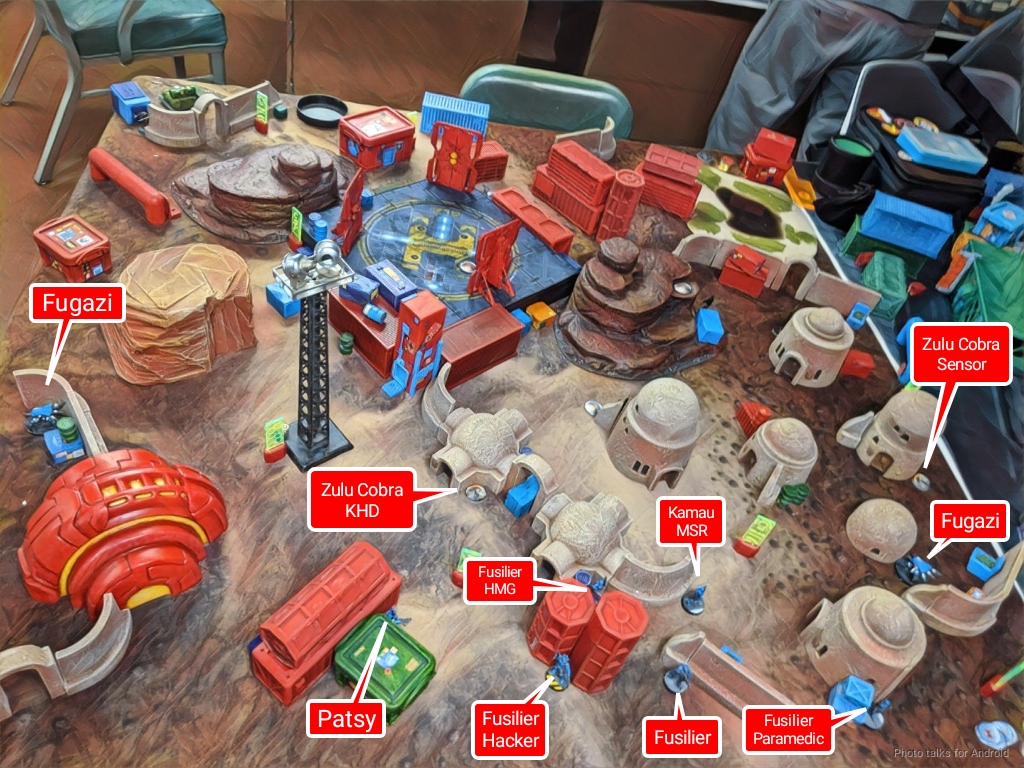
I scattered Chasseurs everywhere, covering the objectives with mines and flamethrowers, then blobbed my link up in the middle. I felt like the right table edge was going to see some sort of rambo thing out of reserve or AD, so I stuck my own flash pulse over there watching the table edge.
Shane dropped his Zulu Cobra Lt out of reserve, and I over-infiltrated a Chasseur FO to threaten his link once I did some spot removal with Duroc or Margot.
Turn 1
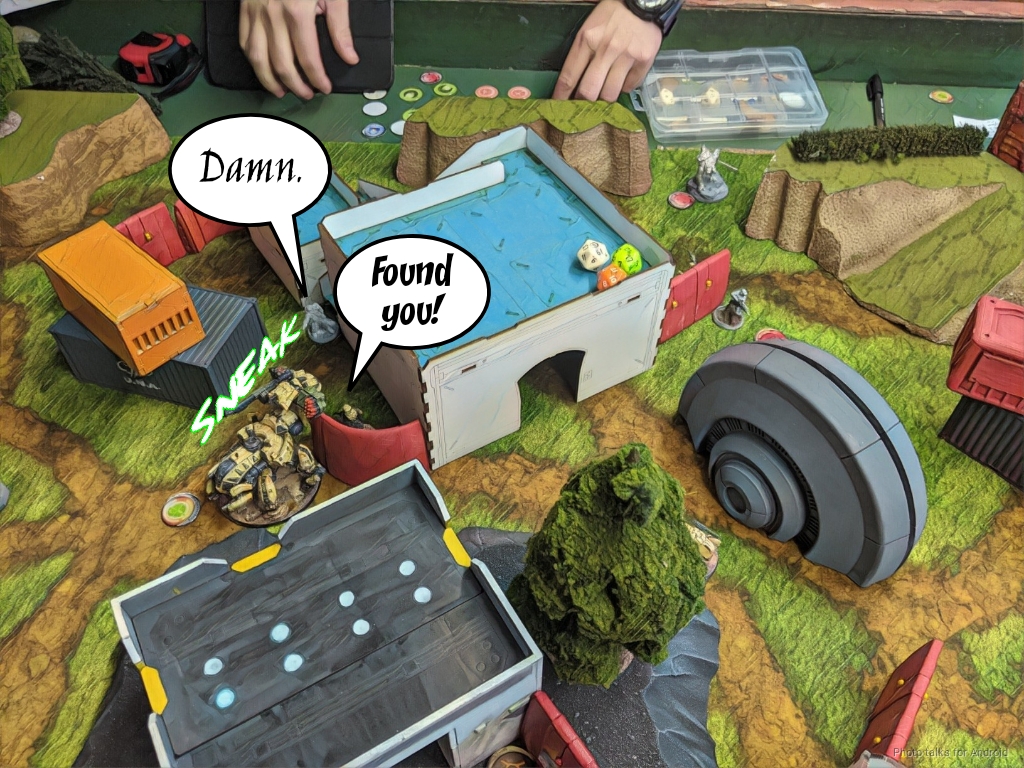
Top of 1 – FRRM
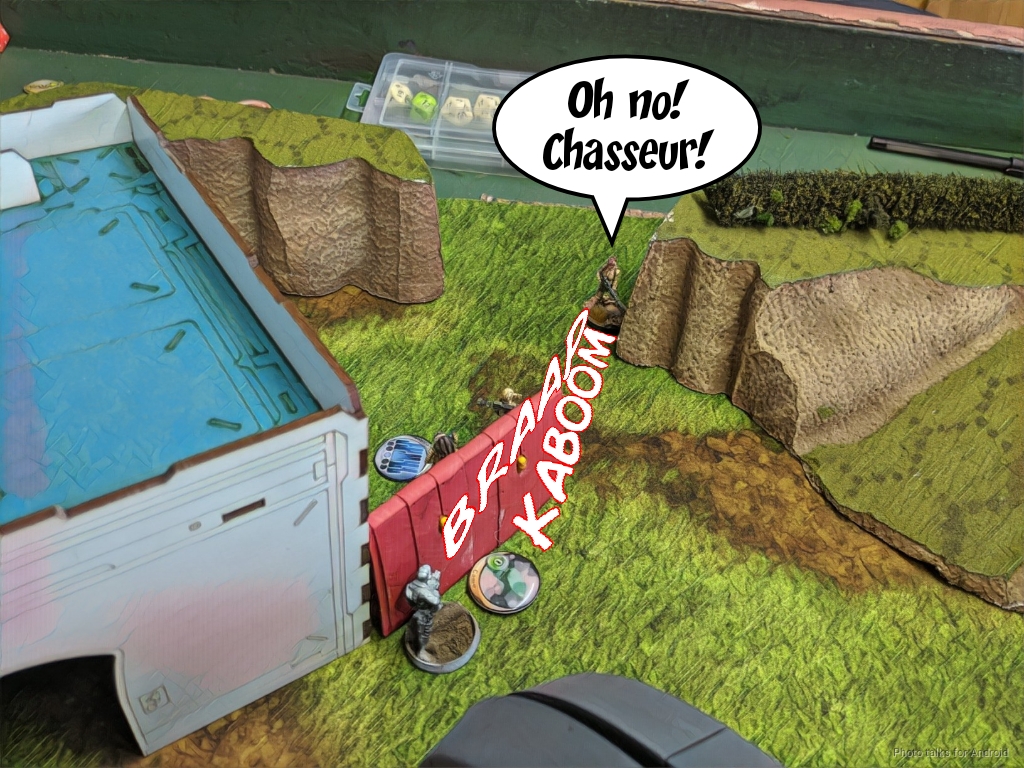
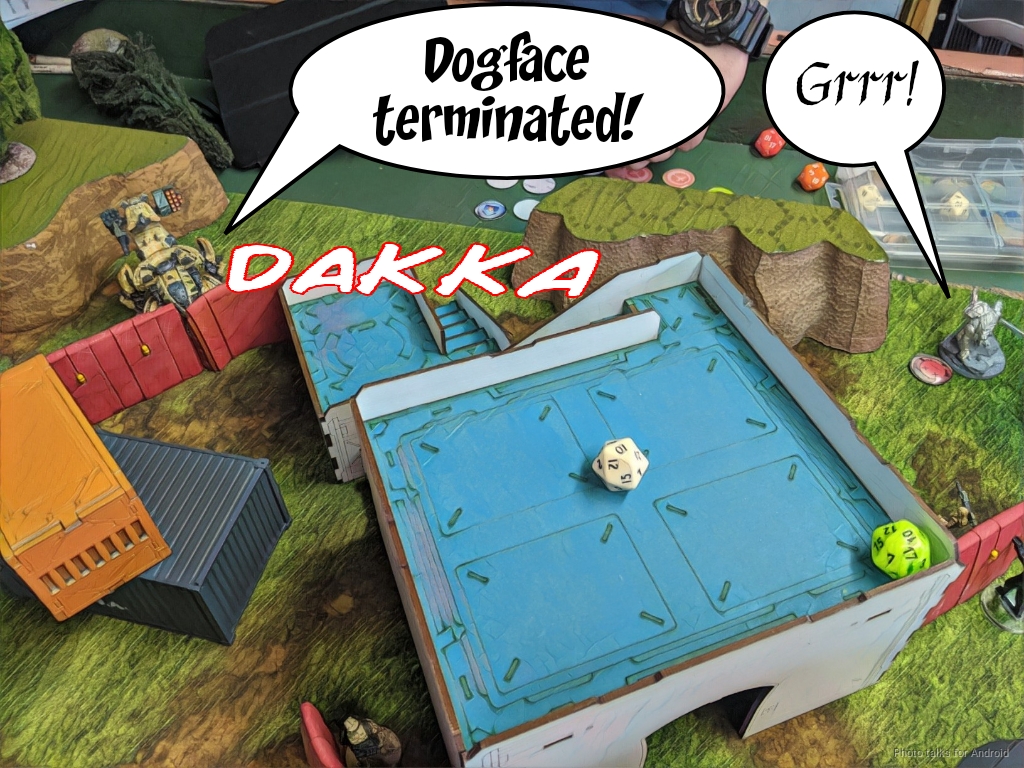
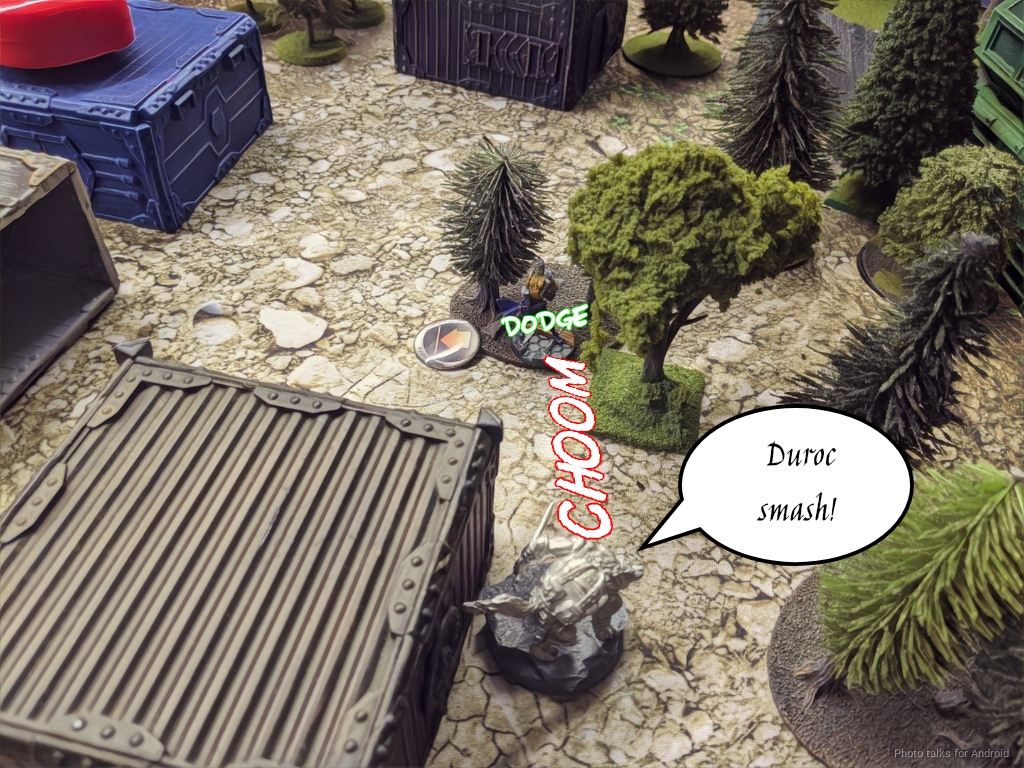
Duroc makes it onto the board near a Fugazi, and I decide to head towards his link. I knew I couldn’t get on the table on the side with Shane’s Zulu Cobra Lt, because I suspected a Jammer and the Kamau wasn’t going to let me do anything efficiently. As I head towards the link, the Fugazi keeps trying to dodge engage so I keep chucking grenades at it. Absolutely nothing happens over the course of 2-3 orders. Very frustrating. Then I lose Duroc to a bad smoke throw, which I probably shouldn’t even have attempted.
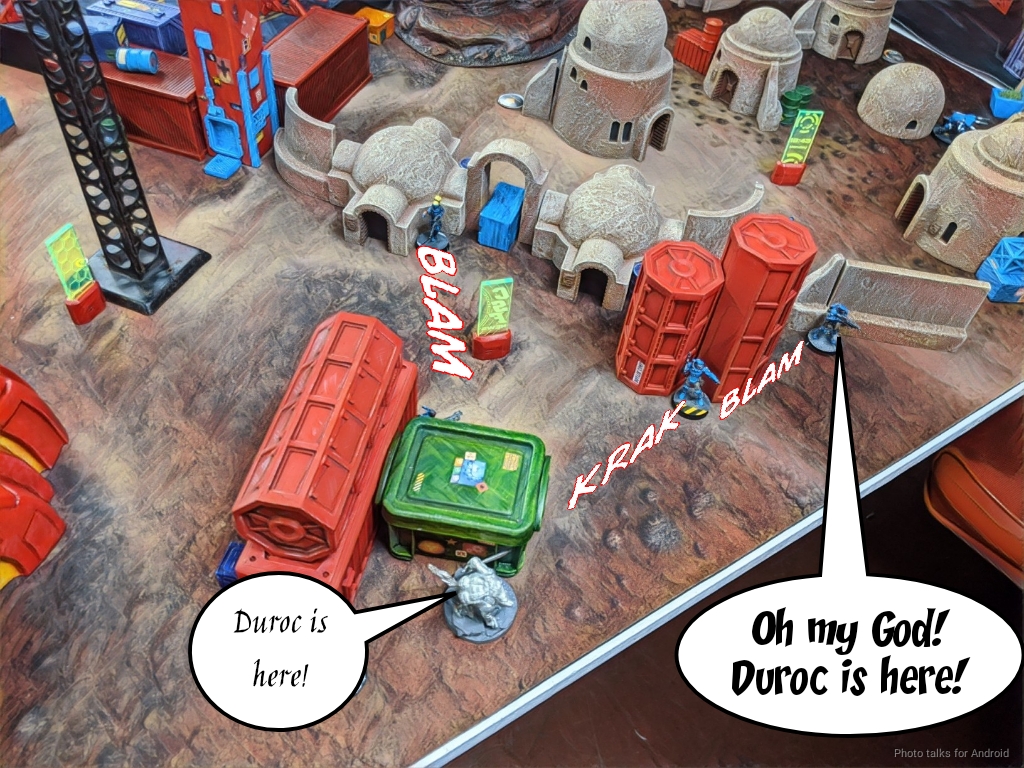
This does spin the Zulu Cobra KHD around as she reveals to take a shot at Duroc, so I send in the Chasseur I over-infiltrated to shoot the Zulu Cobra in the back. Of course, 2-3 orders later, my Chasseur is dead.
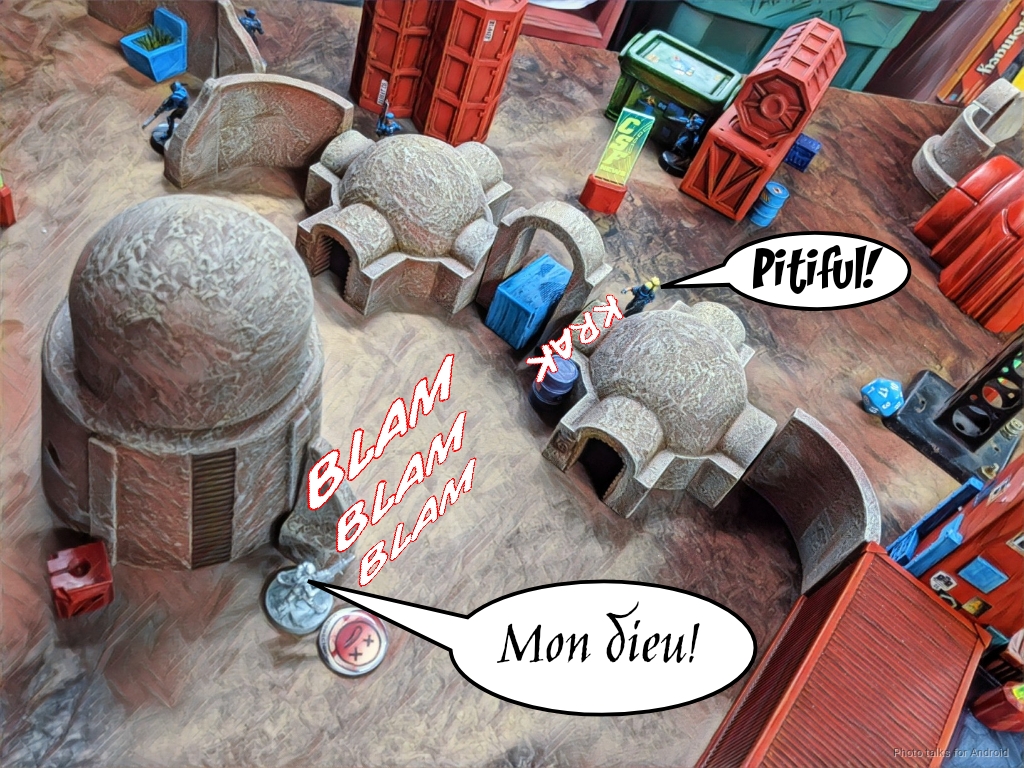
So after that thoroughly rousing first turn, I pass things over to Shane.
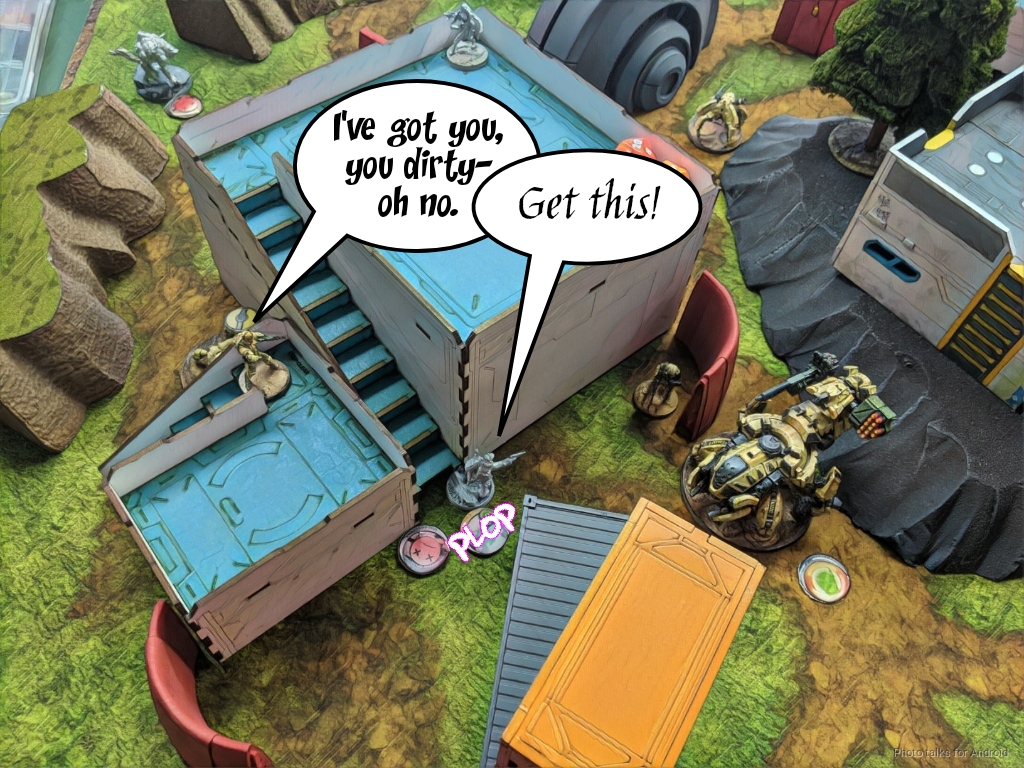
Bottom of 1 – VIRD
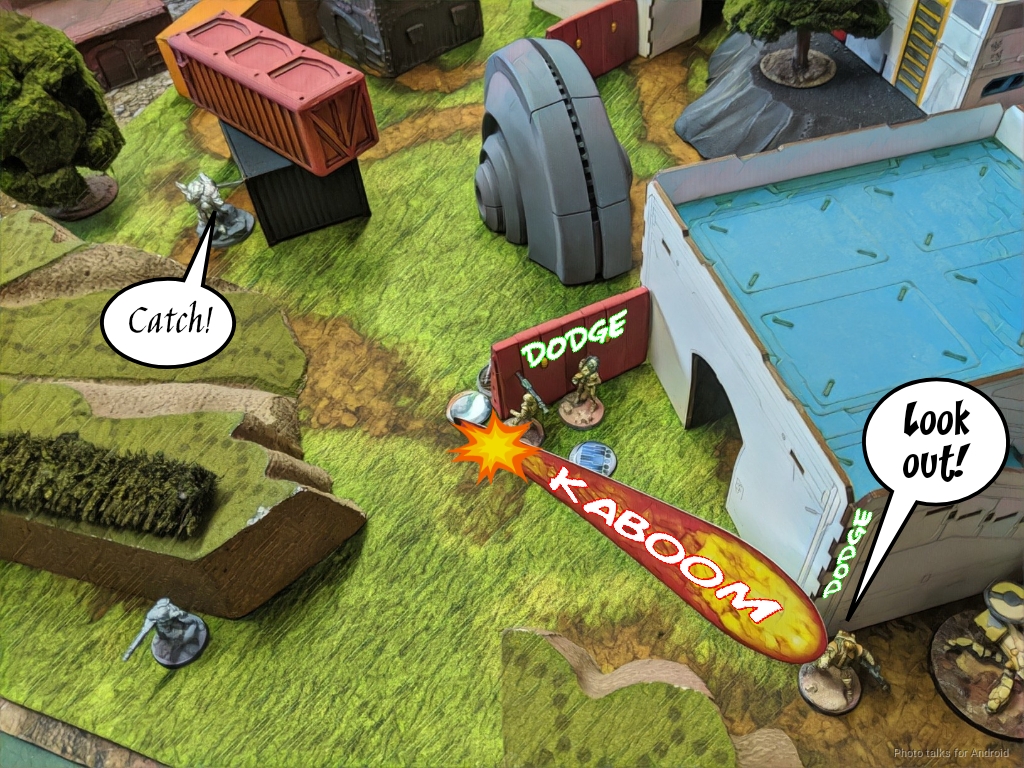
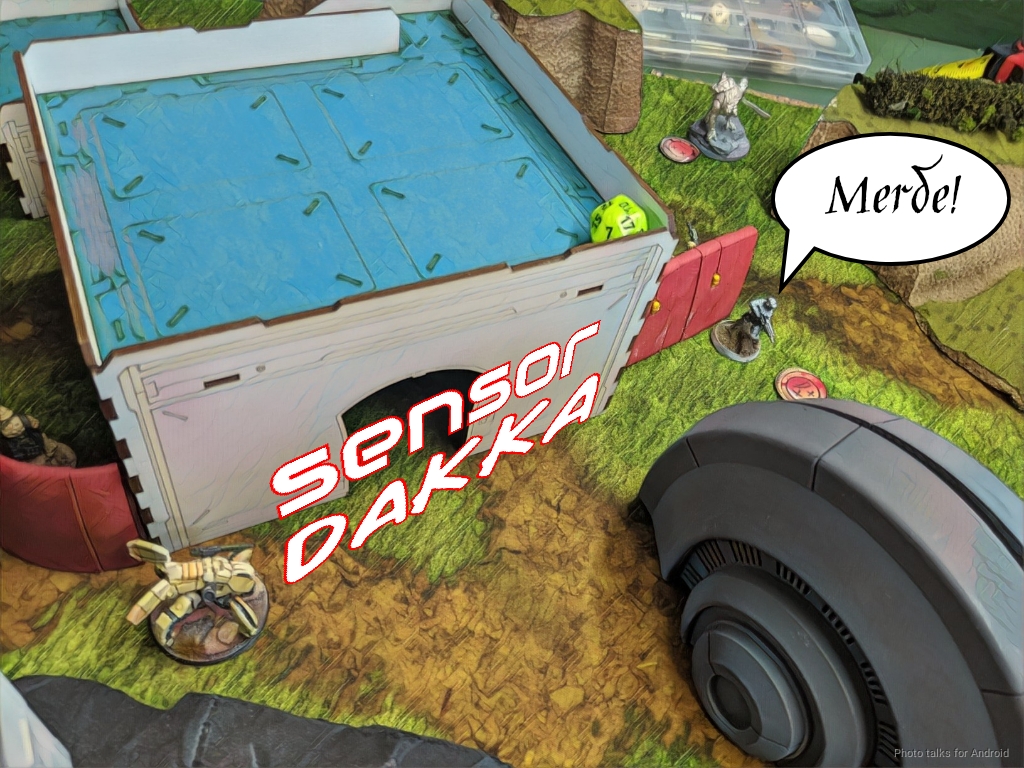
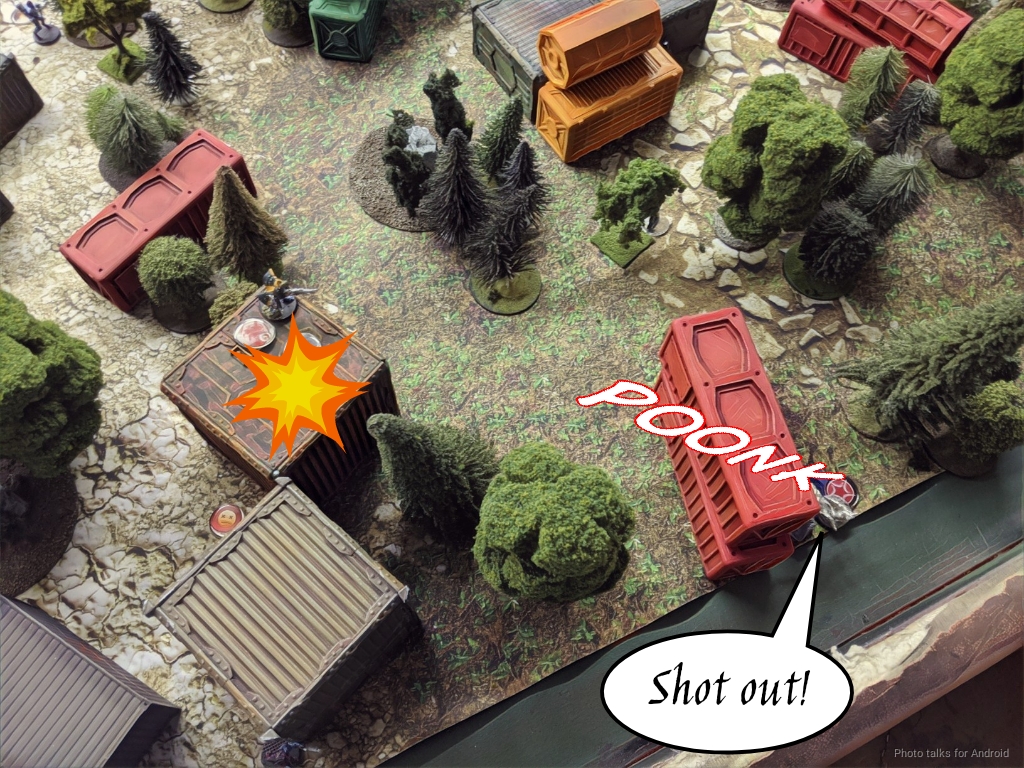
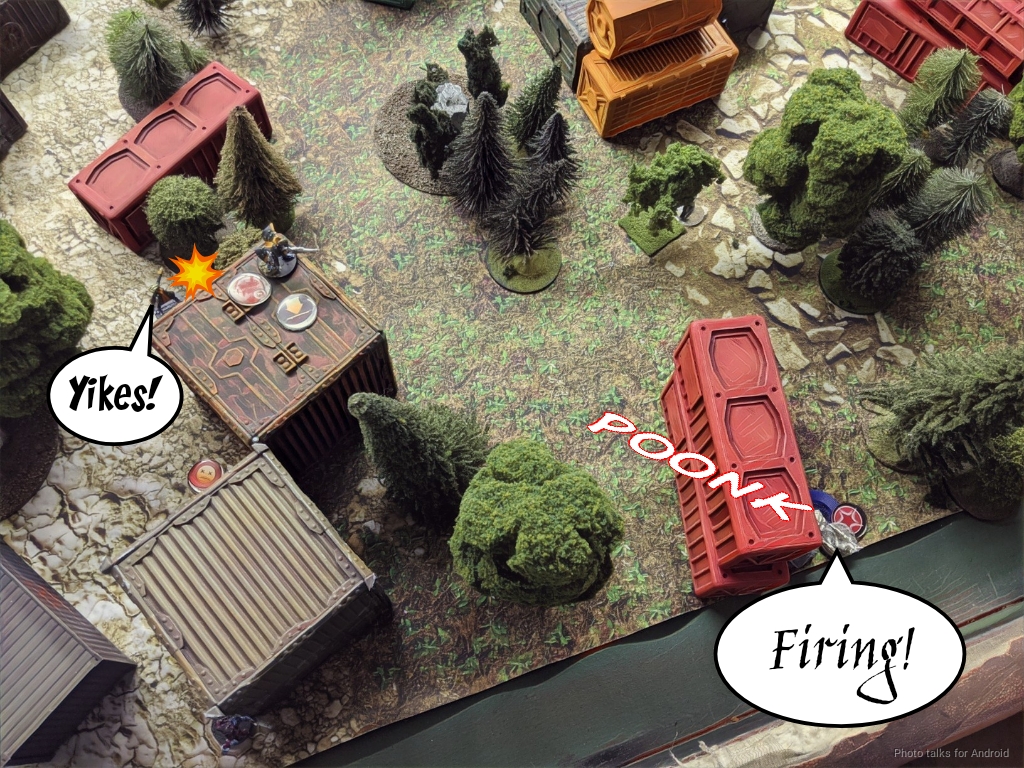
He decides that my Chasseur on my left has to go and sends in the Zulu Cobra. After sensoring to reveal both the mine and the Chasseur…
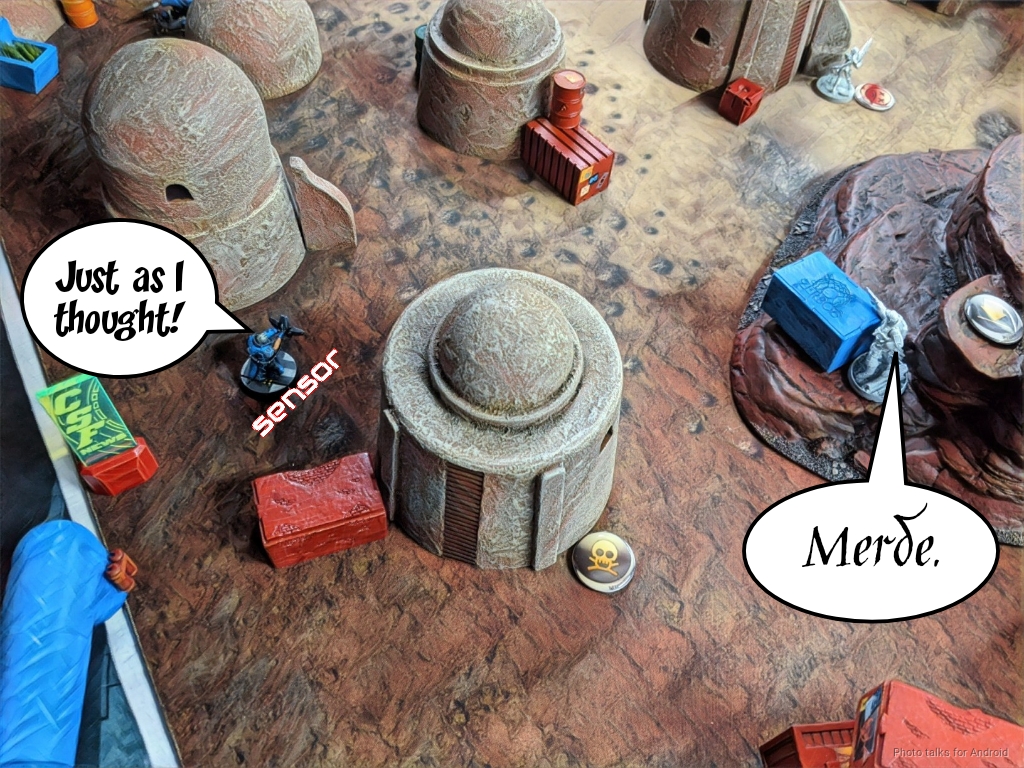
he dumps basically all but two or so orders into trying to kill my Chasseur with the Zulu Cobra. I forgot about Triangulated Fire or I would have suggested it, because he’s outside of 16″. We’re just trading fire ineffectually.
He then spends his last orders to shuffle the link forward and then gets Patsy advanced too with the NCO order.
Turn 2
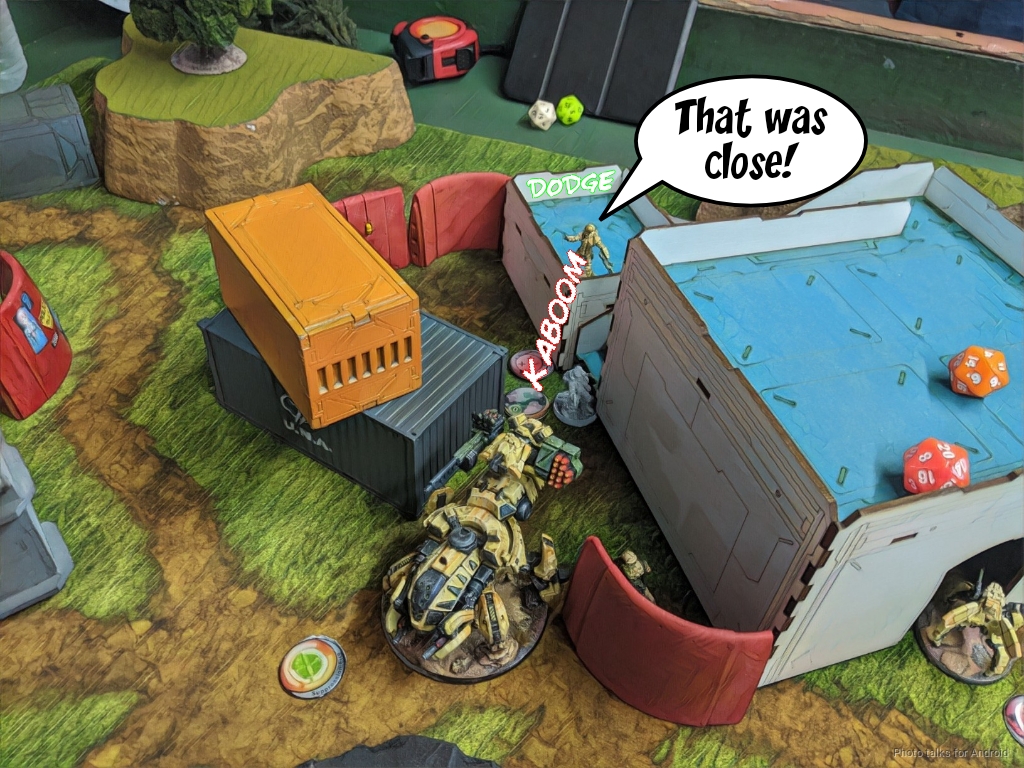
Top of 2 – FRRM
This is good for me because it means Patsy is out of cover, so I bring in Margot to capitalize on this. Shane throws a Nimbus Plus grenade on my first order of shooting, which is pretty dangerous, I think, since it’s not face to face. I’ve got a 48% chance of dropping Patsy unconscious. In any case, I do a wound (which was 87% likely), and then have to decide what to do. I briefly think about how I might get a Chasseur in there to flamethrower stuff, then I realize that I’m still on 11’s thanks to Margot’s stupidly high BS.
| 45.99 | 36.55 | 17.46 |
The Zulu Cobra is blocked by a building (and a Nimbus Plus zone) so I get Margot into good grenade range and start lobbing away after grabbing the neaby objective. It takes two orders but I eventually KO the Fusilier HMG and break the link.

My Chasseur that was giving the Zulu Cobra Sensor so much trouble snipes the Fusilier Paramedic, and then I’m out of orders.
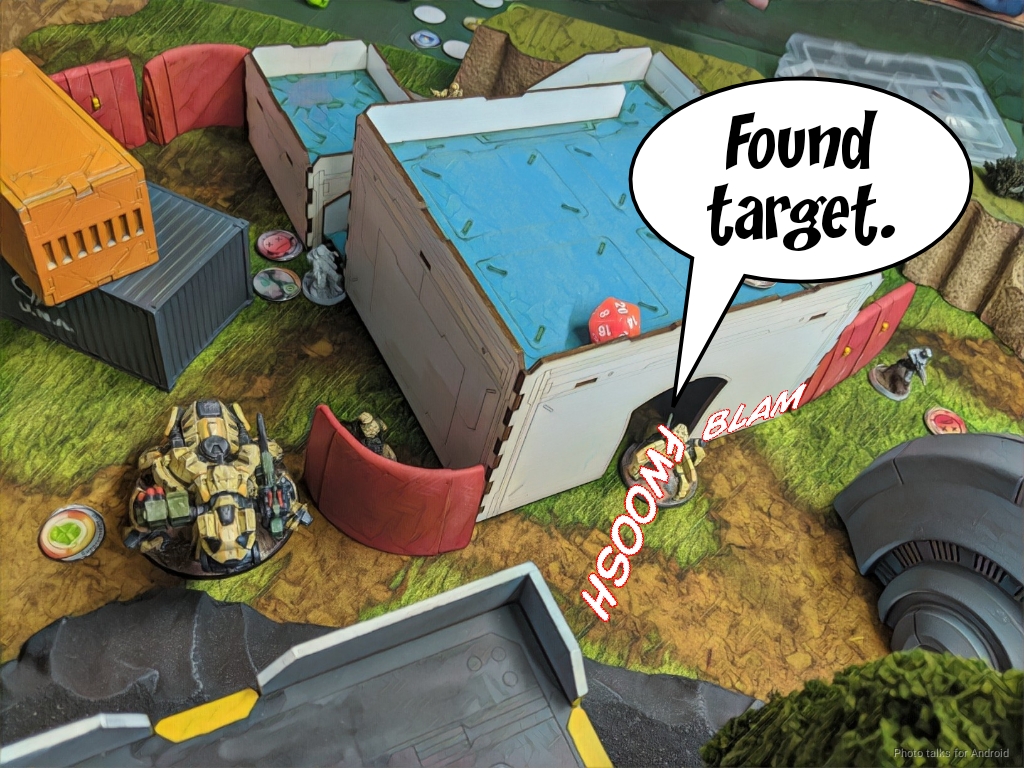
Bottom of 2 – VIRD
It takes another order or two, but finally Shane’s Zulu Cobra takes out my Chasseur.
He really wants to get his link to the left center objective, so he takes out mine with the Fusilier Hacker’s combi rifle.
It’s then an easy run to flip that box and set up for an attack on the center box on turn 3.
The Zulu Cobra KHD moves to grab the antenna in his backfield, and then Shane passes turn.
Turn 3
Top of 3 – FRRM
Moving the Zulu Cobra lets me take her out with Margot, after which I control the objective near Margot by moving into base to base.
I cover the link with a mine from my Chasseur FO and then try to get Shane to dodge change face as I drop another mine and flip the central objective. Shane doesn’t bite.
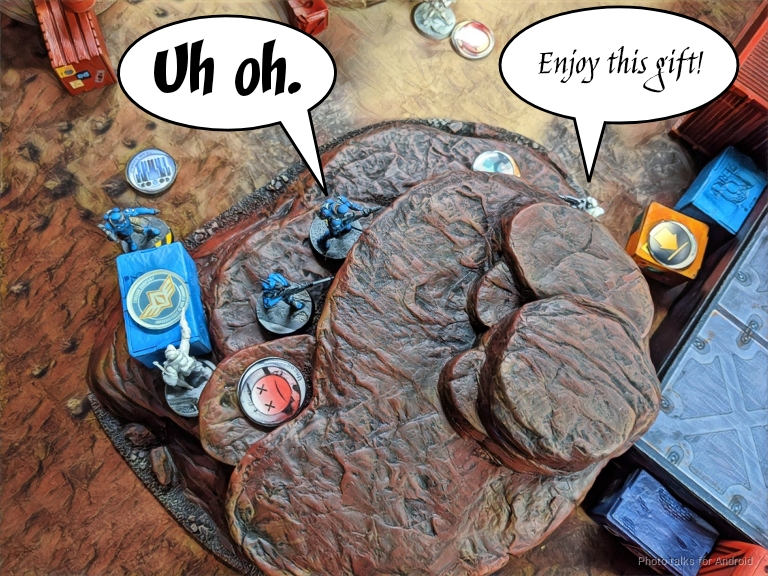
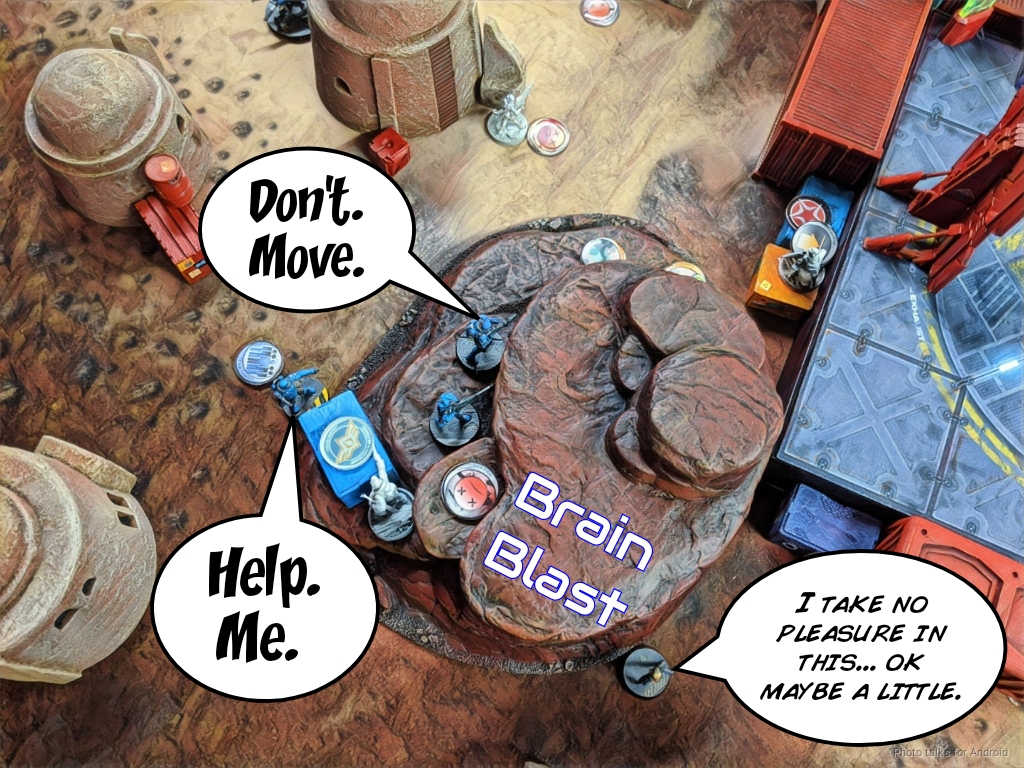
Then I drop a grenade onto the link with Margot. Shane again does nothing! Balls of steel! I miss, so then I decide to send in the Alguacil hacker to Brain Blast the Fusilier Hacker. Shane again does nothing and lets me fry the Fusilier’s brain to preserve his orders and link as best he can.
Bottom of 3 – VIRD
A great series of plays by Shane which all paid off. He then throws a Fugazi under the bus to detonate the mines. Bah!
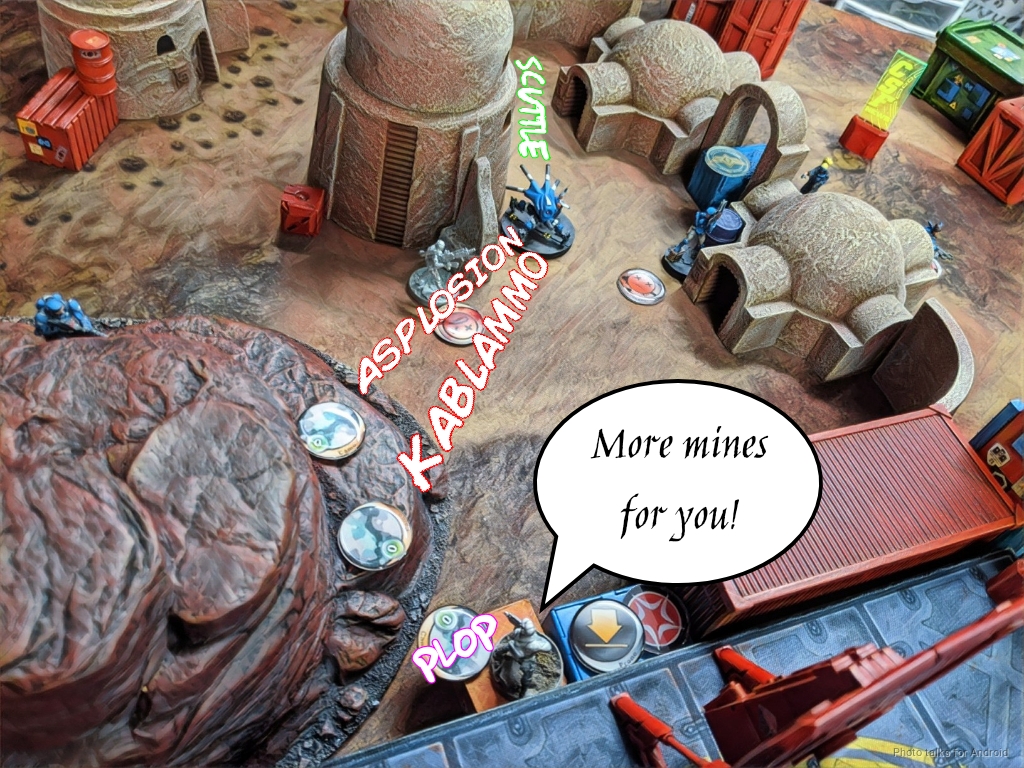
His second short skill was to drop a Sniffer as I drop my last mine after delaying with the Chasseur (isn’t SSL1 great!?).
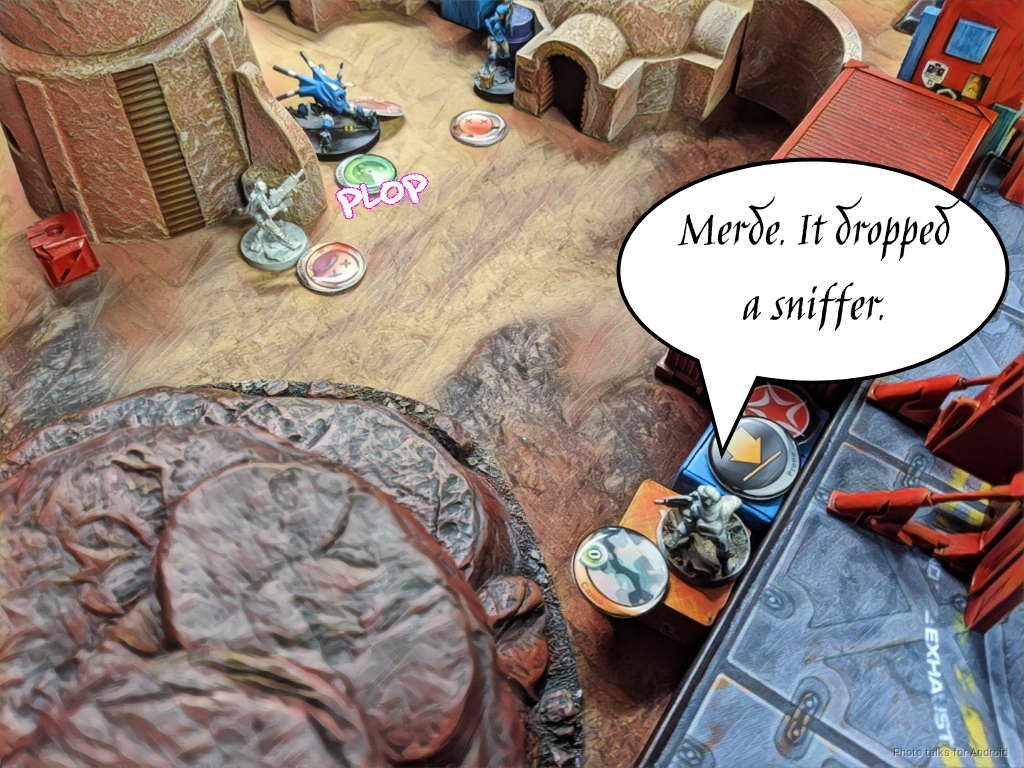
After sensoring through the sniffer to reveal the last mine, the Zulu Cobra fails to take out my Chasseur with the two orders that Shane has budgeted for this purpose (Do this, people! Budget your orders!).
He has to get the remaining Fusilier or Kamau into base to base with the central objective to flip it, so he coordinates an order to shoot at my poor Chasseur with the Zulu Cobra helping. I delay again and decide to flamethrower the Kamau and Fusilier as the mine goes off. Due to the angles, the mine and the flamethrower hit the Fusilier, but only the flamethrower hits the Kamau.
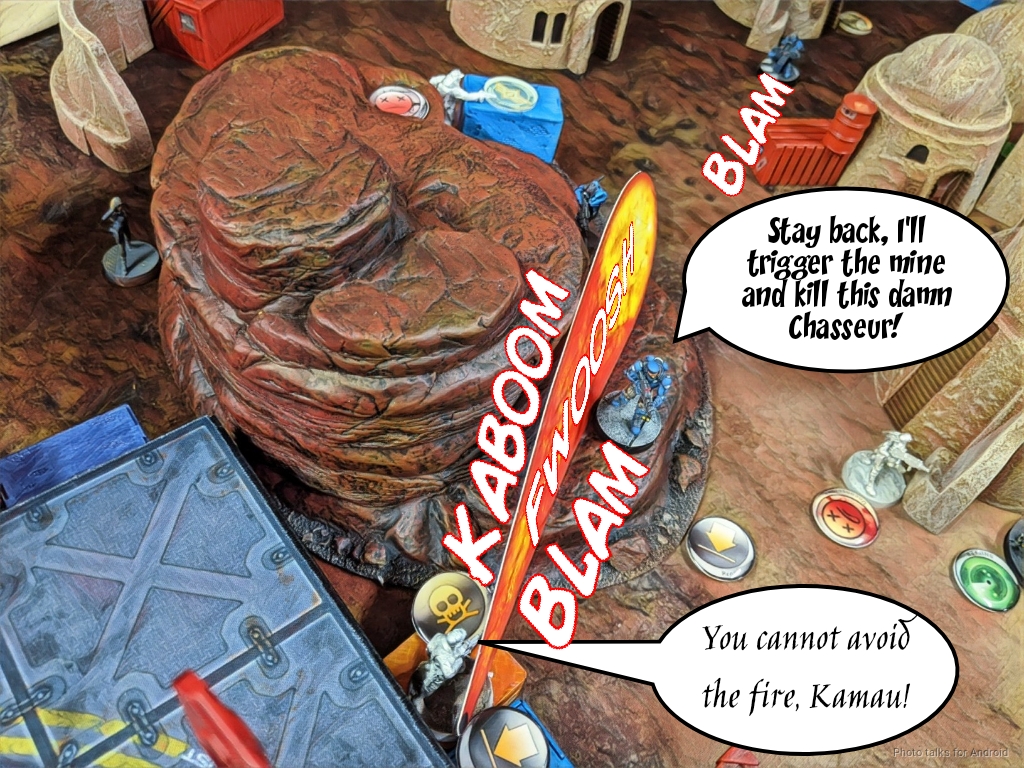
The Fusilier dies horribly, as does my poor Chasseur, but the Kamau survives. It’s not in range of the central objective anymore, and nothing is controlling the objective in Shane’s backfield, so he spends his last order getting the Kamau into range.
5-3 Force de Réponse Rapide Merovingienne Victory!
Post Game Analysis
Well, Triangulated Fire on the Zulu Cobra’s assault pistol would’ve helped a lot to save Shane some orders. It’s easy to forget these sorts of things. A reasonably close game with both of us making some prioritization mistakes (and me misreading the rules about being in base to base or just ZoC). I definitely shouldn’t have run Duroc in like that, there was no need to. I felt like I had this need to alpha strike really hard and over-extended and lost Duroc.
Duroc is often a great attention grabber. I could’ve just left him over there to threaten a turn 2 rambo, pulling things out position for Margot exploit. I really think Margot did a great job here as well, taking care of a Fusilier HMG, Zulu Cobra KHD, and Patsy! Not much else to say about this one, lots of little minor prioritization improvements, but overall a well played game from both of us if I dare say so myself. Looking forward to more games against Shane soon!
Game 2 – Maggie Medic
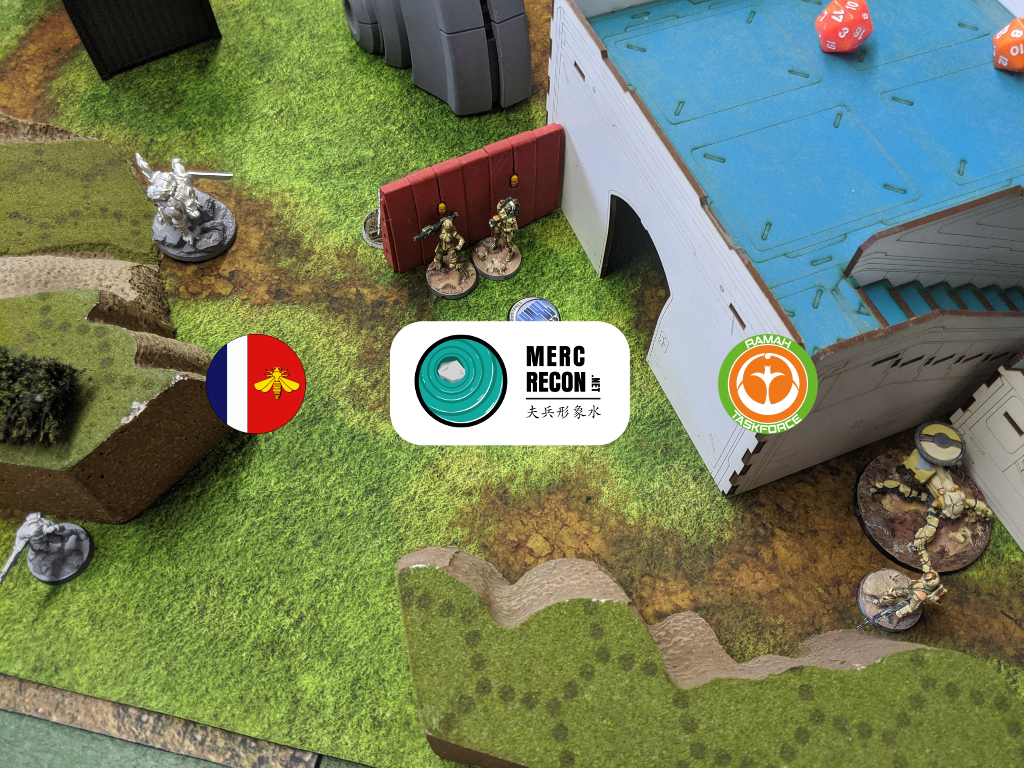
Game two was against Anthony. I’ve seen Anthony at tons of events but never had the pleasure of playing him. He’s an excellent painter–if you’ve seen a great CHA army on the internets it might just be his, and his Ramah is beautiful as well!
Another fun table with some different terrain levels. We elected to not use any special terrain rules.
Overview
- Mission: Play the Card
- Forces: Force de Réponse Rapide Merovingienne versus Ramah Taskforce (300)
- Deploy First: FRRM
- First Turn: FRRM
Play the Card
There will a special deck of cards. Three cards will be face up at the start of each turn. They will read: Dodge, Lay a Mine, Climb, etc. One card can be discarded with a new card selected each player turn. The goal to achieve the card before your opponent.
Scoring
- Have More cards than your opponent: 7 Points
- Have the same amount as your opponent: 3 points
- Have 5 or more cards at the end of the game: 2 points.
- Have at least 1 card at the end of the game: 1 point
This mission is basically Countermeasures with different cards and the ability to get objectives in the reactive turn.
Game 2 – Anthony
NAFFATÛN Lieutenant Rifle + Light Flamethrower, Grenades / Pistol, Knife. (0 | 12)
GHULAM Rifle + Light Shotgun, Panzerfaust / Pistol, Knife. (0.5 | 15)
LEILA SHARIF Hacker (Killer Hacking Device) Shock Marksman Rifle, D-Charges / Breaker Pistol, Knife. (0 | 20)
MAGHARIBA MULTI HMG, Heavy Flamethrower / . (2 | 78)
KAMEEL (Minesweeper, Repeater) Electric Pulse. (0 | 8)
RAFIQ REMOTE FTO (Fireteam: Duo) Rifle + Light Shotgun, Sniffer / Electric Pulse. (0 | 17)
MONSTRUCKER Submachine Gun, Chain Rifle, Drop Bears / Pistol, Knife. (0 | 13)
Well. There’s a Maggie in the list… and support stuff. List explained! I’m a little confused about the Kameel instead of Fanous, but not my list. I assume perhaps to reload consumables?
Deployment
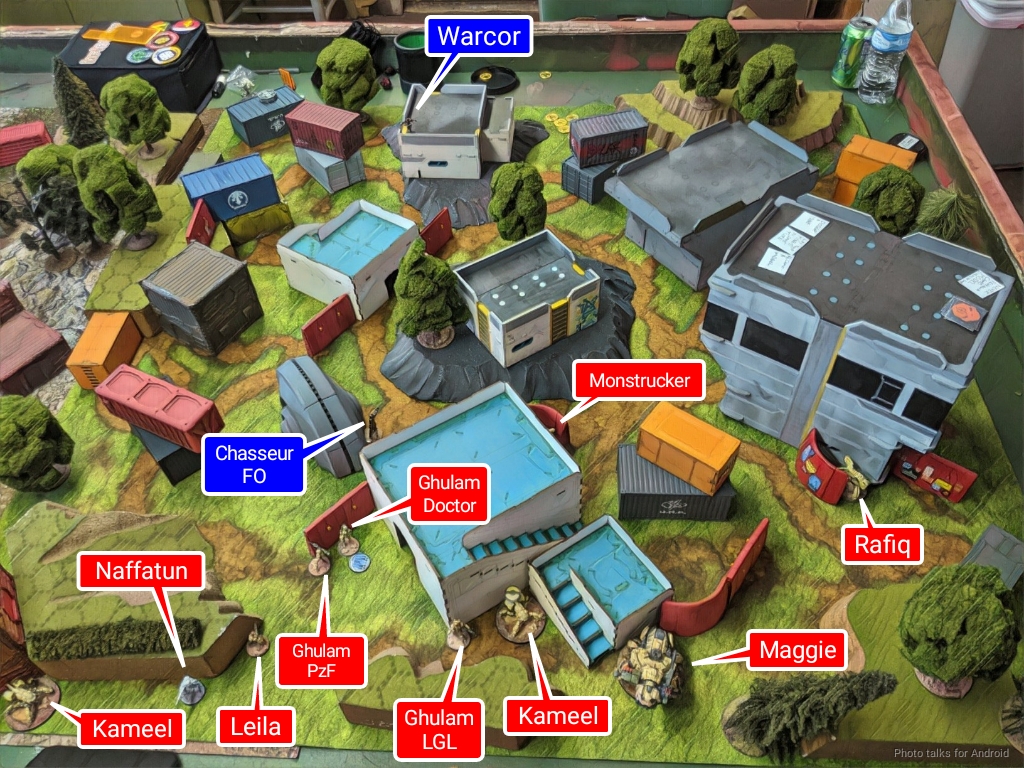
I think I decided to go first after winning the roll on this one? You can cycle objectives as fast as you achieve them, so going first sounded really good. That meant I was deploying first, so I did what I’ve done for all the games so far, dump Chasseurs in good-ish spots in the midfield and then tuck the link somewhere safe. I left Rhonda Burgundy, my Warcor, out to ARO, then passed deployment to Anthony.
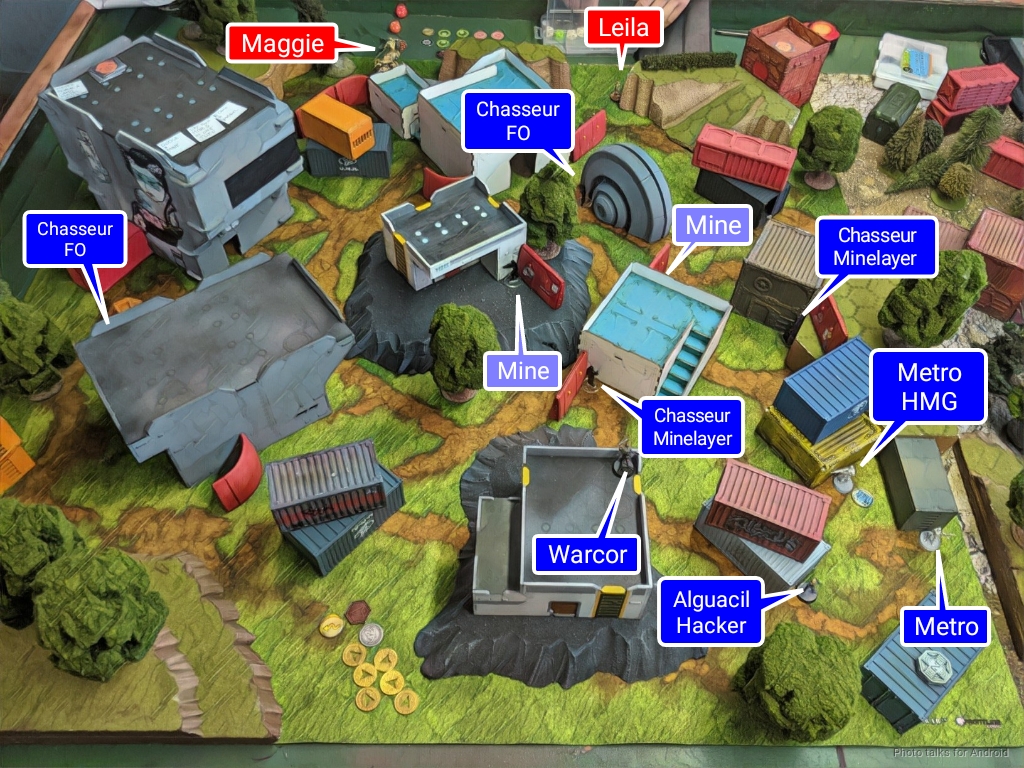
He put two Kameel down and then tucked a Ghulam core centered around a doctor in the back left of his deployment zone. It was pretty clear that unless he had a reserve Lt, his Lt was the Naffatun.
One of the first cards was to deploy two mines in one turn and recamo, so I put a Chasseur over the centerline again, right near his link. Anthony then went fishing in his model bag and pulled out a full grown Maggie! OH NO!
Turn 1
Top of 1 – FRRM
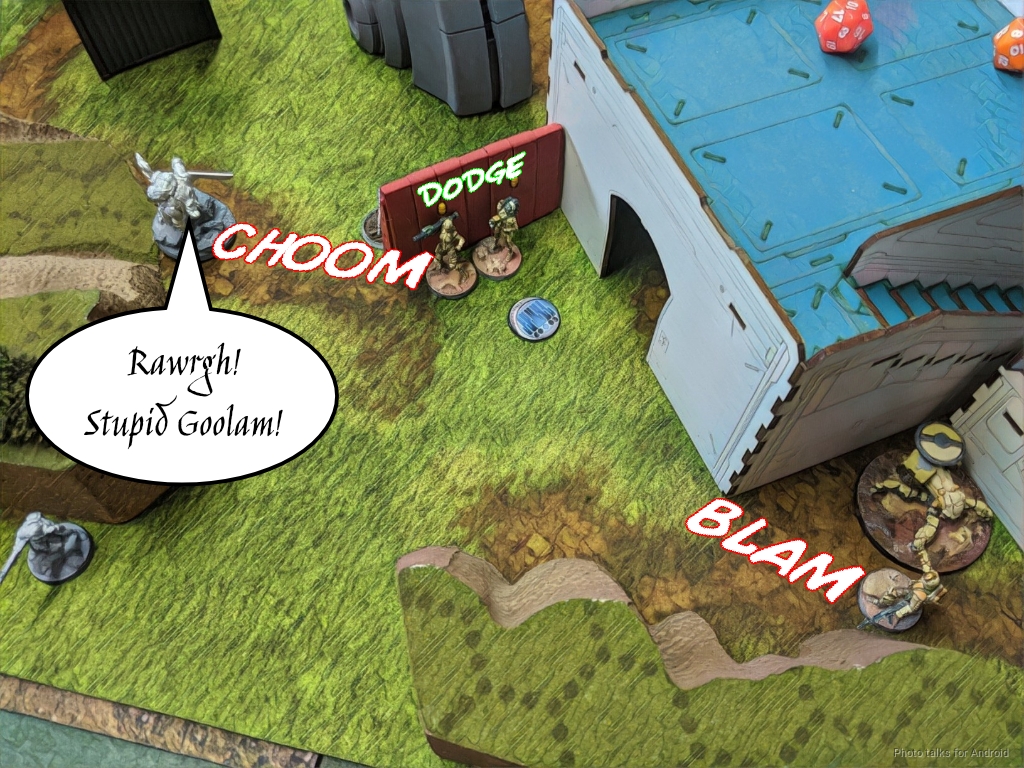
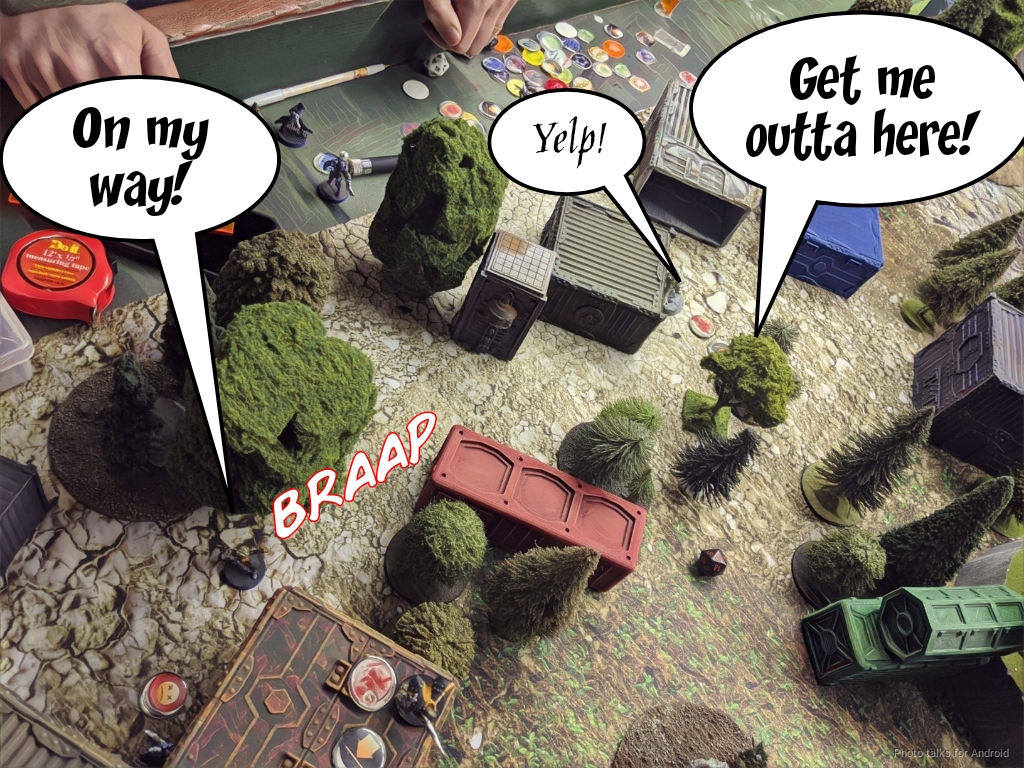
I don’t have much in the way of anti-tank in the list other than Margot, so I decided to go after his order pool. Duroc finds a hole in Anthony’s board edge coverage–he was using a Ghulam Panzerfaust but the shipping crates were big enough to block even Duroc! A little chain rifle shy after my last game against Shane, I decide to send in the Chasseur first.
It takes me three orders and two mines, but Leila (proxied by the Ghulam sniper) finally dies to a combination of mine shrapnel and rifle fire.
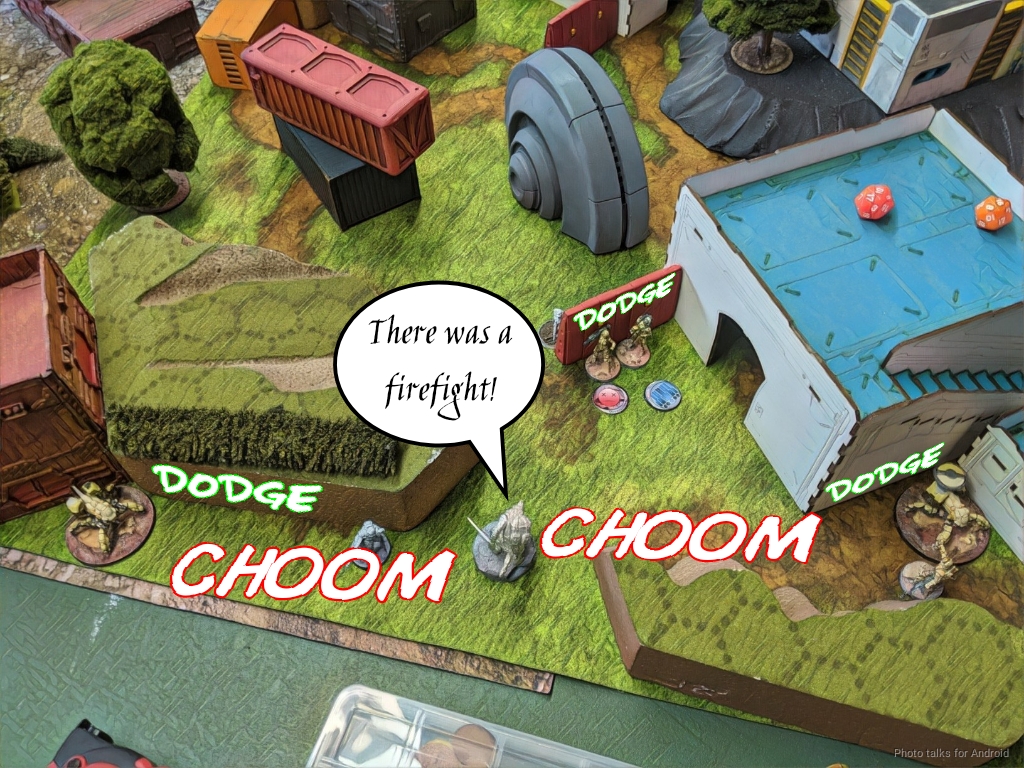
This gets me the objective: “Lay two Mines in a Single Turn,” and then I plant my third mine send in Duroc to trigger it. Anthony obliges by dodging, so I throw a grenade at the Ghulam Panzerfaust, hitting the doctor, while the mine template covers him and the Ghulam LGL. Sadly, everyone passed their dodge rolls thanks to Duroc fat-fingering the grenade from outside 8″. Not the best outcome, but hey I tried!
Duroc then gets into range to chain rifle the Ghulam Panzerfaust, who finally goes unconscious while the Ghulam LGL breaks out of the link to start shooting (thankfully ineffectually).
Duroc gets into the backfield and splits burst on his chain rifles, covering the Naffatun, the Ghulam LGL, and both Kameel with chain rifle templates.
Of course, nothing happens. BAH! What is this nonsense! I snag the “Recamo a Trooper” card by Recamoing my Chasseur and pass turn.
Bottom of 1 – Ramah
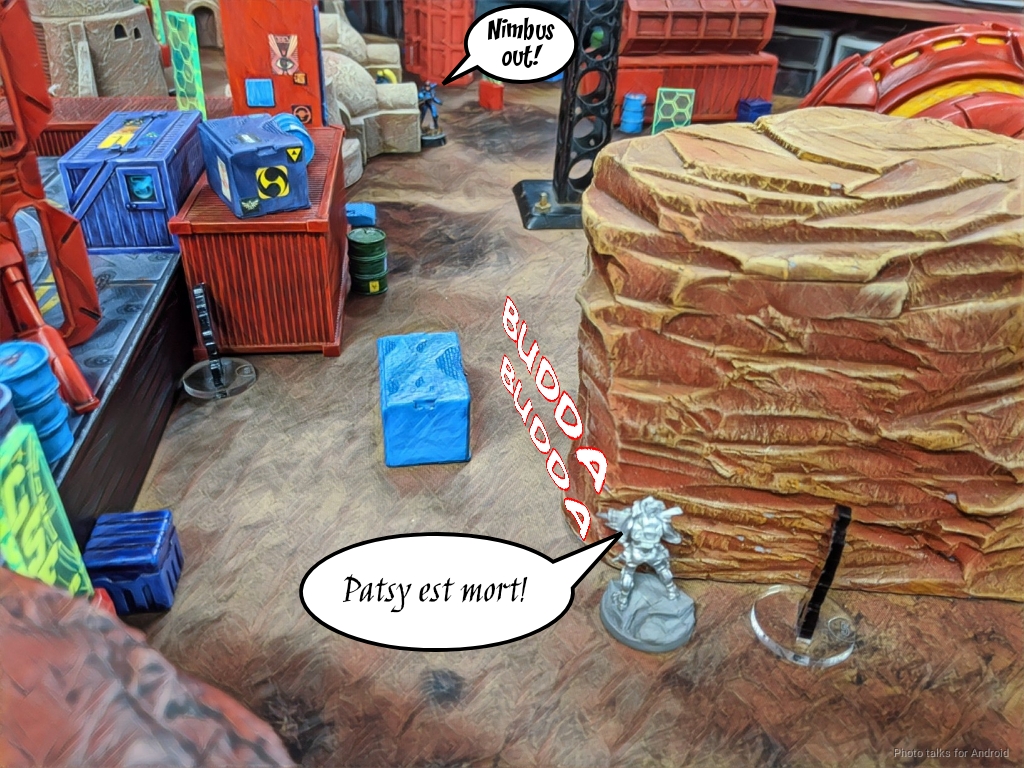
Anthony wins the “Win a Face to Face roll when not in cover” card by KOing Duroc with Maggie as I try to smoke him out. Sigh.
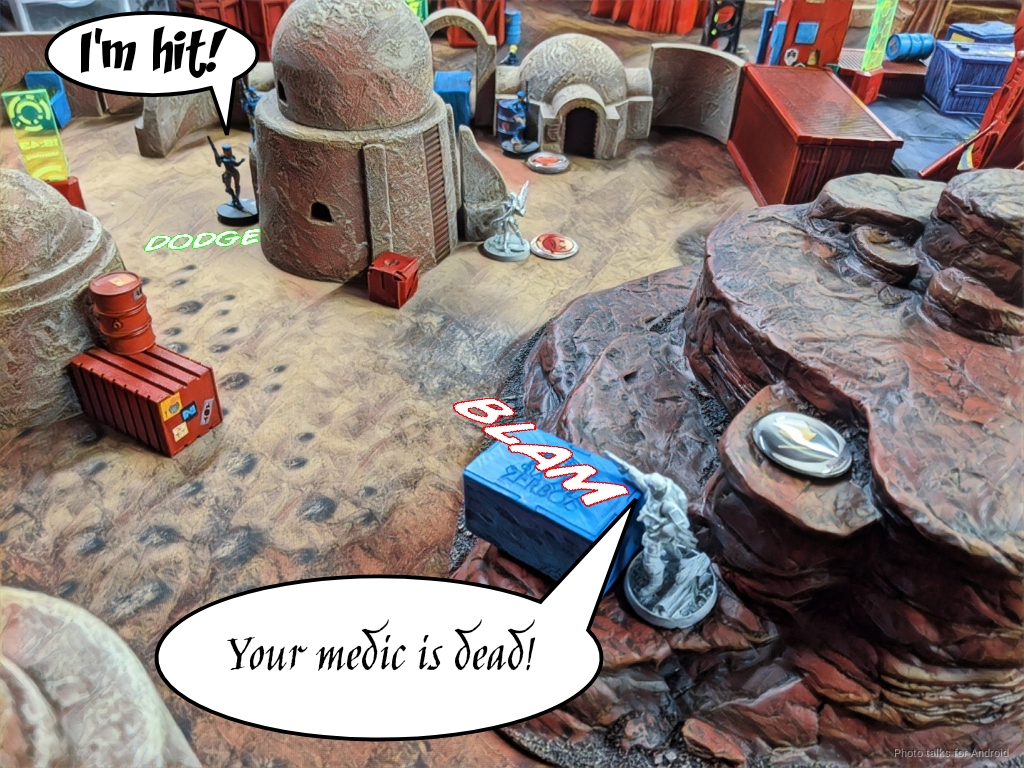
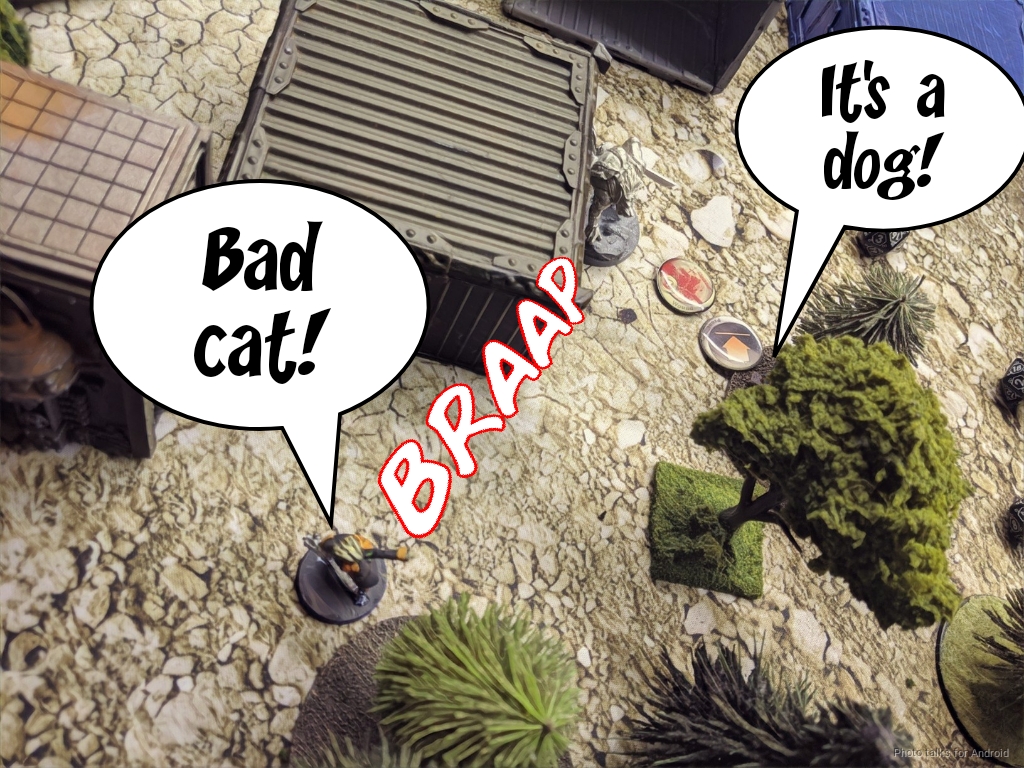
Then he gets the “Kill a Camo Trooper” card by sensoring and shooting my poor Chasseur with his Rafiq.
Maggie doesn’t have any more targets, so she tries to down Rhonda Burgundy the Warcor, but I pass ARM and go prone. Phew!
After moving Maggie up, he throws both her and the Rafiq into suppression before passing turn.
Turn 2
Top of 2 – FRRM
I decide I need to get rid of Maggie. Which is stupid. I bring in Margot, figuring I can cautious move behind Maggie in suppression, but we determine that because she’s so damn big I can’t do that. How? WITH LAZORS! PEW PEW PEW!
I have no idea what to do now, but there’s a card that says “End a turn with at least one model in your opponent’s deployment zone,” so I send in two Chasseurs, sneaking by Maggie and the Rafiq. The Monstrucker discovers one, but the other makes it into the buliding behind Maggie and the Rafiq. The Rafiq stays in suppression, so I try to shoot it in the back. It survives two orders worth of this, and Maggie survives a flamethrower shot from the same Chasseur. Hey, I tried! I had a 25% chance to cause a wound, and a 1.56% chance of KOing the TAG.
Bottom of 2 – Ramah
I ended a turn with two models inside Anthony’s deployment zone, so I get that card, bringing me to three. Anthony sends in his Ghulam LGL to try and shotgun my Chasseur in the back, which I’m only now realizing is illegal as I’m writing this. The LGL replaces the LSG. Whoops! Anyway, I delay and drop a mine. Had he tried to rifle me I might’ve dodged instead. Sigh. Maggie is facing the wrong way here because we moved her to check some LoF things and were sloppy about putting her back.
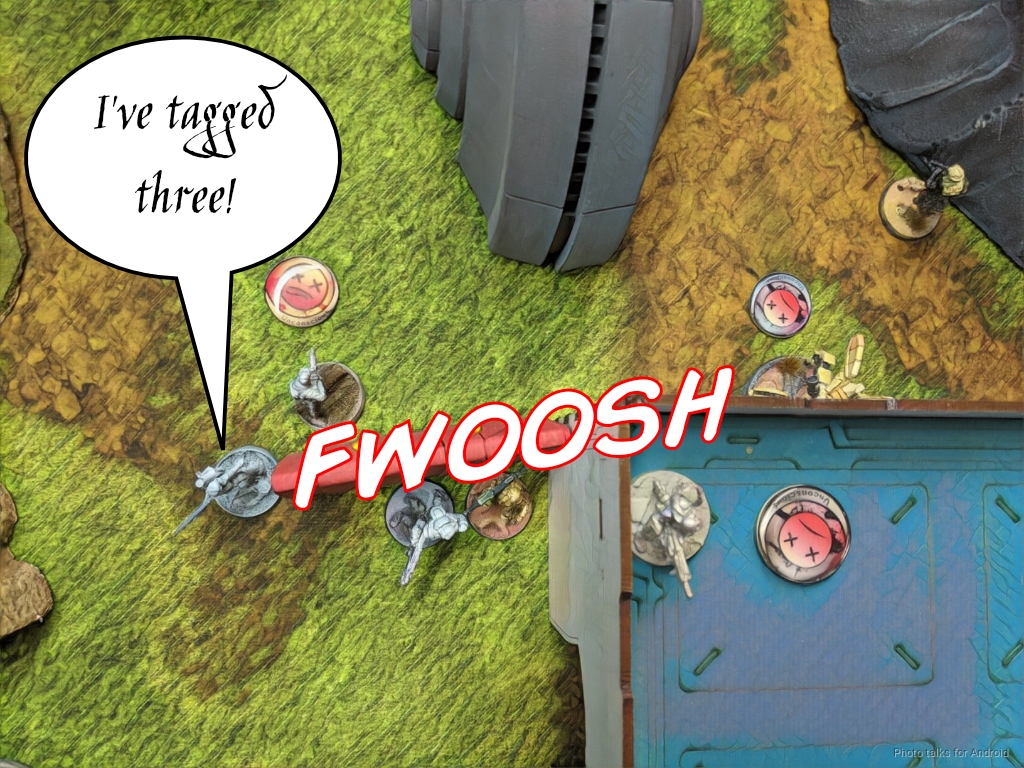
The Rafiq gets the other Chasseur in the building, but goes down to a delayed flamethrower. FWOOSH!
The Ghulam LGL dodges the mine successfully, protecting Maggie and the Monstrucker.
Maggie does some TAG-parkour to see Margot, who unfortunately is out of cover thanks to my misjudging of the cautious move earlier. This brings Maggie close to that Ghulam LGL, so I fire a grenade at her to clip the Ghulam. Margot dies horribly, but the Ghulam LGL goes down as well.
I forget what other cards Anthony as grabbed at this point, but there’s a “Paramedic something” and “Doctor something” card on the table. He forgets about Maggie’s pilot being a Paramedic (so did I) and he picks up both the Ghulam PzF and the Ghulam LGL with his Ghulam Doctor, snagging the “Doctor something” card and revealing a “Kill a Heavy Infantry” card. Oh boo!
Turn 3
Top of 3 – FRRM
I remove the “Paramedic something” card, and then snag the “hit three things with a template” by dashing a Chasseur forward and splitting the template over the body of my downed Chasseur and across a wall, catching the Naffatun, Ghulam PzF, and the downed Rafiq. Both Haqq troopers fail their dodges, giving me the card.
I forgot some cards in there, but this brings me to 5 cards versus Anthony’s 4, making it a
10-1 Force de Réponse Rapide Merovingienne Victory!
Anthony is pretty bummed about forgetting about Maggie’s pilot being a Paramedic and even rolls to prove that he could’ve passed the PH-3. I had only a 5 to 4 card lead, making the 10-1 blow out a little odd, so we call it a 6-6 Tie in the reporting to Eric. It’s a charity tournament, and it was a pretty close game after all.
Post Game Analysis
I should’ve waited for Anthony to over-extend Maggie before bringing in Margot. I got greedy. I also didn’t need to commit both Chasseurs to one objective, but at the same time, his Rafiq did pass a ton of saves that it shouldn’t have.
I really like over-infiltrating Chassuers. It’s pretty damn good. I also learned a very important lesson: FRRM has access to midfield E/M weapons. I should never leave home without them, especially in a 200 point tournament where people will be cheeky and bring TAGs.
I’m really liking the list though. Four Chasseuers is really strong, but they’re my primary problem solvers. I tend to lose them. Anthony got pretty lucky to survive my alpha strike–he could’ve started with only three models conscious on the table and in loss of lieutenant. Alas, this is the curse of chain rifles–you can get a lot of work done with them but only if people fail dodges.
I think I need to more carefully position my models with chain rifles in the reactive turn so they can’t be gunned down by something from out of chain rifle range. Worth spending the orders on it. I’m not sure if playing to the objective was the right call here, since the payoff of potentially getting 4 models down (two of which were REMs) is so good. Alternatively, just grenading the Lieutenant was probably the better call, as that would’ve been on 19s versus his dodge. Ah well. The power of hindsight.
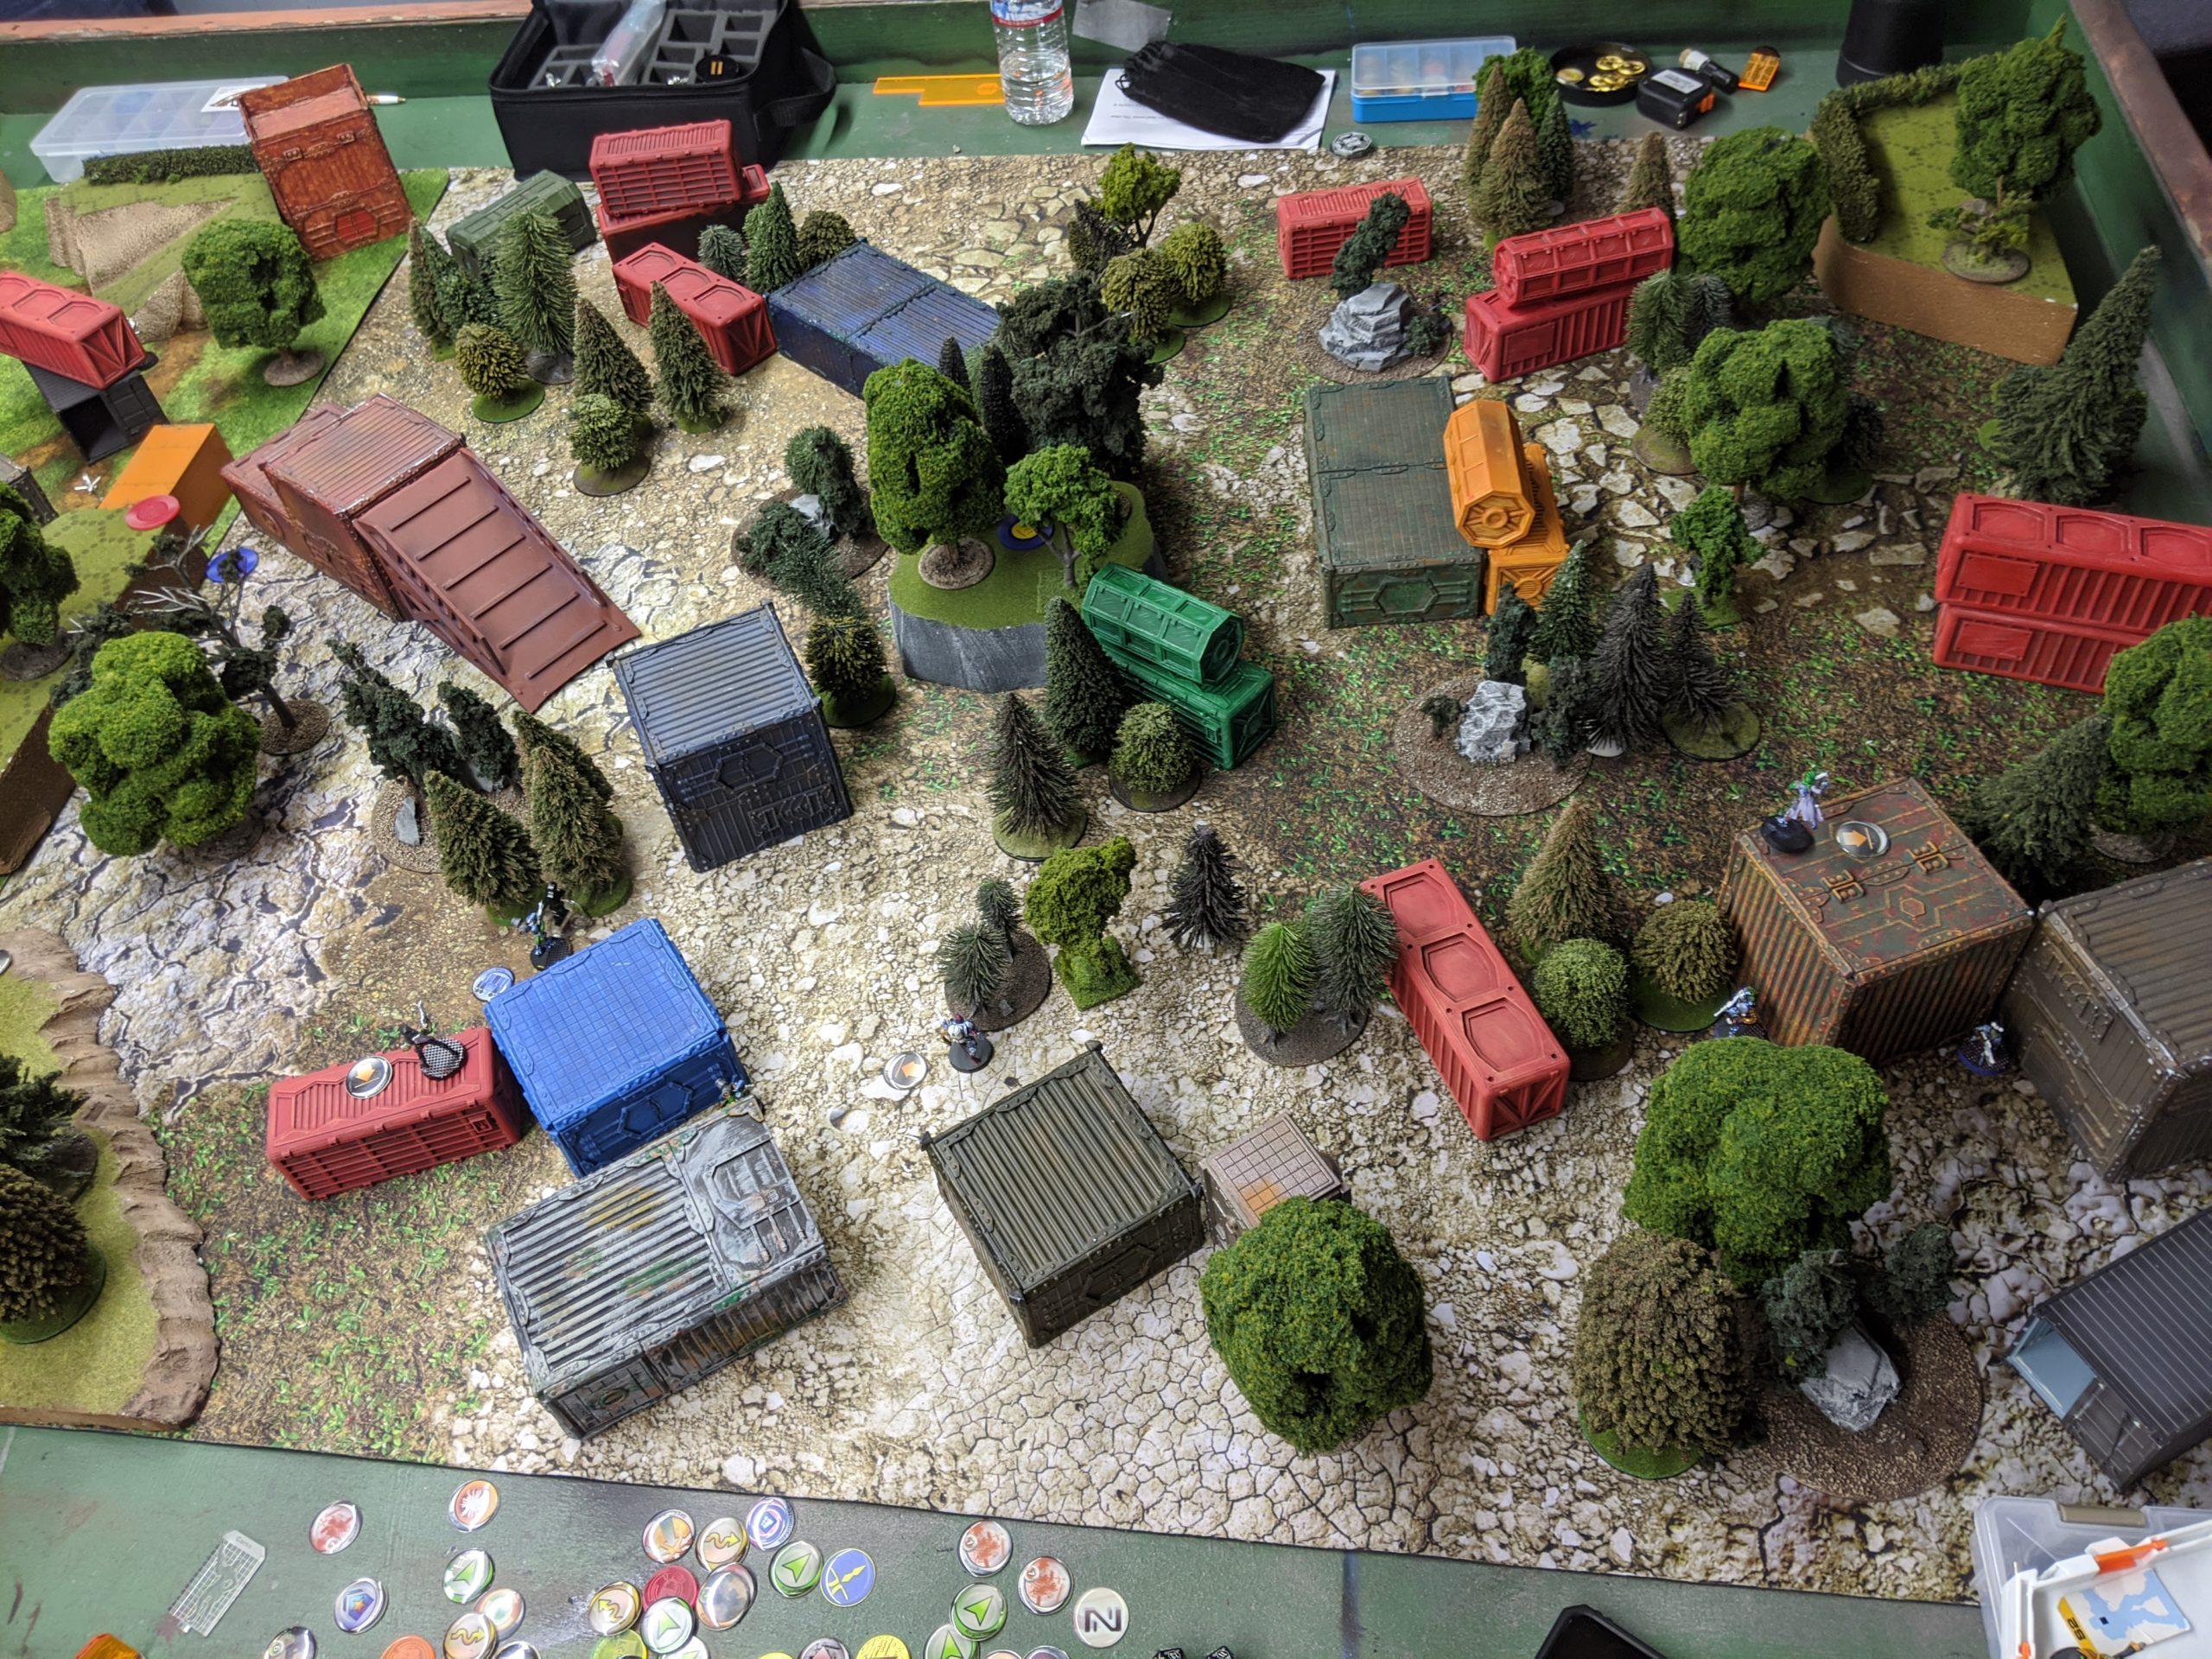
Game 3 – Heavy Metal
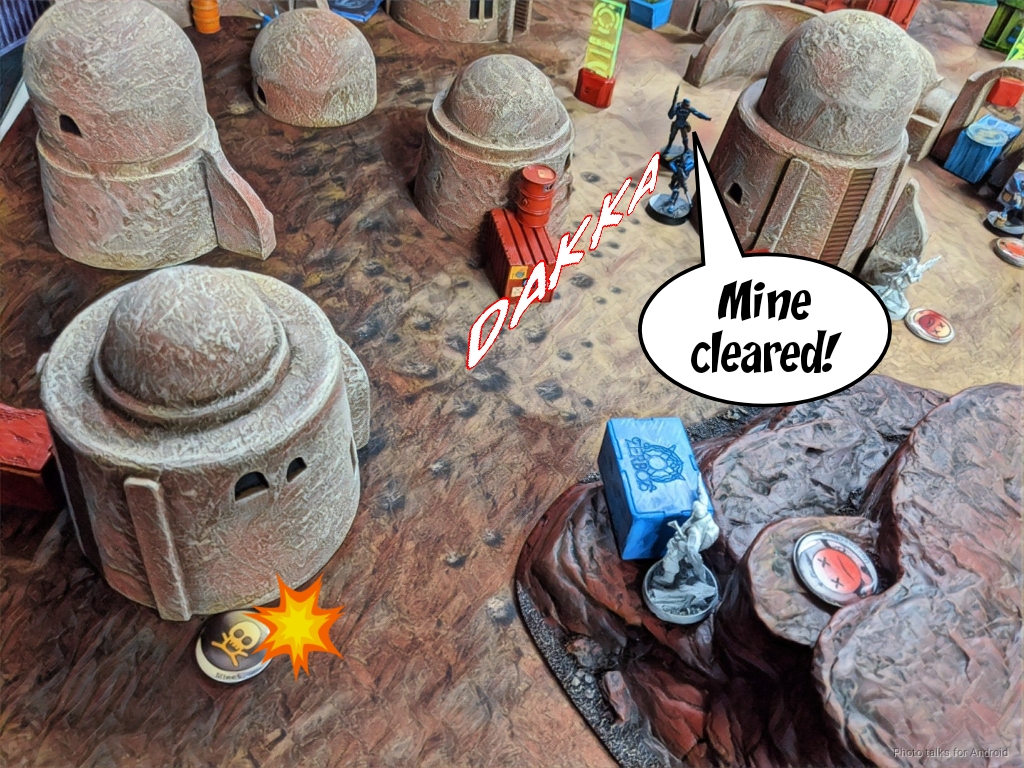
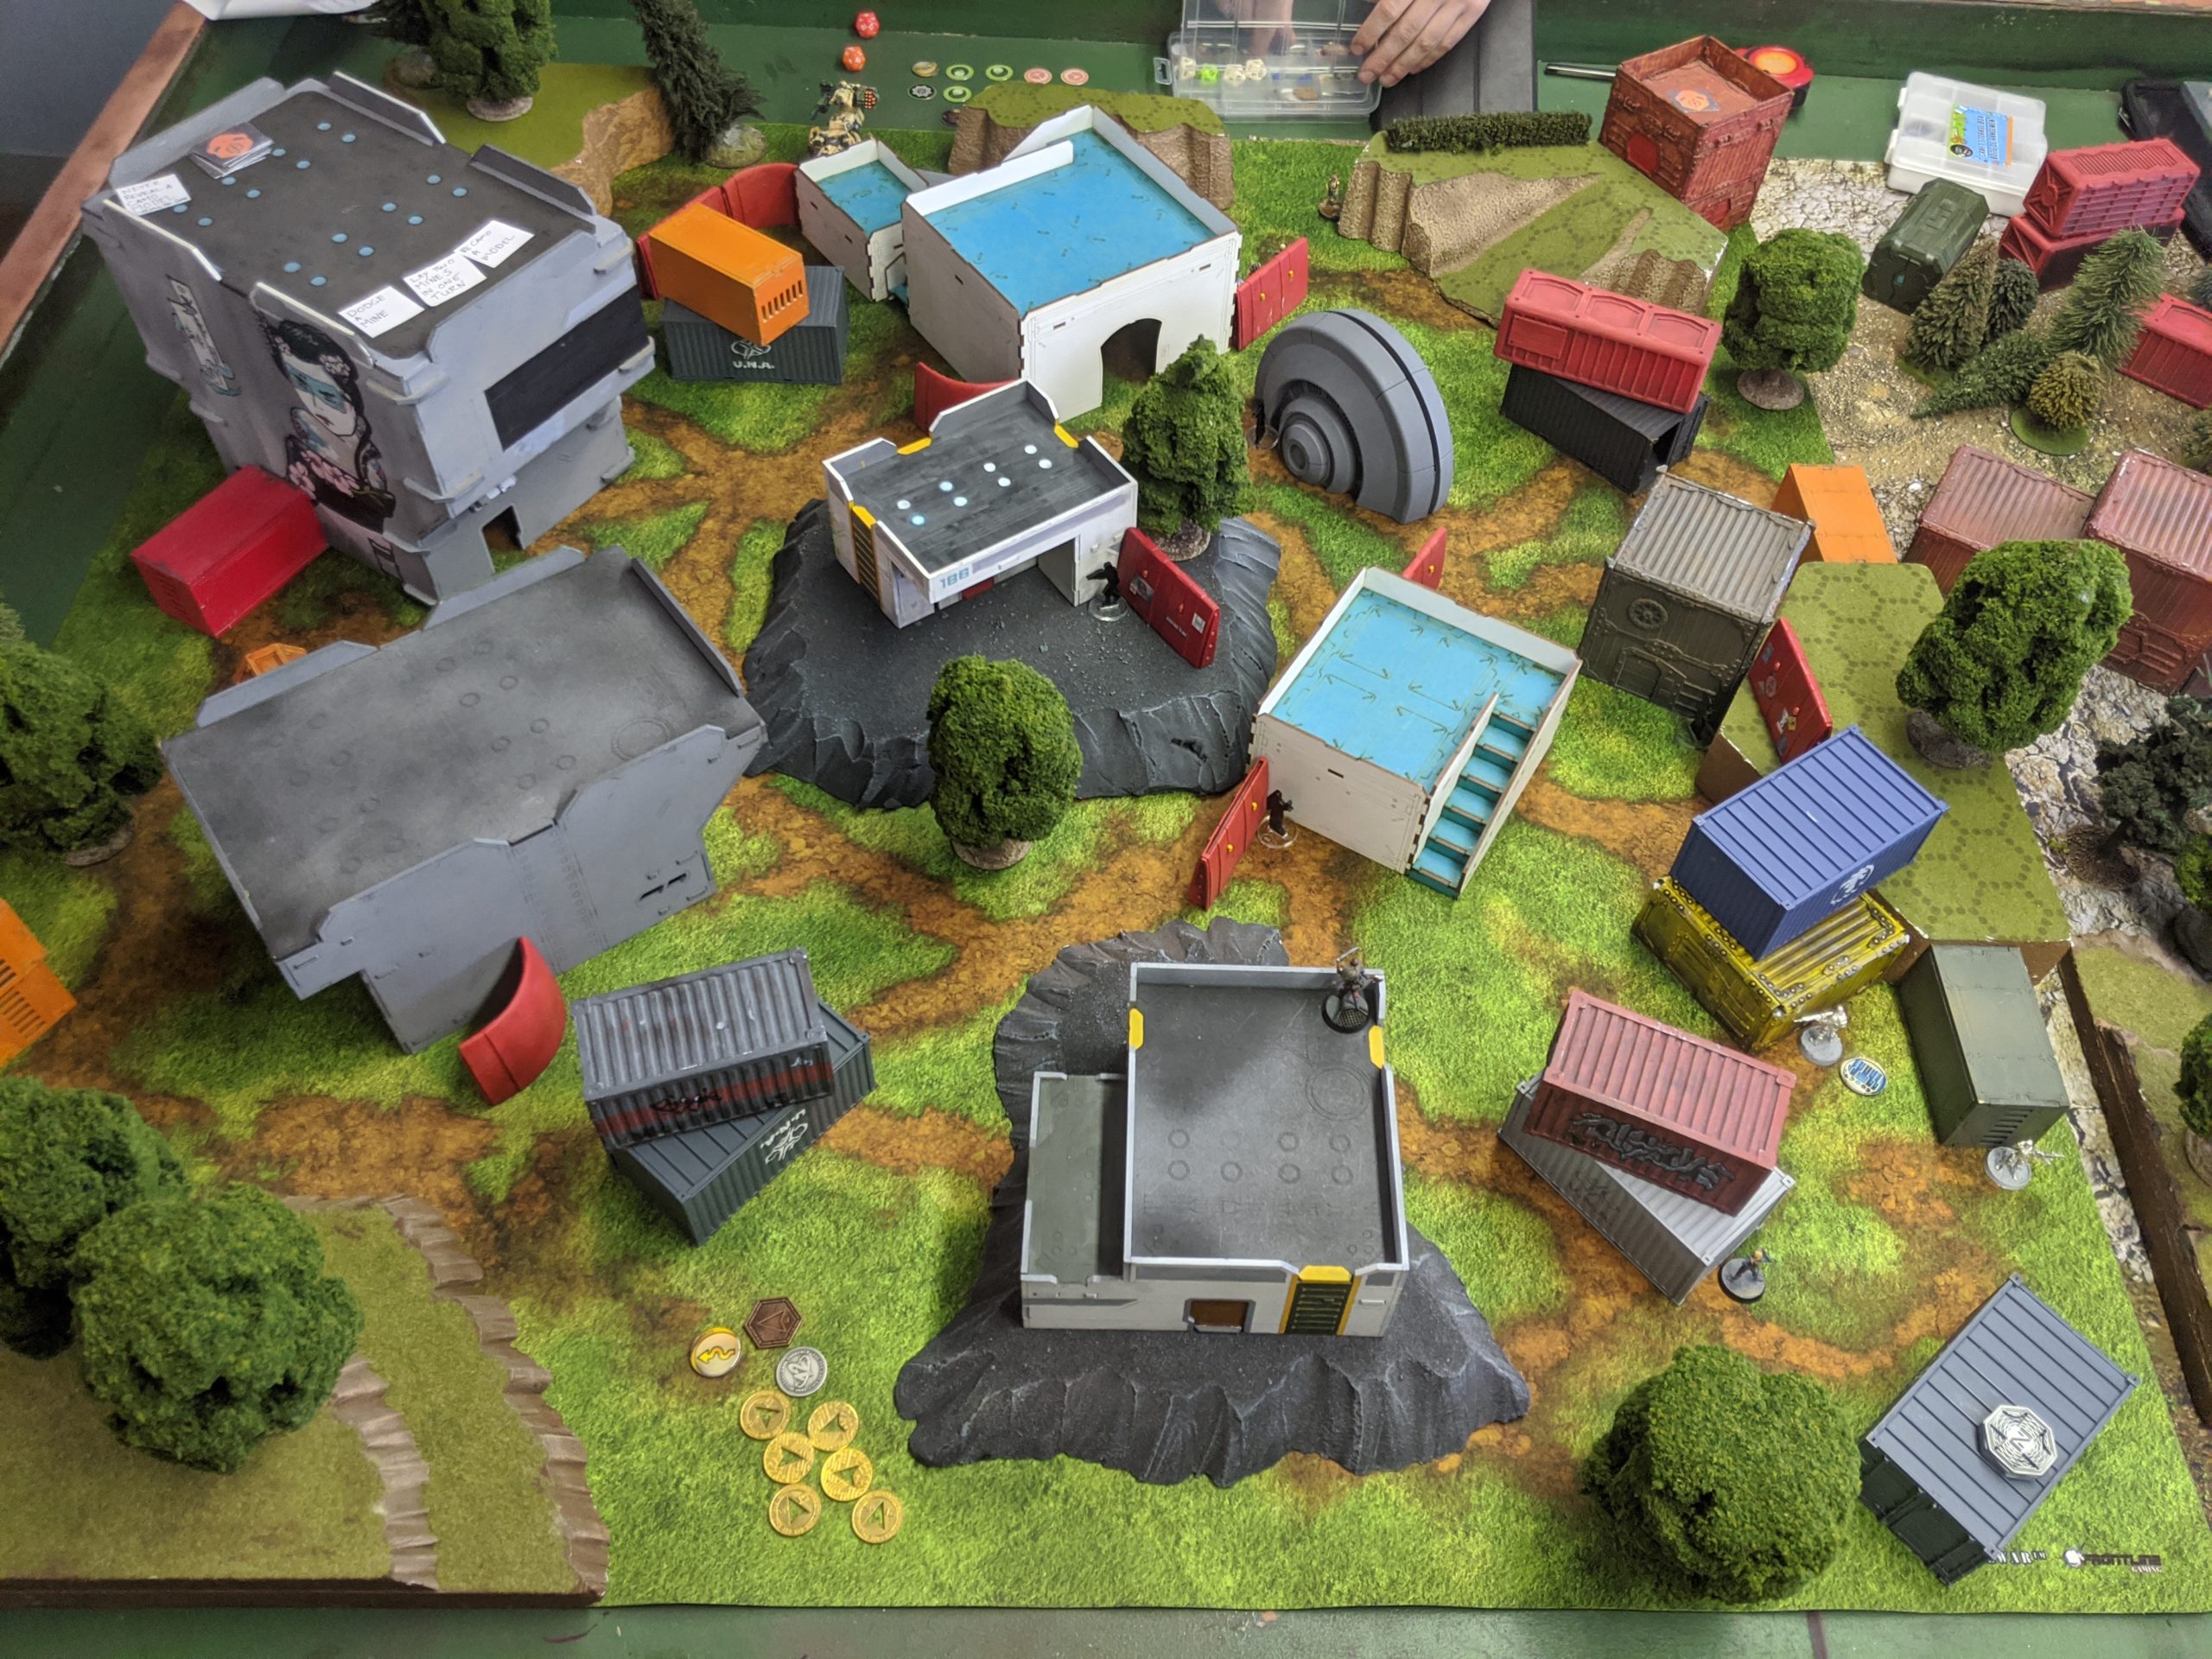
Game three is against Tyler, who I don’t think I’ve met before. He also hadn’t played against FRRM before, so I told him that all camo tokens are awful and are either mines or flamethrowers and that I might have AD Dogfaces and other horrible things with guns. We’re playing on Eric (Raindog)’s very red shipping yard table. This is a really demanding table. It’s not forgiving and does strange things to break up firelanes. I played on it last Rampage as well.
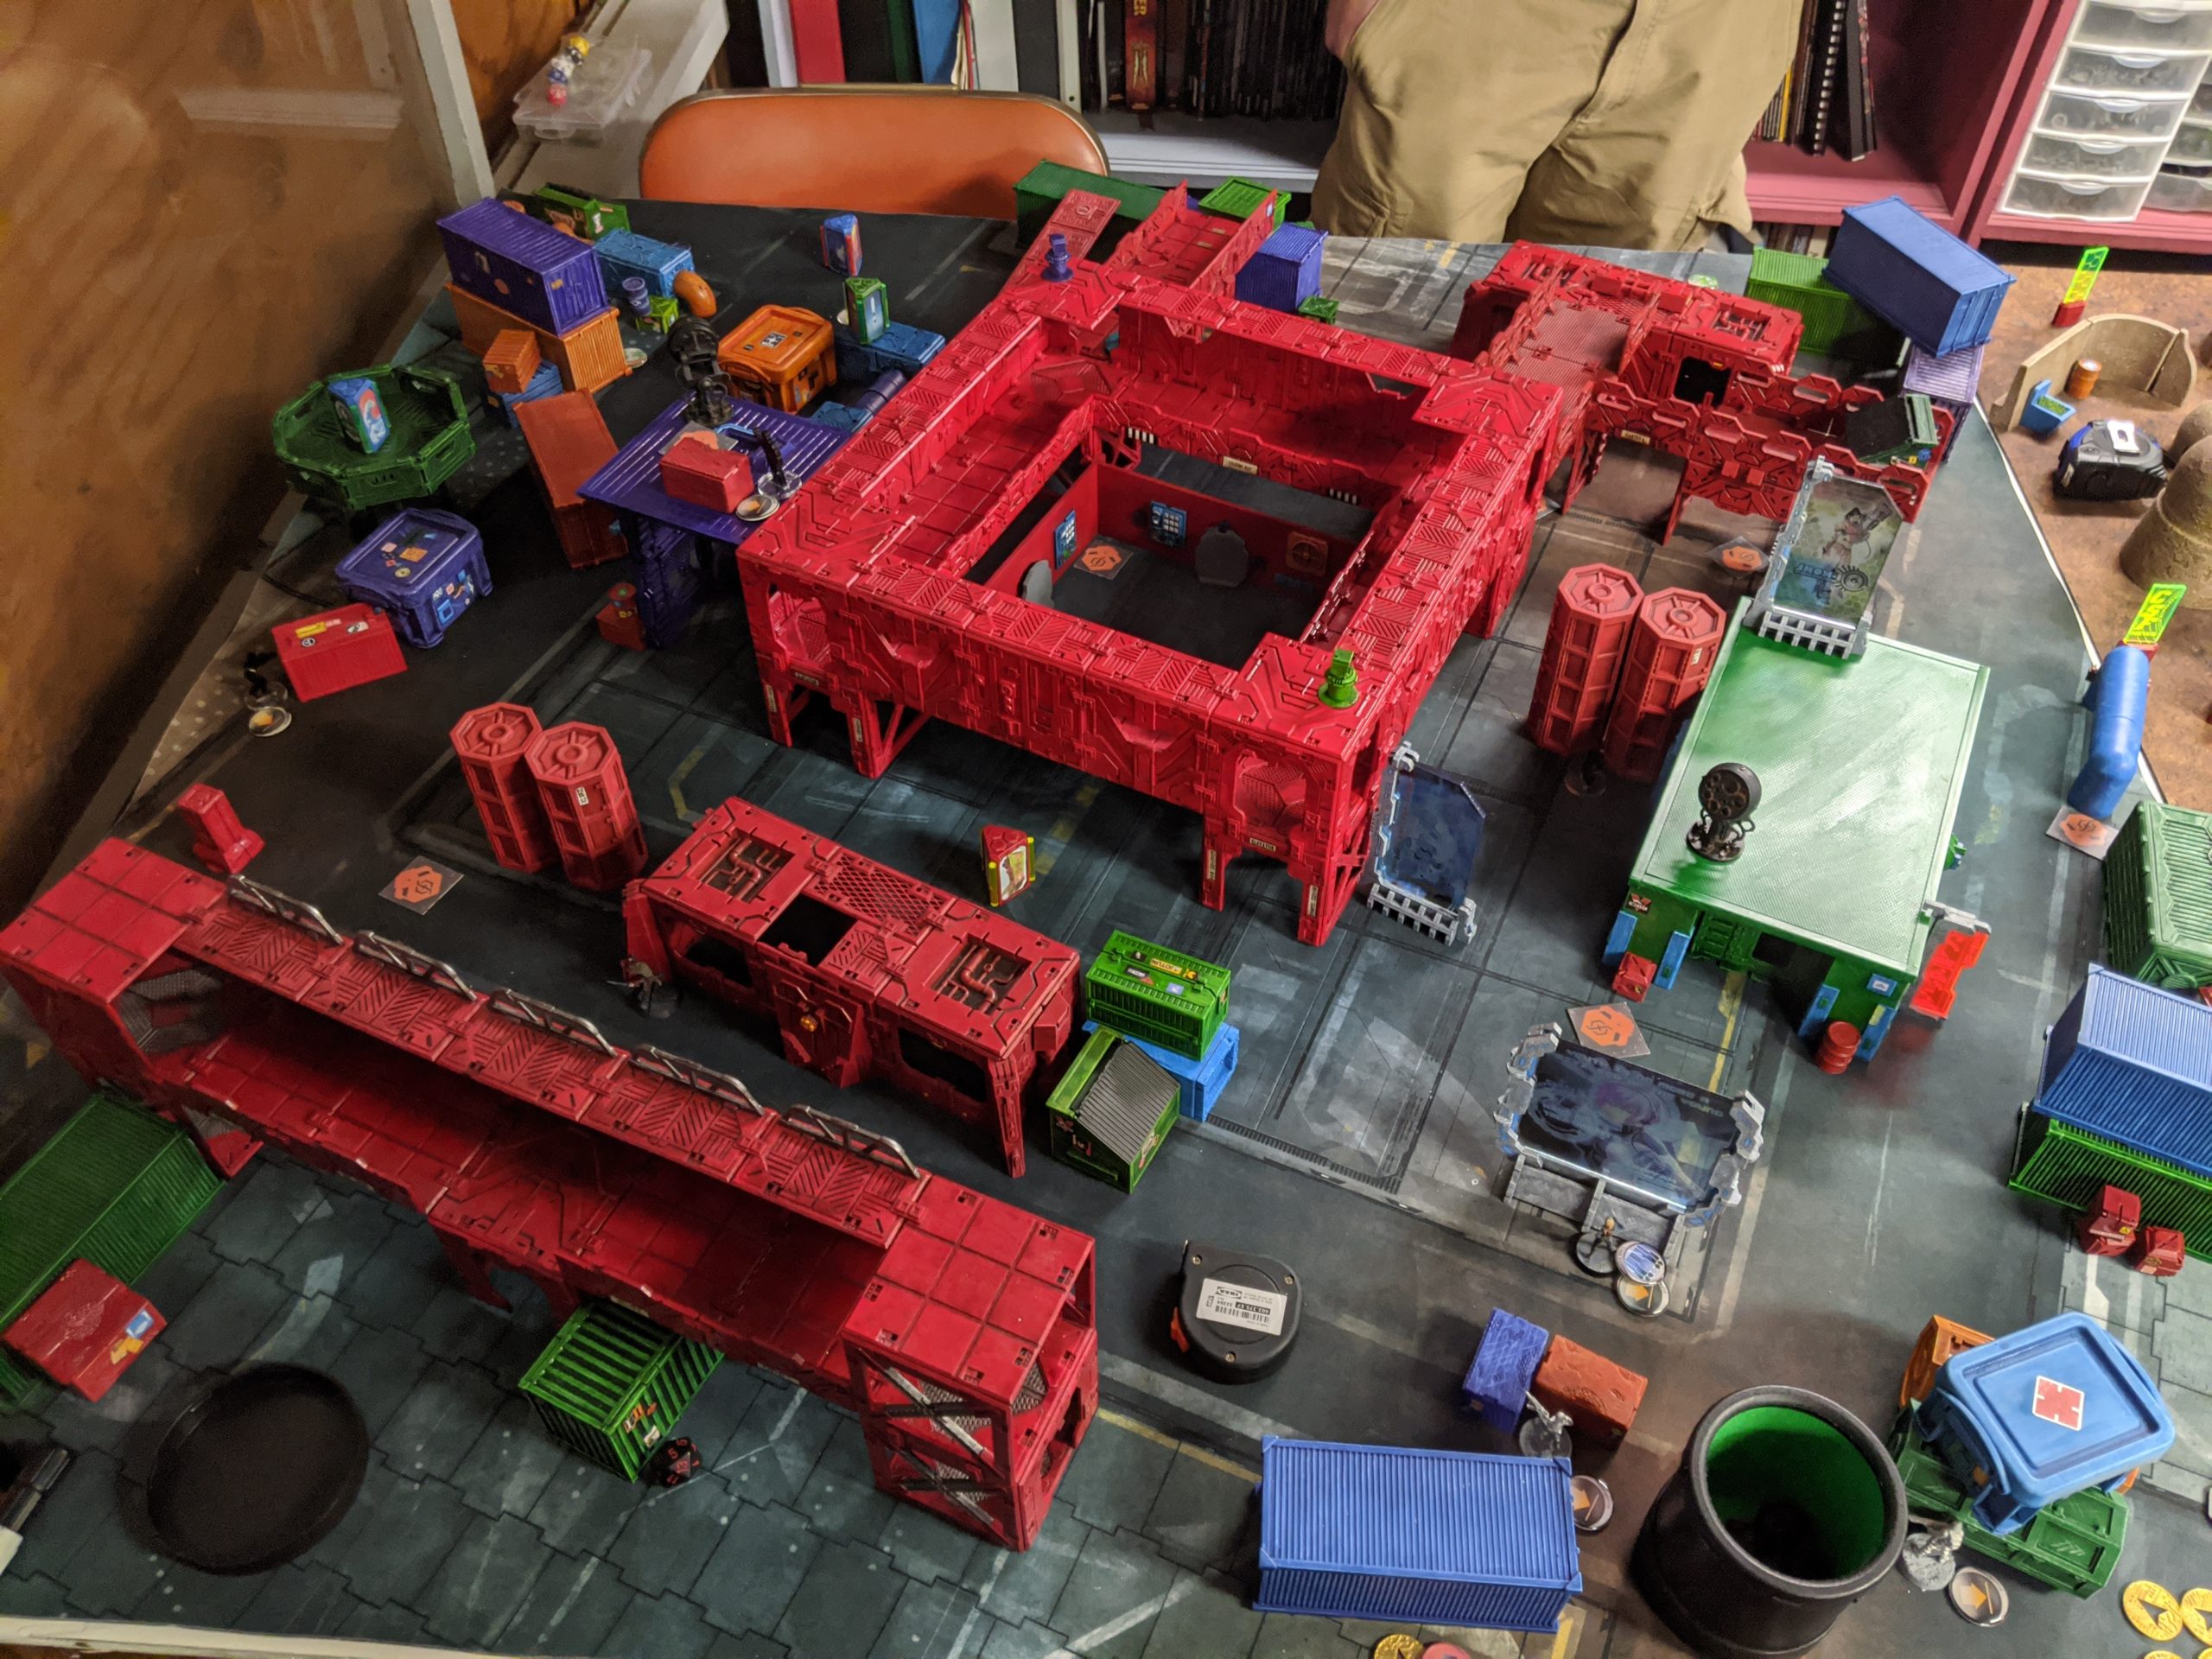
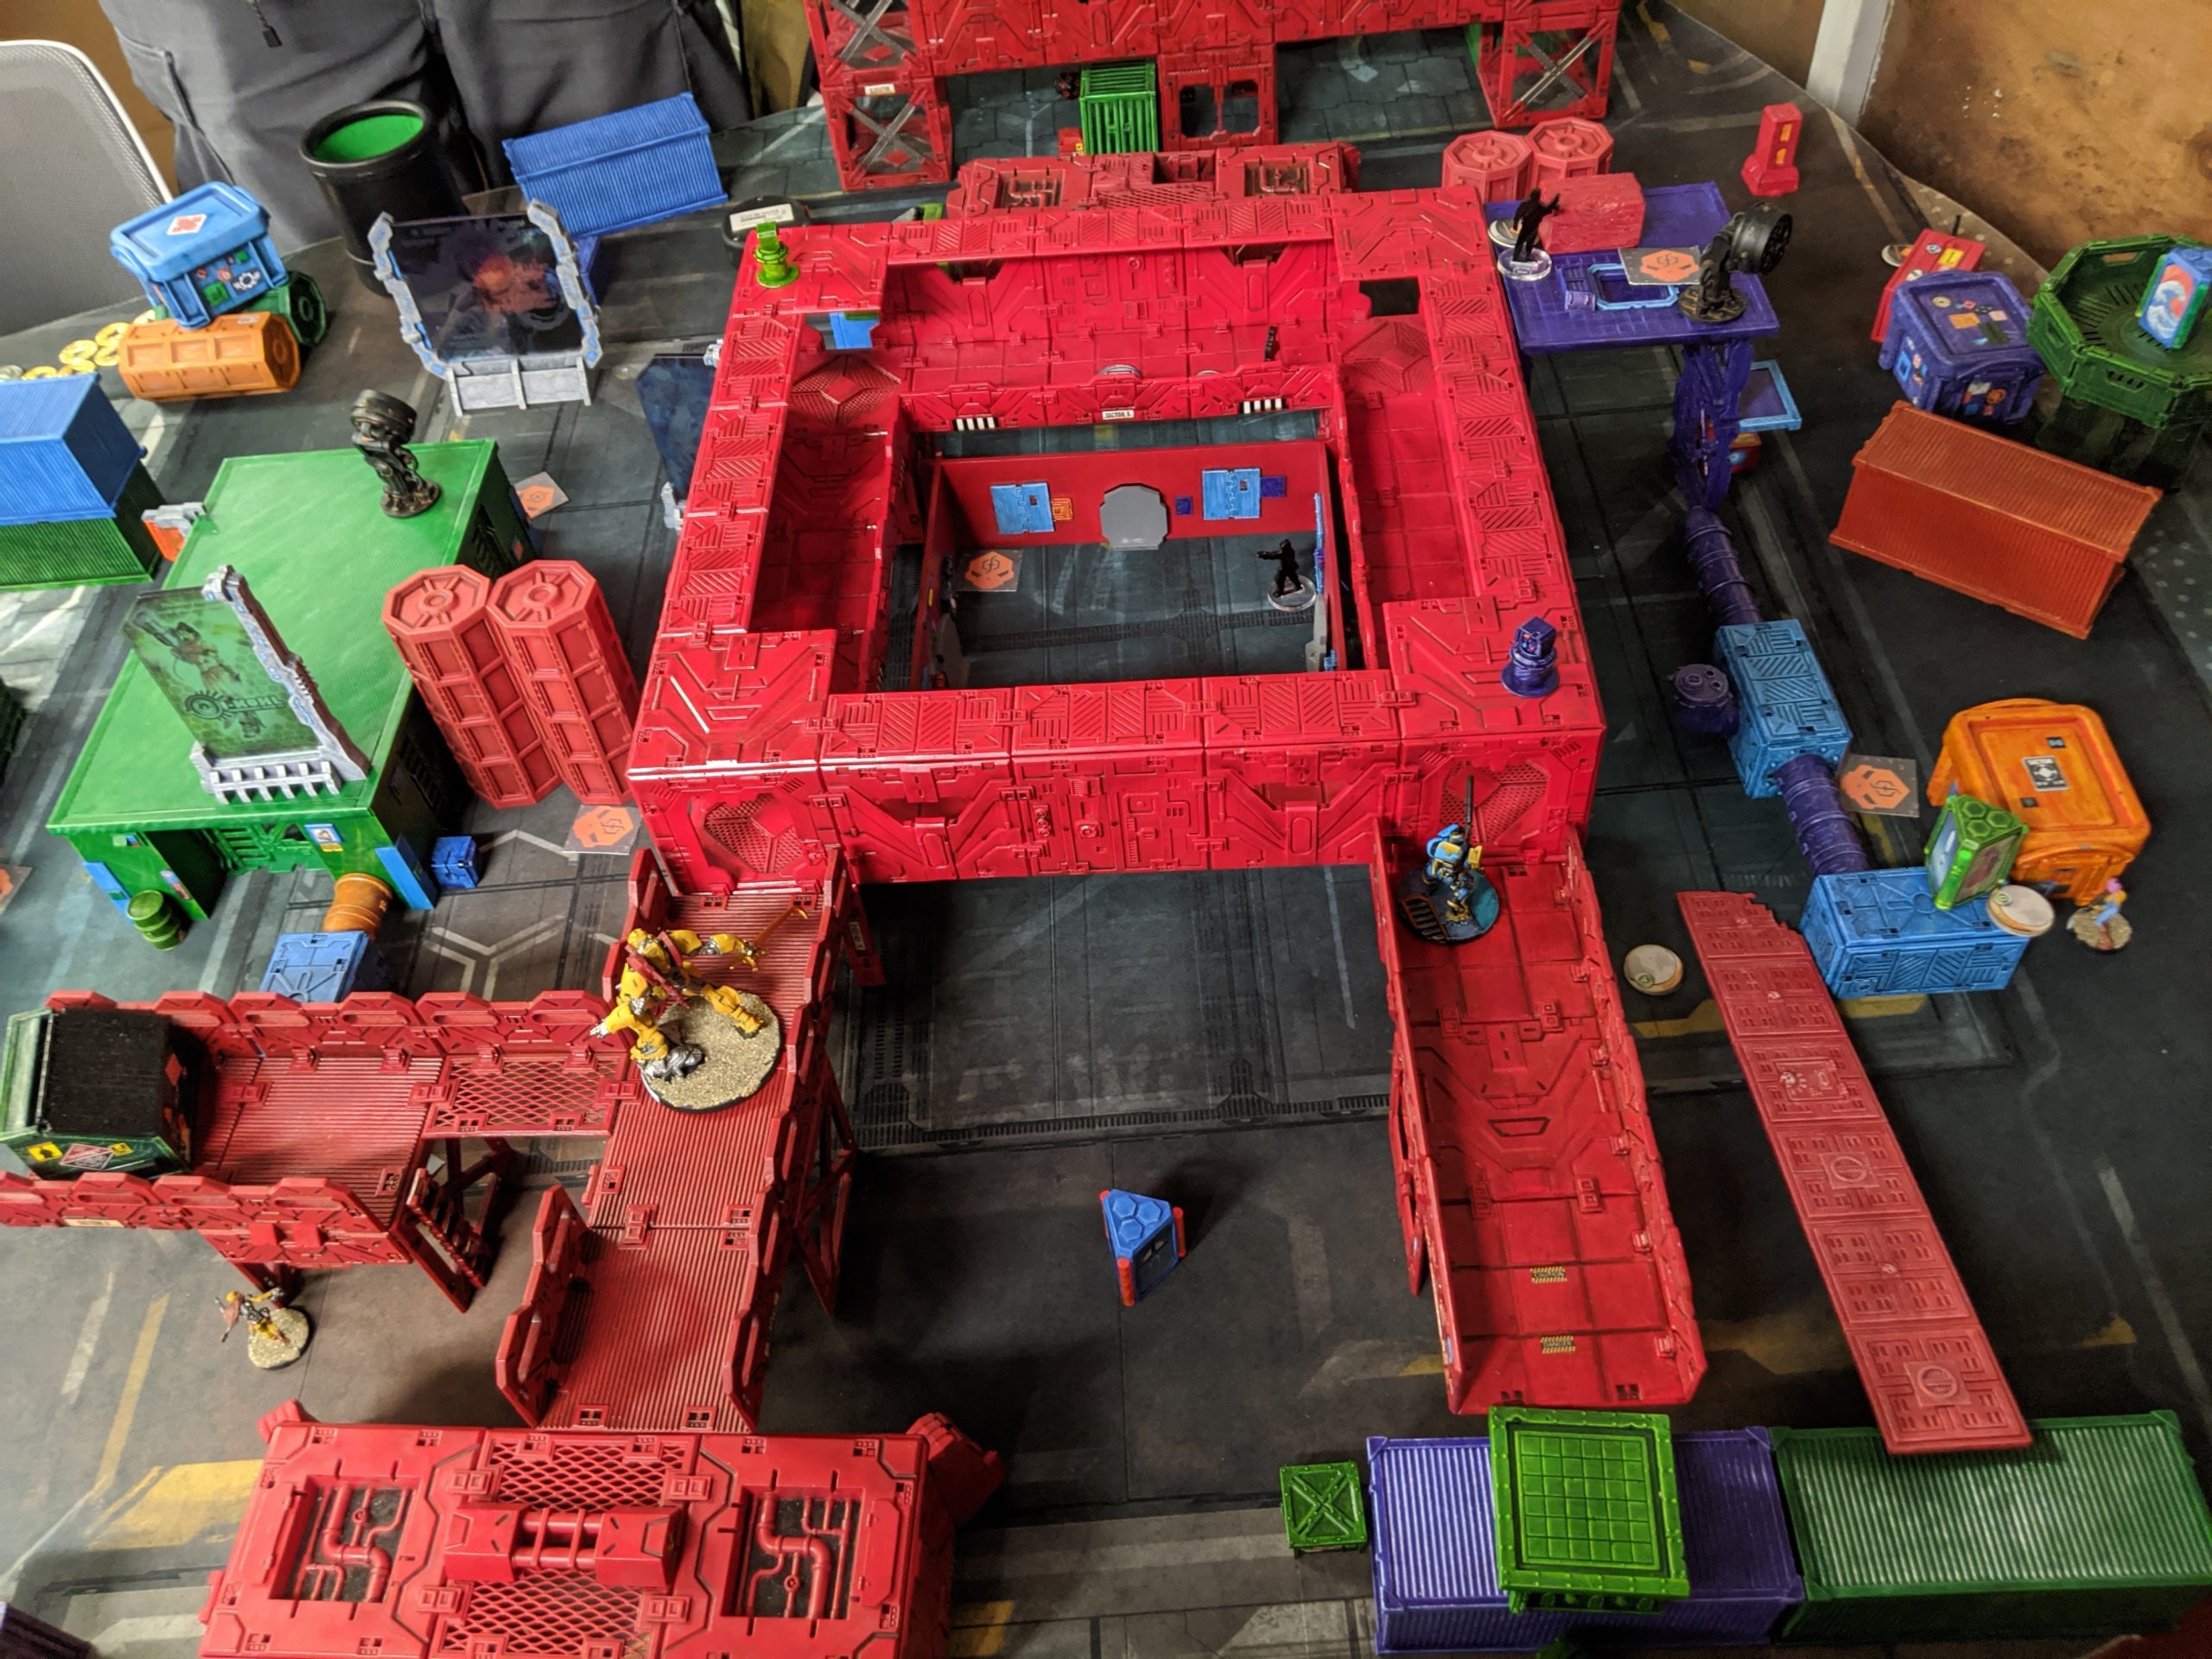
I think this is a pretty polarizing table. Most either love it or you hate it, but really strange and demanding tables are just a part of Infinity that you have to get used to.
Overview
- Mission: Steal the Data
- Forces: Force de Réponse Rapide Merovingienne versus Ramah Taskforce (300)
- Deploy First: FRRM
- First Turn: FRRM
Steal the Data
Data Bundles are strewn across the table. Each will be 8 inches away from each other and can be on and in buildings.
Your mission is to collect as many as possible. A model may collect multiple packs and the packs can not be looted. Once taken, they cannot be regained.
To activate the packs, you need only move over the pack. However, some of the packs are actually traps (Strength 15 and explosive). Touching them detonated the trap.
A successful WIP roll of a Hacker or Engineer in Zone of Control or a Forward Observe will allow the player to peek to see if the data pack is real or a trap.
Scoring
- Have More Data Packs than your opponent at the end of the game: 4 points
- Have the same amount of Data Packs : 2 points
- Have at least 1 Data Pack: 1 point
- Detect More Packs than your opponent: 2 points
- Detect a trap without triggering it: 2 points.
- Have a Hacker, Engineer, or Forward Observer alive at the end of the game: 1 point
This mission is pretty weird. Basically there are little cards (the same ones we used last game, just flipped so their backs are showing) that you have to just walk over. If they don’t have “B*” written on them, you get one. If they, they ASPLODE! There’s no way of knowing what the ratio of bombs to not bombs are, so you have to scan them.
Game 3 – Tyler
DĀOYĪNG Lieutenant L2 (Minelayer) MULTI Sniper, Antipersonnel Mines / Breaker Pistol, Knife. (1.5 | 32)
MÓWÁNG (NCO) MULTI Rifle, Flammenspeer / Heavy Pistol, Knife. (0 | 52)
ZHANSHI (Forward Observer) Combi Rifle / Pistol, Knife. (0 | 12)
GŪIJIĂ MULTI HMG, Heavy Flamethrower / DA CCW. (2 | 88)
WARCOR (360º Visor) Flash Pulse / Stun Pistol, Knife. (0 | 3)
Tyler brought a really ambitious list. It relies very heavily on the NCO orders from the Daoying and the new tac awareness order on the Guija.
Deployment
I decided to go first and set myself up to make some easy plays on objectives that were deployed in weird spots and put mines in the appropriate spots.
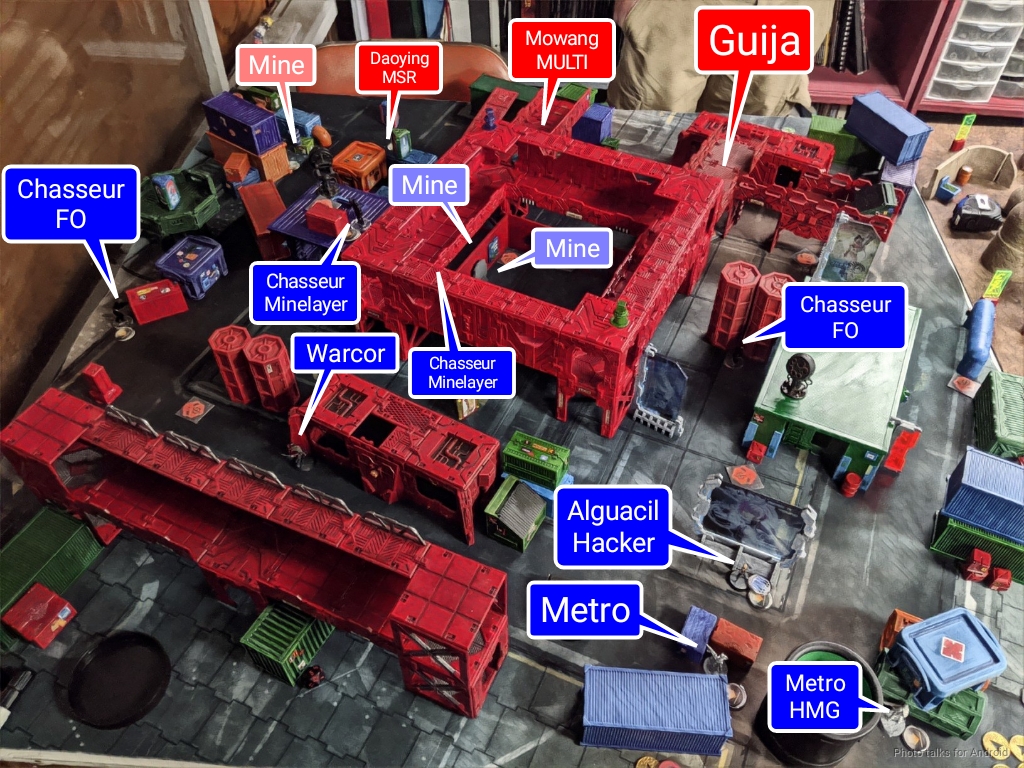
Tyler deployed most of his stuff on the right, with the Mowang up top in the catwalk system. Shane graciously loaned a Gamma to us since Tyler accidentally left an S5 proxy at home. I think he deployed one too many mines with his Daoying Lt too, but oh well.

I thought about over-infiltrating a Chasseur again, but decided not to. Tyler’s reserve was his Guija, up top and dominating my right flank. GROSS.
Turn 1
Top of 1 – FRRM
I decide to ignore the Guija and attack his order pool. Duroc makes it in, puts smoke in the right spot, and chain rifles the Zhanshi Paramedic and the Daoying off the table, tanking a bunch of rifle fire and a mine hit as he does so.
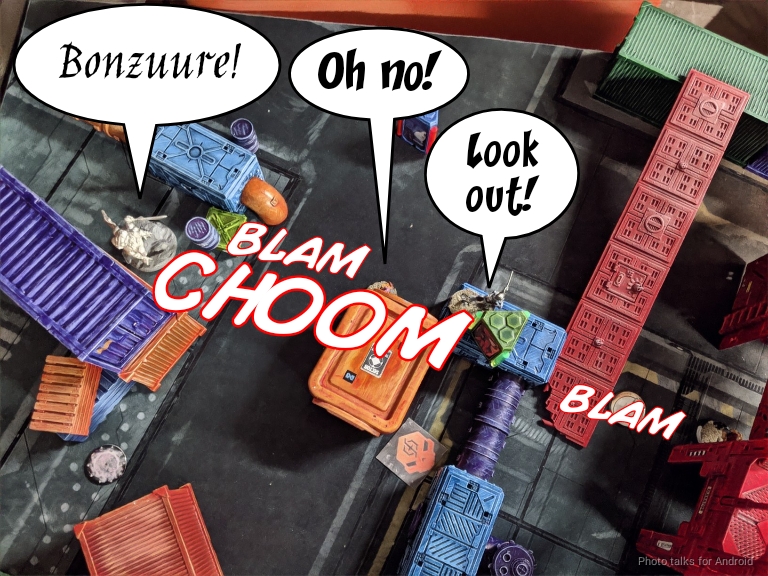
I then proceed to flub a ton of forward observe rolls against objectives to scan for mines, and then tuck Duroc away, again tanking a rifle hit from the Mowang.
Bottom of 1 – IA
Tyler’s in loss of lieutenant, which means he doesn’t have those all important NCO orders. He gamely forges ahead, moving the Mowang forward and taking a wound from the mine I left for him.
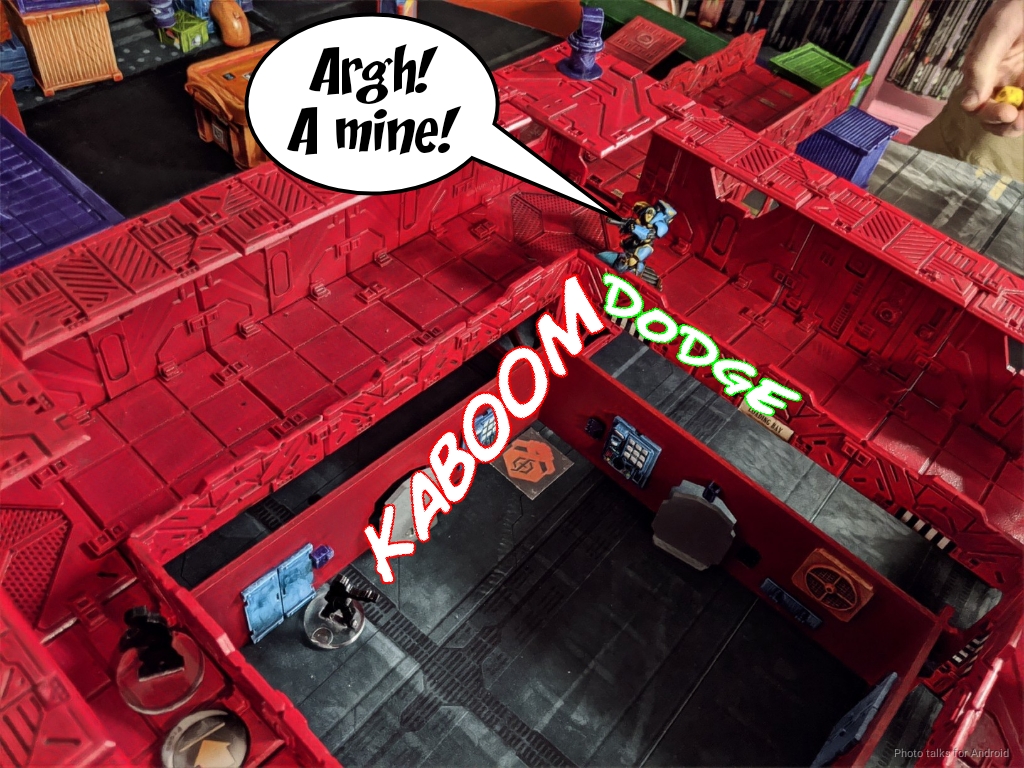
The Gujia hops off its perch and lands on a bomb, passing all three ARM saves! With his tac aware order he tries to discover the Chasseur, but I delay so all he discovers is taking a wound from her flamethrower!
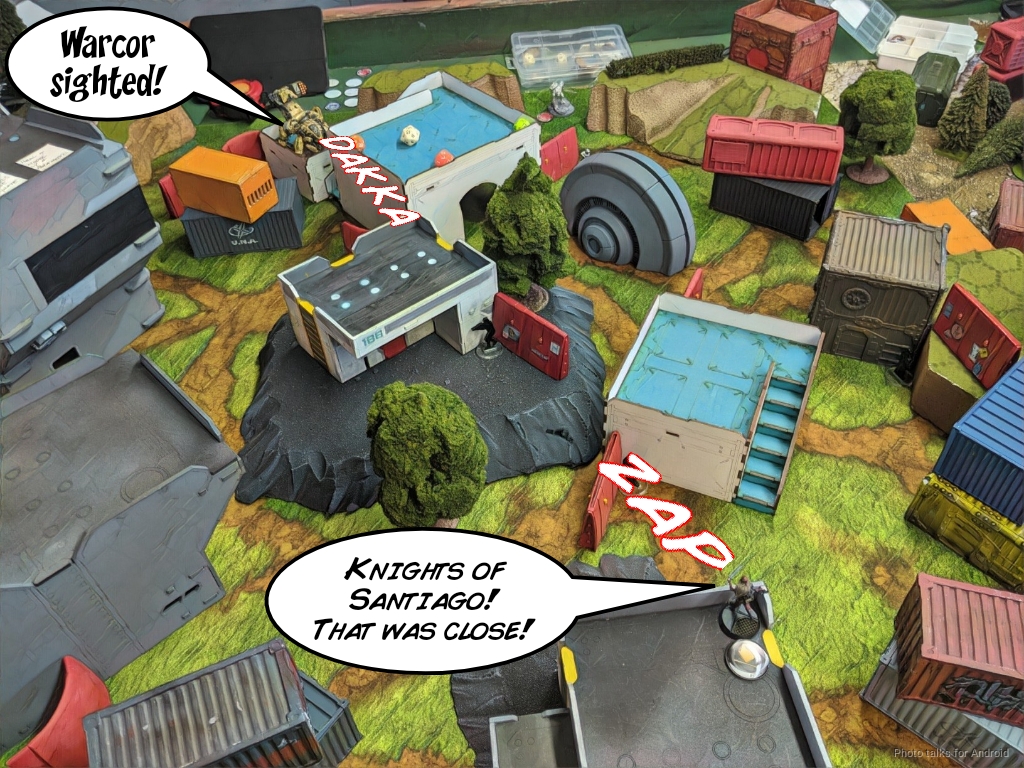
He doesn’t have much else to do other than run his Warcor around grabbing objectives so he does exactly that, moving her forward.
Turn 2
Top of 2 – FRRM
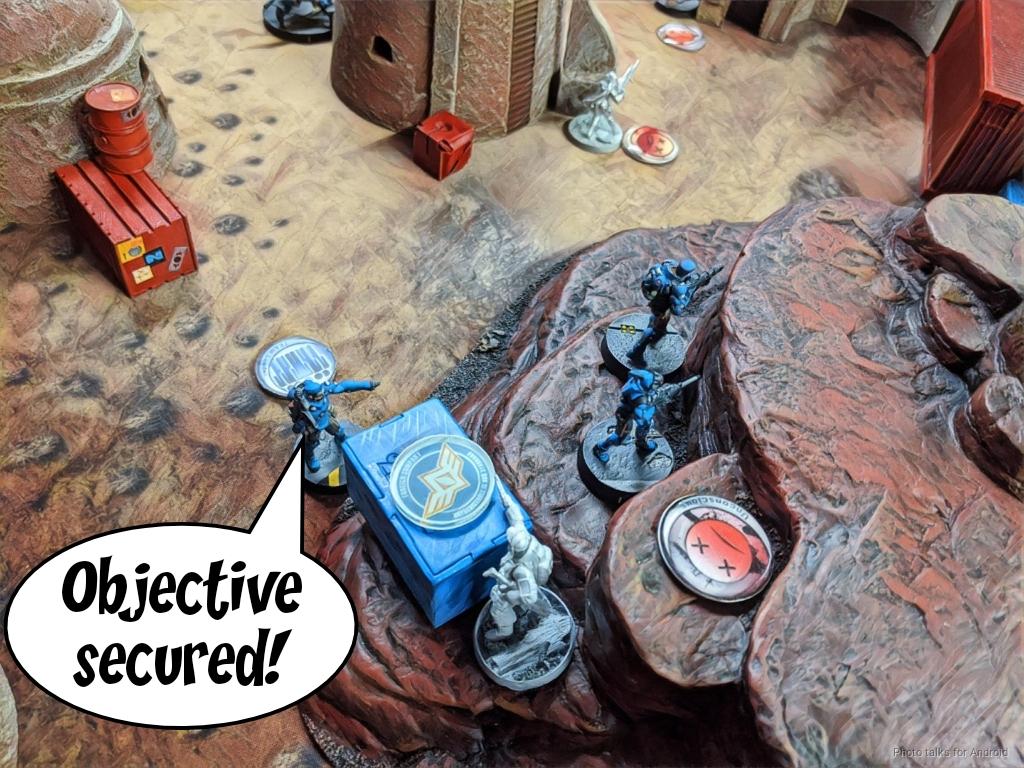
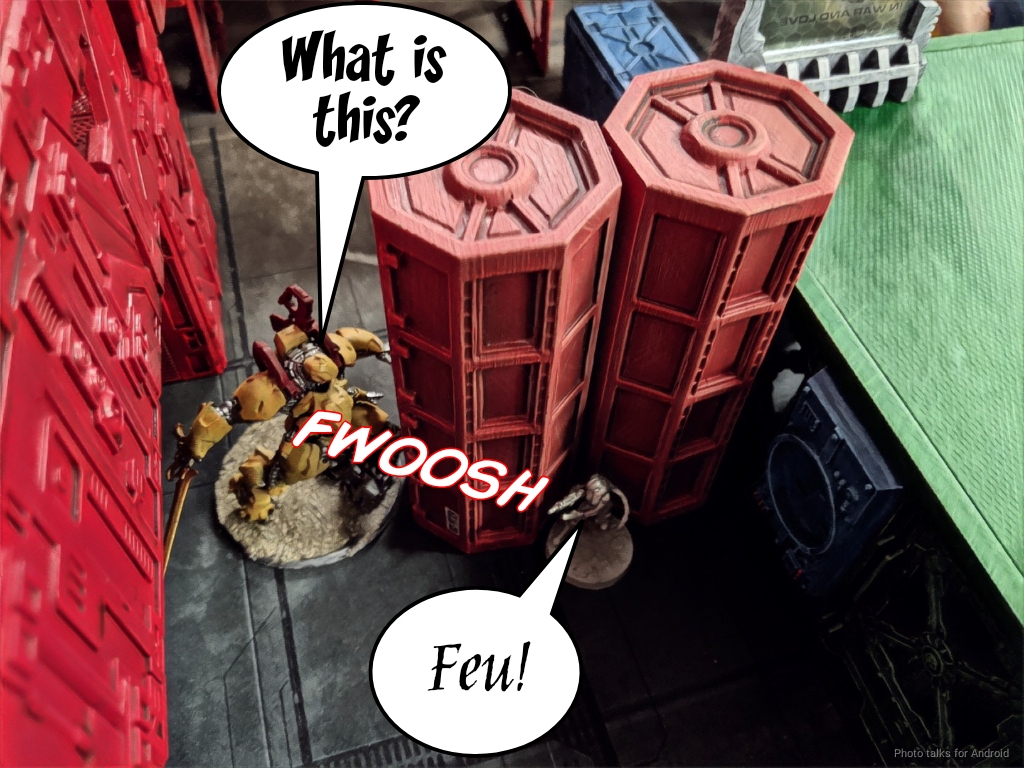
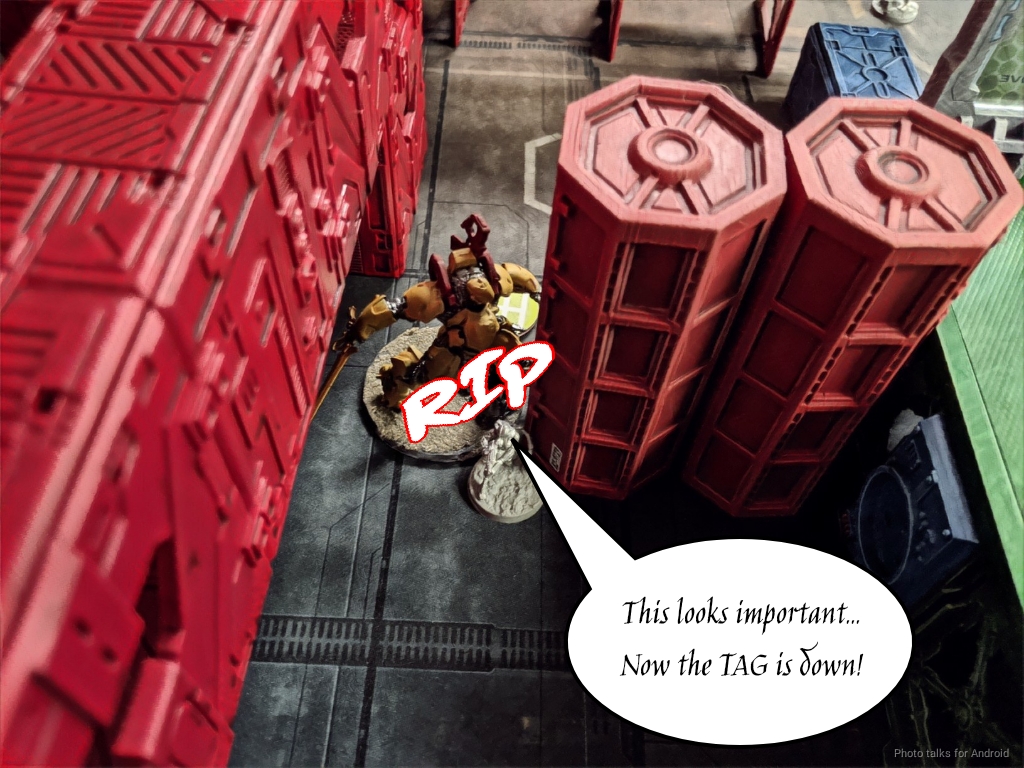
That Guija has to go, so Margot hops onto the table behind it and guns it down in a single order. A BS 14 AP Rifle is NO JOKE.
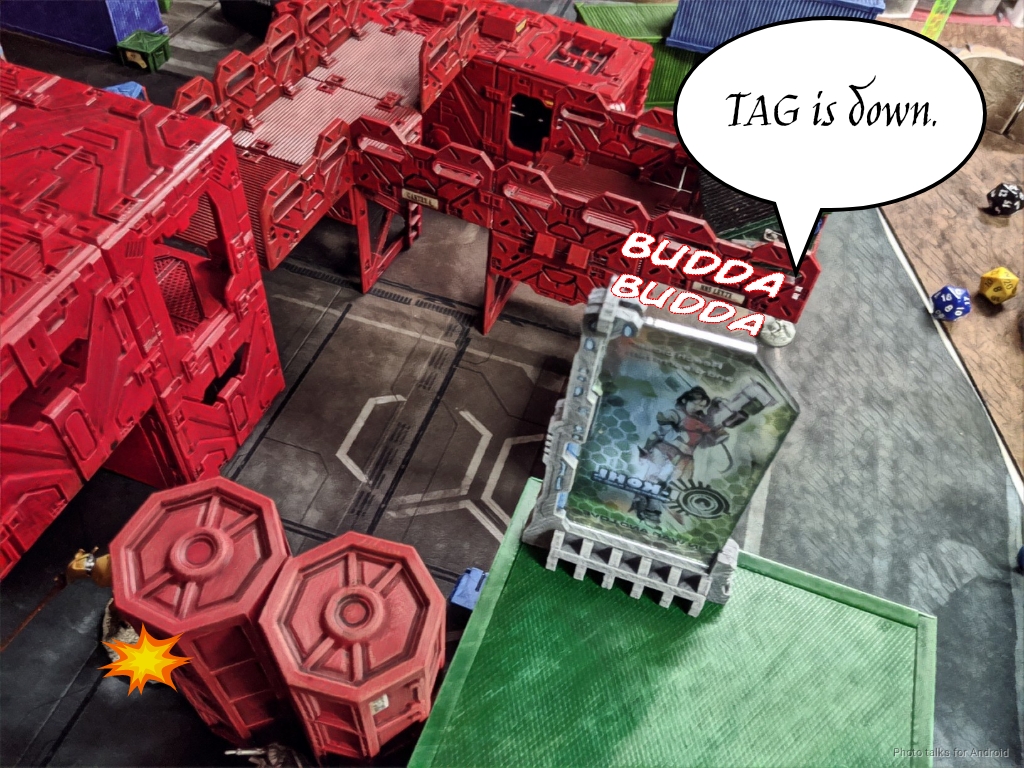
To make sure the TAG goes down my nearby Chasseur FO coup de graces it, and then I spent the rest of the turn successfully scanning for bombs and grabbing what I need to grab in terms of objectives.
Bottom of 2 – IA
Tyler is down to a Zhanshi FO and his Warcor and loses his Mowang (his new Lt) to a bomb, but I think snags another objective at least.
Turn 3
Top of 3 – FRRM
Duroc dies chain-rifling the Zhanshi FO down (one of the extra mines and the Zhanshi’s rifle fire got him), then I finish off the warcor with the Algaucil hacker as the other two link members snag objectives.
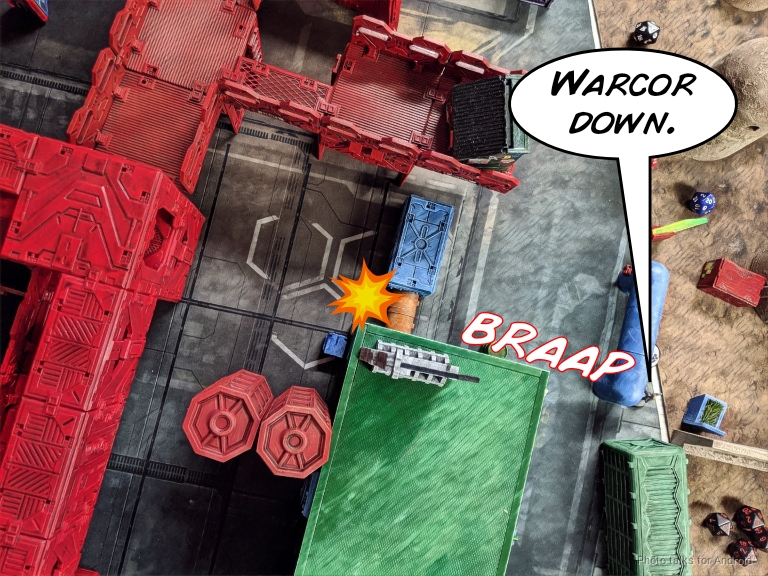
This makes it a
10-1 Force de Réponse Rapide Merovingienne Victory!
Post Game Analysis
Tyler played a very high variance list, and I knew exactly how to disrupt it and had the right tools and positioning for doing so. He did an admirable job of recovering–I think he was only 1 or 2 objectives behind me, and had he not been unlucky and gotten as many bombs as he did, he probably would have been able to take the win or at least forced a tie. The game may have read as a little one-sided, and it was clear that Tyler was bummed about what was happening, but he stuck to the objectives and almost won. Remember that when things are going pear shaped for you. Looking forward to a rematch!
Also, I’d like to submit this list for your consideration, Tyler:
Yu Jing
DĀOYĪNG Lieutenant L2 Hacker (Hacking Device) Boarding Shotgun / Breaker Pistol, Knife. (0.5 | 29)
TAI SHENG Mk12, Chain-colt, Stun Grenades / Heavy Pistol, Knife. (0 | 45)
GŪIJIĂ MULTI HMG, Heavy Flamethrower / DA CCW. (2 | 88)
CELESTIAL GUARD (Kuang Shi Control Device) Combi Rifle + Light Smoke Grenade Launcher / Pistol, Knife. (0.5 | 13)
KUANG SHI Chain Rifle / Pistol, Knife. (0 | 5)
SHAOLIN Chain Rifle, Smoke Grenades / Pistol, Shock CCW. (0 | 5)
In our discussion after the game, you said you didn’t want a Zhanshi link and wanted a reliable backup to the Guija. This has more orders, Tai Sheng to replace the Mowang. She’s admittedly not as good in a gunfight, but she is perfect for the mission as she can forward observe the objectives. It is much harder to pilot with all the Kuang Shi, but you have some smoke to protect them with the Shaolin. It also lets you do some serious problem solving with Kuang Shi, and in a pinch your Lt can actually do stuff. The Guija gives you enough long range ARO at 200–there’s not much in 200 points that can reliably take it out in one order (or in 300, for that matter), so just be prepared to fail guts into total cover. Looking forward to a rematch!
Game 4 – Cheeky Mine

I drew Than as my opponent for Game 4, which is awesome! I’ve played Shane, who I haven’t played in 2 years, got to play Anthony and Tyler, who I’ve never played, and now I get to stamp my dance card with Than. I think the last time we played was almost 6 months ago!

I had a pretty good idea of what to expect from Than, but the table was going to throw both of us for a loop. It’s very tree-heavy, and we decided to say that you can’t shoot “under” the tree, i.e. it blocks LoF all the way down. This significantly changed the character of the table, making it a very dense table. Since Than is an old hand at terrain-heavy tables, we decided to play with the low-vis and saturation zones.
Overview
- Mission: Score Zone
- Forces: Force de Réponse Rapide Merovingienne versus Ramah Taskforce (300)
- Deploy First: FRRM
- First Turn: FRRM
Score Zone
There are three data consoles on the center line of the table. One is in the dead center. The other two are on the table edges.
Your mission is to activate the consoles and have the troops in Zone of Control of the console at the end of the game.
The console cannot be turned off, but both sides can activate it to score.
Any model can activate a console at WIP -3. A Specialist model can activated a console with the best of two WIP rolls. A Hacker can activate a console with the best of two WIP rolls and a +3 bonus. A console can be activated by both players for scoring purposes.
Scoring
- Have more models in the scoring zone than your opponent: 5 points
- Have the same amount of models in the scoring zone as your opponent: 2 point
- Have more consoles activated than your opponent at the end of the game: 3 points
- Have the same amount of consoles activated than your opponent: 1 point
- Have at least one model in a scoring zone at the end of the game: 1 point.
- Active at least one console at the end of the game: 1 point
This is a variant of the first mission, which is pretty fun. Basically you have to activate the scoring zones and then out-model, not out-point, your opponent in the ZoC of each objective. Neat!
Game 4 – Than
TAAGMA Lieutenant (White Hacking Device) Breaker Combi Rifle, Nanopulser / Pistol, Knife. (0.5 | 20)
KRIIGEL Breaker Combi Rifle + Smoke Light Grenade Launcher / Viral Pistol, Knife. (0.5 | 27)
CHAKSA AUXILIAR (Baggage, Sensor) Heavy Flamethrower / Pistol, CCW. (0 | 10)
REEX (Marksmanship L1) K1 Marksman Rifle / Pistol, Electric Pulse. (0 | 20)
CLIPSOS (Forward Observer) Combi Rifle, Antipersonnel Mines / Pistol, Knife. (0 | 25)
Than has set his list to maximum mine games with three Taagma on the table and a Clipsos. He’s got some great deployment zone coverage as well as some really useful tools for the midfield like the Clipsos and the Reex Triad once he moves them up. I dig it.
Deployment
I forget who won the rolloff, but I’m going first. I set up my Metro link on the right, figuring I would just climb over the box if I had to, and then I put the Warcor on the left inside a saturation/low-vis zone at the edge oof my deployment. The Chasseur FOs went next to objectives, then I anchored my left side with a Minelayer and held the last Minelayer in reserve.
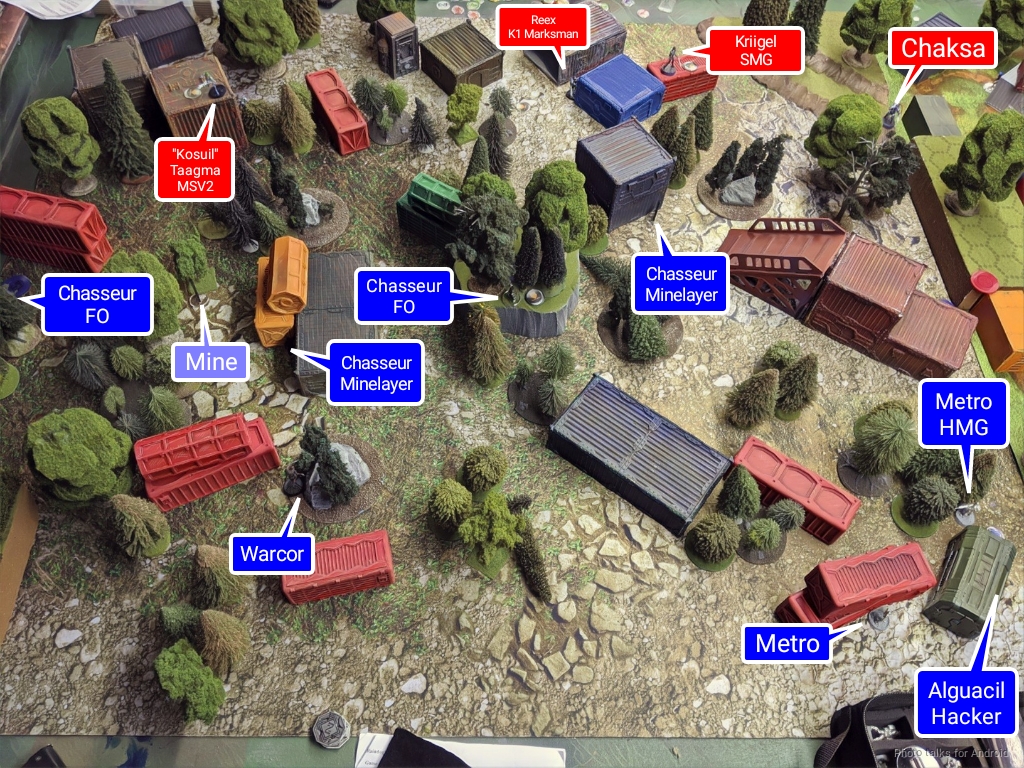
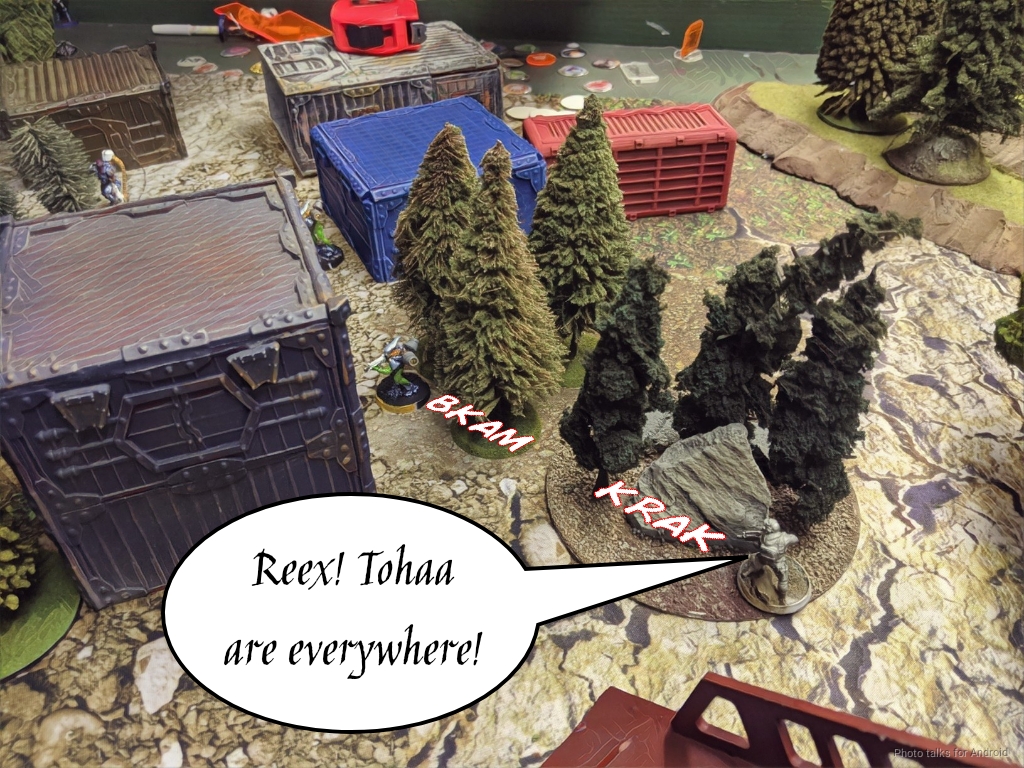
Than set up his usual Taagma MSV2 VSR Tri-core Triad on his right, bluffing Neema and a Kosuil engineer with Panzerfaust. He hid his Lt in the middle, disguised as a Chaska, with two real Chaska covering the table edges, because he knows that I probably have Margot and Duroc. The Reex Triad go down on the left, with one of the Reex right up against the deployment zone edge near some trees.
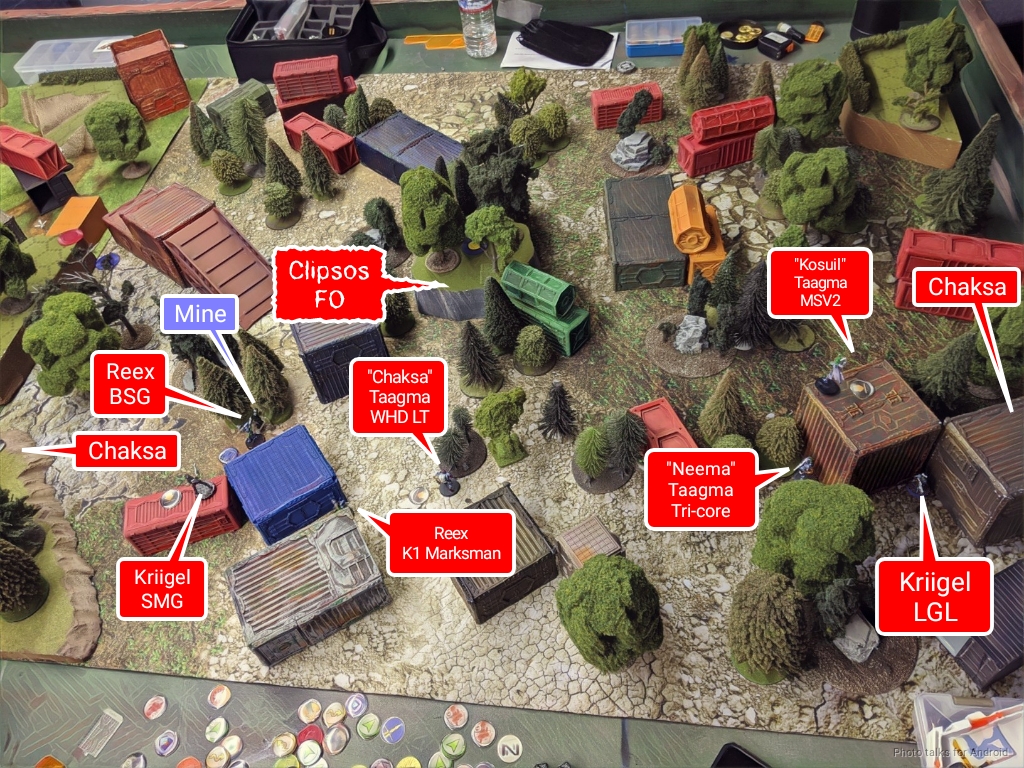
I deploy the cheeky-est of mines, putting the minelayer on Than’s left, with the Mine covering Than’s Reex BSG and the Kriigel on that side, and Than sticks his Clipsos in the center opposite my Chasseur FO.
Turn 1
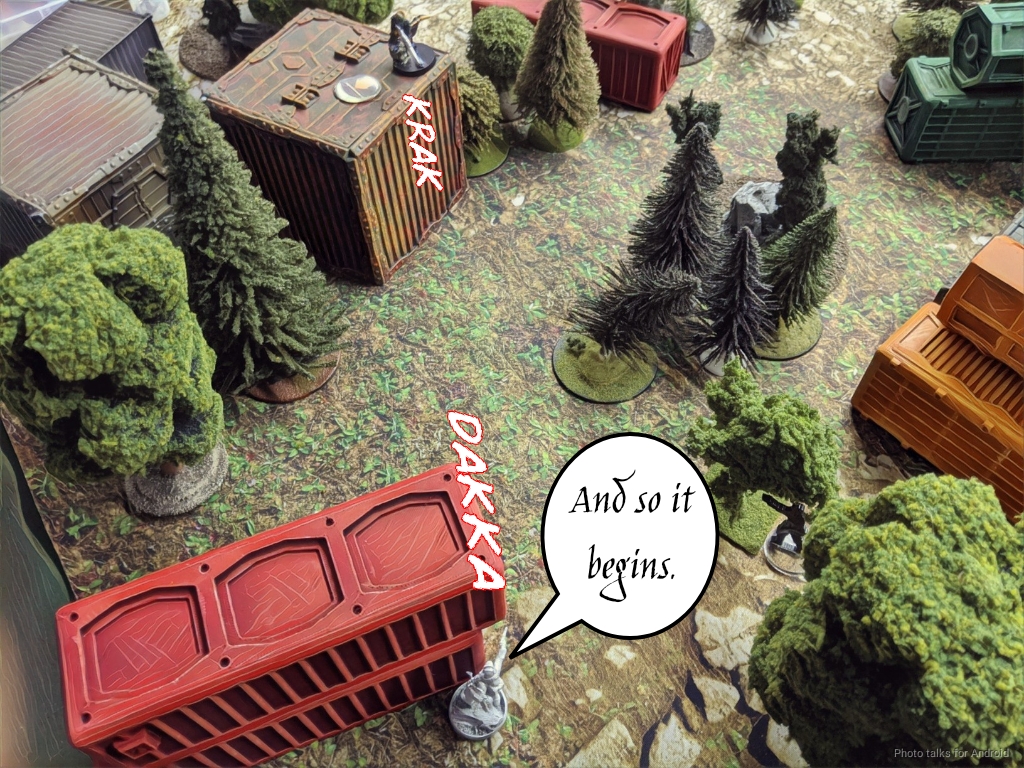
Top of 1 – FRRM
Duroc has to come on, and I figure that the Kriigel LGL or Neema are Than’s real Lt, so I put Duroc right there. I grab the objective on that side with my Chasseur, and then decide that I should risk the shot at the Taagma from within 16″. It’s pretty even odds. I’ve got 3 on 11s versus Than’s 2 on 12s, but of course the dice go Than’s way and I lose the Chasseur.
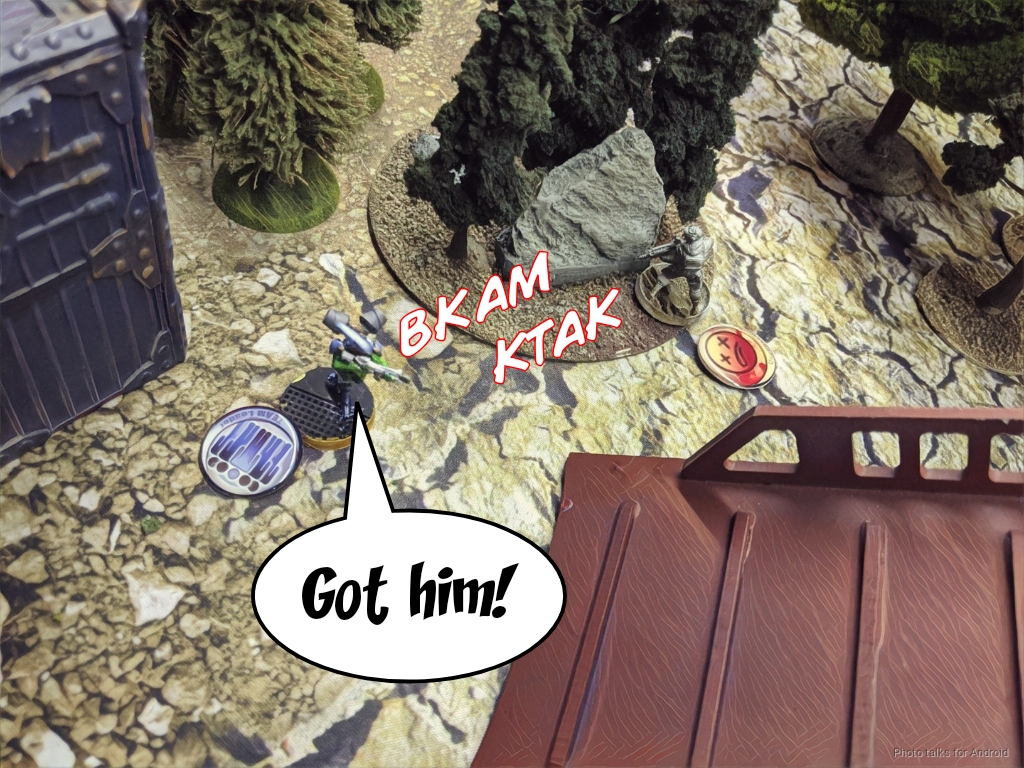
I had hoped to bring down the Taagma with the Chasseur so I could bring on Margot on the other side of the table, but now I have to commit. I bring her on next to Duroc and she’s just within 16″ of all the members of the Triad so I start raining grenades. First off, I crit the Kriigel, revealing it as a real Kriigel.
Next to go is the Taagma MSV2 VSR…
meaning that I know Neema is actually a Taagma with Tri-core. So I go for that kill, but the Taagma makes its ARM save and scoots to just outside of 16″.
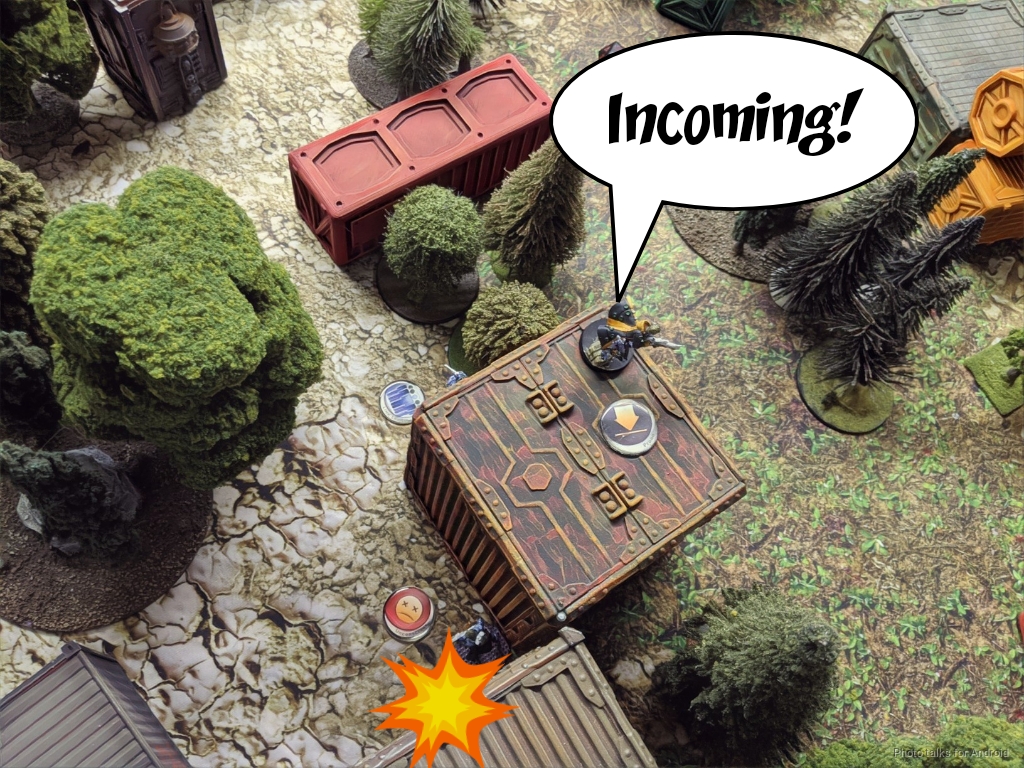
It’s time to start causing trouble on the other side of the table, so I send in the reserved Chasseur minelayer, triggering the mine on the Kriigel as I take a shot at him. Both the Reex and the Kriigel dodge the mine successfully, even with the additional -3 coming from the low-vis zone, but I do manage to take the Kriigel out with the Chassuer’s rifle.
I then flip the center objective by rustling around in the bushes there with my Chasseur FO. When I go to recamo both Chasseurs though, Than reveals a Clipsos FO to shoot at my Chasseur minelayer! He misses, thankfully, but at least I’m out of camo.
Bottom of 1 – Spiral
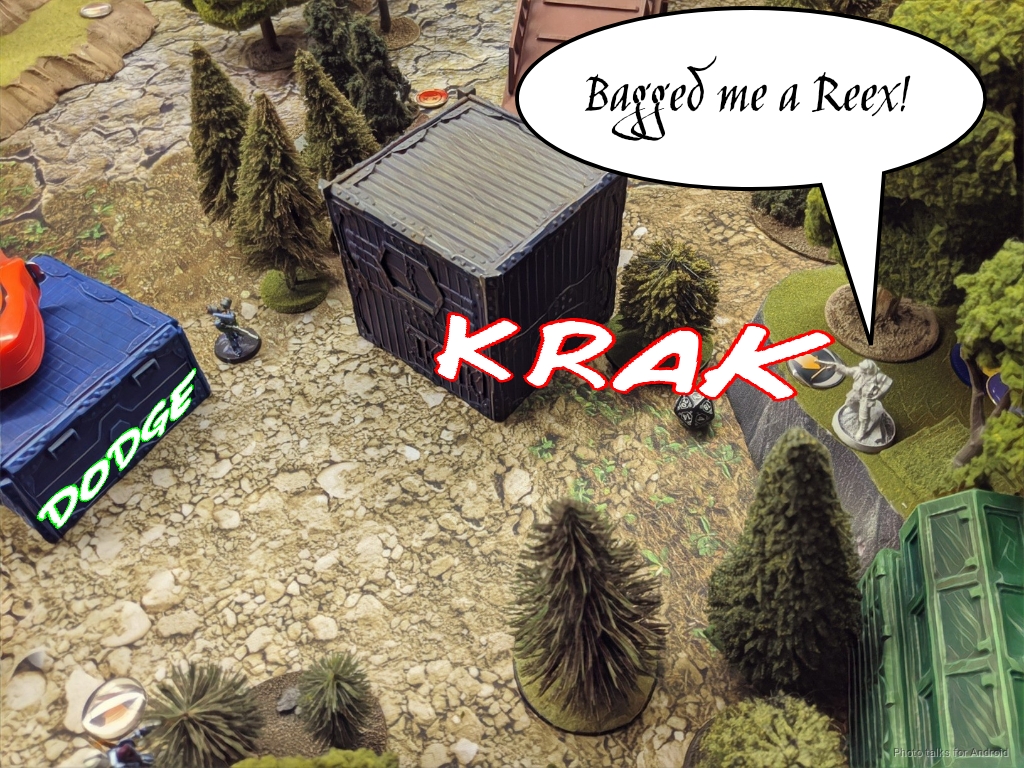
Than goes after my Chasseur Minelayer with the Reex, trading shotgun fire with my rifle fire, with nothing happening.
He moves closer, and eventually drops the Chasseur with more shotgun and nanopulsar fire.
The rest of Than’s turn is spent getting his Chaksa on my right to the objective on my right and flipping it and flipping the central objective with his Clipsos.
Turn 2
Top of 2 – FRRM
Duroc hops over the boxes he’s standing by, and the nearby Chaksa reveals itself as real by shooting with a pistol against a successful smoke. Okay, now I know who Than’s Lt is. I need to deal with the Clipsos first, so I sneak behind it in camo state using my central Chasseur, dropping a mine.
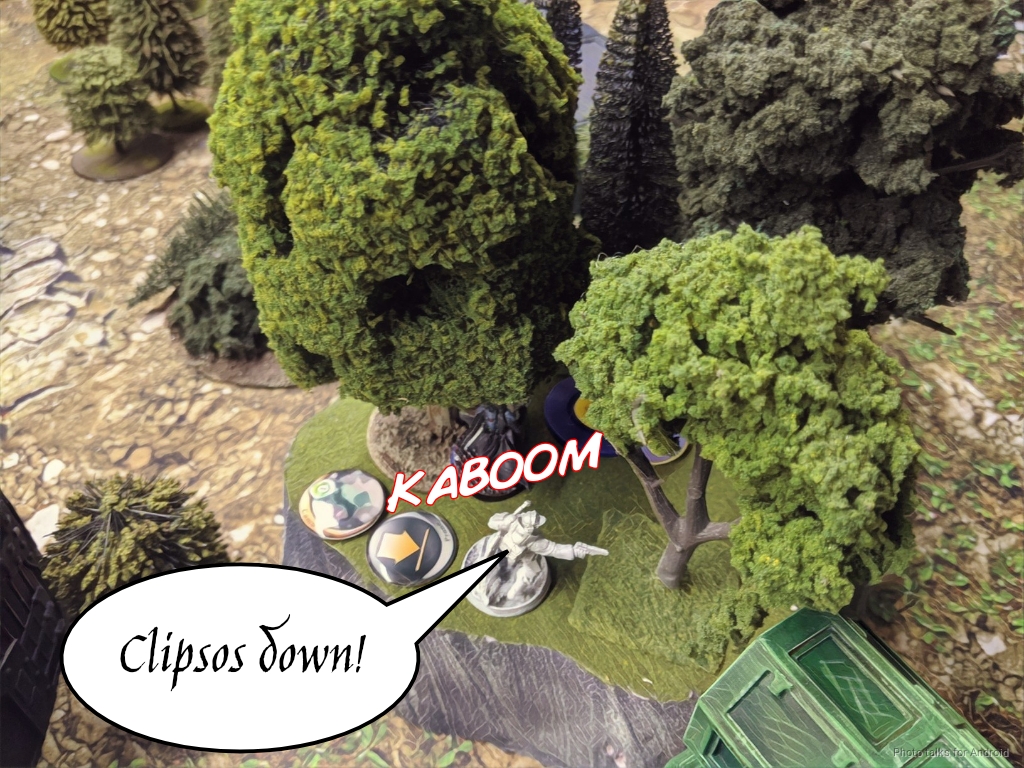
I get maximum order efficiency by granting a dodge change face which Than fails on a -9 (change face, mine, and low vis zone) while I shoot the nearby Reex K1 Marksman.
I also take down the Reex BSG with this Chasseur, before retreating into the bushes and safety. I’ve got a few orders left, so I go Lieutenant hunting, sending in Duroc to grenade/double chain rifle the suspicious Chaska in the face! It passes dodges and ARM saves and I’m forced to pass turn.
Bottom of 2 – Spiral
Than digs himself out of trouble by using his Taagma Tri-core to push Duroc into cover.
He finishes off Duroc but it does take the rest of his turn.
Turn 3
Top of 3 – FRRM
I activate the link, HMG down the Taagma Tri-core and the Chaska on the right covering the objective. I misjudge some movement due to over-caution at not wanting to expose the Alguacil hacker to danger, and I’m forced to send in my Metro Lt to try and flip the objective.
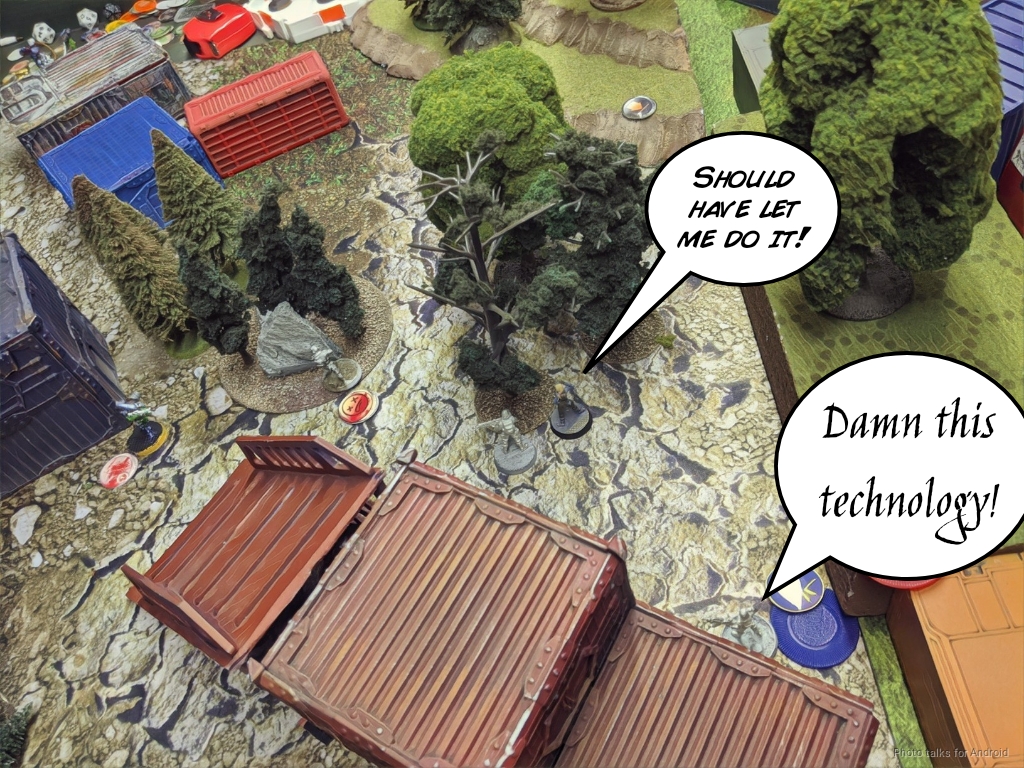
Even with a second try thanks to her Lt order, she fails the WIP -3 roll, and I pass turn.
Bottom of 3 – IA
Than just needs to get more bodies into zones, so with three effective orders on his Lieutenant, he manages to cautious move past my Metros and get into ZoC of the central antenna.
The zones are basically one big zone, so you count all the models in the zones that you have activated antennas for. We’ve each activated our left and central antennas, but Than has nothing on his left whereas I have Margot, bringing my total number of models in zones to 2 to Than’s 1.
8-2 Force de Réponse Rapide Merovingienne Victory!
Post Game Analysis
Again, like last game, right tools, right place. Mines and ARO “forcing” like I did with the Clipsos in the middle of the table gave me some pretty great order efficiency as well.
Than did a great job playing to the objective, as he always does. I think I should’ve just committed to the attack with Margot on the left. That would’ve given more more insurance in terms of bodies in zones as well as an extra order to get Duroc into CC with Than’s Lt at the bottom of 2.
I really liked holding the link in “reserve” until the last turn, where they were able to clean up out of position and over-extended units (by necessity, I don’t think Than made any mistakes there). It may be BS10 but it’s still an HMG shooting you through a low-vis and saturation zone on 4 dice.
Tournament Recap
All in all a great day! Eric doesn’t really do tradtional tournament rankings–your final ranking is overall and is a combination of generalship, donations, quality of the potluck food you brought, painting, sportsmanship, etc. It absolutely doesn’t matter though, the point is that we raised a few hundred bucks from the generosity of a gamers for the women’s shelter and to fight cancer. Every little bit helps, right?
On to game stuff. I am definitely far more pleased with using Duroc as a scalpel than a hammer. Margot is absolutely brutal. In this one tournament she took down a Fusilier HMG, Pasty, Zulu Cobra KHD, Ghulam LGL, a Guija, Kriigel LGL, and a Taagma VSR. Had I been more careful I probably could’ve bagged Maggie as well. Absolutely brutal.
I’m really enjoying the board control that four Chasseurs grants and the flexiblity in problem solving. I can’t wait to stretch FRRM’s legs at 300 again. Thanks to all my opponents and for Eric and Peter for putting on a great event, and to Ordo for hosting. Looking forward to next year!

Thank you for the write up! I know it is far from a standard ITS, but it a celebration of the holidays and an event designed to help others and help new players. I feel strongly about trying to make friendly events for new players, so they can progress and come back to be seasoned players.
Adam (thediceabide) was a magnificent ambassador of the game. I watch him repeatedly show his opponents how to beat him. He well deserved his 4/4 favorite player votes.
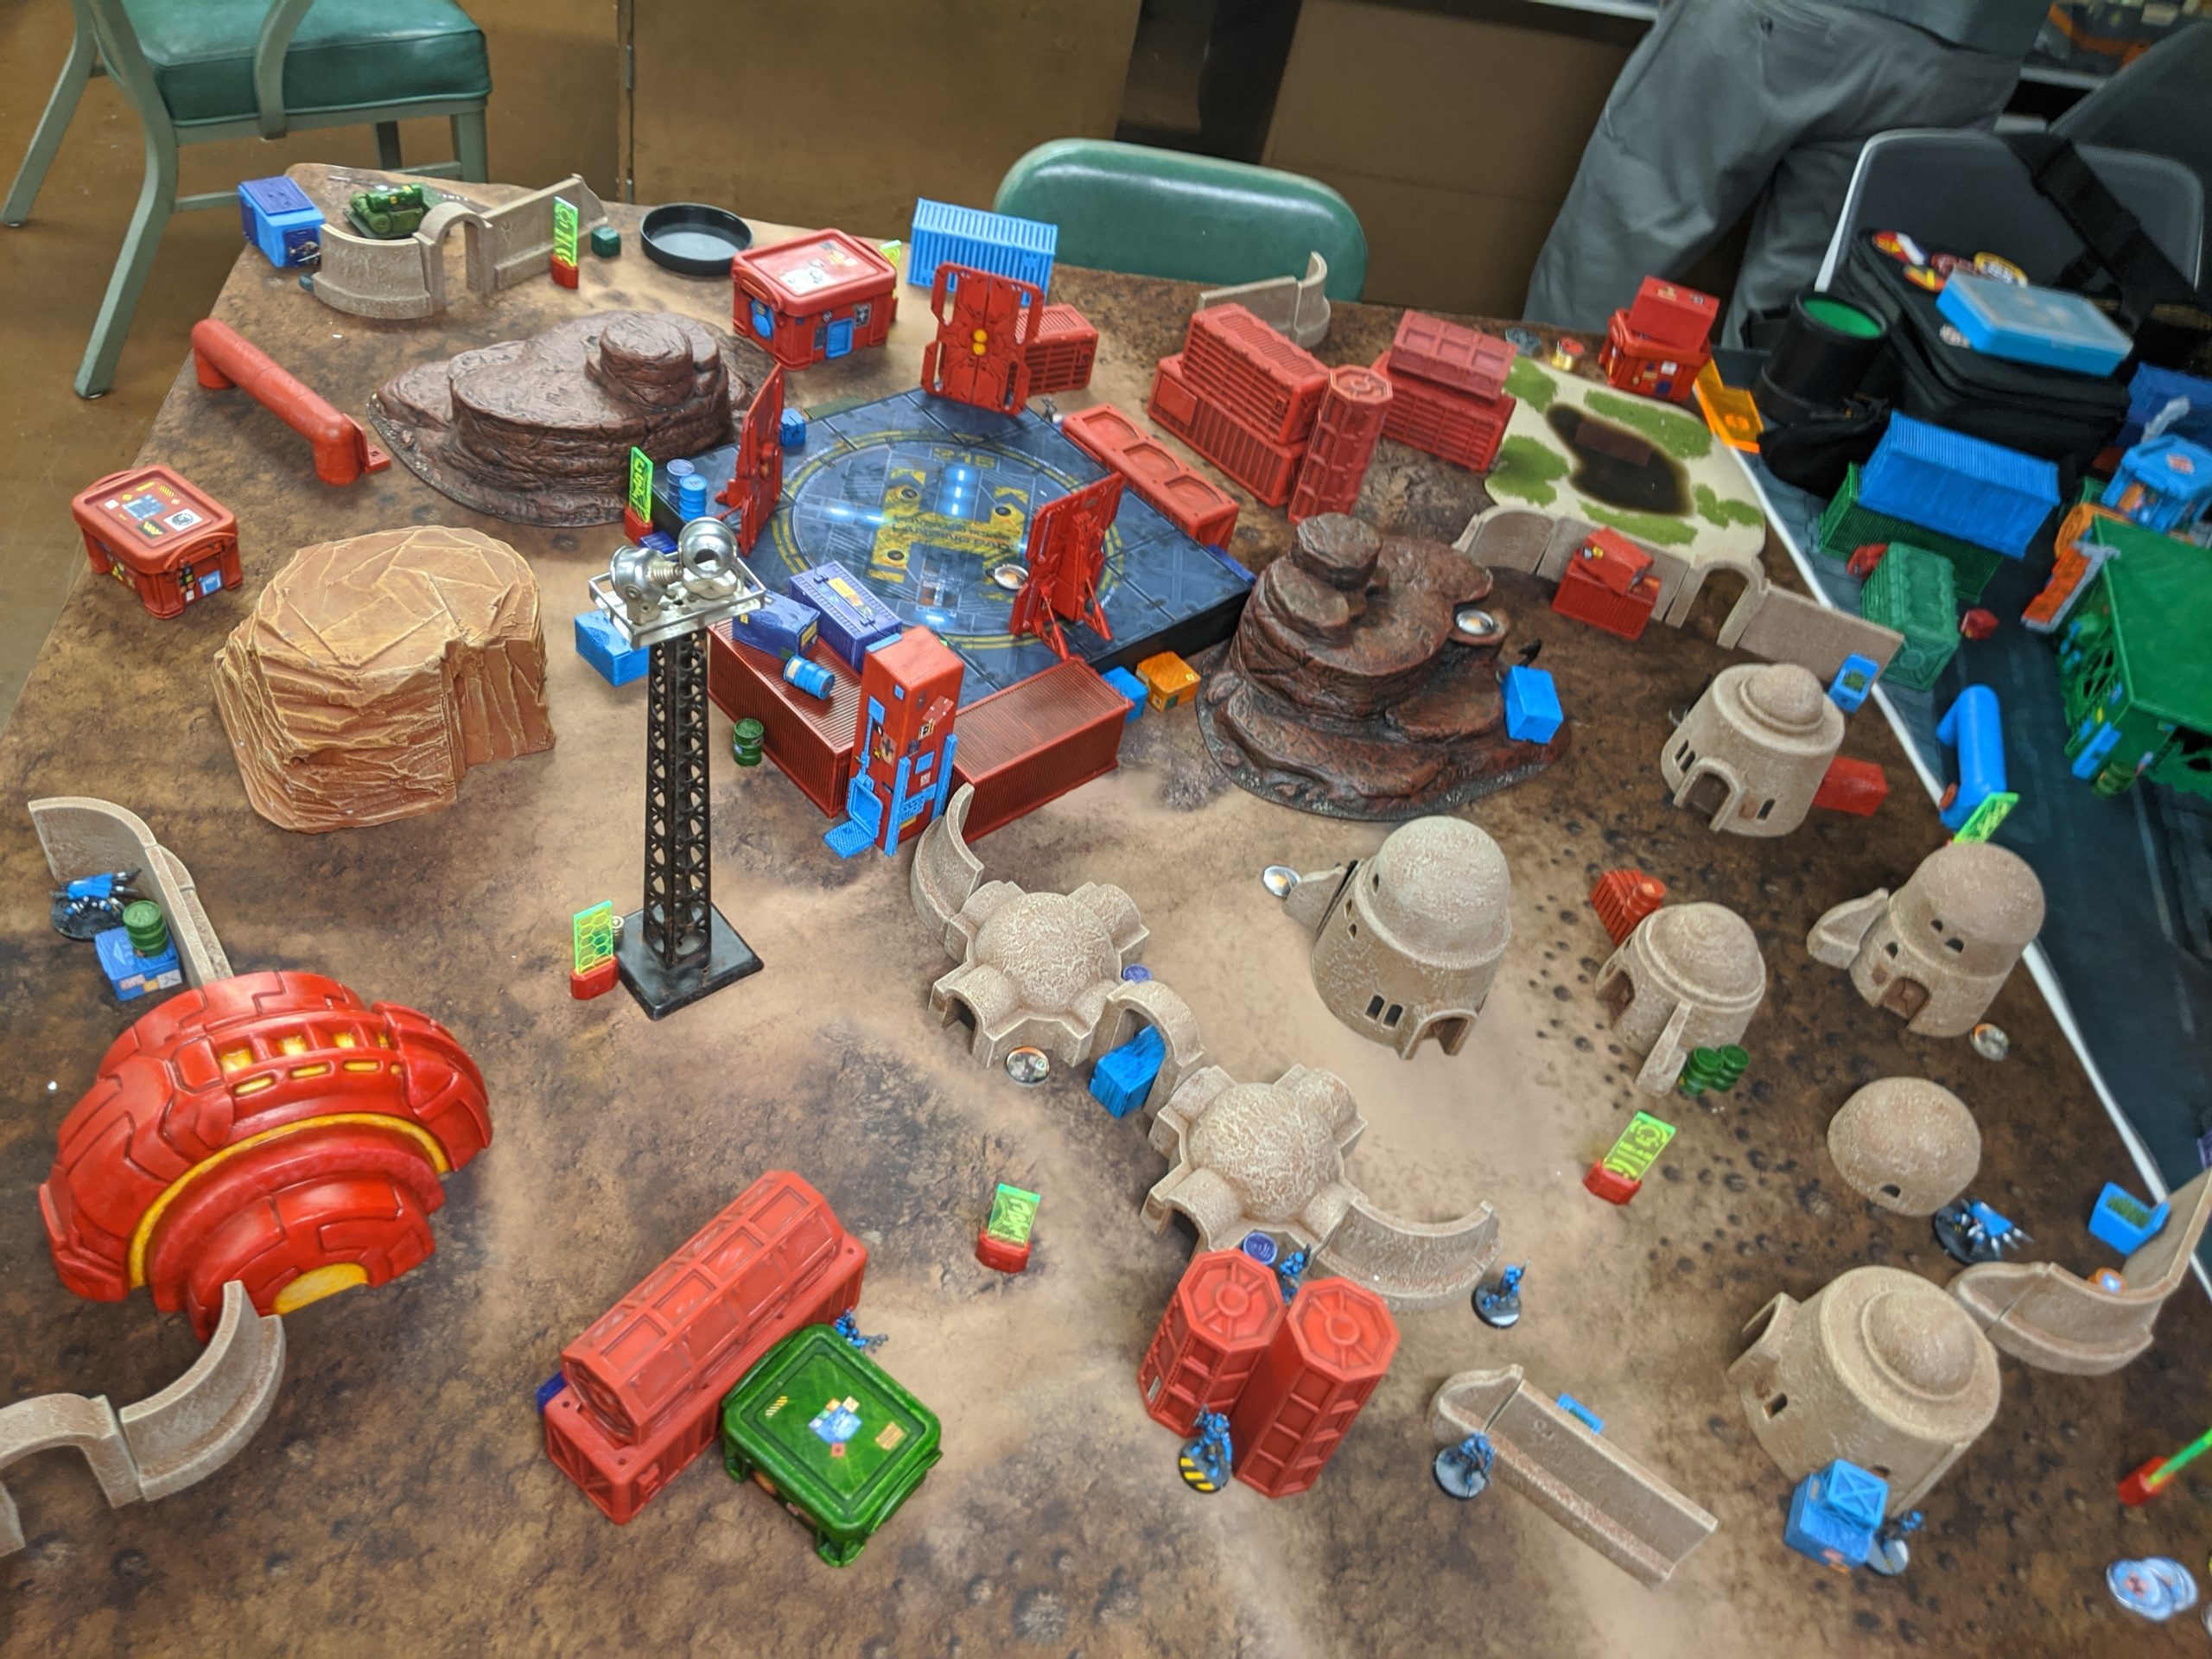
I put together the desert table for the Rose City Raid. I wanted a Haqq themed table with special terrain features including a landing pad and aquatic terrain. The hut s are Gale Force 9, Battlefield in a Box, Galactic Empire pieces. The goal was have to a natural looking settlement that was not a modern city and to have a challenging table to play on it. Some people do not like since the fire lanes can be open.
I hope to see you on a table soon,
RD