
To the Last Moran
Finally, a game of Infinity to talk about! It’s been a lot of Heavy Gear lately. Adam and I decided that no matter what our next game would be Infinity, it’s been too long! Adam and I, like most wargamers, have some pretty heavy “gamer inertia” so we didn’t bother grabbing a different mat from our last few games of Heavy Gear. We set up his Ariadna table and threw down in a game of Supplies.
Overview
- Mission: Supplies
- Forces: Nomads versus USAriadna Ranger Force (300)
- Deploy First: USARF
- First Turn: USARF
Well, as someone who runs a Nomad-themed Infinity site, it seemed a little crazy that I haven’t played Nomads in a long time. It was time to take them for a spin. A bit of a shame that my last game with them was also Supplies, and I actually brought a pretty similar list.
I swapped a few things, mainly adding the Sombra because it sounded fun, and adding a TR bot for some board presence.
Supplies
GROUP 1
8
1
GROUP 2
INTERVENTOR (Lieutenant, Hacker, Hacking Device Plus) Combi Rifle ( ) / Pistol, CC Weapon. (0.5 | 24)
ZONDNAUT (Hacker, Hacking Device) Combi Rifle ( ) / Pistol, CC Weapon. (0.5 | 26)
ZONDMATE Chain Rifle, Smoke Grenade Launcher / PARA CC Weapon(-3). (0 | 5)
EVADER (Engineer) MULTI Rifle, Panzerfaust, D-Charges ( | GizmoKit) / Pistol, CC Weapon. (0 | 28)
ZONDBOT PARA CC Weapon(-3). (0 | 3)
SOMBRA (Specialist Operative) Breaker Combi Rifle, Light Shotgun, AP Mines / Pistol, CC Weapon. (0 | 39)
PROWLER Combi Rifle, Light Flamethrower, Adhesive Launcher / Pistol, CC Weapon. (0 | 35)
CARLOTA KOWALSKY Breaker Combi Rifle, Light Flamethrower, Adhesive Launcher(+1B), D-Charges / Pistol, CC Weapon. (0 | 30)
KNAUF MULTI Sniper Rifle / AP Heavy Pistol, CC Weapon. (1.5 | 32)
REAKTION ZOND Heavy Machine Gun / PARA CC Weapon(-3). (1 | 25)
1
VERTIGO ZOND Missile Launcher / PARA CC Weapon(-3). (1.5 | 17)
MORAN (Repeater) Combi Rifle, Flash Pulse, D-Charges, Crazykoala ( ) / Pistol, CC Weapon. (0.5 | 17)
MORLOCK Chain Rifle, Smoke Grenades / Assault Pistol, AP CC Weapon. (0 | 6)
6 SWC | 299 Points | Open in Infinity Army
For those who haven’t looked at the other list and my commentary, basically the idea is to establish an oppressive midfield with the Morans, hackers, and Vertigo Zond, then the rest of the list is to just do things. The Prowler is a fun addition, especially after they got Hidden Deployment.
Adam’s trying out this month’s Bromad Academy mission where you have to max out AVA on some things and only take one 3-model link:
Supplies 1
GROUP 1
MINUTEMAN (Lieutenant) AP Heavy Machine Gun / Heavy Pistol, AP CC Weapon. (1 | 33)
UNKNOWN RANGER AP Spitfire, Chain-colt / Heavy Pistol, T2 CC Weapon. (1 | 47)
GROUP 2
MAVERICK (Forward Observer) Rifle, Flash Pulse / Pistol, AP CC Weapon. (0 | 18)
GRUNT (Infiltration) Heavy Flamethrower, Light Shotgun / Pistol, CC Weapon. (0.5 | 11)
WARCOR (360º Visor) Flash Pulse ( ) / Stun Pistol, PARA CC Weapon(-3). (0 | 3)
FOXTROT (Forward Observer) Rifle, Flash Pulse, Shock Mines / Pistol, CC Weapon. (0 | 18)
HARDCASE FRONTIERSMAN Tactical Bow, Rifle / Pistol, CC Weapon. (0 | 14)
BLACKJACK AP Heavy Machine Gun, Chest Mines, Panzerfaust / Heavy Pistol, CC Weapon. (1.5 | 38)
5.5 SWC | 300 Points | Open in Infinity Army
He’s got four Foxtrots and two Hardcases in there, along with a pile of Grunt infiltrators and a very shooty link. AP HMG and AP Spitfire! Gross! he’s got a pretty oppressive midfield too!
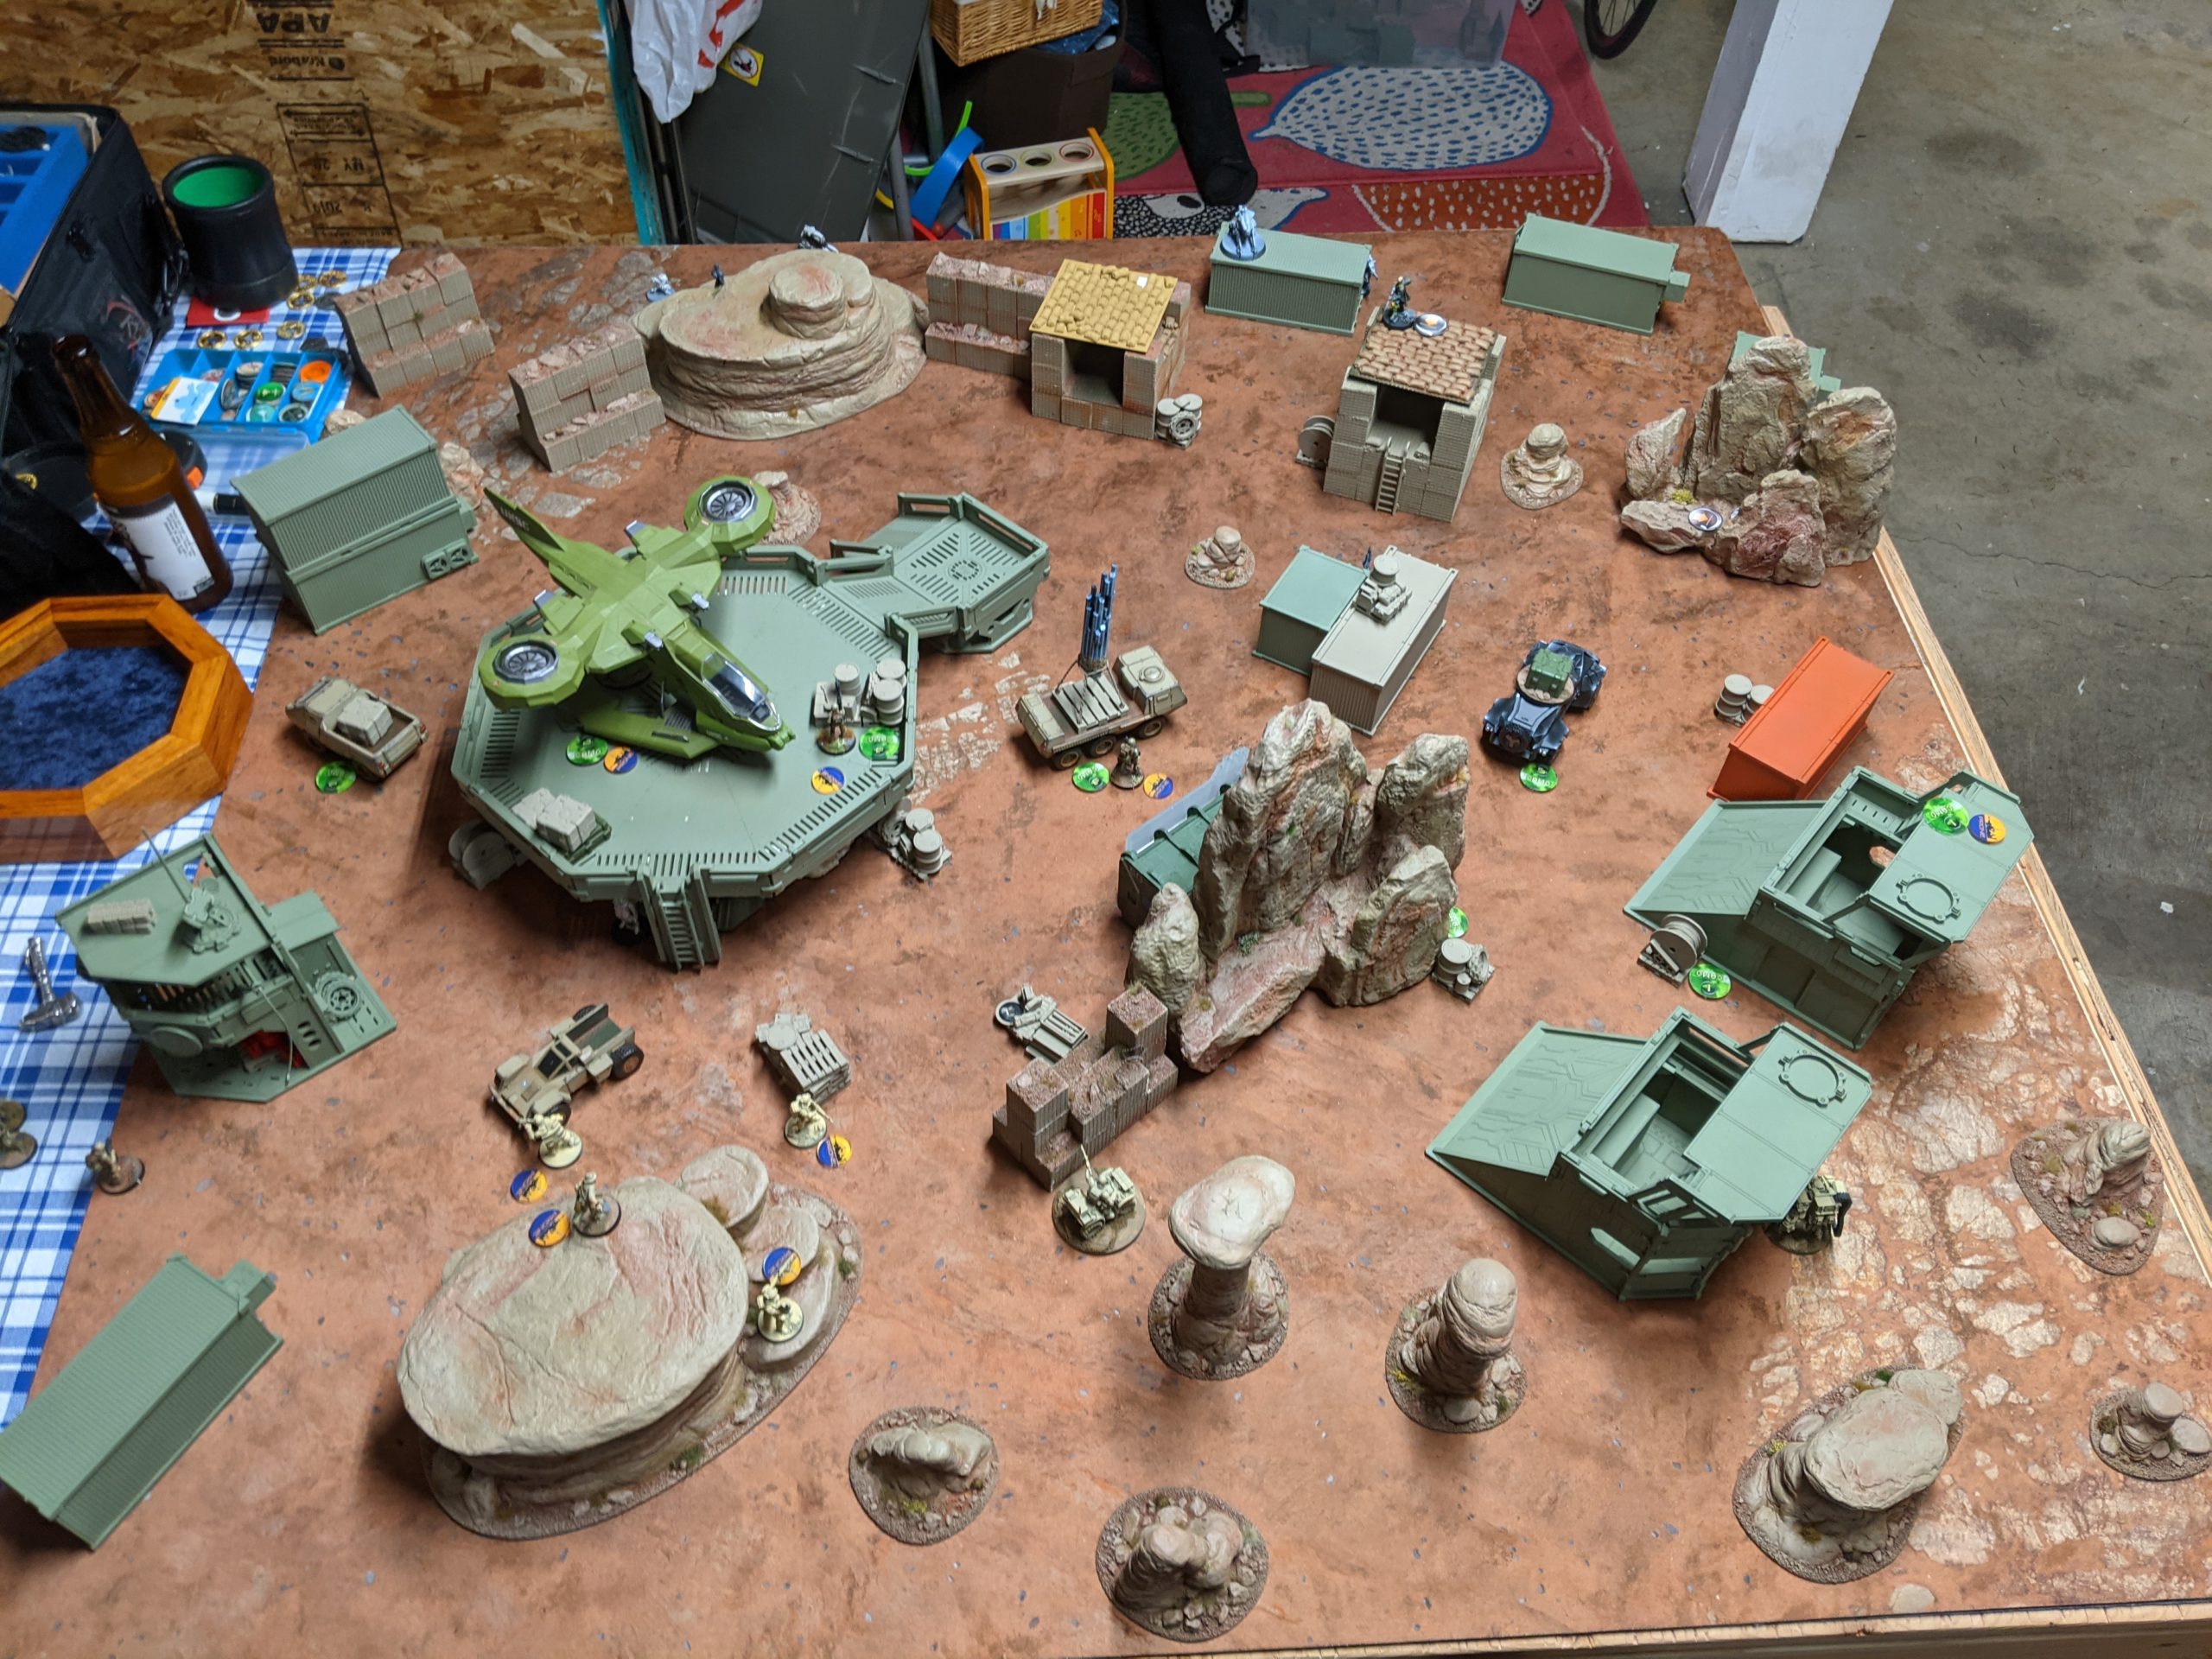
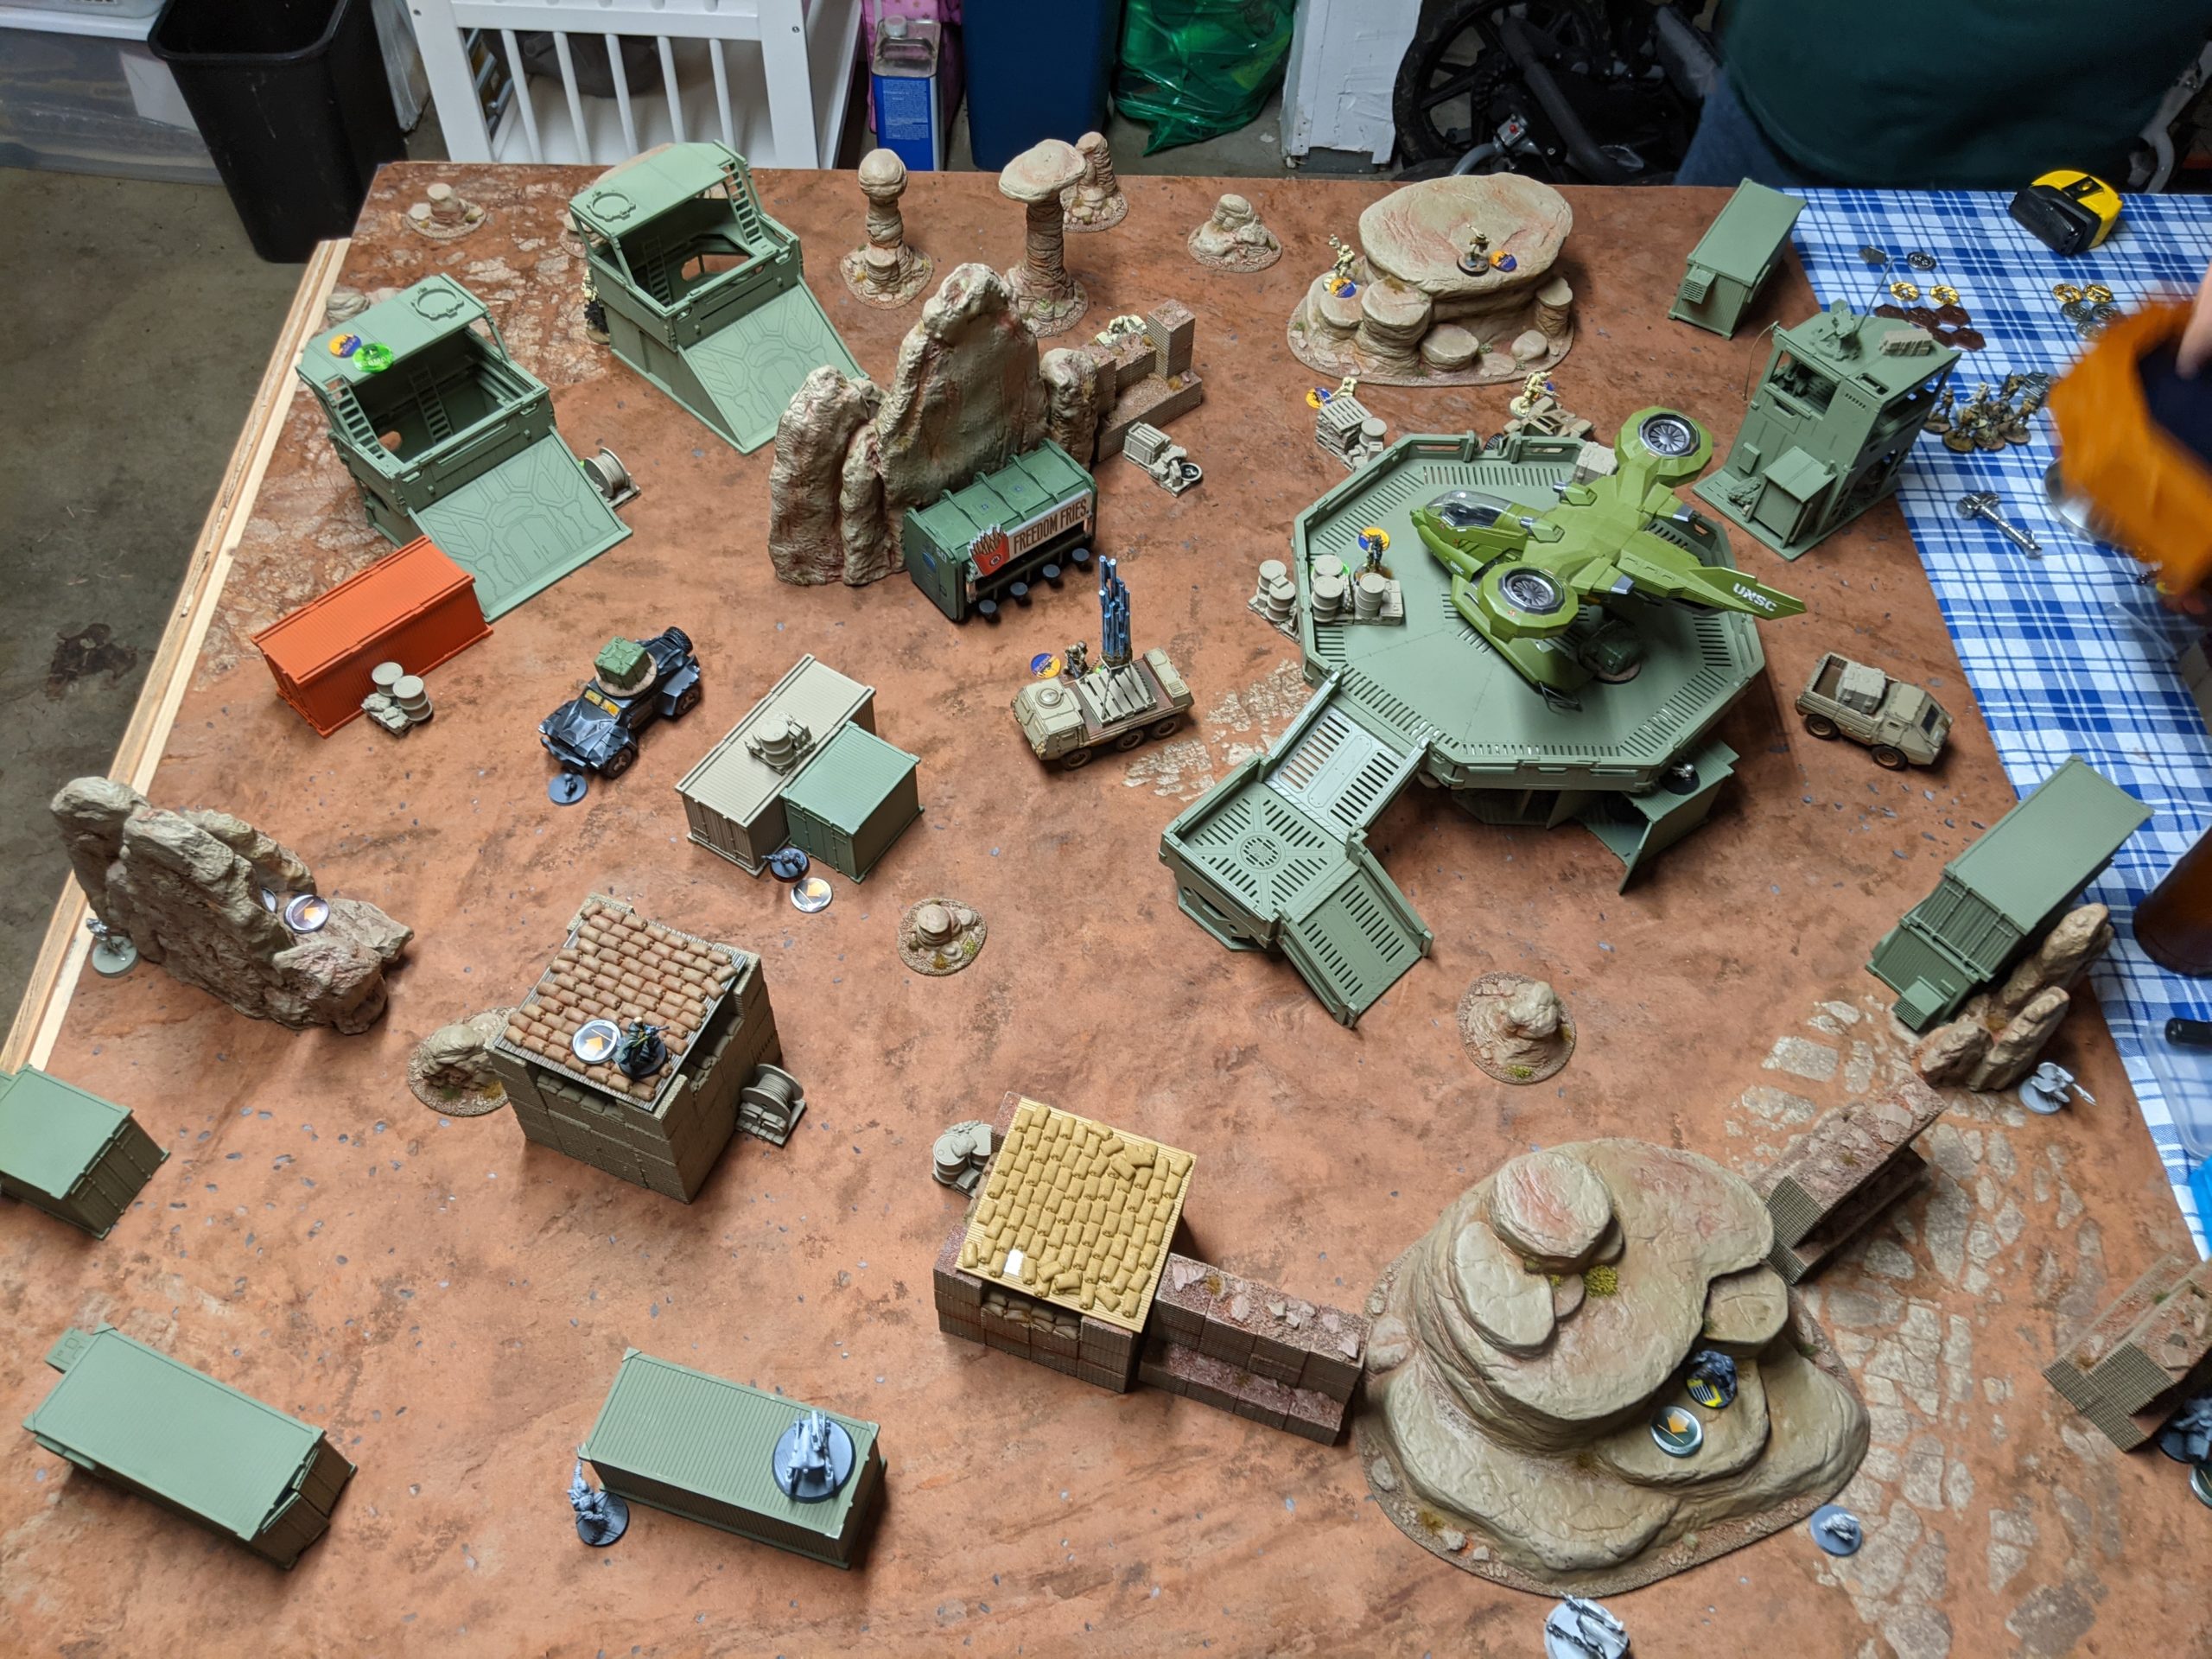
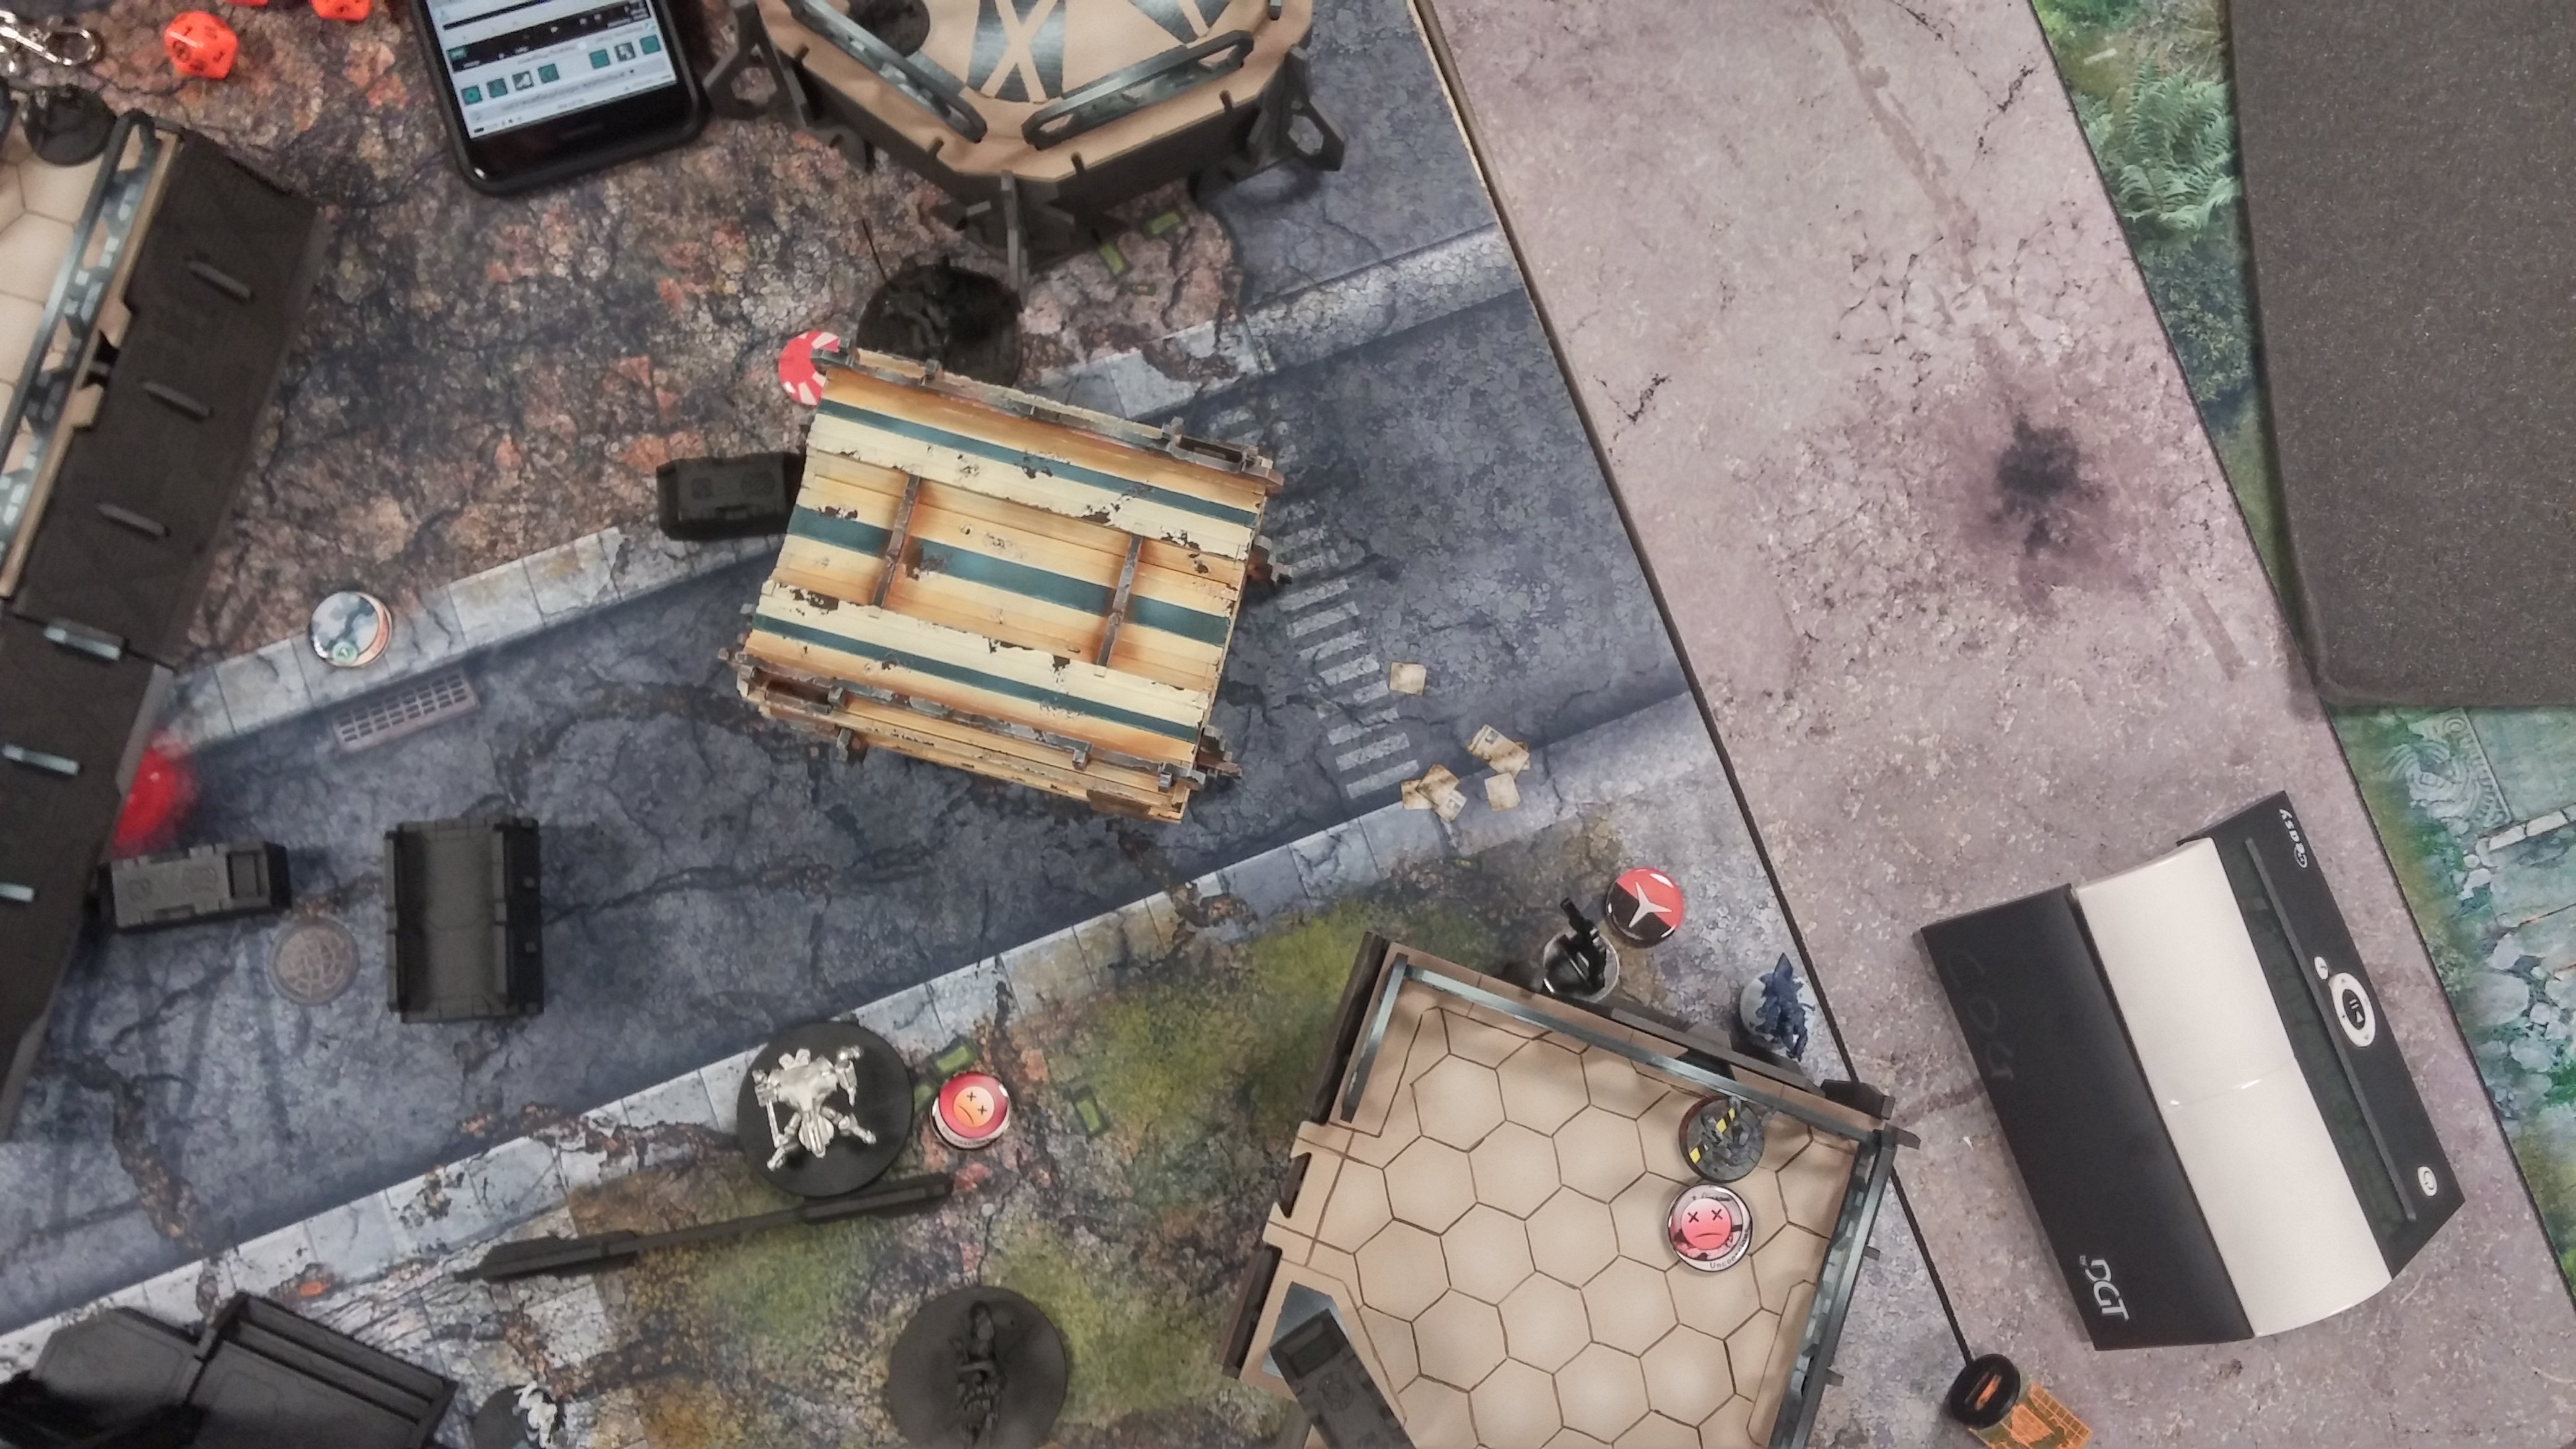
Deployment
I won the rolloff and chose side. We decided that the three supply boxes were going to be:
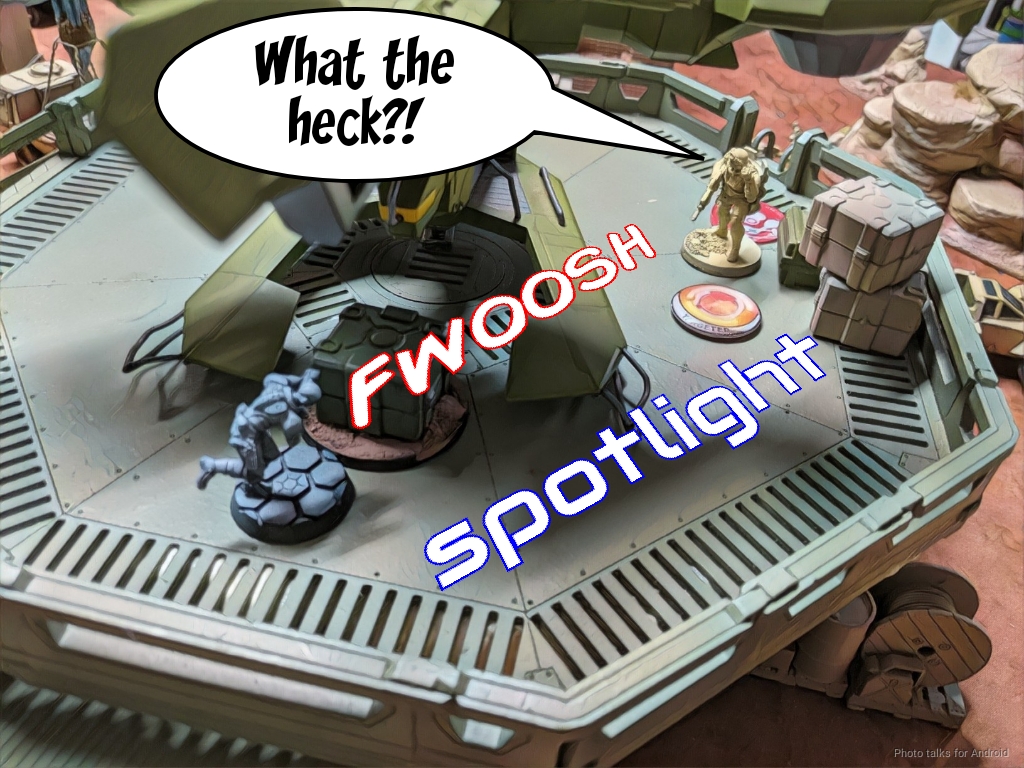
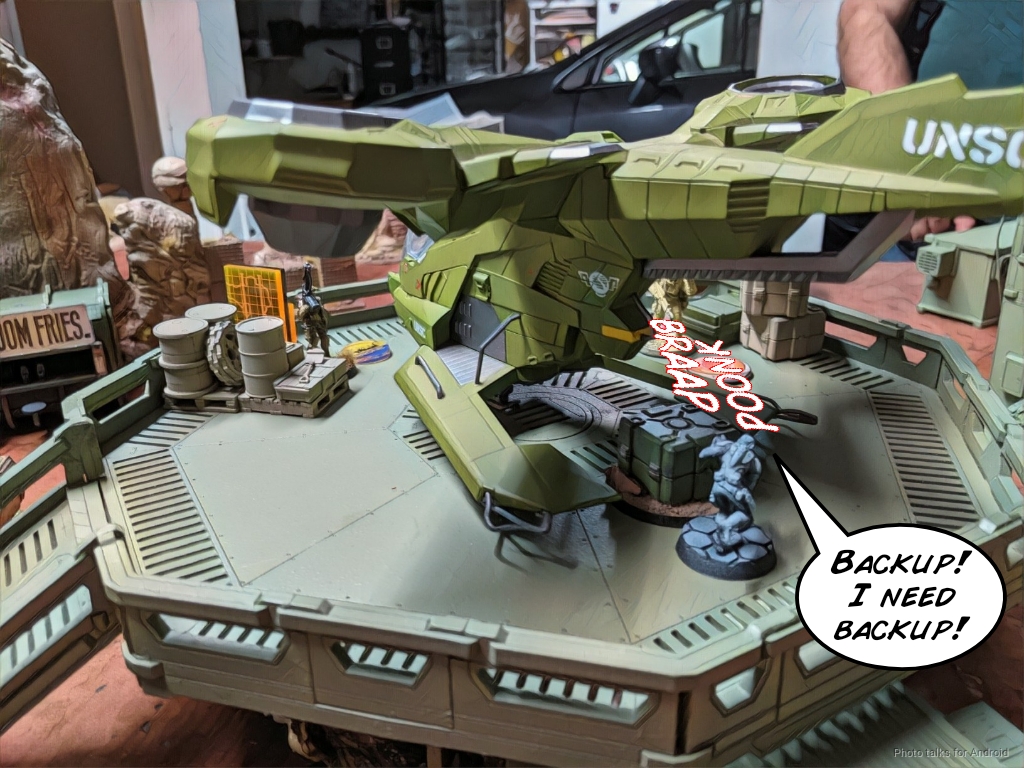
- Some cargo that was stored in the back of the UNSC Hornet
- The sweet floating alien crystal thing that Adam made in the middle.
- Some secret intelligence files from the totally not G-Man black SUV.
No effect on the game, but very fun narrative. After all, we’re trying to forge that thing, right? Hold my beer! Adam put a Foxtrot sniper in a commanding position on his right and anchored it with a Blackjack HMG. The rest of his stuff was scattered across the midfield with several Grunts backing up his Foxtrots. The Warcor hung out on the left, and then the link went there as well, protected by the landing pad (or so Adam thought).
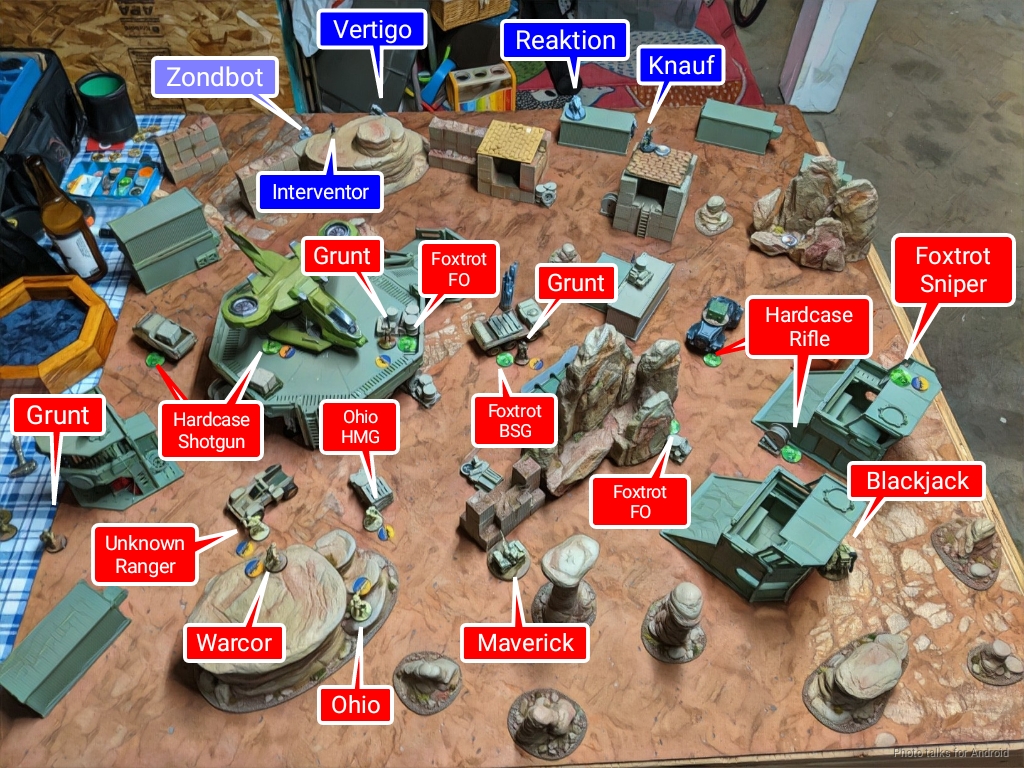
I found some spots where I could cover the link with a TR bot, so I put my Reaktion Zond there, and then I covered the Blackjack with a Vertigo. I tucked the Evader (proxied by Krit for Adam’s convenience) and his bot into spots to ARO against the Foxtrot sniper and pick up both Zonds easily. The Moran deployment was easy–just cover the objectives. I supported the Zondnautica with the Morlock, and then set up to protect against Van Zant with the rest of my forces. I don’t know how to deploy a Sombra yet, so I just treated it like a Zero and stuck it in a safeish spot.
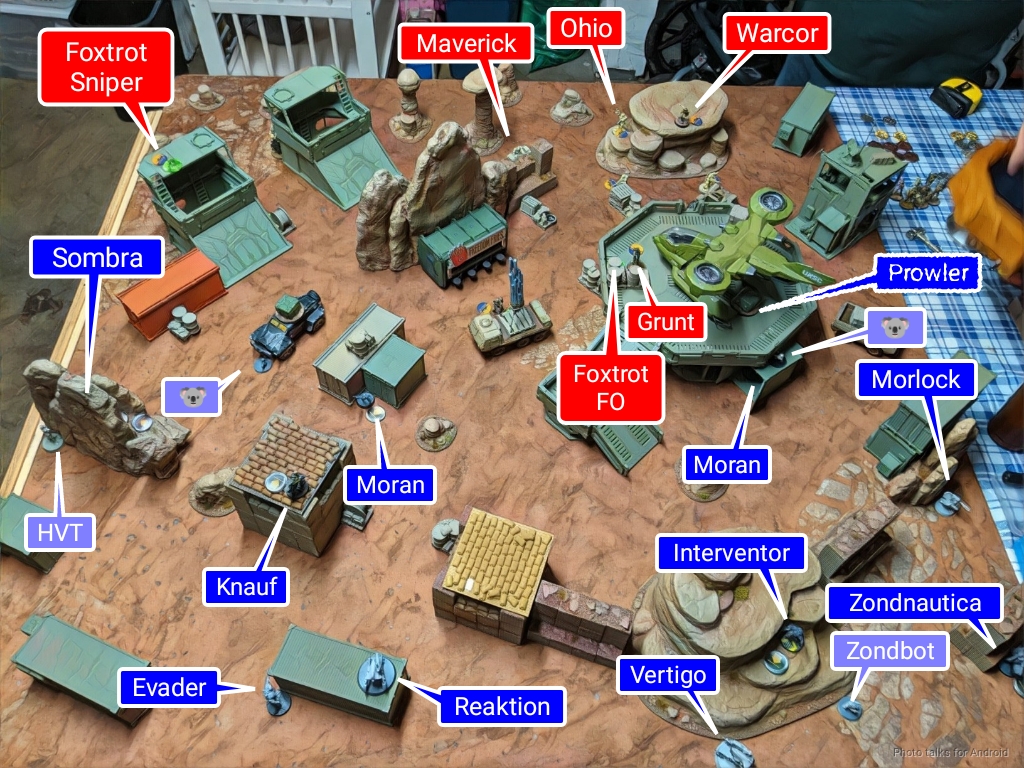
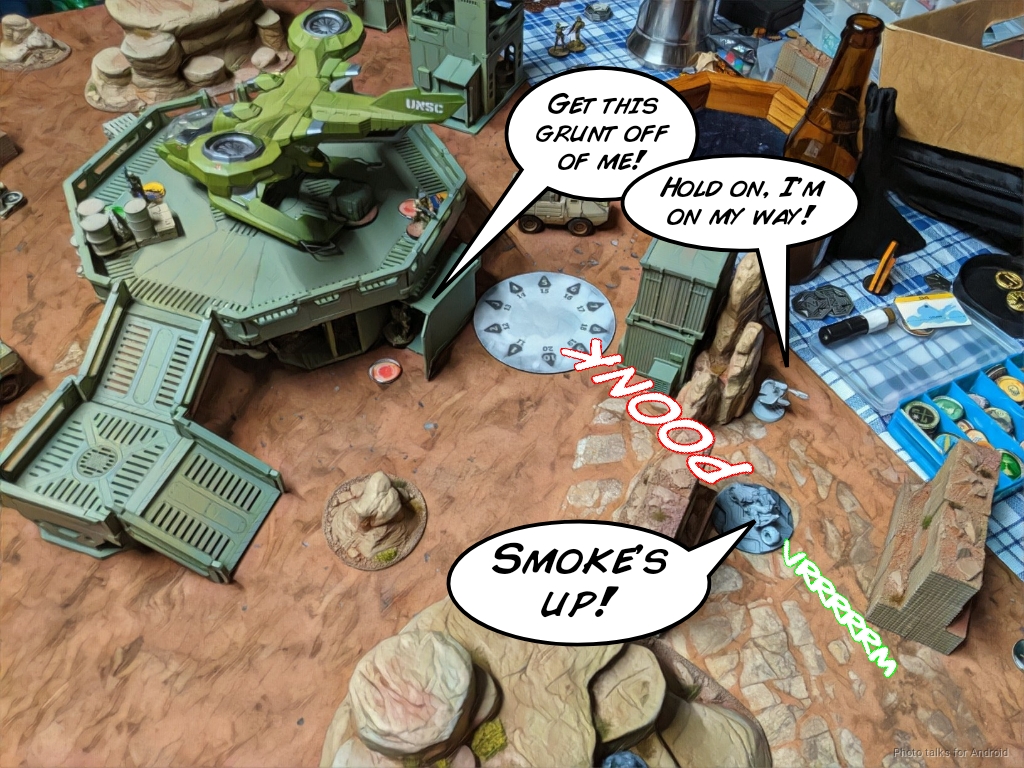
My Prowler went up on the landing pad–I figured I’d be able to walk around up there and shoot down at Adam’s link if it advanced, so that felt pretty good. Adam attempted a Grunt infiltrator landing as his reserve, but it failed and ended up in his deployment zone. My reserve was Knauf. I found a magic spot that let Knauf see the Unknown Ranger but not the Blackjack AP HMG.
Turn 1
Top of 1 – USARF
Adam starts by covering his link with smoke from the Maverick. The TR bot is now out of the fight, at least for the first few moves.
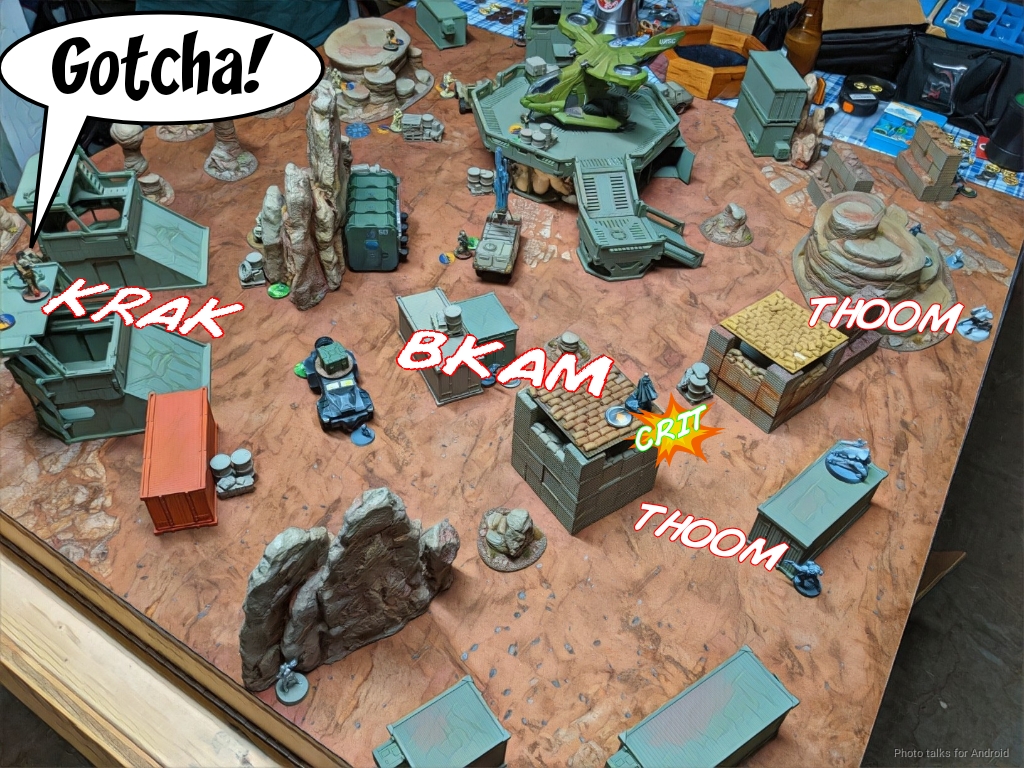
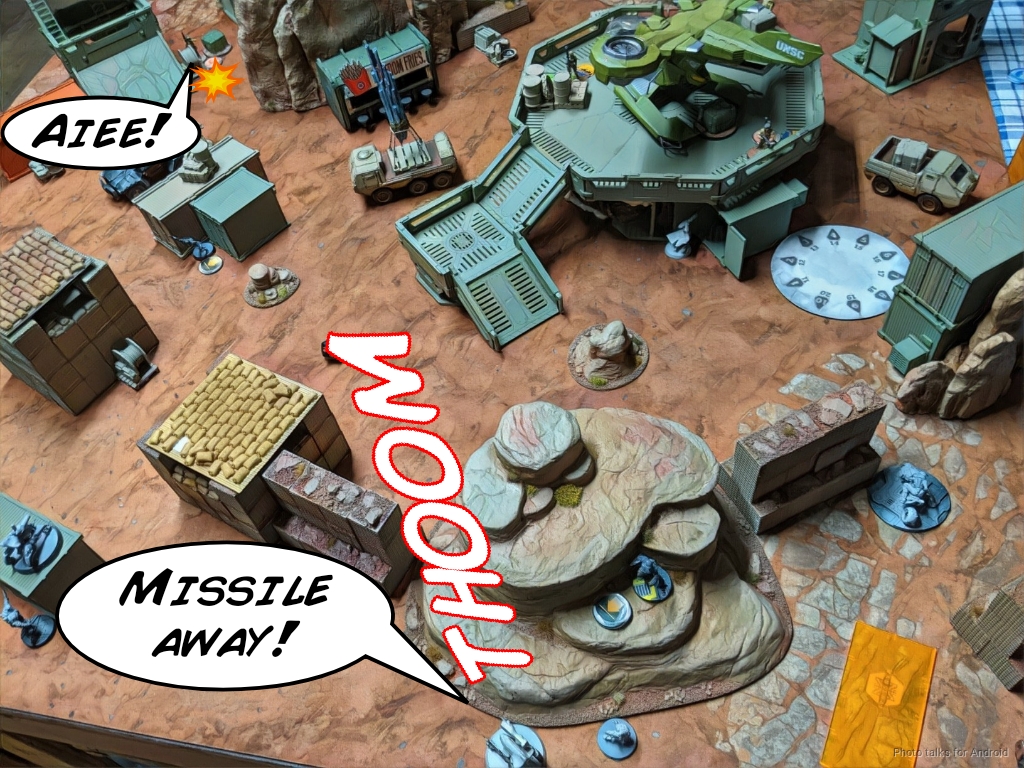
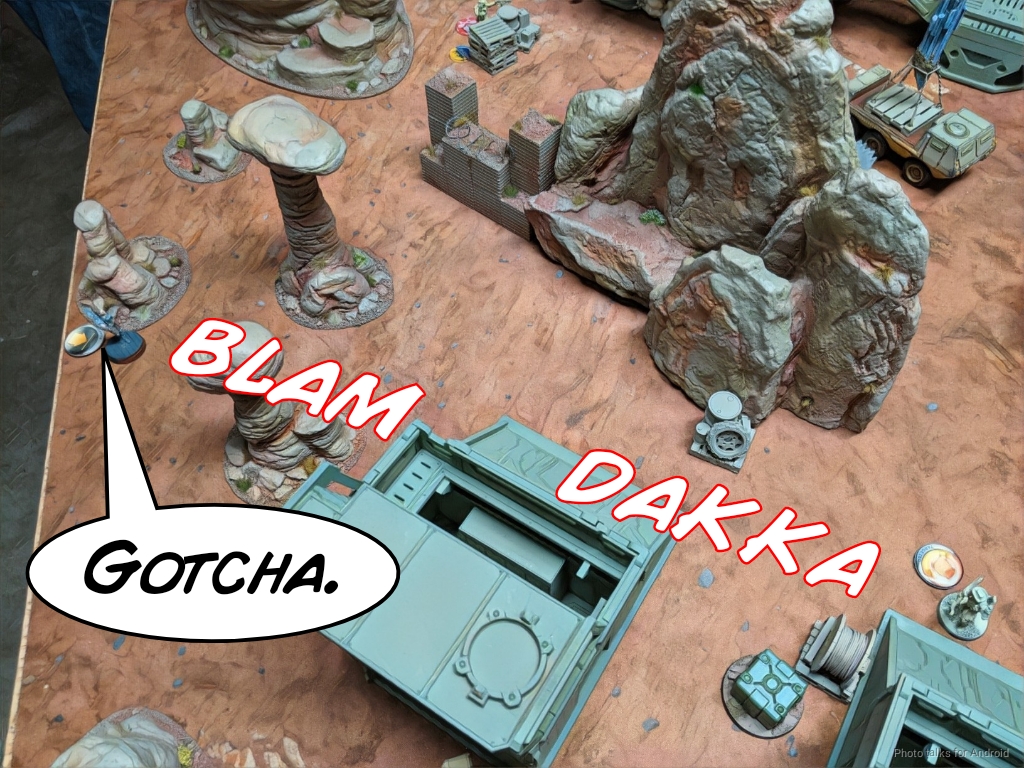
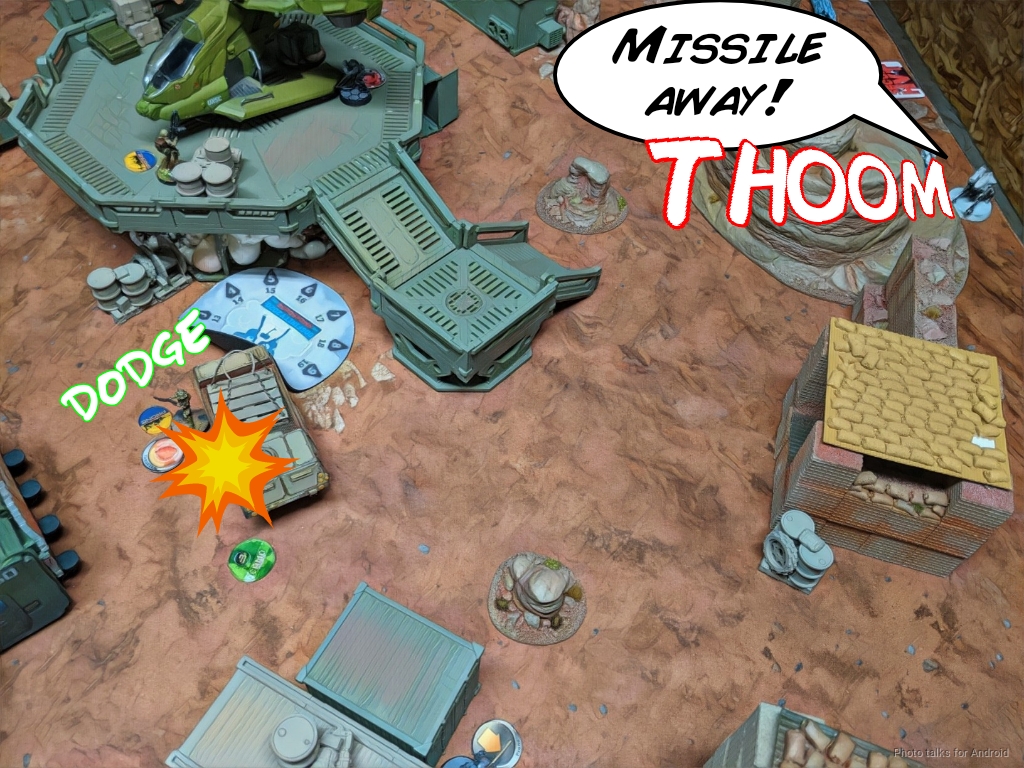
Knauf can still see the Unknown Ranger without drawing line of fire through the smoke (not that it would matter much thanks to MSV1 and having an out of cover shot), so Adam needs to do something. He decides to reveal the Foxtrot sniper and take a pair of shots at Knauf. This reveals the Foxtrot to the Evader and the Vertigo, who fire a Panzerfaust and missile, respectively. Knauf gets crit and dies, but the Foxtrot fails a ton of explosive saves and is vaporized. This is going okay so far…
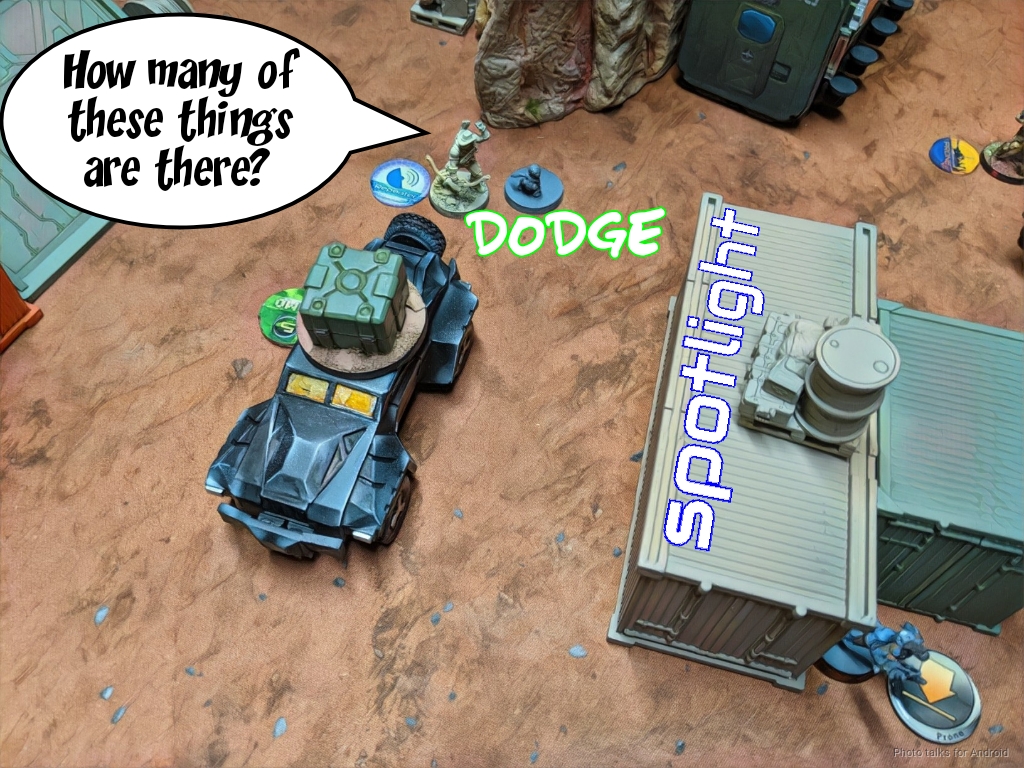
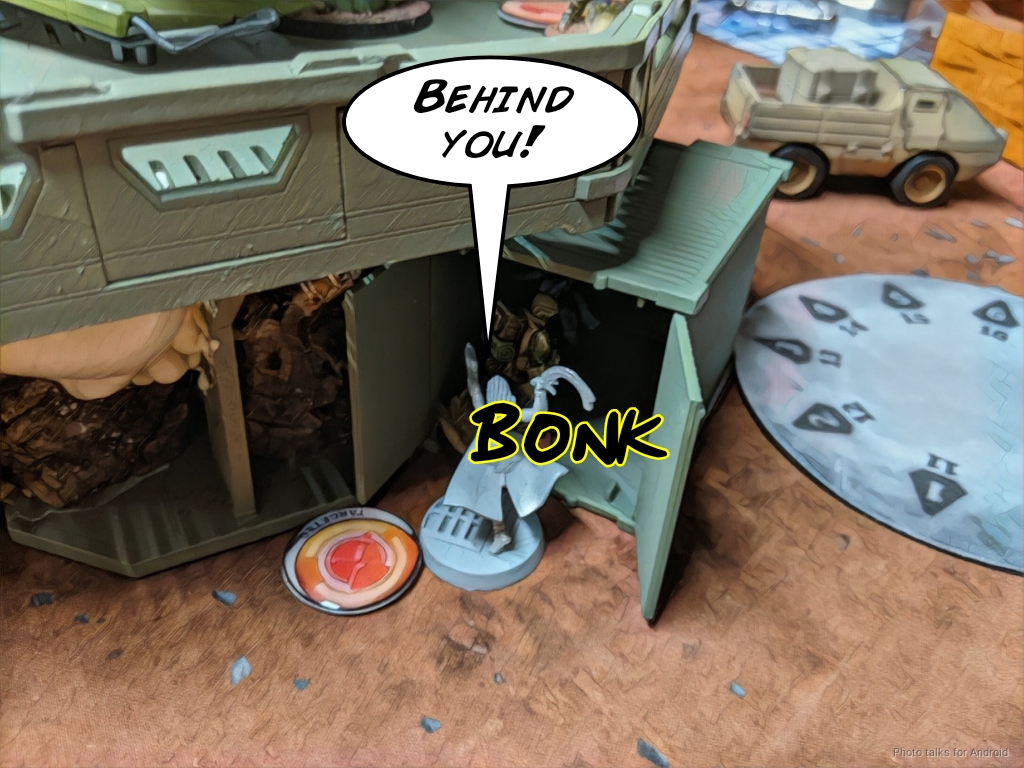
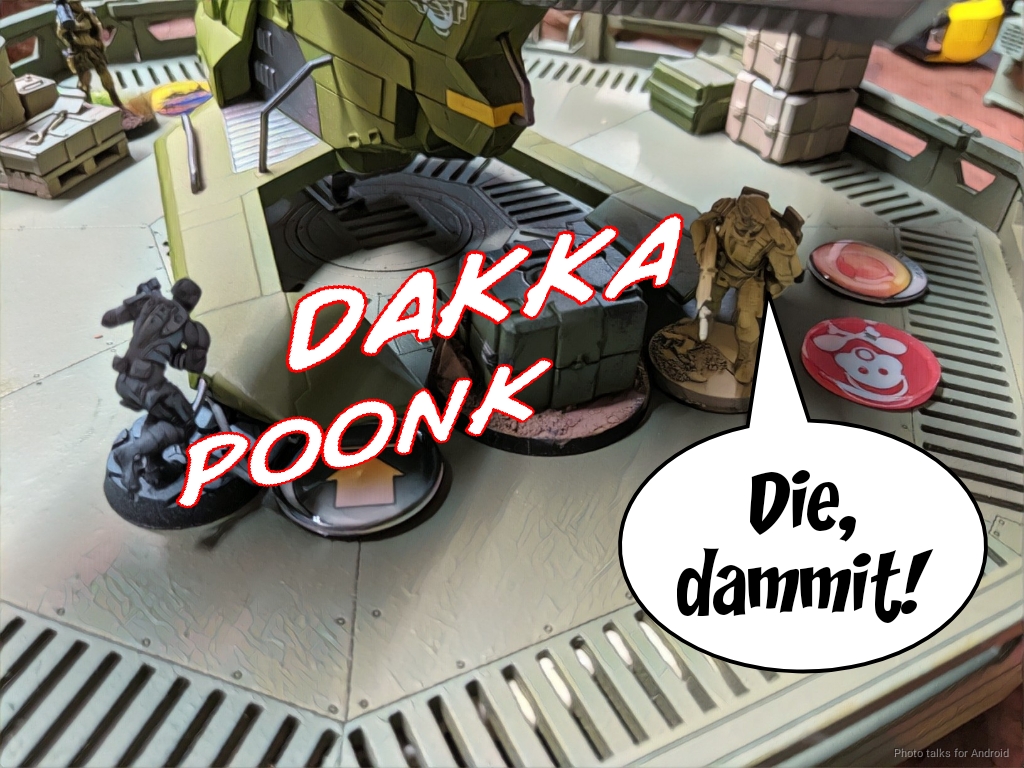
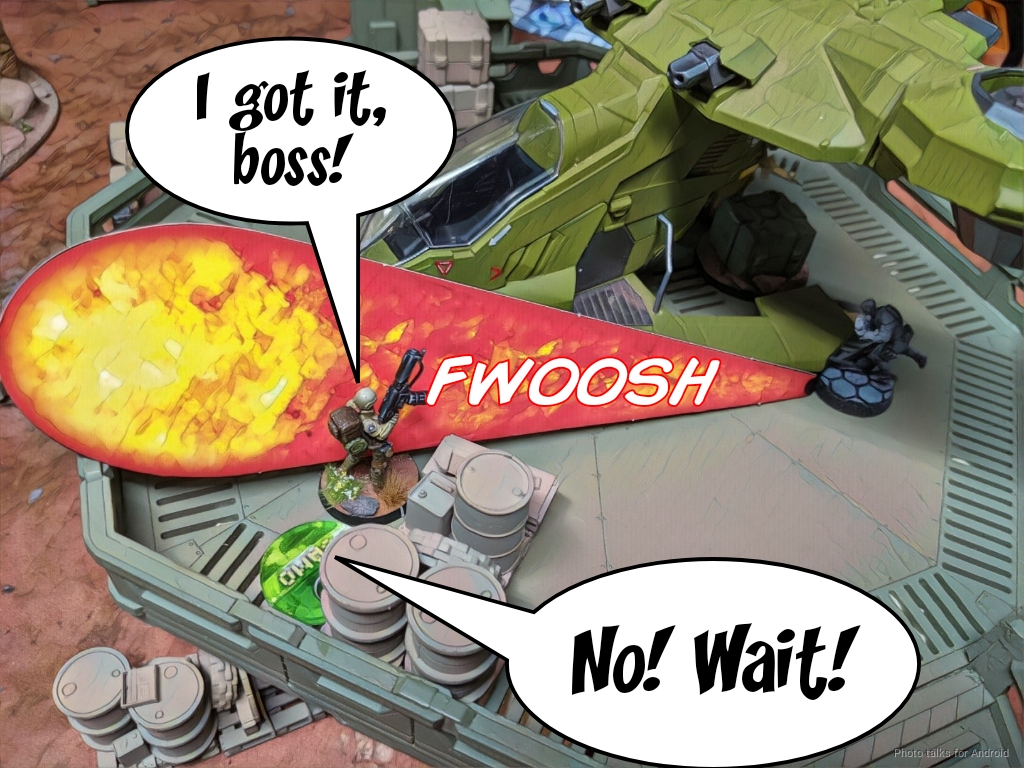
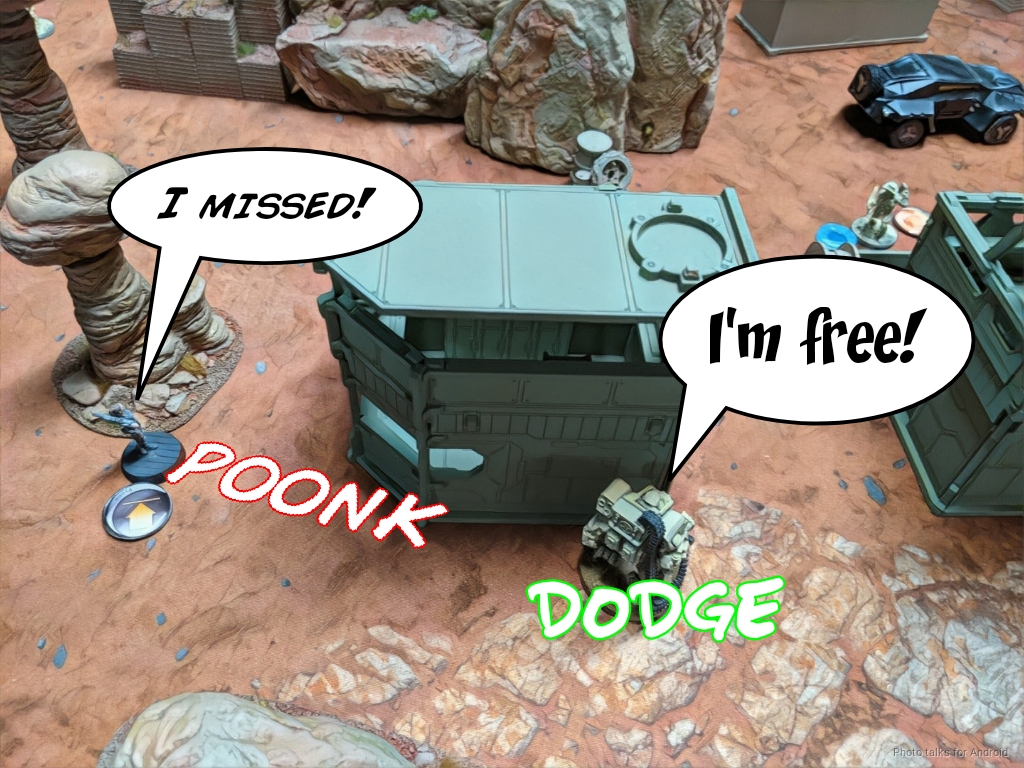
Adam knows he’s got to clear my Koalas so his specialists can safely grab the box, so he throws a Hardcase under the bus to dodge clear the Koala. That works fine… but my Interventor spotlights it through the nearby Moran’s repeater (the Moran is in the shipping container right underneath the Hardcase).
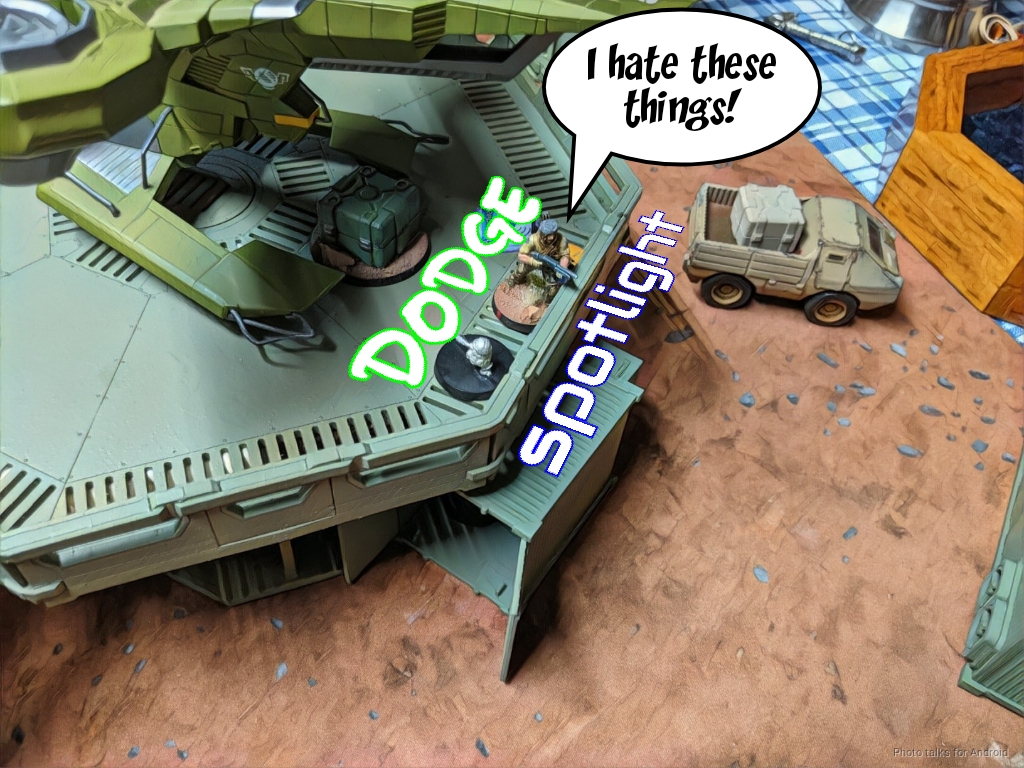
The other Hardcase does the same thing to my other Koala/Moran pairing, with the same result.
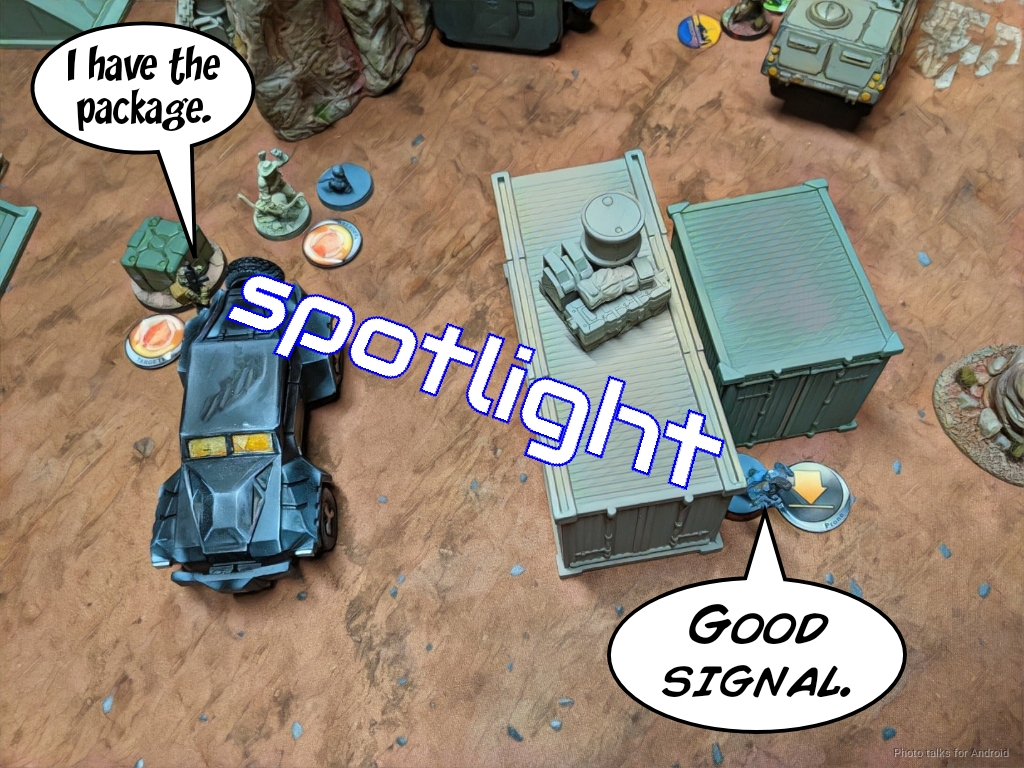
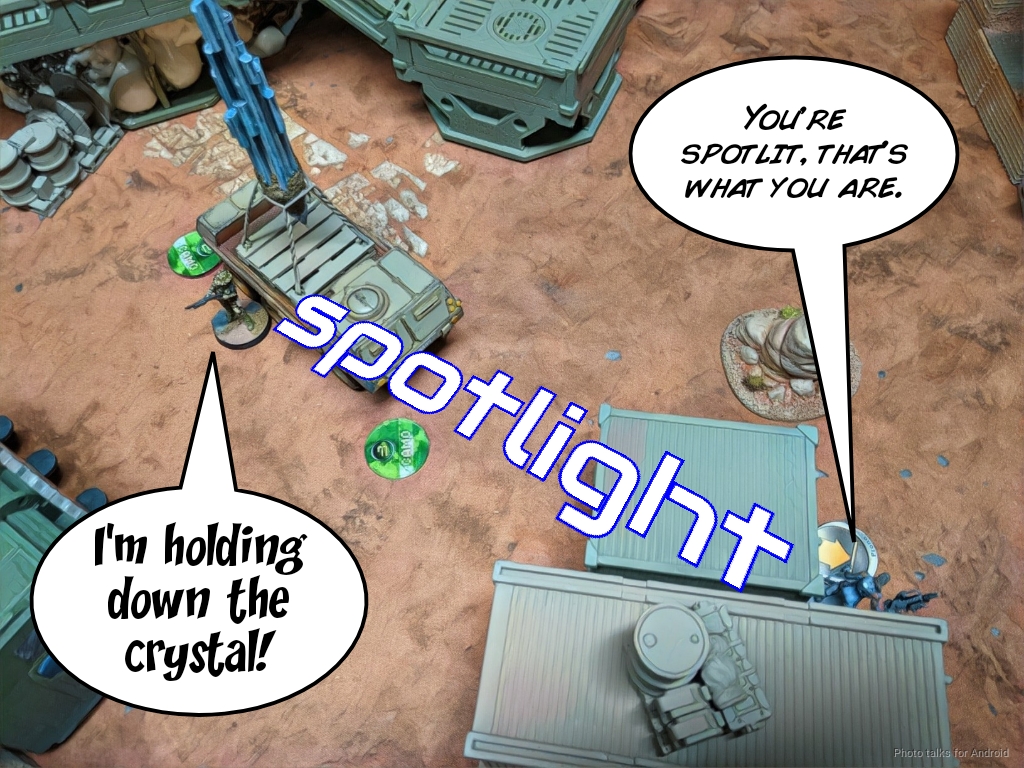
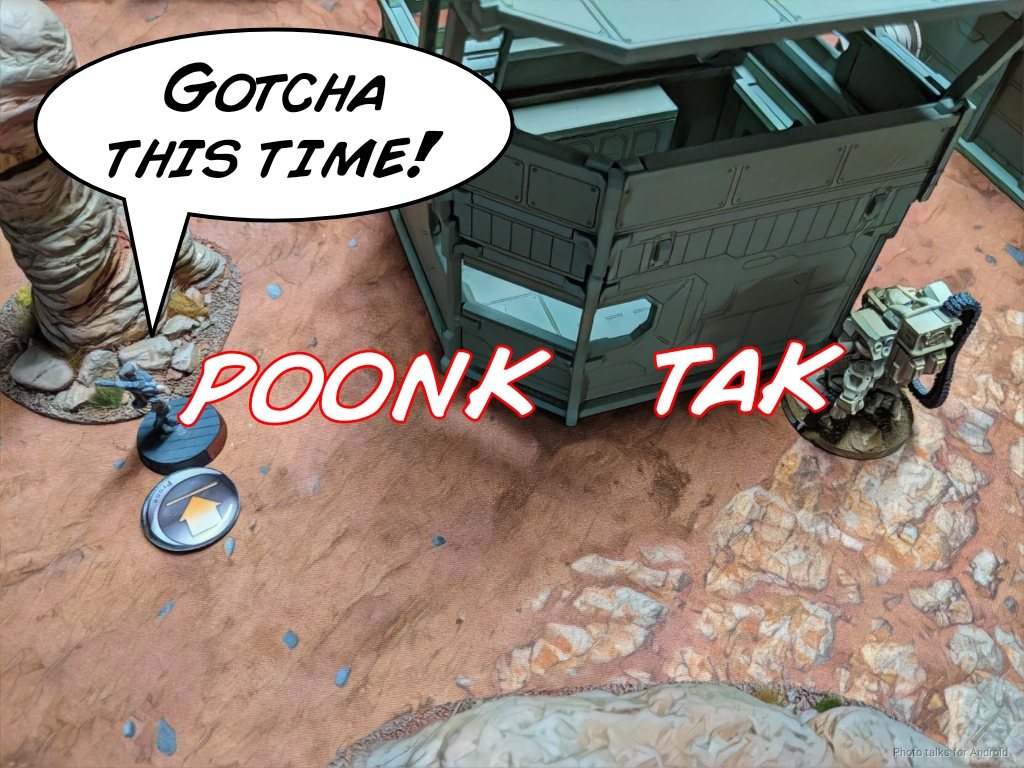
This lets Adam get a Foxtrot into position to steal the documents from the black government SUV, but it’s just within 8″ so I get spotlight off on the Foxtrot.
The TR bot is making it tough to for Adam to advance, so he throws two orders at it–one to get in position, one to shoot it with his AP HMG. He gets a crit and two hits, but I pass enough saves to keep it on the table.
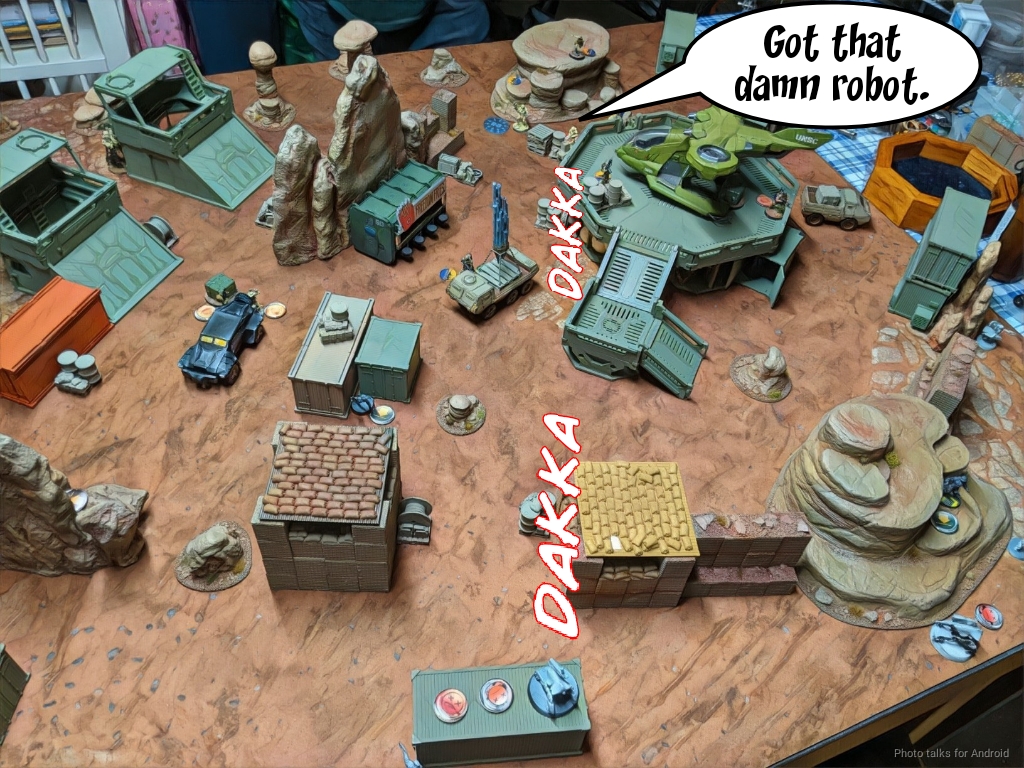
Adam’s Blackjack wiggles in place and guns down my Vertigo Zond. Ugh. That’s unpleasant. The Morans are a huge pain, so Adam tries to get a Grunt into position to shoot the Moran. He drops a pair of LSG shots into it, but I crit dodge into close combat while the Grunt also gets spotlit.
Bottom of 1 – Nomads
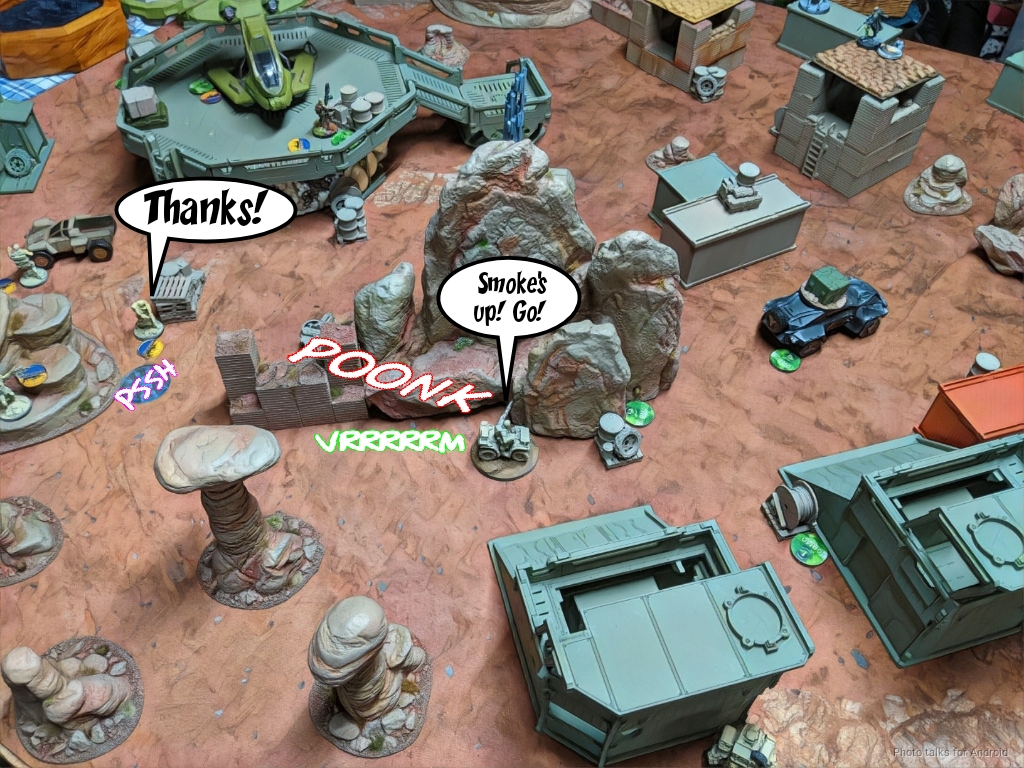
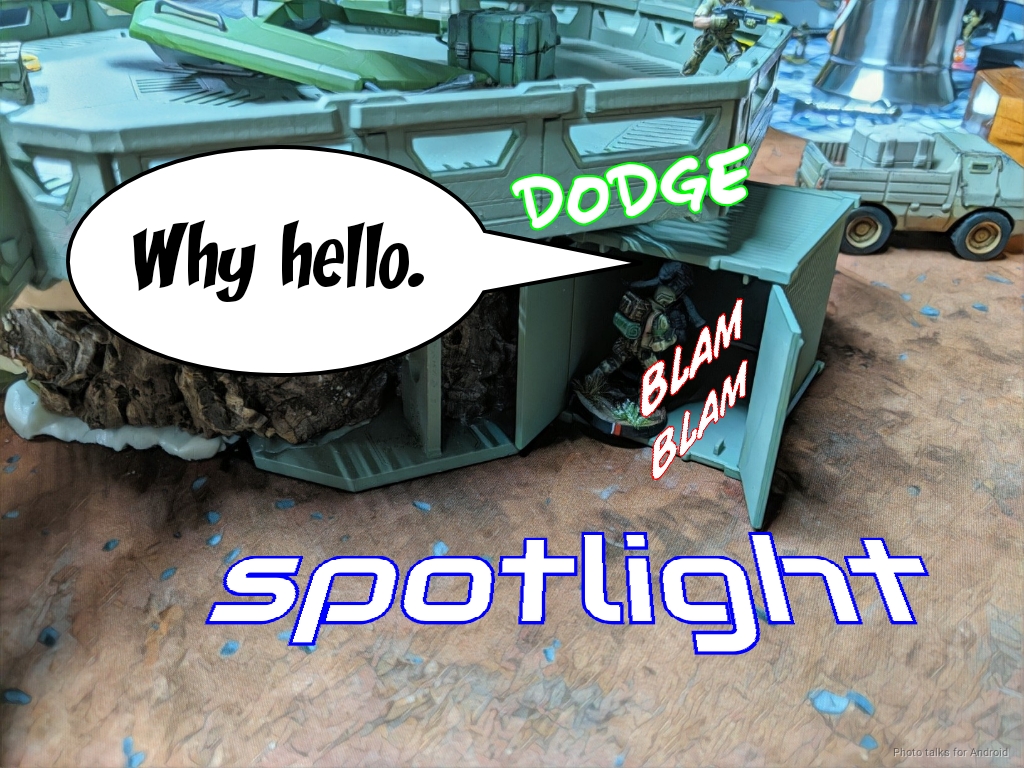
My turn starts. I’ve got a ton of things to do, so I get to work. First, my Zondnautica drops smoke to hide the Morlock from the Warcor.
Then the Morlock rolls up behind the Grunt and piano wire chokes him dead. Surprise!
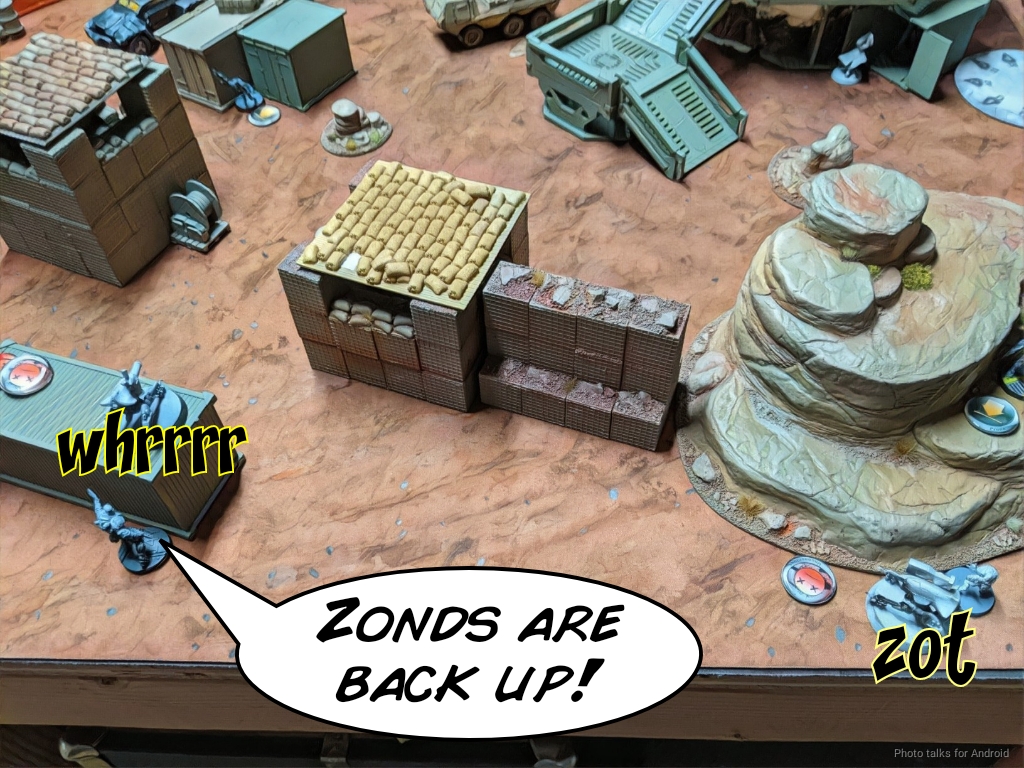
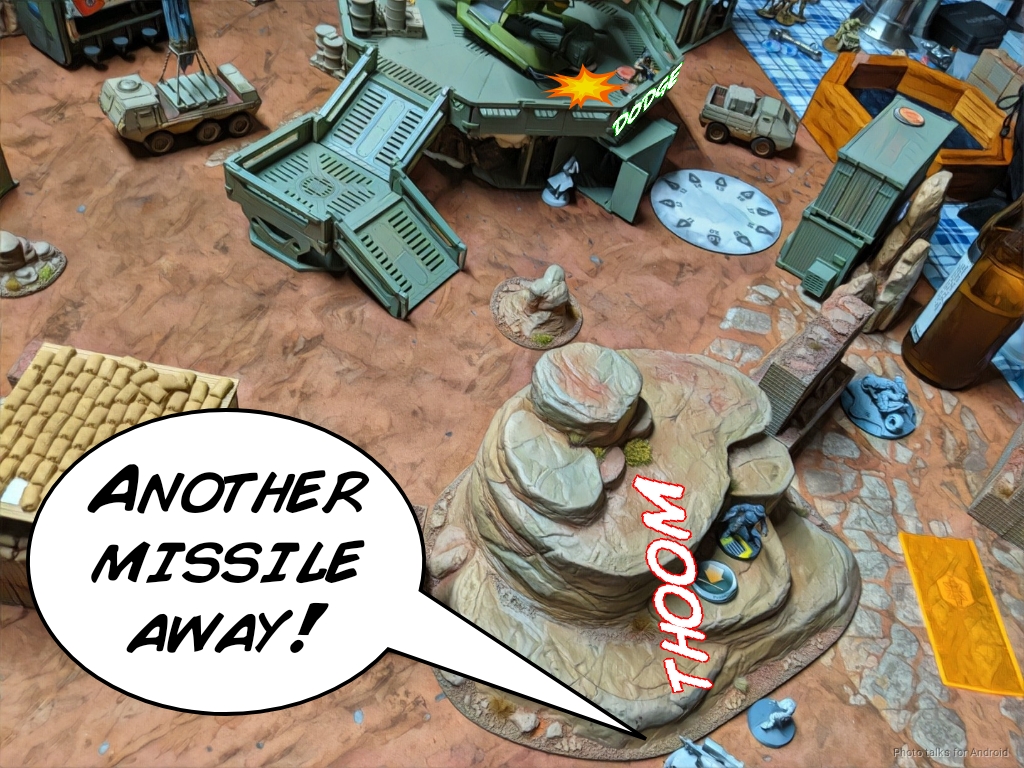
My Evader picks up both the TR bot and the Vertigo Zond, and then I start firing missiles.
First I take out the Foxtrot carrying the government documents… this is in view of the Blackjack who fires a Panzerfaust, but I pass all three saves and fail guts out of line of fire.
I need to deal with that Blackjack, so Carlota comes on behind him and glues him with her burst two ADHL.
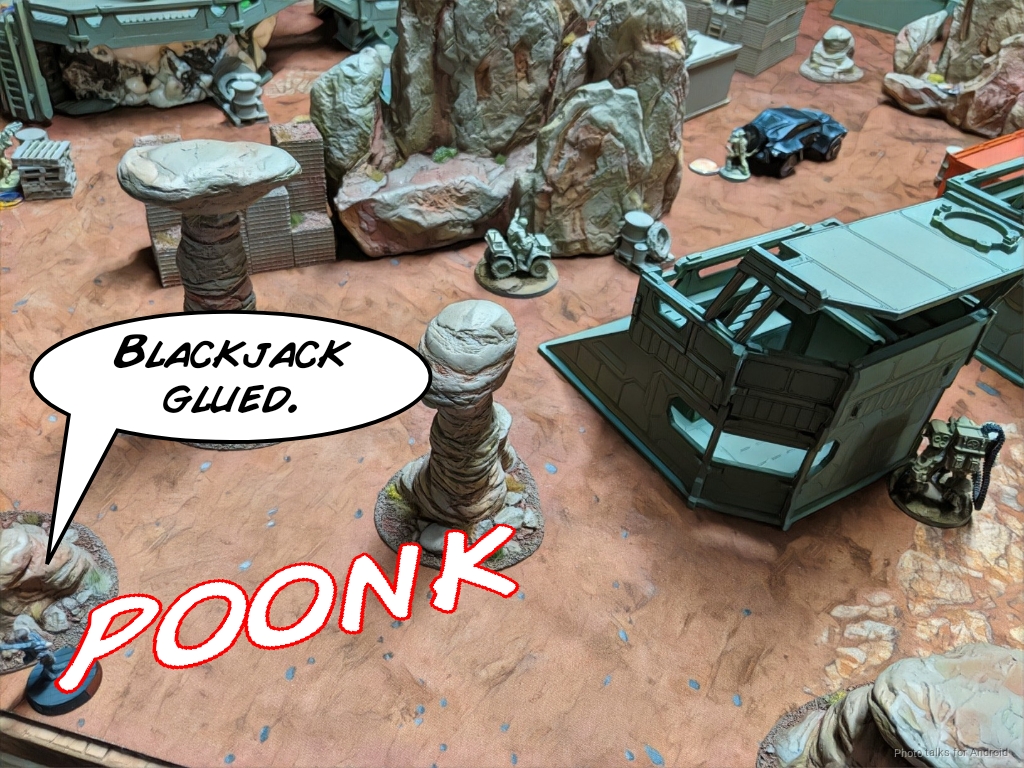
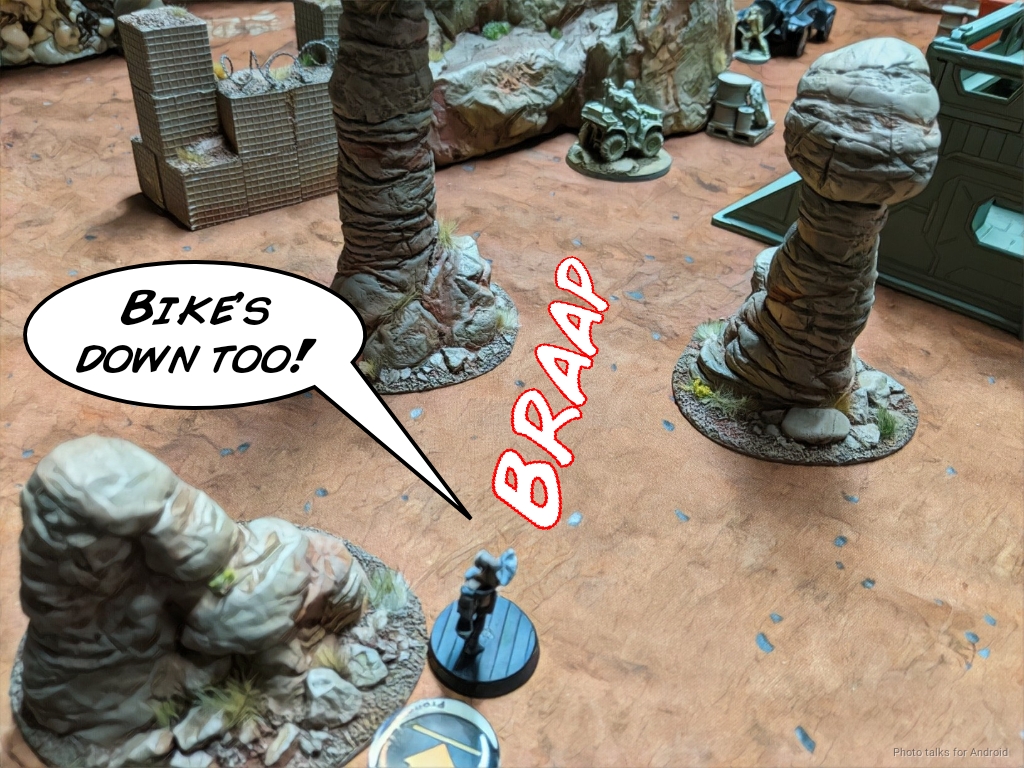
I’ve got a butt-shot on the Maverick, so I breaker combi the bike of the table.
My last missile shot on the Vertigo drops onto the Hardcase on the landing pad, obliterating it.
I’ve left my Zondnautica out in the open, which sucks, but we’ll see how it goes.
Turn 2
Top of 2 – USARF
Adam tries to shoot Carlota with his remaining Hardcase, but Targeted gives me the boost I need to take it out with some return fire from her breaker combi (which is so great against Ariadna).
The Unknown Ranger climbs up onto the landing pad and shoots the Zondnautica back into cover. The Unknown Ranger then starts crawling around on the landing pad while the Ohio get into position, getting spotlit in the process. Eventually, Adam needs to cross a Line of Fire protected by the TR bot so he cautious moves the link. I reveal the Prowler and have a moment of indecision–flamethrower for the guaranteed hit, or do I ADHL in 8″ on flat (thanks to Targeted)… I opt to flamethrower and Captain Ariadna bounces the hit. Sigh.
Adam starts blasting away with the AP Spitfire, and I manage to survive a few rounds of shooting. The odds aren’t that bad for me, actually:
| 15.06 | 29.61 | 55.33 |
Adam and I were talking about if shooting the Heavy Pistol was better, but the dice for the Unknown Ranger’s Heavy Pistol are about the same:
| 13.09 | 33.88 | 53.03 |
I fail guts away from the Unknown Ranger, which was probably a mistake as this allows Adam to take down the TR bot again.
Adam keeps trying to take out the Prowler with the Unknown Ranger and keeps failing. There’s basically a 45% chance that good things happen for me, so trying a few times and getting this result is kinda expected.
He finally opts for the auto-hit on a Grunt’s LSG hit. This lets me flamethrower the Grunt and the Foxtrot FO standing next to it (most of Adam’s camo was standing to pretend to be a Hardcase’s decoy). I figure this is a good exchange. I lose the Prowler but take out the Foxtrot, because of course the Grunt passes ARM.
Adam’s super low on orders so he sets up a pair of mines on the central objective (getting spotlit) and passes turn.
Bottom of 2 – Nomads
I’m trying to be as efficient as possible, so I throw the Morlock under the bus to clear one of those mines. I fail dodge and ARM, which kills the Morlock. I could’ve dropped a missile, but I wanted as many missile shots as possible to take out the Unknown Ranger. The Zondnautica thankfully survived and zooms its way to the central objective, firing smoke as necessary.
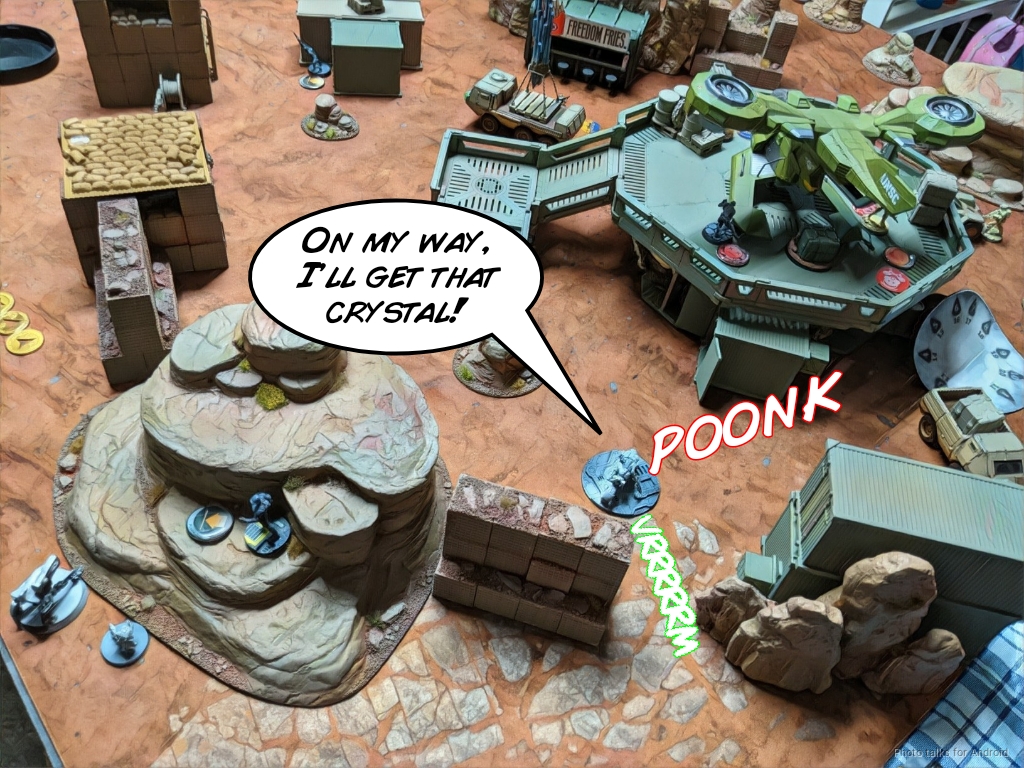
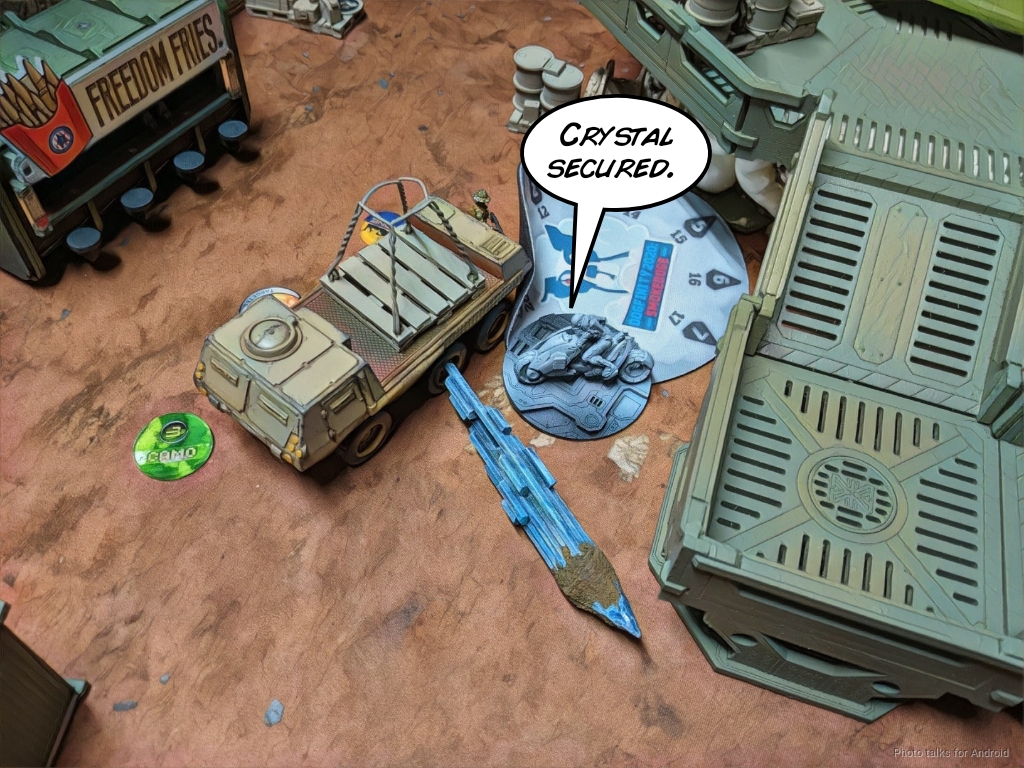
I grab the crystal without much difficulty, and then retreat the Zondnautica while pushing the Sombra forward to take the downed Foxtrot’s stolen documents.
The missile bot vaporizes the Unknown Ranger after two shots. I’ve got a third, so I just drop it on the Foxtrot in the middle, plastering it.
Carlota shifts to try and get Sabotage, but we’re playing Red deck, so I have to do it twice. Ugh.
Turn 3
Top of 3 – USARF
Adam decides his best option is to run his AP HMG Ohio across the table, so he starts by trying to take out Carlota, who scoots away after passing ARM.

Adam then coordinates a dodge from the AP HMG Ohio and the Blackjack to get movement for the HMG and to get out of Immobilized for the Blackjack. Carlota tries to glue him again, but I whiff. Unfortunately for Carlota, the Blackjack makes its Immobilized dodge and is now unstuck!
This is short lived because I immediately crit-ADHL the Blackjack as it tries to heavy pistol Carlota and re-glue it. HAH!
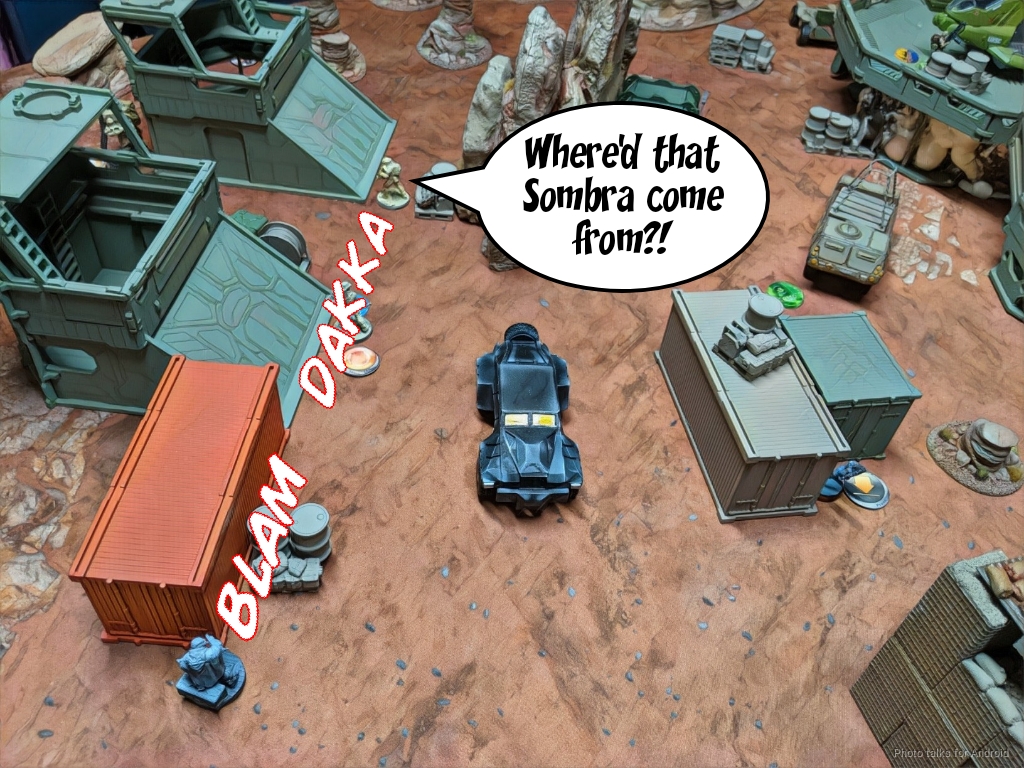
The AP HMG keeps moving towards the Foxtrot’s government documents, but the Sombra reveals and takes him out.
We call it here, because it’s getting late and we have a Heavy Gear game to play after this. I could’ve easily gotten Sabotage, secured the HVT, and picked up a second objective off the dead Foxtrot with either Carlota or the Sombra. Getting the objective on the Landing Pad would’ve been hard–I don’t think I had orders or material to do that. I suppose I could’ve attempted to get the Moran into position, but I don’t think it was necessary. Anyway.
Had we played the rest of the game out, I would’ve had 2 boxes and both classifieds, that would put me at a
9-0 Nomad Victory
Post Game Analysis
This was a very rough and frustrating game for Adam. I felt in control most of the time, and I was able to really stall him out on the first turn. My first turn, I undid the damage and managed to take out a Foxtrot, a Grunt, the Blackjack, a Hardcase, and a Maverick. In addition to taking down the Foxtrot sniper in Turn 1, Adam is 6 models down and I’ve only lost Knauf. That was pretty brutal.
My plan went off perfectly–punish everything Adam does in the midfield with spotlight and the threat of a missile bot. In all, the missile bot accounted for the following, firing 5 shots over 2 turns:
- Foxtrot sniper
- Foxtrot BSG
- Hardcase LSG
- Unknown Ranger
That’s like all of the things that Adam wanted to have alive. Carlota took care of the Blackjack, the other Hardcase, and the Maverick… Adam was rightfully feeling pretty glum about this game afterwards. I mean, what do you do if everything you do in the midfield is covered by a TR or missile bot, Koalas, and hacking?
We eventually arrived at the conclusion that this the new “TR bot.” What I mean by that is new players often see TR bots as insurmountable obstacles the first time they see them, and this new oppressive spotlight/missile bot midfield situation is a new thing to us, even as veteran players. So we need to figure out what tools are required to deal with it. A few things are immediately obvious:
- Kill the Missile Bot – Adam tried, this is hard, and if I deployed it entirely out of view, it gets even harder. I left it out to shoot the Blackjack intentionally, because I figured it would stay on the table while draining some orders. I’m happy to pick it back up with the Evader.
- Kill the Hackers – Hard, especially for Ariadna. You’d need Van Zant for this.
- Kill the Morans – I think this is the most achievable option of the three for USARF. Adam attempted it, but I think he has to spend his whole first turn and spend whatever resources are necessary to do it. Then that means basically my Interventor, the Vertigo, and both Morans are out of the game. That’s a big deal.
So yeah, if you’re faced with midfield repeaters at deployment time, backed up by hackers, you need to spend the resources and sacrifice something to take out the repeaters, whatever the cost, then you play the game normally. This is a pretty big cost, but there’s a fair amount of cheap stuff to do this–Hardcases are perfect for this. Definitely an uphill climb, and less of an elegant solution that using a TO sniper to take out a TR bot, but it should be hard!
I invested upwards of 4-5 models to enable this strategy, so I should be rewarded by either A) it being effective on the table or at least B) buying me a turn of blunting my opponent’s alpha strike and or denying them objectives through order drain. In fact, I was expecting to lose both Morans–I was lucky to crit dodge on the one that Adam attacked, and it just so happened that I had a Morlock there to bail my Moran out. I positioned the TR bot to cover the other Moran, so that was probably another consideration as well.
Anyway, it was good to play another game of Infinity, and even if it was a bit frustrating for Adam we were rolling dice and that’s what this is all about, right?
Adam’s Thoughts
As expected, Jon wrote an amazing battle report here, so I don’t have a ton more to add, but I really want to talk a bit about Spotlight in N4. When the new edition was starting to come out, Jon and I quickly identified Spotlight + Missile Bots becoming a real strategy, this game demonstrates exactly why it’s so powerful. When you’re first faced with it, it’s going to be frustrating, especially if you don’t commit enough resources to countering it. Supplies is a game which typically rewards moving forward as quickly as possible, grabbing the objectives, and running off. If the opponent controls the board through repeaters, spotlight, and missile bots, it’s going to be a very different game. I probably should have committed more to killing the Moran on turn 1, then dealing with the objectives turn 2, but I wasn’t sure what other sneaky shenanigans he might have for me to abscond with the supply boxes.
Other Conversations
Savnock
Great report as always, thanks for posting it!
I enjoy the way you keep notes on your thought processes and intentions in here, not just what happened.
ARO Spotlight is really a game-changer, especially if you’ve got a hacker with no opponent capable of taking him down. That plus Guided = ouch, well demonstrated here.
I actually played USARF with maxxed-out Foxtrots today too (Rescue, vs. TAK). No Minelayer on these guys makes USARF feel a bit dated at times. USARF have plenty of flamethrowers, but piece-trading isn’t a great defense in N4. Still at the price they pay with great PH, Foxtrots are still worth it.
But I guess my point is that USARF’s board control feels like it’s still in N3. No real answer to no-LoF Spotlights, no Minelayers at all, even if they do have tons of infiltrating template-droppers, feels kinda meh. At least Marauders can see through smoke now, but Marauder defensive links feel like a bit of a trap too.
It makes Van Zandt kind of a must-have to threaten units like your Vertigo/hacker combo. That or really use those Mavericks well to zoom in and kill the backline hacker/artillery units (and whatever sweeper will clear the way for the Mavericks if there are opposing visor-snipers on overwatch).
On a different note, I find your build here interesting. Seems light on orders until the Prowler and Carlotta show up… but then they will already be in great spots when they do. I guess the order efficiency of your fast-grabber pieces and good passive midfield control make that work out okay? Certainly seems like it did here. I would have been tempted to downgrade the EVAder to get either a couple more orders or a couple more warband troops.
WiseKensai
Thanks for reading, Savnock! I’m glad you enjoyed it.
USARF is still good at board control–it just feels really bad in comparison to Nomad hacking with missile. Some simple things that could have been done to fix the problem on the landing pad (ignoring the Prowle for now) would have been to send in the Foxtrot BSG and drop a mine covering my Moran. If I’m not mistaken, that generates two different target numbers–one against the shotgun, one against the mine, so I can only crit against one of those things. The Foxtrot is dead, but you’ve basically unlocked that area for the UKR to move through.
Having the Prowler live for 4 orders on 45-55 odds is a little outside of statistical expectations, but not crazy. In any case, if two things had changed:
1. My Moran at the base of the landing pad dies
2. the UKR had killed my Zondnautica, which I stupidly forgot to hide after it fired smoke for the Morlock
it would’ve been a very different game. With that Moran and Zondnautica dead, I have half the hackers to roll Spotlight (WIP 15 on the Interventor is good but I failed a few and the Zondnautica had to back him up), and I now have to deal with the Unknown Ranger in an elevated position protected by a Grunt and Foxtrot.
So yes, I have a better hold on the board, but it’s tenuous at best. A few rolls that were already statistically in my opponent’s favor go his way, and then I’m on the back foot.
I think this speaks to your other point, where I don’t have much in the way of orders on my turn with Carlota and the Prowler off the table. Thankfully, I chose a lot of order-efficient stuff to compensate for that, and a lot of my board presence is passive/in ARO thanks to hacking. If I lose half my hacking (a repeater and a hacker) then I give up half the board, I’m down on a bunch of orders, and now I’m really in trouble.
So, in short, I had a slight advantage in list and positioning in this game, and then with some key rolls going to me it was very difficult for Adam to recover. Had he pushed a little harder and delayed getting the supplies box on my left till Turn 2 (my only options there were the Evader or the Sombra, which would have had a hard time) and instead spent the orders killing the Moran by the UKR I think he would’ve been in much better shape.
Double Moran + some sort of hacker + missile bot is VERY strong if you let it do its thing, but also I think quite fragile. Morans aren’t particularly durable, especially given the huge amount of direct template weapons and shotguns that USARF can put into the midfield. After all, I there was only one attack on the Moran the whole game and I just rolled a crit. There was plenty of stuff nearby that could’ve kept up the pressure if Adam had decided to commit to removing the Moran. I think that’s the strategy, which is to kill everything To the Last Moran. See what I did there? 🙂
Regarding the Evader itself, yes, I think it’s probably suboptimal for the way it was used this game. I could’ve had another Morlock and a Clockmaker with two bots instead, and would probably have been pretty happy about it. It’s only in there because I wanted to mess with it, but I’m not disappointed by its performance at all. Still, I think had things gone more poorly I would’ve been happy to have it on my left to fight in the midfield.

Pingback: Drop Bears and Bikes – MERC Recon
Pingback: Intro to Hacking – Infinity the Academy
Pingback: Mission 031 Report: AVA’s the Angle – Bromad Academy