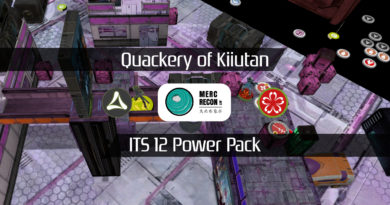
Eastworld Early Access
Adam and I had a really difficult time scheduling a game this last week but we managed to find a hole in our schedules at like 10AM on a Sunday. We really wanted to try out Adam’s Eastworld-inspired table (apparently it’s a thing in the Westworld show, which I haven’t seen). The key element of the table was going to be a old-timey Japan-themed objective room but with a slick, Sci-Fi interior. The room would represent the facility in the old-timey village where all the security forces are stationed. Adam’s got scatter for inside the room, but it was missing for our game. It’ll be there for RCR.
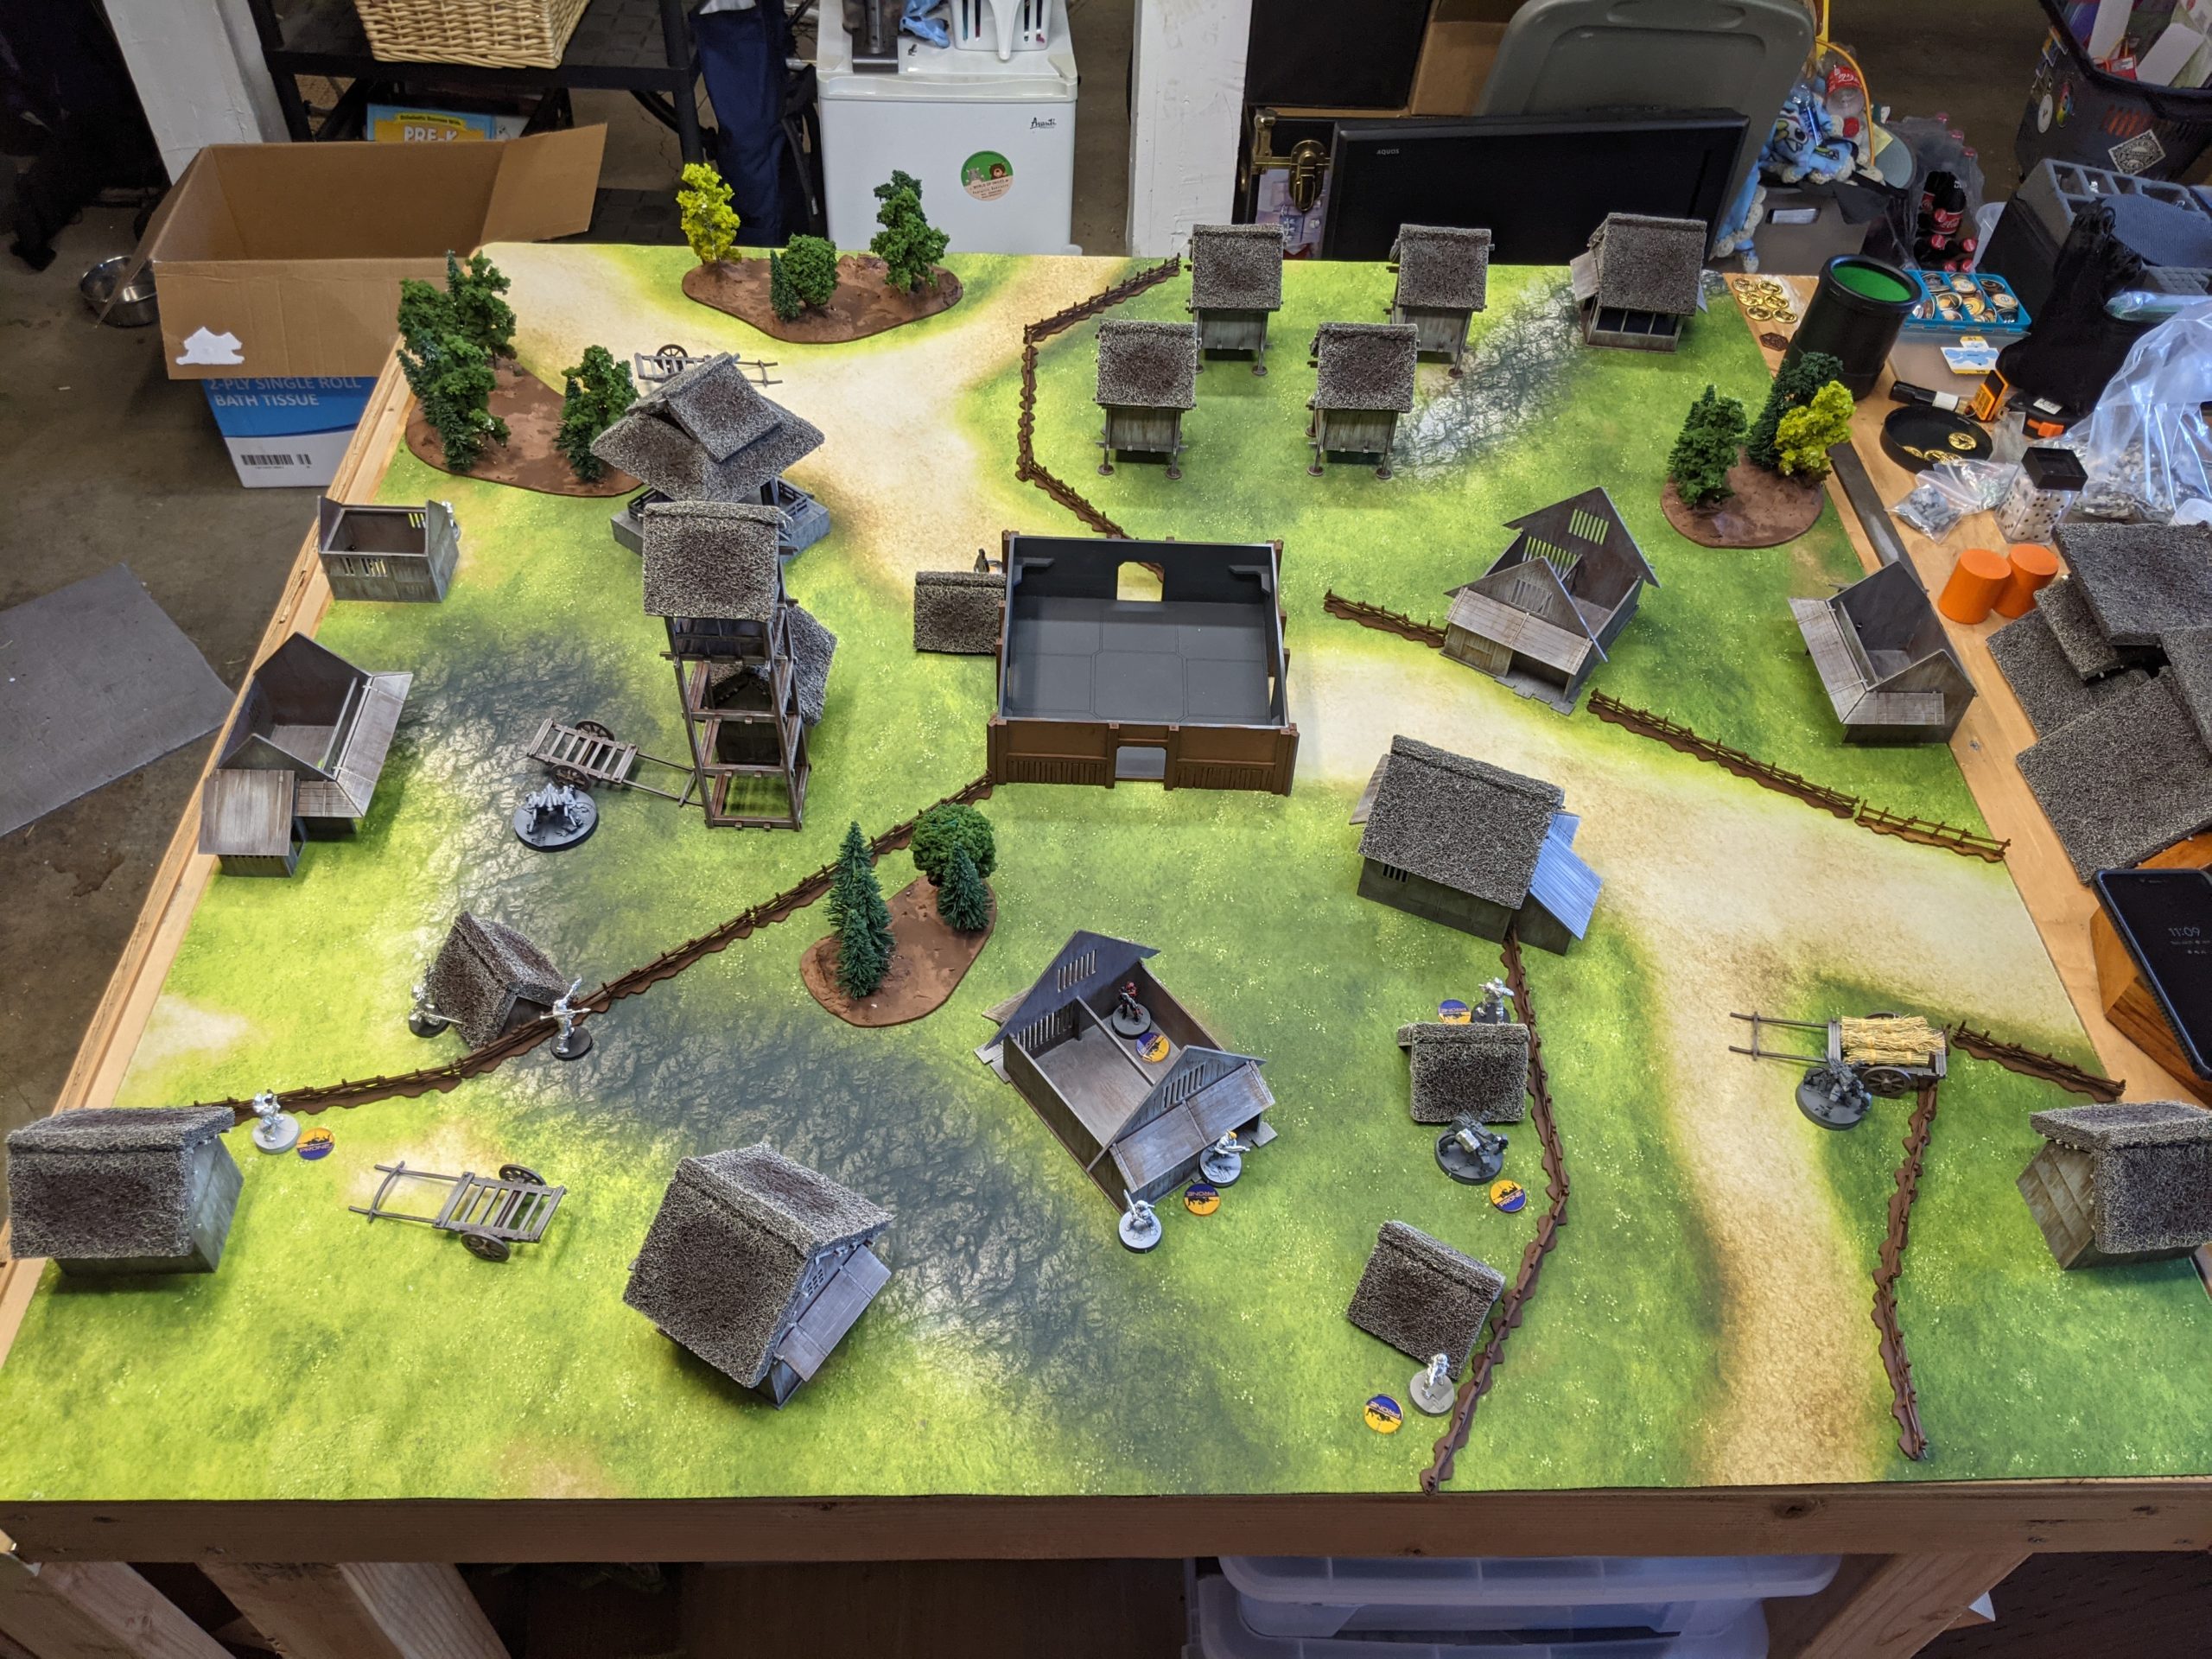
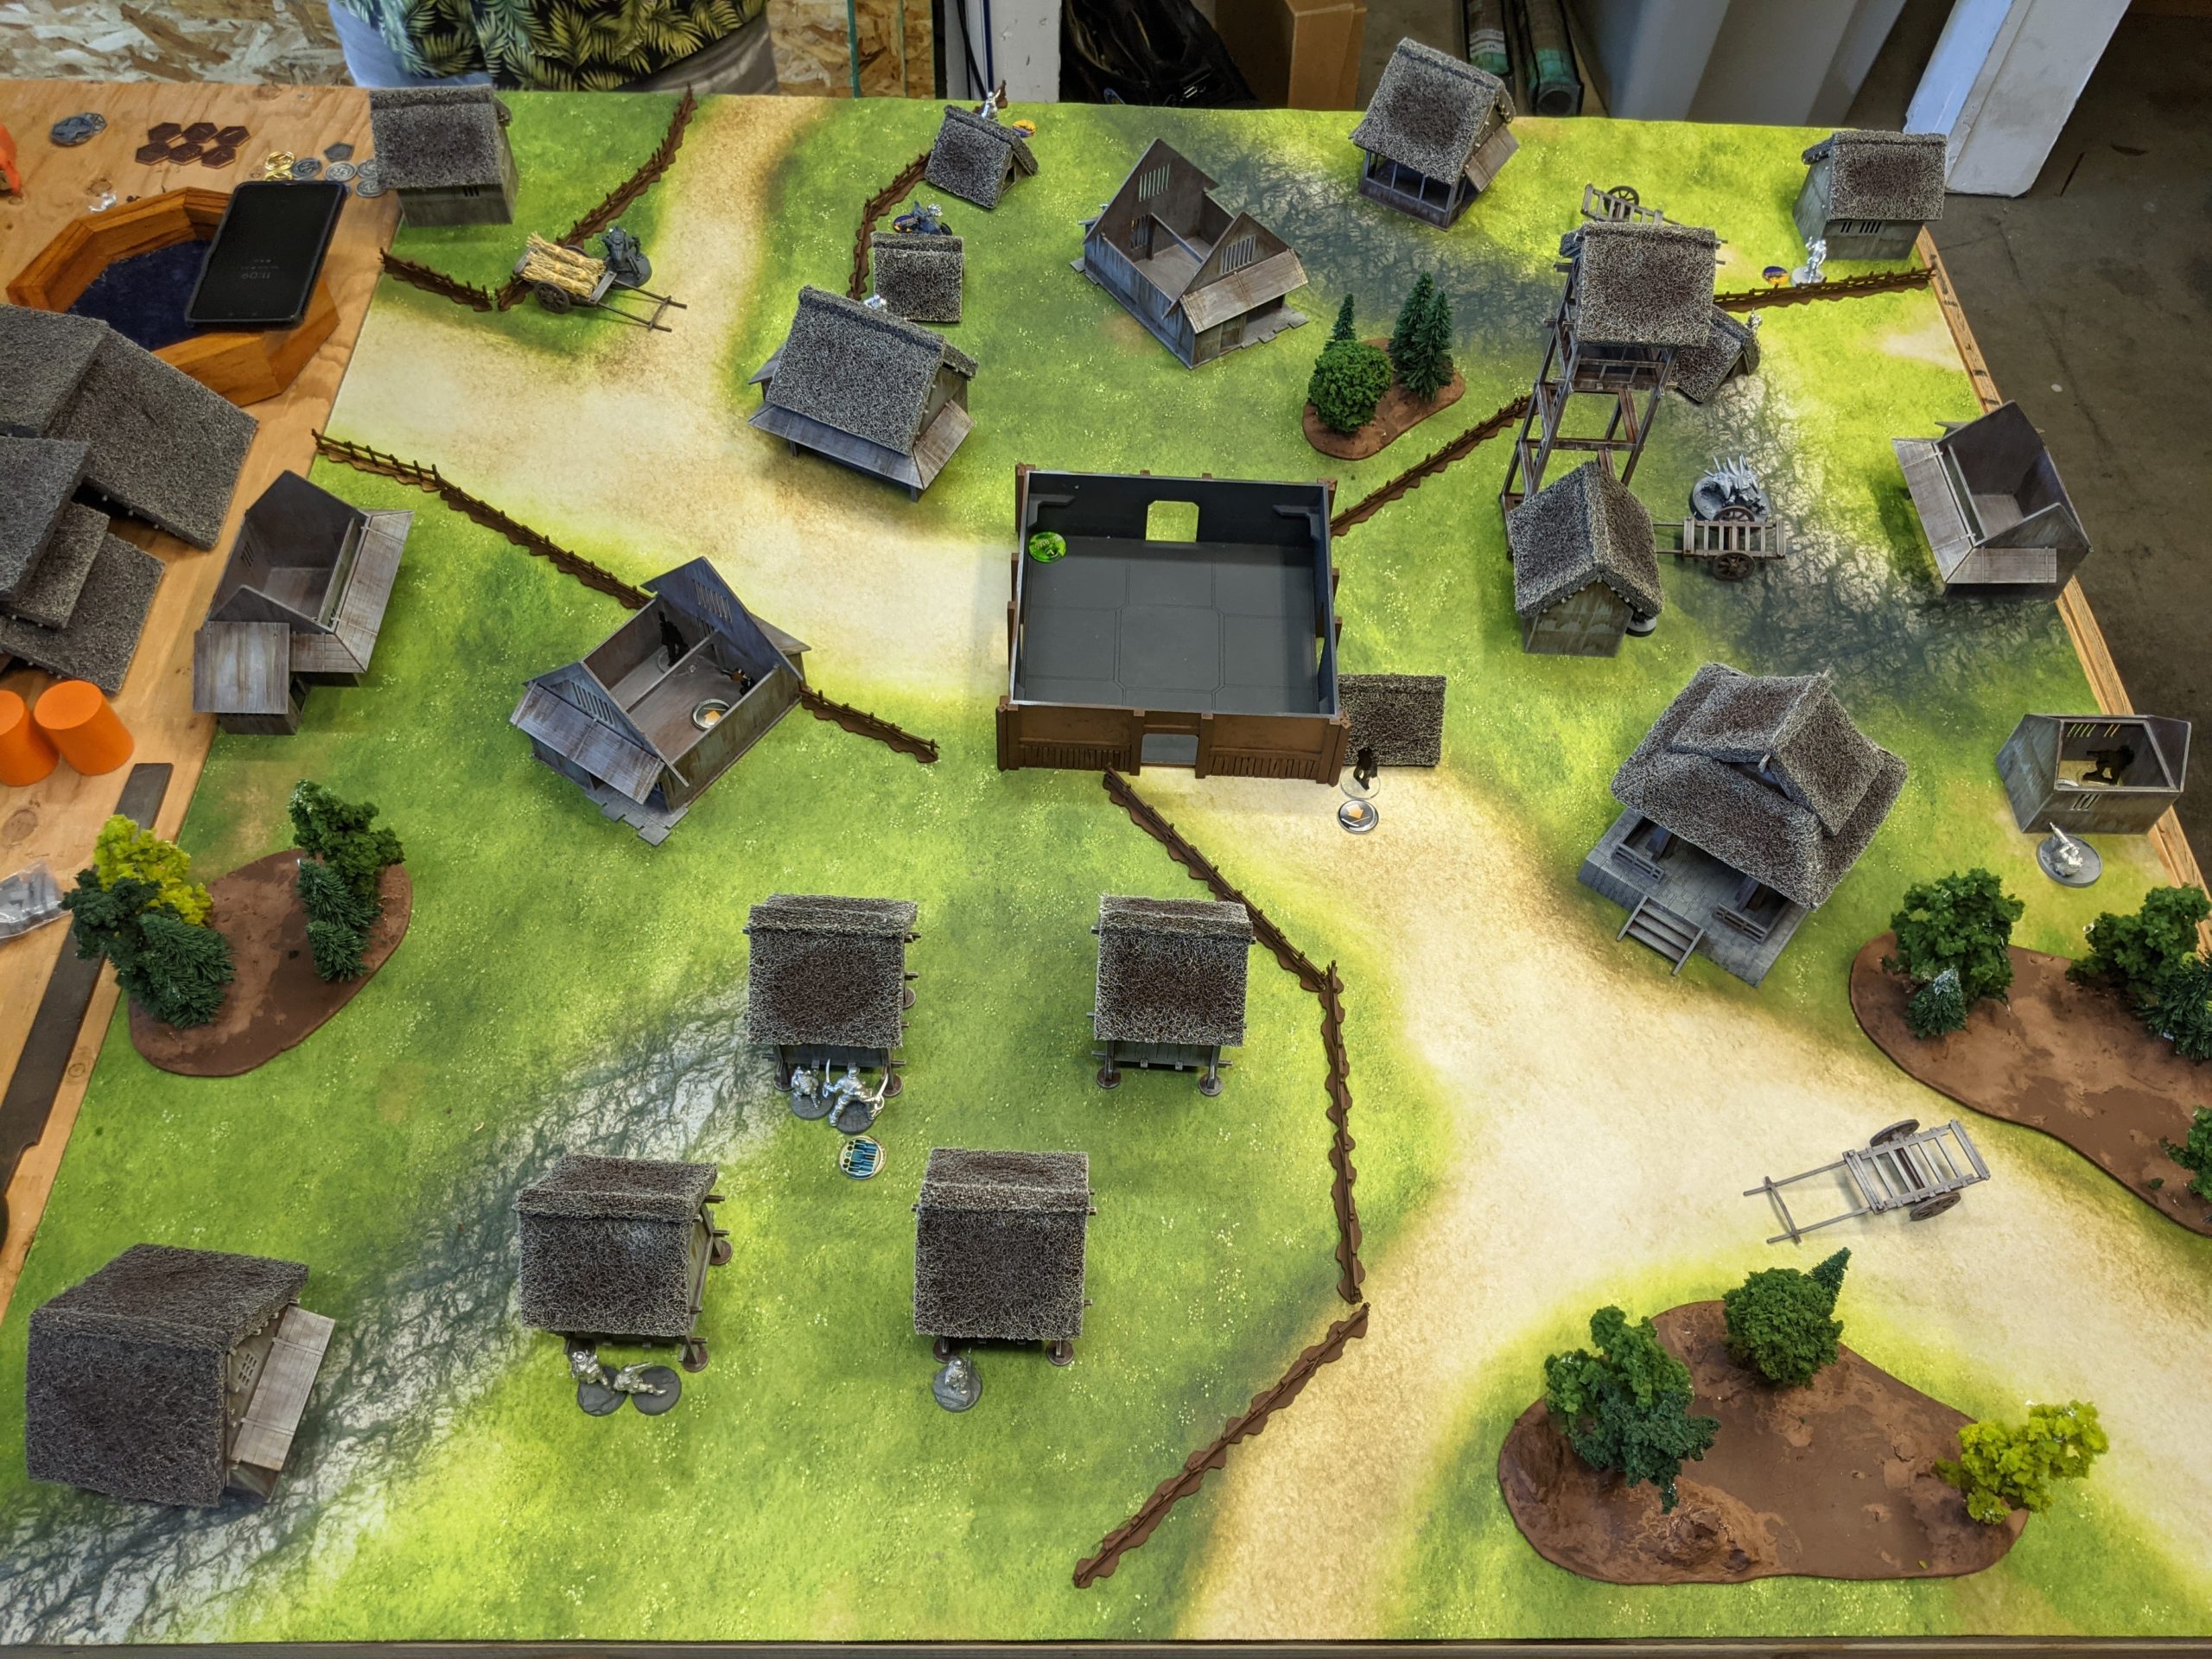
Most of the building interiors are playable, and they really create a unique element to the table. Most of the buildings only have one door and very small windows, which creates an interesting change to normal Infinity play. Typical Infinity tables have the same general terrain density, but the building interiors are not playable so you just get these abstract box shapes to fight around.
This also means that when you push forward, you’re forced to just leave your model standing stupidly along one wall of the building, hoping that no one will sneak behind you and shoot you. Cautious players will generally devote 1-2 orders retreating a pushed model so as to not leave it over-extended. On this table, you can just end your turn inside a building, prone perhaps.. The need to walk to the door to get into the building will often drain enough orders from your opponent to either disincentivize doing it or limit the damage to your forces on their turn. This allows for more aggressive play without needlessly wasting troops. Building interiors are always tough to do well, and this table doesn’t fix the clunkiness of getting big gamer hands into a small space, but it’s pretty decent.
I think the single door and the really small windows go a long way to fixing the gameplay issues with building interiors though. Sci-Fi Infinity buildings tend to have big windows and multiple doors, leading to a situation of “well they can see me anyway if I’m in here, so why bother?” The other extreme is the “lieutenant hiding in a dumpster” scenario, which is also unfun. I think these buildings, even if they are a bit on the small side for Infinity, are in a very comfortable spot.
Overview
- Mission: Annihilation
- Forces: Force de Reponse Rapide Merovingienne versus Druze Bayram Security (300)
- Deploy First: FRRM
- First Turn: FRRM
We rolled Annihilation randomly from all the RCR Lite 2021 missions, so I decided to take my Mindwipe list. It’s got some Briscards to do some MSV fighting, backed up by a Moblot and Wolfgang. Bruant is his Infiltration profile, so along with the two Chasseurs and two Metros, I’ve got 5 camo tokens in the midfield to get a bit of a shell game going.
Mindwipe
GROUP 1
7
MOBLOT (Lieutenant) Heavy Machine Gun / Pistol, CC Weapon. (1 | 28)
BRISCARD Heavy Rocket Launcher / Assault Pistol, CC Weapon. (1.5 | 19)
WOLFGANG AMADEUS MULTI Rifle(+1B), Chain-colt / Heavy Pistol, DA CC Weapon, PARA CC Weapon(-6). (0 | 35)
GROUP 2
BRIGADIER BRUANT (Infiltration) AP Spitfire, Chain-colt, D-Charges / Pistol, CC Weapon. (1 | 30)
PARA-COMMANDO (Forward Observer) Boarding Shotgun, Flash Pulse, D-Charges / Pistol, CC Weapon. (0 | 24)
CHASSEUR (Forward Observer) Rifle, Light Flamethrower, Flash Pulse, Shock Mines / Pistol, CC Weapon. (0 | 20)
MÉTRO (Camouflage [1 Use], Infiltration]) Rifle, D-Charges / Pistol, CC Weapon. (0 | 11)
ZOUAVE (Sapper) Heavy Machine Gun / Pistol, CC Weapon. (1.5 | 29)
5 SWC | 300 Points | Open in Infinity Army
The list threatens Margot and Duroc, and actually looks like it because of the missing Para-Commando points. I’ve also got a Zouave HMG for fun. I had my reservations about the utility of the Para-Commando FO with their short range weapons, but I wanted to evaluate their performance on the table before coming to a final conclusion.
Adam has been thinking about Druze for awhile now and wanting to get back to them in N4, so he took this as an opportunity. We had a little fun narrative going of Merovingia being there to assassinate someone and the Druze flooding into the Eastworld area to defend the target. Adam’s got a pretty stripped down Druze core, padded with Brawlers, ABH, and the Clipper to reduce cost, and then a Haris in the second group also cost-reduced with a SpecOps and ABH to power Wolfgang.
Druze
GROUP 12
BRAWLER (Lieutenant) Rifle, Light Shotgun / Pistol, CC Weapon. (0 | 15)
DRUZE Heavy Machine Gun, Chain-colt / Viral Pistol, CC Weapon. (1.5 | 31)
BOUNTY HUNTER Submachine Gun, Akrylat-Kanone / Breaker Pistol, PARA CC Weapon(-6). (0 | 12)
CLIPPER DRONBOT Missile Launcher / PARA CC Weapon(-3). (1.5 | 16)
GROUP 2
HUNZAKUT (Forward Observer) Rifle, Light Shotgun, Shock Mines ( | Deployable Repeater) / Pistol, CC Weapon. (0 | 18)
SAITO TOGAN (Specialist Operative) Combi Rifle, Smoke Grenades / Pistol, EXP CC Weapon. (0 | 37)
SIERRA DRONBOT Heavy Machine Gun / PARA CC Weapon(-3). (1 | 24)
PEACEMAKER Heavy Shotgun / PARA CC Weapon(-3). (0 | 20)
AUXBOT_3 Heavy Flamethrower / PARA CC Weapon(-3). (0 | 4)
5.5 SWC | 299 Points | Open in Infinity Army
The rest of the list is ‘bots and Hunzakut, which is pretty typical for a Druze list, I’d say.
Deployment
I won the roll off and elected to go first. I wasn’t about to let Adam have the first turn with Druze! I deployed my Briscard link in a 8″ bubble from one another, clustered behind some little huts. The huts are on stilts, meaning there’s clear LoF below them, but we elected to say that you can’t shoot under them. They really look quite nice on stilts so we’re planning on leaving them like that, but it does really open up firelanes if you can shoot under them.
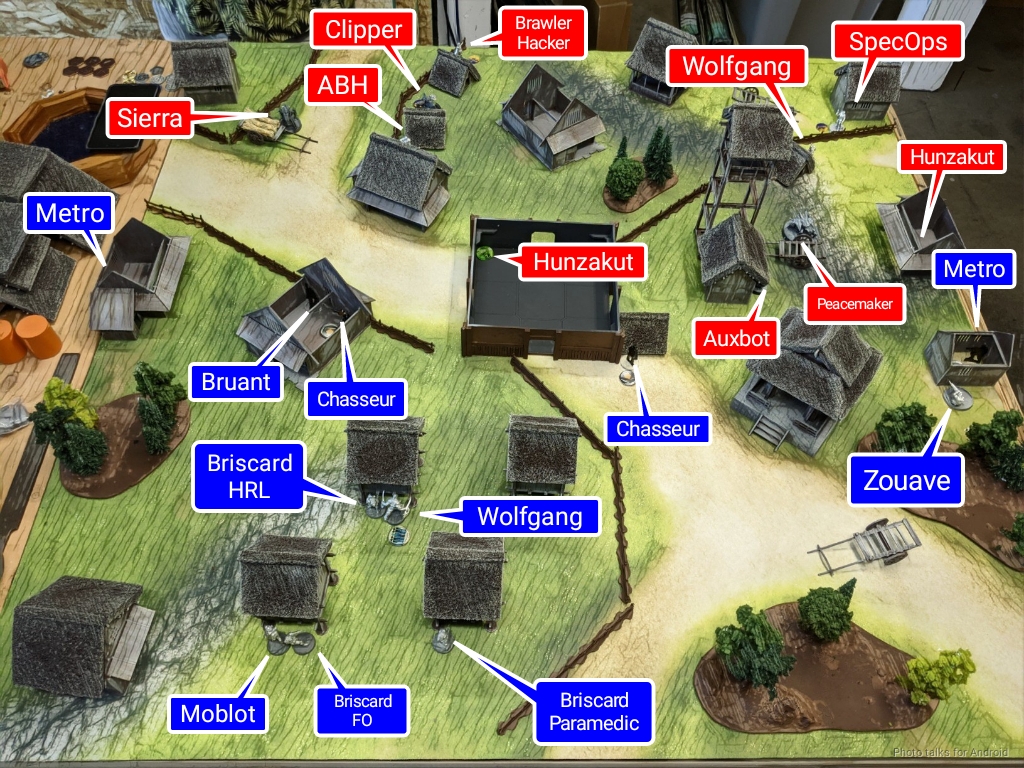
I scattered my Chasseurs and Metros in or near buildings in the midfield, and held both the Zouave and Bruant in reserve. Given what I showed him, basically a 5-model core and 4 camo tokens, Adam was pretty convinced that Mirage-5 was online and deployed accordingly. Adam hid his Brawler Lt inside a building at the edge of his deployment zone and clustered his main core link around it. The Sierra protected the back table edge and Adam’s entire right side.
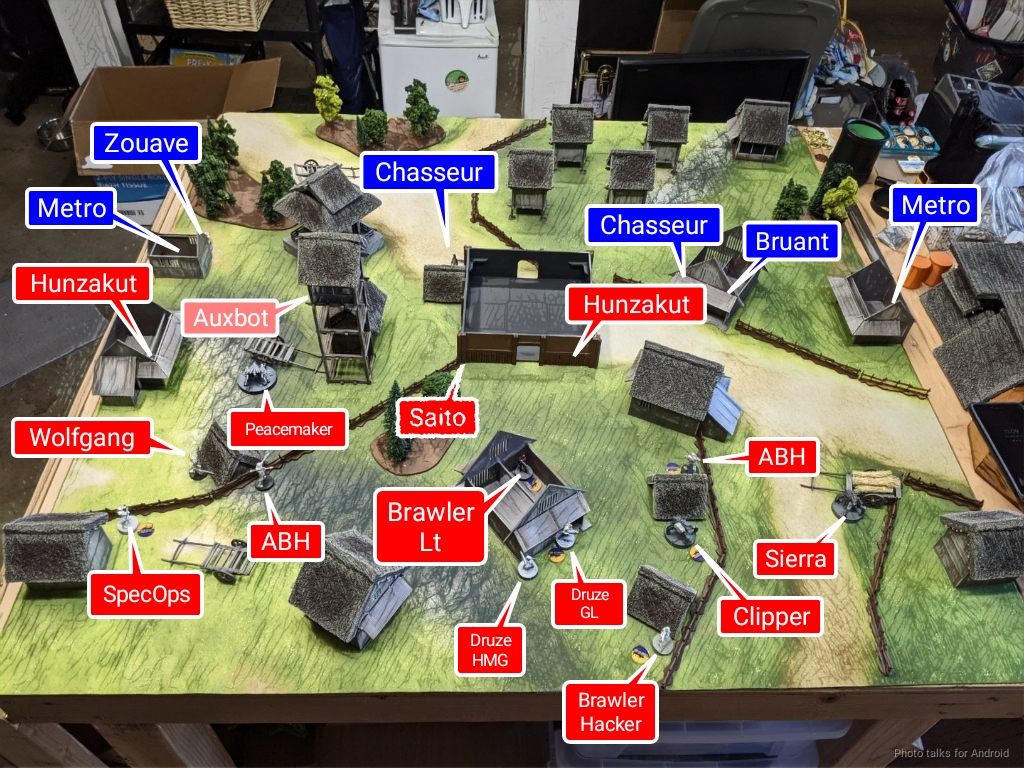
The Wolfgang Haris protected the left side of the table, and the Hunzakut hung out in the buildings with Saito sneakily parked just outside the objective room. I deployed Bruant in a position where I could -9 the Sierra with a single order, and then set the Zouave up to attack the Wolfgang Haris. Adam responded with a Peacemaker covering the Zouave with its Auxbot. With that, we were off!
Turn 1
Top of 1 – FRRM
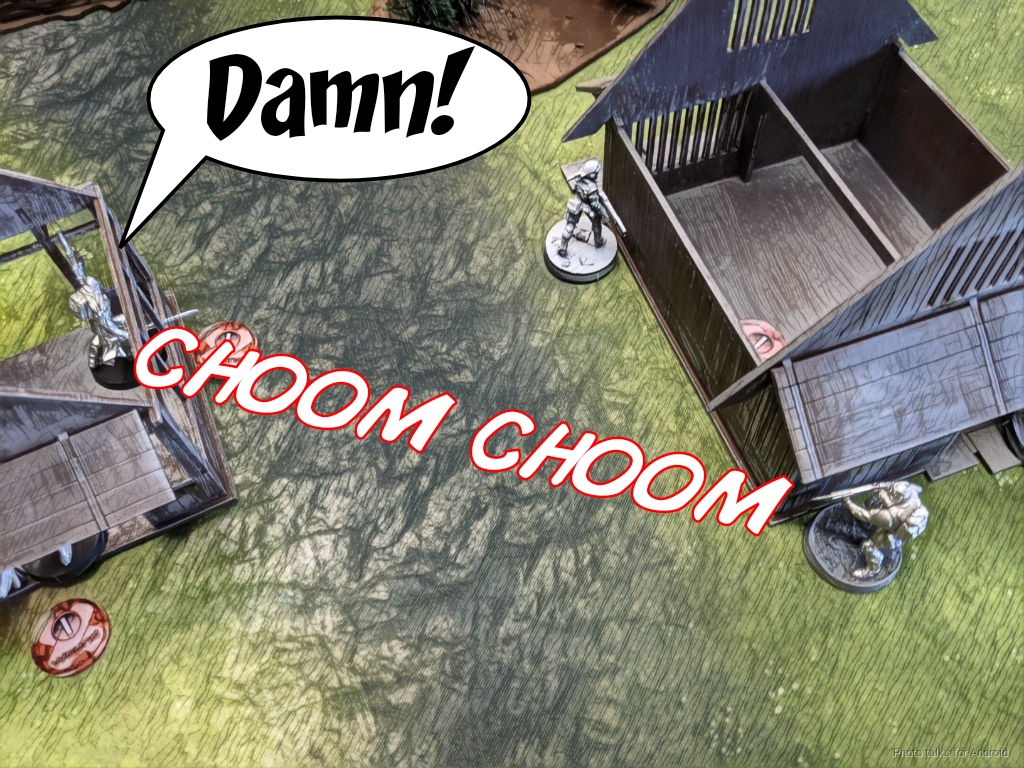
Adam’s Peacemaker positioning was a bit of a mistake, as it allowed me to out-and-back with a Briscard to snipe it in one order. Even though I was in bad range, the link bonuses made it easy to take down the ‘bot. Tucking it a bit further back or even just to the left a little in this picture would have more or less sorted the issue.
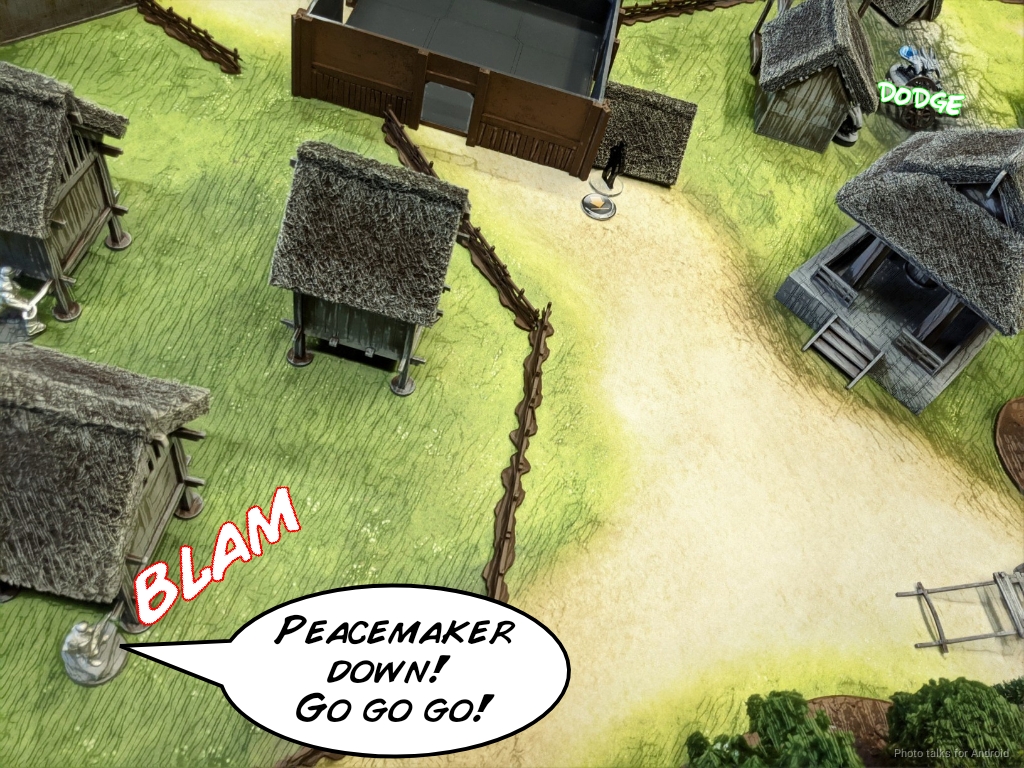
Still, I could have moved the Chasseur nearby to set up a mine covering both the Peacemaker and the Auxbot without exposing myself to danger, so still a bit of a problematic deployment–a theme that would continue throughout the first turn.
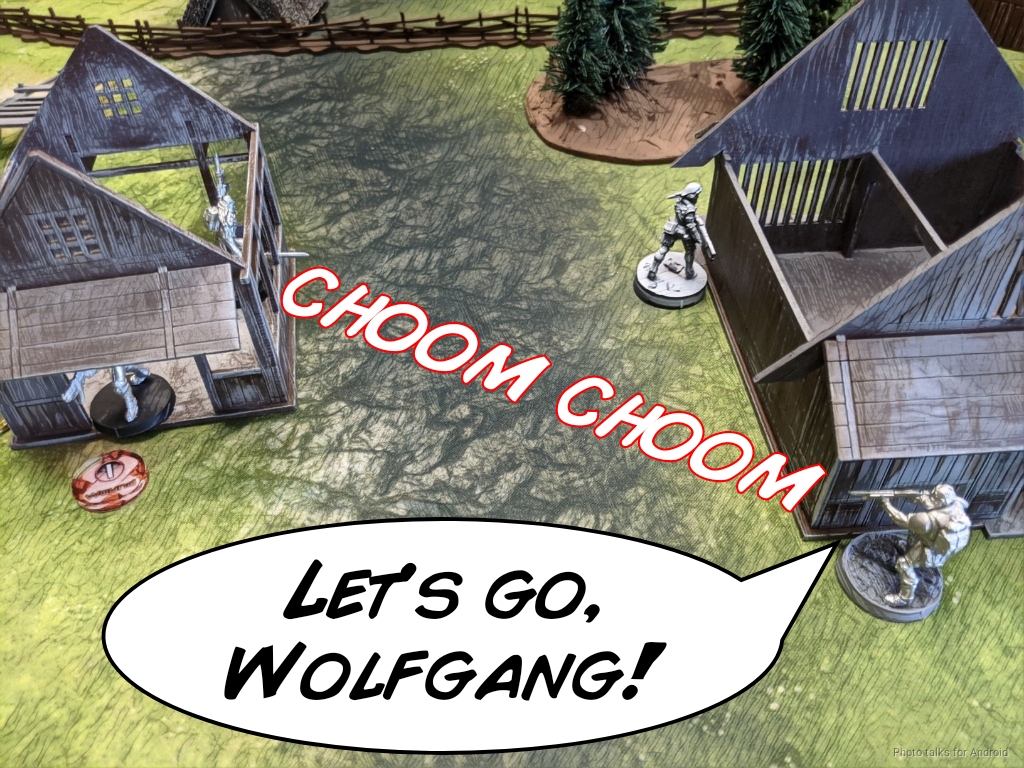
The Zoauve activated next, shooting at the ABH and forcing it into total cover. Another order saw the same result with Wolfgang. That dodge on 17’s is really, really good.
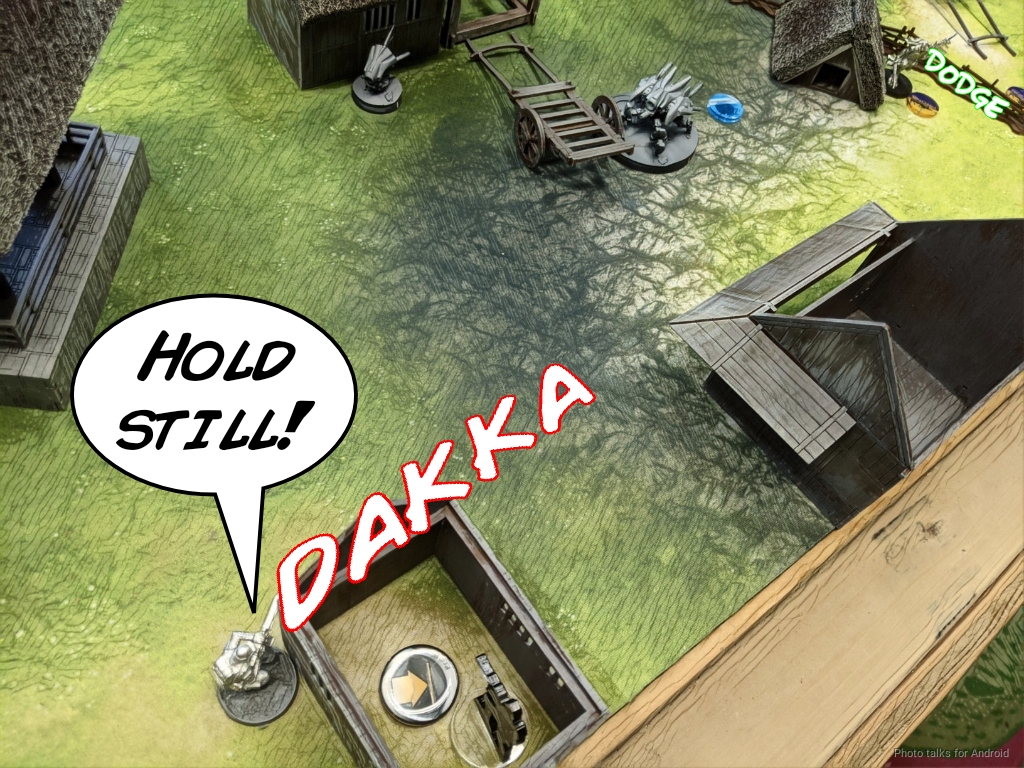
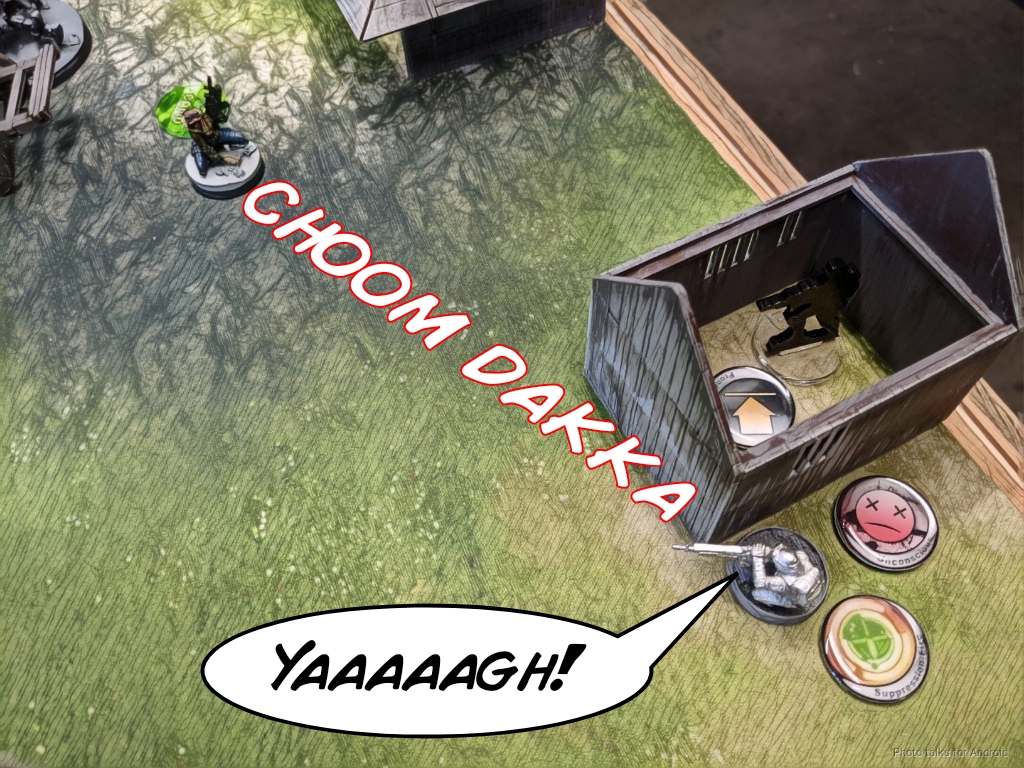
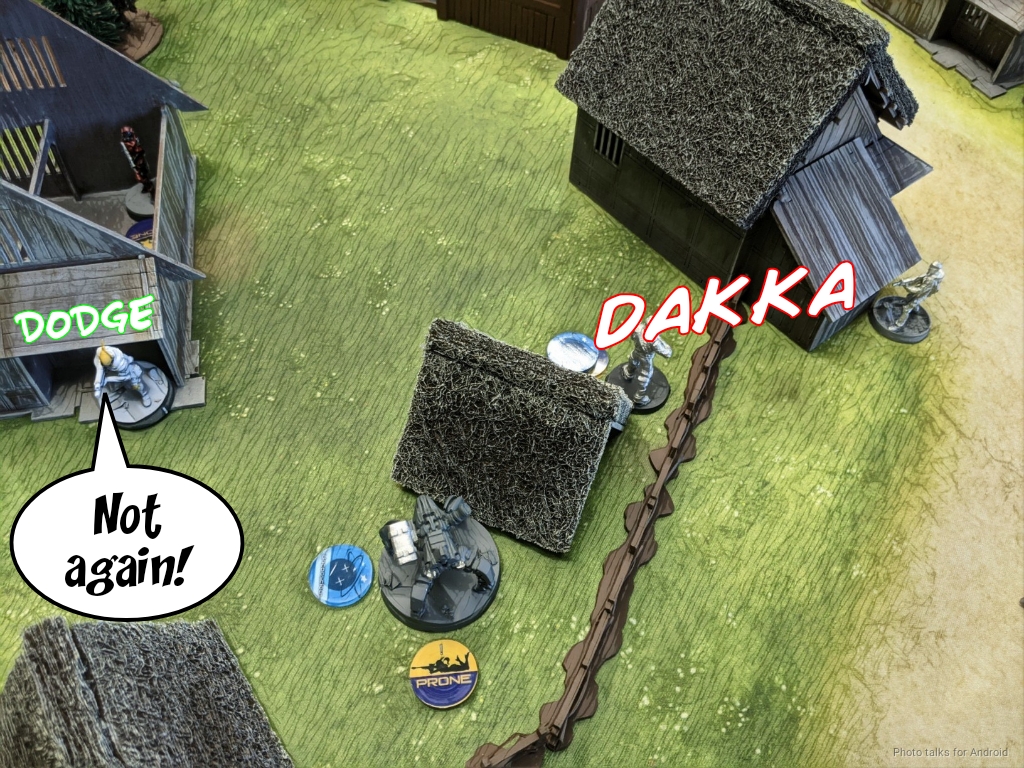
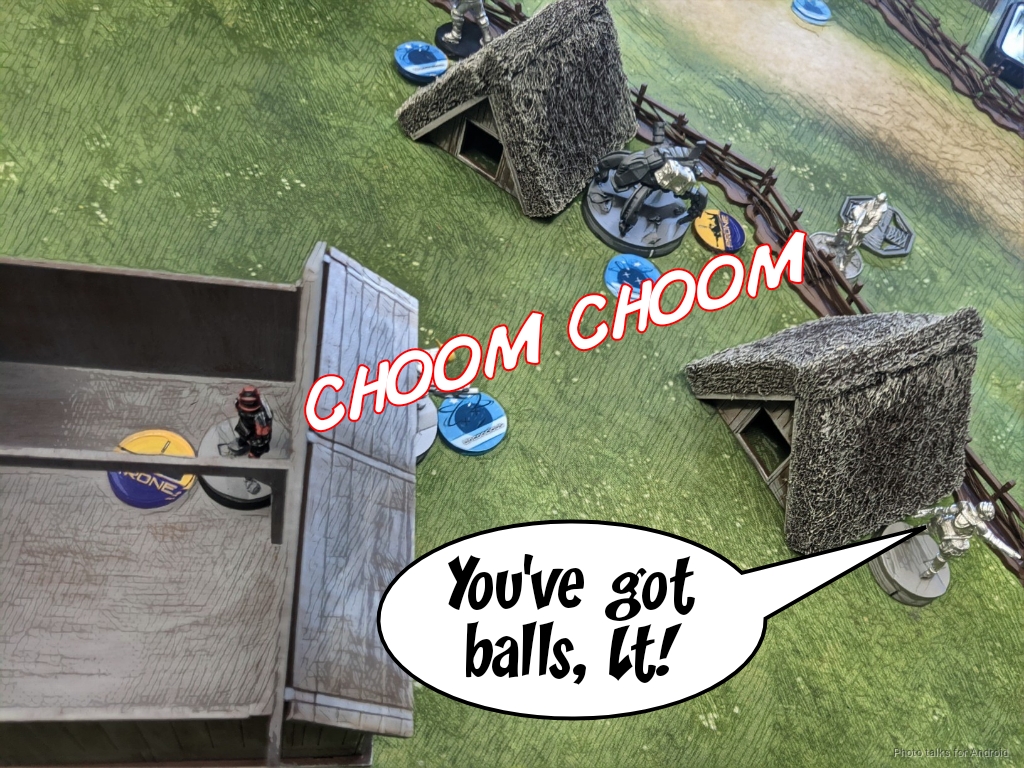
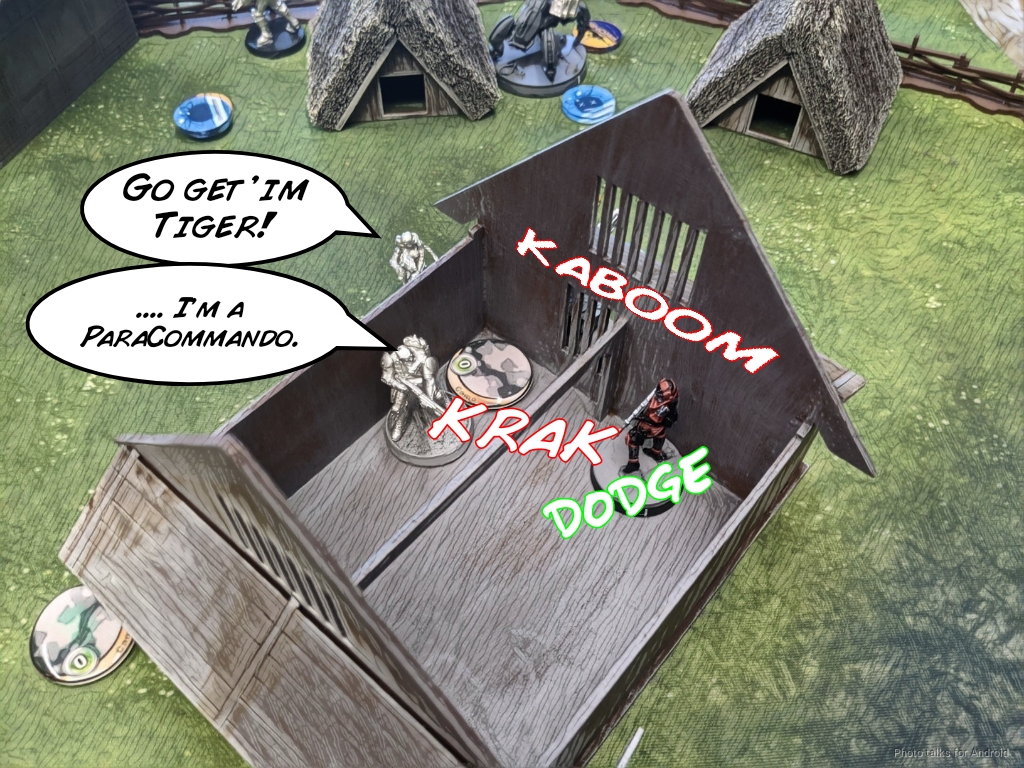
Bruant one-shots the Sierra, as planned, opening the way for a Para-Commando.
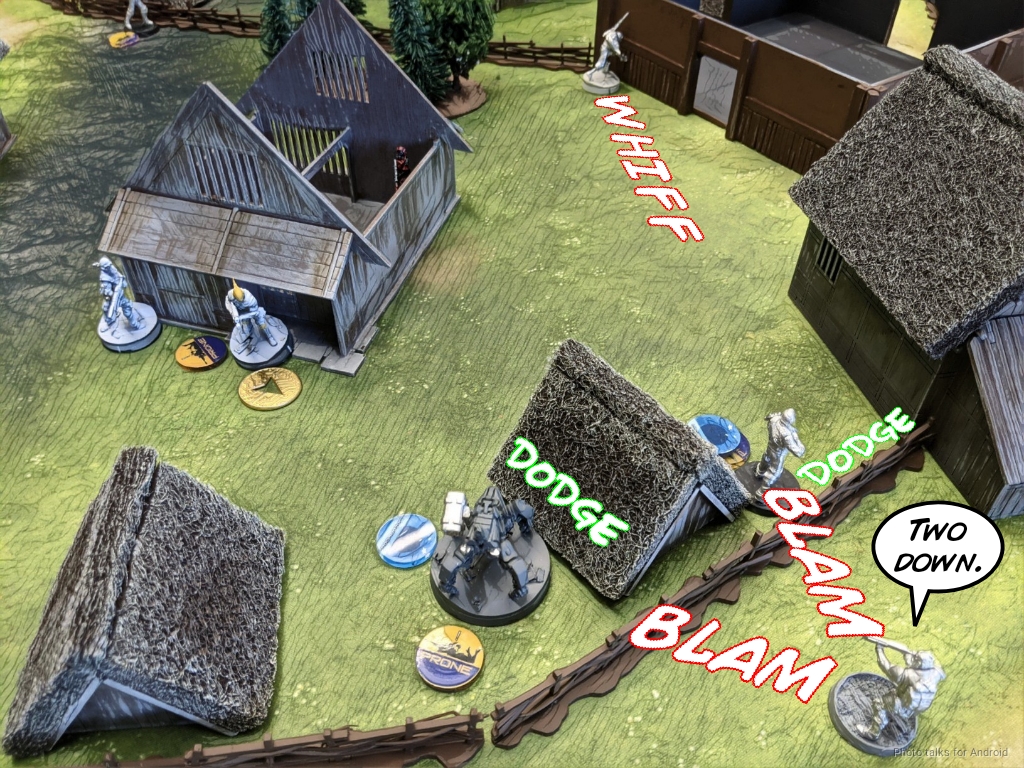
It takes a few orders to get there, but eventually I can see an ABH and the Clipper from behind. I split burst with shotgun slugs against their dodges, and Adam reveals Saito to take a shot, unopposed. I’m confident in Saito being bad at shooting, especially against my Mimetism, and I’m rewarded with a whiff from him and an unconscious Clipper and ABH.
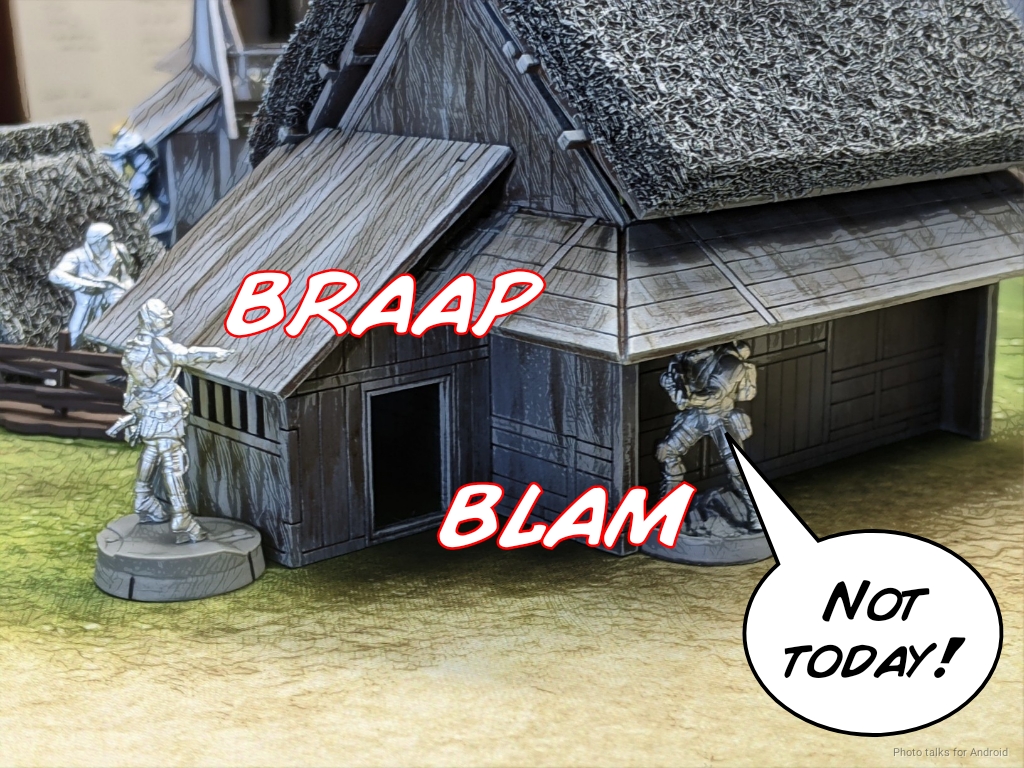
I keep pushing and take down the Druze E/M GL and force the HMG around the corner before leaving the Para-Commando prone and the Zoauve in suppression.
Bottom of 1 – Druze
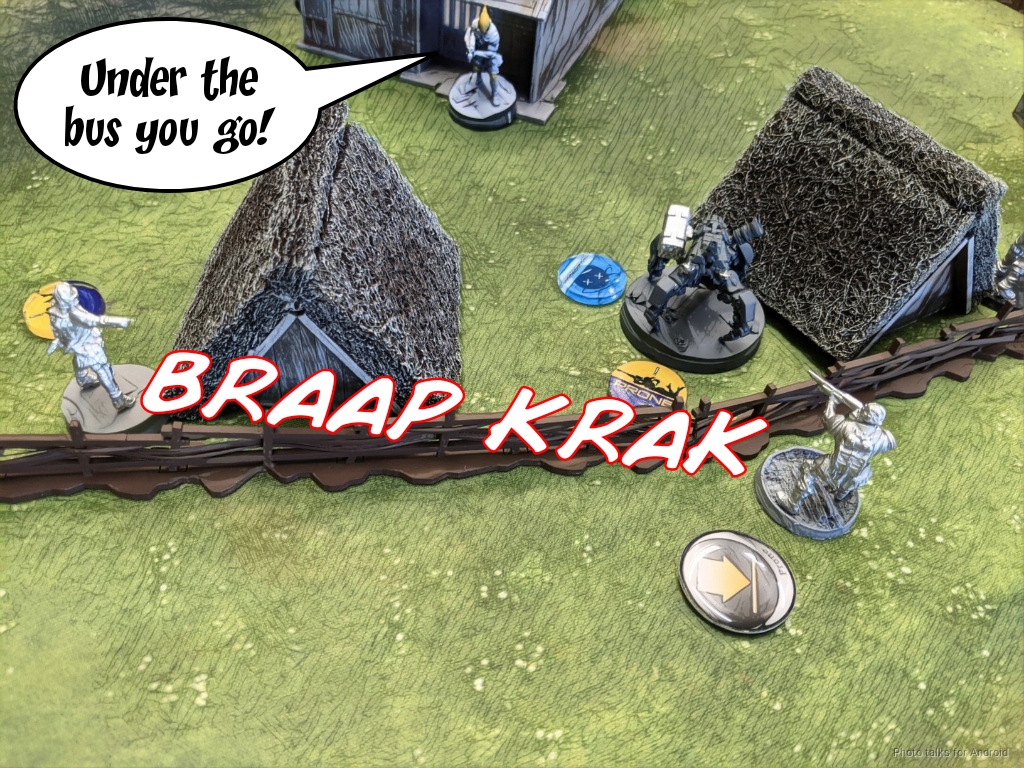
Adam’s in pretty dire straits now–he’s down 3 orders in his first group and 2 in his second. He throws one of his Hunzakuts under the bus to take out the Zouave with shotgun templates. We trade, which I’m okay with.
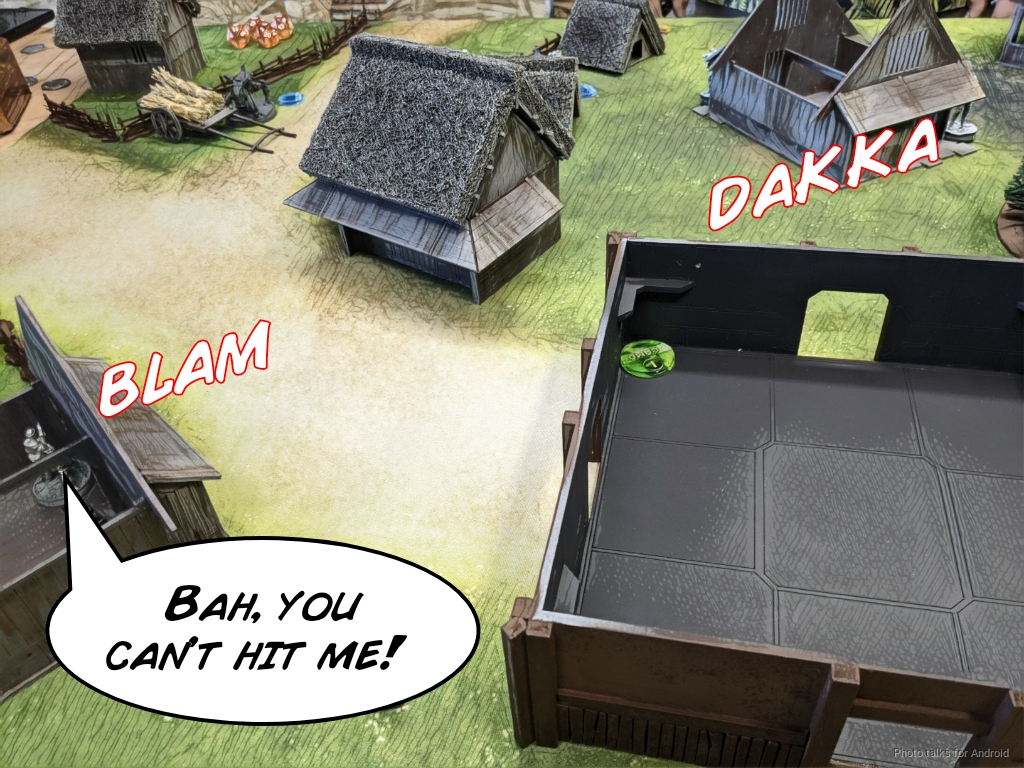
The Druze HMG can see Bruant through a small window, and takes a shot. I get hit, pass ARM, and go prone.
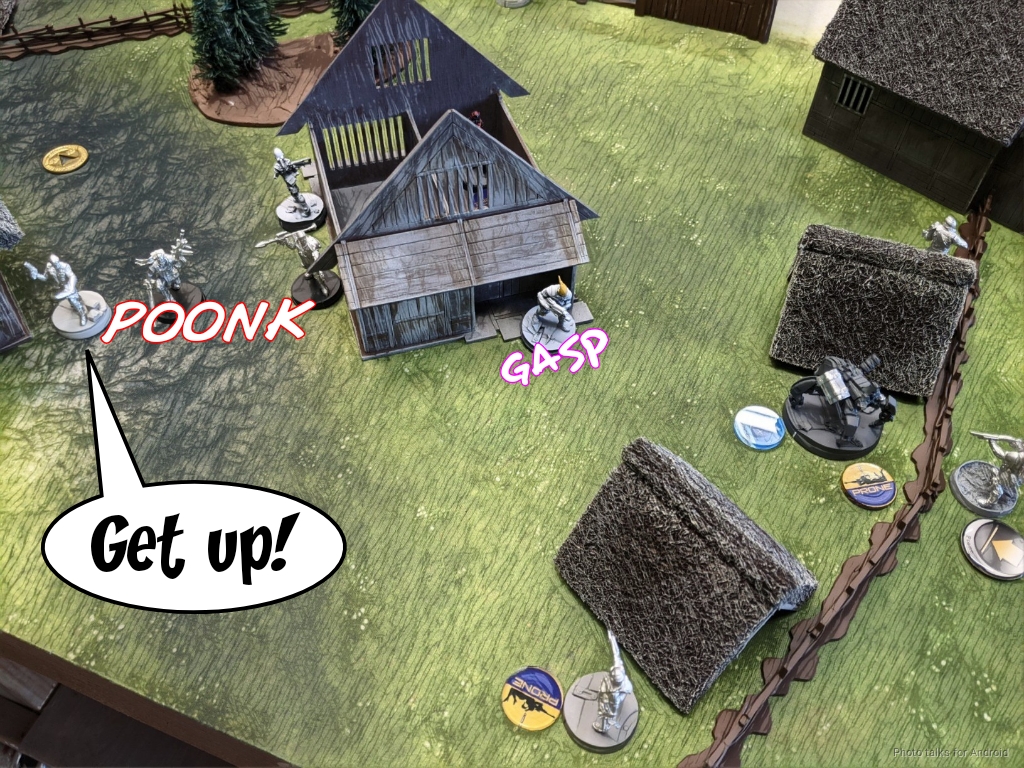
Adam condenses his forces in the center of the table to “circle the wagons” so to speak, and to MediKit the Druze E/M GL back up.
He can’t let me keep the Para-Commando, so he sends in his Brawler Hacker to SMG my trooper down. I’m not sure if I should just template and attempt the trade, or try to shoot back on 15’s versus his 9’s… I decide to shoot back and lose the Para-Commando. This is okay, as I’m only down a Zoauve and a Para-Commando and Adam’s lost most of his list.
Saito re-camos and then Adam passes turn.
Turn 2
Top of 2 – FRRM
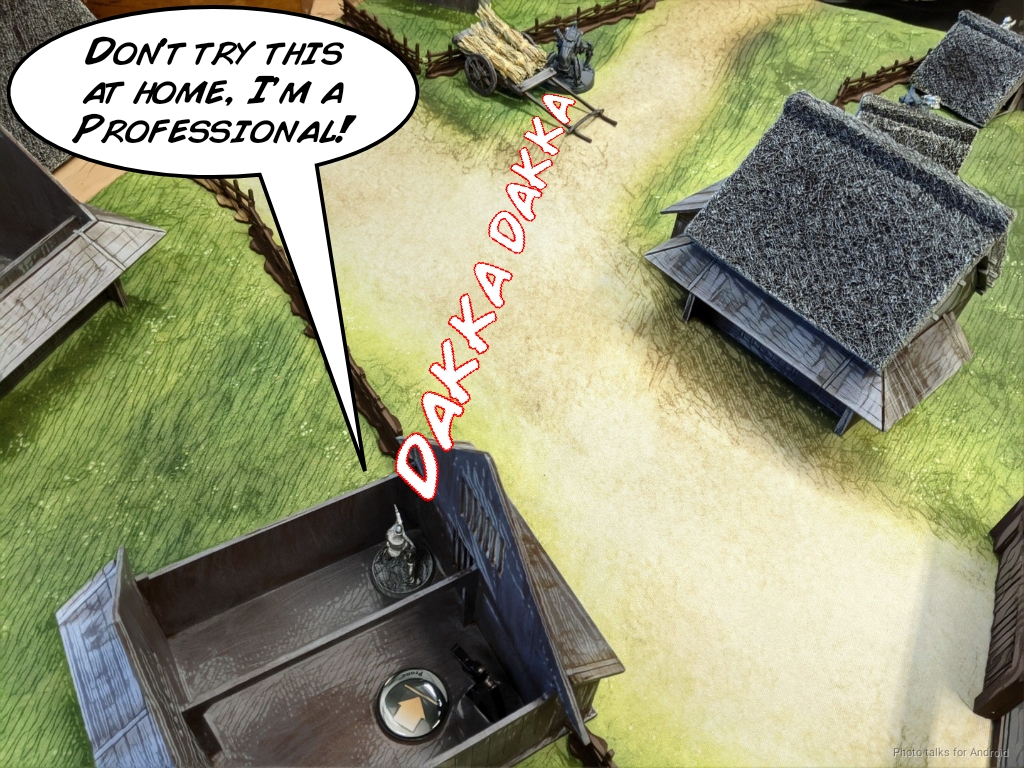
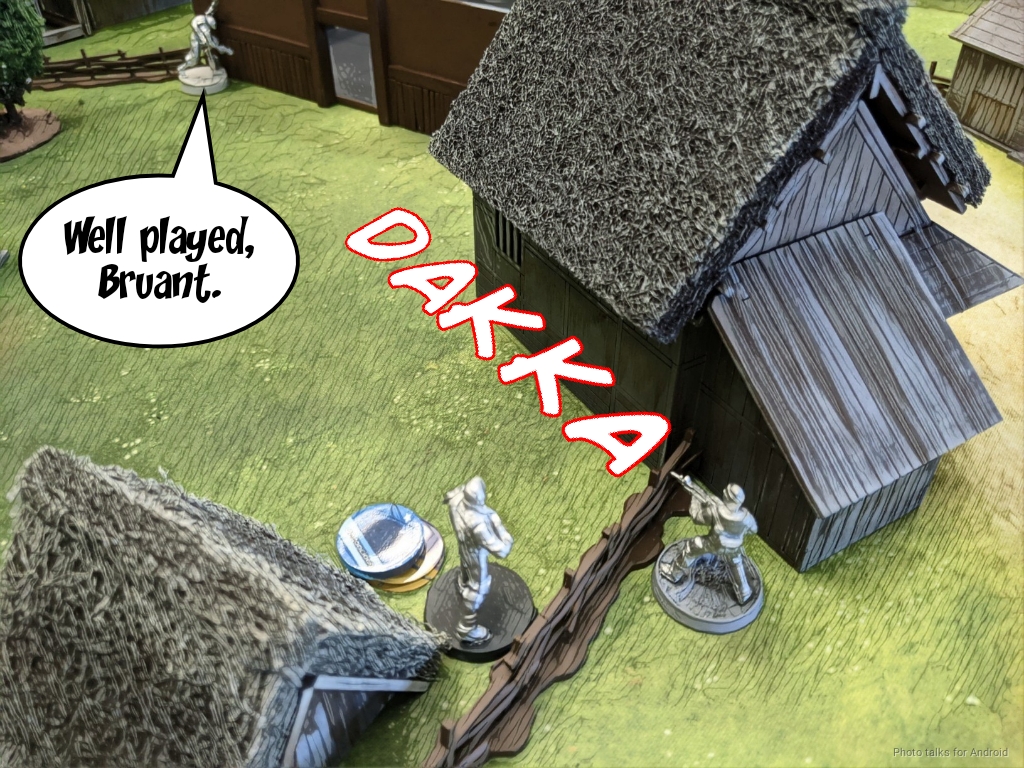
Bruant makes a push, revealing himself to Saito while they’re both out of cover. Saito declines to ARO, and Bruant successfully discovers, ending his move out of LoF. The next target is the re-invigorated Druze E/M GL, which goes down without an issue.
Saito’s next, and also falls to Bruant’s professional fire.
I’ve got two more orders in this group, which I spend taking down the ABH in Adam’s second group and trying to take down Wolfgang, who dodges successfully.
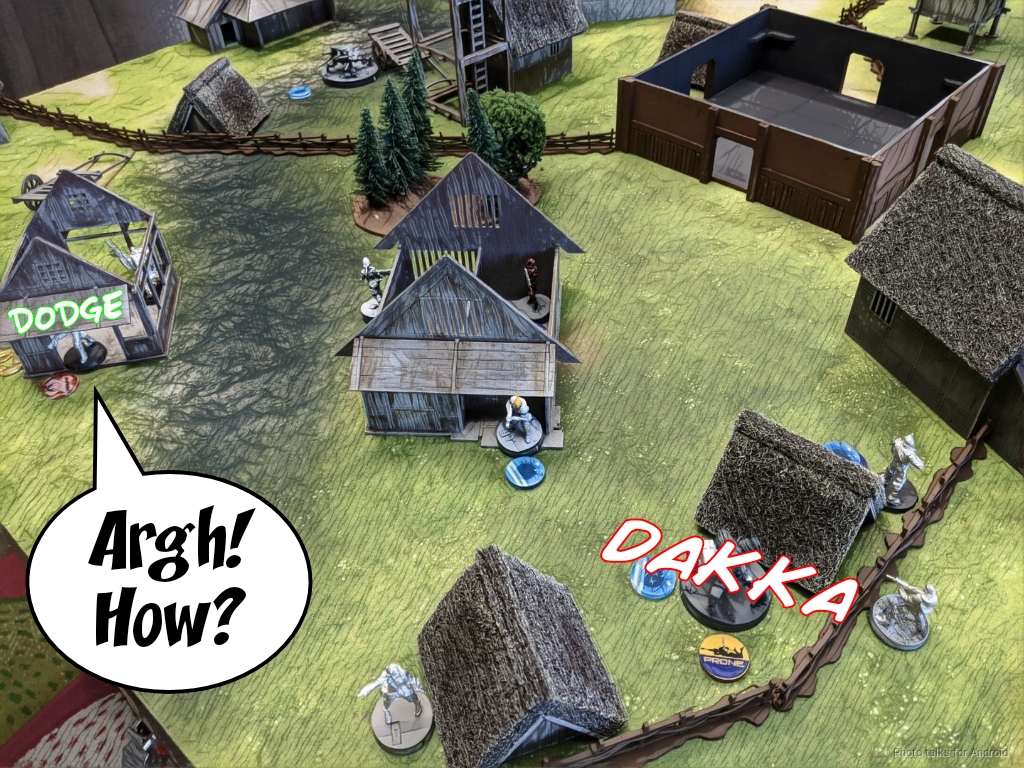
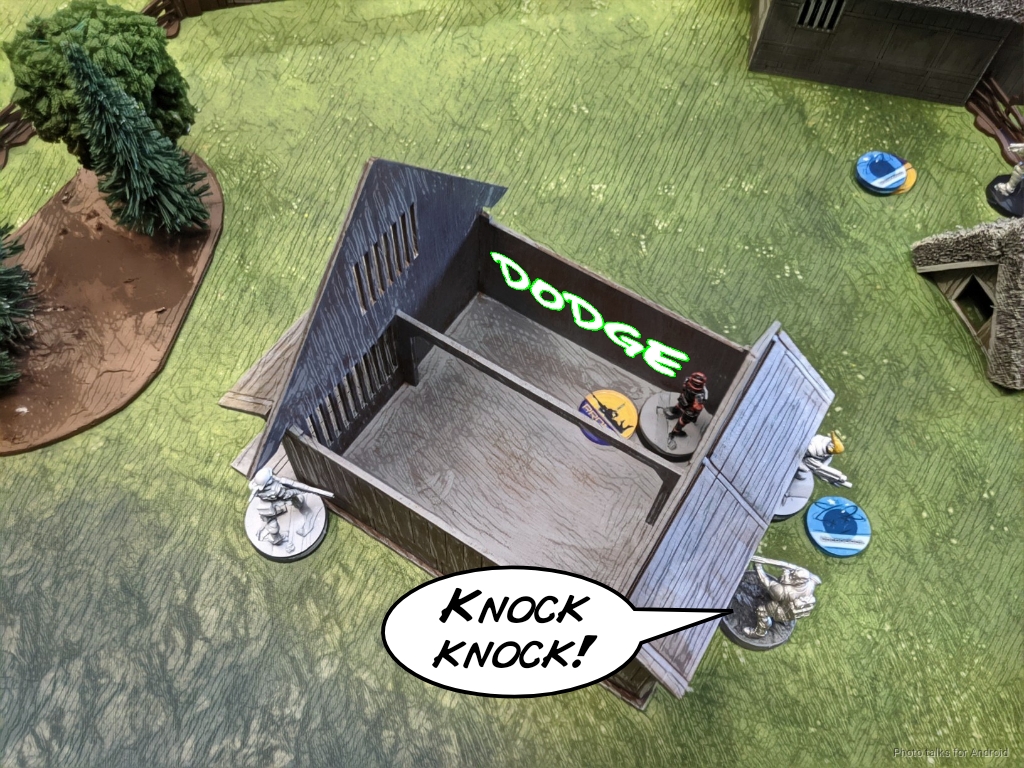
I bring on my Para-Commmando in my second group, drop some mines with my Chasseurs to pin the Hunzakut in the objective room, and the recamo them. The Para-Commando advances to a building to set up for a run on Adam’s Lieutenant on Turn 3.
Bottom of 2 – Druze
Adam gets really ballsy and decides to trade templates with Bruant with his Lieutenant. I fail both ARM saves and Adam passes his. BOO.
Adam then throws his Brawler Hacker under the bus again and goes after the Para-Commando. I dodge away to make him spend more orders, which means that Adam’s last order is spent shooting the SMG at the Para-Commando. I decide to gamble again, this time on 18’s versus Adam’s 12’s as he moved to get us both out of cover.
I’m rewarded with a 17, and Adam’s Brawler goes down.
Turn 3
Top of 3 – FRRM
I push my Para-Commando towards the building where his Lieutenant is, setting up for an attack run.
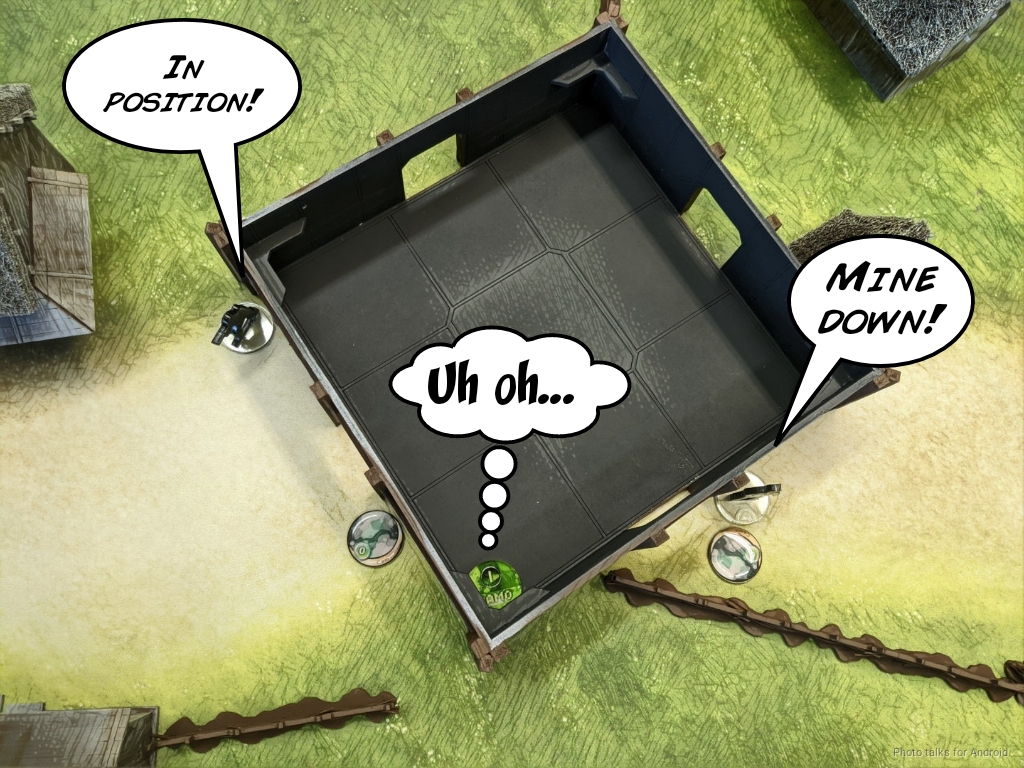
My Chasseur drops a mine covering his Druze HMG in case I have the option to go after it later…
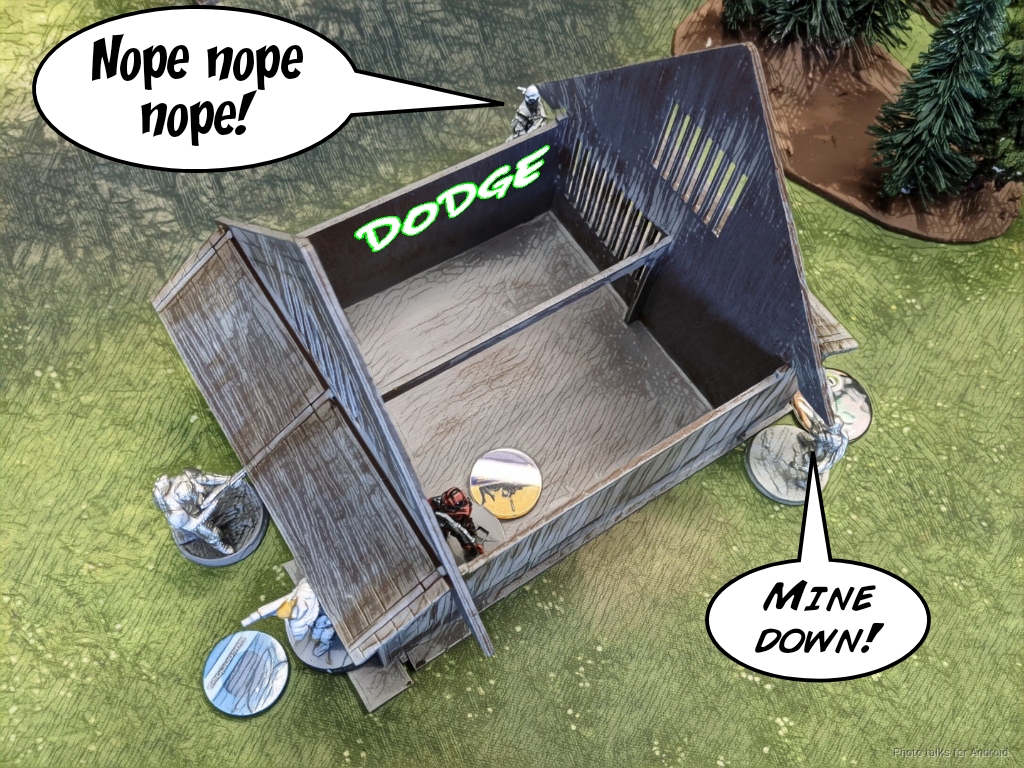
and then sets up a mine in the building. The Para-Commando hops over the mine and and blasts the Brawler down.
I’d rather go after Wolfgang than the Druze HMG, so I spend my last two orders trading templates with him.
The first order sees me do a wound and pass my ARM save, and the second sees both of us go down.
Bottom of 3 – Druze
Adam’s basically out of options, so he tries to trade a Hunzakut for a Chasseur. I dodge successfully, and that’s game.

Adam’s got 46 points remaining at this point, and I have 193, making it a
9-1 Force de Response Rapide Merovingienne Victory!
Post Game Analysis
We did some discussion after the game, it really boiled down to:
- Peacemaker deployment was vulnerable, as discussed earlier.
- Sierra needed more support–just the Clipper standing would probably have done it, plus maybe the ABH standing in the core.
Given that most of the problem was the Para-Commando coming up and just deleting three models, I think that would have forced me to engage the Clipper/ABH with Bruant. Similar outcome but then I wouldn’t have had the orders to go after the Druze E/M GL, and not having the pressure of the Para-Commando right there would’ve helped Adam some.
I suppose he would still have had to honor Mirage-5 then though, which may have shaped his turn a little.
Absolutely brutal game. I didn’t annotate the crits that happened, as it was just massive overkill on some units, but there were quite a few in my favor this game. As far as notes for me go, I think I should have spent an order pushing the Briscard HRL out to ARO stuff, which would potentially have helped me defend against the Brawler Hacker pushing up at the bottom of 2. I was just so focused on raw aggression that it was hard to find the orders to do it.
I do think the table is working as intended and is quite fun to play on. Once Adam finishes up the scatter for the interior of the objective room, we’ll be in business. Thanks for reading!