
Lazy Rasyat
After a few months away from Infinity, I managed to get a few games in with one of our locals. With my work on Jovian Wars and Late Night Wargames, Infinity for better or for worse has become a secondary game for me. In reality, all games have become “secondary games,” but that’s a longer story.
The immediate implications of this are that I’m started the process of liquidating a lot of my Infinity armies, and Erik (Zelaponeepus) is the proud? recipient of all of my Combined Army. Needless to say, when any of us get a completely new vanilla army, I’m sure we’d immediately want to put it on the table, so I was only too happy to oblige him.
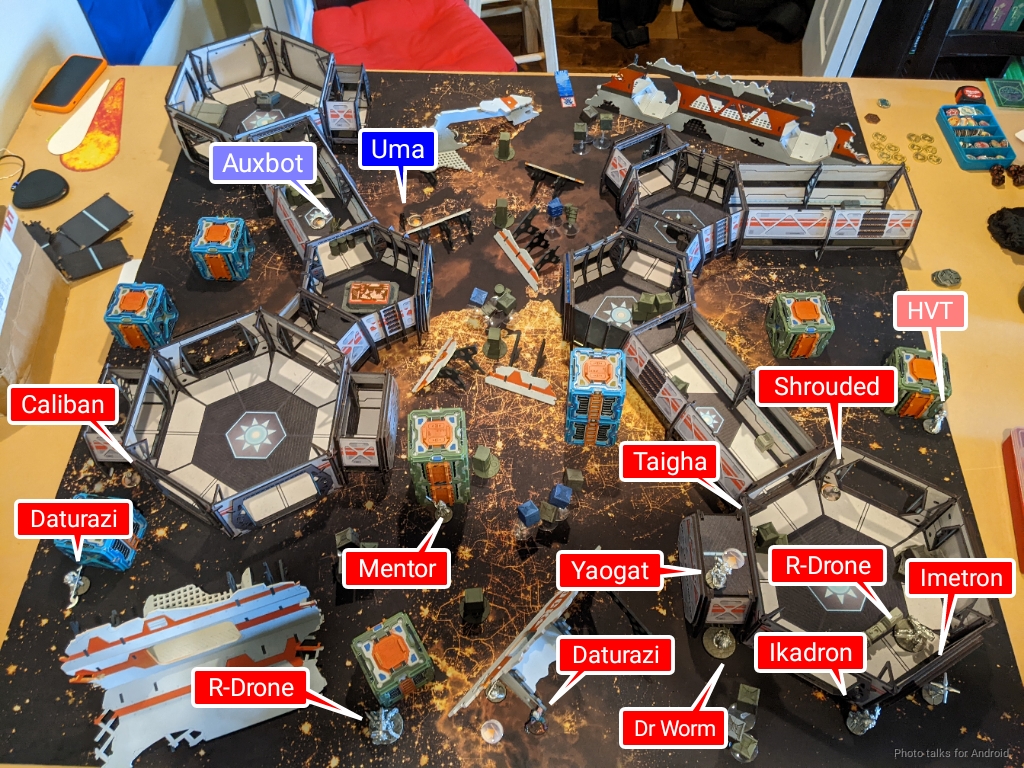
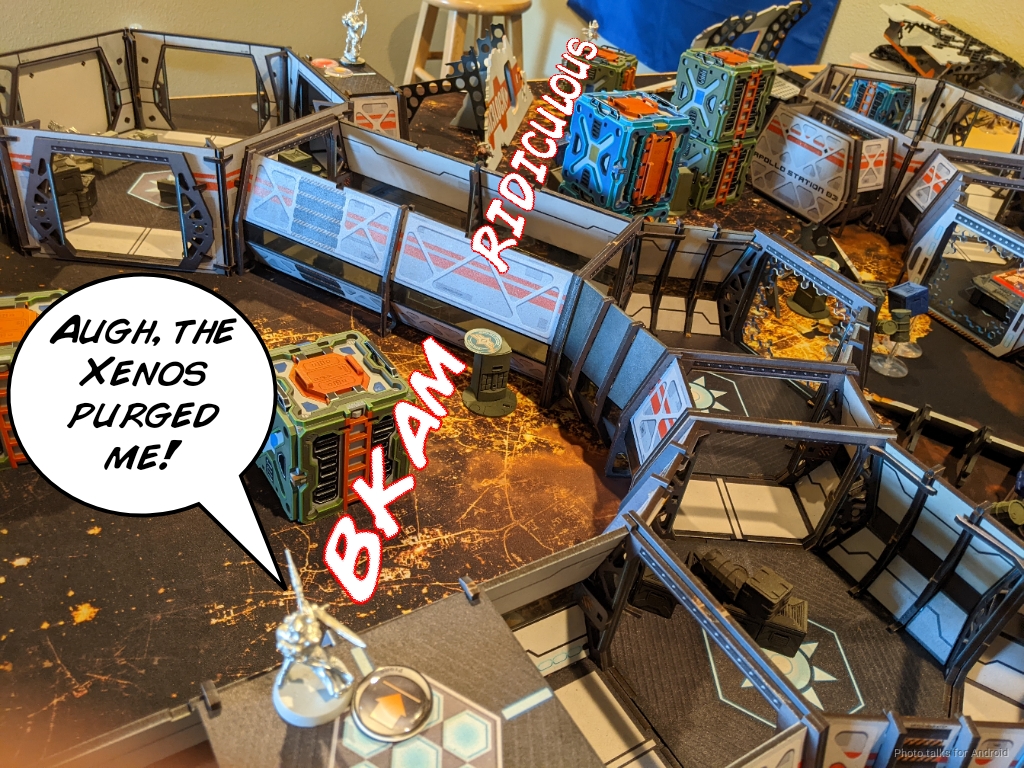
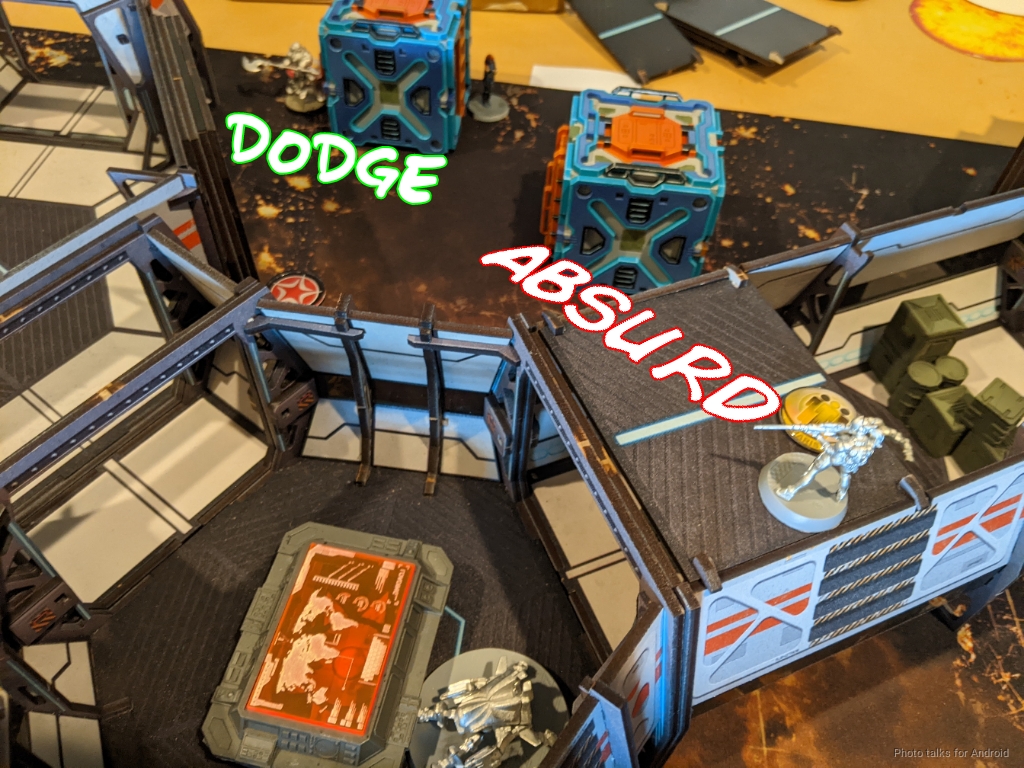
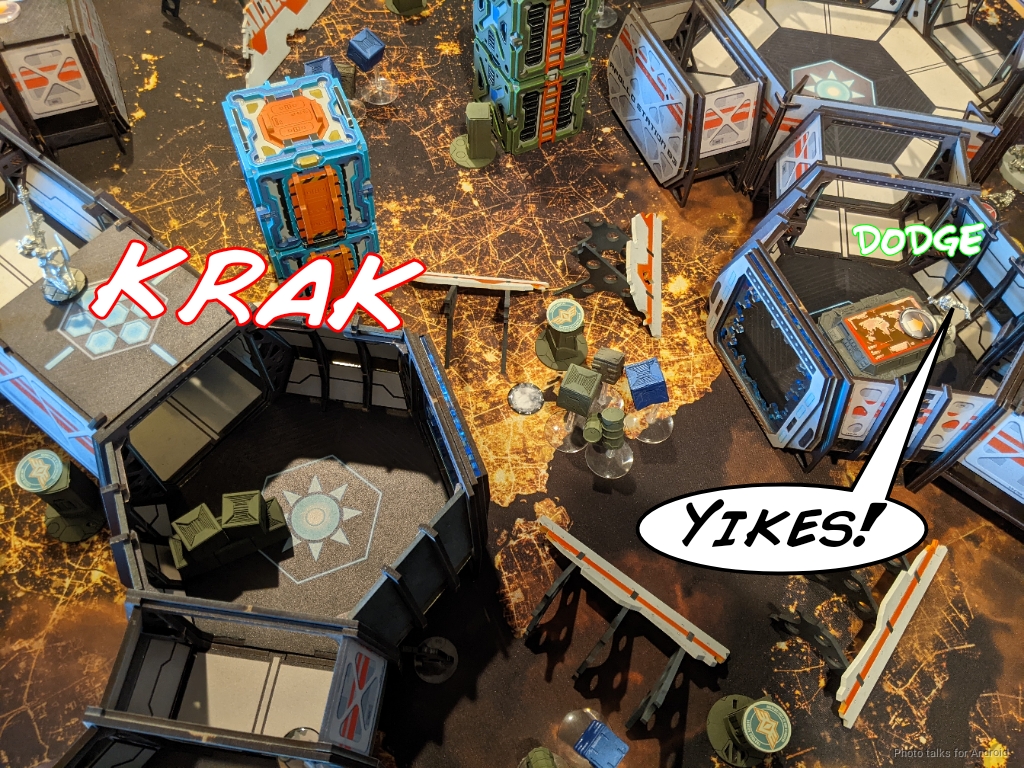
We scheduled a play date for the “big kid” in my house for Erik to pick up his new Combined Army and for me to play an out of print army (which means I can’t buy any more models!), in this case NCA. I’ve got a few different tables available to me, so I broke out the space station table by Erik’s request:
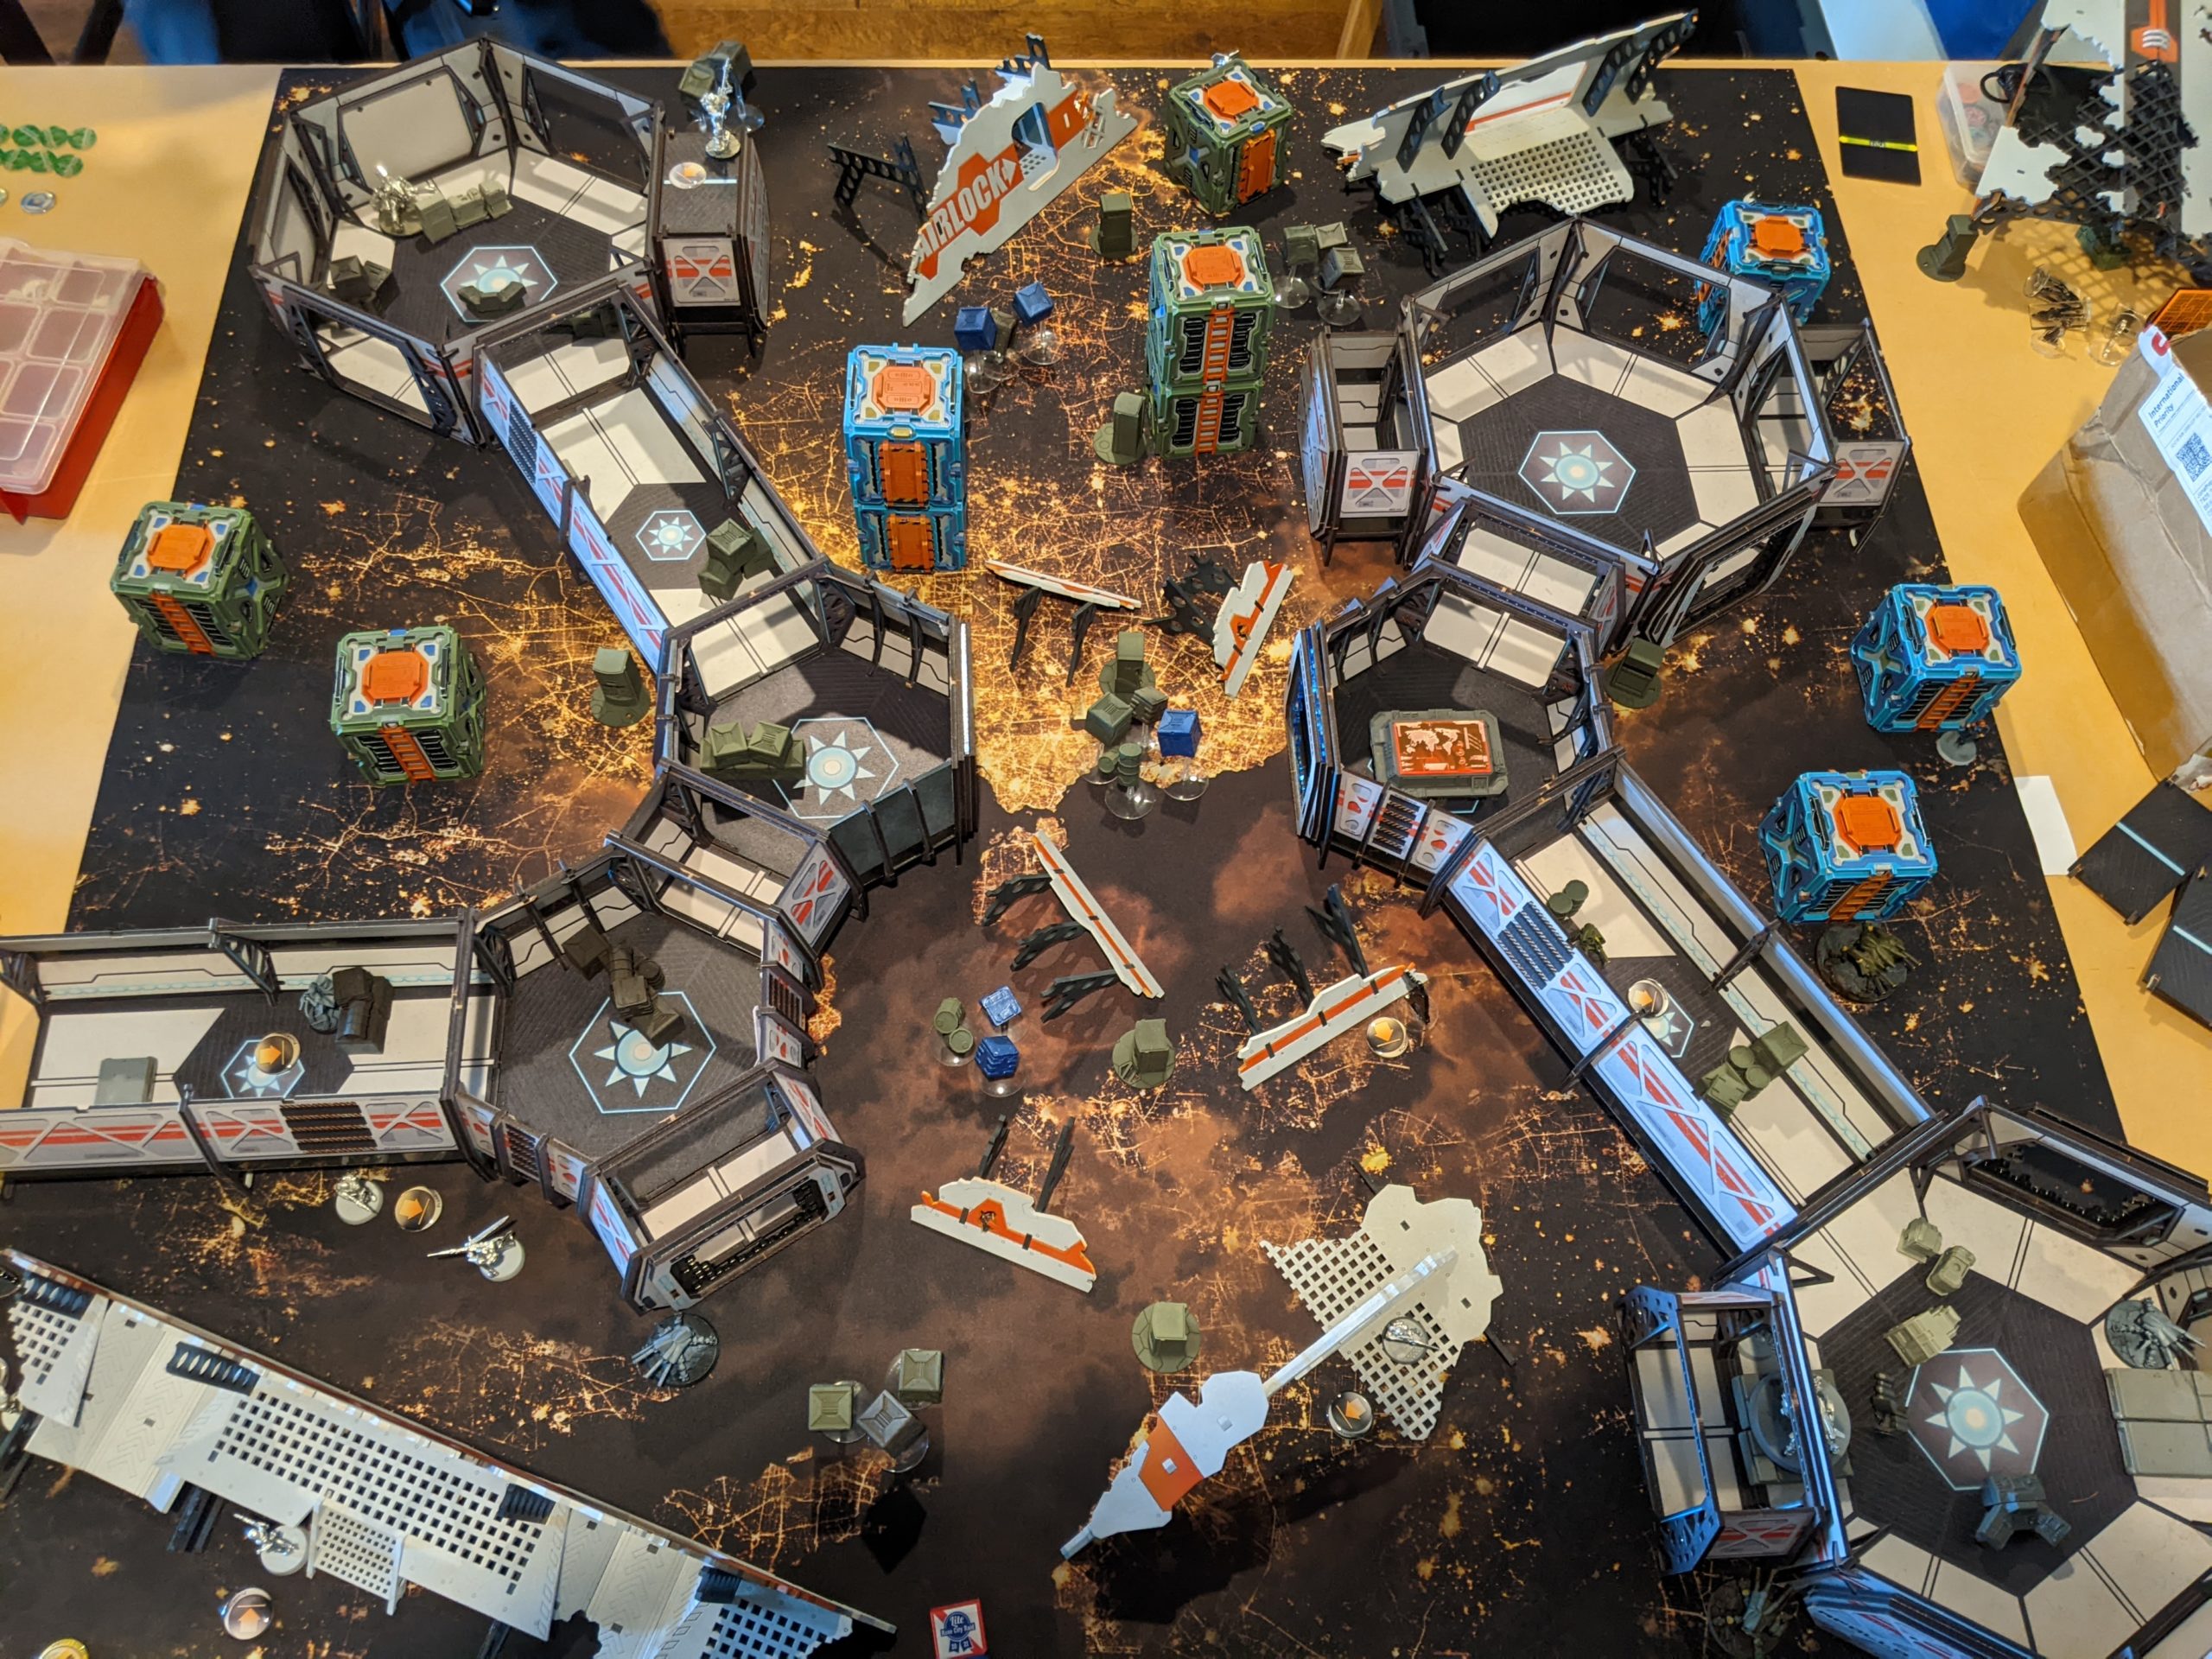
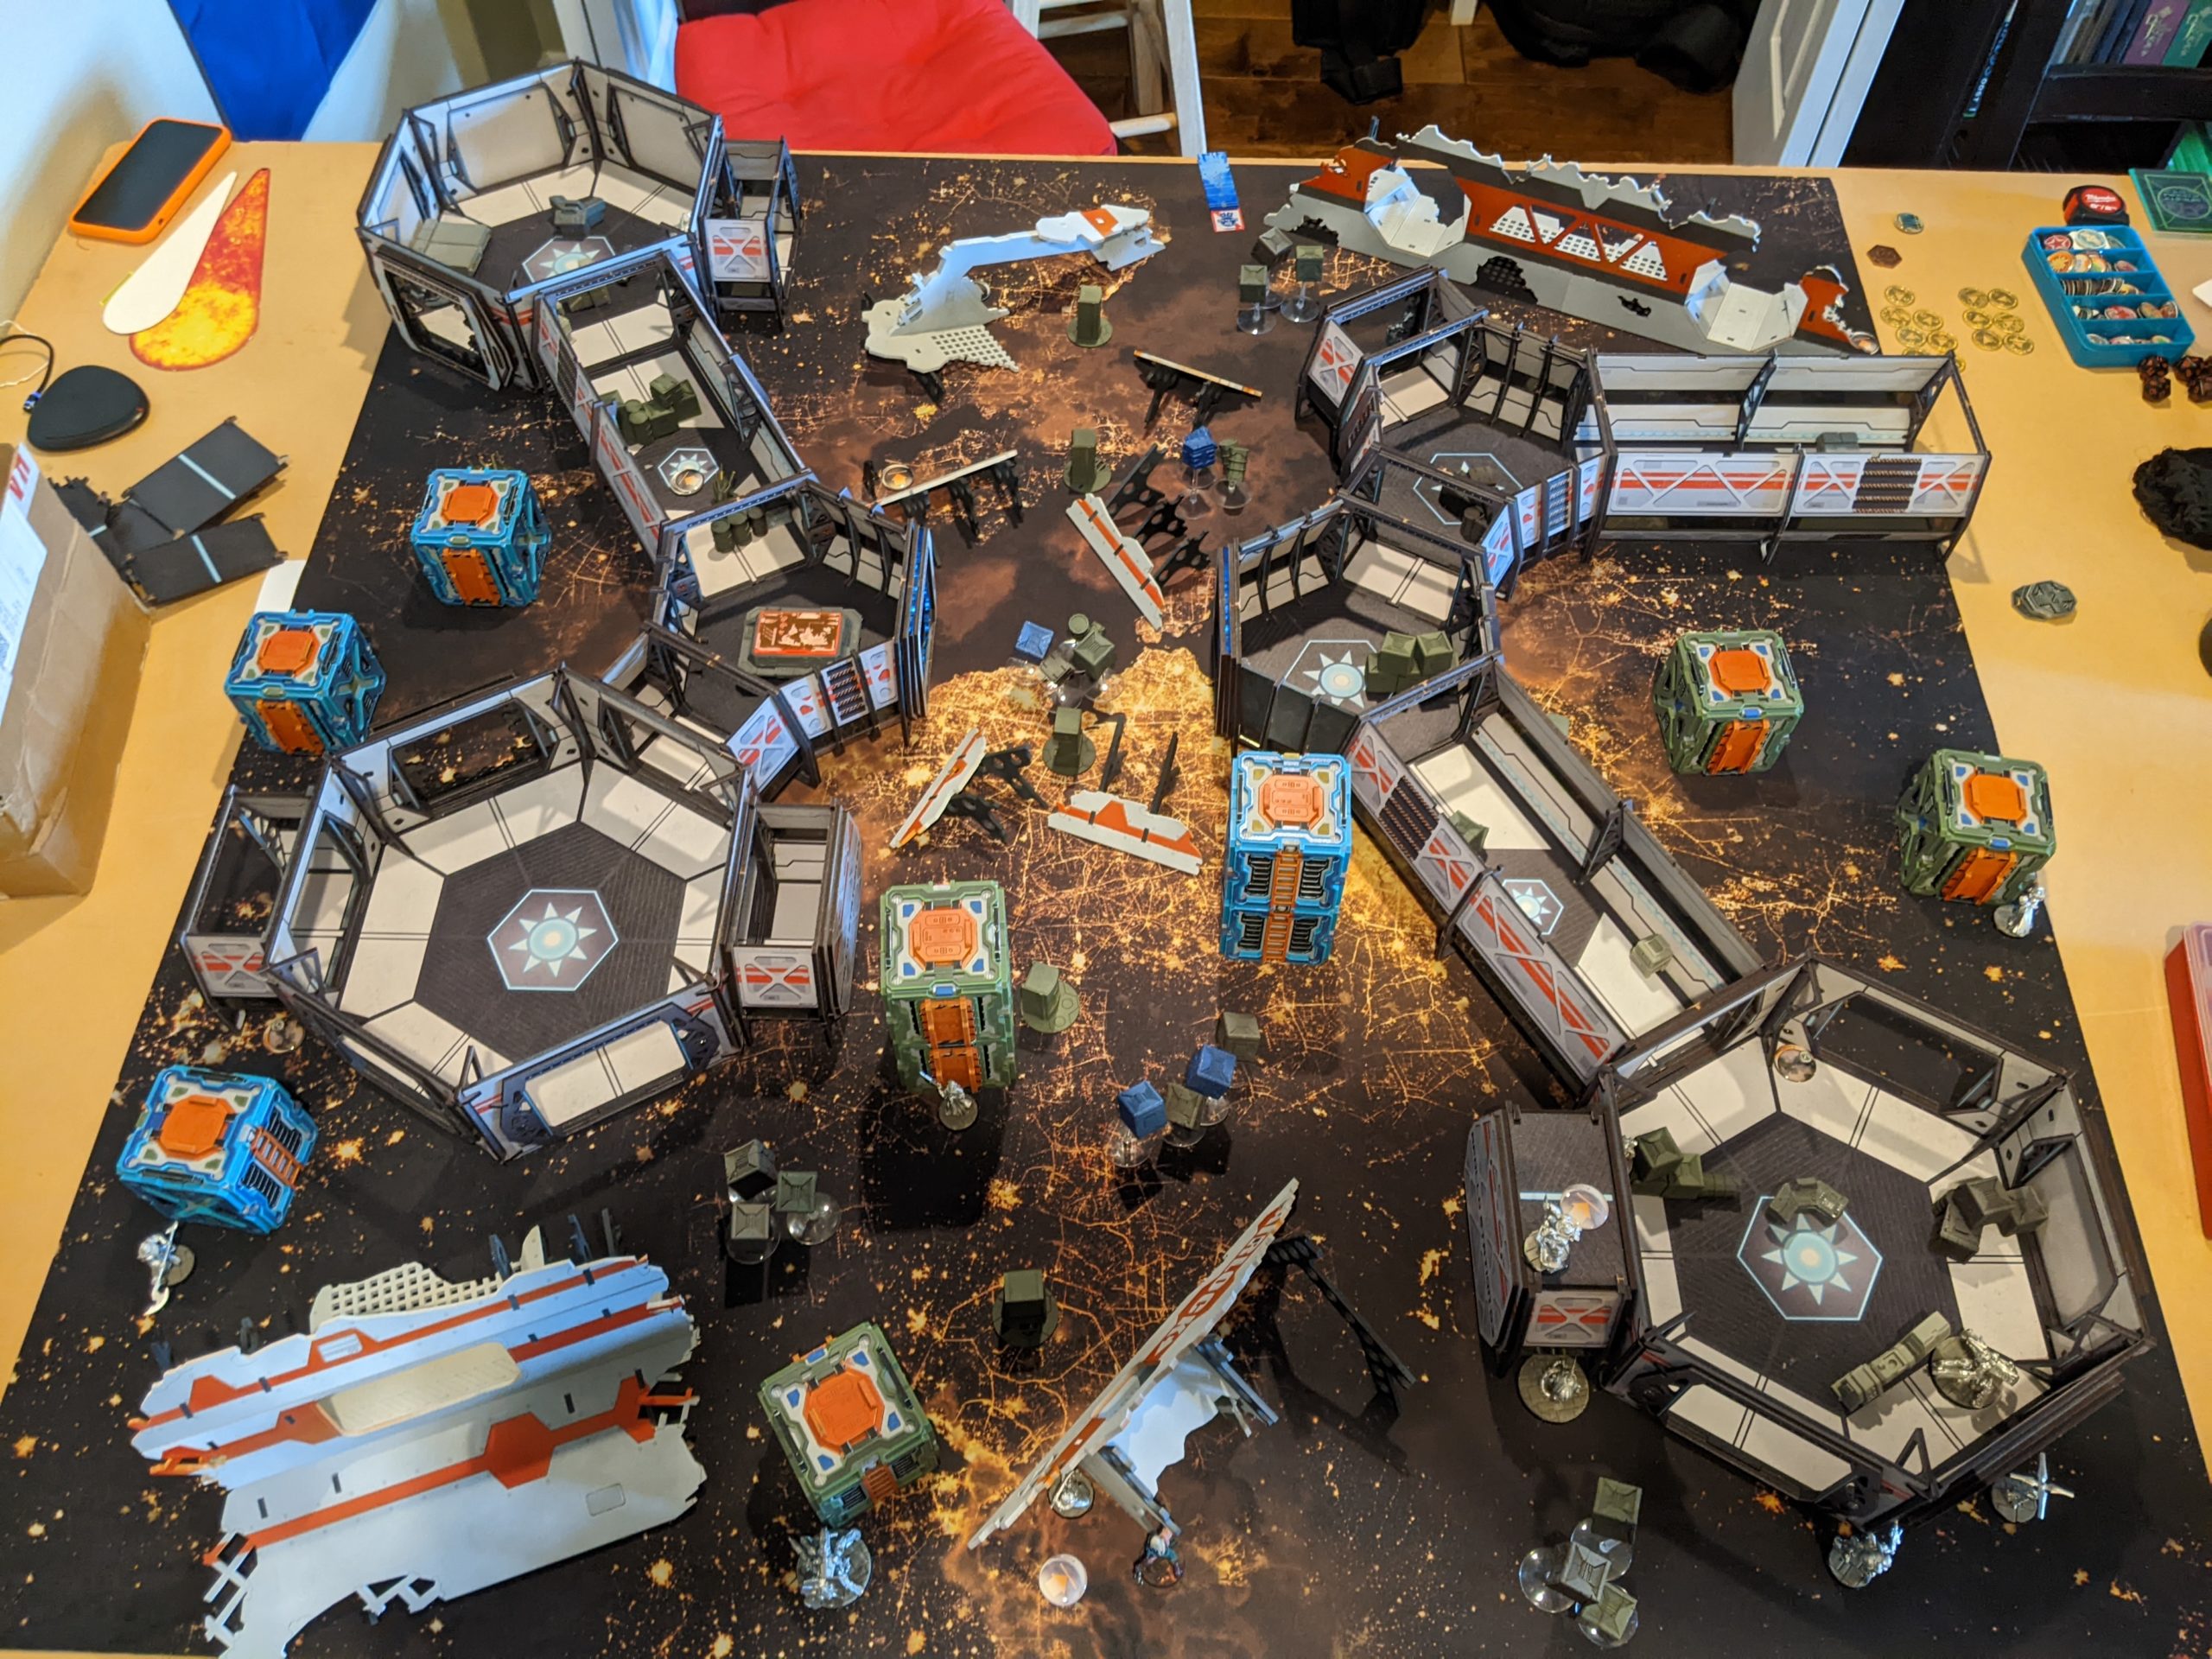
I’m experimenting with a new layout for the table, breaking it up into two separate corridor zones. The narrative has always been that a ship crashed into a station and created a debris field, so I split the corridors as if that was the part that got smashed. It does create some interesting little pocket regions of the board, necessitating crossing over the corridors or through part of them at least.
Overview
As I’ve said before, I’m not really interested in tailoring my list building to a single mission, it’s just unfun to me, so Erik and I agreed to prep a list that could cover Frontline, Frostbyte, and Unmasking, and we’d just roll for the mission at the table.
- Mission: Frostbyte
- Forces: Neoterran Capitaline Army versus Combined Army (300)
- Deploy First: NCA
- First Turn: NCA
This is what I came up with:
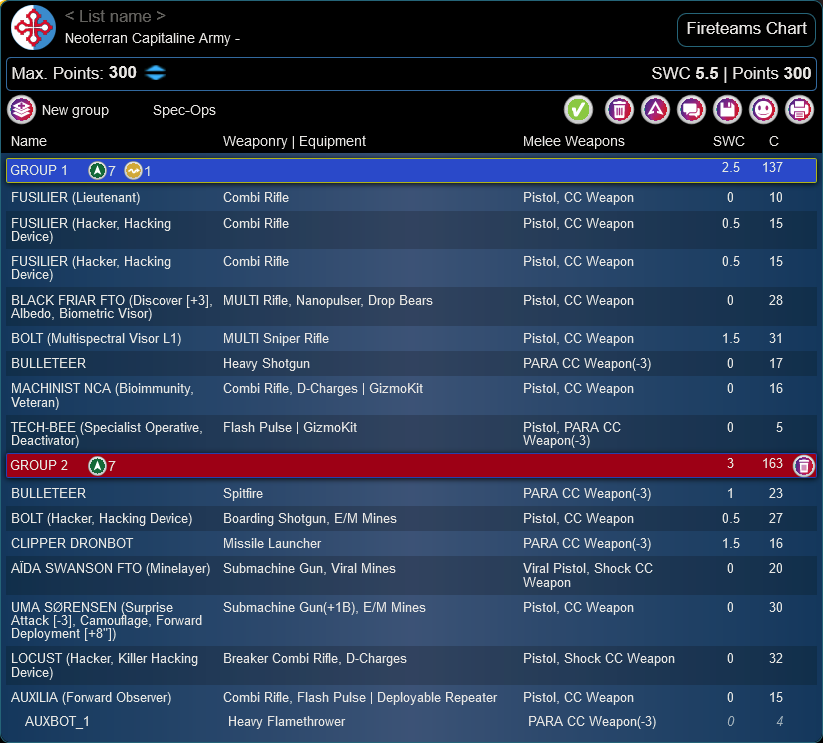
Neoterran Capitaline Army
GROUP 1
7
FUSILIER (Lieutenant) Combi Rifle / Pistol, CC Weapon. (0 | 10)
BLACK FRIAR FTO (Discover [+3], Albedo, Biometric Visor) MULTI Rifle, Nanopulser, Drop Bears ( ) / Pistol, CC Weapon. (0 | 28)
GROUP 2
BOLT (Multispectral Visor L1) MULTI Sniper Rifle ( ) / Pistol, CC Weapon. (1.5 | 31)
MACHINIST NCA (Bioimmunity, Veteran) Combi Rifle, D-Charges ( | GizmoKit) / Pistol, CC Weapon. (0 | 16)
BULLETEER Spitfire / PARA CC Weapon(-3). (1 | 23)
PEACEMAKER Heavy Shotgun / PARA CC Weapon(-3). (0 | 20)
AUXBOT_3 Heavy Flamethrower / PARA CC Weapon(-3). (0 | 4)
UMA SØRENSEN (Surprise Attack [-3], Camouflage, Forward Deployment [+8″]) Submachine Gun(+1B), E/M Mines / Pistol, CC Weapon. (0 | 30)
CLIPPER DRONBOT Missile Launcher / PARA CC Weapon(-3). (1.5 | 16)
SWISS GUARD (Hacker, Hacking Device) MULTI Rifle ( ) / Pistol, AP CC Weapon. (0.5 | 61)
FUGAZI DRONBOT Flash Pulse / PARA CC Weapon(-3). (0 | 7)
AÏDA SWANSON FTO (Minelayer) Submachine Gun, Viral Mines / Viral Pistol, Shock CC Weapon. (0 | 20)
5.5 SWC | 299 Points | Open in Infinity Army
The entire reason I play NCA is because of Bolts. I like all the other things in there, but I’ve always loved the Bolt models and kit, even before they “got good.” Yes yes, hipster alert, I know. In any case, that meant I had to take my favorite Bolt profile, the Bolt MSR. I’ve really been enjoying being very aggressive with the MSR–it’s got fantastic rangebands and can do some serious damage in the midfield, which meant I needed to have some close in fighting power for the under 16″ problems. I decided to take the Bulleteer Spitfire, which meant throwing in the Machinist was a natural 3rd for the Haris.
With the new link team rules, I decided just having a core of Fusiliers sitting in the back doing nothing was an easy way to cram a cheap and safe-ish lieutenant option in my list. I didn’t want it to be a totally useless order battery though, and with all the bots (and all the repeaters) that I was taking, it was a natural step to throw in two Fusilier hackers. This in turn necessitated throwing in a 4th fireteam member to get that all important Sixth Sense for my hackers, so I put in a Black Friar with MULTI Rifle for that sweet sweet Albedo.
I had planned on stopping there, and threw in a Sierra TR bot for some board presence, but then I realized that I could also fit a Swiss Guard hacker in there if I “downgraded” the Sierra to a Clipper missile bot. I was only planning on spotlighting or hacking whatever HI/TAG/REM stuff Erik threw my way, but it was just too easy to take the Clipper that I did.
Aida and Uma rounded out my midfield package, which started with a Peacemaker for more repeater coverage as well as the Auxbot’s flamethrower. Uma’s been universally panned I think by most people I’ve talked to. I’ve always liked her, but I do think she was a bit pricey in the past. Now that she’s broken up her gun package into two different options (SMGs or Breaker Combi) it is a little more affordable on a per-profile basis, so she’s easier to include. Getting Specialist Operative is definitely worthwhile, as well. Aida is pretty self-explanatory, giving Minelayer and the all-important viral source for the Ariadna matchup.
Regarding the missions, I figured Uma can just solo Unmasking, with all the other stuff in support. For Frostbyte, Aida is my Snow Ops, and she just stays hides the whole time till turn 3. Frontline is more straightforward, i just PanO things and do classifieds, then deliver the Swiss to the sector that needs the points.
Erik threw together this Combined list which definitely isn’t how I’d run things, but I think it really just comes down to what he liked of what I had assembled.
Sure???
GROUP 1GROUP 2
ÍMETRON . (0 | 4)
IKADRON (Baggage, Repeater) Light Flamethrower(+1B), Flash Pulse / Pistol, PARA CC Weapon(-3). (0 | 9)
R-DRONE Flash Pulse / PARA CC Weapon(-3). (0 | 7)
SHROUDED (Hacker, Killer Hacking Device) Combi Rifle, Shock Mines ( ) / Pistol, CC Weapon. (0 | 25)
MENTOR (Hacker, Hacking Device) Boarding Shotgun ( ) / Pistol, CC Weapon. (0.5 | 28)
YAOGAT MULTI Sniper Rifle(+1B) / Heavy Pistol, CC Weapon. (1.5 | 35)
SHESKIIN BOARDING (Lieutenant) Red Fury, Pulzar, D-Charges / Pistol, DA CC Weapon. (1.5 | 63)
MED-TECH OBSIDON MEDCHANOID Combi Rifle, D-Charges ( | GizmoKit, MediKit) / Pistol, CC Weapon. (0 | 22)
CALIBAN (Chain of Command) Submachine Gun, Pulzar, D-Charges / Pistol, CC Weapon. (0 | 29)
RASYAT Spitfire, D-Charges, Eclipse Grenades / Heavy Pistol, DA CC Weapon. (1.5 | 37)
1
3
5 SWC | 300 Points | Open in Infinity Army
DĀTURAZI Chain Rifle(+1B), Grenades, Smoke Grenades / Heavy Pistol, DA CC Weapon. (0 | 14)
TAIGHA Chain-colt / DA CC Weapon. (0 | 6)
Deployment
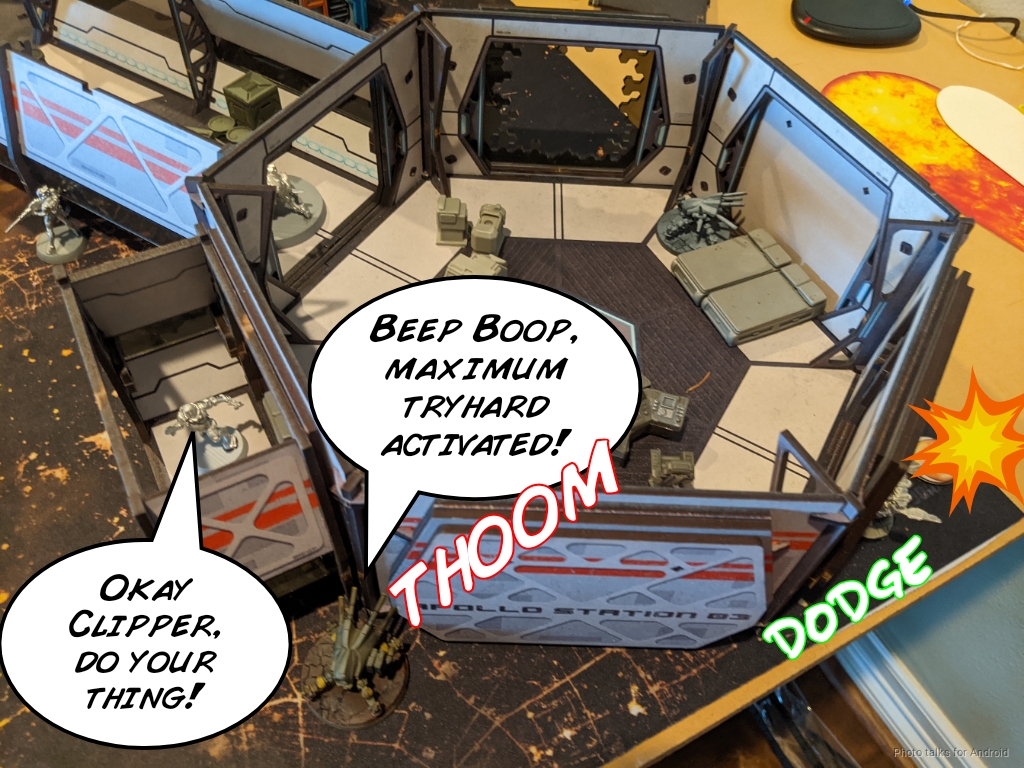
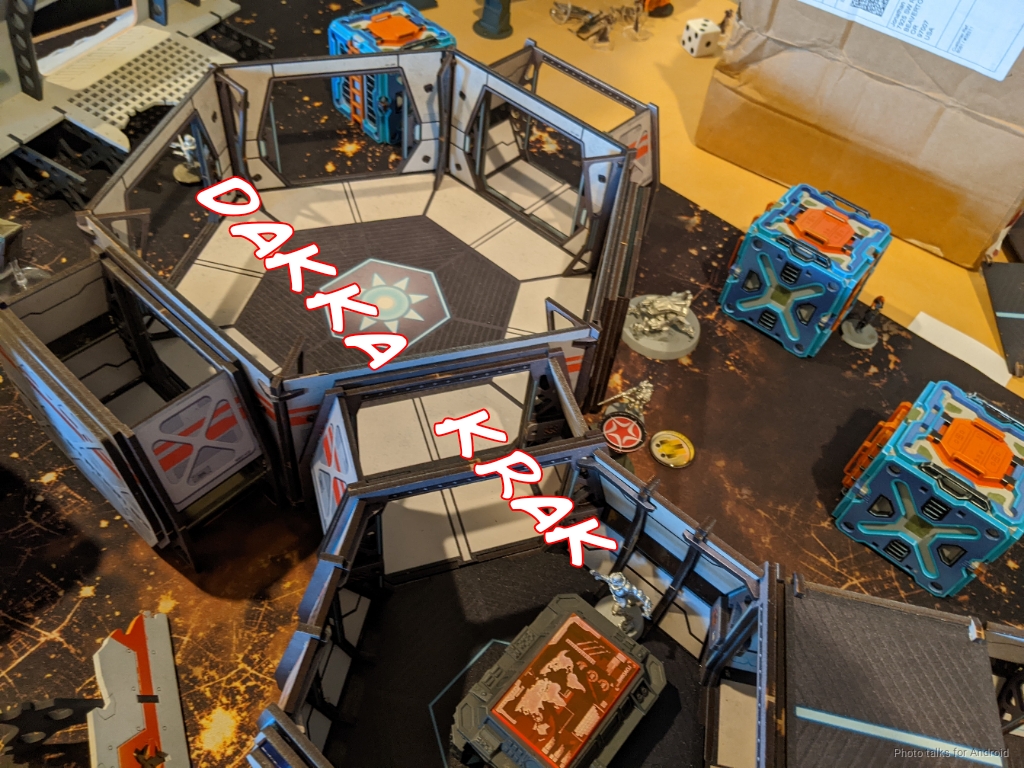
I won the rolloff and elected to go first, as I wasn’t sure if Erik had brought a Speculo. I wanted the ability to send my Black Friar after it to keep my stuff safe–maybe that’s a mistake (it probably is), but I had the tool, so. In any case, he didn’t bring one so it was a moot point. With the exclusion zone, it made for a pretty cramped deployment, thanks to all the corridors. I decided to pack in my Fusilier team on the left, where they felt pretty safe thanks to that solid wall of corridor blocking access, and then I put my Bolt MSR link on the right. The Fugazi challenged the corridor interiors in case anything fast came my way, and I stuck Uma and the Swiss in the middle for maximum flexibility. Aida hid in the tunnel on the left, mostly to protect herself but also to drop a mine to cover my Fusilier Lt from Speculos.
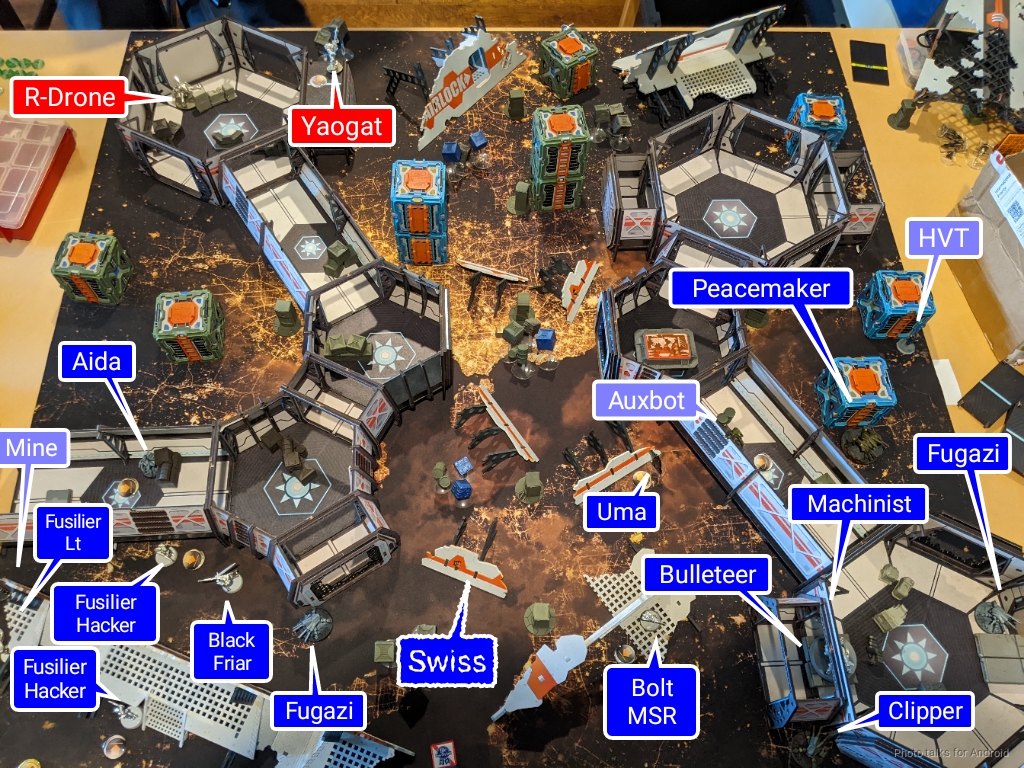
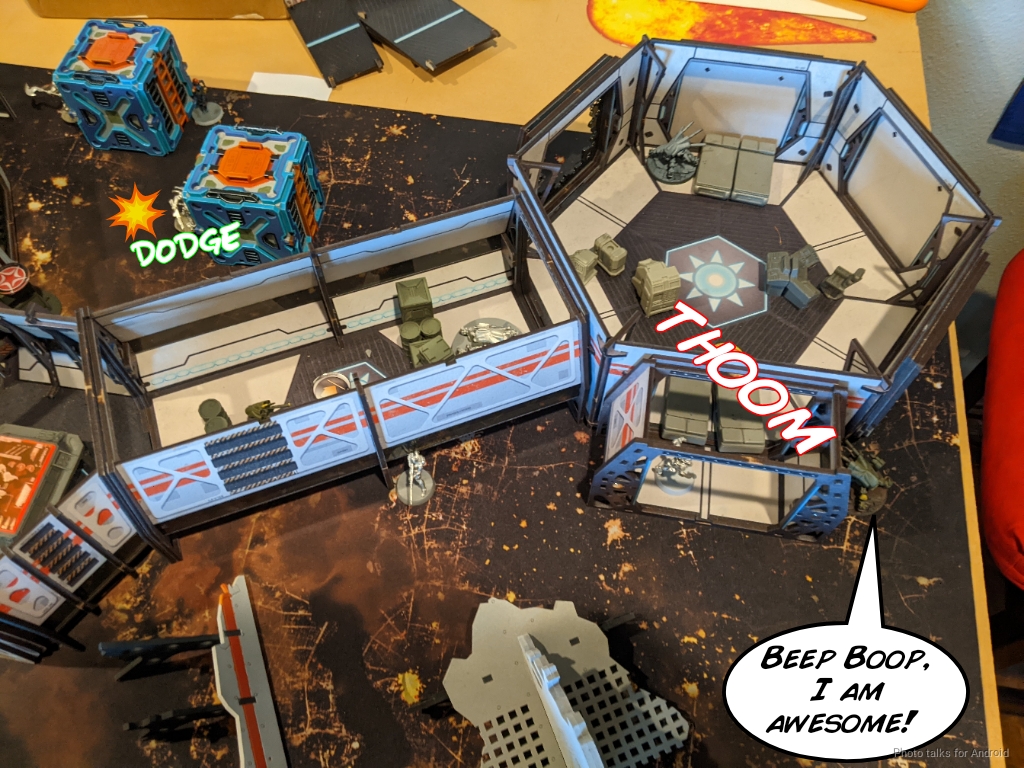
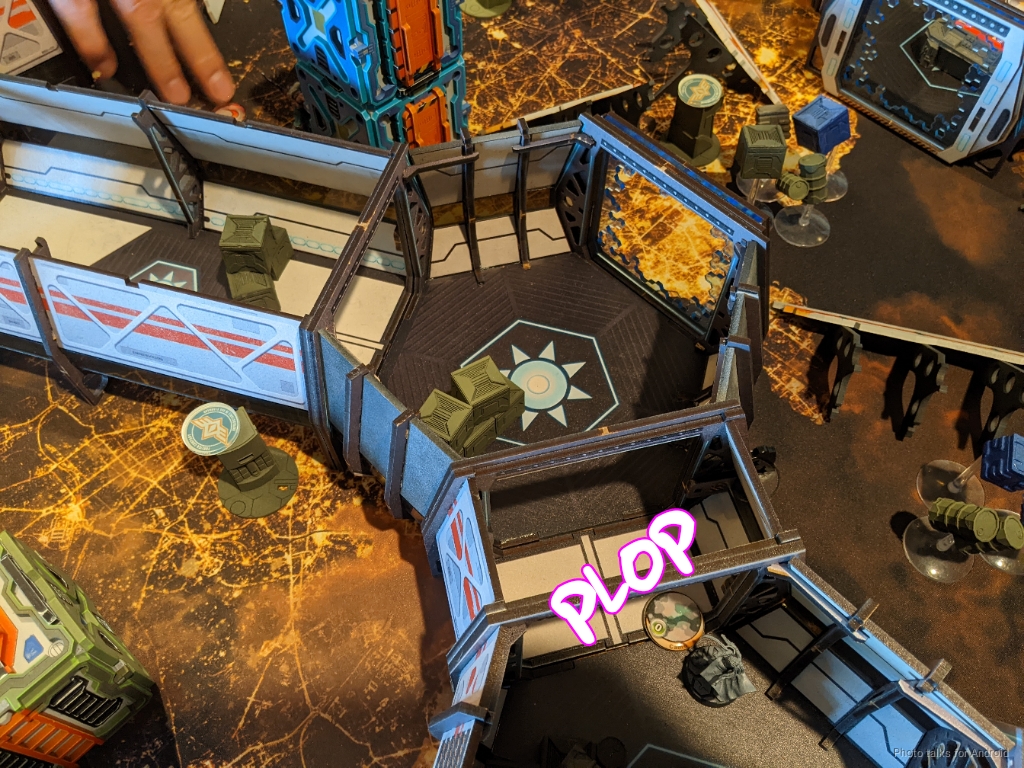
Erik null deployed, which is smart against PanO when there’s a Bolt MSR on the table. He put a camo specialist on both sides of the table and just put rings of defense around Sheskin, who I’m just now noticing isn’t marked in the picture below. She’s right next to the Daturazi in the bottom middle of frame. The key unit placement though, was the Yaogat MSR which is locking down Erik’s deployment zone as well as some parts of the central region of the table.
Turn 1
Top of 1 – NCA
I’m wildly out of practice with Infinity, so that meant I really had to buckle down and come up with a solid plan of action. My priorities:
- Keep Aida alive – While you just need to have more stuff in the exclusion zone at the end of the game, I didn’t have much other than the Swiss that was going to survive the cold, so her points might swing it for me.
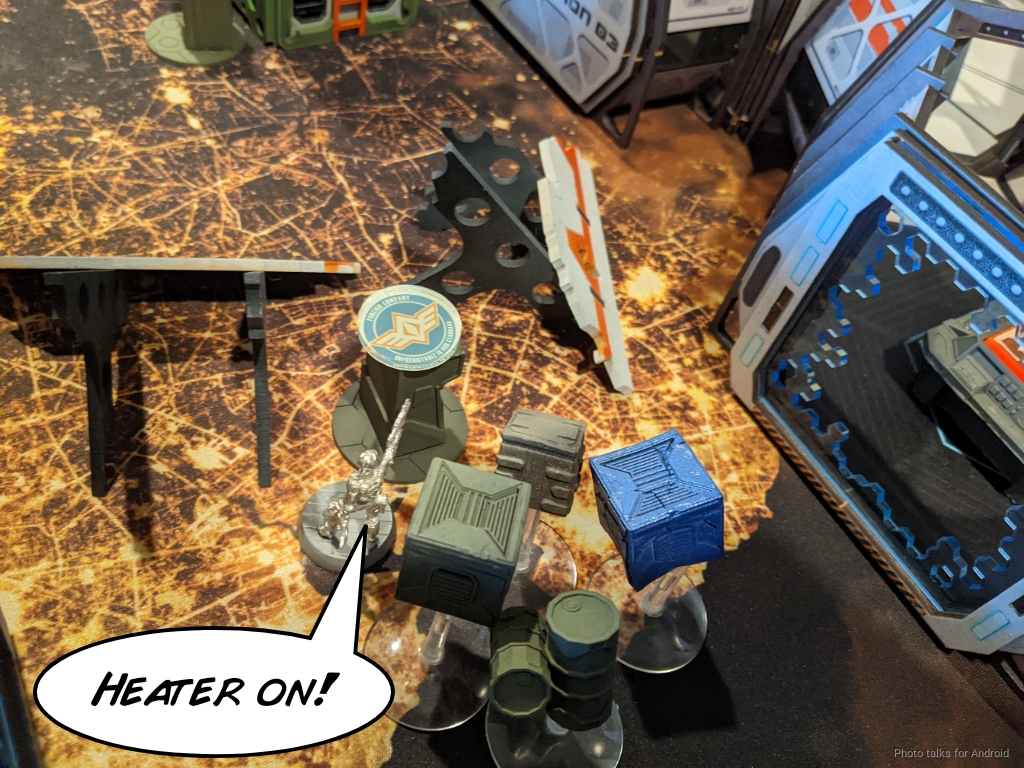
- Turn on the Heaters – I have a lot of LI, MI, and REMs in my list, so having both heaters on would let me be more flexible with my positioning and extension.
- Stay alive – This table is punishing on your order pool because of all the additional movement required when interacting with the corridors (going up and over or around). Staying alive gets me more army points killed indirectly, and also gives me orders. I don’t need to kill Erik’s stuff very aggressively–whatever kills I get over the course of the game is probably going to do it for me.
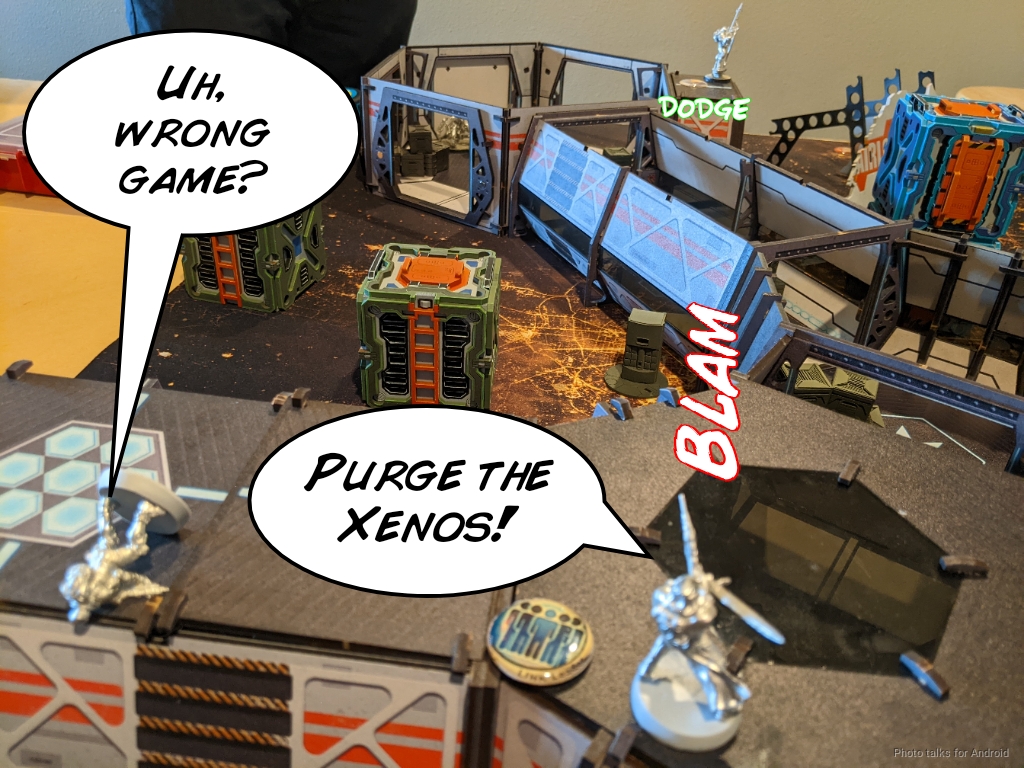
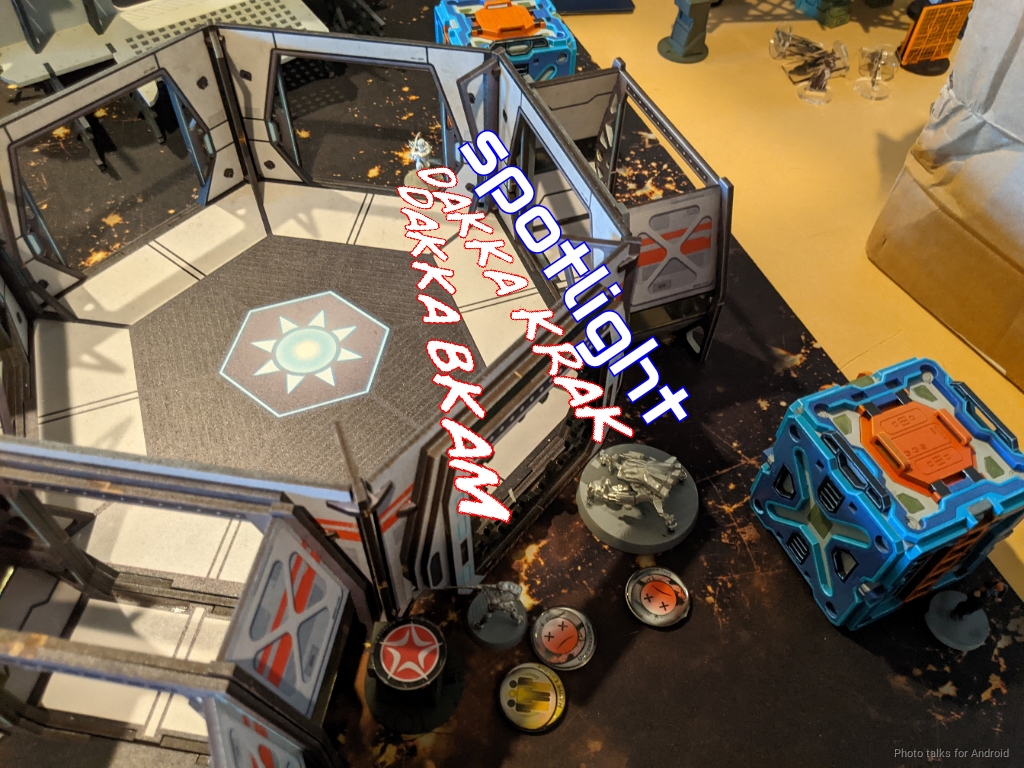
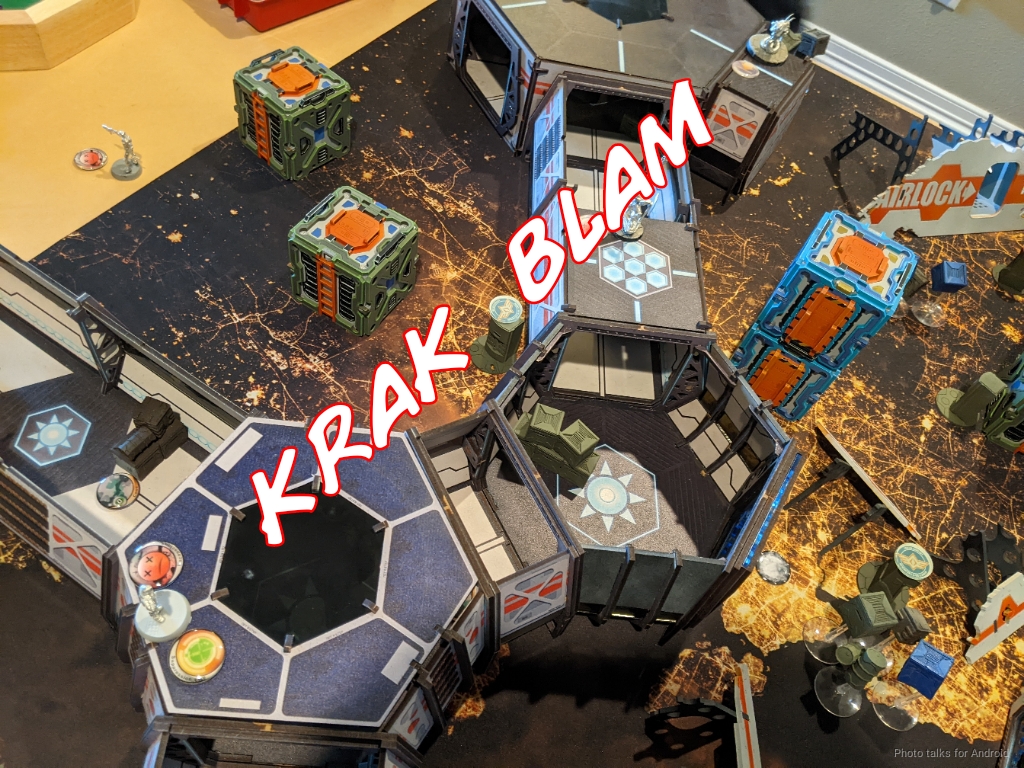
Protecting Aida would be pretty straightforward. I’d just have to not use her, maybe drop another mine or something, and call it good. Turning on the heaters and staying alive meant that the Yaogat had to go, so that’s what I did first. The Black Friar climbed up onto the roof, with one of the Fusilier Hackers hiding on the ladder nearby. A quick burst of AP rounds and the Yaogat was down for the count.
The Fusilier Hacker slowly made his way into position and snagged the leftmost console, and as I was pulling the link back into a close-to-null deploy positioning, I got some shots on a nearby R-Drone, just to deny Erik some more orders. It took the Fusilier a few tries to get the console flipped, so he ended up on the wrong side of the tunnel to be truly safe. I figured it’d take a fair amount of orders to deal with him anyway, so if Erik decided to go that route it’d be a net win for me in tempo.
Uma had no trouble grabbing the center console, after which she just scuttled to a safe position and recamoed. I was down to only 4 orders in that group thanks to Erik docking me two. Smart.
At this point, both of my heaters were on, so Erik was forced to go for the rightmost console, near my Peacemaker. If he decided to push at all there, he’d have to contend with getting spotlit and missiled on my subsequent turn. This seemed pretty reasonable. To round out my to-do list, I used Aida’s Snow-Ops order to drop a mine and passed turn.
Bottom of 1 – Combined Army
Erik did the exact thing I predicted and sent in the Caliban CoC to flip the console. Thankfully for me, it took him an extra try as well. Working with a Daturazi to get smoke, the Caliban managed to take out my Peacemaker in close combat, but not before I spotlit him. All the maneuvering with the Daturazi meant that the Taigha wasn’t rammed down my throat–that and Aida’s mine and the Fugazi probably helped too.

It was shortly after this that the Rasyat hopped onto my table edge and took down the Clipper. Thankfully nothing else was exposed and my Bolt was stopping the Rasyat from advancing uncontested. Here’s where Erik made the fatal mistake of the game–he didn’t spend an extra order to kill the Clipper outright, and left it unconscious with a Machinist nearby. I even managed to spotlight the Rasyat through a nearby Fugazi’s repeater.
Instead, Sheskin entered the mix though. Using the remaining orders as well as her Lt order she hopped up on a box and aced my Black Friar from 36″. Yikes. I figured leaving the Friar out to challenge the camo token (which was a Shrouded) felt pretty good, but I didn’t expect a BS 15 Red Fury to be that effective! I usually don’t see them used at that range band, so I wasn’t expecting Erik to still be on 12s.
All in all, not a terrible turn for me. I lost some material but the terrain was still advantageous for me in those locations, and I think I spread Erik’s attention out across four separate problems which required multiple orders each. You could argue that I did the same thing on my first turn, but I spent far less effort killing stuff and I had an objective advantage going into Turn 2.
Turn 2
Top of 2 – NCA
Starting Turn 2, it was super obvious what I had to do.
- Rasyat and Caliban must die, they’re too close to my Bolt Haris.
- Keep Aida alive.
- I need to box Sheskin in. She can’t develop into the midfield because then my entire deployment zone is at risk.
- Stay alive in general, that hasn’t changed.
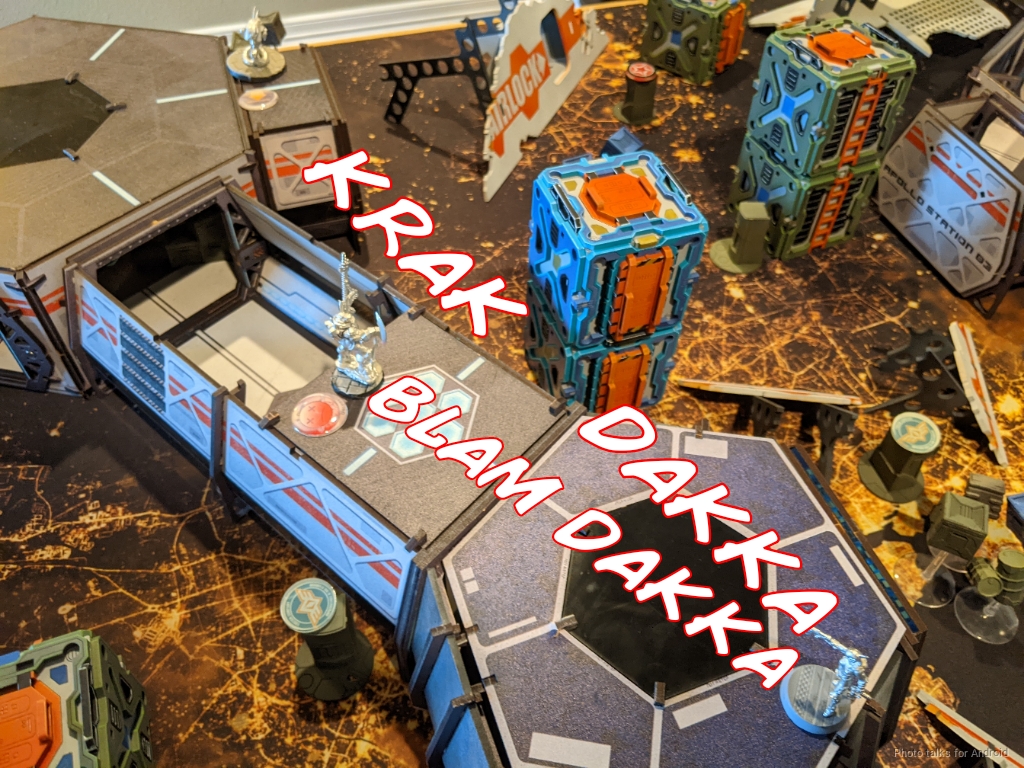
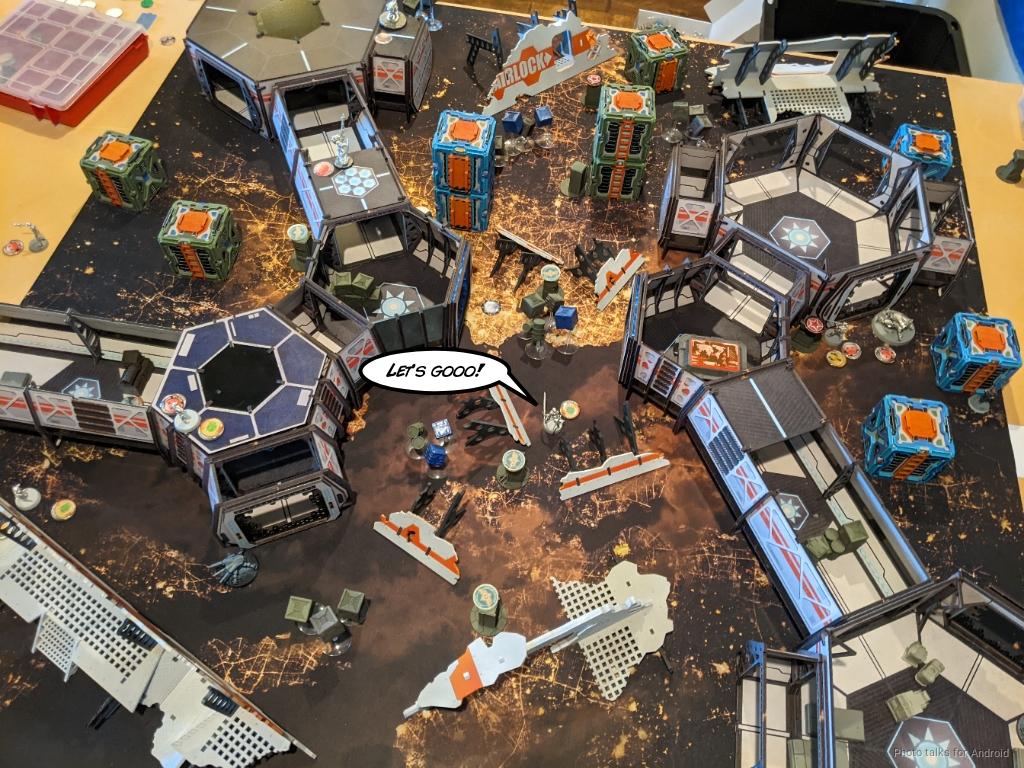
Step one was easy. Picked up the Clipper, and two missiles later, the Rasyat and the Caliban were craters in the ground. This also got me my Test Run classified, which was nice.
I also needed to get rid of the Taigha, because it was threatening Aida. I got that for free as I was pushing the Bolt Haris forward, just sniping it from across the map.
The Daturazi on the right was also a threat, especially to my Bulleteer, so I just took care of it with the Bolt as well.
I had a few extra orders in the second pool, so I left Uma alone and extended Aida out to drop a mine further up the corridor before running her all the way back to her hidey hole.
I left the Bolt and Bulleteer deep into the midfield on my right. I figured they were at risk of getting Sheskin’ed, but if that kept her boxed in I felt pretty confident in my ability to output Sheskin with the Swiss and Aida at the end of the game.
Bottom of 2 – Combined Army
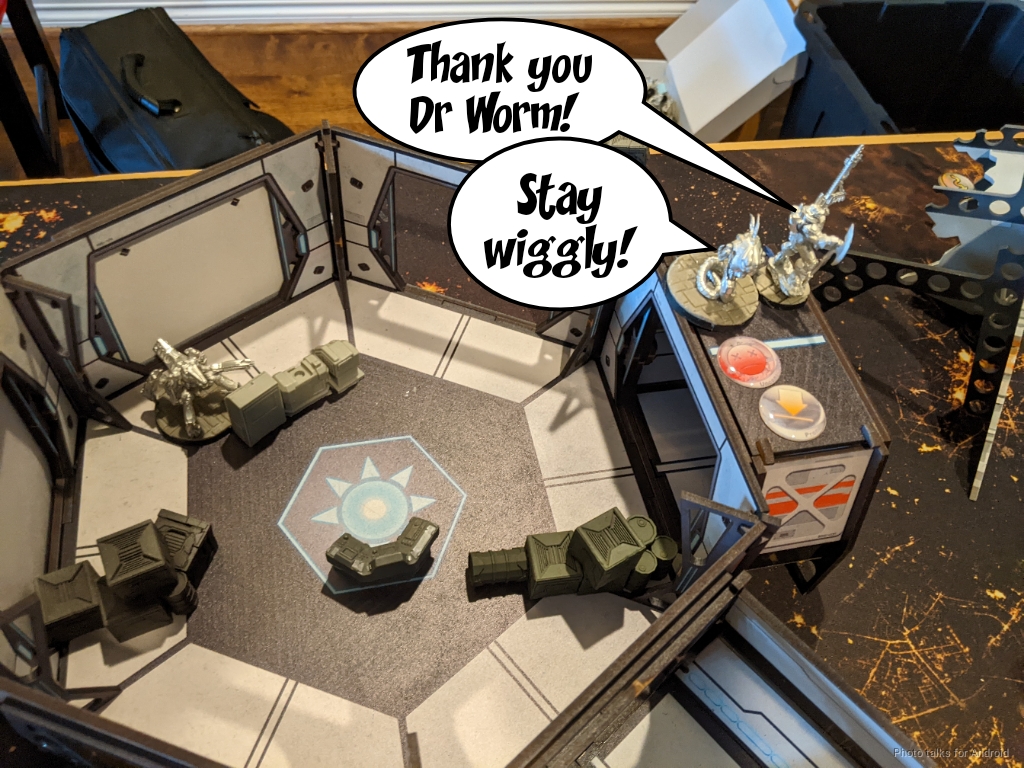
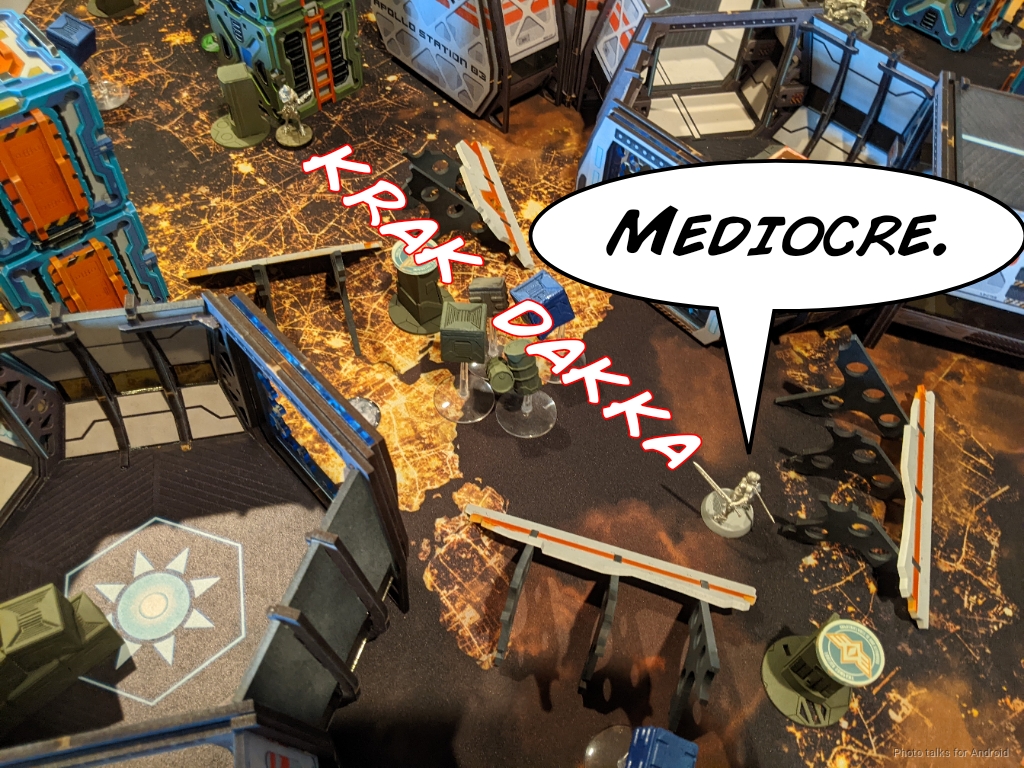
With the Black Friar down, however, Dr. Worm was able to revive both the downed R-Drone and the Yaogat. Not the end of the world, but definitely not great.
The Yaogat took out that poor Fusilier that I had hung out to dry, and kept pushing…
He tried to take out my Machinist to deny the Bulleteer and Bolt link bonuses, but I rolled like a champ and kept the Machinist alive, scooting him out of LoF with a guts fail.
This, however, opened him up to a flanking maneuver by Sheskin, so I lost my link bonuses anyway.
Sheskin made short work of the Bulleteer and Bolt, slicing the pie but getting spotlit in the process! It took most of Erik’s orders to do all this, so she was left without orders to reset! I even revealed my Swiss Hacker to Spotlight, since one of my Fusiliers was down and this would get me an extra order for Turn 3.
Turn 3
Top of 3 – NCA
Now the game was all about just grinding Erik’s remaining units down and securing the midfield.
After dropping a pair of missiles onto Sheskin and turning her into paste, I was free to push the midfield again. Uma downed the Yaogat and challenged Dr. Worm without results. I attempted to use the Swiss to take out Erik’s remaining Daturazi… but had a disastrous roll. Erik rolled a 1 for smoke, and I rolled 16, 17, 18, which is a straight up whiff on the Swiss! Frustrating.
I traded Uma for the Daturazi, which wasn’t great but absolutely necessary.

I was out of orders at this point so my Fusilier Lt tried to take down Dr Worm with his Lt order, but I failed that too.
I threw a bunch of stuff into suppression, including the Lt (but he died to Dr Worm), and passed turn. Didn’t need to throw him into suppression. It was an unnecessary but ultimately inconsequential risk.
Bottom of 3 – Combined Army
Erik was in Loss of Lieutenant, so he just threw everything that could see the Swiss at the Swiss and failed to scratch the paint. And that was game.
At some point Erik had grabbed a Classified. I think it was Extreme Prejudice on something, so that made it an
8-1 Neoterran Capitaline Army Victory!
Post Game Analysis
Well, I think this game basically came down to the decision to take out my Black Friar with Sheskin instead of double-tapping the Clipper. Losing the Rasyat, Caliban, and Sheskin to the missile bot was absolutely an unforced error. Erik realized it as soon as Turn 2 started, but gamely soldiered on to get more table time with his new army!
As far as NCA is concerned, it’s really come a long way since N3. The new link rules have breathed new life into all the factions, and NCA is no exception. I’m really enjoying the list archetype i built. I’ve been discussing the missile bot thing with Tim (Chainsaw), and we’re both in agreement that it’s just not fun for either player… one player gets pooped on and the other feels bad for making their friend have a bad time.
I don’t think I needed to take the Clipper–I would’ve been happy having the hacking in either case. That said, it’s just such an integral part of NCA’s toolkit that I feel weird not including it. With all of NCA’s bots and linkable Bulleteers, having cheap hackers to fill out your order pool seems reasonable. Those hackers need to add some sort of threat to the table beyond just spotlight, and the Clipper gives them some teeth. There’s definite counter play, which is to use AD troops, but as Erik found out you need to follow through.
I should’ve also attempted to hack Sheskiin with something other than Spotlight… maybe? It worked out, and it took both the Fusilier and the Swiss hacking to land it in that critical moment, so I guess I’m not upset about my decision.
I think I did a good job of sticking to my plan and focusing on the right priorities throughout the game. Erik had some trouble with target prioritization, but he was also in the middle of his first game with an entirely unfamiliar faction, so we have to give him some leeway there.
I will say that while the Swiss is excellent, it is a choice. I think that I’d be more comfortable with something like the list below:
This rethinking of the list appeals to me more because I get some tools that I really like in the faction and want to explore more. In particular the Locust and the shotgun Bulleteer. I think the Bolt MSR and the Spitfire Bulleteer is too much in one Haris–I’m really missing out on a shorter ranged option. With the points saved from dropping the Swiss I can take a whole other Bolt/Bulleteer team, also with a short and mid range game. I also get to try out the Locust, and I swapped in the Auxilia over the Peacemaker.
In basically every game I’ve played with a Peacemaker, it dies before it can do anything. I think opponents are very aware of its power, so they focus on it. That helps a lot in terms of making commit unforced errors, but I also really need that Auxbot. It’s rare in Infinity that you can kill stuff without risking your order pool, so having the ability to do that with the Auxbot is very important.
The Auxilia also helps protect my deployment zone, so that coupled with the fact that I’ll probably actually get to use it means I’m considering it. Anyway, thanks to you for reading and thanks to Erik for taking my CA off my hands and for the wonderful game as always.

Pingback: Charon Did What? – MERC Recon