
Brain HMG
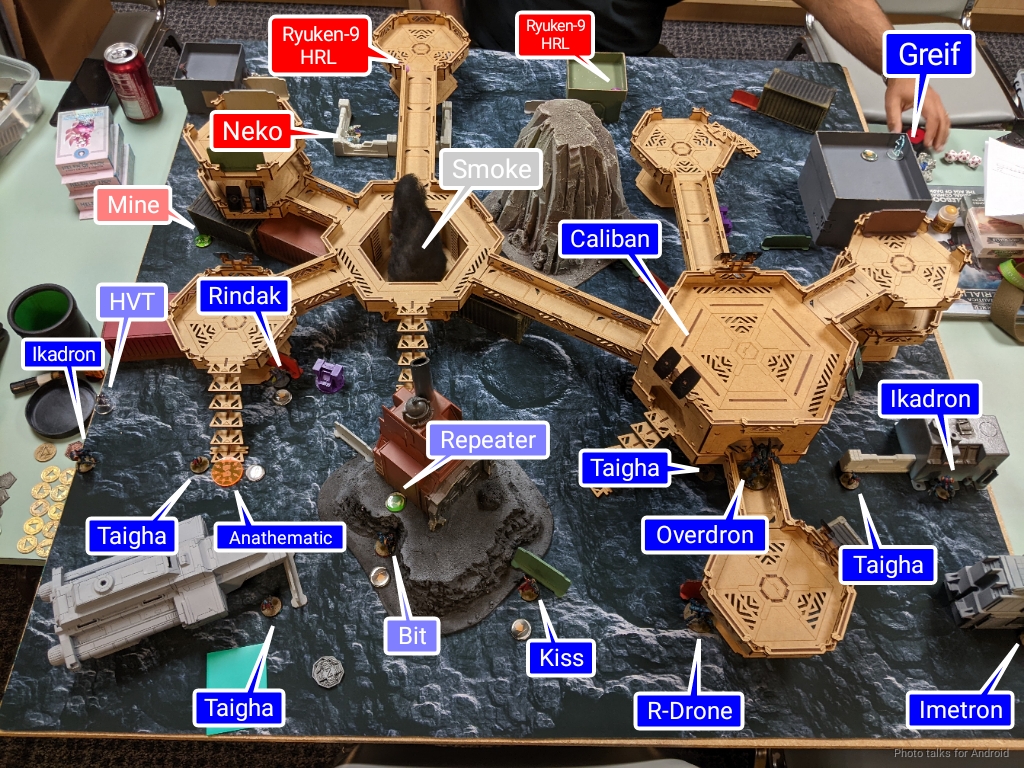
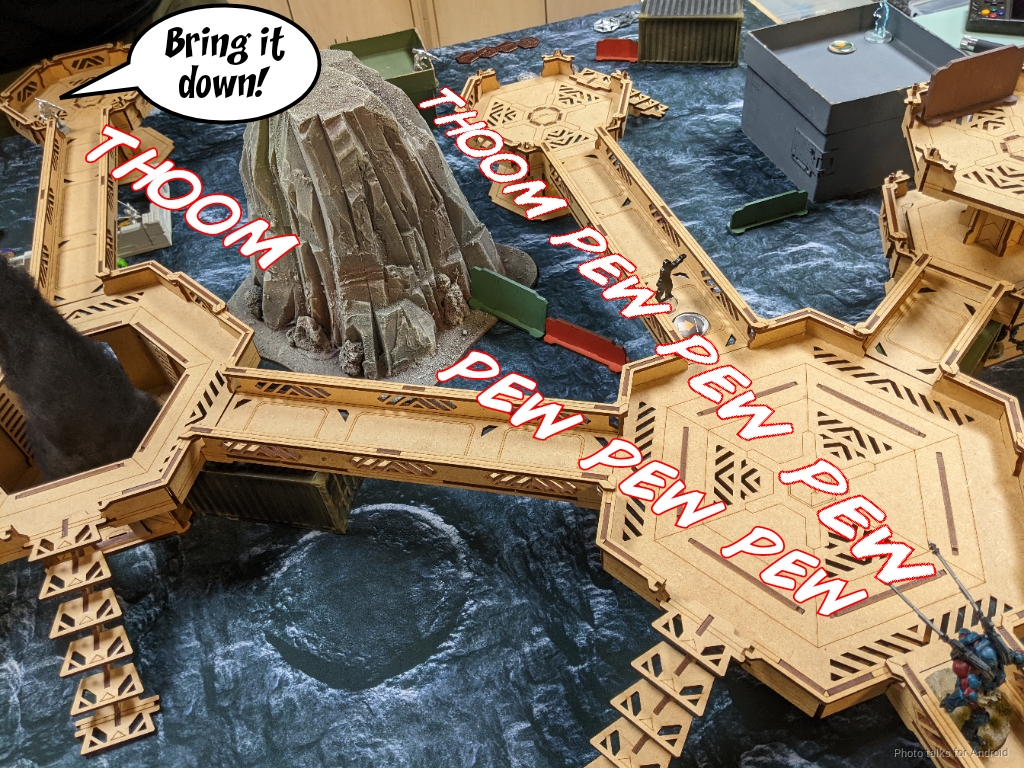
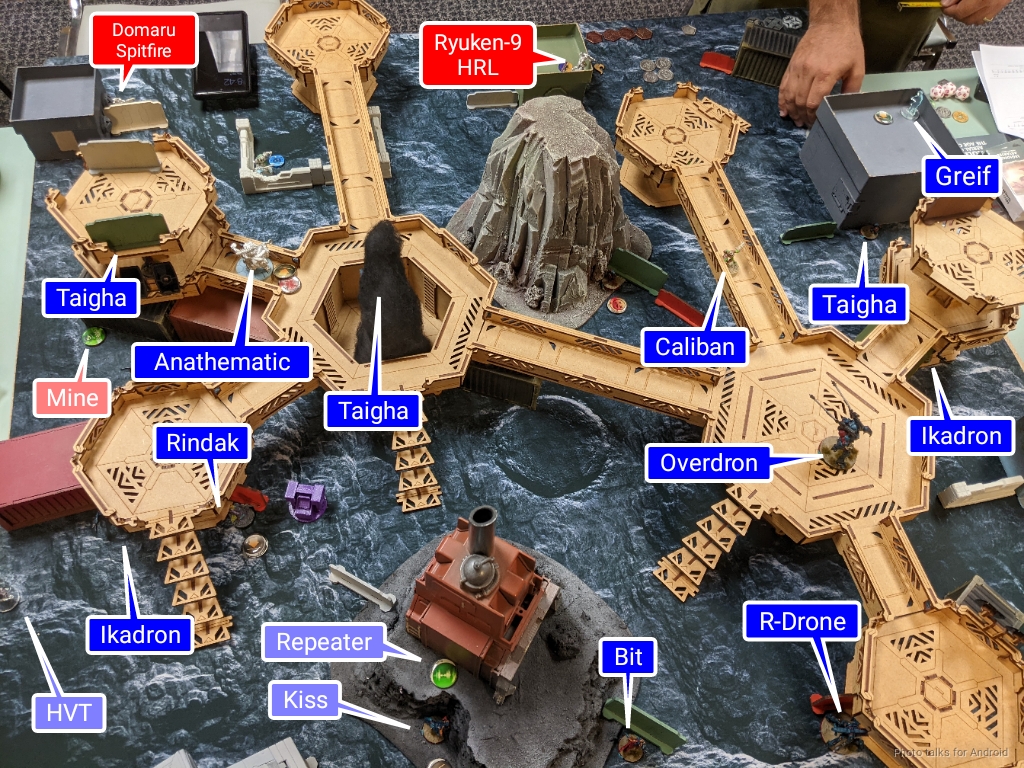
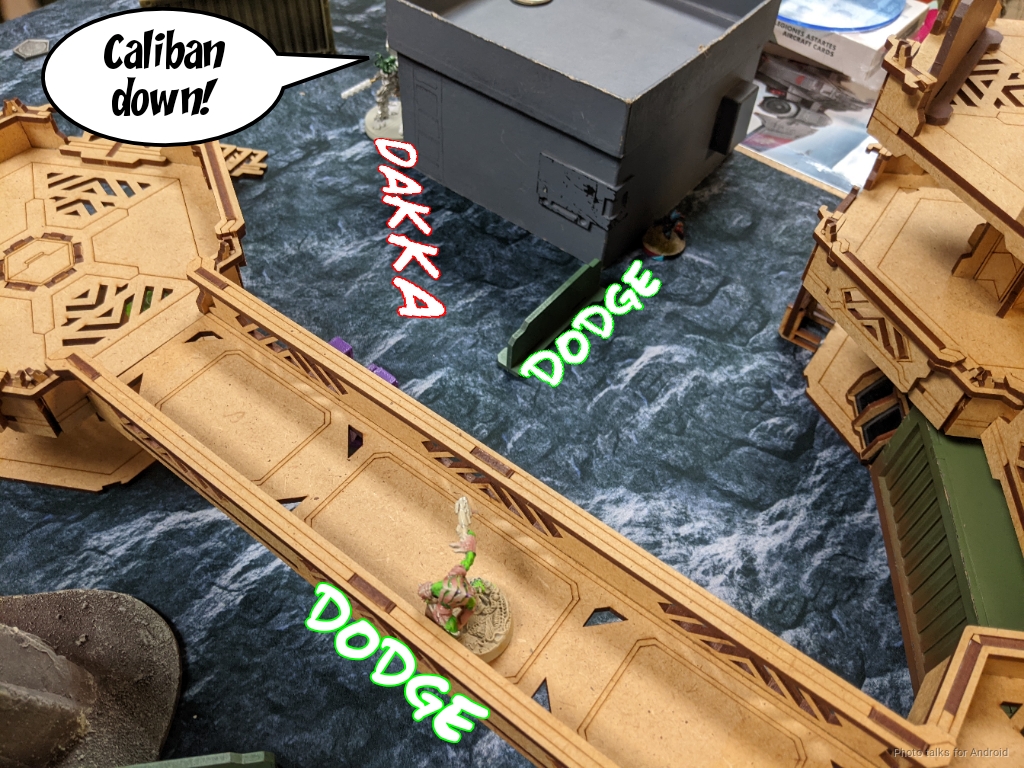
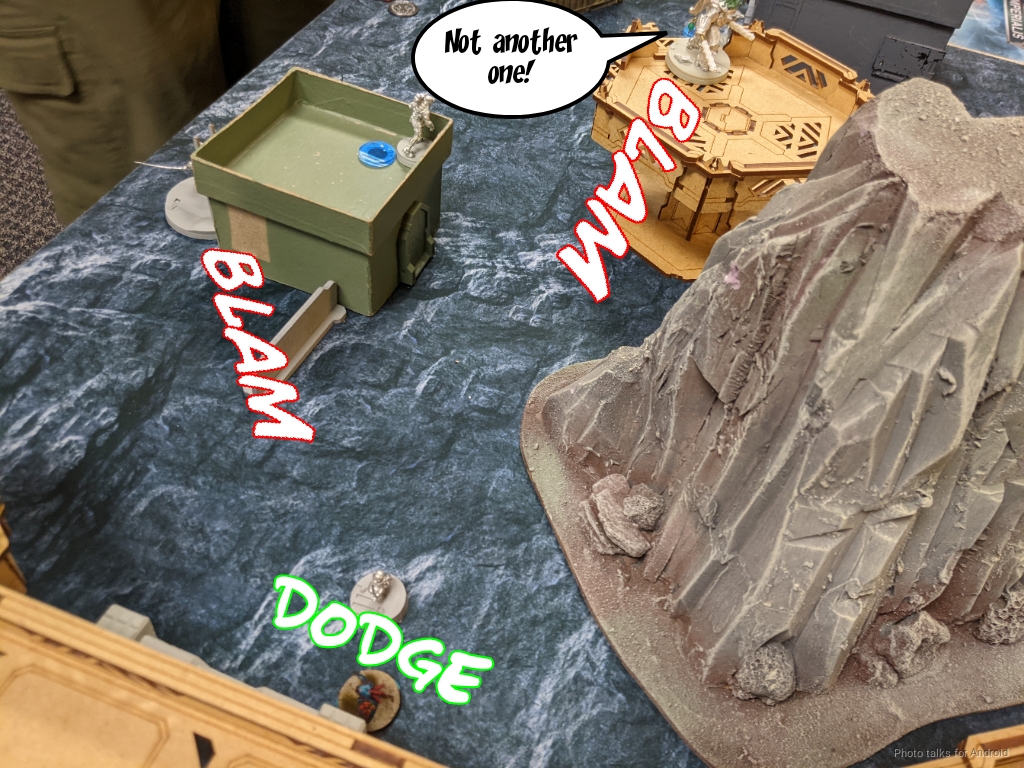
The feedback from both Tim and Frank was clear–be more aggressive with the Anathematic. There needs to be a reason though, and running the Anathematic headlong to Adam’s JSA was a recipe for getting it killed. I arrived at game night to this table setup:
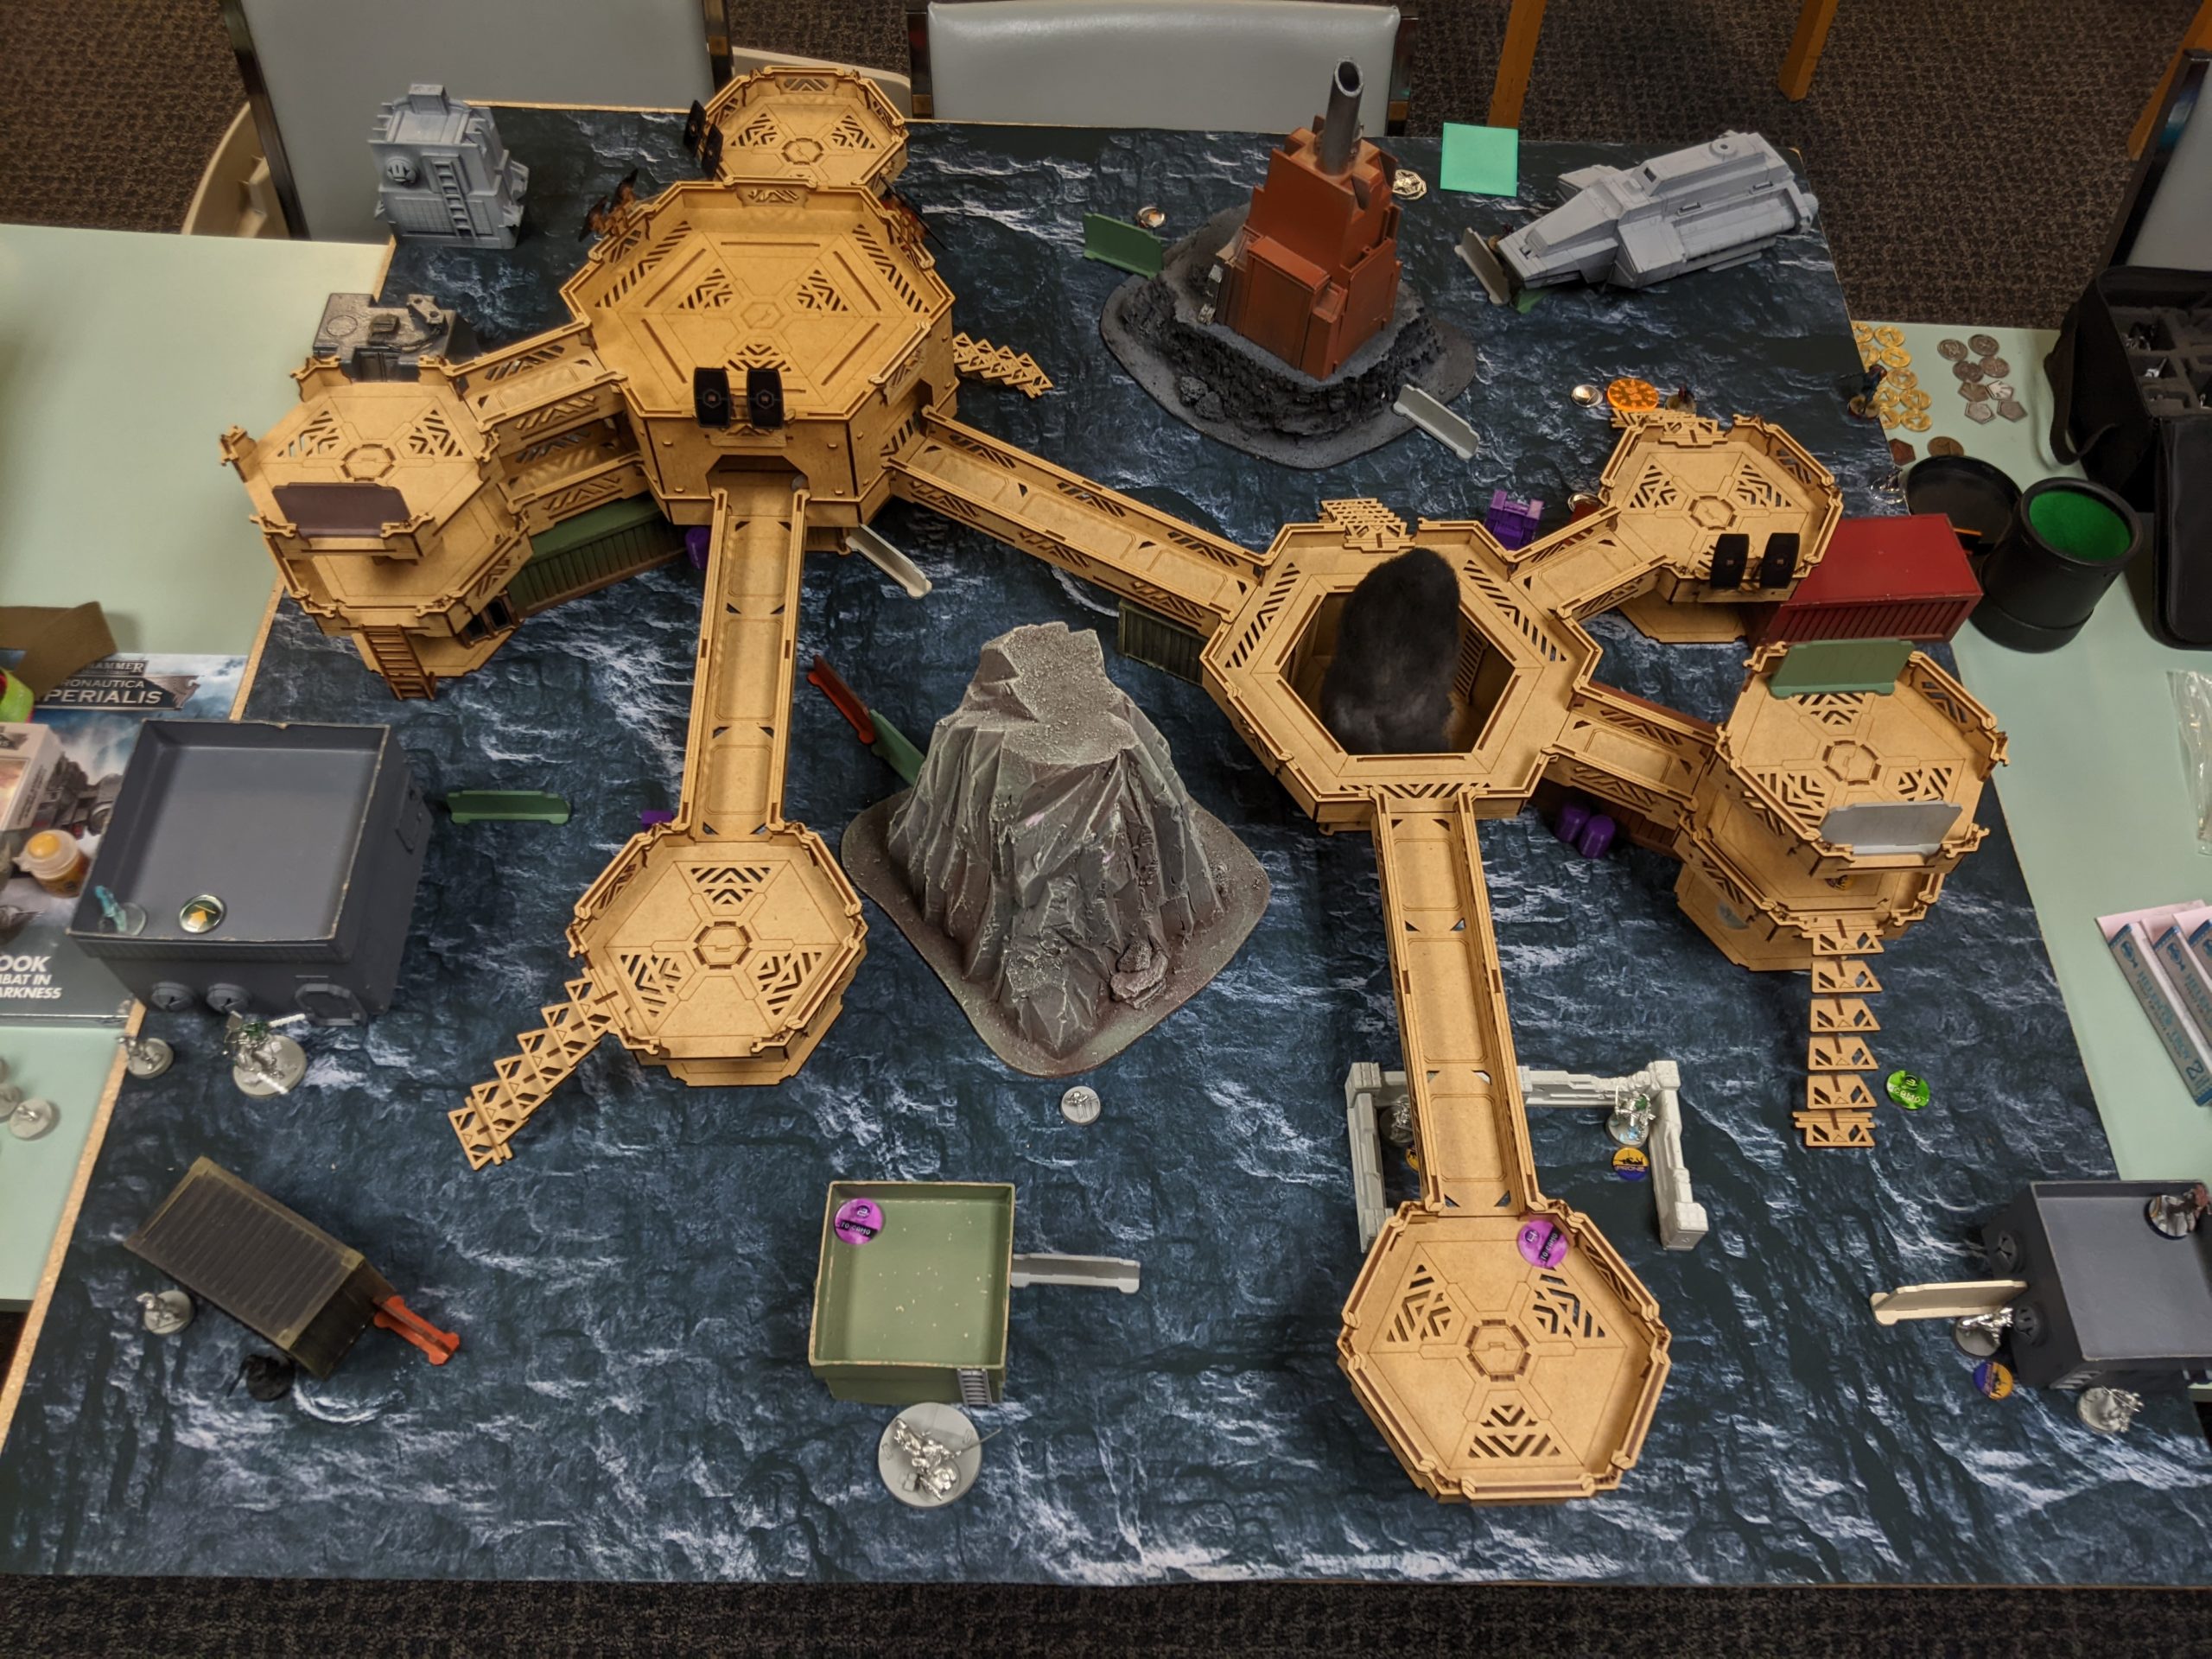
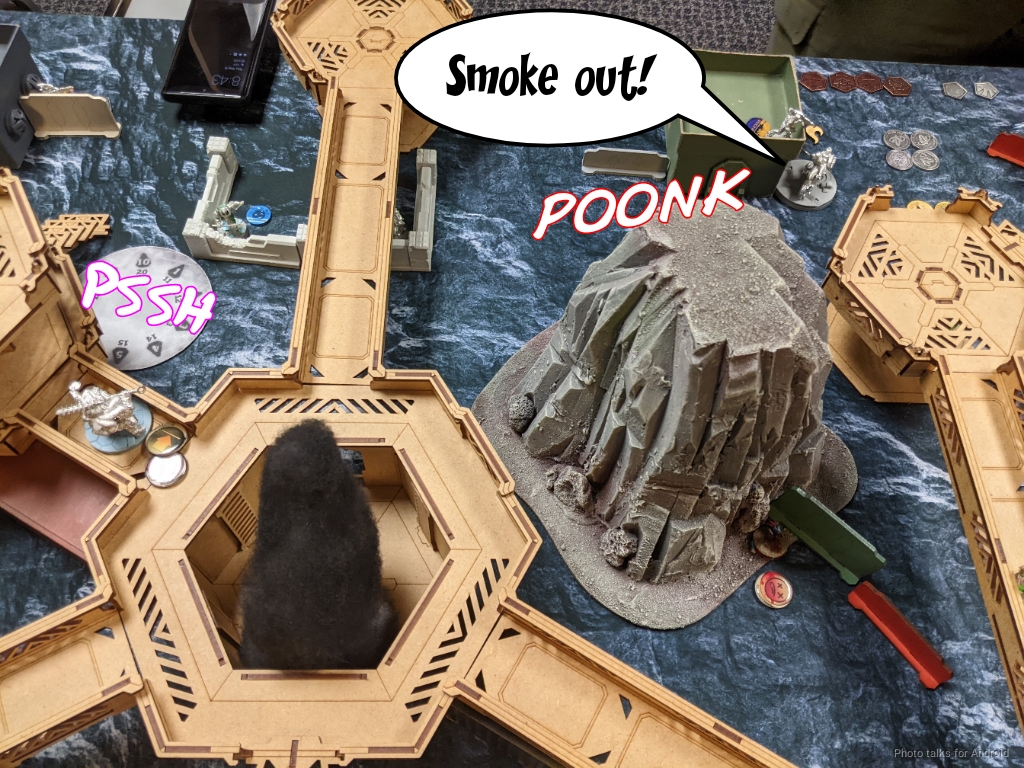
What’s fun is that the dark cotton blob in the building was a big smoke template that was just there as part of the table. Neat!
Overview
- Mission: ITS13 Supremacy
- Forces: Combined Army versus Japanese Secessionist Army (300)
- Deploy First: Combined Army
- First Turn: Combined Army
I modified the list from my previous games to drop the Caliban Engineer and include the Spitfire instead.
It’s riskier but I was feeling kinda under gunned with the Rindak BSG. Getting the full order pool was nice as well.
Santa is Coming to Town v2
GROUP 1
10
1
GROUP 2
ANATHEMATIC (Lieutenant, Hacker, Hacking Device [UPGRADE: Trinity (+1B)]) Plasma Rifle, Nanopulser ( ) / Pistol, Shock CC Weapon. (0.5 | 76)
Bit (Hacker], Killer Hacking Device [UPGRADE: Oblivion]) Submachine Gun, Pitcher ( | Deployable Repeater]) / Pistol, CC Weapon. (0.5 | 21)
CALIBAN (Multispectral Visor L1) Spitfire, D-Charges ( ) / Pistol, CC Weapon. (1.5 | 38)
RINDAK (Paramedic, Forward Deployment [+8″]) Boarding Shotgun, Blitzen(+1B) / Heavy Pistol, PARA CC Weapon. (0 | 35)
GREIF-OP (Surprise Attack [-3], Impersonation [IMP-2]) Combi Rifle, D-Charges / Breaker Pistol(+1B), CC Weapon. (1 | 21)
OVERDRON Plasma Sniper Rifle(+1B) / Shock CC Weapon. (1.5 | 58)
STALDRON Flash Pulse / CC Weapon. (0 | 0)
IKADRON (Baggage, Repeater) Light Flamethrower(+1B), Flash Pulse / Pistol, PARA CC Weapon(-3). (0 | 9)
R-DRONE Flash Pulse / PARA CC Weapon(-3). (0 | 7)
ÍMETRON . (0 | 6)
4
TAIGHA Chain-colt / AP + Shock CC Weapon. (0 | 5)
5 SWC | 300 Points | Open in Infinity Army
I think the Rindak BSG is very good, but I keep wanting the firepower of the MULTI. I think the issue is that I need a strong midfield gun and the BSG doesn’t cover that usage case. To cover for that, I swapped in the Caliban Spitfire. This meant I needed to get by without an engineer and just rely on the Overdron to get itself out of trouble so I could have a very good midfield gun.
Adam’s all in on JSA this season, and he’s been talking to me and Tim about lists. This meant a Domaru 2 order Lieutenant, a Daiyokai supported by a Keisotsu Paramedic (or two), and then utility. Adam chose to take 3 Ryuken-9, two HRL and one KHD. He added some spice in the form of Mushashi and Yojimbo.

GROUP 1
DOMARU (Lieutenant [+1 Order]) Spitfire / Pistol, E/M CC Weapon. (1.5 | 37)
OYAMA Chain Rifle, E/M Grenades / Breaker Pistol, E/M CC Weapon, DA CC Weapon. (0 | 29)
YURIKO ODA FTO Combi Rifle, E/Mitter, D-Charges, Shock Mines / Pistol, CC Weapon. (0 | 24)
GROUP 2
RYŪKEN (Surprise Attack [-3], Camouflage [1 Use]) Heavy Rocket Launcher, Shock Mines / Heavy Pistol, CC Weapon. (1.5 | 25)
MIYAMOTO MUSHASHI Chain Rifle, Flash Pulse / Pistol, EXP CC Weapon. (0 | 20)
YOJIMBO Contender(+1B), Nanopulser, Smoke Grenades, Crazykoala / Pistol, DA CC Weapon. (0 | 18)
WARCOR (360º Visor) Flash Pulse ( ) / Stun Pistol, PARA CC Weapon(-3). (0 | 3)
DAIYŌKAI MULTI Marksman Rifle, Panzerfaust / Pistol, AP + DA CC Weapon. (0 | 48)
KEISOTSU (Paramedic) Combi Rifle ( | MediKit) / Pistol, CC Weapon. (0 | 11)
KEMPEI (Chain of Command) Boarding Shotgun / Pistol, CC Weapon, PARA CC Weapon(-3). (0 | 20)
5 SWC | 300 Points | Open in Infinity Army
Solo Mushashi makes me nervous–he either will ruin someone’s day or just… be sad. For my sake, I was hoping he’d just be sad.
Deployment
I rolled a 1 on my lieutenant roll because the Anathematic was taking a nap or something. I made a comment to Adam about how I’ve rolled super low on very high WIP aspects in most of my recent combined games, to which he responded “I could still fail!” and then rolled a 2.
He chose deployment, which meant I was left with the difficult decision of whether or not to choose second. After my last game against Frank, I was seriously considering it.
However, the matchup here is not so favorable–the Overdron doesn’t have much aside from the Kempetai MSV2 to negate, and JSA is more than happy to alpha strike. The Overdron was not about to survive an Oniwaban, and at this point I still didn’t know what flavor of JSA Adam was playing. GIven that Adam is a very aggressive player typically, I thought it best to take the first turn and attempt to clear as much out as possible.
To that end, I decided to take Tim and Frank’s advice and play a very aggressive Anathematic. I wasn’t thinking particularly clearly and didn’t account for the fact that JSA heavy infantry universally has stealth, making it actually a quite unfavorable matchup. Nevertheless, my list does have a fair amount of threat saturation, and even though the Taigha are outclassed by all of JSA’s close combat monsters, even Kitsune can’t stop Berserk from killing her. Given that, I figured I’d be able to carefully bleed Adam’s momentum and recover if I lost the Anathematic.
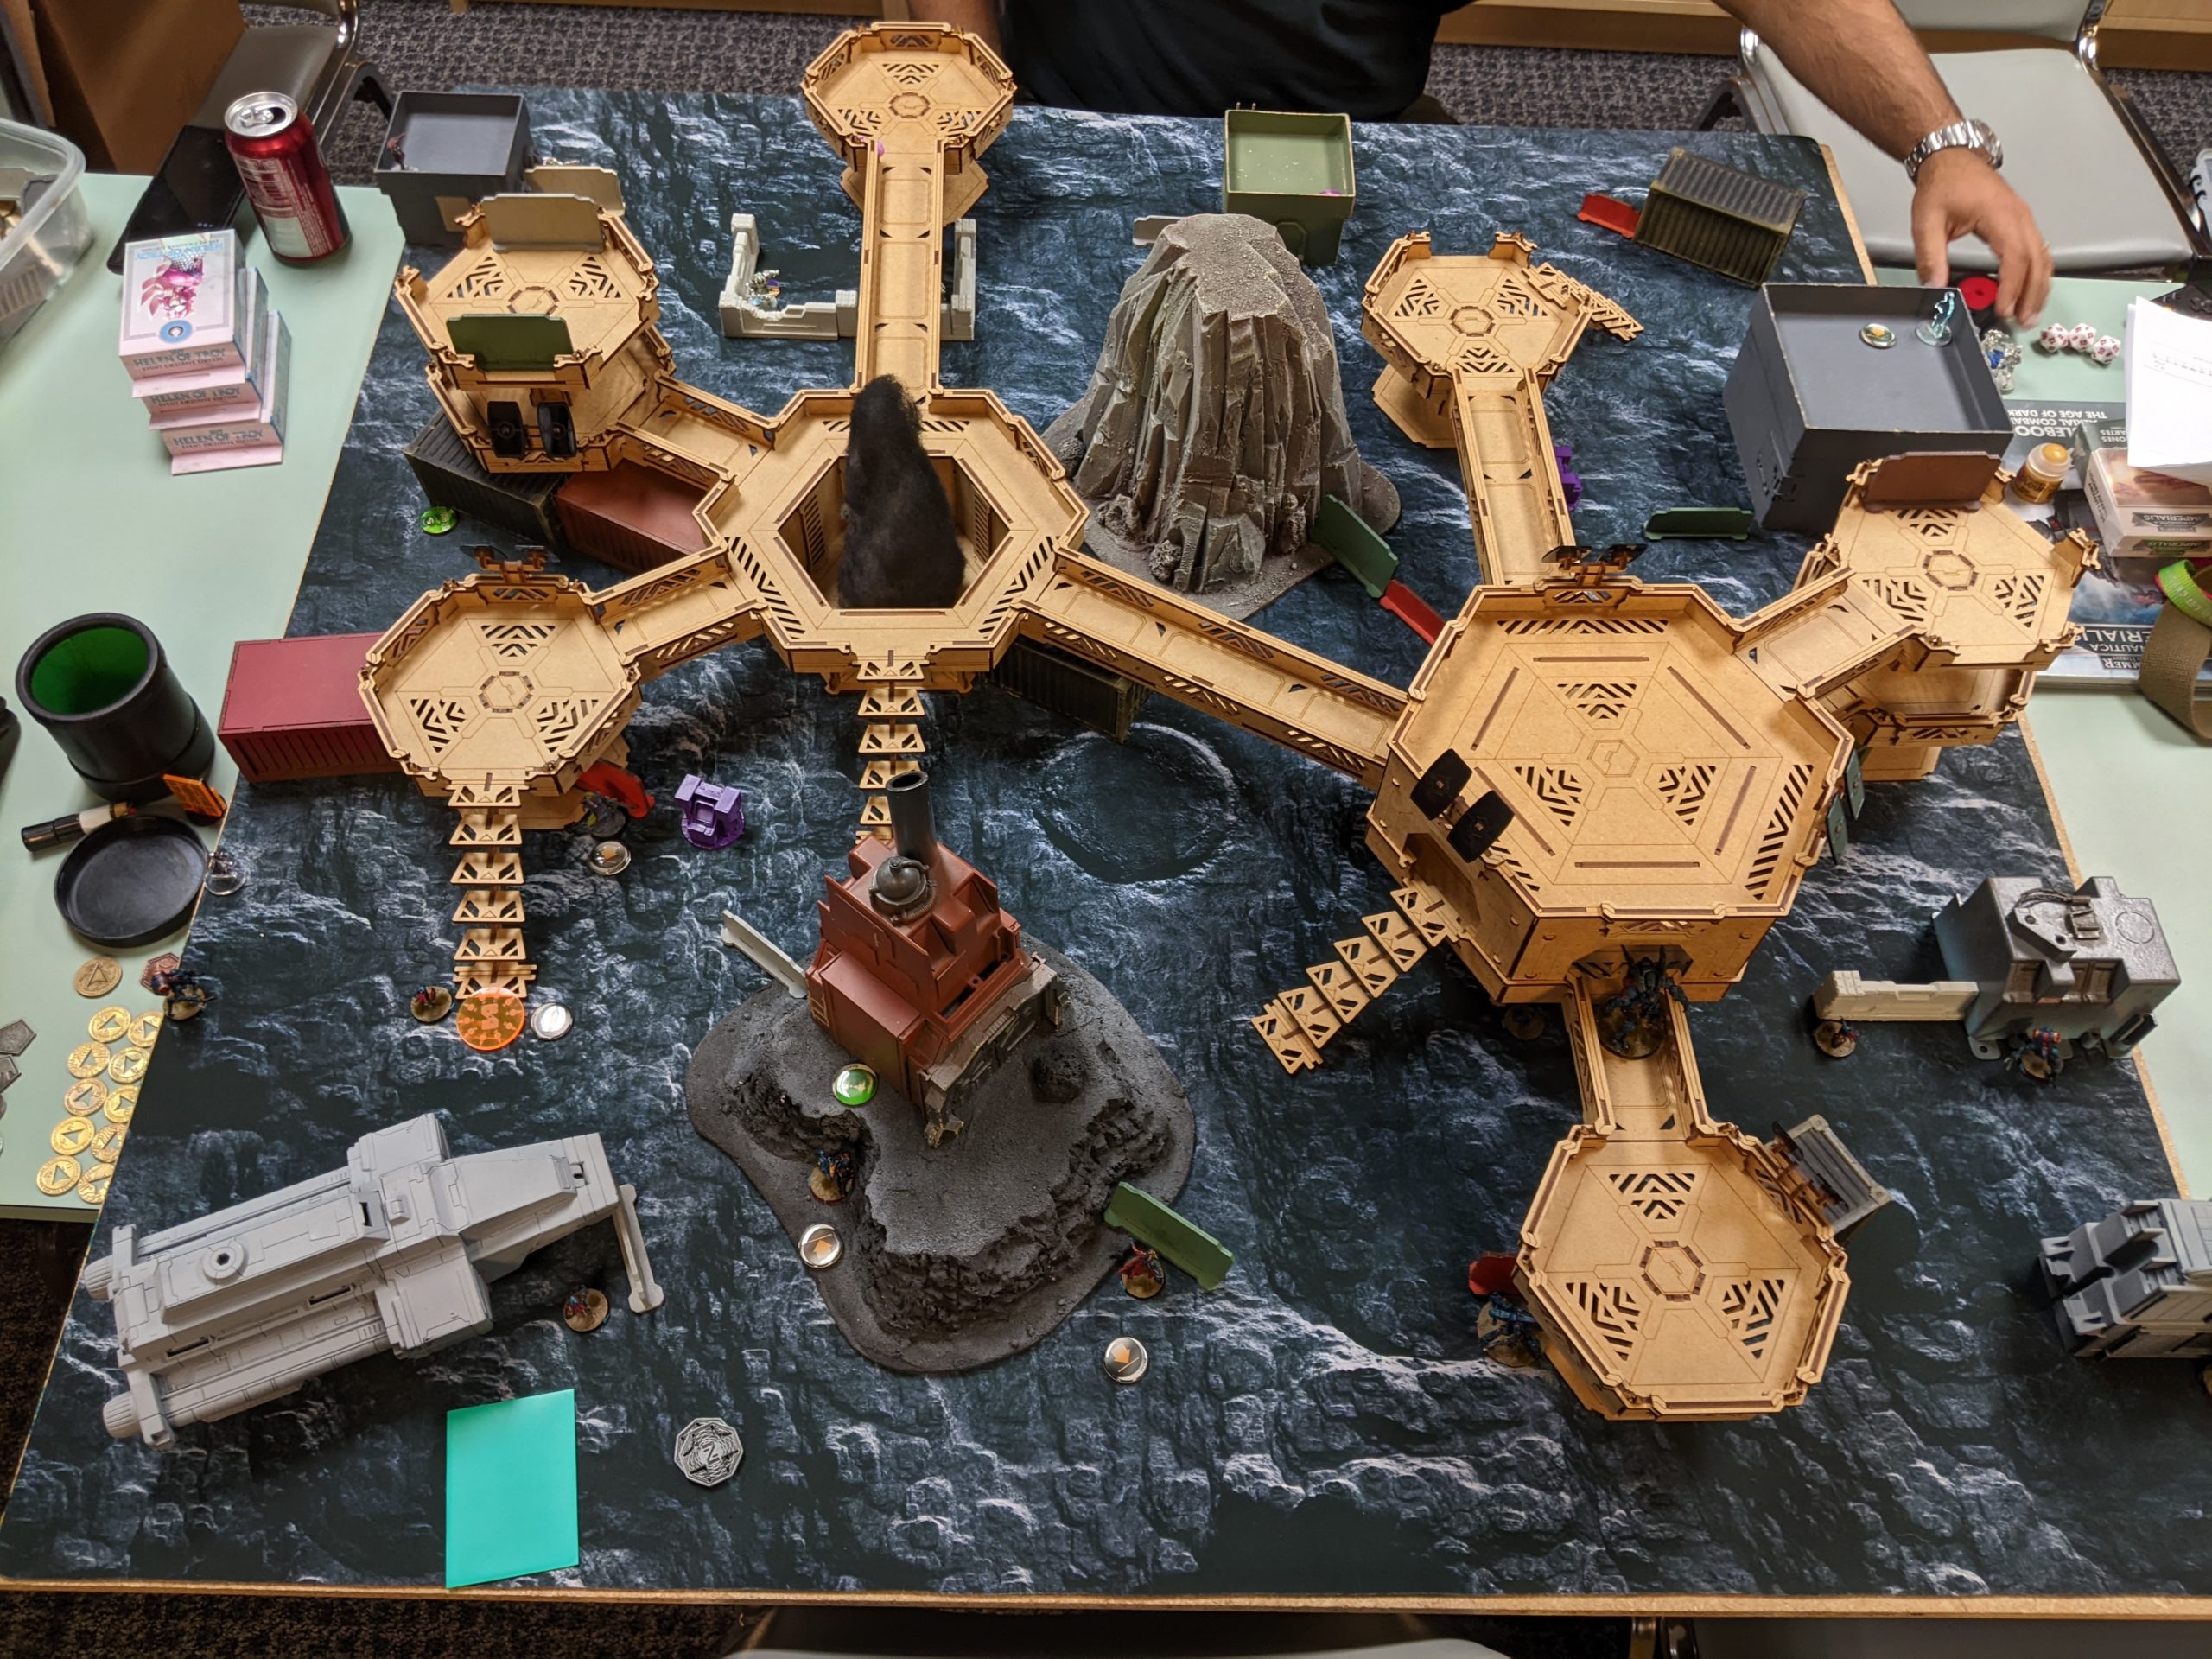
To that end, I held the Greif and the Anathematic in reserve with a command token, and decided to put the Overdron out as bait. I set it up on the catwalk system along with the Caliban to provide mutual support. The Ikadrons were set up to move into quadrants as part of a coordinated order, then I set up Taigha everywhere. Bit and Kiss were centrally located because I wasn’t really comfortable putting them on the catwalk system in case an Oniwaban was up there too to take out the Overdron.
The Rindak went right next to a console, and then I passed deployment to Adam. He put a pair of Ryuken-9 HRLs watching the Overdrone, then castled up his two links, one on either side. The Daiyokai link went on the left to challenge the Overdron, and the Domaru/Neko/Yuriko link went on the right along with a screening Ryuken-9 KHD.
Yojimbo sat in the middle to give as much flexibility as possible. One thing of note is that this table actually blocks off a fair amount of movement on the flanks, you really have to either take the catwalks or push right along the table edge. Adam made full use of his 5 minelayers to make things very difficult for my Taigha, which is I think is one of JSA’s hidden strengths.
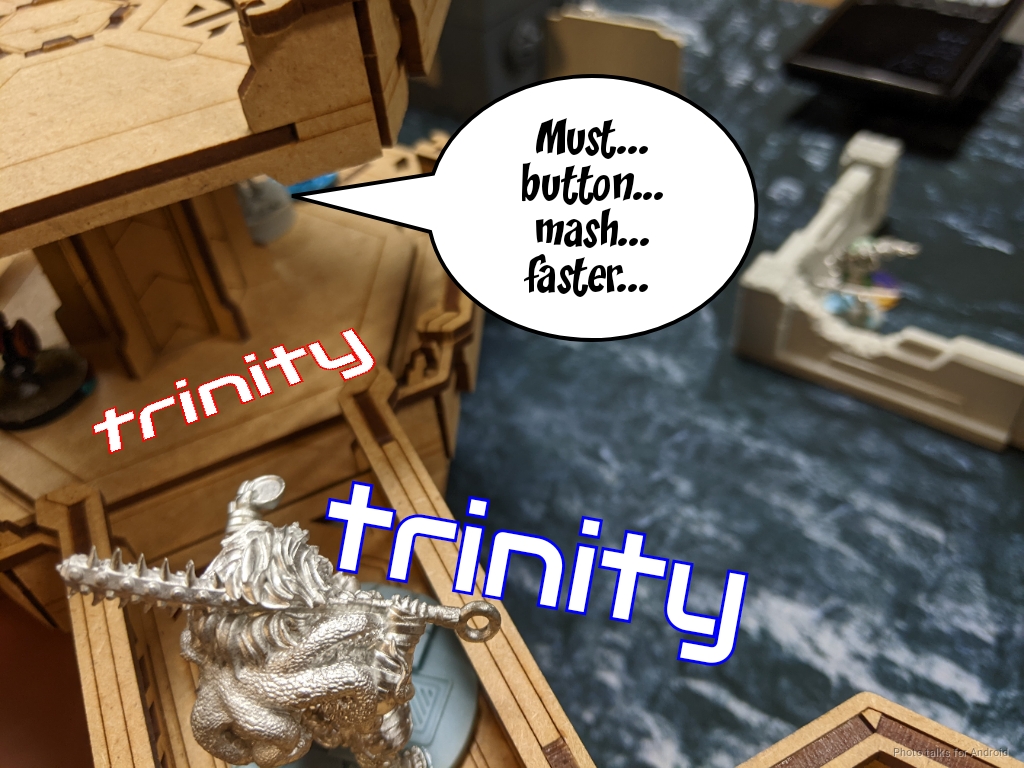
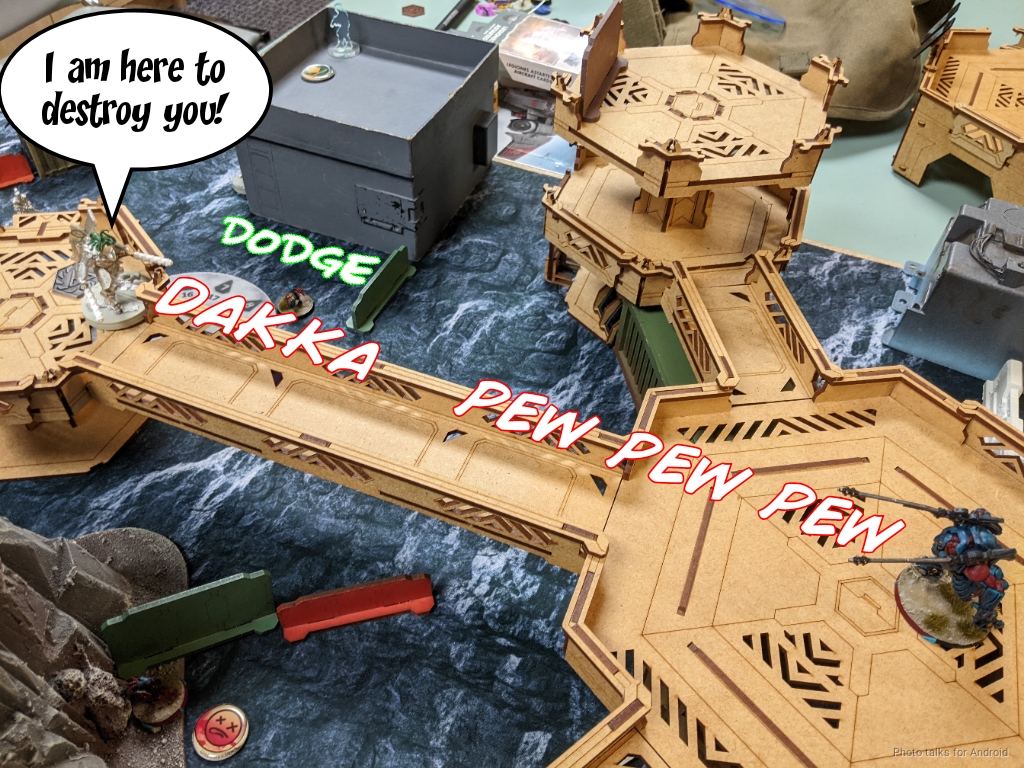
Now that I’m confident that there isn’t a strong likelihood of a Oniwaban based on the points I’ve seen–maybe a Ninja KHD or something, I place the Anathematic at the starting line (base of the stairs) for an aggressive run. The only threat that can isolate me is Yuriko’s E/Mitter, and I’m confident that Adam is not likely to land that. If he cuts the Anathematic down in glorious close combat, I can just make Bit my new Lieutenant and have a WIP 16 Bit. Seems fine. The Greif lands next to his Daiyokai link to try and kill the Paramedics if I have the opportunity. Adam’s reserve is Mushashi, who hangs out near Neko.
Turn 1
Top of 1 – Combined Army
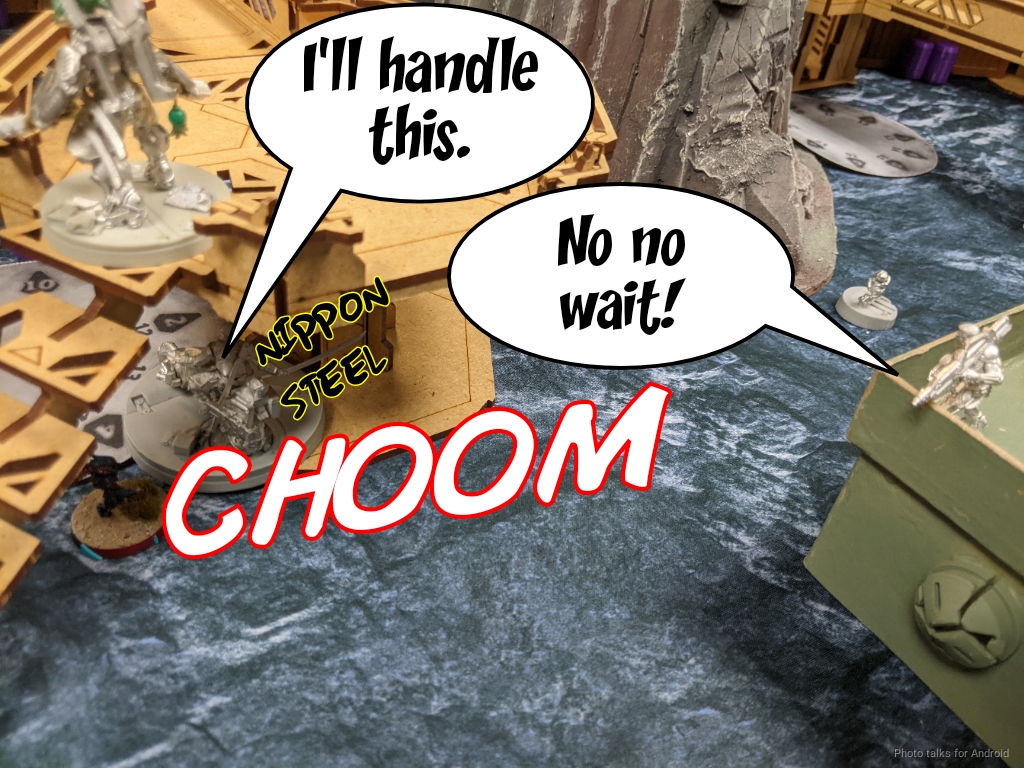
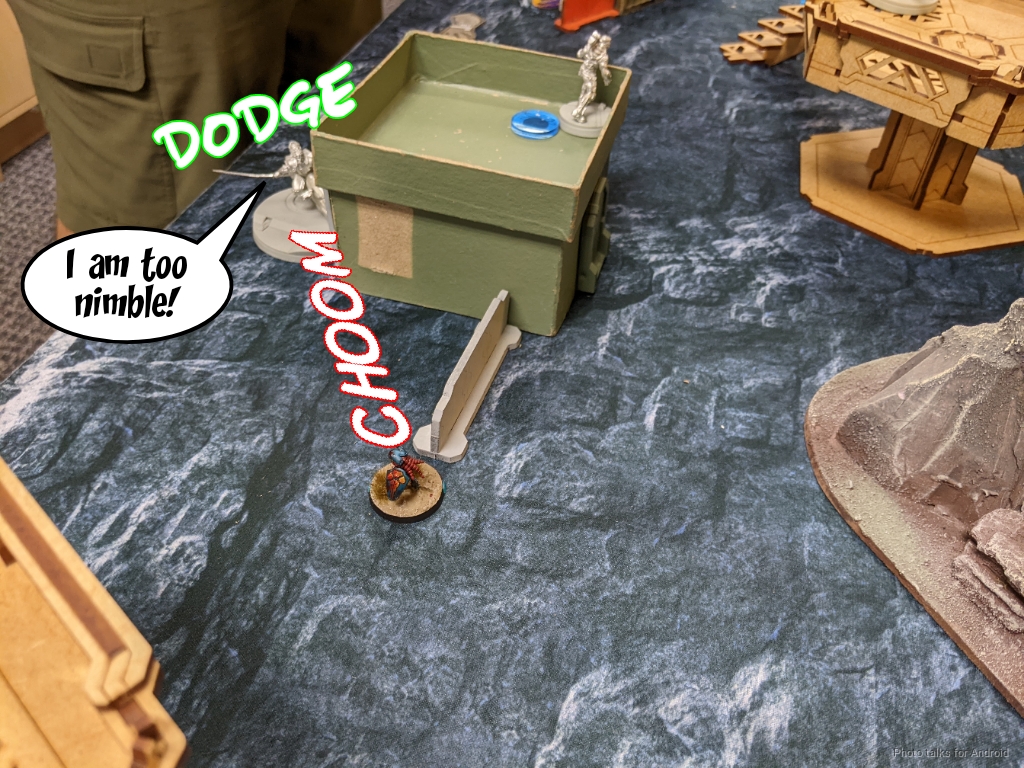
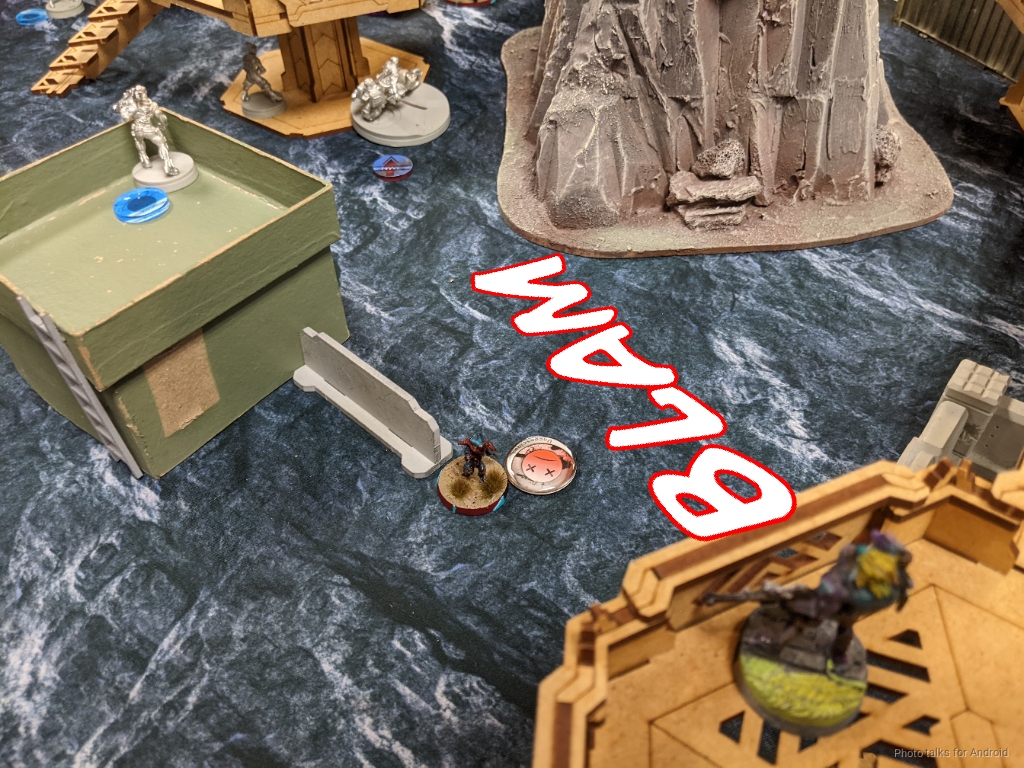
Adam wisely docks me two orders, and I start the killing process. I start by YOLOing a Taigha forward. It gets flash pulsed by Adam’s Warcor, but I want it right next to the Ryuken 9 KHD and also screening where I intend to put my Anathematic–right atop Neko’s smoking corpse.
The same Warcor discovers the Anathematic as I coordinate it up the stairs while the Ikadron move forward.
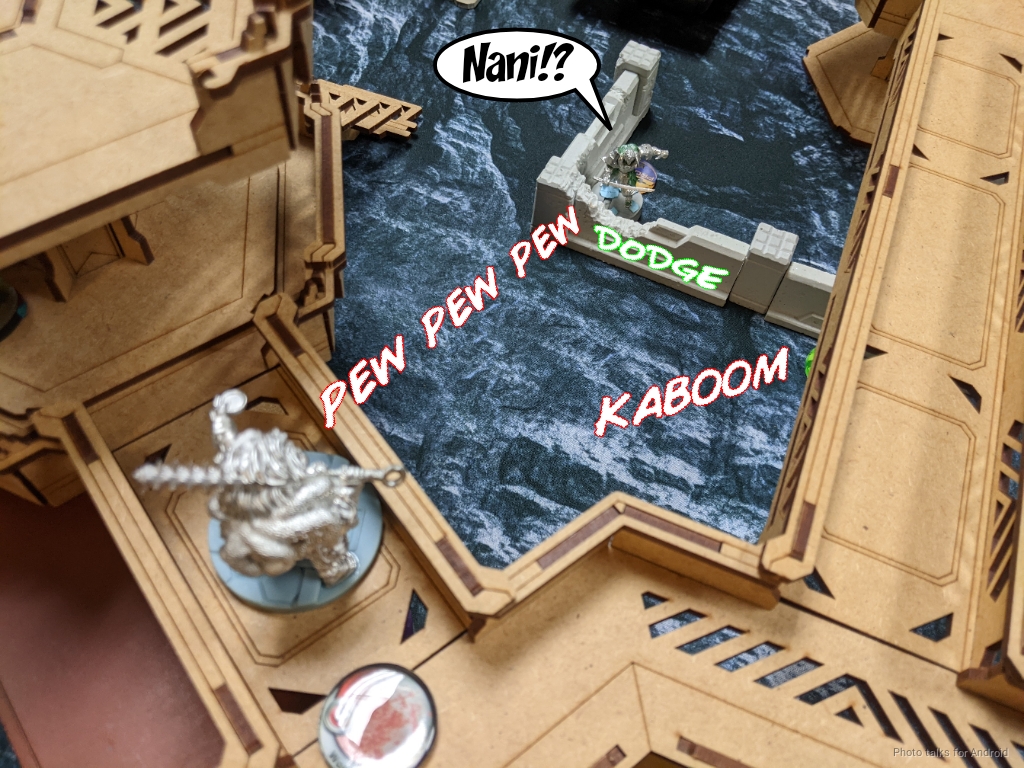
I can’t really move forward until I suppress the Ryuken-9 HRL, so I just activate the Overdron. Adam reveals both, which I’m uncertain. In any case, I split burst and blast one of them off the table.
I had planned to use the Overdron as bait in this way to force the reveal, and then the Caliban can gun down the Ryuken-9 with MSV1. I had moved it forward as part of the earlier coordinated order, and had I been playing optimally, I would have dropped it prone as part of this next order, but I surprise shot the Ryuken-9. I fail to kill it, but Adam decides to drop it prone to preserve the order.
I really don’t want to get flash pulsed by the Warcor, but I’m outside of 16″ and I’m just on awful numbers with the Anathematic–3 on 7’s versus 1 on 10’s. Not good odds for either of us, and I chance it. We both fail to connect, and I mange to break LoF to the Warcor. The Overdron takes a shot too, and shockingly whiffs all three shots on 13’s. Frustrating.
The Anathematic is now within 16″ though, and I melt the Warcor.
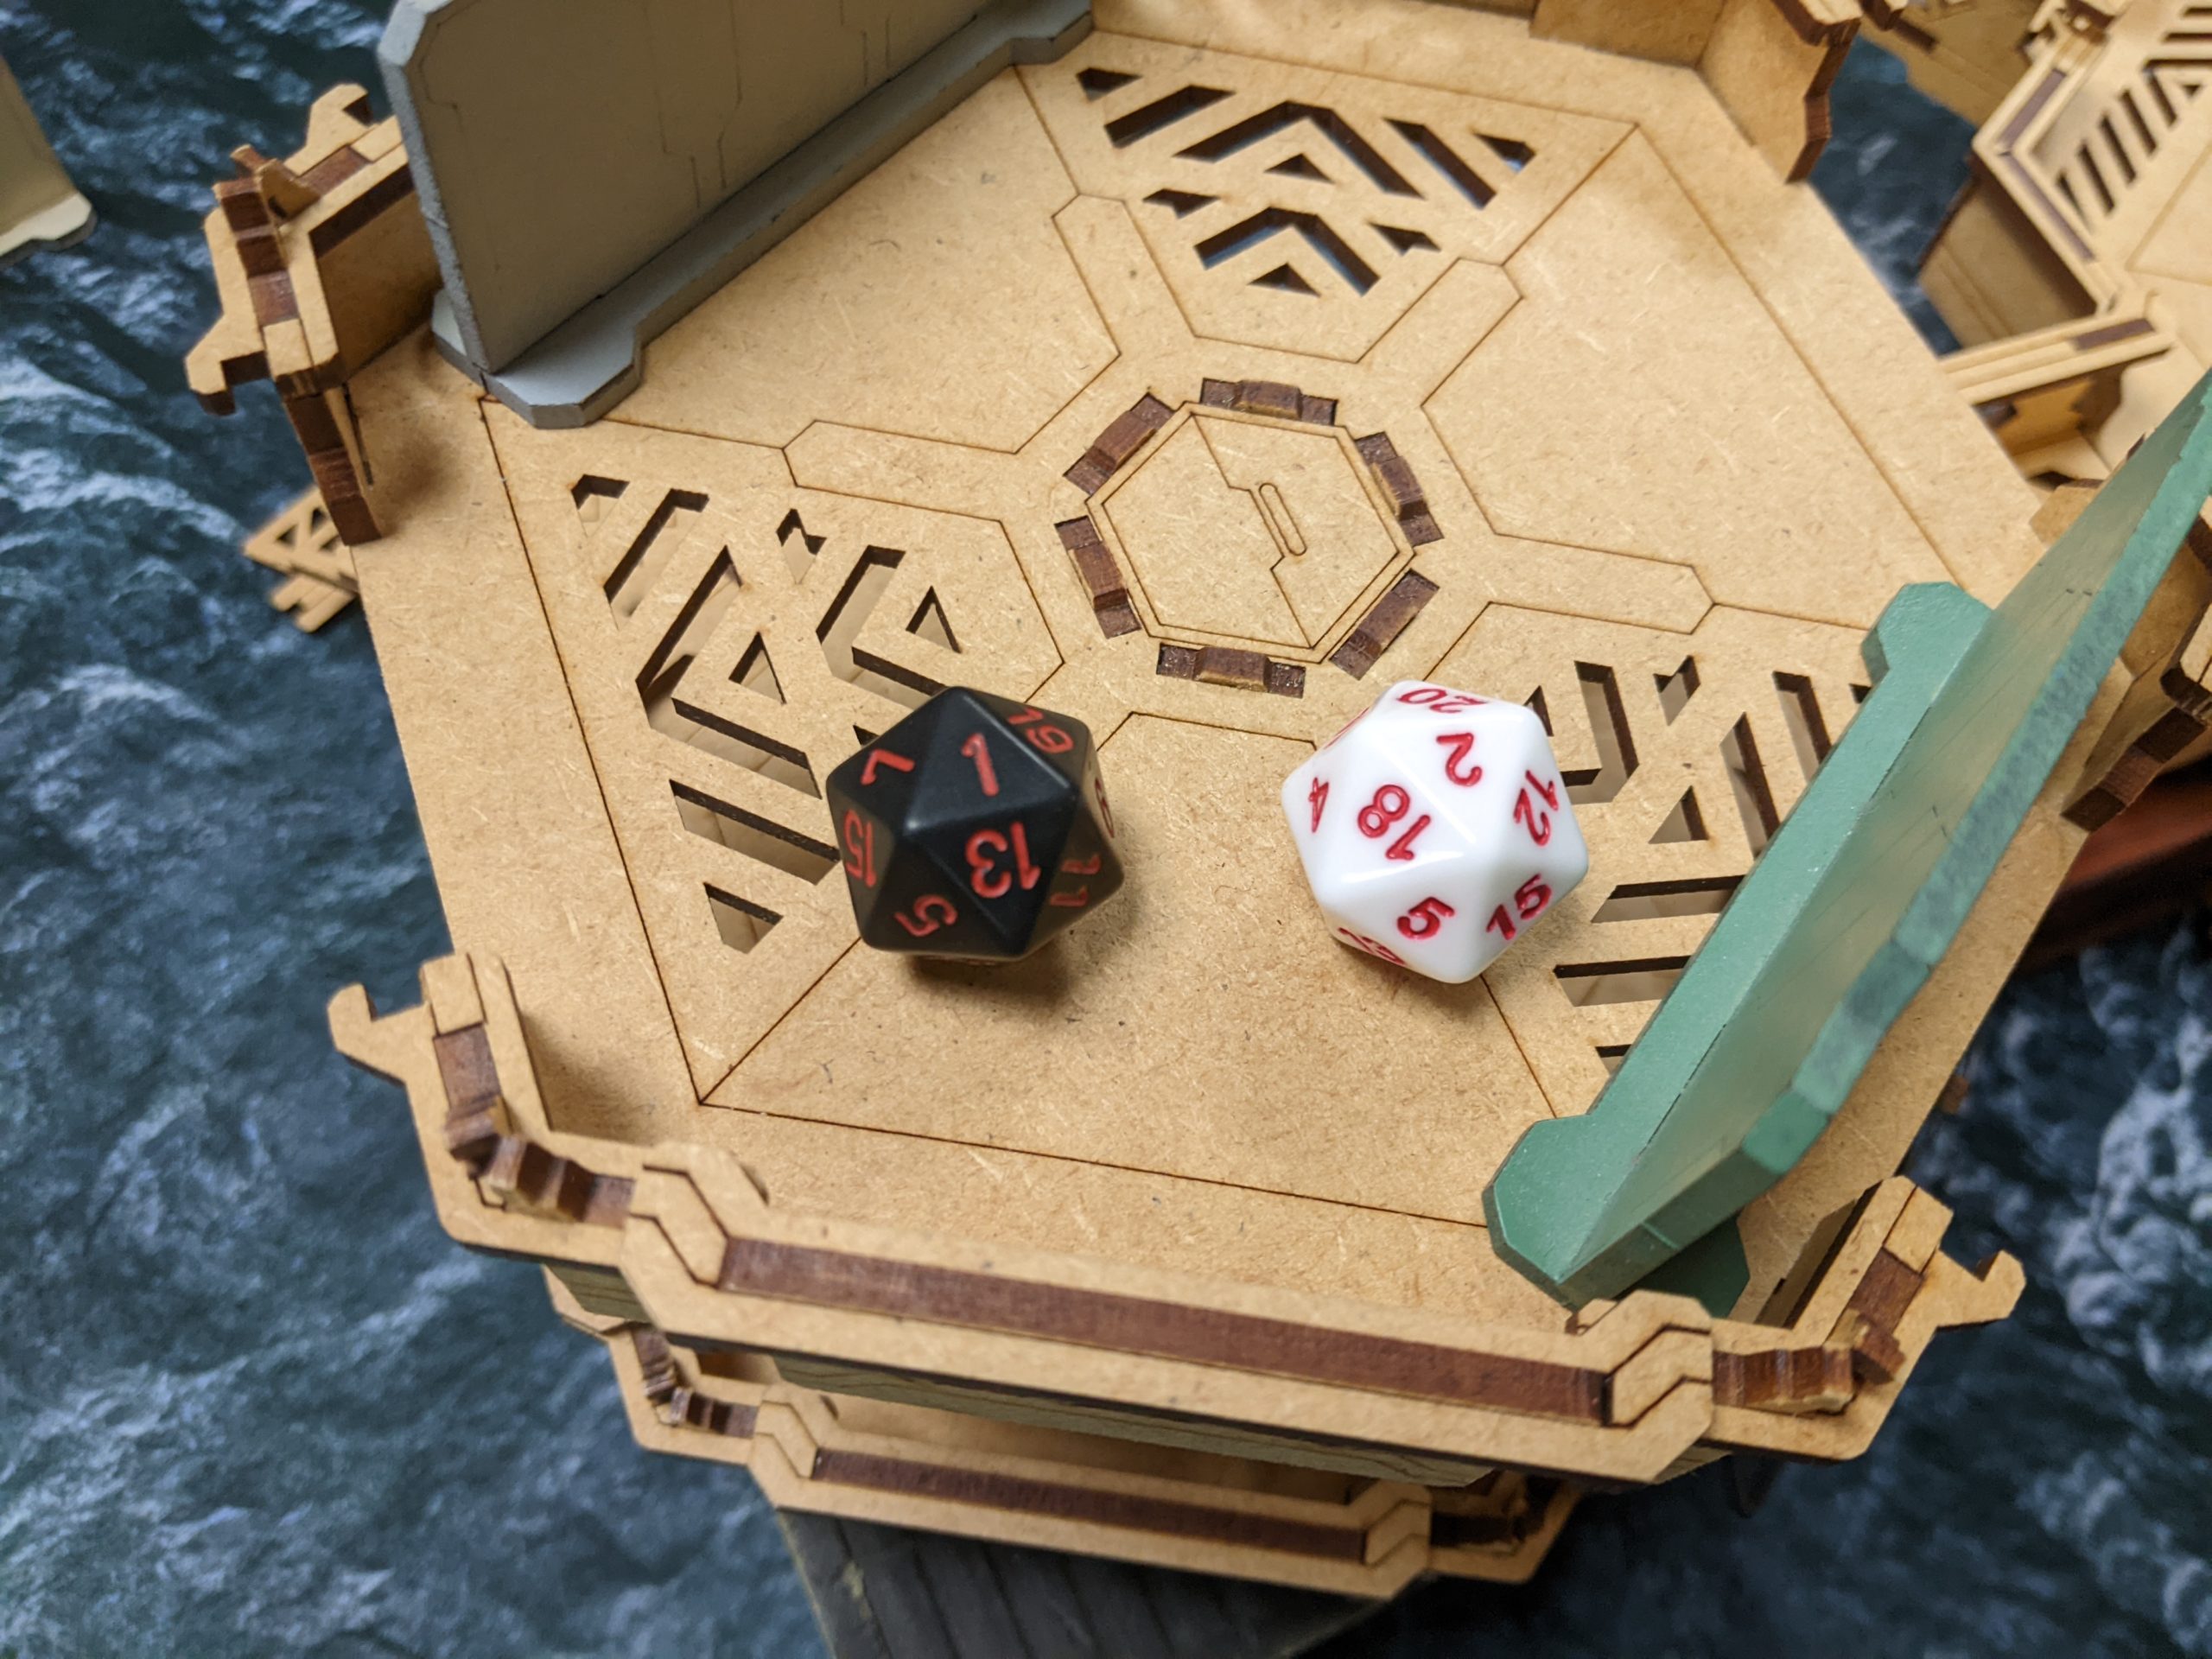
I then proceed to get crit Trinity’ed by the Ryuken KHD, on the second order the Anathematic brain HMGs the Ryuken-9 down. 4 on 19’s versus 1 on 16’s is actually a lot dicier than I would like, which is very odd. Still, the Anathematic has three wounds (ish) so losing one isn’t so bad.
The really frustrating thing is I lose another wound and go into NWI as I gun Neko down. There was a mine that I didn’t see underneath the bridge (my sloppiness, so I deserve it). This lets me go prone though. Neko, as hoped, is actually more of a smoking crater than a corpse.
I’ve actually pushed some Taigha up pretty fair–of note is the one screening the Anathematic and the other near the Daiyokai. The issues that I have are that the Overdron and Caliban are quite exposed now to the Daiyokai, and I really haven’t done any damage to Adam’s order pool thanks to the 2nd lieutenant order and NCO.
Bottom of 1 – JSA
Yojimbo sets up smoke to protect Mushashi’s advance on the Anathematic, and then he starts moving the Daiyokai.
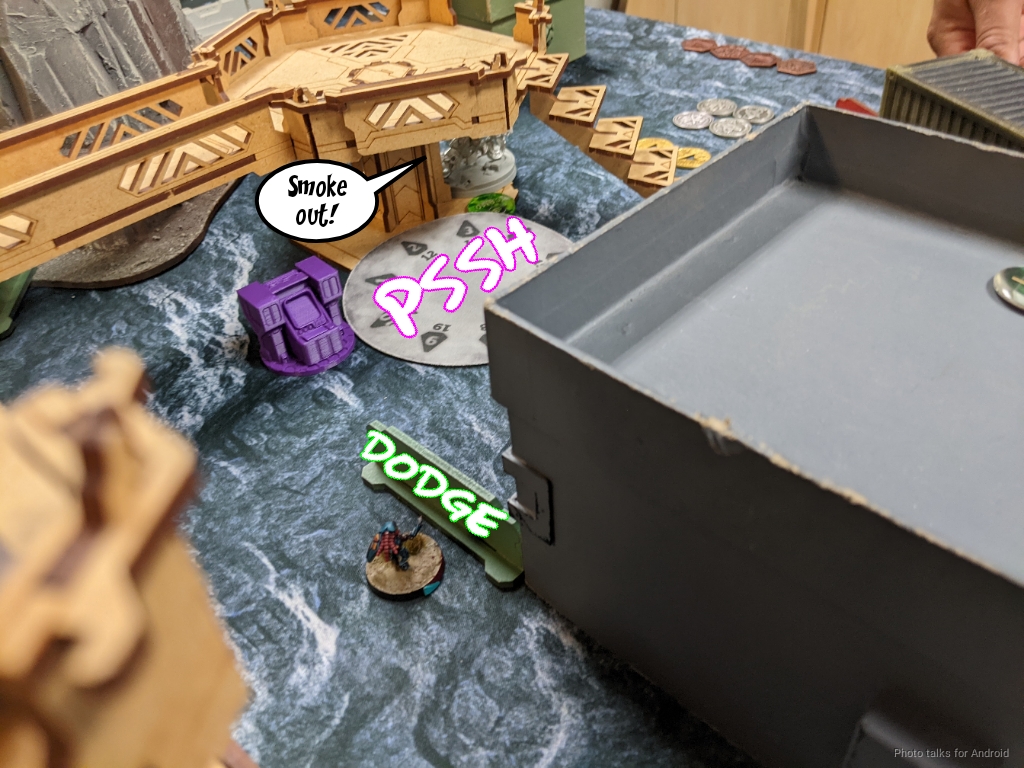
I really wish I had the presence of mind to prone the Caliban, but the lesson is burned into my mind in one order as the Daiyokai guns it down. This does let me dodge the Taigha forward though. I’m hoping that it will just drain orders–I don’t expect it to actually do anything.
Yojimbo activates again and sets up more smoke for the Daiyokai to advance, which allows me a second dodge on the Taigha.
The Daiyokai attempts to kill the Taigha on the way forward, but I dodge successfully, into view of one of the Daiyokai’s paramedic buddies. Adam decides to just let me have it and I chain colt the Keisotsu down as the Daiyokai advances.

Unfortunately for me, this isn’t enough of a delaying action to protect the Overdron.
Eventually, the Overdron dies to the Daiyokai over two orders as the Taigha continues dodging forward.
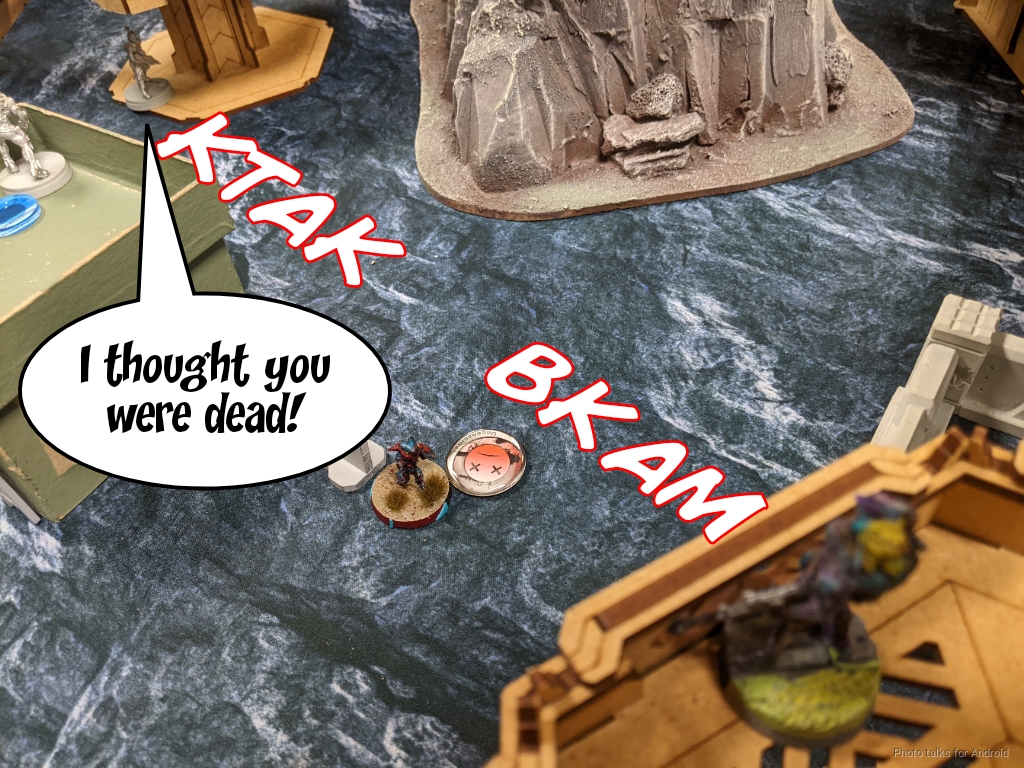
Adam stands up the Ryuken-9 HRL to take a shot on the Taigha, both to set up an ARO as well as to rid himself of the pesky warband. This gives me yet another dodge. Fed up with this nonsense, he rolls Yojimbo into CC. I judge that the now-visible Ryuken-9 is in chain colt range, and I do a wound to Yojimbo and the Ryuken-9 before dying to Yojimbo’s mastery of the katana.
Adam has enough orders to send in Mushashi, but he has to get past my other Taigha first. I elect to chain colt, and he chain rifles back instead of dodging. Either way, I’m granted a dodge on my Anathematic, which I sadly fail. The chain rifle was actually a huge mistake here, as we discussed after the game–dodging would have given him the movement to move into CC with the Anathematic on the next order. In any case, we trade wounds and Mushashi is now in NWI and the Taigha is unconscious.
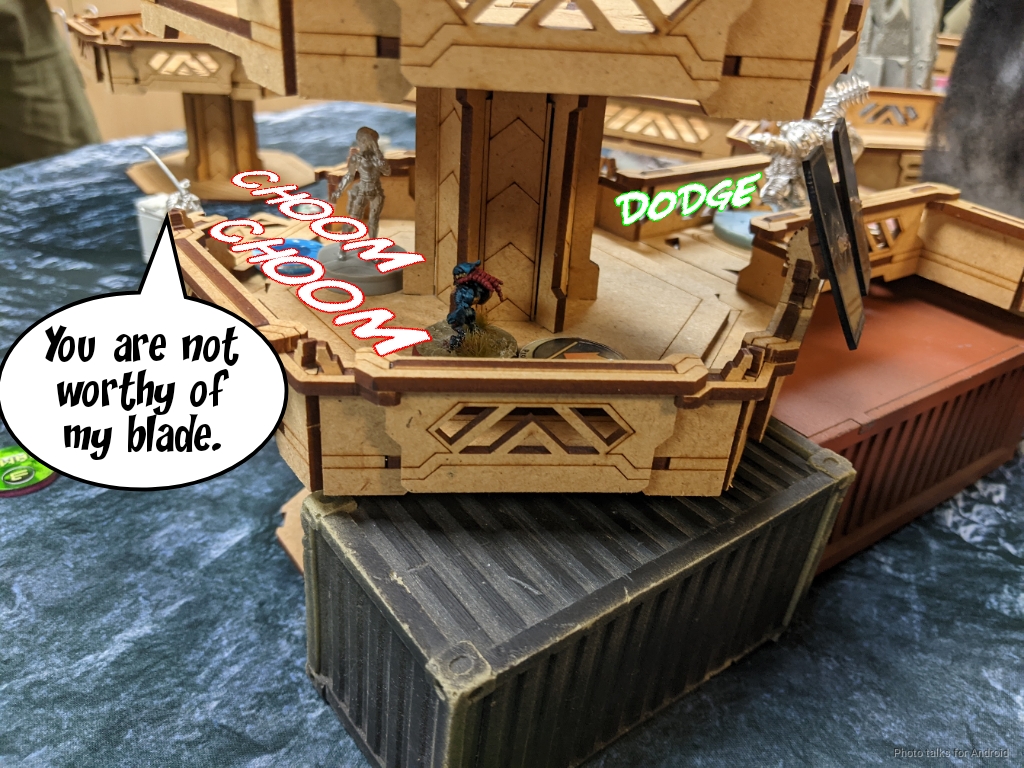
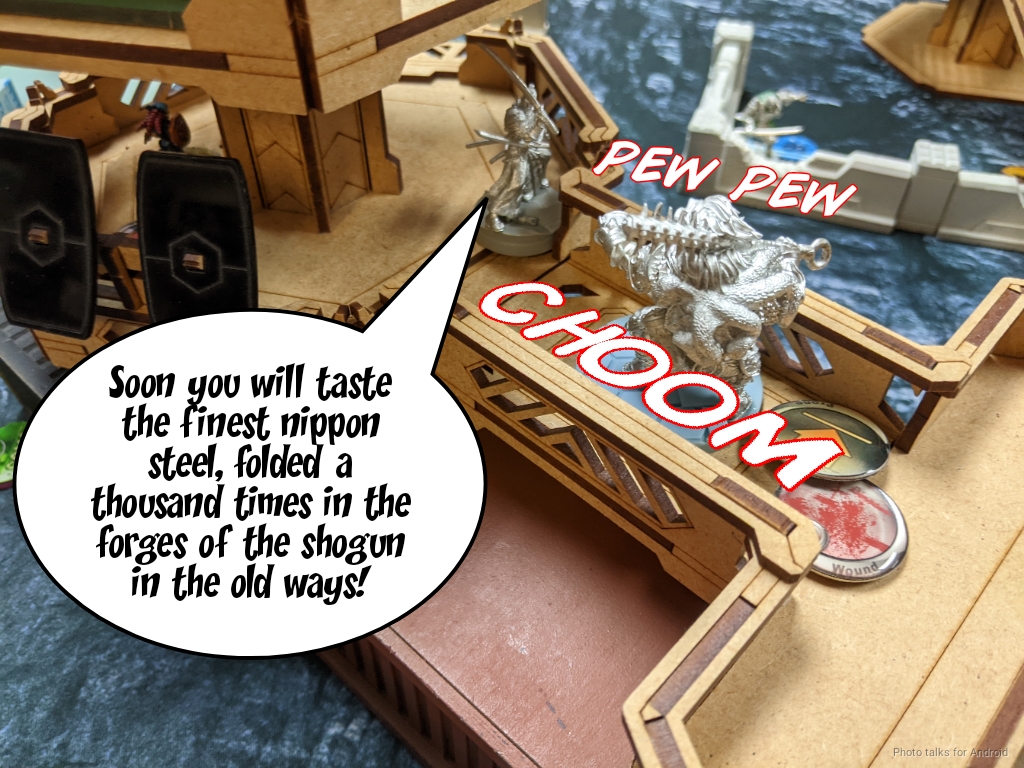
Adam moves Mushashi into view and dares me to nanopulsar or dodge. I elect to plasma and try to tank the chain rifle save, which the dice decide is the correct choice. Mushashi joins Neko as a smoking crater, and the Anathematic limps along to fight for another turn.
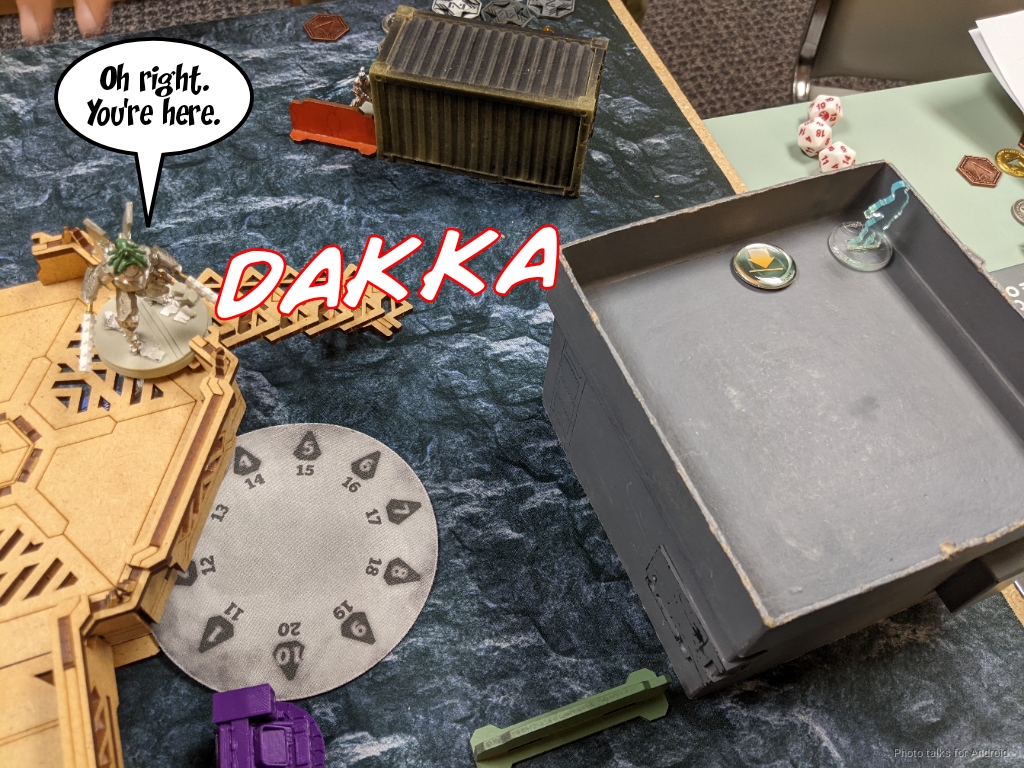
Almost as an afterthought, Adam discover-shoots the Greif, killing it. I had thought it safe there, prone, but there was a silver of my base visible, so that’s one dead Greif.
Turn 2
With my two near quadrants held by Ikadron and the Anathematic having fended of Mushashi, I’ve got three quadrants and therefore 2 points!
Top of 2 – Combined Army
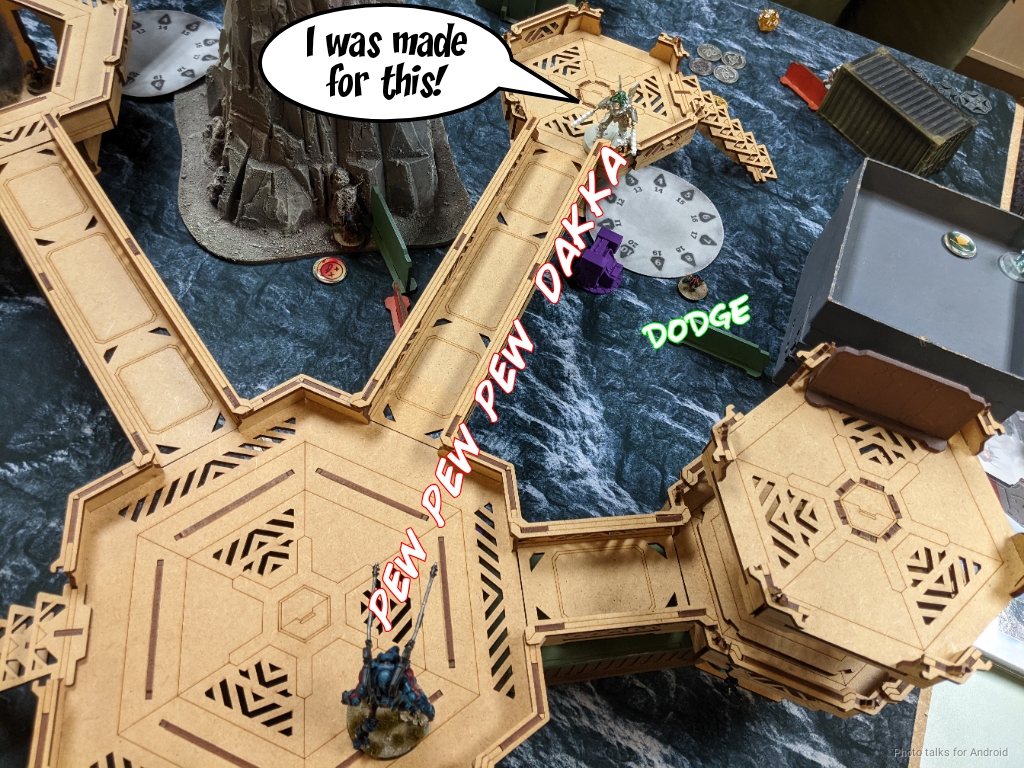
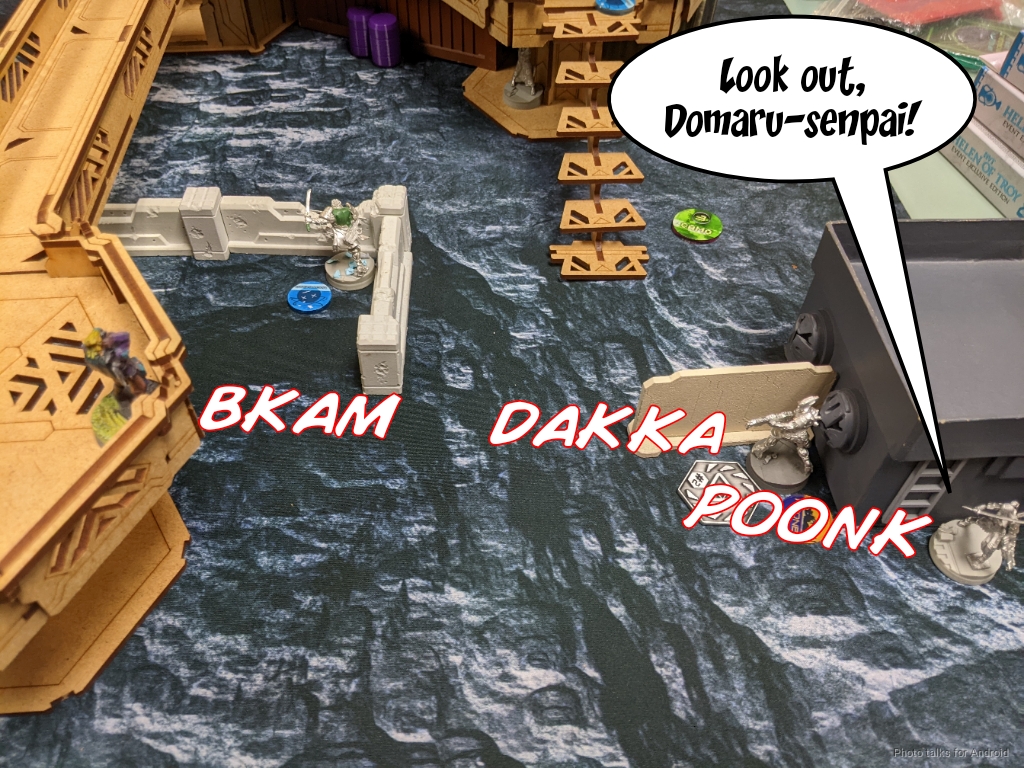
I need to clear Yojimbo’s Koala so I can set up a shot on the Daiyokai with the Rindak, so one of my Taigha gets it done for me.
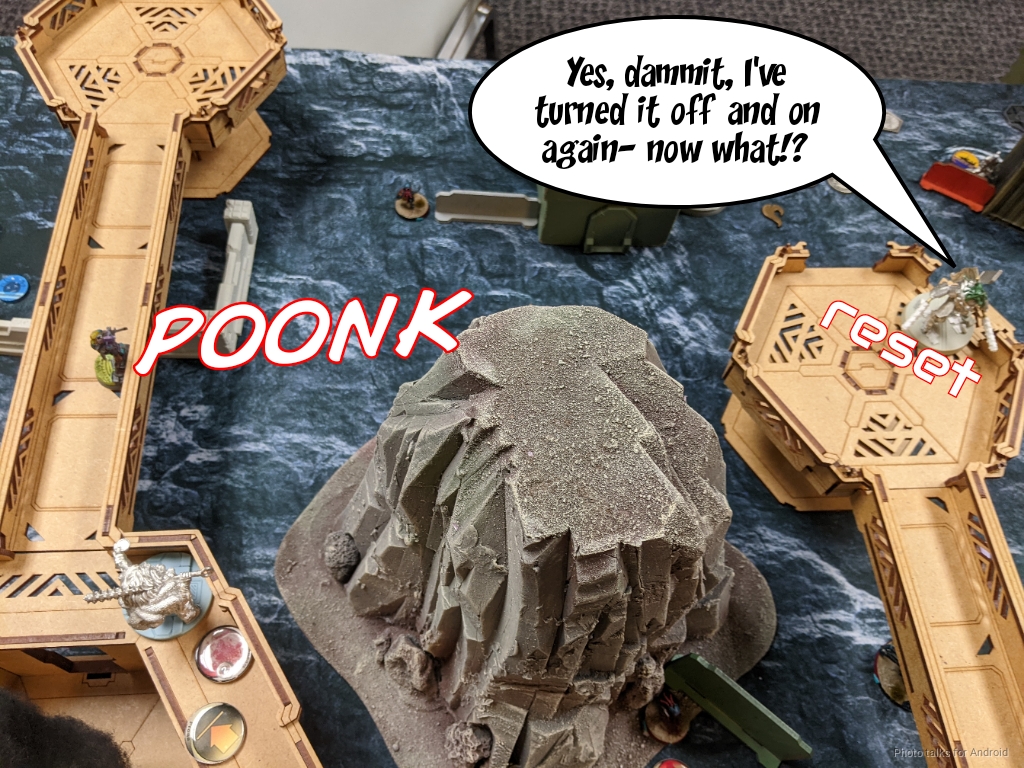
The Rindak flips a console for me–it’s failed in the last two games, about time, Rindak!
I really want to guarantee success on taking the Daiyokai out of the fight, so I decide I’m going to try and hack it. It’s watching Bit and Kiss, so any pitchers are going to be met with Panzerfausts. There’s a line of advance under the bridge that it can’t see for the R-Drone, so I elect to do that instead. I need to force a Keistosu prone though. I land a lucky plasma crit with the Anathematic. The Keisotsu passes all three saves and wisely goes prone behind cover.
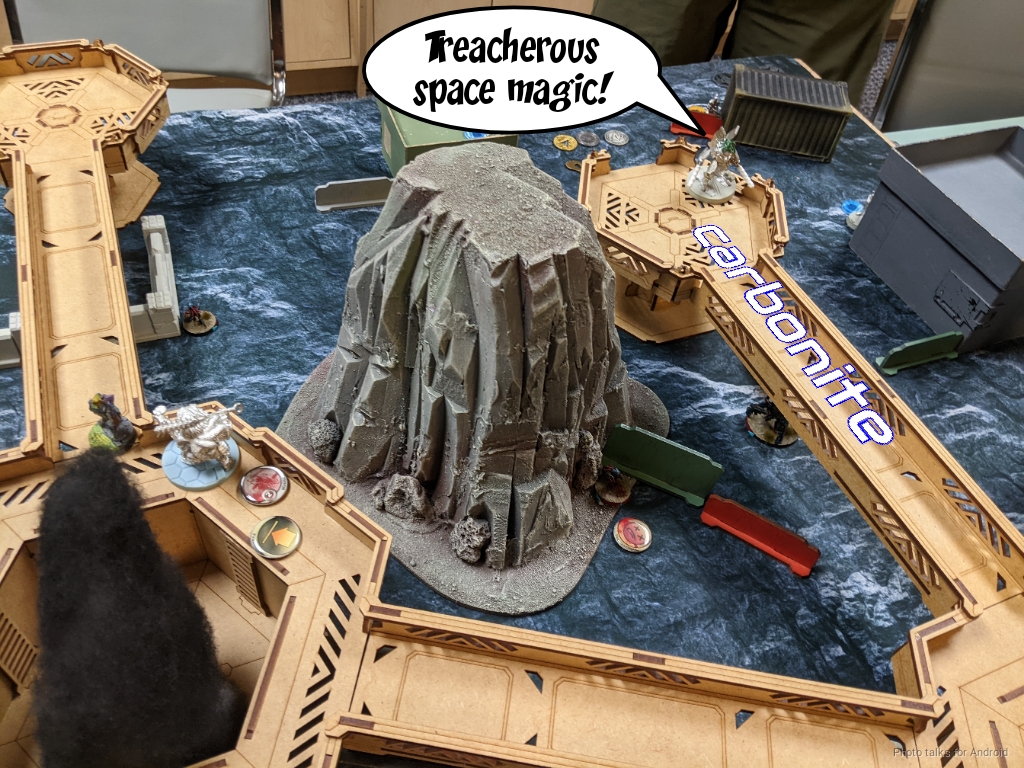
This does allow me to rocket the R-Drone forward and get a Carbonite off on the Daiyokai.
I need to get Yojimbo out of the way for this too, so I shoo him out of the way with a Taigha’s chain colt. He dodges successfully and scoots out of view.
I make use of the Rindak’s double Blitzen and isolate/immobilize the Daiyokai. I think I should’ve just started with this instead of doing all the other stuff. It’s riskier but I could’ve always followed up with the R-Drone repeater play.
In any case, this leaves me with enough orders to get two rounds of shooting on the Domaru Spitfire Lieutenant. I’m just outside of 8″, so the dice aren’t particularly great for me, and I only manage to do 1 wound and get E/Mittered for my trouble. I do remember to go prone on my second order though, so I’m at least stuck out of line of fire!
Bottom of 2 – JSA
After killing the R-Drone with Yojimbo (and me getting a classified by Spotlighting Yojimbo as he does this), Adam spends basically his entire first order pool getting the Domaru Spitfire into base to base with my Anathematic.

He doesn’t want to berserk me, because the Domaru is already wounded and he wants to keep it alive. I shockingly crit the first roll, but the second is enough to finish me off. As planned, Bit becomes the new Lieutenant.

He retreats the Domaru into the smoke column, advances a few units, and passes turn.
Turn 3
We both hold two quadrants, so no points at the top of 3 for either of us.
Top of 3 – Combined Army
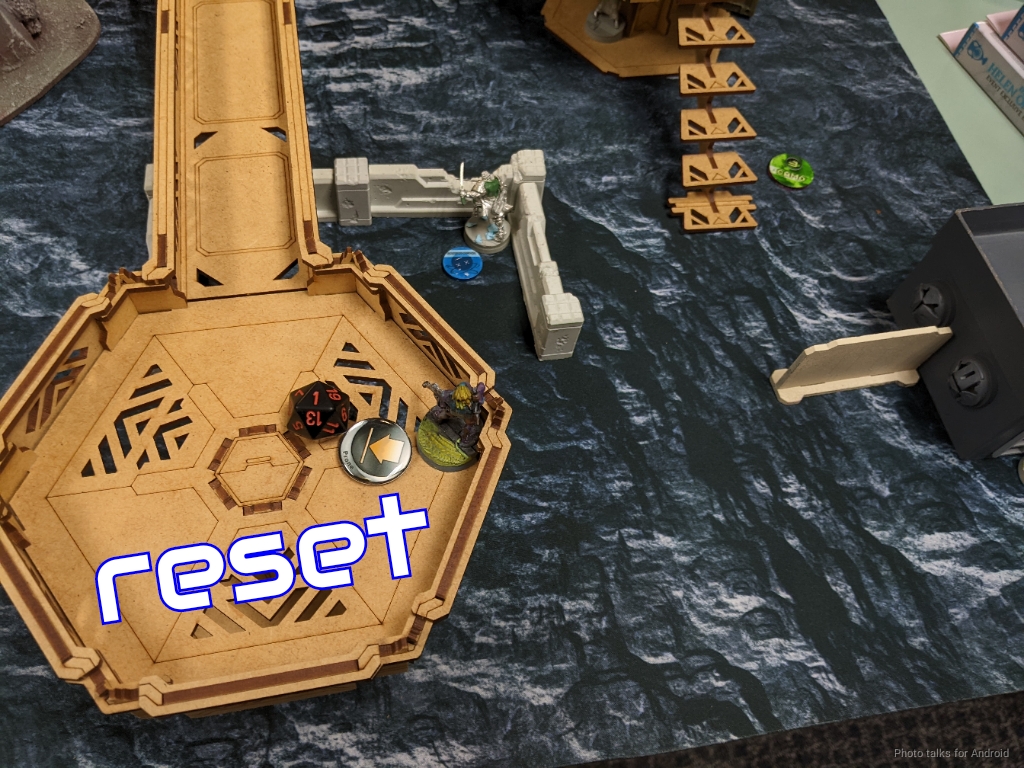
Shockingly, I roll a 1 on the Rindak’s reset with his own order, getting him back into the game!
I down Yojimbo at long range…
and then Yojimbo’s Keisotsu buddy!
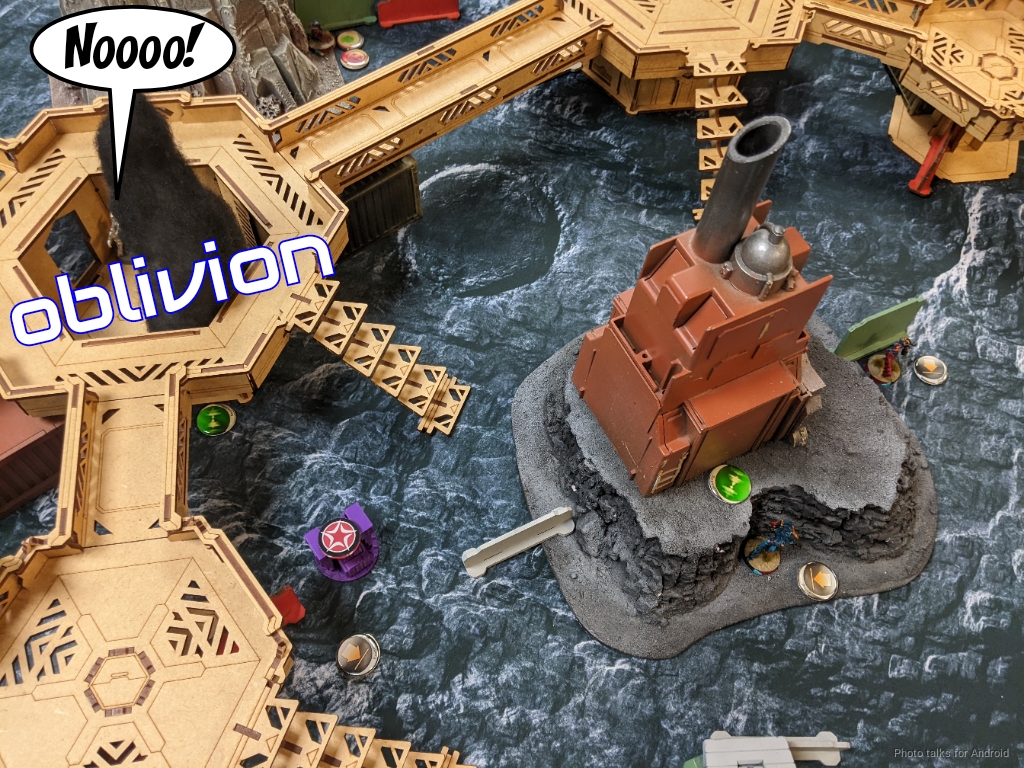
I really don’t have much in the way of orders now, so I’ve got to content myself with isolating Adam’s Domaru lieutenant by setting up a pitcher and Oblivioning it.
Bottom of 3 – JSA
This is exactly why I’m considering swapping in the Dartok hacker over Bit and Kiss. I lose the throwaway ARO nature of Kiss and the pitcher efficiency, but I gain access to Carbonite, which would have been the superior choice here over Oblivion. Alas, Adam is able to get the Domaru into my quadrant and take it from me. This makes it a
4-2, 80-140 Combined Army Victory!
Post Game Analysis
I should have lost this game. Adam let me keep that pesky Taigha alive and dodging by not throwing more concerted Daiyokai effort at it. It cost him a Keisotsu, a wound on Yojimbo, and a Ryuken-9, all spending his orders. That, and the critical mistake of not dodging with Mushashi and basically guaranteeing a dead Anathematic at the bottom of 1.
Had the Anathematic died there, that would’ve been a tie on quadrants. I would’ve been down the Anathematic, the Overdron, the Caliban, and a few Taigha when I started turn 2. It’s likely that Mushashi dies to the Taigha near the Anathematic–I presumably chain colt and do a wound on his way in to kill the Anathematic, and then I can Berserk and finish him off.
Then my Turn 2 is a pretty unsupported Rindak trying to make ends meet. I have to make the risky Blitzen play. If that works i can do some dodging and get into view of the Domaru, but then Adam’s Turn 2 isn’t about taking out the Anathematic, he can go after my order pool and the Ikadron, and then we probably close it out as a 1-4 loss for me.
Really sloppy play on my part with the Overdron. I think I just needed to trust the Anathematic a little more with the Warcor and not waste the order on the Overdron and instead retreated it and reset the Caliban, which was also a big mistake. I was very happy with my Taigha play this game, but Adam let me have it more than anything. If you give me free targets I will take them.
Honestly, I played this game very sloppily. I did, however, YOLO the Anathematic. I don’t think it was a particularly good execution of it, even though it was successful. Really Adam’s mistake of not dodging let me keep it alive and useful. It’s possible I should have just tried to melt the Daiyokai with the Anathematic, which would have been a far more aggressive play. Even outside 16″ against the Daiyokai’s panzerfaust it looks pretty reasonable:
| 66.72 | 23.49 | 9.79 |
It’s a 40.63% chance of doing two wounds and a 17.69% chance of killing the Daiyokai outright. If the Anathematic wasn’t already damaged I might’ve tried it. Then challenging Yuriko and the Domaru was much better. I think this was the real YOLO moment that I failed to recognize. The first turn push was… not great. Killing the Ryuken KHD and Neko was okay, but not at the cost of two wounds and then putting the Anathematic so close to the blender that is Mushsashi…
Adam’s still learning JSA, but against an experienced and aggressive JSA player like Tim (or Adam after a few more games) that would never have worked. I can already hear both of them chortling with glee and rubbing their hands together with excitement for me delivering the Anathematic to within stabbing range. I think really this game reinforces my current preference for a well timed Anathematic push. Everyone keeps telling me to just let the Anathematic beat face on turn 1, but I think a more methodical push on turn 2 when it has the support of other forward advanced pieces would be much more devastating.
Imagine this game if I hadn’t spent over half of my order pool on the Anathematic first turn. The Overdron can probably clear both Ryuken-9 by itself, then I can use the Caliban and the Greif to work on the Daiyokai and the Keisotsu in tandem, which in turn helps keep the Overdron alive. Adam has orders to attack on my left with the Neko haris, but there’s enough inefficient movement there and a Taigha in the way to delay him along with the Overdron potentially still being alive and in overwatch with the Daiyokai dead.
Then on my second turn I can unleash the Anathematic and have complete dominance of the table with a deeper order pool. I think that’s a much stronger line of play overall. I should have lost the Anathematic and I should have lost the game, were it not for Adam’s lack of experience with Mushashi. I think the more reliable, lower variance play would have been to use the Caliban, Overdron, and Grief to take on the elements of Adam’s lists that they were well positioned to attack.
Instead, I blindly YOLOed the Anathematic forward and squeaked out an undeserved win. This is a a bit of a straw man argument, to be sure. Proponents of the Anathematic YOLO I imagine would agree with me here, but I just wanted to give a strong counterargument to the blind YOLO. In any case, I’m learning what I can ask the Anathematic to do and what I can’t. I think I asked too much of it here. Really frustrating that I lost a wound to the lucky Ryuken-9 crit though. Ah well.
A good tuning game for me, and a good learning game for Adam, who was planning on bringing JSA to the upcoming tournament. It was his I think second or third game with them ever? A good game with him as always. Thanks for reading.

Pingback: Trading Taigha – MERC Recon