Folded Steel
We had an odd number of players at the tournament, so I offered my opponent Birman (DataEntity) the choice of playing double-TAG JSA or double-TAG Bakunin. He chose JSA. We’re playing on Erik (Zelaponeepus)’s table.
Overview
- Mission: ITS14 Battleground
- Forces: Japanese Secessionist Army versus Steel Phalanx (300)
- Deploy First: Steel Phalanx
- First Turn: Steel Phalanx
I decided this silly list was a good plan. I’ve already played it:
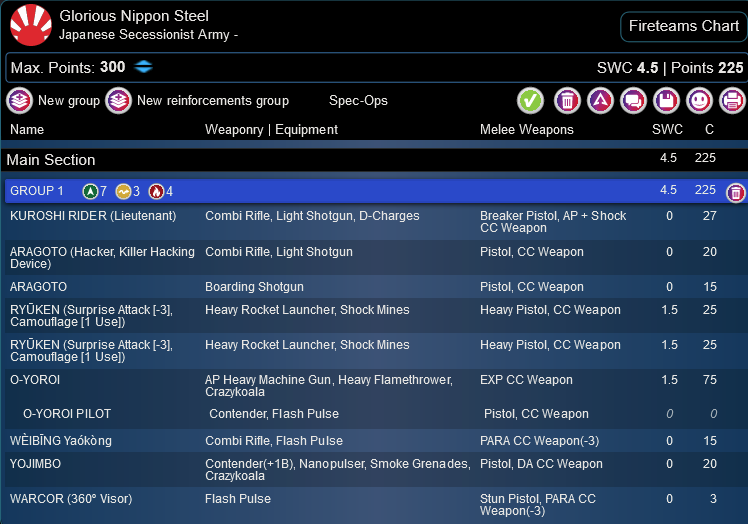
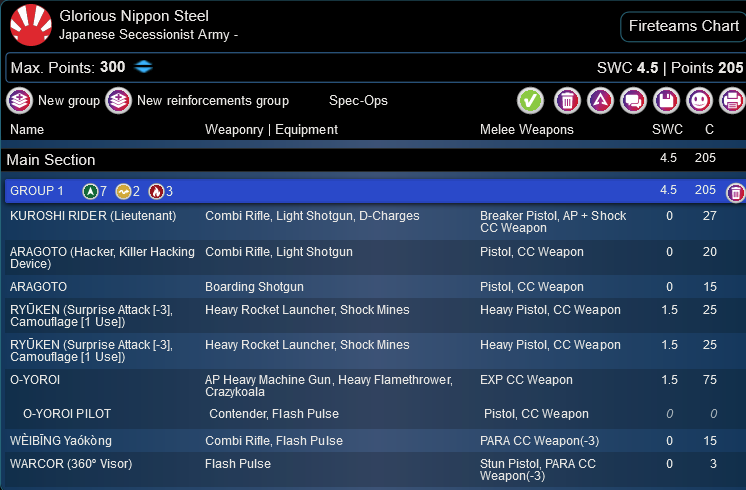
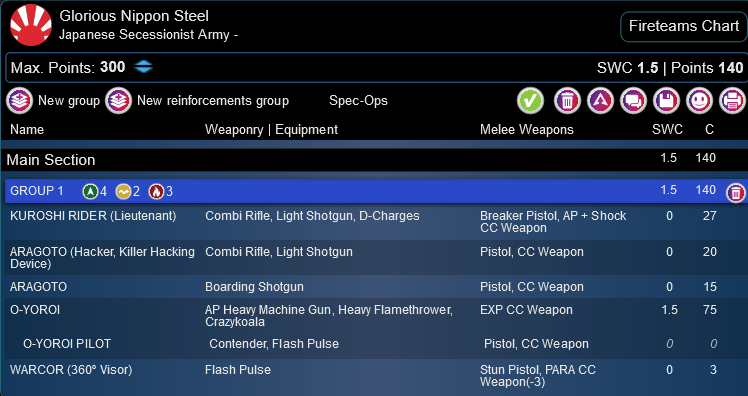
Glorious Nippon Steel
KUROSHI RIDER (Lieutenant) Combi Rifle, Light Shotgun, D-Charges / Breaker Pistol, AP + Shock CC Weapon. (0 | 27)
ARAGOTO (Hacker, Killer Hacking Device) Combi Rifle, Light Shotgun ( ) / Pistol, CC Weapon. (0 | 20)
RYŪKEN (Surprise Attack [-3], Camouflage [1 Use]) Heavy Rocket Launcher, Shock Mines / Heavy Pistol, CC Weapon. (1.5 | 25)
O-YOROI AP Heavy Machine Gun, Heavy Flamethrower, Crazykoala / EXP CC Weapon. (1.5 | 75)

O-YOROI PILOT Contender, Flash Pulse / Pistol, CC Weapon. (0 | 0)
WÈIBĪNG Yaókòng Combi Rifle, Flash Pulse / PARA CC Weapon(-3). (0 | 15)
YOJIMBO Contender(+1B), Nanopulser, Smoke Grenades, Crazykoala / Pistol, DA CC Weapon. (0 | 20)
WARCOR (360º Visor) Flash Pulse ( ) / Stun Pistol, PARA CC Weapon(-3). (0 | 3)
8
4
4 | 6 SWC | 300 Points | Open in Army | Copy Code
Tim (Chainsaw) found this, well, glorious gif, so I’m sharing it with you. It seems pretty appropriate.
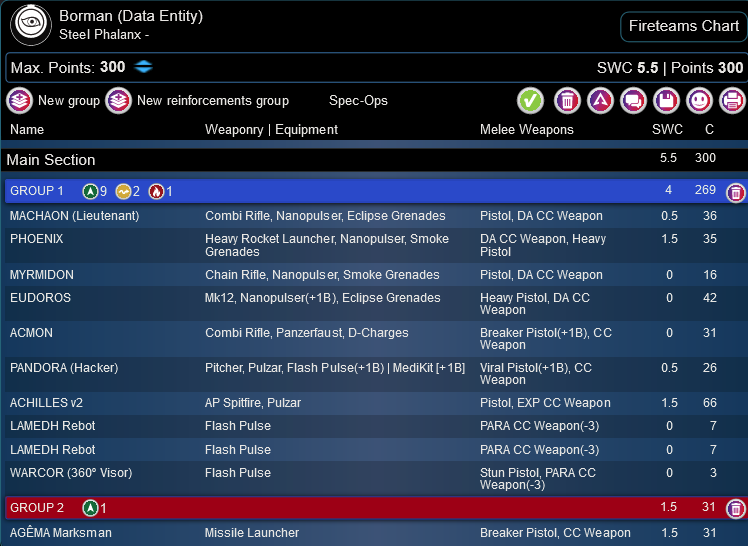
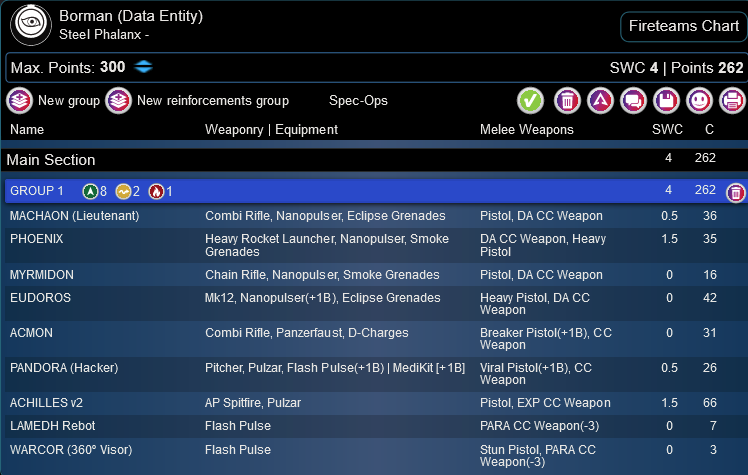
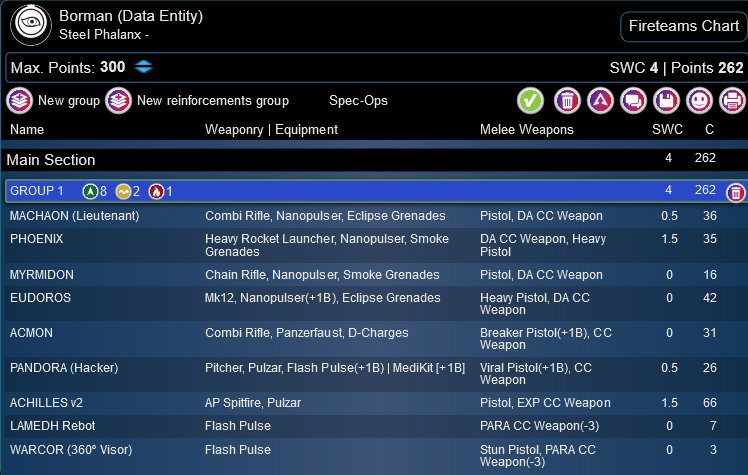
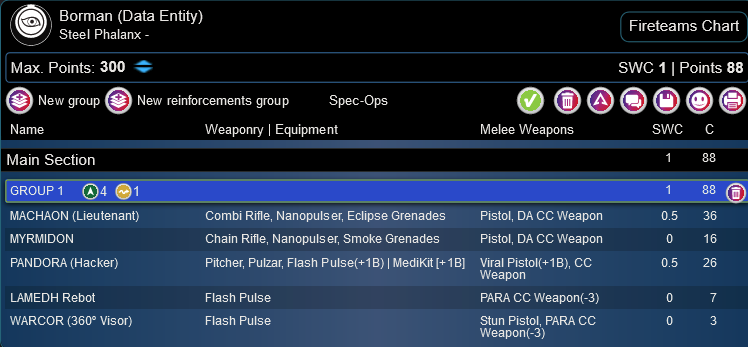
Birman is playing a scary 11 order Steel list with an Agema ML in the second group and then a pile of good stuff in group 1 powering Achilles.
Birman (Data Entity)
GROUP 1
MACHAON (Lieutenant) Combi Rifle, Nanopulser, Eclipse Grenades / Pistol, DA CC Weapon. (0.5 | 36)
PHOENIX Heavy Rocket Launcher, Nanopulser, Smoke Grenades / DA CC Weapon, Heavy Pistol. (1.5 | 35)
MYRMIDON Chain Rifle, Nanopulser, Smoke Grenades / Pistol, DA CC Weapon. (0 | 16)
EUDOROS Mk12, Nanopulser(+1B), Eclipse Grenades / Heavy Pistol, DA CC Weapon. (0 | 42)
ACMON Combi Rifle, Panzerfaust, D-Charges / Breaker Pistol(+1B), CC Weapon. (0 | 31)
PANDORA (Hacker) Pitcher, Pulzar, Flash Pulse(+1B) ( | MediKit [+1B]) / Viral Pistol(+1B), CC Weapon. (0.5 | 26)
GROUP 2
ACHILLES v2 AP Spitfire, Pulzar / Pistol, EXP CC Weapon. (1.5 | 66)
LAMEDH Rebot Flash Pulse / PARA CC Weapon(-3). (0 | 7)
AGÊMA Marksman Missile Launcher / Breaker Pistol, CC Weapon. (1.5 | 31)
5.5 SWC | 300 Points | Open in Army | Copy Code
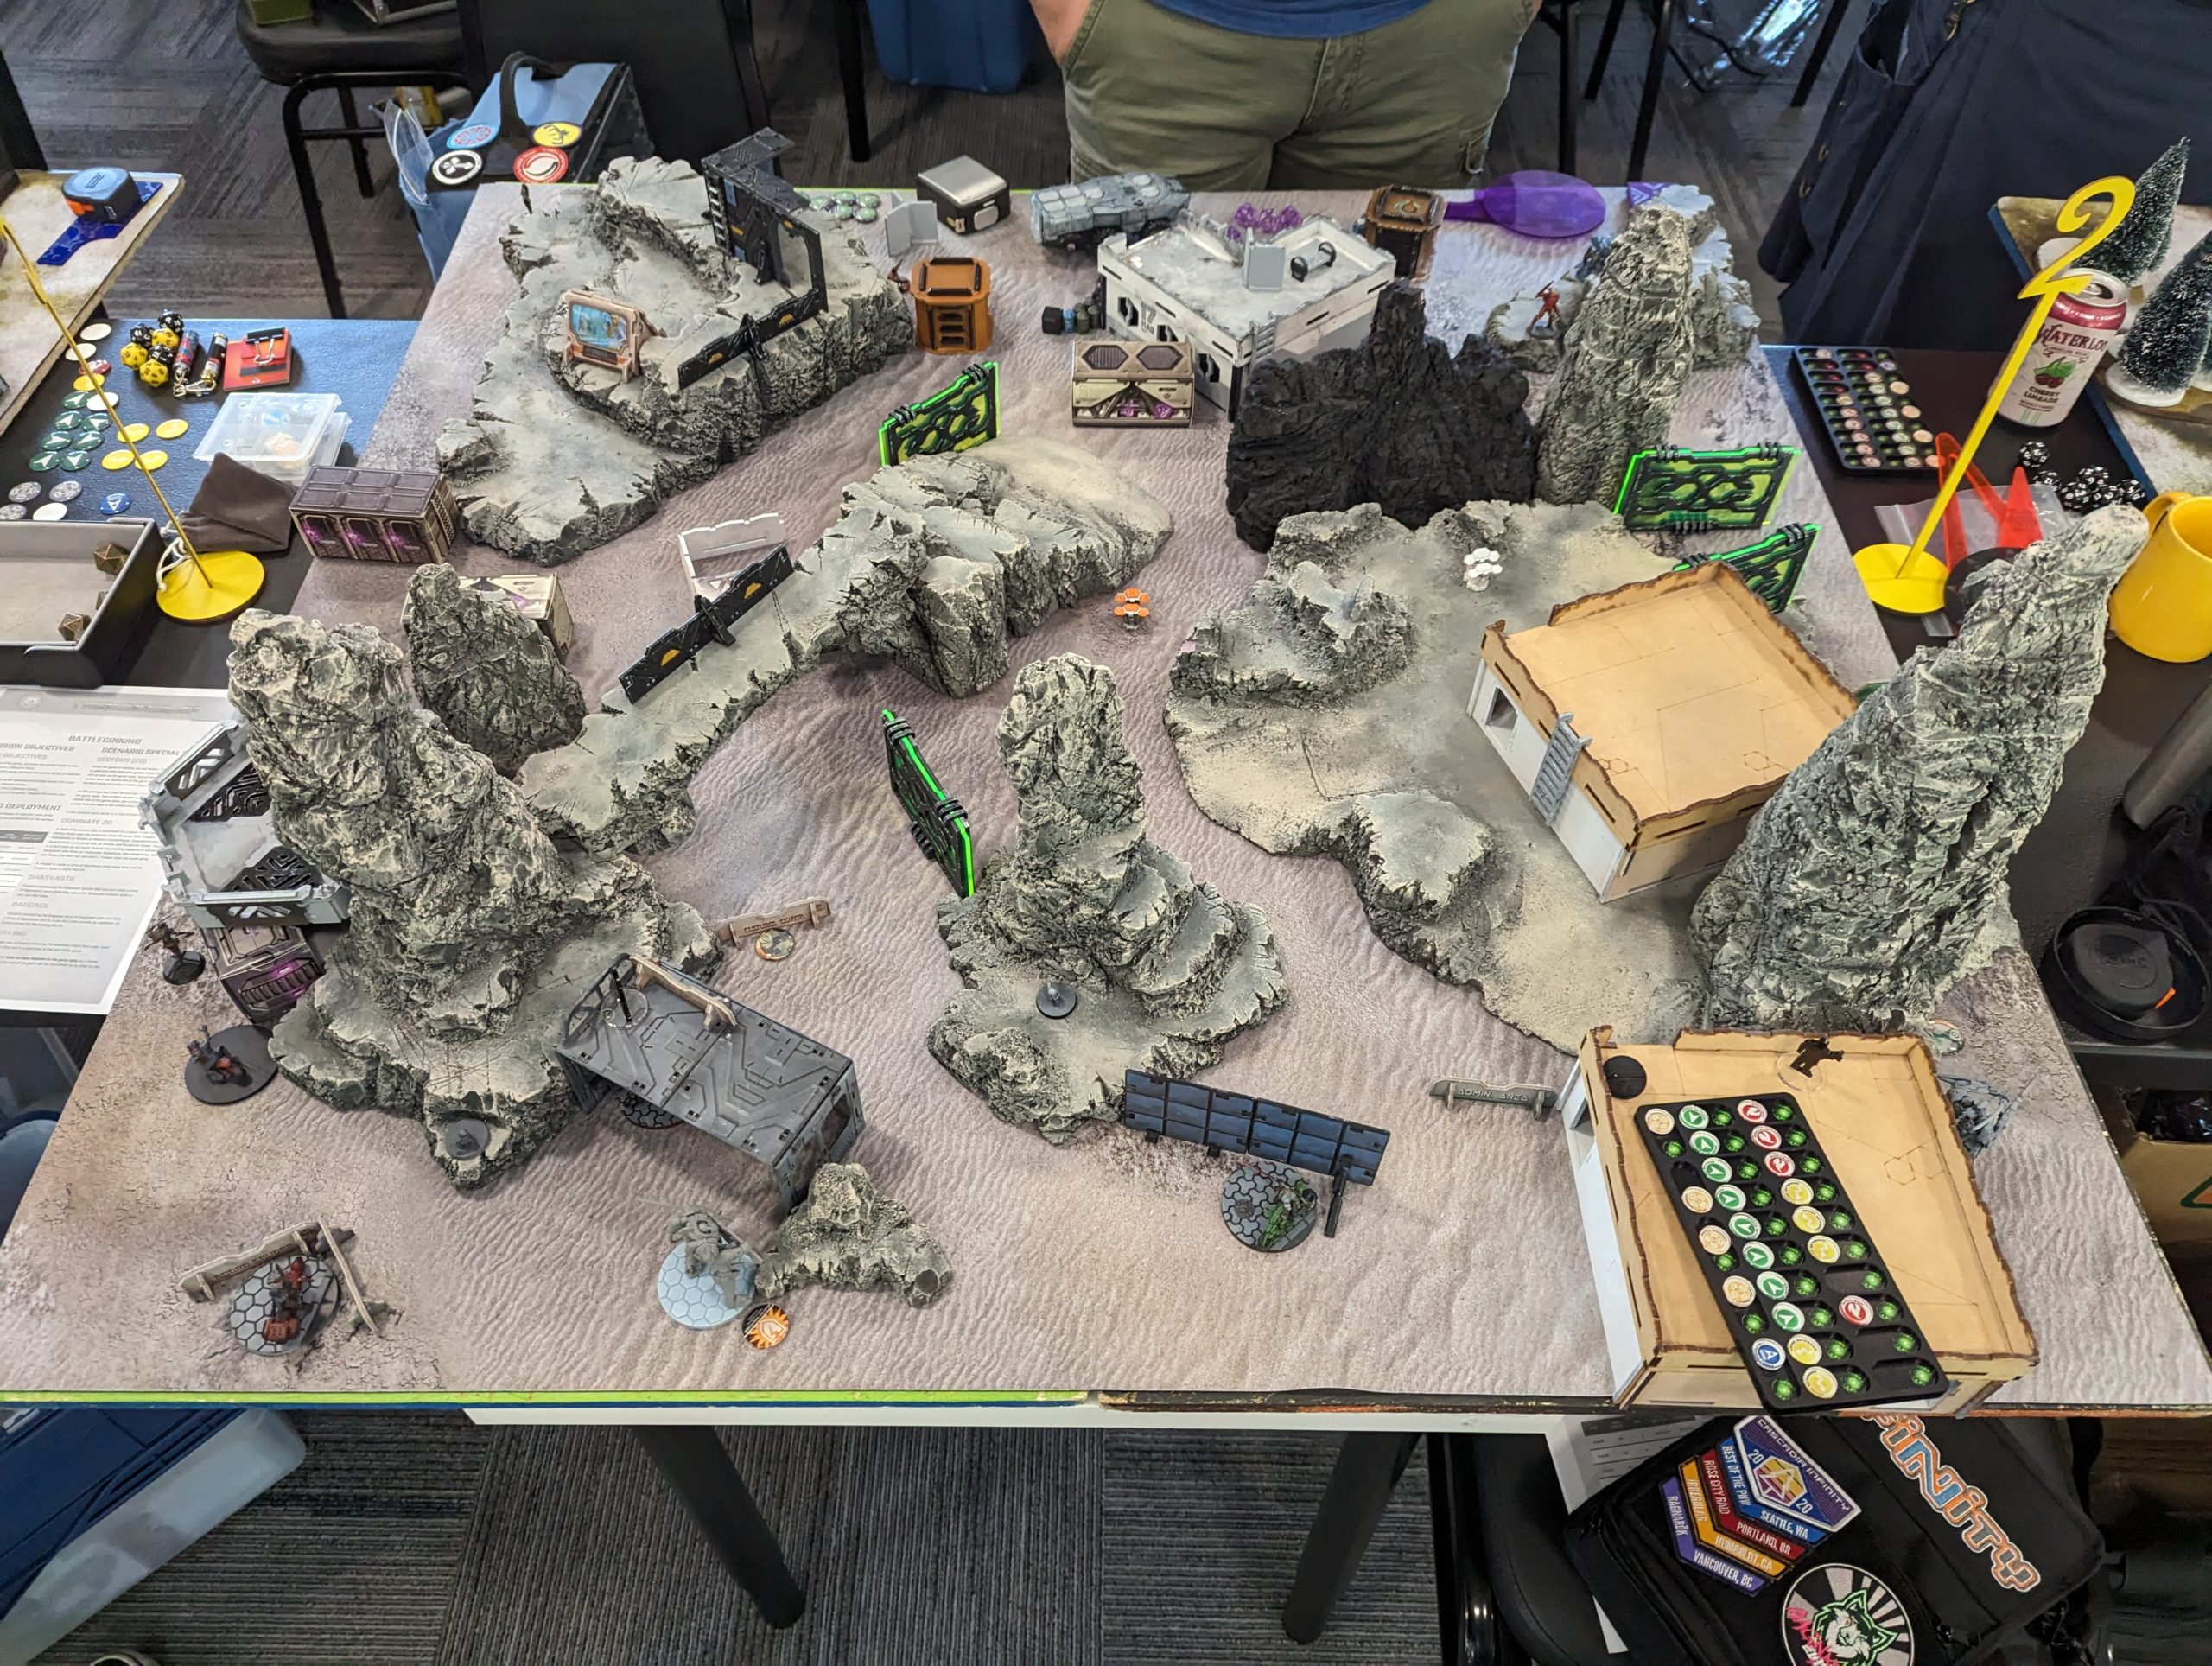
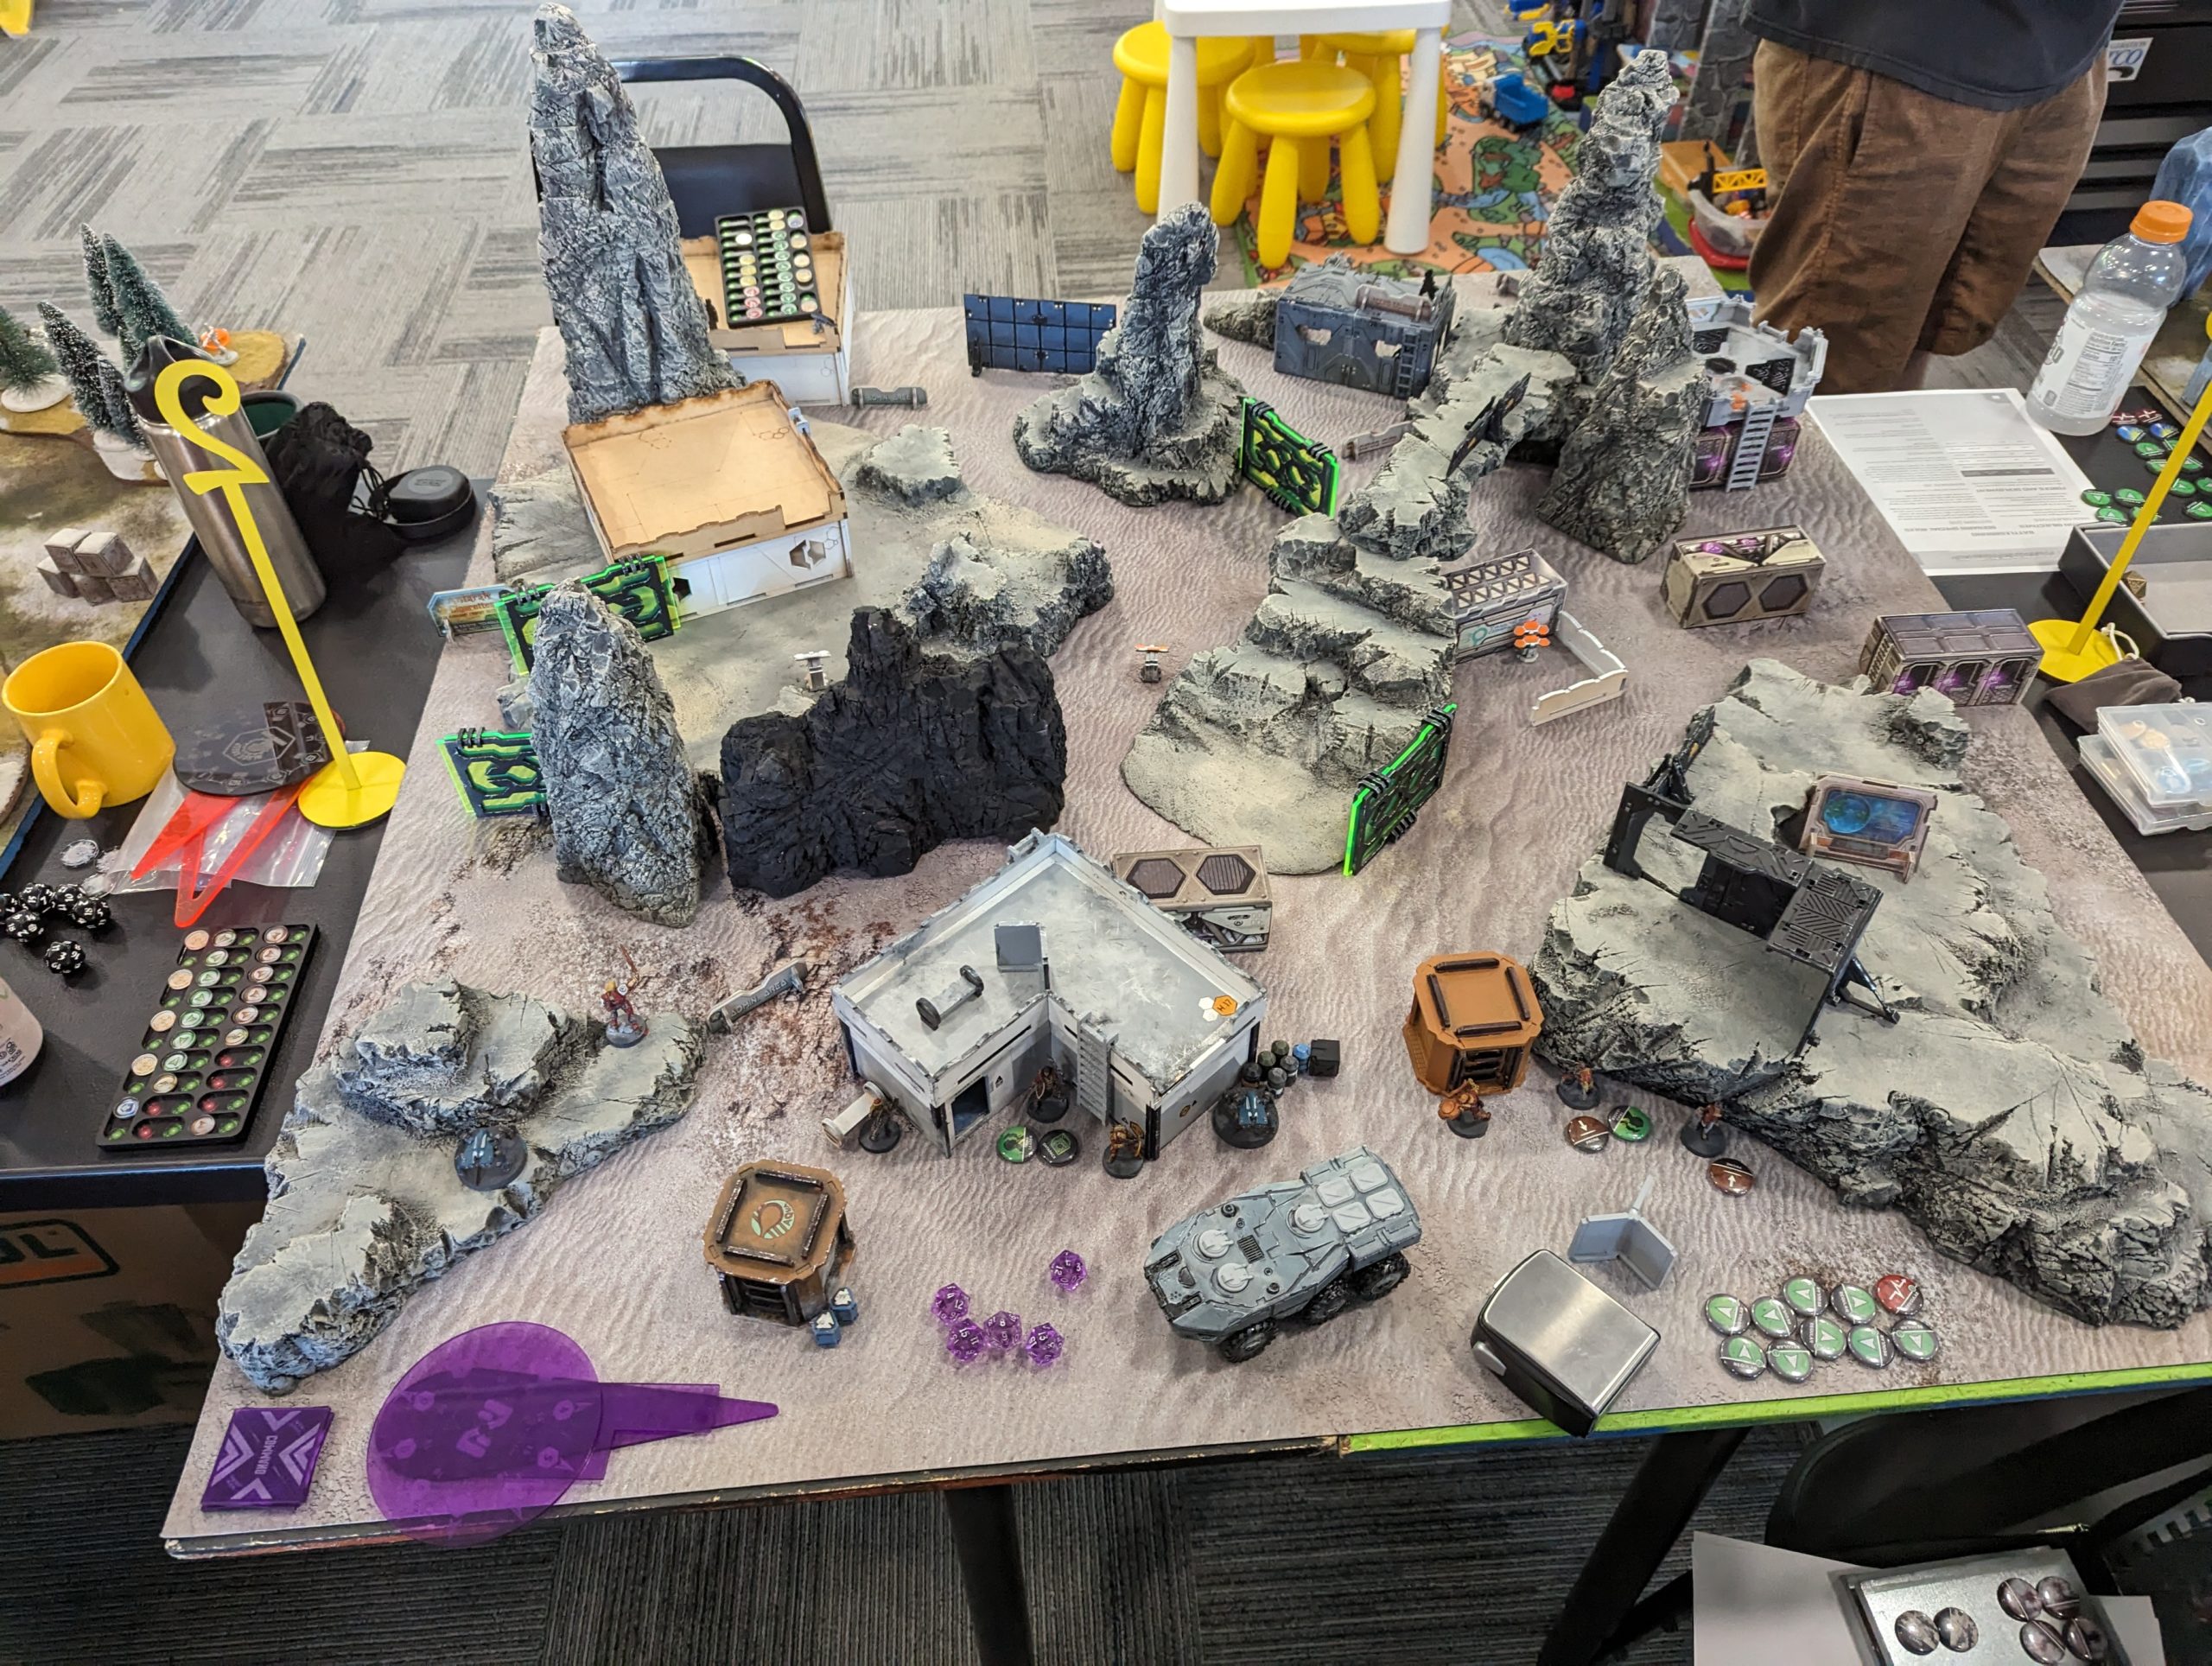
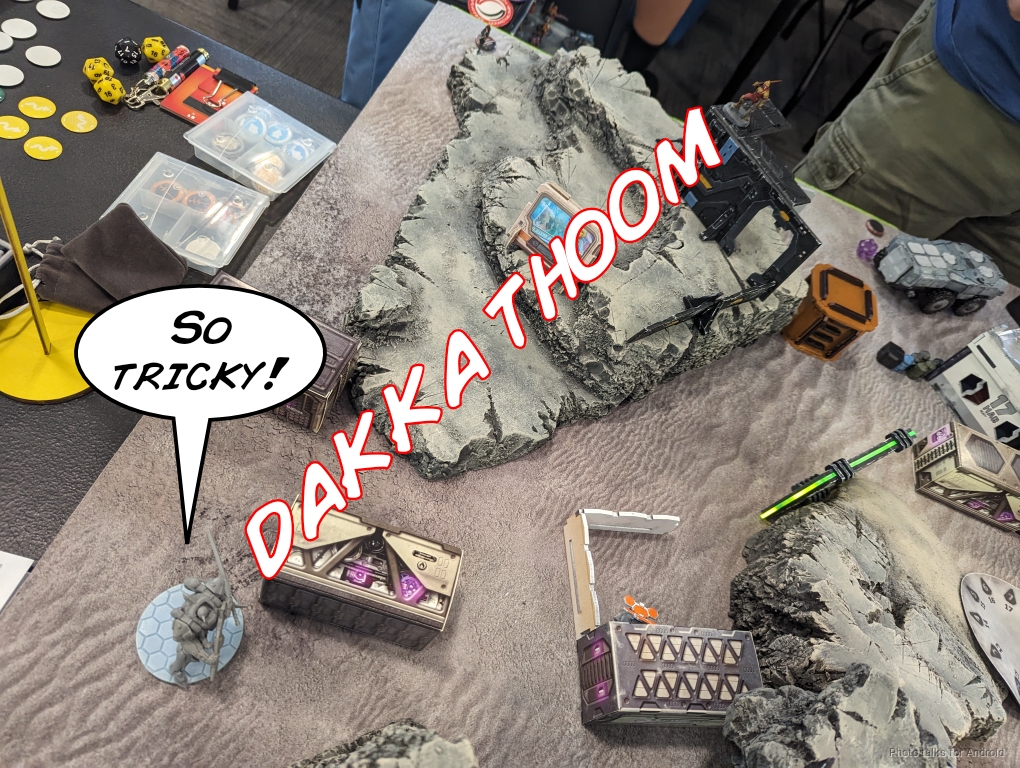
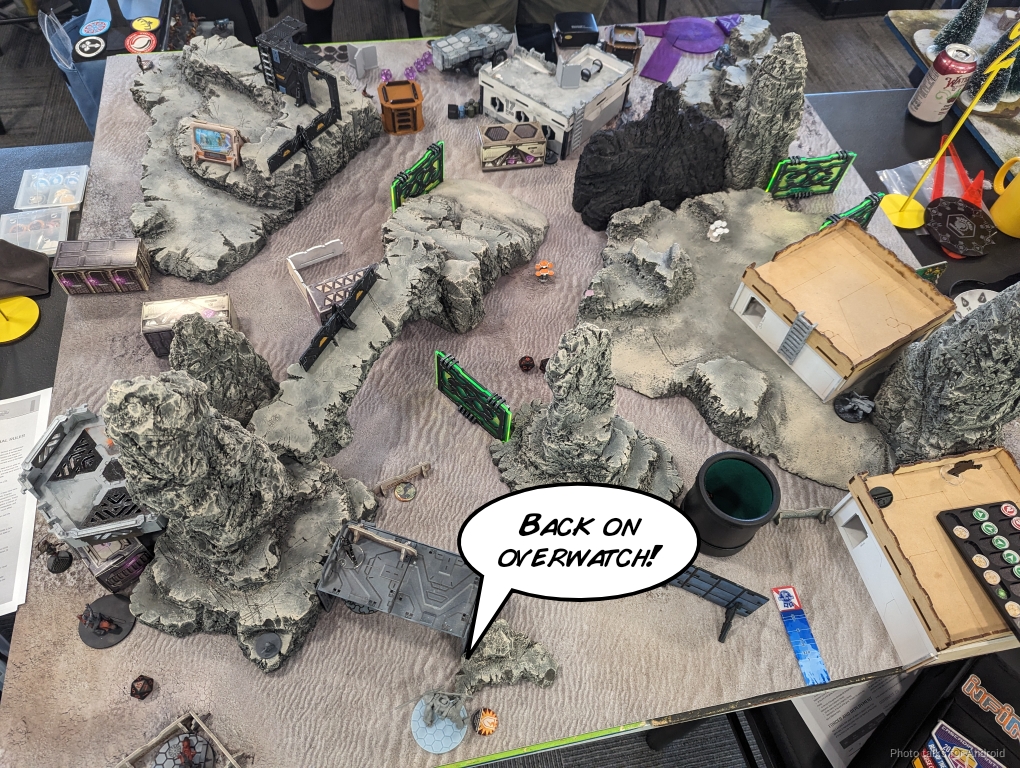
Deployment
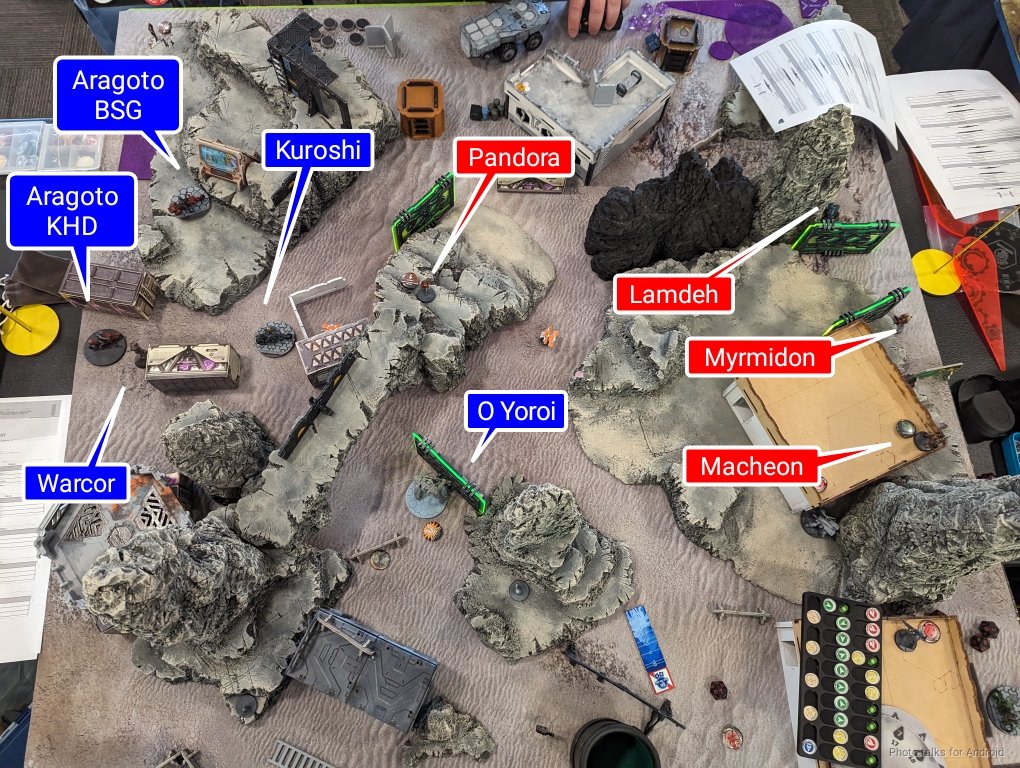
I took deployment so Birman took first turn. He set up the Agema on an elevated platform watching much of the table, and then put Eudoros’s link on the right, Macheon’s on the left, and the Lamedh and Warcor equally spaced.
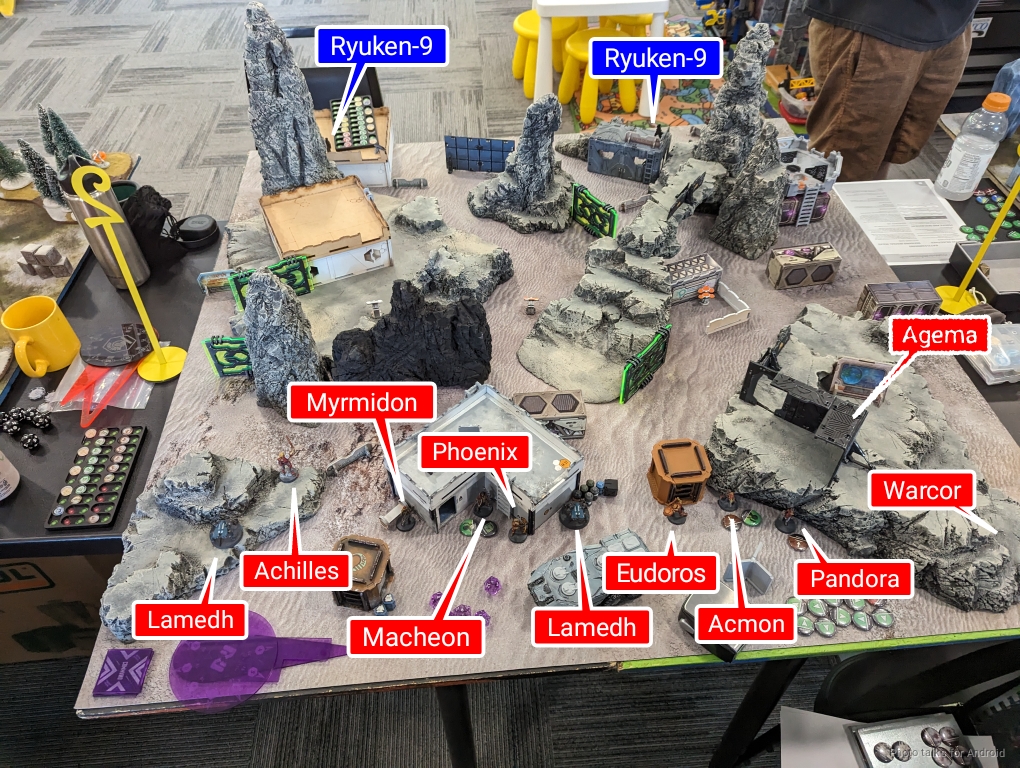
I set up the Ryuken-9 to cover the approach of both links, and put one O-Yoroi on the right. The bikes were on the left as there were good avenues forward on either side. Yojimbo was in the middle, and I put the Warcor all the way on the left in case there were Ekdromoi. Also, both Ryuken, the O-Yoroi, and Yojimbo seeded my deployment zone with Koalas and mines force Achilles to dodge occasionally instead of smashing or shooting.
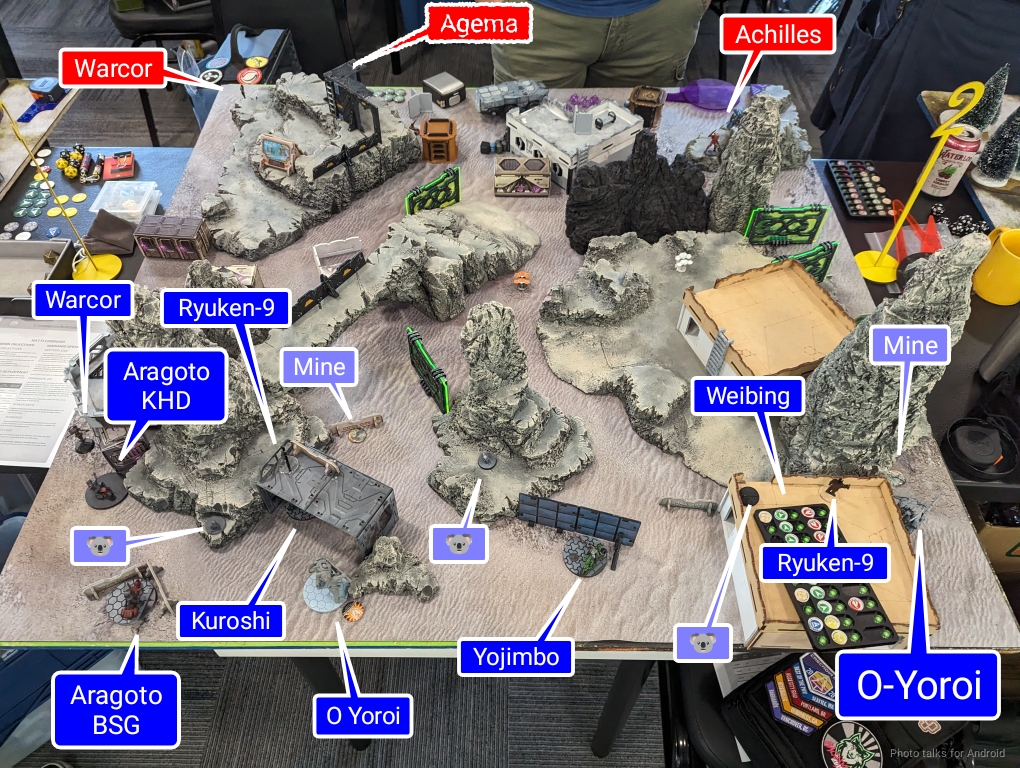
Achilles was Birman’s reserve and mine was a second O-Yoroi.
Turn 1
Top of 1 – Steel Phalanx
I take two orders from Steel and buckle my seat belt. Birman decides that the O-Yoroi are the most relevant threat and sends in Achilles to fight the one on my right.
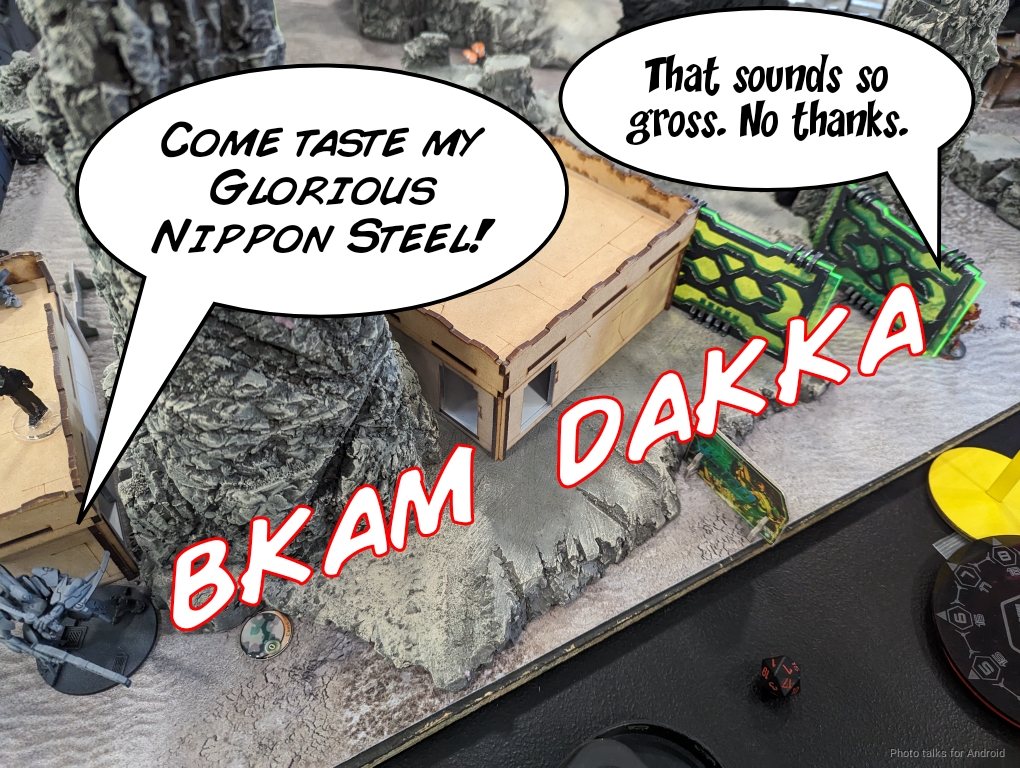
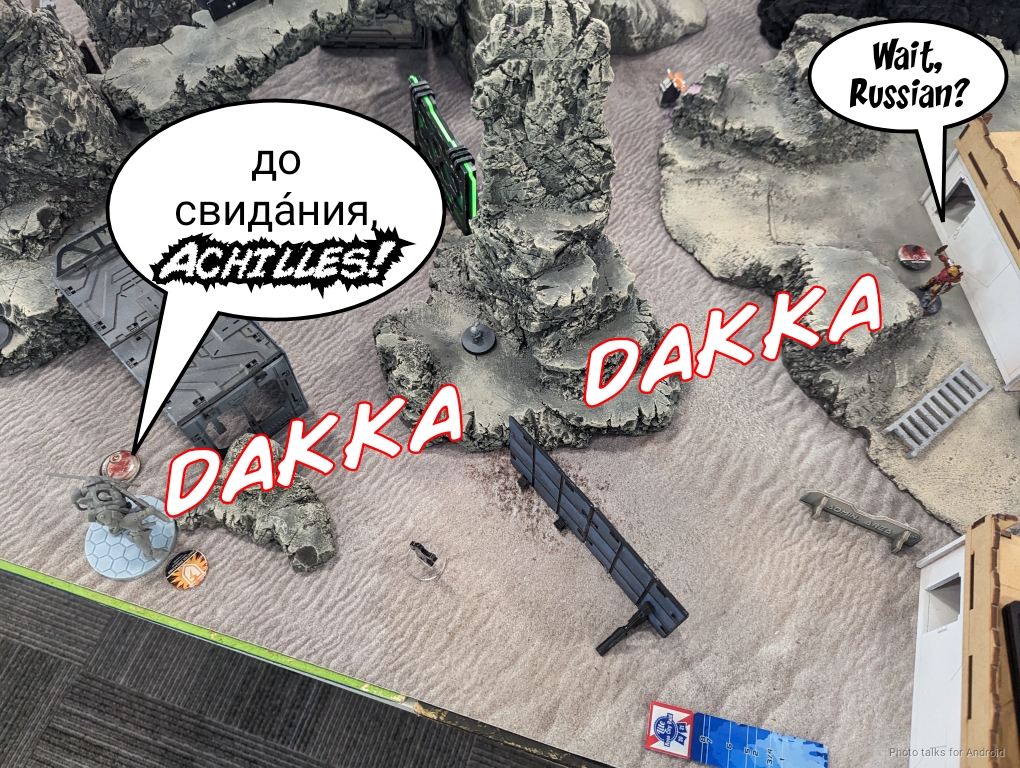
It takes a couple of orders, but eventually Achilles gets two wounds on the O-Yoroi. He tries to finish it off, but I crit Achilles! Of course, I do no wounds, because… Achilles.
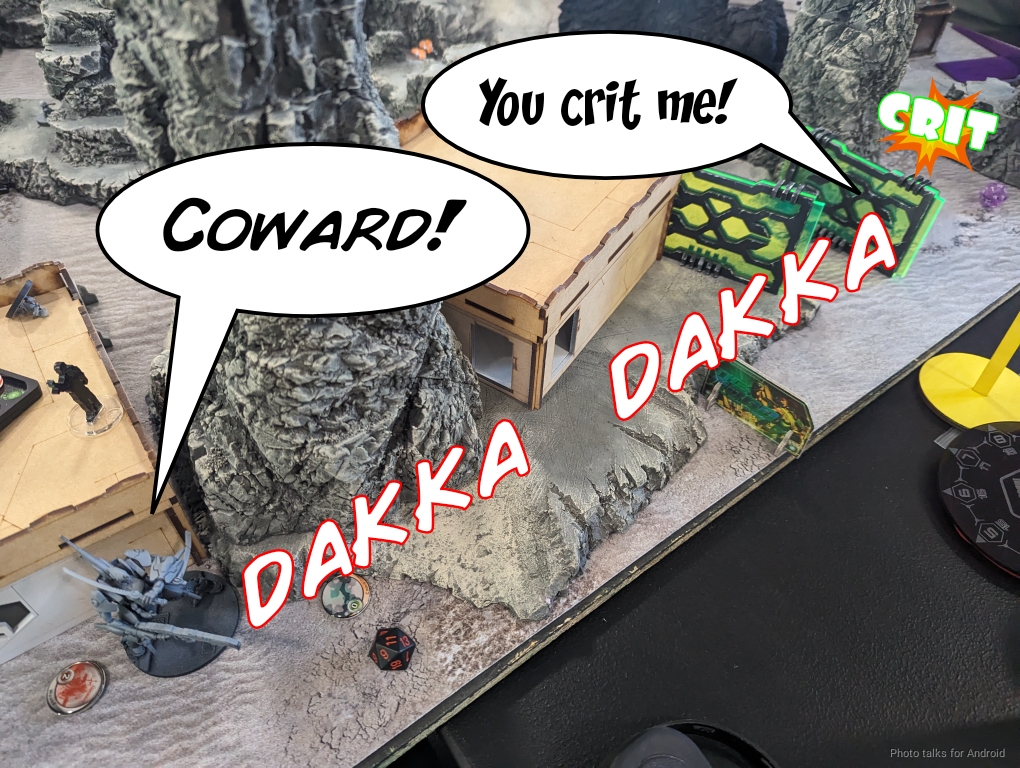
Another order later and the O-Yoroi is down. Eudoros attempts to discover one of the Ryuken-9, but fails, and then it’s over to me.
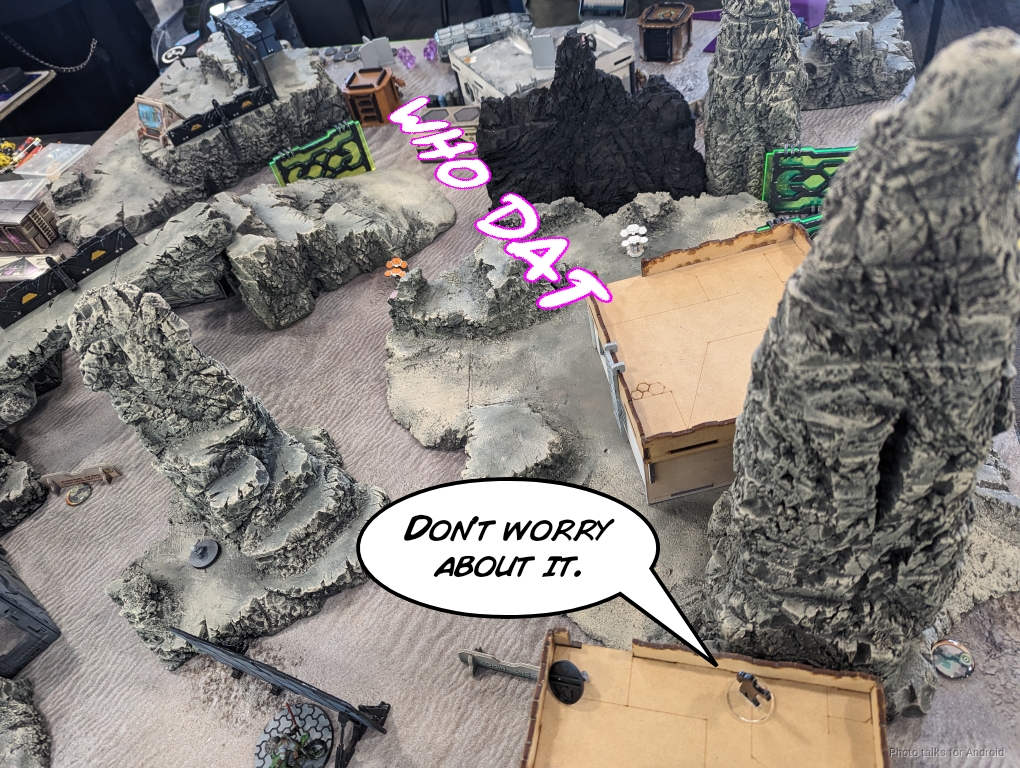
Bottom of 1 – JSA
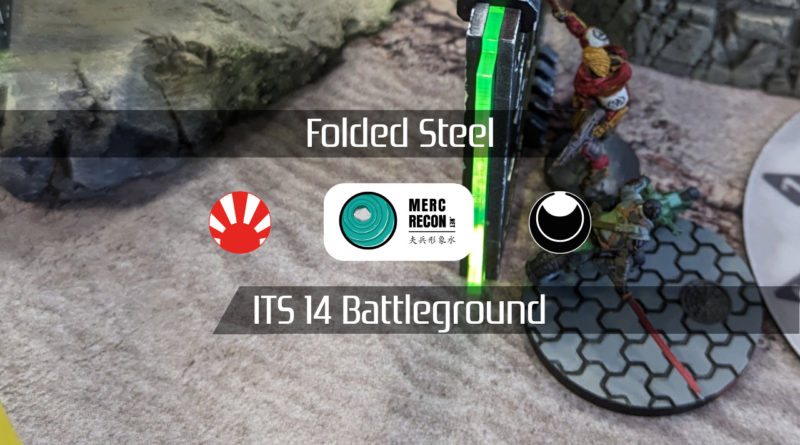
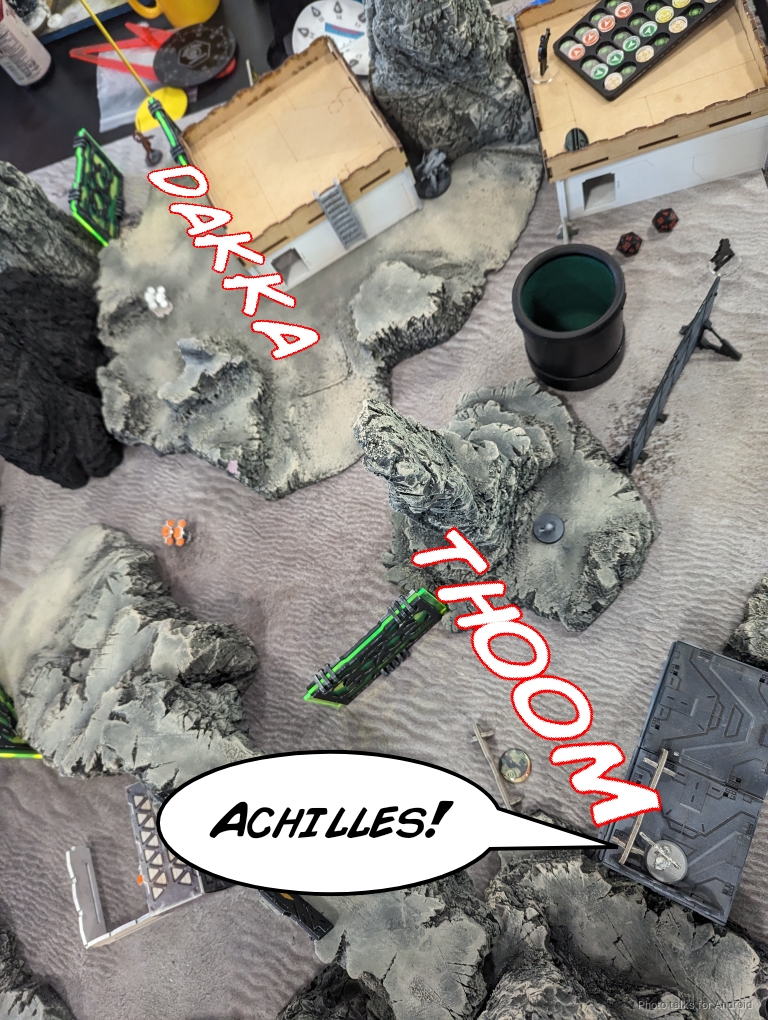
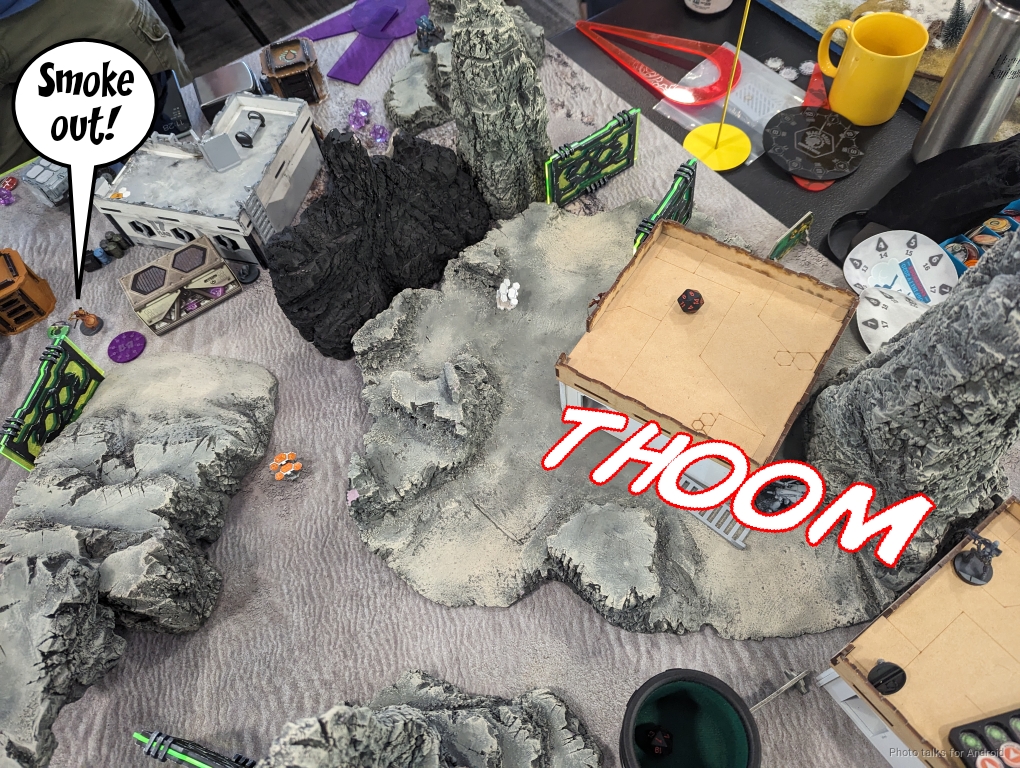
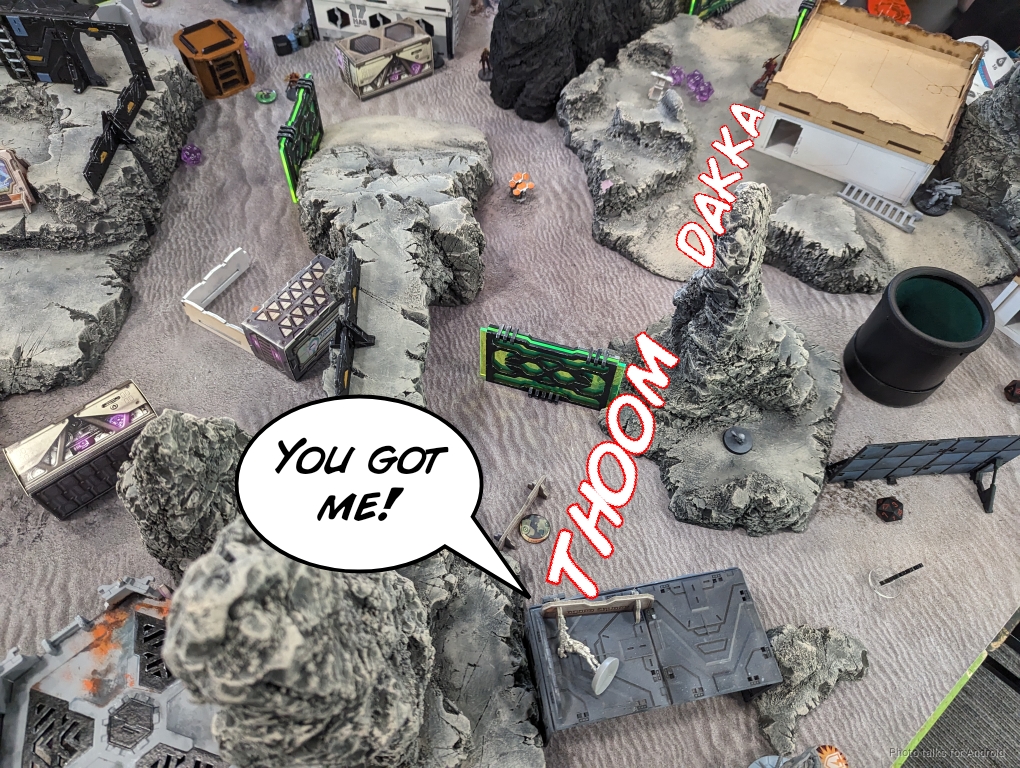
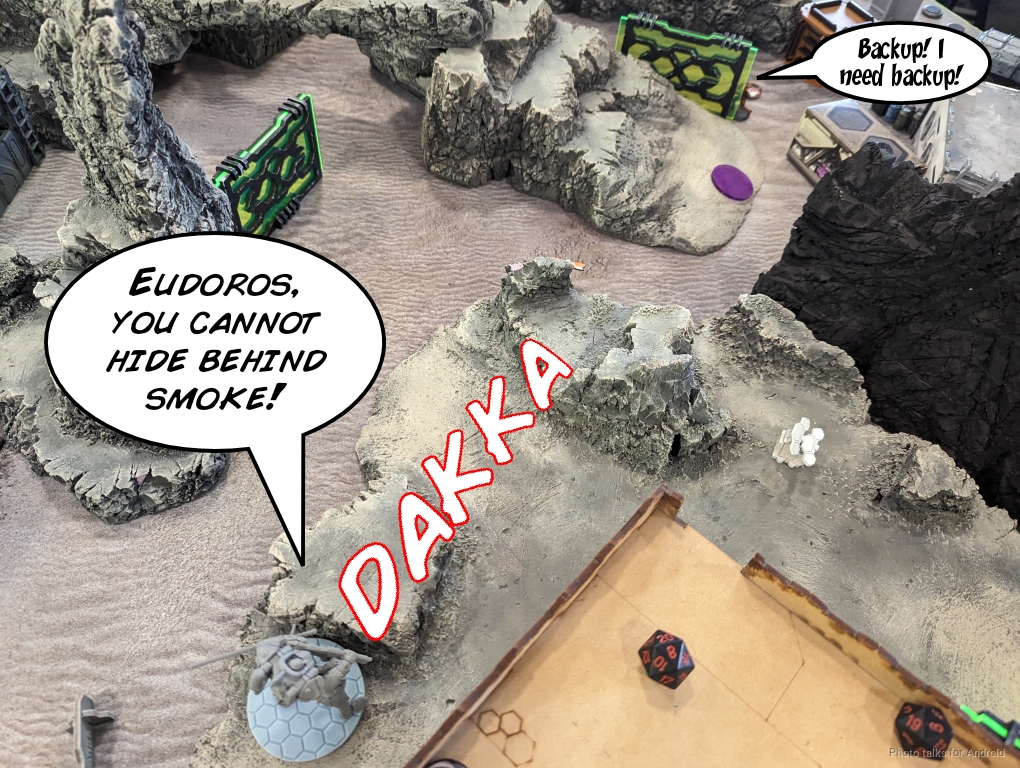
My objective it to keep Birman boxed into his deployment zone and to do some order pool damage, given that I have time to deal. I start things off by trying to bait out the Agema ML that I know is loitering somewhere on the table. My tool of choice–Yojimbo. I drop off a Koala near Phoenix and Eudoros, but Birman keeps his cool and doesn’t reveal the Agema, figuring that anything in Steel is likely to survive a Yojimbo attack in CC. I’m a little distracted by trying to take out the Shakush on the other table, so I just commit to the most fun line of play and rocket Yojimbo into base to base with Achilles. Go big or go home!
| 38.0 | 17.1 | 44.9 |
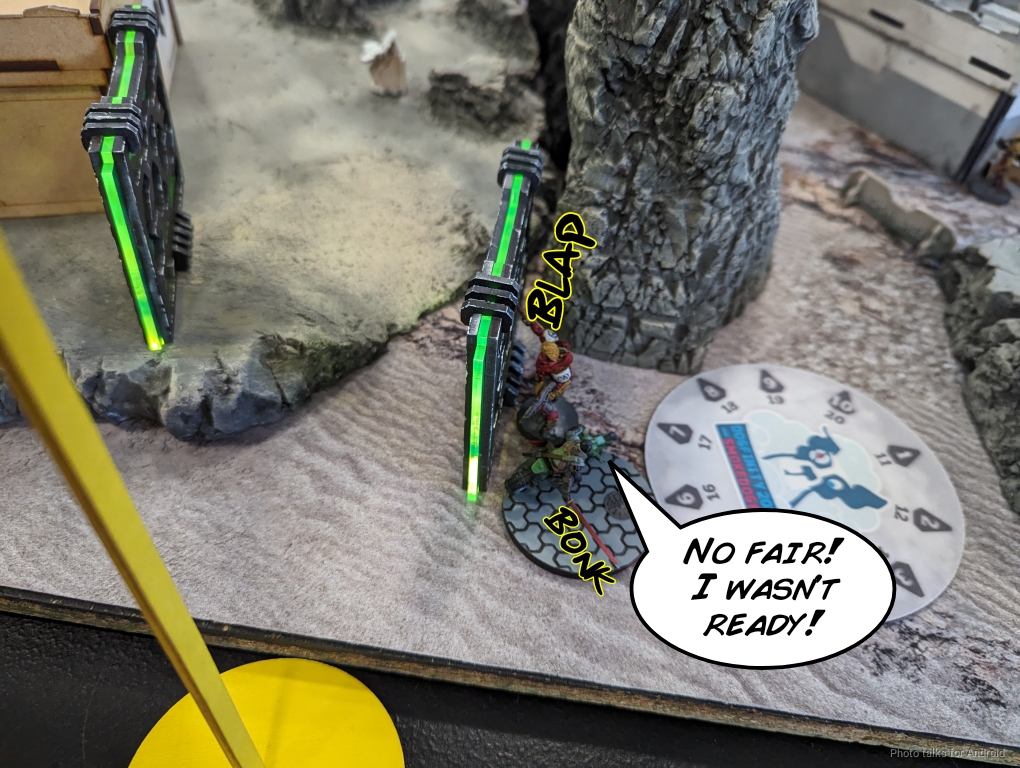
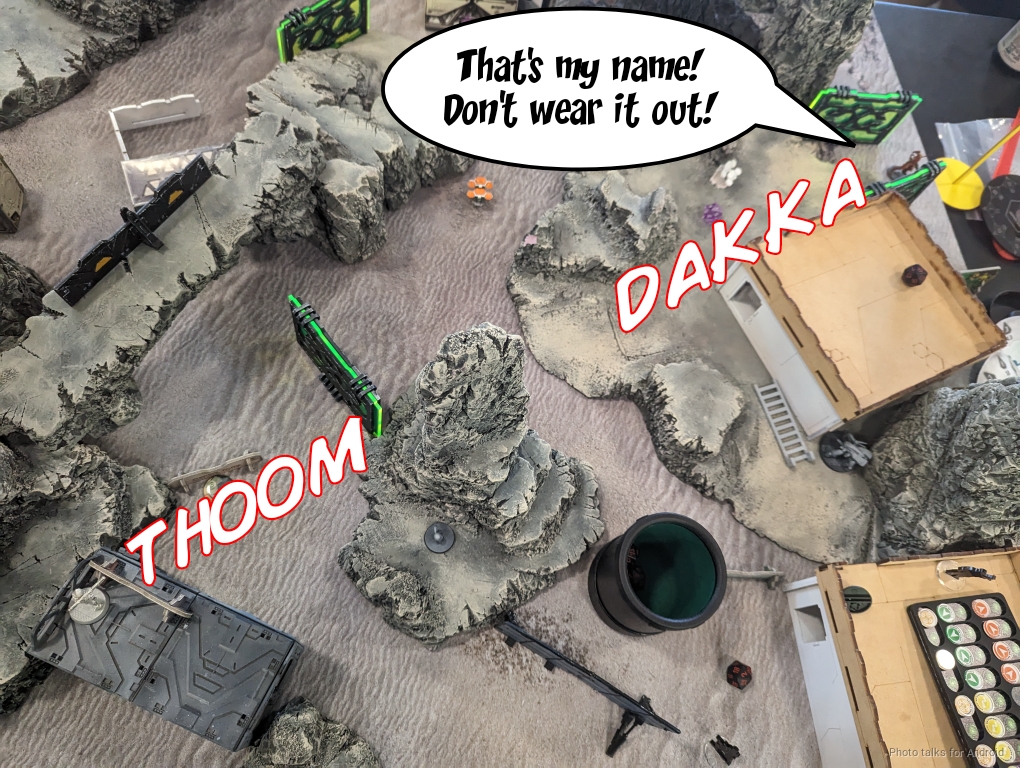
The odds aren’t too uneven for the first wound, with Yojimbo on 38% and Achilles on 45%–this is the ARM differential, as they’re both on CC24 and DAM 17 and 18, respectively. The real issue is for the second and third wound, where Yojimbo is on 18.7%/3.1% and Achilles is on 43.2%/32.8%. So yeah. That ARM 1 versus ARM 6 is no joke. Neither of us crit, but Achilles wins the face to face and I fail all three saves and that’s that.
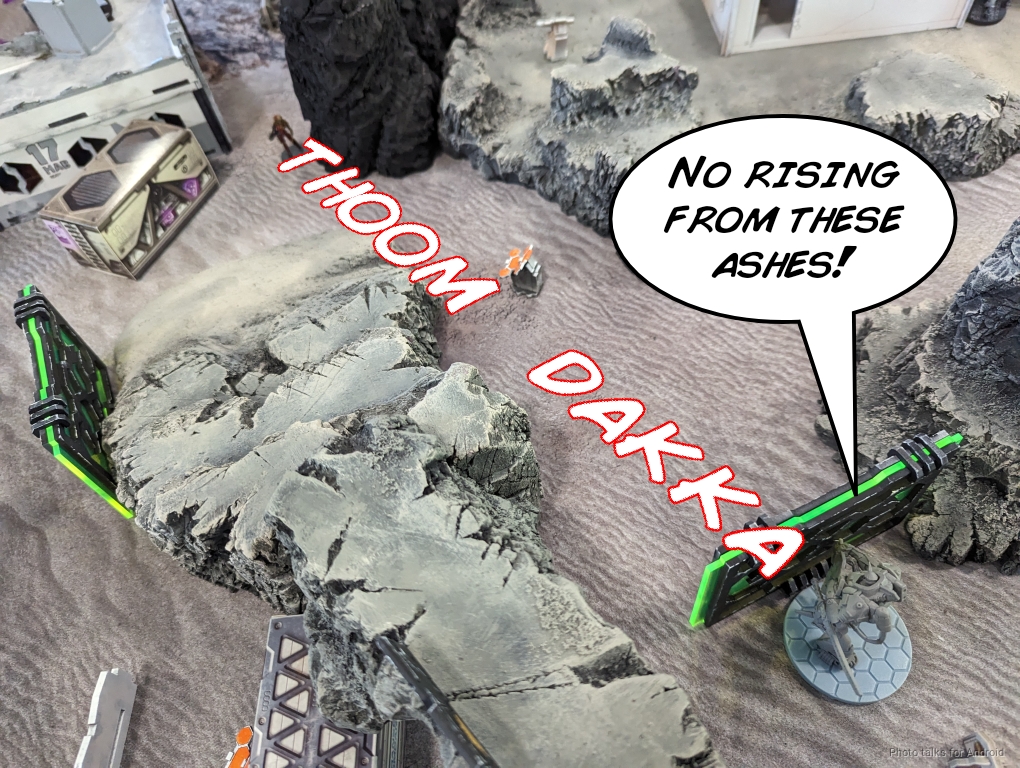
With Yojimbo off the table, I decide to just blap a few Lamedh and the like off the table with my remaining O-Yoroi.
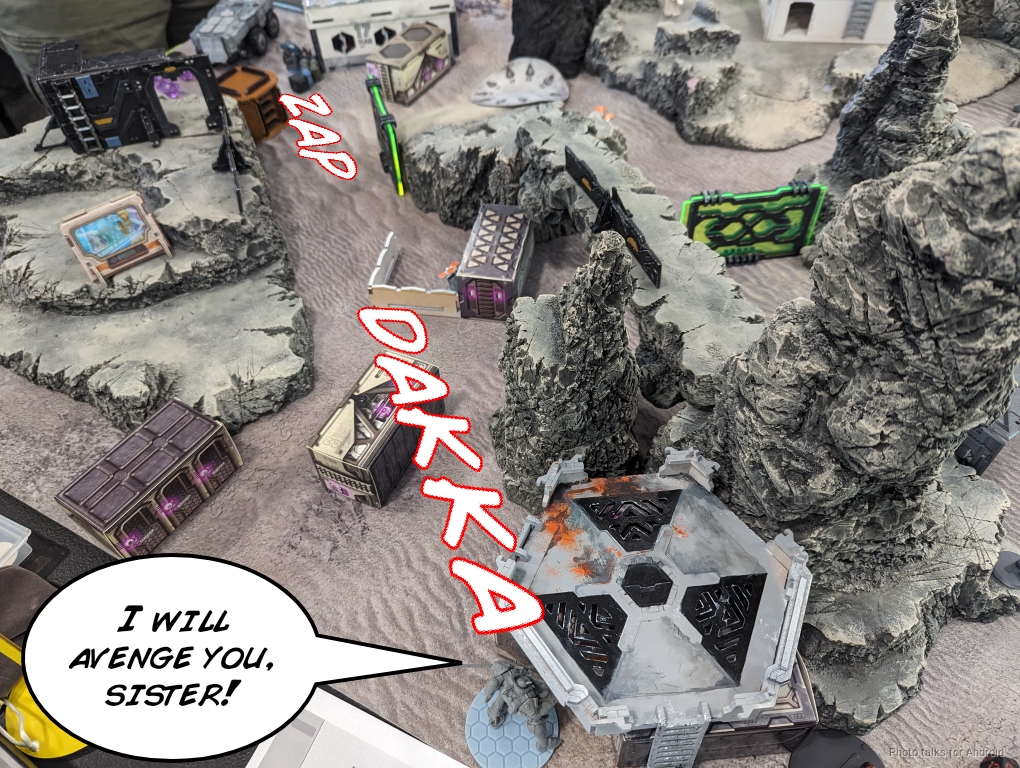
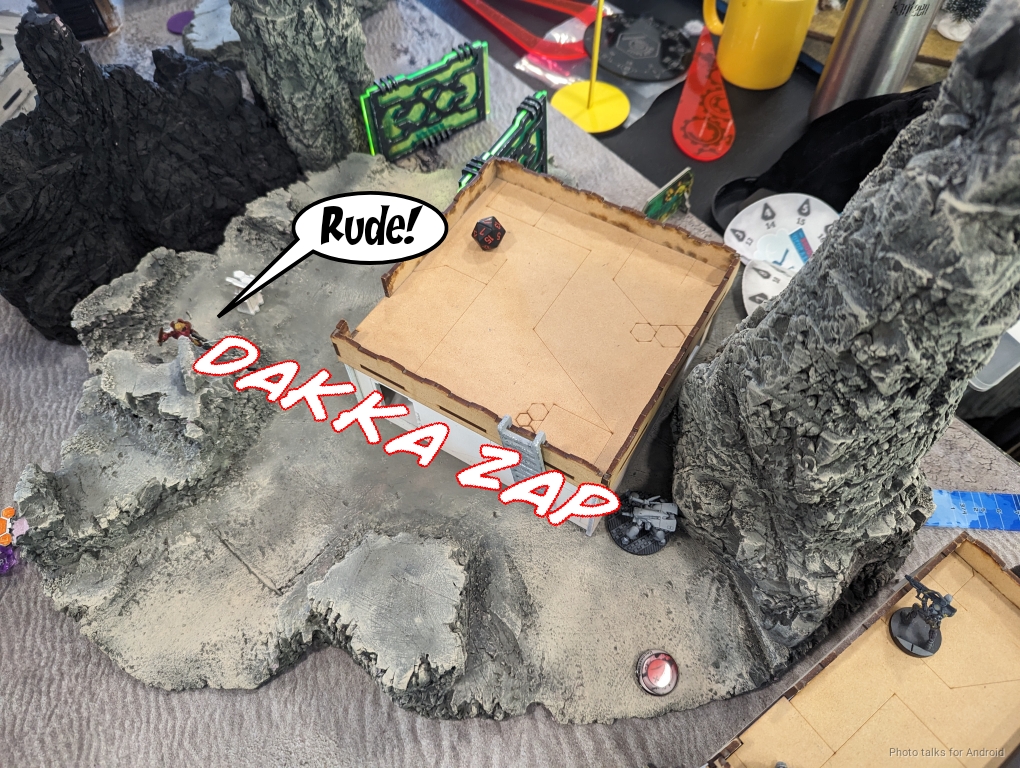
On my way to removing the second Lamedh, Birman reveals the Agema as I’m out of cover. Sometimes you roll that 17 on an Agema though, and it’s real hard to survive a burst 4 AP HMG to the face.
I move my Weibing forward, not interested in wasting the tac aware order, and retreat the O-Yoroi back its starting position to help prevent Achilles from collapsing my right flank.
Turn 2
Top of 2 – Steel Phalanx
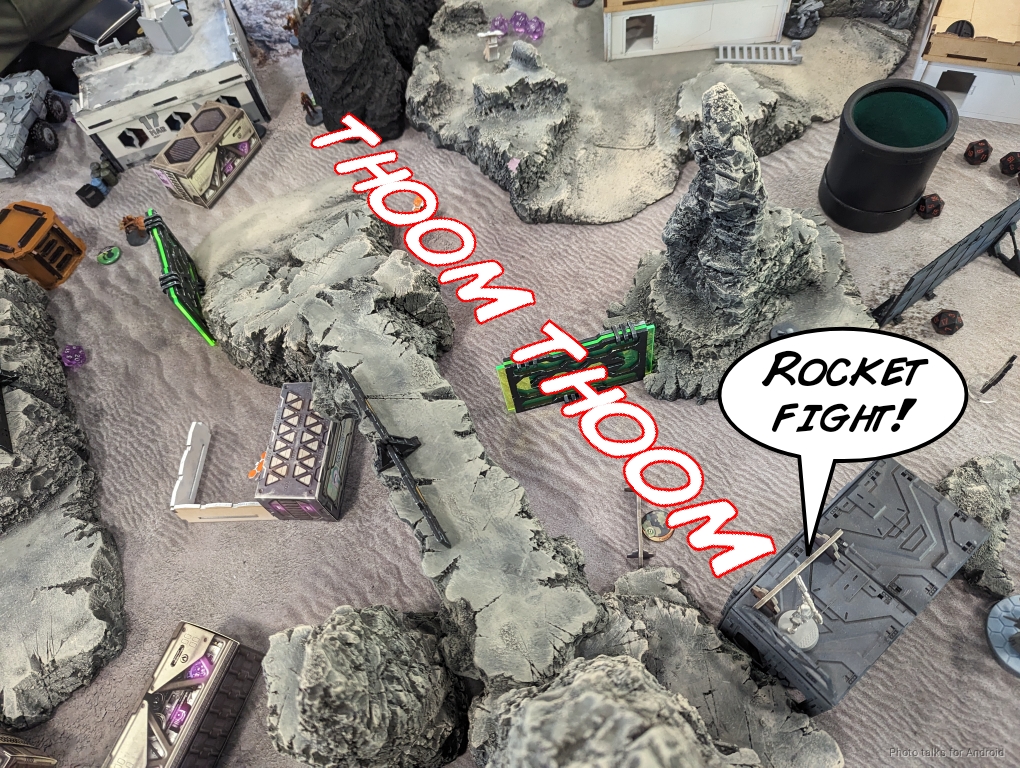
Well, now I just need to survive Achilles. I reveal one of the Ryuken as he moves out into the open and land a hit, but he passes ARM.
We keep going, and I do a single wound…
so Birman tries to push Eudoros forward. I reveal the second Ryuken-9 and do a wound to Eudoros against his attempted smoke.
Phoenix tries to remove the Ryuken-9 that Achilles was fighting and takes a wound…
then Achilles steps in and finally takes out the Ryuken-9.
Achilles then takes out my Weibing that I foolishly advanced.
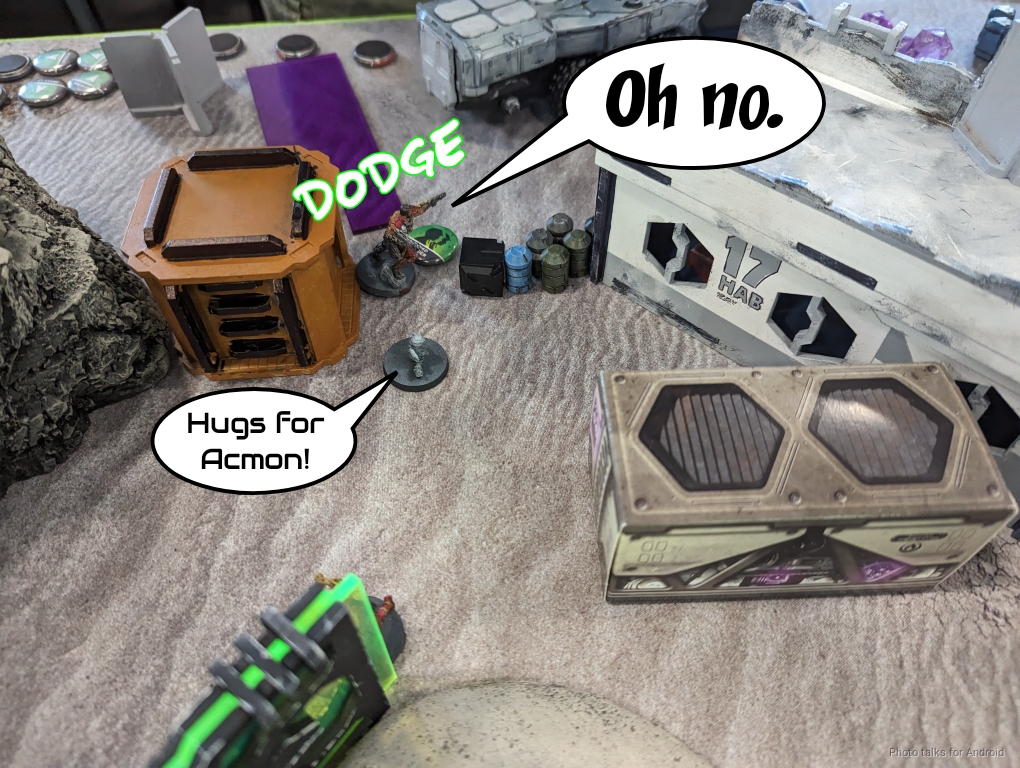
At this point, as Acmon is retreating, we remember the Koala and Acmon takes a wound as he tries to dodge to safety.
Achilles dodge-clears another Koala on his way to fight the remaining O-Yoroi…
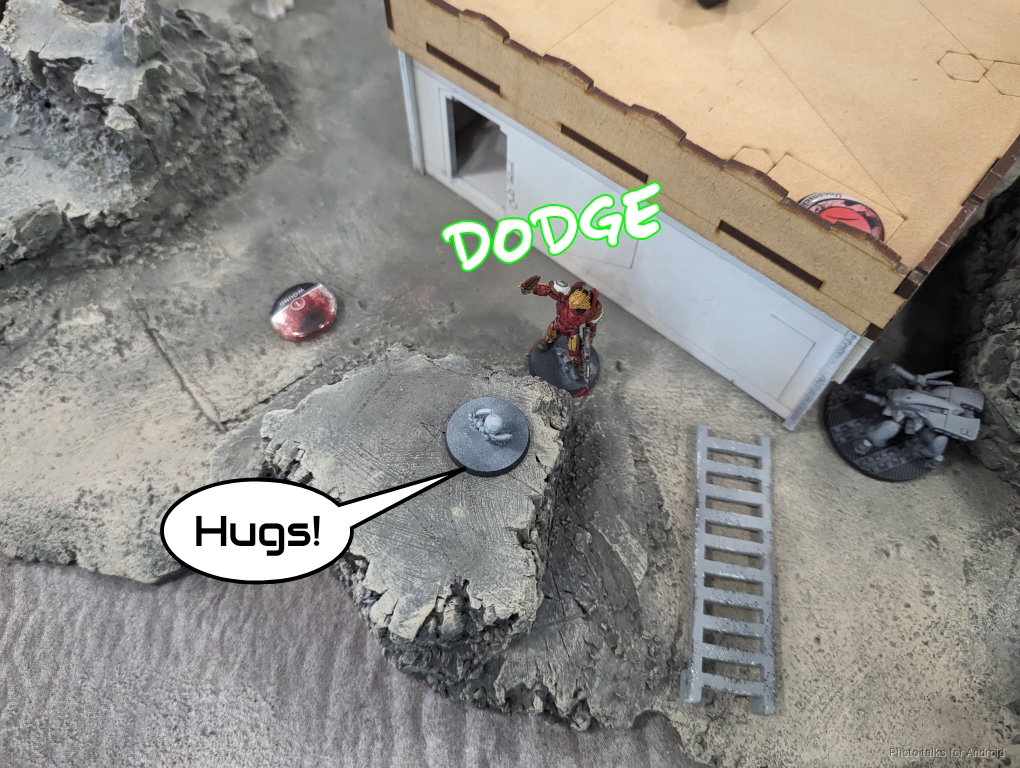
and fails to do any wounds before Birman passes turn.
Bottom of 2 – JSA
Well, I gotta go big or go home now. Banzai!
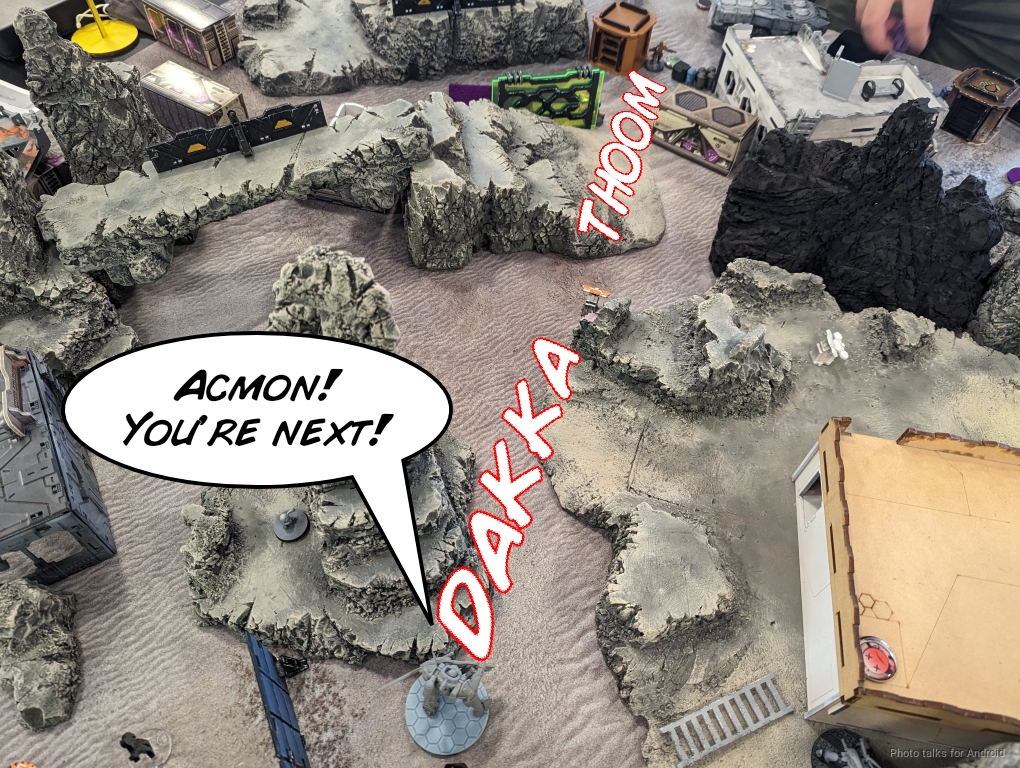
I start things off by gunning down Achilles with the O-Yoroi.

Acmon’s next…
then Eudoros…
then Phoenix.
I make sure the TAG is in cover and pass turn.
Turn 3
Top of 3 – Steel Phalanx
Well, that was a decidedly amazing turn for me. Birman’s forced to set up Macheon in the midfield.
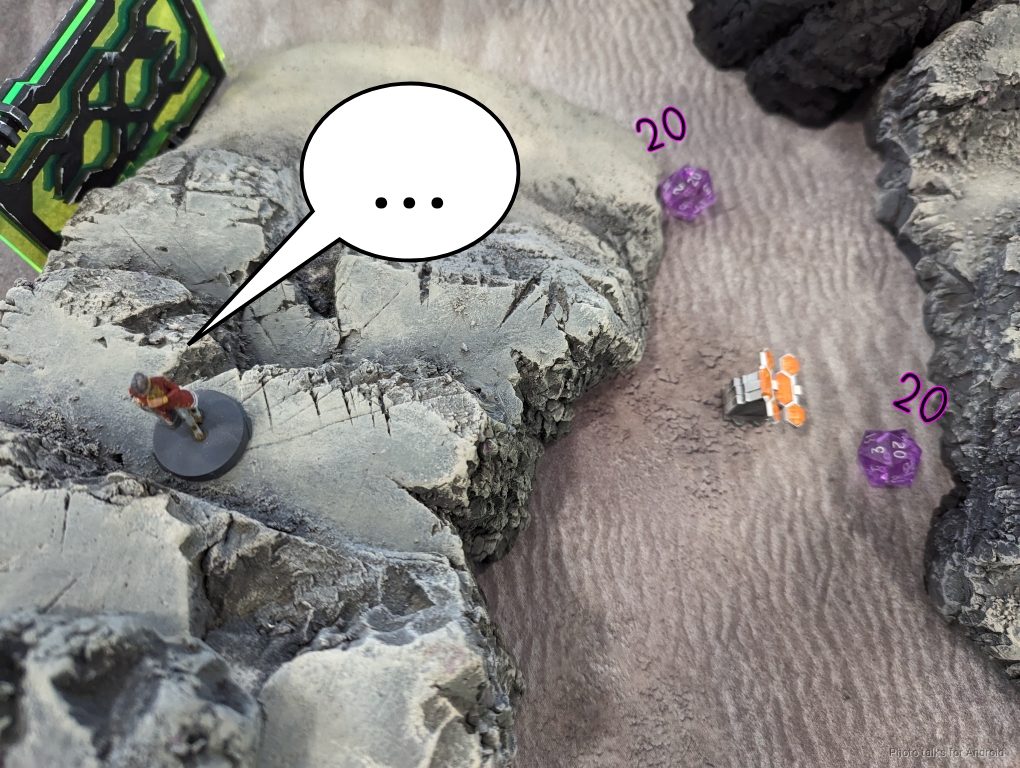
He tries to Carbonite the O-Yoroi with Pandora and I make my reset…
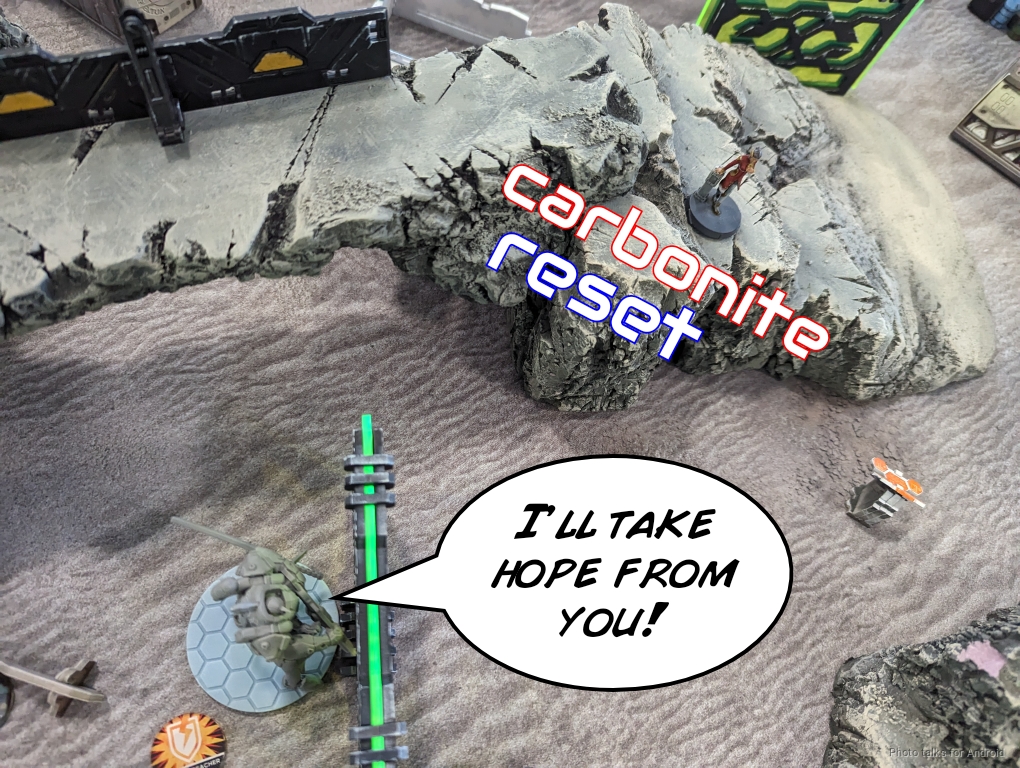
then I fail my reset on the next order… and Birman rolls double 20s for her hack.
Bottom of 3 – JSA
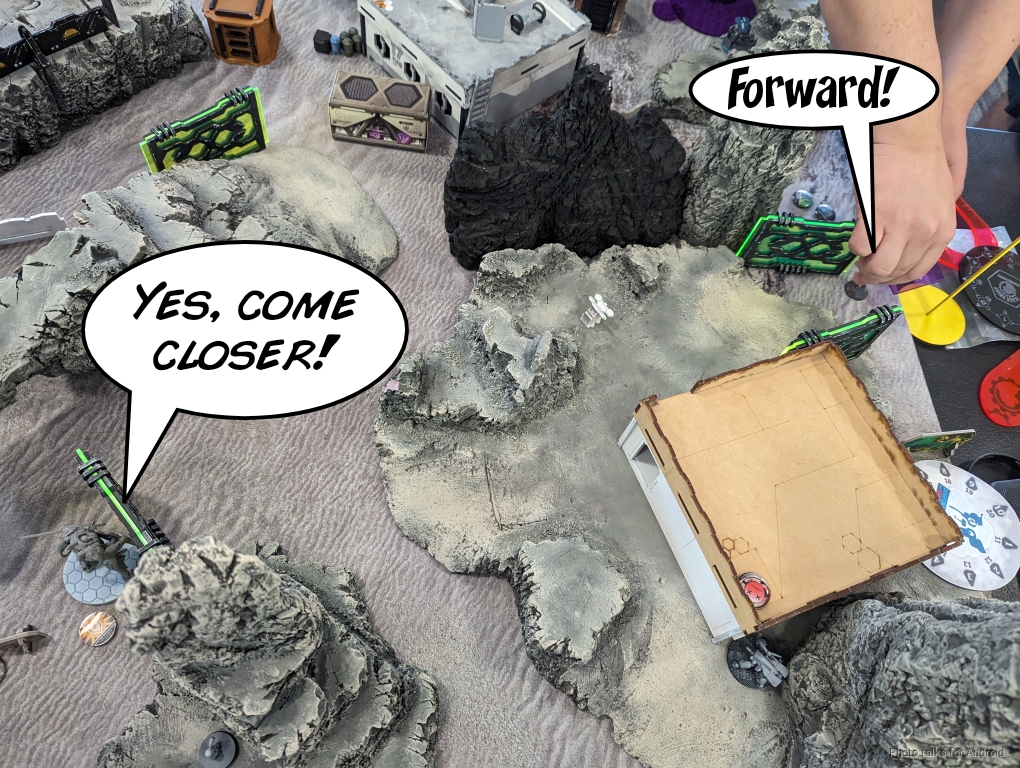
It’s bike time. I break the link to use their impetuous orders and set them up in the zones to output Birman’s stuff…
in the near zone the remaining O-Yoroi beats Macheon in points, and that’s game.
8-0, 140-88 Japanese Secessionist Army Victory!
Post Game Analysis
Well, the list did exactly what it was supposed to do. The Ryuken-9 bought me a ton of time and then the redundancy in O-Yoroi (and some seriously good dice) let me blast basically all the named characters off the table in the bottom of turn 2. Then the bikes did exactly what they were supposed to do and got where they needed to be to win me the game on a very low pool of orders. I definitely spent a bunch of command tokens on the last turn to coordinate them forward and really get max efficiency.
JSA is in an interesting spot. I think the double O-Yoroi archetype gives you an excellent base of fire. I’m uncertain if the bikes can really pick up the slack though, like say if the dice go horribly wrong and you lose both O-Yoroi to speculos or something. What’s interesting is that I used to swear by the Ryuken-9 SMG, but with the changes to shotgun templates and the easy access to shotguns in the midfield, it’s really difficult to give them as much weight as I used to as a problem solving tool. Especially when the HRL is so effective. And really I’m not honestly expecting to do wounds with them, I’m really just expecting to drain orders.
Birman did a great job fighting through to the end by carefully keeping Macheon safe. I wish I had been as careful with the first O-Yoroi and the Weibing and all that. Thanks for reading.