Kiiutan Boarding Klaxon
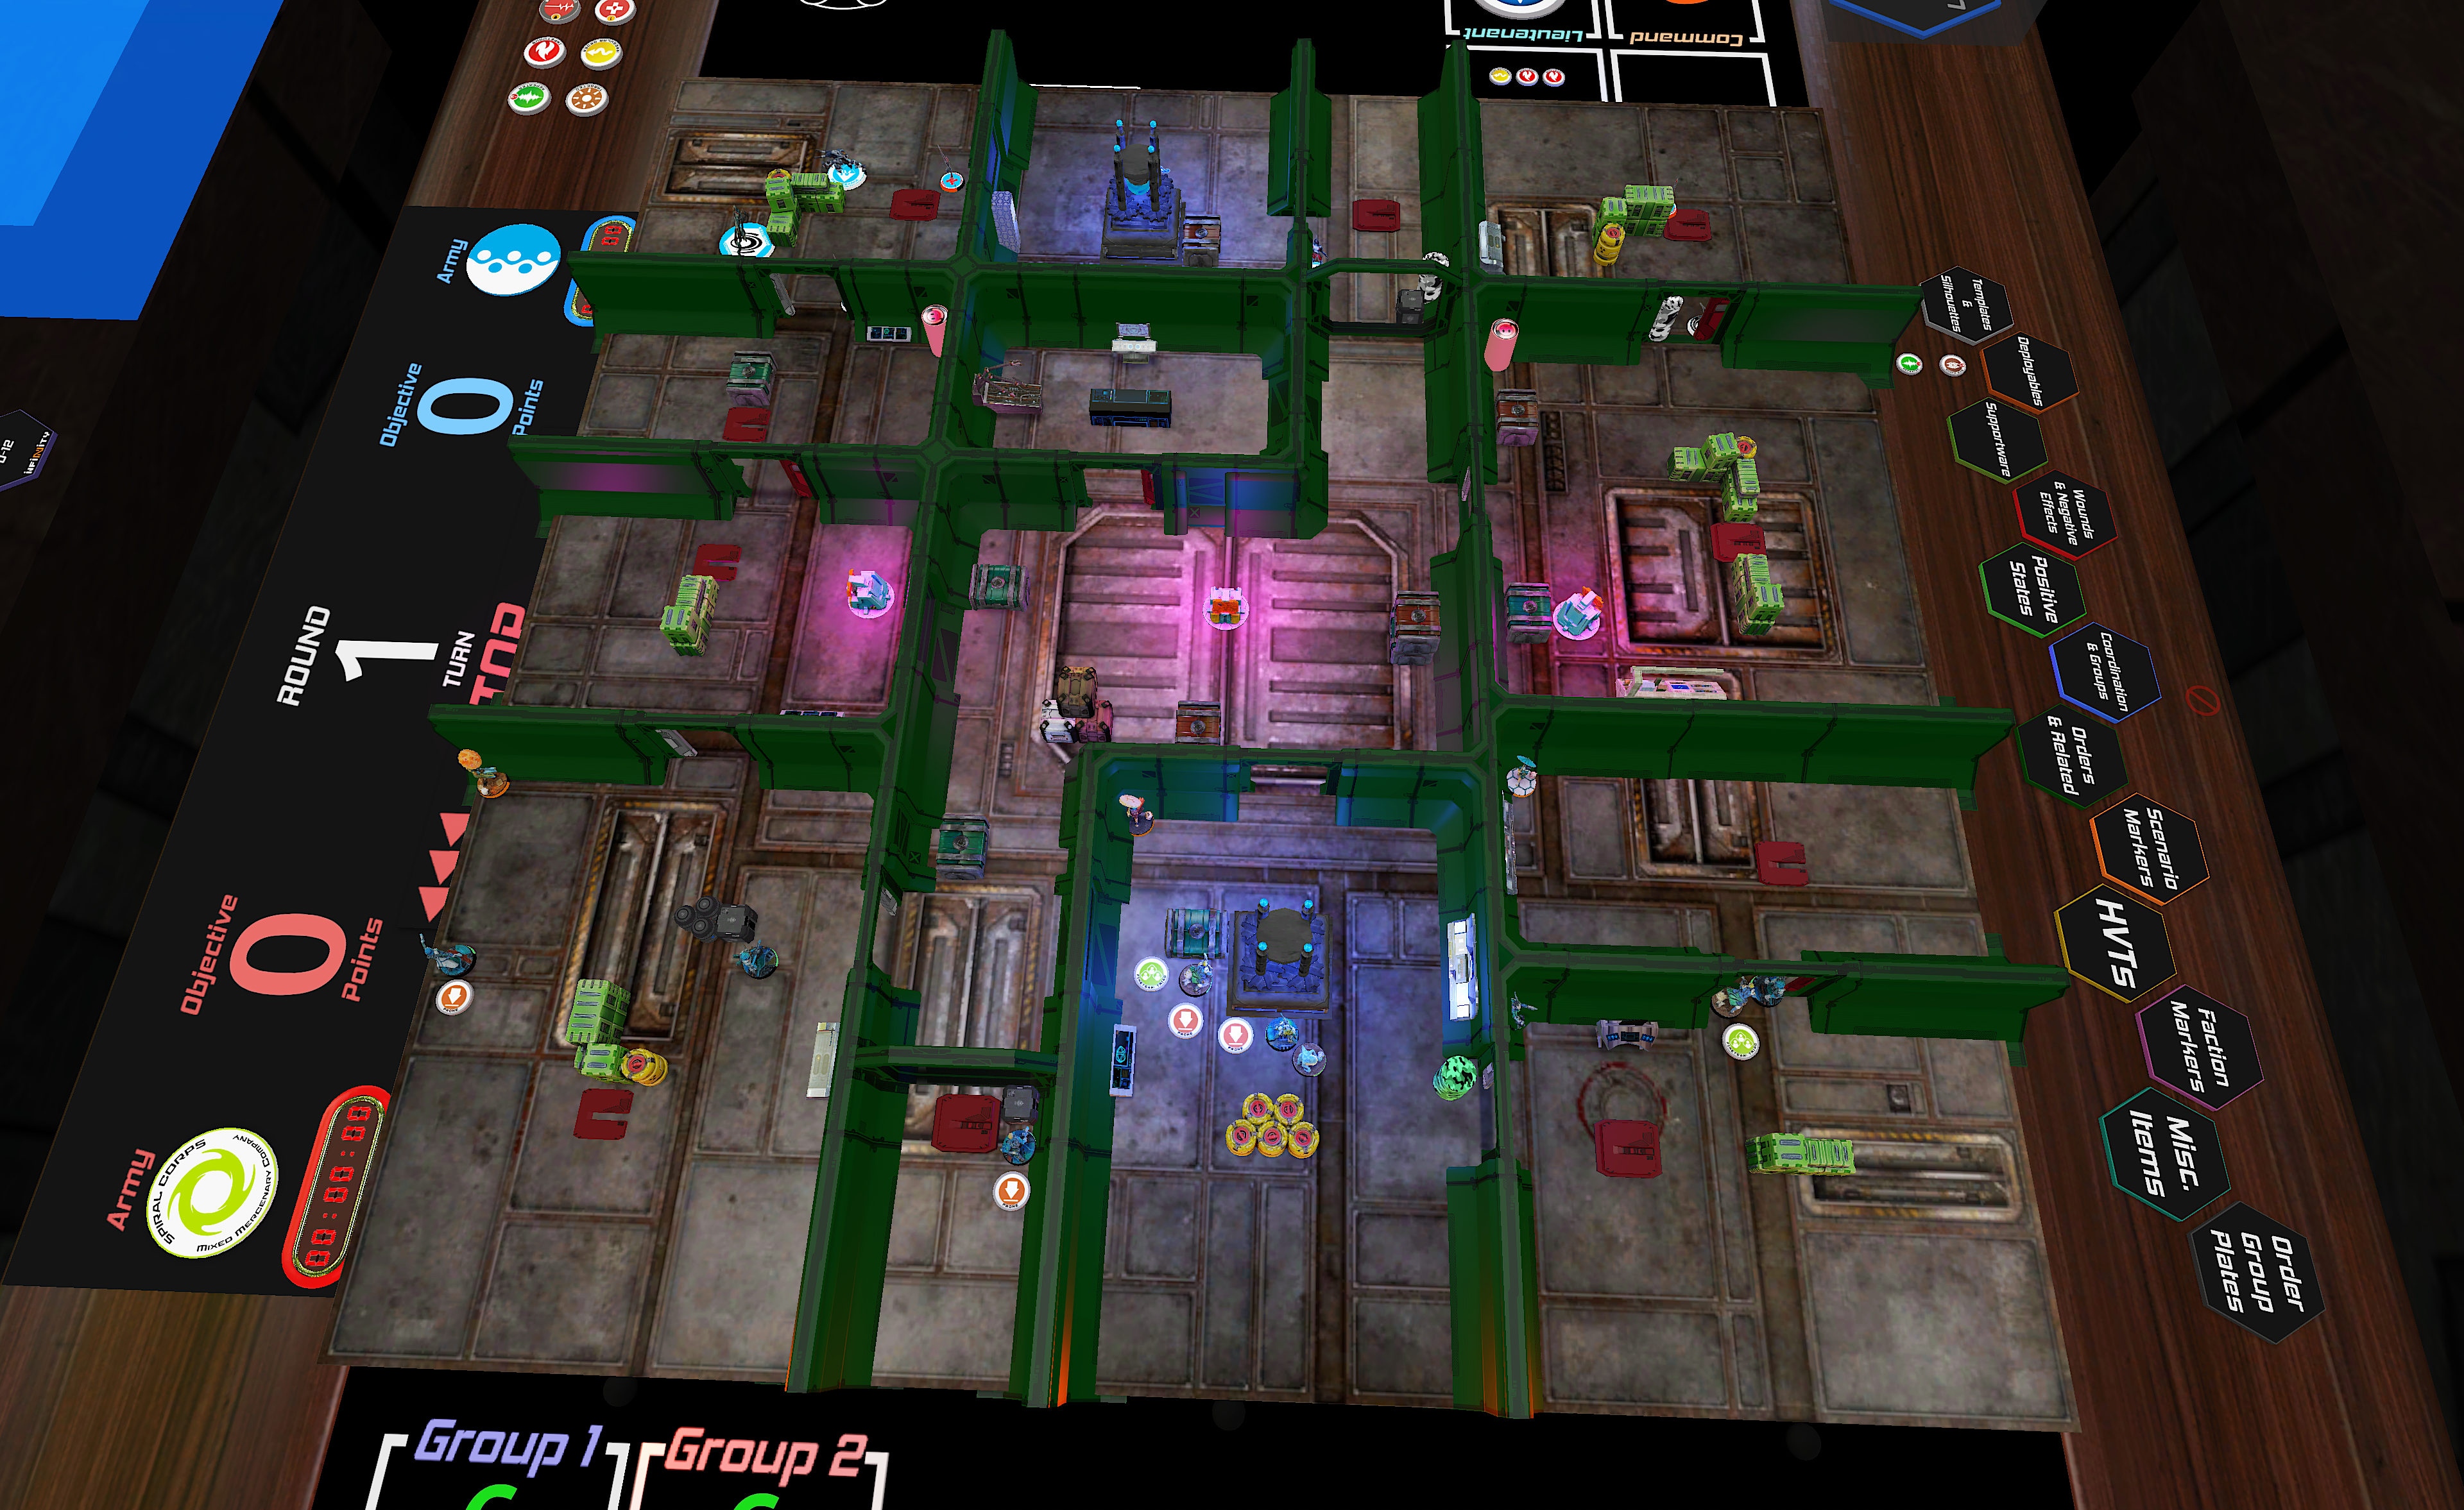
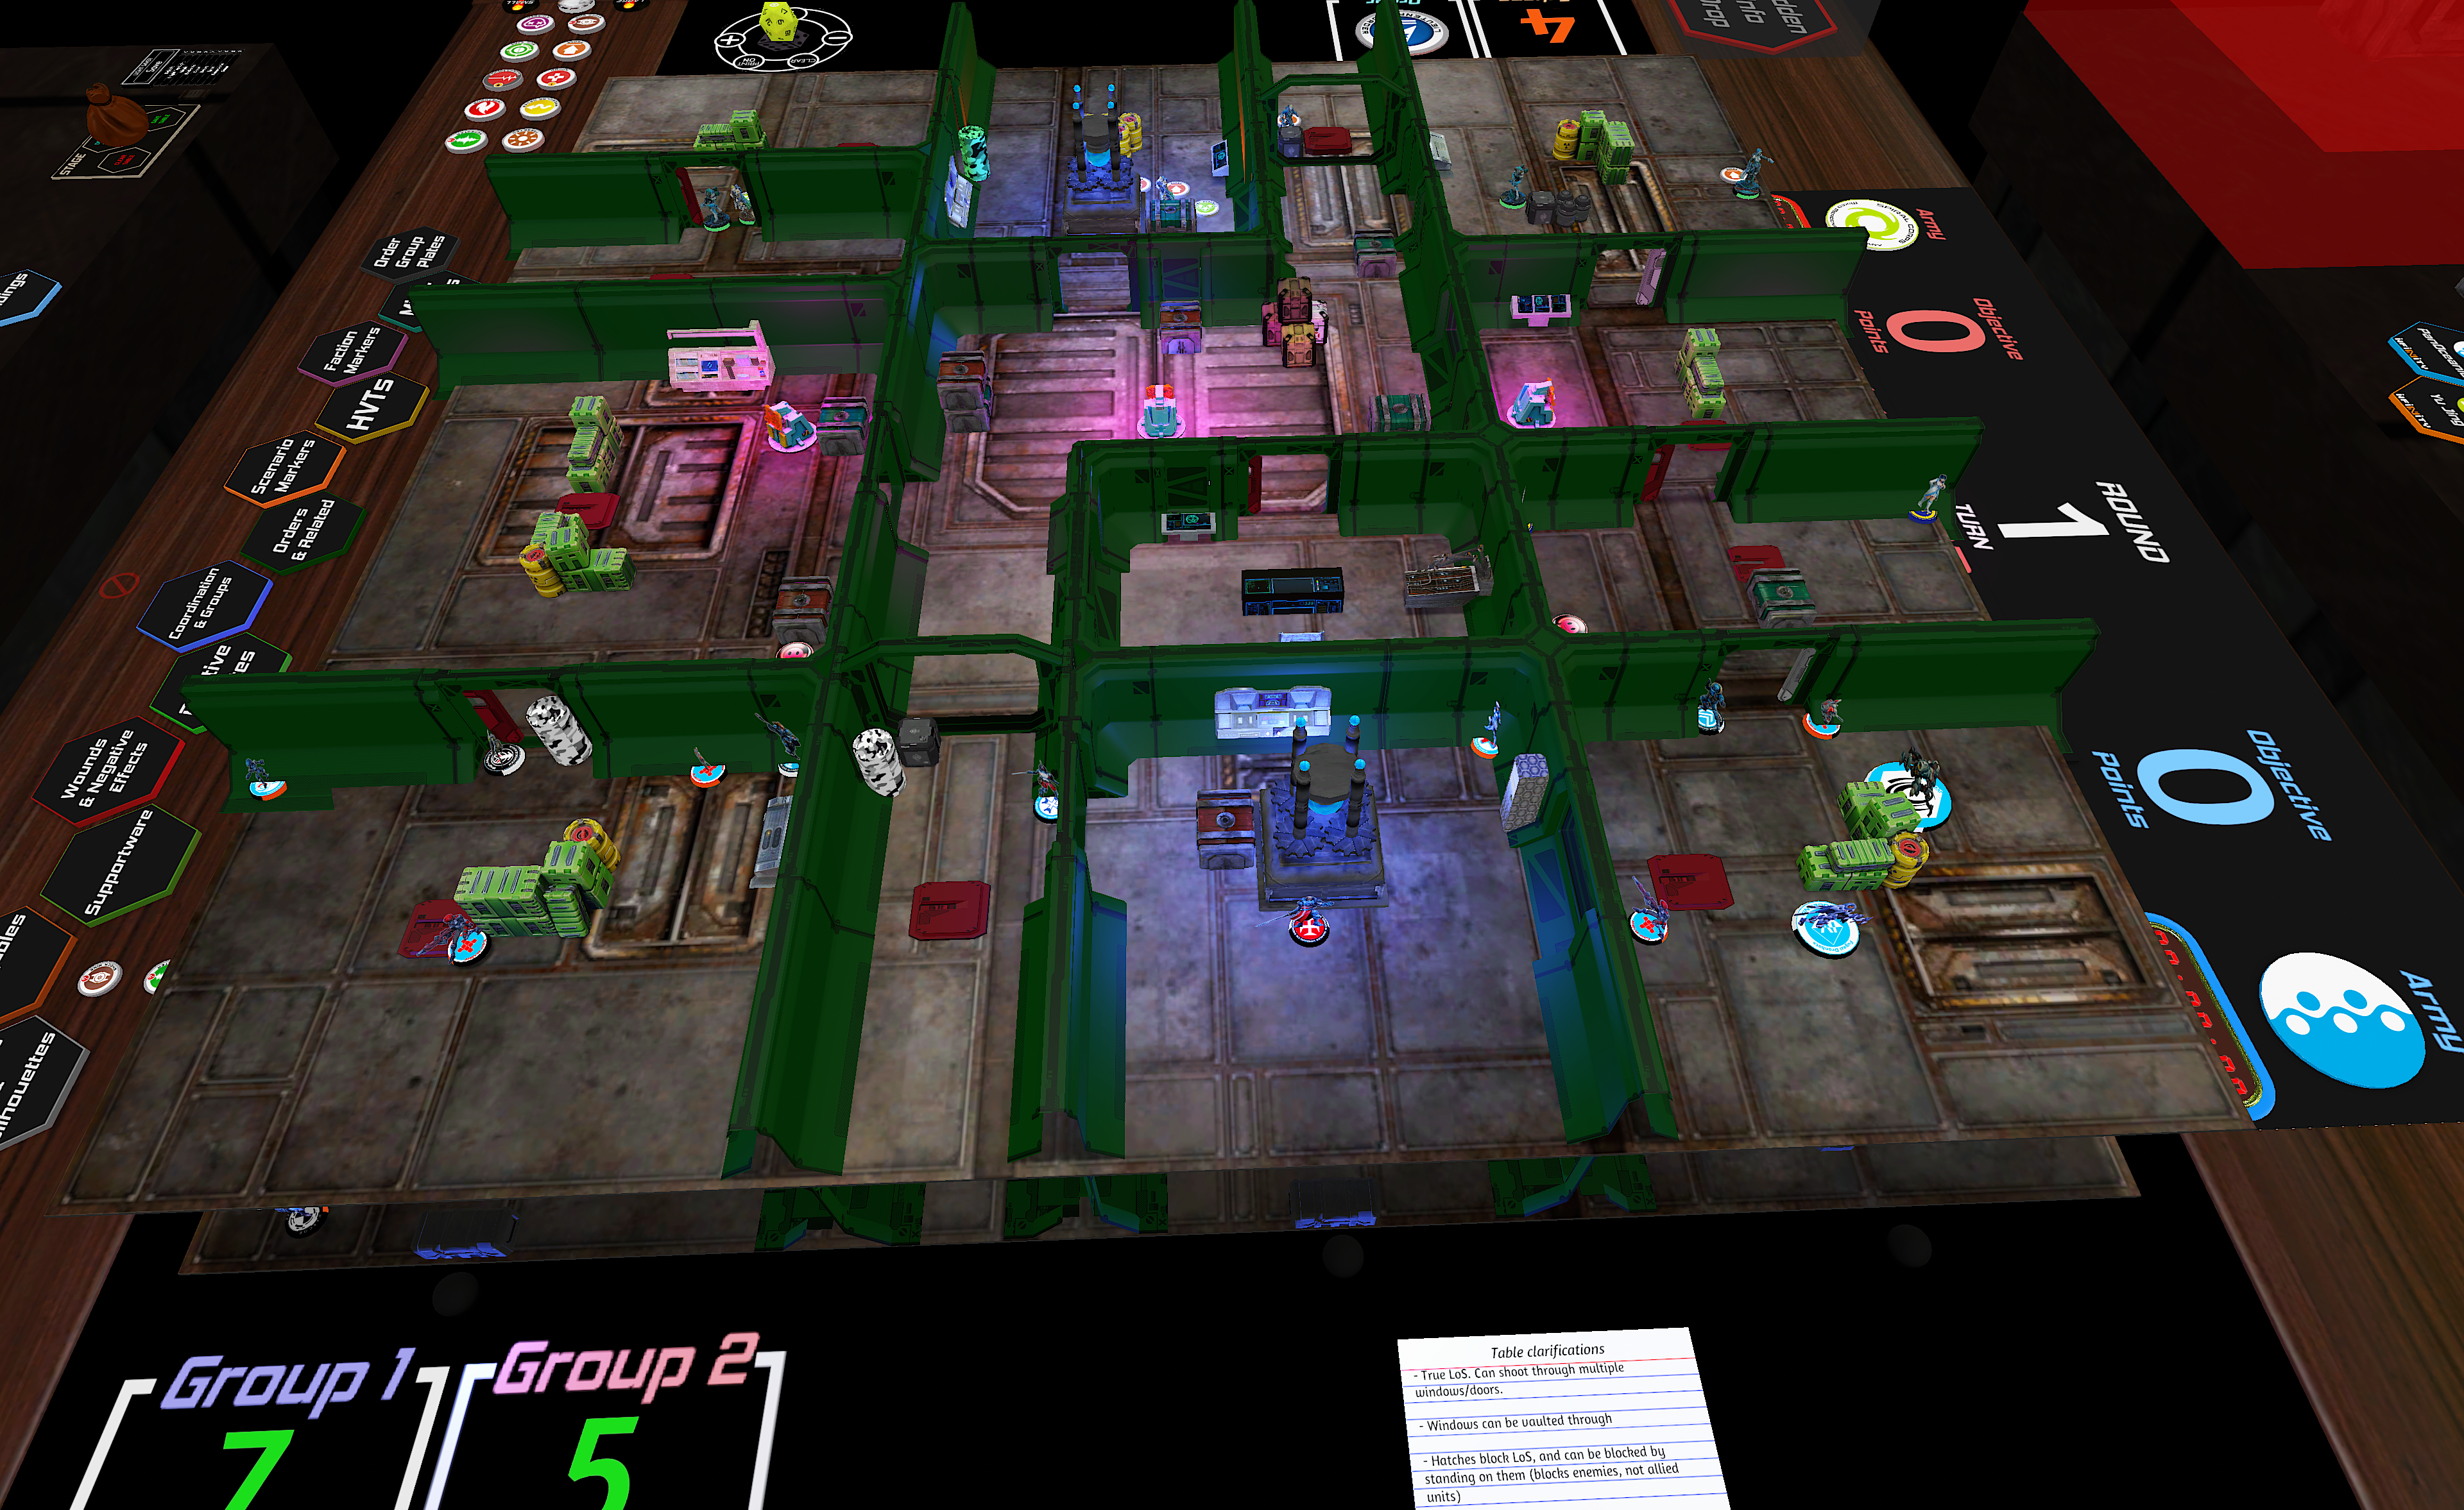
It seems like most of my games as of late have been to be a practice dummy for folks preparing for other things. This time, it was me helping Erik (Zelaponeepus) prep for his big game against Gregg (TemporalDistortion). They’re playing Unmasking on this two tier map, which has a corridor ring around the perimeter of the map. Pretty unique and actually decently playable thanks to some ladders and such.
Overview
- Mission: Unmasking
- Forces: Spiral Corps versus PanOceania
- Deploy First: Spiral Corps
- First Turn: Spiral Corps
Gregg said he’d be playing Spiral, so I whipped up a Spiral list. It’s pretty straightforward. Double two-wound impersonator with deployable, a Clipsos FO because that’s mandatory in anything than can take it, and then some Kriigel. The Kriigel in Spiral are much cooler than they are in Tohaa, so I wanted to give them a shot too.
Unmasking
GROUP 1

6
1
NEEMA (Lieutenant [+1 Command Token]) Spitfire, Nanopulser / Viral Pistol, Shock CC Weapon. (1.5 | 42)
KRIIGEL Breaker Combi Rifle, Grenade Launcher, Pheroware Tactics: Eraser, Pheroware Tactics: Mirrorball / Viral Pistol, CC Weapon. (0.5 | 22)
TAAGMA (Hacker [Zero Pain]) Breaker Combi Rifle, Nanopulser / Pistol, CC Weapon. (0.5 | 18)
GROUP 2
KIIUTAN Submachine Gun, E/Mitter, E/M Mines / Viral Pistol, CC Weapon. (1 | 28)
KAAURI Sentinel Submachine Gun, Nanopulser(+1B), E/M Mines / Pistol, PARA CC Weapon(-6). (0 | 12)
DIPLOMATIC (CC Attack [-3], Specialist Operative]) Nanopulser, Flash Pulse, Pheroware Tactics: Eraser / Pistol, CC Weapon. (0 | 5)
DRAAL Submachine Gun, Pulzar, D-Charges ( | Dazer) / Viral Pistol, CC Weapon. (0 | 33)
KAELTAR (Chain of Command) Light Shotgun, Flash Pulse, SymbioBomb ( | SymbioMate) / Pistol, PARA CC Weapon(-3). (0.5 | 21)
CLIPSOS (Forward Observer) Combi Rifle, Flash Pulse, Shock Mines / Pistol, CC Weapon. (0 | 25)
JAAN STAAR Light Shotgun, Shock Mines / Viral Pistol(+1B), CC Weapon. (1 | 31)
CHAKSA AUXILIAR (Sensor, Baggage) Heavy Flamethrower(+1 Dam) ( ) / Pistol, CC Weapon. (0 | 10)
HELOT MILITIAMAN (Camouflage [1 Use]) Submachine Gun, Light Rocket Launcher / Pistol, CC Weapon. (0.5 | 9)
6 SWC | 300 Points | Open in Infinity Army
The rest of the list is just good stuff. Draal, Neema… nothing really all that exciting. I decided to take a Taagma Hacker… the funny thing is there isn’t really anything good to disguise it as, so it’s kind of a waste as a secret specialist, but oh well. Anyway, not a whole lot of surprising stuff in this list.
Erik’s list is a collection of efficient PanO stuff. It’s got an excellent lieutenant, some great area control piece in the form of Auxilia and the Helot, and some very efficient specialists like Gunnar and the Varg. The Bagh Mari sniper is also very good thanks to its mimetism, MSV1, and Minelayer. Adam and I have been saying for years that more people should take the Magister as a solo unit in vanilla PanO, and that it’s a shame they’re only AVA1. I’m glad to see Erik doing just that before the rumored removal of Magisters from the game.
Unmasking 4.0
GROUP 1GROUP 2
BULLETEER Heavy Shotgun / PARA CC Weapon(-3). (0 | 17)
DE FERSEN (Lieutenant) Spitfire / Pistol, AP + Shock CC Weapon. (1.5 | 51)
GUNNAR MULTI Rifle(+1 Dam), Chain-colt / Pistol, Trench-Hammer, Shock CC Weapon. (0 | 34)
FUGAZI DRONBOT Flash Pulse / PARA CC Weapon(-3). (0 | 7)
ECHO-BRAVO (Paramedic) Combi Rifle, Light Shotgun, WildParrot ( | MediKit) / Pistol, CC Weapon. (0.5 | 27)
VARG (Forward Observer) Heavy Rocket Launcher, Light Shotgun, Flash Pulse / Pistol, CC Weapon. (1.5 | 25)
BAGH-MARI (Minelayer) MULTI Sniper Rifle, Shock Mines / Pistol, CC Weapon. (1.5 | 29)
2
LIANG KAI Chain Rifle, Light Shotgun, Flash Pulse / Pistol, EXP CC Weapon. (0 | 21)
MAGISTER KNIGHT Panzerfaust, Light Shotgun / Pistol, DA CC Weapon. (0 | 23)
AUXILIA (Forward Observer) Combi Rifle, Flash Pulse ( | Deployable Repeater) / Pistol, CC Weapon. (0 | 15)
AUXBOT_1 Heavy Flamethrower / PARA CC Weapon(-3). (0 | 4)
TRAUMA-DOC Combi Rifle / Pistol, CC Weapon. (0 | 14)
PALBOT PARA CC Weapon(-3). (0 | 3)
WARCOR (Sixth Sense) Flash Pulse / Stun Pistol, PARA CC Weapon(-3). (0 | 3)
5.5 SWC | 300 Points | Open in Infinity Army
If you’d like to follow along, you can do so here:
Deployment
Erik won the rolloff. He’s got a lot of games in on this map and is pretty convinced that there’s a “better” side, so he chose that one. I took first turn in response. He mentioned that my side had a very safe room, so that’s where my Designated Target went, and he also mentioned that there was a a lot of difficulty in getting to the center of the table from my side, so I elected to not overcommit there with my deployment.
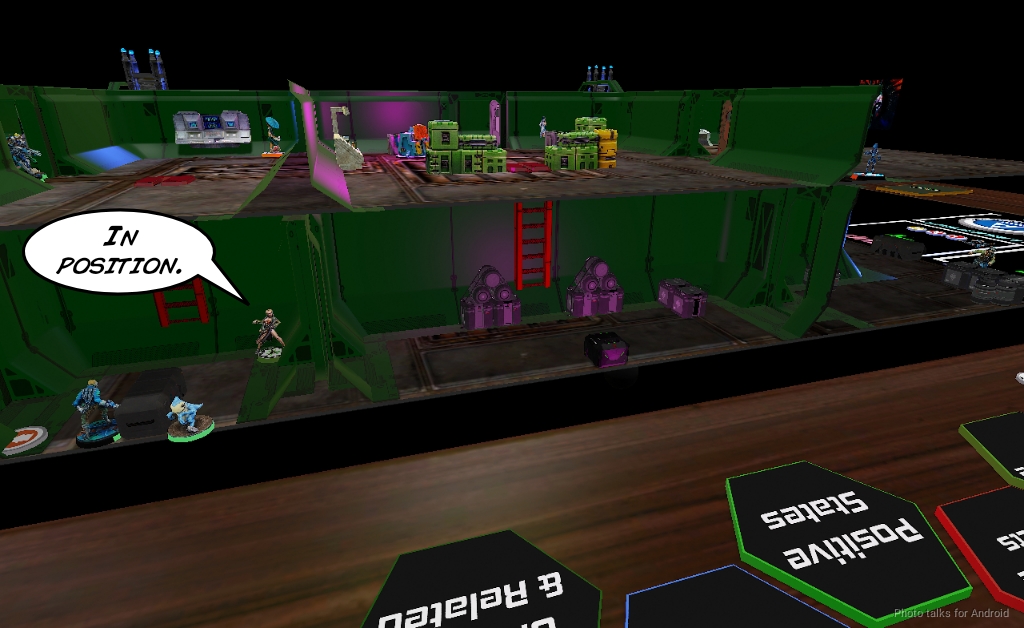
I put a lot of stuff on the right to defend my designated target, and even put a Draal and Diplomat on the lower level to defend against airborne deployment with a Kauuri on the top to do the same. I attempted to throw a Clipsos over the centerline to be in the room near the eventual deployment of the Bagh Mari, but failed the roll, deploying it on the left instead. Since I now had a specialist over there, I put Neema and her triad in the center to contest it along with the Helot. The rest of my troops like the Kaauri and the Chaksa were just in random places to defend against attacks on the lower level or from drop troops.
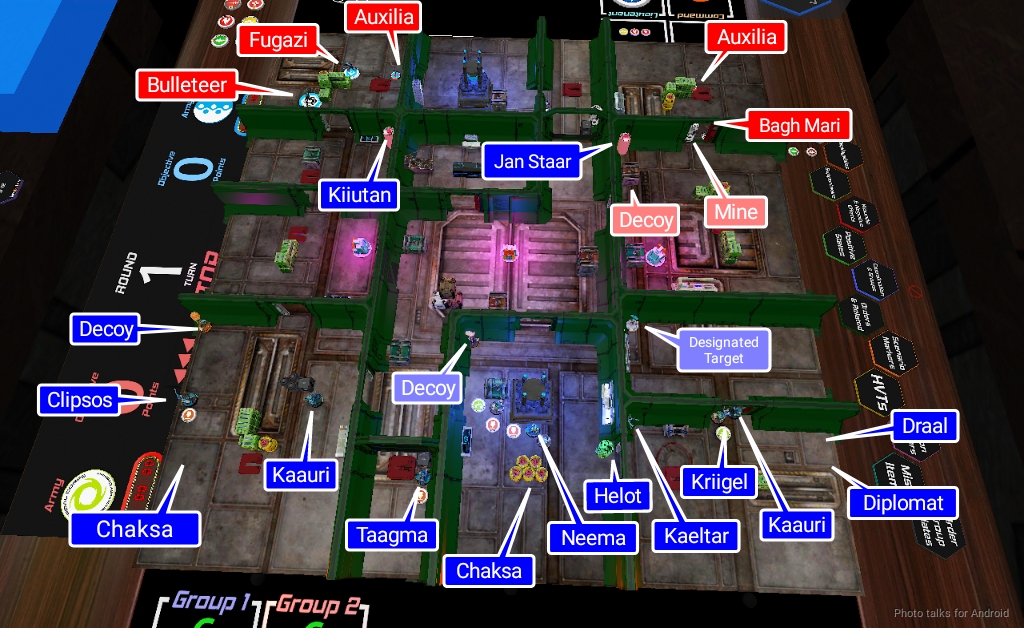
I held both impersonators in reserve by spending Neema’s extra command token, and then it was Erik’s turn to deploy. He protected DeFersen by flanking him with all of his forces. He put an Auxilia on his left to protect his Bagh Mari and further protected himself with a mine. The Bagh Mari was set up to take a shot on the central console and a little bit more down the corridor to my deployment zone. Below all of this was Liang Kai and a Warcor. On the right were both Fugazi and the Bulleteer, along with both the Designated Target and the Decoy. Erik further defended the central console with a Helot and then protected the Helot with a Magister, ready to move forward. To pin my Clipsos he used a Varg FO with HRL.
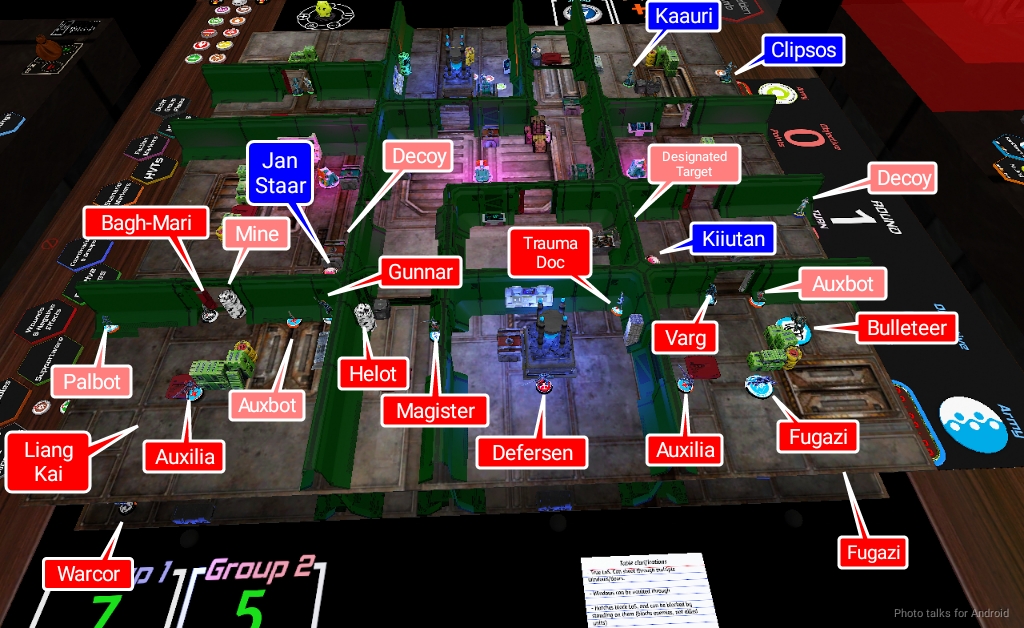
I deployed both Impersonators just outside Erik’s deployment zone, so he counter deployed them by putting his Auxilia and Auxbot down watching my Kiiutan.
Turn 1
Top of 1 – Spiral
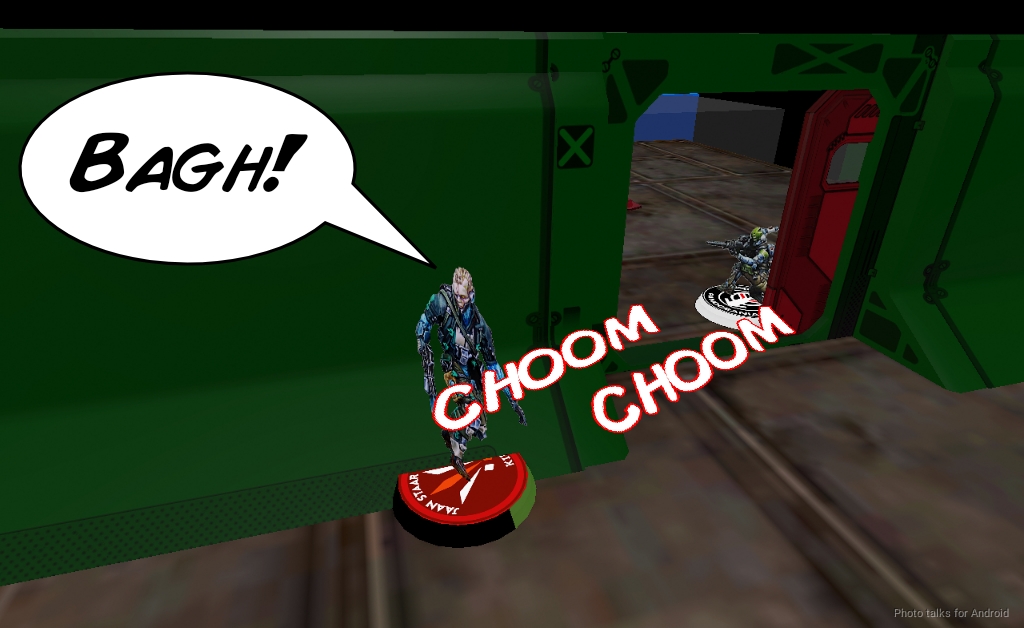
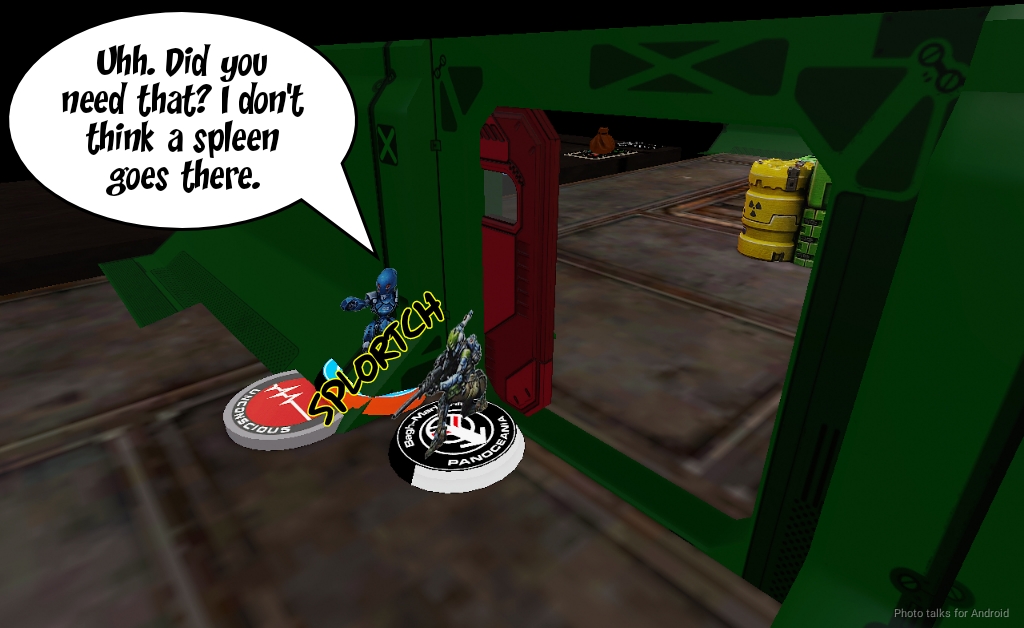
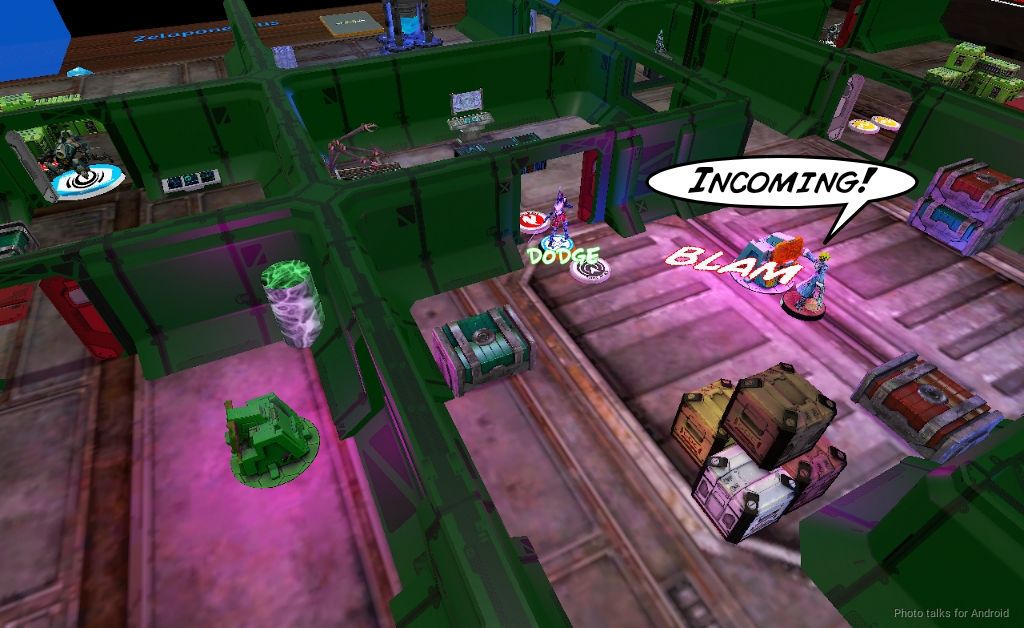
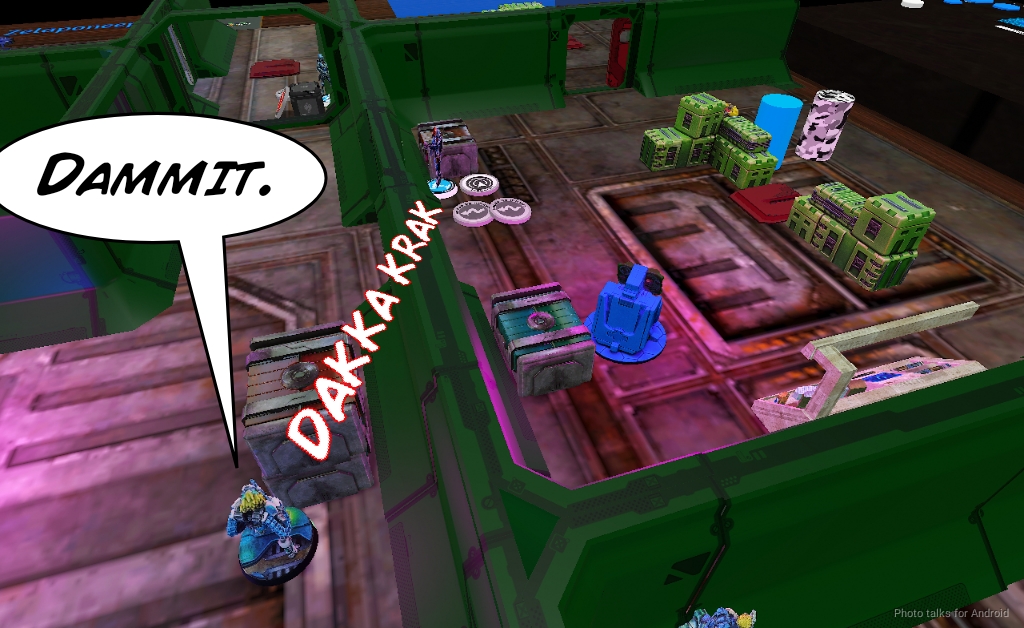
Erik docks two orders, but I have Counterintelligence so it doesn’t hurt too bad. I move the Kiiutan out of the way of the Auxbot’s flamer, getting discovered on the way. I then take out the Varg, losing a wound to the Varg’s shotgun.
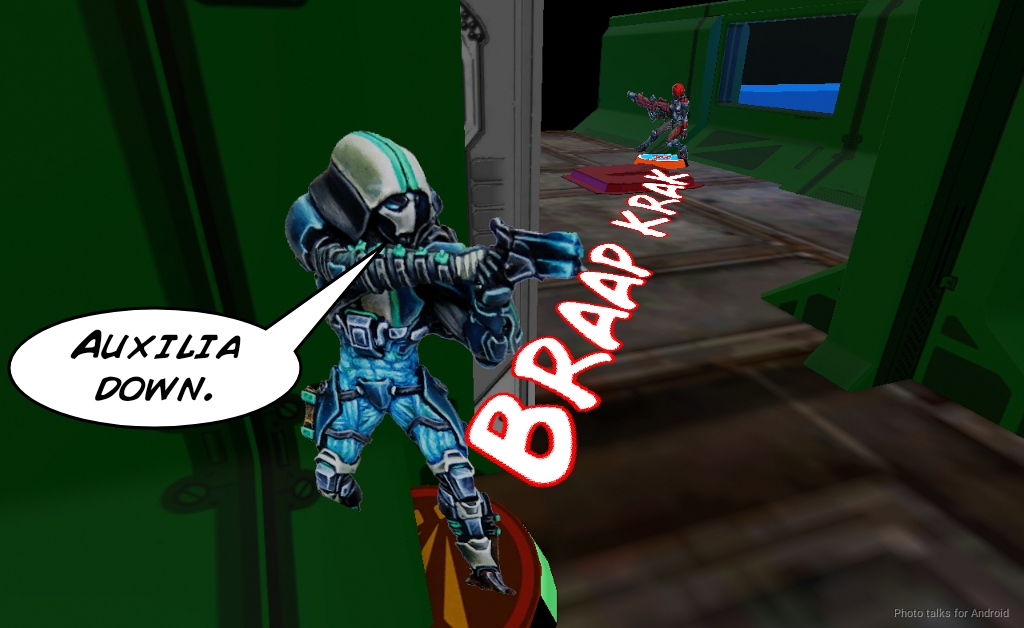
The Auxilia is next.
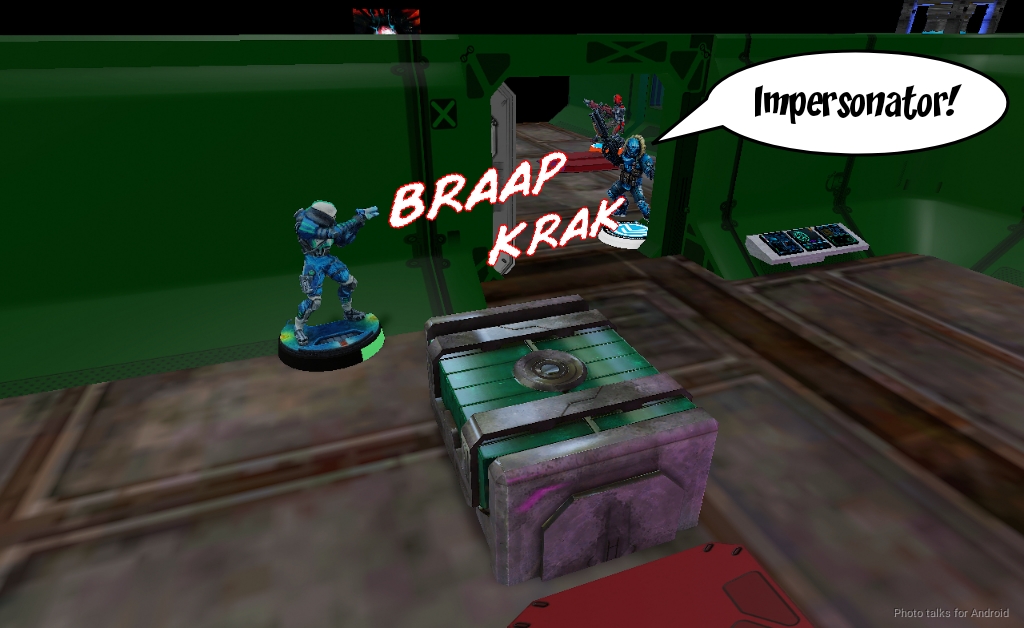
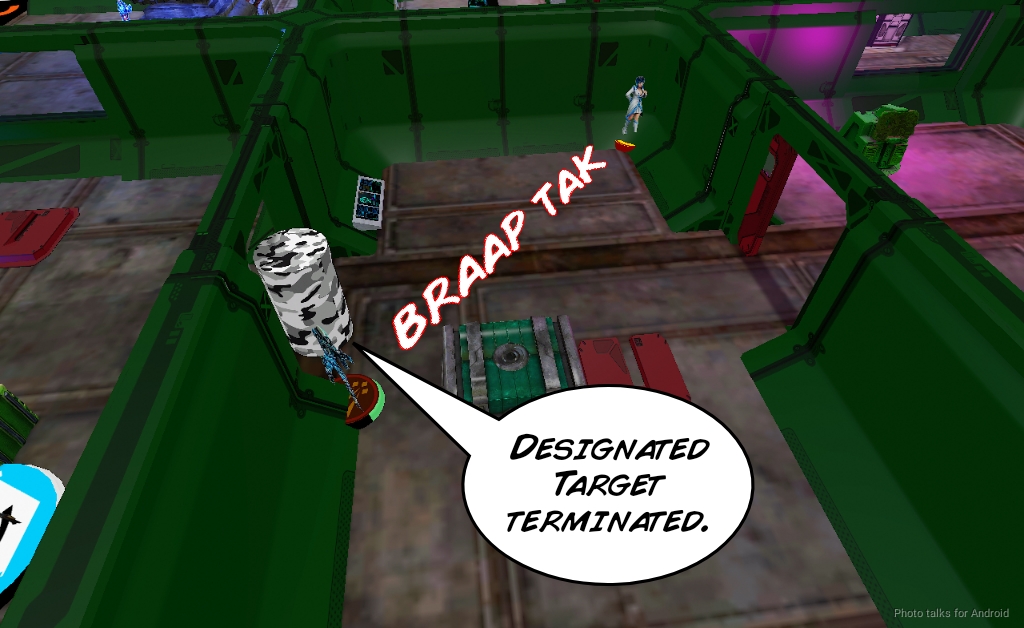
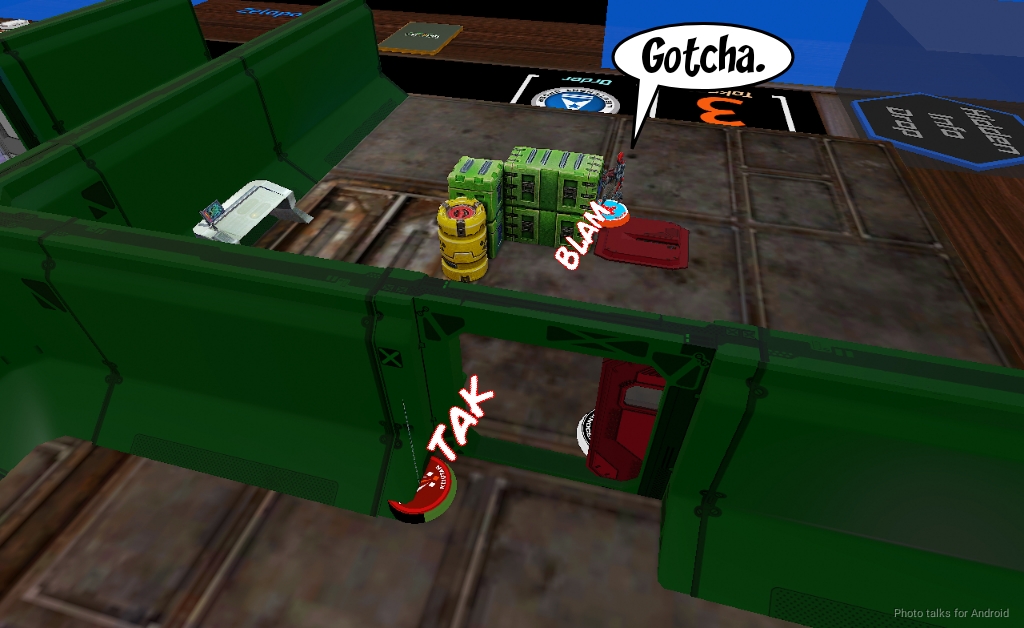
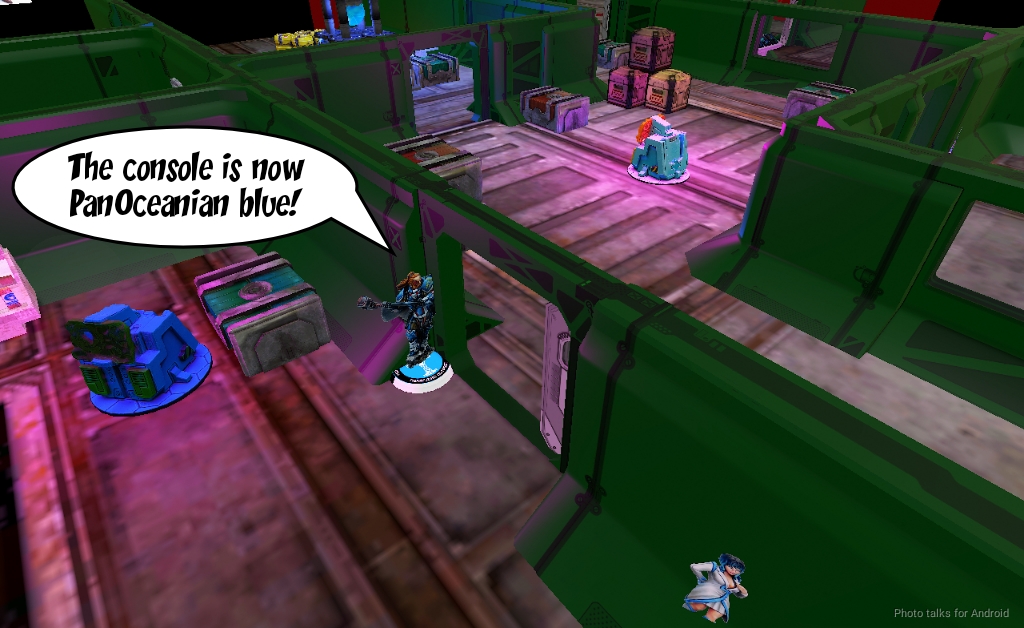
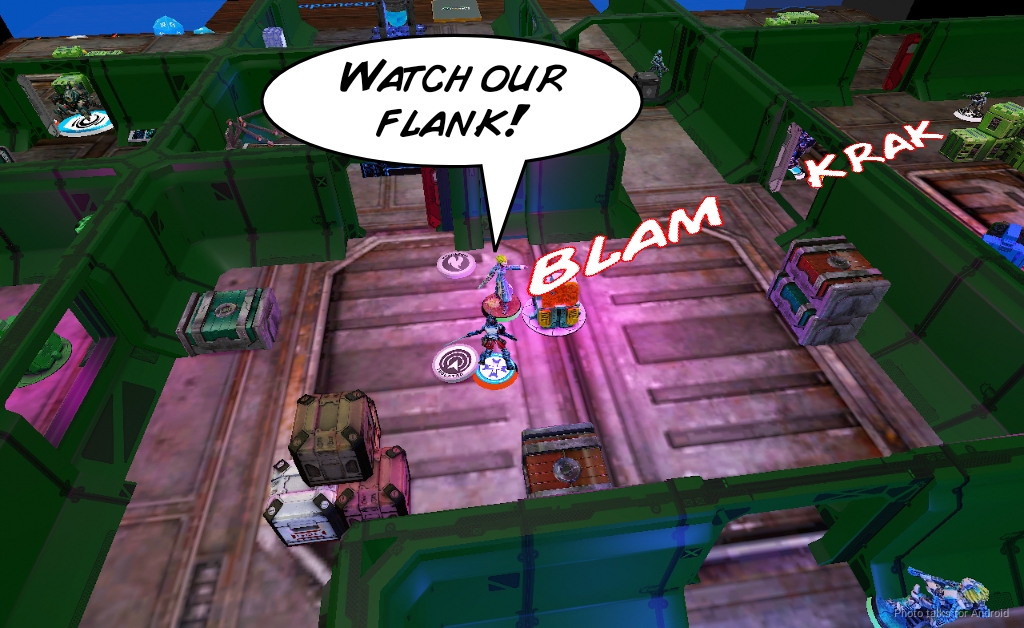
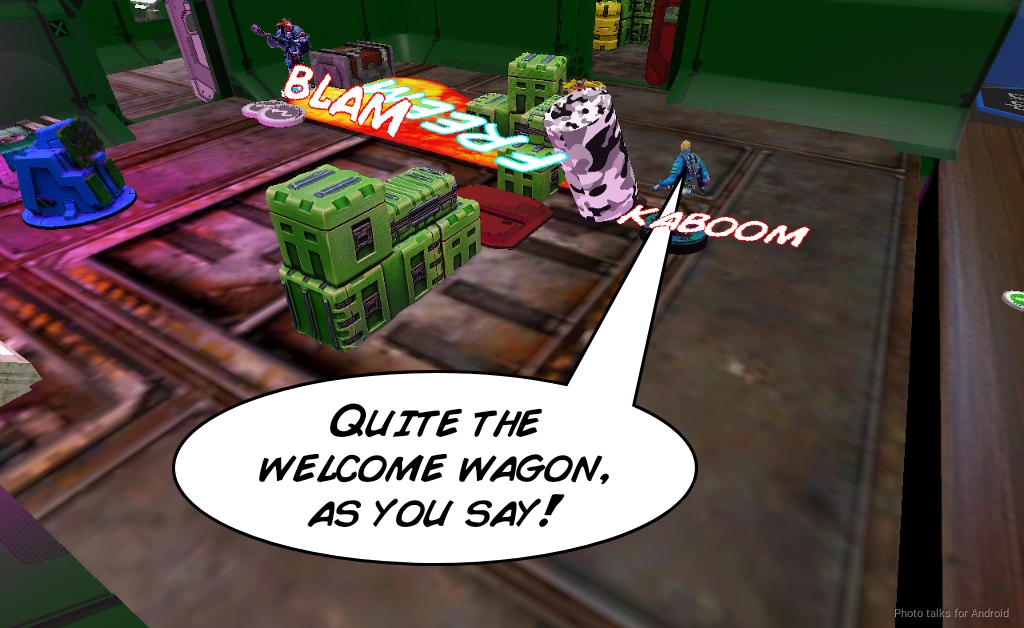
The Fugazi is watching the doorway with the Clipsos, so I recamo it, run it across the gap and flip the left antenna. I know the Designated Target is in the room with the Kiiutan, and I guess correctly. It takes two orders but I take out the Designated Target and put down an E/M Mine covering the Fugazi and the Buletter, although we eventually discover that it’s just one of them. Very sad.
I’ve got a few orders left to fight things with Jan Staar, so I start by trying to viral pistol the Bagh Mari. Erik passes the saves, and I pass the mine save.
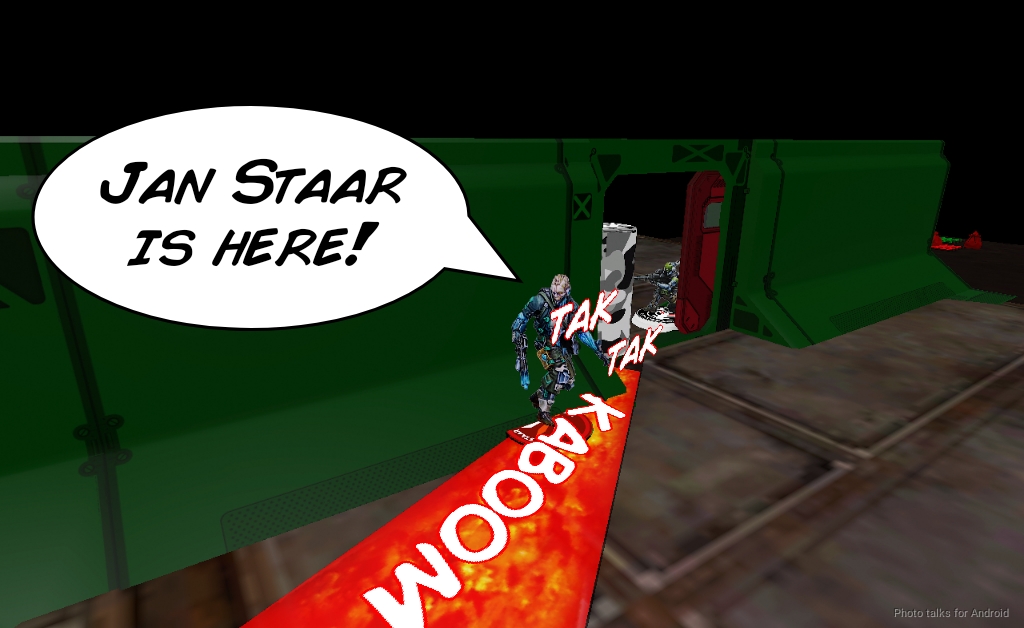
I spend another order and just shotgun the Bagh Hari, who does a wound. It doesn’t take the Bagh Mari off the table though.
I try to challenge the Auxilia next, but I roll very low and Erik takes out Jan Staar finally. Bah.
I spend my last order moving the Diplomat forward. I forget she has flash pulse and don’t put her out to ARO Liang Kai…
Bottom of 1 – PanO
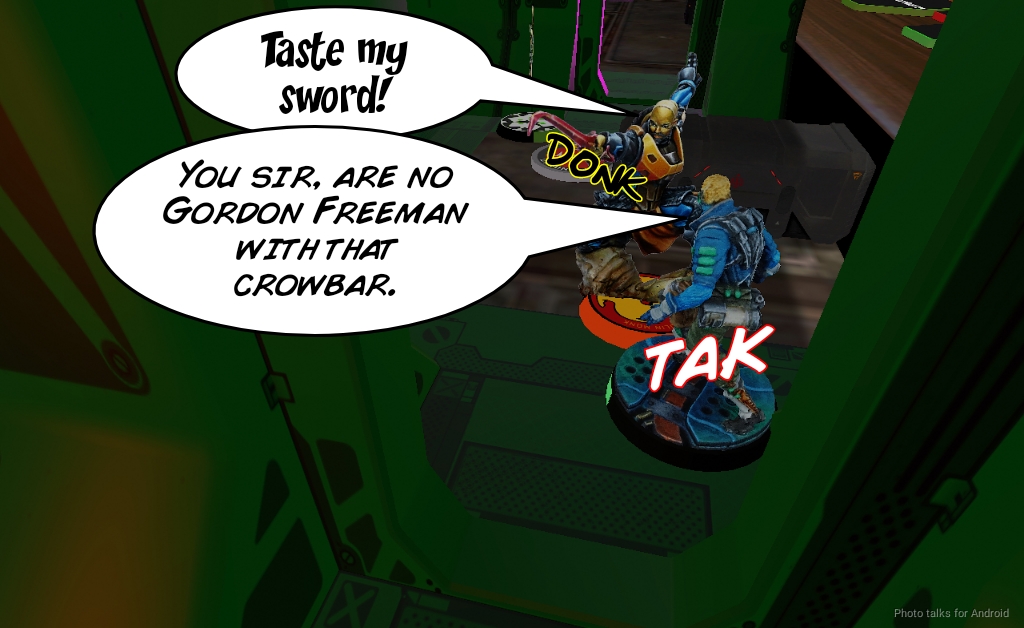
…who comes screaming down the corridor on the lower level. I try to Eraser him but he shotguns the Diplomat while the Draal tries to dodge away. I forget he has Berserk, which means he comes in and whacks the Draal on the head with his Half-Life crowbar of a sword. My SymbioMate lets me ignore the worst of it, and I pass both saves against Erik’s crit. Liang Kai, however, is not so lucky against the Draal’s viral pistol, so Liang Kai goes down.
The Trauma Doc tries to pick up the Bagh Mari with her Palbot and finally succeeds on the last command token. I think this was a mistake and really hurt Erik later. Spending one order and one command token on it is worth it, but not multiple, especially in a vanilla list.
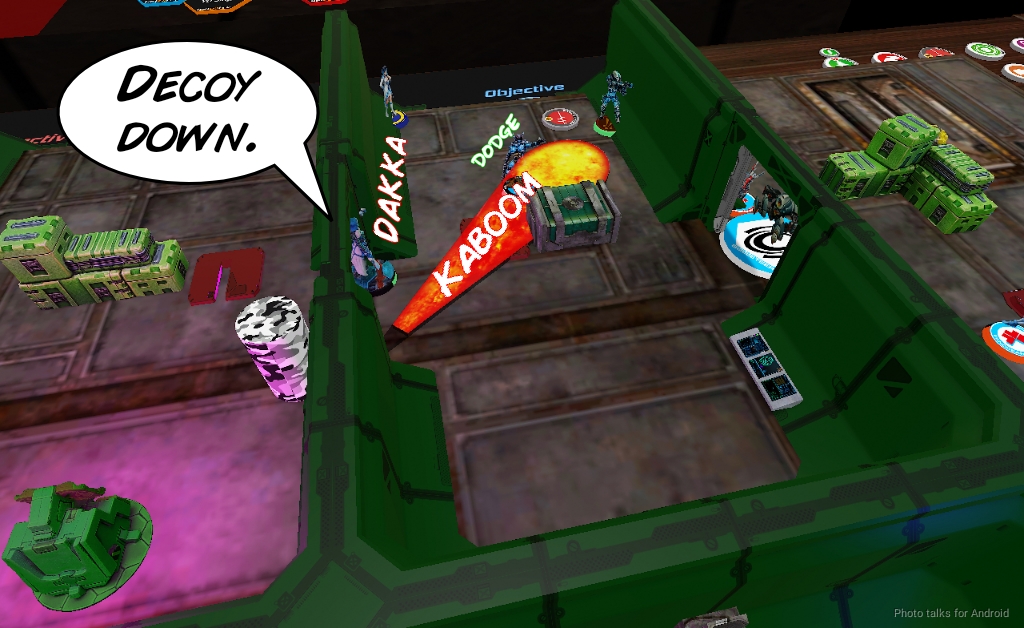
Gunnar makes use of his tac aware order and flips a console, revealing my center HVT to be a decoy. I don’t think Erik thought he the orders to go after the “real one” as he no doubt figured out which one it actually was. He told me after the game that he figured that he might actually be able to take on the center HVT.
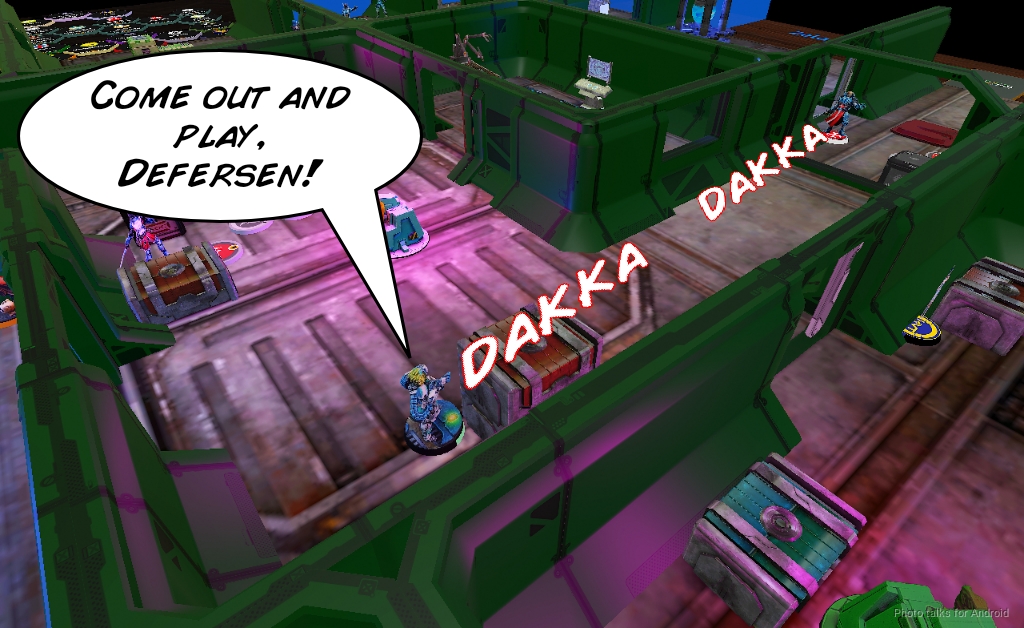
He then throws the Fugazi under the bus to successfully the E/M mine, which lets Erik push the Bulleteer into view of my Kiiutan.
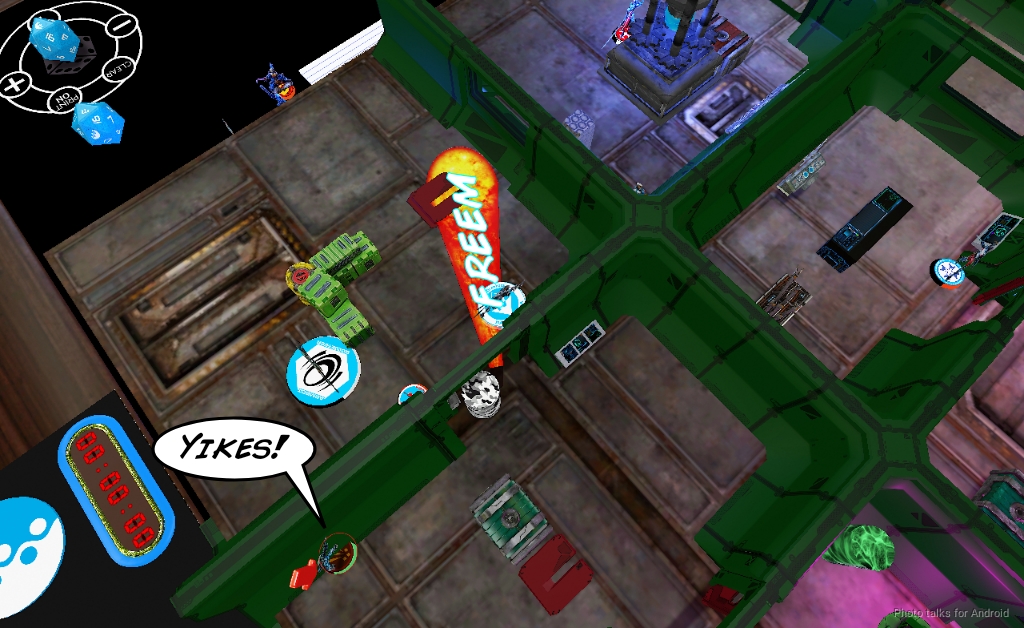
I drop a E/M mine in response and lose the Kiiutan to a double heavy shotgun template. While I really miss the ability to drop a template at range, putting down two direct templates is pretty darn good. If the Kiiutan was still at full strength I’d probably have attempted a dodge at +3, but I figure the mine was the right plan.
Turn 2
Top of 2 – Spiral
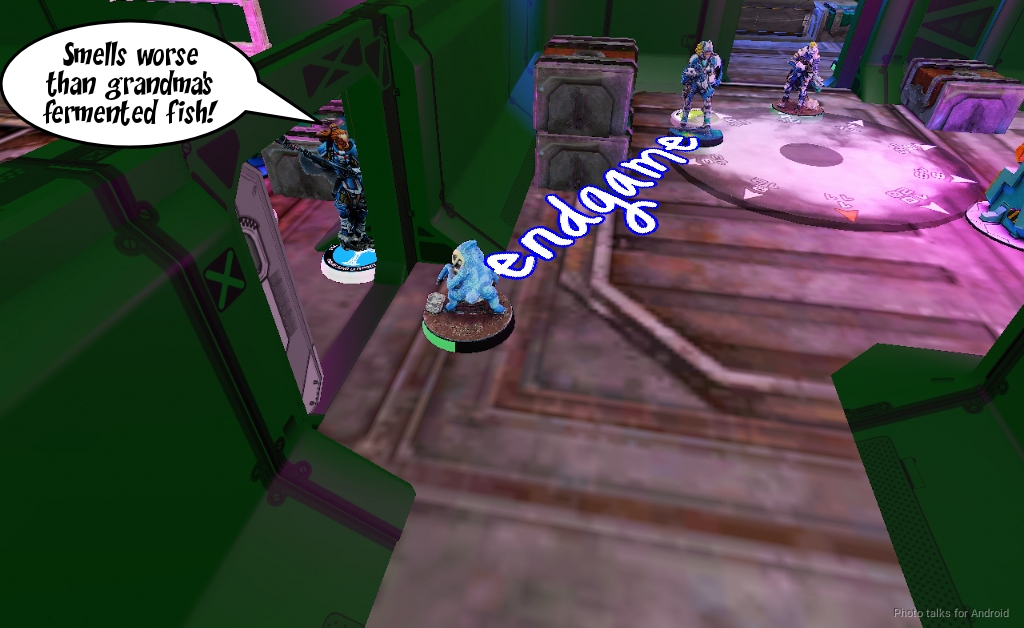
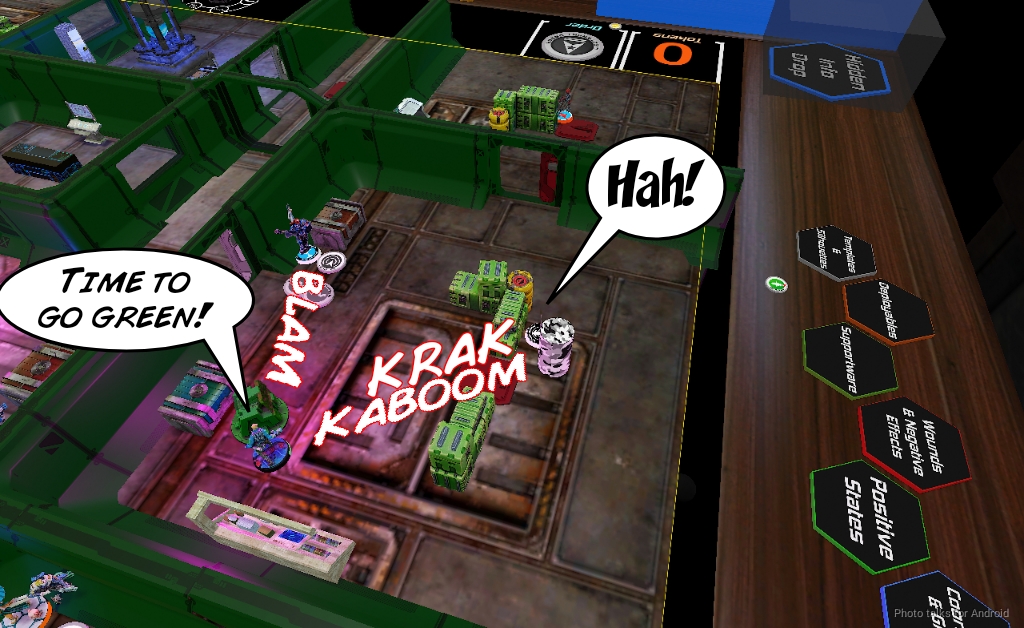
I decide to go after the center objective with the Taagma, figuring I could put some pressure on Gunnar if I did that. I block LoF to everything by dropping a Mirrorball and move into it. Neema manages to Endgame him, but he passes BTS.
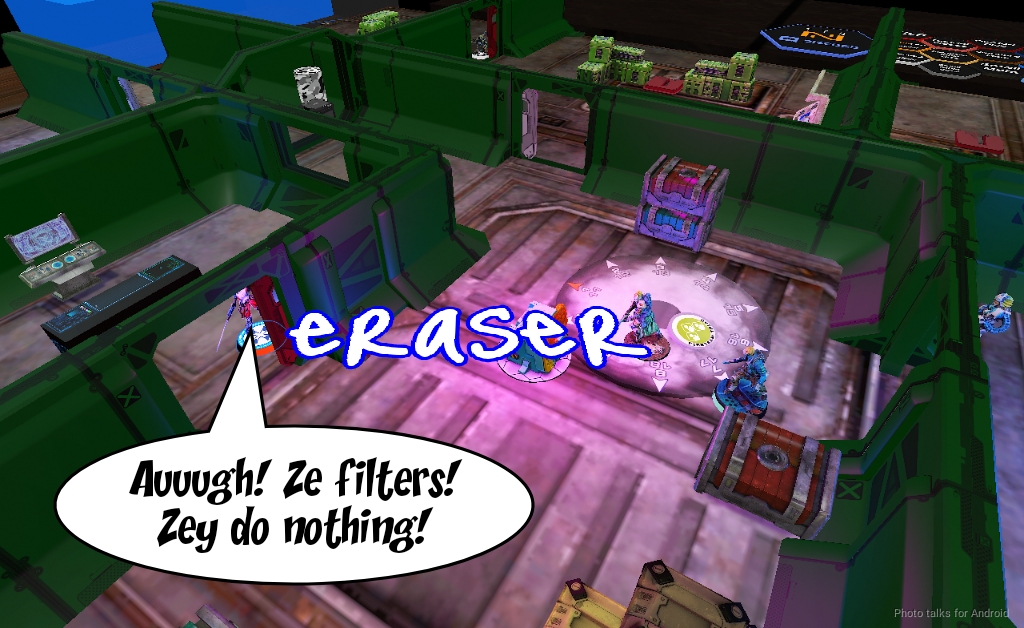
I do Eraser the Magister successfully though, which really limits the damage that they can do. I get the Taagma into base to base with the console while Neema retreats and the Kriigel tries to bait out the Helot. I fail at beep-booping the console, and the Helot reveals and shoots the Kriigel off the table. Bah. I think I should’ve just moved the smoke a hair to my right and this whole thing would’ve been safe from the Helot. Oh well.
I’ve got my Lieuteant order left, so I pump 4 shots of Spitfire into the Magister, which Erik bounces off like it’s just rain.
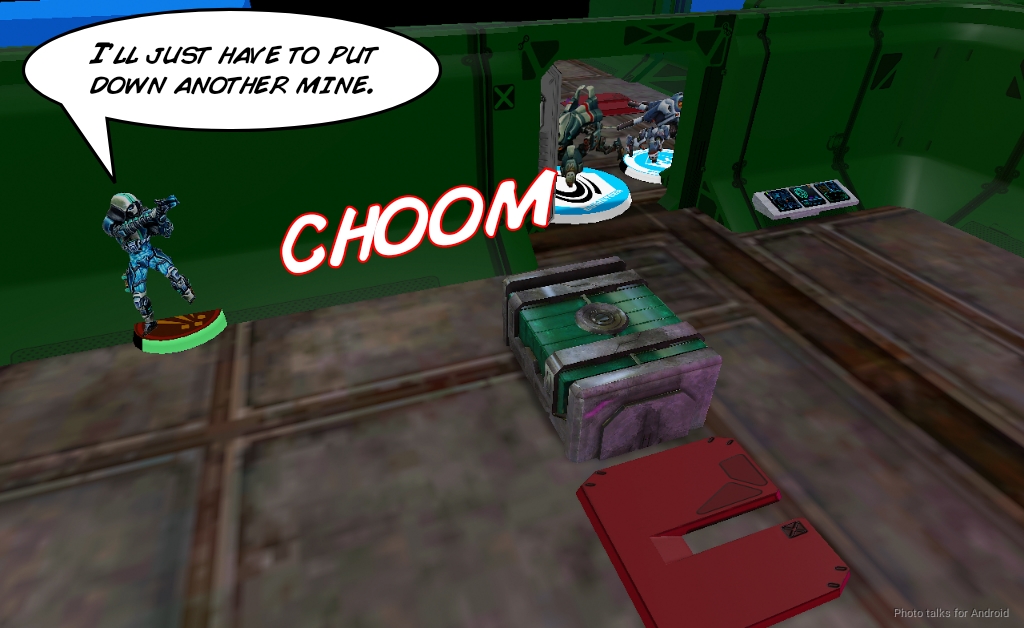
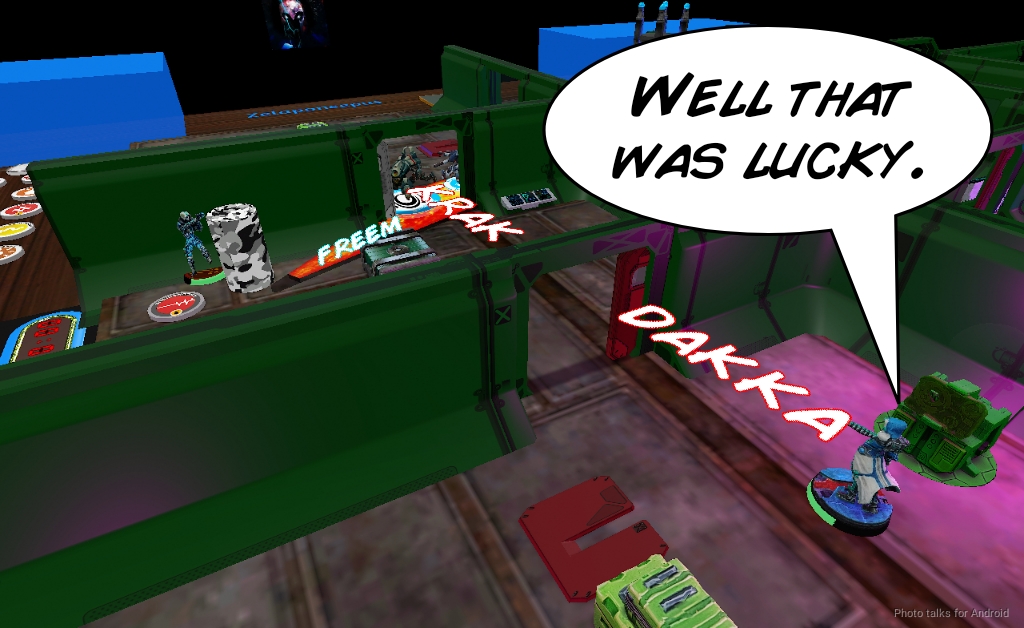
I start doing things in the other pool, revealing the Clipsos to the Bulleteer. The Bulleteer takes a shot, whiffing against my TO camo, but this sets off the Kiiutan’s farewell E/M mine, isolating the Fugazi. Shockingly, the Bulleteer passes both BTS saves against E/M, but my Clipsos rolled a 1 on her combi and Erik fails that roll. I’ll take it!
I spend some orders advancing the Draal on the right and Erasering Gunnar with that Kriigel, moving the Kaeltar into the well-defended room to really make it impossible for Erik to walk on a AD troop there.
Bottom of 2 – PanO
The Magister is isolated, so it’s only got two orders. I tries to get closer to Neema, dodging against my return fire from the Taagma, Neema, and the Helot.
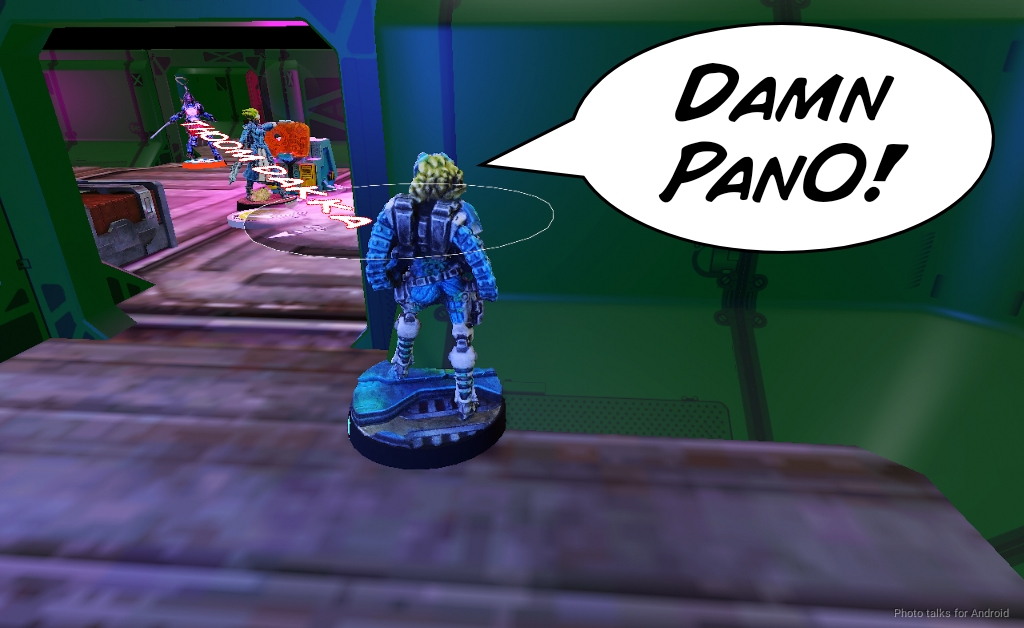
The Taagma is visible to a short move from the Bagh Mari, so I take a shot back at the Bagh Mari as it moves into view. I lose the face to face but pass ARM and fail guts behind the Magister.
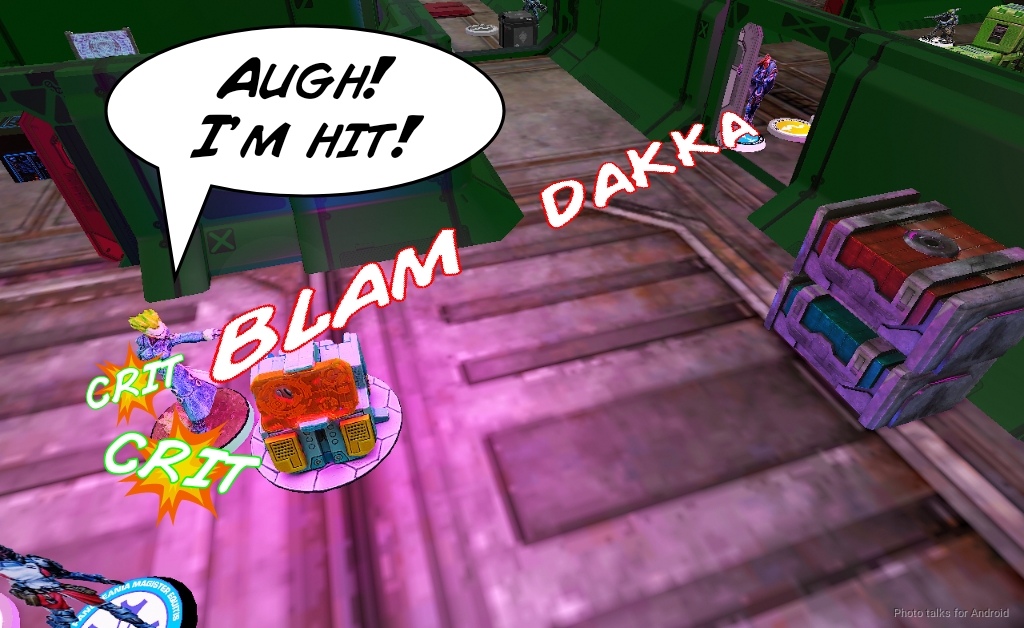
It’s Gunnar’s turn next, and he double-crits the Taagma with his MULTI Rifle, taking her off the table.
The Magister moves forward into an annoying spot. Erik just wants to burn orders from me and force me to deal with it. Neema refuses to deal with this nonsense and just plants a viral pistol round in the magister’s center of mass, dropping him.

Erik then walks on an Echo Bravo on the side with my Clipsos and deploys a Wild Parrot in position to annoy me.
Turn 3
Top of 3 – Spiral
Neema’s Frenzied, so she takes out the Helot over the course of her Frenzy order and her Lieutenant order.
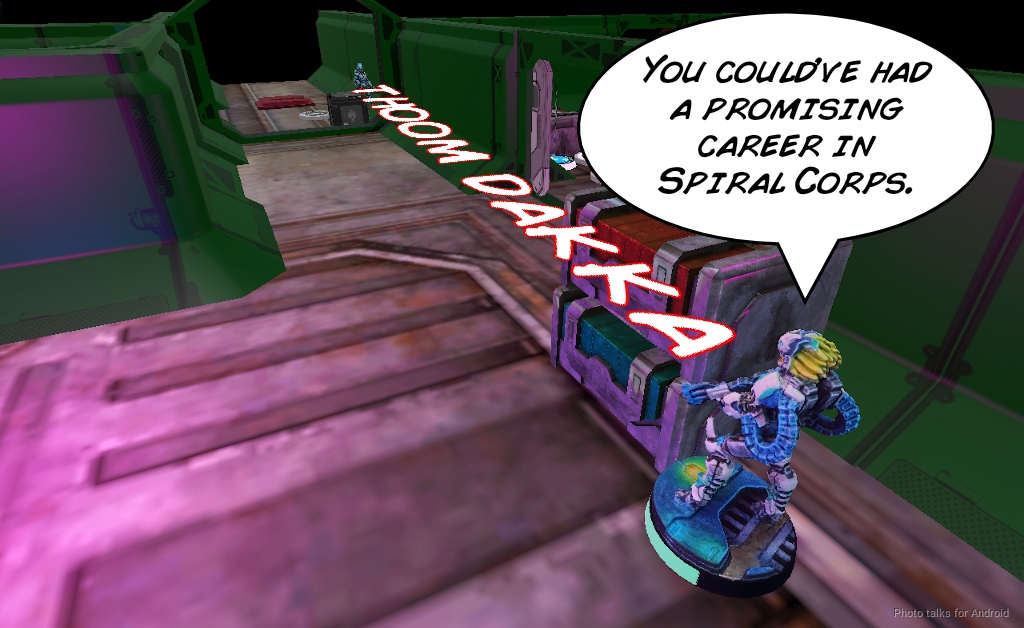
I then have to clear the Wild Parrot. It takes most of my orders but I finally do it with the Kaauri on my left. This leaves one order for Neema to take on Gunnar. She manages to put him dogged at least, but I’m out of orders for her.
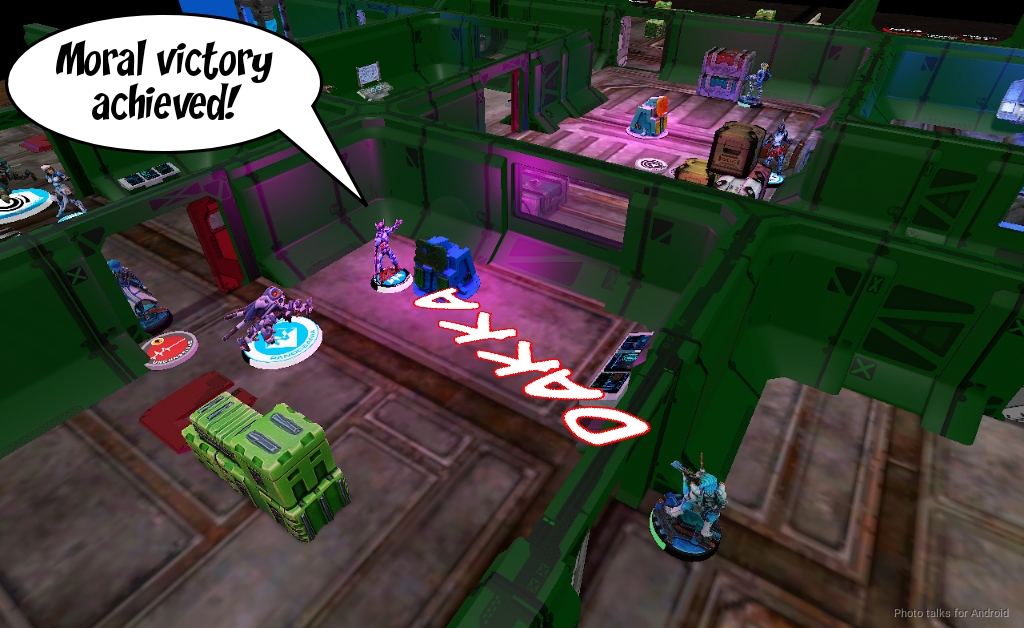
I forget that it’s the last turn and try to reposition the Draal. I eventually remember and Erik graciously lets me rewind time. I climb the Draal up the ladder into the room with the Bagh Mari and Gunnar. I Pulzar both of them and tank the Bagh Mari’s mine.
I move towards the console, dodging all of the return fire while the Bagh Mari drops a mine, and then I suicide the Draal onto the console and flip it, revealing the other HVT in the room with the downed Kiiutan. The Auxilia in the picture below is in suppression and did hit the Draal, I just missed it when doing my photo editing. Ah well. The weight of the combined fire does take the Draal down.
I’ve got just enough orders to drop a mine with the Clipsos covering the Echo Bravo and take out the revealed HVT. I think Erik forgot that Echo Bravo don’t have Shock Immunity here, so the Echo Bravo stays on the table after going down to the mine.
Bottom of 3 – PanO
Erik decides to make a big play with Defersen. Neema stalls him out on the first order…
Then Neema and the Helot take him down on the next one. Erik makes a big play by picking up the Echo Bravo with his Trauma Doc and taking out the Clipsos as she lays a mine. Erik clears the mine with his Fugazi, and then the Echo Bravo pushes into the room to flip the antenna, tying us on flipped Antennas.
8-1 Spiral Corps Victory!
Post Game Analysis
I think I need to tweak the list a little. The Taagma does provide a lot of value with Counter Intelligence, but I don’t like it otherwise… The Draal did work, but I completely forgot about the Dazer, which I don’t think is all that impressive against Erik’s list. I think I also needed to be a little more careful with the impersonators and make more use of their mines.
I was very happy with the Clipsos and the Draal. I think this was the first game that I really got a lot of mileage out of a Draal–not because they can’t provide it, I just never gave them the chance before. I don’t have a huge amount to discuss about this game–I had a very strong alpha and then some good continued pressure throughout the game that kept Erik on the back foot and boxed in.
I do think I was pretty loose with my command token usage, which hurt me later when I couldn’t get enough orders to fuel a Neema rampage. Ah well. I had some trouble piloting that Triad in turn 2, but I think that’s just a “more experience needed” sort of thing. Spiral seems fine. It’s quite good on tight, close in maps like this, and I think has a harder time on more open maps. I would’ve taken a very different list for those kinds of maps.
In any case, there’s a lot of small optimizations I could’ve made, and I think Erik did the best with what he had going for him. We talk more about this game at the end of the YouTube video, which you can watch if you want both of our thoughts.