Quagmire Killzone 2: Electricpulsealoo
Erik is playing in the upcoming Rose City Raid and wanted more time in with Looting and Sabotaging to try out his Jotum list. I’m helping Adam run the tournament and probably not playing unless people drop, but that still means I need to practice. I didn’t really have much in the way of preferences as far as what list to bring, so I asked Erik if he wanted me to play anything in particular. He responded that he’d never played QK and wanted to have a go at it, so I dutifully sat down and started making a list. The first thing I noticed is that basically it’s Yuan Yuans and D-Charges or bust! Ruh-roh. I threw together something quickly involving a Druze core to finally put those models on the game table and buckled up for what I knew would be a rough game.
Overview
- Mission: Looting and Sabotaging
- Forces: Qapu Khalqi versus PanOceania
- Deploy First: PanO
- First Turn: PanO
[img]https://assets.infinitythegame.net/infinityarmy/img/_logosweb/logo_403.png[/img][b] Qapu Khalqi[/b]
[b]GROUP 1 | [/b] [img]https://assets.infinitythegame.net/infinityarmy/img/_logosweb/orden_regular.png[/img]9 [img]https://assets.infinitythegame.net/infinityarmy/img/_logosweb/orden_irregular.png[/img]1 [img]https://assets.infinitythegame.net/infinityarmy/img/_logosweb/orden_impetuosa.png[/img]1
[img]https://assets.infinitythegame.net/infinityarmy/img/_logosweb/403/logo_12.png[/img] [b]DRUZE[/b] HMG, Chain-colt / Viral Pistol, Knife. (1.5 | [b]29[/b])
[img]https://assets.infinitythegame.net/infinityarmy/img/_logosweb/403/logo_12.png[/img] [b]DRUZE (X Visor)[/b] Combi Rifle + Light Grenade Launcher (E/M and Nimbus) / Viral Pistol, Knife. (0.5 | [b]27[/b])
[img]https://assets.infinitythegame.net/infinityarmy/img/_logosweb/403/logo_12.png[/img] [b]DRUZE (X Visor)[/b] Combi Rifle, Chain-colt / Viral Pistol, Knife. (0 | [b]23[/b])
[img]https://assets.infinitythegame.net/infinityarmy/img/_logosweb/403/logo_12.png[/img] [b]DRUZE Hacker (Assault Hacking Device)[/b] Combi Rifle + Pitcher, D-Charges / Viral Pistol, Knife. (0.5 | [b]28[/b])
[img]https://assets.infinitythegame.net/infinityarmy/img/_logosweb/403/logo_12.png[/img] [b]DRUZE Hacker (Killer Hacking Device)[/b] Combi Rifle + Pitcher, D-Charges / Viral Pistol, Knife. (0 | [b]25[/b])[img]https://assets.infinitythegame.net/infinityarmy/img/_logosweb/403/logo_10.png[/img] [b]HAWWA’ Hacker (Assault Hacking Device)[/b] Boarding Shotgun, D-Charges / Pistol, Knife. (0.5 | [b]26[/b])
[img]https://assets.infinitythegame.net/infinityarmy/img/_logosweb/403/logo_6.png[/img] [b]SEKBAN Lieutenant[/b] AP Rifle, Chain-colt / Pistol, Stun Pistol, Knife. (0 | [b]21[/b])
[img]https://assets.infinitythegame.net/infinityarmy/img/_logosweb/403/logo_6.png[/img] [b]SEKBAN (Fireteam: Haris)[/b] AP Rifle, Chain-colt / Pistol, Stun Pistol, Knife. (0 | [b]22[/b])
[img]https://assets.infinitythegame.net/infinityarmy/img/_logosweb/403/logo_6.png[/img] [b]SEKBAN[/b] Heavy Rocket Launcher, Chain-colt / Assault Pistol, Knife. (1.5 | [b]23[/b])[img]https://assets.infinitythegame.net/infinityarmy/img/_logosweb/403/logo_11.png[/img] [b]YUAN YUAN[/b] Chain Rifle, Smoke Grenades / Pistol, DA CCW. (0 | [b]9[/b])
[b]GROUP 2 | [/b][img]https://assets.infinitythegame.net/infinityarmy/img/_logosweb/orden_regular.png[/img]4 [img]https://assets.infinitythegame.net/infinityarmy/img/_logosweb/orden_irregular.png[/img]2 [img]https://assets.infinitythegame.net/infinityarmy/img/_logosweb/orden_impetuosa.png[/img]2
[img]https://assets.infinitythegame.net/infinityarmy/img/_logosweb/403/logo_11.png[/img] [b]YUAN YUAN[/b] Chain Rifle, Smoke Grenades / Pistol, DA CCW. (0 | [b]9[/b])
[img]https://assets.infinitythegame.net/infinityarmy/img/_logosweb/403/logo_11.png[/img] [b]YUAN YUAN[/b] Chain Rifle, Smoke Grenades / Pistol, DA CCW. (0 | [b]9[/b])
[img]https://assets.infinitythegame.net/infinityarmy/img/_logosweb/403/logo_23.png[/img] [b]KAMEEL Hacker (EVO Hacking Device)[/b] Electric Pulse. (0.5 | [b]25[/b])
[img]https://assets.infinitythegame.net/infinityarmy/img/_logosweb/403/logo_21.png[/img] [b]FANOUS REMOTE[/b] Flash Pulse, Sniffer / Electric Pulse. (0 | [b]8[/b])
[img]https://assets.infinitythegame.net/infinityarmy/img/_logosweb/403/logo_21.png[/img] [b]FANOUS REMOTE[/b] Flash Pulse, Sniffer / Electric Pulse. (0 | [b]8[/b])
[img]https://assets.infinitythegame.net/infinityarmy/img/_logosweb/403/logo_21.png[/img] [b]FANOUS REMOTE[/b] Flash Pulse, Sniffer / Electric Pulse. (0 | [b]8[/b])
[b] 5 SWC | 300 Points |[/b] Open in Infinity Army
[img]https://assets.infinitythegame.net/infinityarmy/img/_logosweb/logo_101.png[/img][b] PanOceania[/b]
[img]https://assets.infinitythegame.net/infinityarmy/img/_logosweb/101/logo_44.png[/img] [b]JOTUM Lieutenant[/b] MULTI HMG + Heavy Flamethrower, D.E.P. / . (3 | [b]103[/b])
[img]https://assets.infinitythegame.net/infinityarmy/img/_logosweb/sep.gif[/img] [img]https://assets.infinitythegame.net/infinityarmy/img/_logosweb/101/logo_44.png[/img] [b]CRABBOT[/b] Flash Pulse / Knife. ([b][/b])
[img]https://assets.infinitythegame.net/infinityarmy/img/_logosweb/101/logo_21.png[/img] [b]REGULAR (Minelayer, Sensor)[/b] Combi Rifle, Antipersonnel Mines / Pistol, Knife. (0.5 | [b]14[/b])
[img]https://assets.infinitythegame.net/infinityarmy/img/_logosweb/101/logo_21.png[/img] [b]REGULAR (Minelayer, Sensor)[/b] Combi Rifle, Antipersonnel Mines / Pistol, Knife. (0.5 | [b]14[/b])
[img]https://assets.infinitythegame.net/infinityarmy/img/_logosweb/101/logo_15.png[/img] [b]MACHINIST[/b] Combi Rifle, D-Charges / Pistol, Knife. (0 | [b]15[/b])
[img]https://assets.infinitythegame.net/infinityarmy/img/_logosweb/101/logo_37.png[/img] [b]PALBOT[/b] Electric Pulse. (0 | [b]3[/b])
[img]https://assets.infinitythegame.net/infinityarmy/img/_logosweb/101/logo_61.png[/img] [b]TECH-BEE (Remote Assistant Level 1, Specialist Operative)[/b] Flash Pulse / Pistol, Knife. (0 | [b]5[/b])
[img]https://assets.infinitythegame.net/infinityarmy/img/_logosweb/101/logo_35.png[/img] [b]BULLETEER[/b] Spitfire / Electric Pulse. (1 | [b]23[/b])
[img]https://assets.infinitythegame.net/infinityarmy/img/_logosweb/101/logo_47.png[/img] [b]BROTHER KONSTANTINOS Specialist (Infiltration)[/b] Combi Rifle, D-Charges / Assault Pistol, CCW. (0 | [b]34[/b])
[img]https://assets.infinitythegame.net/infinityarmy/img/_logosweb/101/logo_54.png[/img] [b]LOCUST[/b] Breaker Combi Rifle, D-Charges / Pistol, DA CCW, Knife. (0 | [b]33[/b])
[img]https://assets.infinitythegame.net/infinityarmy/img/_logosweb/101/logo_28.png[/img] [b]KNIGHT OF MONTESA[/b] Combi Rifle + Light Grenade Launcher, Chain-colt / Breaker Pistol, Shock CCW. (1 | [b]48[/b])
[img]https://assets.infinitythegame.net/infinityarmy/img/_logosweb/101/logo_19.png[/img] [b]FUGAZI DRONBOT[/b] Flash Pulse, Sniffer / Electric Pulse. (0 | [b]8[/b])[img]https://assets.infinitythegame.net/infinityarmy/img/_logosweb/orden_regular.png[/img]9 [img]https://assets.infinitythegame.net/infinityarmy/img/_logosweb/orden_irregular.png[/img]1 [b]| 6 SWC | 300 Points[/b]
Deployment
Erik won the roll off and immediately chose to go first. I picked the side with the slightly more defensible AC2 from my last game with Andrew. Erik started off by putting down some area denial pieces. A Fugazi watched the AC2 and the approach on my right, and then a pair of Regular Sensor Minelayers covered the flanks of the board with guns and mines to defend against Yuan Yuans walking on.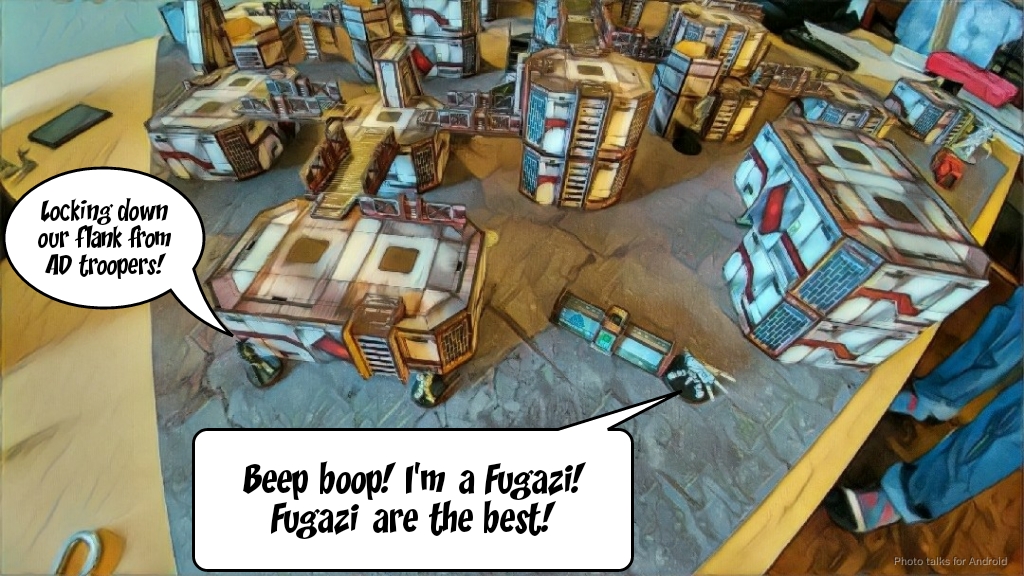 The Tech Bee stood near the AC2 to cover it with her flash pulse, and the Machinist sat in the middle of the field to fix the Jotum in case I did something horrible do it.
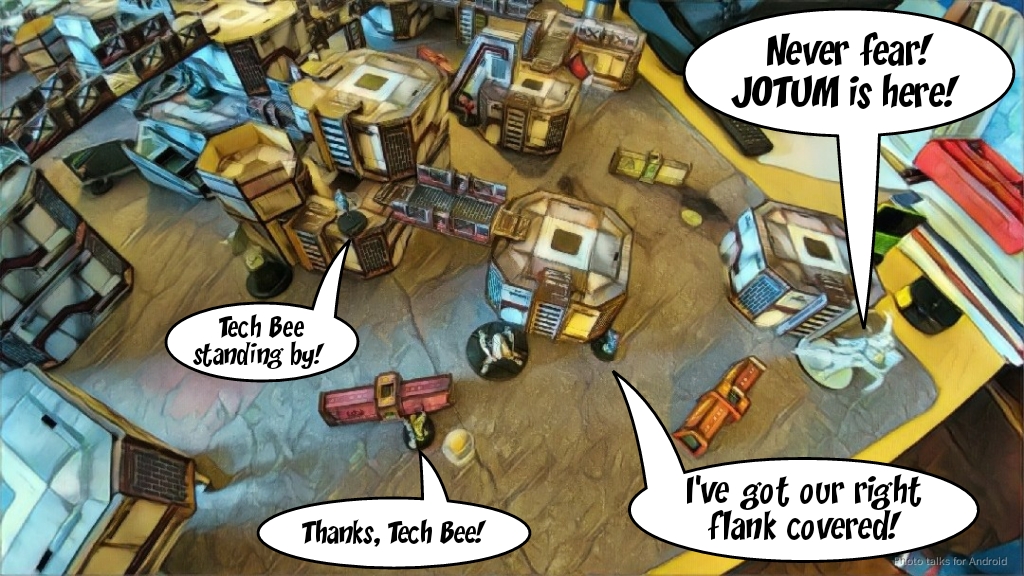 Erik faked me out by putting the Machinist’s bot on the left, but put the Jotum (out of reserve) on his right! Mind games! Erik left his Jotum at home as it’s still in pieces on his painting table, so he borrowed my Iguana as a suitable proxy. The last models were a Montesa LGL smack dab in the middle of the table, prone on a roof, with Konstantinos and a Locust DA CCW on either side of him.
 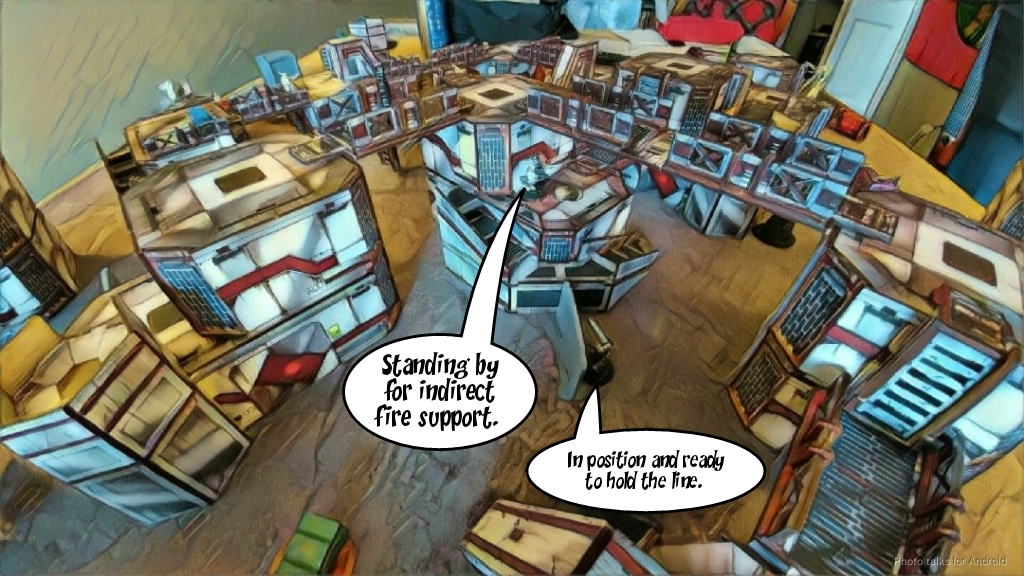 With that, it was my turn. I put my Druze link to the left of the AC2 and strung a trio of Fanous across my deployment zone on rooftops. My Druze AHD was deployed prone on a catwalk to cover the AC2 with his hacking net just in case the central Fanous went down, and then I hid all the other Druze. In fact, I thought I had hid all the Druze in total cover… we’ll see what happens with regards to that.
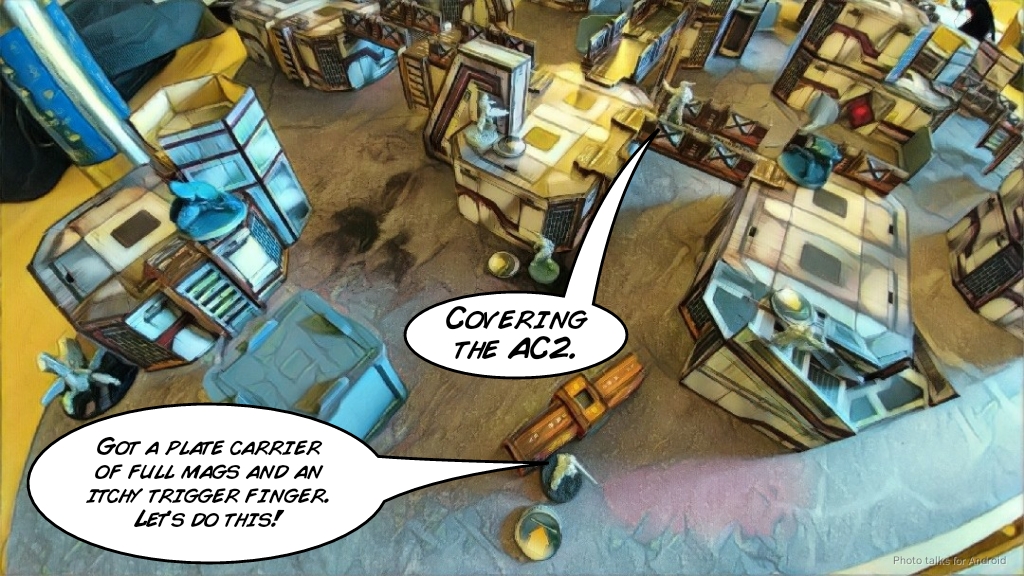 I put my Sekban HRL Haris on the right, with the Sekban HRL atop a high roof and the two AP Rifle Sekban at the base of the building. My Kameel went down on my left in some cover and my Al’Hawwa responded to his Jotum by covering the Montesa with his hacking area.
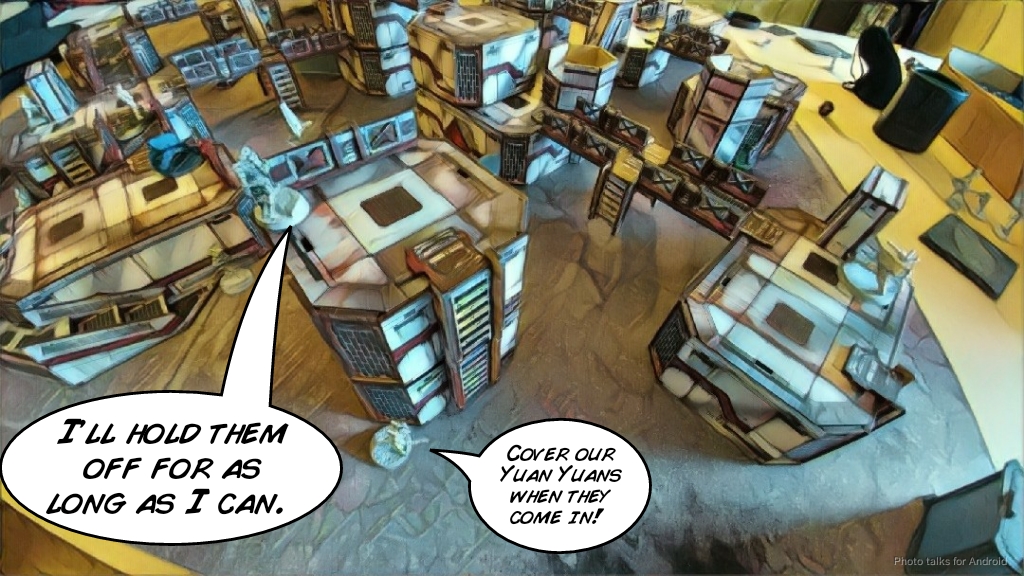 I nominated the Druze KHD as my DataTracker, as she has D-Charges and was more likely to survive, and Erik nominated the Locust as his.
Turn 1
I throw up Overclock on my EVO to start things off.
Top of Turn 1 – PanO
First order of the game, I lose my Sekban HRL to the Jotum. 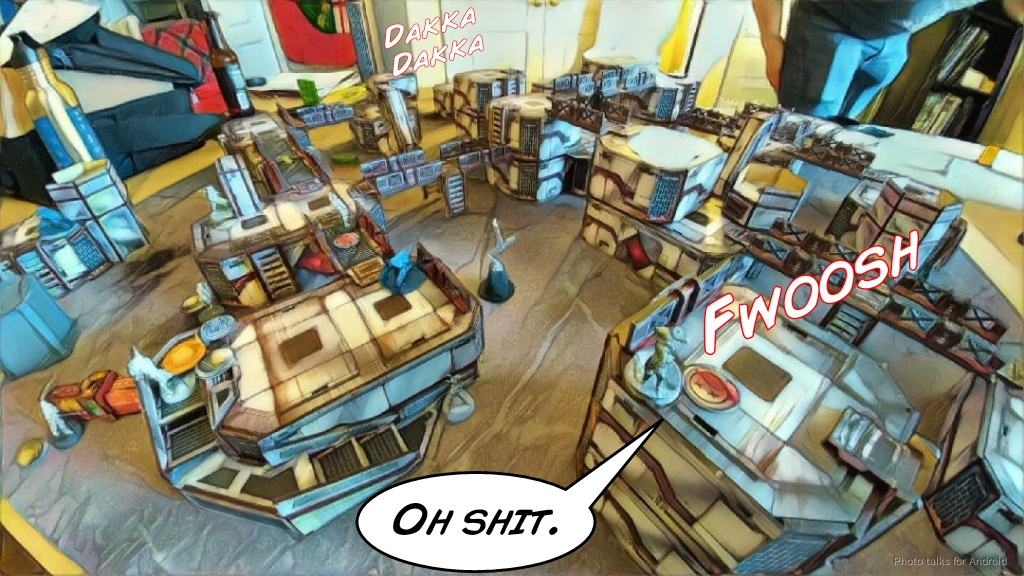 The Jotum vaults the building near it, letting it get above the catwalks in my deployment zone and draw line of fire to my Druze AHD. I figure that it’s pointless to even try to face to face the Jotum with even a linked combi rifle at max range so I just throw out a pair of pitchers to cover the Jotum.
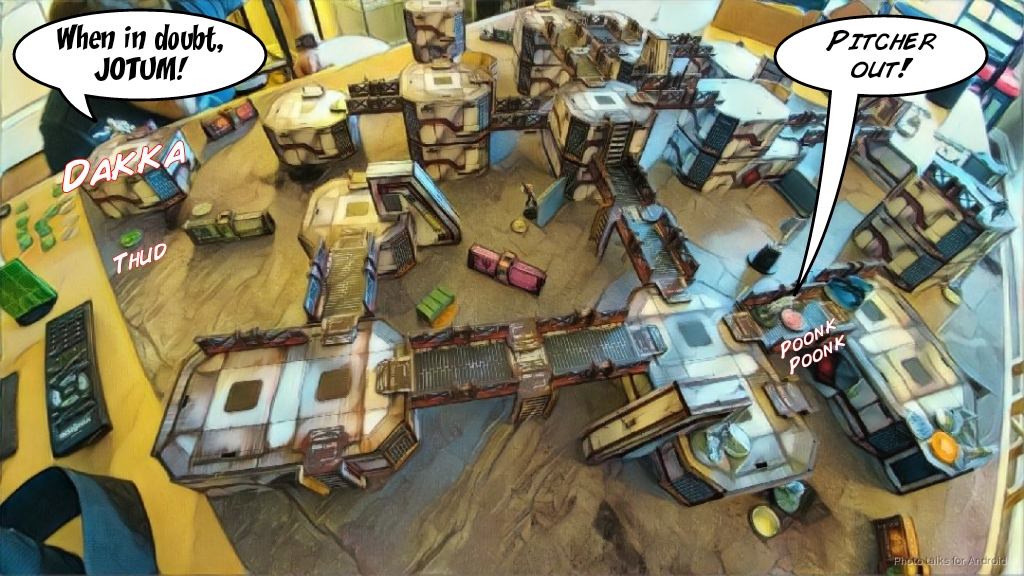 Erik’s TAG continues advancing up the field, shrugging off a possession attempt and taking out the Fanous near my AC2.
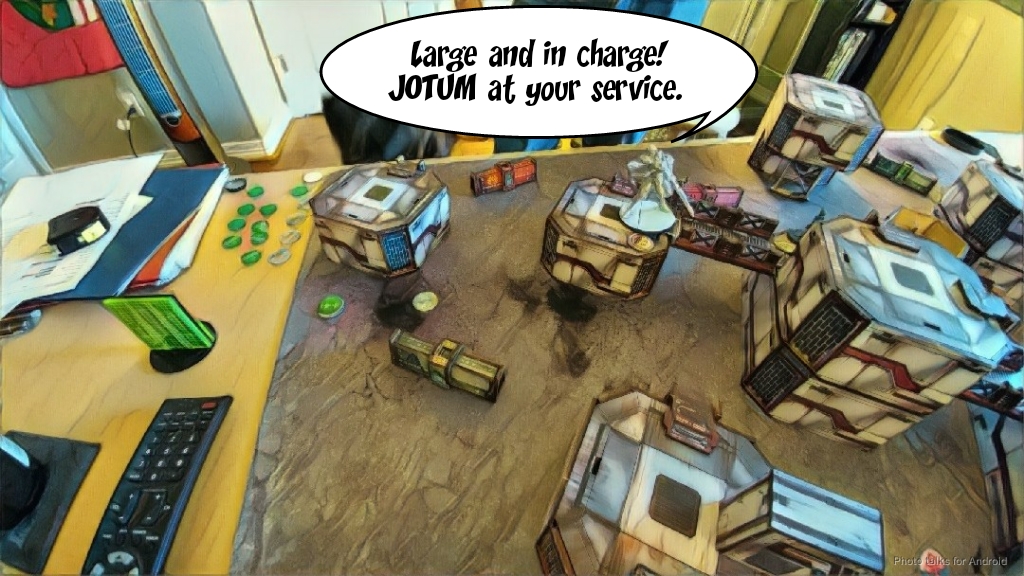 Thankfully, the Fanous on in the middle crit flash pulse it, stopping the rampage.
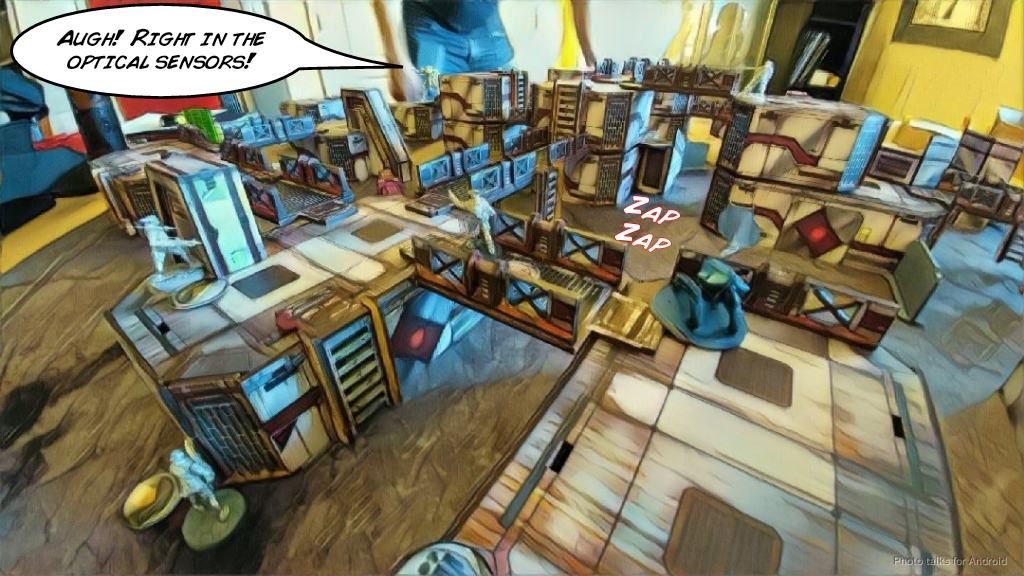 His primary attack vector stopped, Erik activates his Montessa LGL and tries to grenade my Sekban, but my Al’Hawwa isolates it without difficulty.
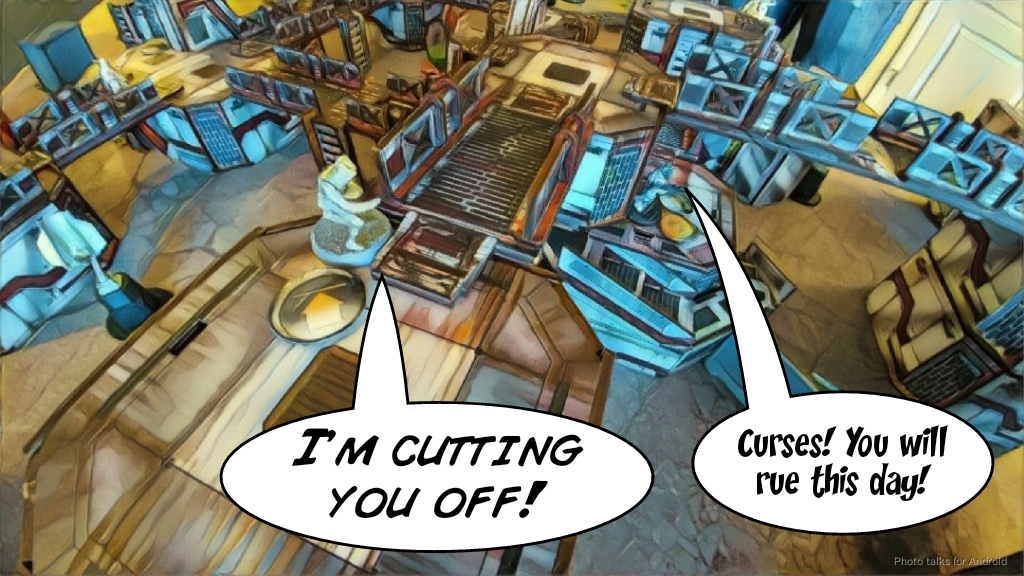 That avenue cut off, Erik tries to do some damage with his Locust, attempting to take out the Fanous on my left. Mimetism, cover, and range put the odds in my favor and my Fanous does what it’s supposed to do, stunning the Locust.
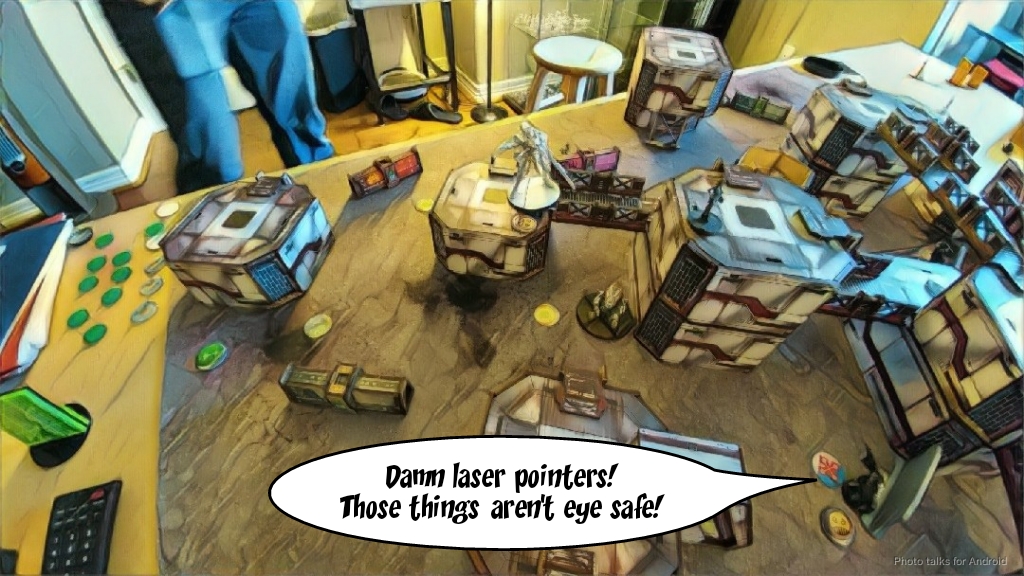 Erik’s attack has fizzled, although he’s done some serious damage by dropping my link to 4 and taking out my HRL. He settles for ending the turn with Konstantinos, the two Regulars, and the Bulleteer in suppression.
Bottom of Turn 1 – QK
I need to clear out the Locust and Konstantinos who are blocking my advance into the midfield, so I send in the Yuan Yuans. Both of my Yuan Yuans from my second pool land just around the corner from their respective targets, and I foolishly land my third Yuan Yuan from the first group in Erik’s backfield. Admittedly it was a pretty juicy target but I lost sight of the goal of taking out the AC2. I trade a Yuan Yuan for Konstantinos, moving into base to base and chain rifling him as my Yuan Yuan gets punched in the face.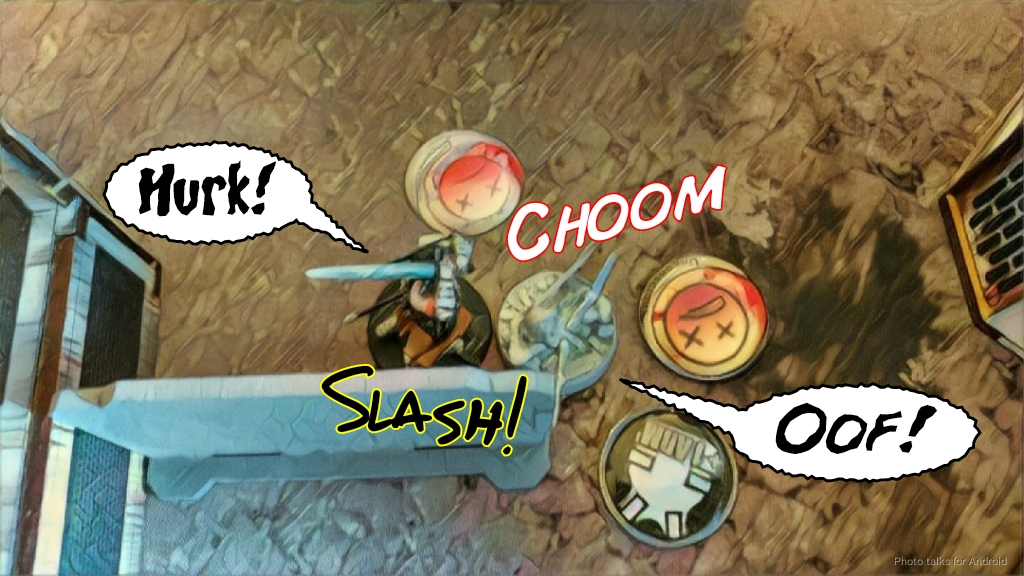 Things go decidedly worse on the left. After throwing smoke to cover my link from the Bulleteer and Jotum, I push my link up into the midfield. I break the Bulleteer’s suppression with a spec-fired E/M Grenade, forcing a dodge, but I whiff. The Jotum shrugs of another attempt, even on half BTS. I make an attempt to chain-colt the Locust with my Druze but fail. I get my Yuan Yuan into base to base with the Locust. Apparently Locusts are good at stabbing stuff, so we’re on pretty even odds. I lose the roll and go down for the count.
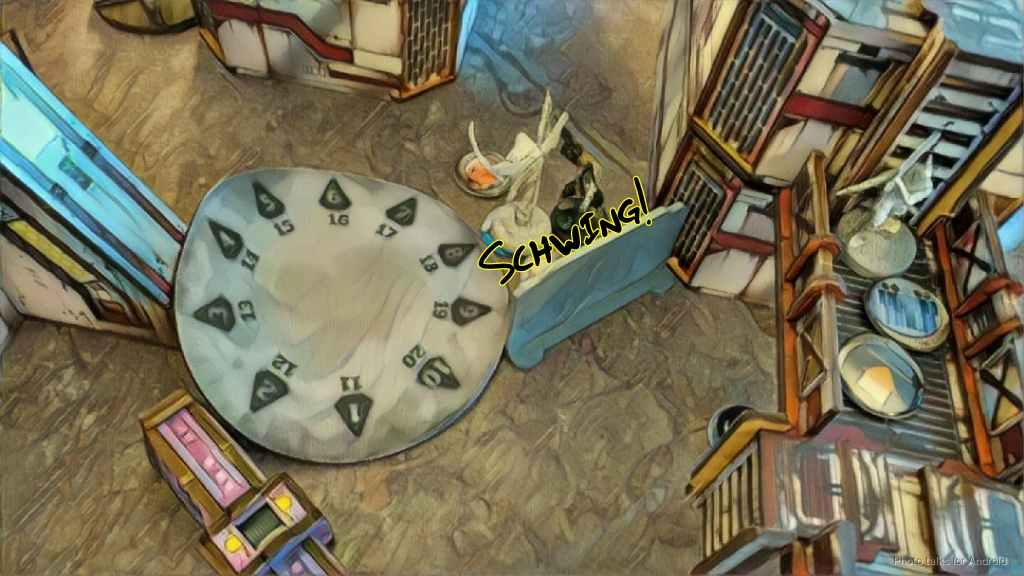 I figure the Yuan Yuan in the backfield will survive, or at least keep Erik boxed in to his deployment zone. This means I’m relying on my Al’Hawwa to do anything, and he’s two stories up on the roof–a decidedly stupid plan on my part. In any case, I get all excited about blowing up Erik’s guys and do just that.
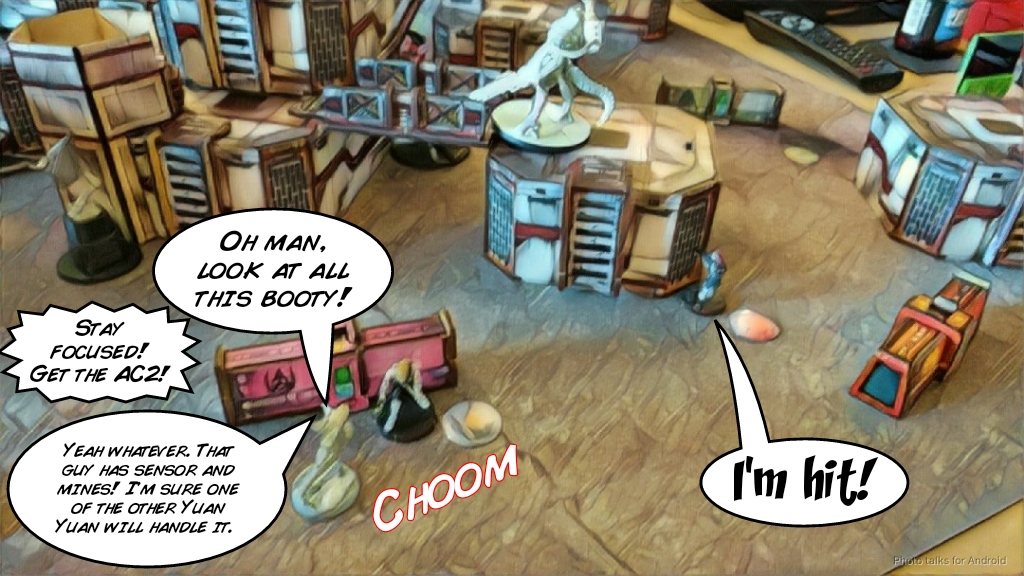 I only manage to take out the regular that’s there, and then the Jotum is looking at me. I’m out of orders and the LGL is out of cover thanks to needing orders to speculative fire, so I reluctantly pass the turn. At least my HMG is protected in total cover.
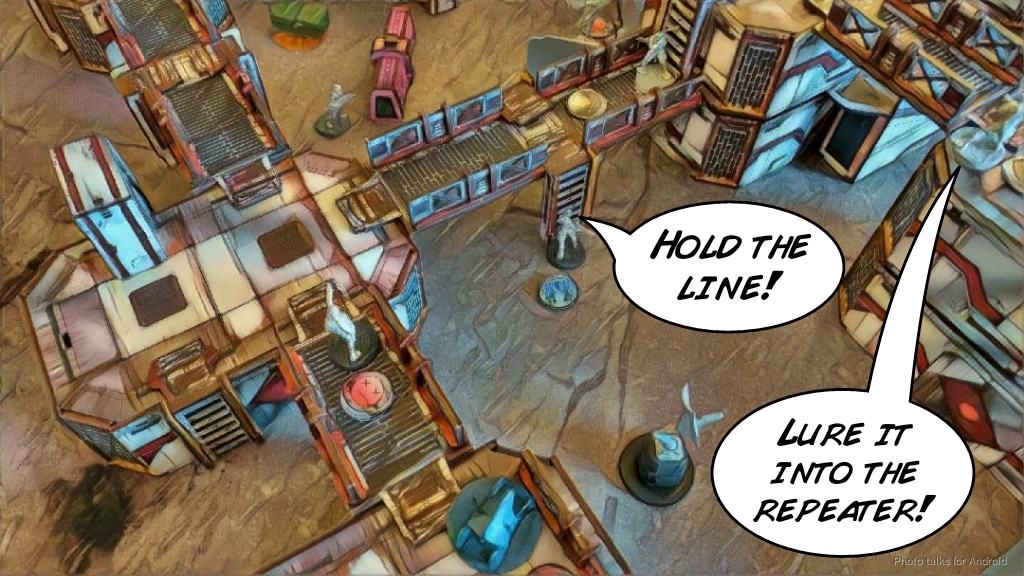
Turn 2
Top of Turn 2 – PanO
Erik starts things off by trying to take out my Druze with the Bulleteer, but I land a pitcher near it in spite of whiffing with my E/M grenades.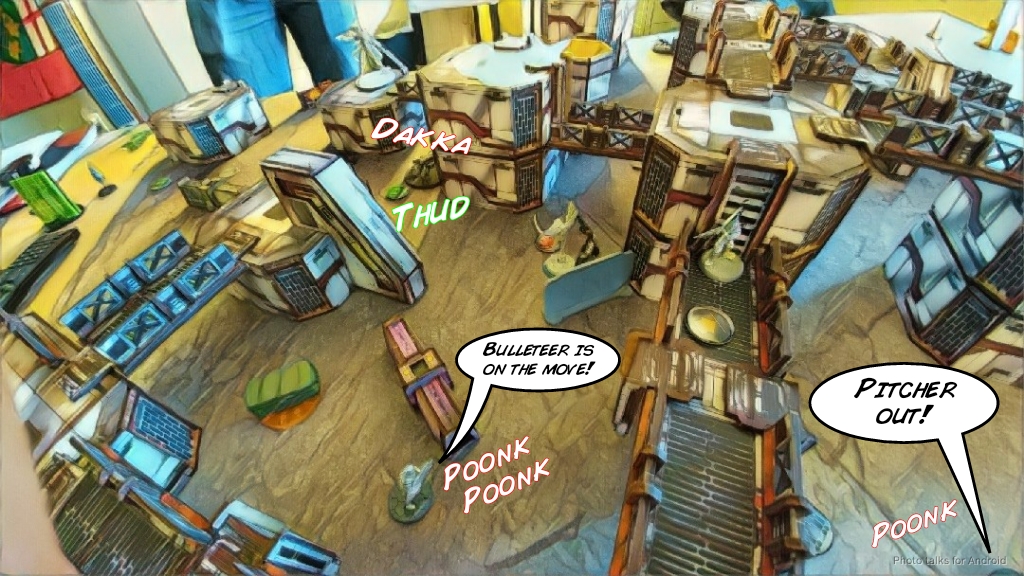 My link team stands its ground, in spite of my horrible rolling. The Bulleteer tries to extricate itself from the situation and take out the repeater as it does so, but I’ve landed not one but two repeaters, so splitting the burst between two repeaters and my Druze lets my link keep on chugging with the repeater still up.
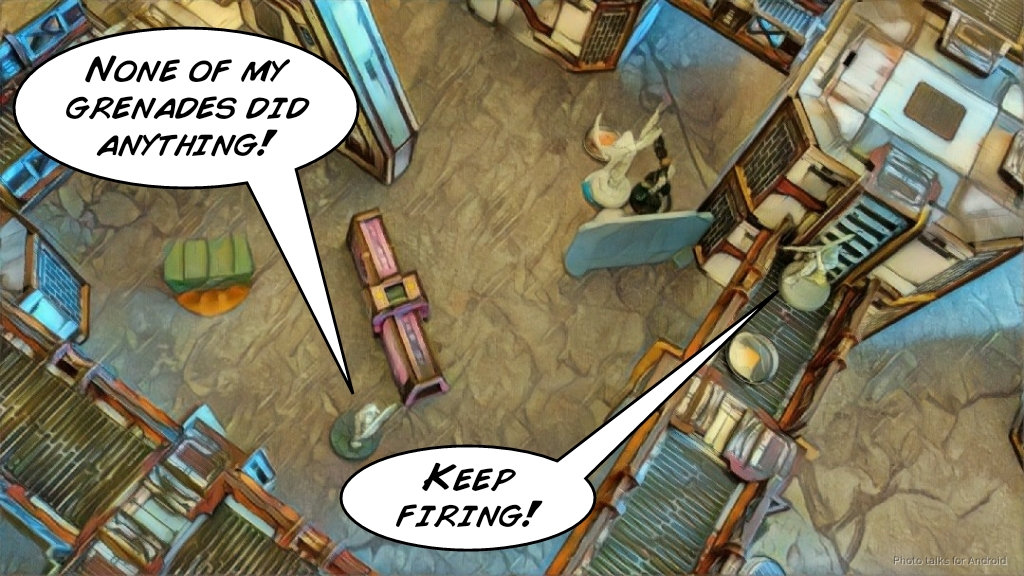 Erik spends the Montesa’s isolated order to try to take out my Sekban Haris, but I shave a wound off and the Al’Hawwa lands a successful Basilisk.
 Erik really doesn’t want to activate the Jotum, but he needs to clear out my Druze to get his Locust into play, so he makes the attempt. Over the course of a few orders, I lose the E/M LGL Druze and the KHD Druze, but manage to chain rifle the Jotum, catching and dropping the Machinist in the blast. On the second order, my Yuan Yuan drops smoke, and on the third order I lose the Yuan Yuan but as the Jotum retreats I land the all important possession!
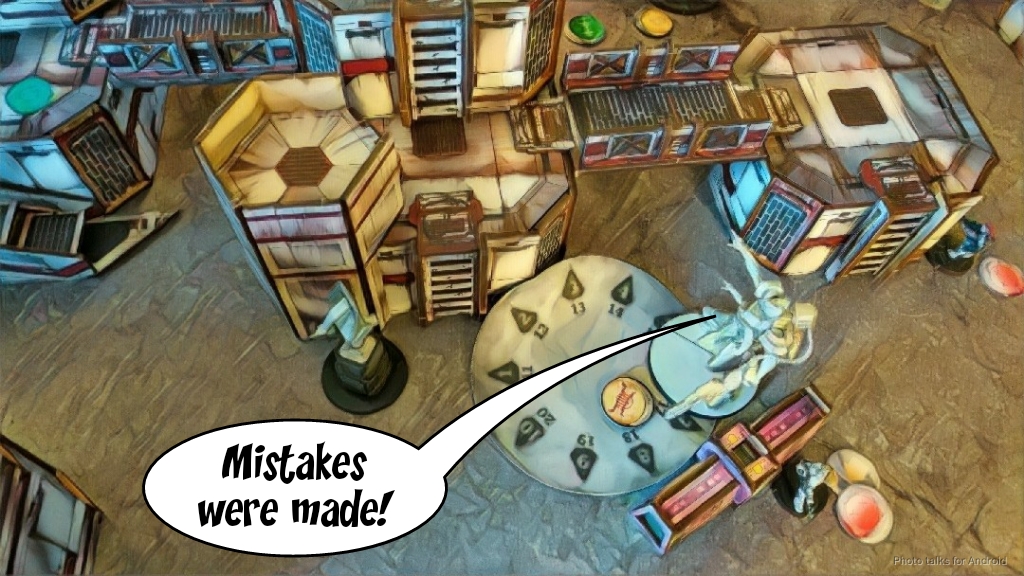 With the Jotum effectively out of the game, Erik starts his AC2 run with his Locust, but my Fanous puts a stop to that.
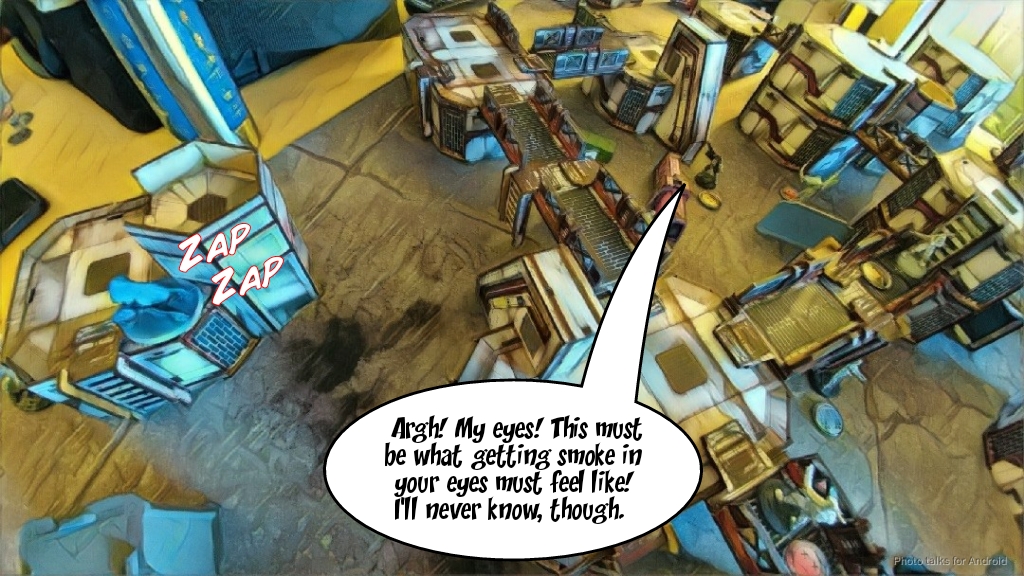 Erik is a tenacious and savvy opponent, and he knows he can’t leave me with a TAG up and running on my turn right next to his AC2, so he pulls a brilliant maneuver. With his last two orders, he jets his lone Fugazi across his deployment zone, tanks a flash pulse on the way, and electric pulses the Jotum against my roll of three.
 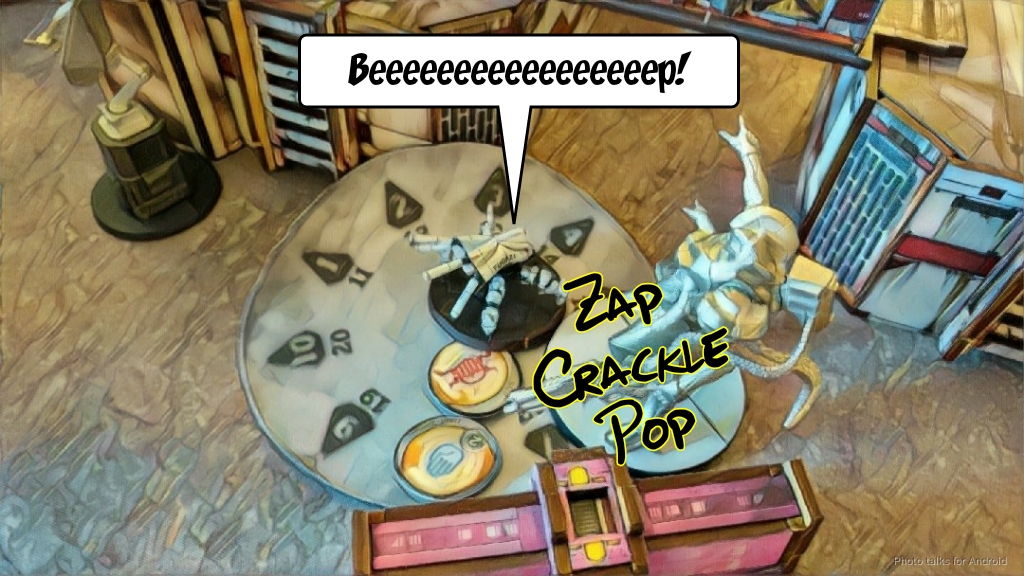 Much cheering from Erik and gnashing of teeth from me later, he finally passes the turn, encouraging me to “enjoy my Jotum!”
Bottom of Turn 2 – QK
I need to get my last Yuan Yuan up to kill the AC2, but the Bulleteer is watching him, as is the Locust. I drop the Locust with a pair of viral pistol shots from my Druze HMG, handling that problem.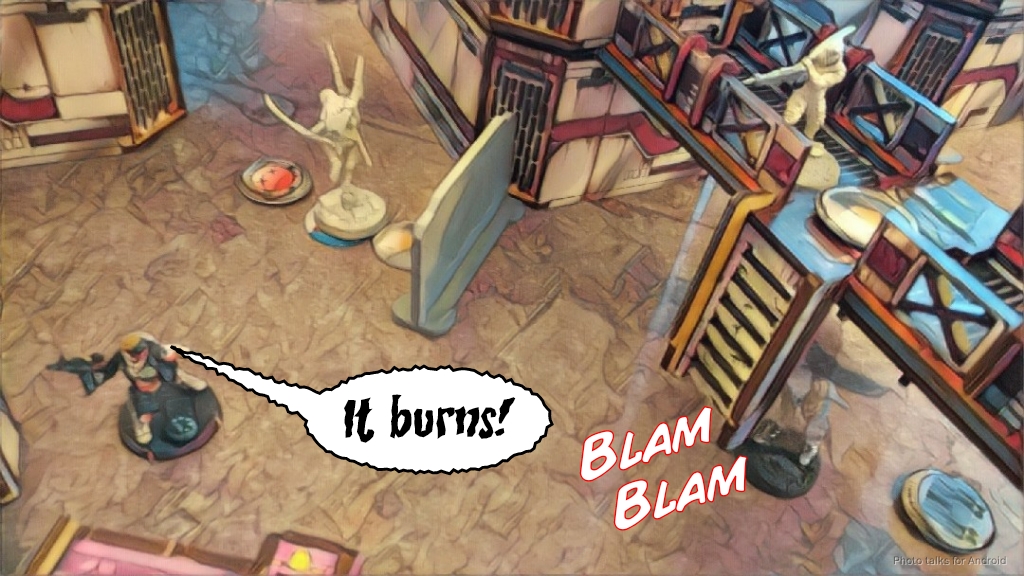 My Al’Hawwa shotguns down the Montesa to remove it as a threat (thanks, Basilisk!), then Carbonites the Bulleteer to clear the way. I elect to not waste any orders on trying to kill it. I had rolled AutoMediKit on the Yuan Yuan and pass the PH roll, getting it away from the Bulleteer but closer to the Jotum, not really having a better plan
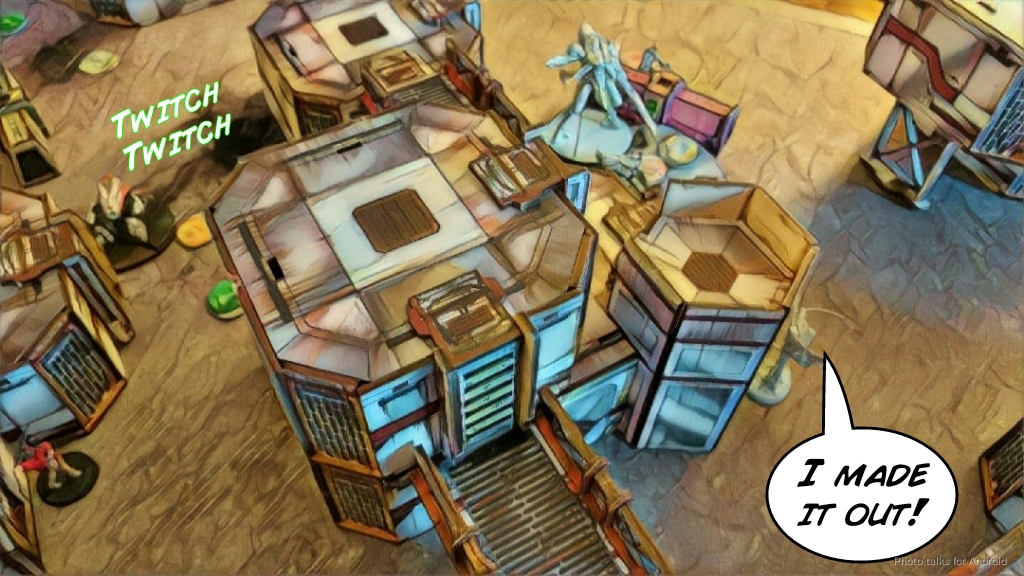 I forget to throw up EVO: Overclock and instead waste some orders scooting a Fanous on the right into a different position. Like a fool!
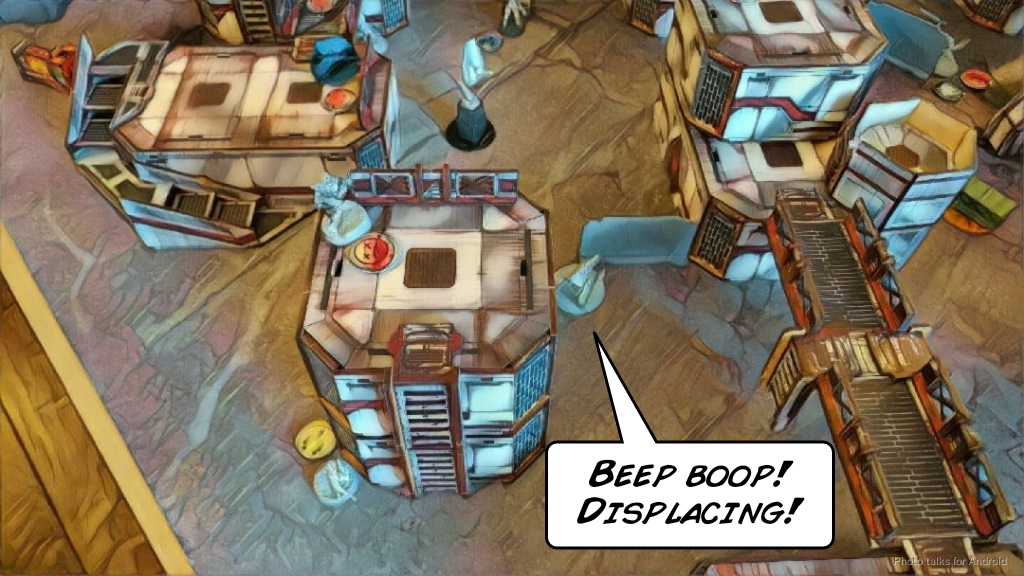
Turn 3
Top of Turn 3 – PanO
Erik can’t really get to my AC2, so he settles for preventing me from doing it. Not only does he flash pulse my poor Yuan Yuan, he electric pulses it for good measure.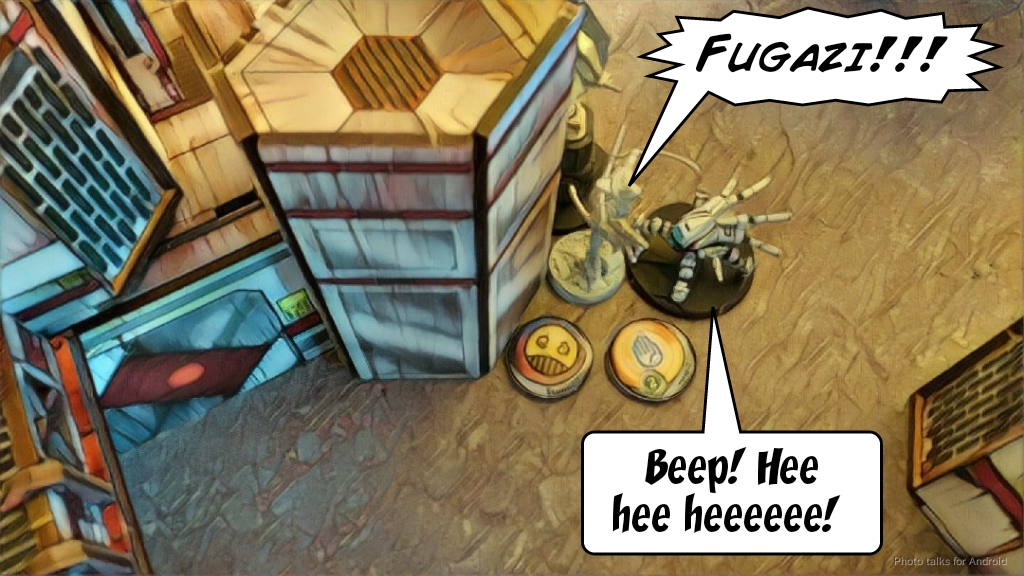 I manage to stop the Jotum again as it pushes up the field, preserving my order pool aside from losing the Druze HMG. Flash pulse bots are so underrated!
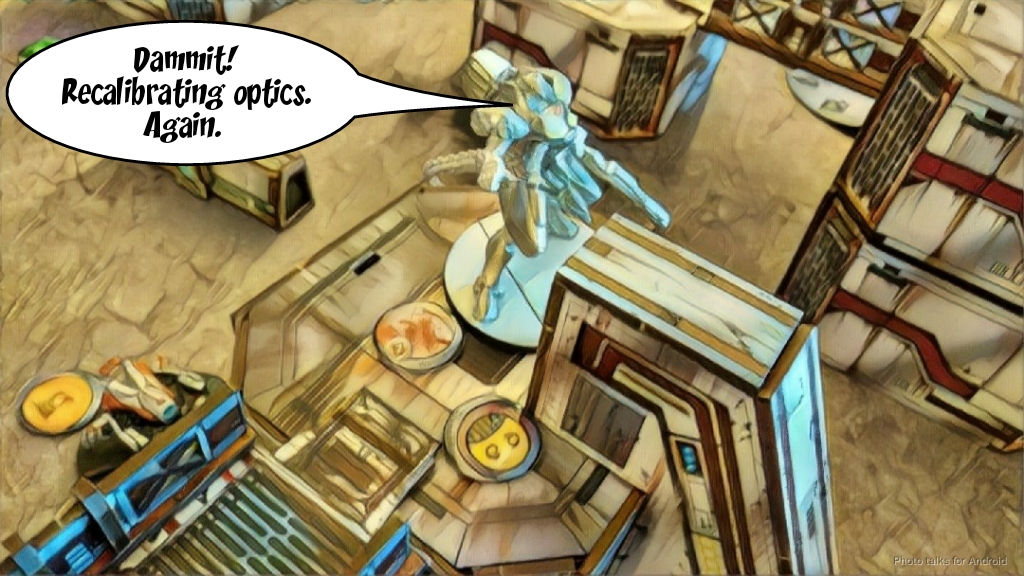 I even manage to put a wound on the Jotum thanks to my Al’Hawwa’s BSG before Erik’s out of orders.
Bottom of Turn 3 – QK
My only real hope of getting a win is getting something out of the panoplies, but there’s no way I’m doing that with the Jotum there. I sink orders into doing that with the Al’Hawwa, and even with AP rounds it’s not good enough. I make a mad dash to secure the HVT with my EVO bot but it dies to an EXP round from the Jotum. When the smoke clears, it’s a
3-3 QK-PanO Tie!
Notes
Notes for Me
- EVO + YY is pretty great.
- This was my first experience piloting a Druze core. I like them. I forgot Fatality L1 the whole game though. Whoops. It’s also confusing who has an X-Visor and who doesn’t. Nothing more games won’t solve.
- I “lost” this game because I didn’t stick to the plan. Konstantinos had to go, but the Locust didn’t. I just needed to get a pair of Yuan Yuan into base to base with the AC2 and that would’ve been easy, I just got overly greedy with my third Yuan Yuan.
- Al’Hawwa continues to impress! No complaints, I just wish that he could be in two places at once. He wants to be on a roof to be safe and hack things, but he also wants to be on the ground to push buttons.
- Aside from D-Charges on bodies with meh CC stats, QK really only has Yuan Yuan to deal with the AC2. That kinda sucks, but it’s a poor man who blames his tools. I think the Kaplan are probably better suited for the mission? I dunno.
- I really don’t think Yuan Yuan can be relied upon to stab something. Under 20 CC score and no MA to speak of makes it a straight dice off.
- I think I deployed my Sekban a little too aggressively. Also, I need to figure out a way to get my Haris into the fight once the HRL goes down. BS 13 AP Rifles do work!
- I don’t think I got overly focused on dealing with the TAG, but MAN do I hate spec firing stuff. It’s a useful skill but it always feels bad! Losing the movement to the long skill really sucks and can often leave your link in a dumb position. I really messed that up this game.
- Druze pitchers are awesome, but my placement was not, especially the first one from the AHD which the Jotum could easily walk out of.
Notes for Erik
- Brilliant move with that #*&@ing Fugazi.
- You took two instances of -9 for shooting at my Fanous. Probably not the best call. The Breaker Combi is great but don’t use it outside of 16″. ODD is not a Mario Star.
- Great job denying me the objective. When it became clear that you weren’t really going to be able to anything to the AC2, it was probably time to go after the panoplies or your classified… I forget what your classified was but I think it was impossible for you or something. Ah well.
- Yuan Yuan are AD:3, not AD:2. I assumed Erik knew this but he didn’t, so he set up covering the flanks. This is still a good plan, especially since the Locust and Konstantinos were in the way anyway, but he might’ve changed some stuff about his deployment.
- All in all a very well played game. I think we both had some prioritization problems, but that’s why we practice.