
On Alternative Pinning Methods
So, if you play miniature games and assemble/paint your models yourself, you’ve probably had your model fall apart on you while fiddling with it, getting it assembled, or worst of all, while painting or playing with it.
There are many processes to assemble metal models, but I think we can basically distill them as follows:
- Clean your models with some sort of detergent to remove the mold release agent.
- Remove any excess material, clean mould lines/flash, and dry fit the pieces.
- File/sand/cut until the pieces fit well, testing with dry fitting.
- Crosshatch score the glue bonding surfaces to increase the “roughness” of the surface and improve glue adhesion.
- If necessary, pin troublesome joints by drilling holes into the bonding surface side each piece, insert pin, then glue.
If this is your first foray into this subject, here are some guides:
- [Surprise Attack] The Art of Pegging
- Tips&tricks: Pinning metal models
- Tutorial – How to prepare a metal miniature…
I’d like to present an alternative to the traditional pinning technique. It’s not better, just different, and I find it helpful in some situations. I don’t hear about often, so I figured I’d write it up. I’ve heard it referred to as “Bone Pinning.” I’ll let you decide the nomenclature for yourself.
In essence, the difference is that we’re pinning after gluing the model together. I find it awfully frustrating to get the alignment of the holes right using the traditional pinning method. I often end up with an arm offset from the shoulder and the like. This isn’t a huge problem for many models, but for some of the more fiddly Infinity models it’s given me fits. If you do it this way, you’re guaranteed to get the alignment correct, because it’s glued in place.
If you hate this idea, then feel free to stop reading. It’s what worked for me, and I’m just providing a different perspective on things. Take it or leave it!
Supplies
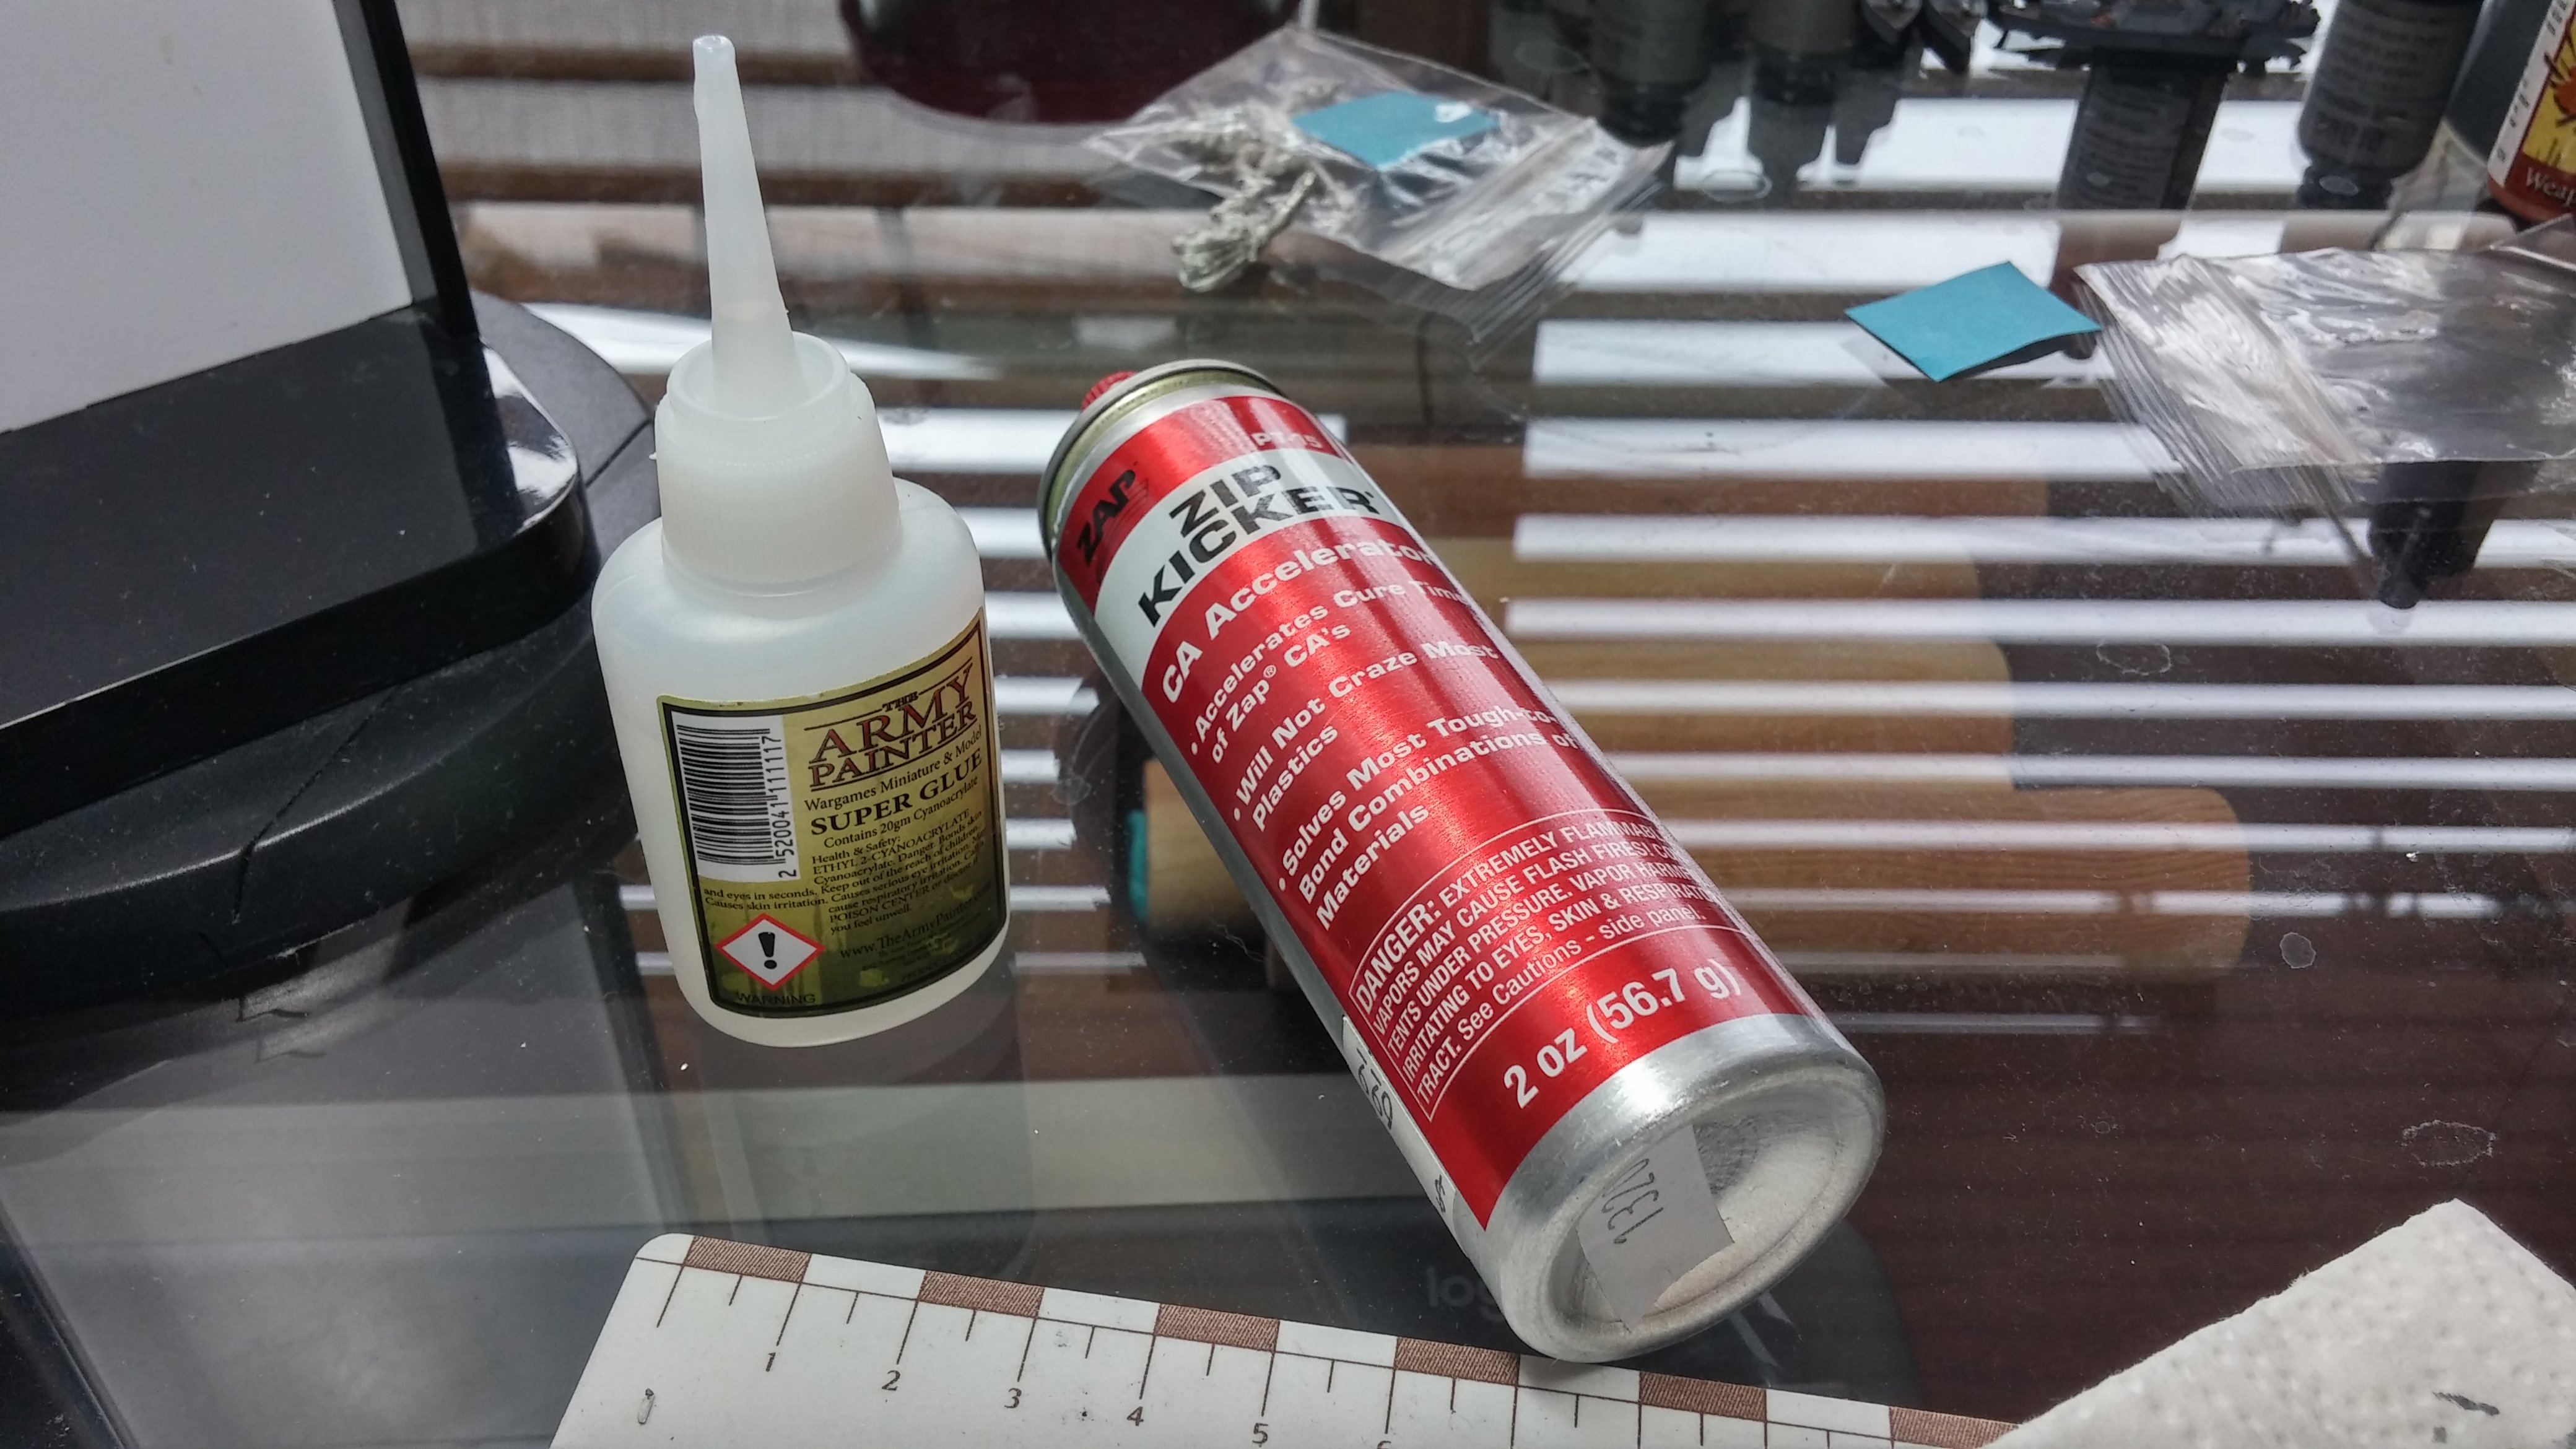
You’ll need a few supplies. You’ll definitely need your glue of choice, I like cyanoacrylate (CA) glues, often branded as Super Glue. If you’re impatient, you can use the CA accelerator, often branded as Zip Kicker or somesuch. You generally won’t need it if you’re pinning stuff, using this or the traditional method.
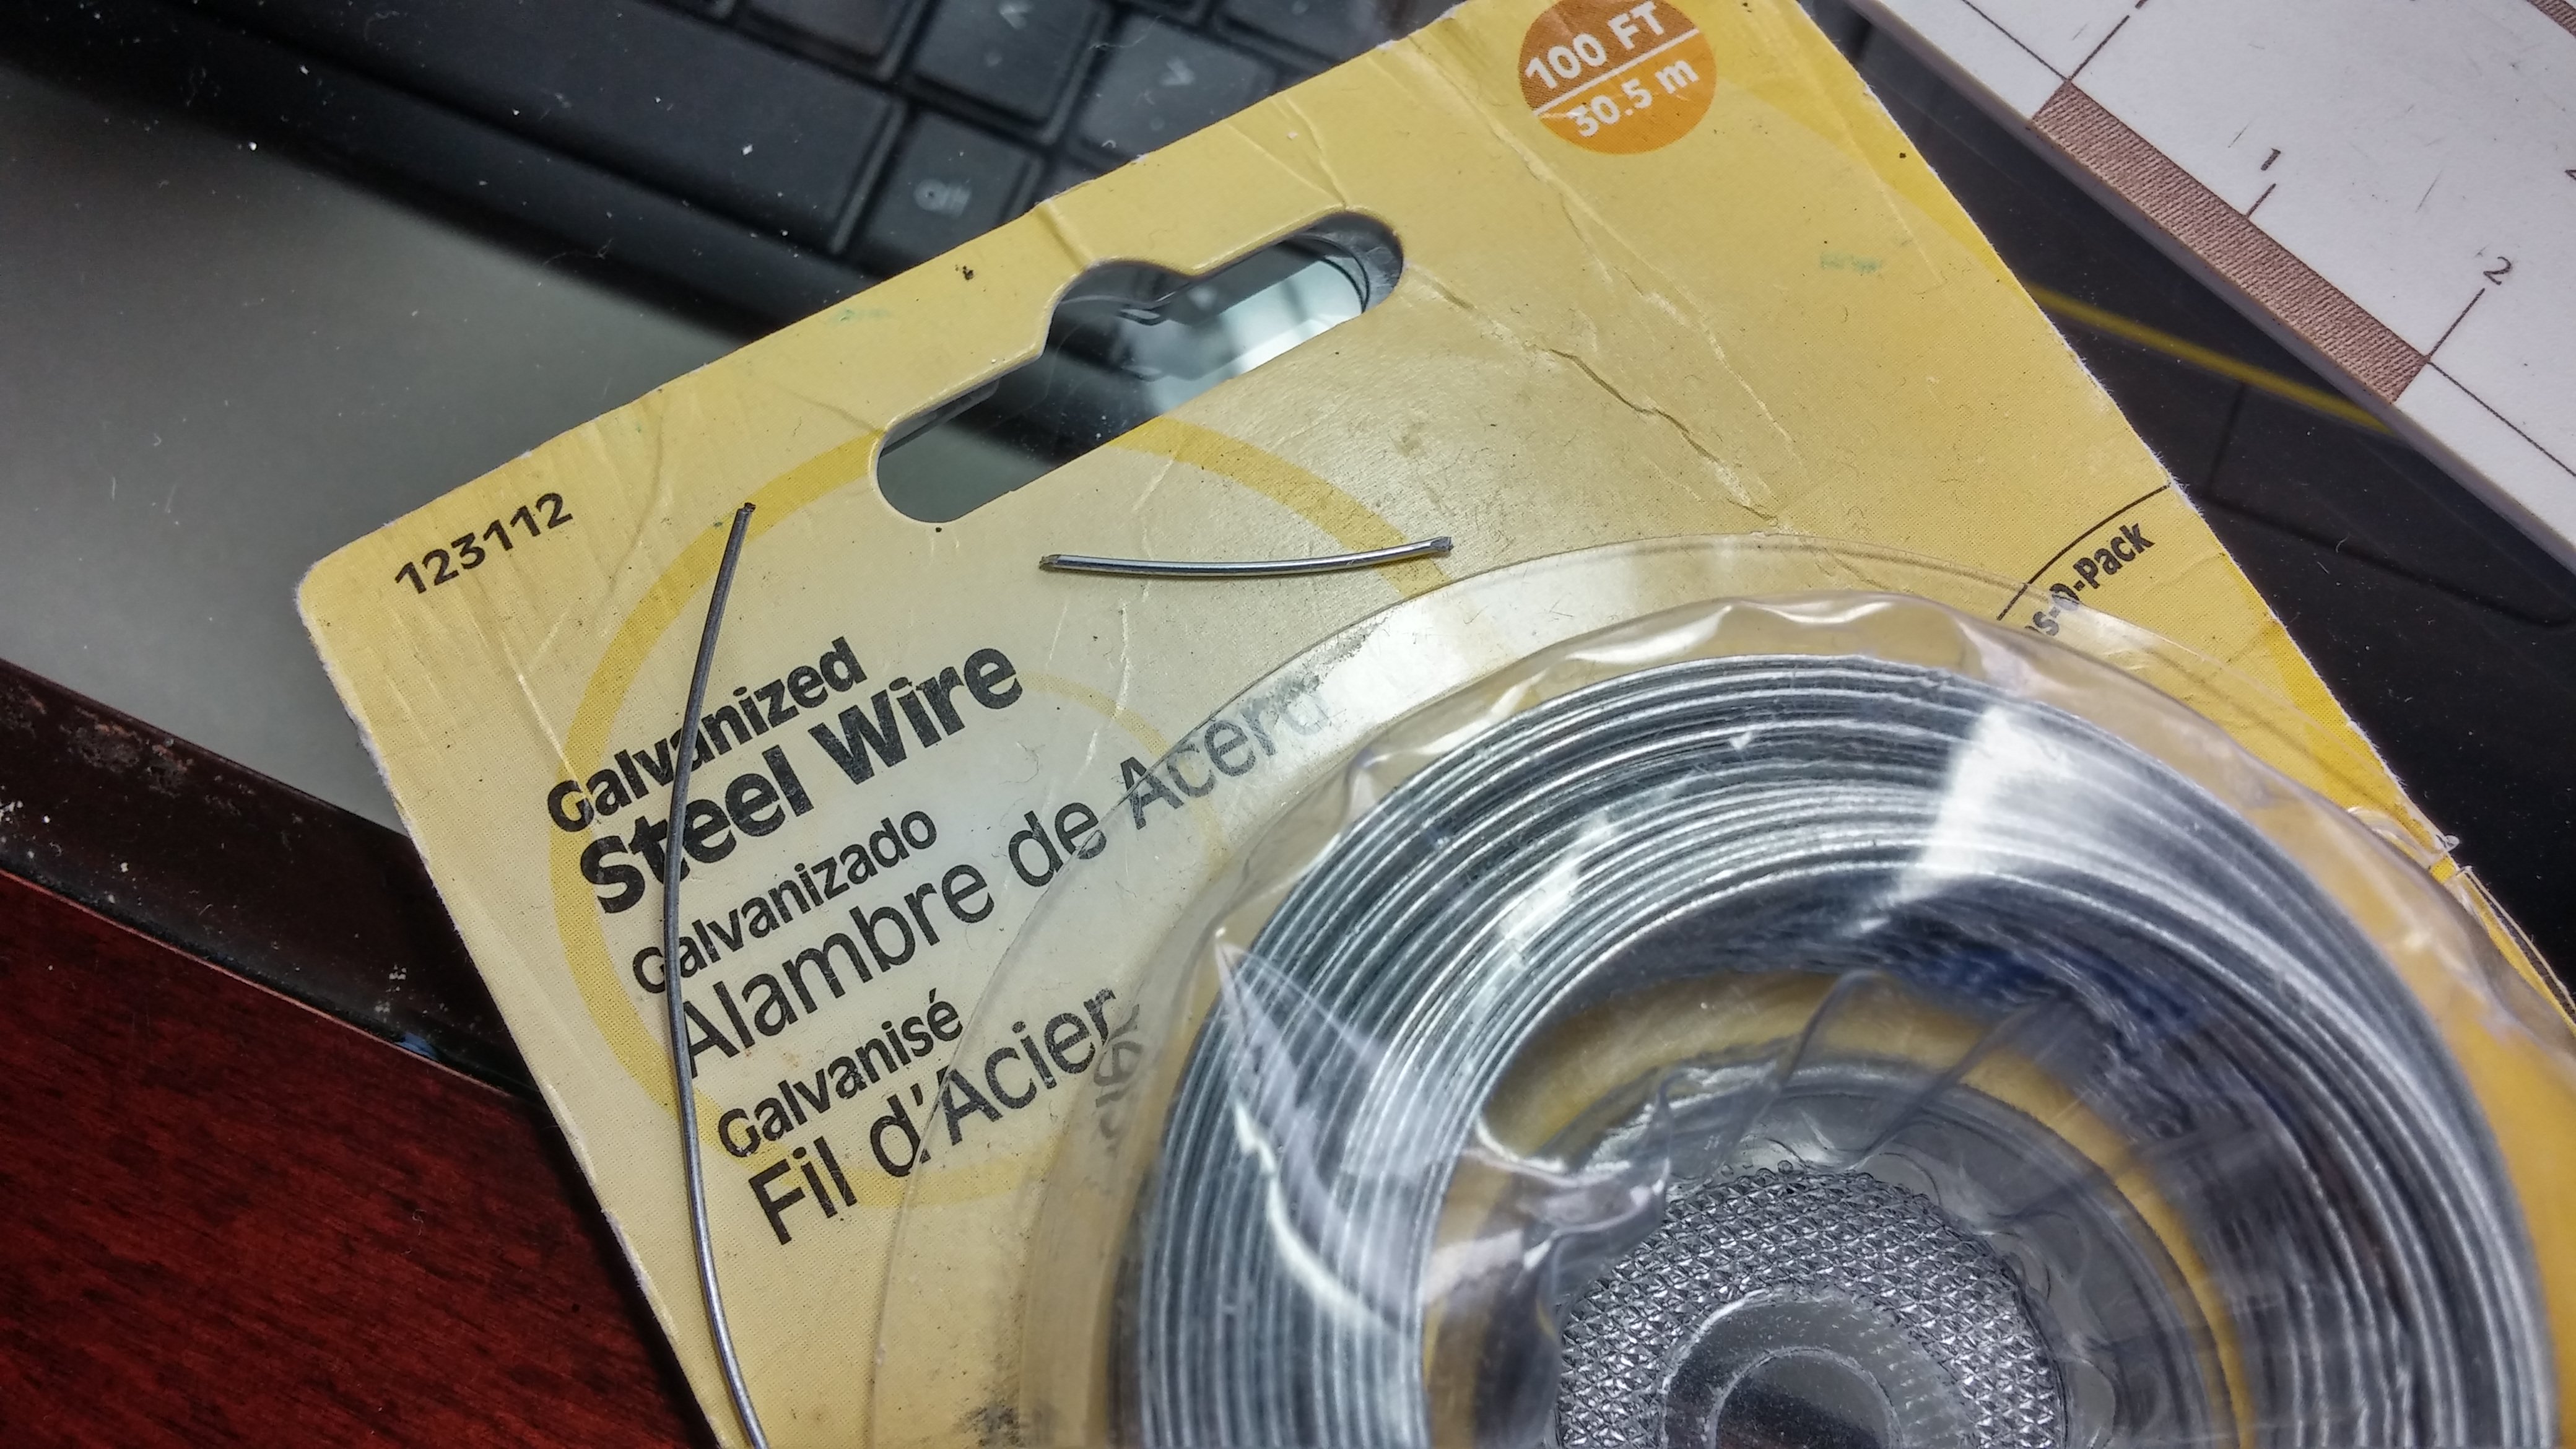
 You’ll also want pinning stock. You can buy horrendously expensive stuff from a company catering to miniature hobbyists, or you can buy paperclips or something. I went with a spool of steel wire, because it was cheap and I happened to walk by it in a store one day. Wire comes in different gauges too, which is convenient for different sized models.
 Lastly, you’ll want a drill bit set and file. Getting a bit set set lets you match your bit size to your wire size, and gives you a few extra bits in case you break one. You will break them, especially the really small ones, so the fact that a set comes with a few extra is great. Make sure you get a pin vise in your set, so you can put the drill bit in something you can easily manipulate with your hands. This is what I went with:
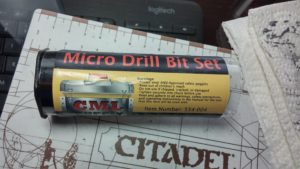
The Process
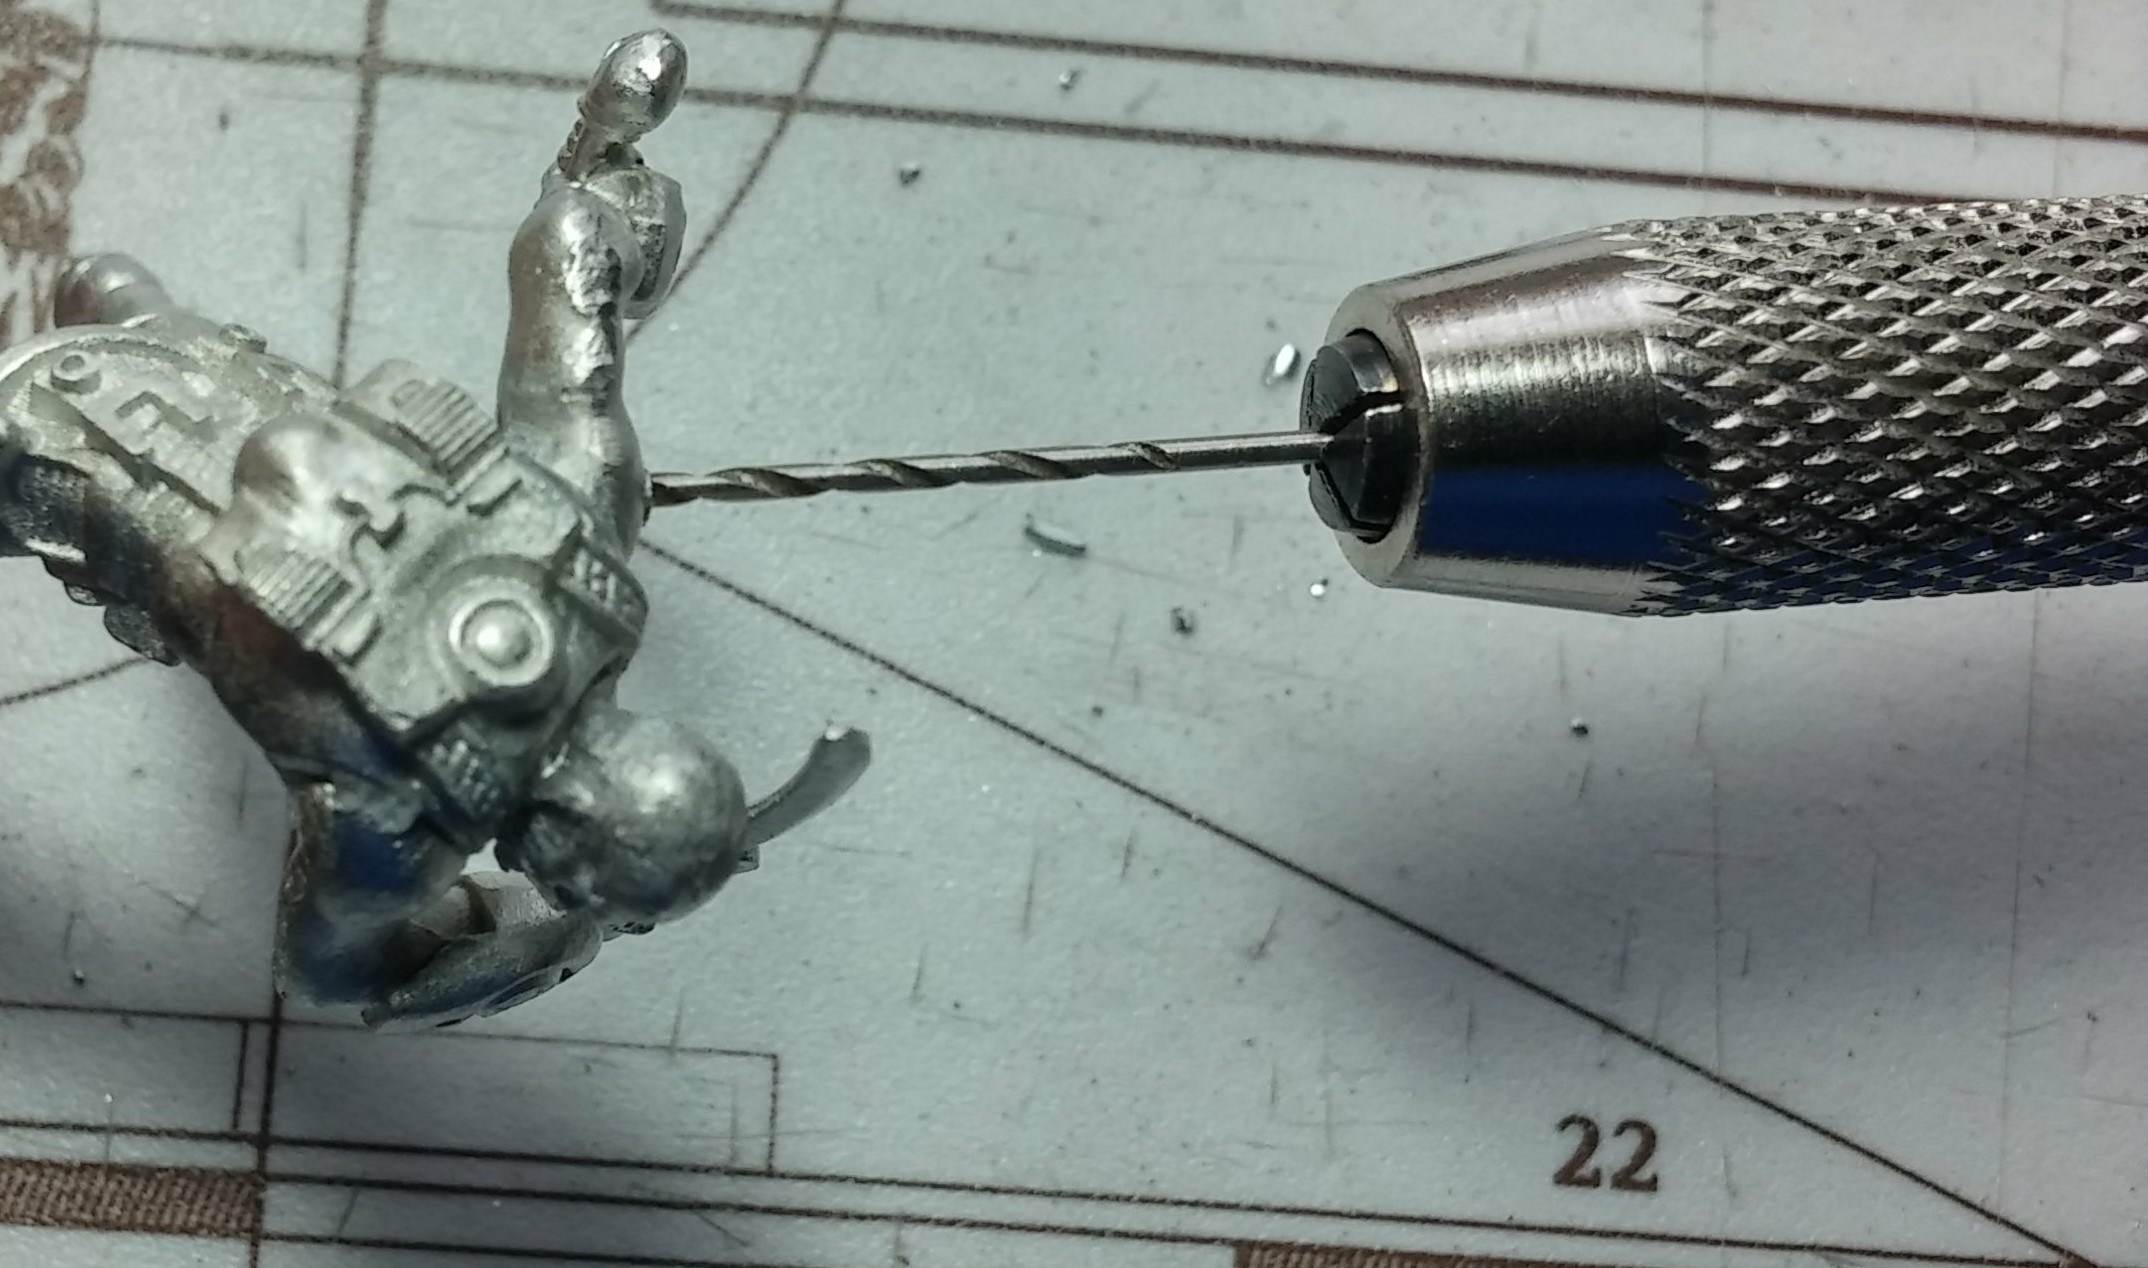
It’s pretty straightforward. Drill a hole into your model until you’re confident the hole goes all the way through the arm (in this case) to the body. You can estimate this by putting your fingernail up to the edge of the model and then carefully extracting the bit to see how deep you’ve gone.
 Once you’re done, you should have a big fat gaping, unseemly hole!
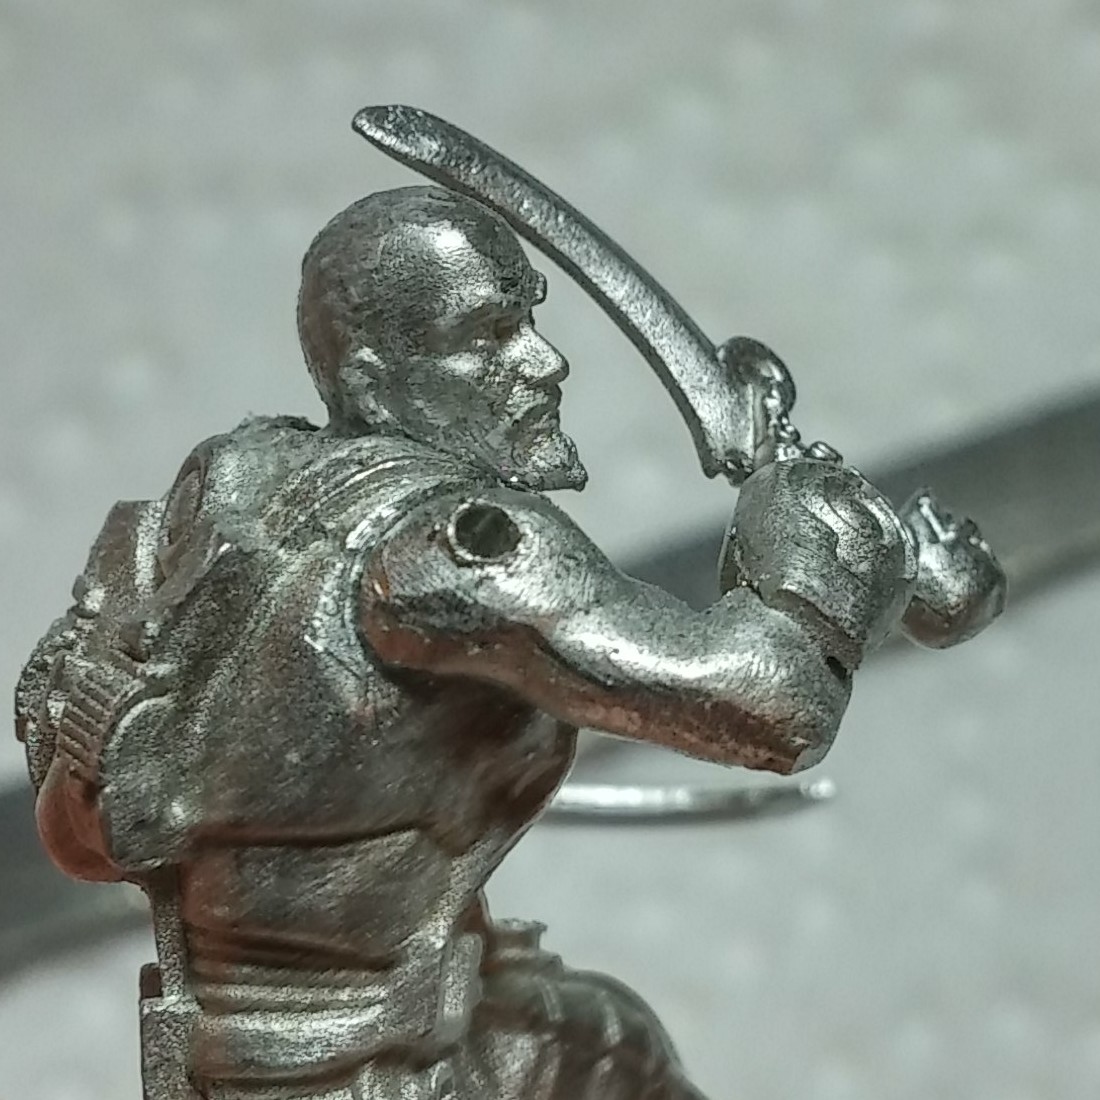 Oh noes! How unseemly! This will look terrible and such! Don’t worry. Put some glue into the hole (I prefer the gel-CA glues for this), then insert your wire and clip it off. You’ll be left with a nubbin hanging off your model like this:
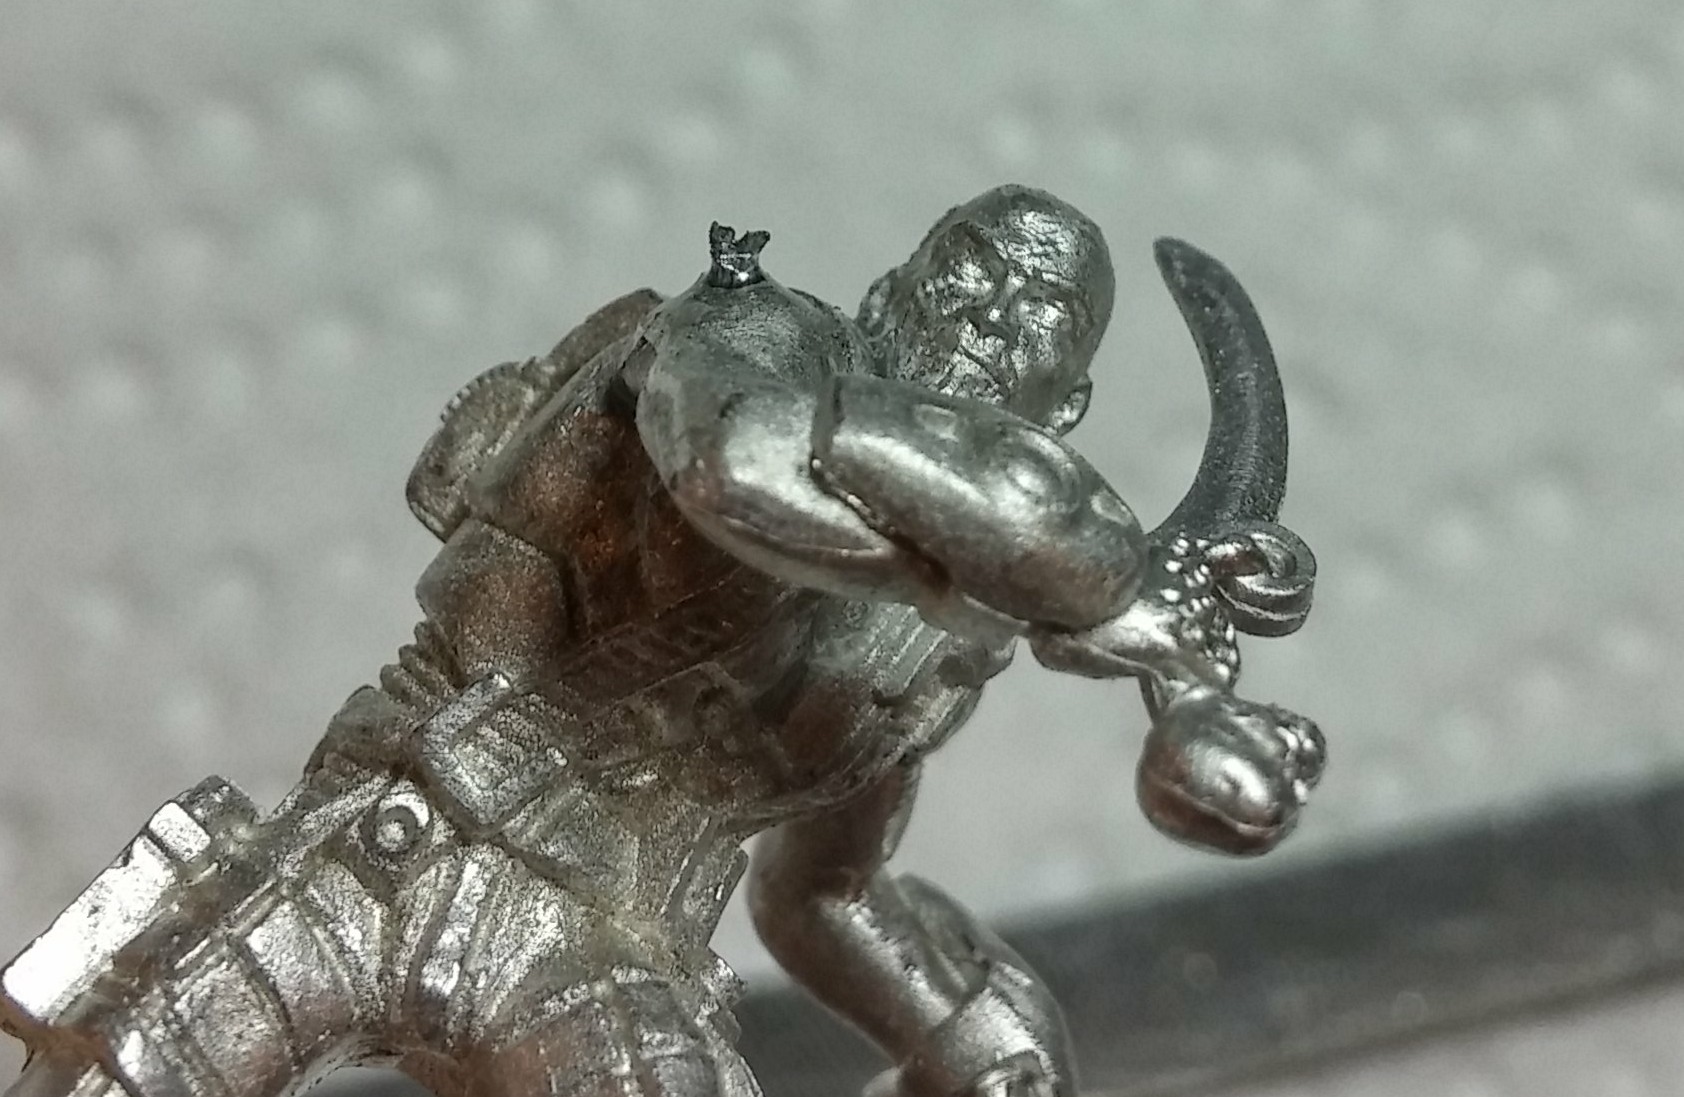 Now, while the glue is still setting, file that nubbin down!
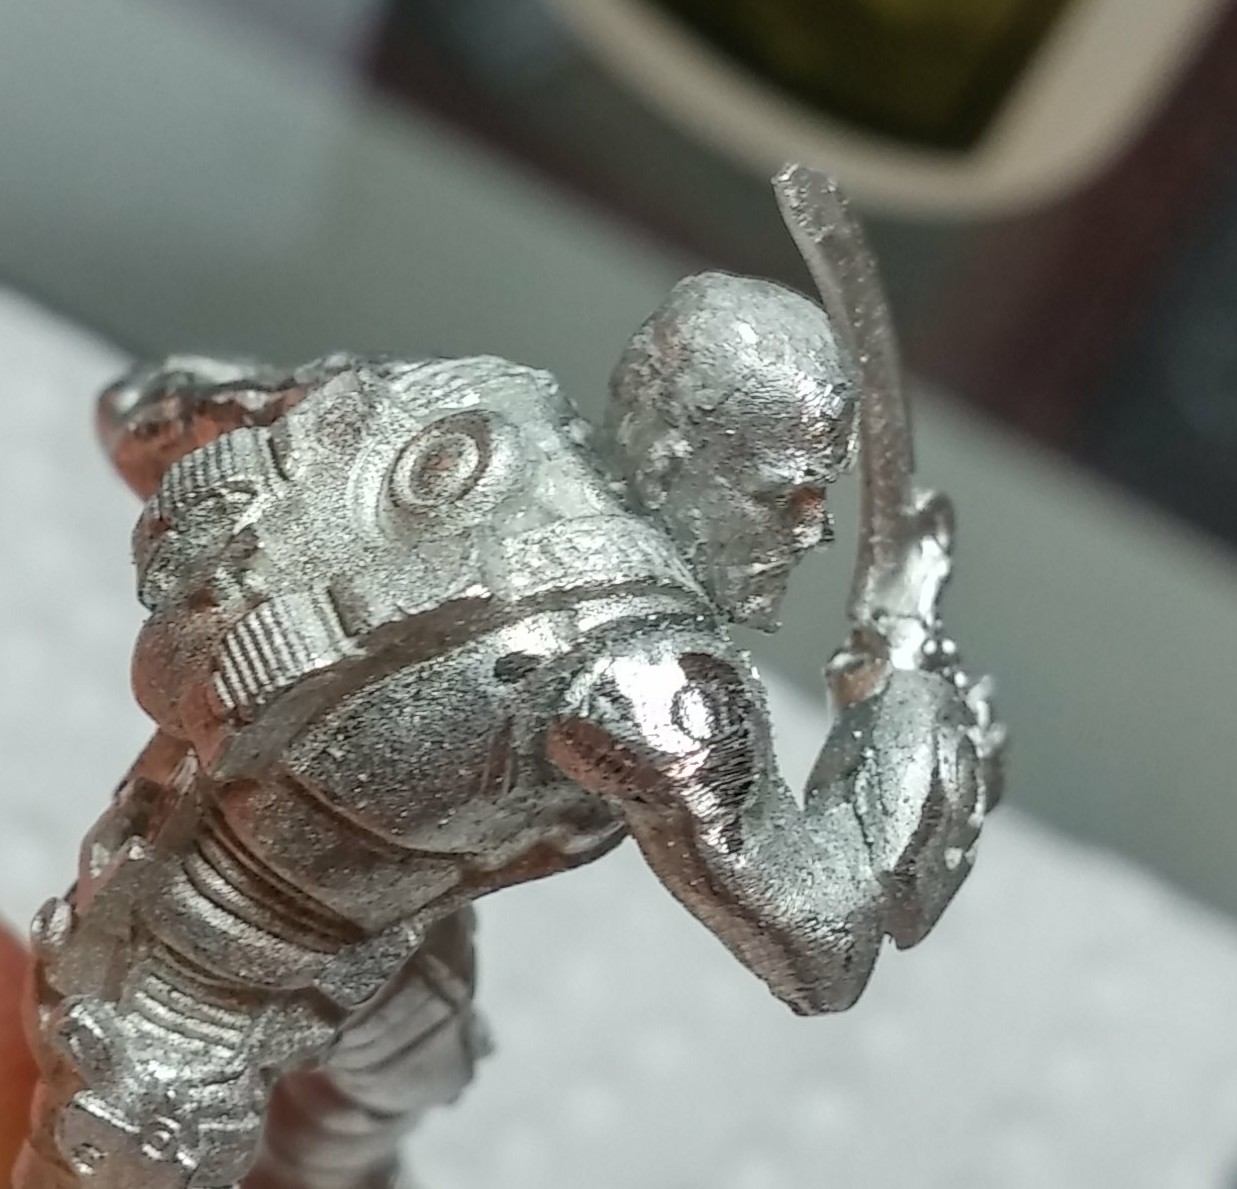 You can see that the filings sealed the gaps for us, smoothing out the surface. The glue should keep the filings in there, unless you are stripping the model in an ultrasonic cleaner. If you do something like that, you can always fill with putty or file a little more.
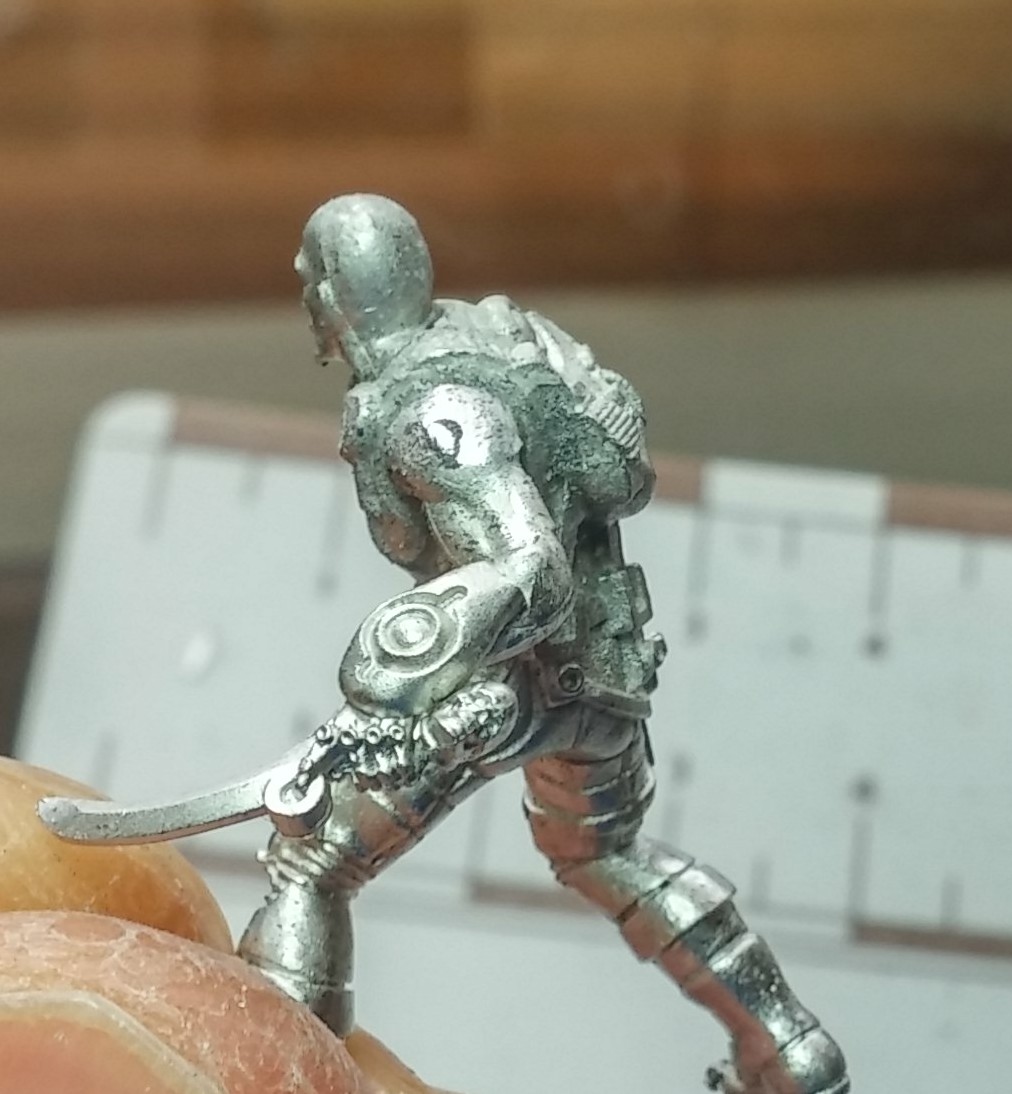 If you’re going to obliterate some detail by doing filing, don’t use this technique. Big rounded shoulder pads or muscle-y parts like on this Nomad Jaguar are fine. And that’s it. that’s the technique.
More Examples
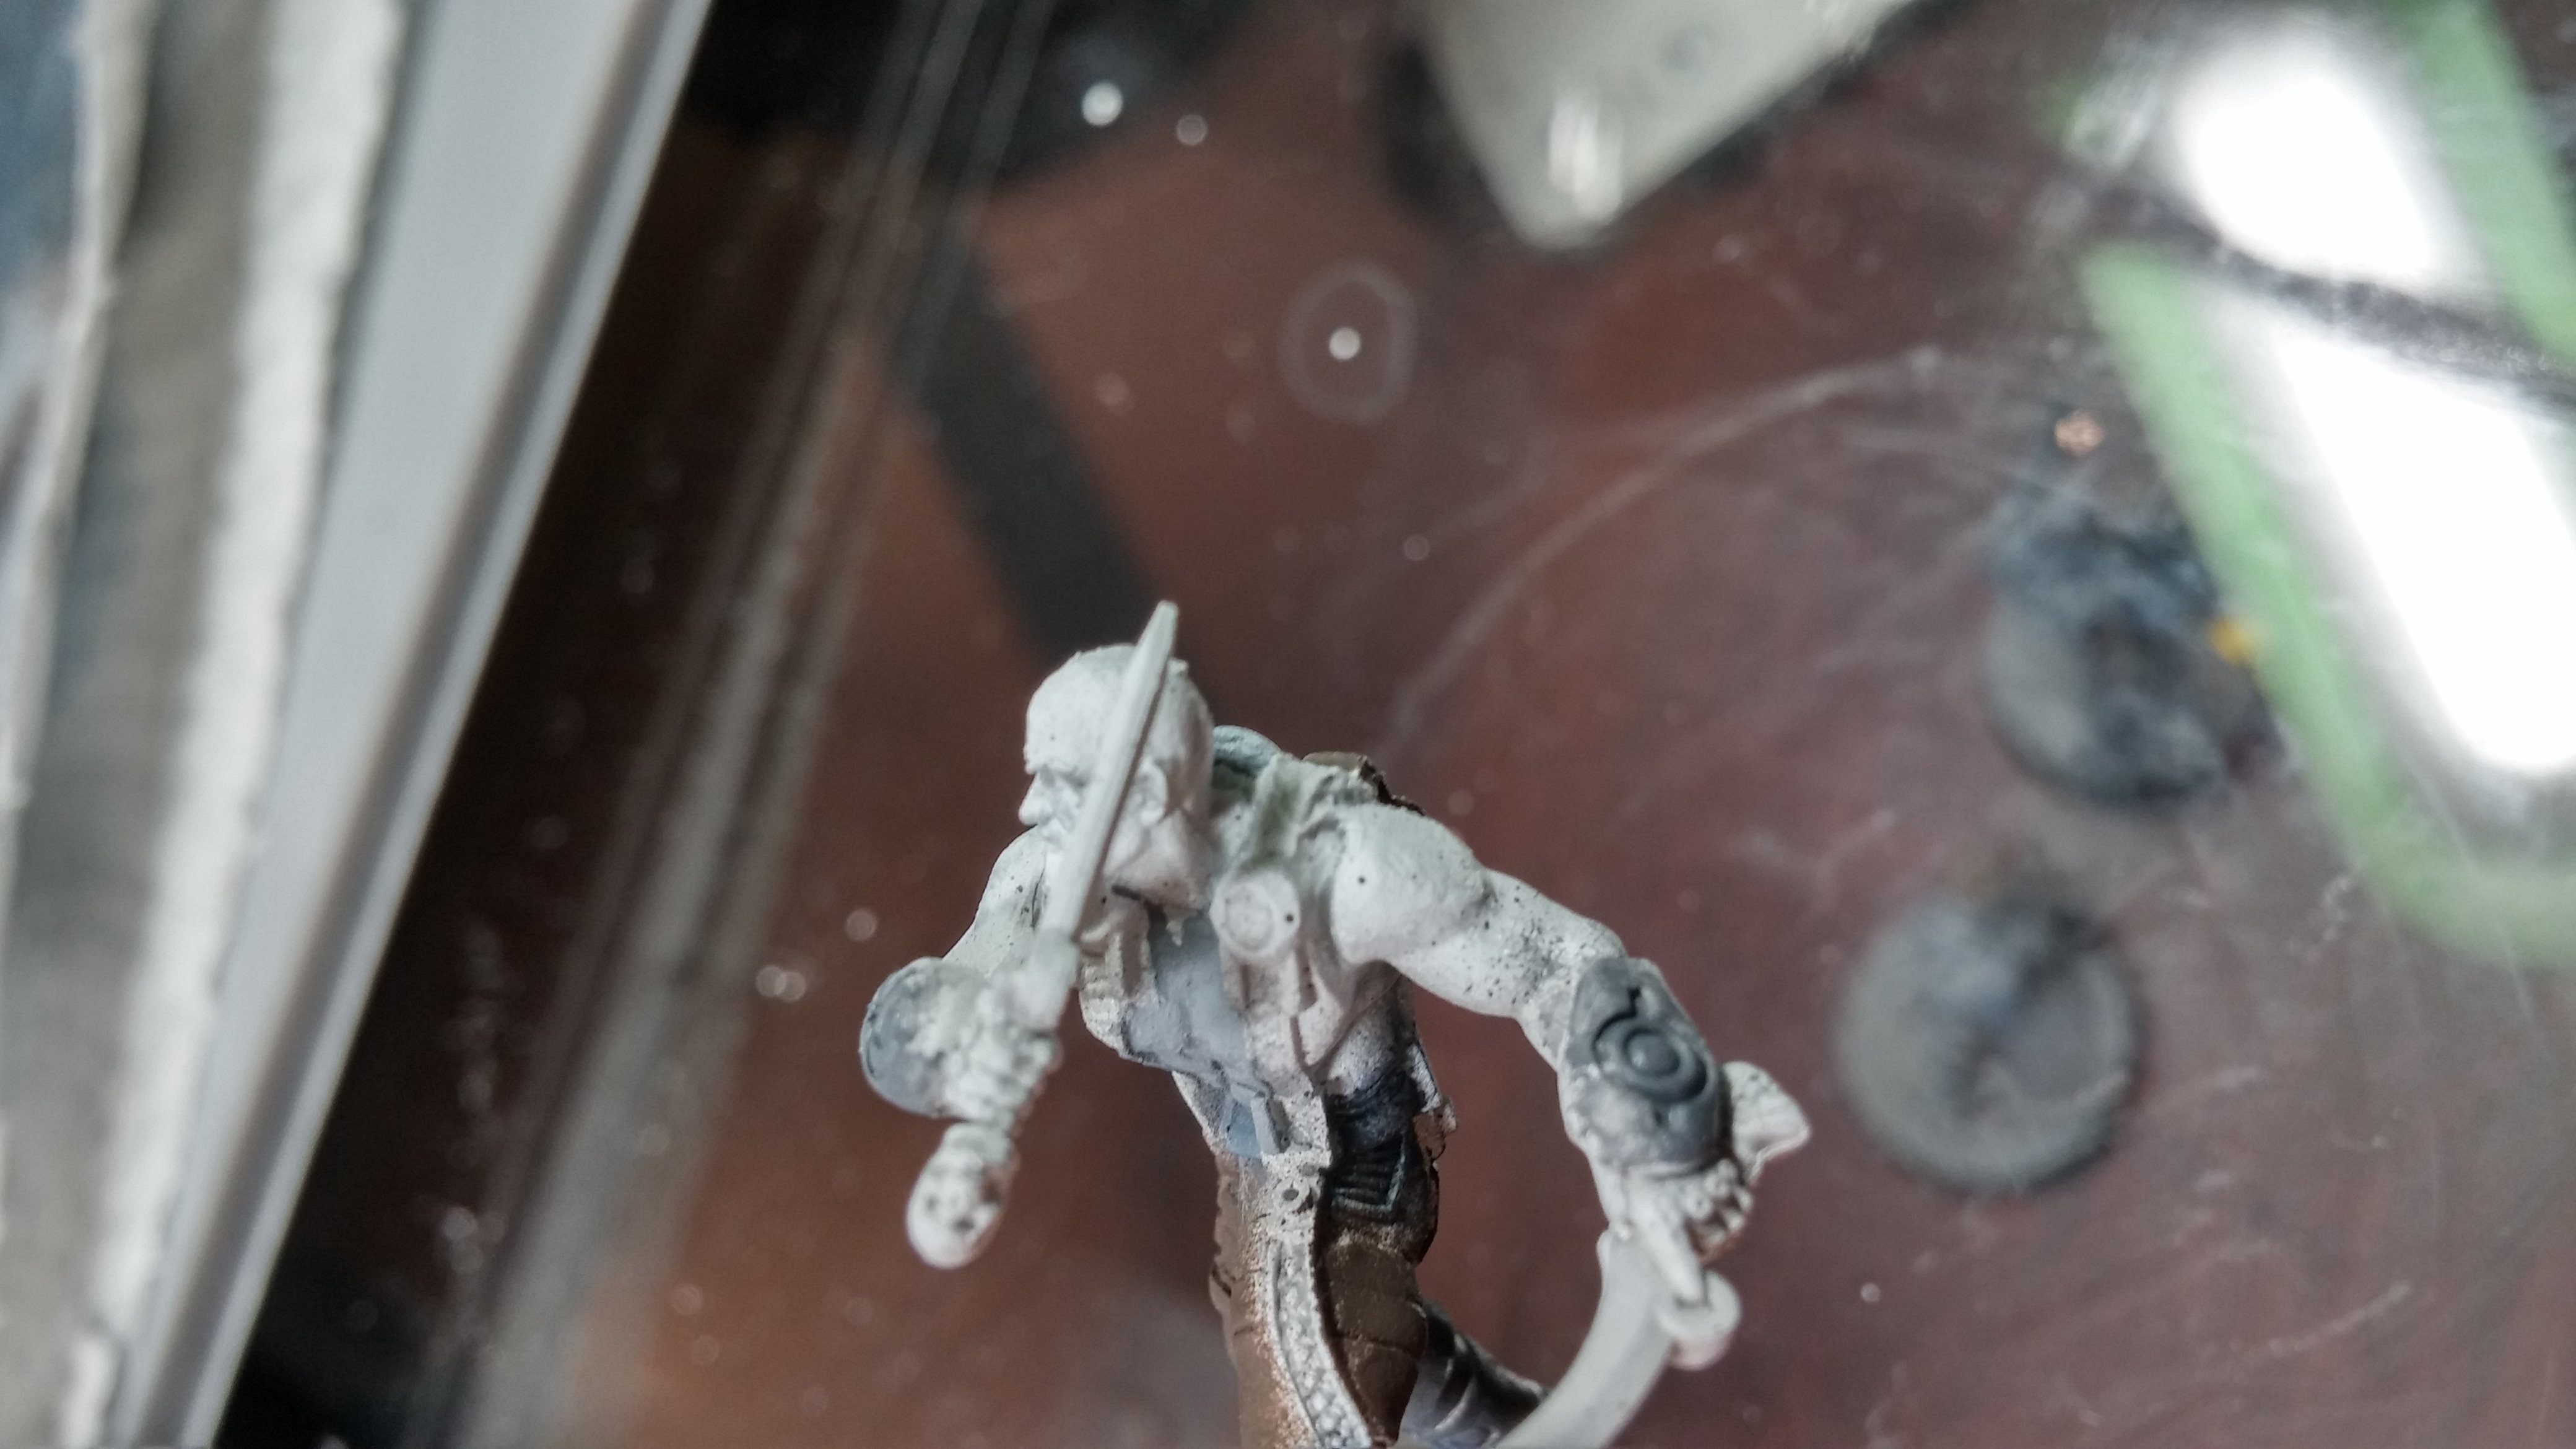
So, for models that are holding guns that you have to jenga together, I tend to pin the weak arm using this technique first, then assemble the other arm. This lets me apply pressure while holding the strong arm in place to let the glue set and not fear the other arm popping off. I hate that.
 Here’s the nubbin, ready to be filed:
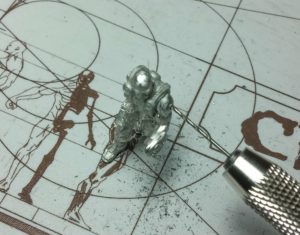
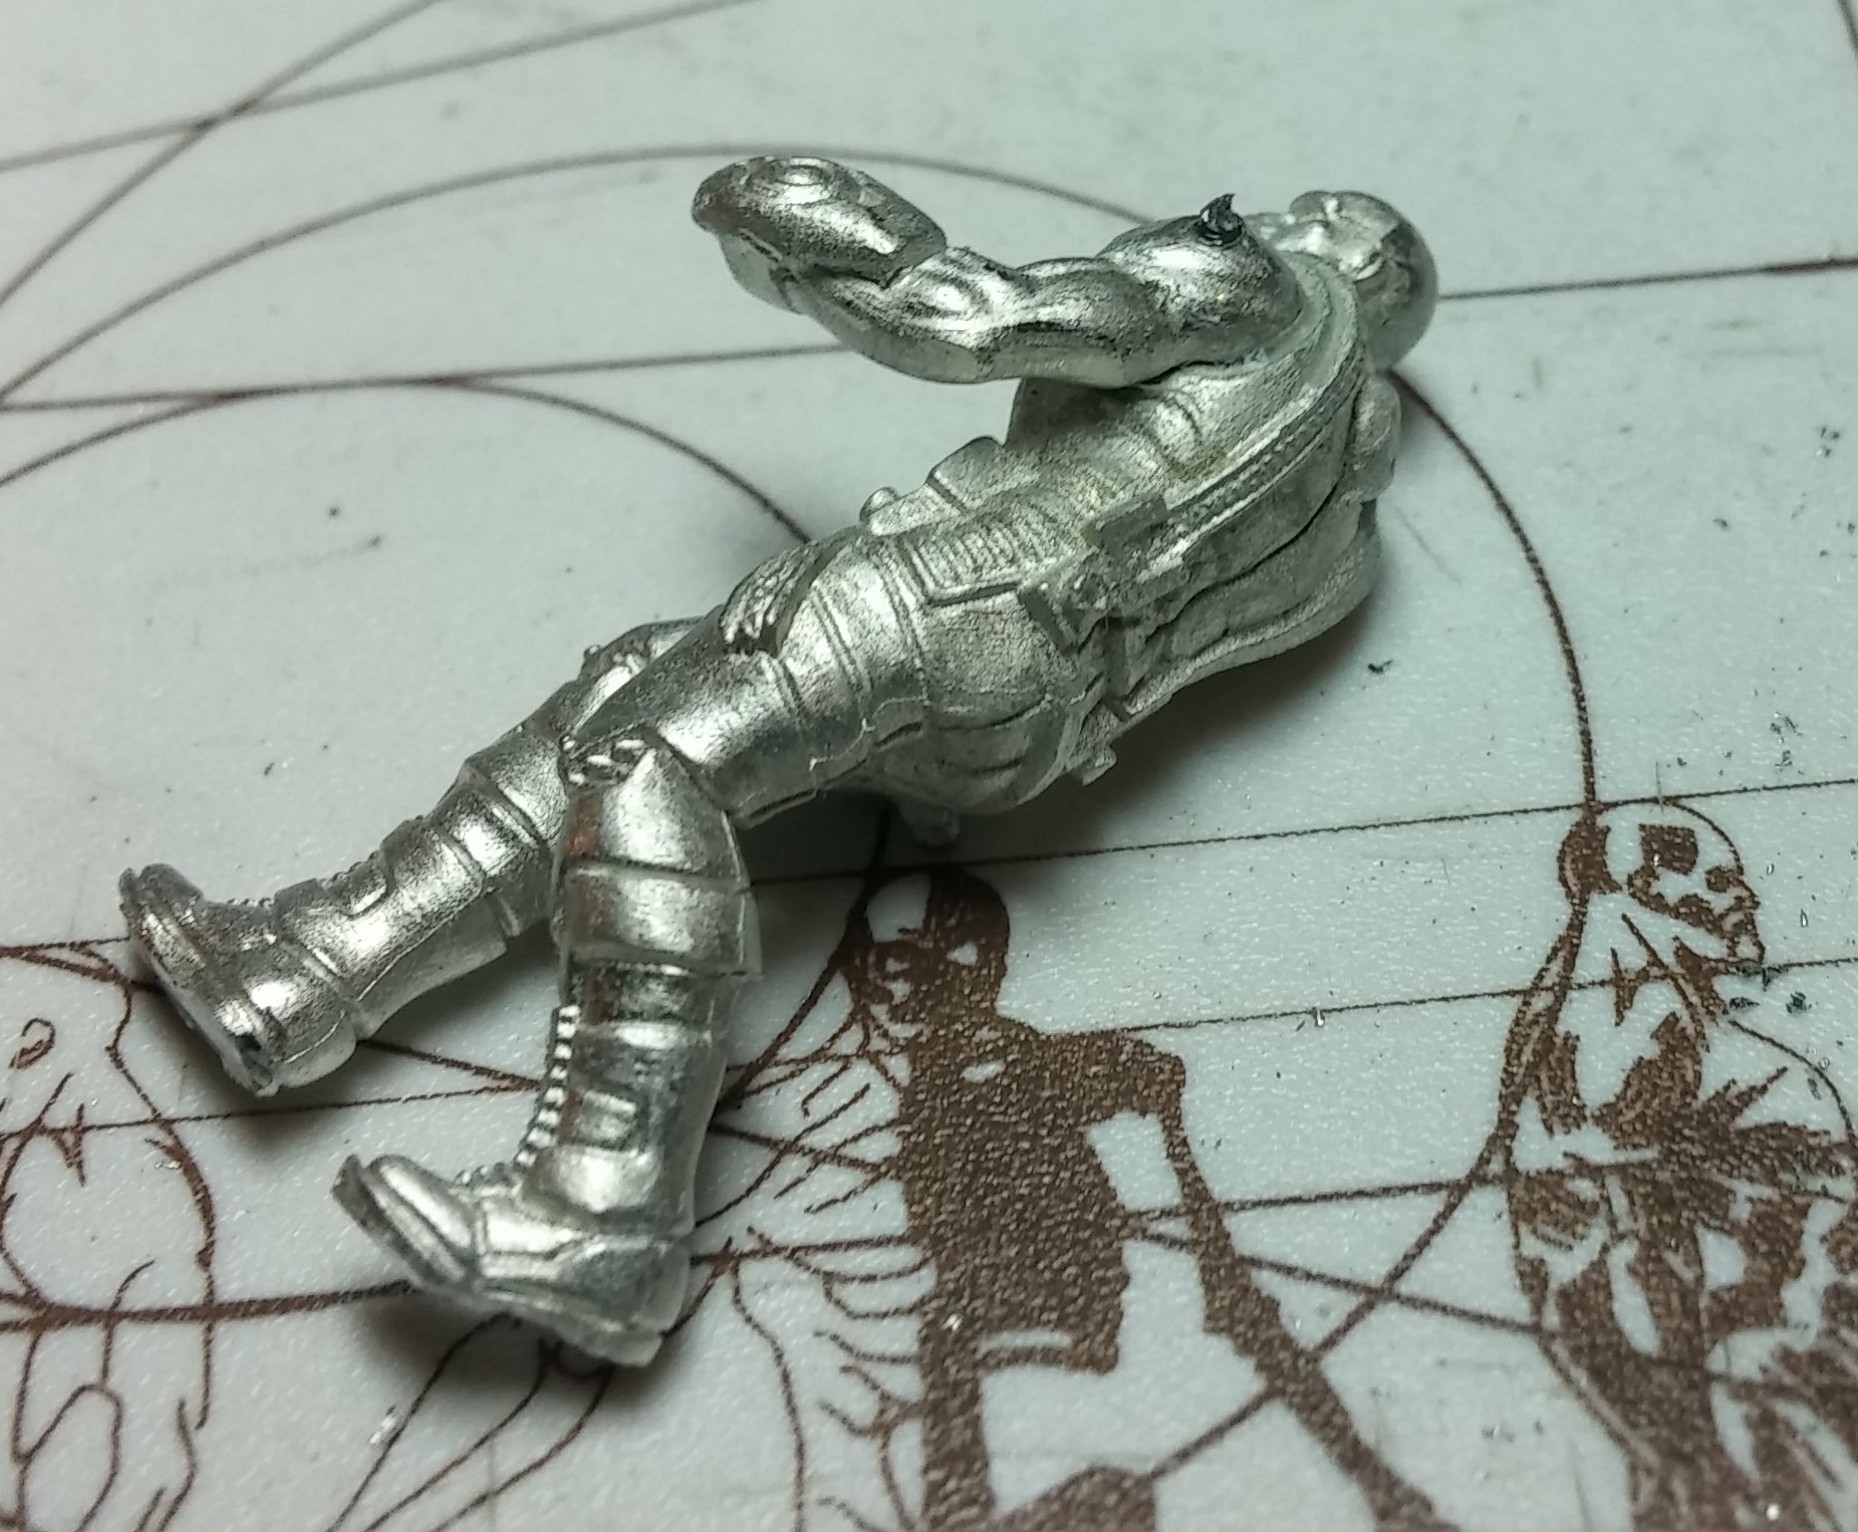 And here is is, post filing. It’s a bit hard to see here, but I think that’s the point!
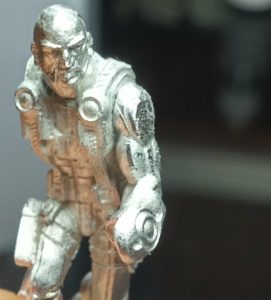 Again, once primed, difficult to see…
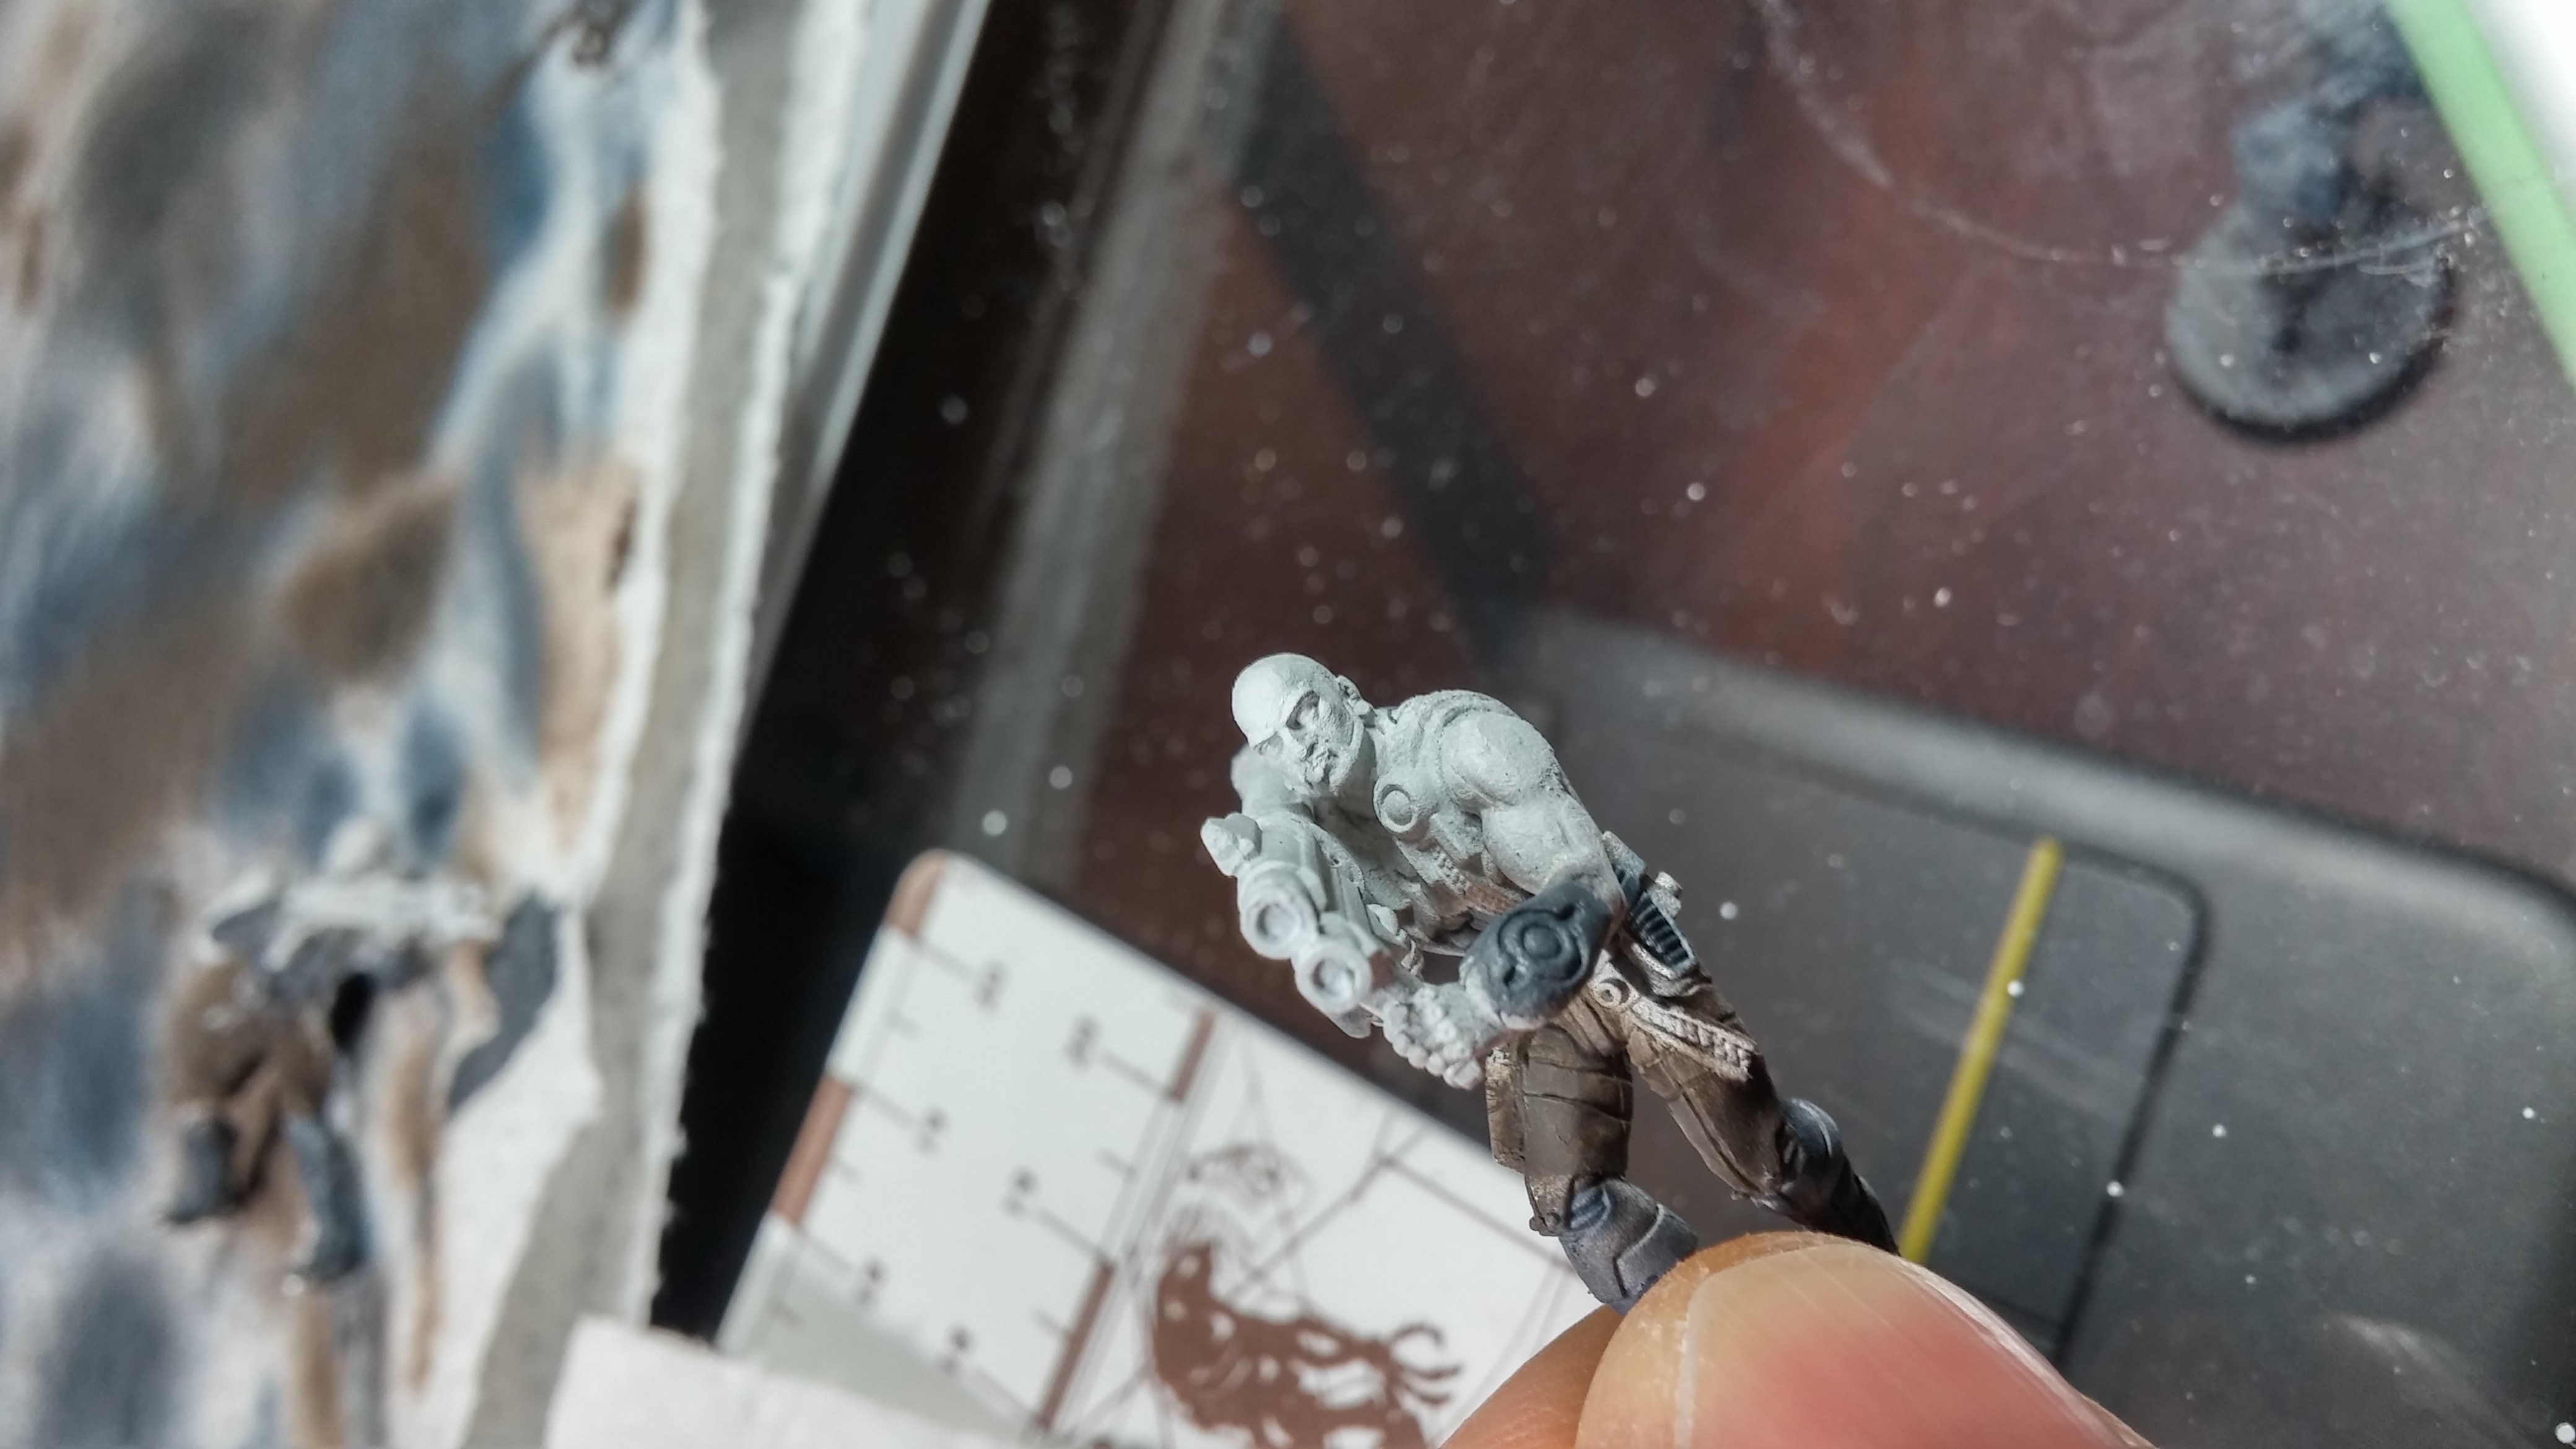 Same process for this guy, pre-pin-clipping on the strong arm:
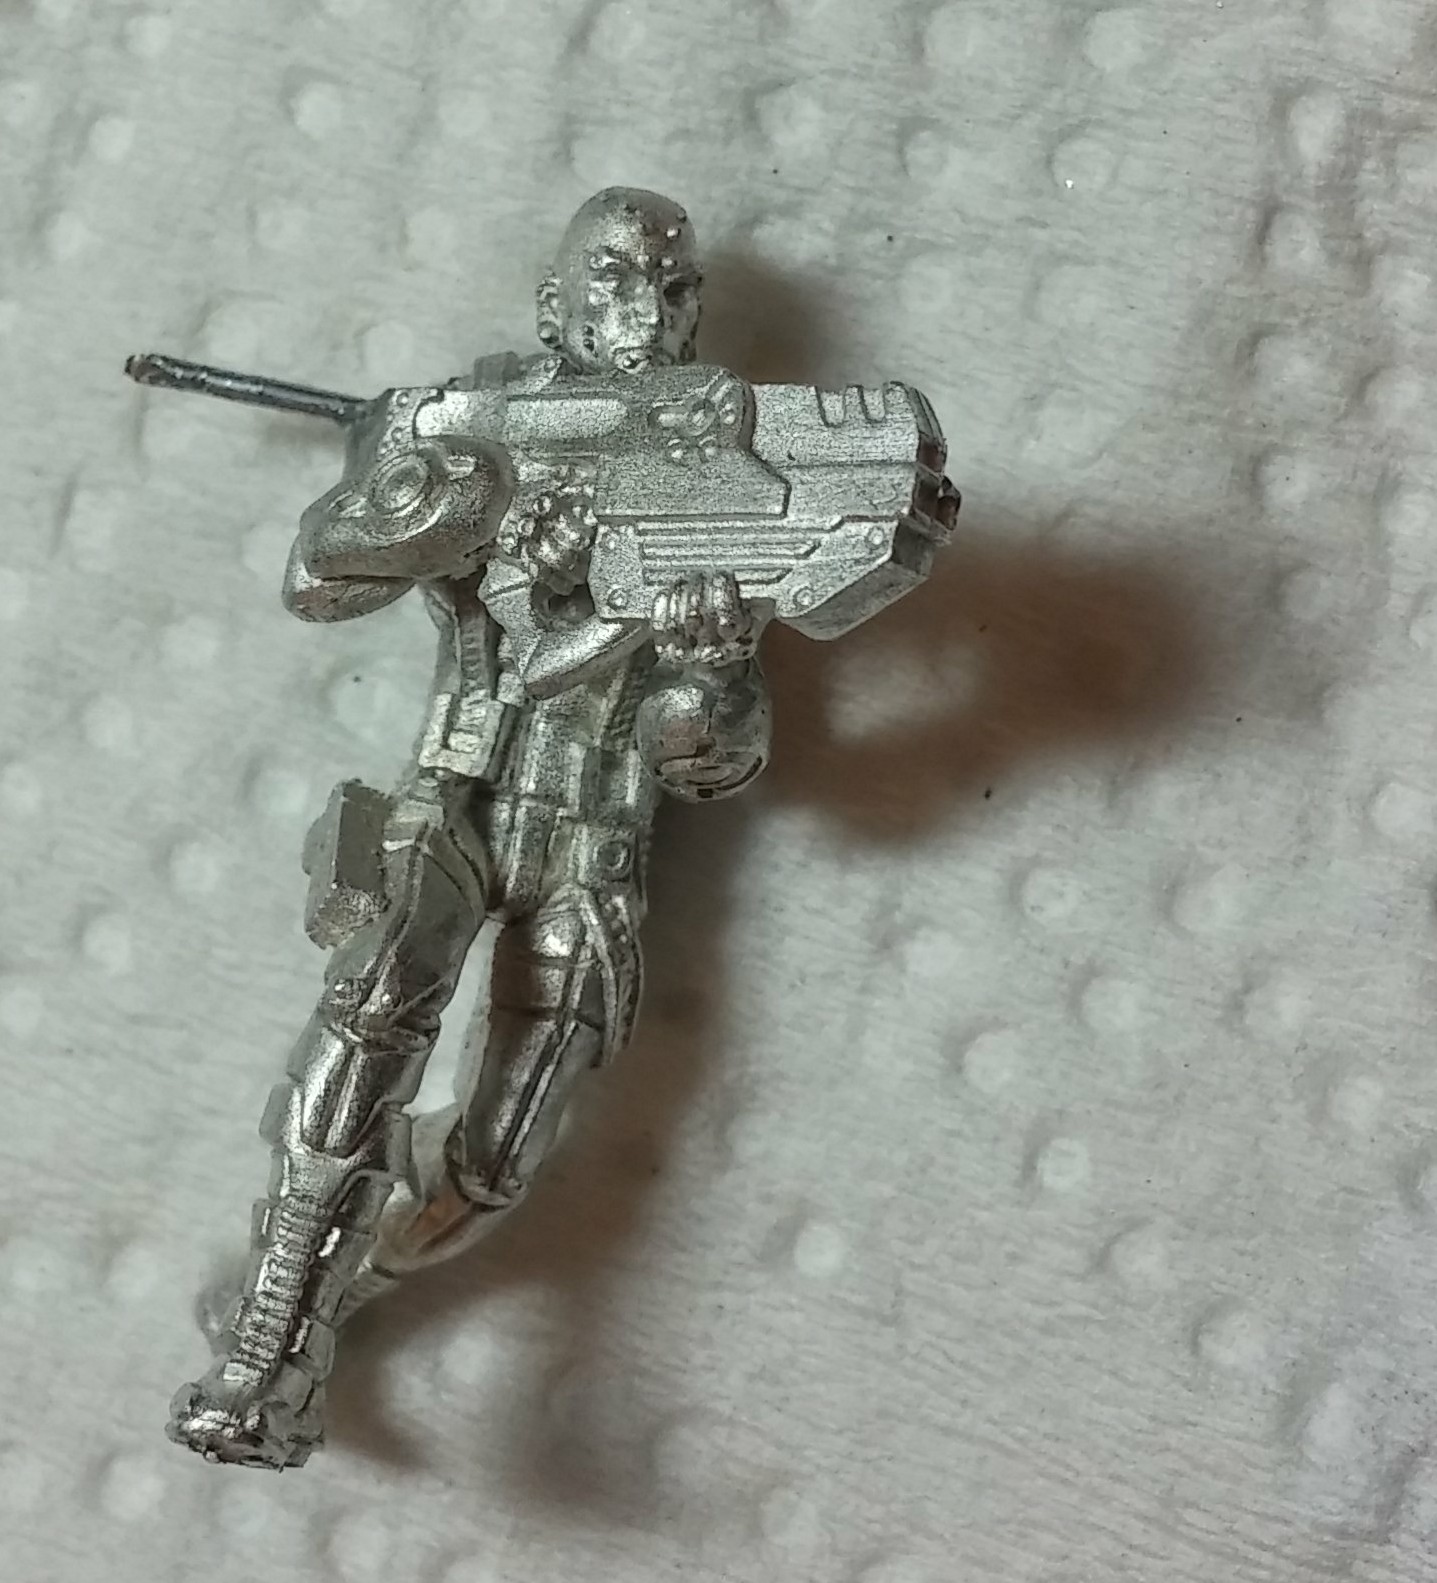 And a group shot of my finished Jaguar box, with basing pins ready to go.
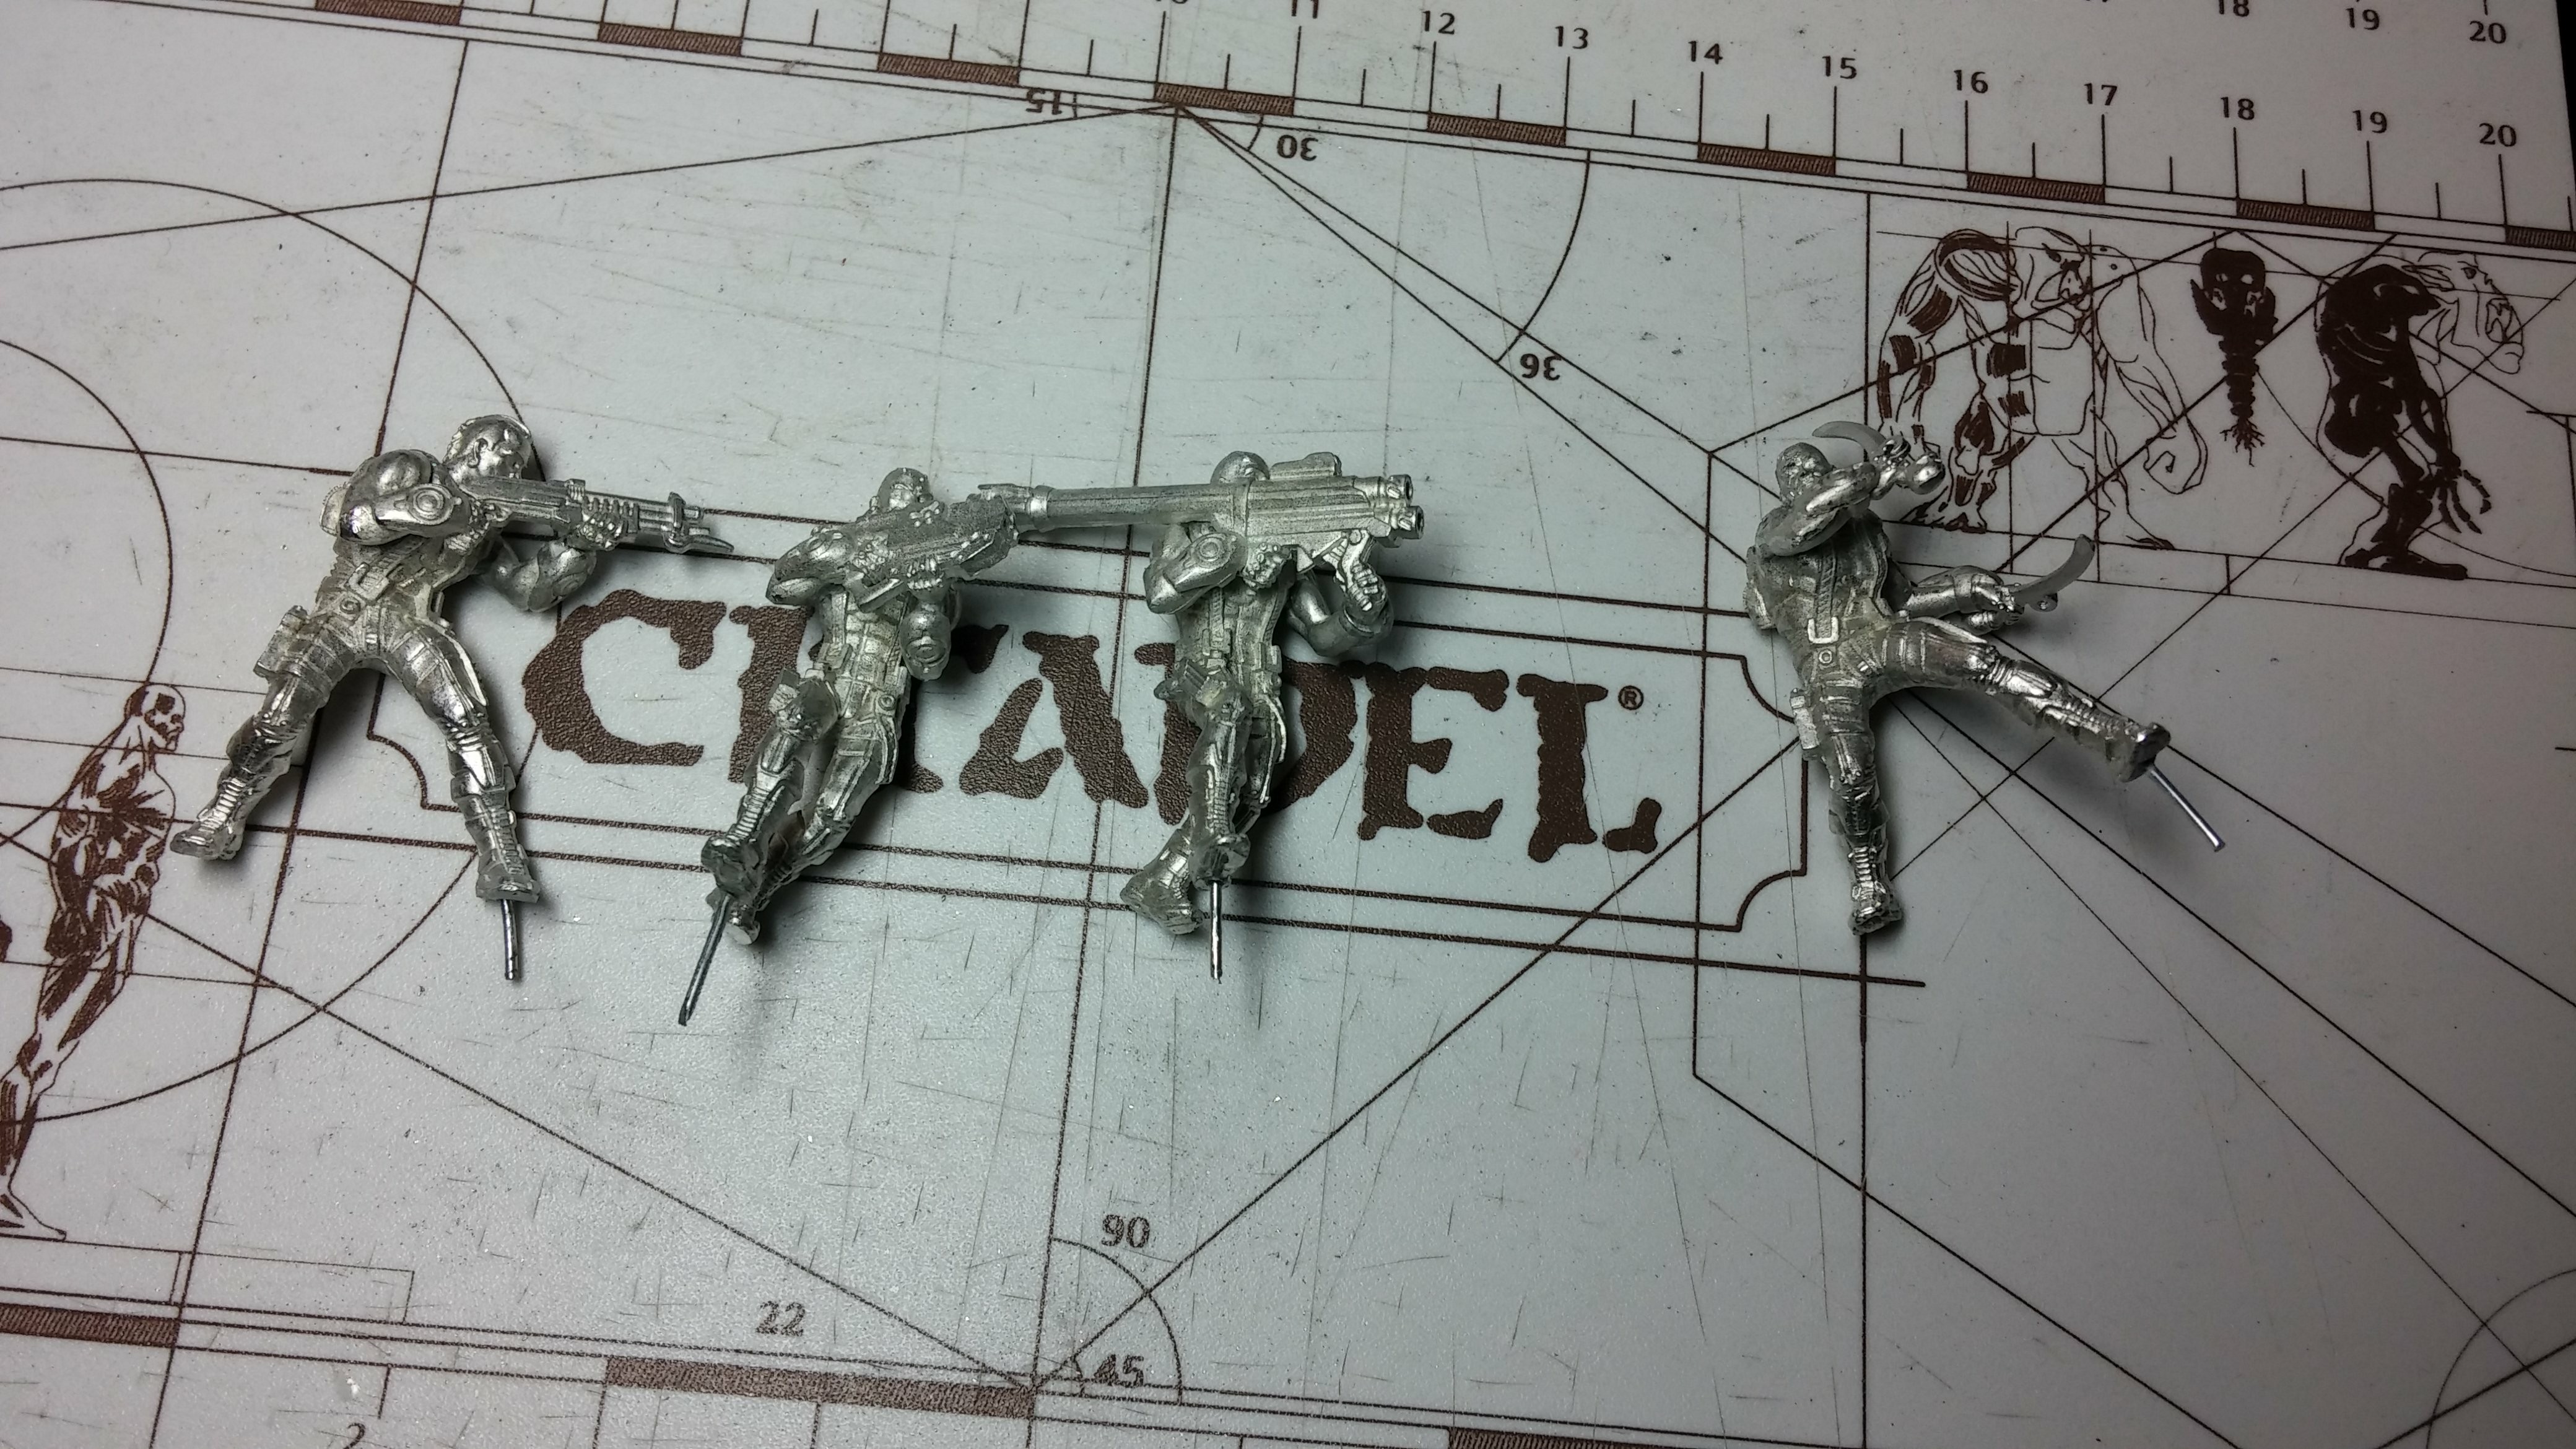
Summary
Again, this is just an alternative to pinning which I find helpful occasionally. Yes, you have to drill through more material, yes you’re more likely to snap your bits (hey, free pin!) if you’re not careful, and yes, if you’re not careful you can mess up some detail on your model. When the “Bone Pinning” method isn’t appropriate, I use the “normal” method of pinning (all the time).
I generally use this technique on models with large, flat surfaces on the outside of the joint, or if the bonding area is really small and alignment would be very difficult. I happen to be using a pretty large wire gauge with respect to my Jaguars, but this certainly translates to smaller gauges for more detailed/smaller things as well.
And that’s it! May all of your models never break and always roll crits!