Donut from the Moon
Adam and Dan have been hard at work designing a pretty sweet modular space station table. They’ve put a lot of work into the usability of the whole thing, as well as the all-important nerdgasm factor of the design.
They’ve put a lot of work into the usability of the whole thing, as well as the all-important nerdgasm factor of the design.
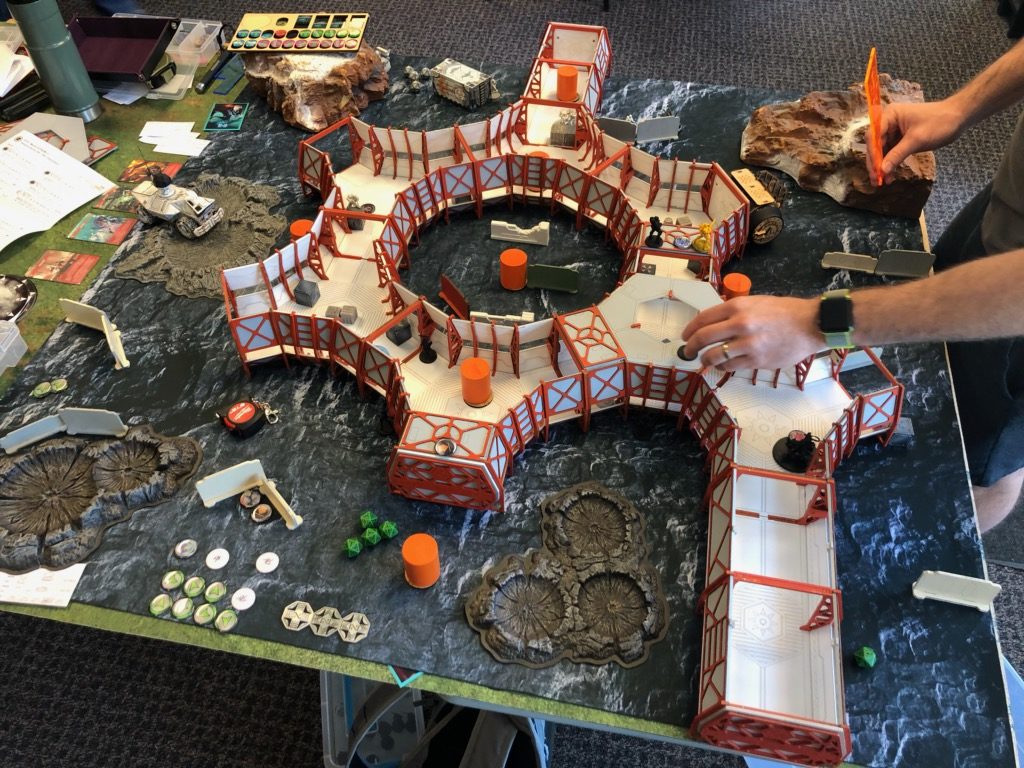
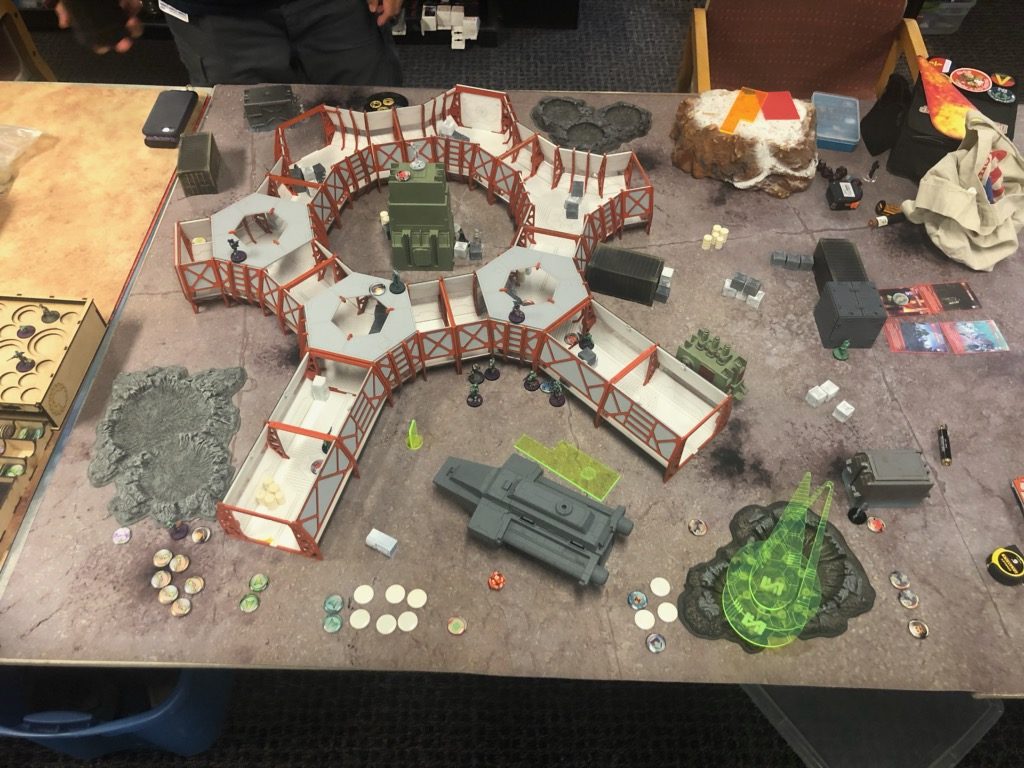
They even designed in clear acrylic into the walls so you can get down to model-eye-level and check LoF inside the station hallways/rooms. Genius!

I had the honor of the inaugural game on the terrain with Isaac. The actual terrain has more modular components–they’ve been doing test cuts of “corner” units for the station and not the actual “rooms.” They also have a few corridors cut, so this is literally just the first and second draft designs that we’re playing on.
The rooftops are designed to be left off the table during normal play, but if a unit climbs up onto the roof (this happens often, there are ladders built in to the terrain), you can put just the roof section they’re standing on onto the table while leaving the rest of the corridors open for easy playability. They’ve even magnetized the corridor joins and doors so the terrain has added “weight” if you accidentally bump it. It’s pretty awesome!
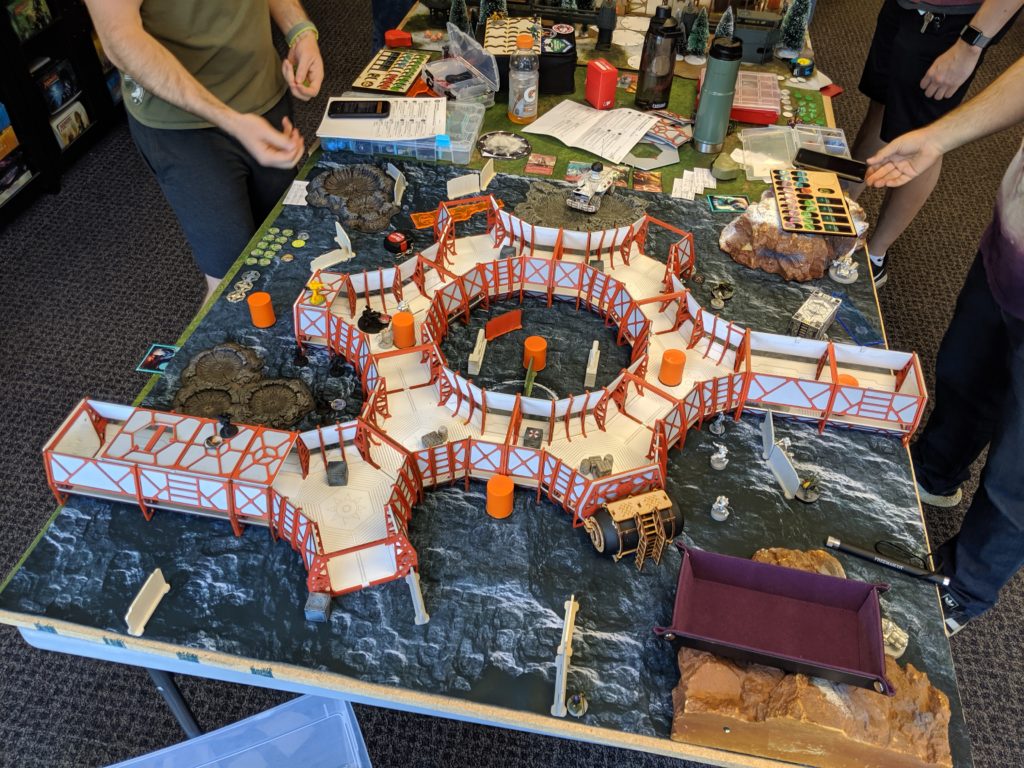
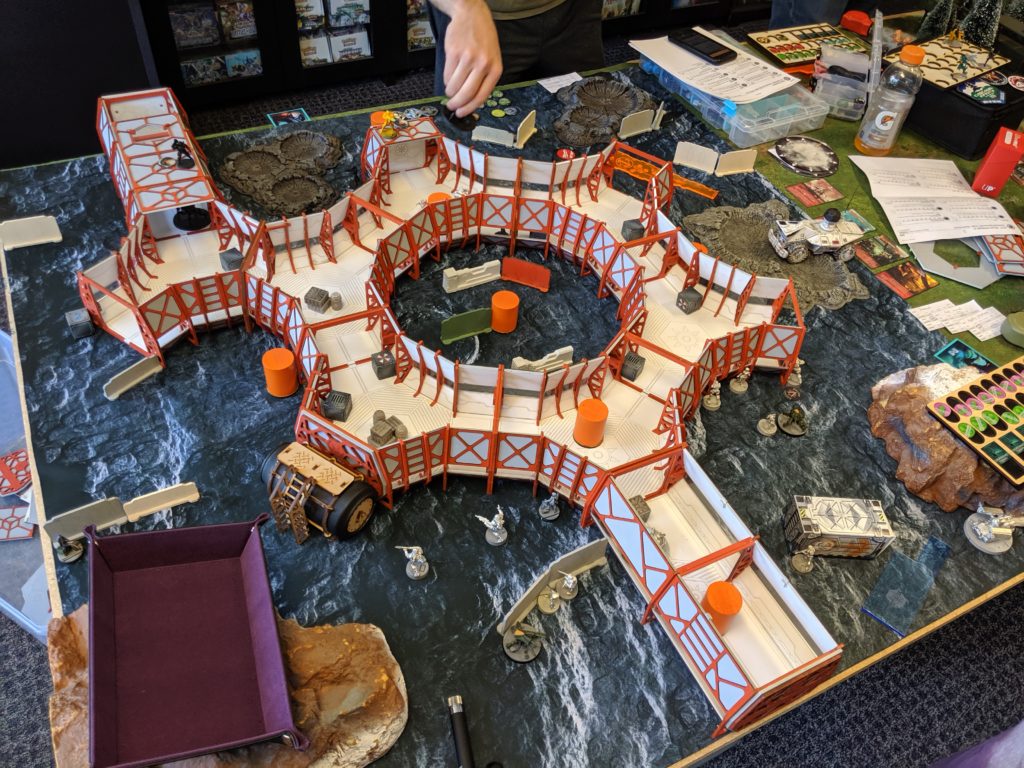
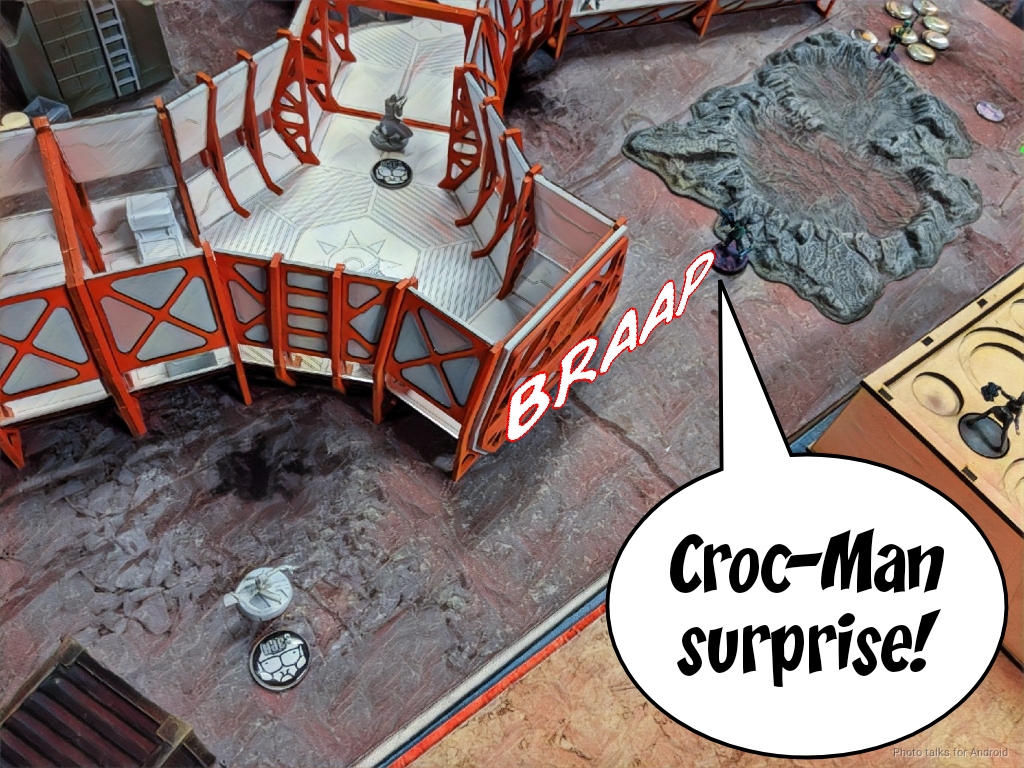
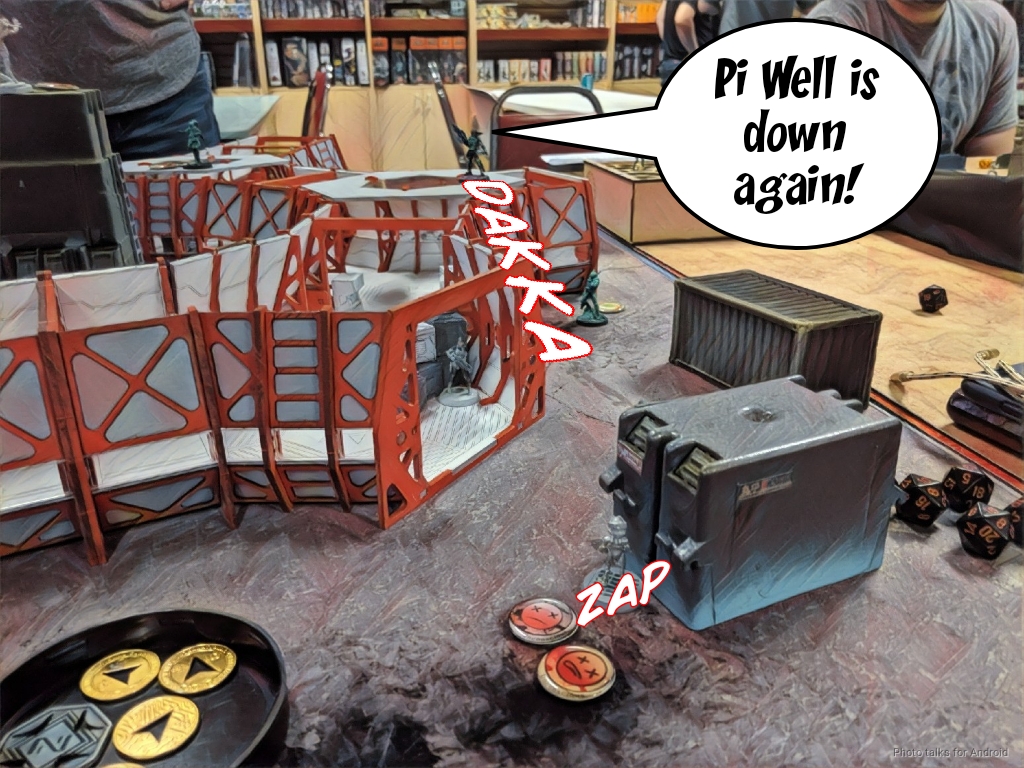
Due to the lack of rooms and corridors, we’ve set up the table into a “space donut” because a) it’s easy to make and b) it’s hilarious.
We’re playing all corridor interiors as saturation zones, and all outdoor table area as Low-G terrain, meaning difficult. This severely punishes medium infantry without multiterrain and really encourages them to hang out inside, bringing the fight up close and personal.
We definitely need more scatter and outside terrain elements for the table, but things are looking pretty awesome so far! In fact, it looked so awesome that while Isaac and I were playing, Adam was able to use the table (and his natural charisma) to convince two pairs of people to get Operation: Icestorm and Operation: Coldfront to buy into the game!
Overview
- Mission: Highly Classified
- HVT: Espionage
- HVT: Kidnapping
- Mapping
- Net Undermine
- Forces: Jurisdictional Command of Bakunin versus Varuna Immediate Reaction Division (300)
- Deploy First: VIRD
- First Turn: VIRD
FrostByte
GROUP 1 |10
MODERATOR Lieutenant Combi Rifle / Pistol, Electric Pulse. (0 | 9)
RIOT GRRL Spitfire / Pistol, Knife. (2 | 34)
GROUP 2 |
ZOE & PI-WELL . (0 | 47)

PI-WELL Combi Rifle / Electric Pulse. (0 | 19)
BRAN DO CASTRO Boarding Shotgun / Pistol, DA CCW. (0 | 33)
REVEREND MOIRA HMG / Pistol, Shock CCW. (1.5 | 34)
AVICENNA Combi Rifle, Flash Pulse / Pistol, Knife. (0 | 27)
ZONDBOT Electric Pulse. (0 | 3)
3
3
MORLOCK Chain Rifle, Smoke Grenades / Pistol, E/M CCW. (0 | 6)
5.5 SWC | 300 Points | Open in Infinity Army
I opted to take a 4-woman Riot Grrl link instead of all 5 to reduce the amount of bodies I’d have to cart around. This also let me take a Moira HMG, which is a good solo striker should I need one. This list also needs to cover Highly Classified, so Avicenna, Zoe, and Pi Well show up, and I took Bran for flavor.
Varuna Immediate Reaction Division
GROUP 1 |
KAMAU (Multispectral Visor L2) MULTI Sniper Rifle / Pistol, Knife. (1.5 | 32)
FUSILIER Combi Rifle + Light Grenade Launcher / Pistol, Knife. (1 | 14)
GROUP 2 |
ZULU-COBRA Spitfire / Pistol, Knife. (1.5 | 28)
CROC MAN (Forward Observer, Deployable Repeater) Combi Rifle, Antipersonnel Mines / Pistol, Knife. (0 | 32)
ECHO-BRAVO Paramedic (MediKit) Combi Rifle + Light Shotgun, WildParrot / Pistol, Knife. (0.5 | 27)
HELOT MILITIAMAN Shock Marksman Rifle / Pistol, Knife. (0 | 13)
TECH-BEE (Remote Assistant Level 1, Specialist Operative) Flash Pulse / Pistol, Knife. (0 | 5)
WARCOR (360º Visor) Flash Pulse / Stun Pistol, Knife. (0 | 3)
6 SWC | 299 Points | Open in Infinity Army
Isaac took a relatively AD-heavy VIRD list with his favorite Kamau Sniper nonsense. I’ve definitely learned to respect Zulu Cobras, who have all the things and PanO BS. BS indeed.
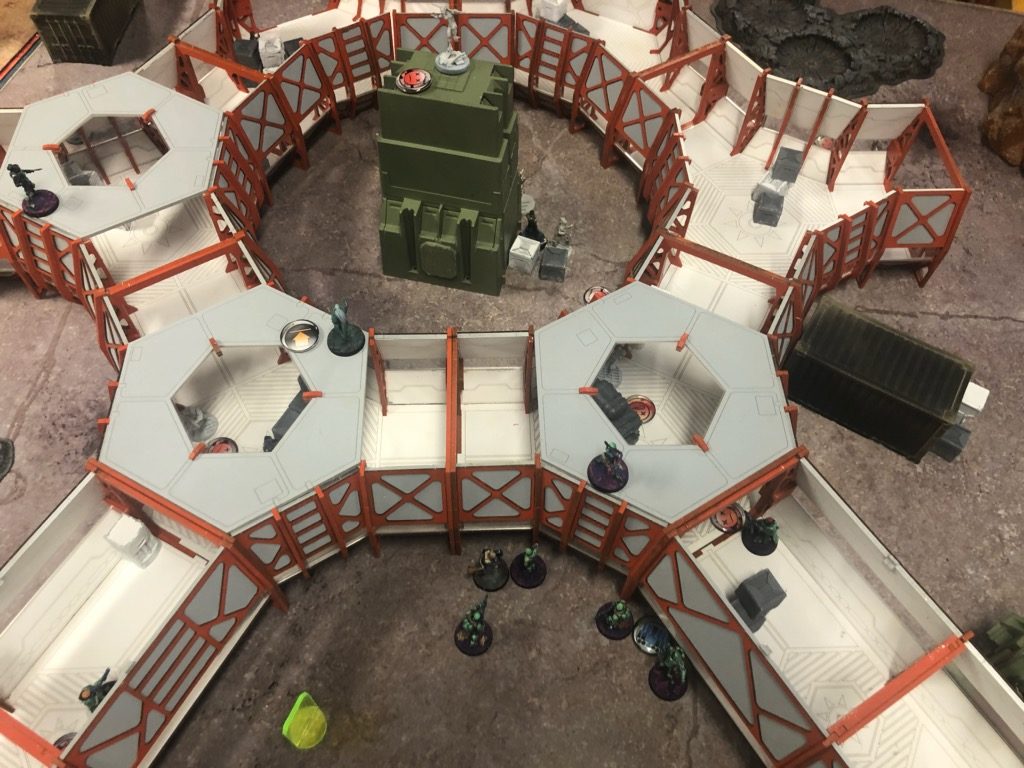
Deployment
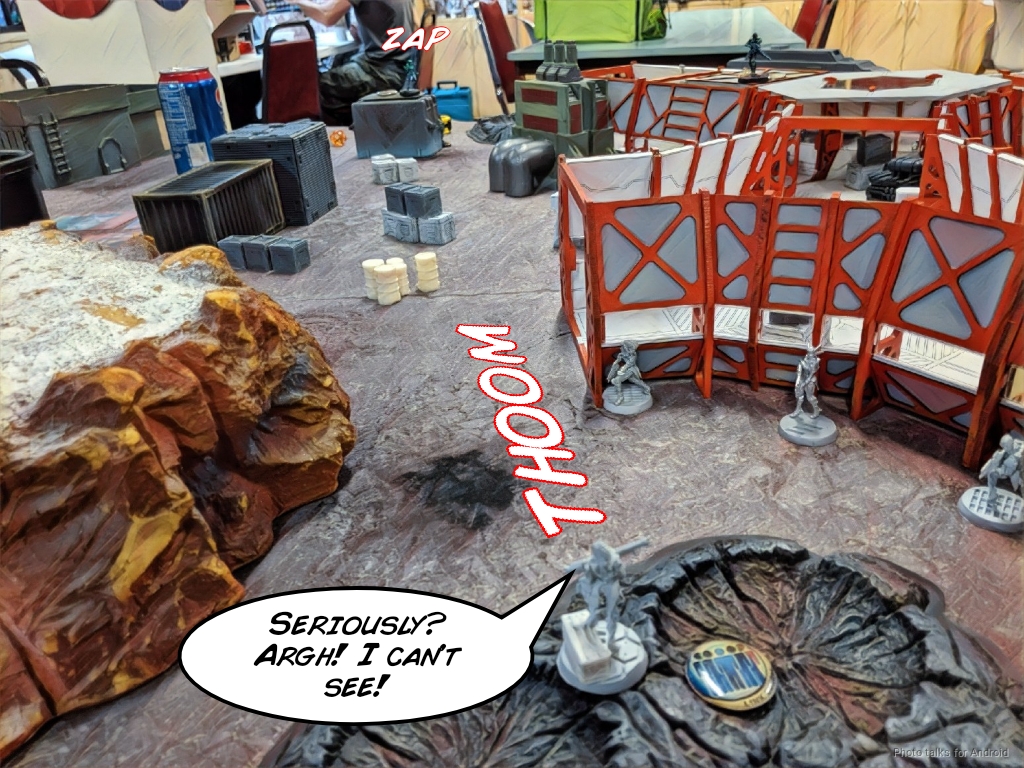
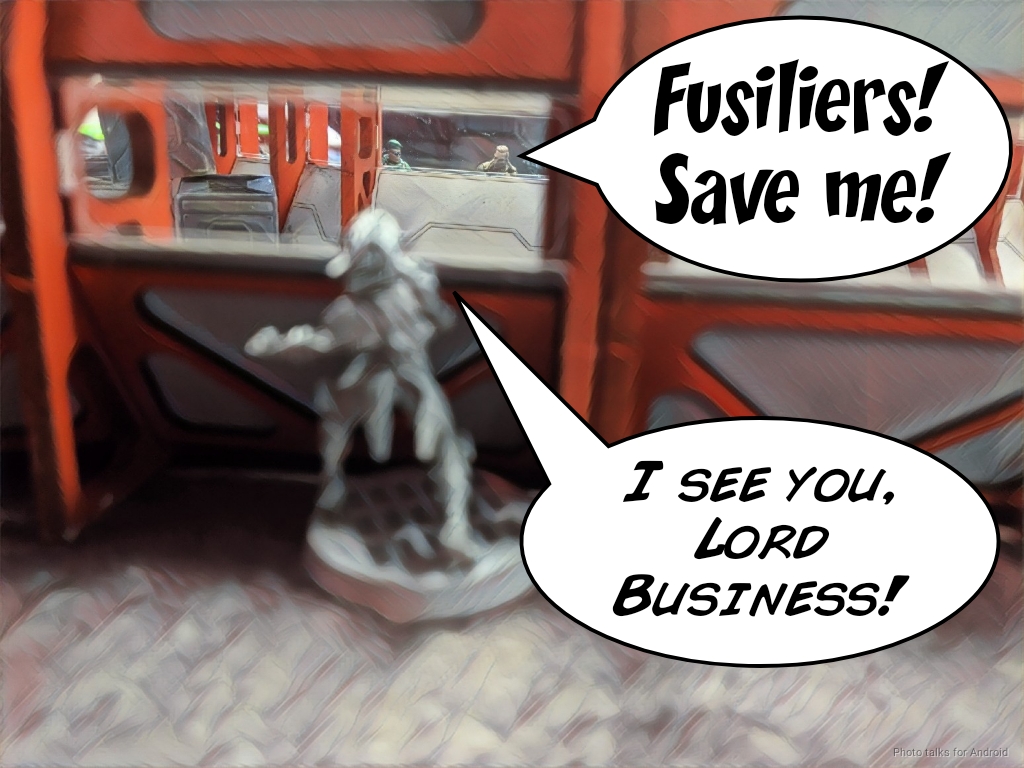
I lost the rolloff and Isaac chose to go first, so I gave him the worse side. He was forced to deploy his HVT in easy access for the corridors, more or less, and then scattered Zulu Cobras and Helots in the corridors with his Fusiliers bunched up against the dropship, which presumably they just disembarked from. Neat narrative hook!
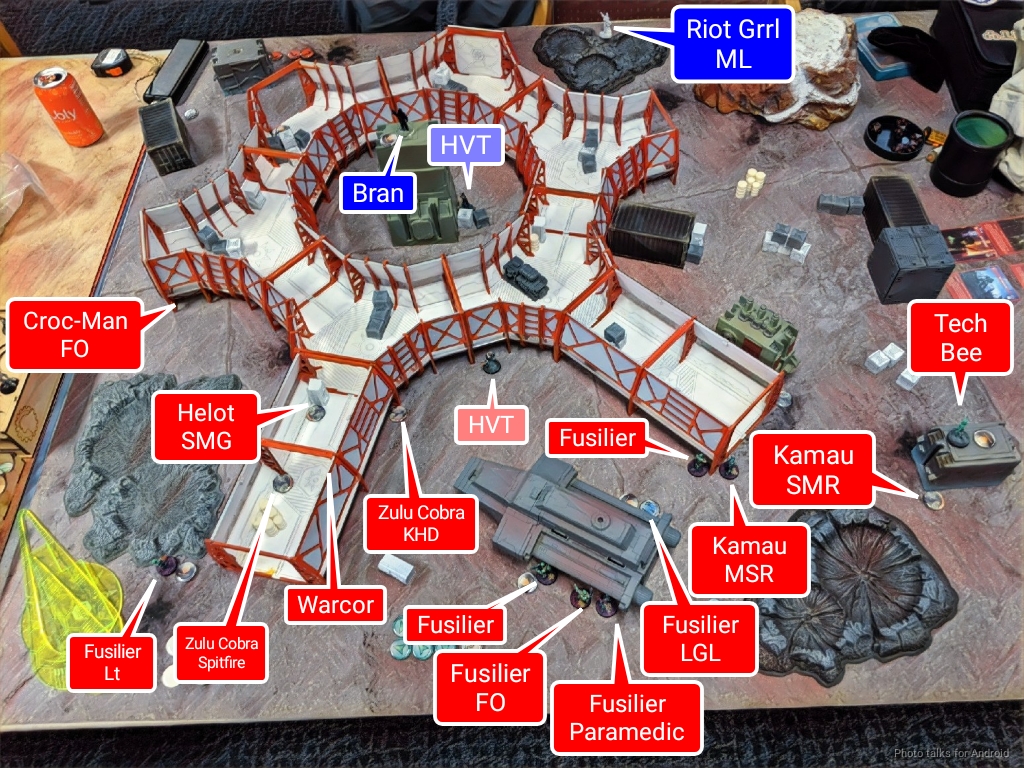
The only two things contesting the large outside area were a Tech Bee and a Helot SMR (mislabeled as a Kamau SMR above. Whoops!). I had a hell of a time deploying because of the Fusilier LGL. I had to spread everything out, cover angles, and also have things inside and outside of the corridors. I knew there were Echo Bravos coming, so I did my best to cover the sides.
I tucked my Moderator Lt into safety and then covered the entire left side of the board with a Riot Grrl ML and then watched the board edge with the rest of the Riot Grrls. Most of my specialists went on the right–I basically intended to run across the roof or inside the corridor system. I protected the HVT in the center of the donut with a Morlock, and then put a Morlock on the right to screen against AD troops eventually.
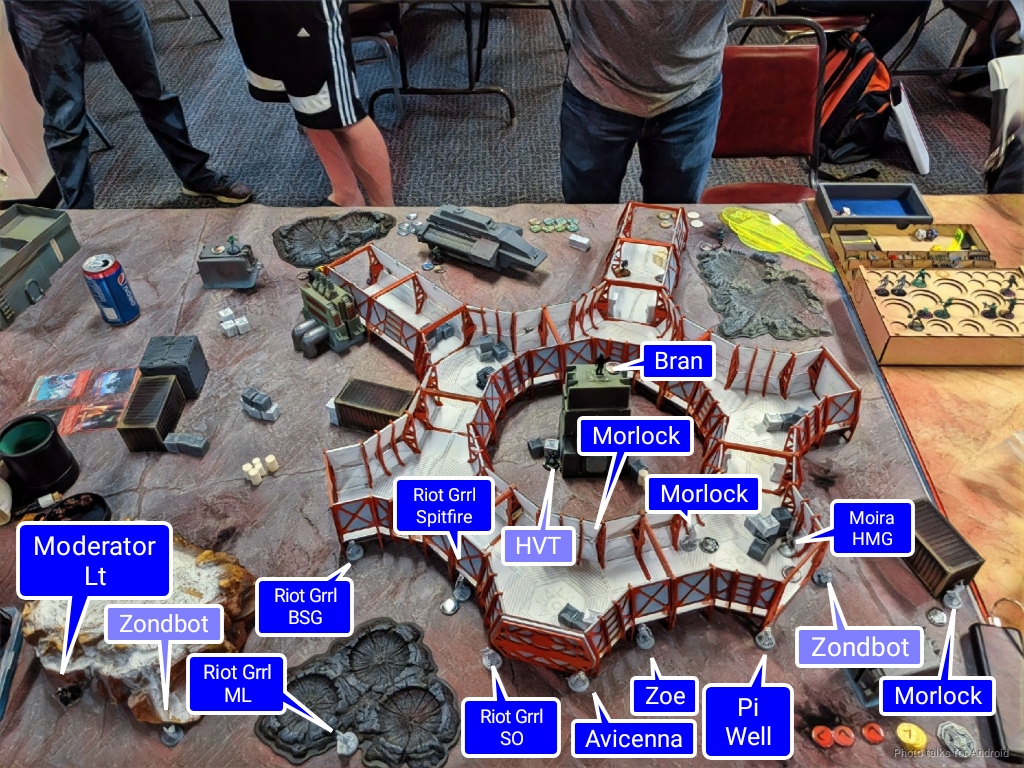
Zoe and Pi Well could do any of the common classifieds, and I drew Data Scan for my classified, meaning Zoe could do that one as well. My plan was to use the Riot Grrls to clear out AROs and then dash Zoe and Pi Well forward to get as many classifieds as possible–Zoe on the roof and Pi Well in the corridor. Unfortunately, there was only one really good spot to hide an S2 model, and the Moira got it. I forgot that they have multiterrain from their combat heels so I put her inside. Isaac put a Croc Man on my right out of reserve, and I put Bran on the tall central tower, envisioning some sweet acrobatic moves and not thinking about much else.
Turn 1
Top of 1 – VIRD
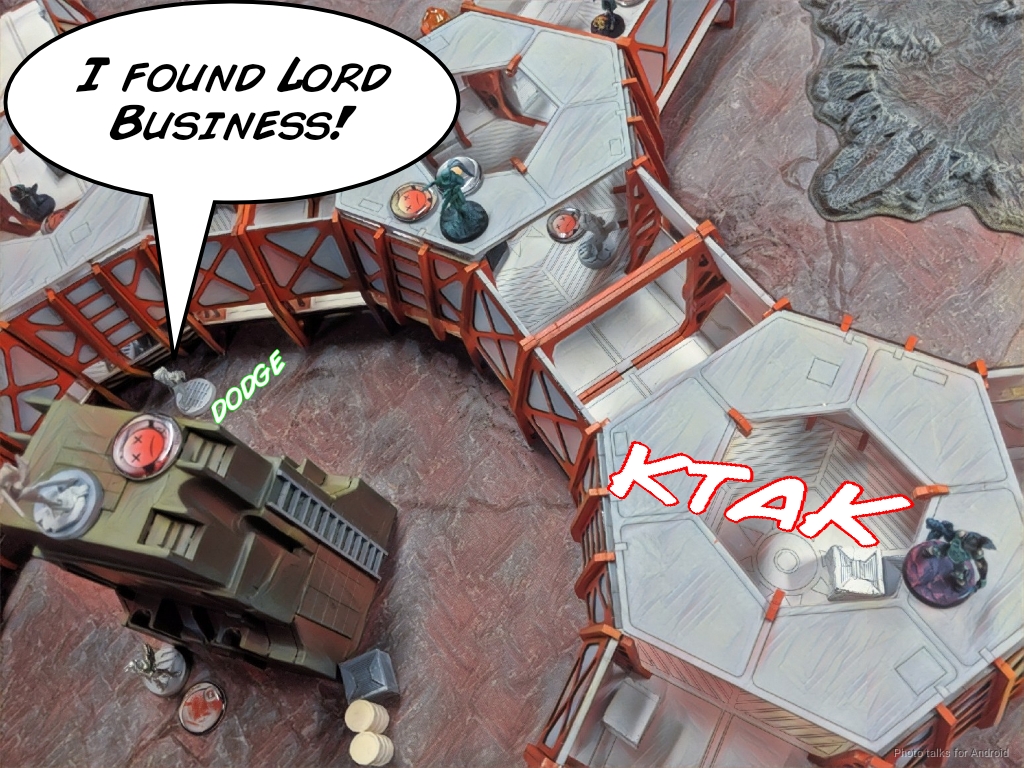
I deduct two orders from Isaac’s second pool, hoping to deter him from using his Zulu Cobras that I suspect are there. Isaac starts things off by consolidating his Fusiliers and Kamau link and running towards his HVT who he’s lovingly christened “Lord Business.”
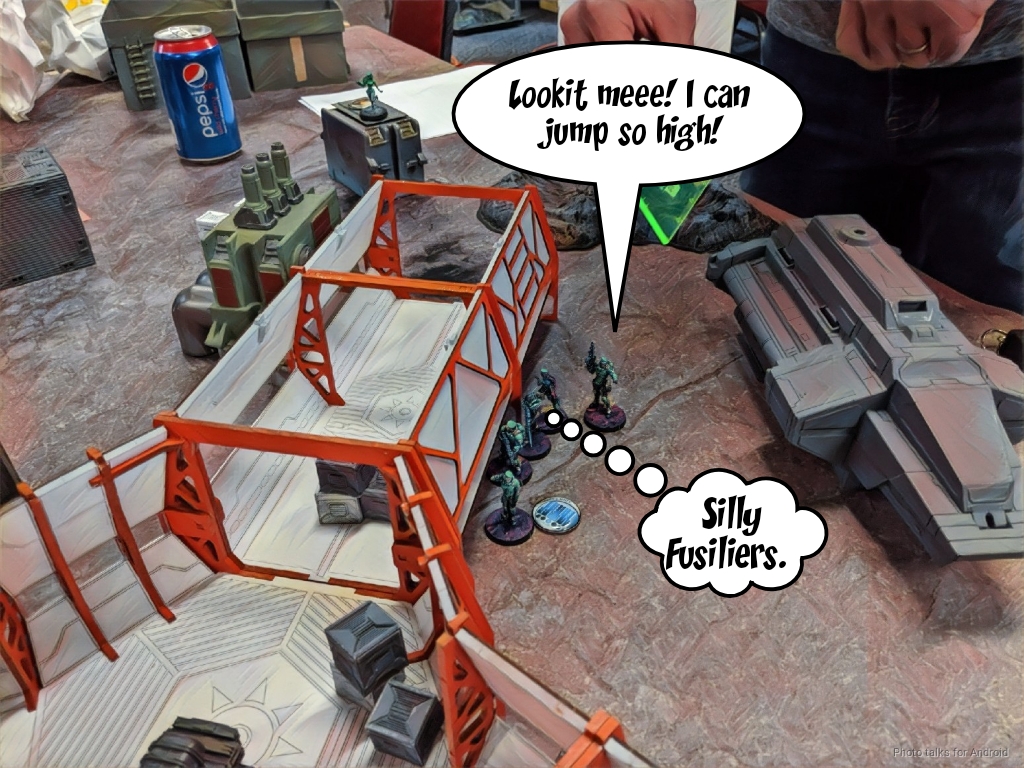
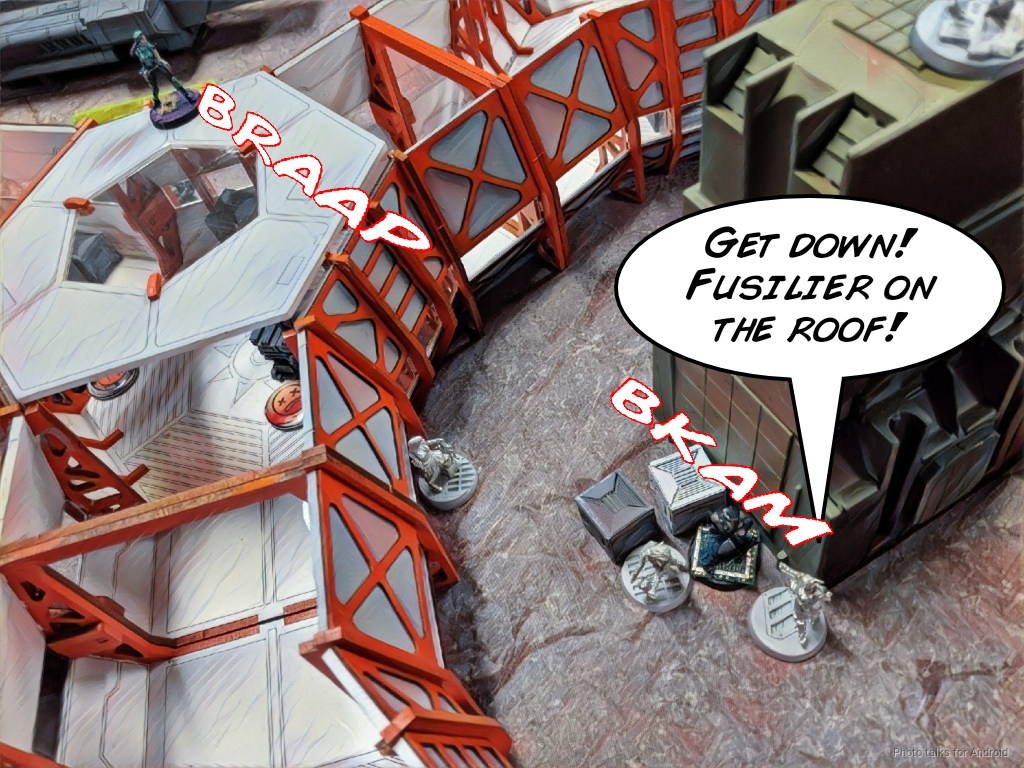
The Kamau makes use of the ladders to climb up to see Bran…
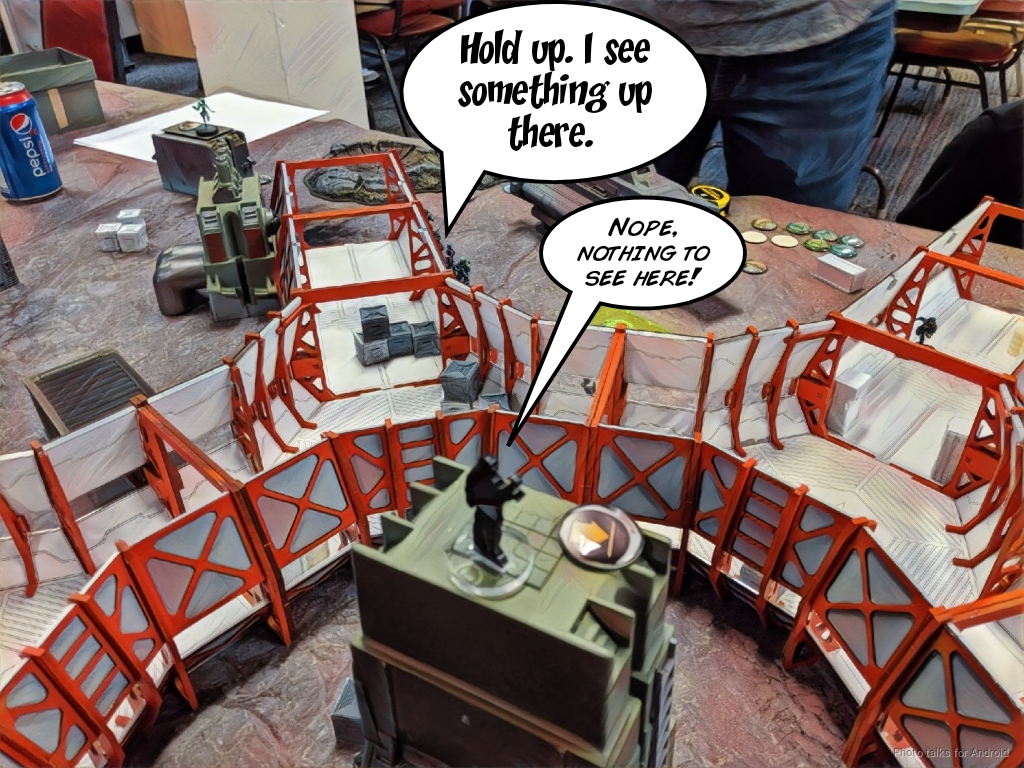
and discovers him successfully.
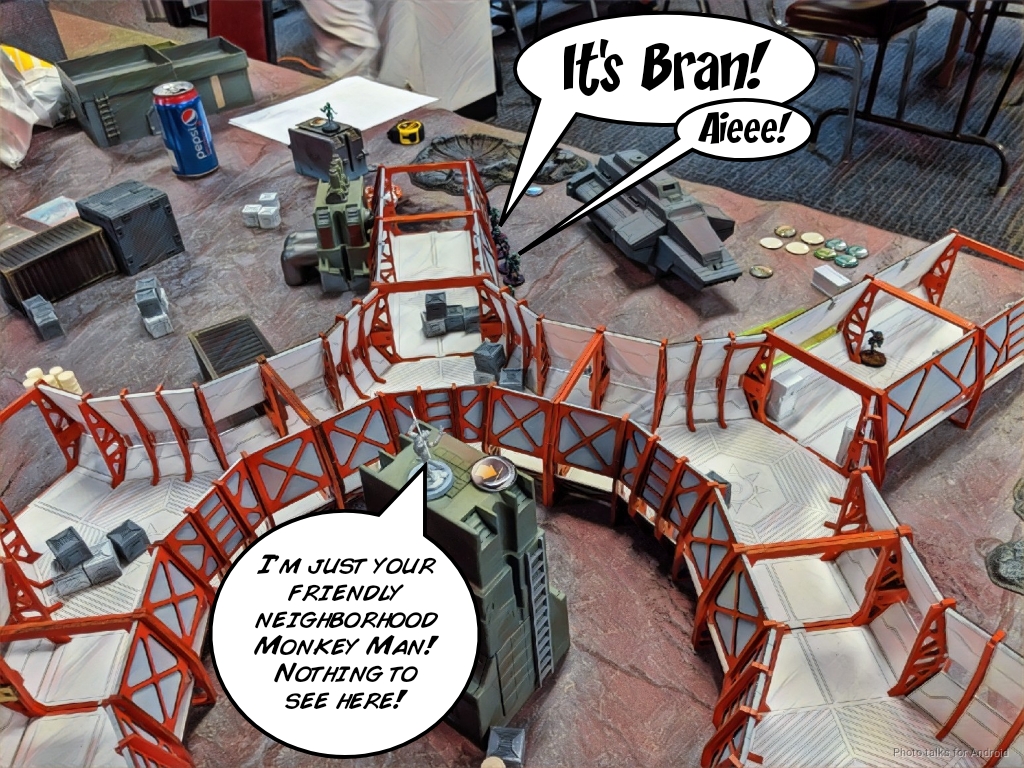
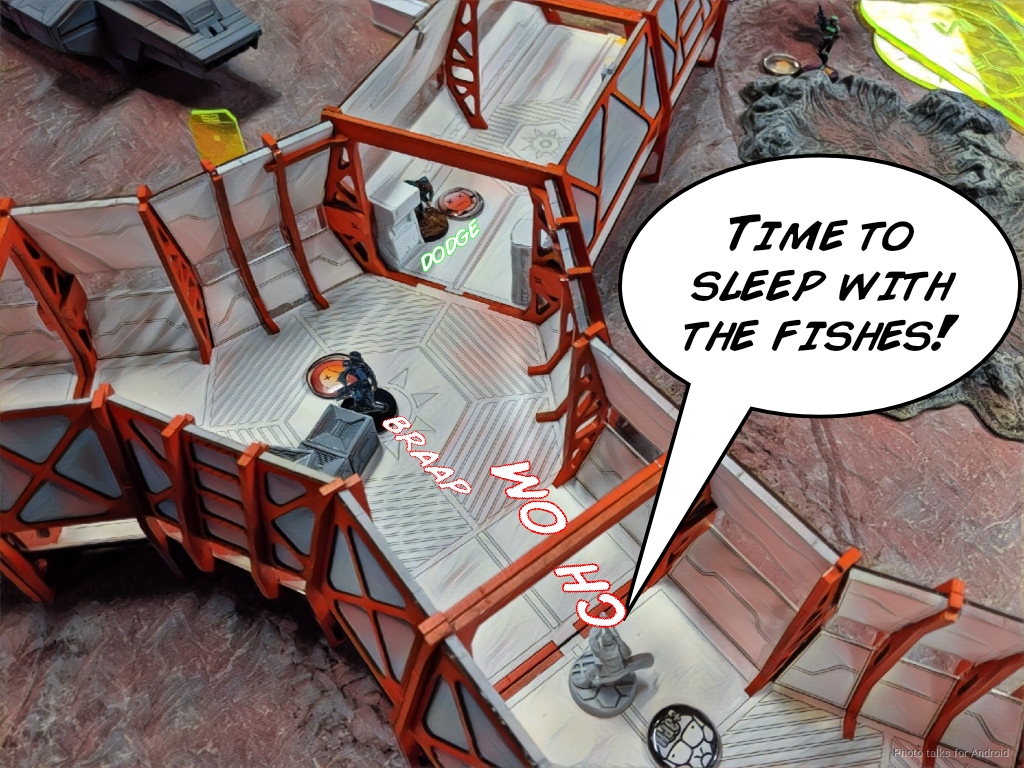
I try to dodge, but the Kamau makes short work of Bran. Miraculously, he doesn’t die outright and just goes unconscious.

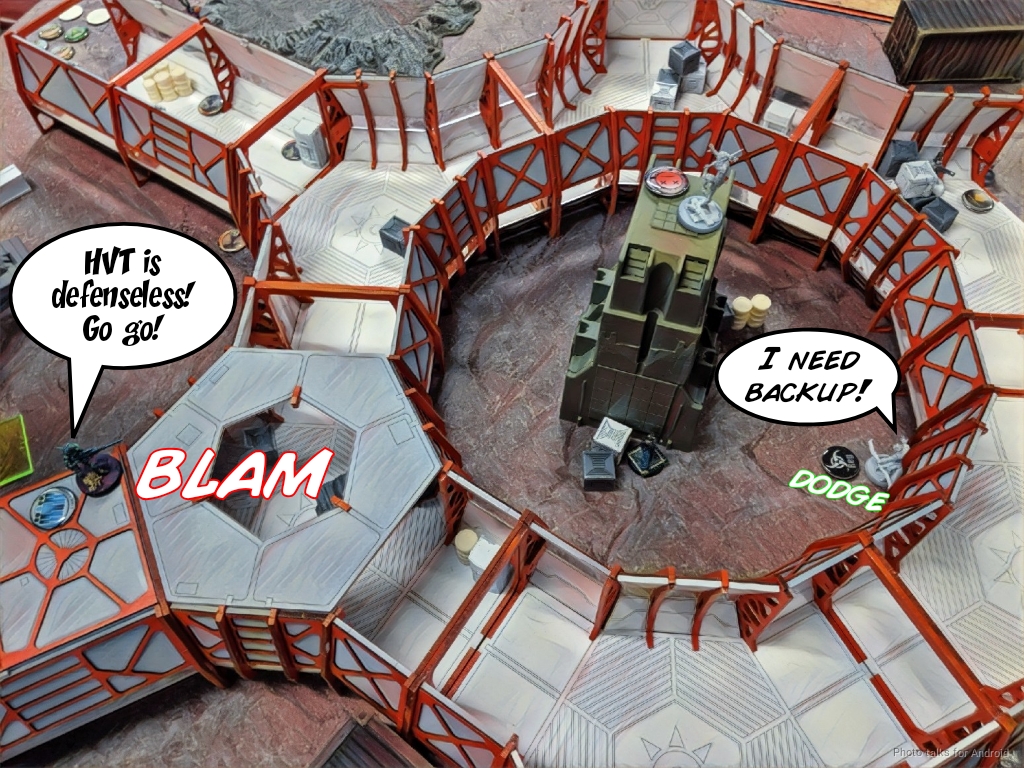
The Kamau climbs all the way up onto the roof and takes out the Morlock guarding my HVT, who also fails to dodge.
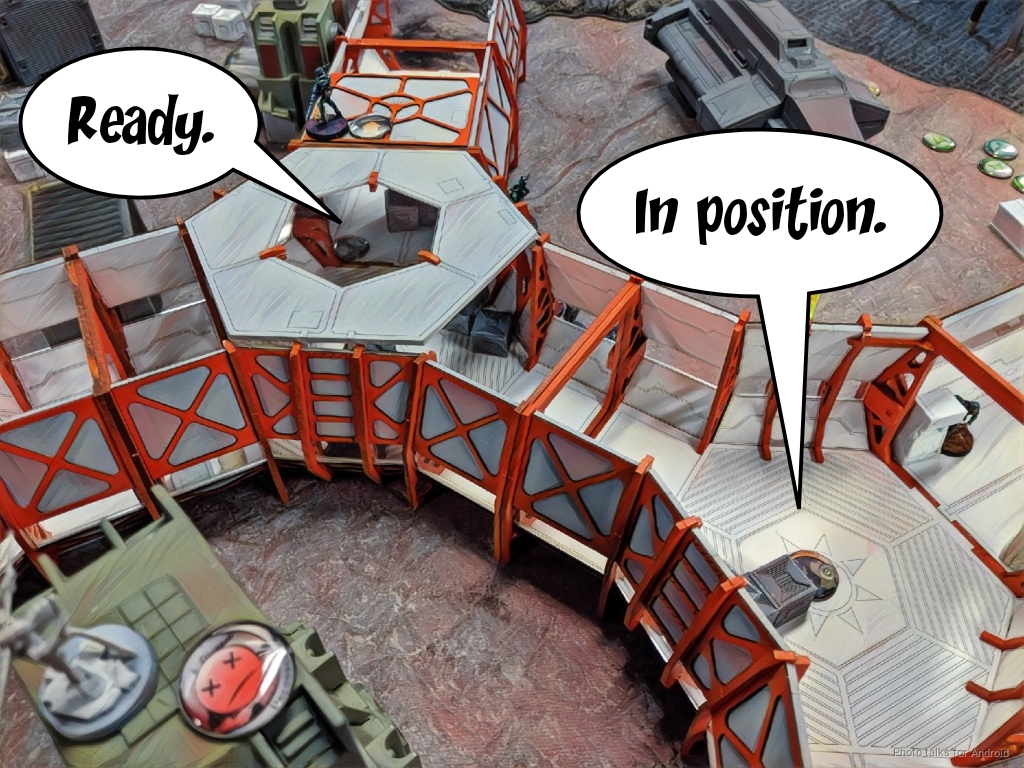
At this point, Isaac’s a bit low on orders and settles the Fusiliers into a defensive position around Lord Business with the Kamau on the roof.

He’s got a few more orders to spend on his Zulu Cobra and Helots, so he just trucks them forward and into cover to annoy me later.
Bottom of 1 – Bakunin
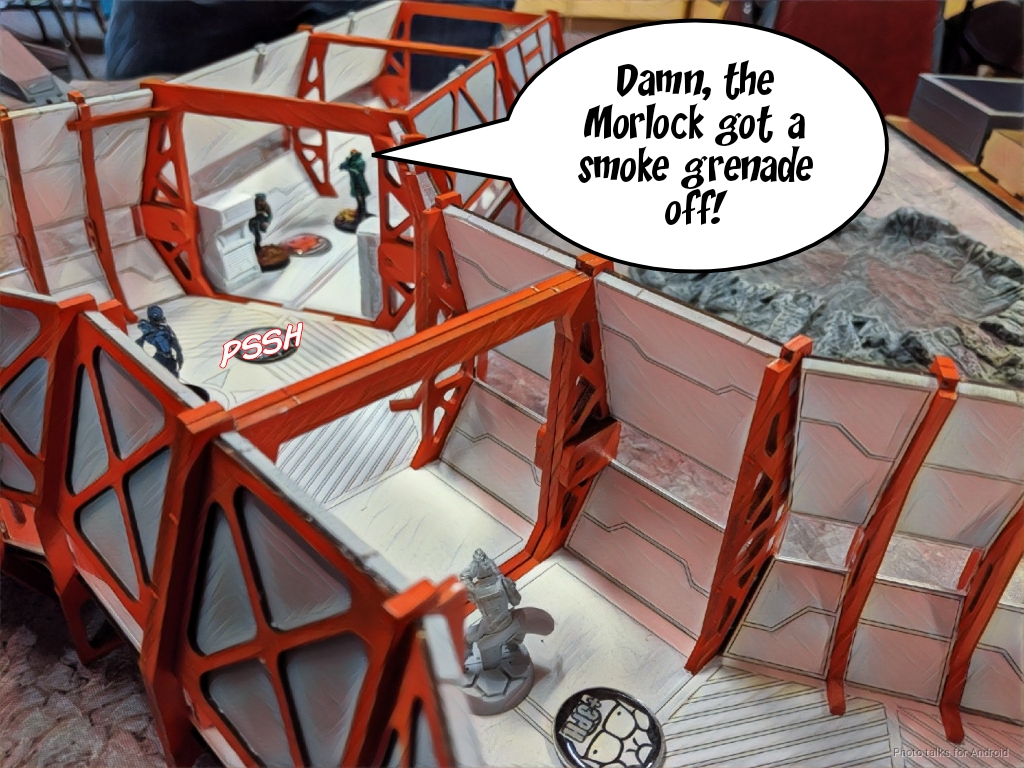
I get the Morlock outside into a position to cover the right table edge with a chain rifle, and the one on the inside throws smoke to cover his approach to the Helot and the Warcor. This lets me flip the outside Morlock’s order regular and intuitive attack the Helot and Warcor into unconsciousness.
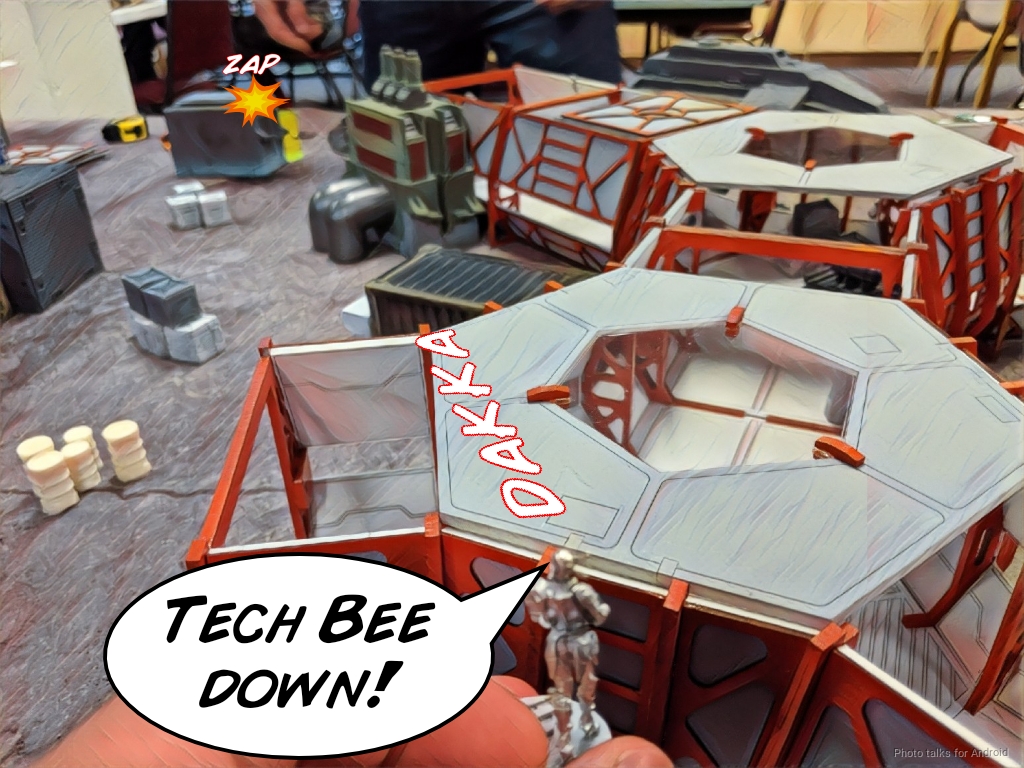
Then, I try to take out the Tech Bee with my Riot Grrl ML, hoping to bait out the Helot there. Isaac doesn’t bite, and the Tech Bee stuns my Riot Grrl. How irritating.
This does let me shuffle the Riot Grrls around though, and I take out the Kamau MSR by peeking just above the ladder with the Riot Grrl Spitfire.

Peeking up a little higher lets me take out the Tech Bee, and then I start shuffling Grrls around.
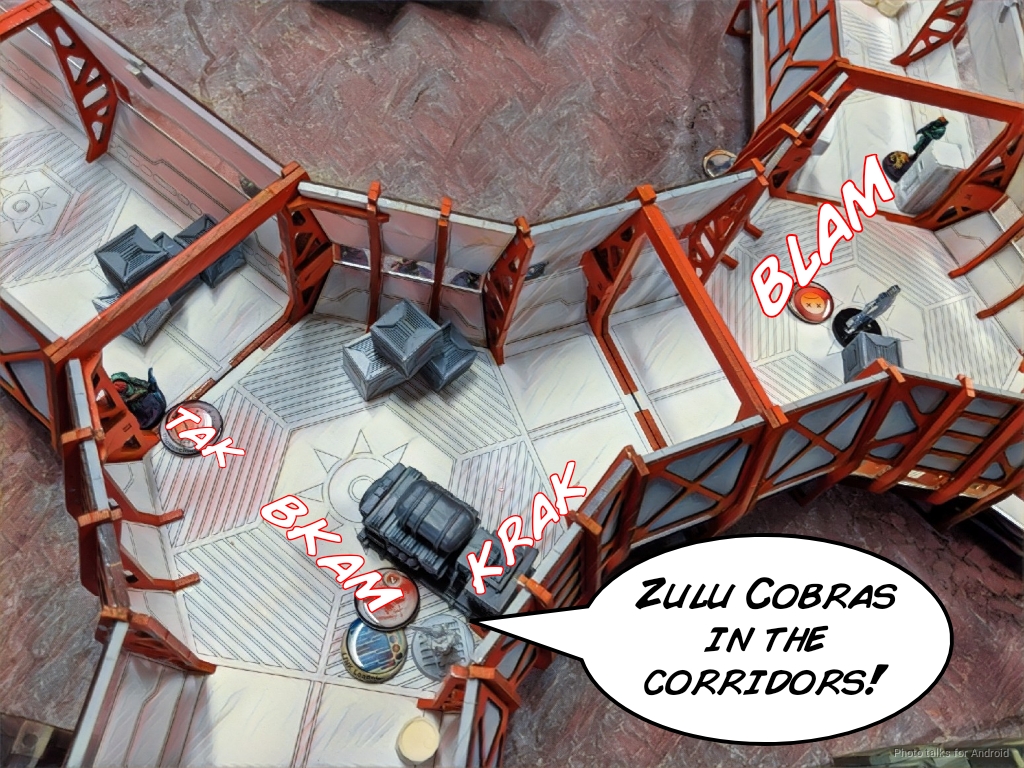
I intentionally expose the Riot Grrl ML to the Helot while advancing the Riot Grrl Spitfire. Isaac bites, and we both get normal rolls, him on the ML and me on the Helot. The Spitfire erases the Helot but the ML makes her ARM saves. I put the BSG on the roof and the combi Grrl inside the corridors, intending to stun grenade the Fusiliers and then shotgun them all from the roof, but I don’t have enough orders.
I settle for a gunfight with some Zulu Cobras after passing a Jammer BTS save (phew), and only take a wound to take out the Zulu Cobra Jammer. Great! The Zulu Cobra Spitfire does a wound though, which sucks.
These orders also let me climb the Spitfire and BSG into the donut hole and take up defensive positions around my HVT. I had to leave the ML behind, but she’s watching the left table edge, which is pretty grand.
Turn 2
Top of 2 – VIRD
Isaac wants to bring on some Echo Bravos, but my Morlock is watching the right table edge. He reveals a Croc Man and beats her smoke roll (even with PH+3 thanks to MetaChem!), knocking her out.
He tries to get rid of the other Morlock with the Zulu Cobra Spitfire, but I have +3 PH on this guy too and roll high on my smoke grenade, blocking the shots.
Isaac brings in an Echo Bravo Red Fury in total cover on the side the Riot Grrl ML is watching, then somehow manages to knock her out in one order. GROSS. He then brings in another Echo Bravo on the other side, now that the Croc Man took out the Morlock, and does the Wild Parrot trick to take out Pi Well.

I managed to dodge my Zondbot away and out of template range while the Echo Bravo did his thing, which was relevant later. Isaac then throws the Echo Bravo Paramedic, the Zulu Cobra Spitfire, and some other guys into suppression before passing the turn.
Bottom of 2 – Bakunin
My Morlock dies taking out the Zulu Cobra Spitfire, which is a pretty reasonable trade for me.
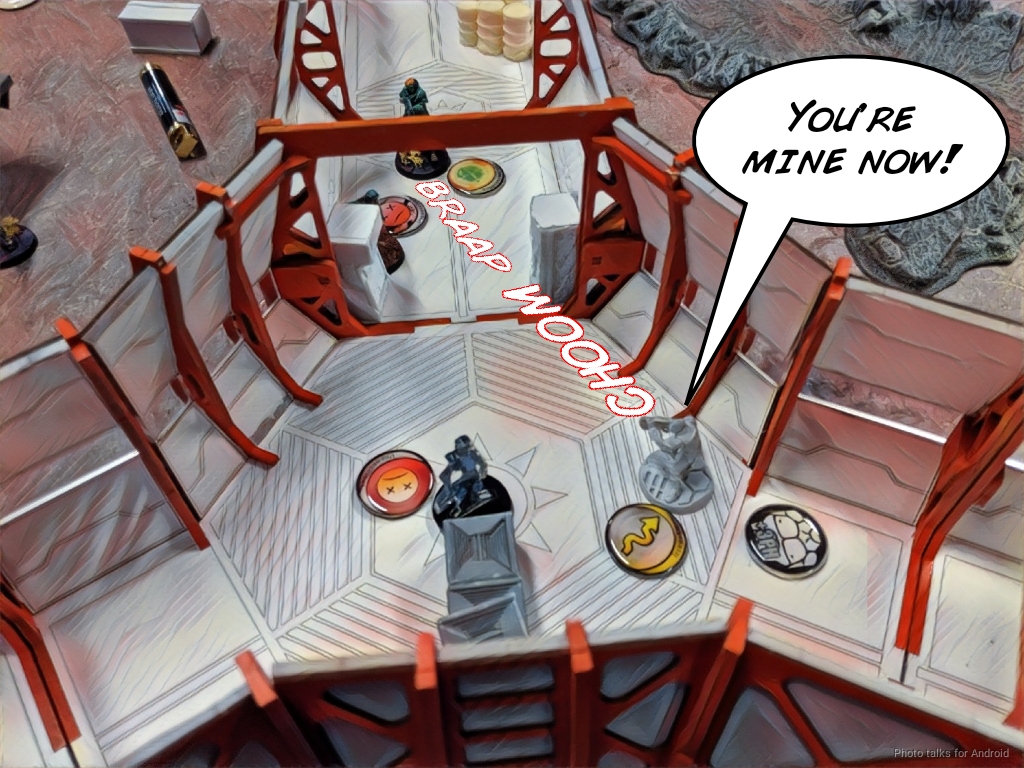
Zoe then starts her run, picking up Pi Well on the way with her ‘bot that I saved earlier. She climbs up the roof and then down into the donut to get in range of the HVT while avoiding the Echo Bravo Red Fury’s LoF. She manages to get HVT: Espionage after entirely too many orders, meaning I couldn’t get her to safety. My Riot Grrls are kinda out of position, so I just hope I’ve got Isaac under enough order pressure for him to ignore Zoe.
I feel like I have to deal with the Echo Bravo Paramedic, because it’s right there and I don’t want to just lose Pi Well again. I coordinate an order between the Riot Grrls, Pi Well, and the Moira to take out the Echo Bravo Paramedic in suppression. I debated using this order to save Zoe, but I needed the second short skill of shooting and it would’ve taken two movements to get her to safety.
In any case, the Moira, Pi Well, and the Echo Bravo all whiff, so it was a bit of a waste.
Turn 3
Top of 3 – VIRD
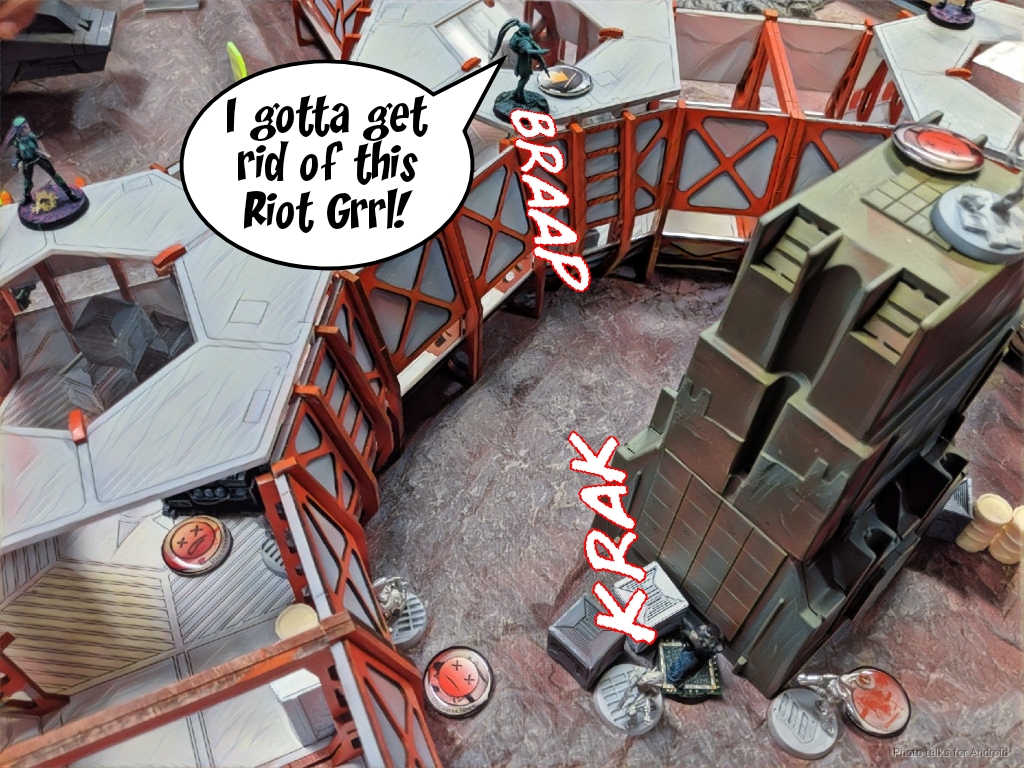
Isaac tries to get rid of the Spitfire Riot Grrl with a Fusilier Paramedic, but I fail guts into cover, making it quite annoying.
I’ve at least put him under severe order pressure, so he can’t get Mapping and the rest of his stuff. He starts an abortive attempt to get Mapping by putting the Croc Man on the roof, getting LoF to and thereby killing Zoe. Bah!
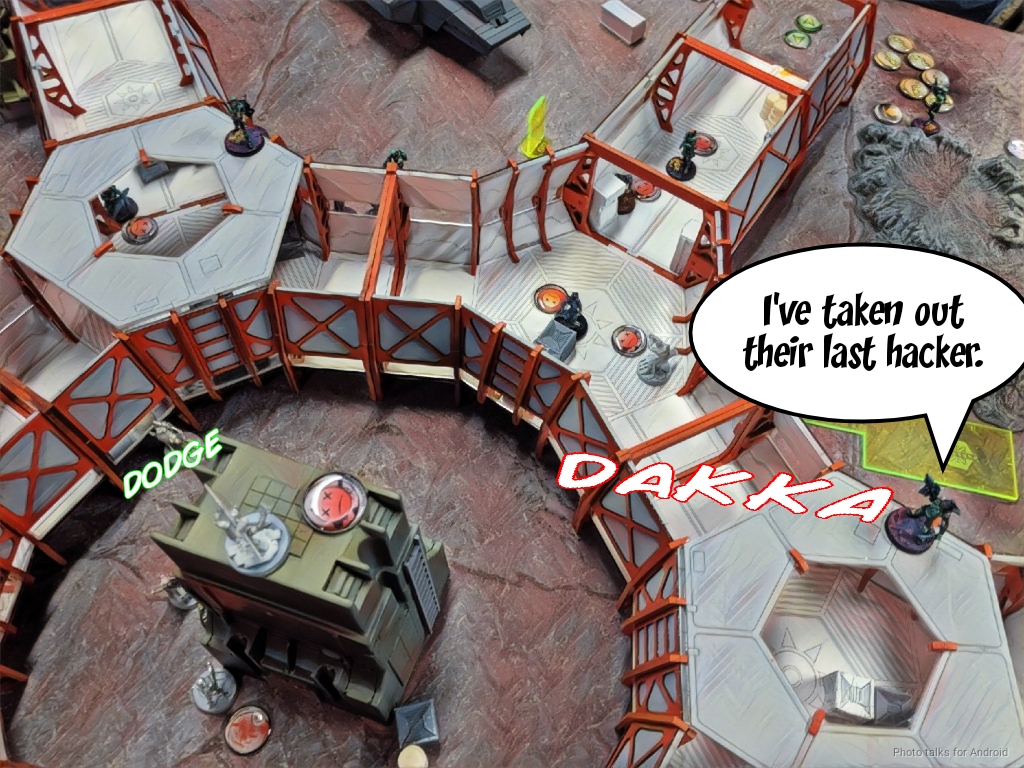
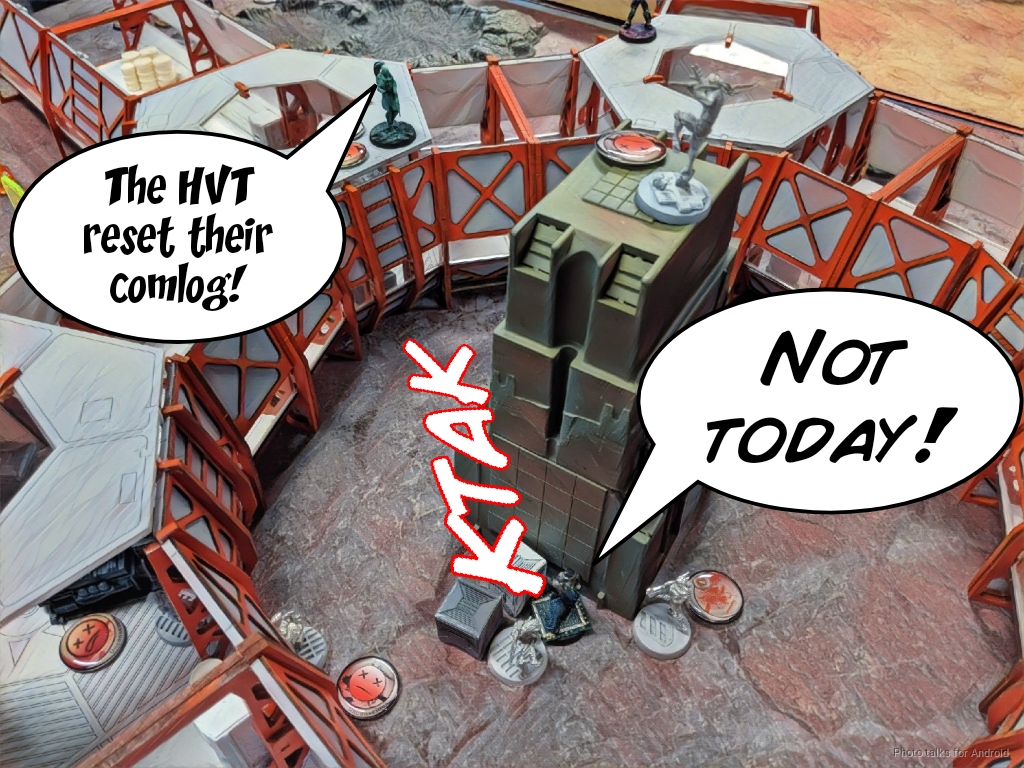
He then realizes that he needs to get HVT: Espionage himself and possible also HVT: Kidnapping, so he sends in his Zulu Cobra KHD. She trades some shots with my Riot Grrl BSG, but I beat his rolls thanks to being within 8″ and having MSV1. After passing ARM, he commits to HVT: Espionage and tries to move out of LoF.
My HVT resets successfully, and my Riot Grrl knocks out the Zulu Cobra.
With no real way to put more points on the board, Isaac goes after my order pool and knocks out Pi Well again, this time with the Croc Man on the roof against my flash pulse.
Isaac moves his Fusilier Lt into a position to contest any attempt for someone in the corridors getting into his deployment zone, then throws her into suppression and passes the turn.
Bottom of 3 – Bakunin
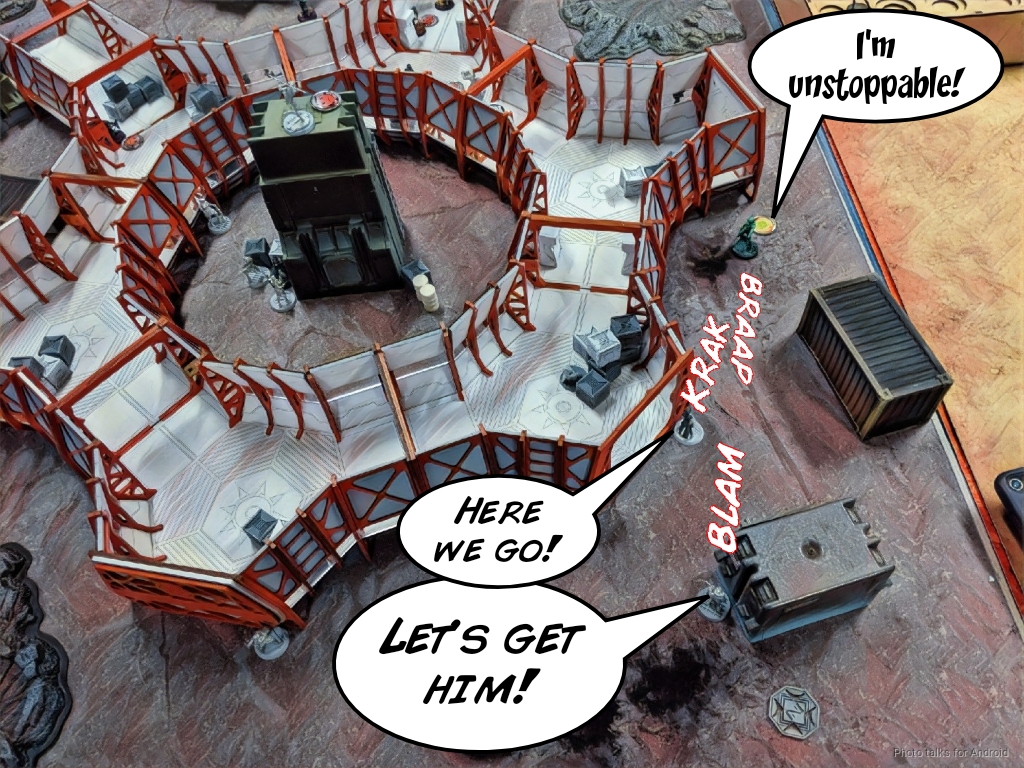
Funnily enough, the Riot Grrl BSG is Frenzied, so I use this order to get her closer to Lord Business, Isaac’s HVT, to secure him. I dodge against the Croc Man’s shot successfully too.
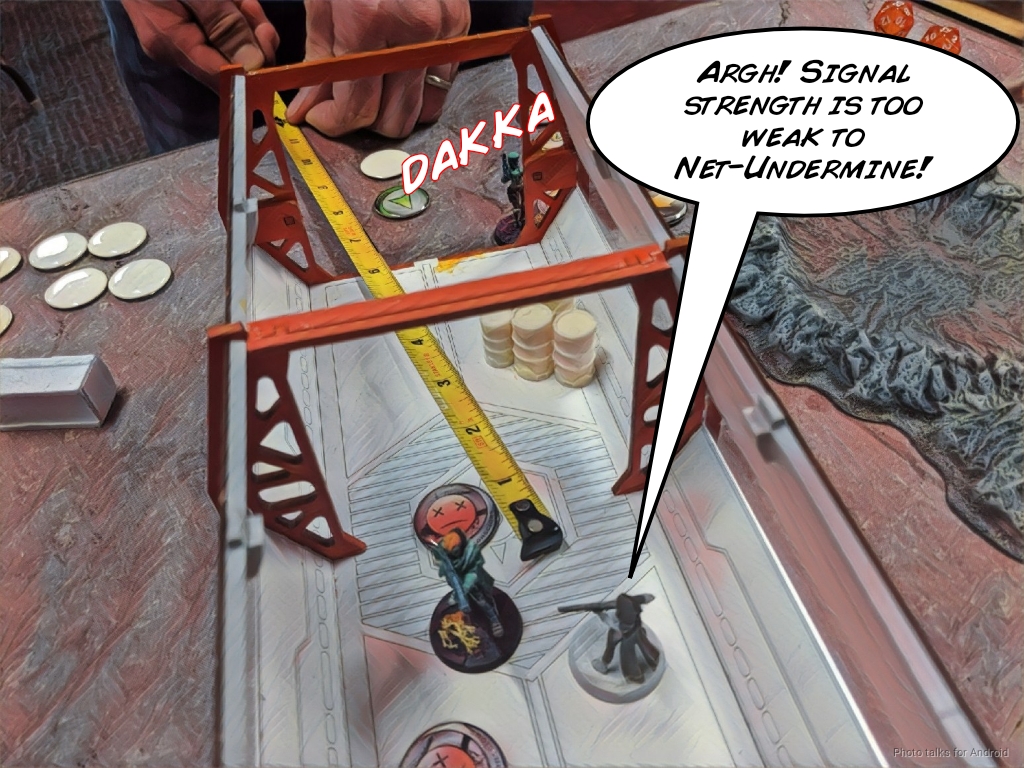
At this point, the only way for me to put more points on the board is to make a mad dash to Isaac’s deployment zone to try and get Net Undermine with my Moira. I expose her to the Fusilier to get extra movement and her ODD saves her. Sadly, I’m 2 inches away from Isaac’s deployment zone (stupid 4-2 MOV) and for fun just gun down his Lt.
I’m the only one to have gotten a common classified, and I’ve secured Isaac’s HVT…
making it a
7-0 Jurisdictional Command of Bakunin Victory!
Post Game Analysis
So, this table was pretty freaking tough. The rooftops are completely open, so you have to think very carefully when you want to commit to the rooftop. Once you leave something up there, it’s probably going to die. The corridors and buildings also create walls across the table that are possible to move across–there are plenty of ladders–but create enough of a movement barrier that they drain a few orders.
The donut setup is really fun, but I’m looking forward to other setup options. I Think there probably need to be more doors to get in and out of the corridors, but that’s definitely a limitation of the pieces we had available (again, we only did test cuts of some of the components).
As far as game stuff is concerned, I think I need more orders for Morlocks and I horribly wasted Bran. Also, remembering that Moiras have multiterrain would’ve been good, because then I would’ve been more likely to deploy her outside and Pi Well inside… Pretty pleased with my pacing and prioritization of things, but there’s always room for improvement. I think the big takeaways were my deployment was poor, in part due to a punishing table, and that snowballed a bit. I made a good recovery and made good use of my toolkit, even though I wasted Bran.