
Tohaa Puppy Rescue
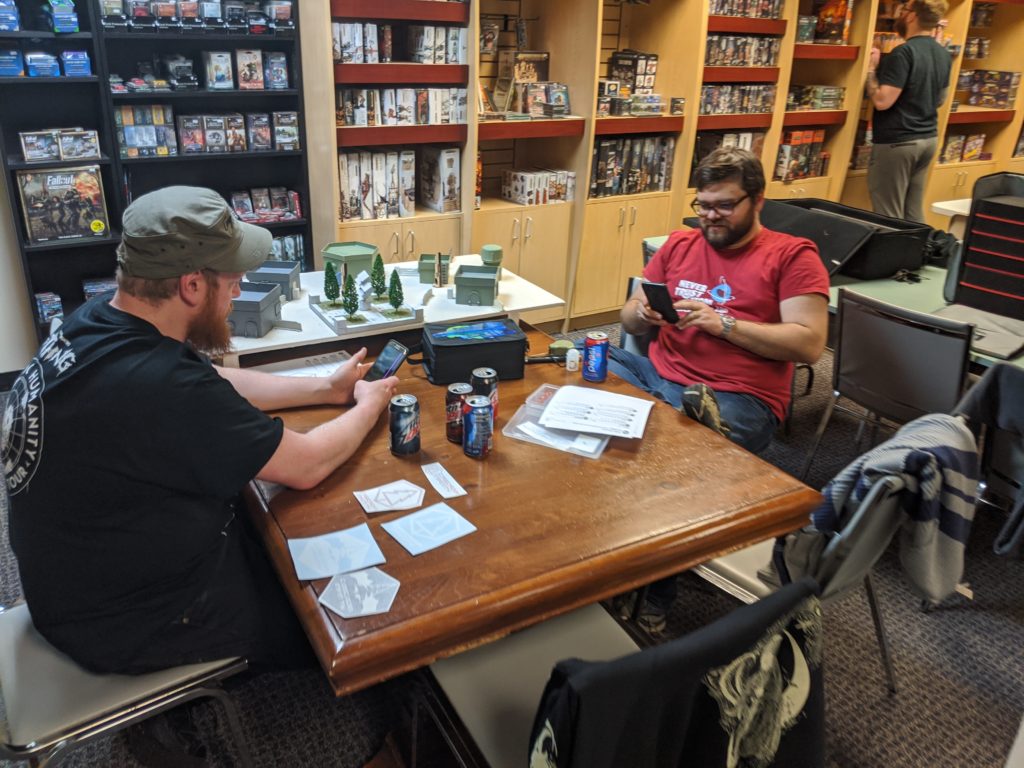
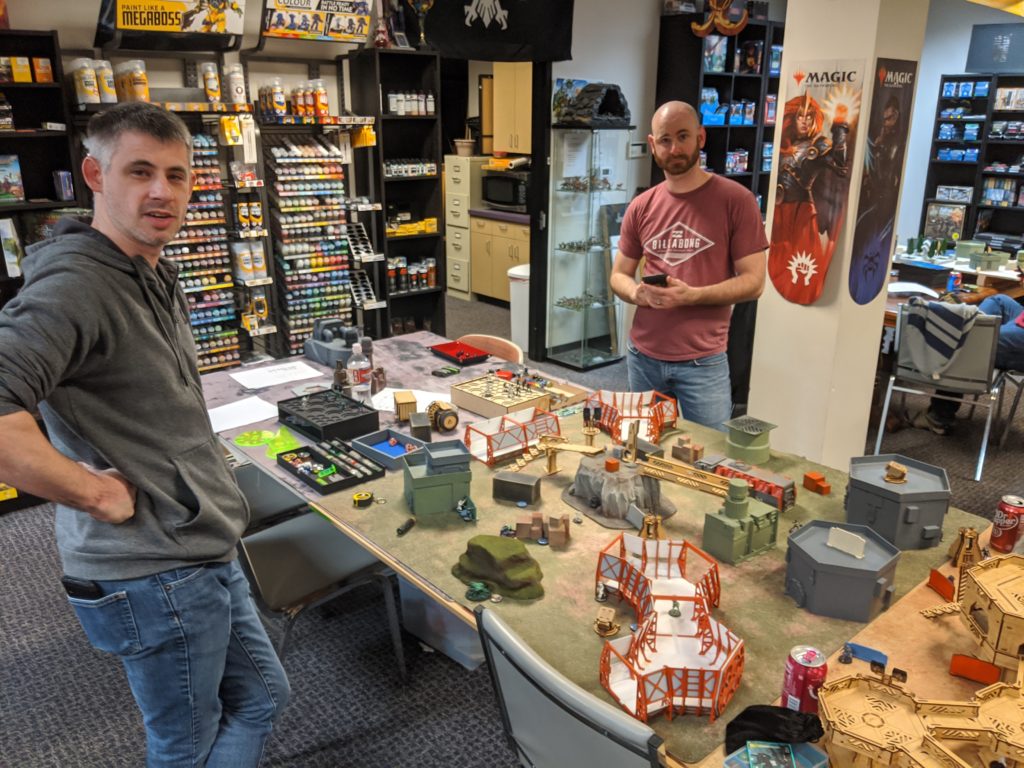
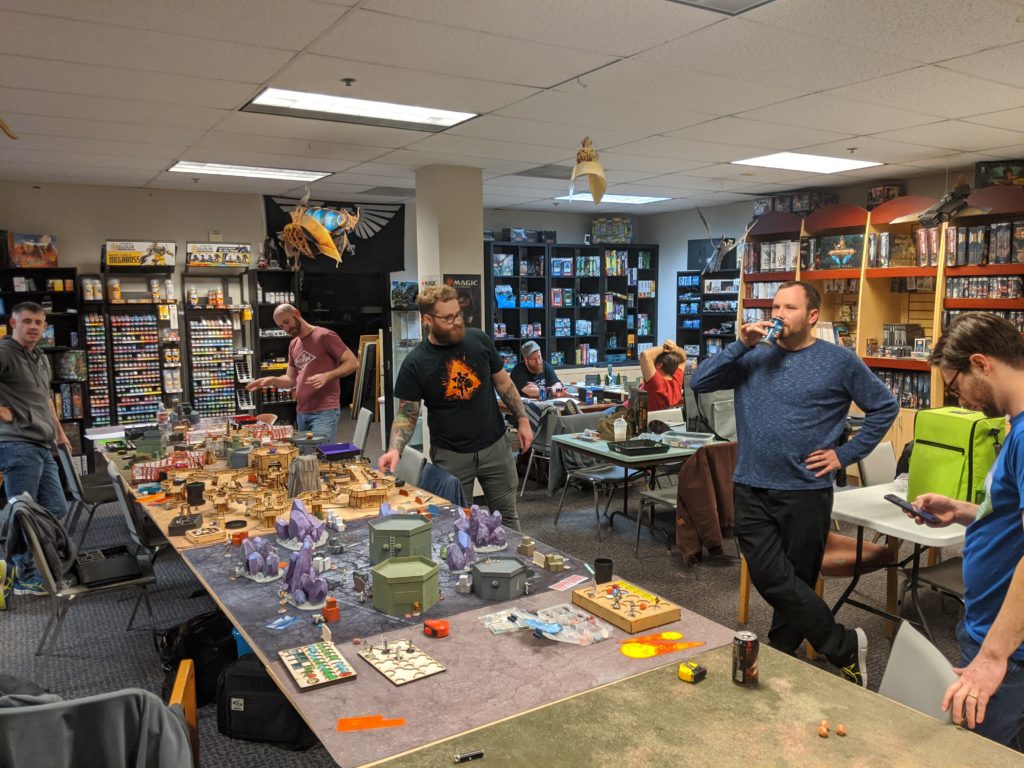
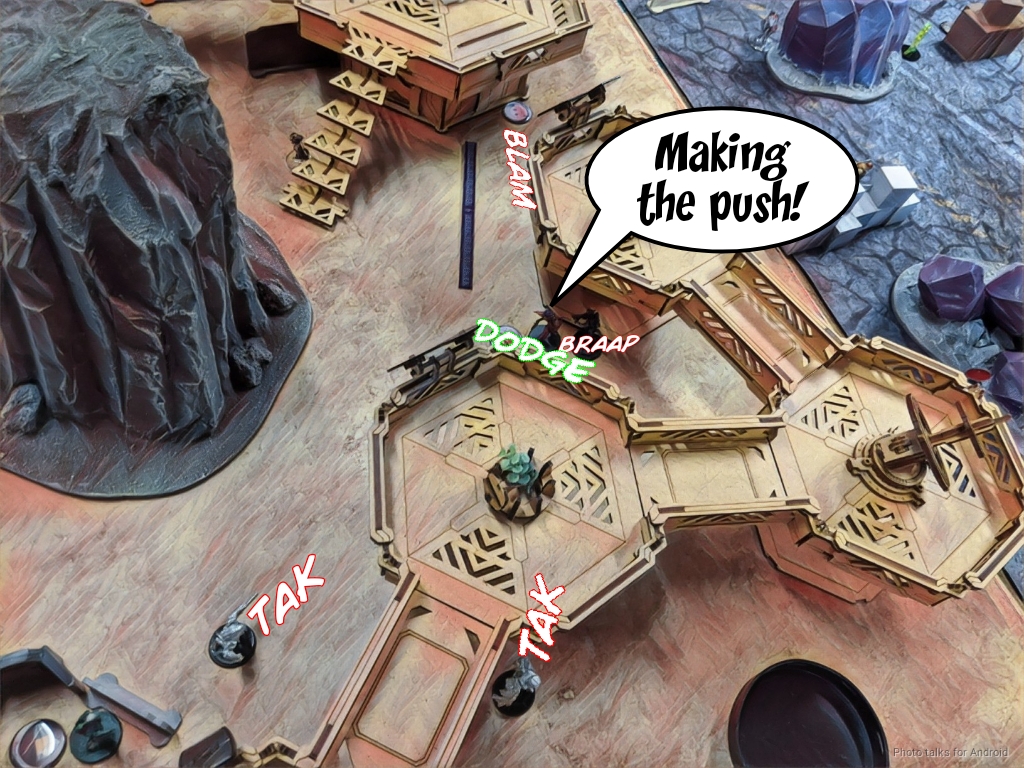
We’ve been doing some Tigerlands for the past two game nights, specifically focusing on deployment speed. This time, I wanted to do a Tigerland with a focus on playing to the objective. Here’s the crew that showed up!
If you’re interested in learning more, here’s the link to the Tigerlands:
To summarize, I’m having the crew play Rescue and focus specifically on not just winning, but getting 10 points. I played Doug (DoodleKing)’s Shasvastii with my Tohaa (who haven’t seen the table in awhile).
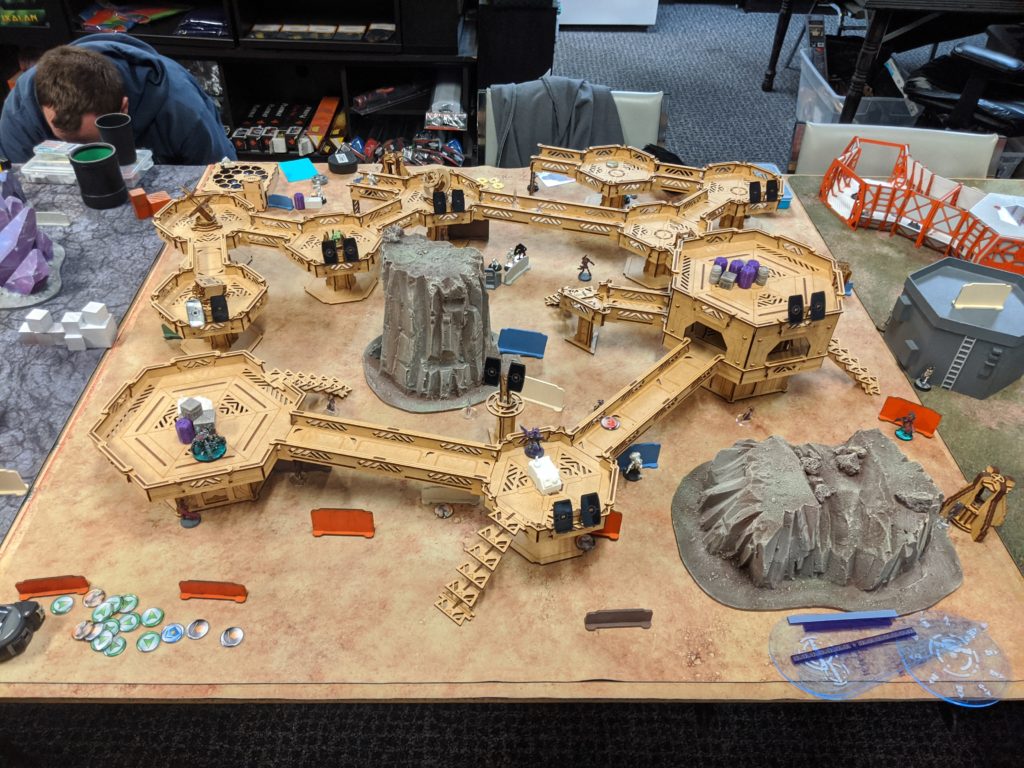
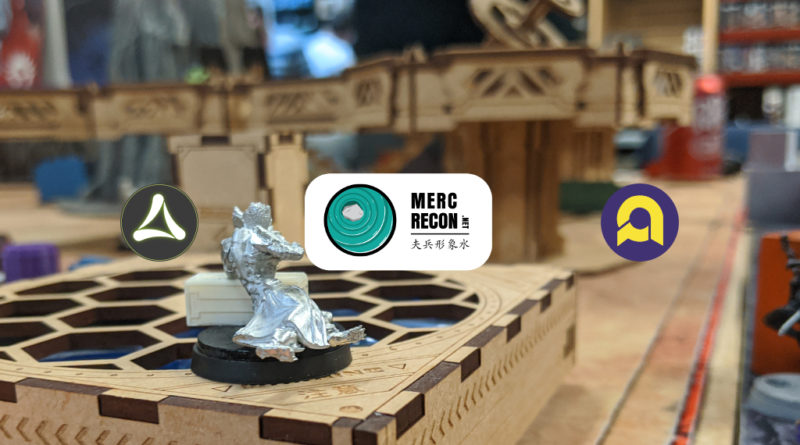
Adam and I are really digging the Death Ray Designs terrain + foam hills table. Hopefully we find the time to get some paint on it soon! It’s worth noting that I’m using the Dogfinity Warsen.al HVT markers for my Civilians! For those of you that don’t know, Dogfinity is a charity tournament out of Florida in the US that benefits dog rescue efforts:
You don’t have to go to Dogfinity to support them! You can throw dollars at them and they’ll send you swag! If you want to know more about Dogfinity, check here:
Overview
- Mission: Rescue
- Forces: Tohaa versus Shasvastii Expeditionary Force (300)
- Deploy First: Tohaa
- First Turn: Tohaa
Rescue
GROUP 1 |8
1
SUKEUL Lieutenant (Forward Observer) K1 Combi Rifle, D-Charges / Pistol, Breaker Pistol, Knife. (0 | 32)
KRIIGEL Breaker Combi Rifle + Light Grenade Launcher / Viral Pistol, Knife. (0.5 | 31)
MAKAUL Heavy Flamethrower, Eclipse Grenades / Pistol, Viral CCW. (0 | 13)
GROUP 2 |
TAAGMA Breaker Combi Rifle, Nanopulser / Pistol, Knife. (0 | 16)
KAELTAR (Chain of Command) Light Shotgun, Flash Pulse + 2 SymbioMates / Pistol, Electric Pulse. (0.5 | 21)
DRAAL (Minelayer) AP Marksman Rifle, D-Charges, Antipersonnel Mines / Viral Pistol, Knife. (1 | 40)
NIKOUL Viral Sniper Rifle / Pistol, Knife. (1.5 | 28)
KAAURI Sentinel Sniper / Pistol, Electric Pulse. (0.5 | 19)
1
CHAKSA AUXILIAR (Baggage, Sensor) Heavy Flamethrower / Pistol, CCW. (0 | 10)
GREIF-OP (Inferior Impersonation) Combi Rifle / 2 Breaker Pistols, Knife. (1 | 21)
JAAN STAAR Light Shotgun, Antipersonnel Mines / 2 x Viral Pistol, CC Weapon, Knife. (1 | 31)
LIBERTO Submachine Gun, Chain-colt, D.E.P. / Pistol, Knife. (0 | 8)
6 SWC | 300 Points | Open in Infinity Army
I designed this list specifically for Rescue. I figured I’d put the Draal in the center of the table with Stratuscloud up, then set the Nikoul and Kauuri to shoot through the cloud at targets. I don’t really need Stratuscloud with Rescue’s saturation zone, but I figured the additional low-vis and the MSV1 on my snipers would be extra annoying.
I also took four Chaksa for orders and to coordinate them forward to cover all four Civilians, now that Civilians don’t cancel templates! My civilian grabber was going to be my Sukeul. The Makaul will get him there, I can take out targets of opportunity with the Kriigel’s LGL, and then I can leave them both in annoying positions to screen the Sukeul against threats.
The Impersonators are there to be annoying, be backup Civilian grabbers, and to take out targets of opportunity. We’ll see how it goes! I’m trying Jaan Staar on Obadiah (nehimiah)’s suggestion, so that will be a nice data point as well.
Shasvastii Expeditionary Force
GWAILO Lieutenant (Multispectral Visor L2) Heavy Rocket Launcher / Breaker Pistol, Knife. (2 | 43)
SHESKIIN MULTI Rifle, Pulzar, D-Charges / Pistol, DA CCW. (0 | 53)
MENTOR (EI Hacking Device) Boarding Shotgun / Pistol, Knife. (0.5 | 30)
SPECULO KILLER (Minelayer) Combi Rifle, Smoke Grenades, Antipersonnel Mines / Pistol, Monofilament CCW, Knife. (1.5 | 39)
R-DRONE Flash Pulse, Sniffer / Electric Pulse. (0 | 8)
IKADRON (Baggage, Repeater) 2 Light Flamethrowers, Flash Pulse / Pistol, Electric Pulse. (0 | 9)
SHROUDED (Forward Observer) Combi Rifle, Antipersonnel Mines / Pistol, Knife. (0 | 25)
CALIBAN (Chain of Command) Submachine Gun, Pulzar, D-Charges / Pistol, Knife, CC Weapon. (0 | 29)
Doug took the above SEF list. It’s got good bones but I think it could use some tweaking. I’m not exactly sure what I would change since I’ve never played Combined, but I think it needs some more long range firepower as well as some more board control and ARO presence.
Deployment
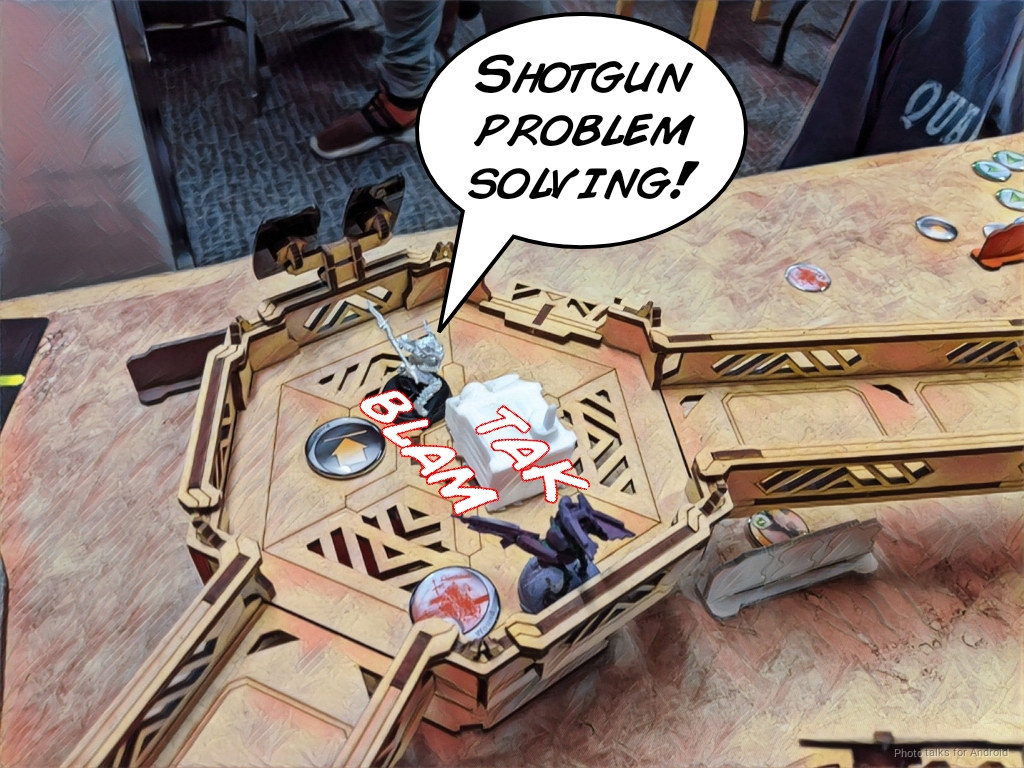
Doug won the rolloff and decided to take board side, so I decided to go first. I looked at the board, and there was a definite path forward on the left where I could easily get past any AROs with Eclipse Grenades and drop an Eclipse Grenade on the nearest doggo HVT and abscond with it. So, that’s exactly where my Triad went.
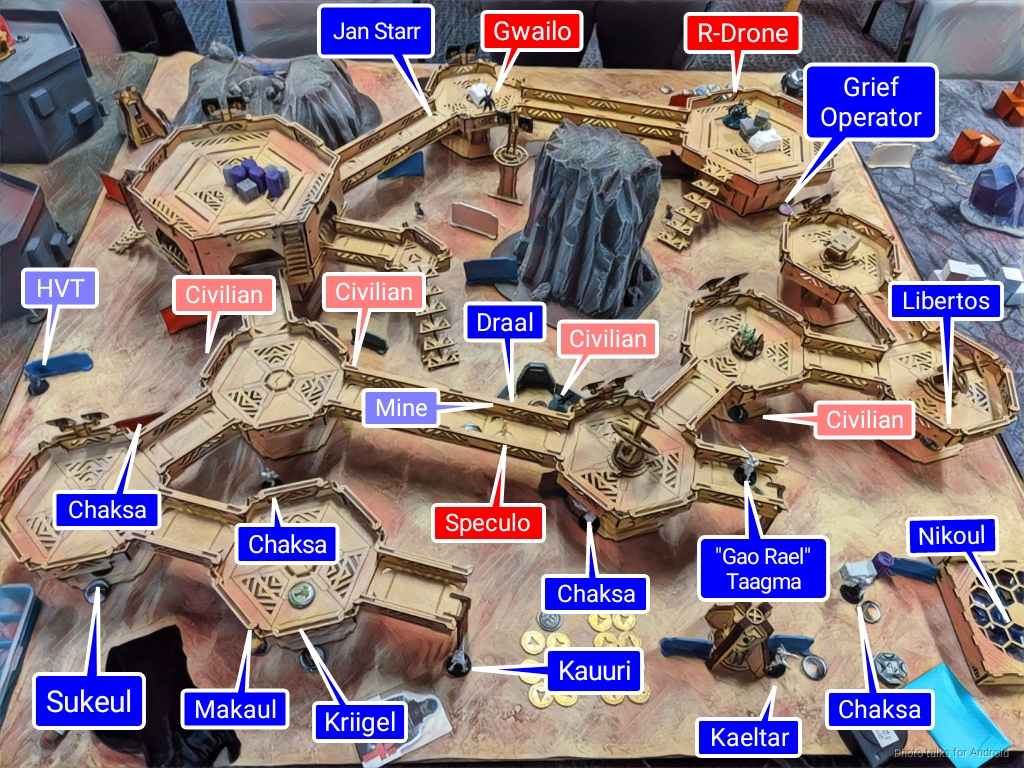
I stuck to my plan of setting up a sniper cross fire with the Kauuri and the Nikoul through the Draal’s Stratus Cloud, and then put the Chaksa as close to the HVTs as I could get them. I bluffed a prone Gao Rael sniper with my Taagma, mostly to hide the Counter-intelligence. The Kaeltar drops ‘mates on the Sukeul and the Draal.
It occurs to me now looking at my deployment in this picture that I could have formed a second triad with the Taagma, Draal, and Kaeltar, but oh well. It wasn’t important. My Grief Operator went on the right next to likely deployment areas for Doug, and then it was Doug’s turn to deploy.
He stuck a Gwailo on the catwalk to ARO and did the same with the R-Drone. He then put down 5 camo tokens (4 real, one ambush) across his deployment and dead zone, some of which were left out to ARO like the Caliban which I have incorrectly labeled as a Cadmus in the picture below. Bah! I don’t know Shas very well!
The Ikadron was on the right and Sheskiin on the left. Doug unfortunately forgot about his Speculo’s being Minelayers, so when he deployed them he didn’t deploy mines. I wish I knew and could have reminded him. That happens a few times this game. It’s difficult to have more of a teaching game when there’s a ton of hidden information on your opponent’s side.
In any case, Doug dropped a Speculo near my stuff, which I fully intended to ignore, and then I put Jaan Staar next to his Gwailo. Doug put his other Speculo down on a catwalk next to my bluffed Gao Rael sniper.
Turn 1
Top of 1 – Tohaa
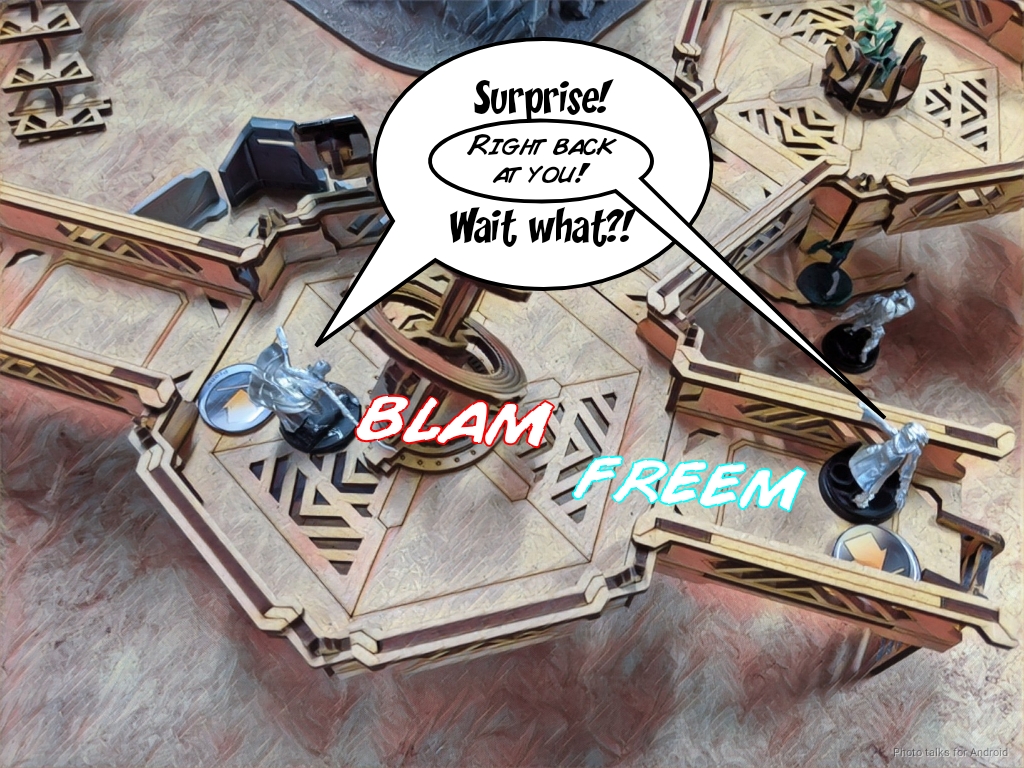
Doug docks one order from my main pool, which I think was a mistake. Definitely steal from the Impersonators! I start things off by spending 5 orders getting behind the Gwailo with Jaan Staar and shotgunning it unconscious. Sadly, I had no idea this was his Lieutenant, I was just trying to clear out the ARO.
I waffle about whether or not I should go for a doggo rescue and then decide to commit, relying on my DataTracker + Lieutenant order to get my Sukeul out of trouble. Doug elects not to reveal any of his camo tokens until I get really close to the Caliban. I had no idea this was his Chain of Command model, or I would have encouraged him to not reveal.
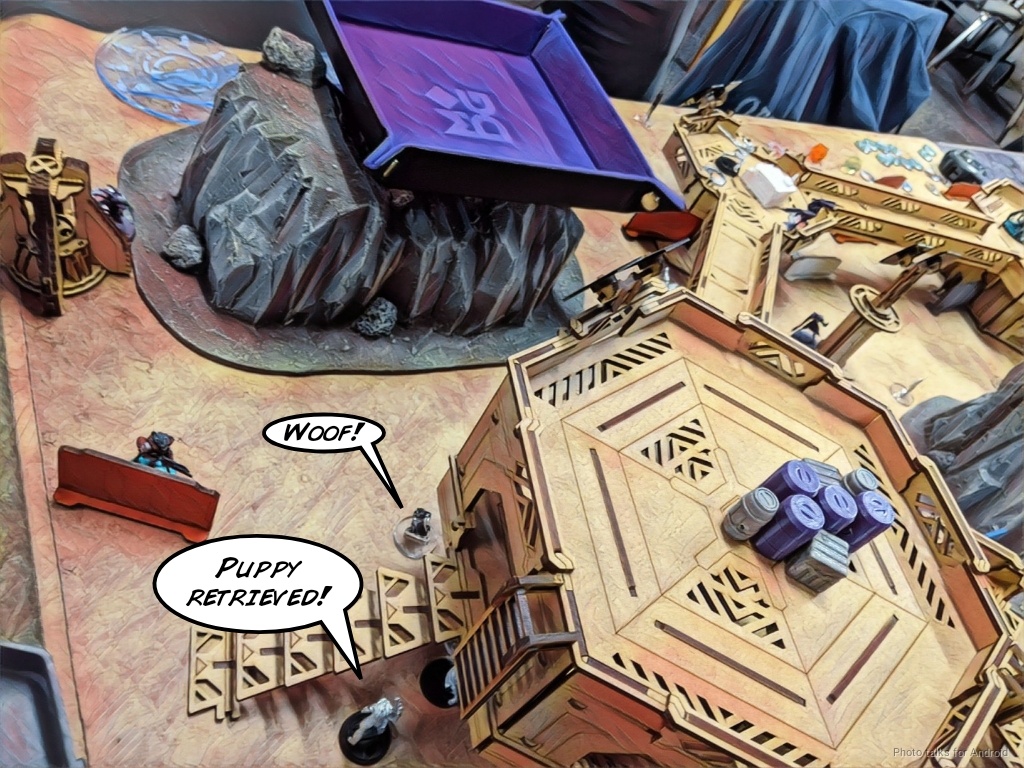
You’re not going to kill a linked Sukeul with a ‘mate in ARO with an SMG in bad range bands. In any case, I drop the Caliban and move on with things, grabbing the puppy! As I do this I set the Makaul up to screen the approach with the Kriigel in total cover behind, Eraser ready!
I make sure to take out the Ikadron by shooting it in the back, because that’s very likely to collapse the flank if I’m not careful. I end the turn by shuffling the Libertos forward and coordinating the Chaksa forward after tucking the Sukeul into cover.
Bottom of 1 – SEF
Doug sadly informs me that he’s in loss of lieutenant and then tries to recover. We call Adam over to try to help him unpack the pickle he’s in. There isn’t a great plan to get him out of trouble, so we end up encouraging Doug to take out some of my orders and AROs. It’s risky, but he tries.
Sheskiin tries to take out my Nikoul at outside of 32″, which puts her on 3’s. That’s just ridiculous in and of itself. I hit, but the viral round bounces off. Sheskiin retreats to safety, one of the Shrouded drops a mine, and then Doug decides to try and go after my Gao Rael.
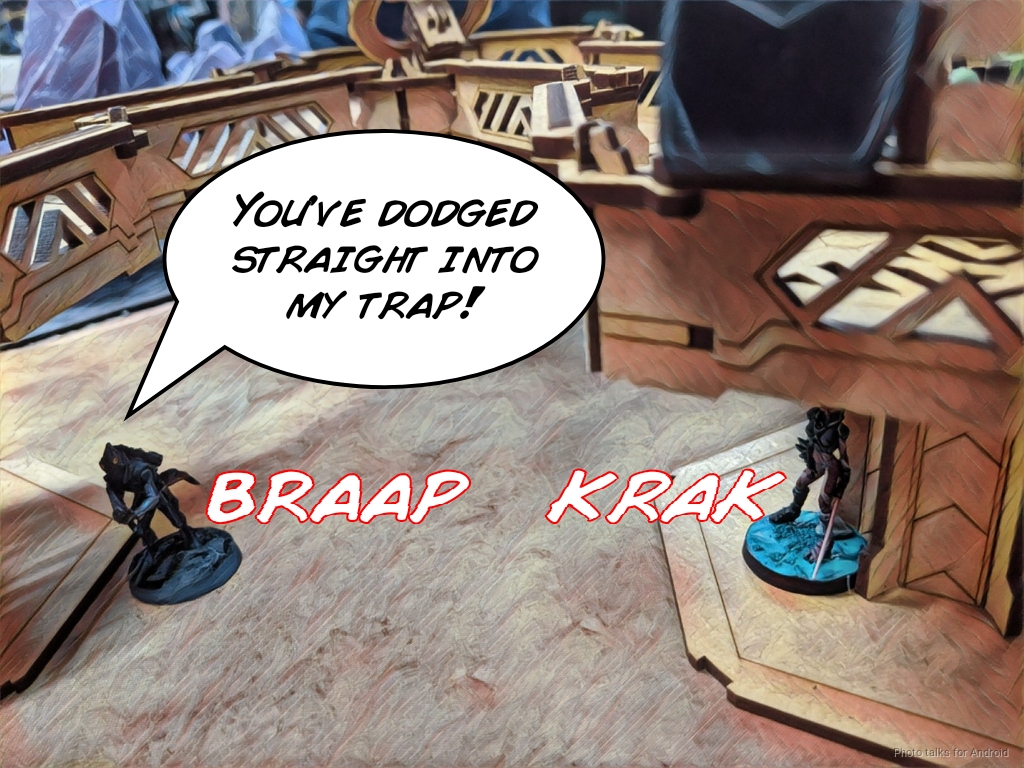
I surprise him with a nanopulsar to the face! It’s not a Gao Rael after all! It takes three orders, but Doug manages to trade the Speculo for my Taagma. I’m not sure I think that was the best use of resources, but I am down an order. Doug’s are just more precious at this time. The other Speculo gets discovered to IMP-2 as it shifts out of the Draal’s mine’s detonation range. I finally got to use Biometric Visor on the Kauuri!
Turn 2
Top of 2 – Tohaa
My Makaul isn’t linked anymore, so it runs in front of Doug’s Mentor. He doesn’t reveal, so I just move-move. I discover + shoot a pistol with one of my Chaksa, but Doug makes his ARM roll like a champ. I keep trying and the Speculo keeps dodging away.
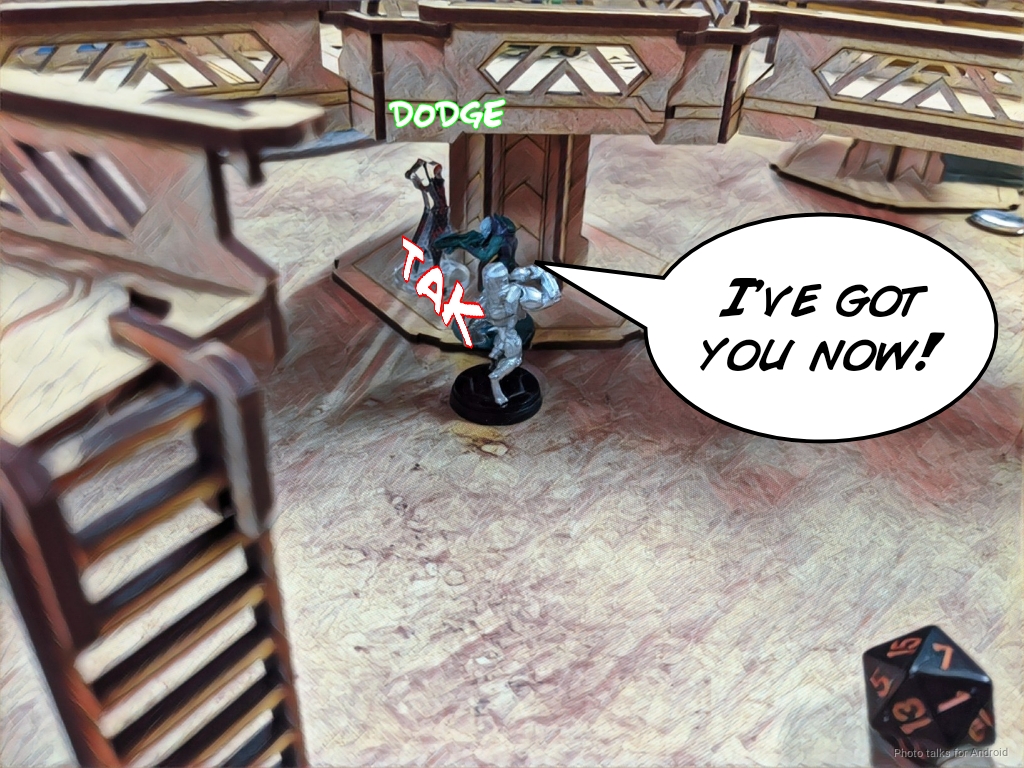
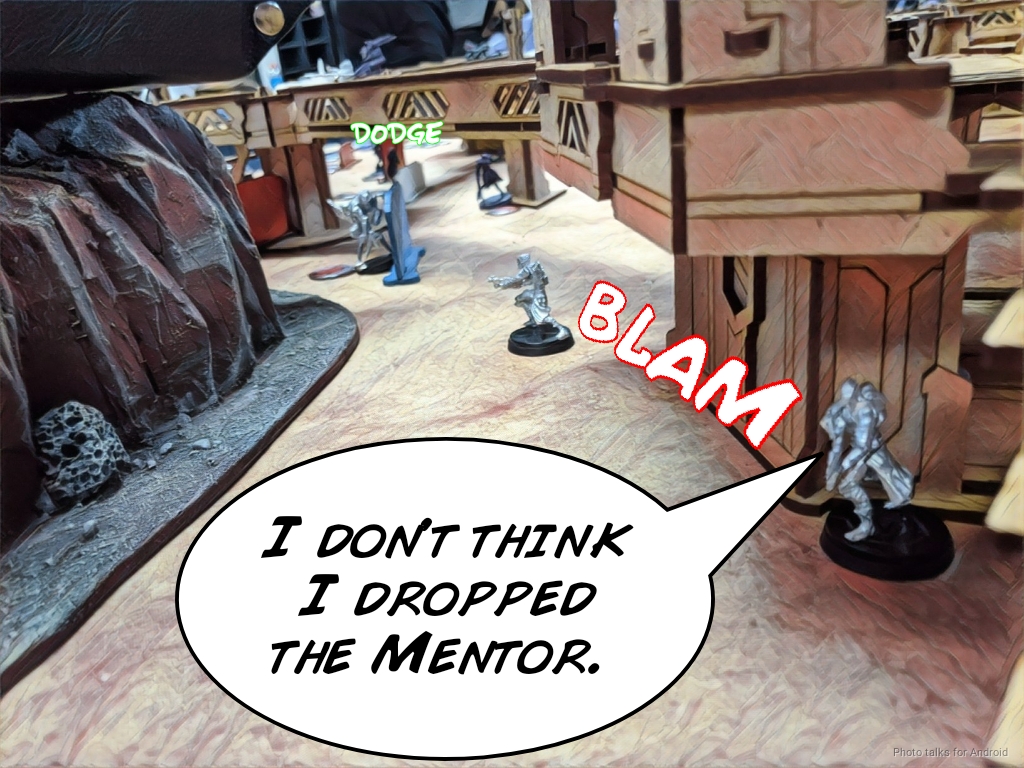
I still have 7 + 2 orders in group one for the Sukeul, so I make a run to pick up a second doggy HVT. I have to do some fancy footwork, split burst against the Speculo the Mentor and fail to kill either. I eventually force the Mentor into total cover and finish off the Speculo with my Libertos.
Jaan Staar tries to viral pistol down a Shrouded and whiffs horribly, tanking the return fire. I stop messing around and get In Extremis Recovery from the Gwailo to ensure I get my classified point. Playing to the objective!
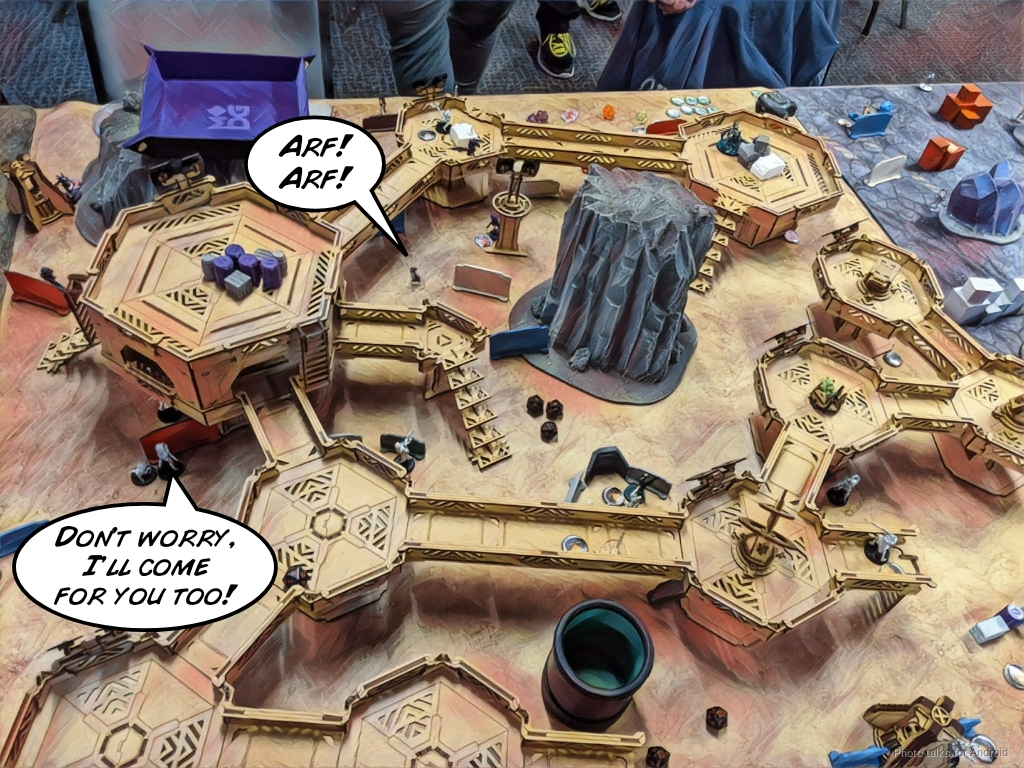
I pull the Sukeul all the way back to my deployment zone with two doggos in tow, and I’ve got just enough orders to try and get an angle on the Mentor with the Kriigel to further reduce Doug’s order pool. I whiff and then pass turn.
Bottom of 2 – SEF
Doug pushes Sheskiin forward to make a Hail Mary play, but between the Chaksa, the Libertos, the Nikoul, and the Grief Operator, all the dodging doesn’t save her and she dies.
Splitting burst probably would have been worthwhile here, I think… I didn’t think of that until just now. This is exactly why I write battle reports! If I didn’t, I would never have a structure to replay the game in my head and force me to think about it critically. Useful exercise. I really recommend it.
In any case, I’ve got a Civilian in my Dead Zone and one in my Deployment zone, both of which are attached to my DataTracker for a
10-0 Tohaa Victory!
Post Game Analysis
So, this game was pretty quick, both in play speed and in total duration, hence the lack of pictures. Let’s get the easy stuff out of the way:
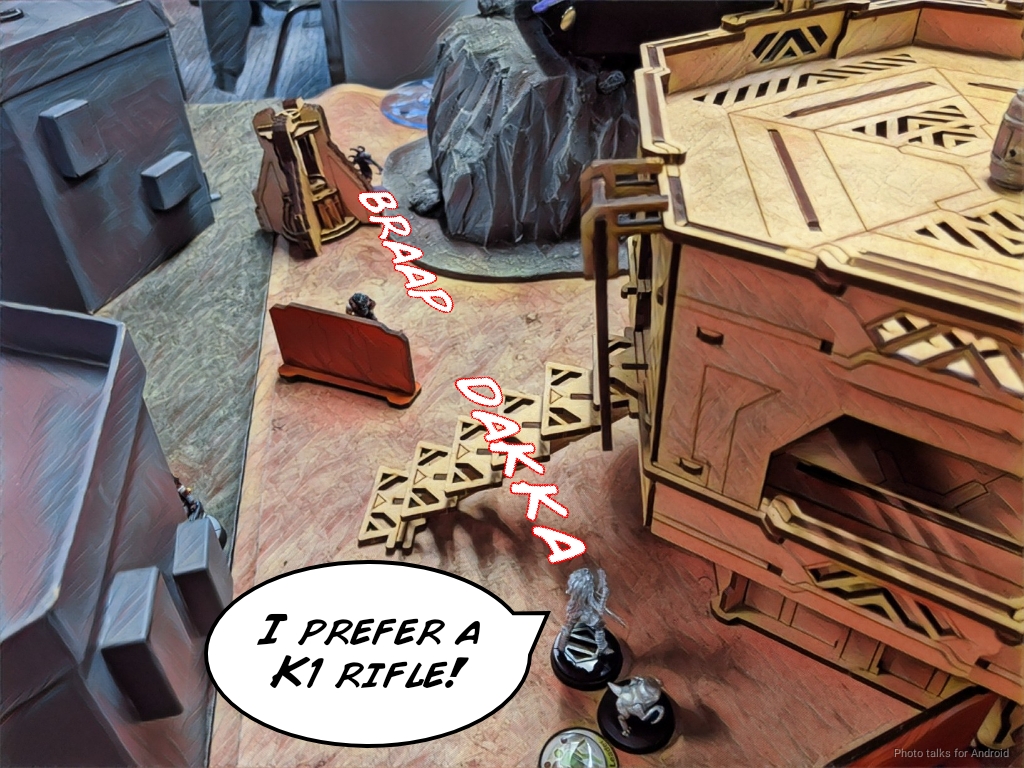
- Jaan Staar is fun and has a lot of neat tools. Viral pistols aren’t very good against high BTS things though like the Gwailo. The shotgun had to do.
- Doug made some key mistakes: failing to put down mines for his Speculos and exposing his Caliban Chain of Command to my Sukeul. Those were the big ones.
- The line of advancing Chaksa was fun. I think I needed one more coordinated order on them for positioning, but the Gwailo took way too long to go down. Ah well. It probably isn’t very good unless you have crazy good positioning, which I didn’t, I just had an unexpectedly good, unintentional Alpha strike.
Okay, on to the more Tigerland-specific stuff. The goal of the exercise was to get a full 10 points. Let’s look at the points for rescue, paraphrased from Comlog:
- Exclusion Zone:
- 1 – More civilians in exclusion.
- Dead Zone:
- 2 – Equal civilians in dead zone
- 3 – More civilians in dead zone
- +1 for DataTracker synced
- Deployment Zone:
- 3 – More civilians in deployment.
- +2 for DataTracker synced
- 1 Point Classified
So, the way to get to 10 points is to have more civilians in my dead zone, more in my deployment zone, have both synced to my DataTracker, and to either get another civilian in the exclusion zone or get my classified.
Here was my planning for my first turn:
- Kill the Gwailo with Jaan Staar to clear out an ARO/attack piece. This would also set up an easy In Extremis Recovery for Turn 2 or 3.
- Get a civilian with the Sukeul, and set up a screen for the Sukeul with the Kriigel and Makaul.
I ended up killing a few more things because Doug forced me to with the Caliban, and I decided the Ikadron was going to be a pretty big threat if I didn’t do anything aobut it.
Doug’s first turn was pretty rough, because he was in Loss of Lieutenant. I think his best bet was to push Sheskiin forward somehow, but my snipers locked that down pretty well. Some smoke would have really helped there. Sacrifice a Speculo to get smoke, set up for next turn.
My second turn planning was:
- Get rid of the remaining Speculo. You’ll note I used only second-pool orders for this, aside from having to get the Sukeul to split burst.
- Get In Extremis Recovery, because I’m afraid Doug might be in retreat.
- Get the Sukeul to get a second civilian, put one in my dead zone and one in my deployment zone.
The thing I want to call attention to is that while I did need to prioritize taking some things out, it was basically only one thing a turn. At no point was I trying to just obliterate Doug’s order pool. Sometimes I had targets of opportunity that I took out, but I was really just looking to remove future threats or remove AROs.
At all other times, I was either working directly towards getting points, or actively working to set up a defense to deny Doug points. I really only spent one coordinated order on defense as well, aside from moving the Libertos up. So yeah. 10-0 in Rescue is possible.
I had probably a bit of a perfect storm brewing here, but I want to underscore that even with the perfect storm of putting Doug in Loss of Lieutenant and him forgetting a few important things, I still had to really focus on the mission to get to 10-0! I even had to spend time before the game trying to figure out the best way to maximize my score.
I will say that I could have done a better job of teaching here. I haven’t played Doug very much, and I think the right thing to do is intentionally sit out on game night and walk around coaching people, which is what I had intended to do (then I could’ve known all of Doug’s shas secrets and been better able to help).
Unfortunately?, Adam was giving a new guy a demo game and we had an odd number of players so I ended up having to play instead of directly coach. We had 4 games going though, so that’s pretty good for a random Thursday where at least 2-3 guys backed out and said they couldn’t come!
Big picture, TL;DR takeaways:
- Figure out the most efficient way to 10 points BEFORE you make your list.
- Each turn, come up with a list of mini-objectives to efficiently get to 10 points.
- Don’t get distracted by killing stuff.
Hope this helps! I encourage you guys to do some Tigerlands of your own on your game night!
Additional Discussion
Terrordactyl
Terrordactyl
Thank you for sharing! This is a really interesting idea. I’ve been wondering how to do a Tigerlands, since the definition is pretty narrow. Was this for newer players specifically?
WiseKensai
Thank you for reading!
Most of our guys have been playing for a few years now, but have a really tough time finding time to make it to tournaments due to kids, work, and all the other stuff we all deal with. Game night is a really fun and relaxed affair, which is great but difficult to translate to a tournament environment.
Ordinarily this would be fine, but this year, pretty much all of them have signed up for RCR 2020. They want to keep the Cascadia Circuit trophy in Oregon, so we’ve committed to doing these Tigerlands.
The biggest areas for improvement we’ve seen in our meta are as follows, in priority order:
1. Play speed. Most of our guys don’t get a full 3 turns in a 2 hour tournament.
2. Tunnel vision on killing, or forgetting to pick up points here and there with classifieds, panoplies, that sort of thing.
3. A focus on trying out different units in all comers lists instead of focusing on the mission set and potential terrain in a tournament.
There’s more room for improvement, but these are the big three so far. I’ve prioritized things this way because I think #1 and #2 are more important to success than what you actually put on the table (a very roundabout way of saying “it’s not your list it’s you,” even though that phrase is fraught with controversy).
I’m hoping to be able to really commit to walking around and not playing and specifically coaching people. I’m really pleased to report that the first two Tigerlands we did that focused on deployment phase speed really helped. Here’s an example: Red Makes it Go Faster
I don’t think #1 is solved yet. Deployment was the longest phase (which is good), but now analysis paralysis/tunnel vision is the next big problem (Amdahl’s Law is everywhere!), so I think addressing decision making and prioritization (i.e. #2) will help with play speed as well.
I mean, I should just write a lesson plan, but it’s been a really long time since I’ve had to do that and I’m very lazy.
Terrordactyl
maybe red shirts? How did you identify the primary goals?
WiseKensai
yes, red shirts is a good idea!
It always helps to define the primary metric by which I’m evaluating a problem at the start. In this case, it was maximizing OP, which maximizes TP. In others words, MAOR POINTS!
Speed being a problem was easy to identify. I just watched a bunch of tournaments while I was running them, and lots of people were going to time or calling it at the bottom of 2. The game is balanced for 3 turns, so if you only get 2/3 of the turns, you just have less opportunity to score. Adam and I paid a little more attention and discussed it some, and we discovered that some folks were taking over an HOUR to deploy, hence the targeted Tigerlands to deploy within 30 minutes.
Tunnel vision/Not prioritizing objective points comes from my own personal development, and also having a comprehensive library of every game I’ve played since moving to Portland. As I’ve grown as a player, I’ve noticed that I do better when I focus on the mission and don’t get distracted by killing, etc. Also, it seemed like the first thing out of my mouth when my opponent asks: “what could I have done better” after a game would be something to the effect of: “you should have ignored X and gone and pushed the button” I’d say it was anecdotal, but as I go back and read my battle reports generally the post game analysis will have something to that effect as well.
The all comers, test list, or fun list thing was from discussions with Adam. The character of our playgroup is mostly fun focused (as it should be), so we get a lot of: “check out my blank courtesy list!” sort of traffic in our local chats. Lately, that sort of thing has fallen by the wayside, but in general I think people’s lists need to be more optimized.
As an example, take my list versus my opponent’s. There’s definitely a defensive plan in my list, both for the HVTs on my side (chaksa) and for the Sukeul (Kriigel + Makaul) in case it gets stuck in the midfield (which it did at the bottom of 1). My opponent had stuff to disrupt my deployment zone (Speculo), but once I was out, I basically had free reign of the board just running the Sukeul around in the open. I’m also not sure what was the plan to get HVTs was for my opponent. Was it the Speculo? The Shrouded? Sheskiin? They all can, but there wasn’t a clear plan A, B, and C. In my case it was Sukeul, Draal, Grief.
That latter point is not so much a criticism of the list itself but more of a marriage of a plan to the list, which I think is the most important thing about preparing for a game. Perhaps that’s what I should revise my third point to, now that I’ve had to elucidate my position on it. Hope this helps.
Thanks for the discussion, by the way!
Terrordactyl
Thank you for the response! I really appreciate all the advice and thoughts you’ve shared with me lately.
For this exercise, would you pick faction for the mission, or try to score max points with the tools available?
WiseKensai
My pleasure!
Most of our players can put 2-4 different armies on the table and are pretty good about sticking with an army for at least a few weeks if not months.
I had intended for people to stick with their current army and use tools available. As far as I could tell, everyone did. One guy switched to IA because he just finished painting and was excited about painted models, which is awesome of course.
I didn’t say anything about army choice, it honestly didn’t occur to me.
As someone who is in the fortunate position of having most factions in their collection, I generally approach it from the opposite angle, i.e. I don’t play something if I think it will be bad at a mission set. I didn’t take the French to Best of the Pacific Northwest because of Looting and Sabotaging, for example. I don’t generally try to optimize army to mission or game night…
Full disclosure, TheDiceAbide more or less dictates what I play by convincing me that X army is the most hipster or disliked at any given time. It’s pretty easy to get me to do something by telling me someone on the internet is wrong. Or by giving me free funny T Shirts.
Capo.Paint
Capo.Paint
How do you feel about skipping the killing part and focus on point-denial? While reading your thoughts on this, I recognized to do this by myself for the last games.
You risk to get a big hole blown into your lines by doing this, but in most cases most attackpieces are removed after turn one and a second great attack does not appear. Even today, after getting shot into pieces for two turns, I could recover a lot in turn three by focussing on the mission. So it works pretty good in my eyes, but is difficult to recommend without experiencing it.
WiseKensai
So I started by writing a long comment… I think I’ll write an article on this instead at some point soon.
But, to keep the discussion going, I think the easiest way to deny points is to deny orders and remove specialists, which you have to kill to do. You can set up annoying AROs of course, but you have to worry about return on investment of your orders.
I think prioritizing getting points and denying points over killing is good in general though.
Did you have specific thoughts about points denial?
Capo.Paint
well, I have to check my recent battlereports for this issue. But for short, I would say that it depends on your feeling and on your army. If there are fast and reliable killers available, then go for it and first strike at the order pool. But in most cases, either a good killer isn’t available or you have to invest that much/take too high risks, that a lot of ressources go in things without great return.
With Druze or QK, I have to work with MIs and FP-REMs in most cases. So hitting isn’t that available in turn one and I castle up. That is followed by one or two turns of chewing in my defense and crying about stunned TAGs, until my SMR solves it or other units grab the objectives. For this, I only need to be good at defensive deployment and don’t have to take all the risks of aggression.
So I have to invest only a few points and acceptable skills to get the most valuable things: objective points.
WiseKensai
Setting up good AROs is certainly a way to put pressure on your opponent and make it difficult for your opponent to get points.
Leaving stuff out to ARO means it’s more often than not going to die. Maybe it’s just the players I tend to face, but they’ll carefully slice the pie and kill my AROs one at a time.
Yes, this is costing them orders, but it’s also costing _me_ orders! Orders that I need to accomplish the objective later. Perhaps it’s because I tend to run more null-deploy and passive board control lists, but I’d rather dictate the terms of the engagement on my turn and have the burst advantage.
Less mobile armies like Druze can have a problem alpha striking, sure. I want to be clear that I’m not advocating for a strong alpha strike. I actually prefer a beta strike after the enemy is out of position and over-extended.
What I _am_saying is that killing is a more controllable and consistent way of denying points to your enemy.
To give an example: I could take a bunch of Fugazi in Druze and maybe a Brawler Sniper or something. Let’s say I don’t spend any orders setting them up, because I put them in good positions in deployment. I’m going second. My opponent is going to spend orders shooting at them so they can move up the board to get points.
In this example, my opponent is spending 3-6 orders to kill my 3-4 ARO guys, and maybe dying or getting flash pulsed in the process. But even though I spent 0 orders to set up my ARO, my opponent spent 3-6 orders and I lost 9-12 orders, because I have 3-4 troopers that aren’t generating orders for 3 turns.
Now, on my turns I have to spend some of my orders either fixing my Fugazi, moving other troops around to set up more AROs, and also spend orders to do objectives. And I’m already down 3-4 orders a turn, which sucks!
I think the battle report above is a good example of what I prefer. I really only wanted to kill 3 things. The Gwailo (because it was going to shoot my Triad if I moved it), the Ikadron (because I was afraid of it running up and flamethrowing my Triad), and the Speculo (because I don’t want to leave a Speculo near my stuff, but this was AFTER I did the objectives).
I killed a bunch more stuff, but only because 1) my opponent forced me to by revealing camo markers in ARO or 2) I did everything I wanted to do that turn and had extra orders.
I don’t want to just do one thing with an order. If I can do multiple things with an order, that’s much better. The things I spent orders on made my opponent not want to kill anything, and just kept him boxed into his deployment zone all game.
I had this done to me very effectively by norsecompass.
At the end of the day, I think we’re in general agreement. I’ll try to distill my thoughts in a clear way, the above text is a bit rambling:
1. Be purposeful with my orders. Each order should actively get me closer to getting and keeping points, and deny my opponent resources.
2. The best order is an order that does all of the above.
3. I should strive to direct my opponent’s attention away from accomplishing objectives, or make it uncomfortably expensive for them to do so with minimal risk to my resources.
Capo.Paint
Well, I don’t really know why we disagree to some point but in the end mean and do the exact same thing. 😀 Maybe I was unclear before or not able to express correctly, what I was thinking.
I totally agree to your thoughts. A dead Fugazi is a dead Fugazi. I think, it depends a lot on the balance here. Going with even combat-groups and dispersed ARO-units among the groups helps a lot (for me) and a gameplan calculating with dead ARO-units is the next thing. With EVO, a core-link and maybe a Holo2, you can get great efficiency here, without exposing too many orders. But thats it: efficiency is something different here to saving orders.
What I have in mind to conclude may be the following: Instead of taking risks on a greedy killing-spree, do not more than necessary and invest the rest in the mission by collecting points and denying them to your enemy. Build your list with this in mind!
But thank you very much for your thoughts here!
WiseKensai
Haha yeah, I’m definitely in agreement with you. 🙂
Thanks for the discussion! I really enjoy this sort of thing.

Dogfinity! Funny story, since I’ve moved down here to FL, I met the guy that runs that tournament… and he lives within walking distance of my house! Small world! Pretty good Infinity scene out here too, plus Warsen.al is in North Orlando.
Small world indeed. One of these days I’ll have to make it out that way again. I’ll be sure to say hi.