In My T-16 Back Home
I had to take a rain check on a game with Than on Monday, but he was gracious enough to drive across town on Thursday to get our game in at the farthest possible store from his home. What a guy! I didn’t have strong opinions about what mission I wanted to play, and Than wanted to get a game of Unmasked in to prepare for the September tournament, so that what we did. I hadn’t really done any prep work at all, but I threw together something during a coffee break at work and hoped for the best.
Overview
- Mission: Unmasked
- Forces: Japanese Secessionist Army versus Tohaa (300)
- Deploy First: JSA
- First Turn: JSA
[img]https://assets.infinitythegame.net/infinityarmy/img/_logosweb/logo_903.png[/img][b] Unmasked[/b]
[b]GROUP 1 | [/b][img]https://assets.infinitythegame.net/infinityarmy/img/_logosweb/orden_regular.png[/img]10
[img]https://assets.infinitythegame.net/infinityarmy/img/_logosweb/903/logo_1.png[/img] [b]KEISOTSU Lieutenant[/b] Combi Rifle / Pistol, Knife. (1 | [b]9[/b])
[img]https://assets.infinitythegame.net/infinityarmy/img/_logosweb/903/logo_1.png[/img] [b]KEISOTSU[/b] Missile Launcher / Pistol, Knife. (1.5 | [b]14[/b])
[img]https://assets.infinitythegame.net/infinityarmy/img/_logosweb/903/logo_2.png[/img] [b]KEMPEI (Chain of Command)[/b] Boarding Shotgun / Pistol, CCW, Electric Pulse. (0 | [b]21[/b])[img]https://assets.infinitythegame.net/infinityarmy/img/_logosweb/903/logo_17.png[/img] [b]YURIKO ODA[/b] Combi Rifle, Panzerfaust, D-Charges, Antipersonnel Mines / Pistol, CCW. (0 | [b]23[/b])
[img]https://assets.infinitythegame.net/infinityarmy/img/_logosweb/903/logo_1.png[/img] [b]KEISOTSU[/b] HMG / Pistol, Knife. (1 | [b]17[/b])
[img]https://assets.infinitythegame.net/infinityarmy/img/_logosweb/903/logo_1.png[/img] [b]KEISOTSU (Forward Observer)[/b] Combi Rifle / Pistol, Knife. (0 | [b]10[/b])
[img]https://assets.infinitythegame.net/infinityarmy/img/_logosweb/903/logo_1.png[/img] [b]KEISOTSU Paramedic (MediKit)[/b] Combi Rifle / Pistol, Knife. (0 | [b]11[/b])
[img]https://assets.infinitythegame.net/infinityarmy/img/_logosweb/903/logo_2.png[/img] [b]KEMPEI (Multispectral Visor L2)[/b] Shock Marksman Rifle / Pistol, CCW, Electric Pulse. (1 | [b]25[/b])[img]https://assets.infinitythegame.net/infinityarmy/img/_logosweb/903/logo_8.png[/img] [b]SHIKAMI[/b] Contender, Nimbus Grenades / Assault Pistol, DA CCW, AP CCW, Knife. (0 | [b]45[/b])
[img]https://assets.infinitythegame.net/infinityarmy/img/_logosweb/903/logo_28.png[/img] [b]SAITO TOGAN (Specialist Operative)[/b] Combi Rifle, Smoke Grenades / Pistol, EXP CCW, Knife. (0 | [b]40[/b])
[b]GROUP 2 | [/b][img]https://assets.infinitythegame.net/infinityarmy/img/_logosweb/orden_regular.png[/img]4
[img]https://assets.infinitythegame.net/infinityarmy/img/_logosweb/903/logo_21.png[/img] [b]CHAĪYÌ Yaókòng[/b] Flash Pulse, Sniffer / Electric Pulse. (0 | [b]8[/b])
[img]https://assets.infinitythegame.net/infinityarmy/img/_logosweb/903/logo_3.png[/img] [b]RYŪKEN (Forward Deployment L2, ODD)[/b] Submachine Gun, Antipersonnel Mines, D-Charges / 2 Breaker Pistols, Knife. (0.5 | [b]24[/b])
[img]https://assets.infinitythegame.net/infinityarmy/img/_logosweb/903/logo_3.png[/img] [b]RYŪKEN (Forward Deployment L2, ODD)[/b] Submachine Gun, Antipersonnel Mines, D-Charges / 2 Breaker Pistols, Knife. (0.5 | [b]24[/b])
[img]https://assets.infinitythegame.net/infinityarmy/img/_logosweb/903/logo_11.png[/img] [b]NINJA Hacker (Killer Hacking Device)[/b] Tactical Bow / Pistol, DA CCW, Knife. (0 | [b]29[/b])
[b] 5.5 SWC | 300 Points |[/b] Open in Infinity Army
[img]https://assets.infinitythegame.net/infinityarmy/img/_logosweb/logo_801.png[/img][b] Tohaa[/b]
[b]GROUP 1 | [/b][img]https://assets.infinitythegame.net/infinityarmy/img/_logosweb/orden_regular.png[/img]10 [img]https://assets.infinitythegame.net/infinityarmy/img/_logosweb/orden_impetuosa.png[/img]2
[img]https://assets.infinitythegame.net/infinityarmy/img/_logosweb/801/logo_24.png[/img] [b]SUKEUL Lieutenant (Forward Observer)[/b] K1 Combi Rifle, D-Charges / Pistol, Breaker Pistol, Knife. (0 | [b]32[/b])
[img]https://assets.infinitythegame.net/infinityarmy/img/_logosweb/801/logo_2.png[/img] [b]SAKIEL[/b] Viral Combi Rifle, Nimbus Plus Grenades / Pistol, Knife. (0 | [b]24[/b])
[img]https://assets.infinitythegame.net/infinityarmy/img/_logosweb/801/logo_8.png[/img] [b]MAKAUL[/b] Heavy Flamethrower, Eclipse Grenades / Pistol, DA CCW. (0 | [b]13[/b])[img]https://assets.infinitythegame.net/infinityarmy/img/_logosweb/801/logo_24.png[/img] [b]SUKEUL[/b] HMG, D-Charges / Pistol, Breaker Pistol, Knife. (1.5 | [b]35[/b])
[img]https://assets.infinitythegame.net/infinityarmy/img/_logosweb/801/logo_20.png[/img] [b]KAELTAR (Chain of Command)[/b] Light Shotgun, Flash Pulse + 2 SymbioMates / Pistol, Electric Pulse. (0.5 | [b]21[/b])
[img]https://assets.infinitythegame.net/infinityarmy/img/_logosweb/801/logo_20.png[/img] [b]KAELTAR[/b] Light Shotgun, Flash Pulse + 2 SymbioBombs / Pistol, Electric Pulse. (0 | [b]15[/b])[img]https://assets.infinitythegame.net/infinityarmy/img/_logosweb/801/logo_2.png[/img] [b]SAKIEL[/b] Combi Rifle, Light Rocket Launcher / Pistol, Knife. (1 | [b]23[/b])
[img]https://assets.infinitythegame.net/infinityarmy/img/_logosweb/801/logo_8.png[/img] [b]MAKAUL[/b] Heavy Flamethrower, Eclipse Grenades / Pistol, DA CCW. (0 | [b]13[/b])
[img]https://assets.infinitythegame.net/infinityarmy/img/_logosweb/801/logo_1.png[/img] [b]KAMAEL Paramedic (Medikit)[/b] Combi Rifle / Pistol, Knife. (0 | [b]14[/b])[img]https://assets.infinitythegame.net/infinityarmy/img/_logosweb/801/logo_16.png[/img] [b]KOTAIL (Forward Observer)[/b] Combi Rifle, E/M Grenades / Pistol, Knife. (0 | [b]33[/b])
[b]GROUP 2 | [/b][img]https://assets.infinitythegame.net/infinityarmy/img/_logosweb/orden_regular.png[/img]3
[img]https://assets.infinitythegame.net/infinityarmy/img/_logosweb/801/logo_10.png[/img] [b]CHAKSA AUXILIAR (Baggage, Sensor)[/b] Heavy Flamethrower / Pistol, CCW. (0 | [b]10[/b])
[img]https://assets.infinitythegame.net/infinityarmy/img/_logosweb/801/logo_19.png[/img] [b]ARMAND (Minelayer)[/b] MULTI Sniper, Nanopulser, Antipersonnel Mines / 2 Breaker Pistols, Shock CC Weapon, Knife. (1.5 | [b]42[/b])
[img]https://assets.infinitythegame.net/infinityarmy/img/_logosweb/801/logo_7.png[/img] [b]CLIPSOS Minelayer[/b] Combi Rifle, Antipersonnel Mines / Pistol, Knife. (0.5 | [b]25[/b])
[b] 5 SWC | 300 Points |[/b] Open in Infinity Army
Deployment
I derped pretty hard this game and forgot to take pictures of deployment. I did at least remember to take a picture of my hidden deployment for the Ninja and Saito, at least.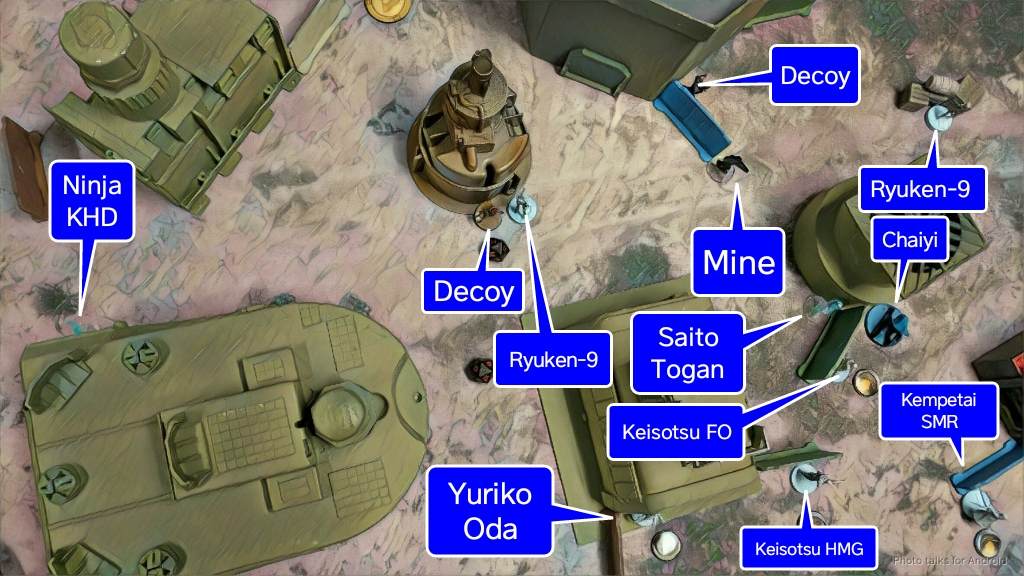 I put my Designated Target all the way on the right and defended it with a Mine and a Ryuken-9. I stuck the decoys in the middle and on the left, and defended them with the other Ryuken-9. There was a pretty big firelane on the right, so I put my Chaiyi flashpulse bot in the way, and put my Ninja all the way on the left to do a flanking run if I needed it. The rest of my troops were basically a ton of guys that can be part of a Keisotsu fireteam. I set up a ML in an ARO spot on the right and stuck a Kempetai boarding shotgun and the Keisotsu lieutenant near her to provide link team bonuses if necessary. The rest of the team went in the center, spread out in such a way that I could form whatever fireteam I needed on the first turn. Yuriko’s mine covered my leftmost Decoy as well.
I planned to use my HMG and Shock Marksman Rifle as the primary hitting pieces of the link, and I didn’t want them to get stuck in the deployment zone. To make sure they’d have smoke, I put Saito amongst them, tucked into a corner. Sadly, I don’t have any pictures of Than’s deployment. I’ll be pretty easy to describe though. He put his Sakiel LRL triad on left, the Sukeul Lt triad in the middle, and the Sukeul HMG triad on the right. All were hidden, save the HMG and LRL, which were left out to ARO. The Kotail masqueraded as a Kotail spitfire and hid itself on the left in total cover. The Chaksa sat in the open, watching two of Than’s Decoys, which were also in the middle, with one super exposed, almost as if it was left out to ARO.
Le Muet covered my missile launcher and the rightward approach of my link team, should I have decided to go in that direction, with his mine covering Than’s Decoys. The actual Designated Target was all the way on the left, within two orders of my Ninja. Perfect, a backup plan! Finally, Than dropped his Chaska at the forward edge of his deployment zone, right in the middle, presumably to discourage me from infiltrating an Oniwaban. I pulled my Shikami out of reserve and put it on top of the building that Saito was hiding near, and then Than put a Clipsos down on the left. He spent a bunch of time thinking about where to put it–as a side effect of stringing mines across the area just ahead of my deployment zone, there wasn’t a legal place to place the Clipsos’s mine outside of trigger range of a camo token, so that worked out pretty well for me. I’ll have to remember that trick!
Turn 1
Top of Turn 1 – JSA
Than docked me two orders from my main pool. I figured I’d need to get rid of Le Muet and do a little damage to Than’s order pool. I didn’t think I’d be able to activate all the consoles and start killing targets on the first turn, so I figured that I needed to remove some threats. I attempted to knock out the Sakiel LRL with the Keisotsu HMG but ended up only forcing it back into cover. I got some smoke down for my Kempetai shock marksman rifle with Saito and scored a crit on Le Muet, but Than burned the SymbioMate to save Le Muet from going down to the rest of the hits. On my next order I pushed my Keisotsu FO out to make a run for the console. Than took the bait and took a shot at him. Sadly, I whiffed all but one shot with the Kempetai, which Than just made a good old fashioned armor roll against. The Kempetai did take a hit, but I miraculously saved both DA rolls!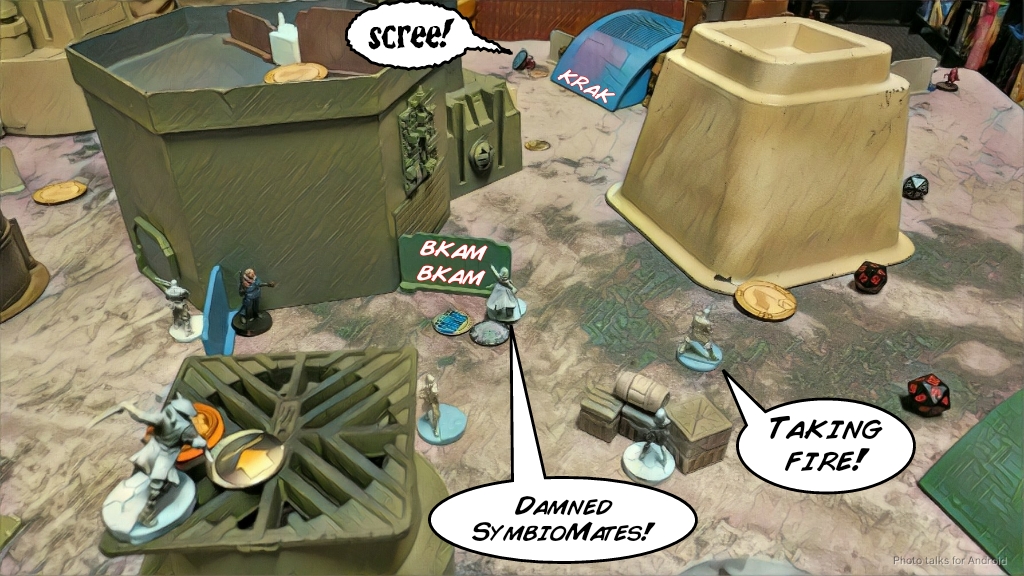 At this point I’m basically out out of orders for my first pool–I’ve only got one left. I push my Ryuken-9 on the left around the corner and drop the Chaksa over the course of two orders. Thankfully the Chaksa body-blocks Le Muet from getting a shot. The third order in that pool is spent throwing the Ryuken-9 into suppression. I spent my last order in the first pool on a coordinated order to get the FO to push the button, revealing the most heavily protected decoy in the center, then attempt to get my fireteam into a sane position. The best I can do is getting the Paramedic into a central location to be able to reform a full link.
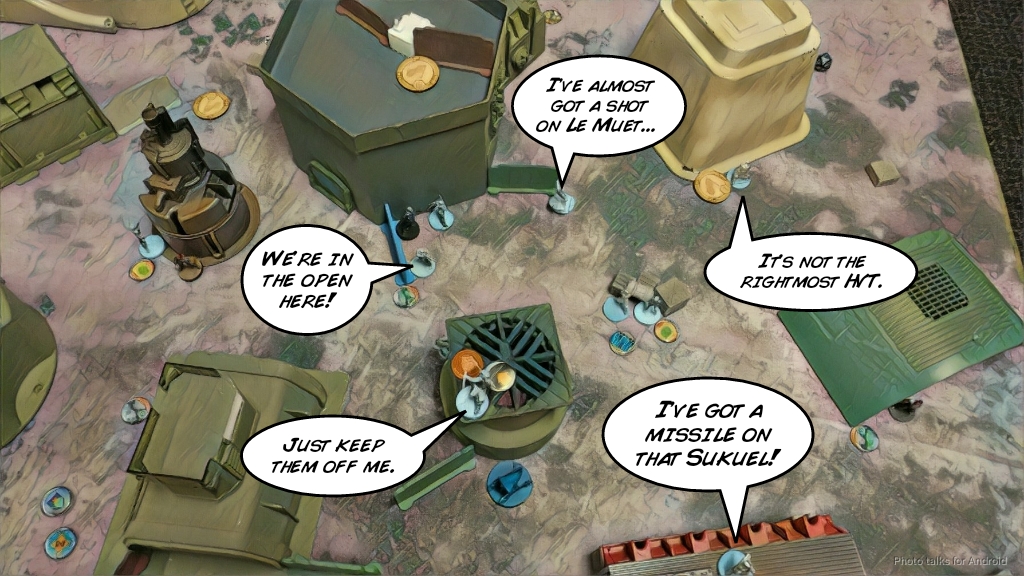 I do just that, and then pass the turn. Sadly, I didn’t have enough movement to get her prone so that’s not great.
Bottom of Turn 1 – Tohaa
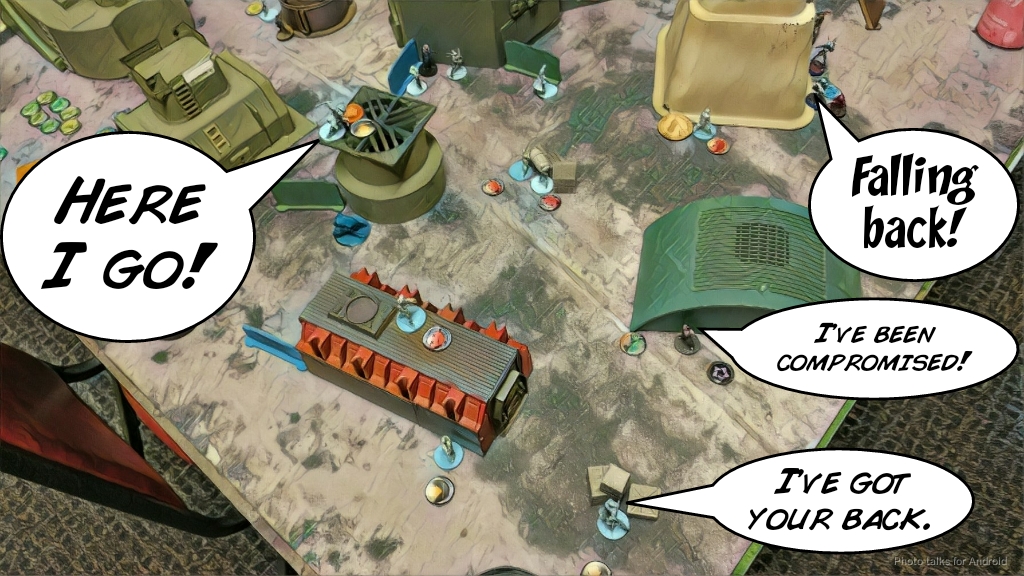
Than begins ramboing his Sukeul HMG up the field. He’s got 5 on 7, and I’ve got 1 on 7 on my missile launcher. I take one hit and fail the save though, so there goes my ARO piece on the right. I had hoped to be able to reform a full 5-man link with the Keisotsu ML in it, but I had pushed too far up.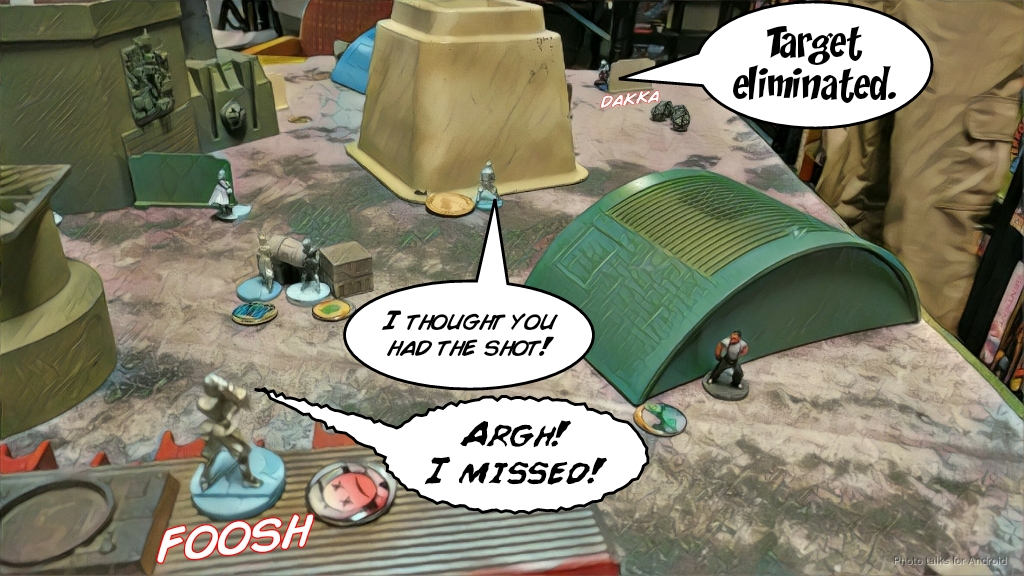 Than dances the Sukeul right at the edge of 24″ and I elect to stay in suppression, which is probably a mistake. I lose the Ryuken-9 to a single HMG hit. Things aren’t going great!
 Than then boldly pushes the Sukeul into view of my Keisotsu FO, Keisotsu Paramedic, and my flash pulse bot, splitting burst to hit all three. He drops both Keisotsu, breaking the link, but thankfully my flash pulse bot tanks the hit like a champ! My dice are just not treating me well this turn!
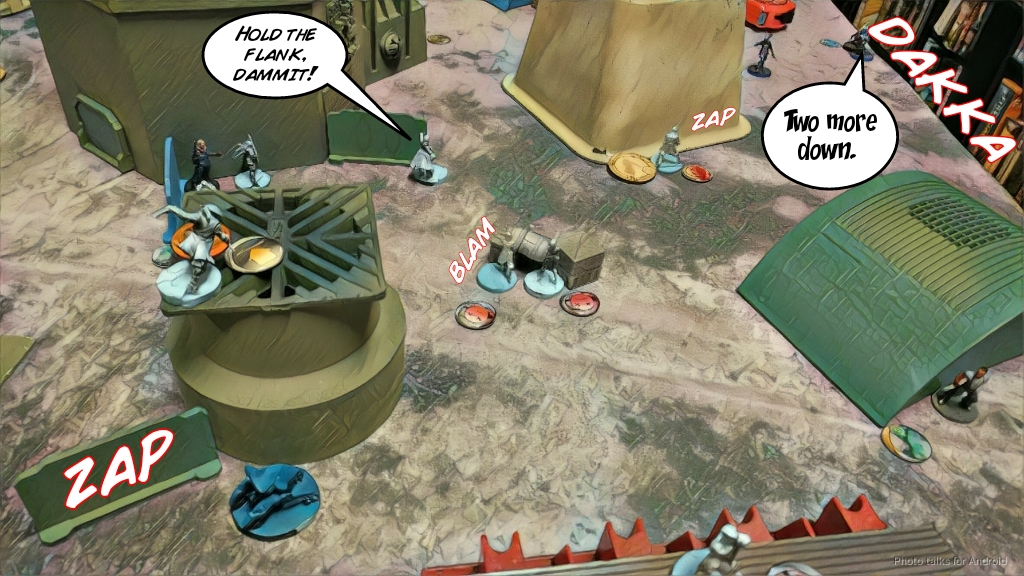 Than keeps pushing, drawing a smoke crit out of Saito, and I landed the grenade right on top of my Kempetai marksman rifle, with my flash pulse bot again gamely tanking a HMG round. Than switches his attention to my left flank, revealing a Clipsos that advances to total cover before putting out a mine that covers my Ryuken.
 With the Ryuken unable to ARO, Than just runs his Kotail FO into base to base with the left objective and pushes the button. Saito can see this though, and shoots him in the face. Huzzah! Than reveals my Designated Target, but he misinterprets my response of “That’s the one!” to mean that it’s one of the decoys. He had said something to the effect of: “That’s a decoy” right before I responded so it was a reasonable misinterpretation. It’s been a derpy day for the two of us, I suppose.
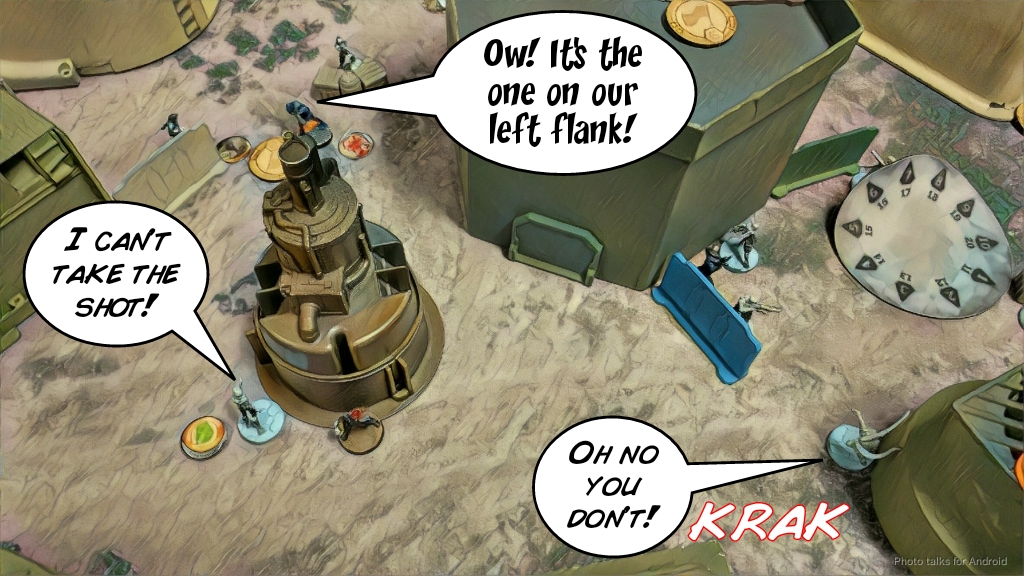 With only an order left, Than retreats his Sukeul HMG triad into cover behind a building.
 This does put them into a line, though…
Turn 2
Top of Turn 2 – JSA
I’m in a bit of a pickle. I need to get rid of the mine on the left and more importantly the Kotail FO, which has super jump and can get to the center objective easily. I also need to do something about the Sukeul HMG team, which is dangerously close to my link team still.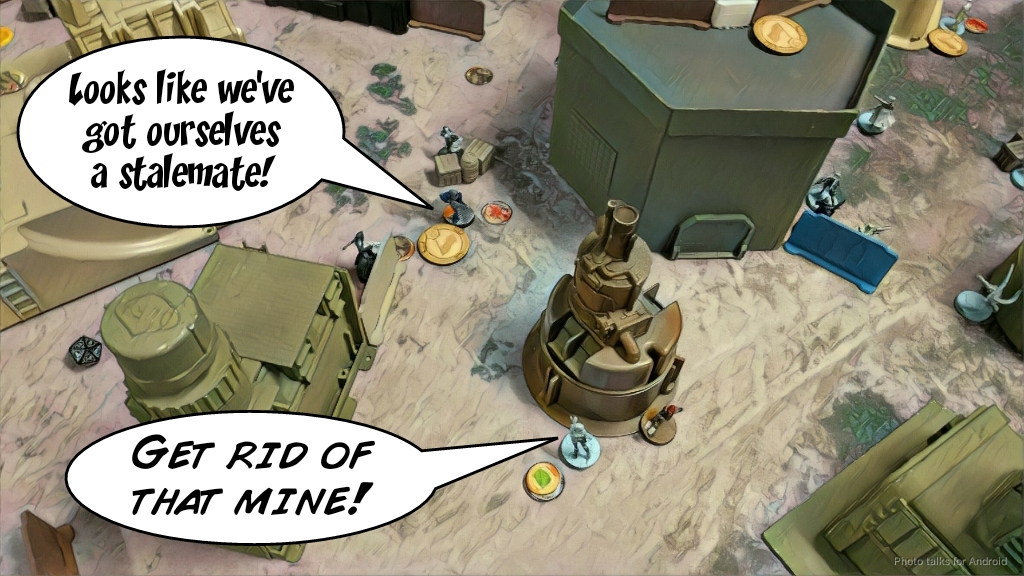 I start things off by moving my Kempetai BSG into position and take a shot on the Sukeul HMG, forcing the whole triad to dodge. I roll like garbage, so the Sukeul makes its dodge roll handily. I do beat out the two Kaeltar’s rolls though.
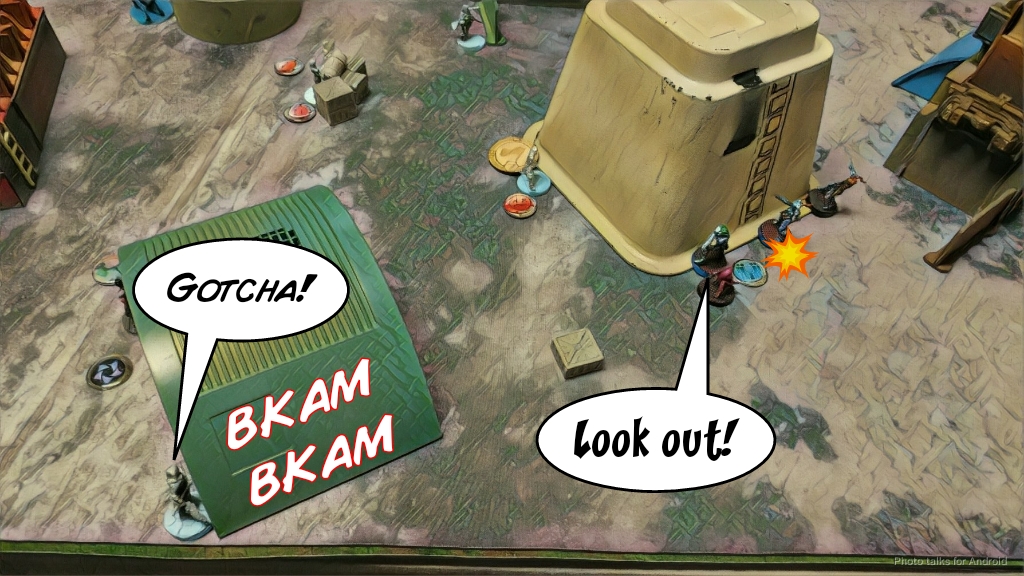 This drops the Kaeltar Chain of Command, but the other one passes ARM and fails guts back into cover. The Sukeul is now farther away and I have other things to do this turn.
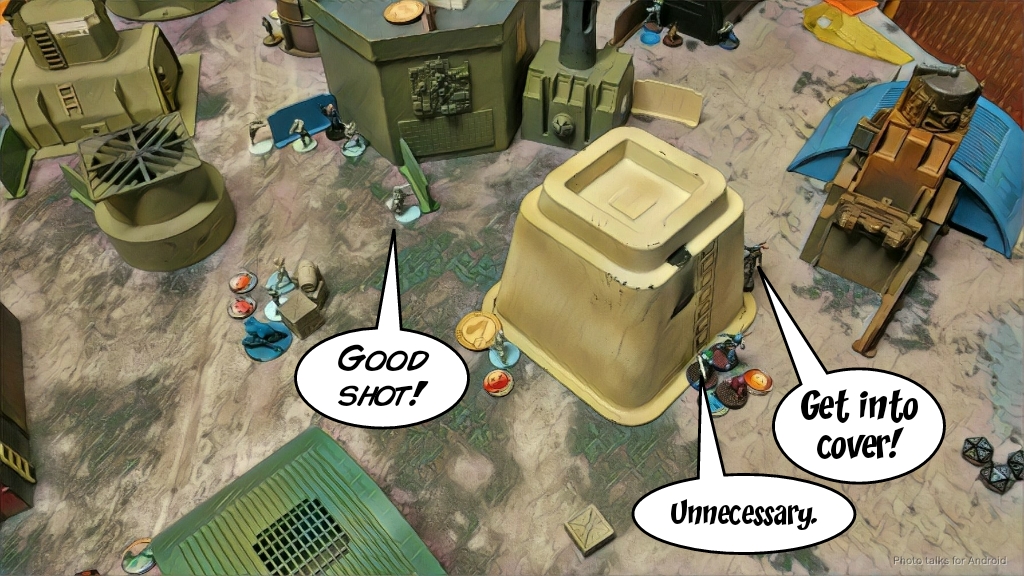 Saito guns down the Kotail easily, clearing the way for my Shikami.
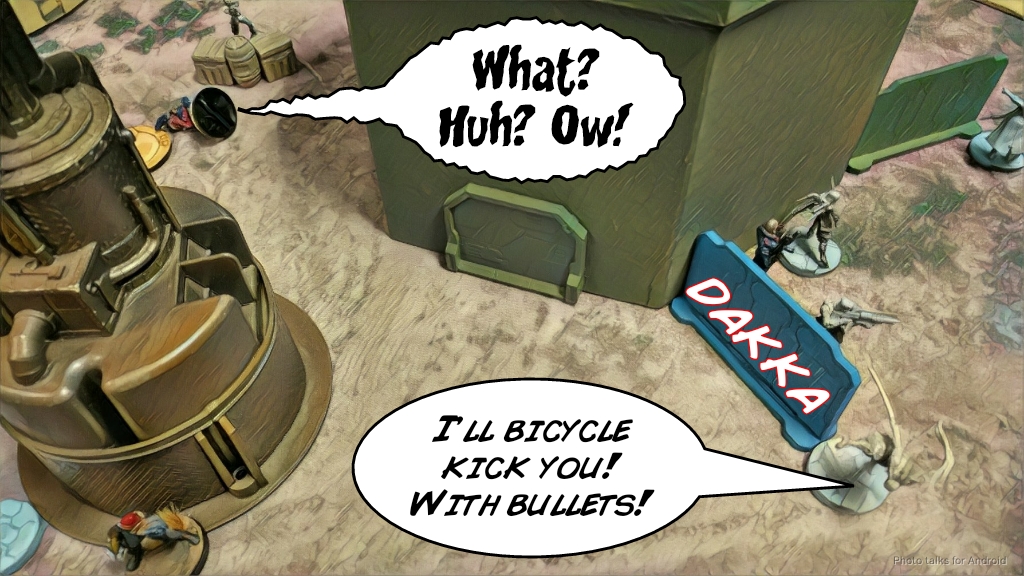 My Shikami attempts a discover on the mine, but fails. I super jump him on top of the building and reveal the real Designated Target.
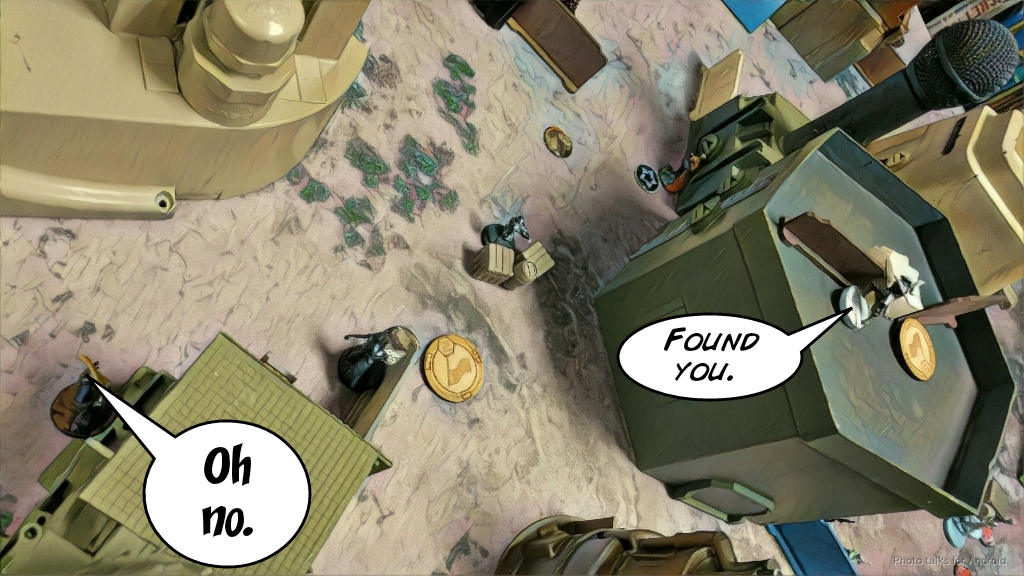 I get my Shikami into position to see the Designated Target, at the cost of detonating the mine and taking fire from the Clipsos. The Clipsos and the mine both hit, but I managed to pass one of the ARM rolls, thankfully.
 Of course, I whiff all 4 rolls on my assault pistol at outside of 8″. I pick up the dice and spend my last order dropping the Shikami prone and moving him back. I roll all four dice again, and miss again.
 What. The. Heck. The Designated Target even manages to dodge away this time!
 Thankfully, the Clipsos misses. I spent the orders in my second pool moving the flash pulse bot into cover near the downed Ryuken and Keisotsu Paramedic. I should’ve moved the Ryuken and then put her back into suppression. Ah well.
Bottom of Turn 2 – Tohaa
See, now if I had been smart, I would’ve ladder-blocked with the Shikami. What ends up happening is that the Sukeul FO Endgames my Shikami unconscious, then climbs the ladder unopposed. Thankfully, the Sukeul fails to push the button… but the Makaul gets in position to flamethrower my guys! Yuriko is safe due to the presence of the unrevealed HVT, but the HMG, Kempetai, and Saito get a faceful of napalm. My flash pulse bot stuns the Makaul, and Than drops him prone.
 Saito dodges, and miraculously my dice turn around for me with the Kempetai and the HMG Keisotsu passing their ARM rolls like champs. Than tries to take out my Kempetai BSG with his other Sukeul triad, but I tank three ARM rolls and drop prone. Alright! I may not be able to hit anything, but I’ll take 5 ARM rolls in a row!
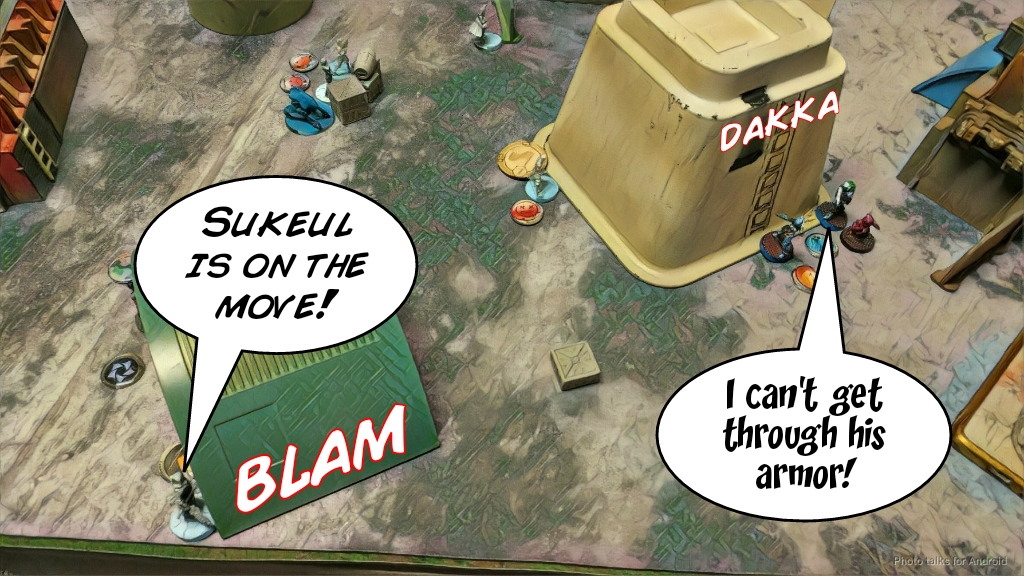 Than commits to taking out at least one Kempetai and pushes his remaining Kaeltar around the corner to shotgun my Kempetai SMR in the face, dropping her.
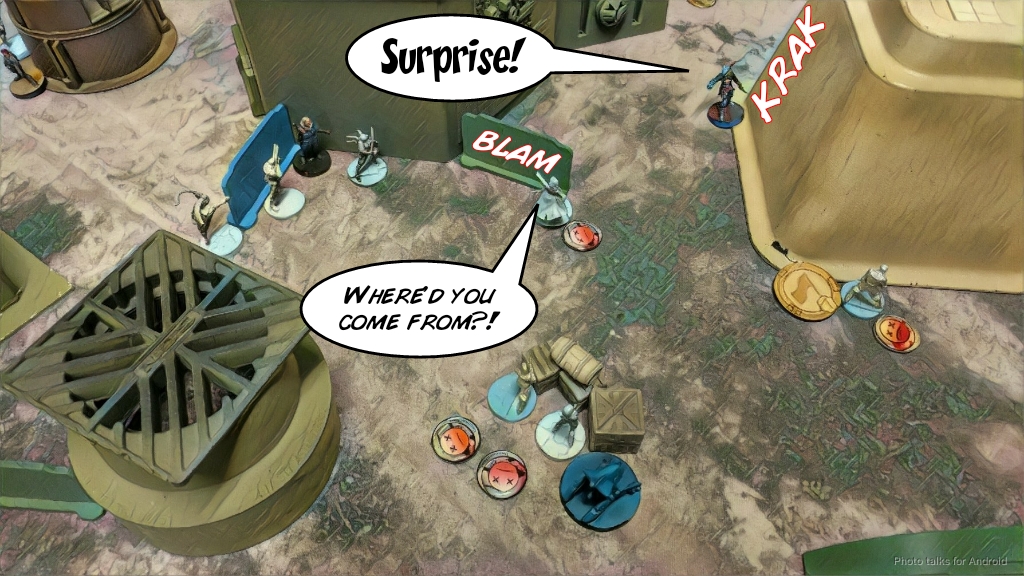 With that, Than passes the turn after finally revealing the HVT below his Sukeul Lt.
Turn 3
Top of Turn 3 – JSA
I start things off by critting the Kaeltar off the table with my Keisotsu Lt (who says Keisotsu can’t hit!?).
 It’s time to spring the Ninja trap. I get her into base to base with the Designated Target. Thankfully, all the mods that I stacked save me from embarrassment. The HVT misses and I roll a 1. Than passes both ARM saves.
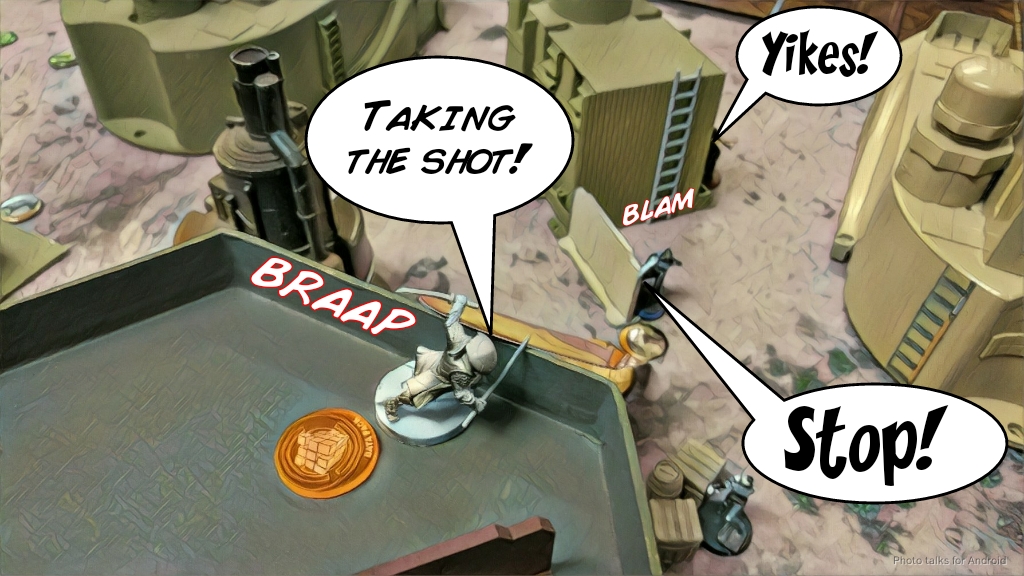
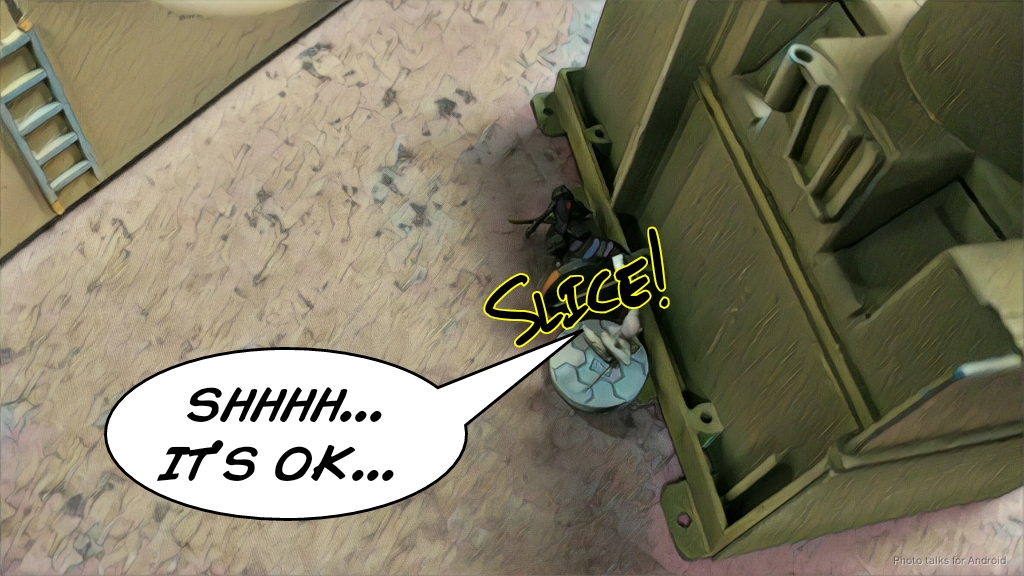 I try again, this time barely beating out the HVT by rolling at 3. Than fails both ARM rolls this time. I attempt to spec-fire a smoke grenade onto the building where Than’s Sukeul Lt is, but fail twice. I had intended to climb Saito up to close combat the Sukeul, but now I definitely didn’t have enough orders with only three left. I spend my last command token to coordinated order move everyone out of flamethrower range, drop a mine with Yuriko covering the approach to my Designated Target, then notice that if I’m back far enough, I have a shot on Than’s Sukeul Lt.
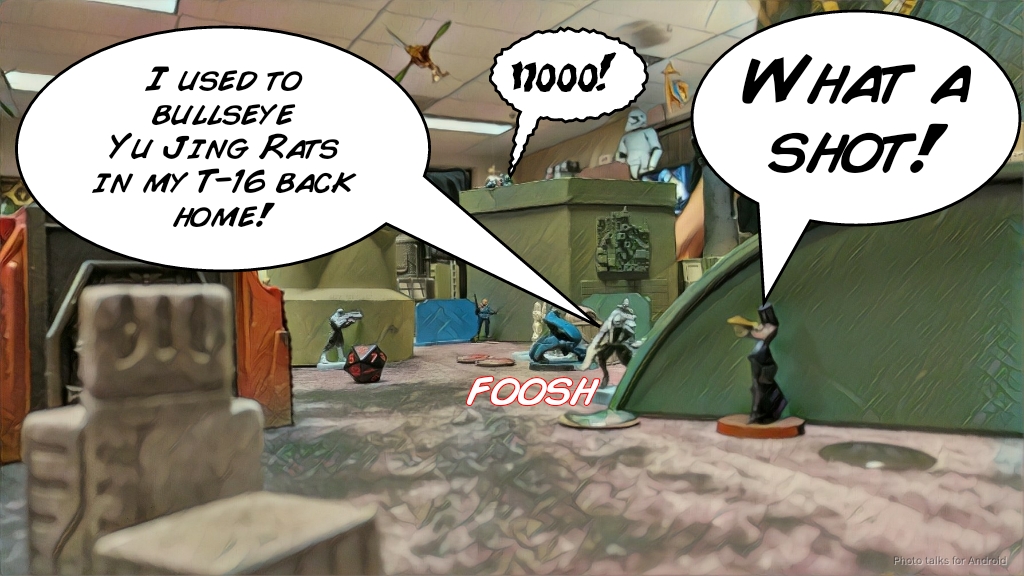 I land a crit panzerfaust and blast the Lt off the table. Dang, Yuriko! Way to go!
Bottom of Turn 3 – Tohaa
Than is in LoL, so he tries to kill the HVT with his Makaul, eating Yuriko’s remaining Panzerfaust to the face. I pass ARM on the HVT, but Than tries again with a viral combi rifle, finally killing the HVT. Out of options and with only irregular orders left, we call it. Than’s Designated Target was sliced to bits by my Ninja, we both have two Activated Consoles, my Designated Target is still alive, and Than has one Target Decoy kill to my zero, making it a
5-2 JSA Victory!
Notes
Notes for Me
- I really like Shikami, in spite of rolling like crap.
- I had a really awful time deploying my Keisotsu link pieces. I think I was thinking about the reactive turn too much and should’ve been better about deploying the link to move in the active turn. This probably would’ve helped a lot in terms of being able to reposition them.
- There was just no cover at all in the center for them, which made it a huge pain to keep them safe.
- Thank goodness for Ryuken-9 being huge order sinks! Mine didn’t really do much overtly, but I think they exerted some pretty intense mental pressure on Than, which is worth a lot in this game.
- Definitely in love with the Kempetai SMR and BSG. They’re really what the Keisotsu link needs. I’d take the BSG even without chain of command, sometimes a linked BSG is just what you need, especially in Recon+.
- The Keisotsu ML really needs to be in a link to be effective. This isn’t news to me, I just needed to be better about poking out, taking a shot at Le Muet, then retreating the link to reform it with the ML. Easier said than done.
- I think an Oniwaban + Yojimbo would be better here, instead of Saito. I need to find the points for Yojimbo after swapping Saito out. Yojimbo also gets me Koalas for mine clearing.
- Also, JSA seems to leave a lot of unconscious bodies around, so a doctor seems like it’d be really useful. I should work on finding room for her. If only she were linkable! I’m spoiled by the StarCo Brigada link.
- I definitely deployed a little too conservatively. I think I could’ve deployed for an aggressive first turn and would’ve saved an order or two in movement, which would’ve been really good.
- I’m warming to JSA, and really enjoying the backup Keisotsu list archetype.
Notes for Than
- Sorry about the misunderstanding! I honestly don’t think that your second turn was a bad idea, you needed to kill my Shikami and lighting up the remnants of link was a great idea.
- Leaving the Sukeul HMG triad in a line was a mistake, but it didn’t end up disastrous. I did get the chain of command guy, which was pretty relevant.
- The Clipsos mine was a huge pain in the butt. Good work with that
- Had you dropped your Lt prone, I think you had plenty of orders to get your Sukeul off the roof and get a shot on the designated target. It’s possible that a lean out might’ve gotten you LoF to it? I dunno. We probably should’ve checked that at the end of the game.
- That Sukeul HMG is monstrous. Really really strong.
- In general, I really like your list. I’m not sure why you left the Chaksa out to die though, it wasn’t really doing much there? I assume it was for sensor duty against a hypothetical Oniwaban.