
Martial March Tournament Report
I decided this month would be the month to test out some crazy ideas for my tables, particularly because we’re playing with The Armory. I own a Warsen.al Comanche objective room, but only one, and I have three Ariadna-themed tables.
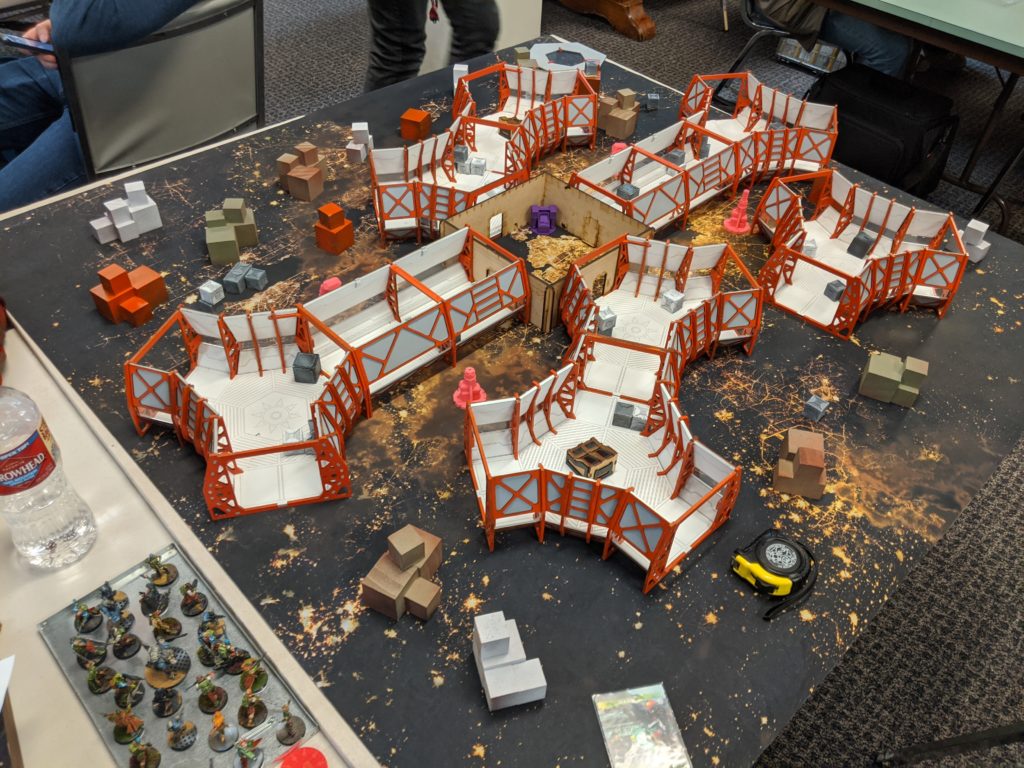
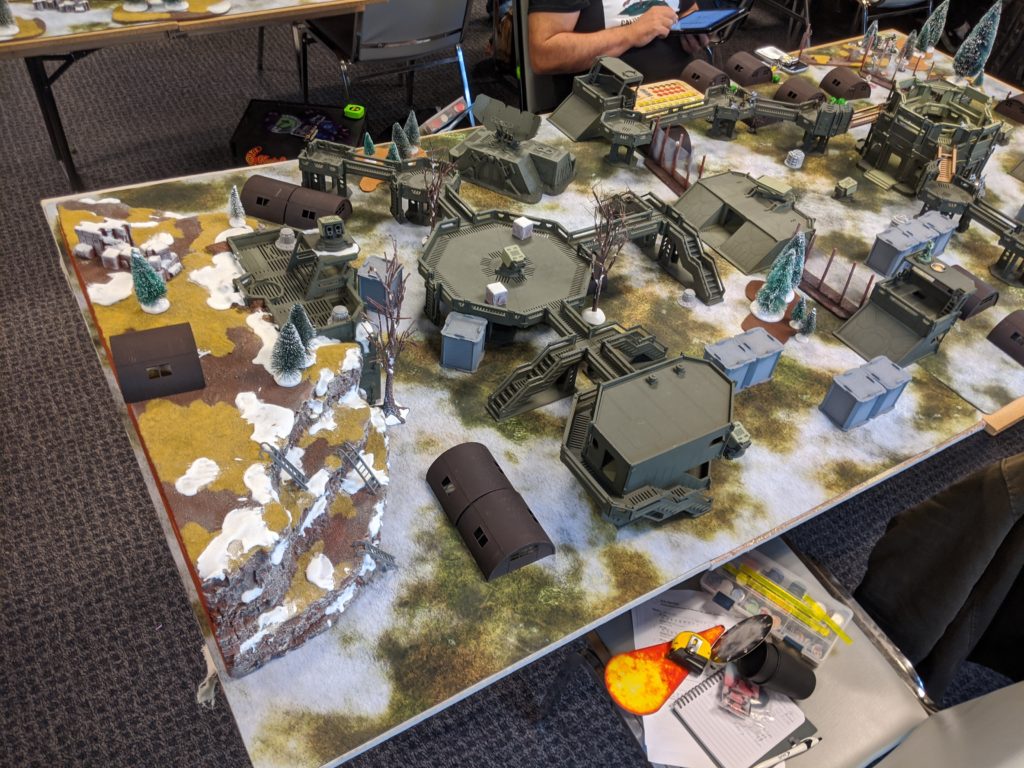
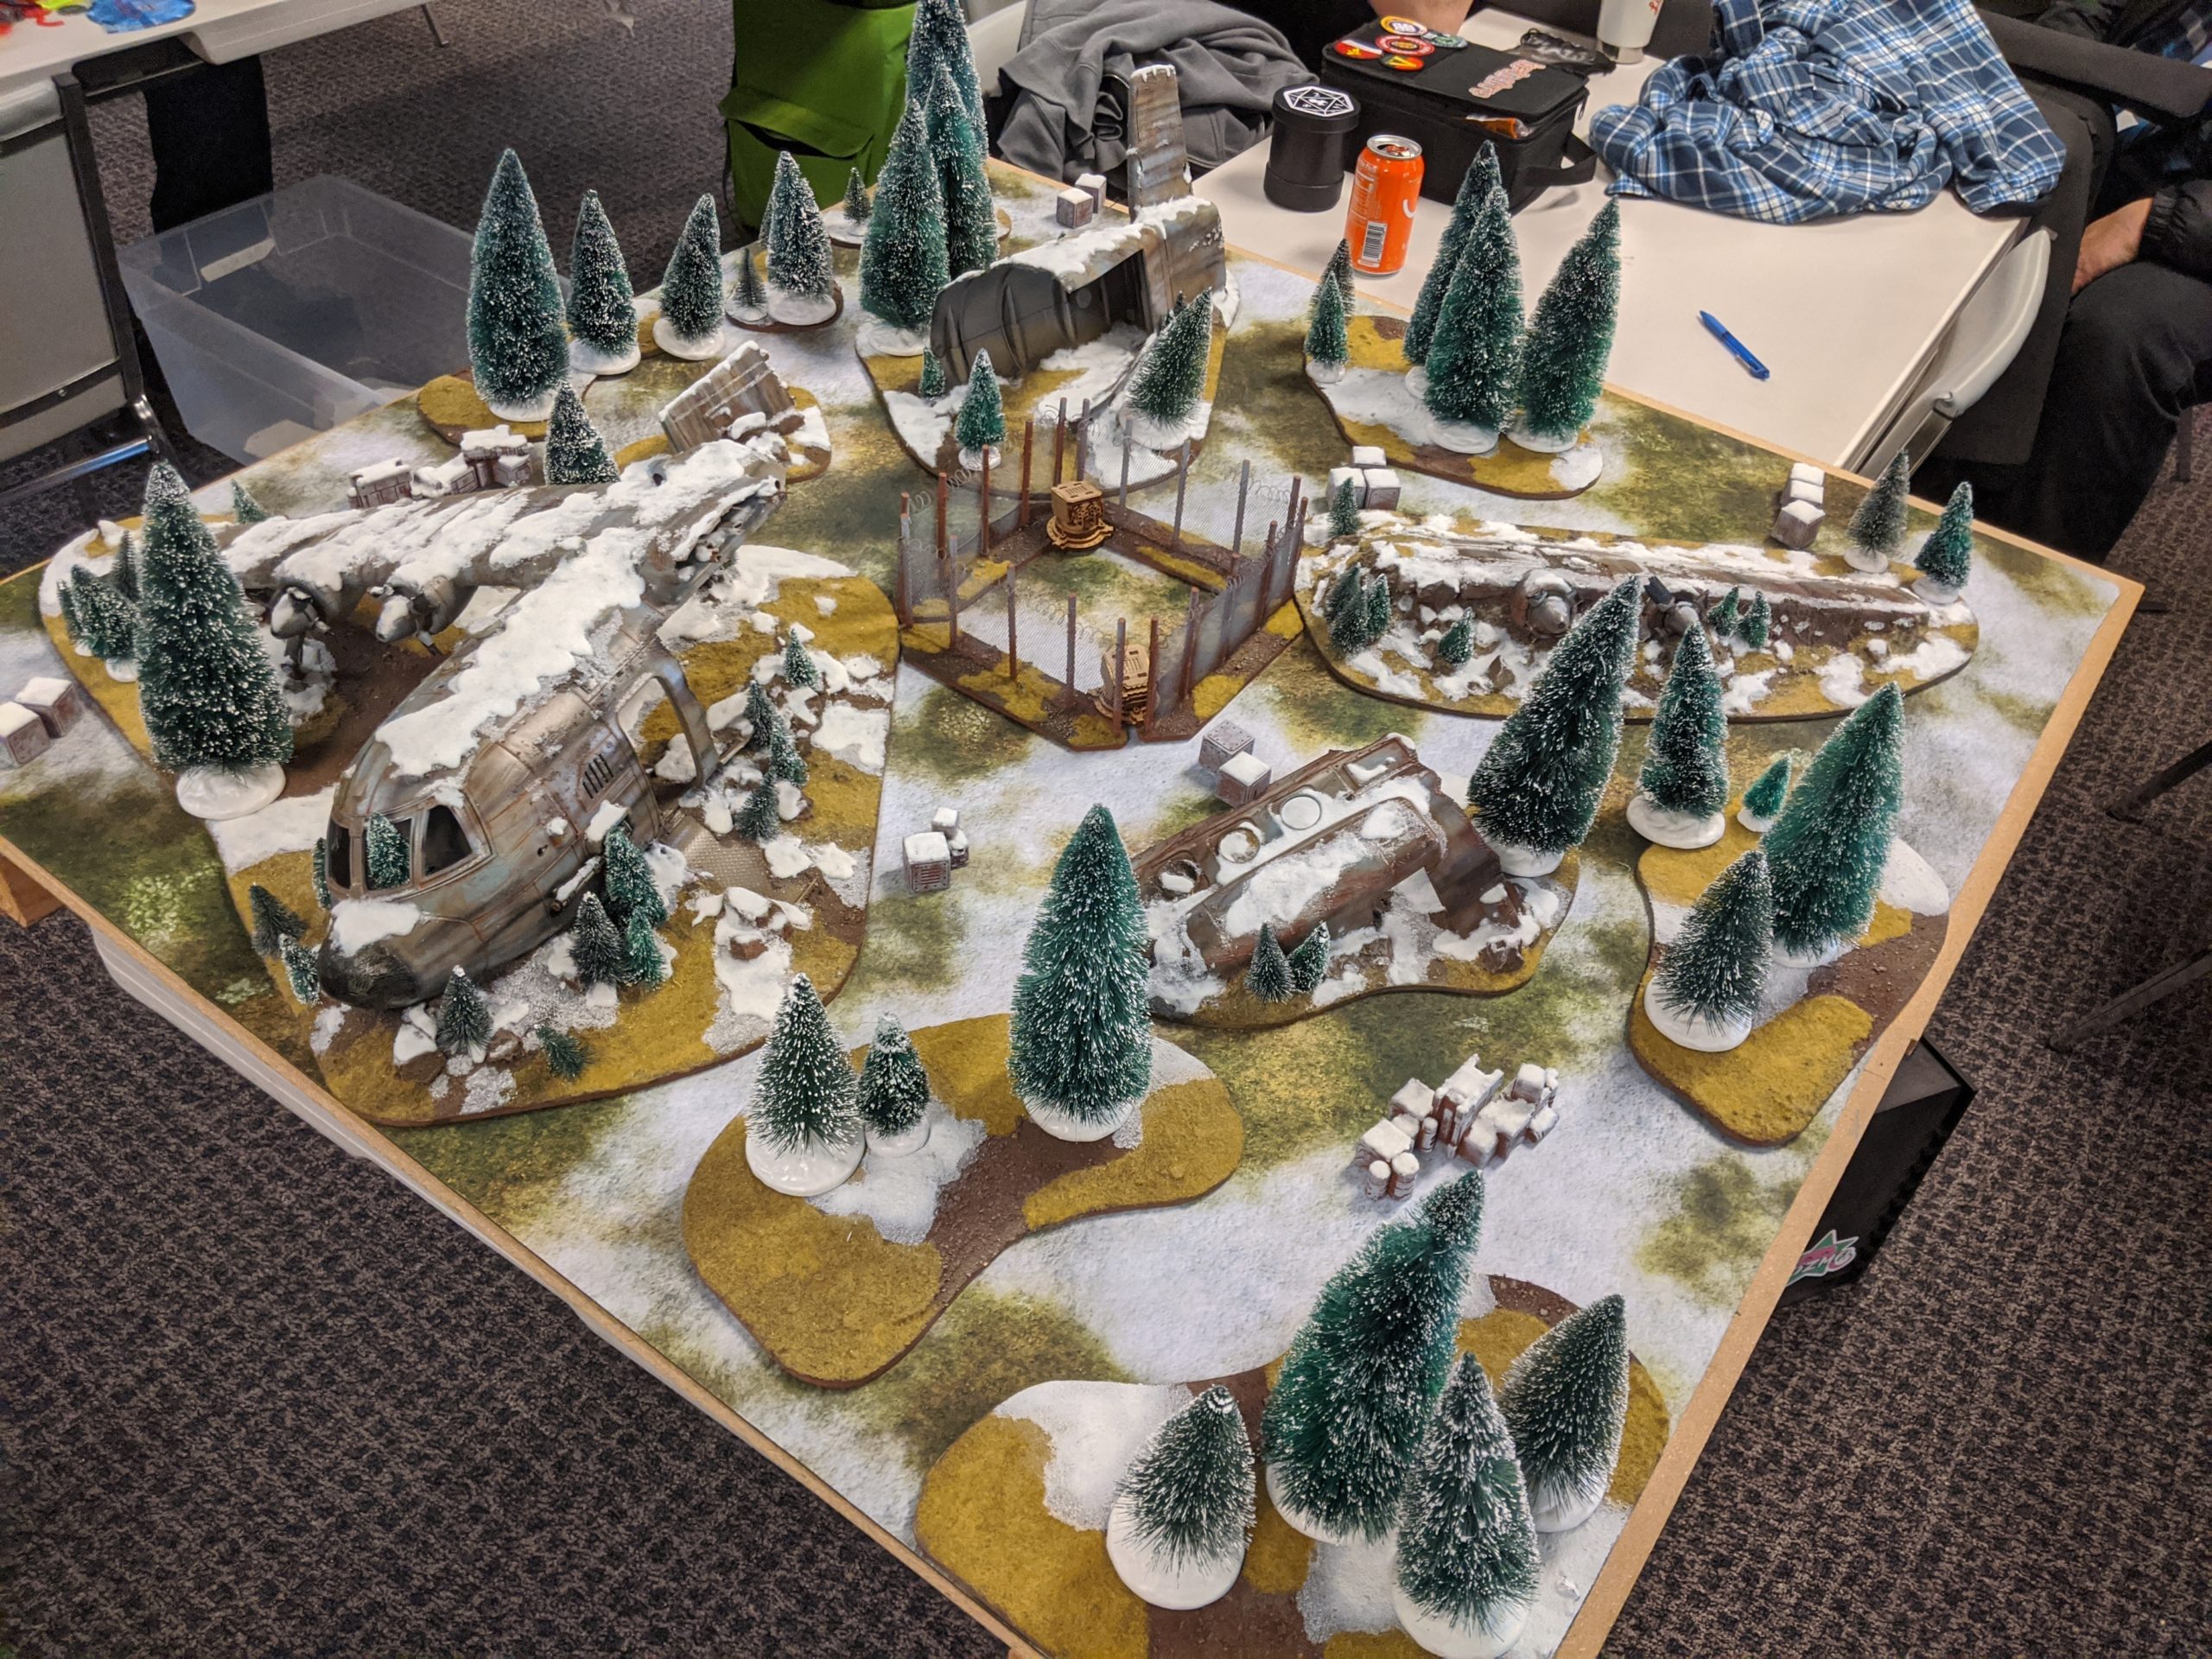
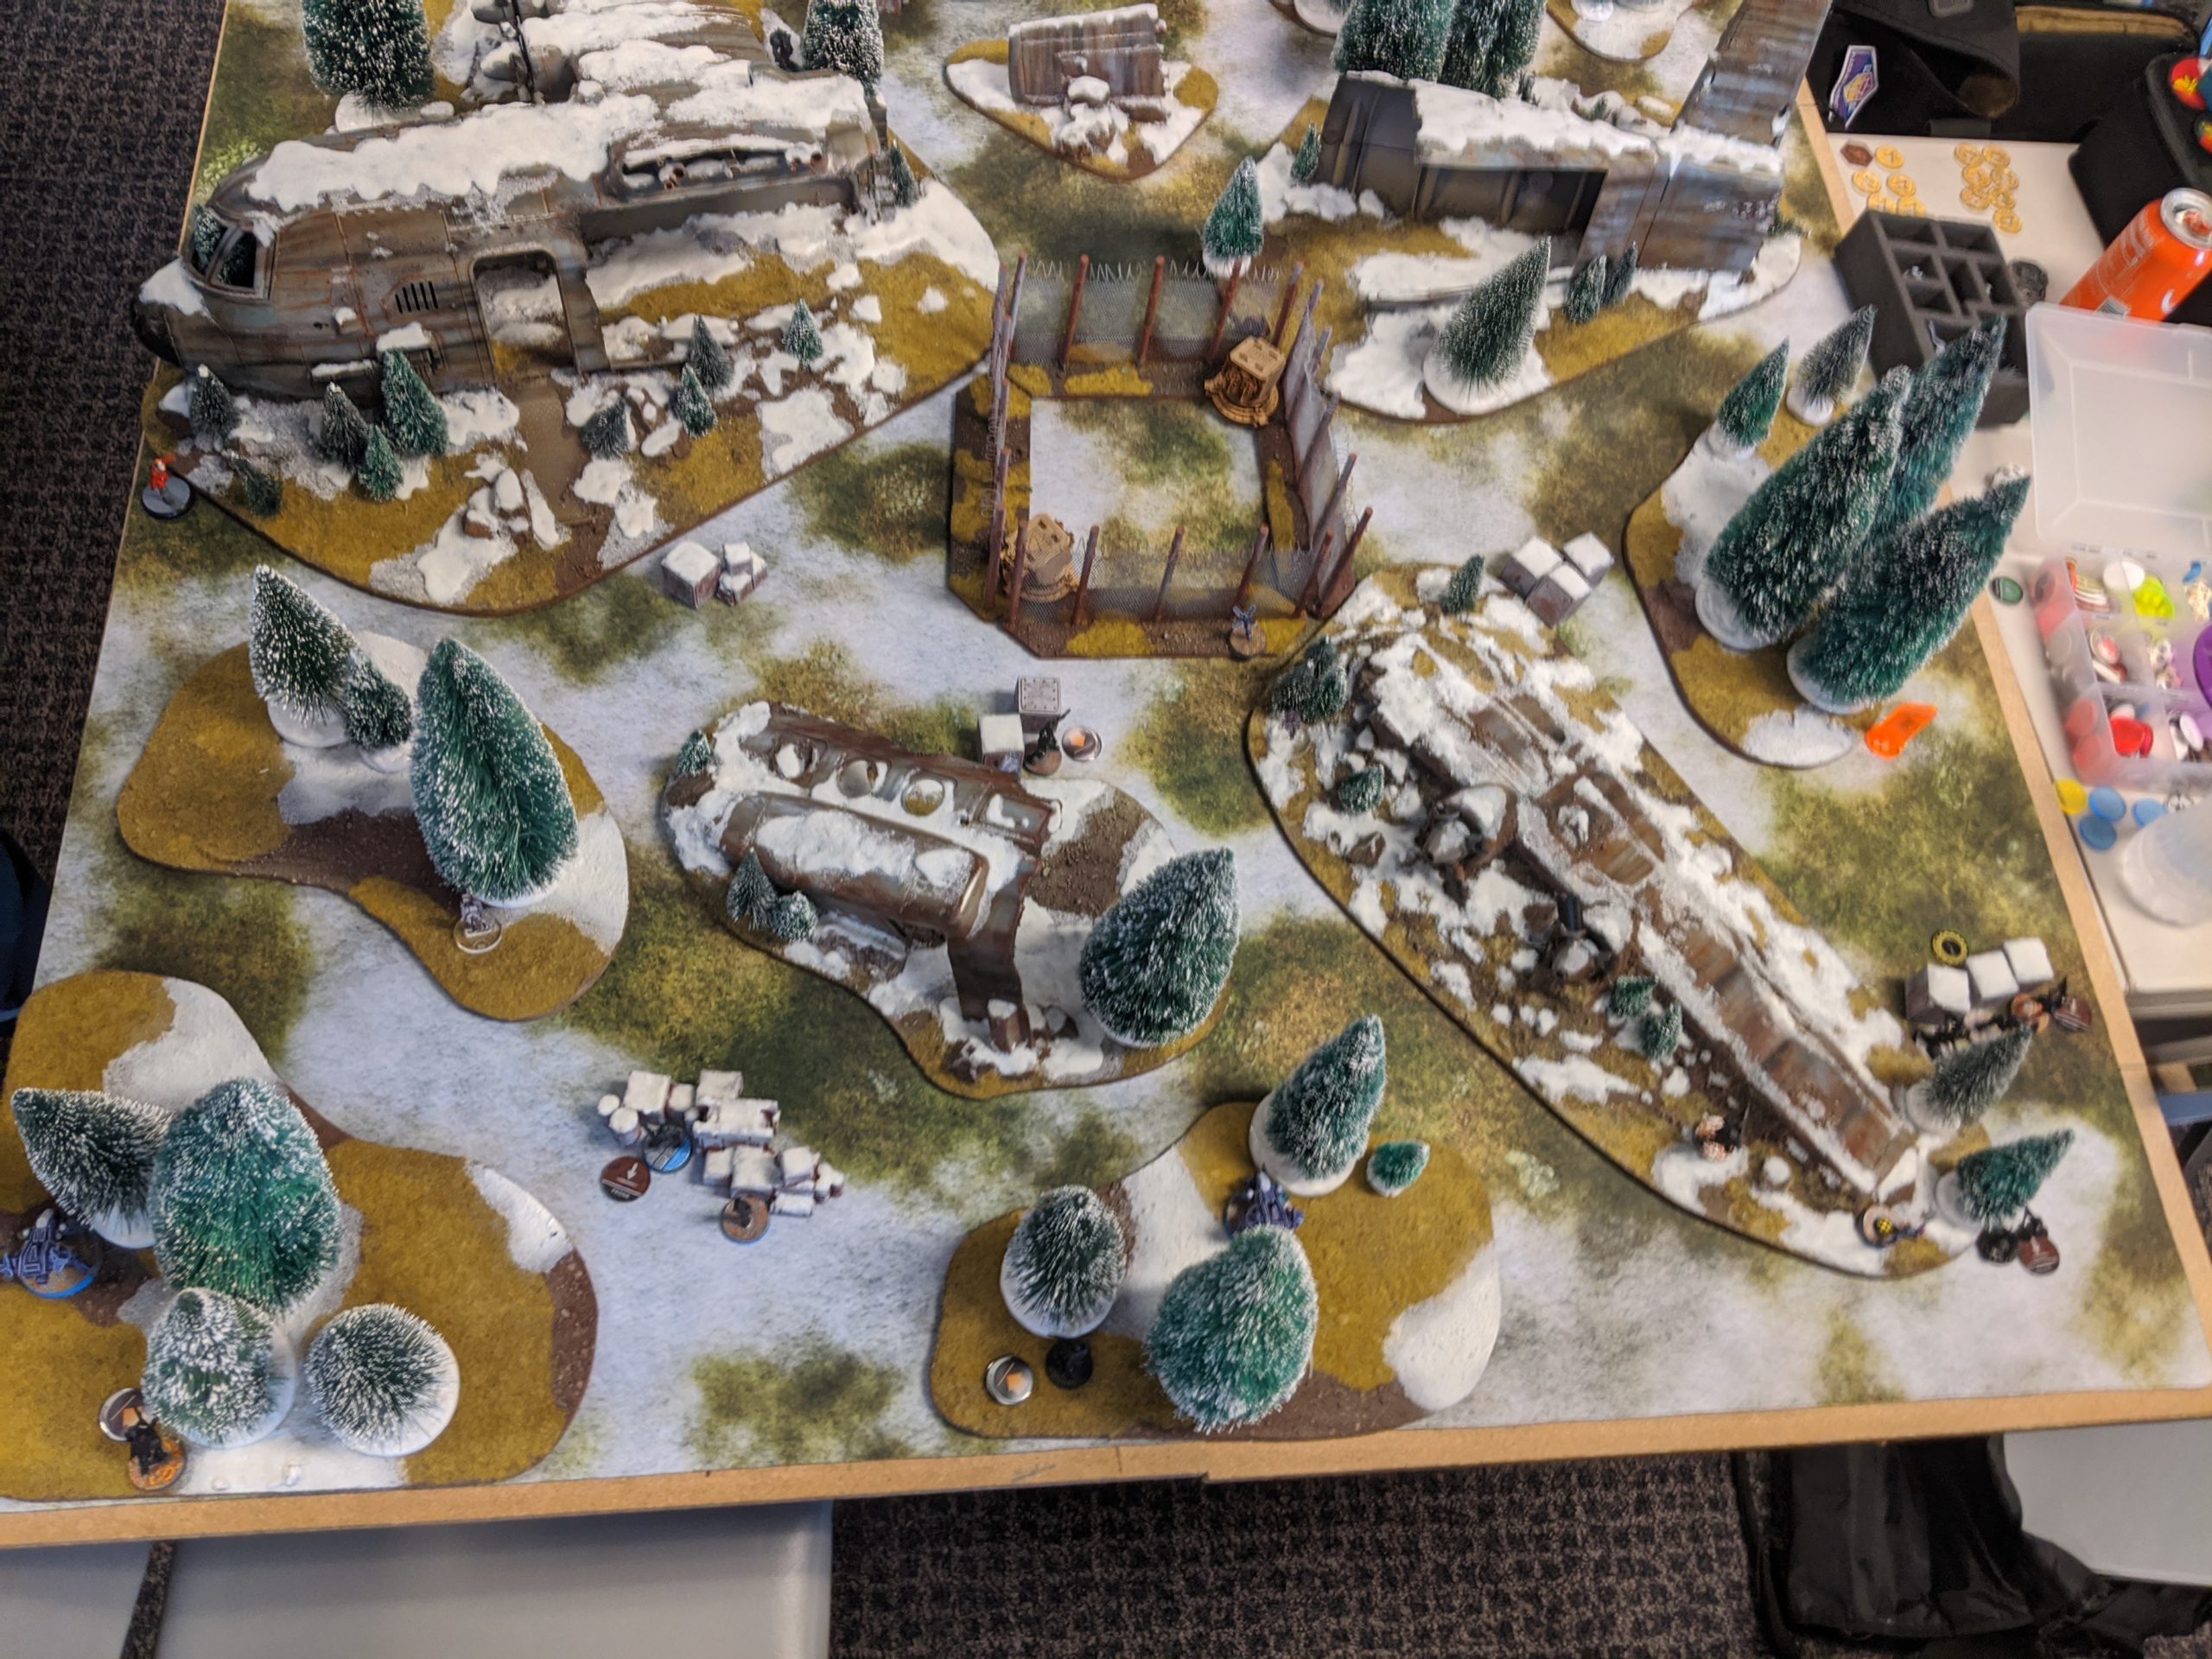
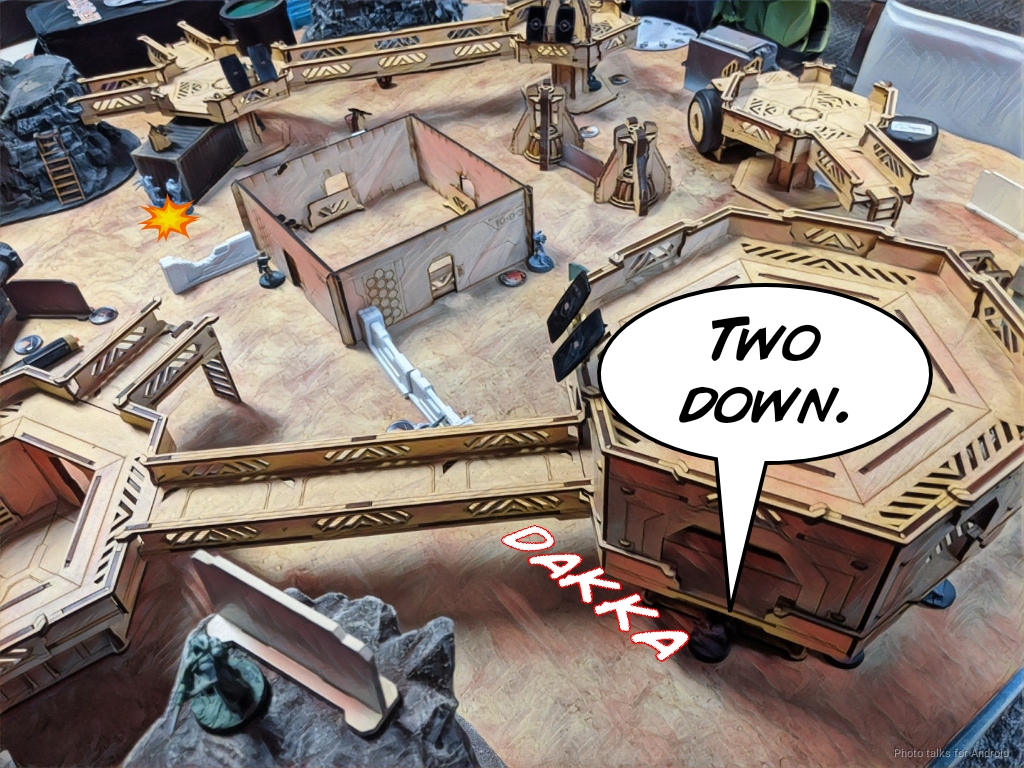
I decided to make a table out of fencing for the central objective room on the airplane table for thematic reasons. It behaves like a normal objective room in all respects, with the exception that there are no doors, so people would have to estimate where there was a door in the middle of the fence. I ended up having to play on the table during The Armory round, so I was able to make sure it was working as intended.
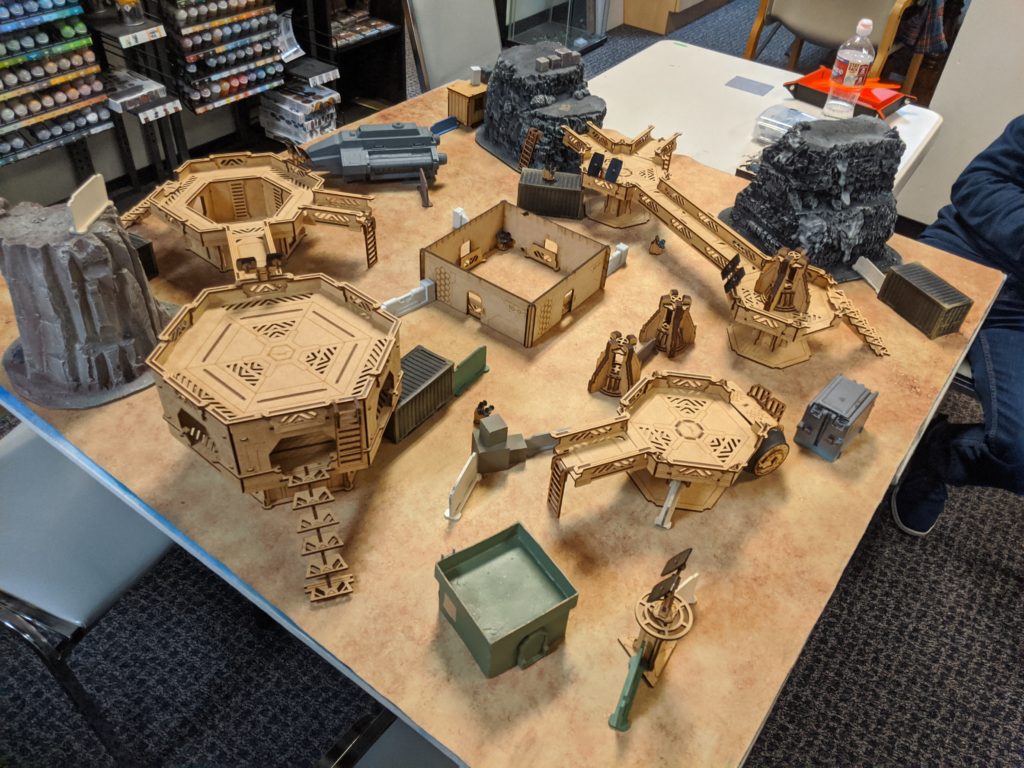
For the other Ariadna table, I used the Comanche landing pad thing, which seemed to work okay from the reports I was getting from the players there. The Armory and other objective room missions always do strange things to tables because of the infinite height rule. They break up the table enough to really change the valuation of certain deployment and mobility skills, and definitely on weapons. You end up having to think about having more of a balance in your weapons loadouts, but long range weapons are still very relevant.
Game 1 – Moby Dick
Tony (Zhukov2) made the drive all the way from near Seattle, Washington, which is at least a 3 hour drive. What a champ! He’s my white whale–I’ve played him a number of times now and he’s managed to take the win every time. If you’re interested, you can check out our games below. Each of them has been an absolute riot of fun and hilarious outcomes.
Sometimes it’s been dice, sometimes it’s been my own stupidity, but I was hoping that this time, my ISS-sanctioned and sharpened harpoon would bag me the white whale I’ve been hunting for so long!
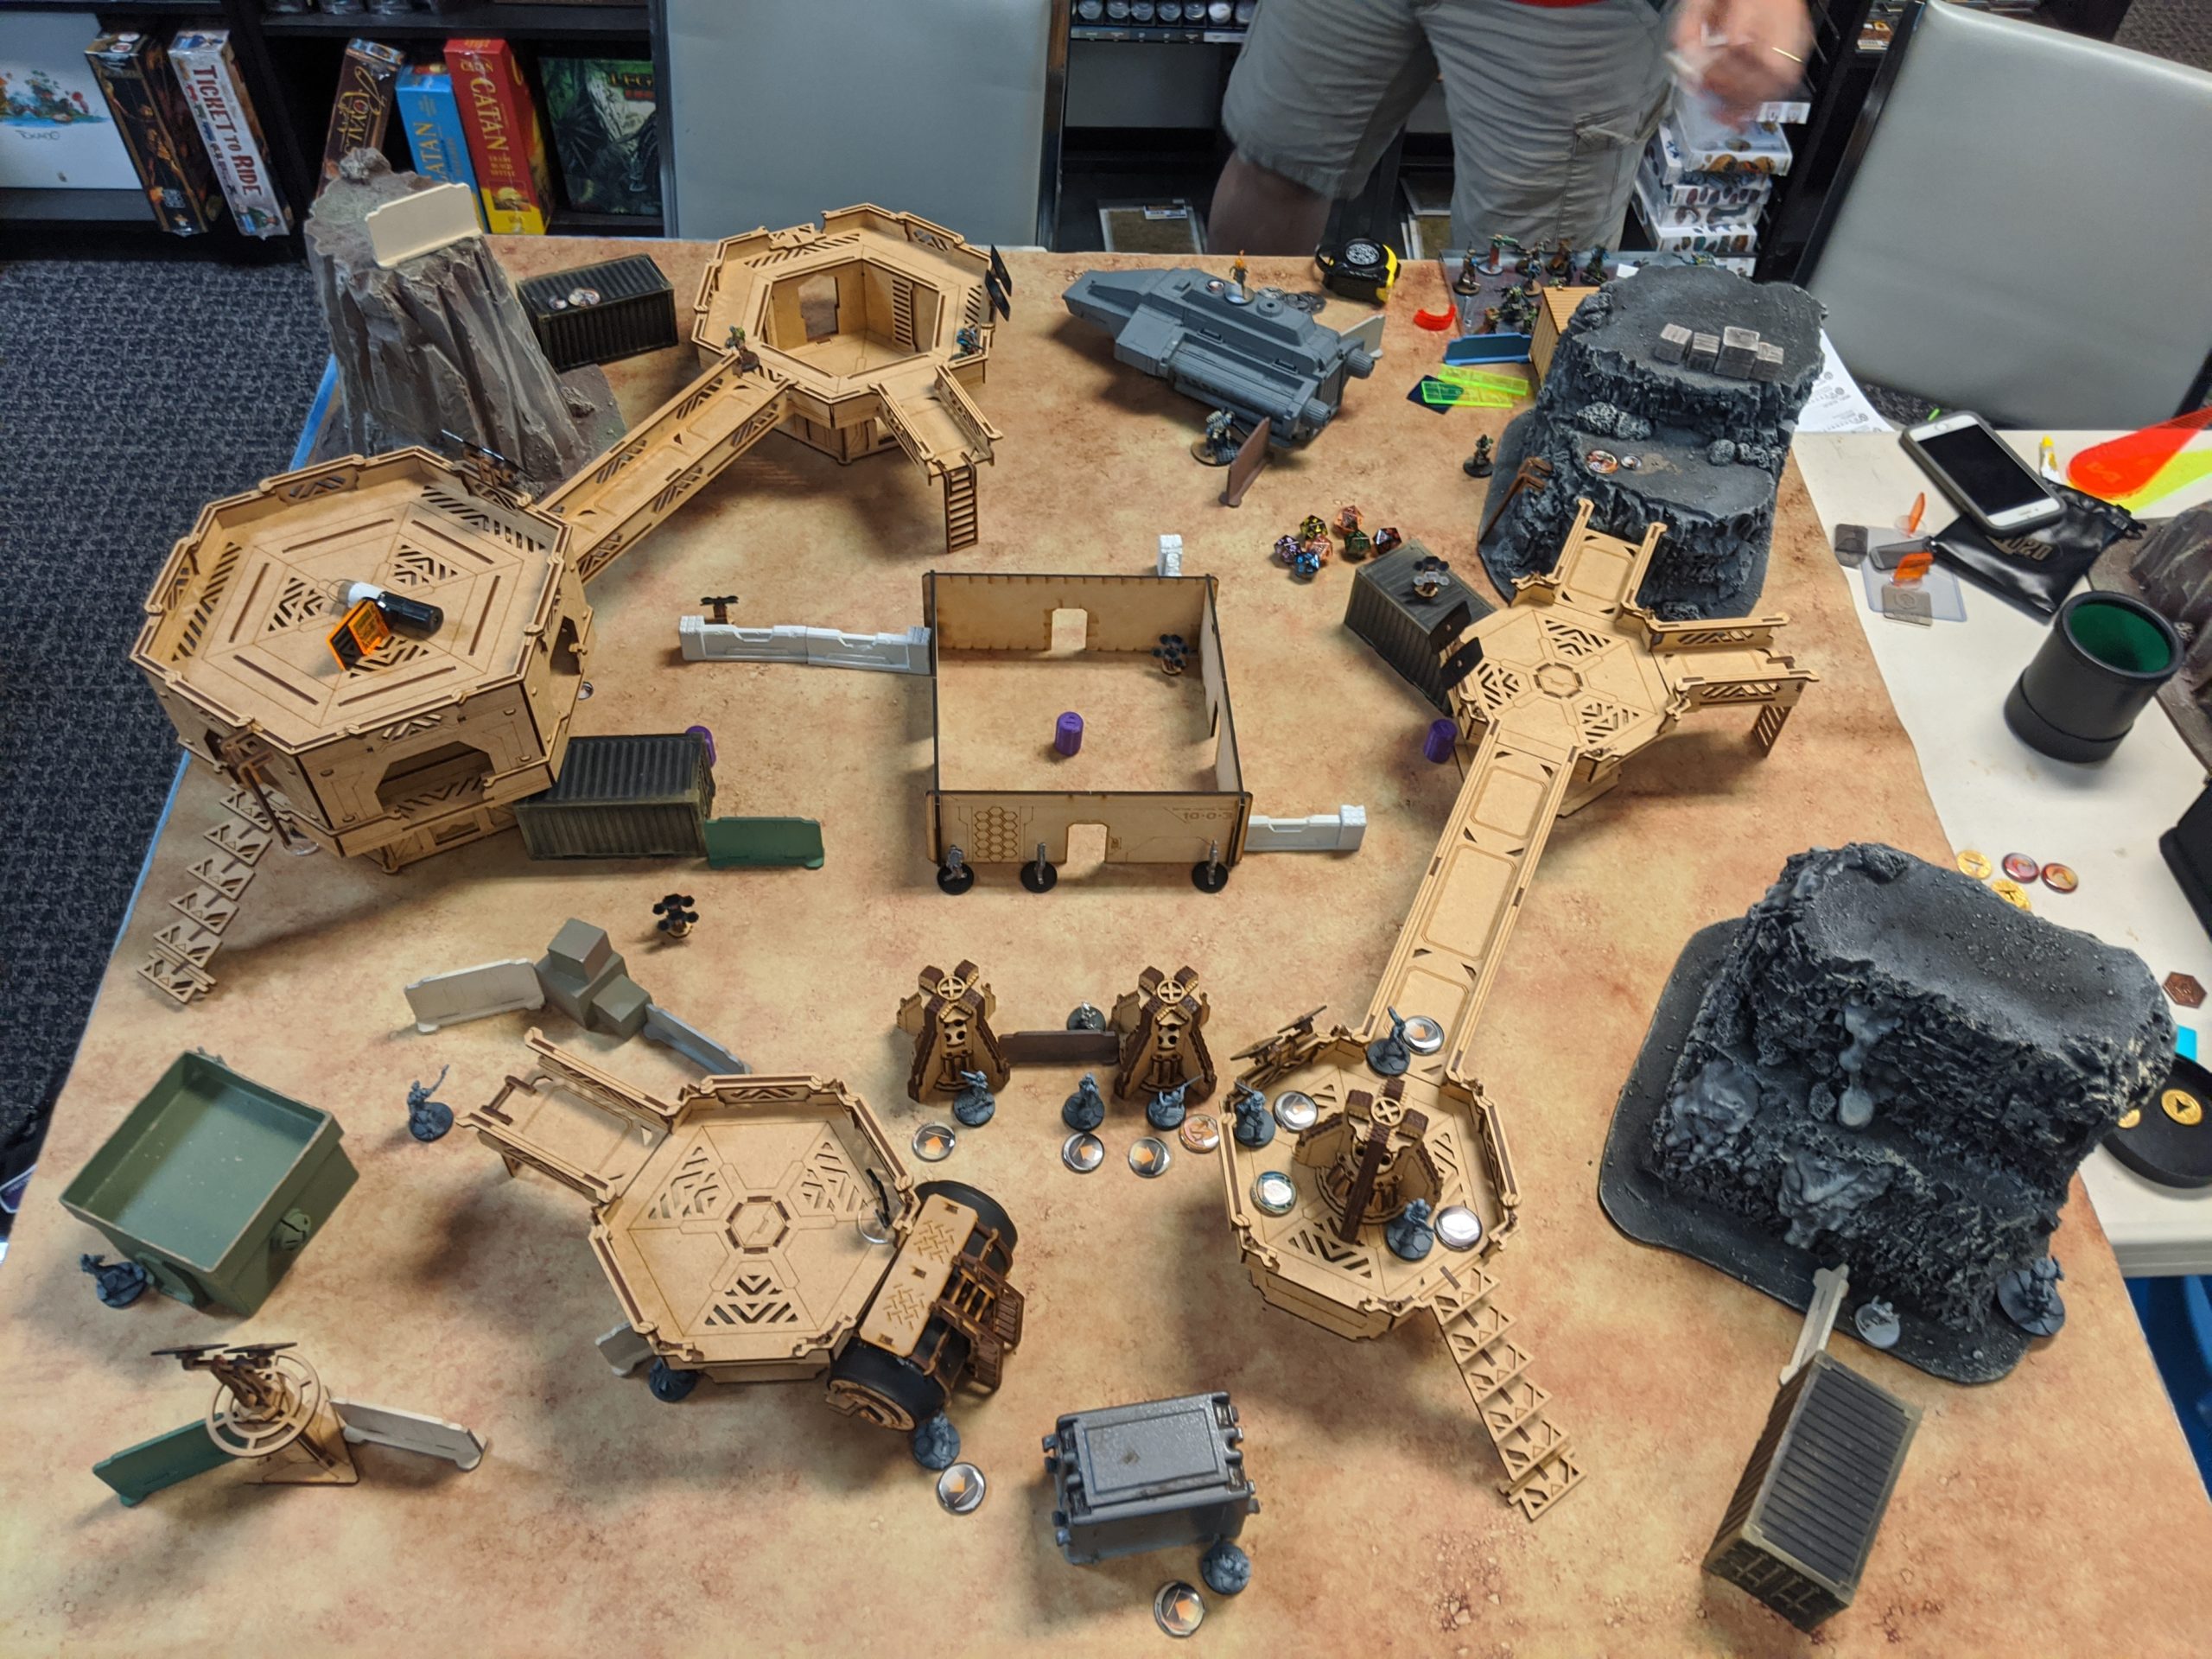
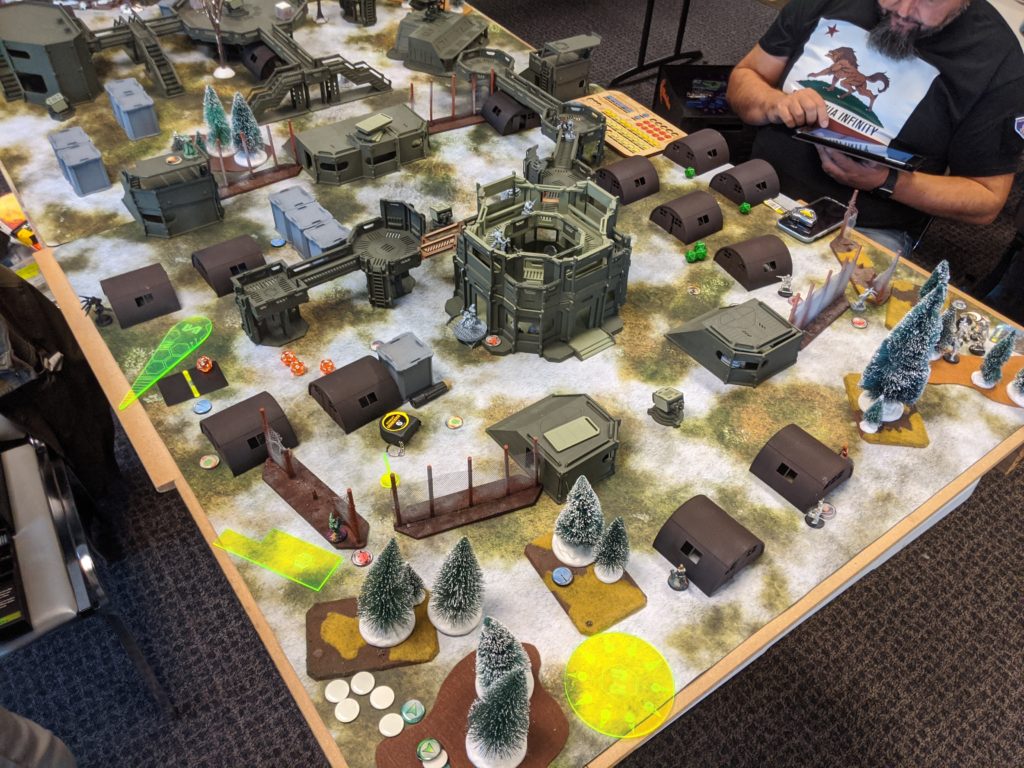
I had a lot of table set up to do on the other tables, so sadly the table Tony and I ended up playing on didn’t have the same level of pizazz, but ah well. At least it was tactically interesting!
Overview
- Mission: Supplies (SpecOps)
- Forces: Imperial Service versus Caledonian Highlander Army (300)
- Deploy First: ISS
- First Turn: ISS
Supplies
GROUP 1 |8
CELESTIAL GUARD Lieutenant Combi Rifle / Pistol, Knife. (0 | 13)
CELESTIAL GUARD (Infinity Spec-Ops) (12 XP) [i](Engineer, Doctor, Hacking Device)[/i] Combi Rifle, Akrylat-Kanone / Pistol, Knife. (0 | 14)
YUDBOT Electric Pulse. (0 | 3)
DAKINI Tacbot Paramedic (MediKit) Combi Rifle / Electric Pulse. (0 | 15)
BOUNTY HUNTER Red Fury / Pistol, Knife. (0.5 | 21)
GROUP 2 |
MAJOR LUNAH Viral Sniper / Pistol, Knife. (1.5 | 29)
KǍNRÈN Combi Rifle, Chain-colt, MadTraps / Pistol, Monofilament CC Weapon, Knife. (0 | 28)
GARUDA Tacbot Spitfire / Electric Pulse. (1.5 | 28)
6
KUANG SHI Chain Rifle / Pistol, Knife. (0 | 5)
NINJA Hacker (Killer Hacking Device) Tactical Bow / Pistol, DA CCW, Knife. (0 | 29)
SÙ-JIÀN Heavy Shotgun, Light Flamethrower, Panzerfaust / Heavy Pistol, Knife. (0 | 54)
4 SWC | 300 Points | Open in Infinity Army
I wanted to bring ISS to a tournament, but didn’t want to take the full on Kuang Shi spam + Rui Shi. Instead I took Kuang Shi + Su Jian, and then some hipster stuff in group 1, namely the Miranda + ABH duo. I’m of the opinion that a Garuda is pretty close to mandatory out of ISS as well.
Since the tournament was a Spec Ops tournament, I built myself a budget Sophotect with glue cannon and hacking device. More vulnerable, but it hides my Ninja as it ticks the required box for the Garuda… which is also hidden… ah whatever. Pretty clear what the list is supposed to do, I think.
Game 1 – Zhukov2
GROUP 1 |1
HIGHLANDER GREY AP HMG, Smoke Grenades / Pistol, CCW. (1.5 | 34)
VOLUNTEER (Infinity Spec-Ops) (12 XP) [i](Chain of Command, Marksmanship L1)[/i] Rifle / Pistol, Knife. (0 | 9)
VOLUNTEER Chain Rifle, Light Shotgun / Pistol, Knife. (0 | 6)
GROUP 2 |
‘FIRSTSTRIKE’ DONN T2 Rifle, Grenade / Heavy Pistol, AP CC Weapon, T2 CC Weapon. (0 | 35)
UXÍA McNEILL (Covert Action) (CH: Limited Camouflage, Superior Infiltration, Specialist Operative) Boarding Shotgun, D-Charges, Smoke Grenades / 2 Assault Pistols, AP CCW, Knife. (0 | 27)
112 Light Shotgun / Pistol, CCW. (0 | 12)
WARCOR (360º Visor) Flash Pulse / Stun Pistol, Knife. (0 | 3)
WALLACE Lieutenant Combi Rifle + Light Flamethrower, Smoke Grenades / Pistol, EXP CCW. (0 | 35)
SCOT (2nd Battalion) (CH: Camouflage) AP Marksman Rifle / Pistol, Knife. (0 | 27)
CATERAN T2 Sniper Rifle / Pistol, AP CCW. (1 | 24)
McMURROUGH 2 Chain Rifles, Grenades, Smoke Grenades / Templar CCW (AP + DA). (0 | 32)
HIGHLANDER Chain Rifle, Smoke Grenades / Pistol, AP CCW. (0 | 6)
4 SWC | 299 Points | Open in Infinity Army
Tony took a pretty fun CHA list. I’m not entirely sure of his combat groups, but I think I’m pretty close. He’s got the typical Grey AP HMG + Volunteer link, but added a hipster twist! He’s got a chain of command volunteer with MML1. Pretty rad profile. Shock on a rifle is not to be ignored.
Deployment
I won the rolloff and decide I want to go second in Supplies… I’m about to take deployment but then I realize that I don’t know what army Tony is playing. I ask, and he bursts out laughing. After he catches his breath, he tells me “Caledonia!”
WELL THEN. No going first for Tony! I immediately declare that I’m going first, so he peers around and gives me what he thinks is the worse side. They feel pretty even to me, I suppose. For this game, there’s no exclusion zone in the objective room, but the doors don’t lock, you can open them like normal doors.
I take a look at my deployment zone and decide to tackle deploying the Kuang Shi link first. I don’t really intend on moving them, and I need to be able to use them to effectively trade with Galwegians if at all possible… so I decide to build a perimeter of Kuang Shi in the middle of my deployment zone, covering both main approaches.
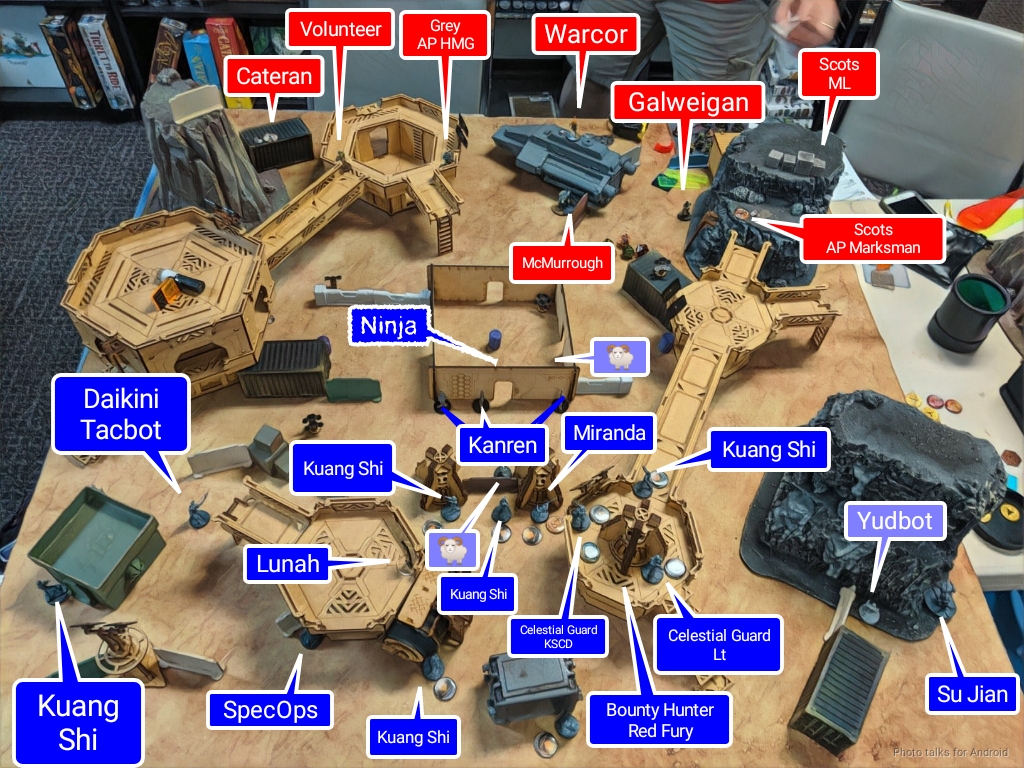
I hide my SpecOps on the left, and then have some trouble putting down the Kuang Shi Controller and my Lt. I decide to put them on the catwalk in hopes of keeping them away from Galwegians. I’ve got some more Kuang Shi on the left, out of the link, screening that flank, and then the Daikini over there as well to grab some boxes. The Ninja goes in the room to get the central objective.
Lunah is watching the left approach around the objective room, but I make sure she’s near a ladder. She’s going to hunt whatever Tony leaves out, as she and the ABH Red Fury are my only real guns unless I get the Daikini in on the action. That’s the other reason I stuck it on the left, to be near my SpecOps hacker.
Tony protects his link by putting it inside a building, but he leaves the AP HMG out. He’s screening some stuff with Galwegians, particularly Wallace on the left, and then watches the right board edge with Uxia on the midline.
He leaves the Cateran and both the Scots AP Marksman and Missile Launcher out to ARO. I drop the Su Jian on my right, near Cadin (who’s on my right), and then Tony puts McMurrough in an advanced spot. I think this was a mistake, because he’s visible. I’m concerned that the Kuang Shi on the catwalk is going to get killed if I activate the link so I form a 4-man without him.
Turn 1
Top of 1 – ISS
Okay. Ordinarily, I’d be all about snagging objectives with the Daikini and retreating on Turn 1, but I have absolutely no illusions of doing that this turn. My objectives are as follows:
- Remove as many ARO pieces as I can.
- Kill McMurrough.
- Kill the AP HMG Grey.
- Kill as many Galwegians as I can. Thankfully, there are only two.
- Kill Wallace.
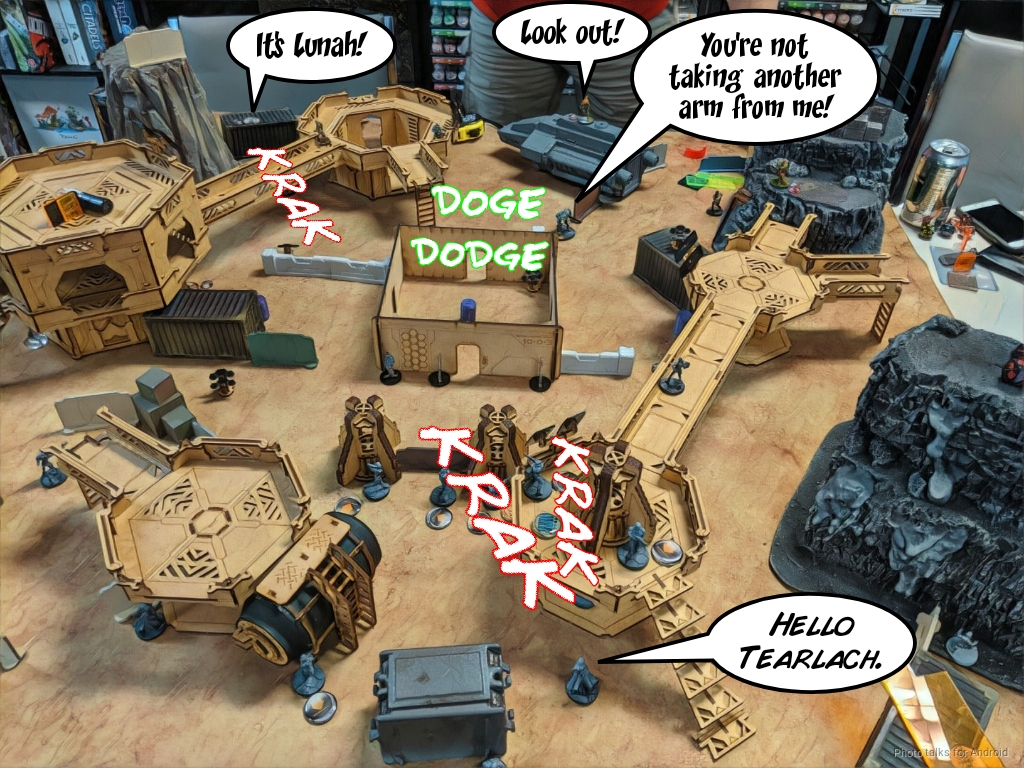
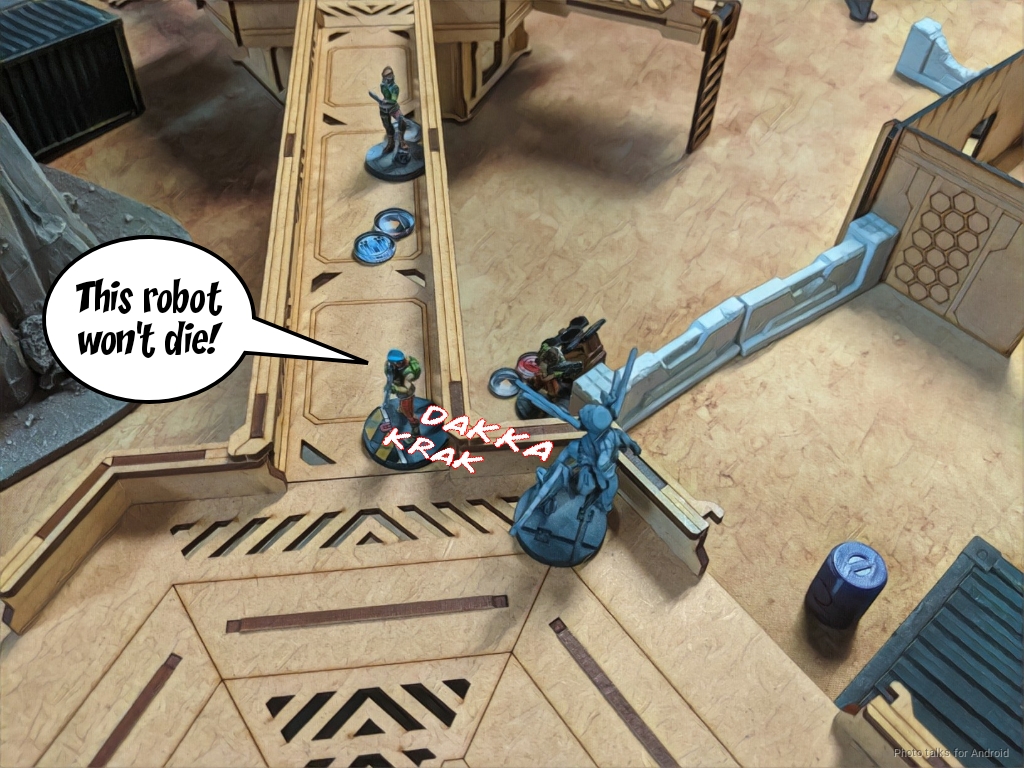
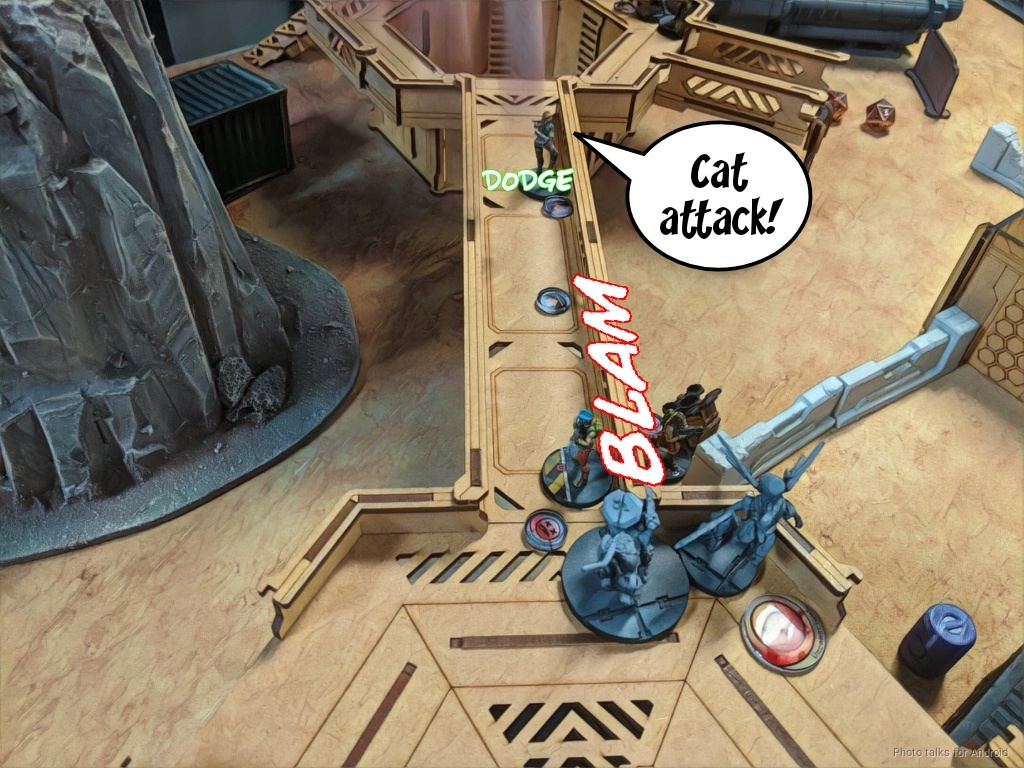
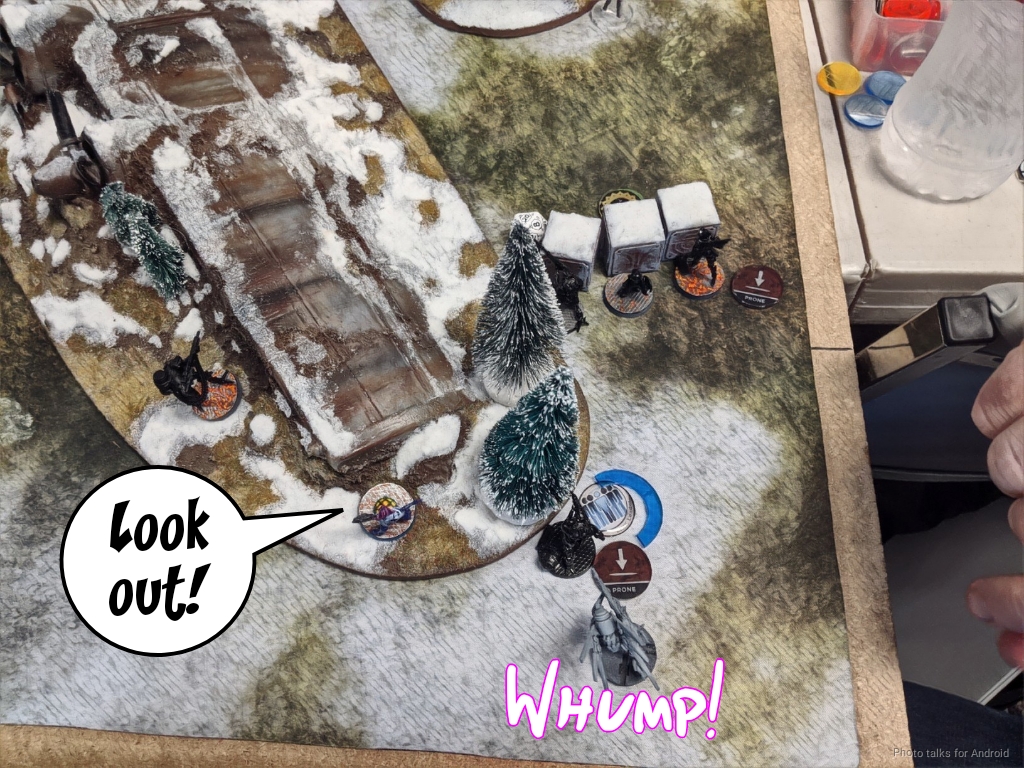
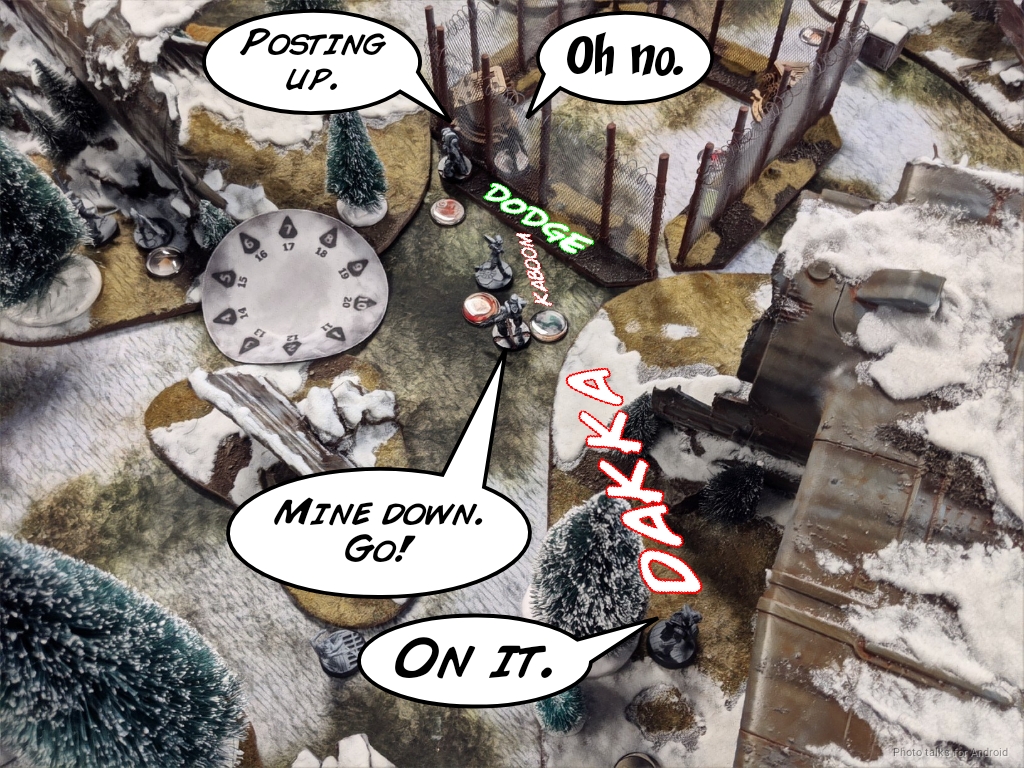
All of Tony’s ARO pieces are in camo state, so I try to bait them out by letting my Kuang Shi on the catwalk run forward. The Scots Guard with AP Marksman takes a shot at it, so I fire back with a pistol from just inside 16″. I’m taller than the prone Scots Guard so I get it out of cover too.
| 19.23 | 42.70 | 38.07 |
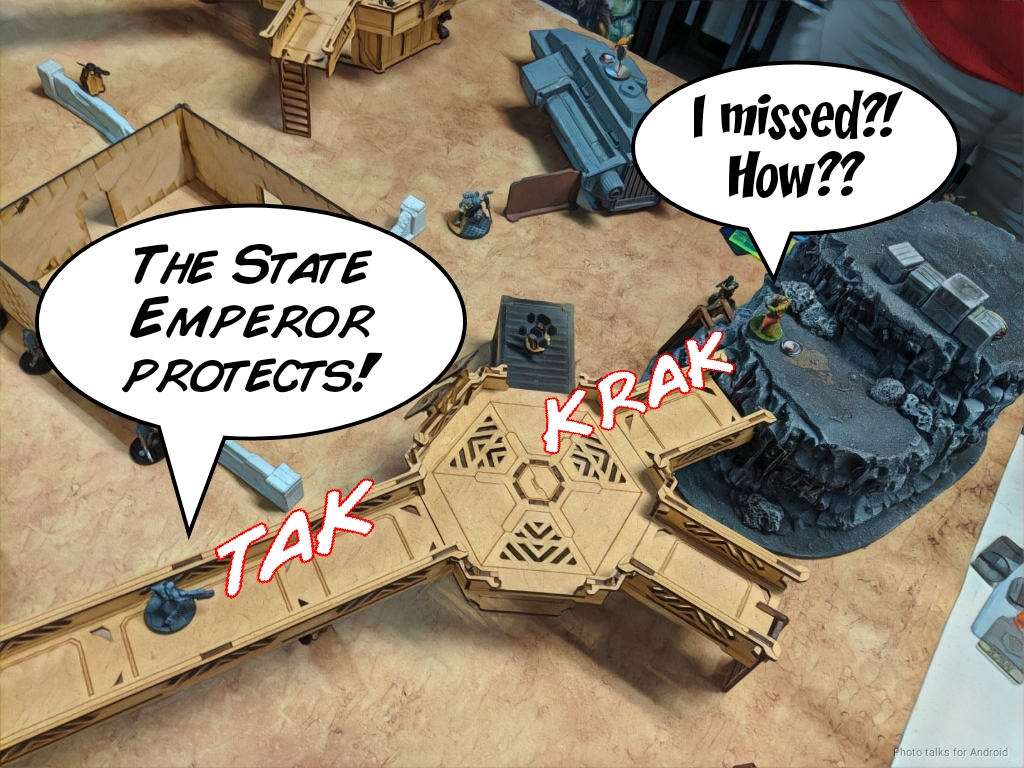
Not terribly bad odds for me, and I managed to get that sweet 20% roll and take out the Scots Guard. The Scots Guard ML declined to ARO. Tony decided to dodge McMurrough forward though, trying to get some free movement from the Kuang Shi… which means Lunah has a great shot.
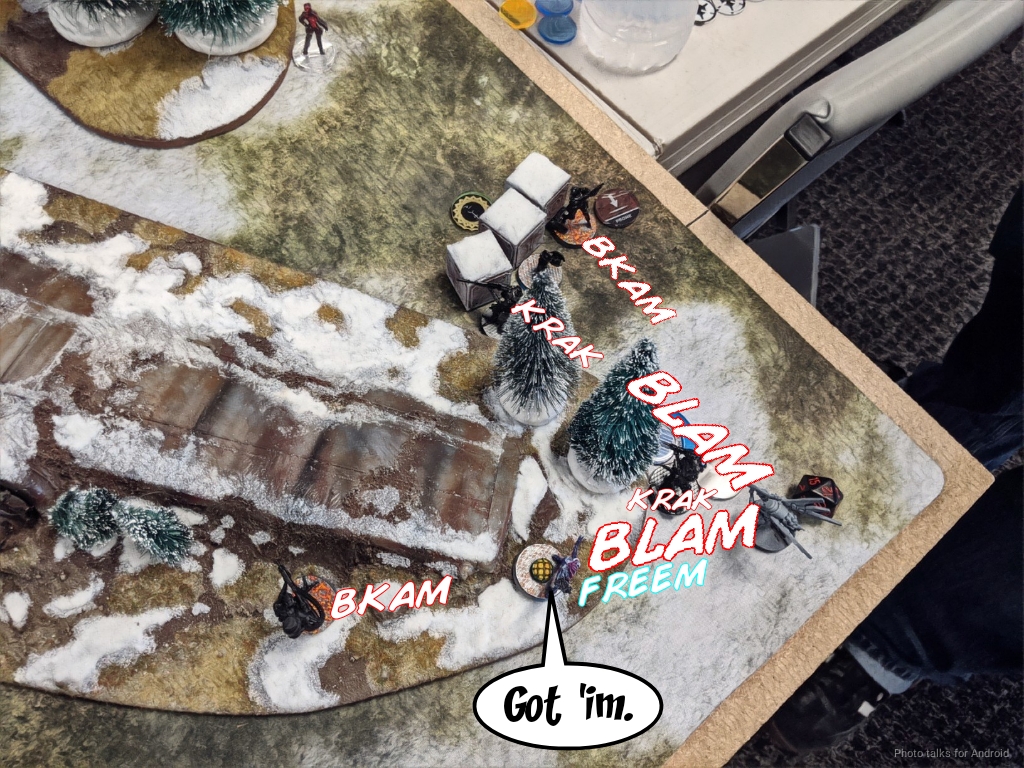
I get her off her perch. She gets discovered by Tony’s warcor, and then McMurrough dodges while the Cateran reveals and shoots. I decide to split burst, hoping for the best, and manage to take both McMurrough and the Cateran out.
I’m an impetuous and two regular orders in, and I’ve already taken out McMurrough, a Scots Guard, and a Cateran. Damn. Well, things are going pretty well for me!
The other impetuous Kuang Shi on my left had advanced without any issue, so I push it into view of Uxia, a Galwegian, and the Warcor. The Galwegian and the Kuang Shi trade ineffective pistol fire and the Warcor flash pulses the Kuang Shi. Darn.
Well, I had hoped to bring in a Garuda closer to the Galwegian, but I decide to bring it on and climb it up some stairs into a building (we removed the top for ease of movement). I get into view of the AP HMG Grey and start blasting away with the Garuda’s Spitfire.
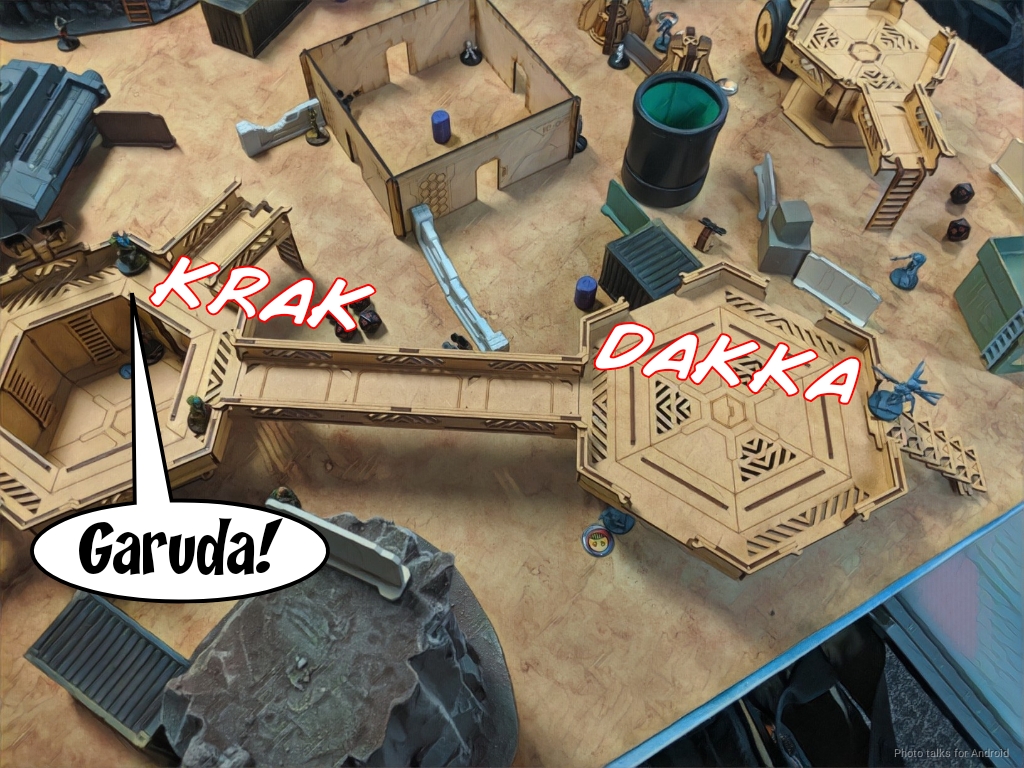
It takes a few orders, but I finally drop the Grey unconscious.
I have a few orders left in the Kuang Shi pool, so I fire a pair of Panzerfausts at Cadin over the course of two orders but fail to get rid of him.
I reveal my Lieutenant by spending his order and get him behind total cover from the Scots Guard ML, then pass turn. My Lt wasn’t visible at the time, but if the Scots Guard moved, it would be possible to draw LoF. I wanted to prevent an easy Lt snipe.
Bottom of 1 – CHA
Tony’s Galwegian chucks smoke at my Kuang Shi that killed the Scots Guard and then moves into base to base. I manage to knife the Galwegian, but it passes ARM, so we’re stuck in close combat. The other Galwegian on my left by Uxia fails to do any damage either.

Tony doesn’t want to do a single wound to the Kuang Shi by Uxia, so his Galwegian actually dodged my chain rifle instead of returning fire. The reason behind this is that the Kuang Shi might be in explode range of Uxia.
Still, he can’t leave the Kuang Shi there, so Tony reveals the Scots ML and takes a missile shot at it. This is still pretty risky, as while there’s a 50% chance the Kuang Shi is off-the-table dead, there’s a 10% chance that it only takes a wound and explodes. Thankfully for Uxia, the Kuang Shi is turned into soup and doesn’t explode.
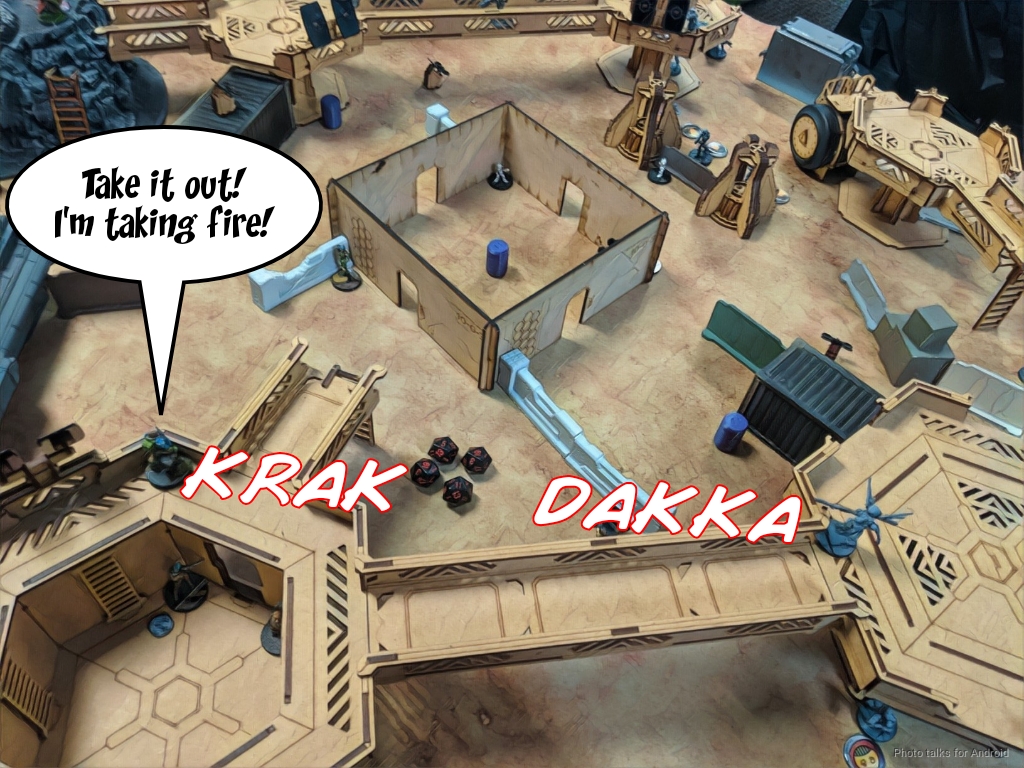
With the Kuang Shi down, the Scots Guard turns his attention to Lunah and drops her with a missile shot. Tony also needs to get rid of my Garuda, so he sends in a Volunteer with shotgun and we trade some fire. Even after spending a few orders the Garuda is still up!
The Galwegian keeps flailing away at my Kuang Shi on the right, finally declaring a berserk knife attack and killing the Kuang Shi.
Turn 2
Top of 2 – ISS
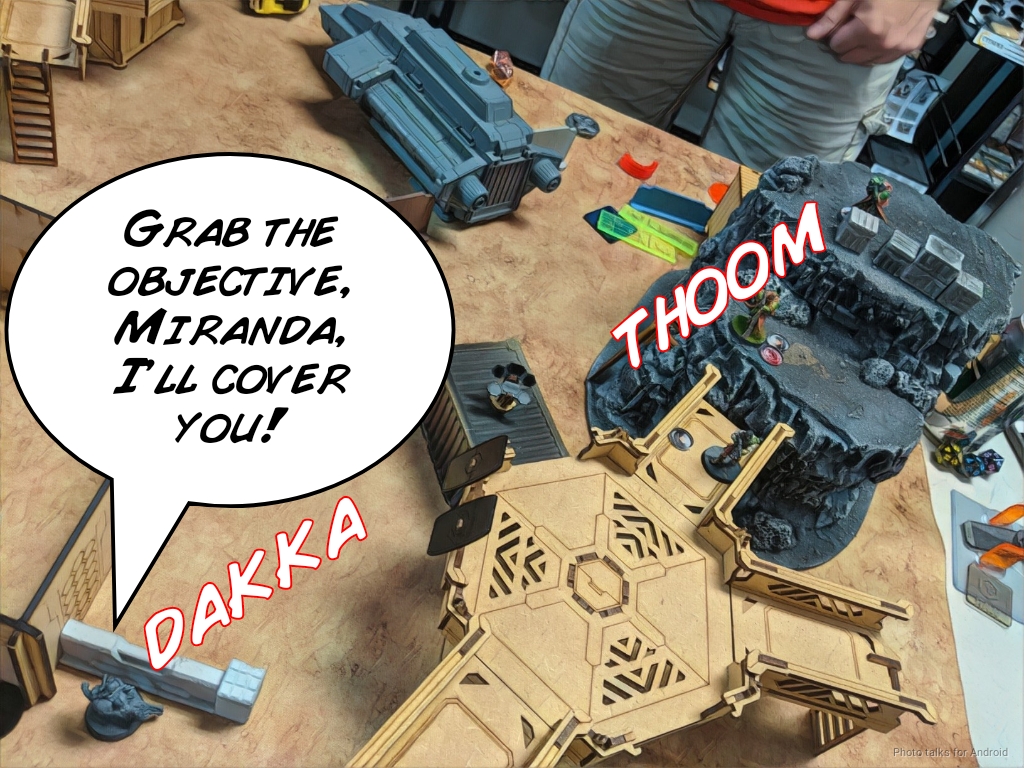
Things are going pretty well for me at this point. There’s only one thing projecting board presence at this moment, and that’s the Scots Guard. I leverage the excellent Miranda + ABH link and get her in position to grab the box while simultaneously getting the ABH inside 24″ to take a shot at the Scots Guard.
After grabbing the box with Miranda, I expose the ABH and use the order efficiency to keep moving Mirand back towards my DZ while spending orders to gun down the Scots Guard.
It takes a few orders but I finally tuck Miranda into relative safety and take down the Scots Guard. Now I’ve got to unstick the Garuda, so I use some coordinated orders on a pair of Kuang Shi, advancing them and the Su Jian towards the left side of the table.
One of the Kuang Shi climbs the ladder and tries to chain rifle the Volunteer down to rescue the Garuda. Of course, I lose the Kuang Shi and the Volunteer survives.
The other Kuang Shi, however, can catch a Volunteer on the ground and Uxia’s camo token, knocking both of them out.
I’m decidedly pleased with this outcome and shift a linked Kuang Shi forward to protect my Lieutenant from the Galwegian on the catwalk.
Bottom of 2 – CHA
That Galwegian dies to a double chain rifle from the Kuang Shi–Tony was hoping that smoke would go down at he’d at least have a dogged Kuang Shi, but it wasn’t meant to be.
The Garuda is still up, and unfortunately it takes most of the remainder of Tony’s turn to take it out. I keep rolling well in the face to face, so eventually Tony switches from the shotgun to the chain rifle and we trade.
The last few orders he’s got are spent getting the 112 into position to pick up the AP HMG Grey, who Tony wisely let go unconscious instead of dogged on turn 1.
Turn 3
Top of 3 – ISS
I get the Su Jian into play and fail to take out Tony’s spec ops.
I manage to get the Su Jian into position to see the 112 and the Spec Ops but not the Grey and fail to take out either.

Doesn’t matter, it’s time to pick up more boxes and get objective points. I Spotlight Uxia with my Spec Ops for a classified and grab the left box with it, and grab the central box with my Ninja. Sadly I can’t coordinate because the SpecOps is attached to a Yudbot. Sigh. Miranda at least scuttles to complete safety in the backfield.
Bottom of 3 – CHA
Tony has one play, which is to tie up the number of boxes and secure my HVT. It’s supremely hard to do this, because my Su Jian is watching everything.
Tony starts by dropping smoke with his Grey, then guns down my SpecOps and frees the way for Wallace.
Wallace walks up to the Armory, fends off the glue goats, and then dives into the room.
It’s all down to this–if Tony can kill the Ninja and pick up the box, he’ll reduce me to a minor victory thanks to my classified. Wallace Berserks, hoping to survive the Ninja’s counterattack… we both crit, and we both die.
What a brutal game! Lots of rolls went my way this game, and my deep reserves of Kuang Shi really kept me in the game. As it stands, it’s a
7-0 Imperial Service Victory!
Post Game Analysis
This was actually a pretty even matchup, I think. CHA lists with Wallace are about as close as you can get to Kuang Shi spam out of ISS. The problem that both lists really suffer from is that there are generally several key lynchpins that each list revolves around. Even though Kuang Shi and Galwegians are really strong, they aren’t a linked AP HMG.
I think what it really boils down to is I baked just a little more redundancy into my list and then had a truly ridiculous alpha strike. Losing both the Cateran and McMurrough in a single order was absolutely brutal. I think after that it was my game to lose. Tony did a an excellent job fighting me till the bitter end, but I kept the pressure on the whole time.
His plan was to sneak Uxia into the midfield late game and sneak a box away, but a lucky chain rifle handled that for me. I think the big lessons here are to keep the pressure on on CHA by systematically targeting their specialists and gunfighters and also contain them with midfield chain rifles. At the bottom of one I had fed a pair of Kuang Shi into the midfield and between the two of them ate most of Tony’s attention and orders.
I can afford to do that for three turns with the pool of Kuang Shi I had, but I also had to remember to go get the objective. After my initial success on turn 1, I thought I could go get the objectives, but I think I was right to keep the pressure on and reveal my Garuda early to take out the AP HMG Grey. It would have been hard to get shots on anything with it had I left it up, but I also didn’t want Tony pushing that link into the midfield. That would cause me no shortage of trouble.
In any case, an excellent game with an excellent human being. Thank you for making the drive down Tony, and I look forward to our next rematch!
Game 2 – Hatchet
Punishing table, punishing opponent, punishing faction! Eric (Raindog) was piloting Operations Subsection of the SSS against my ISS on the plane table. Woof. This was going to be a tough matchup.
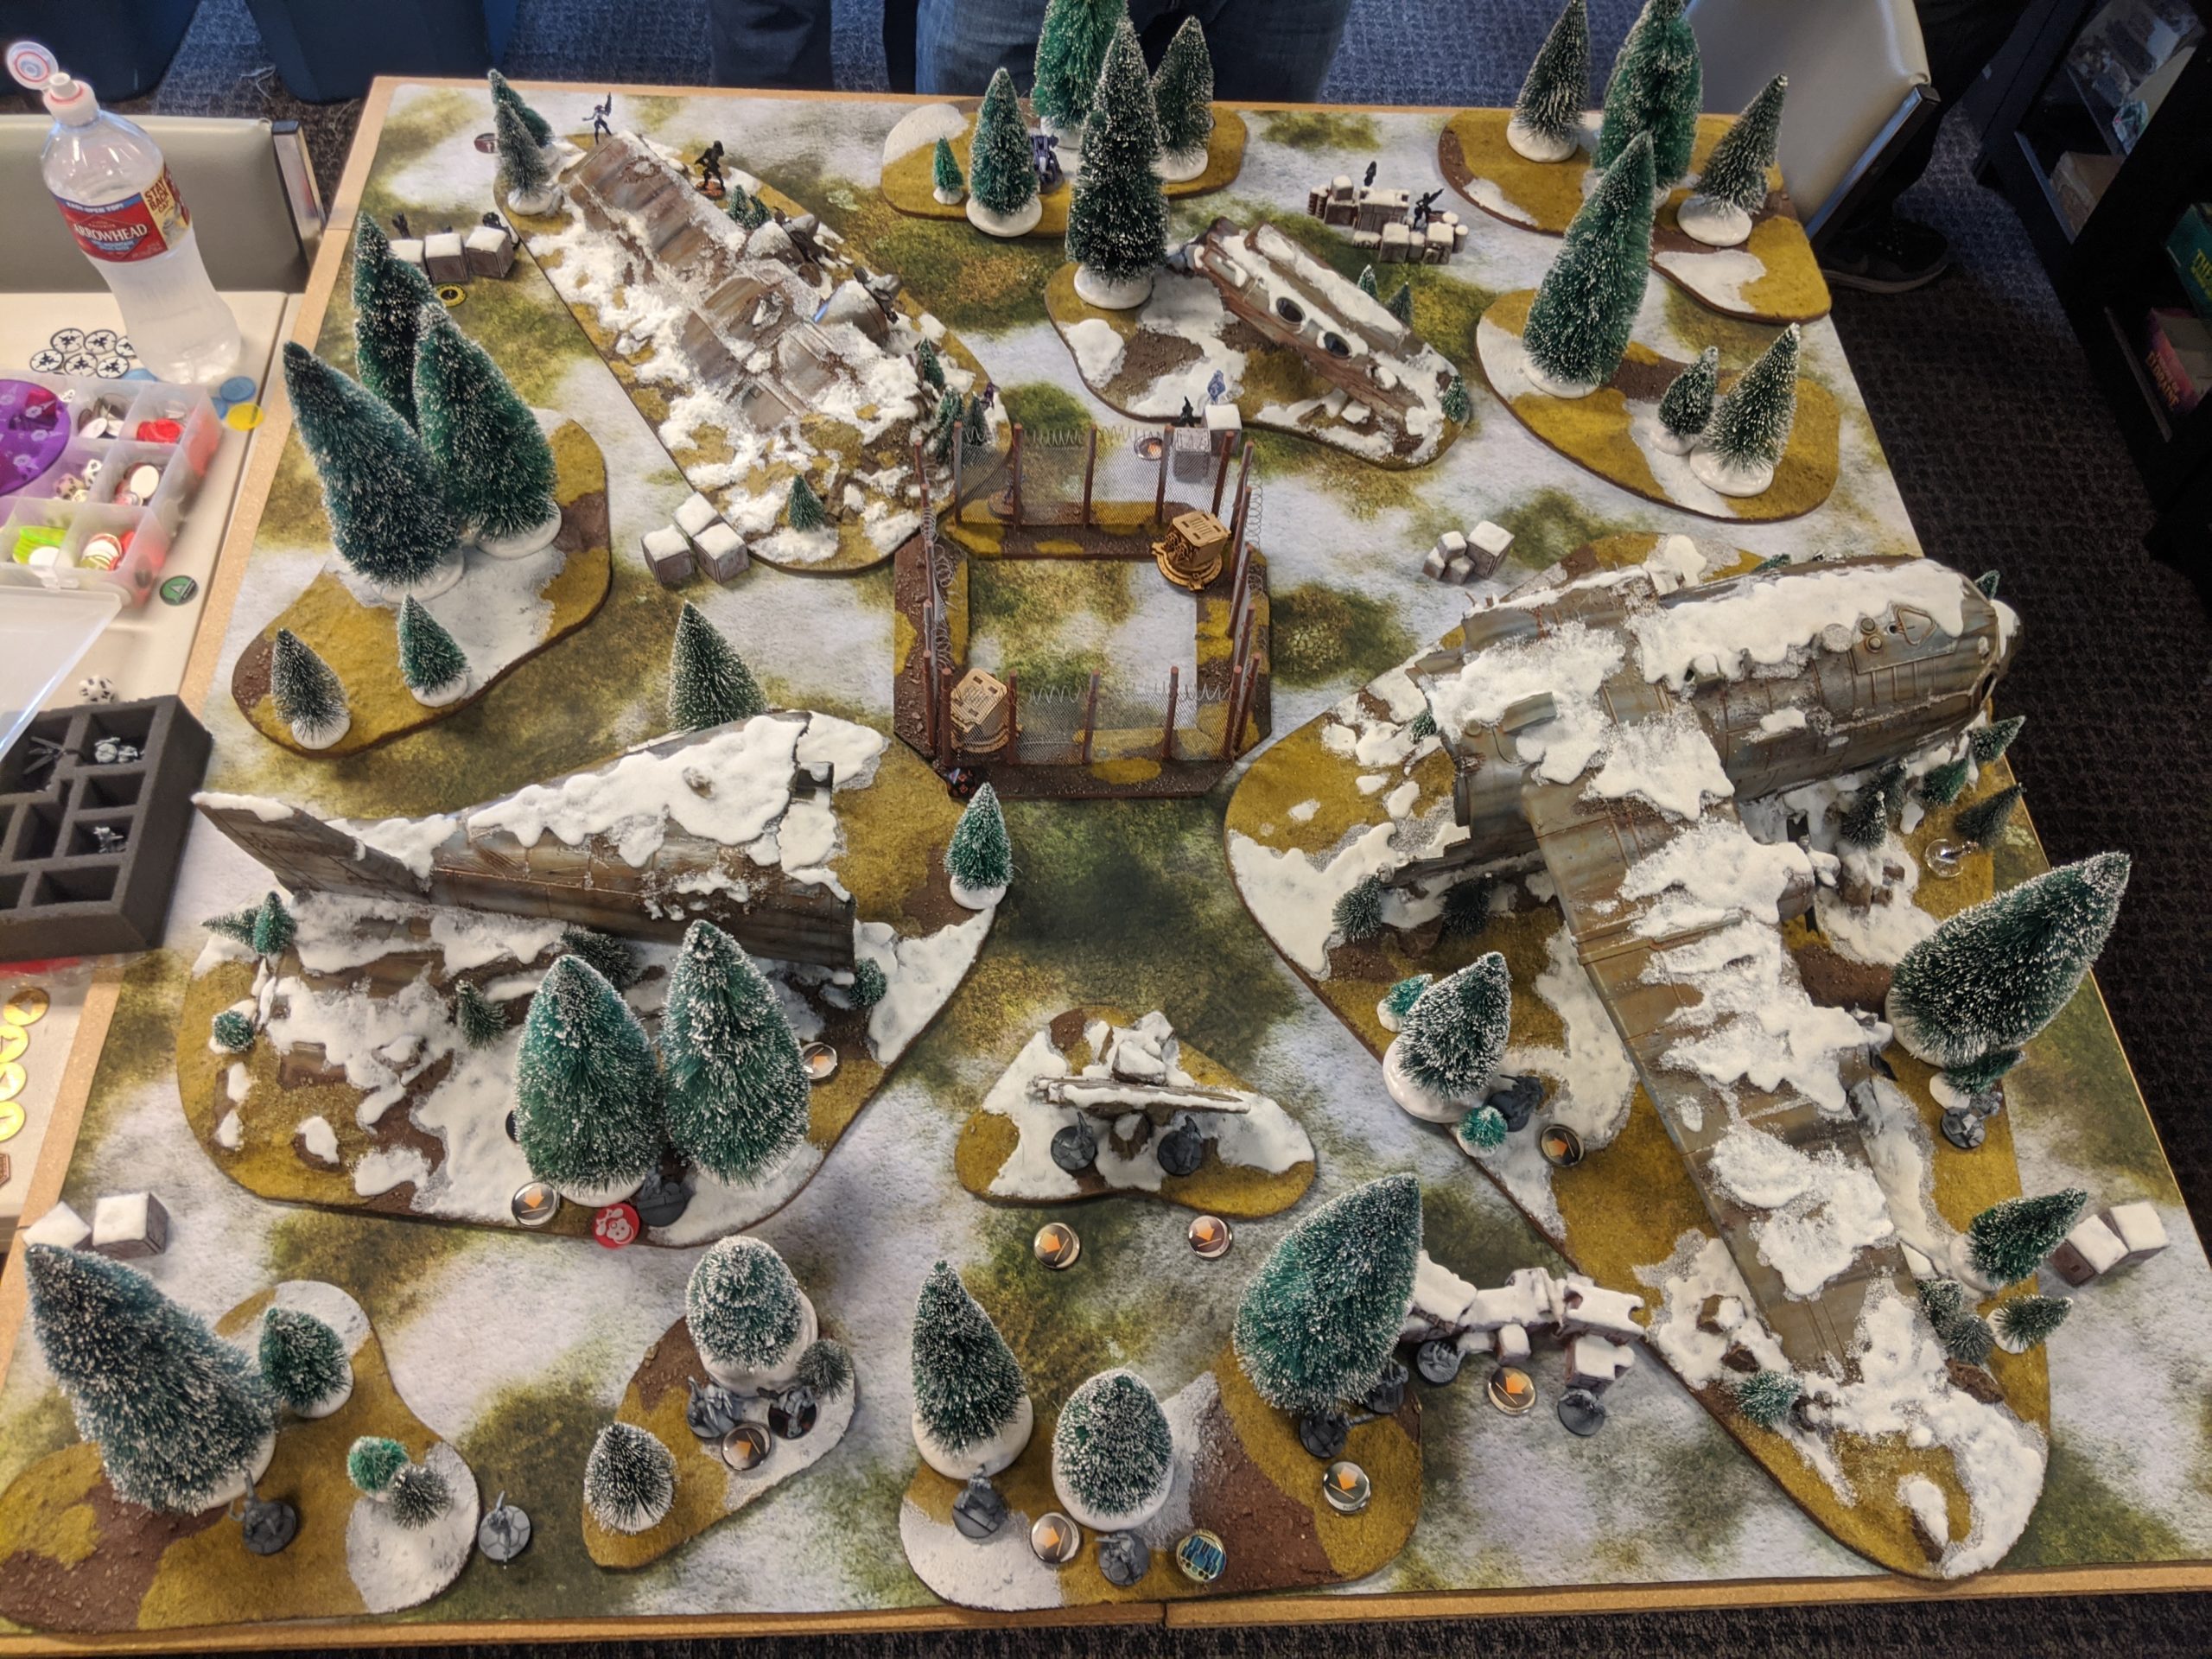
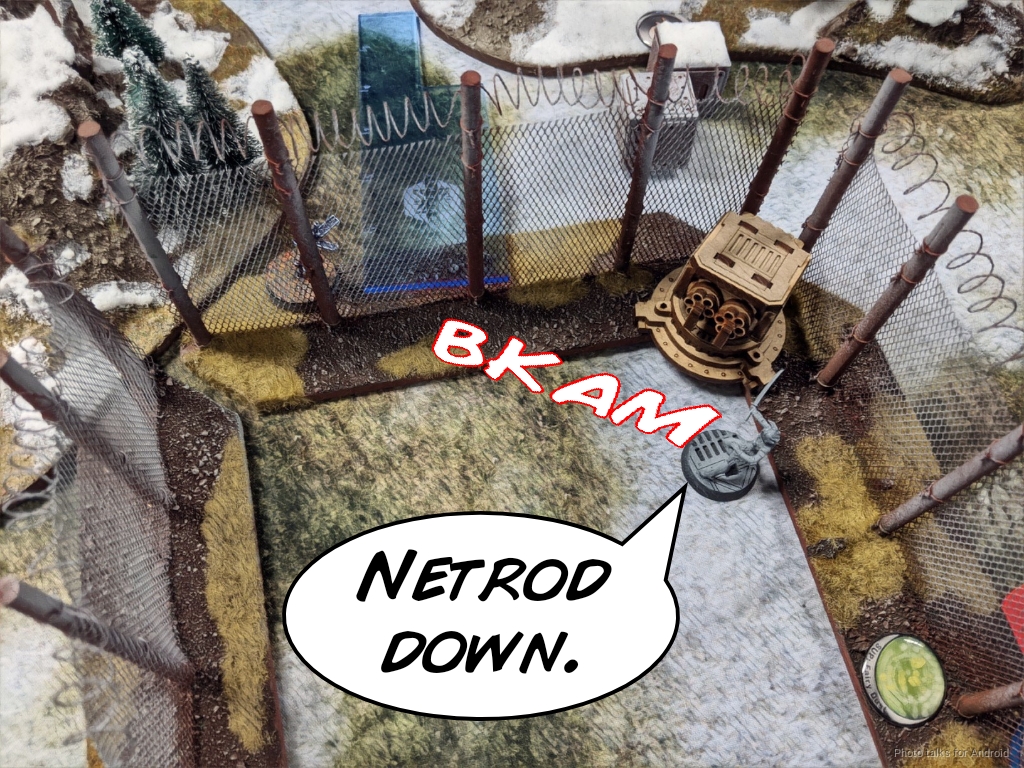
We decided that the doors to this chain link fence armory was going to be 2 inches wide, centered around the central post of each chain link fence. That’s not correct, but it was easy to lay a movement template down to determine the size of the door at any given time to check LoF. Neither of us were running anything but S2 and S3 models so we just let it go.
Overview
- Mission: The Armory (SpecOps)
- Forces: Imperial Service versus Operations Subsection of the SSS (300)
- Deploy First: ISS
- First Turn: ISS
GROUP 1 |
HSIEN Lieutenant HMG, Nanopulser / Pistol, AP CCW. (2 | 61)
GROUP 2 |
WÚ MÍNG (Fireteam: Duo) Combi Rifle + E/Mitter, Antipersonnel Mines / Pistol, Knife. (0 | 32)
BÀO TROOP (Multispectral Visor L2) MULTI Sniper Rifle / Pistol, Knife. (1.5 | 29)
CSU (Specialist Operative) Rifle + Light Shotgun, Nanopulser / Pistol, Knife. (0 | 12)
4.5 SWC | 300 Points | Open in Infinity Army
Well, we can blame this list mostly on Pete (YueFei23). While ARO forcing is a thing, he suggested the correct way to play this is to take a Hsien HMG. Pop smoke in the armory, walk the Hsien in without stealth to force a dodge change face, and then blast away with the HMG until everything’s dead.
I took a few hipster things though. The Armory is all about getting stuff into the objective room efficiently and having lots of short range guns so I took three duos with some nasty CQB kit. My budget Sophotect made an appearance as well. The super hipster thing was the Bao MSR though. I wanted a tool to fight at long range and also bust the door down with some good old fashioned anti-material ammo.
Game 2 – raindog
GROUP 1 |
SHUKRA Lieutenant (Strategos L1) MULTI Rifle, Nanopulser / Pistol, Knife. (0 | 27)
APSARA (G: Jumper Level Z) Submachine Gun / Pistol, Knife. (0 | 22)
CSU Boarding Shotgun, Nanopulser / Pistol, Knife. (0 | 11)
DAKINI Tacbot MULTI Sniper Rifle / Electric Pulse. (1.5 | 21)
DEVA (Infinity Spec-Ops) (12 XP) [i](ODD: Optical Disruptor)[/i] Combi Rifle, Nanopulser, Feuerbach / Pistol, Knife. (0 | 24)
GROUP 2 |
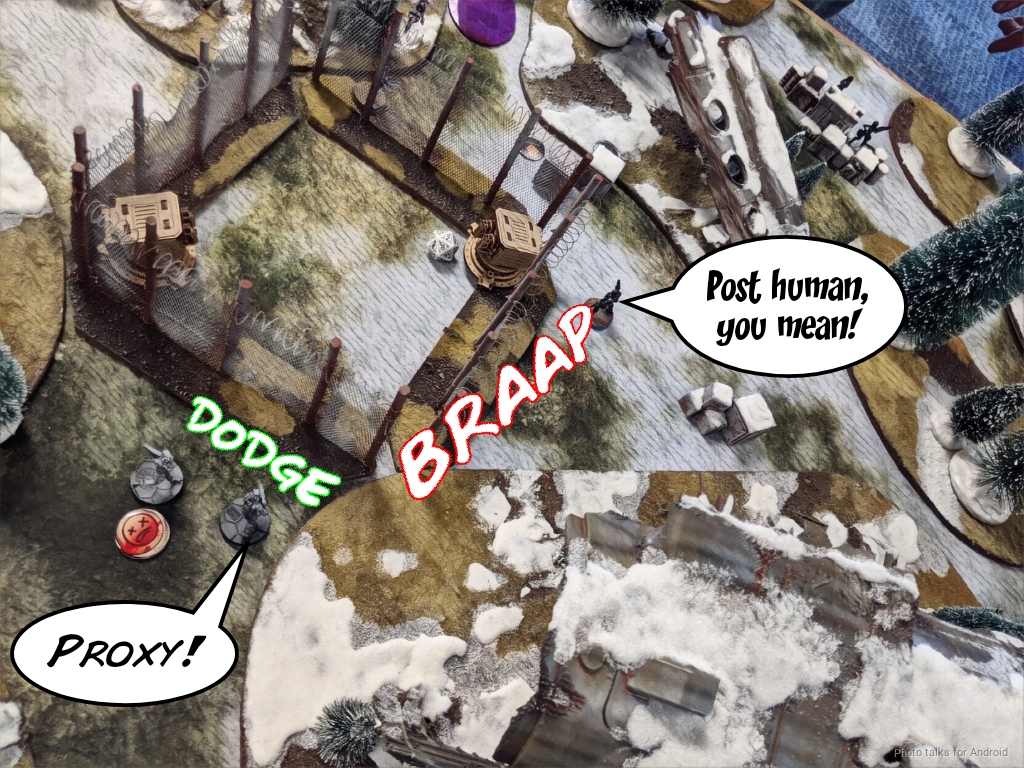
PROXY Mk.1 Engineer Combi Rifle, Nanopulser, D-Charges / Pistol, Knife. (0 | 10)
PROXY Mk.5 (Forward Observer) 2 Submachine Guns, Nanopulser, E/M Grenades / Pistol, Knife. (0 | 10)
PROXY Mk.2 MULTI Sniper Rifle, Nanopulser / Pistol, Knife. (1.5 | 24)
YUDBOT Electric Pulse. (0 | 3)
NETROD . (0 | 4)
LAMEDH Rebot Flash Pulse, Sniffer / Electric Pulse. (0 | 8)
NAGA Hacker (Assault Hacking Device) Combi Rifle / Pistol, Knife. (0.5 | 32)
WARCOR (360º Visor) Flash Pulse / Stun Pistol, Knife. (0 | 3)
5 SWC | 300 Points | Open in Infinity Army
Eric took some good stuff OSS, Daikini link, Posthumans, pile of Nagas. I’m not a fan of the Apsara Cyberdancers though. I find them to be a bit “win more.” If you’ll forgive an ex-Magician his references…
Translated to Infinity, let’s look at a linked, Jumper LZ buffed Daikini HMG shooting at a reference linked Fusilier combi over 16″ and under 32″:
| 84.02 | 8.35 | 7.63 |
Comparing that against a linked, unbuffed Daikini:
| 80.56 | 11.59 | 7.85 |
4% is not that big of a difference. But what about in ARO? Linked Fusilier HMG versus linked Daikini MSR, with Jumper LZ buff.
| 31.42 | 20.30 | 48.27 |
Without the buff, you get this:
| 40.35 | 19.18 | 40.47 |
8% is a bigger difference, but I’d rather spend those 22 points on something that adds new capability to my toolkit, like a Garuda. Being able to put a gun exactly where I need it is much more valuable to me than having a 10-ish percent buff to my shooting. Just my two cents. If it’s working for Eric then that’s great!
Overview
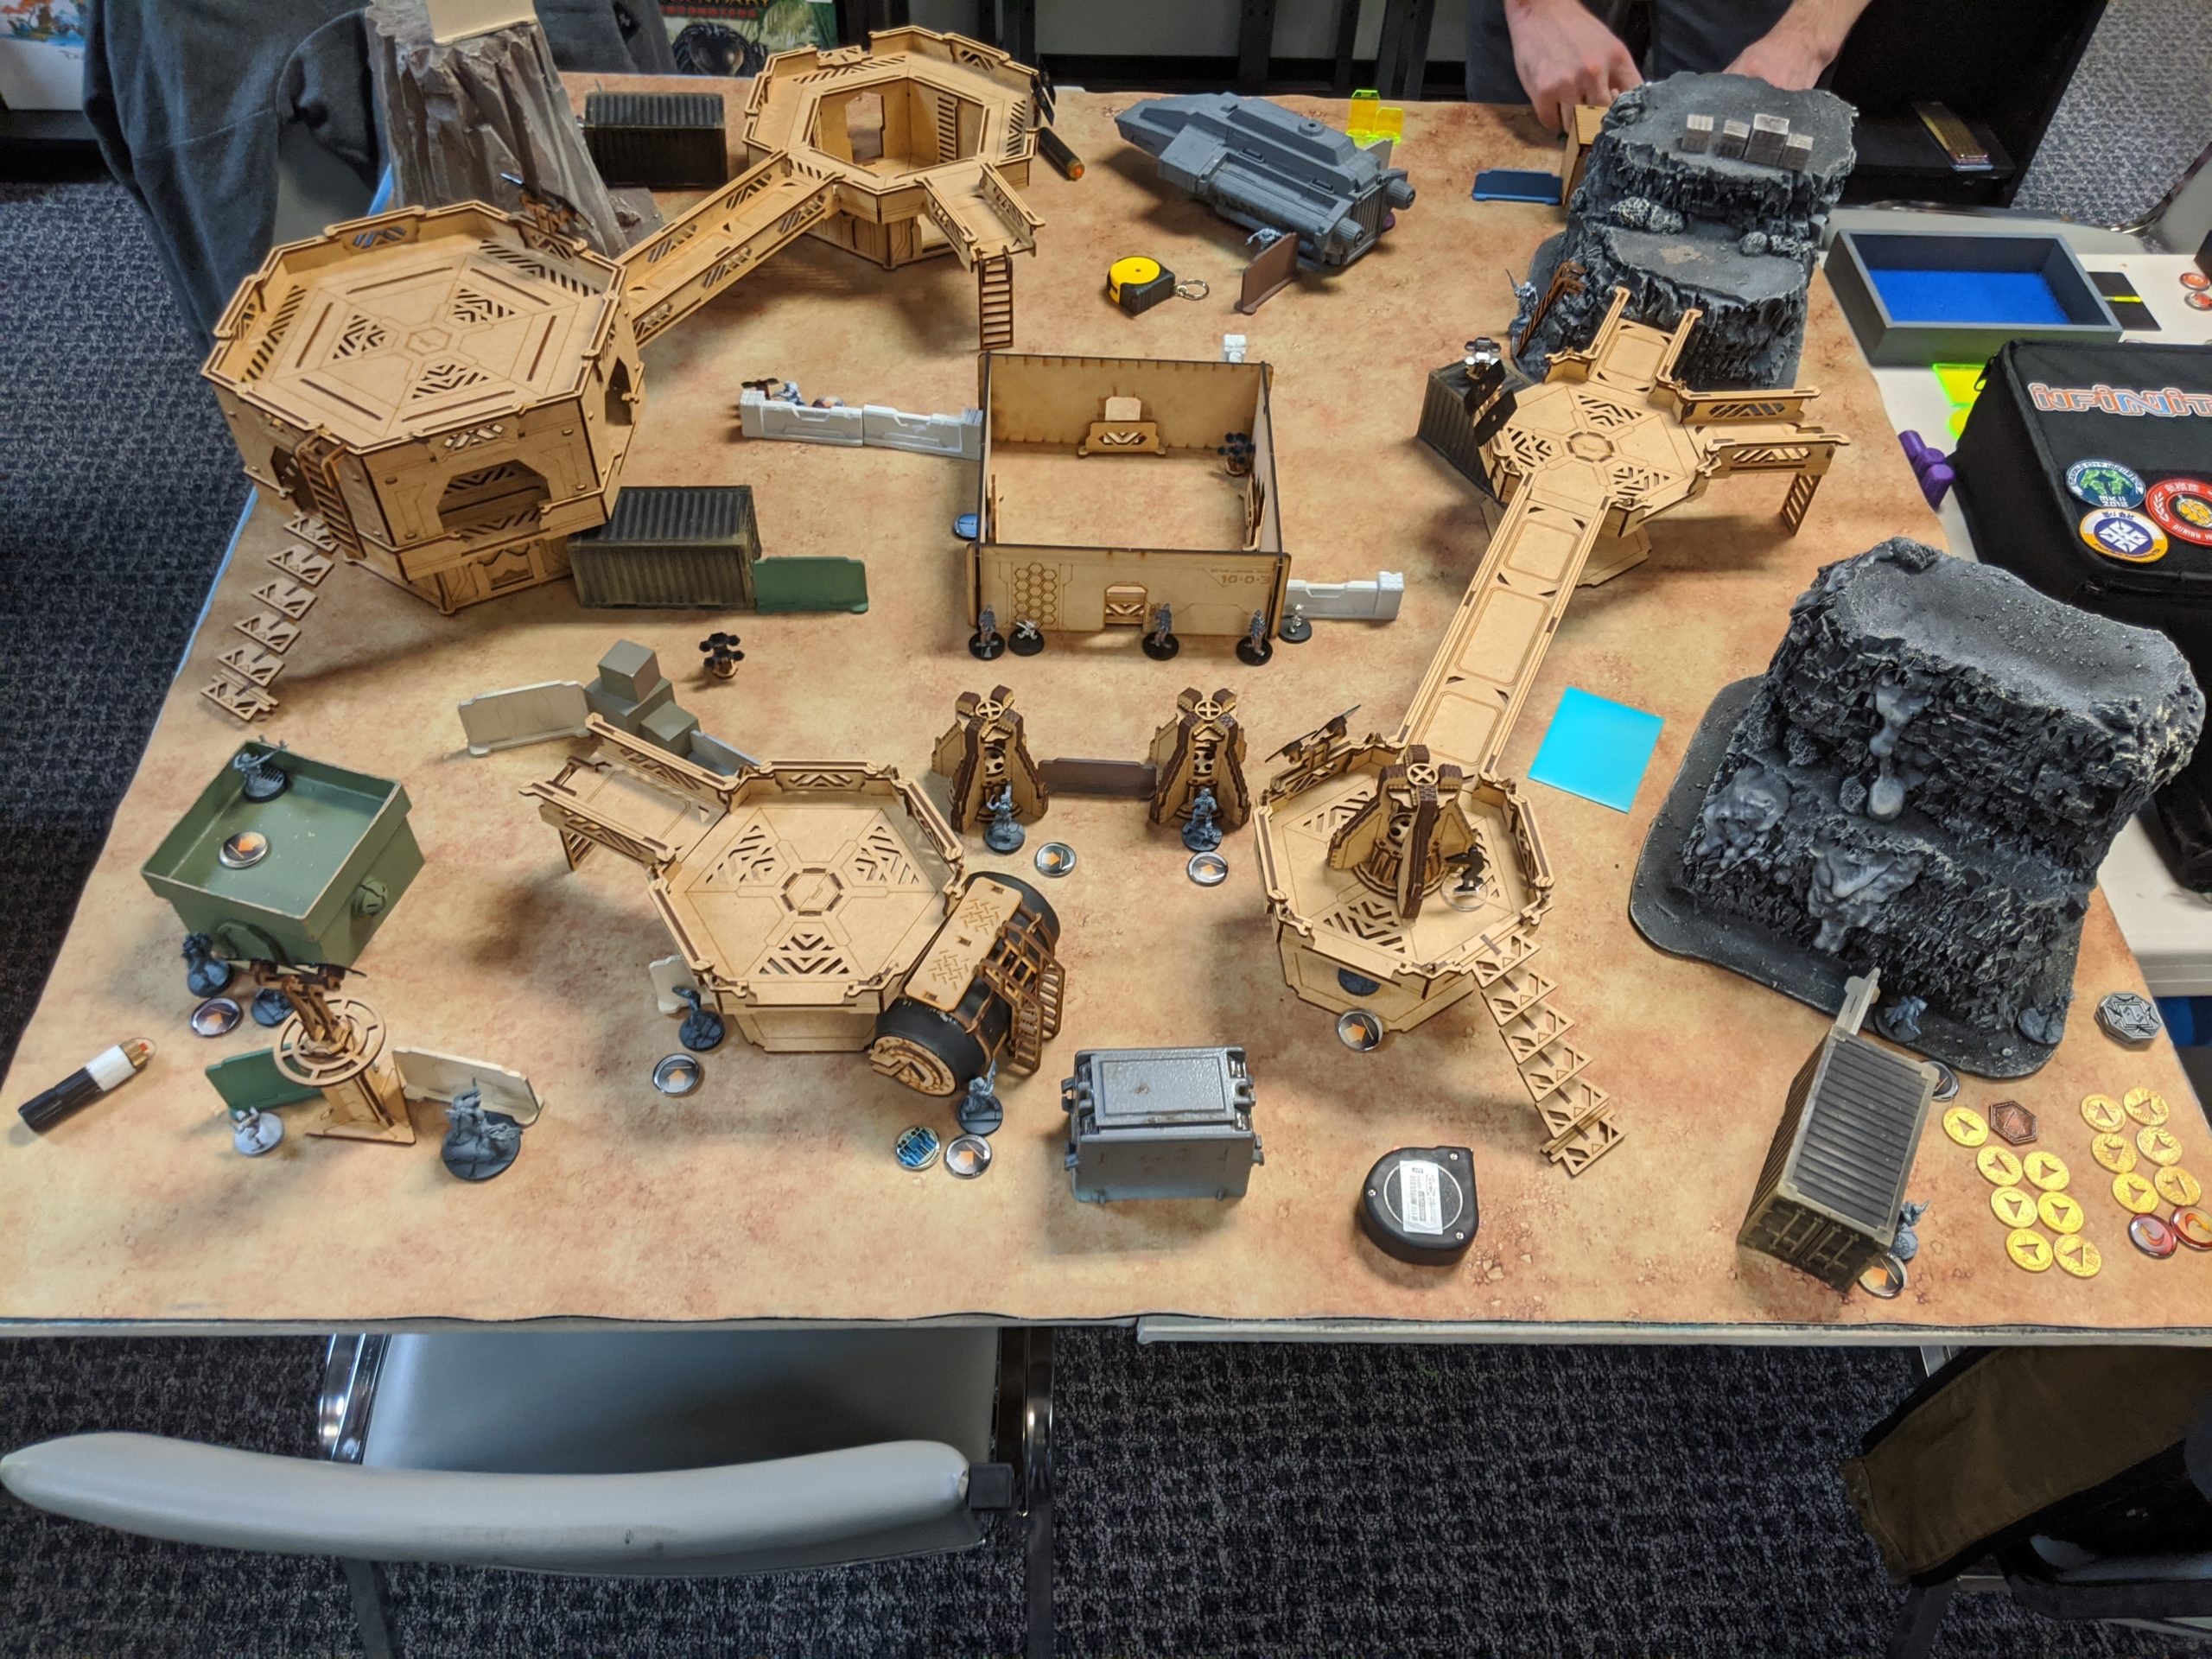
I forget who won the rolloff by I ended up going first and deploying first. Both sides were roughly equal, I think. I stuck my Kuang Shi core in the middle and spread out the remaining unlinked Kuang Shi on either flank.
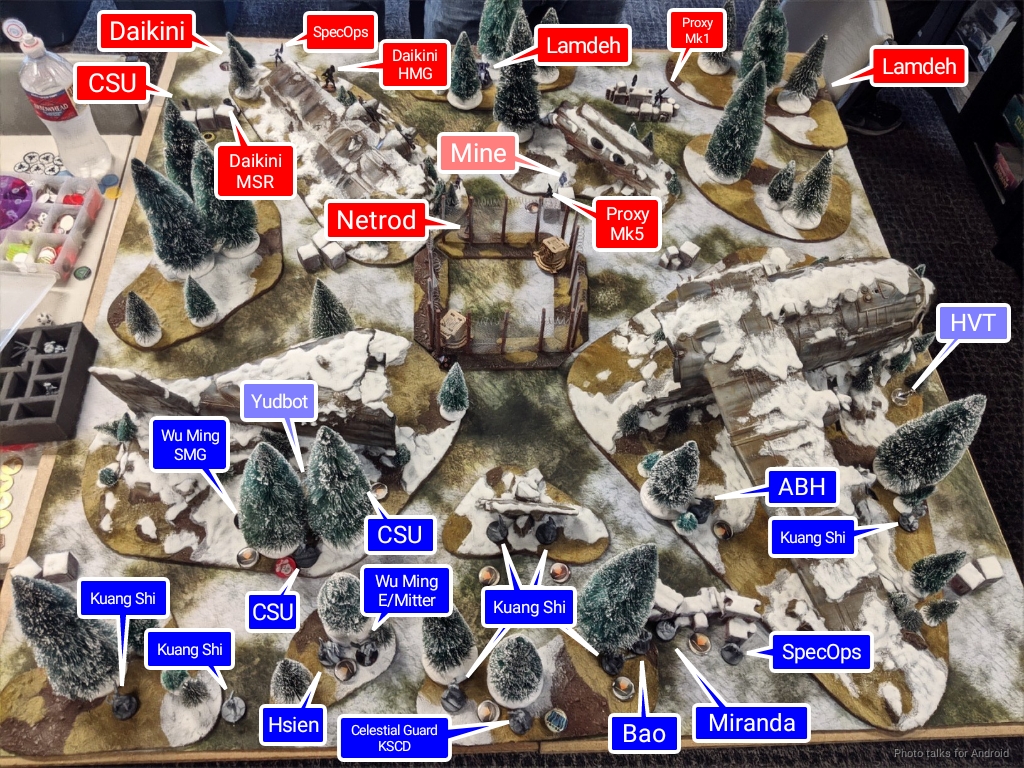
The rest of the list just went wherever it could fit. I basically just sprinkled the Duos around where I could in the trees where they could fit. The Hsien was on the left somewhere, and I held the Bao in reserve.
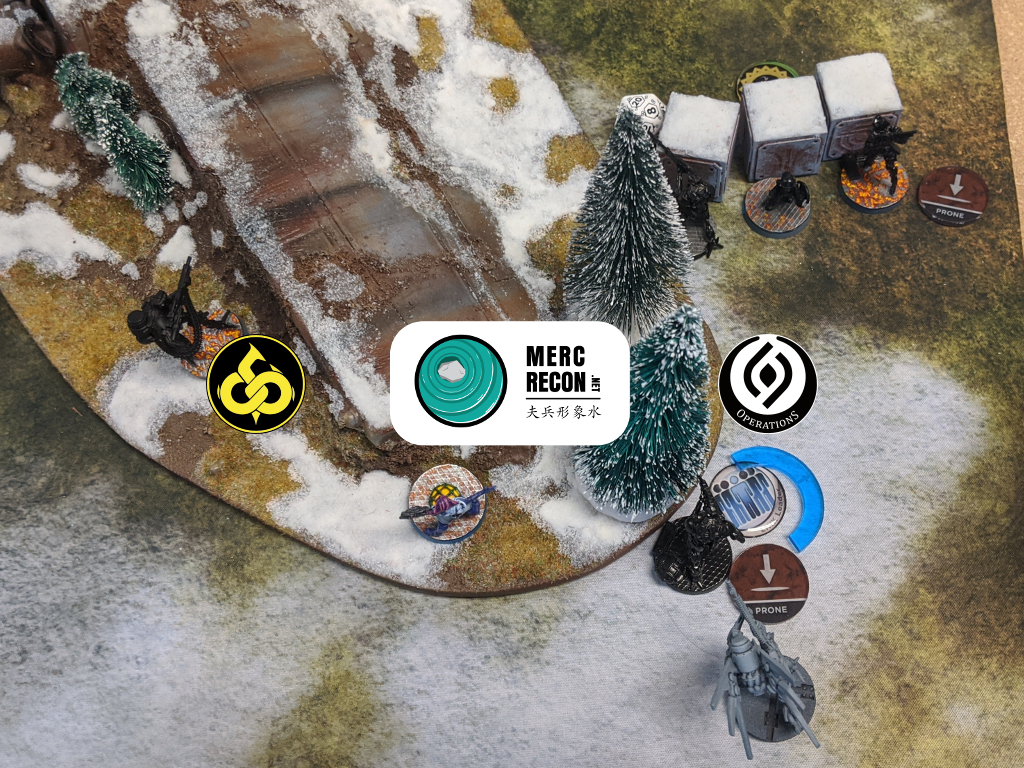
After losing a Netrod, Eric placed his Daikini link on the right, clustered around some cover near the tip of the plane wing. The Shukra and Aspara were screened by Lamdeh, and then he scattered Nagas around.
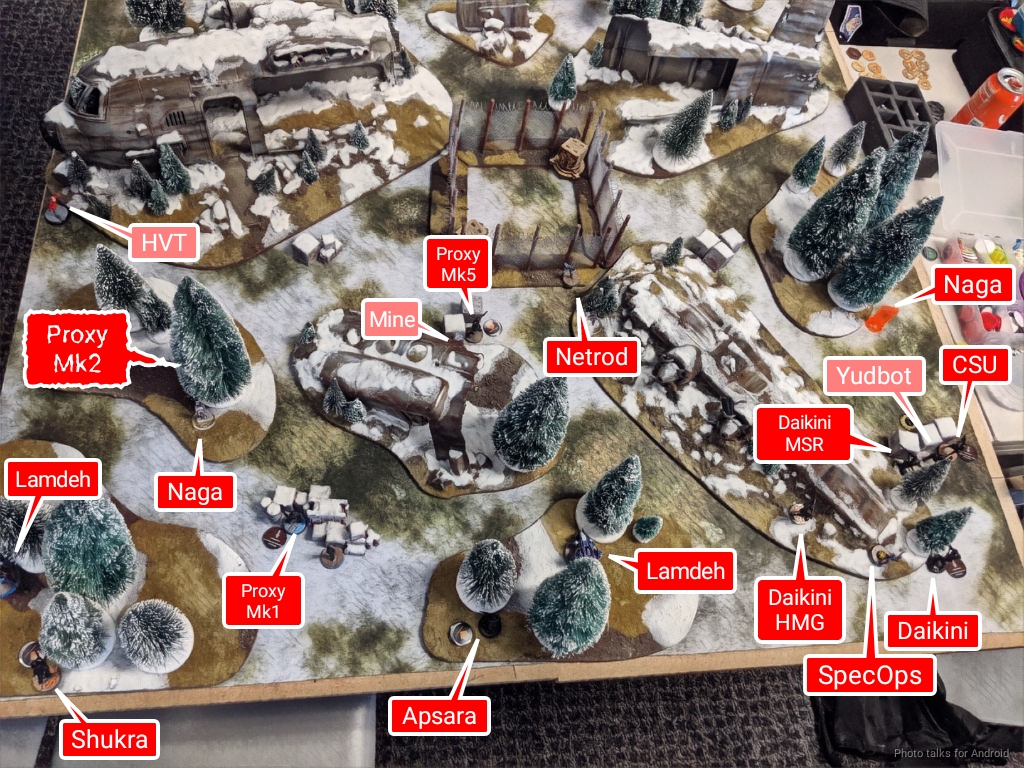
I dropped the Bao in a spot where I could contest the same firelane the Daikini MSR was watching, and then Eric dropped all his Proxies on the left, including that dastardly Mk2 MSR.
Turn 1
Top of 1 – ISS
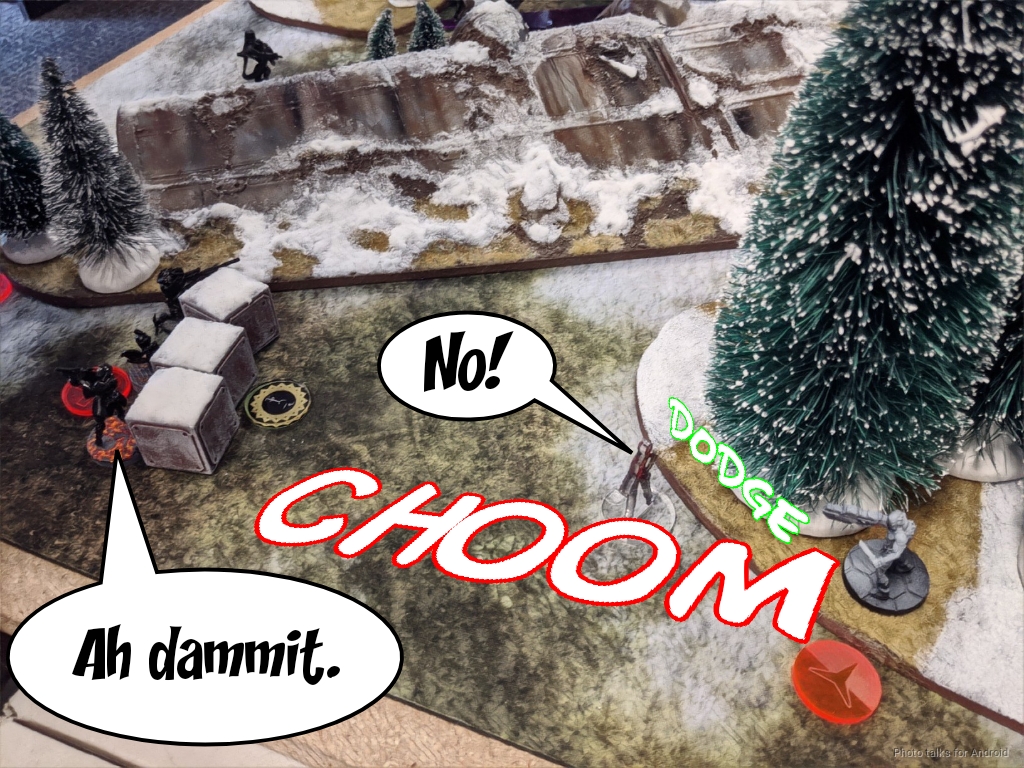
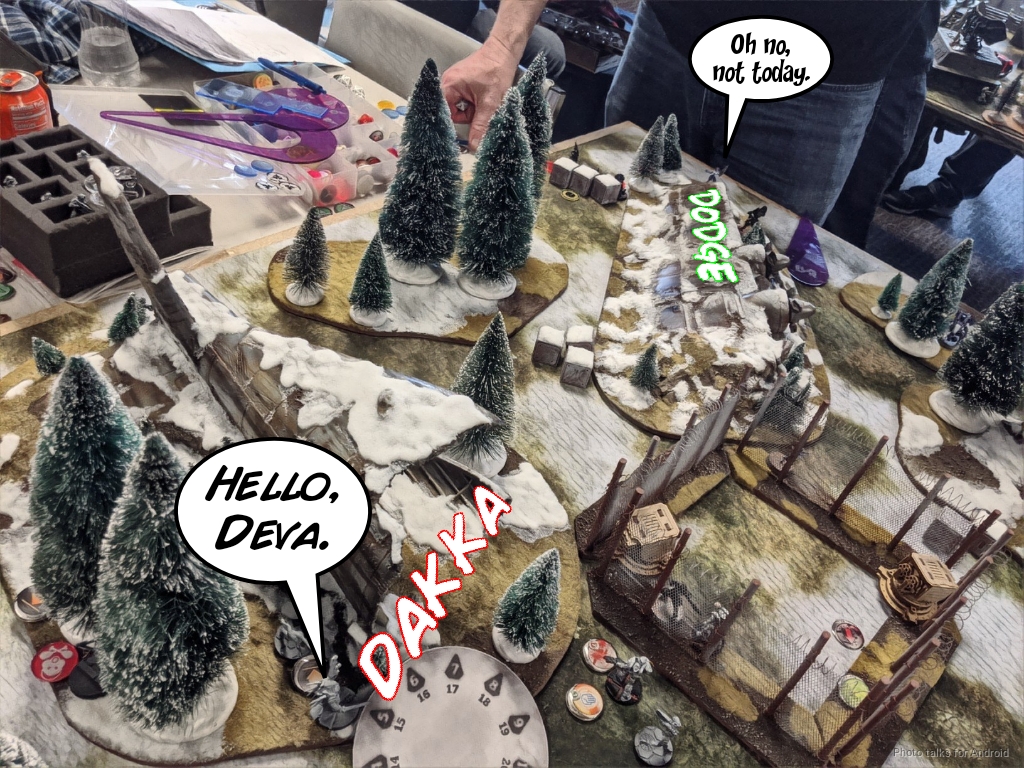
My impetuous Kuang Shi advance up the flanks without incident. I buff combat jump with my SpecOps Hacker, and then plant a Garuda with BSG behind Eric’s link.
All except the CSU of them fail their dodge change face. It’s here where I made a big mistake. Because of the saturation zone of the plane wing, I can’t put burst two on anything, I have to split. What I should have done was to shooot the Daikini directly in front of the Garuda in the back, which generates a template covering the Daikini MSR, Yudbot, and CSU (all lined up by the boxes), then move right and shoot the CSU which generates a template that covers the Naga’s camo token at the top of the picture above.
What I did instead was to shoot the Daikini directly in front of me, and then the Deva SpecOps (with ODD), which covered the Daikini HMG. I think that was a big mistake, because I have a high chance of whiffing against the Deva and then I grant a shot back thanks to SSL2.
If I had done what I should have, I wouldn’t have granted the Deva a shot back and would have potentially put the Naga dogged. As it stood, everything shot back, killing the Garuda. I took out the Daikini and the Yudbot only, which was a huge bummer.
I need/want to open the armory, so I spend basically the entirety of my first order pool splitting burst against the Daikini and the Armory door with the Bao. Even shooting through smoke and the Daikini dodging at -6 thanks to being a robot and the low-vis zone (not the smoke), the Bao completely fails to shoot the door open (whiffing every shot on 15’s) and just watches helplessly as all the DA rounds bounce off the Daikini’s armor. UGGGGH.
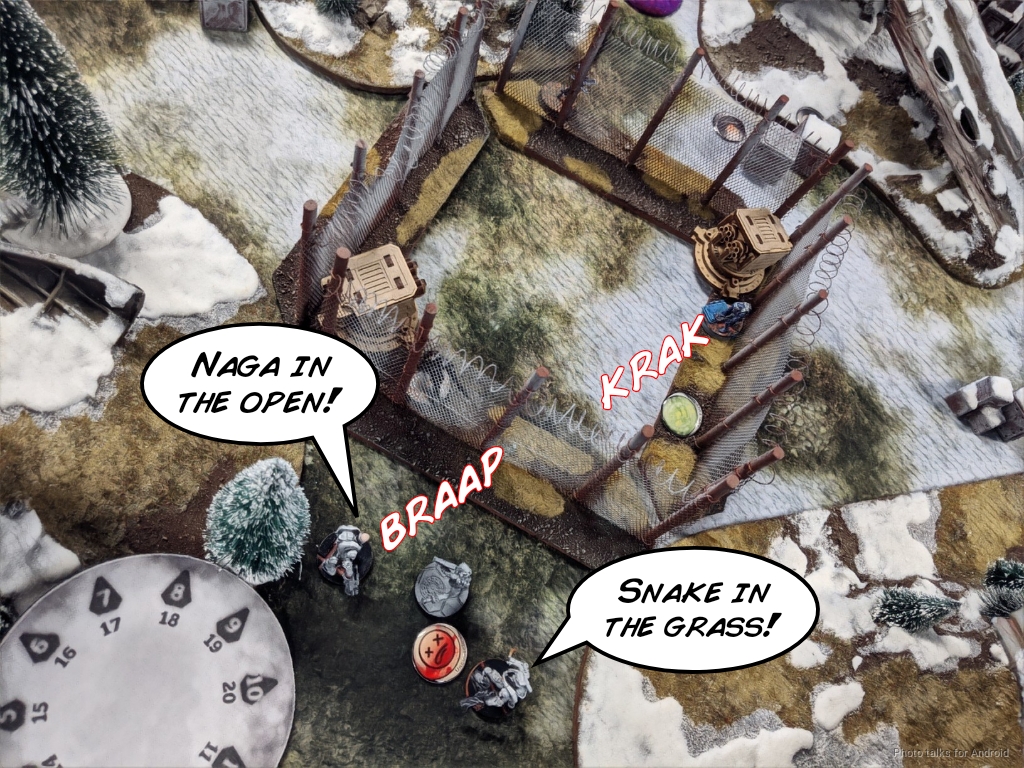
Thankfully, I have a Kuang Shi literally waiting in the trees and I send it in. I take out CSU and reveal the Naga…
and the Daikini MSR finally falls to the Kuang Shi’s chain rifle. I do lose it to the Naga and the Daikini HMG though. Ah well.
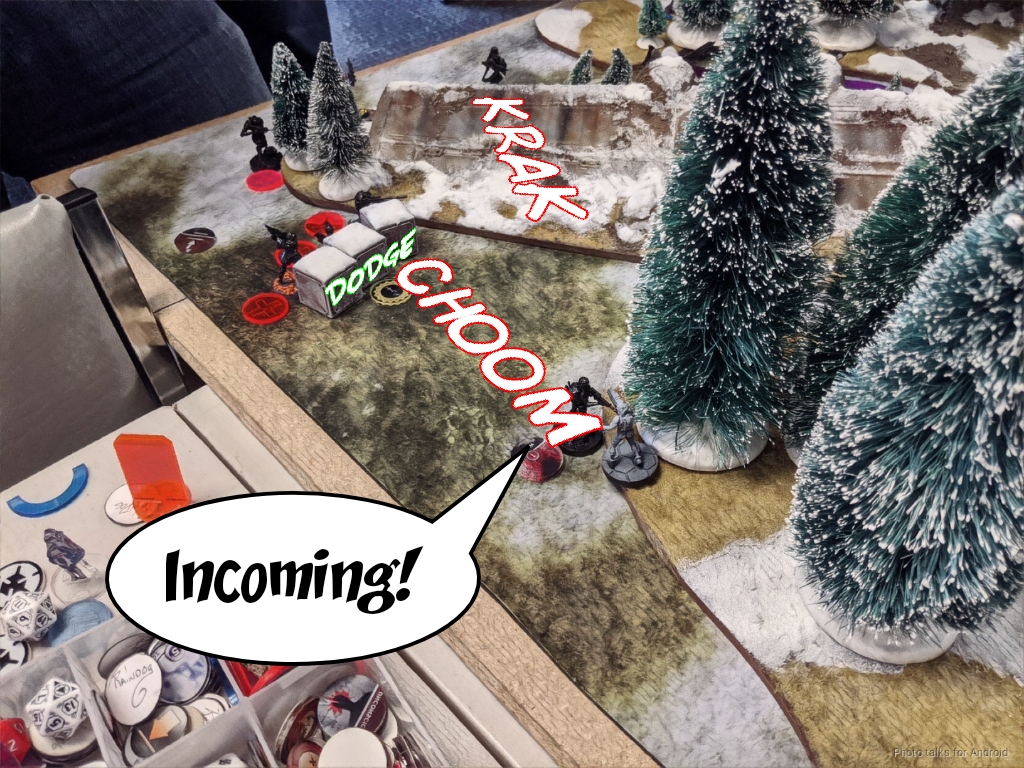
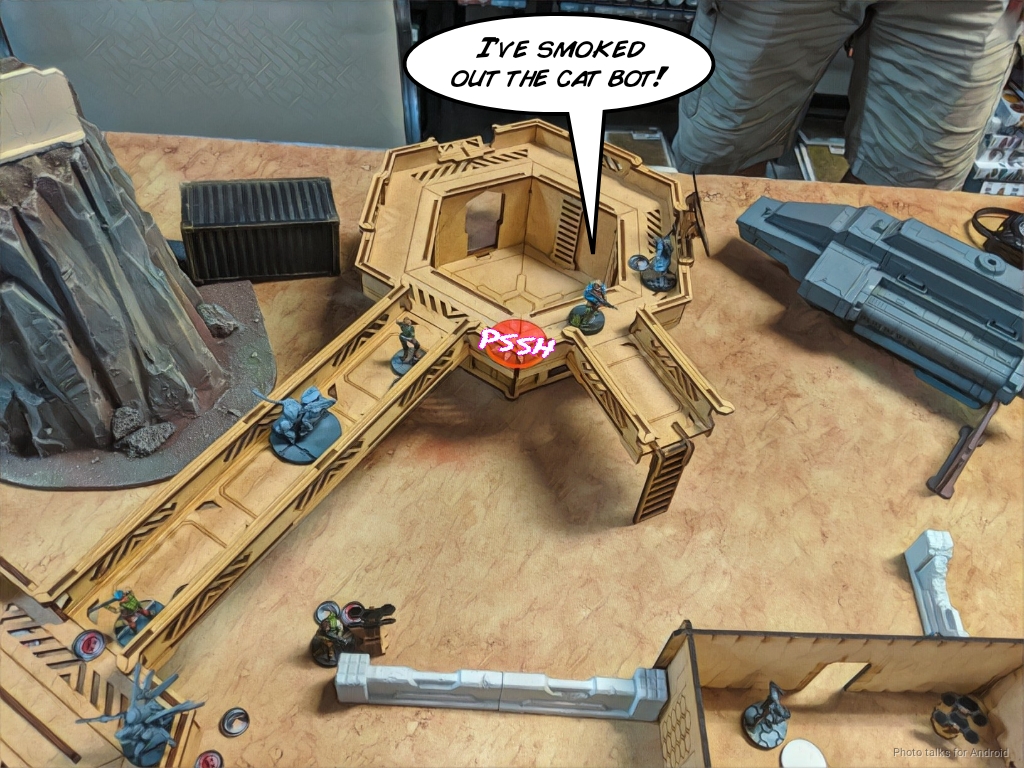
I use the link to move two of the Kuang Shi up towards the objective room to prepare for next turn and defend my stuff, which reveals a Proxy Mk2. I lose one, sadly, but I pop smoke with the controller and blast the Proxy Mk2 off the table with the Hsien HMG.
After scooting the Hsien to safety, I pass the turn.
Bottom of 1 – OSS
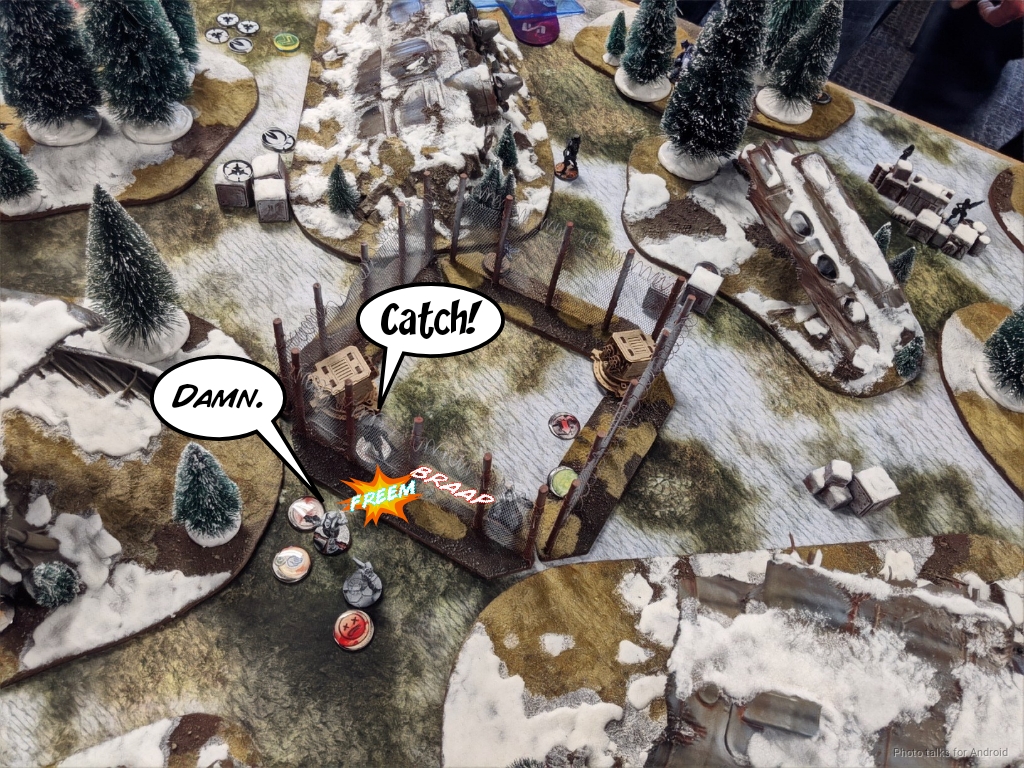
The Proxy Mk5 goes to work, taking out the other Kuang Shi and opening the door to get into the Armory.
It manages to grab some armor out of the Panoplies, and then a Naga hops in there with it to make things more annoying.
Turn 2
Top of 2 – ISS
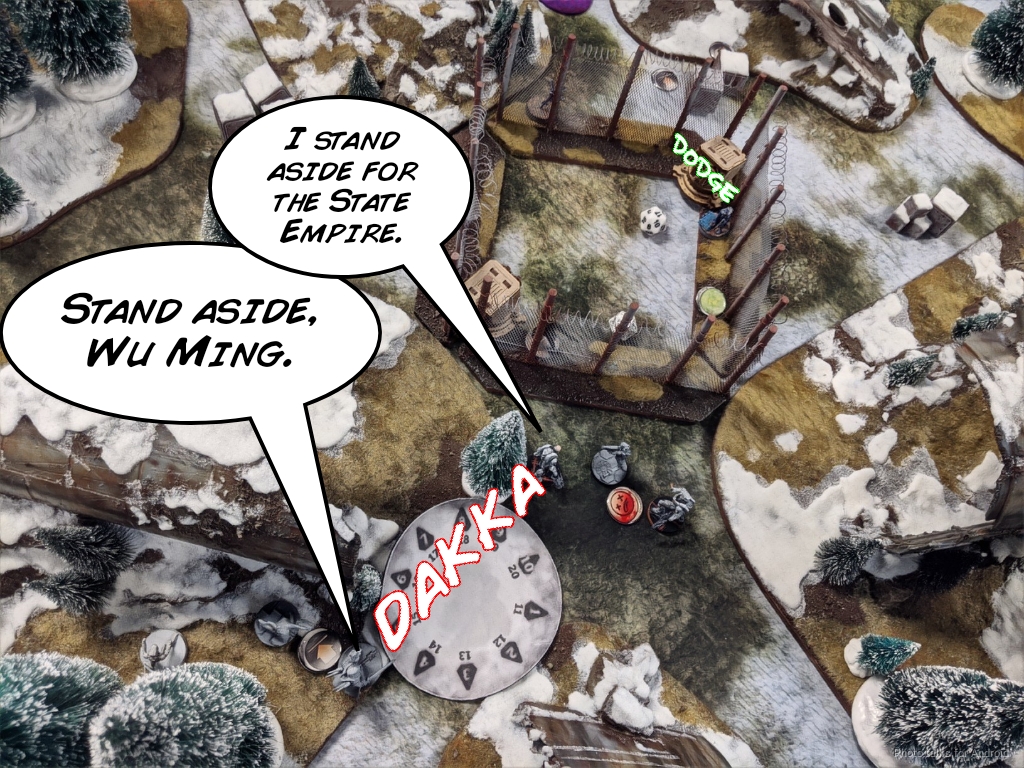
I send in the Wu Ming to clear the Armory. The Naga puts up some resistance against my Wu Ming SMG, but I get the E/Mitter Wu Ming closer to the door.
I don’t want to spend too many orders in the Wu Ming’s group fighting the Naga, so I just gun it down through some smoke with the Hsien.
My Wu Ming drops a mine covering the Proxy Mk5 through the door, and then I engage the Proxy with the Red Fury ABH. Of course, the Mk5 survives it all.
I’ve still got smoke up so I put a wound on the Deva SpecOps with the Hsien and force it prone.
Now for my second big mistake: I roll the Wu Ming SMG into the armory and forget that it has E/M grenades. I win the face to face, but the Wu Ming with combi catches a face full of grenade and is frozen in place.
I’m out of orders to get anything else but the Hsien in there, and that’s a recipe for losing the game. Instead, I set the Hsien up in relative safety and pass turn.
Bottom of 2 – OSS
Eric consolidates his order pools and makes a big push with his Daikini HMG. First, he takes out the Wu Ming in the objective room, then the CSU nearby.
The Daikini keeps pushing, putting a wound on the Hsien, taking out a Kuang Shi, and then the rambo push peters out when something, I forget what, takes it out.
Eric pushes a Lamdeh up to contest the entrance to the armory and passes the turn.
Turn 3
Top of 3 – ISS
One of my impetuous Kuang Shi clears the Lamdeh for me, and then I start trying to get into the armory.
I push Miranda forward, and get the ABH into view…
and take the shot with the Red Fury, finally dropping the Mk5.
Miranda gets into the building and takes out the one Netrod that landed.
I then patch up the disabled Wu Ming and pile everything I can into the Armory. Miranda and the ABH, the Hsien, the Wu Ming and a mine, and even a Yudbot. I grabbed a classified somewhere in there too.

Bottom of 3 – OSS
Eric’s low on orders and options. He starts by securing the HVT with a Naga then makes an attempt to get the Proxy Mk1 into the armory to gun down everything I’ve got in there.

The Hsien said no, so the game is over at a
5-5 Tie!
Post Game Analysis
Well, I made a pretty inefficient decision in my Garuda shotgun target priorities, but it ended up working out. I was very disappointed in my Bao, but it was entirely bad dice luck. The Bao itself was fine.
The failure of the Bao to open the door made things really bad for me though. I basically ceded control to Eric for turns 1 and 2, in spite of trying to get in there. My ultimate plan was to shoot the door open and then get a pile of Kuang Shi in there, but alas that didn’t happen.
I didn’t recover very well. Also, I think this particular list really suffered from the problem of having not enough stuff that can do things in the second group. It worked out because a carefully piloted Kuang Shi can do some serious work, but I would’ve really appreciated having the Wu Ming Duo in the Kuang Shi group, for example. Worth thinking about taking a second controller to split the Kuang Shi evenly between groups. I absolutely don’t mind impetuous Kuang Shi, so this seems fine. I mean, honestly, who doesn’t want free orders.
So yeah. I think I just didn’t have good execution at the top of 1. I should’ve given up on the Bao and then just moved, oh, I don’t know, the CSU duo in there to hold ground with all the doors open. Not ideal, but it’s better than nothing.
I’m a little disappointed in my alpha strike for two reasons. First, it was poorly executed and could’ve been more optimally done. Second, I think I focused too much on it and overcommited on using the Bao. I could’ve spent those orders on the CSU duo, as I mentioned before. The CSU over the Wu Ming because I they have a specialist and I don’t want to risk the ABH/Miranda duo yet.
Anyway. Kind of a weird game. Should’ve hunted down the Daikini HMG as well. Eric did a great job fighting his way back to parity and staying there. It wasn’t until turn three that I could really get to the Armory. That Mk5 really clogged things up. Always a good game against Raindog!
Game 3 – Ninefox Gambit
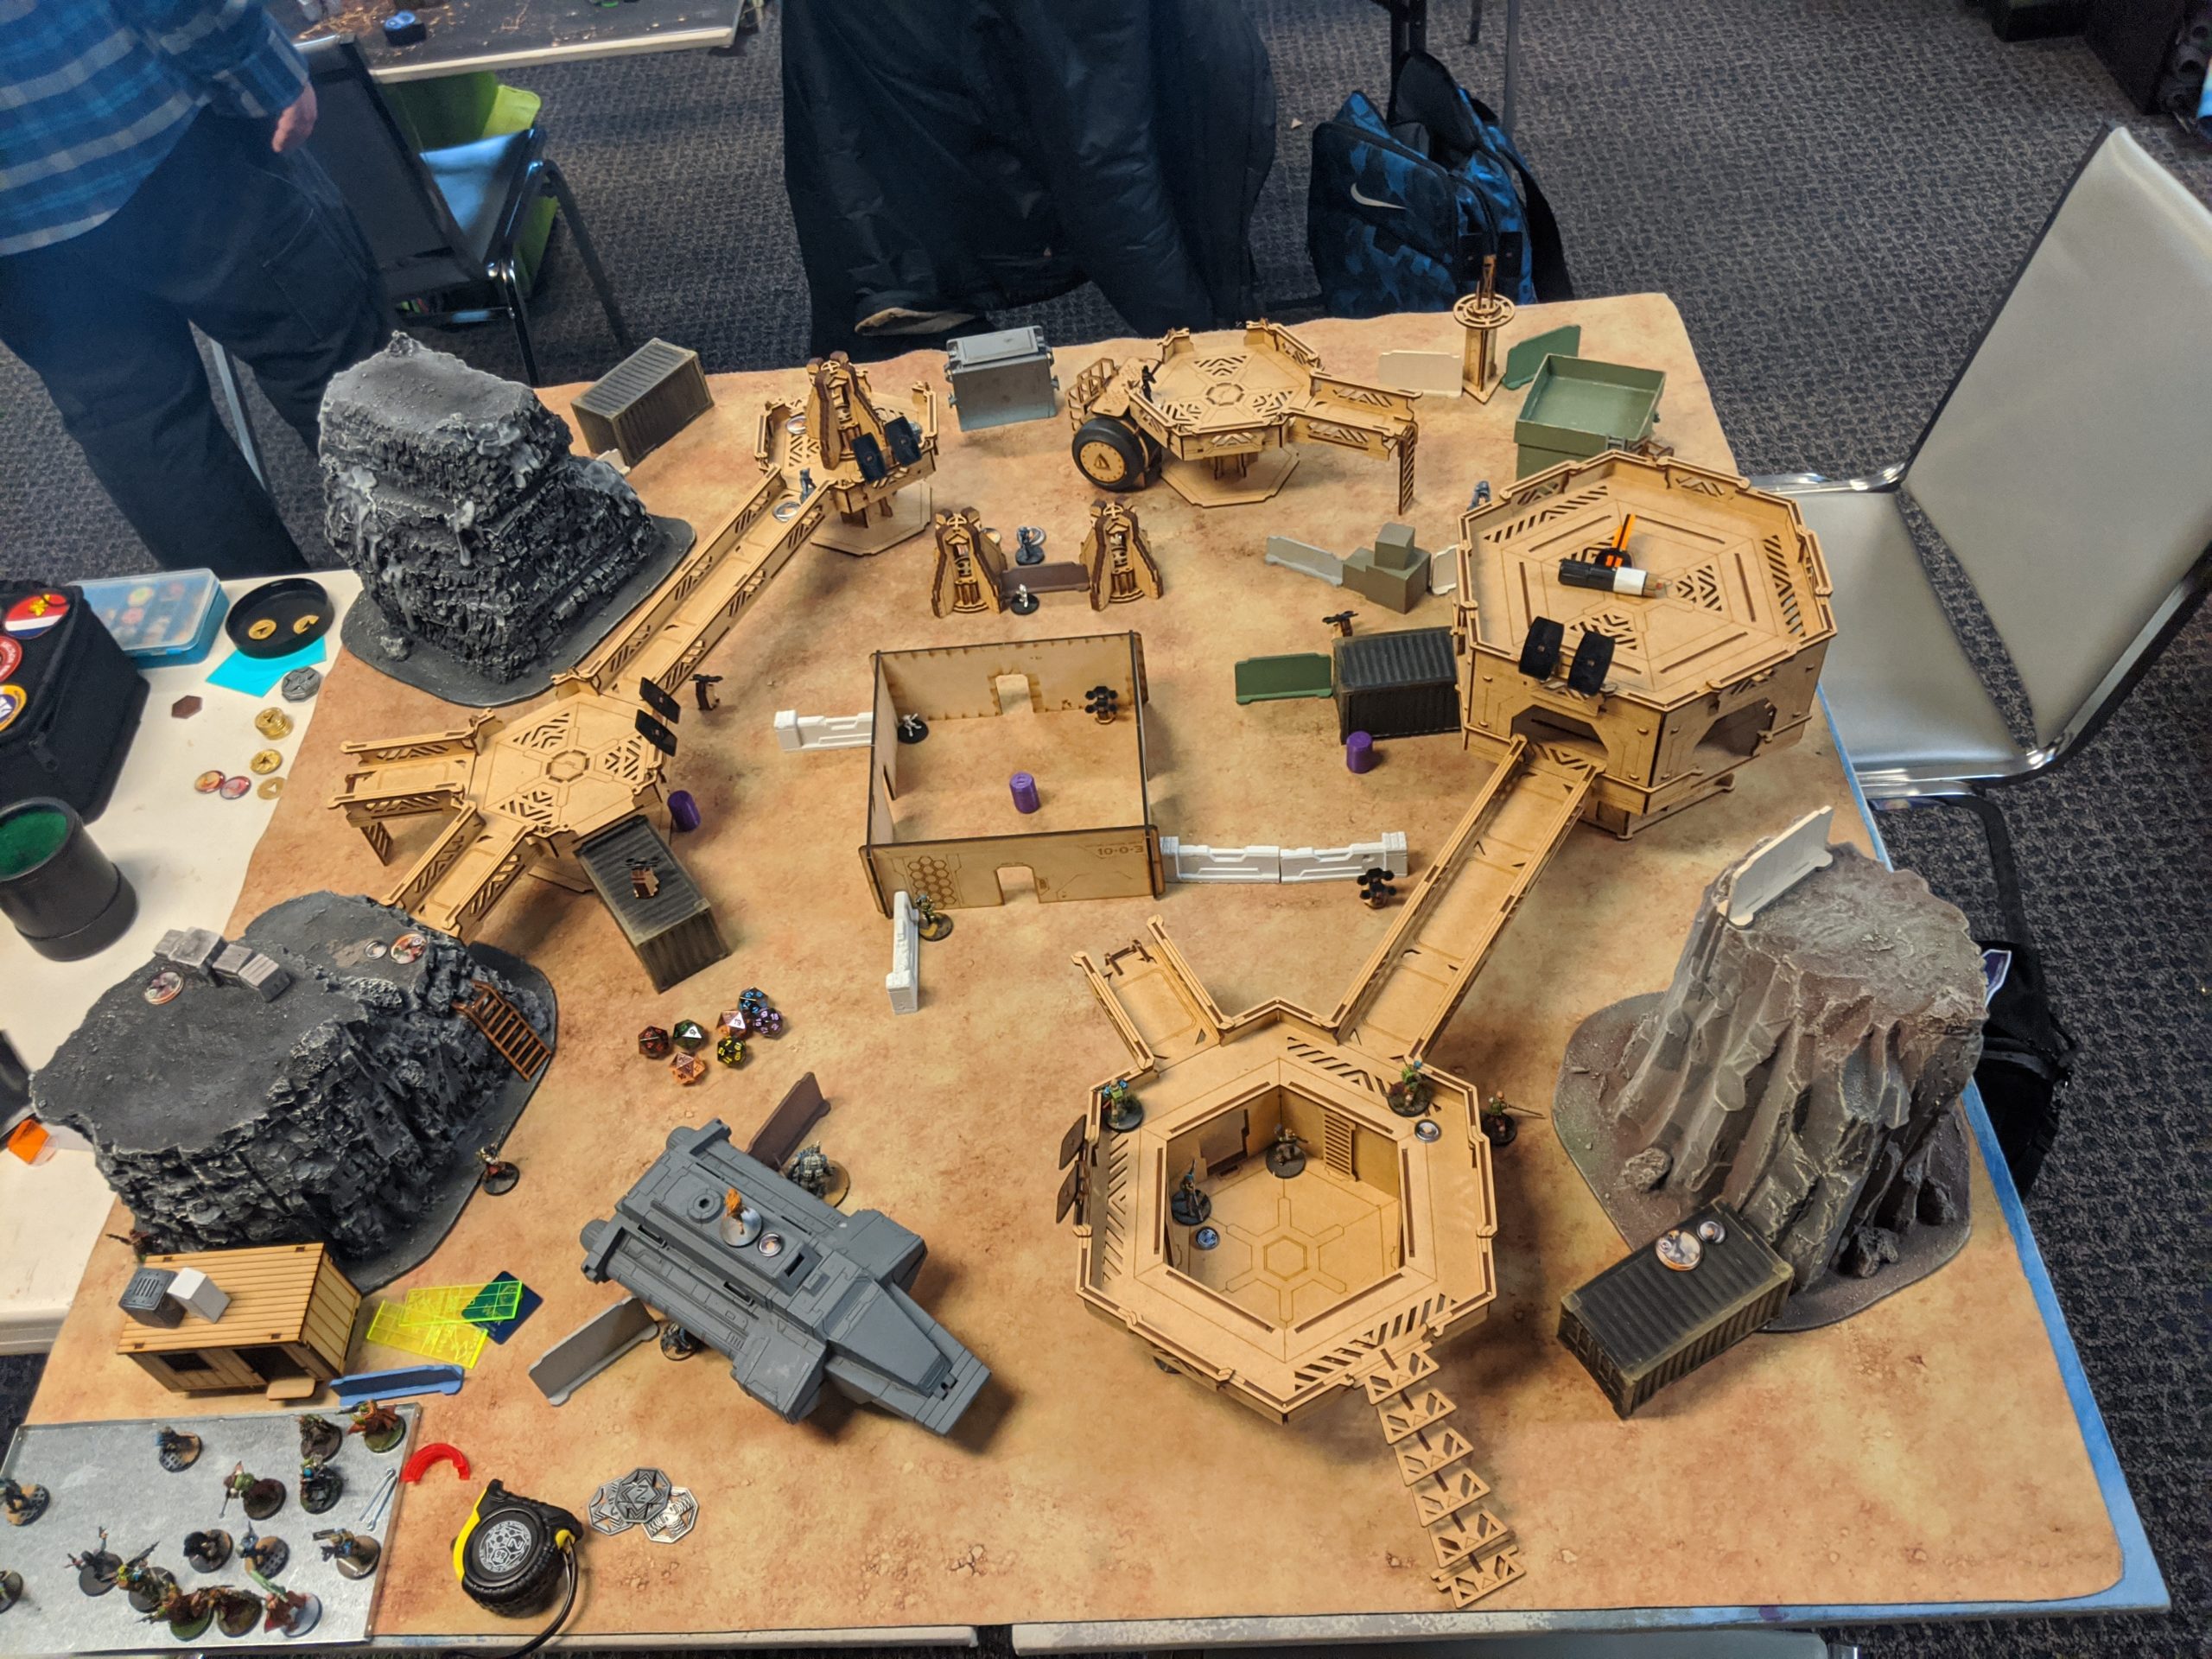
Game three is against Isaac (xammy) on the same table I played Tony on. Okay, seems fine.
Isaac is playing O-12 and has been for awhile so I’m pretty sure of what I’ll see on the other side of the table. A lot of schenanigans, that’s for sure!
Overview
- Mission: Supremacy (SpecOps)
- Forces: Imperial Service versus O-12 (300)
- Deploy First: O-12
- First Turn: O-12
GROUP 1 |
GROUP 2 |
4 SWC | 300 Points | Open in Infinity Army
I took my supplies list to have the mobility of the Su Jian and the late game points buff of the Ninja.
Game 3 – xammy
GROUP 1 |GROUP 2 |
ALPHA Lieutenant (Strategos L2) 2 Light Shotguns, 2 Nanopulsers / Pistol, DA CC Weapon. (0 | 26)
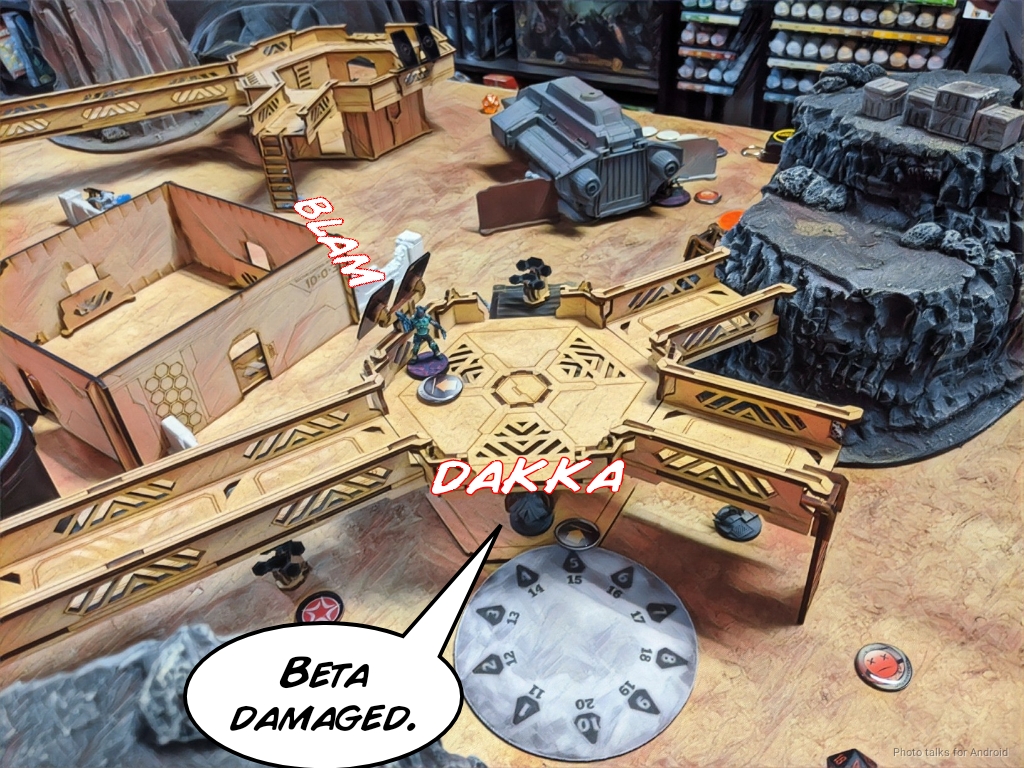
BETATROOPER Spitfire, 2 Nanopulser / Pistol, Knife. (2 | 41)
EPSILON HMG, Nanopulser / Pistol, Knife. (1.5 | 30)
CYBERGHOSTS Hacker(Hacking Device Plus) Combi Rifle + Pitcher / Breaker Pistol, Electric Pulse. (0.5 | 26)
KAPPA (Infinity Spec-Ops) (12 XP) [i](Chain of Command, Holoprojector L1)[/i] Combi Rifle, Akrylat-Kanone / Pistol, Knife. (0 | 13)
KYTTÄ Flash Pulse, Sniffer / Electric Pulse. (0 | 8)
VARANGIAN Light Shotgun, Chain Rifle, Smoke Grenades / Pistol, AP CC Weapon. (0 | 12)
RAZOR (Minelayer) Boarding Shotgun, Antipersonnel Mines / Pistol, Knife. (0.5 | 31)
DELTA Doctor (MediKit) Boarding Shotgun / Pistol, Knife. (0 | 25)
MONSTRUCKER Submachine Gun, Chain Rifle, Drop Bears / Pistol, Knife. (0 | 13)
GANGBUSTER Hacker (Killer Hacking Device) Submachine Gun, MadTrap / Pistol, Knife. (0 | 21)
LYNX MULTI Sniper, Antipersonnel Mines / Pistol, Knife. (1.5 | 34)
6 SWC | 300 Points | Open in Infinity Army
I’m not entirely sure of Isaac’s combat groups but I’m pretty sure. In any case, it’s got some fun stuff in it, like a discounted Ensign Cho replacment via SpecOps. He disguised the SpecOps as an Epsilon Sniper which was a pretty fun idea.
Deployment
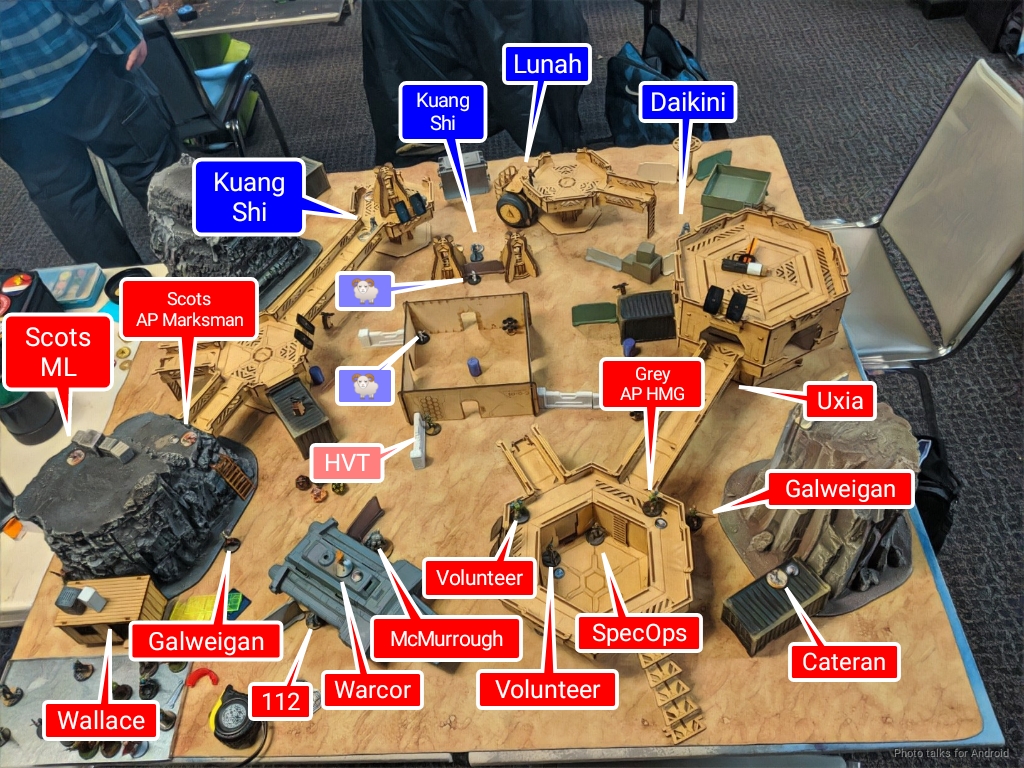
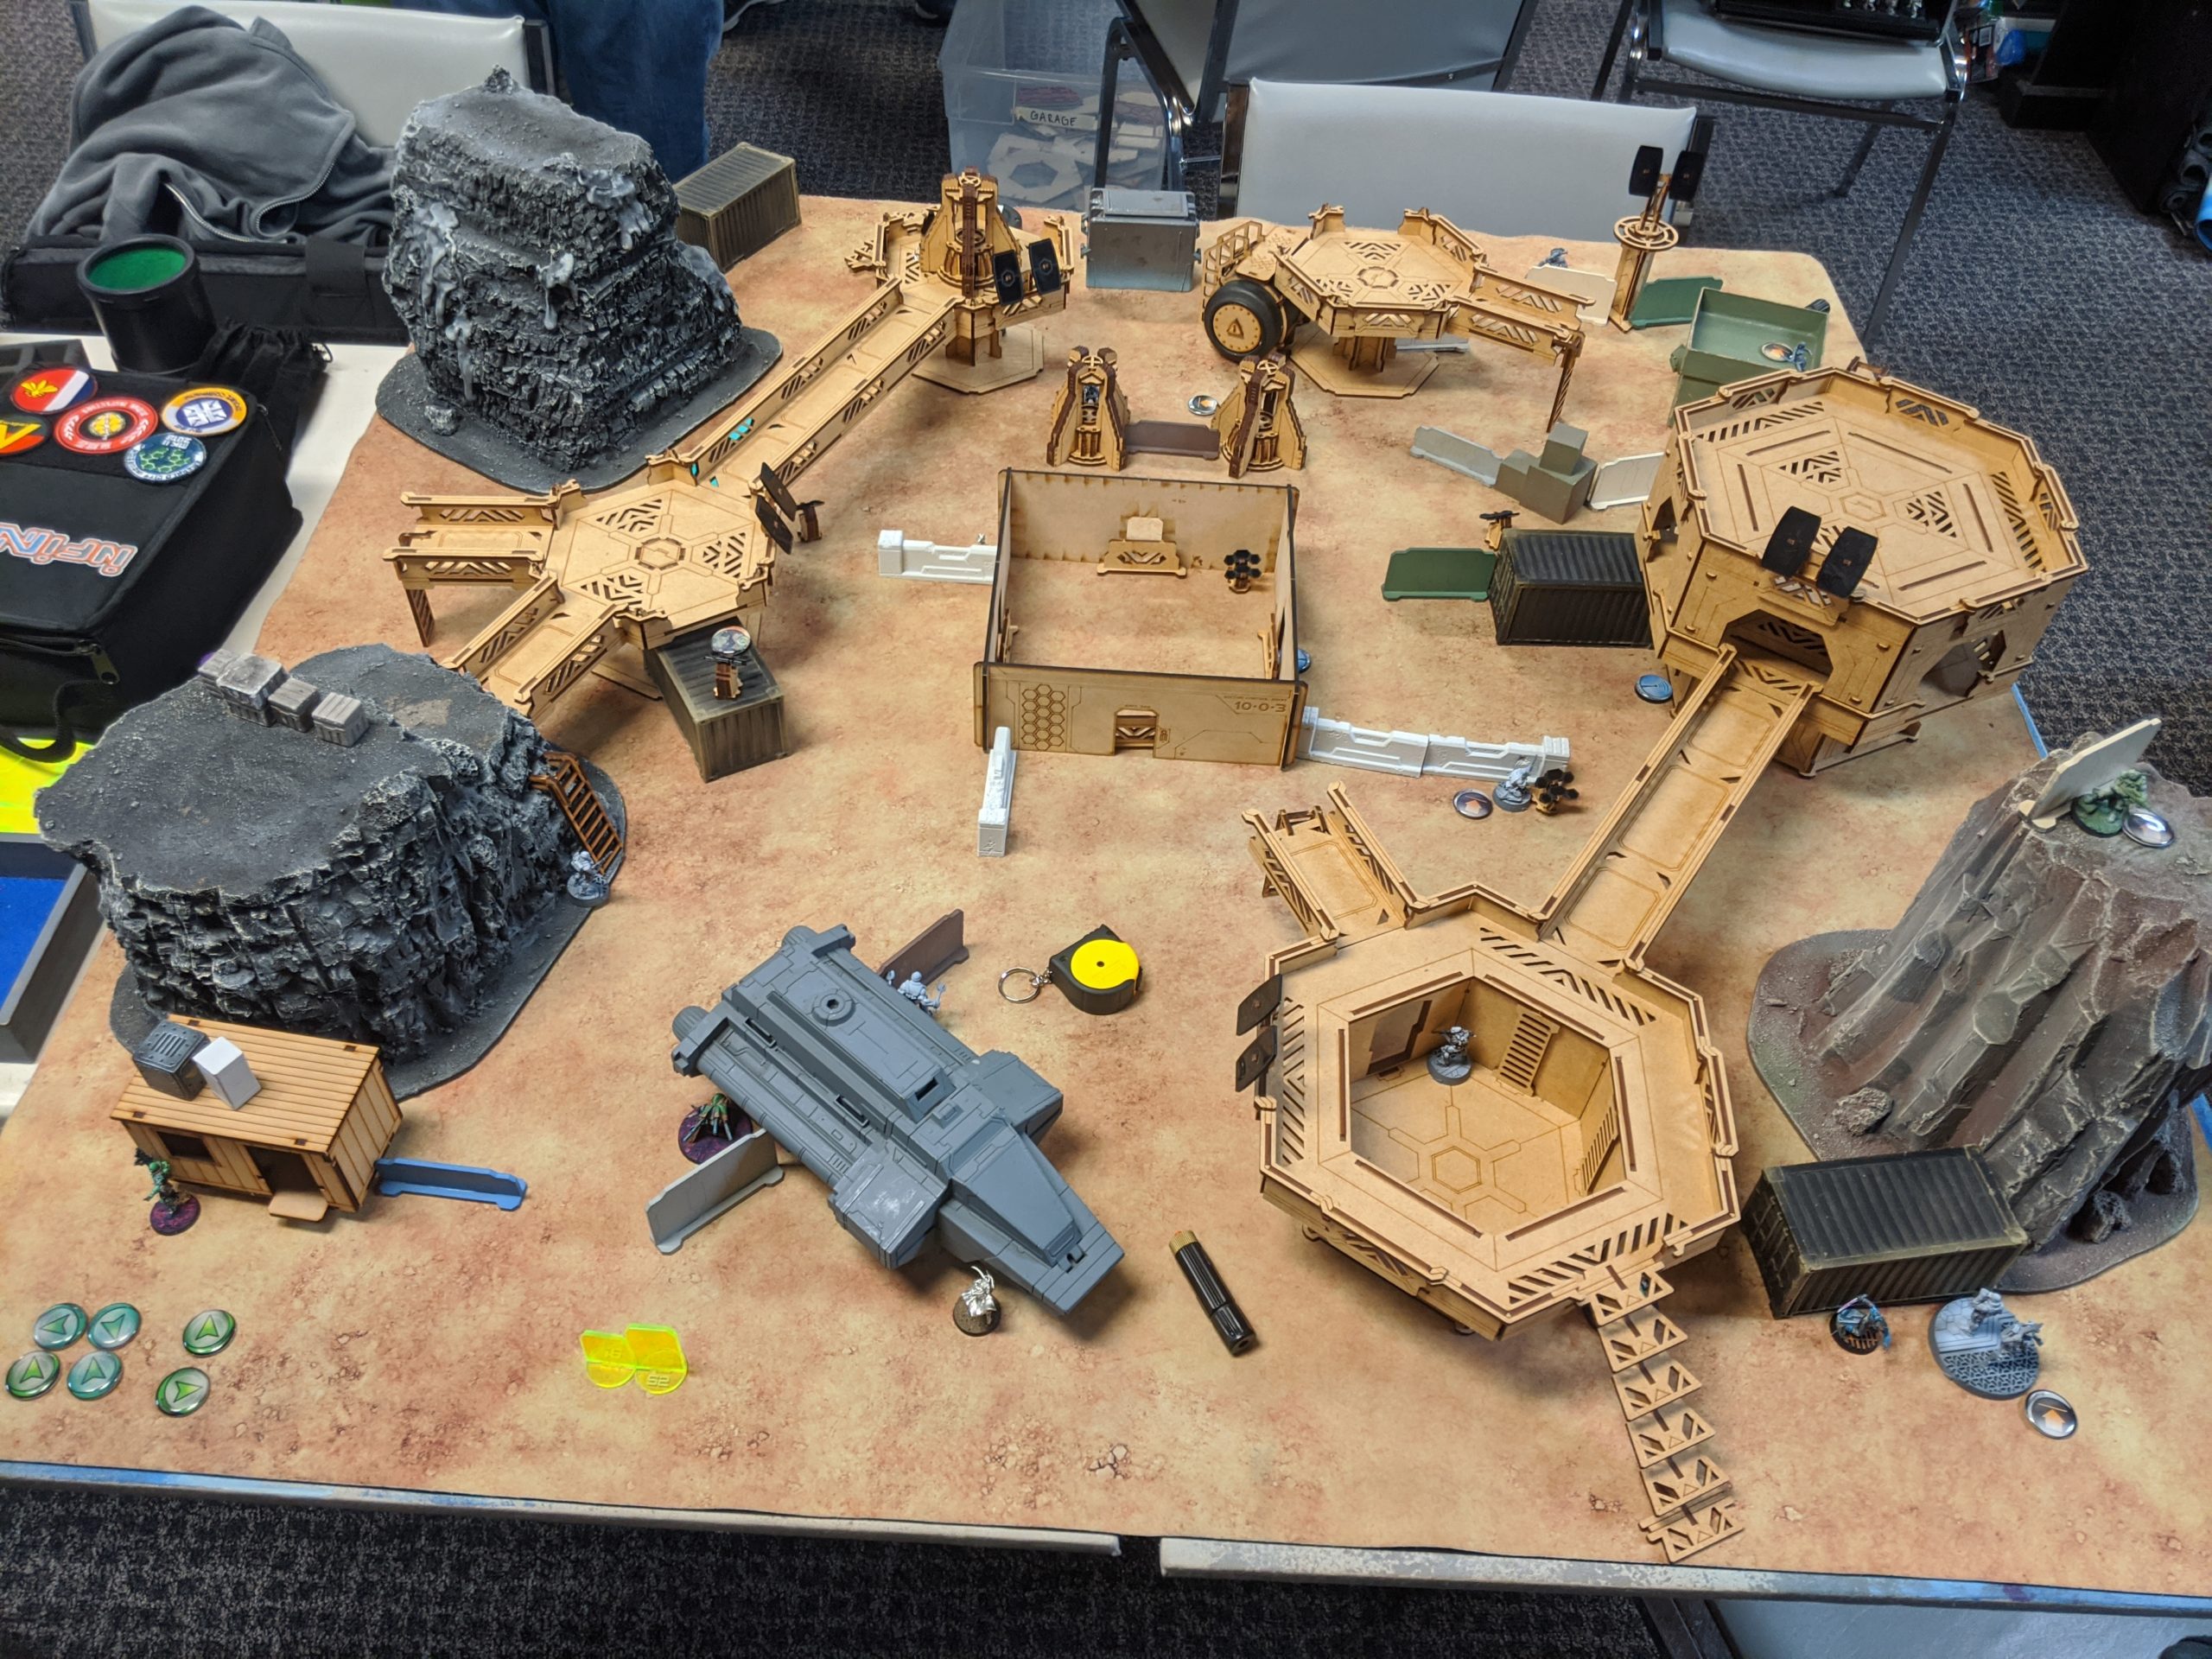
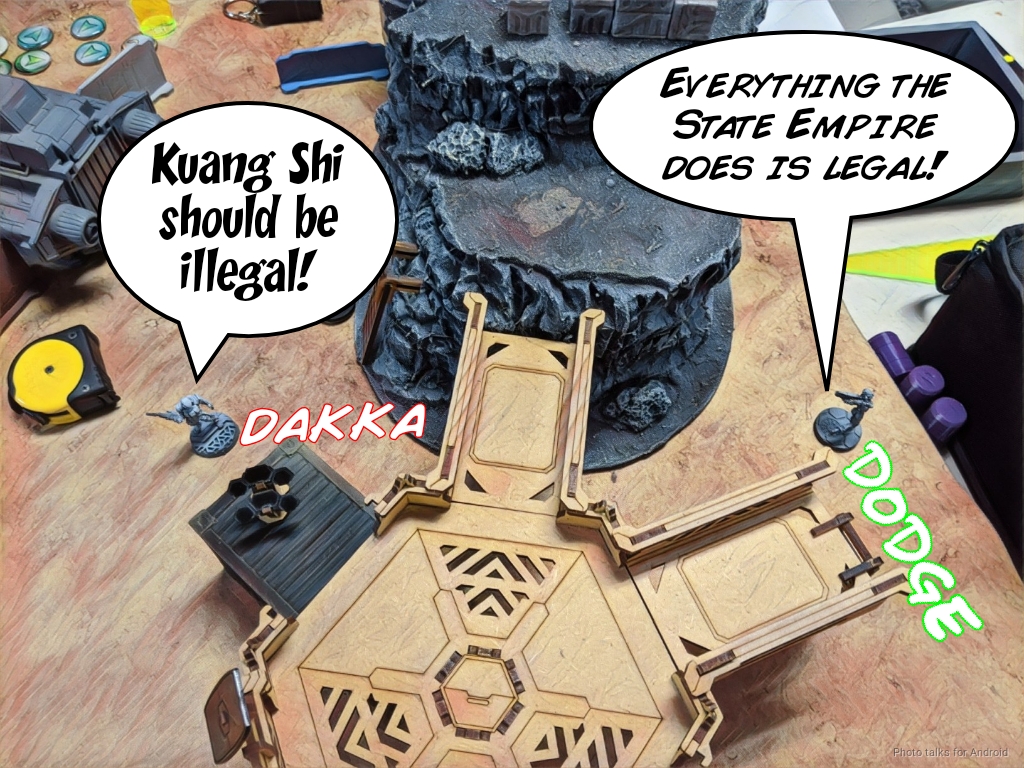
I won the rolloff and selected deployment, choosing the same table edge as before against Tony for the home turf advantage. Isaac put a Varangian on each flank and then feinted a Epsilon MSR with his holoprojectored Kappa on the tall mountain on his right.
He had a bit of a struggle figurnig out what to do about his near left objective. It’s hard to get to on top of the shipping container, so Isaac decided to just deny me it by placing a Razor and its mine there.

The Epsilon HMG went on the left and the Alpha went on the right, with the Cyberghost all the way in the back and a Lynx hiding where Tony’s Scots Guard ML was.
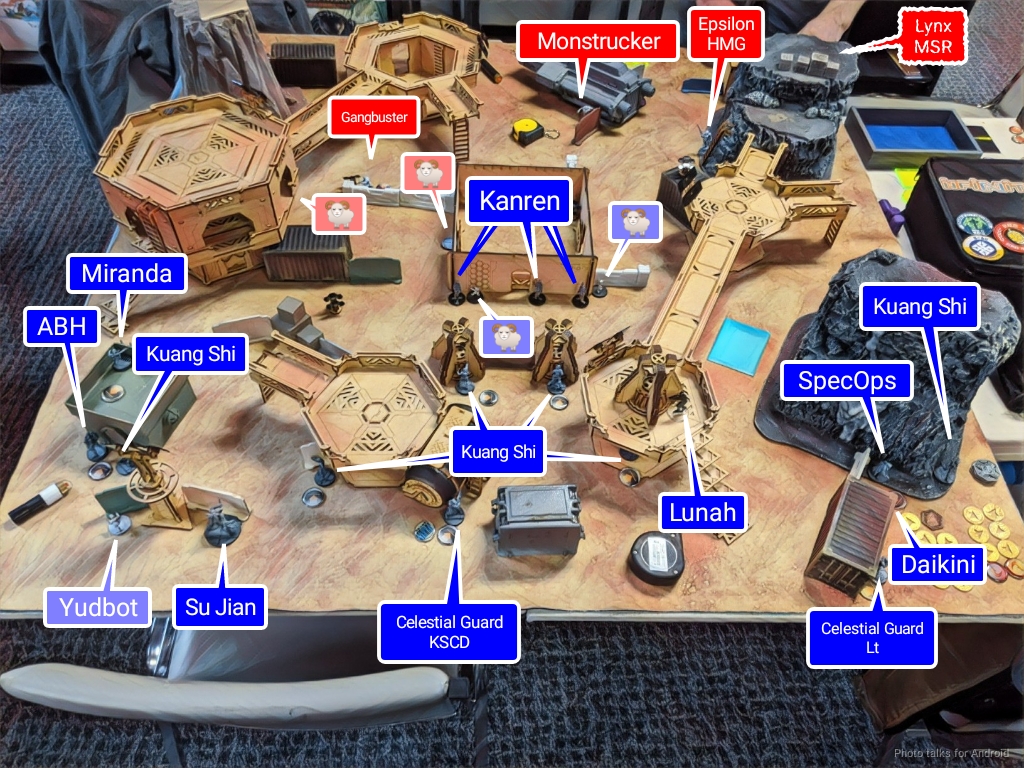
I basically did a left-right mirror of my deployment against Tony. Mostly to mix things up for myself. I put my Ninja on the right, near the Razor to be able to soak up points there.
Turn 1
Top of 1 – O-12
I didn’t leave anything out to ARO so the Varangians can advance safely. Isaac then uses his Gangbuster to clear my MadTraps and then pushes his near left button.
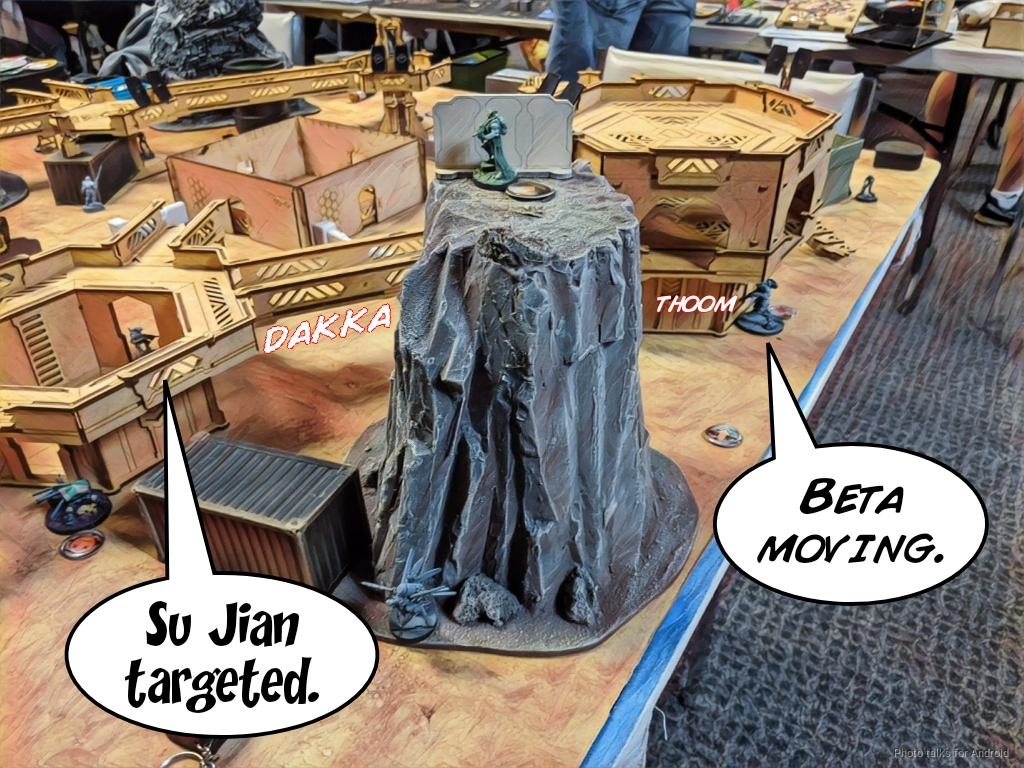
Isaac decides that the Su Jian has to go, so he goes ahead and fires a Varangian missile at it, smoking up the approach to defend against all my Kuang Shi’s scary pistols! My ABH really speedbumps him by winning the face to face against his shotgun. Unfortunately for me, the Varangian makes the ARM roll and smokes up the ABH.
The Varangian gets into my backline and shotguns the Su Jian and survives the flamethrower back. The Su Jian takes a wound…

but my Yudbot successfully dodge-engages the Varangia, tying it up! I needn’t have worried, as Isaac is now out of orders… buuut…
He spends a hidden deployment order to reveal the Lynx’s TO camo token to psych me out and also give him an order for next turn.
Bottom of 1 – ISS
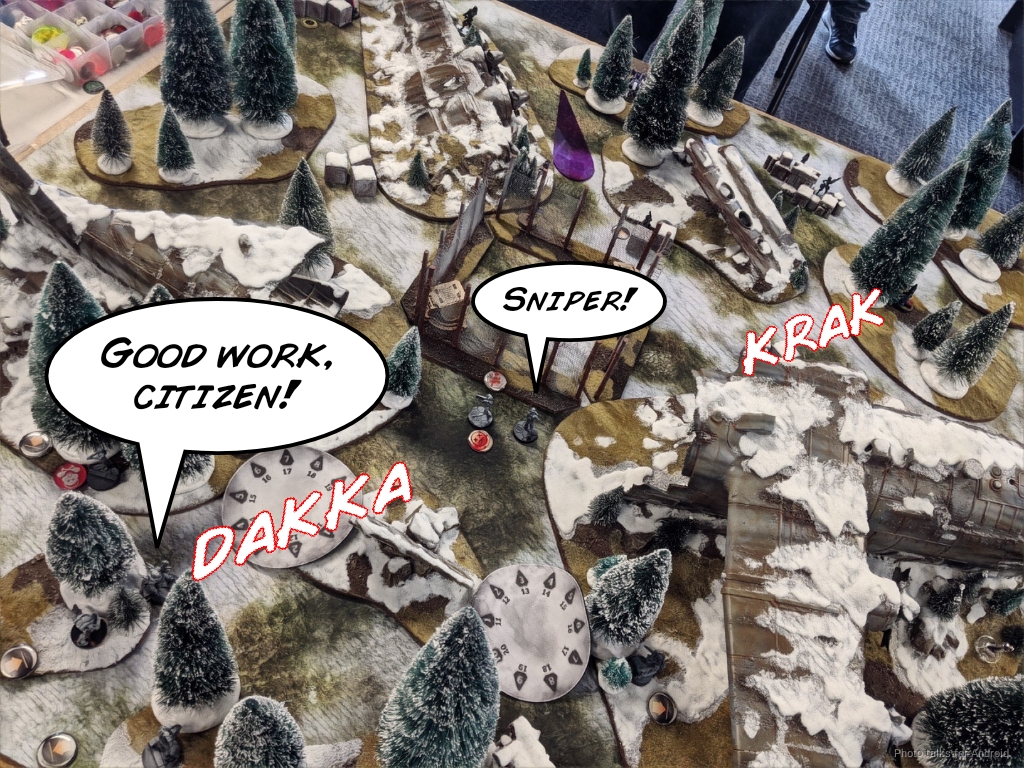
My unlinked Kuang Shi all advance save the one near the Varangian. The nearby one pops around the corner and fails to dislodge the Varangian with a pair of pistol shots, so I just spend an order on the linked Celestial Guard and take out the Varangian (and sadly also the Yudbot).
I move the Su Jian up on the left, but the Lynx’s TO camo token that is hanging out on the mountain prevents me from moving further.
The one Kuang Shi on the right had moved up pretty far, trying to bait out the Lynx on the mountain. Isaac doesn’t bite, so I drop a smoke grenade in the Kuang Shi’s path from outside of 16″. Yeah, I’m on flat BS but two on 11’s unopposed is pretty decent still.
It only takes one order to land the smoke, then I successfully intuitive attack the Lynx and drop it with the Kuang Shi’s chain rifle. Huzzah!
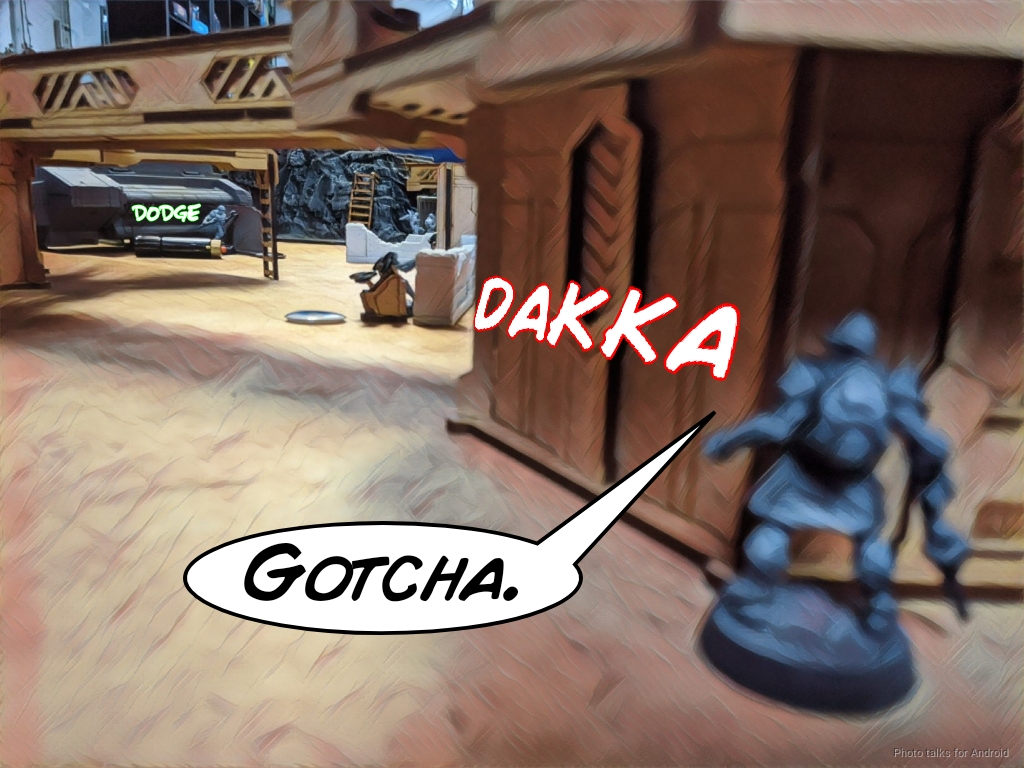
After using the Kanren’s Holoechos to return the favor and clear Isaac’s MadTraps, I drop in a Garuda and double-crit the Alpha. A sad end to an otherwise promising buddy cop movie.
I don’t have much in the way of orders left in this pool, so I snipe one of Isaac’s flash pulse bots with the Garuda just to deny him an order.

Turn 2
We’ve each got one console, but I’ve got two quadrants to Isaac’s one so we’re at 3-1 me right now.
Top of 2 – O-12
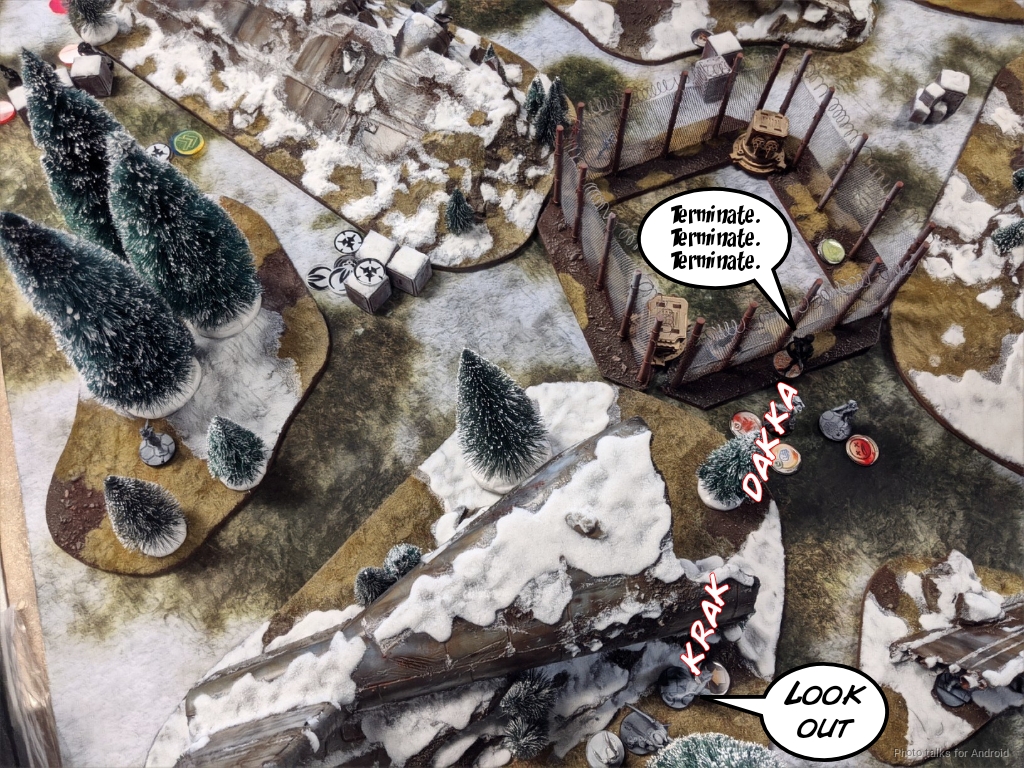
I’ve got a lot of threats advanced upfield, so Isaac has to spend some time clearing them out. First, he forces the Kuang Shi that killed the Lynx into total cover with this Epsilon HMG.
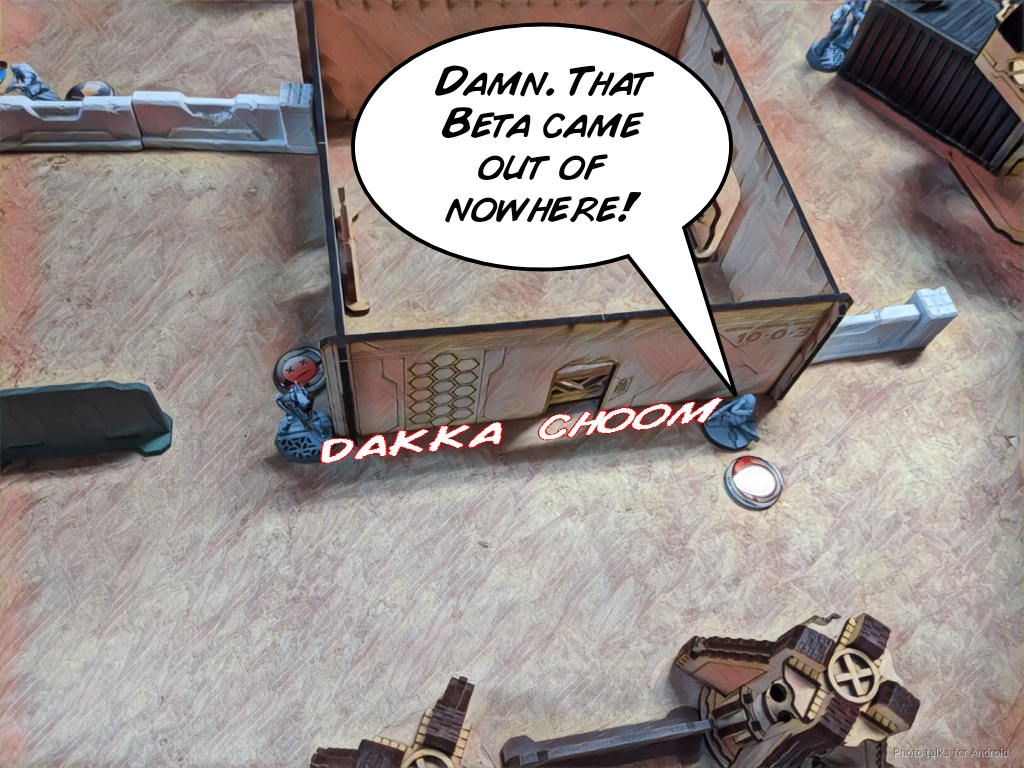
The Beta finishes off my Su Jian by catching a sliver of its silhouette…
and then circles back to clear the Garuda.
The Beta pops out further to finish off the Kuang Shi the Epsilon failed to earlier, then it ends the turn behind some cover.
Bottom of 2 – ISS
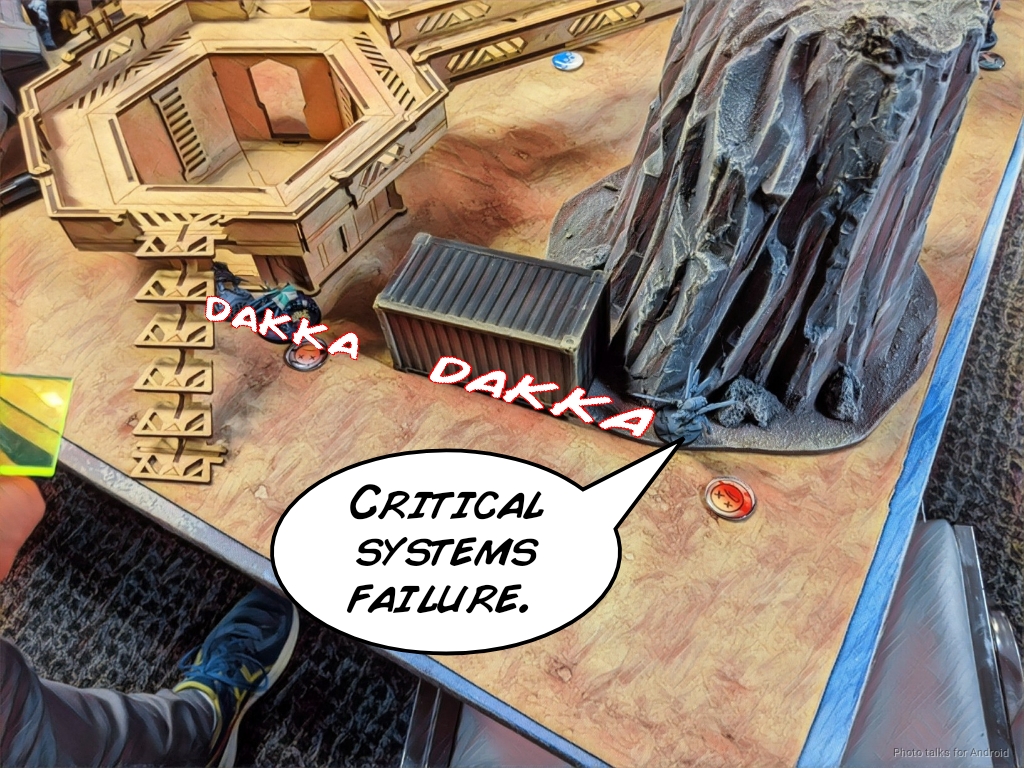
I buff the Daikini and move it up to my near right button and push it, but get KO’ed by the Razor’s mine. I move up my SpecOps to pick the Daikini back up, but Isaac reveals the Razor to take a shot. I manage to hit the Razor but it passes ARM.

I reveal Lunah and Marksmanship Level X the Razor. It manages to dodge prone, but that’s good enough because all I wanted to do was pick the Daikini up and now I can, under the cover of some Kuang Shi controller-provided smoke.

Now that the Daikini is back up, I poke it around the corner to take out the Epsilon…
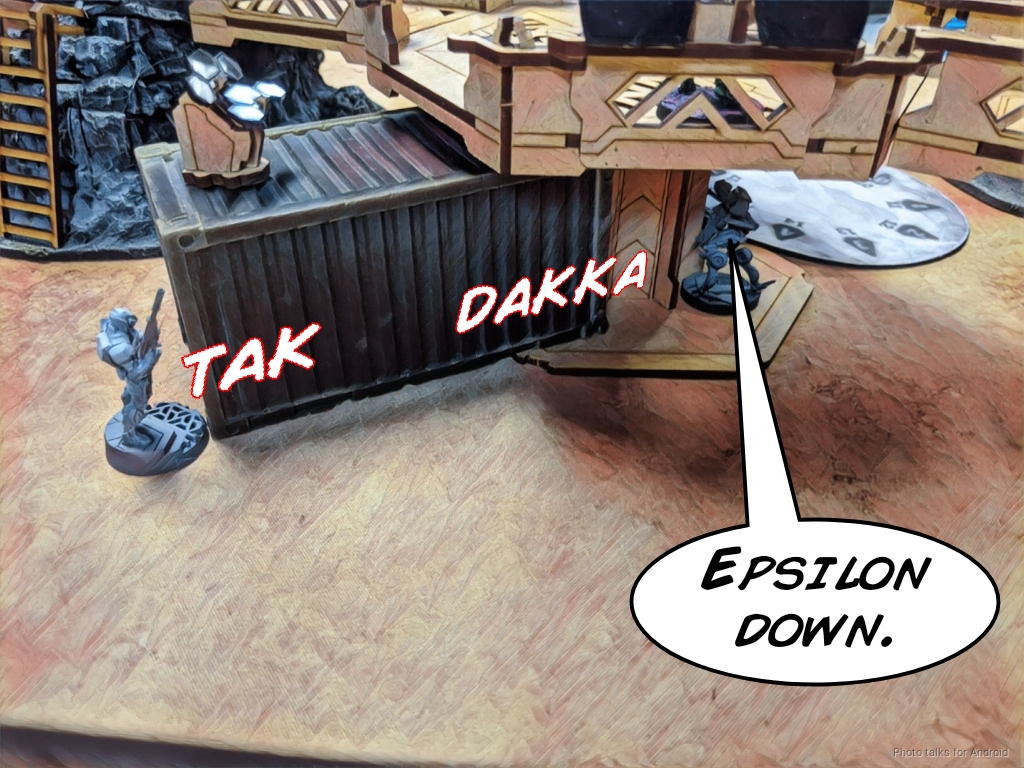
and put a wound on the Beta. I’m pretty sure the Cyberghost is Ensign Cho, so I want to snipe it and put Isaac into LoL.
Unfortunately, on my way there the Beta finishes off my Daikini. I reveal the Ninja to lock down the quadrant.
Turn 3
With the Su Jian gone, we’re tied on quadrants. Still 3-1 me so far.
Top of 3 – O-12
Isaac drops in a Delta right on top of the Epsilon and picks it back up.
The Beta goes for the kill on my Kanren but I trade with the Chain Colt.
Isaac’s out of options now so he just piles stuff into quadrants as best he can.
Bottom of 3 – ISS
I climb Miranda off her rooftop and send in the Miranda + ABH Duo. Miranda grabs my near left console and the Red Fury ABH starts stacking O-12 bodies. First to go is the Monstrucker…
then the Epsilon HMG and the Delta on the other side of the table.
I snag a classified somewhere in here and move all my guys forward, securing all four quadrants for a
7-1 Imperial Service Victory!
Post Game Analysis
I think Isaac made a mistake in sending in the Varangian to take out the Su Jian on his first turn. It didn’t develop his position much and at most would have stripped 2-3 orders from me. I think a much stronger play would have been to drop the Delta in to take out my Kuang Shi Controller. I didn’t have much watching the exact back table edge, so I think this might have been possible.
Once that was done, then I would have had some serious problems corraling all the Kuang Shi. I’m sure I could have done some damage with them, but the Lynx could have cleaned house. Revealing the Lynx was also a bit of a mistake too, I think. Perhaps that’s too strong. A calculated risk outside my personal comfort zone, perhaps. It could’ve been useful clearing some stuff out after I had gotten them out of position, for example. Surprise shot is pretty valuable here.
This whole tournament I was very impressed with the sheer value I get from Kuang Shi. I’m particularly pleased with my setup of an intuitive attack on the Lynx this game. I’m also very pleased with the power of the Miranda + ABH duo. It’s so affordable for what it is and offers a fair amount of utility, especially the way I used it in Supplies to gunfight while simultaneously recovering the box.
The more I think about it the more I’m convinced that the first turn was the real lynchpin of this game. Isaac basically got nothing of consequence done on the first turn and then ceded control to me with my forces pretty much completely intact. I pushed very hard on my first turn do some damage and left threats that Isaac had to respond to rather than be proactive about winning the game.
In other words, I reset the game at the bottom of one, but denied Isaac a bunch of points and orders. So we were playing a two turn game and I was up on material and positioning. I think anyone would have had a miserable time getting through that, and Isaac did his best. Thanks for a great game, Isaac!
I ended up finishing second after Raindog. We tied on tournament points with two majors and our tie, but he had just a few more objective points than I did. Just goes to show you, you gotta rack up those OP!
Thanks to everyone that made it out to the tournament! Stay well, dear reader!

Great Reports as always!
i was not aware you were allowed to use multiple duo fireteams. can this be done with enomotrachos too?
Yes!