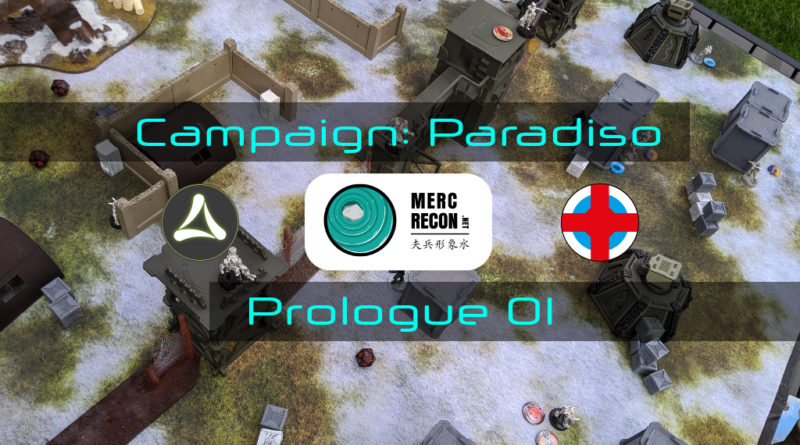
Paradiso: Prologue 01
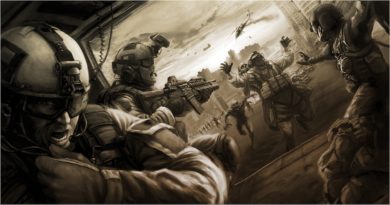
Adam and I have been talking for ages about playing through the N2-era Campaign Paradiso, which is conveniently available in the eponymous book. This is also our first in-person game since the beginning of lockdown. Our LGS is open for games, but out of an abundance of caution we’re gaming in my backyard wearing masks. I’m setting up/tearing down the tables and Adam is just showing up for the actual game itself then leaving to limit exposure. Certainly not zero risk, and we’re constantly re-evaluating the situation on a weekly basis. Definitely not an easy call, and it still doesn’t sit well. Anyway. On to something more positive: Look at beautiful sky above us as we played!

I’m going to try to strike a balance between protecting Corvus Belli’s IP here and providing enough context to make the storyline of the campaign compelling. This means I’ll be quoting some stuff that’s indispensable and posting photos of the deployment diagrams in the missions, but otherwise I’ll be paraphrasing the story to encourage you to get the Campaign Paradiso book if you’re interested in the full story. I thought about doing a really narrative heavy battle report series for this campaign, but I’m constantly teetering on the edge of Infinity burnout from doing battle reports in general–it’s a ton of work, and I often regret making it a rule for myself to write up every game I play. I’m just going to let the series go where it will, and not sweat it. Hopefully it’s enjoyable for you!
We start with the first Prequel mission to the Paradiso campaign. As you might be wware, two exploration ships, the Dawn and the Aurora, were sent out into the void, with the Aurora being “lost to the warp,” to borrow a phrase from the 40k universe, and the Dawn founding… well, Dawn! In actuality, what happened to the Aurora was that the Tohaa, embroiled in a conflict with the Combined Army, wanted to experiment on humanity because we might be a “handy tool against the EI.” Rude. Using space magicks (yes, that’s spelled right), the Tohaa Triumvirate made the Aurora arrive at Paradiso, where they’ve got a secret experimentation facility set up to experiment on the Aurora’s crew.
Initially things went fine for the Tohaa, with various crew members just disappearing in the night like the first 30 minutes of a horror movie set at a lake house. Eventually though, we plucky humans stumbled upon their experimentation facility and started blasting. Things started to go pretty poorly for the Tohaa in the new conflict with the crew of the Aurora, so they did some more space magicks and invited Sepsitorization that works on beings without Cubes (pretty convenient versus Ariadna!). With the humans now suffering double attrition–normal battle losses and then the losses to brainwashing losing material and intelligence secrets, humanity decided do what all humans do when faced with a technologically superior enemy in a sci-fi setting: NUKE THE SHIT OUT OF ‘EM! Depending on technology level, you can replace “NUKE” with “antimatter” preceded by one of the following adjectives: “quantum,” “phased,” “temporal,” “deflector,” depending on taste.
Here’s the basic plan:
- Phase 1: Prep defenses on the Aurora
- Phase 2: Nuke the Tohaa experimentation base and lure the surviving Tohaa back to the Aurora
- Phase 3: Once everyone is near the Aurora, especially the Tohaa and the Sepsistorized humans, detonate another Nuke on the ship and take everyone out.
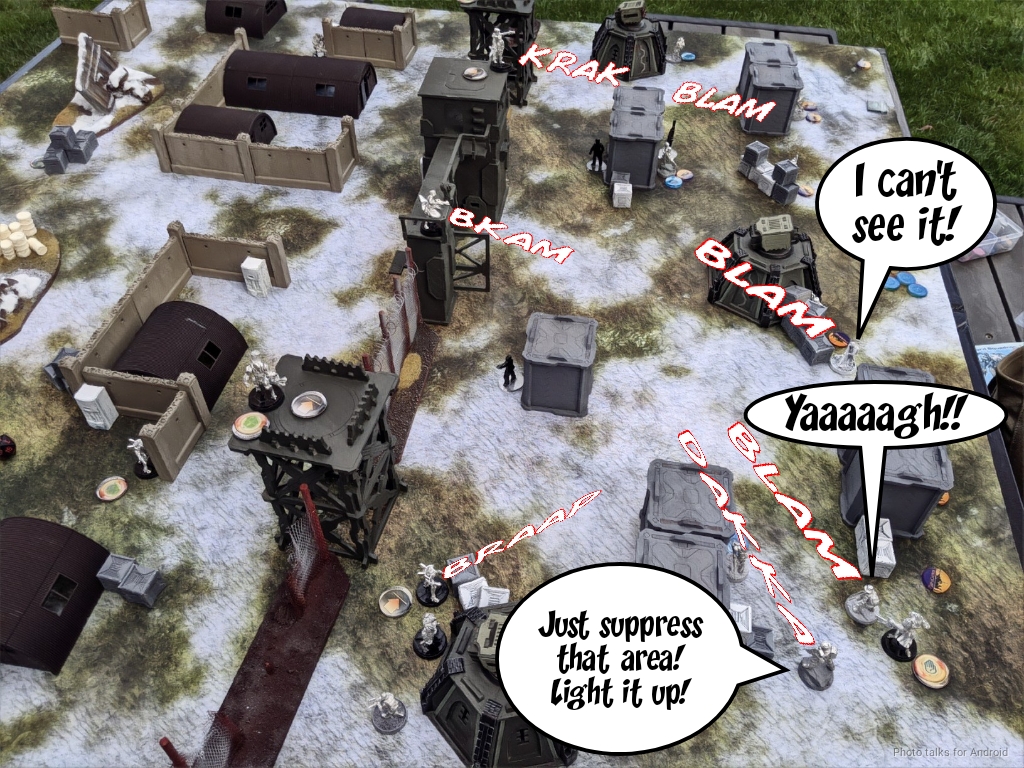
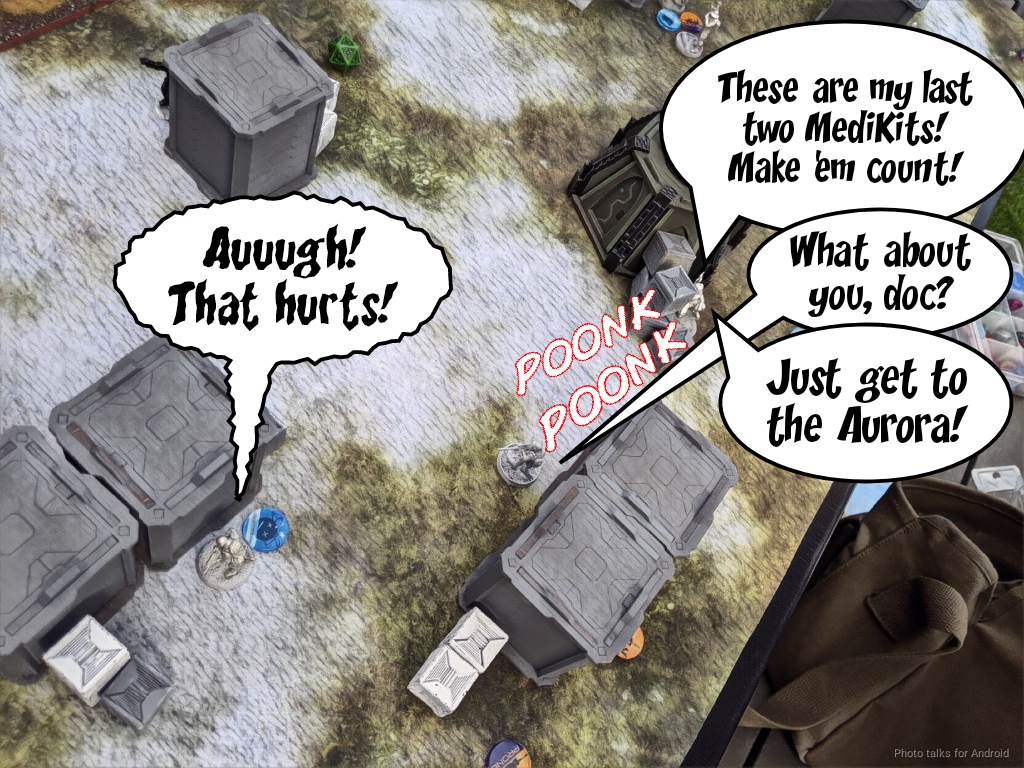
Prologue Mission 1 picks up halfway through Phase 2, right after a successful detonation of a nuke at the Tohaa base, with the survivors of the strike team running back to the Aurora to lure as many Tohaa and sepsistorized humans as they can back to the ship before she blows up. Unfortunately for our Auroran protagonists, the Tohaa had a team away from the base that has laid an ambush on the way back to the ship.
Here’s the ridiculous deployment situation:
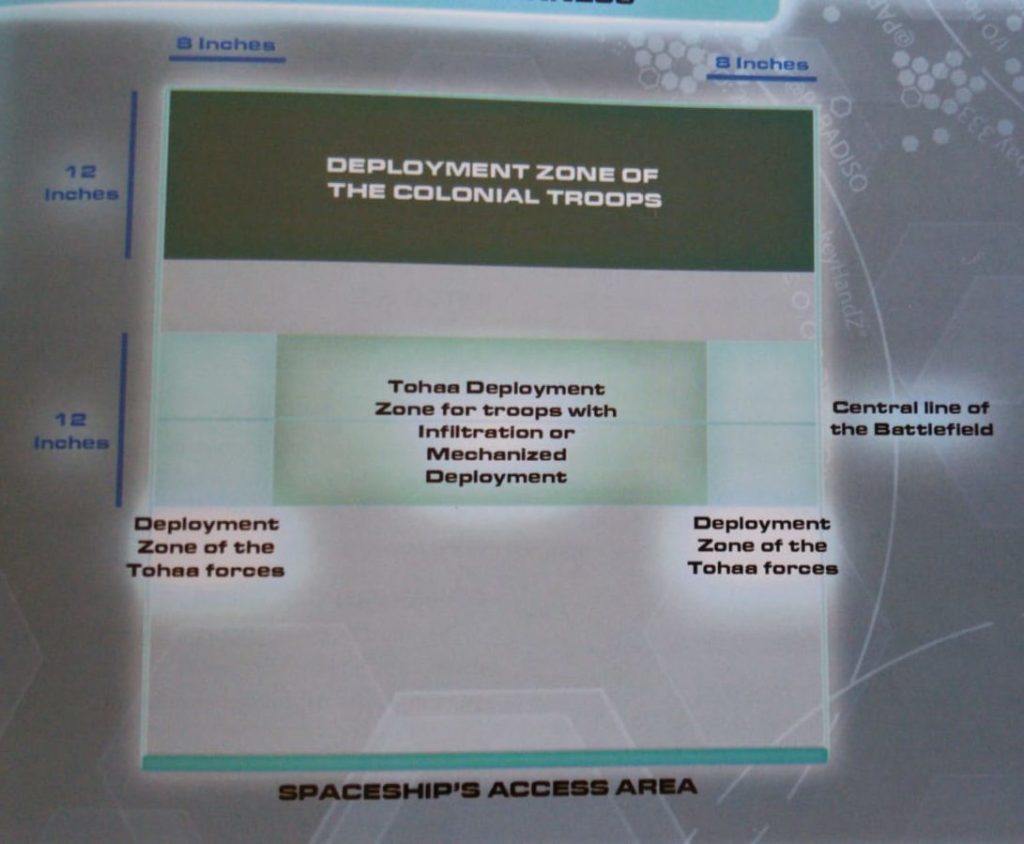
The Aurorans can deploy as normal in a 12″ deployment zone, but may not use any deployment skills. So no Airborne Deployment, Infiltration, Mechanized Deployment, Forward Deployment, nothing. The Tohaa can deploy in a 12″ strip in the middle of the table. They’ve got a 12″x8″ box on either side of the table, and are allowed to use deployment skills only in the center of the table in the marked area. The win conditions are simple: if the Aurorans get one model off the Tohaa player’s table edge, marked “Spaceship’s Access Area,” they win, and that model is available for free in the next Prequel mission. In other words, if you manage to get a Foxtrot off the table edge, you get a free Foxtrot + 300 points of stuff in the next mission.
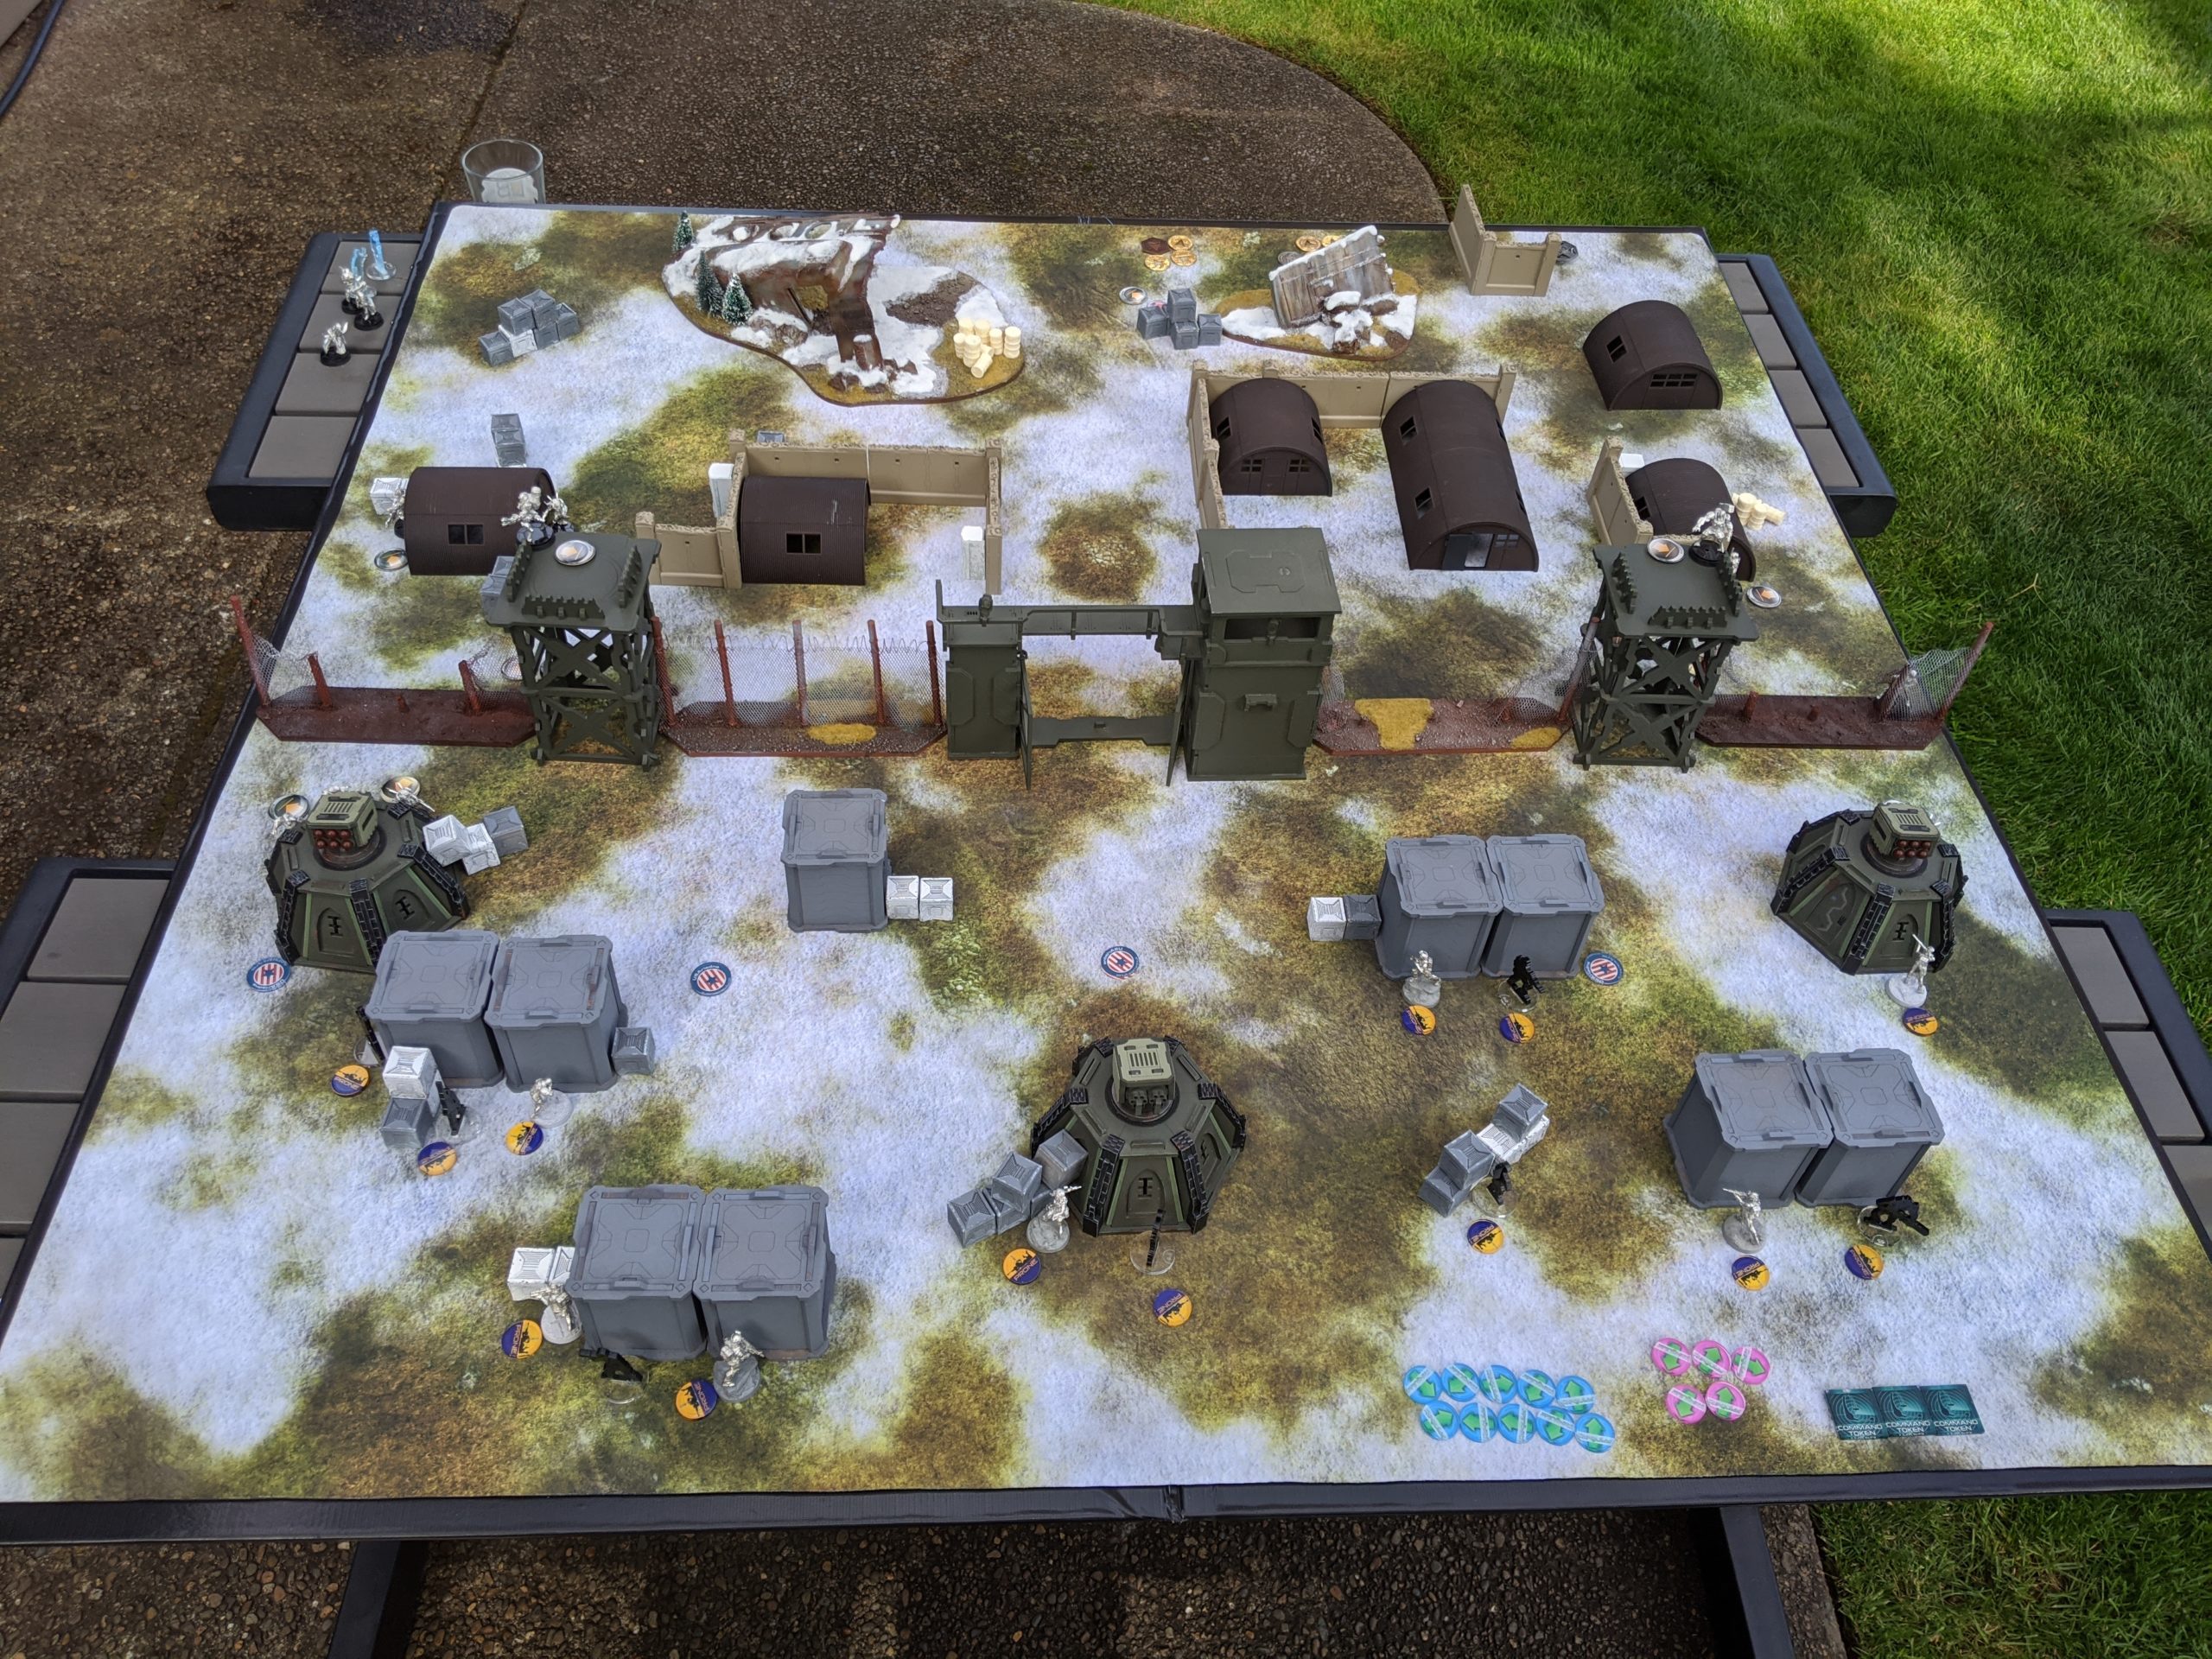
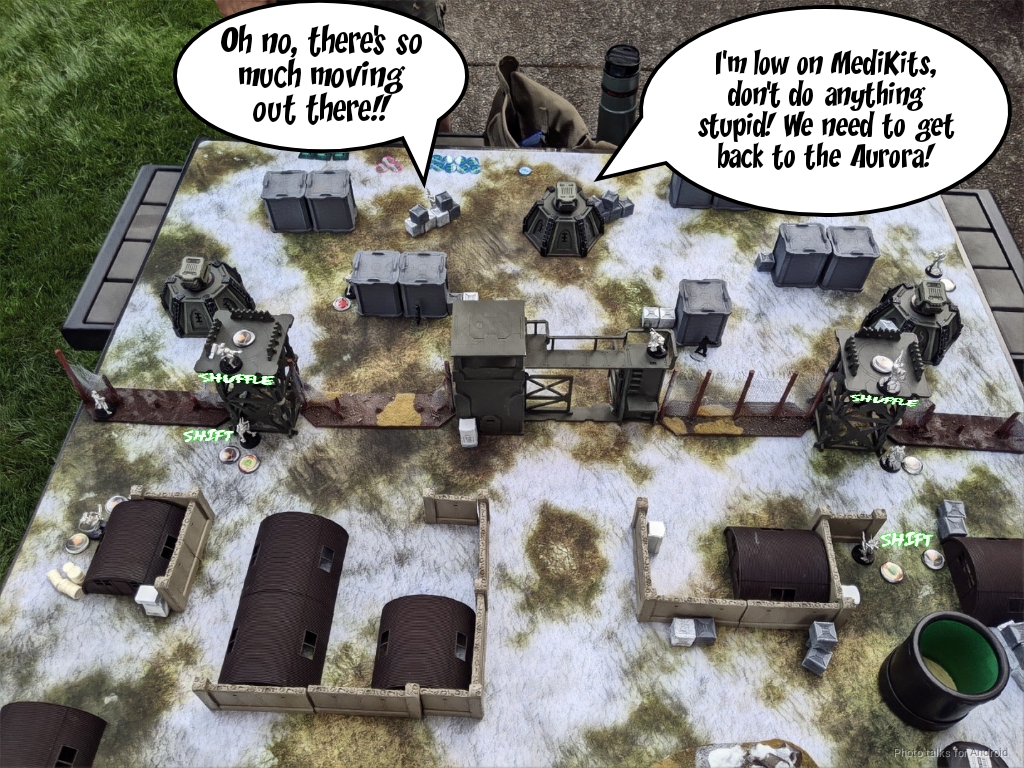
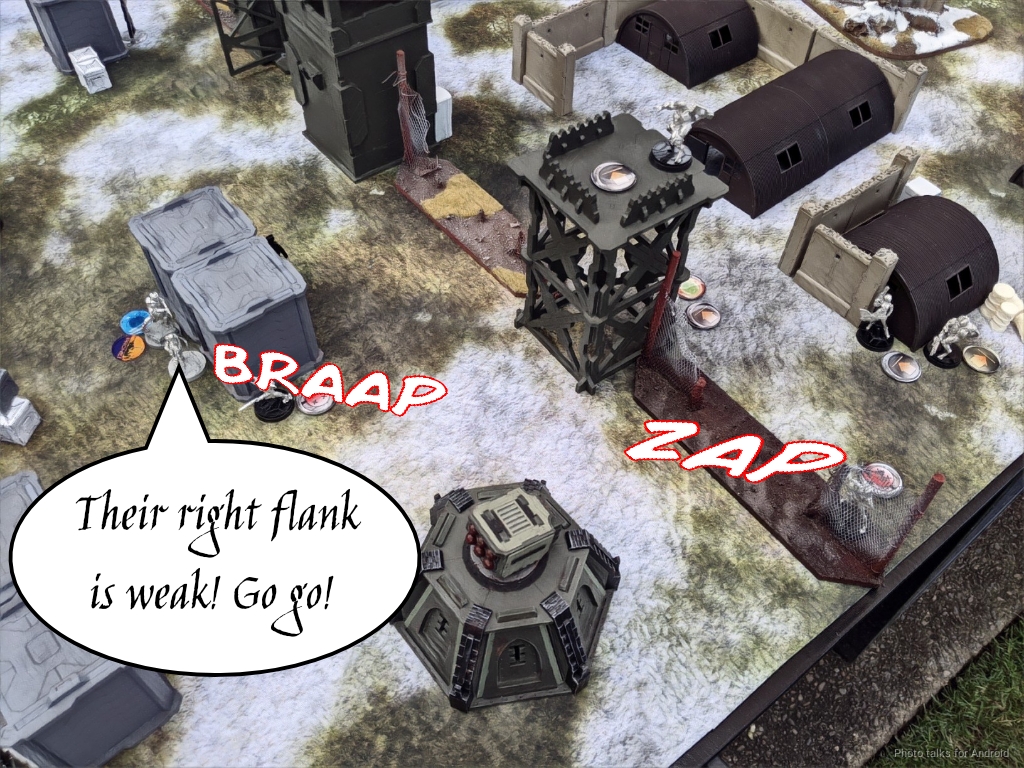
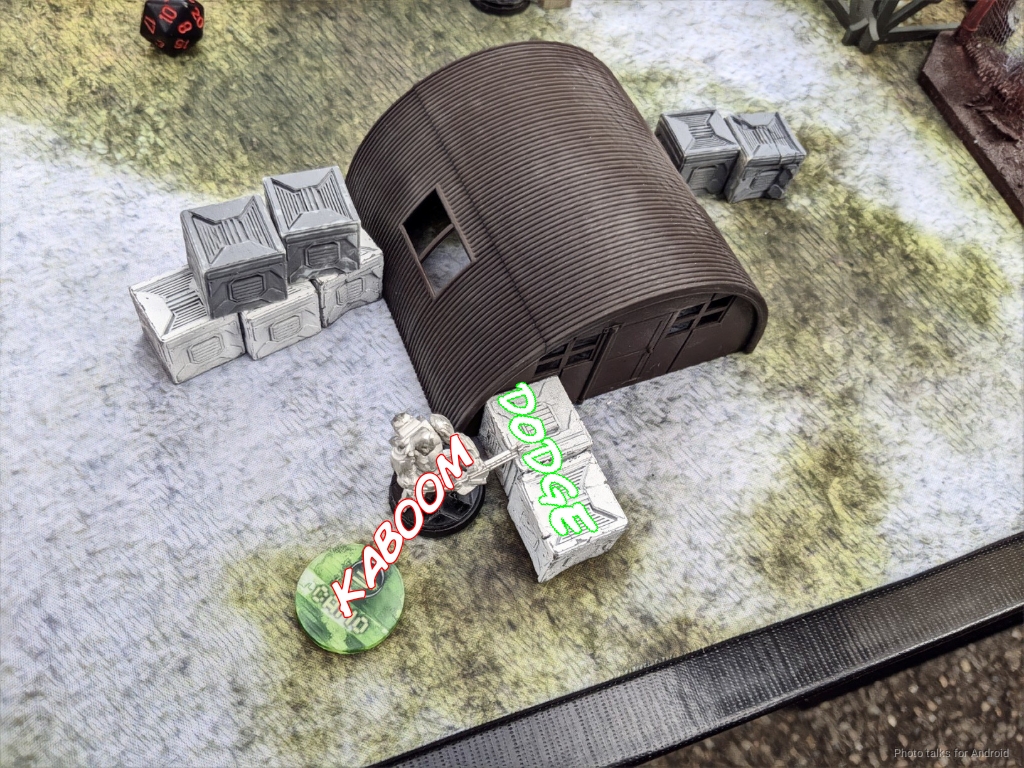
The table is set up like a janky base. The Aurorans have set up a chain link fence as a perimeter wall, compete with gate house and some weapon emplacements, but there’s still a lot of Quonset huts and shipping containers lying around. We used crashed airplane parts to mark the table side where the spaceship is, for added thematic color. Since the Tohaa had to breach the perimeter, we decided that they would have broken some of the chain link fences to get in position–this also basically makes the table more “normal,” i.e. there’s not a single choke point. It’s roughly equivalent to a table with a few large buildings on the centerline, it just looks cooler.
Overview
- Mission: Campaign Paradiso – Prologue 01
- Forces: Tohaa versus Ariadna (300)
- Deploy First: Tohaa
- First Turn: Tohaa
I ended up playing Tohaa. I didn’t have any list building restrictions, unlike Adam as we shall soon see, but I decided to keep things pretty close to older profiles as possible. I threw in Jan Staar for fun, and promised myself I wouldn’t be a dick and alpha strike super hard with him if it came to that. This is already enough of a JRPG first boss encounter that you’re supposed to lose, after all.
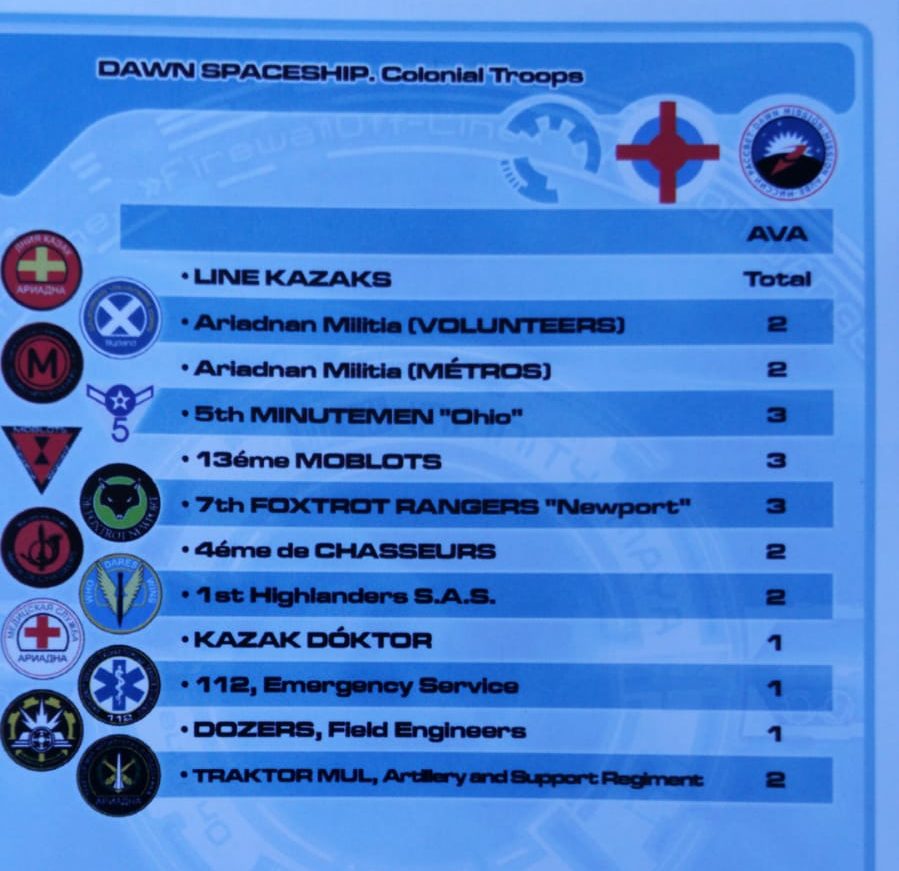
Tohaa Ambush Force
GROUP 1 |7
GROUP 2 |
RASAIL Lieutenant Viral Combi Rifle + 1 Chaksa Peripheral / Pistol, Knife. (0 | 39)

CHAKSA AUXILIAR (Neurocinetics, 360º Visor) HMG / Pistol, CCW. (1 | 25)
CLIPSOS Minelayer Combi Rifle, Antipersonnel Mines / Pistol, Knife. (0.5 | 25)
1
KAAURI Sentinel Submachine Gun, 2 Nanopulsers, Nullifier / Pistol, Electric Pulse. (0 | 12)
KUMOTAIL Combi Rifle, D-Charges / Pistol, Knife. (0 | 22)
DIPLOMATIC DELEGATE (iKohl L1, Specialist Operative) Nanopulser, Flash Pulse / Pistol, Knife. (0 | 5)
CHAKSA SERVANT Electric Pulse. (0 | 3)
JAAN STAAR Light Shotgun, Antipersonnel Mines / 2 x Viral Pistol, CC Weapon, Knife. (1 | 31)
6 SWC | 298 Points | Open in Infinity Army
The list basically built itself. 4x Chaksa Neurocinetics HMGs, 4x Kauuri Sentinels with SMGs and Nanopulsars, 2x Clipsos Minelayers, and a Kumotail to pick ’em all back up. I had some points, so I threw in a Rasail Lt, Jan Starr, and a Diplomatic Delegate just for funsies.
Since my deployment was so damned close to Adam’s, I knew the Chaksa HMGs would be in their bad rangebands, so I intended to use them to defend the back half of the table, i.e. once Adam broke through my lines I could gun the fleeing Ariadnas down in good rangebands. That meant the Kauuri would be needed up front to do the close in gunfighting, which is something they excel at.
Adam had a ridiculous list building restriction, which was that he had to choose from a dramatically reduced list of options to represent the fact that this was old times, before all the years of development on Dawn by the other colony ship. No antipodes, because they’re not on Paradiso–basically just elite soldier that were on the ship.
Ariadna
GROUP 1 |GROUP 2 |
MINUTEMAN Lieutenant AP HMG / Pistol, CCW. (1 | 34)
MOBLOT (CH: Mimetism) Rifle, Light Shotgun / Pistol, Knife. (0 | 23)
S.A.S. Chain Rifle, Grenades / Assault Pistol, AP CCW, Knife. (0 | 22)
FOXTROT Sniper Rifle, Antipersonnel Mines / Pistol, Knife. (0.5 | 24)
VOLUNTEER Chain Rifle, Light Shotgun / Pistol, Knife. (0 | 6)
CHASSEUR Rifle, Adhesive Launcher, D-Charges / Pistol, Knife. (0.5 | 19)
KAZAK DOKTOR Rifle / Pistol, Knife. (0 | 13)
2.5 SWC | 300 Points | Open in Infinity Army
He maximized his camo count and just decided to wing it.
Deployment
Deployment for me was easy. Two Chaksa HMGs on the towers, two on the ground a move away from a good spot. Two Kauuri advanced, one on each side, then the other pair behind their kin. That’s most of the list deployed. I then put the Clipsos on the gate house and their mines near the gatehouse door to discourage a run down the center. I put the Rasail on the right, and the Kumotail on the left.
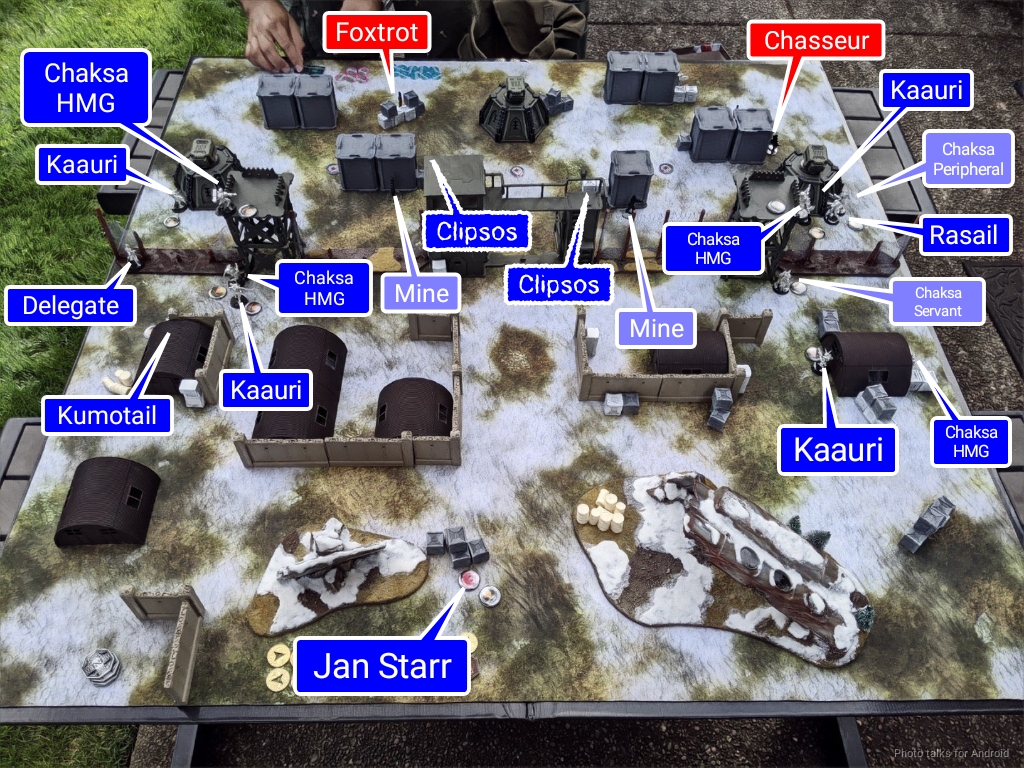
Adam had a lot of doubles, so he just mirrored his deployment around the player-to-player axis of the table. Not much subtlety in either of our deployments. He put the Foxtrot sniper in the middle, right were I would have to maximize the rangebands.
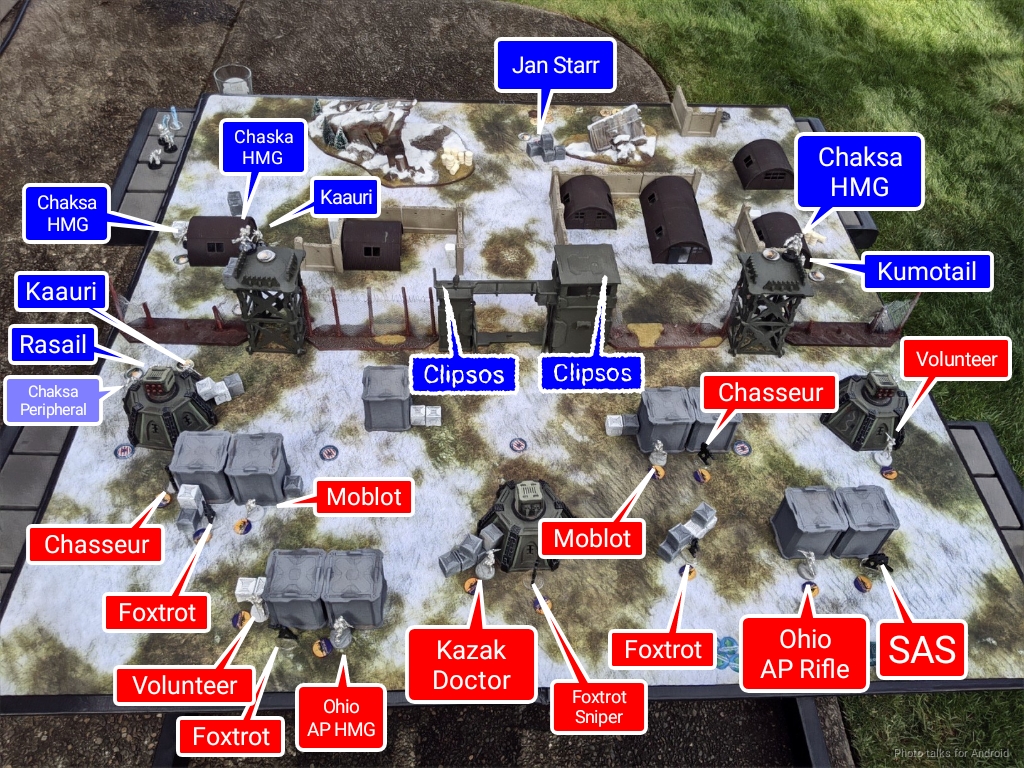
I stuck Jan Staar all the way in the back to lay some mines and basically stay out of the game.
Turn 1
Top of 1 – Tohaa
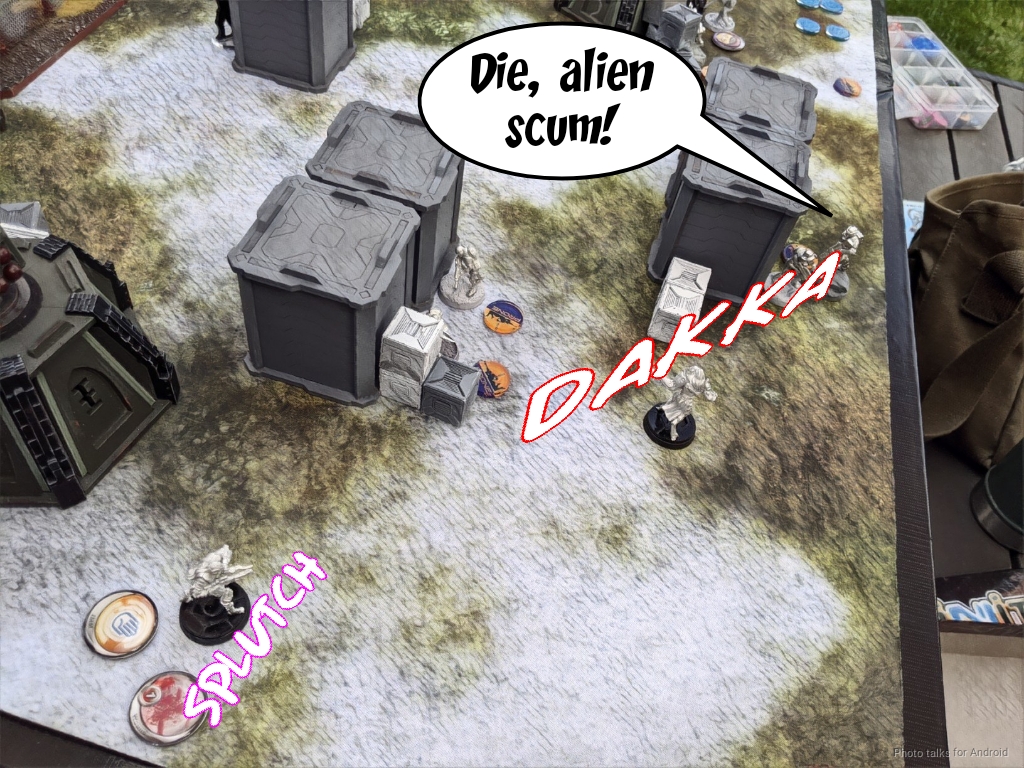
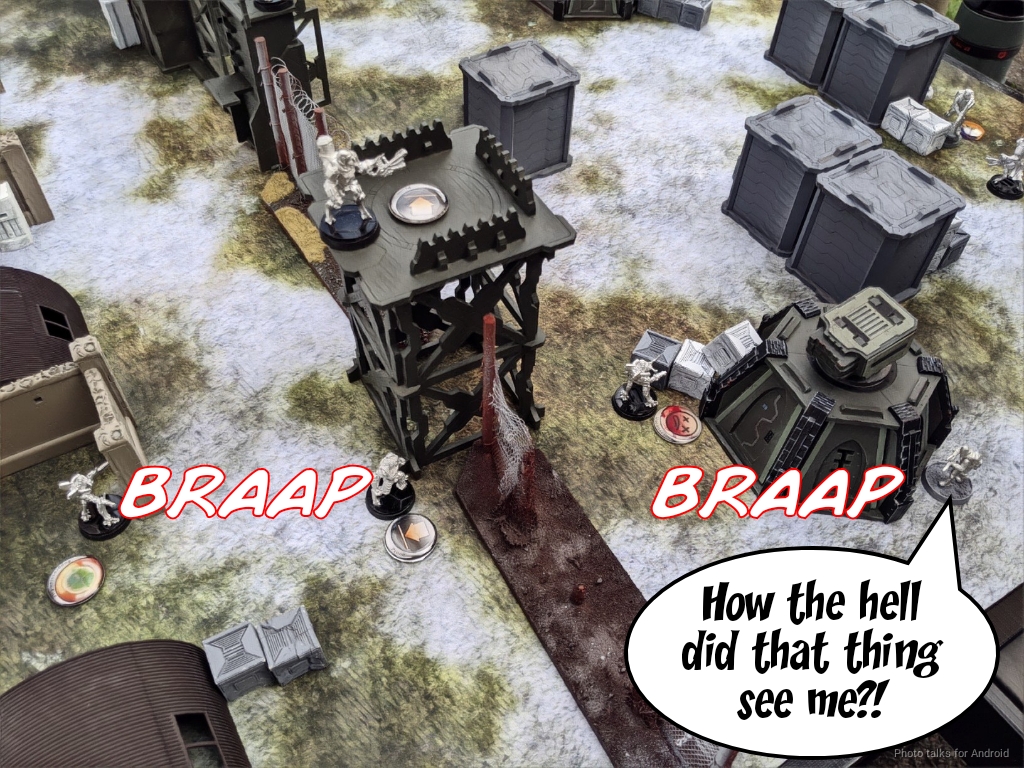
Adam docked two orders from my Rasail’s group, which makes sense. I decided that I would just start shooting stuff and not think too hard about it, so I revealed a Clipsos and started shooting, splitting burst against a Chain Rifle volunteer blocking the advancement of my Kauuri on the left. I could see the AP Marksman Ohio and a Mobolot along with the Volunteer, so I had to shoot at them too to deny normal rolls. Of course, thanks to range, TO, and Ariadnan armor, nothing happens at the Ohio and Moblot dodge and fail guts into total cover, respectively.
The Volunteer is not so lucky and another round of shooting takes it out.
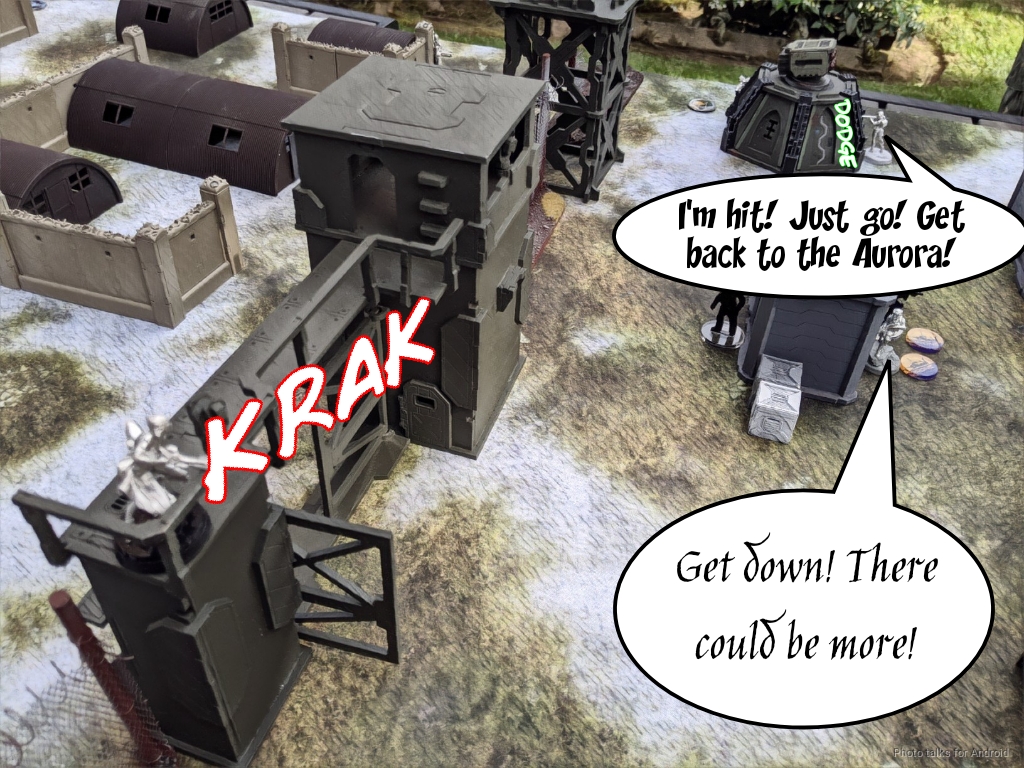
This frees the Kauuri to move, so I start making my way forward. Adam reveals his Foxtrot sniper and whiffs on a 20 against my failed dodge. Phew!
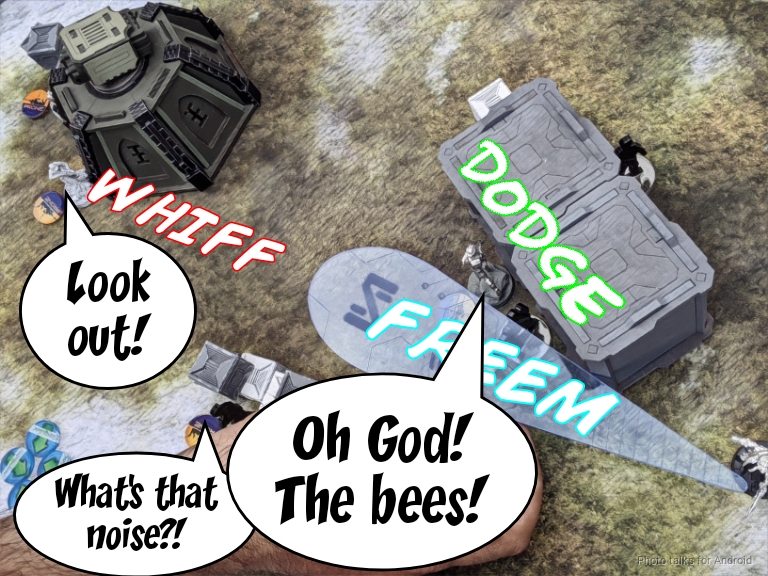
I keep pushing and manage to get a double Nanopulsar off on the Chassseur and Moblot. The Foxtrot snipers misses again, and everyone else dodges the Nano bees successfully–Nanopulsars are supposedly a swarm of flesh-eating nanites. I wish Tohaa still had Swarm grenades…
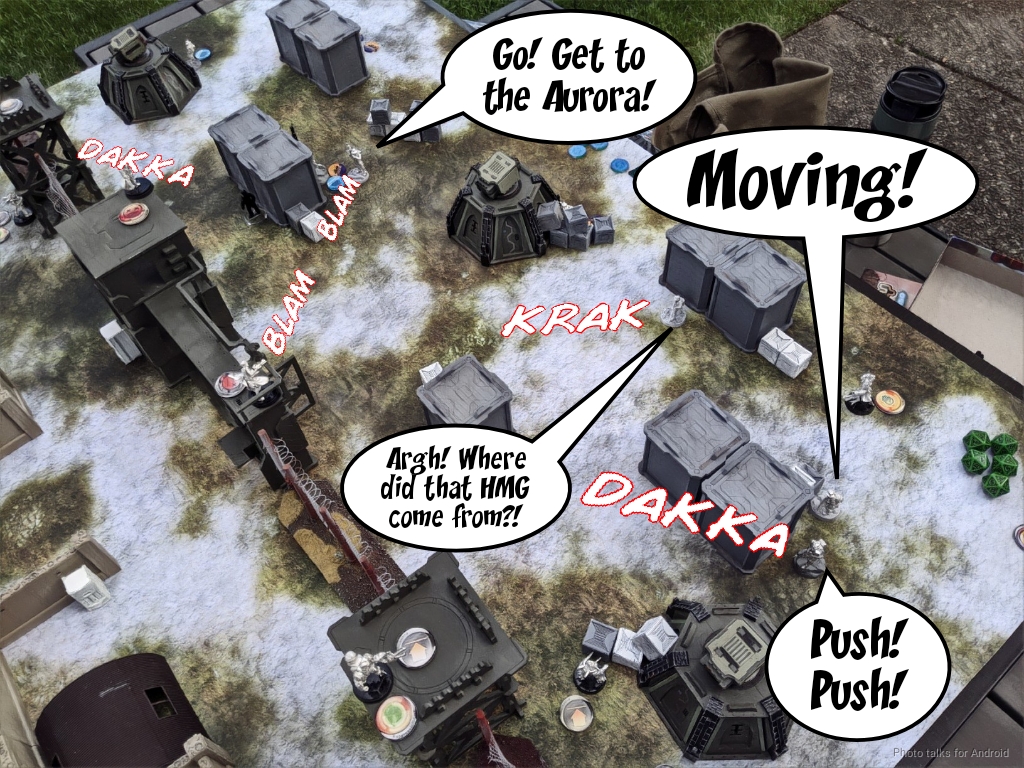
I get the Kauuri to cover and empty the SMG into the Moblot and Chasseur, taking out the Moblot. The Foxtrot sniper, having found his range, takes down the Kauuri finally.

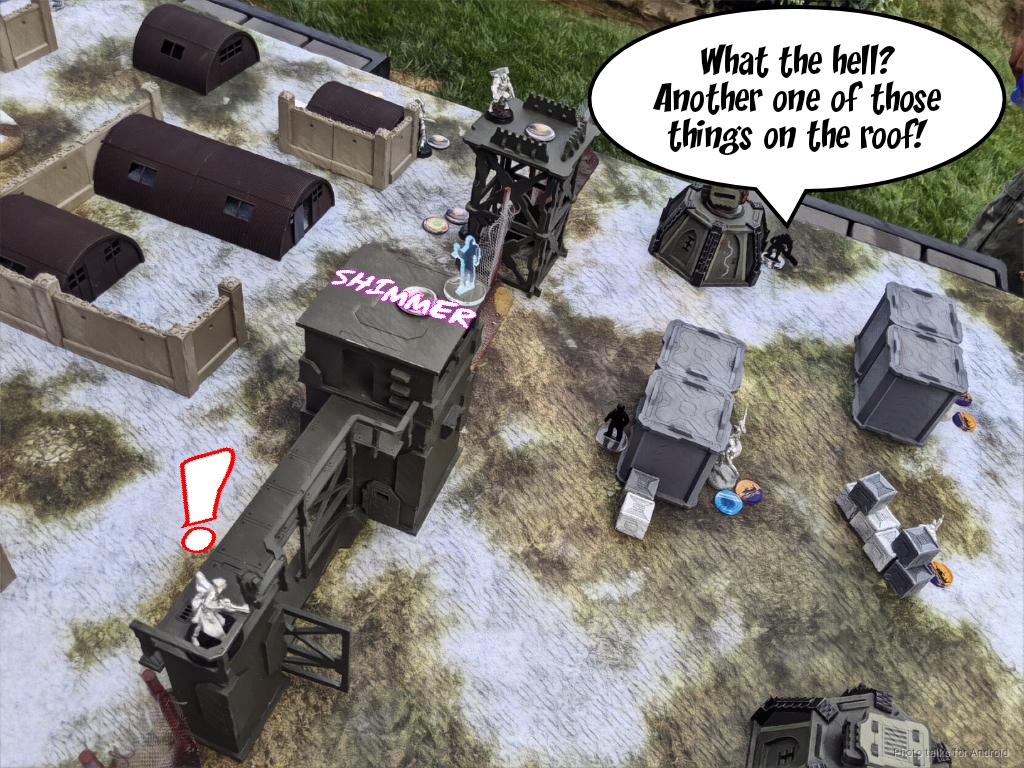
I use this time to shuffle my forces around, getting the Chaksa into position along with the surviving Kauuri before throwing some into suppression.
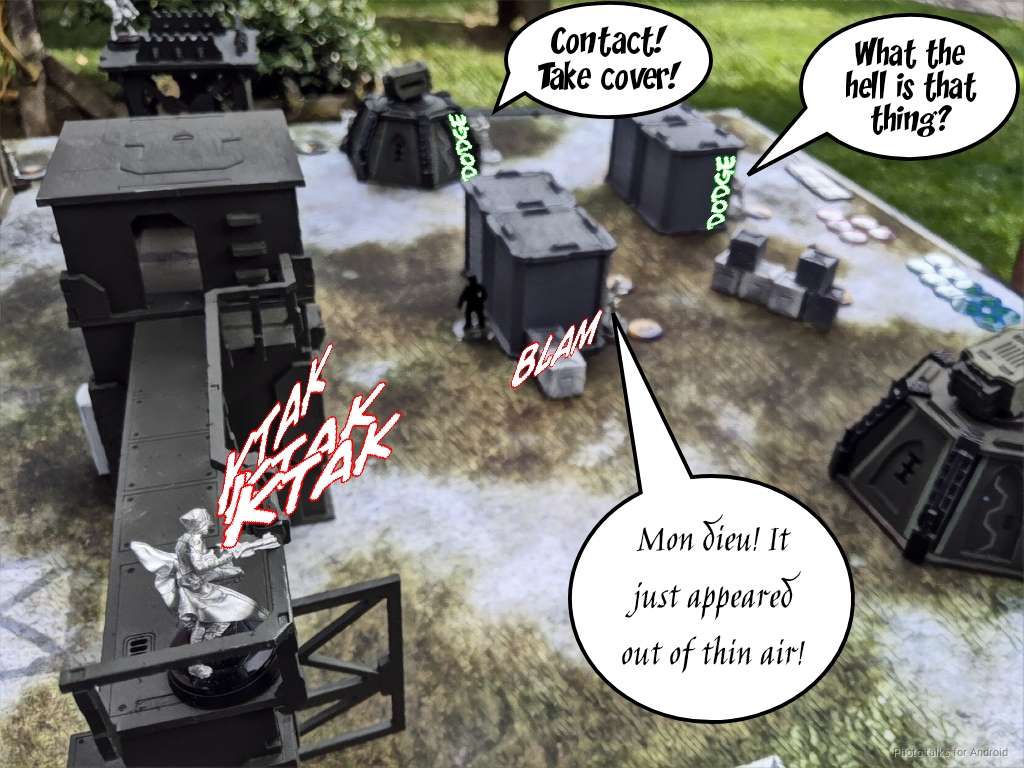
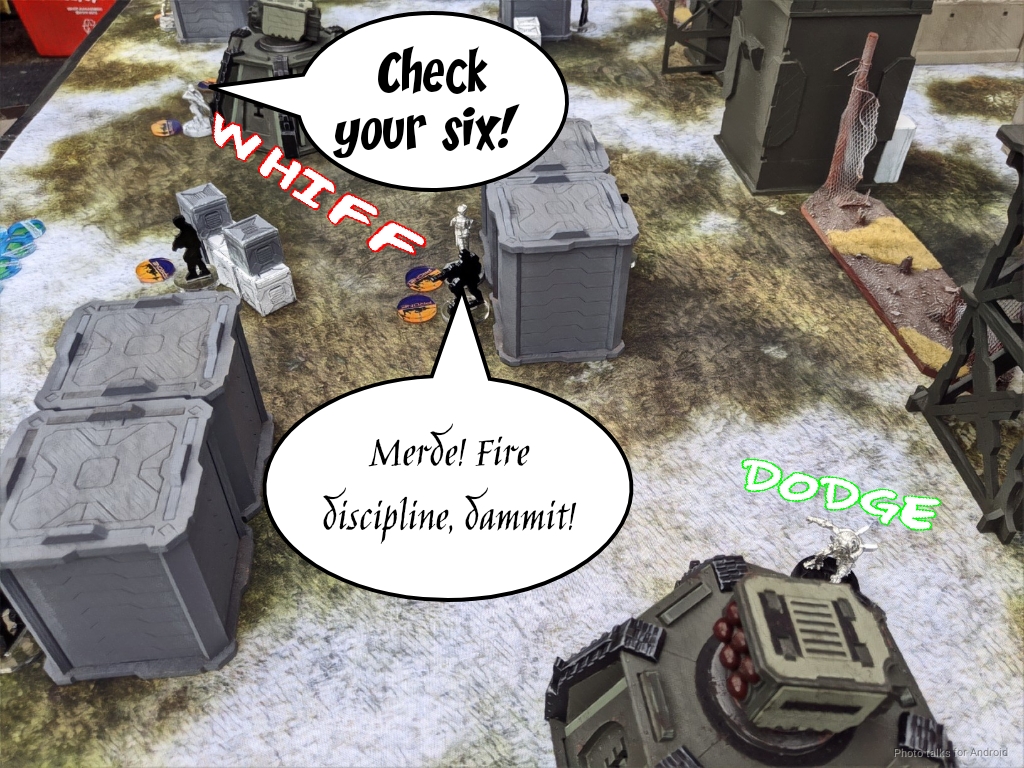
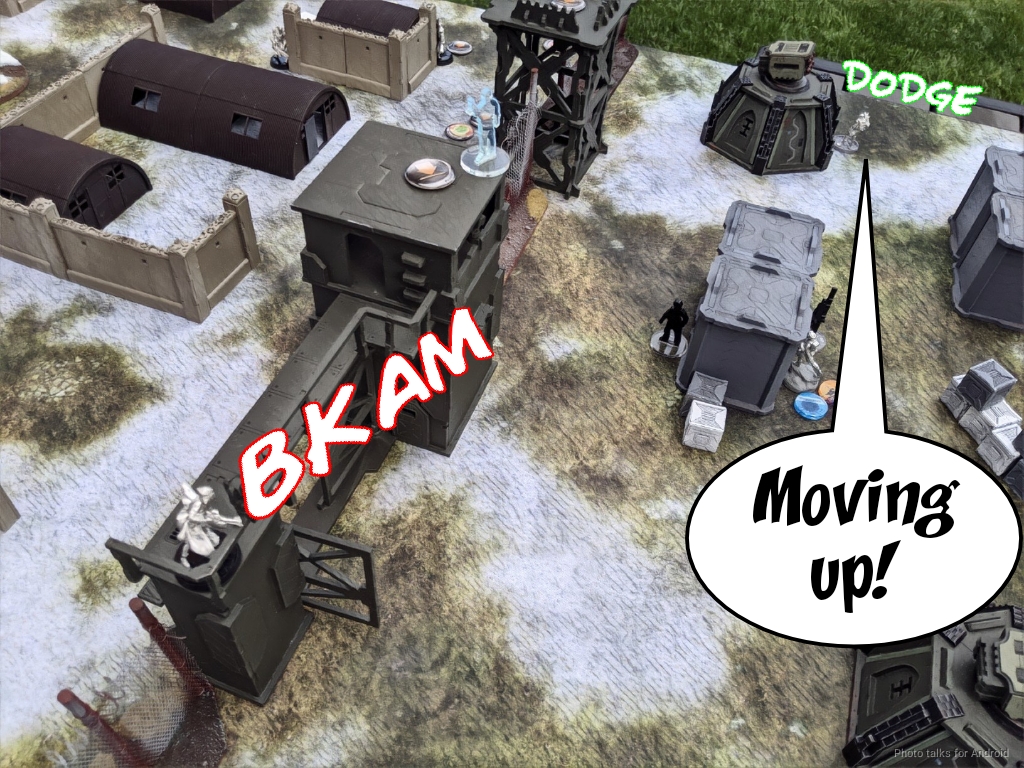
I’ve got an order and a lieutenant order to spend on the Rasail, so I send him with his Chaksa buddy and flamethrower a bunch of stuff. Adam’s Volunteer fails to chain rifle the Chaksa, but dies horribly to the Viral Rifle of the Rasail…
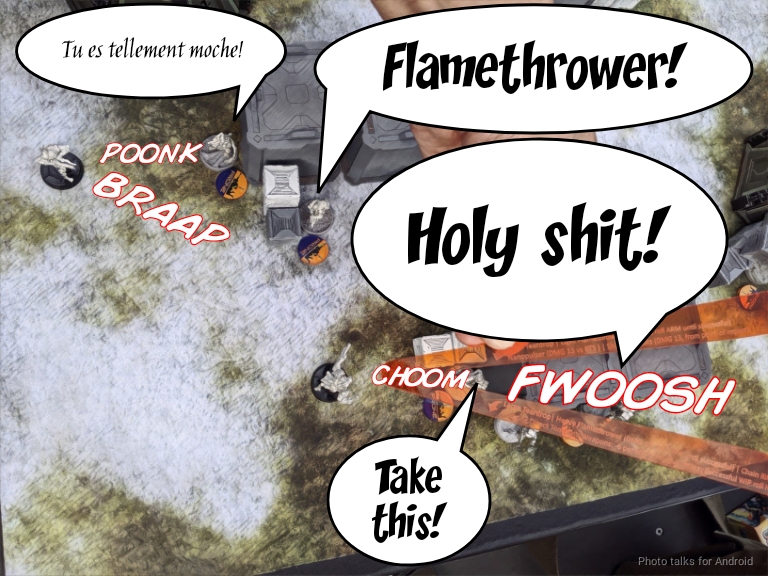
but Adam’s SSL2 Chasseur pops out of camo and successfully adhesives my Rasail. Booooooo. I send in a nearby Kaauri and shock her off the table.
With that, I’m done.
Bottom of 1 – Ariadna
Adam tries to take out my Kauuri and succeeds, but his Foxtrot sniper gets flash pulsed by my Diplomatic Delegate.
Adam can’t leave the Rasail alone, or I’m going to just shed Symbiont Armor and start shooting or get the Kumotail’s Chaksa Servant up there to fix it, so he spends his Lt order to try and take it out. It’s got 3 effective wounds though, and he only does one, so he moves on to other things.
His Chasseur takes down the Delegate so remove an ARO.
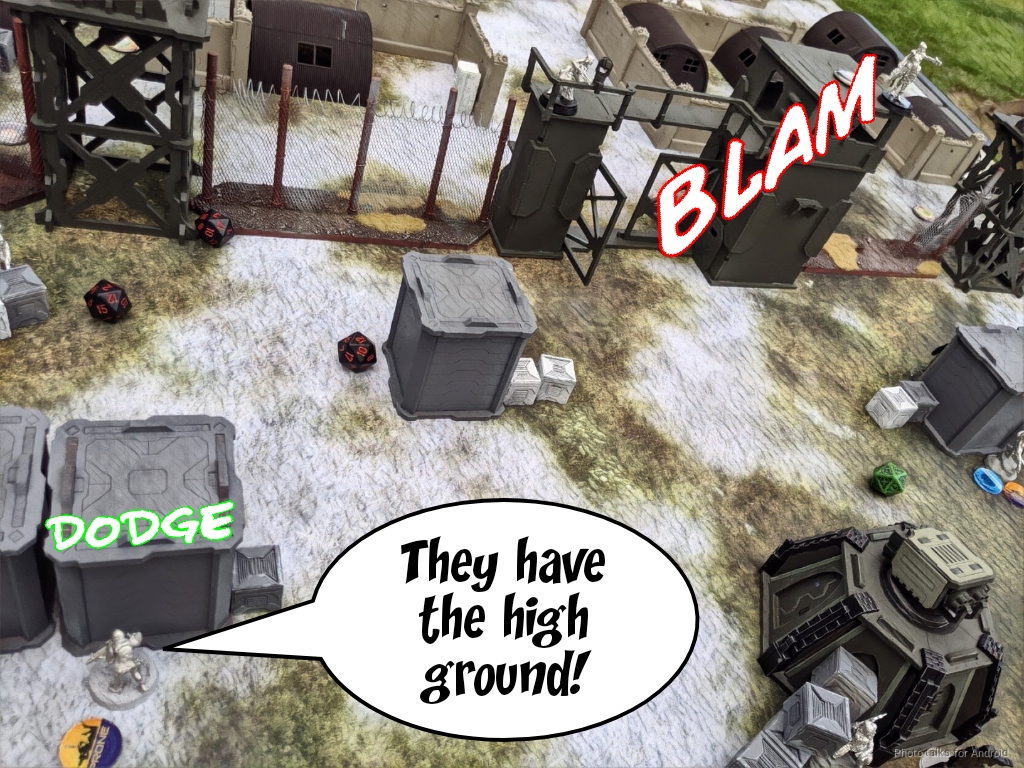
Then Adam tries to push a SAS CRAP through the hole that made. I discover with the revealed Clipsos and delay with the other one, revealing it as a token.
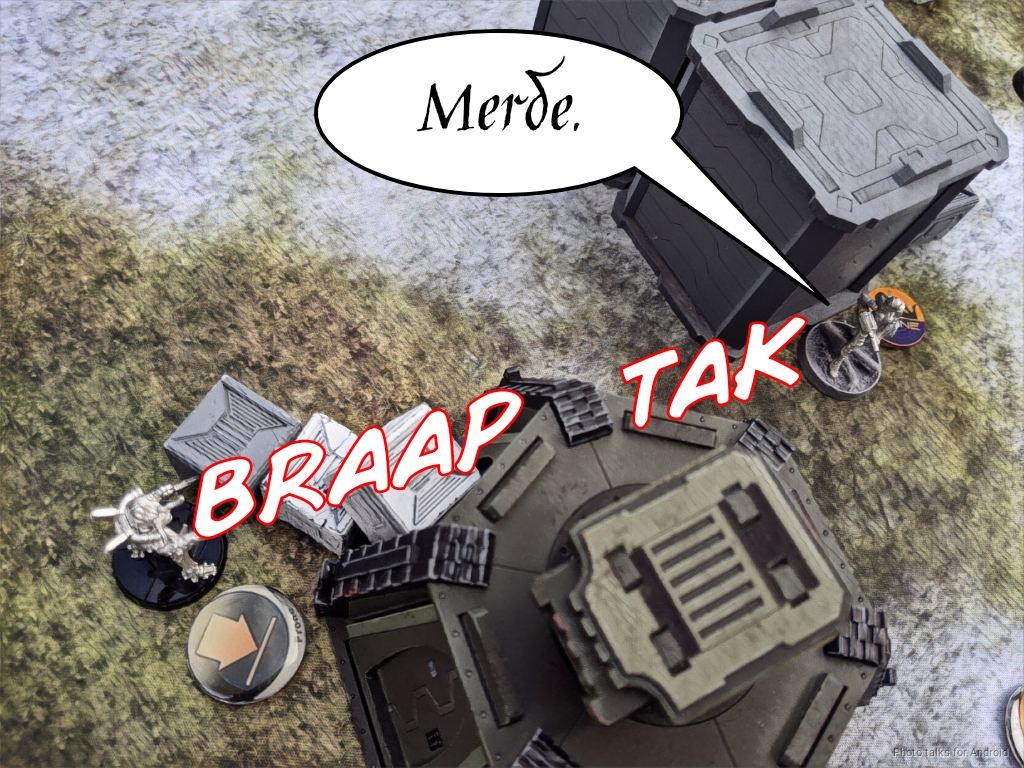
Adam returns his attention to the Rasail and does 3 more wounds with the Minuteman AP HMG, taking my Rasail off the table.
He keeps pushing with the Ohio, trying to HMG down my revealed Clipsos but fails.
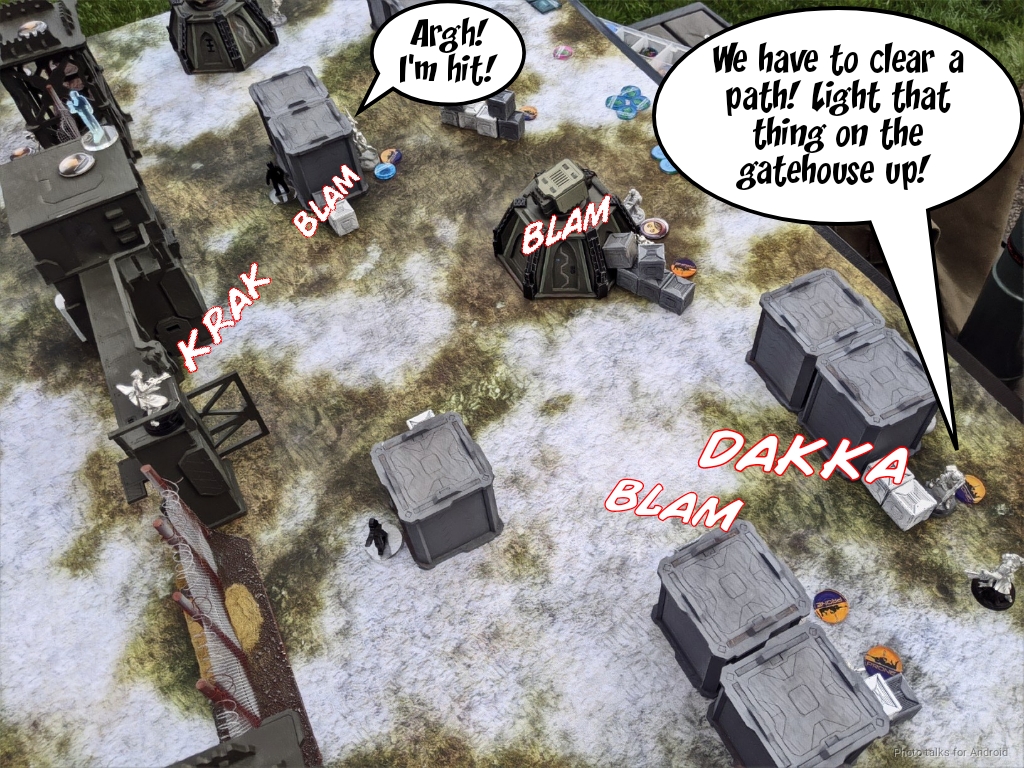
The SAS CRAP on the other side tries to assault pistol down my Kauuri to clear a hole on the right, but MSV1 and SSL2 turn that into a bad idea. The SAS CRAP survives, as does the Kauuri.
After coordinating a return to camo state, Adam passes turn.
Turn 2
Top of 2 – Tohaa
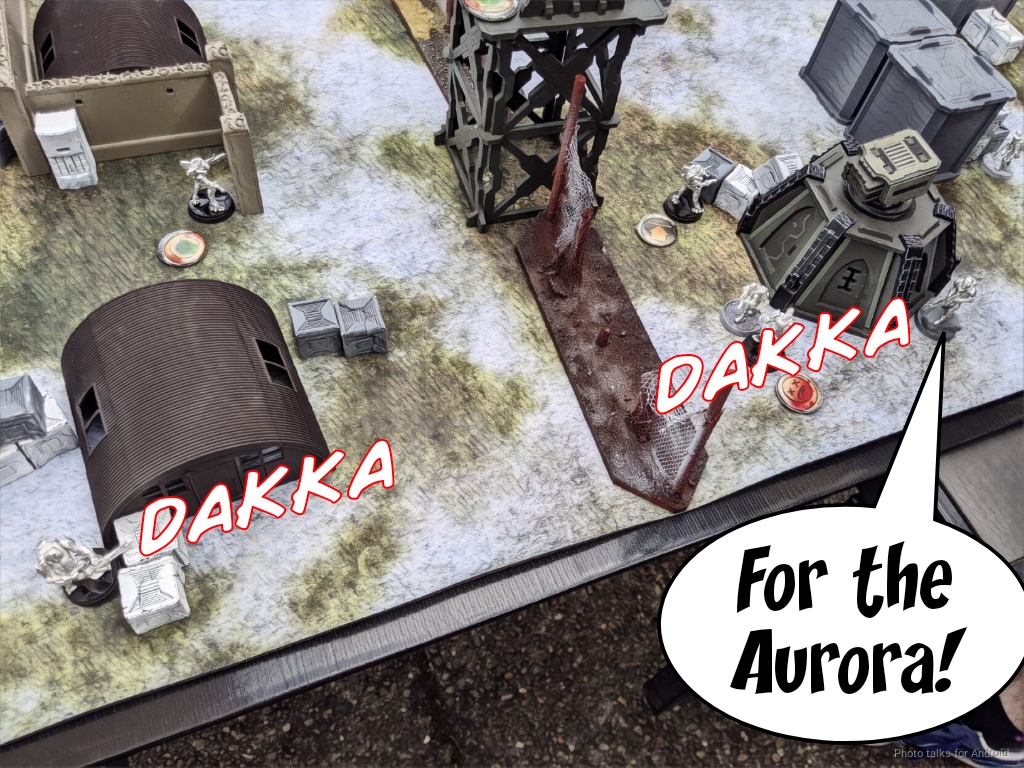
I’m in Loss of Lieutenant, which is basically a non-issue. I just need to keep AROing to keep Adam boxed into his deployment zone and I’ll win. I use the revealed Clipsos to take out the SAS CRAP on my left…
and the Moblot on my right back with the other Clipsos.
The rest of my orders are spent on picking up the downed Kauuri on the right, repositioning the two Chaksa on the ground, and throwing the two Chaksa on the towers on the roof into suppression.
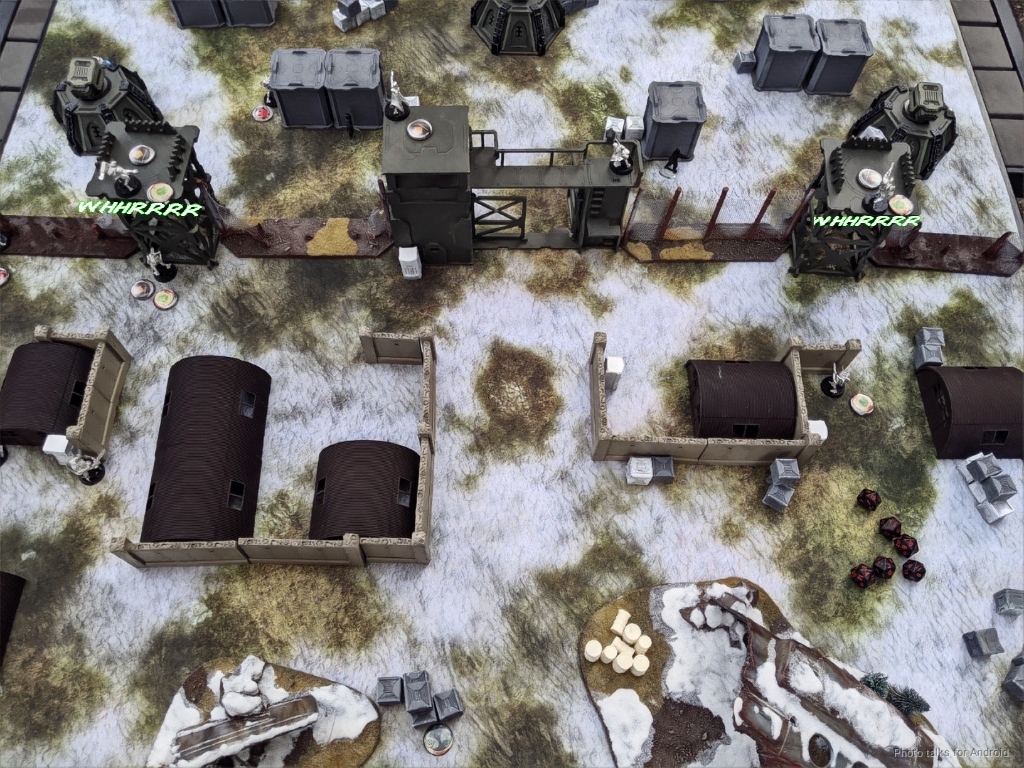
Jan Staar drops a mine for fun too. One interesting thing about the Chaksa–unlike normal TR bots, they’re burst 1 in the active turn, so when I move mine into view of Adam’s SAS CRAP on my right, who is in camo, Adam reveals it to take an Assault Pistol shot over 16″! I get hit, but pass the ARM save.
Bottom of 2 – Ariadna
Adam starts spending coordinated orders to take out the TO camo troopers. I decide to just shoot back and take the best shooting odds I can. Probably not more optimal than dodging, but it’s more fun! He takes out the one on the roof first…
then a new coordinated order takes out the other one. He does move his Foxtrot Sniper into the open on the second order and my Chaksa HMG on the left on the ground HMGs the sniper down.
Adam pushes the SAS on my right further forward, but between the two Kauuri and the Chaksa HMG, it doesn’t get far. The AP HMG Minuteman tries to clear the way, but loses the fight against my Chaksa.
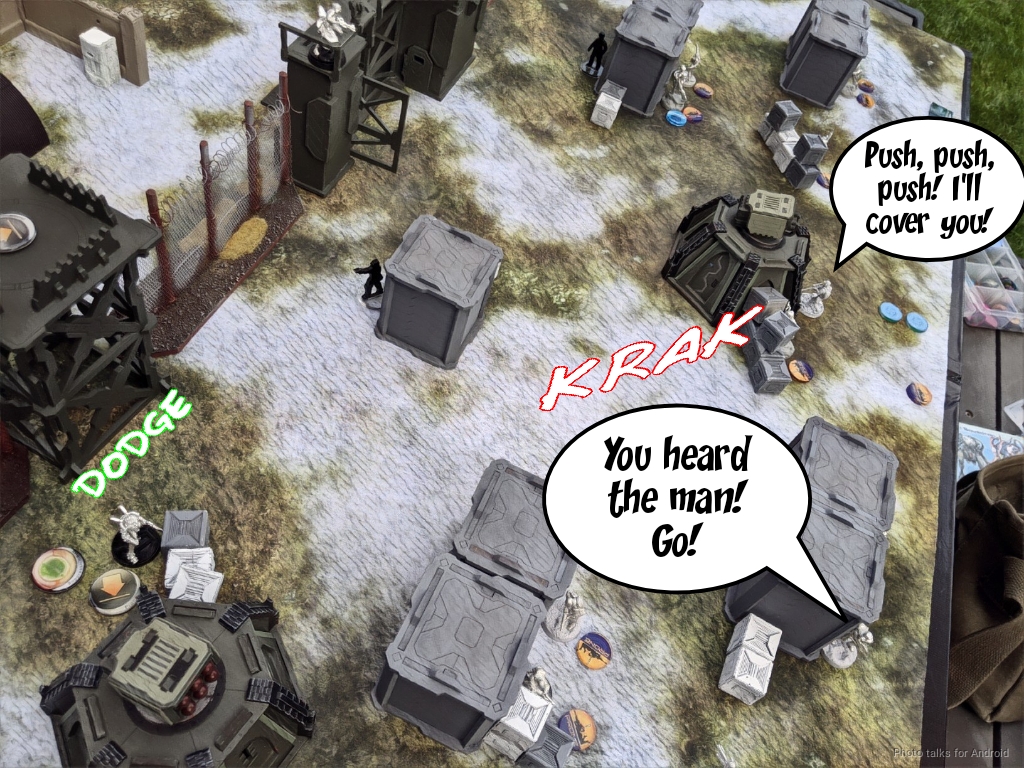
Adam throws a Foxtrot down the table edge, just move-moving past all my stuff while I whiff Discover rolls. I finally get a discover off and get to shoot the Foxtrot, but instead of trying to fight it, Adam just drops a cheeky mine.
Adam’s in dire straights, so he MediKits the Foxtrot Sniper and Moblot back up with his Kazak Doctor.
Turn 3
Top of 3 – Tohaa
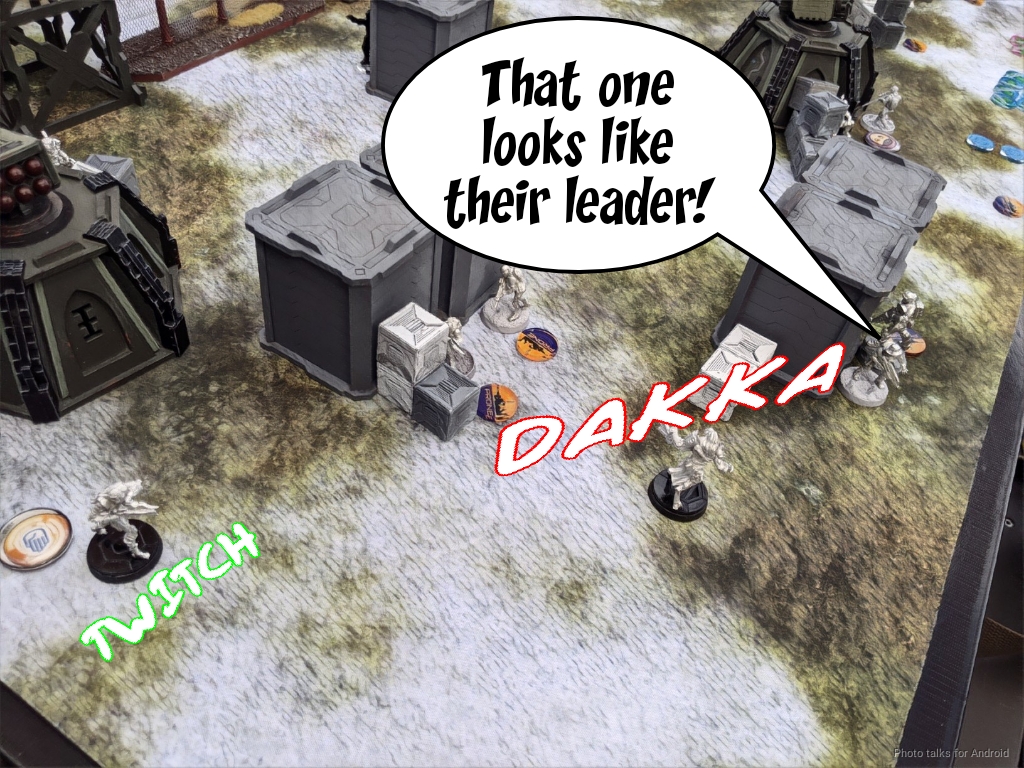
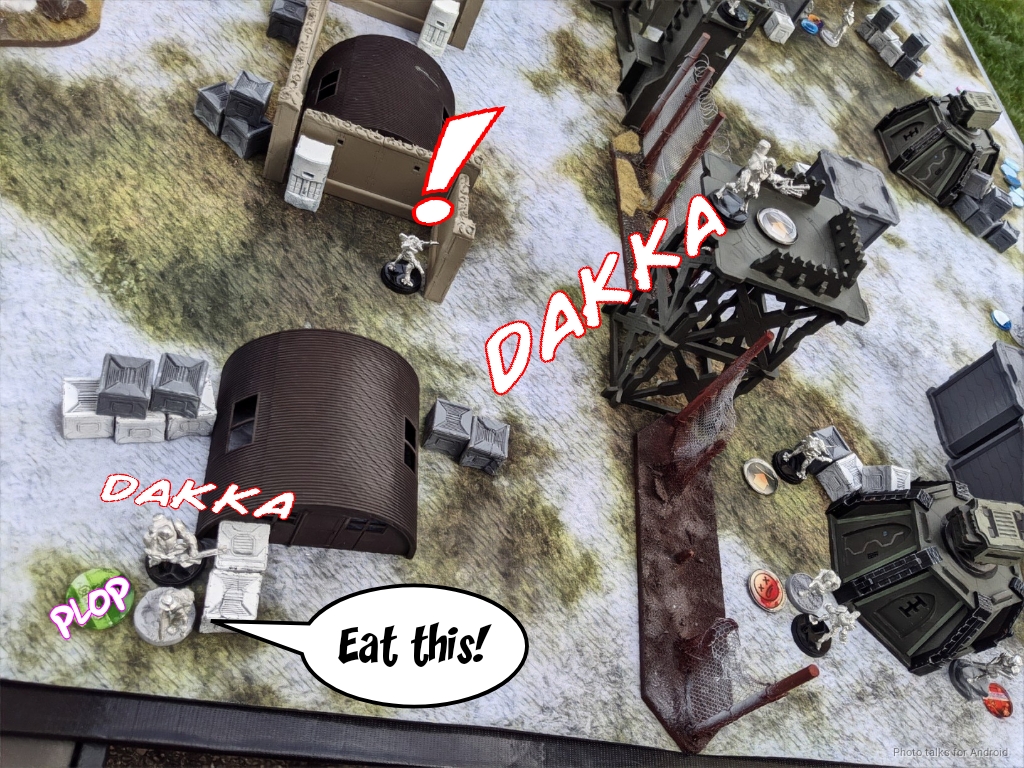
I just need to do some damage, so I rambo a Kauuri into Adam’s deployment zone. The Foxtrot sniper goes down first…
then an advanced Foxtrot on my left…
and then I nanopulsar the Kazak doctor off the table. The Doctor successfully shoots the Kauuri in its alien face and the Chasseur glues it there for posterity, but I’ve done enough damage.
I decide to attempt to dodge the Chaksa by the mine and succeed. Shockingly, they’re PH 12! Who knew.
I stand the Chaksa HMG on the towers up and push them into cover.
Bottom of 3 – Ariadna
Adam’s got no more orders, really, is in loss of lieuteant, and basically has no hope of getting past four HMGs and Jan Staar… so in true Ariadnan fashion, he just goes down shooting in defiance.

Tohaa Victory!
Post Game Analysis
Not a huge amount of learnings from this game, it’s pretty divergent from a traditional ITS game of Infinity. It was pretty freaking fun though! One interesting thing from this is that it forced me to take and use models that I generally either a) don’t take or b) take and don’t get to use. For example, I take Kaauri Sentinels, but they generally sit in the back and guard my deployment zone. It’s not every day that you can go on a rampage in the opponent’s deployment zone with an SMG-armed model that starts on your side of the table zone. To be able to do it 2-3 times with 2-3 different models…
So really, I think narrative games let you try out some profiles you might not ordinarily take and you get to use them. So in a normal ITS game, when that oddball scenario comes up, you’ll have some muscle memory with those units so you know what to do. It’s all about lowering decision fatigue! As far as the narrative scenario was concerned, it’s pretty unfair, by design. Adam called it “the first boss of a JRPG, where you’re meant to get beat up,” and I think he’s right. It’s nice to just the desire to be competitive go, focus on the short term decisions and narrative outcomes, and just have fun. So, if you’ve got the time, and a copy of Campaign: Paradiso, follow along with us as we play through the campaign!