
A Game of Inches
Tim (Chainsaw) asked for a game, since the league he’s in is on a two-week cadence to account for the holidays. I offered to practice the upcoming mission with him, but he just wanted a random mission and wanted to play Invincible Army instead of JSA to try something new. I’m trying to stay with Tohaa for a few more games, so I stuck with them. The rest of The Dice Abide crew chose Mindwipe as our mission.
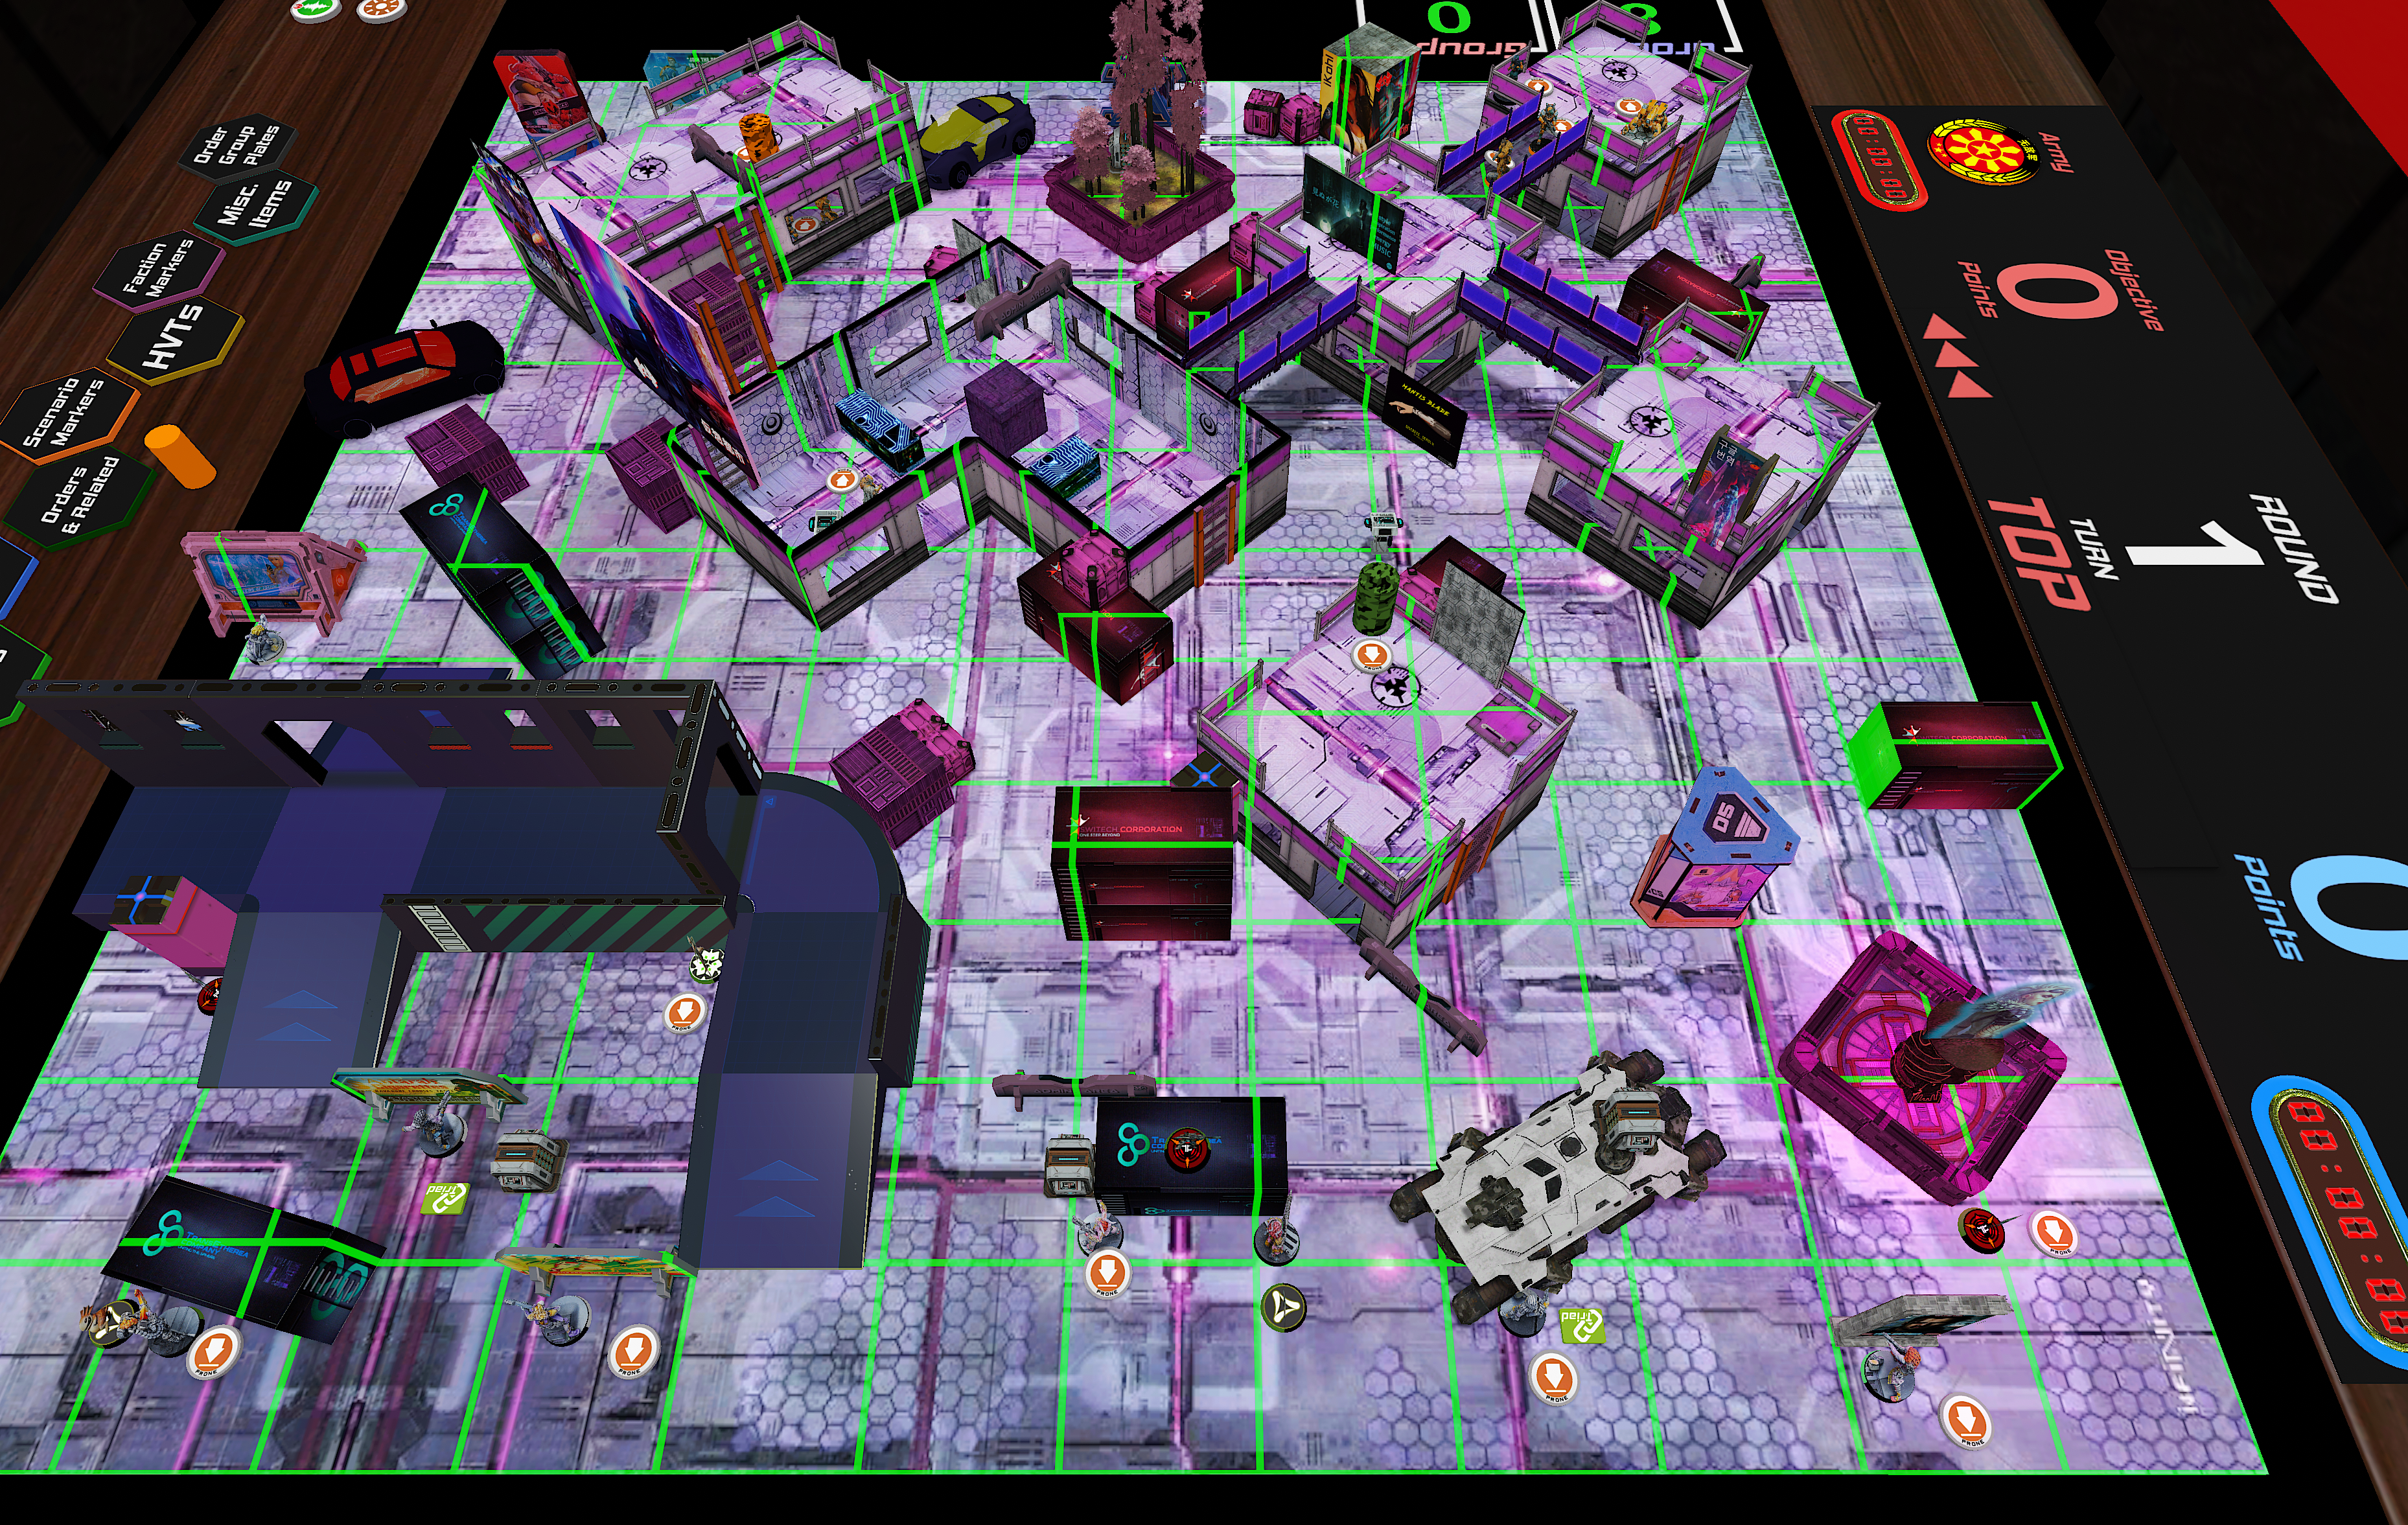
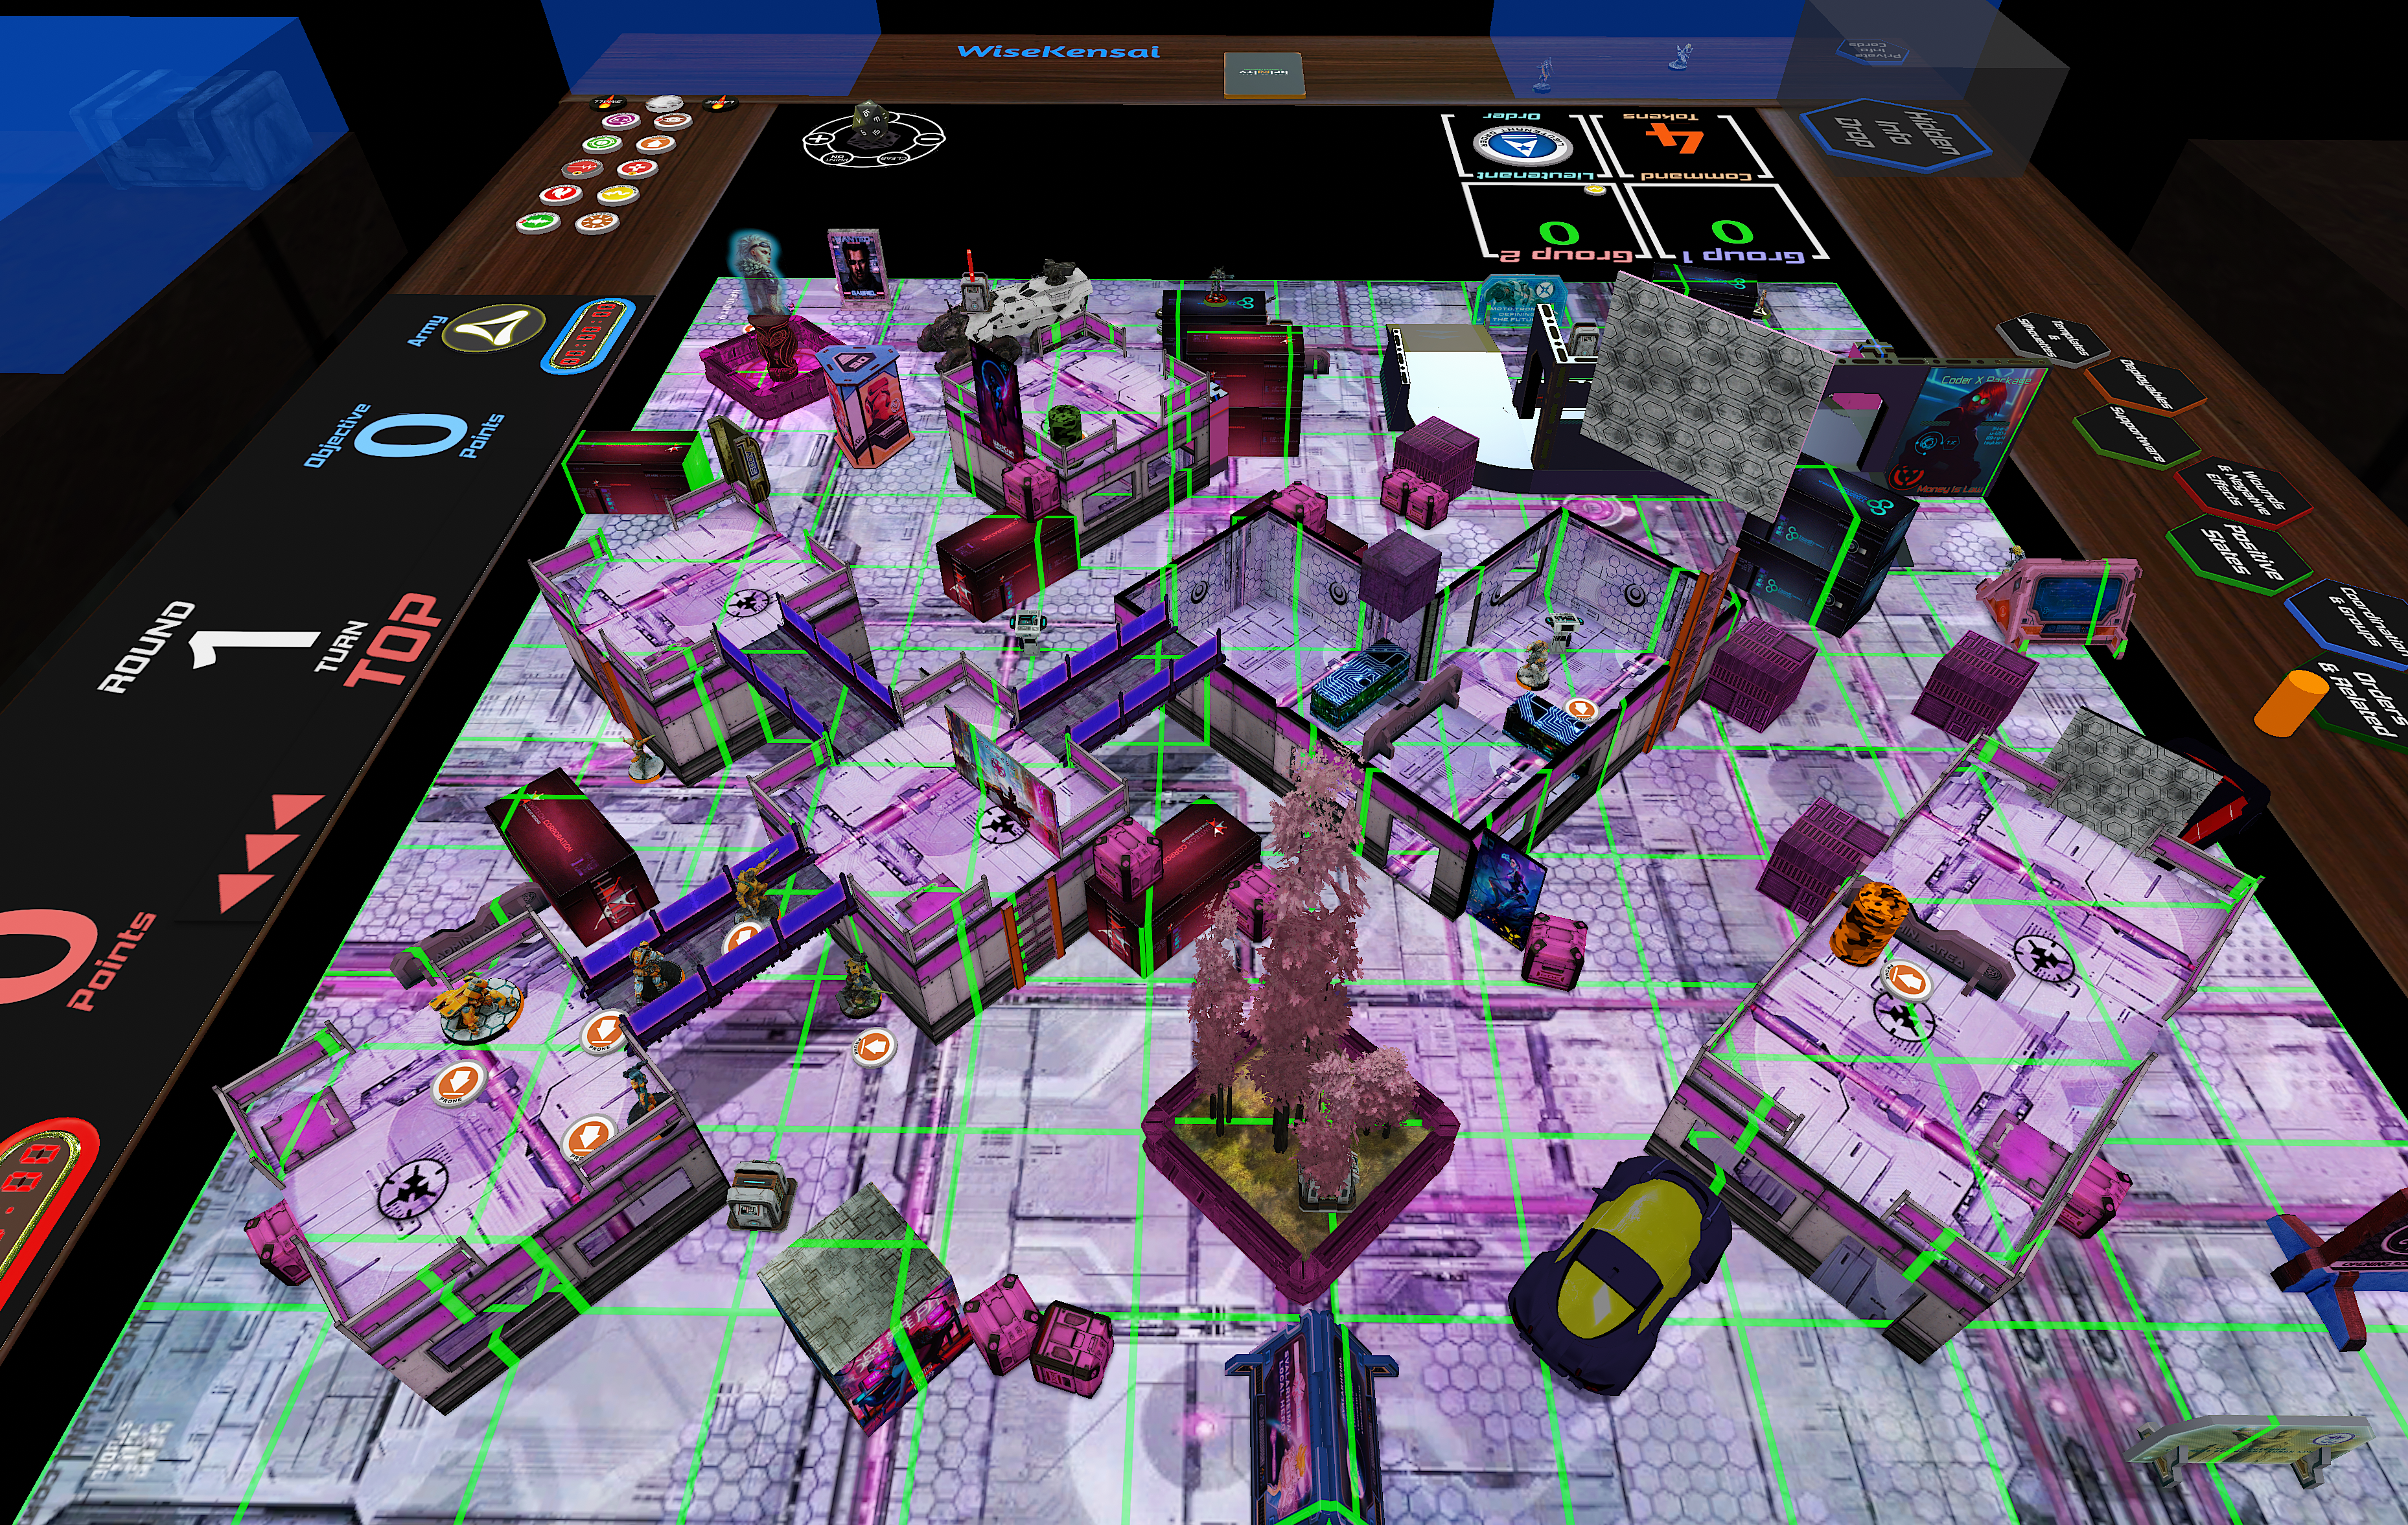
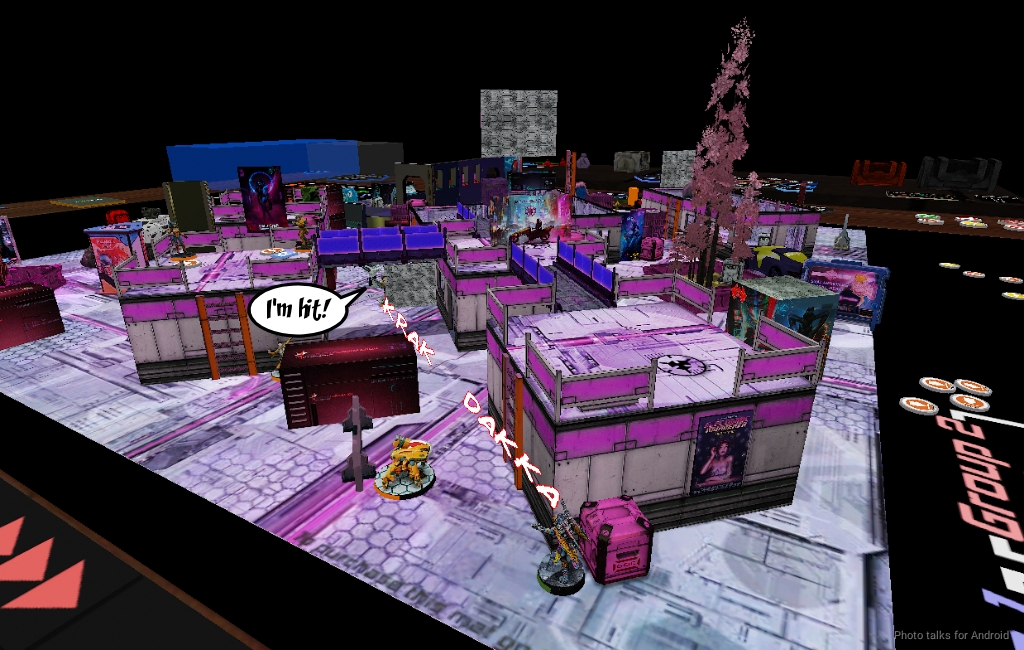
We played on this very purple map. Not sure what’s with the predominance of purple in the map packs. Maybe it’s luck of the draw so far. If you want to follow along, here’s the video recording:
Overview
- Mission: Mindwipe
- Forces: Tohaa versus Invincible Army (300)
- Deploy First: Invincible Army
- First Turn: Invincible Army
I took this list, which I think needs some serious work. It’s on paper fine, but a lot of the stuff that can threaten the servers starts in my deployment zone with the exception of the Igao. Not generally a dealbreaker, but definitely something you have to address on the table by spending orders moving those pieces up.
Mindwipe
GROUP 1

8
2
NEEMA (Lieutenant [+1 Command Token]) Spitfire, Nanopulser / Viral Pistol, Shock CC Weapon. (1.5 | 42)
SAKIEL (Forward Observer) Combi Rifle, E/M Grenades, Flash Pulse, D-Charges / Pistol, CC Weapon. (0 | 18)
MAKAUL Heavy Flamethrower, Contender, Eclipse Grenades / Pistol, DA CC Weapon. (0 | 13)
SUKEUL Heavy Machine Gun, D-Charges / Pistol, Breaker Pistol(+1B), CC Weapon. (1.5 | 34)
KRIIGEL Submachine Gun, Phero-Booster, Pheroware Tactics: Eraser, Pheroware Tactics: Mirrorball / Viral Pistol, CC Weapon. (0 | 25)
GROUP 2
KAELTAR (Chain of Command) Light Shotgun, Flash Pulse, SymbioBomb ( | SymbioMate) / Pistol, PARA CC Weapon(-3). (0.5 | 21)
CLIPSOS (Forward Observer) Combi Rifle, Flash Pulse, Shock Mines / Pistol, CC Weapon. (0 | 25)
1
IGAO Combi Rifle, Nanopulser, Pheroware Tactics: Mirrorball / Pistol, DA CC Weapon. (0.5 | 28)
GAO-TARSOS Spitfire / Pistol, CC Weapon. (1.5 | 35)
KAAURI Sentinel Sniper Rifle / Pistol, PARA CC Weapon(-6). (0.5 | 17)
DIPLOMATIC (CC Attack [-3], Specialist Operative]) Nanopulser, Flash Pulse, Pheroware Tactics: Eraser / Pistol, CC Weapon. (0 | 5)
6 SWC | 300 Points | Open in Infinity Army
I think I had all the tools to succeed though, I just needed to be careful with my order expenditure. I really like a single Clipsos FO + Gao-Tarsos as a combo, which gives me a lot of flexibility in the rest of my list. I do think that I need to think about more impersonators though.
Mindwipe
DĀOYĪNG (Lieutenant [+1 Order], Hacker, Hacking Device) Boarding Shotgun ( ) / Breaker Pistol, CC Weapon. (0 | 30)
ZÚYǑNG (Tactical Awareness) Heavy Machine Gun / CC Weapon, Breaker Pistol(+1B). (1.5 | 37)
HǍIDÀO (Hacker, Killer Hacking Device) Boarding Shotgun ( ) / Breaker Pistol, CC Weapon. (0 | 24)
ZHĒNCHÁ (Hacker, Hacking Device) Boarding Shotgun ( ) / Pistol, CC Weapon. (0.5 | 41)
HÚLÁNG FTO (Fireteam: Duo) MULTI Rifle, Light Flamethrower, D-Charges / Pistol, Monofilament CC Weapon. (0 | 39)
KOKRAM FTO MULTI Rifle(+1 Dam), Chain-colt, D-Charges / Heavy Pistol(+1B), CC Weapon. (0 | 36)
ZHANSHI (Paramedic) Combi Rifle ( | MediKit) / Pistol, CC Weapon. (0 | 13)
SON-BAE Yaókòng Missile Launcher / PARA CC Weapon(-3). (1.5 | 16)
Tim took a pile of gross IA nonsense. Lots of really great tools, lots of ways to attack the problem, but he did have a similar problem in most of his tools except the Zencha starting in his deployment zone. Makes me want to play IA!
Deployment
Tim put the 5-model link on the left with most of them on the rooftops, clearly signaling his intent to take shots on things with his Haidao. The Zuyong Haris sat on the ground floor inside the building, with the Daoying on the top.
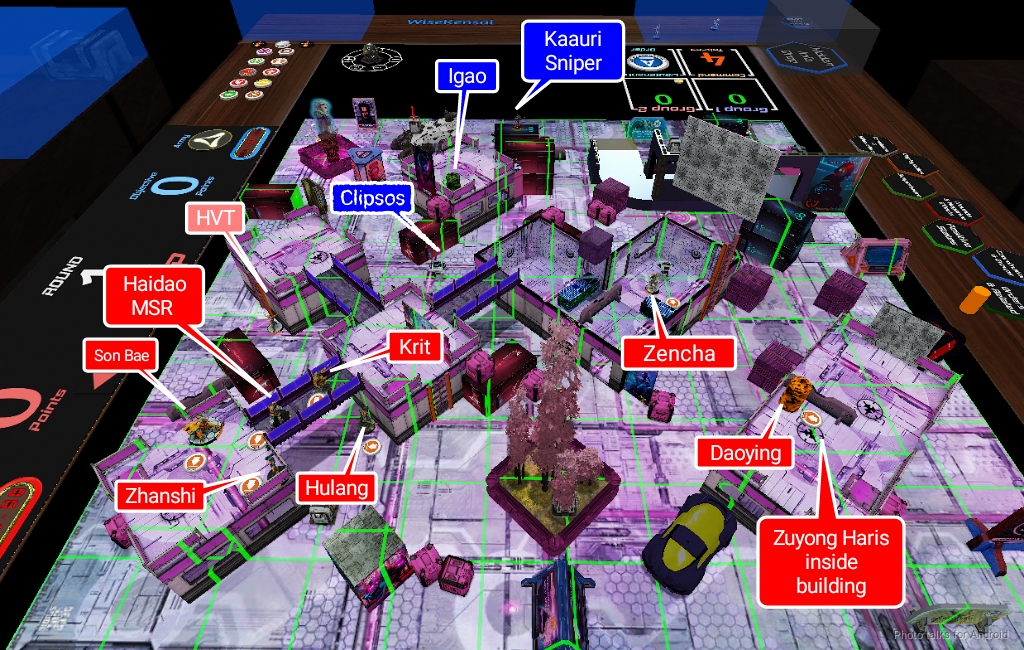
I defended the left server with Neema’s Triad, the Diplomat, and a Kaauri. The right serverwas defended by the Sukeul’s Triad and another Kaauri, and the center server was defended by the Kaeltar. It looked like Tim was going to go after the console on my left, so I put the Clipsos on the right and defended it with the Igao on a roof. I feel like it’s always a mistake to put an Igao on the roof, but what’re you gonna do. I figured there’d be a bunch of AROs on the console on the right, so I might have to Mirrorball it. Putting it in the center building might’ve been better.
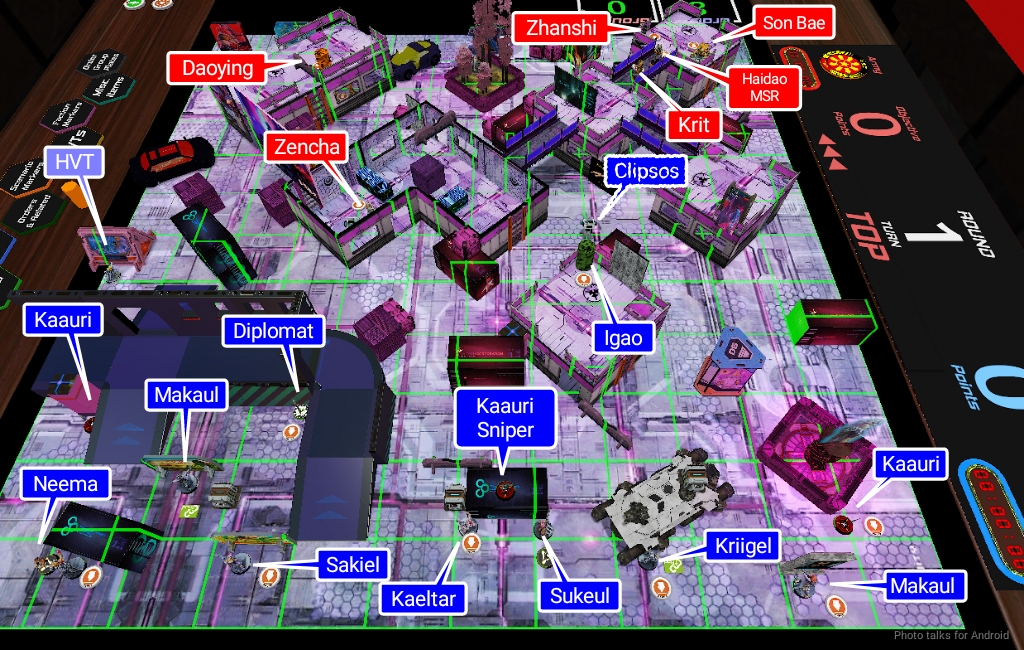
Tim places I believe the Zencha out of reserve, and I force it to stay prone by putting a Kaauri sniper down watching it.
Turn 1
Top of 1 – IA
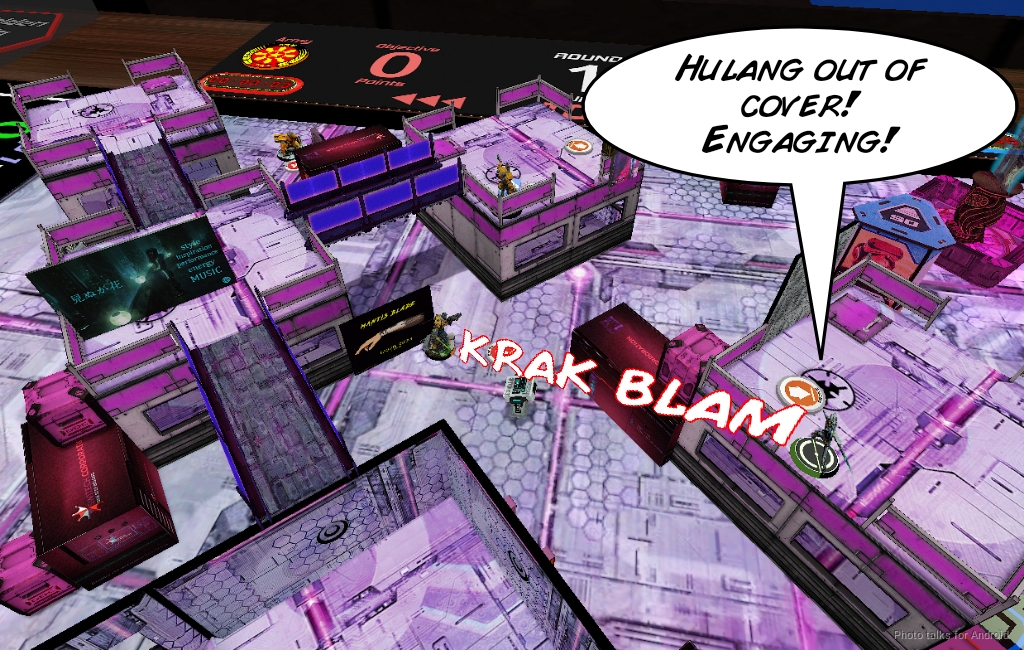
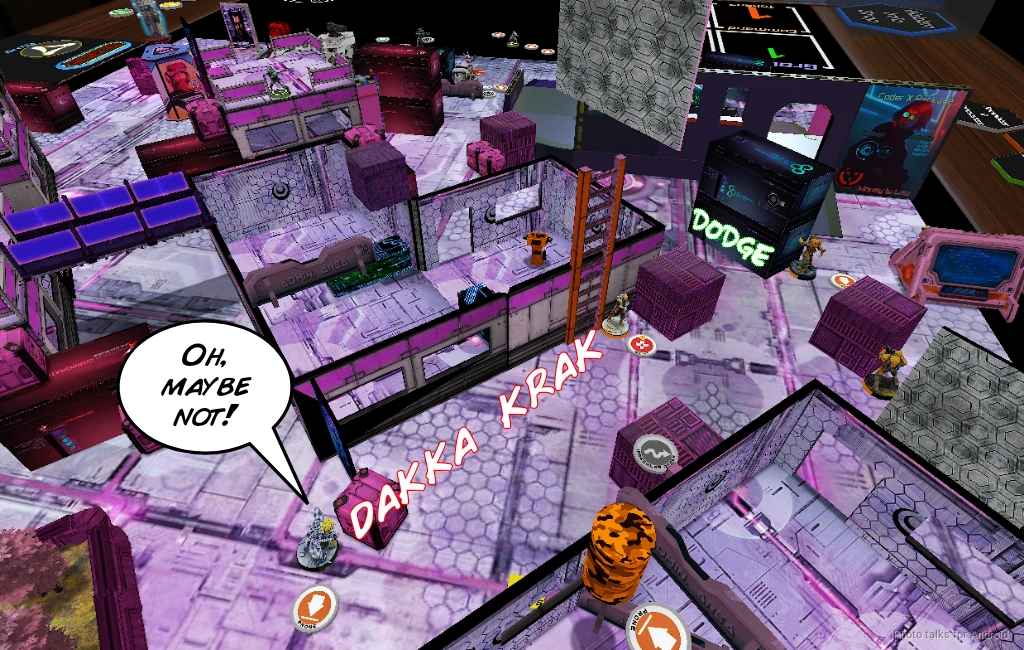
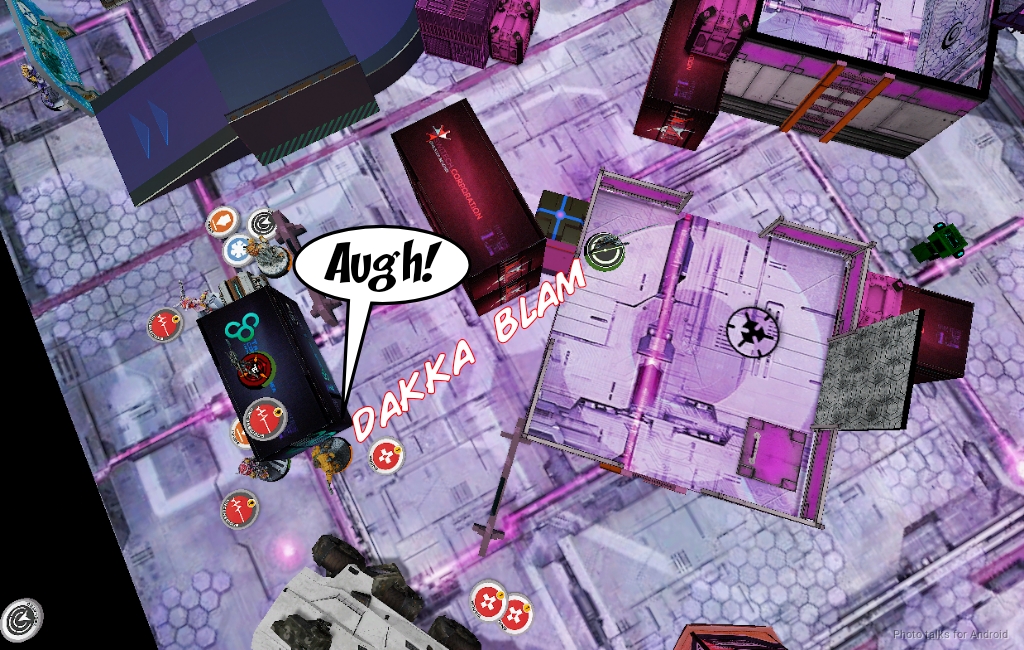
After beep-booping the console with the Zencha, Tim runs the 5-model link forward and gets a shot on a Makaul that I didn’t see. I flub the eclipse smoke but tank the DA rounds and go prone.
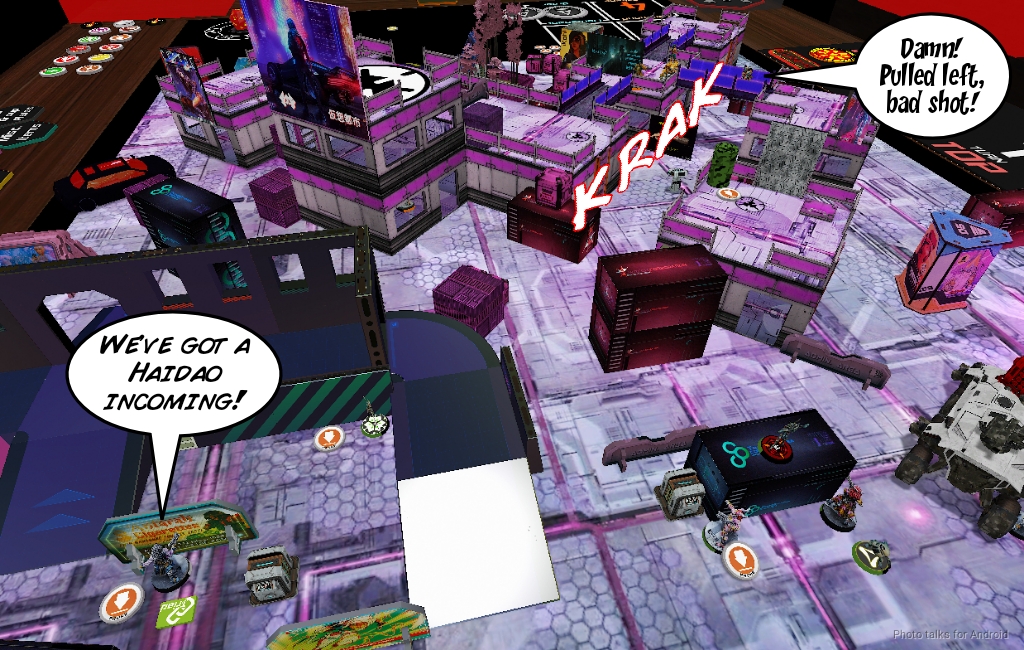
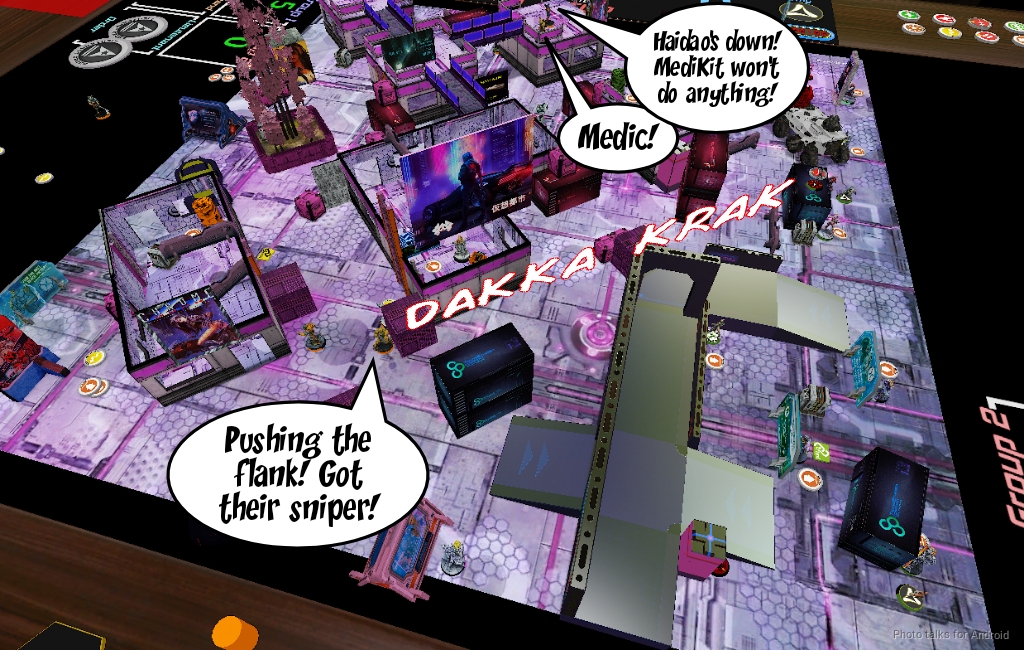
The Haidao then tries to take out the Sukeul, but gets crit by her HMG and fails both saves.
On the other side of the table, the Zuyong HMG advances and guns down the Kaauri sniper. Not great, but hey, that’s what the sniper is for.
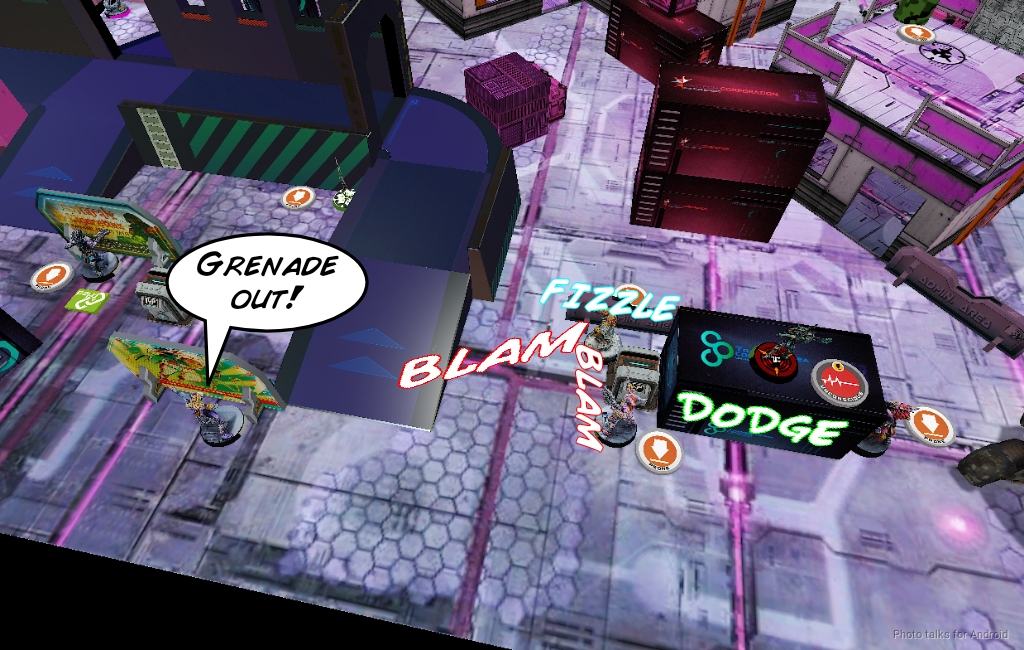
With the sniper down, Tim runs the Zencha forward until he gets into view of my stuff and then goes prone. He strips the ‘mate by shooting at the Kaeltar and the Sukeul. I dodge the first shot from the shotgun with the Kaeltar and the Sukuel gets hit. I tank the shot and fail guns around the corner.
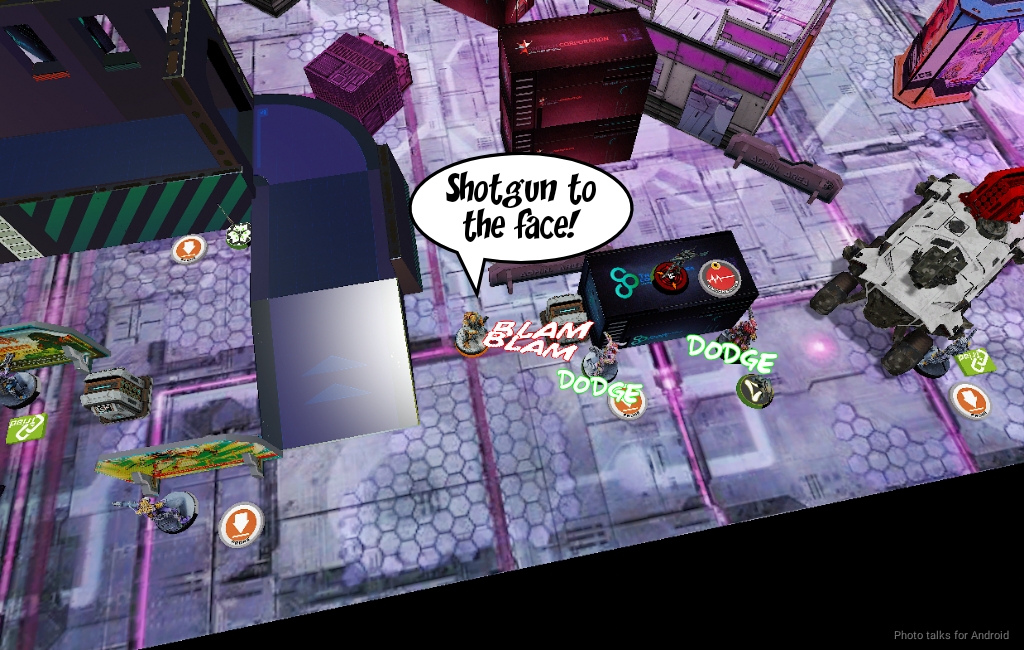
The Zencha keeps pushing and tries to shotgun down the Kaeltar, who keeps dodging. The Sakiel is in range to dodge though, so he does that.

The last order on the Zencha sees it get E/M grenaded by the Sakiel, but it does take down the Kaeltar.
Tim reforms the 5-model link with just Krit, the Zhanshi Paramedic, and the Hulang.
Bottom of 1 – Tohaa
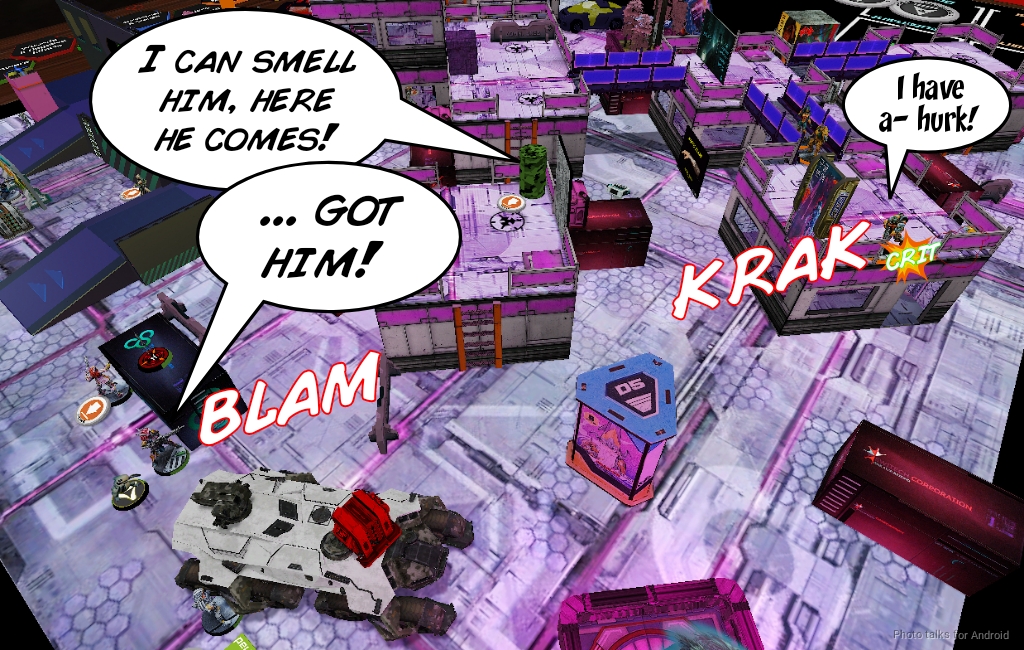
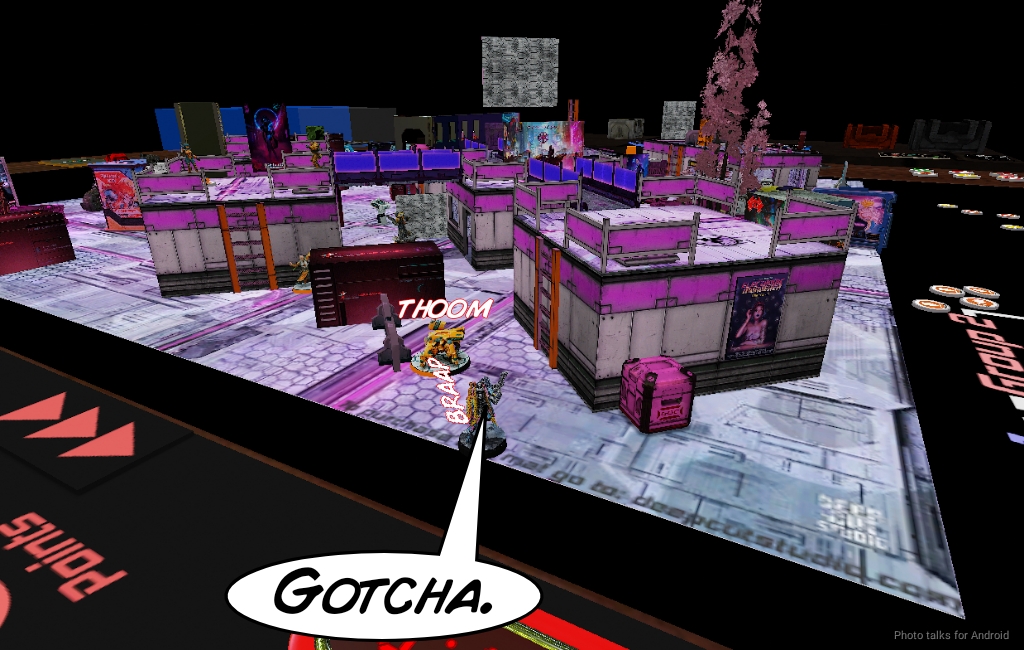
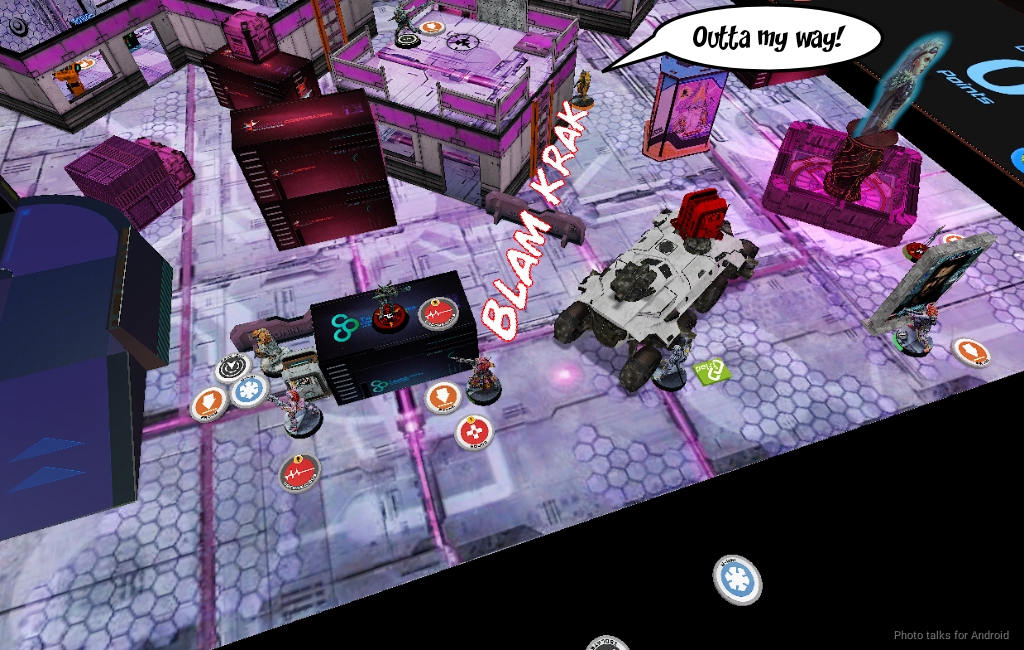
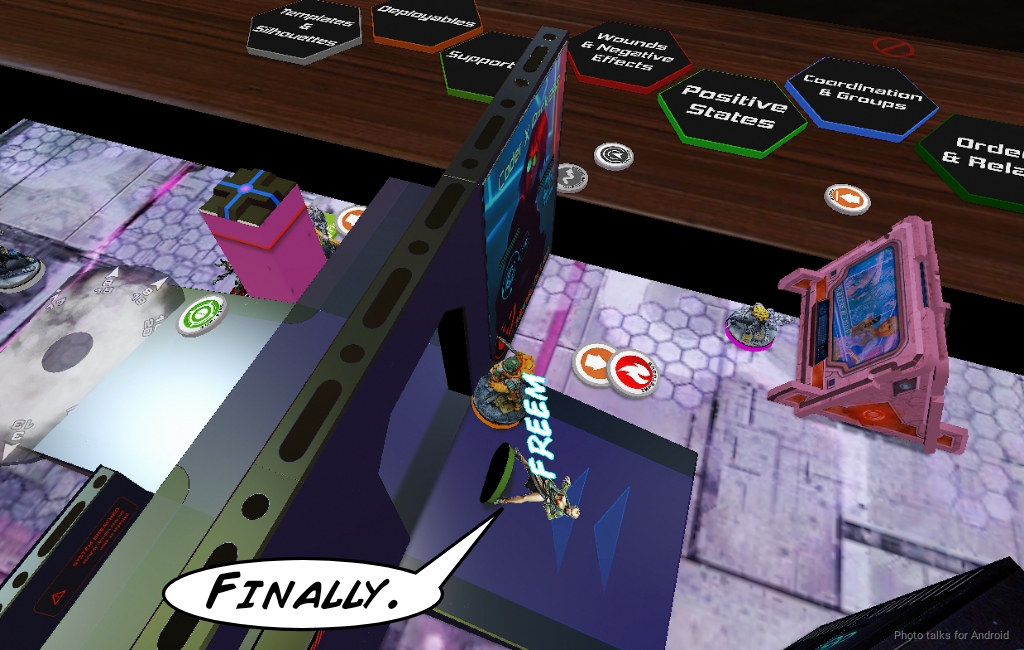
Tim’s left a hole for me to walk on behind the Son-Bae missile bot, so I do that. It manages to dodge, but can’t get into base to base.
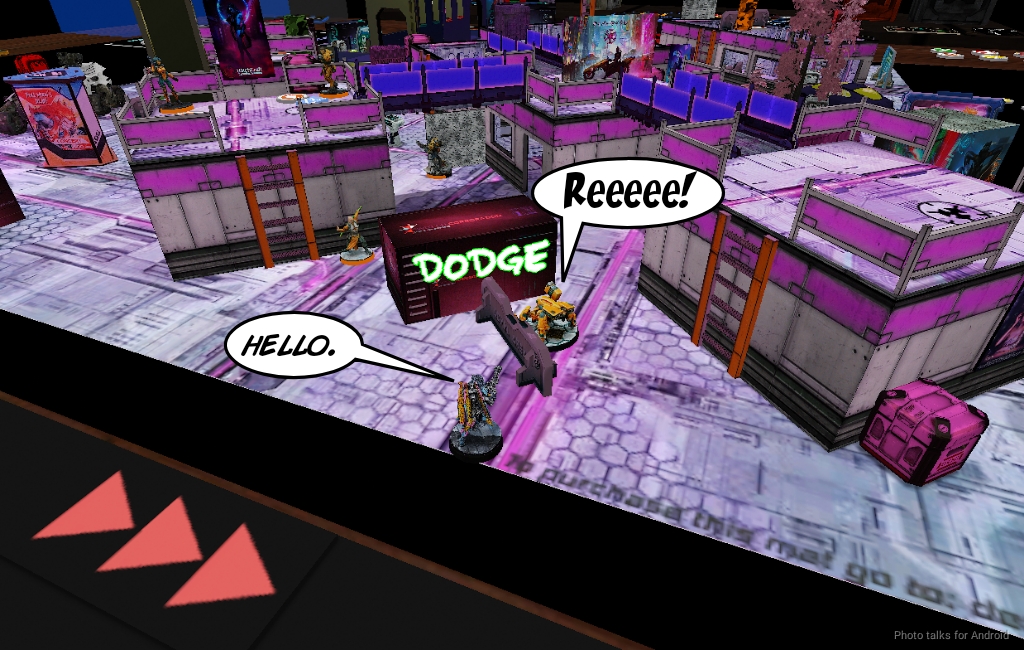
I gun it down with the spitfire easily.
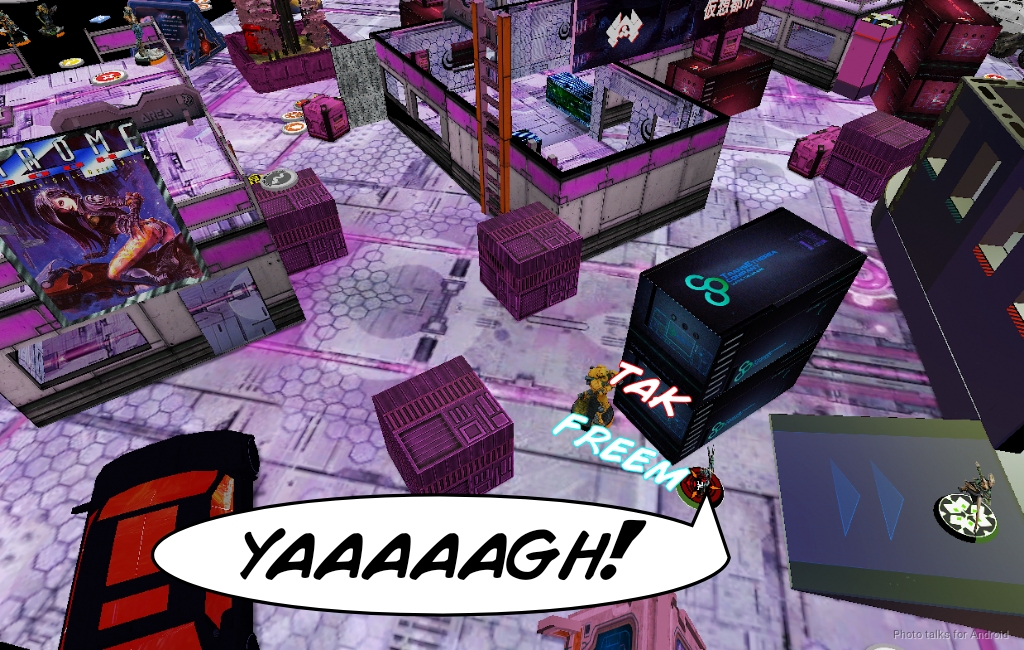
I shift across the firelane and take on the Hulang from outside 16″, and manage to do a wound. Tim fails guts around the corner to gain cover.
But this means it’s out of cover to the Igao, who finishes it off with some combi-rifle fire.
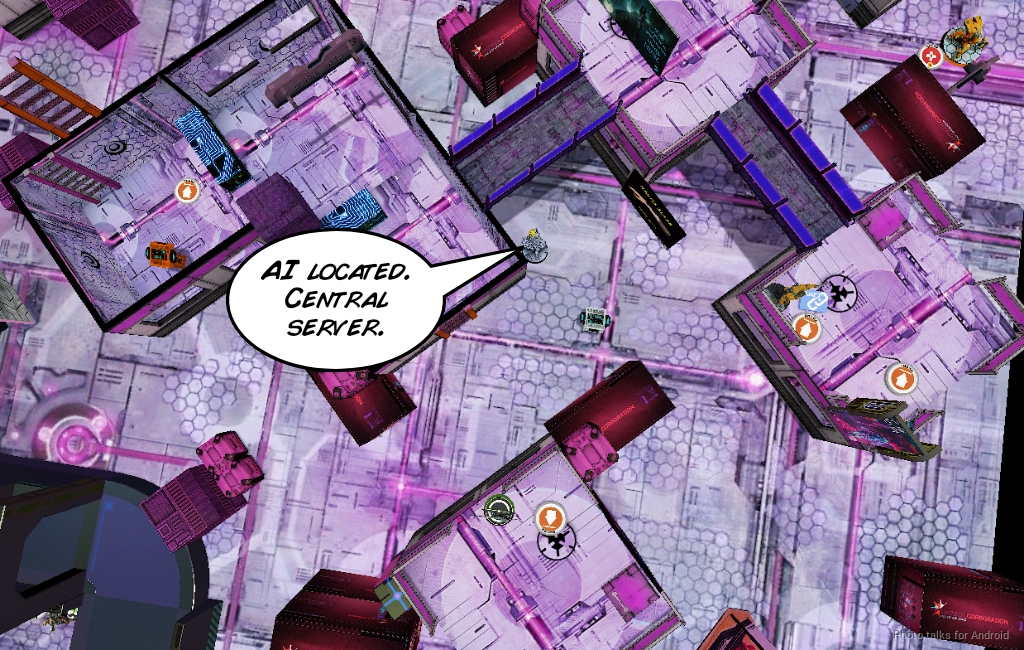
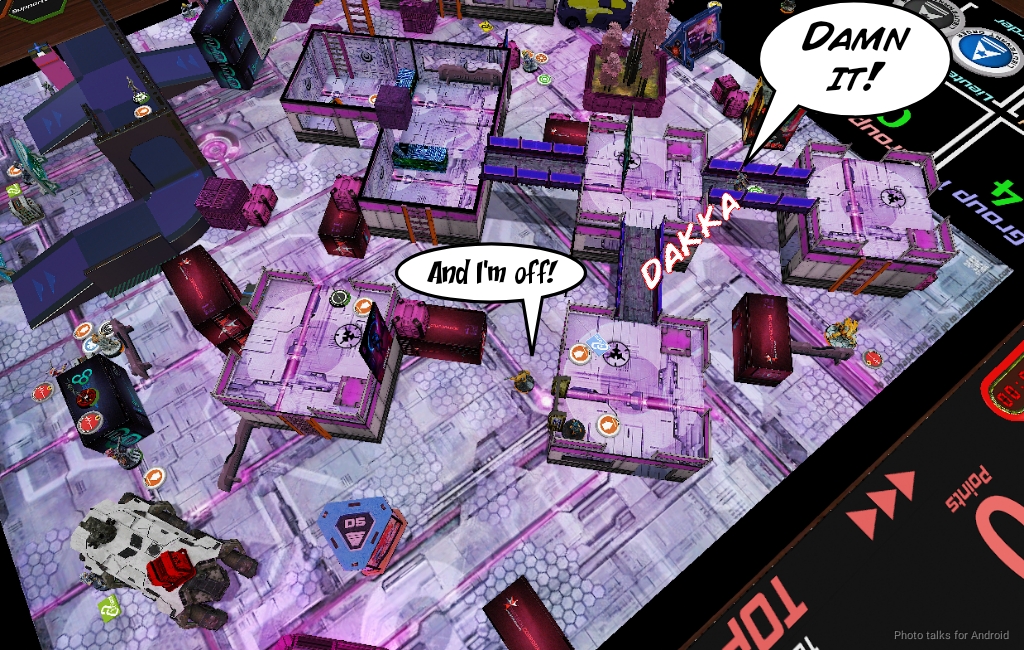
With nothing watching the console now, I flip it with the Clipsos, revealing that Tim’s central server is the one with the Rogue AI (my right one was the one he discovered on his turn).
I spent most of my command tokens getting the Gao Tarsos into position to see Krit and the Zhanshi’s roof while getting the Clipsos behind the Zuyong Haris. First, I take on the Zuyong Tinbot, and do a wound.
I open fire again, with the Haidao shotgun in the back dodging, and finally drop the Zuyong Tinbot. I foolishly go out and back…
I have a few orders in group two, which let me get the Diplomat forward to isolate the Haidao now that the Tinbot is down. Not sure how the Tinbot would affect Pheroware, but them’s the rules!

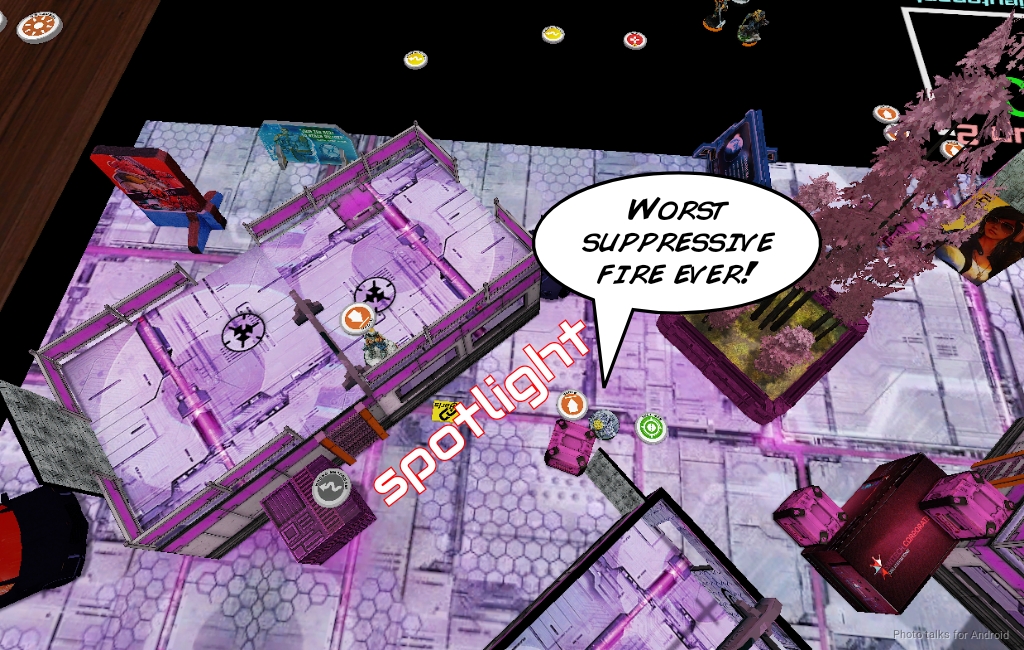
I suppressive fire the Gao Tarsos watching Krit and the Zencha and the Clipsos watching nothing. Bah. So silly of me.
Turn 2
Top of 2 – IA
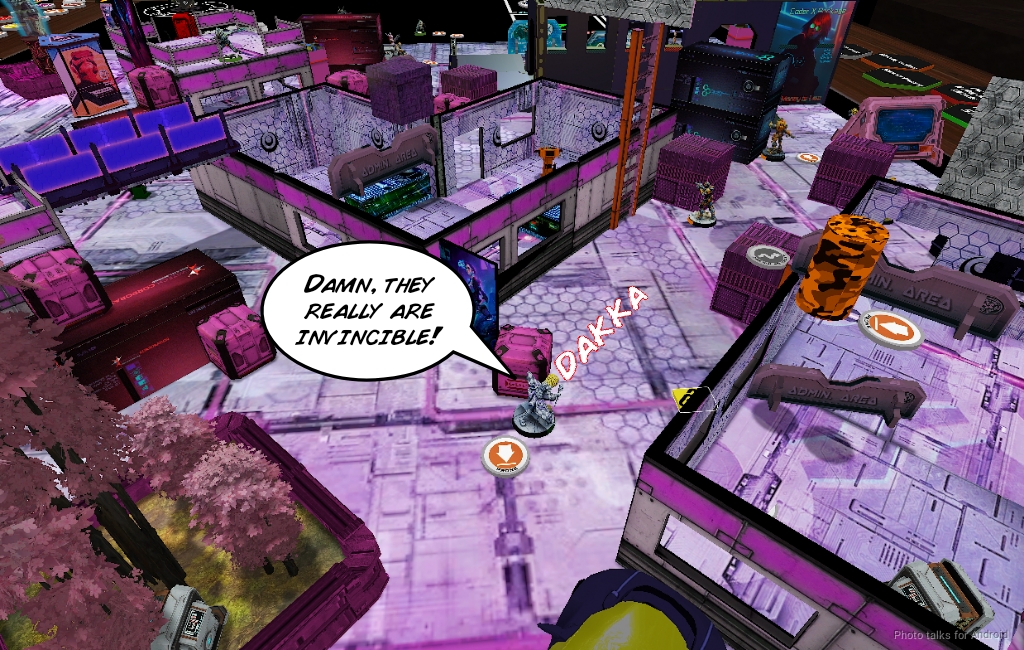
Krit long skill climbs off the roof, giving me free shots on him with the Gao Tarsos. He passes all his ARM saves much to my dismay.
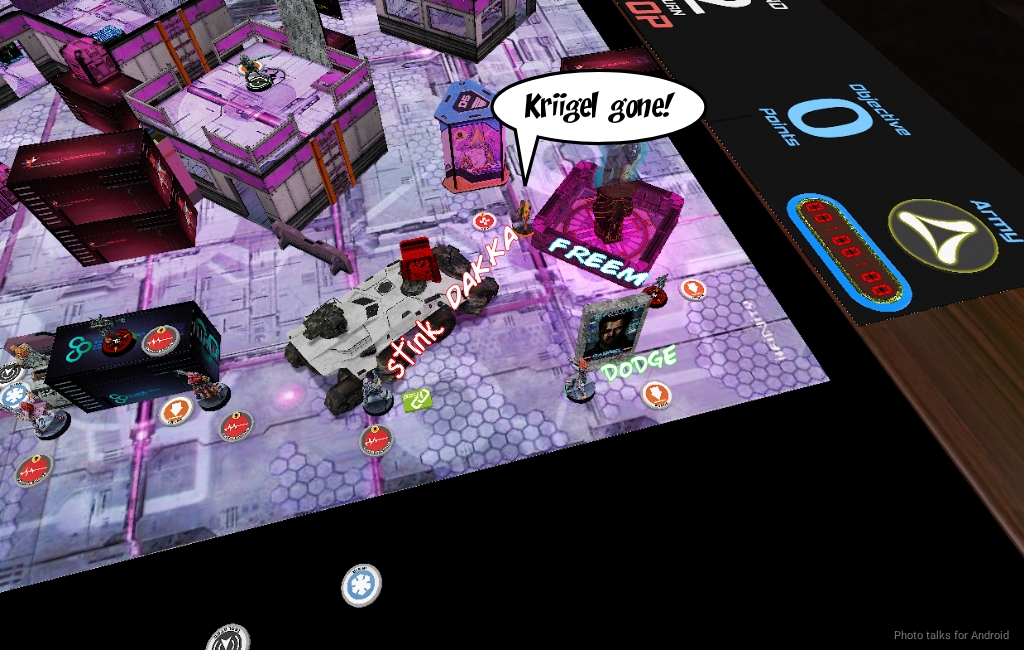
He then, over the course of a few orders, guns down the Sukeul…
and the Kriigel, taking a wound from the Kaauri’s nanopulsar on the way in. I dodge the Makaul into view.
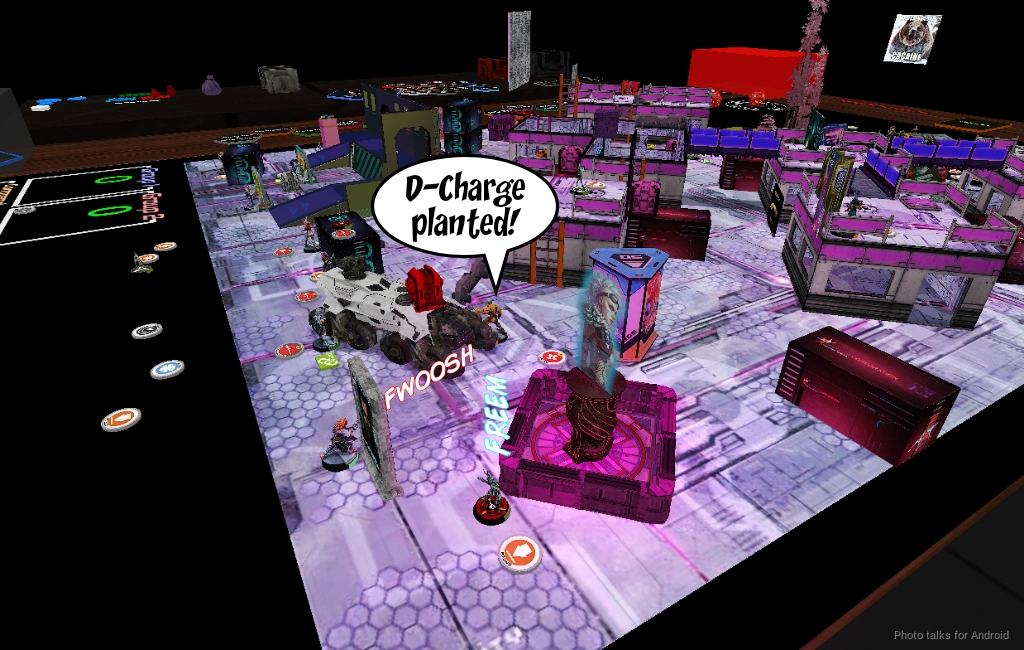
He’s goes for the server and manages to do a single wound with a D-Charge, and survives both the free Nanopulsar and Heavy Flamethrower hits. UGH.
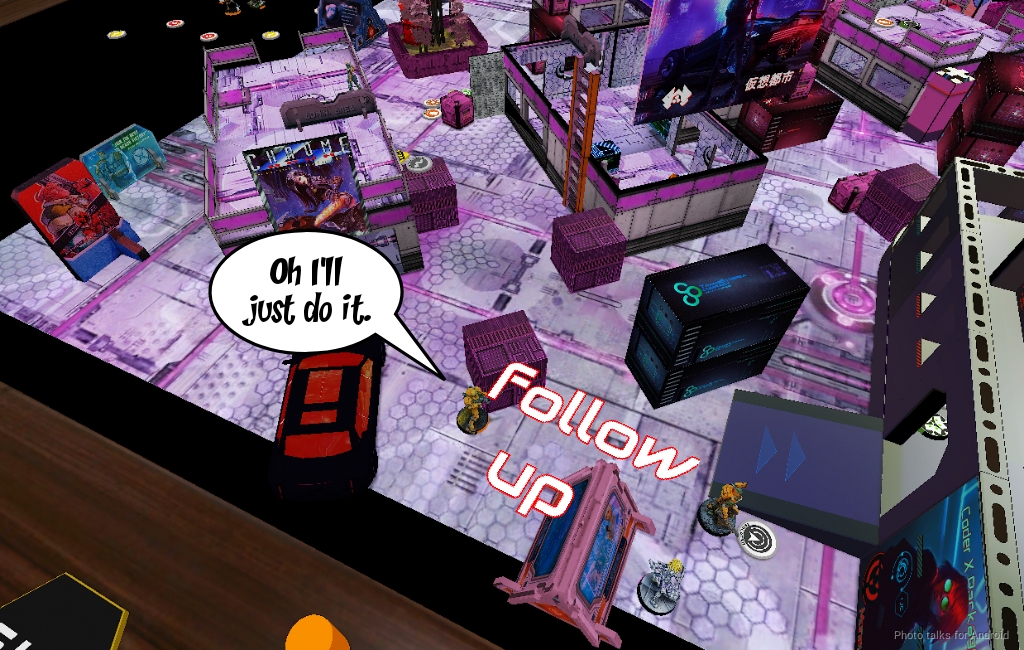
Krit retreats to the center server, and then the isolated Haidao tries to get Follow Up off my HVT, tanking a Nanopulsar on the way in. He fails.
The Zuyong HMG spends its Tac Aware order to get it though, so that’s one point for Tim.
Bottom of 2 – Tohaa
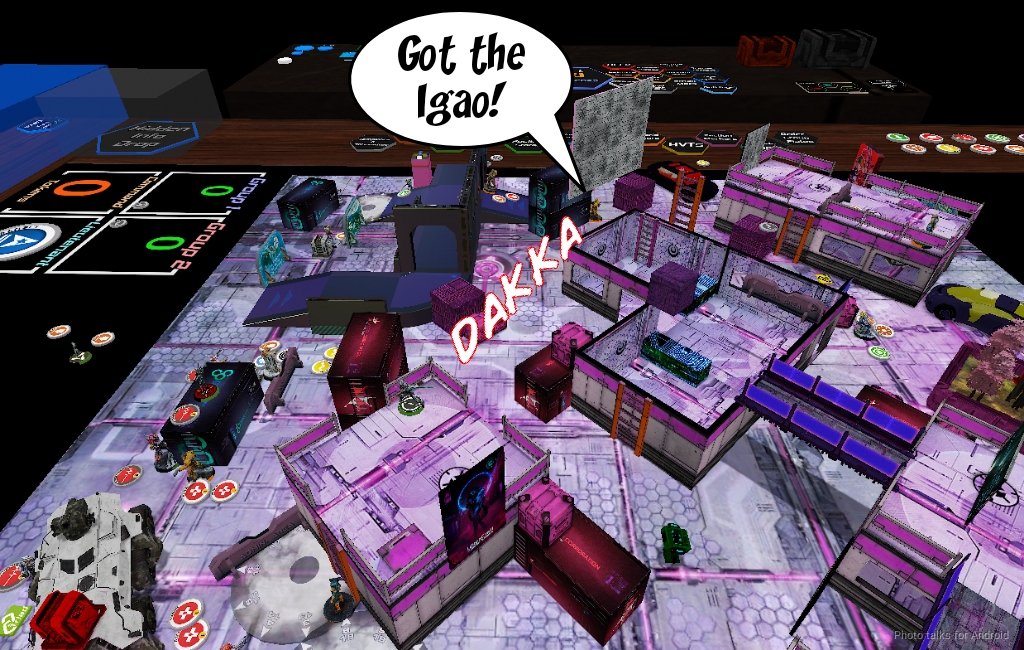
I seem to be losing a lot of games at the bottom of turn two, or at least it feels that way. I take out Krit with the Igao, and then I’m out of orders more or less in the second group.
I then try to unstick Neema’s triad–trading a lot of ineffective contender fire with the Haidao and even attempting to Endgame it. None of it works. I attempt to gun down the Zhanshi and get my Gao Tarsos shot instead, and just drop him prone.

Really a miserable turn of events.
Turn 3
Top of 3 – IA
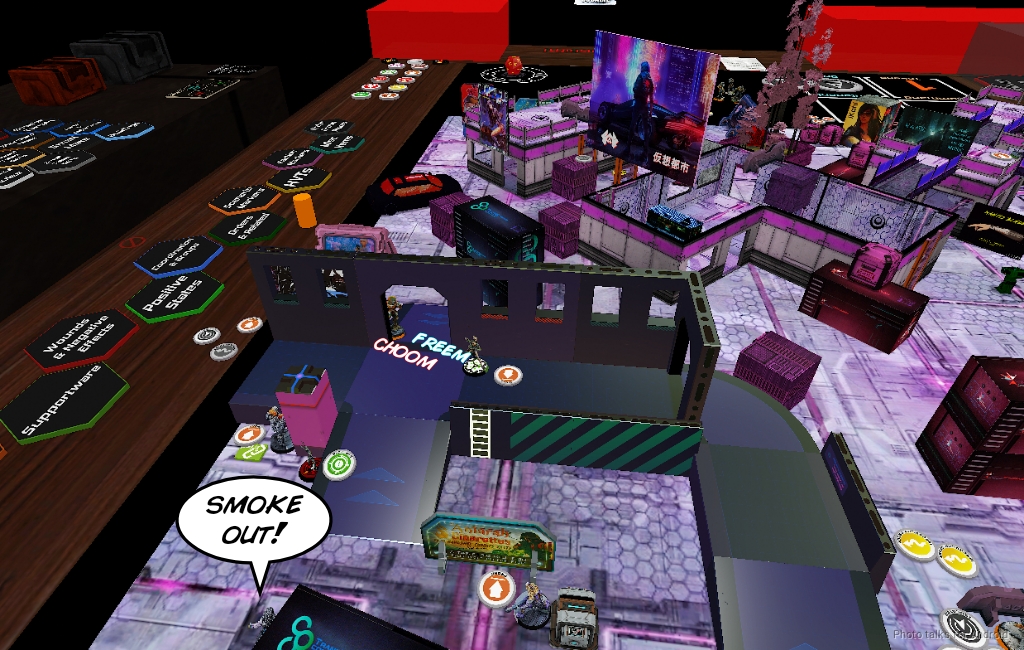
Time tries to threaten Neema’s Triad and gets Nanopulsared for his trouble. The Makaul throws smoke successfully to stop further encroachment.
I lose the Igao to the Zuyong HMG’s tac aware order.
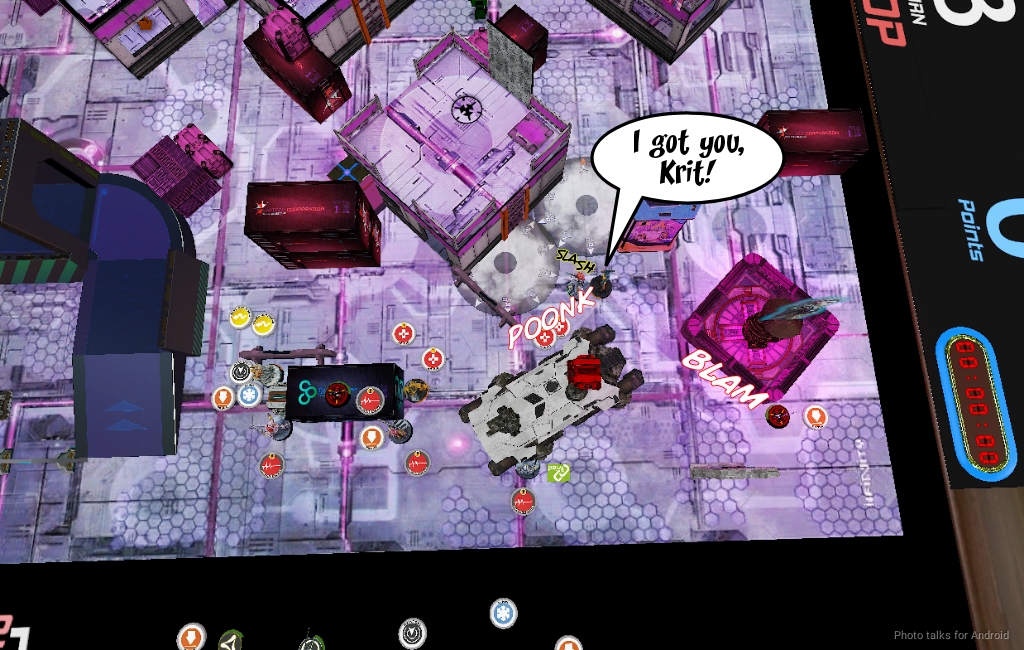
Then there’s a very complicated series of moves to get the Zhanshi into view of Krit to land a MediKit hit, which I attempt to make difficult by throwing smoke and dodging into close combat as she moves around in the smoke, but that goes poorly as I’m mere fractions of an inch away from being able to dodge into close combat. Tim then moves into close combat to hopefully tie up the Makaul and shoots Krit with the MediKit, but he fails his PH roll and dies. The Makaul has no trouble dispatching the Zhanshi in ARO with his DA CCW.
Tim spends his LT order trading the Daoying for the Clipsos and passes turn.

Bottom of 3 – Tohaa
I can get a Makaul into base to base with the central server, but there’s a Zuyong HMG watching it. I take out the Haidao with the Diplomat, who falls flat on her face (thanks Tabletop Simulator)…
then I spent the last orders in Group 2 getting a pair of Nanopulsar shots on the Zuyong HMG, who passes both saves.
My Makaul makes it there, and I get one swing and fail to wound the console. I think it’s a draw, but we measure from Tim’s Zuyong HMG to my HVT and he’s just in, meaning I don’t secure the HVT.
5-4 Invincible Army Victory!
Post Game Analysis
At the bottom of 1, this was my game to lose, which I promptly did. I don’t often think about suppressive fire, because I don’t use it often, but the Clipsos being exactly where it was made for an excellent opportunity to punish the Zuyong Haris’s positioning. If Tim had traded the Daoying for the Clipsos to unpin the Zuyong at the top of 2, that would’ve put me in a great position for turn 3.
Even my poor piloting during Turn 1 was recoverable. I think all I needed to do was run the Makaul on the right halfway up the board instead of activating Neema’s Triad at all. They’re quite capable of defending themselves. I could’ve mined up the area with E/M mines to really make things difficult, and then seen where things went. Neema’s very unlikely to have problems, especially if she had her SymbioBomb up.
So yeah. I turned an easily winnnable or tie-able game into a loss. Very frustrating. I’ve been having some pacing problems with Tohaa, I think, where I try to do something without a clear focus on the objective and then things fall apart. I had considered pushing through the Zuyong on my left hard with Neema’s Spitfire, but the problem there is that I was very concerned that I would’ve put Tim into retreat at the top of three, making it a guaranteed tie, so I sort of tried to softly address the problem instead of being aggressive.
As it turns out, the Zencha was still alive and worth quite a few points. Tim thought I could’ve just E/M mined the Haidao and gunned down the Zuyong HMG, and that would’ve been sufficient, and I tend to agree. In any case, I think I had some bad footing on the tightrope that was this game at the end of one, and then slipped right off the rope on turn 2. Sigh. Brilliantly played by Tim. Sometimes you just have to make the big plays and then pass all the ARM saves.
If you want to hear us talk through the game, here’s a fast forwarded link:
Pingback: Nokk ’em Out – MERC Recon
Pingback: Mission 030: Turn Two Planning – Bromad Academy
Pingback: Infinity N4 Misión 030: Planificando el Segundo Turno – WARGARAGE
Pingback: Mission 033 – Coordinated Orders – Bromad Academy
Pingback: Infinity N4 Misión 033: Órdenes Coordinadas • WARGARAGE