

Quackery of Kiiutan
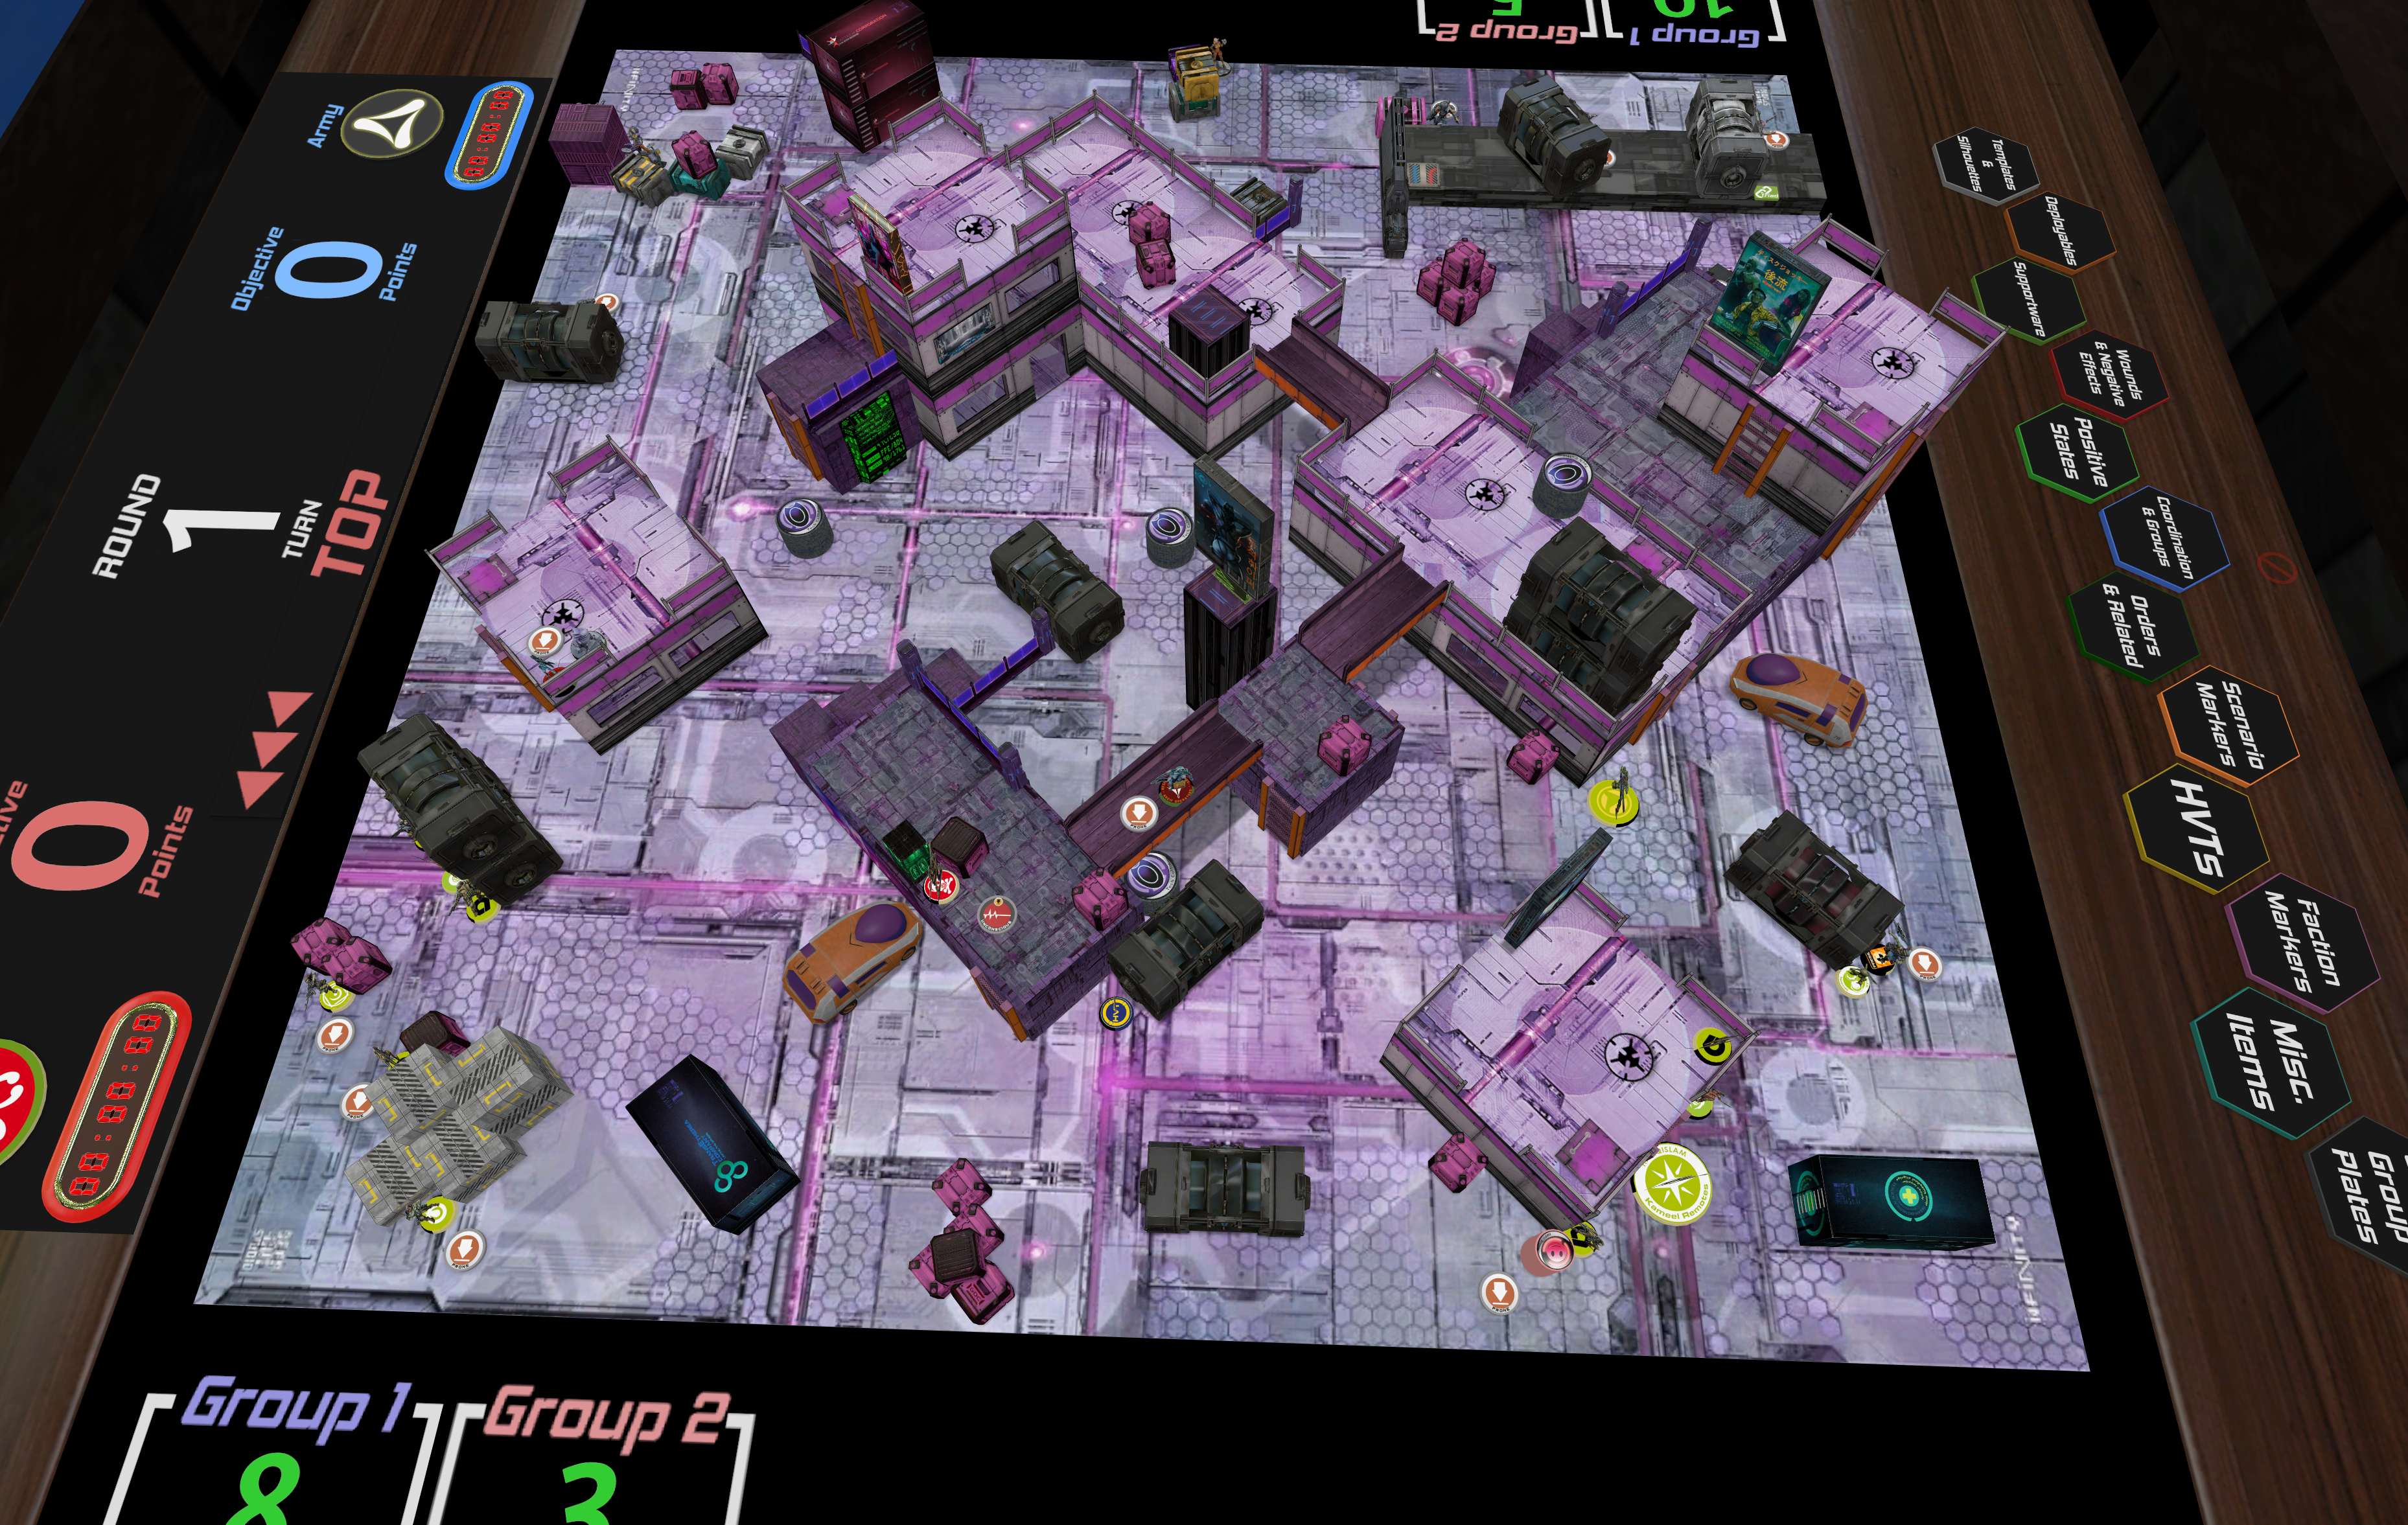
Well, it’s a game with Qapu Khalqi, so that meant I needed a good “QK” title. You’re welcome. Tony (zhukov2) is prepping for the Old Dominion Disagreement 2021, and asked me to help him practice. I was only to happy to oblige. I wanted to play some Tohaa to keep that ball rolling, so that’s where we ended up. I randomly selected this map, and it turned out to be yet another one of those purple maps. Bleh. Sure, why not. I’m sure there are a multitude of not purple maps, I just seem to randomly pick the purple ones.
Here’s the YouTube if you want to follow along:
Overview
- Mission: Power Pack
- Forces: Tohaa versus Qapu Khalqi (300)
- Deploy First: Qapu Khalqi
- First Turn: Qapu Khalqi
After my game against Tim I decided I really wanted more stuff on the other side of the table, so I took three Impersonators. Power Pack also demands at least two camo infiltrating specialists, so that meant two Clipsos. Then I needed some sensor to ensure that I could kill all of the Al’Hawwa that I expected out of Tony, so I threw in a bunch of Chaksa sensors. That didn’t leave me much in the way of points for other things, so I had to make do with a single Taquel/Kaeltar/Kriigel triad. I needed something in the deployment zone that the triad wasn’t in, so that meant a Rasail.
Draft
GROUP 1

7
TAQEUL (Lieutenant [+1 Command Token]) Spitfire, Nanopulser, Pheroware Tactics: Endgame, Pheroware Tactics: Mirrorball / Pistol, CC Weapon. (1.5 | 39)
KRIIGEL Submachine Gun, Phero-Booster, Pheroware Tactics: Eraser, Pheroware Tactics: Mirrorball / Viral Pistol, CC Weapon. (0 | 25)
KAELTAR (Chain of Command) Light Shotgun, Flash Pulse, SymbioBomb ( | SymbioMate) / Pistol, PARA CC Weapon(-3). (0.5 | 21)
GROUP 2
JAAN STAAR Light Shotgun, Shock Mines / Viral Pistol(+1B), CC Weapon. (1 | 31)
CLIPSOS (Forward Observer) Combi Rifle, Flash Pulse, Shock Mines / Pistol, CC Weapon. (0 | 25)
CHAKSA AUXILIAR (Sensor, Baggage) Heavy Flamethrower(+1 Dam) ( ) / Pistol, CC Weapon. (0 | 10)
1
RASAIL Spitfire / Pistol, CC Weapon. (1.5 | 39)
GREIF-OP (Surprise Attack [-3], Impersonation [IMP-2]) Combi Rifle, D-Charges / Breaker Pistol(+1B), CC Weapon. (1 | 20)
KIIUTAN Combi Rifle / Viral Pistol, CC Weapon. (0.5 | 29)
DIPLOMATIC (CC Attack [-3], Specialist Operative]) Nanopulser, Flash Pulse, Pheroware Tactics: Eraser / Pistol, CC Weapon. (0 | 5)
6 SWC | 299 Points | Open in Infinity Army
Tony took something that was shockingly different than what I expected. Given the overwhelming power of going second in Power Pack, all you need to do is keep two camo infiltrators alive in the midfield and keep your console clear. Do that, and you basically win. Here’s a game where I wasted bodies, orders, and all kinds of positional advantage against Adam, and still won:
Tony took two Djanbazan links, filled with Hafza to make them cheaper, some support staff, and then max AVA Yuan Yuan.
Power Pack
GROUP 1
HAFZA Rifle, Light Shotgun / Pistol, CC Weapon. (0 | 15)
DJANBAZAN (Doctor [+3]) Rifle, Light Shotgun ( | MediKit) / Pistol, CC Weapon. (0 | 29)
LEILA SHARIF (Hacker) Shock Marksman Rifle, E/M Mines, D-Charges / Breaker Pistol, CC Weapon. (0 | 20)
GROUP 2
AZRA’IL Feuerbach(+1B) / Heavy Pistol, CC Weapon. (1.5 | 44)
GHULAM (Doctor [+3]) Rifle, Light Shotgun ( | MediKit) / Pistol, CC Weapon. (0 | 15)
NASMAT PARA CC Weapon(-3). (0 | 3)
KAMEEL (Hacker, EVO Hacking Device) ( ) / PARA CC Weapon(-3). (0.5 | 15)
3
ODALISQUE (360º Visor) Submachine Gun, Contender, Nanopulser () / MULTI Pistol, PARA CC Weapon. (0 | 23)
YUAN YUAN Chain Rifle, Smoke Grenades / Pistol, DA CC Weapon. (0 | 8)
BASHI BAZOUK (Specialist Operative) Rifle, Light Shotgun / Pistol, CC Weapon. (0 | 15)
5.5 SWC | 300 Points | Open in Infinity Army
I discussed this at length with him after the game, so you can definitely check that out if you’re interested in my thoughts on the matter. I’ll probably include a list at the end. Tony’s decided on his final list, which is different than what I’m going to propose.
Deployment
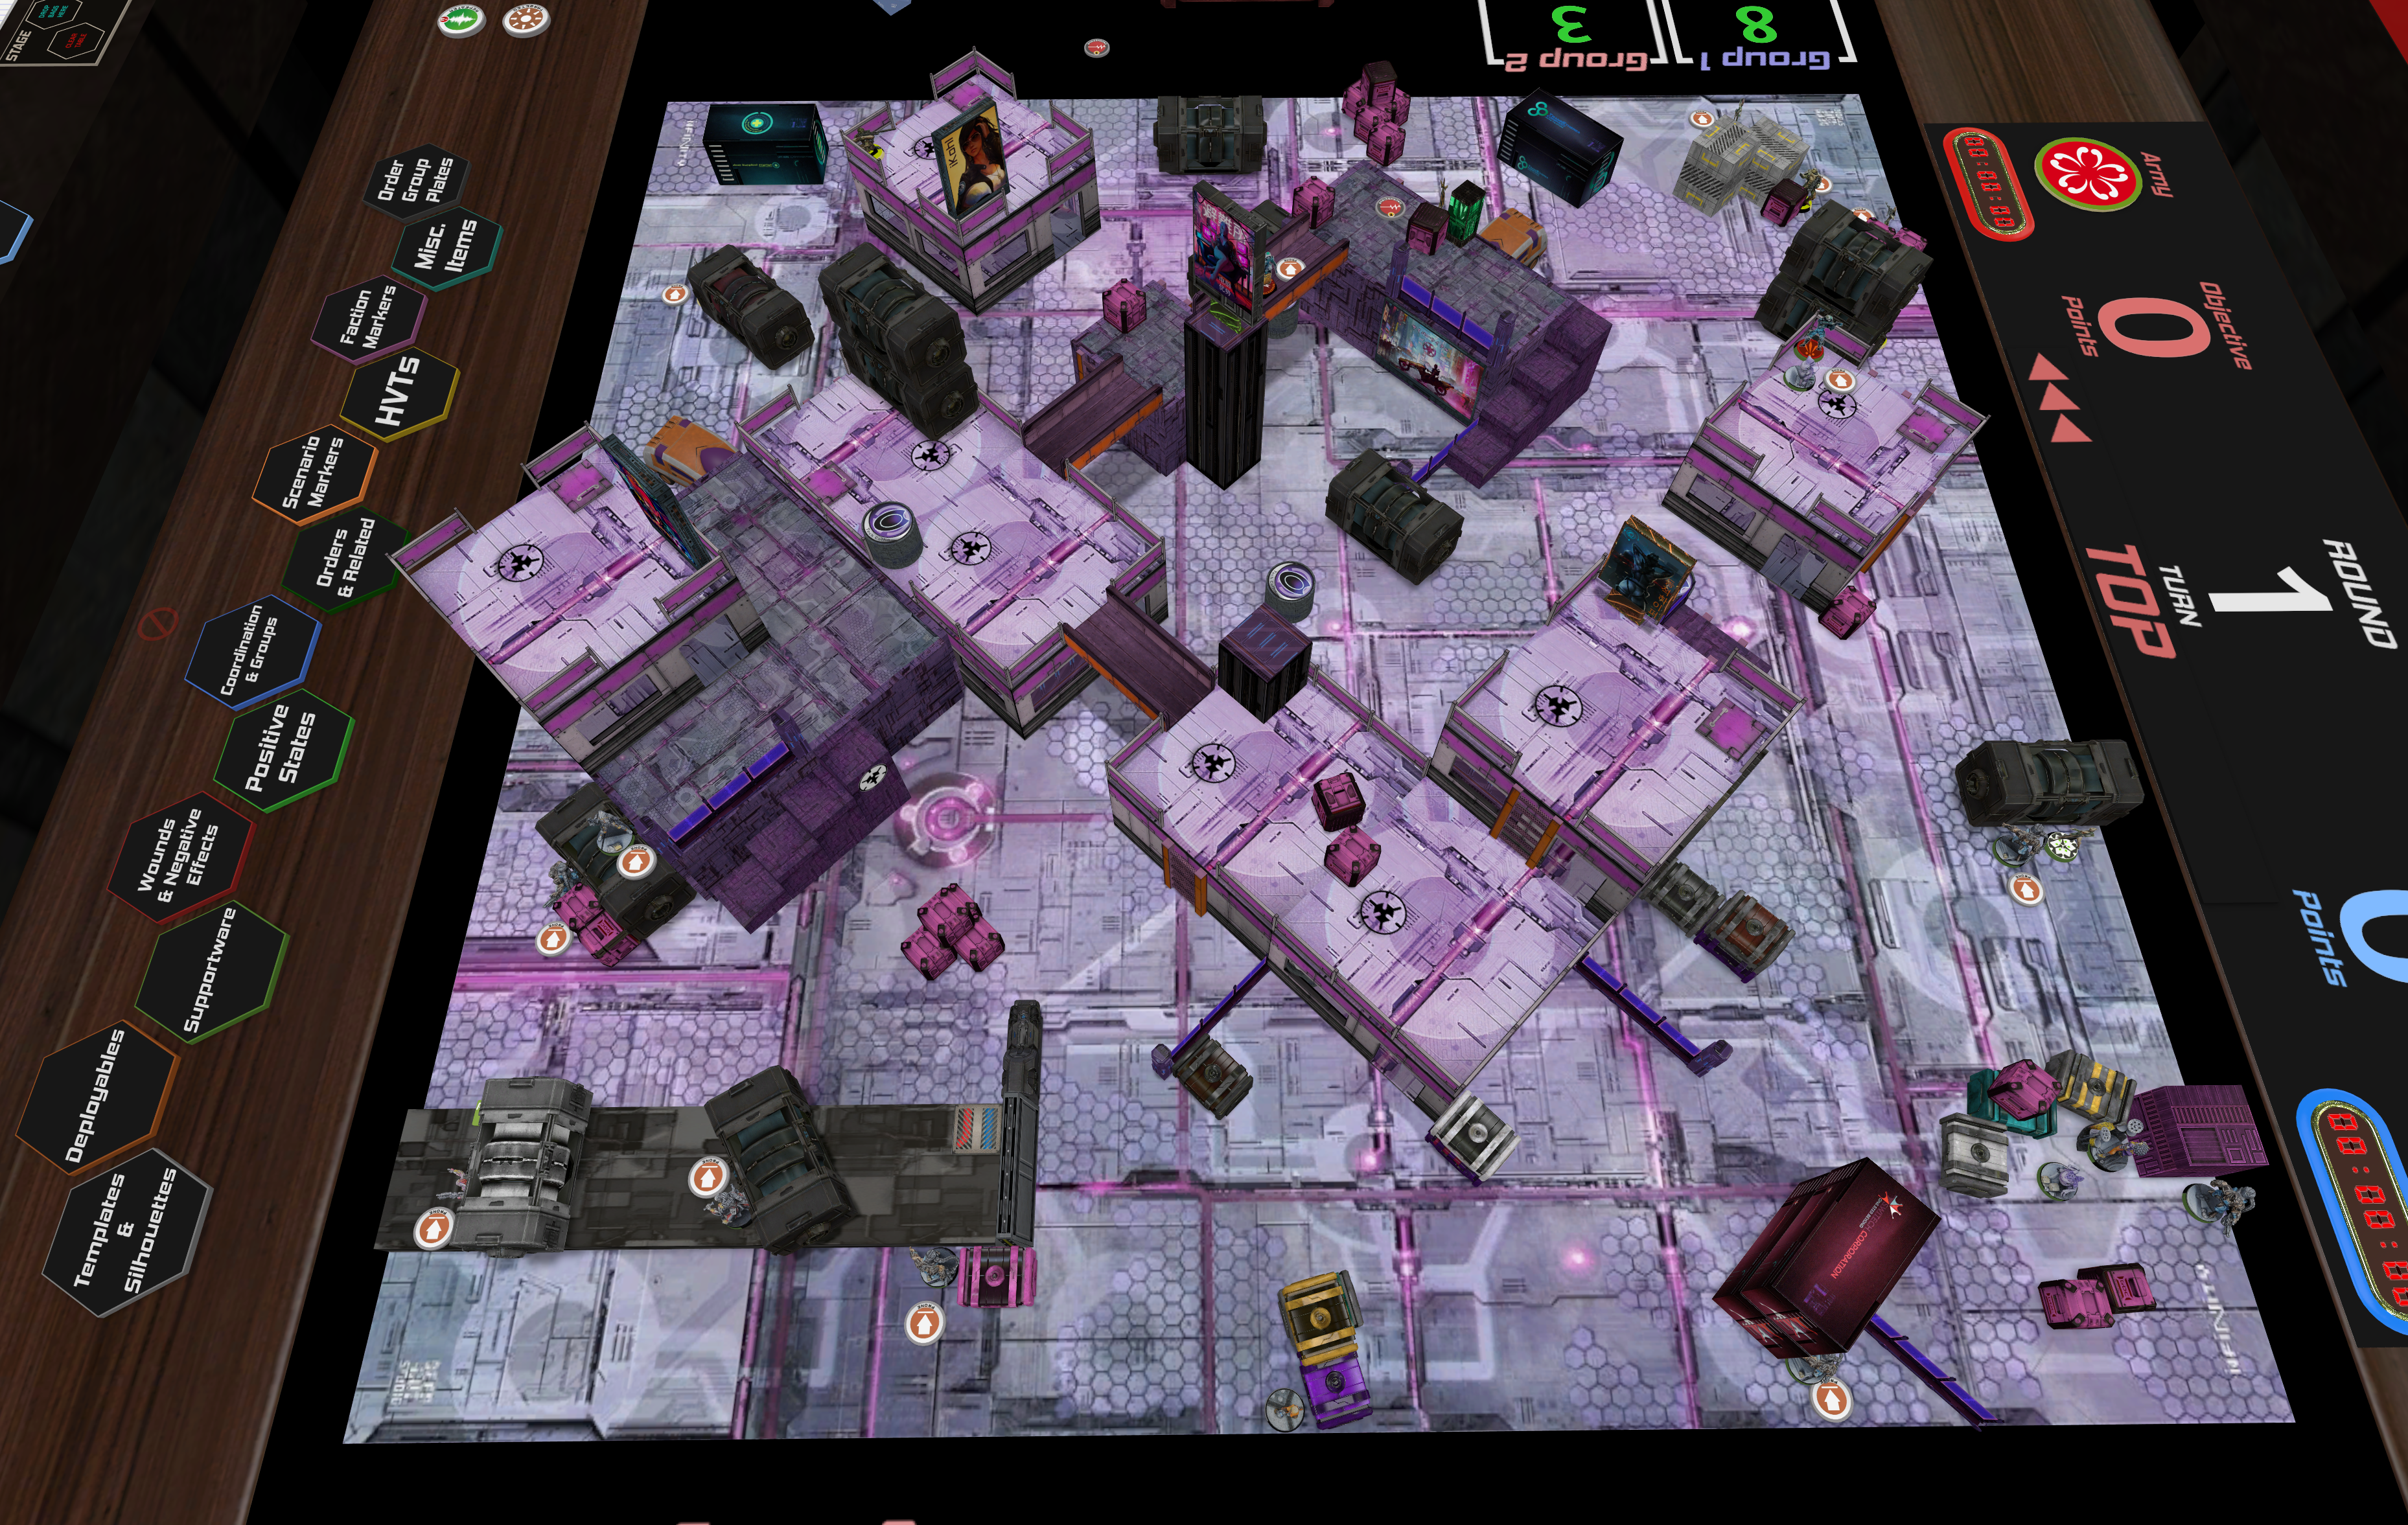
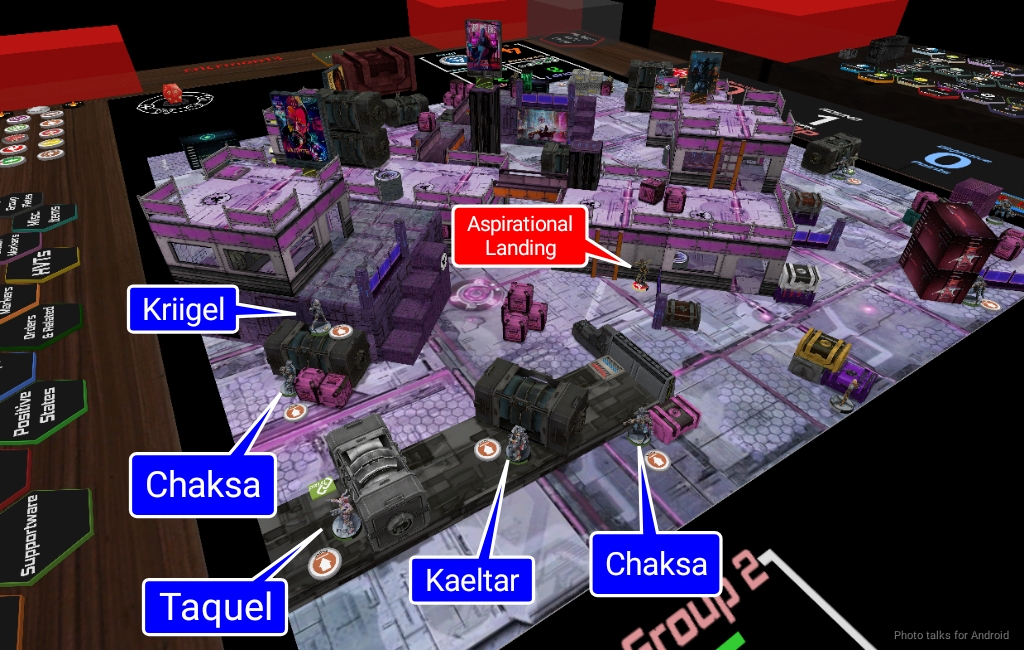
I think I won the roll off and took deployment, and Tony chose to go first. Power Pack does horrible things to your deployment zones, so his links were really squished up against any cover they could find. The 5-model core on the left of his deployment zone was split between two sets of crates with a Ghulam Doctor behind them “just in case.” The 3-model Haris on the right was in “template formation” with a Kameel EVO along the backside of a building. Really not a great situation, but I don’t think I could’ve done much better given his list!
I deployed the Chaksa in places that would discourage Yuan Yuan from landing in my deployment zone or near it, and then put the Diplomat along a likely approach path for the 5-model link. This also created a bubble of “don’t walk on” for Yuan Yuan. I left the Rasail with a SymbioMate out to ARO–this seemed fine, and then I used its Chaksa to screen the diplomat from stuff. This way, if that Chaksa died I wouldn’t lose an order.
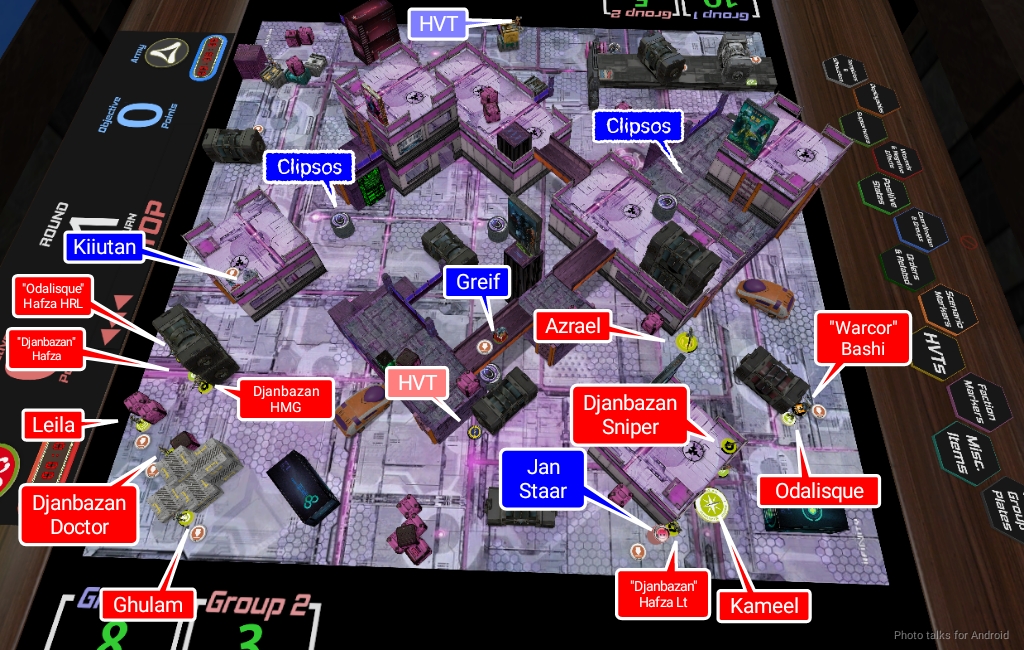
Then I placed the Kiiutan with a SymbioBomb covering the 5-model link, and put the Greif in a place that would threaten securing Tony’s console. Tony put down I think the Azrail, and then I put Jan Staar down covering elements of his 3-model link and the Kameel.
Turn 1
Top of 1 – QK
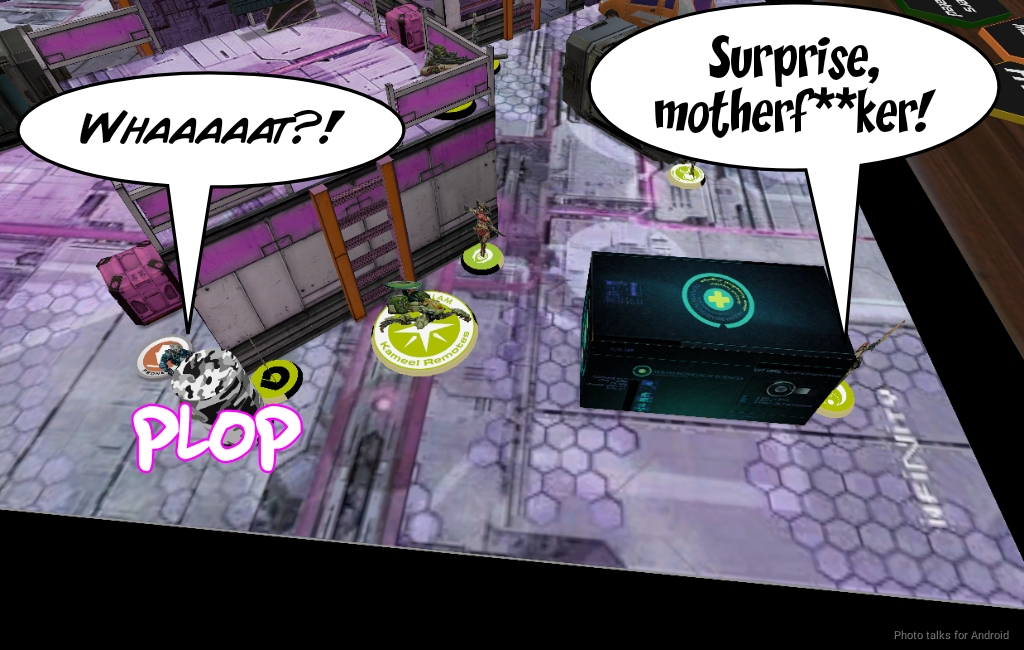
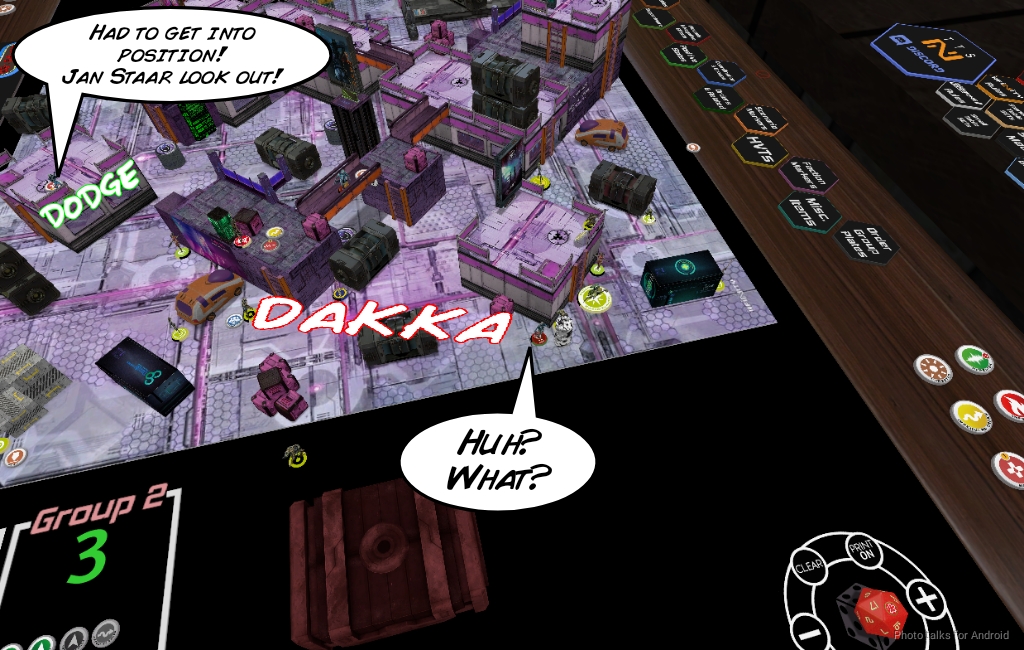
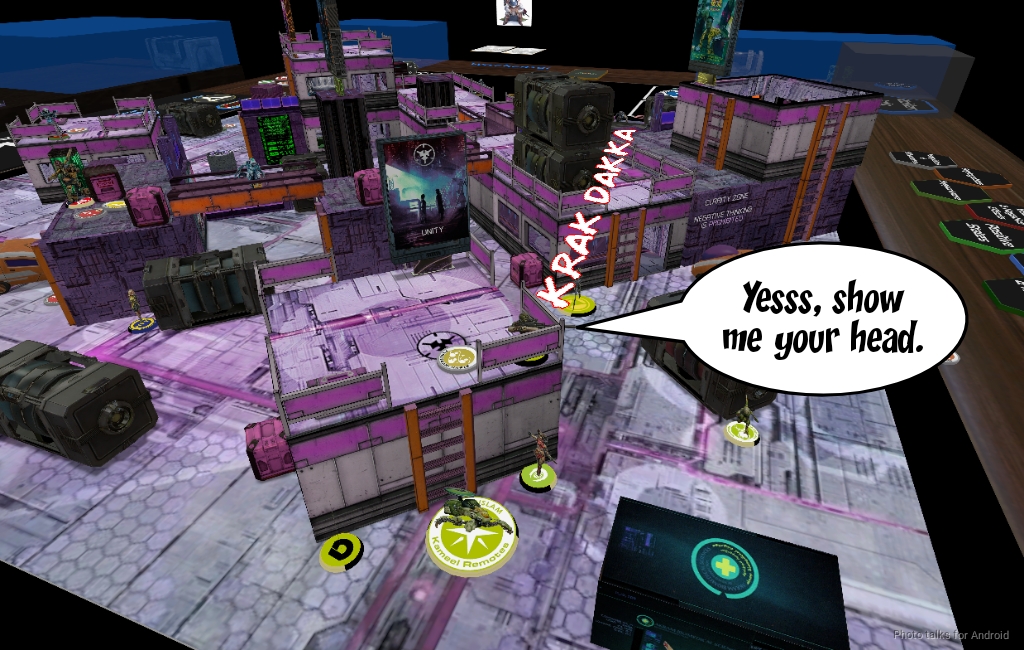
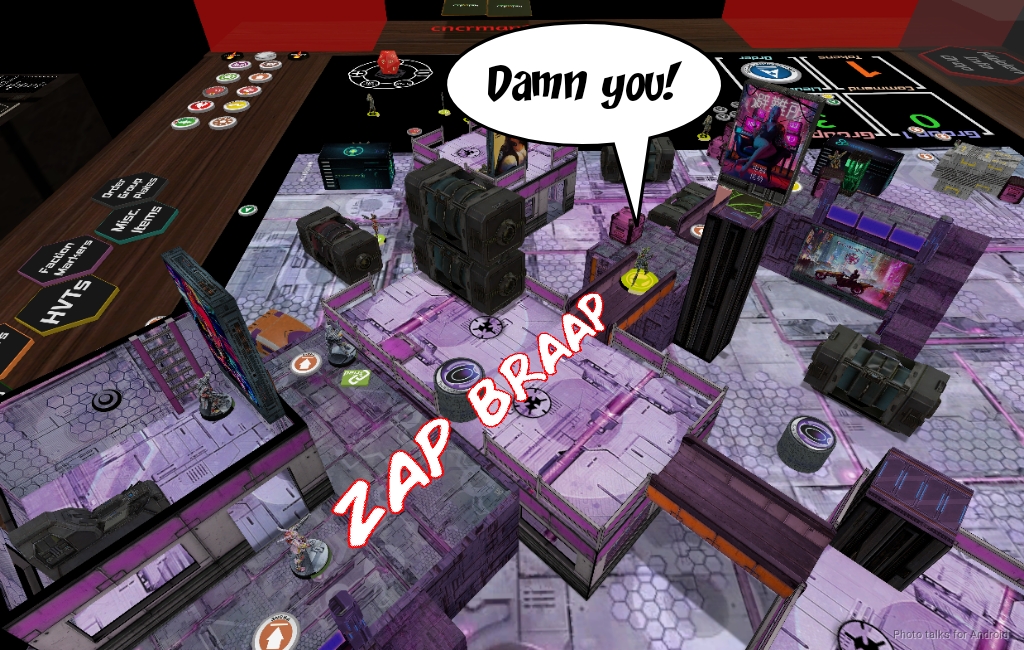
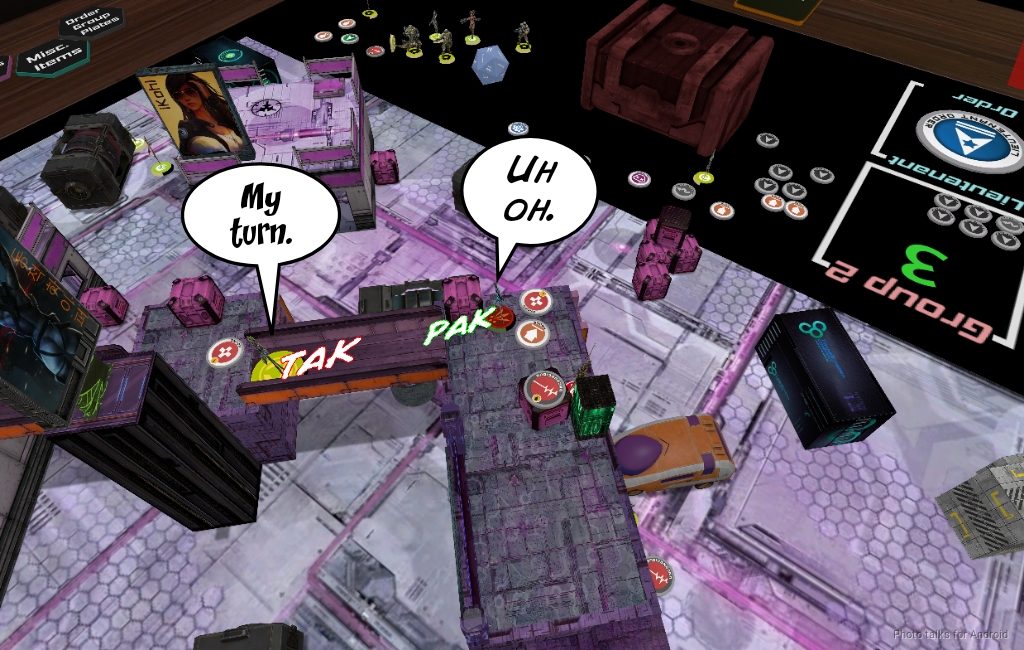
Tony’s first action is to drop a Yuan Yuan near the Greif. I bite and reveal, taking it out in ARO with a combi shot. Next a Yuan Yuan walks on next to Jan Staar and gets an HMG from its Booty roll. Ruh roh!
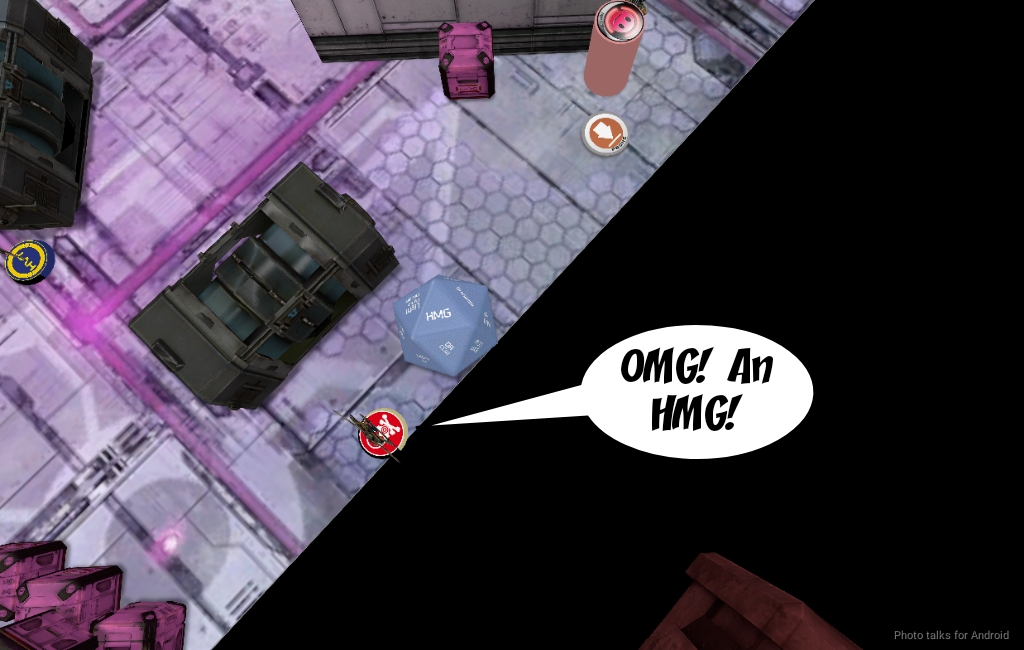
I drop a mine in response.
Tony’s third Yuan Yuan drops in near my Taquel’s Haris but fails and “deviates” to right behind the 5-model link.
The Yuan Yuan with the HMG dodges to attempt to safely clear the mine, but fails and dies. Later I find out that the Djanbazan that’s right there is Tony’s Hafza Lieutenant, which is why he’s spending so much effort here.
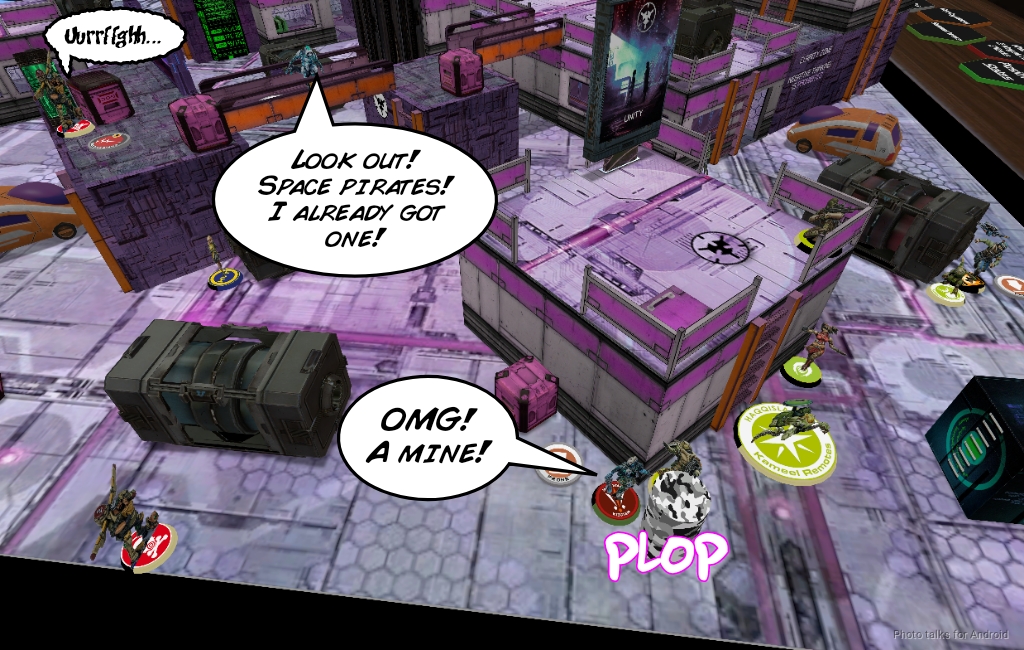
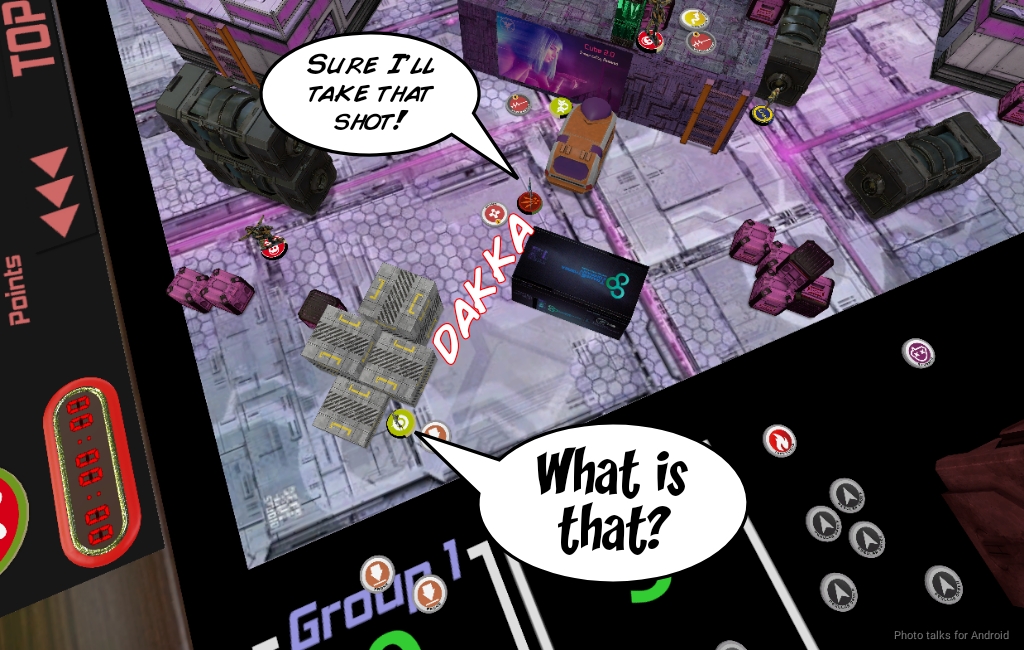
Next, Tony moves his “warcor” into view to try and “flash pulse” Jan Staar. This isn’t a terrible idea even if it’s actually a Warcor, but I just drop another mine. It turns out to be a Bashi Bazouk, who proceeds to shoot Jan Staar in the face. I pass the ARM rolls and stay put.
The 5-model link activates now to try and bail his lieutenant out of hot water. I try for an Eraser against the Djanbazan HMG, but fail. Sigh.
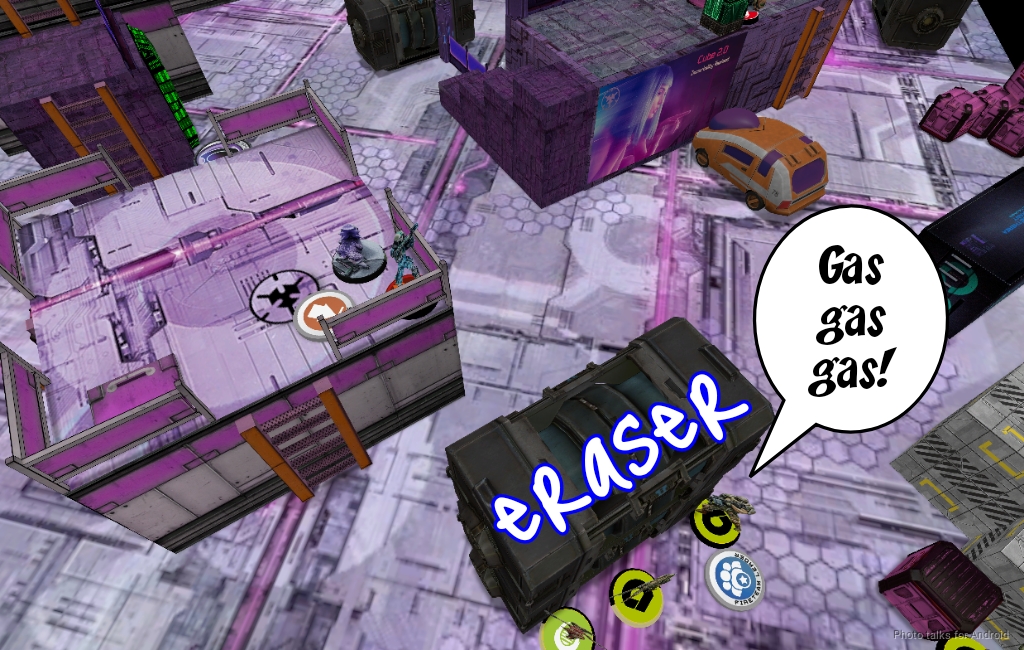
They move out, and I dodge the Kiiutan into view of the trailing members of the link.
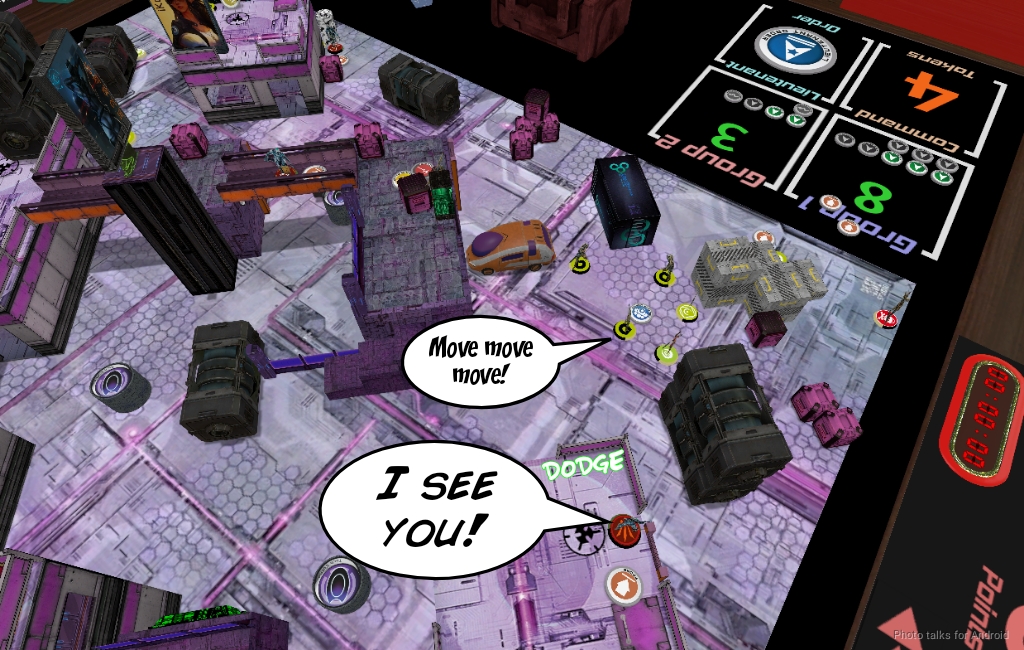
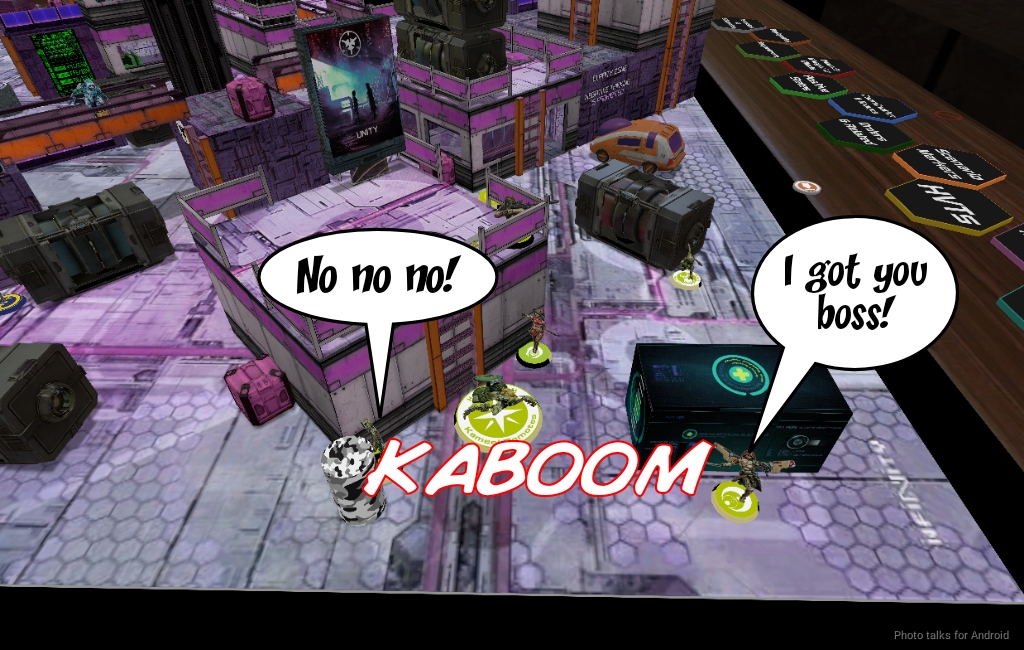
Tony takes shots on the Kiiutan with Leilia, but I give him the normal rolls and take shots at a Djanbazan in the back. This turns out to be a Hafza, which dies to the Kiiutan’s viral pistol. Much to Tony’s dismay, I pass one ARM save and fail guts out of line of fire.
As the link moves away, I dodge into view again. Sadly, it’s not fast enough to save Jan Staar, who dies to the Djanbazan HMG shooting him in the back. I’m definitely okay with this. I’ve only lost one unit, I’ve basically neutralized three Yuan Yuan just be deploying aggressively, and I’ve pulled all of Tony’s forces out of position.
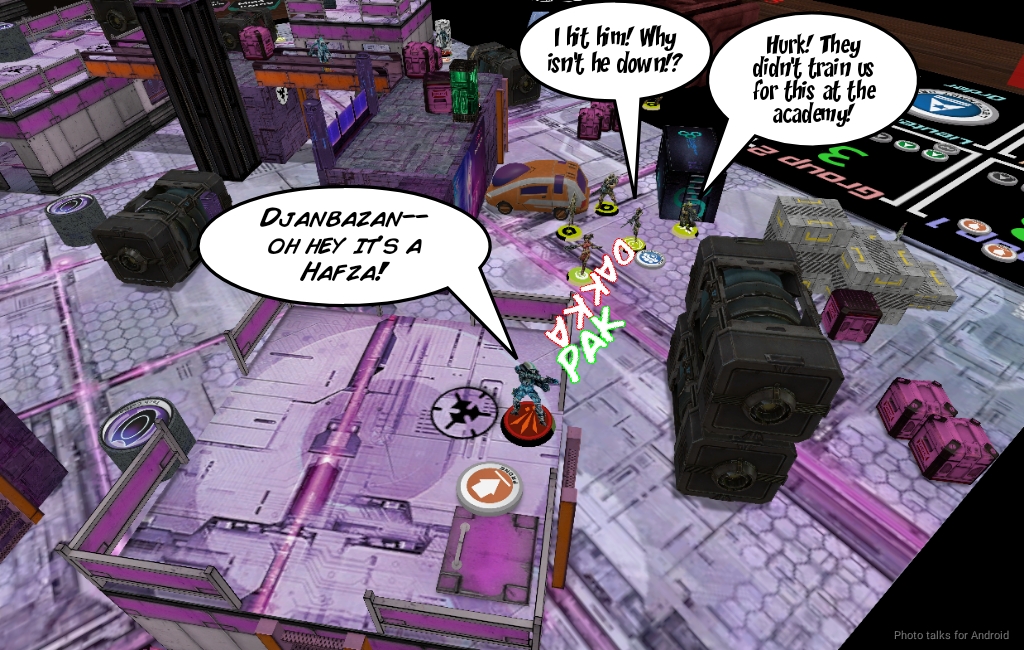
There’s still the matter of the mine. Tony successfully dodge-clears it with the Bashi, but I clip the “Djanbazan” with the template, felling it. Tony made a mistake here–that’s actually a Hafza Lt and it should’ve been shocked off the table, but I’m sure it was just a honest moment of forgetfulness in the moment. Looking at this picture now, I think I should’ve tried to place the template such that it clipped the “Djanbazan,” the Kameel, and the Bashi, but I missed this opportunity at the time.
Tony wants to get rid of the Kiiutan, so he pushes the link further away from it while threatening me with an “Odalisque.” I ignore the Odalisque and shoot the Djanbazan Doctor in the open. The Odalisque turns out to be a Hafza HRL who assault pistols me, hitting twice. I hit the Djanbazan, knocking it out, and I pass both assault pistol saves.
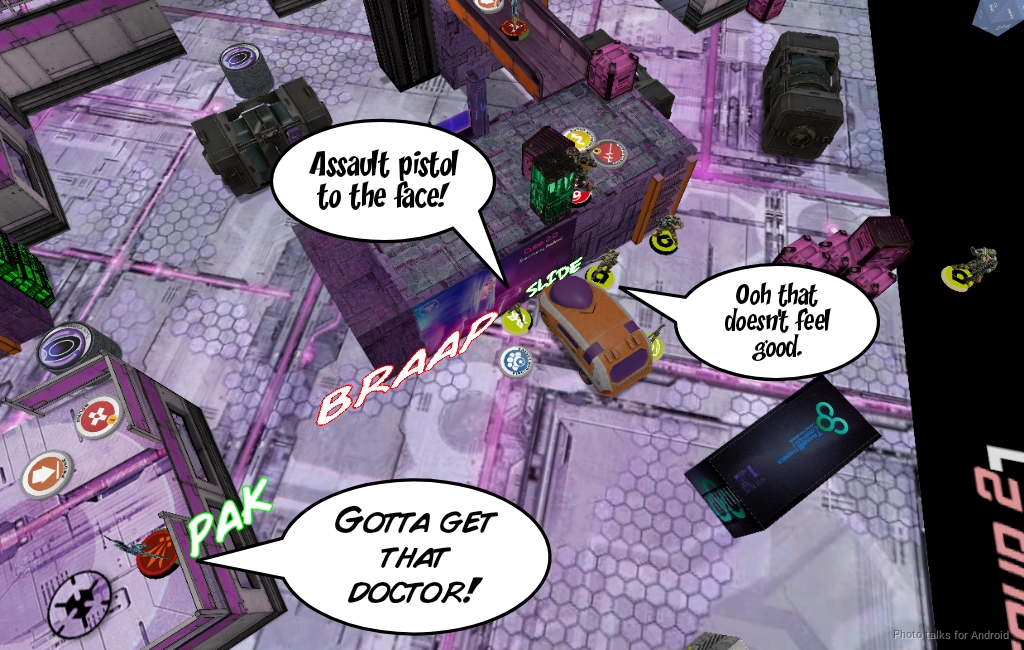
The Hafza tries again with the HRL this time, and I return fire with a combi, dropping it.
At this point, Tony’s out of orders. He makes regen rolls for the Doctor and the “Djanbazan” that’s really a Hafza Lt, and both pass. The “Djanbazan” returns to the Haris.
Bottom of 1 – Tohaa
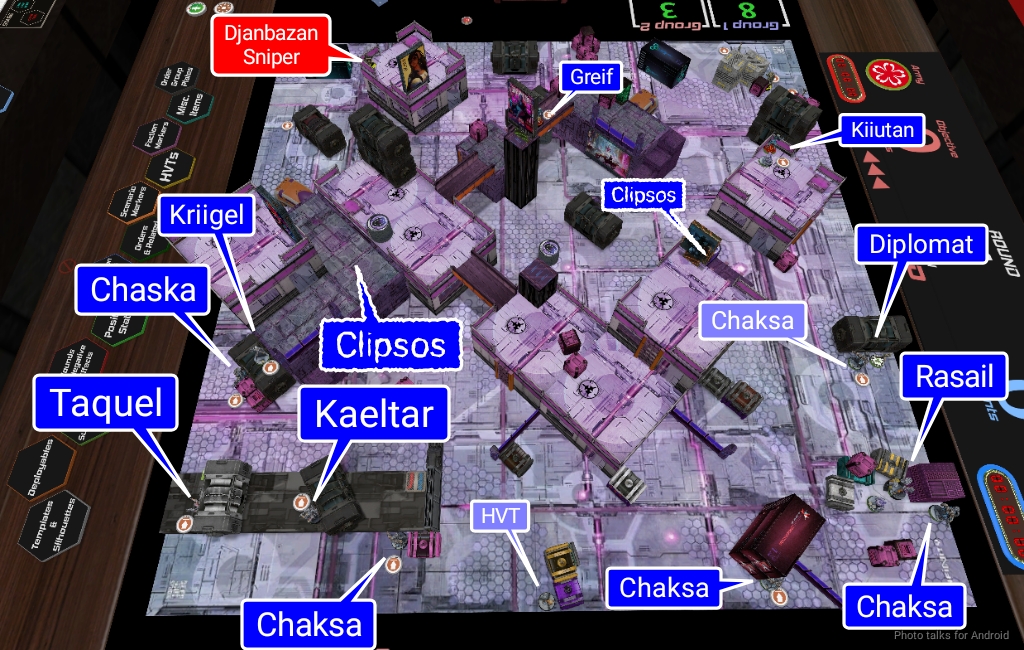
The Kiiutan systematically guns down the Djanbazan Doctor, the Djanbazan HMG, and Leila with its combi, then I send in the Taqeul to challenge the Djanbazan sniper. I am 24.2″ inches away on my first move. Thankfully nothing happens, and I push forward the 0.2″ inches and the Spitfire rounds force the Djanbazan prone.
I do some shuffling with the Taqeul haris and manage to Eraser the Azrail with the Kriigel, then I re-impersonate the Greif and the Kiiutan.
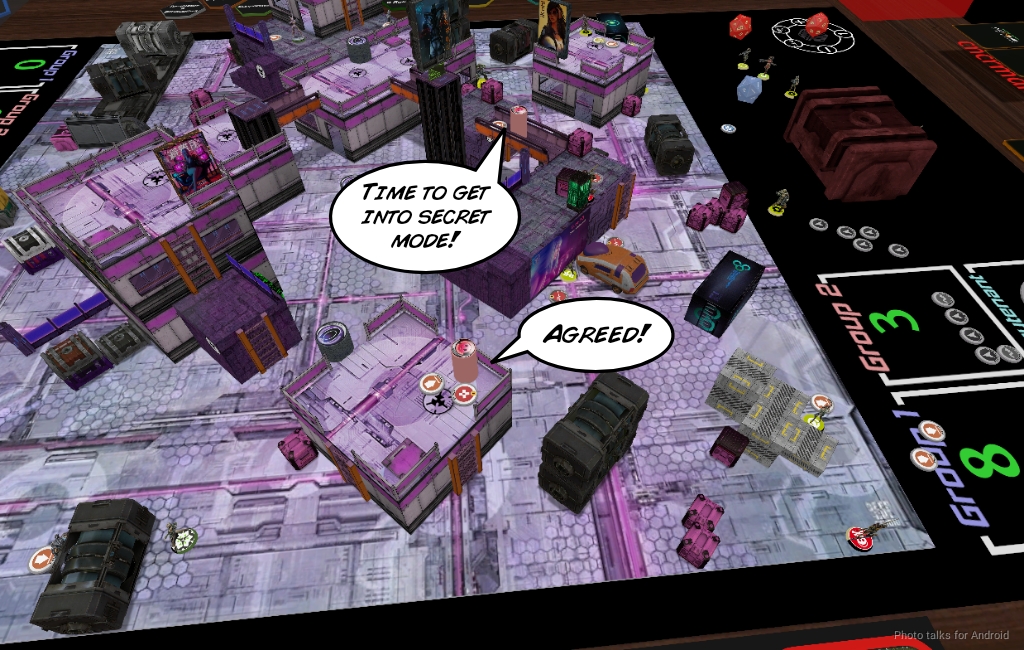
I spent the Diplomat’s order getting her around a box so she can see the remaining Yuan Yuan at long range.
Turn 2
Top of 2 – QK
Said Yuan Yuan move moves and gets flash pulsed by the Diplomat, taking him out of the fight for the turn. Tony’s moved all of his remaining troops into Group 2 now as well.

The Azrail spends its isolated order to scurry away from the Kriigel and manages to reset out of ZoC against my Eraser attempt.
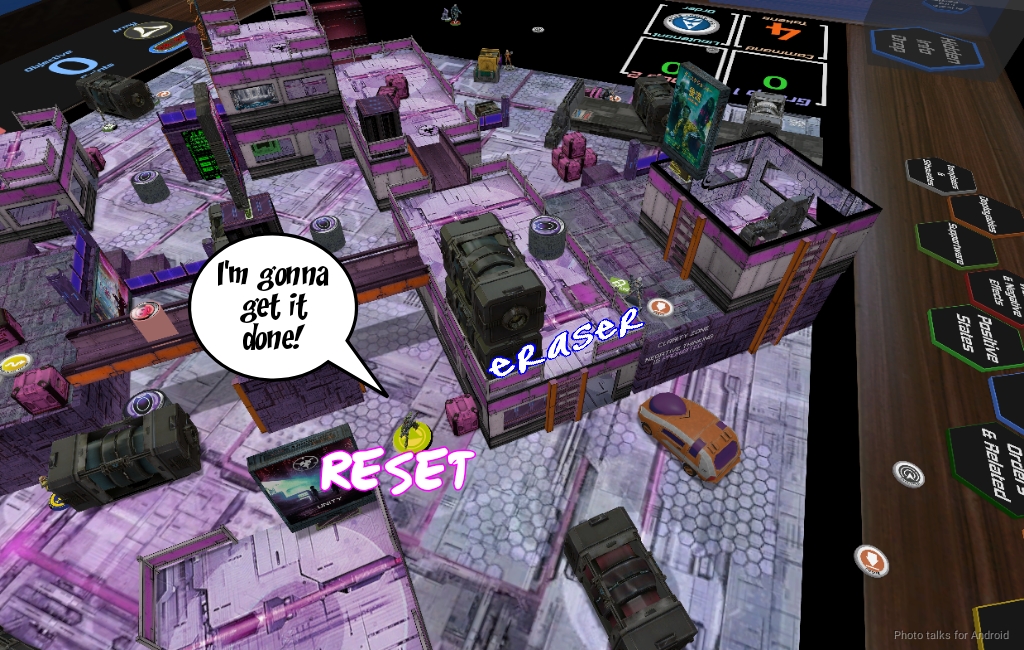
The Djanbazan sniper stands up and vents Tony’s frustration on my Diplomat from across the table.
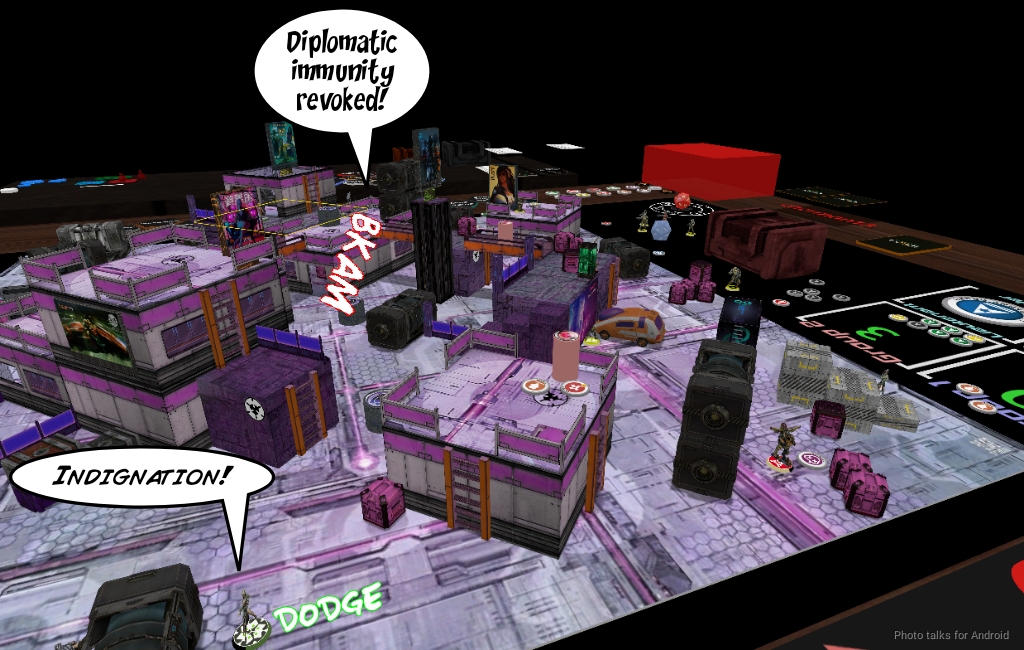
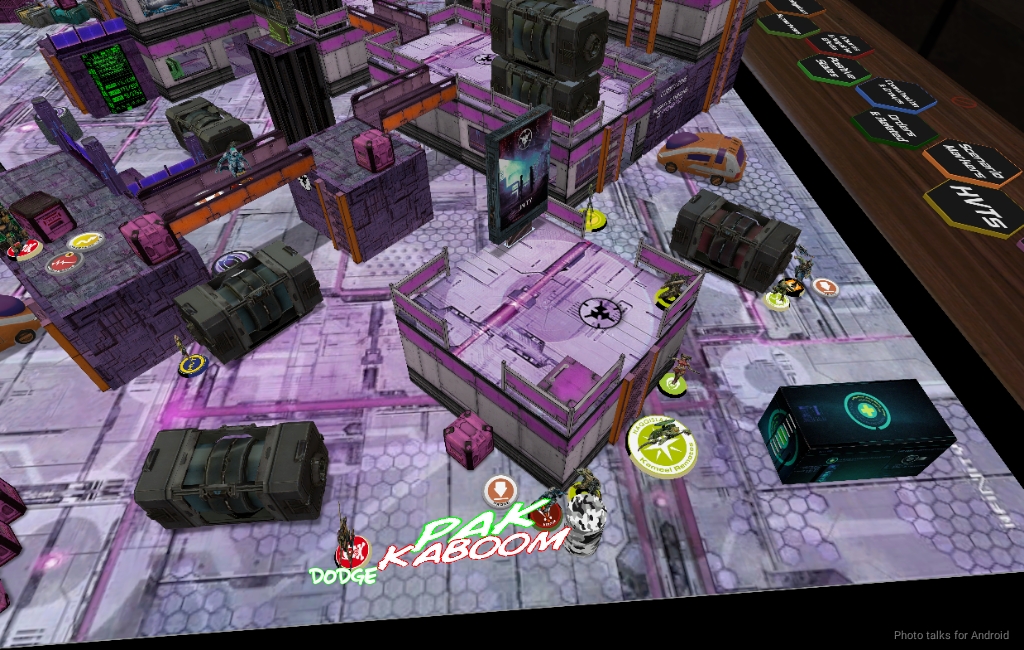
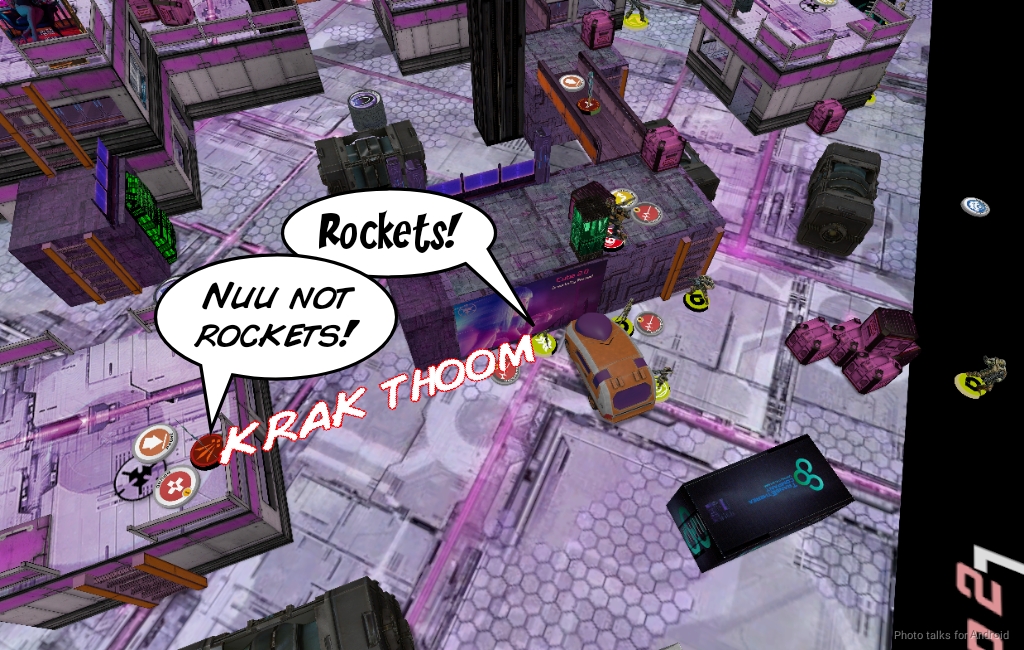
Then Tony sends the Azrail in to get some work done. It starts by blasting my Kaeltar off the table…
then it discover-shoots my Greif. I’m just trying to drain orders here, so I guess this is fine. It would’ve been reasonable for me to dodge into combat with the Azrail, I think, with the Greif. I think I should’ve attempted that.

At this point, Tony’s out of orders again, and it’s back to me.
Bottom of 2 – Tohaa
I get a bit of tunnel vision, and instead of trying to secure Tony’s console I end up trying to kill the Azrail with my Kiiutan. It just so happens that I get to kill a Ghulam Doctor on the way for free as it attempts a discover.
I throw Mirrorball up to protect my Taquel from the Azrail, and gun down the Bashi.
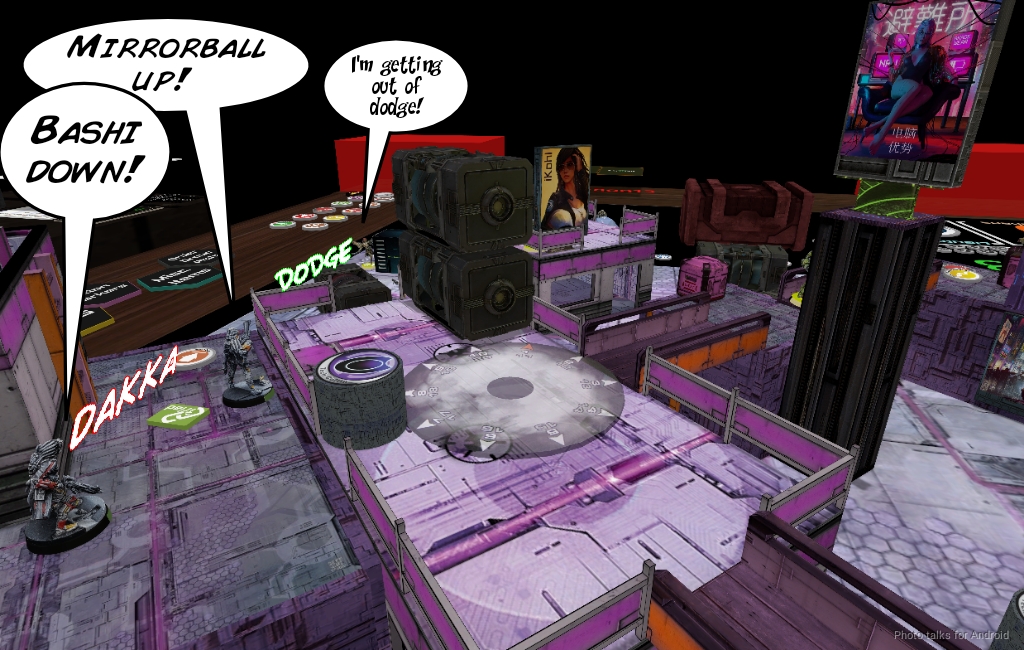
The Kiiutan gets a pair of viral shots on the Azrail and does one wound.
Turn 3
Top of 3 – QK
The Azrail has no trouble gunning down the Kiiutan this time with its heavy pistol.
Tony spends the rest of his orders advancing the Kameel into the center objective and flipping it.
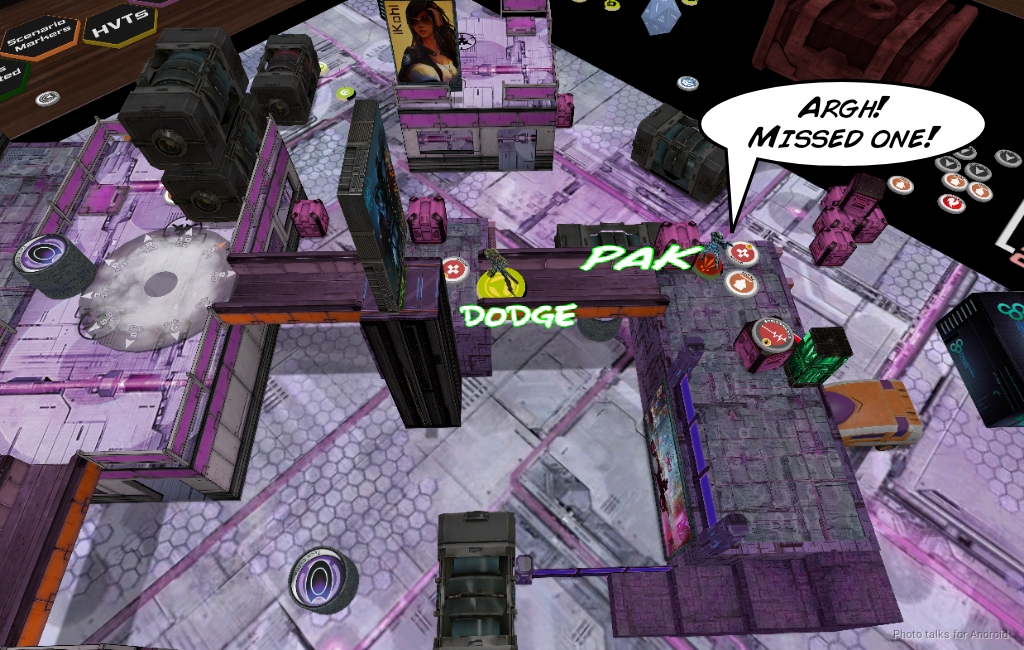
Bottom of 3 – Tohaa
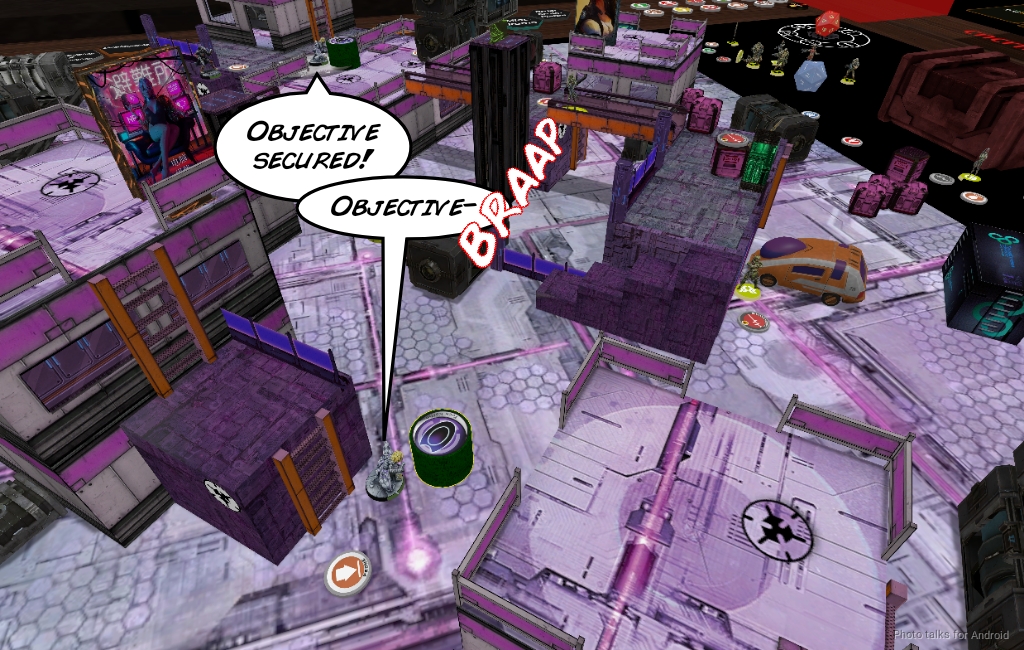
I do the thing my list is designed to do and flip both consoles with my hidden Clipsos. One dies to the Azrail. I didn’t think the Azrail could see, so I got a little sloppy here, but it’s all good. What I should’ve done was moved behind the objective, hit the button, recamoed, and then made a run for Tony’s console.
In actuality, I attempted to make it with the Rasail but didn’t have the movement. I probably could’ve just spent those orders pushing forward shooting at the Azrail with the Clipsos, hoping that weight of dice would keep me safe till I go to the objective. In any case, with no classifieds and our consoles unclaimed, I have a
5-2 Tohaa Victory!
Post Game Analysis
Yeah, this one was a rough one for sure. That Kiiutan lived through far more than it really deserved to, and took a whole link with it, mostly in ARO, even. That mistake with the Hafza would’ve put Tony into Loss of Lieutenant for Turn 2, which would’ve basically meant my Kaeltar and Greif would still have been alive. I think at that point my position would’ve been pretty unassailable. I kill the Djanbazan Sniper with the Taquel, and then park the Kriigel on top of the Azrail, and that’s that. The Azrail being alive keeps Tony out of retreat, and then I’m free to work on classifieds, console, or whatever else I need.
I made some misplays this game for sure too. My Turn 2 wasn’t great. I should’ve put the orders into dealing with the Azrail properly, but I just didn’t feel confident that my Lieutenant could’ve gotten the job done and didn’t want to risk it with the Kaeltar down. I think I would’ve been much better served putting the Kiiutan underneath the Azrail in impersonation state instead of trying to run and gun with it. I felt pretty safe in my castle on the roof with a Kriigel screening my Taquel, who itself can murder the Azrail.
Again, another example of me flubbing Turn 2. Turn 1 had just gone so overwhelmingly good for me, even more than my game versus Tim that I was able to survive it. I think the Rasail could’ve been a Gao Tarsos too, but I’m sure in a slightly different game it would’ve been relevant. I think my next big thing to do improvement-wise in N4 will be to work on my Turn 2. I tend to have an okay plan for Turn 1 things sort of devolve for Turn 2. Turn 3 is me just problem solving in a super constrained environment so it’s not a big deal, but Turn 2 is a bit of a mess, usually.
As promised, here’s the fast-forwarded YouTube video to the end where we do a post-game breakdown.
And as promised, here’s two draft QK lists (which need practice games) for Old Dominion Disagreement 2021. The mission list is (in probably the wrong order):
- Firefight
- Panic Room
- Power Pack
- Supremacy
- Supplies
Here’s the list for Firefight/Panic Room:
GROUP 1
JANISSARY AP Rifle, Light Shotgun ( | TinBot: Firewall [-3]) / Pistol, Shock CC Weapon. (0 | 35)
WILD BILL Rifle / MULTI Pistol(+1B), CC Weapon. (0 | 25)
GROUP 2
DRUZE Heavy Machine Gun, Chain-colt / Viral Pistol, CC Weapon. (1.5 | 31)
SHAYTANIYAH REMOTE Missile Launcher / PARA CC Weapon(-3). (1.5 | 16)
RAFIQ REMOTE Rifle, Light Shotgun, Flash Pulse / PARA CC Weapon(-3). (0 | 14)
FANOUS REMOTE Flash Pulse / PARA CC Weapon(-3). (0 | 7)
6 SWC | 300 Points | Open in Infinity Army
For Panic Room, the Jannissary Haris seems pretty good to bully its way into the room, especially with Bill in tow. The Druze are excellent as well, and will have no trouble spotlighting things for the LGL or for the missile remote. I think you just leave the Ghulam Doctor on one of the Biotechvore antennas, along with the missile bot. The rest is sort of just up to you. Maybe put the YY on the table to smoke up your entry to the room. I don’t think the list has a particularly difficult time murdering things in Firefight, but it’s a bit specialist dense. In that situation you’ll have to be careful with the Druze link and keep them at range firing pitchers, grenades, and HMG rounds.
For the other three missions, there’s this:
GROUP 1
SEKBAN (Specialist Operative) AP Rifle, Chain-colt(+1B) / Pistol, CC Weapon. (0 | 24)
GROUP 2
HAWWA’ (Hacker, Hacking Device) Boarding Shotgun, D-Charges ( ) / Pistol, CC Weapon. (0.5 | 26)
SHIHAB REMOTE Heavy Machine Gun / PARA CC Weapon(-3). (1 | 24)
NAJJARUN Engineer Rifle, Light Shotgun, D-Charges / Pistol, CC Weapon. (0 | 15)
6 SWC | 300 Points | Open in Infinity Army
Al’Hawwa to secure the midfield and punish people that let you spotlight them with missiles. A flexible set of linkable stuff in group one that can either be two 3-model links or one 5-model link with a spare. You split them for Power Pack and keep them closer for the other missions. Bashi to pretend to be a Warcor, that was a great surprise, and a TR bot to defend the backfield.
Like I said, they need practice games and tuning. Nevertheless, hat’s off to Tony for keeping his cool for the whole game and being a great person! Looking forward to our next game!


Pingback: Mission 030: Turn Two Planning – Bromad Academy
Pingback: Infinity N4 Misión 030: Planificando el Segundo Turno – WARGARAGE