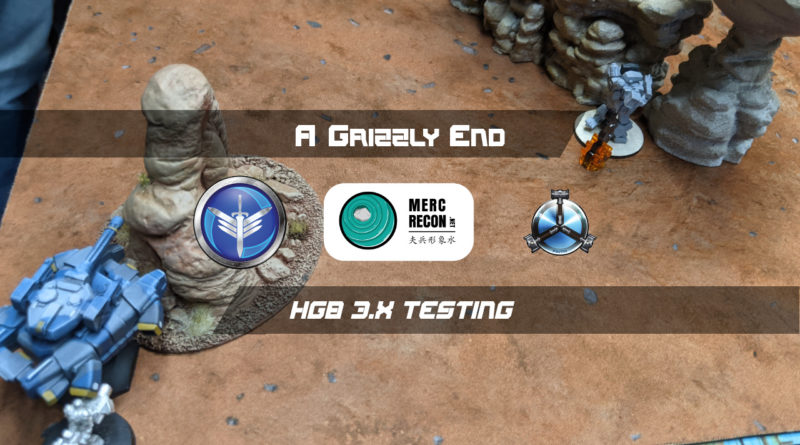
A Grizzly End
It’s been awhile since I’ve played a game of Heavy Gear that I can talk about, so here we go! Adam got in some nice laser-cut N-scale buildings for Heavy Gear use. They don’t really require glue, which is interesting, and some of them can be quite detailed! There’s even N-scale furniture to go into there if you really want it.
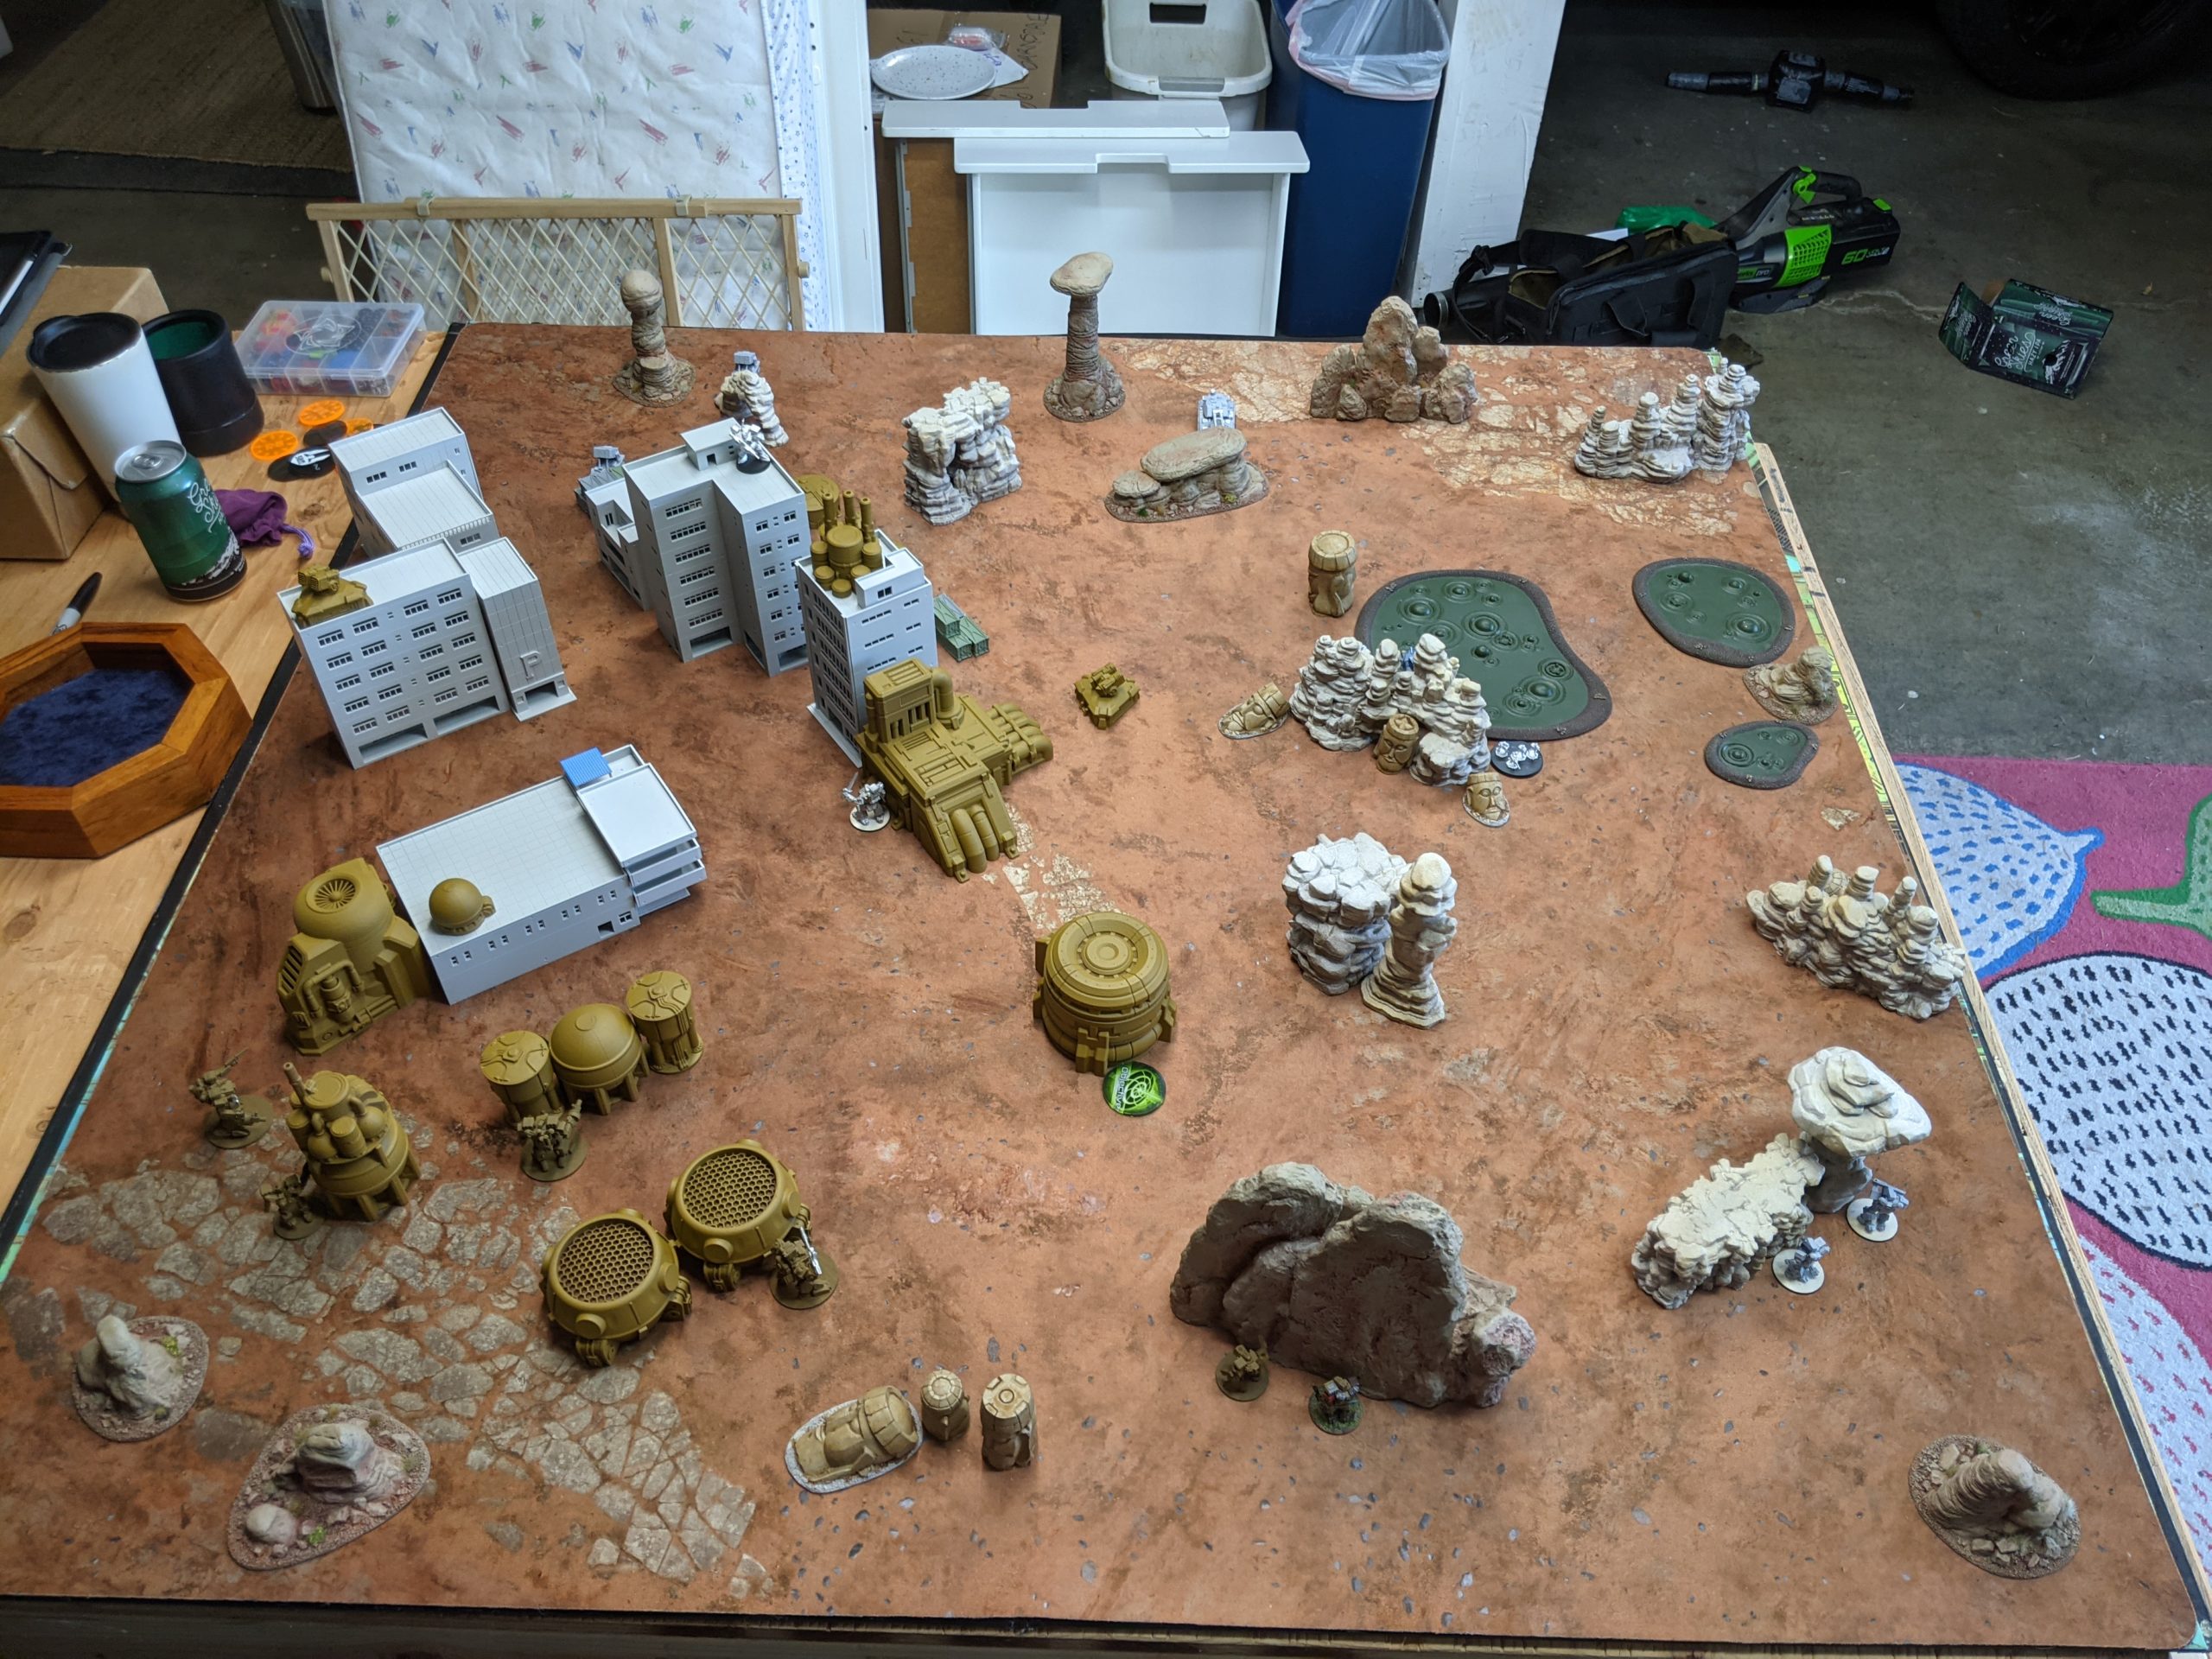
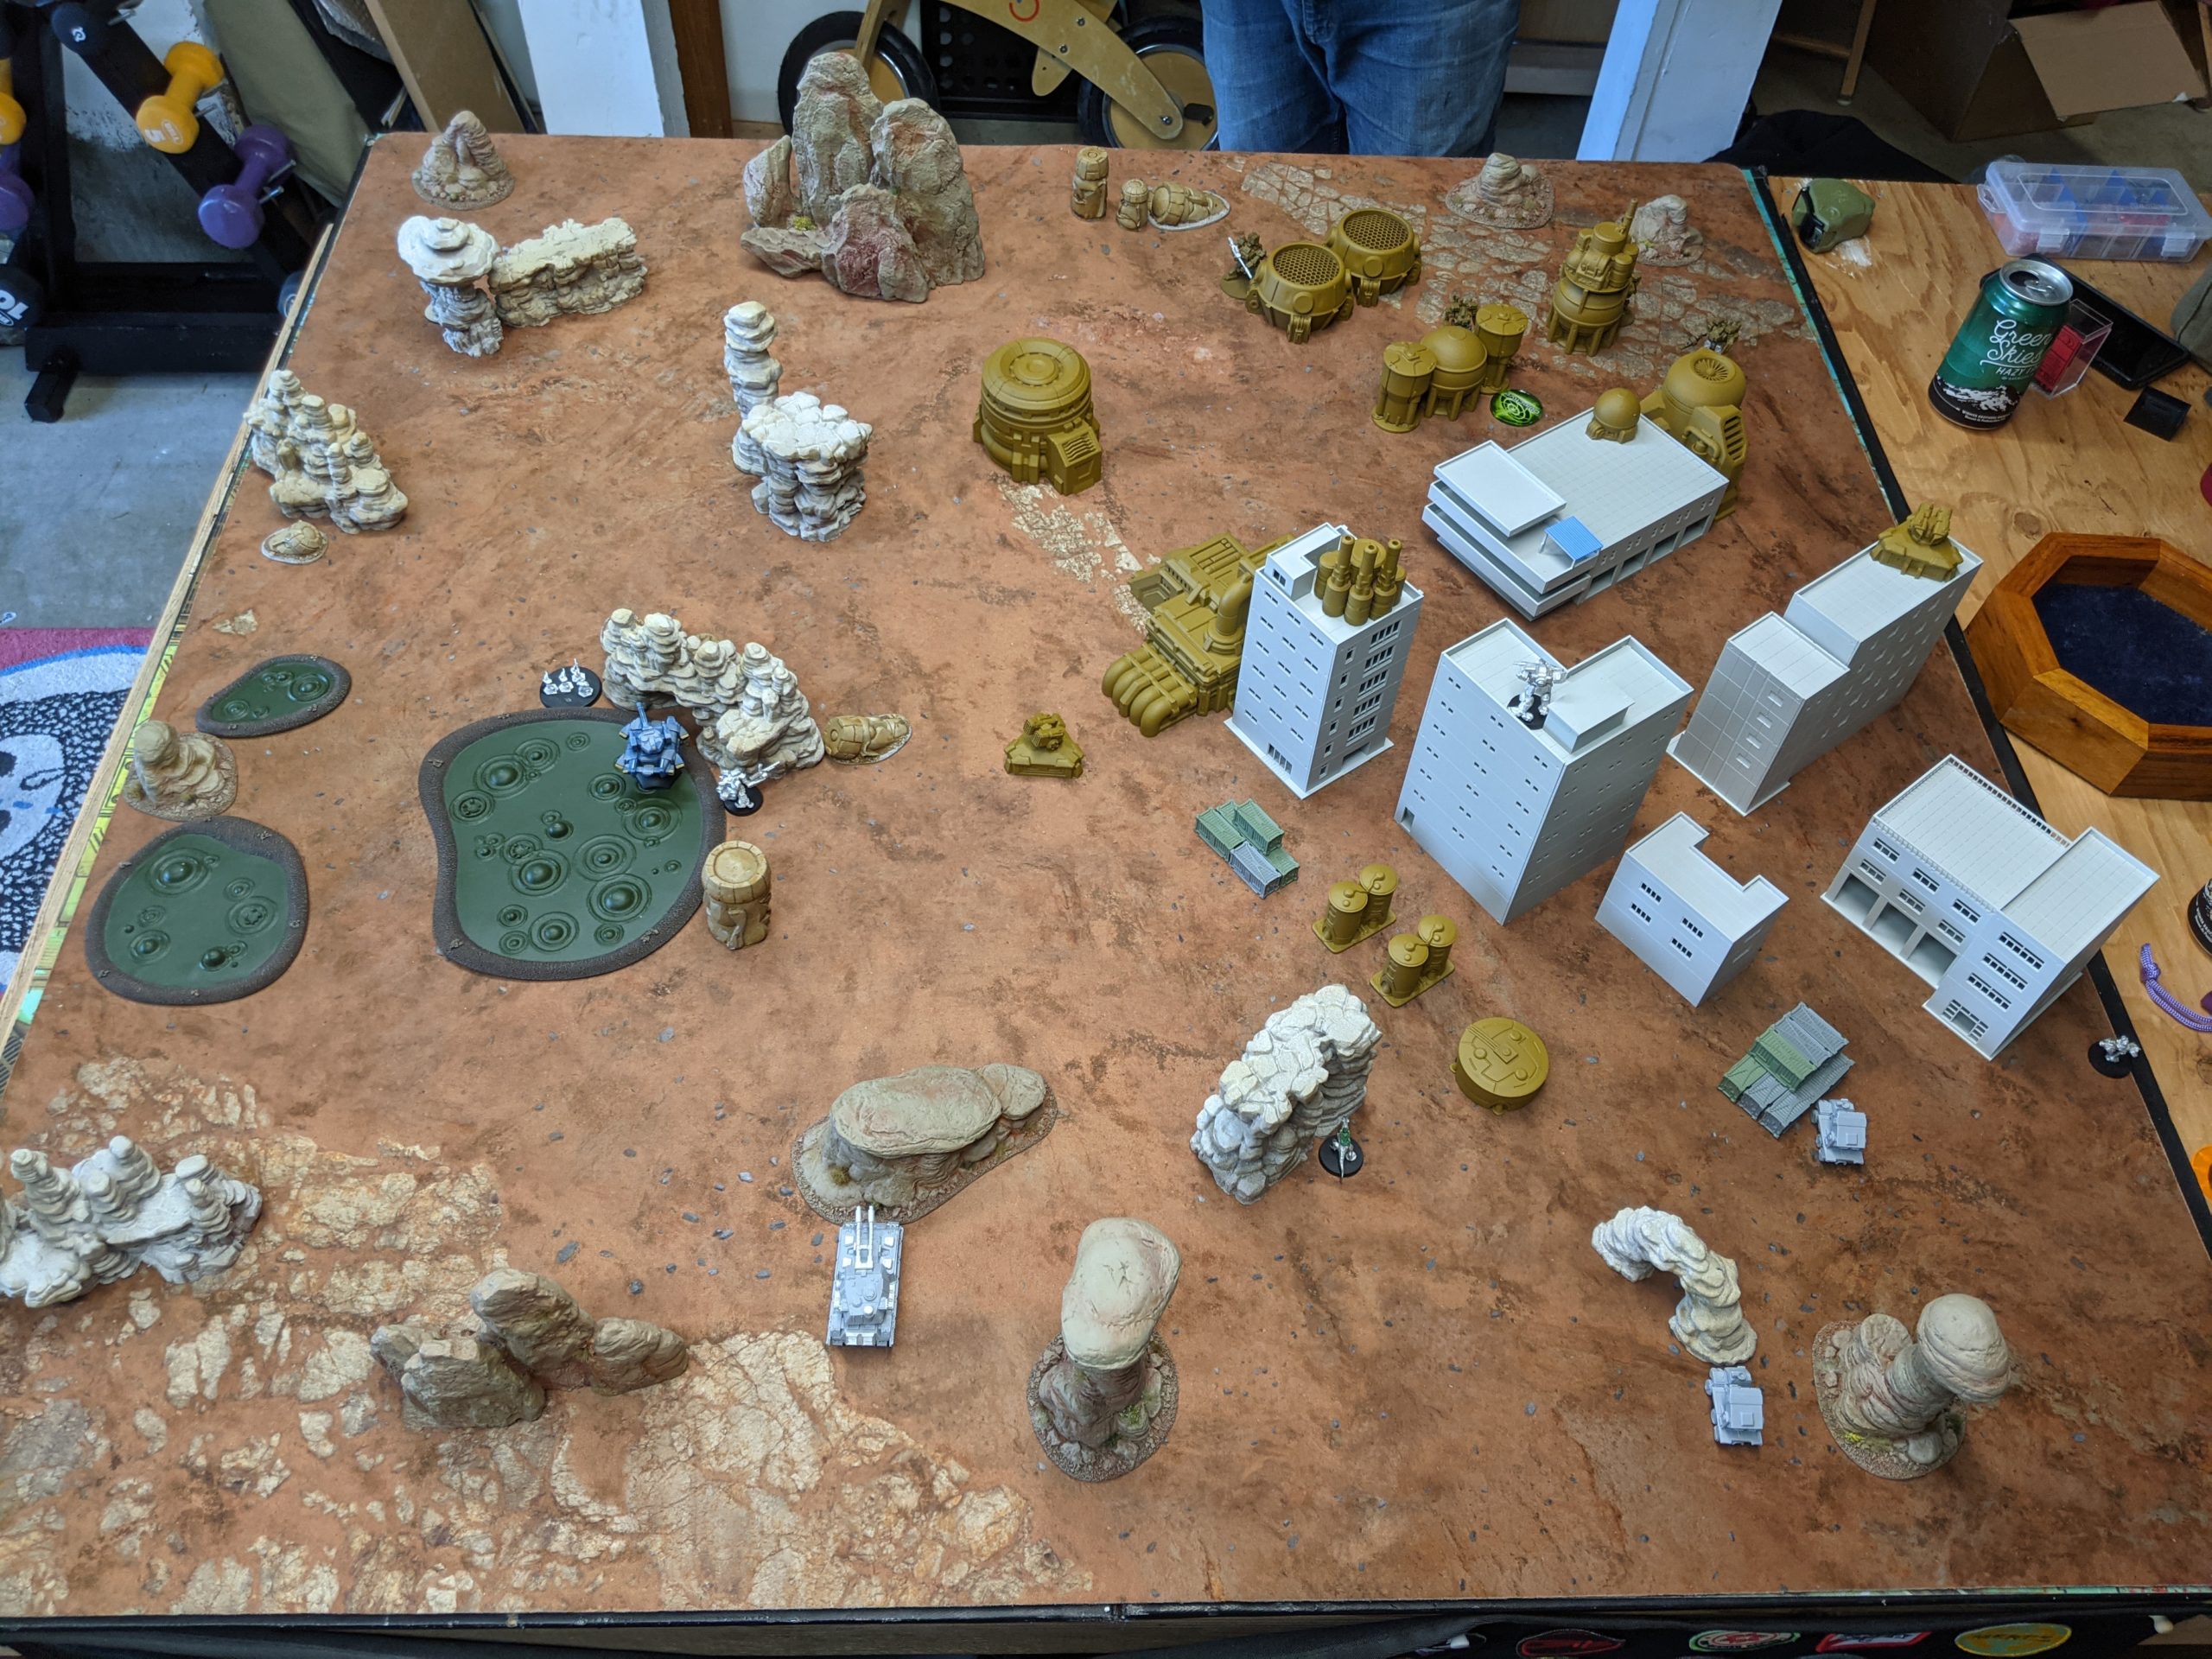
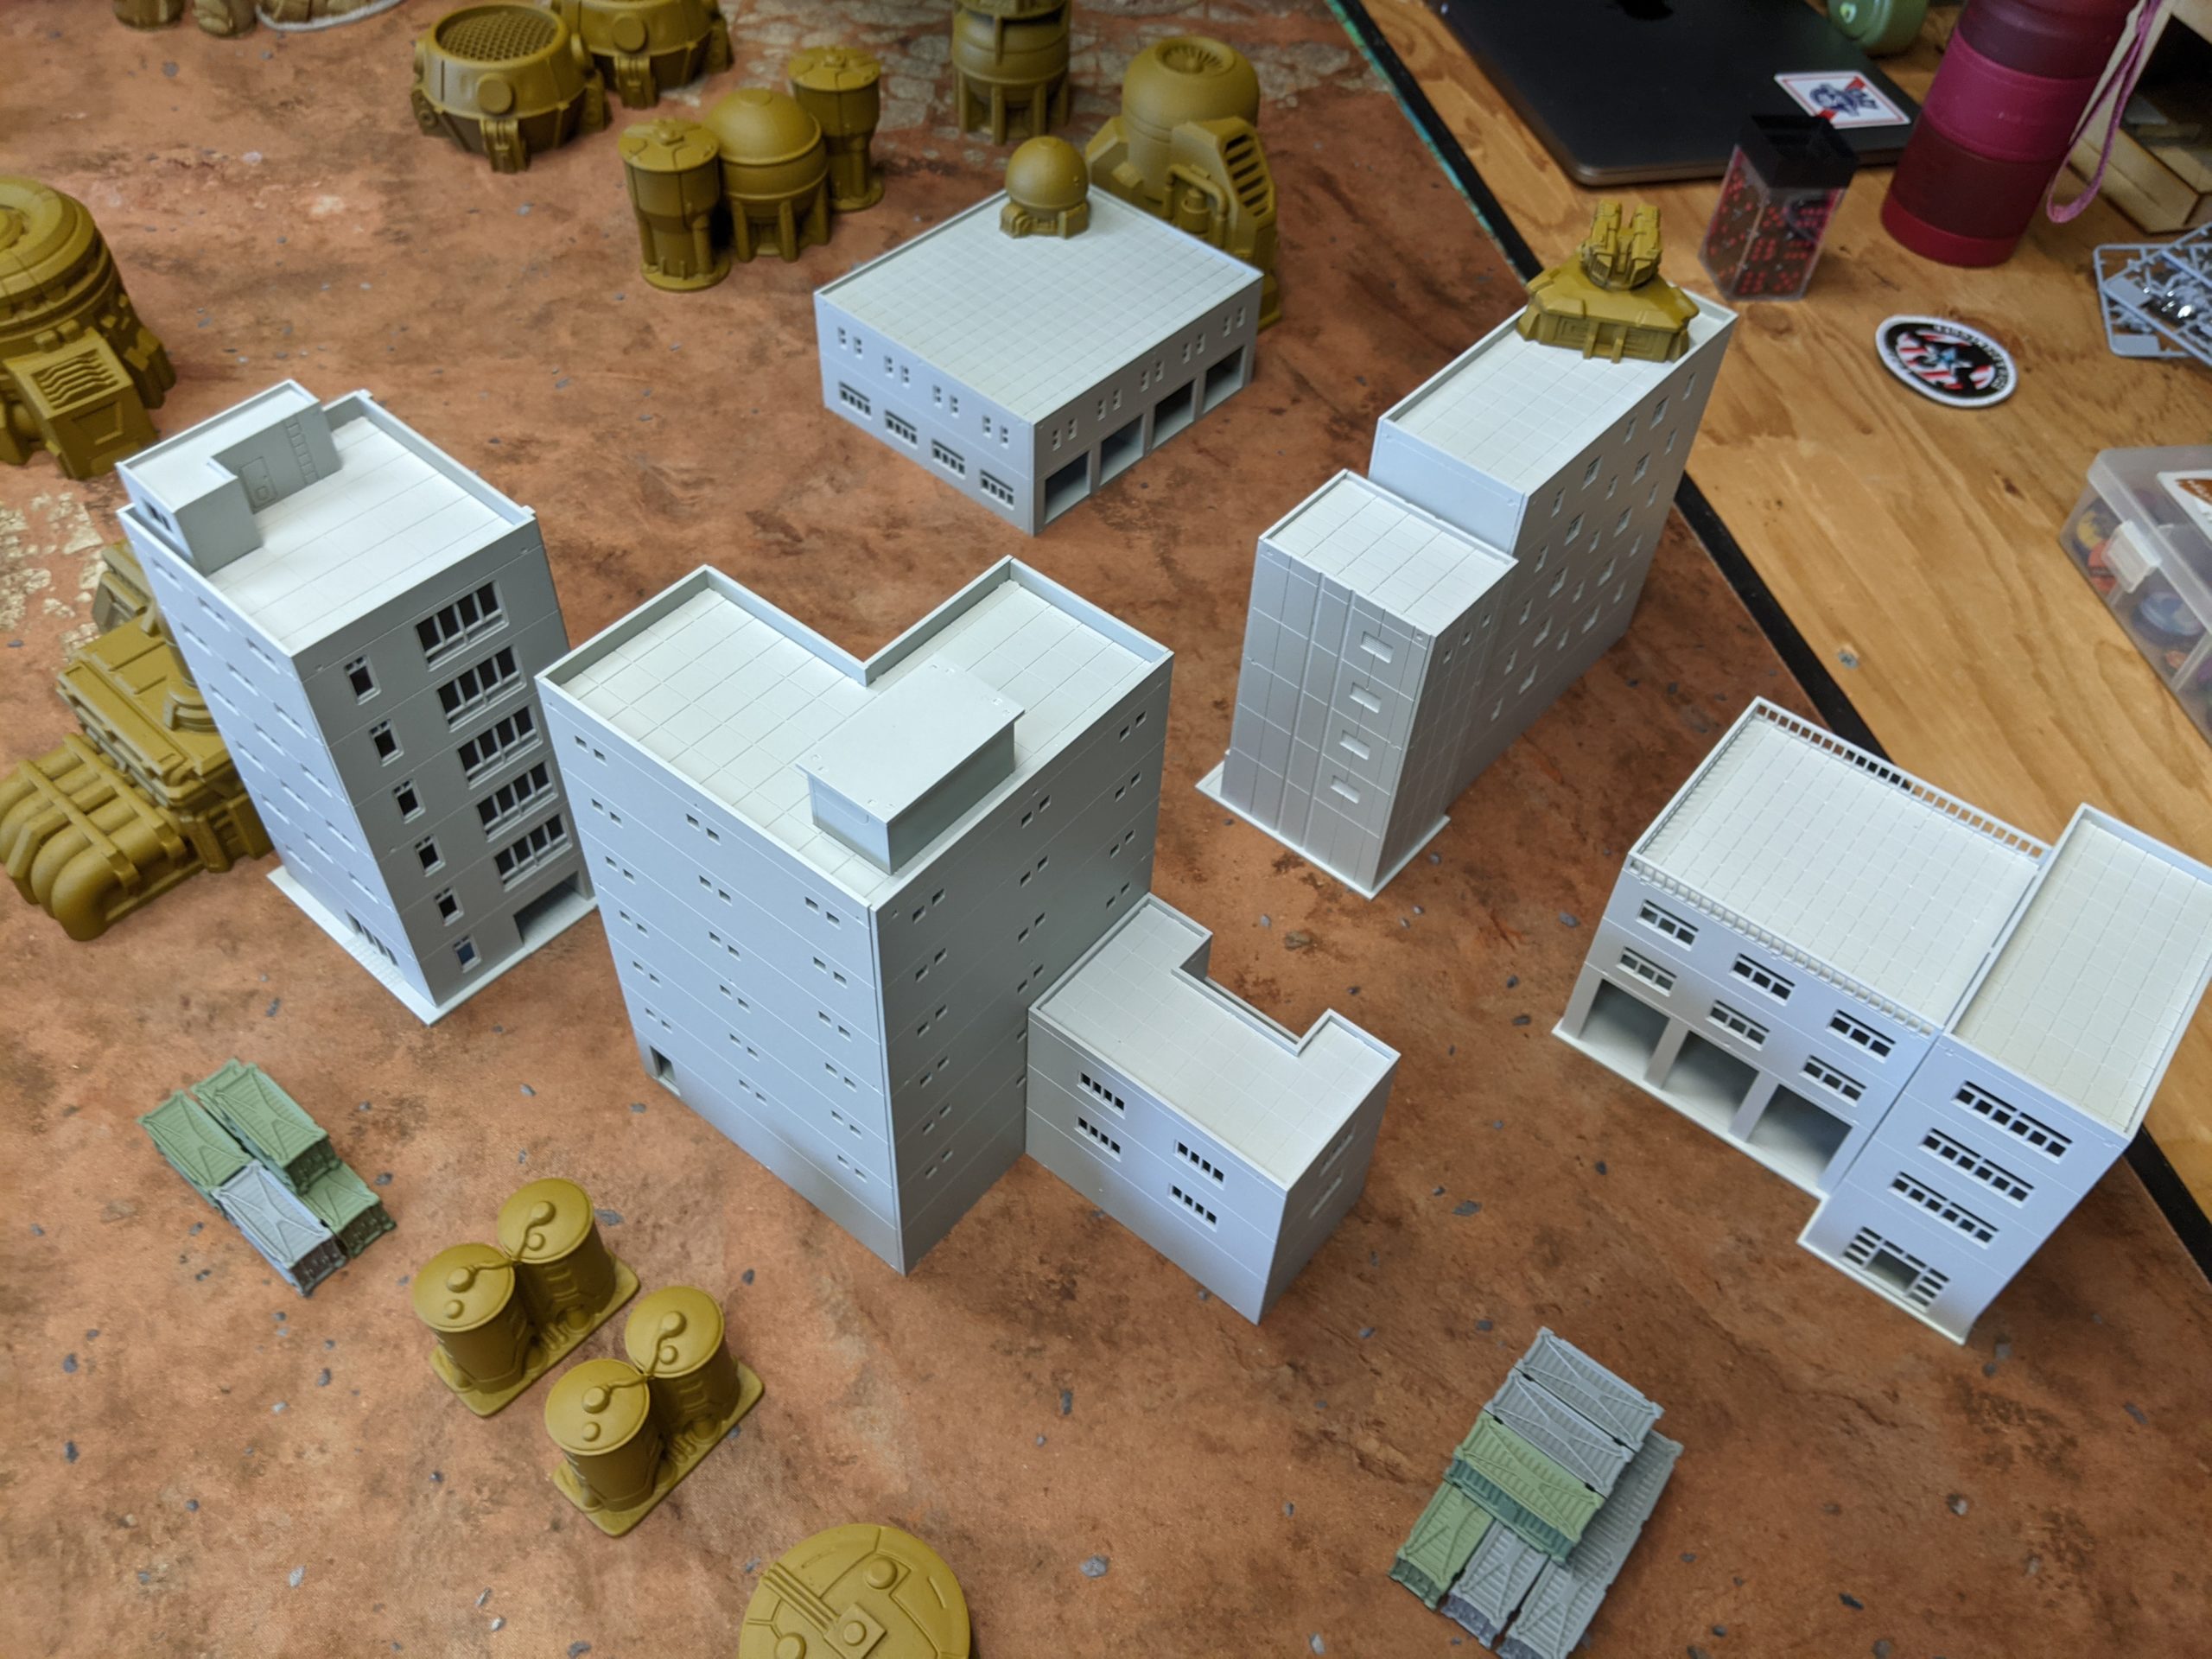
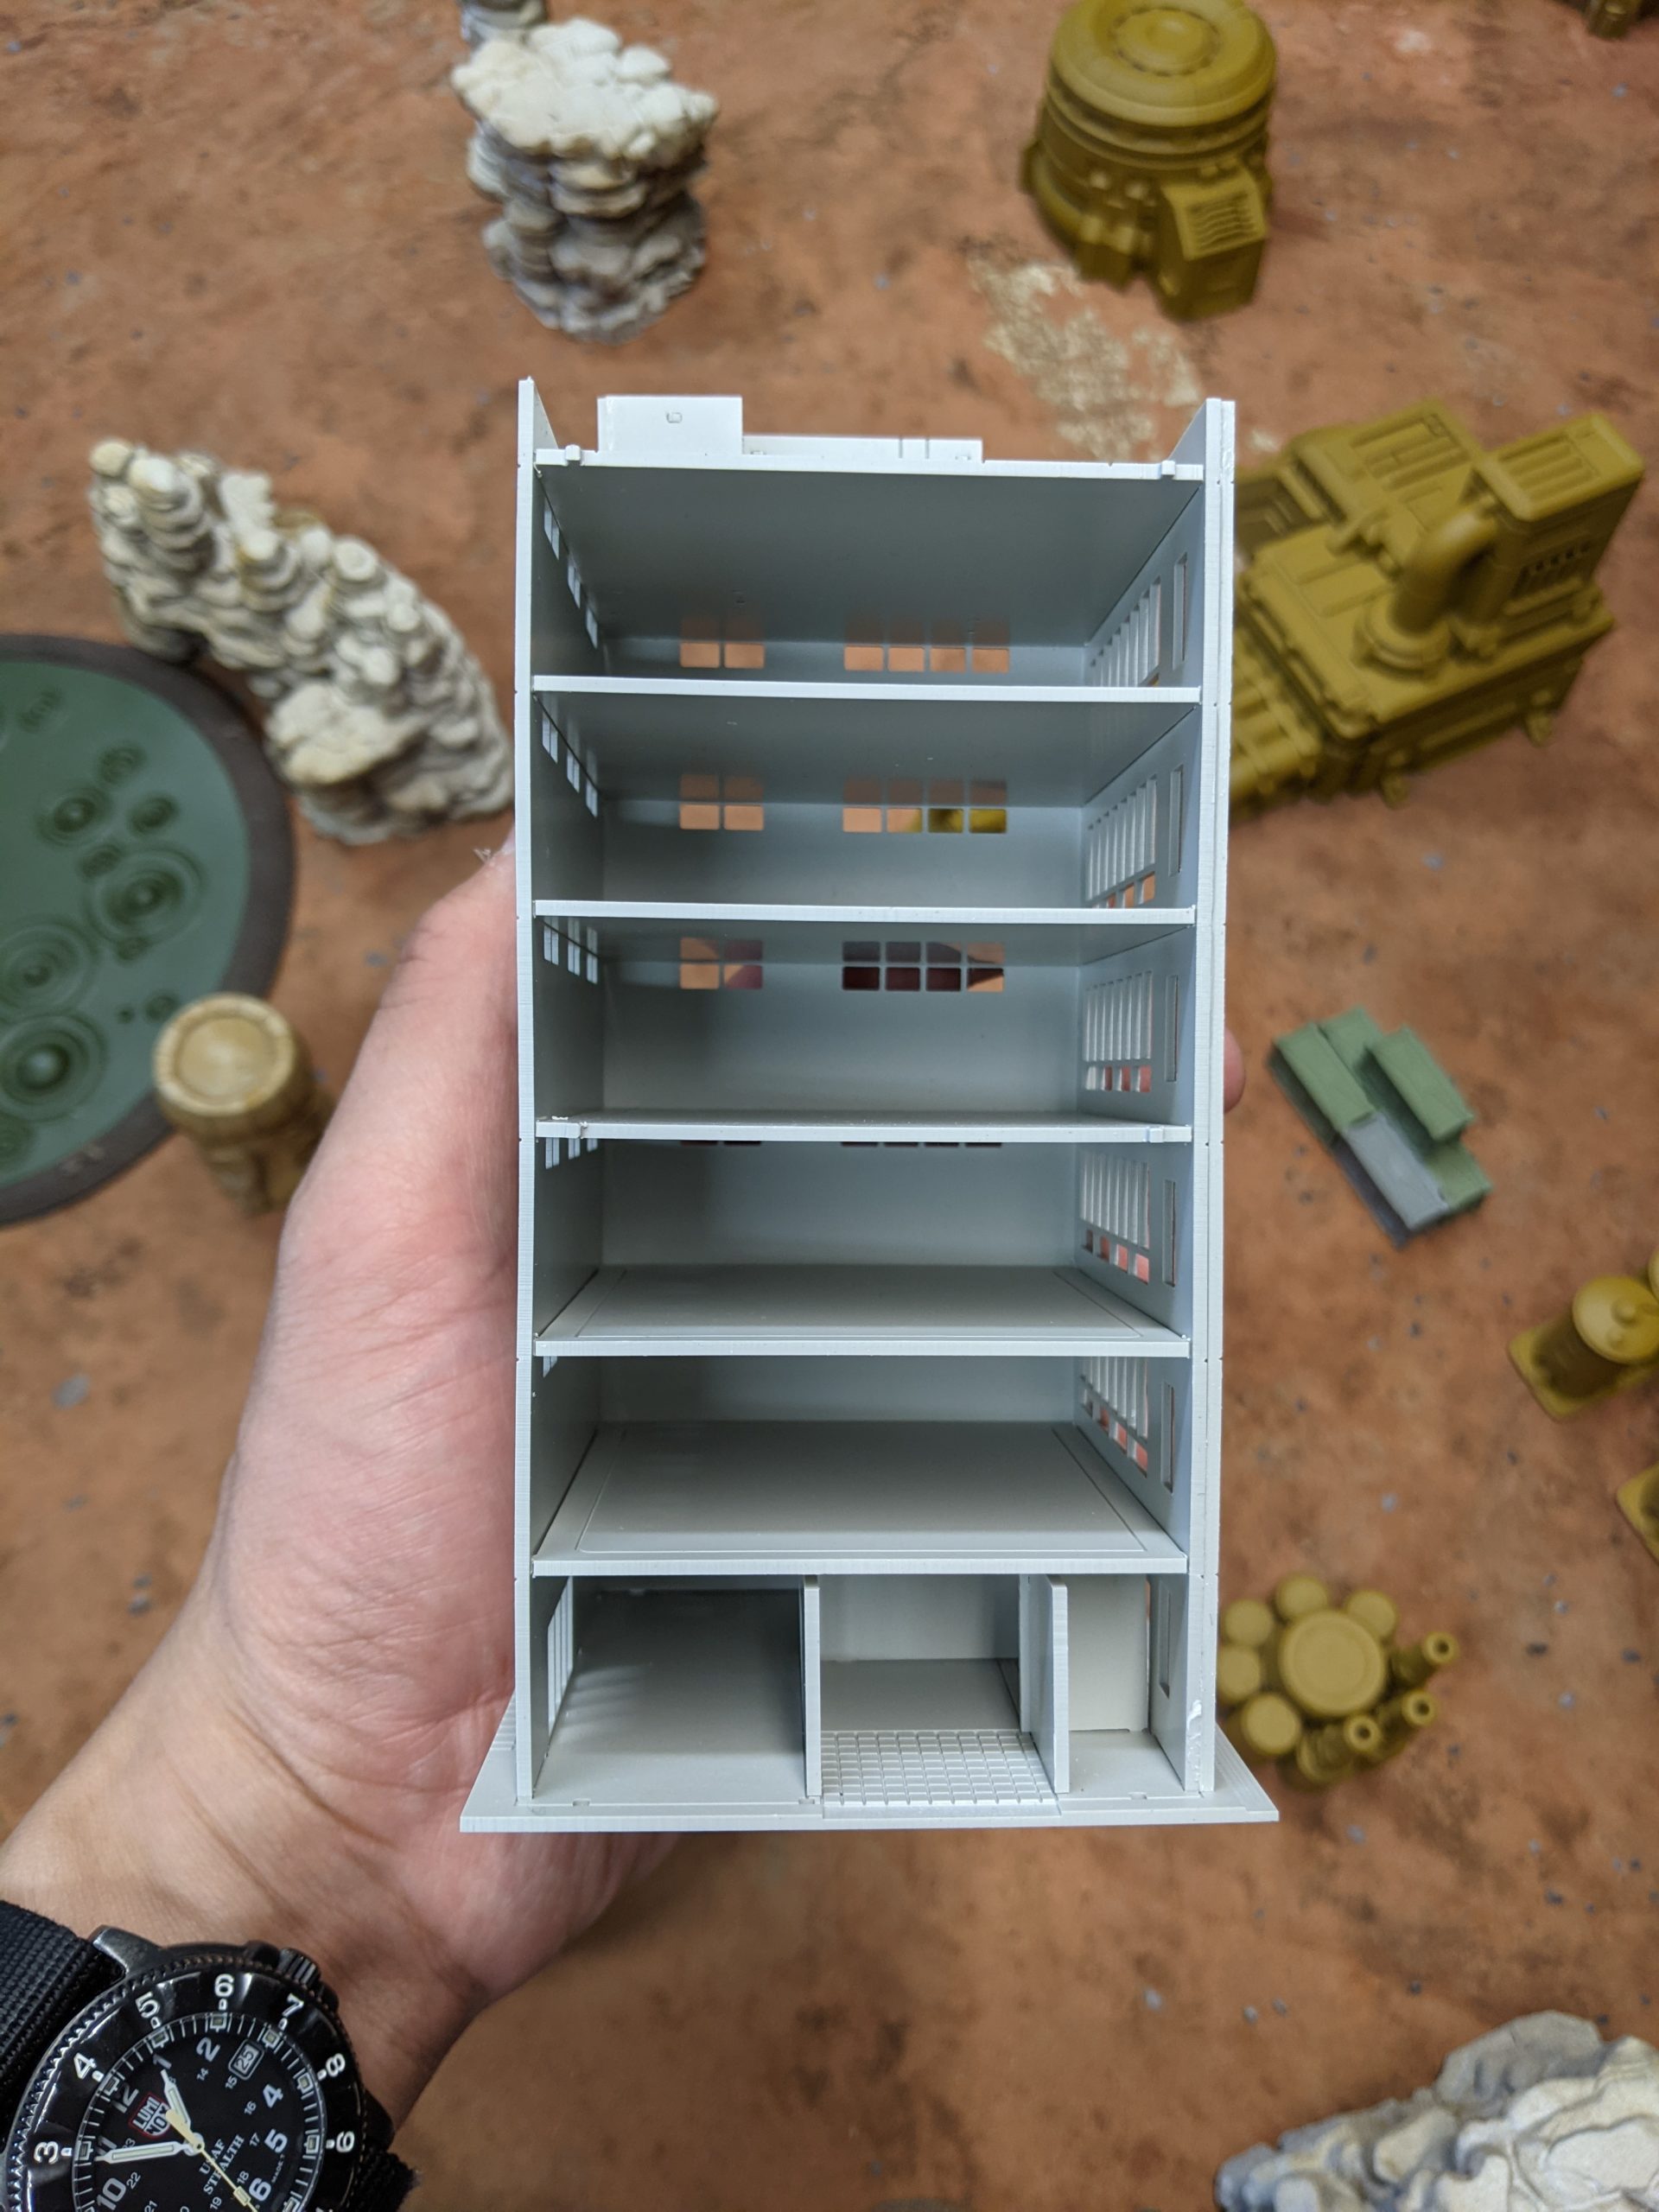
The buildings look quite good on the table even unpainted and I’m sure they’ll really look amazing once they’re all painted up. If you’re really into infantry on particular floors, that’s even sorted here!
Overview
- Mission: HGB 3.x Test
- Forces: NuCoal versus North
We’re doing some rules testing in here, but most of the things going on don’t really affect list building. We’ve been doing a lot of testing of the new objectives we proposed in HGBTS though. Lots of interesting things going on there!
In any case, it was time that I returned to my long-forgotten NuCoal and put them on the table. I’ve really been exploring the various things that airdrop can bring to the table, so I decided it was time to put my recently-assembled Jerboa paratroopers on the table. I decided to take a PAK list so I could get a LHT-67 assault in there (which is absolutely my favorite LHT now) and made everything cheaper by throwing in an Assault Squad to round out the CG. I wanted a strike group for the “Clear the Way” objective, which I’ve found to be quite good in testing as it punishes minimum sized unit list construction well.
Adam’s been saying how afraid he is of the Voltigeur, so time to make him live his nightmare! My second group consists of the aforementioned Voltigeur and a Lizard Sandrider with TD to fill out the group for cheap. Plus I wanted to use the super cool model that Adam converted up for me.
| Name | TV | A | Weapons | Traits | |
|---|---|---|---|---|---|
| CG1 SK |
Jerboa Flash Paratrooper | 10 | 1 | »LAC(Combo), »LGL(Combo), »LSG, LAPGL | Hands, Airdrop, Brawl:-1, Comms, ECM, ECCM, Sensors:24, TD, Jetpack:6 |
| LHT-67 Assault | 15 | 2 | »MFC(T,Link), MRL(T) | Agile, Airdrop, JumpJets:3 (Aux), Sensors:24, TD | |
| Assault Squad Paratrooper | 6 | 1 | »LIW, »LICW, HIS(Burst:1) | Airdrop, Smoke | |
| CG2 FS |
Voltigeur CV | 33 | 3 | »MLC(T), LFG(T,Link,Precise), MATM, HMG, HAPGL | Offroad, Smoke, Comms, SatUp, ECCM |
| Lizard Sandrider Observation Squad Single | 4 | 1 | »LIW, »HICW | Agile, TD, Comms | |
| CG3 GP |
GREL Hoverbike Squad Jan Upgrade,Single | 5 | 1 | »HIW, »MIGL, »MICW | Agile, JumpJets:2, Comms |
| GREL Hoverbike Squad Jan Upgrade,Single | 5 | 1 | »HIW, »MIGL, »MICW | Agile, JumpJets:2, Comms | |
| Stinger | 4 | 1 | »LMG(T), MABM(T) | – | |
| Stinger | 4 | 1 | »LMG(T), MABM(T) | – | |
| CG4 RC |
Espion CV | 14 | 1 | »MRF(Silent), LRP, »MVB | Hands, Agile, ECCM, Vet, Stealth ((Aux)), Comms, SatUp, Duelist, IO, Auto:1Wpn |
| Total | 100 | 13 |
I can’t play NuCoal or CEF without my Hoverbikes, so two made it into the list along with two Stingers. I’ve been meaning to try them out, now seemed like a reasonable time to do so. Finally, to get another CG activation, I threw in an Espion duelist.
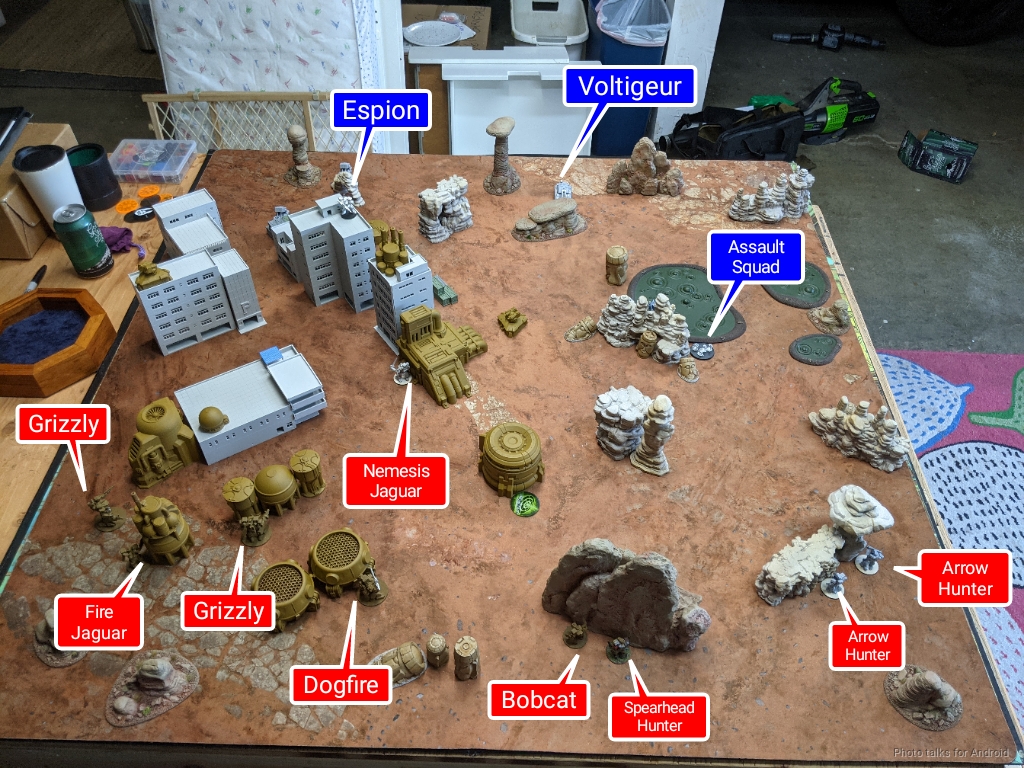
Adam decided to forgo his usual ATM squad and instead brought an MGL squad of two Rabid Grizzlies, a Dogfire R, and a Jaguar to lead them…and then a mini-ATM squad with Hunters and a Bobcat.
| Name | TV | A | Weapons | Traits | |
|---|---|---|---|---|---|
| CG1 SK |
Rabid Grizzly | 13 | 1 | »MGL, »LSMG, »LVB, MRP(Link), MFM, HMG | Hands, React+, FieldArmor |
| Rabid Grizzly | 13 | 1 | »MGL, »LSMG, »LVB, MRP(Link), MFM, HMG | Hands, React+, FieldArmor | |
| Dogfire R | 8 | 1 | »LFG, »LVB, MRP(Link), MMG(Link) | Hands | |
| Fire Jaguar Thunder,Seccom | 13 | 1 | »MAC, »LVB, MRP(Link), LAPGL | Hands, Agile, Airdrop, Comms, SatUp, ECCM | |
| CG2 GP |
Arrow Hunter | 8 | 1 | »LAC, »LVB, LATM(LA:2), LAPGL | Hands |
| Arrow Hunter | 8 | 1 | »LAC, »LVB, LATM(LA:2), LAPGL | Hands | |
| Bobcat | 8 | 1 | »LSMG, »LVB, LRP | Hands, Brawl:-1, TD, Comms, ECCM (Aux), Sensors:24 | |
| Spearhead Hunter | 10 | 1 | »HAC, »LVB, LAPGL | Hands, SP:+1, Comms, SatUp, ECCM, VulnH | |
| CG3 SK |
Southern Special Nemesis Jaguar | 19 | 2 | »MAC(Link), »LSG, »LVB(Precise,Reach:1), MRP | Hands, Agile, Airdrop, Brawl:2, Vet, Duelist, IO, Shield, Field Armor |
| Total | 100 | 10 |
He too wanted a duelist, specifically the new Nemesis Jaguar! What’s interesting here is that I was able to pack in a full additional combat group, mostly because I took a bunch of 4-point things that hit way above their weight and the ever-efficient LHT-67 Assault.
Deployment
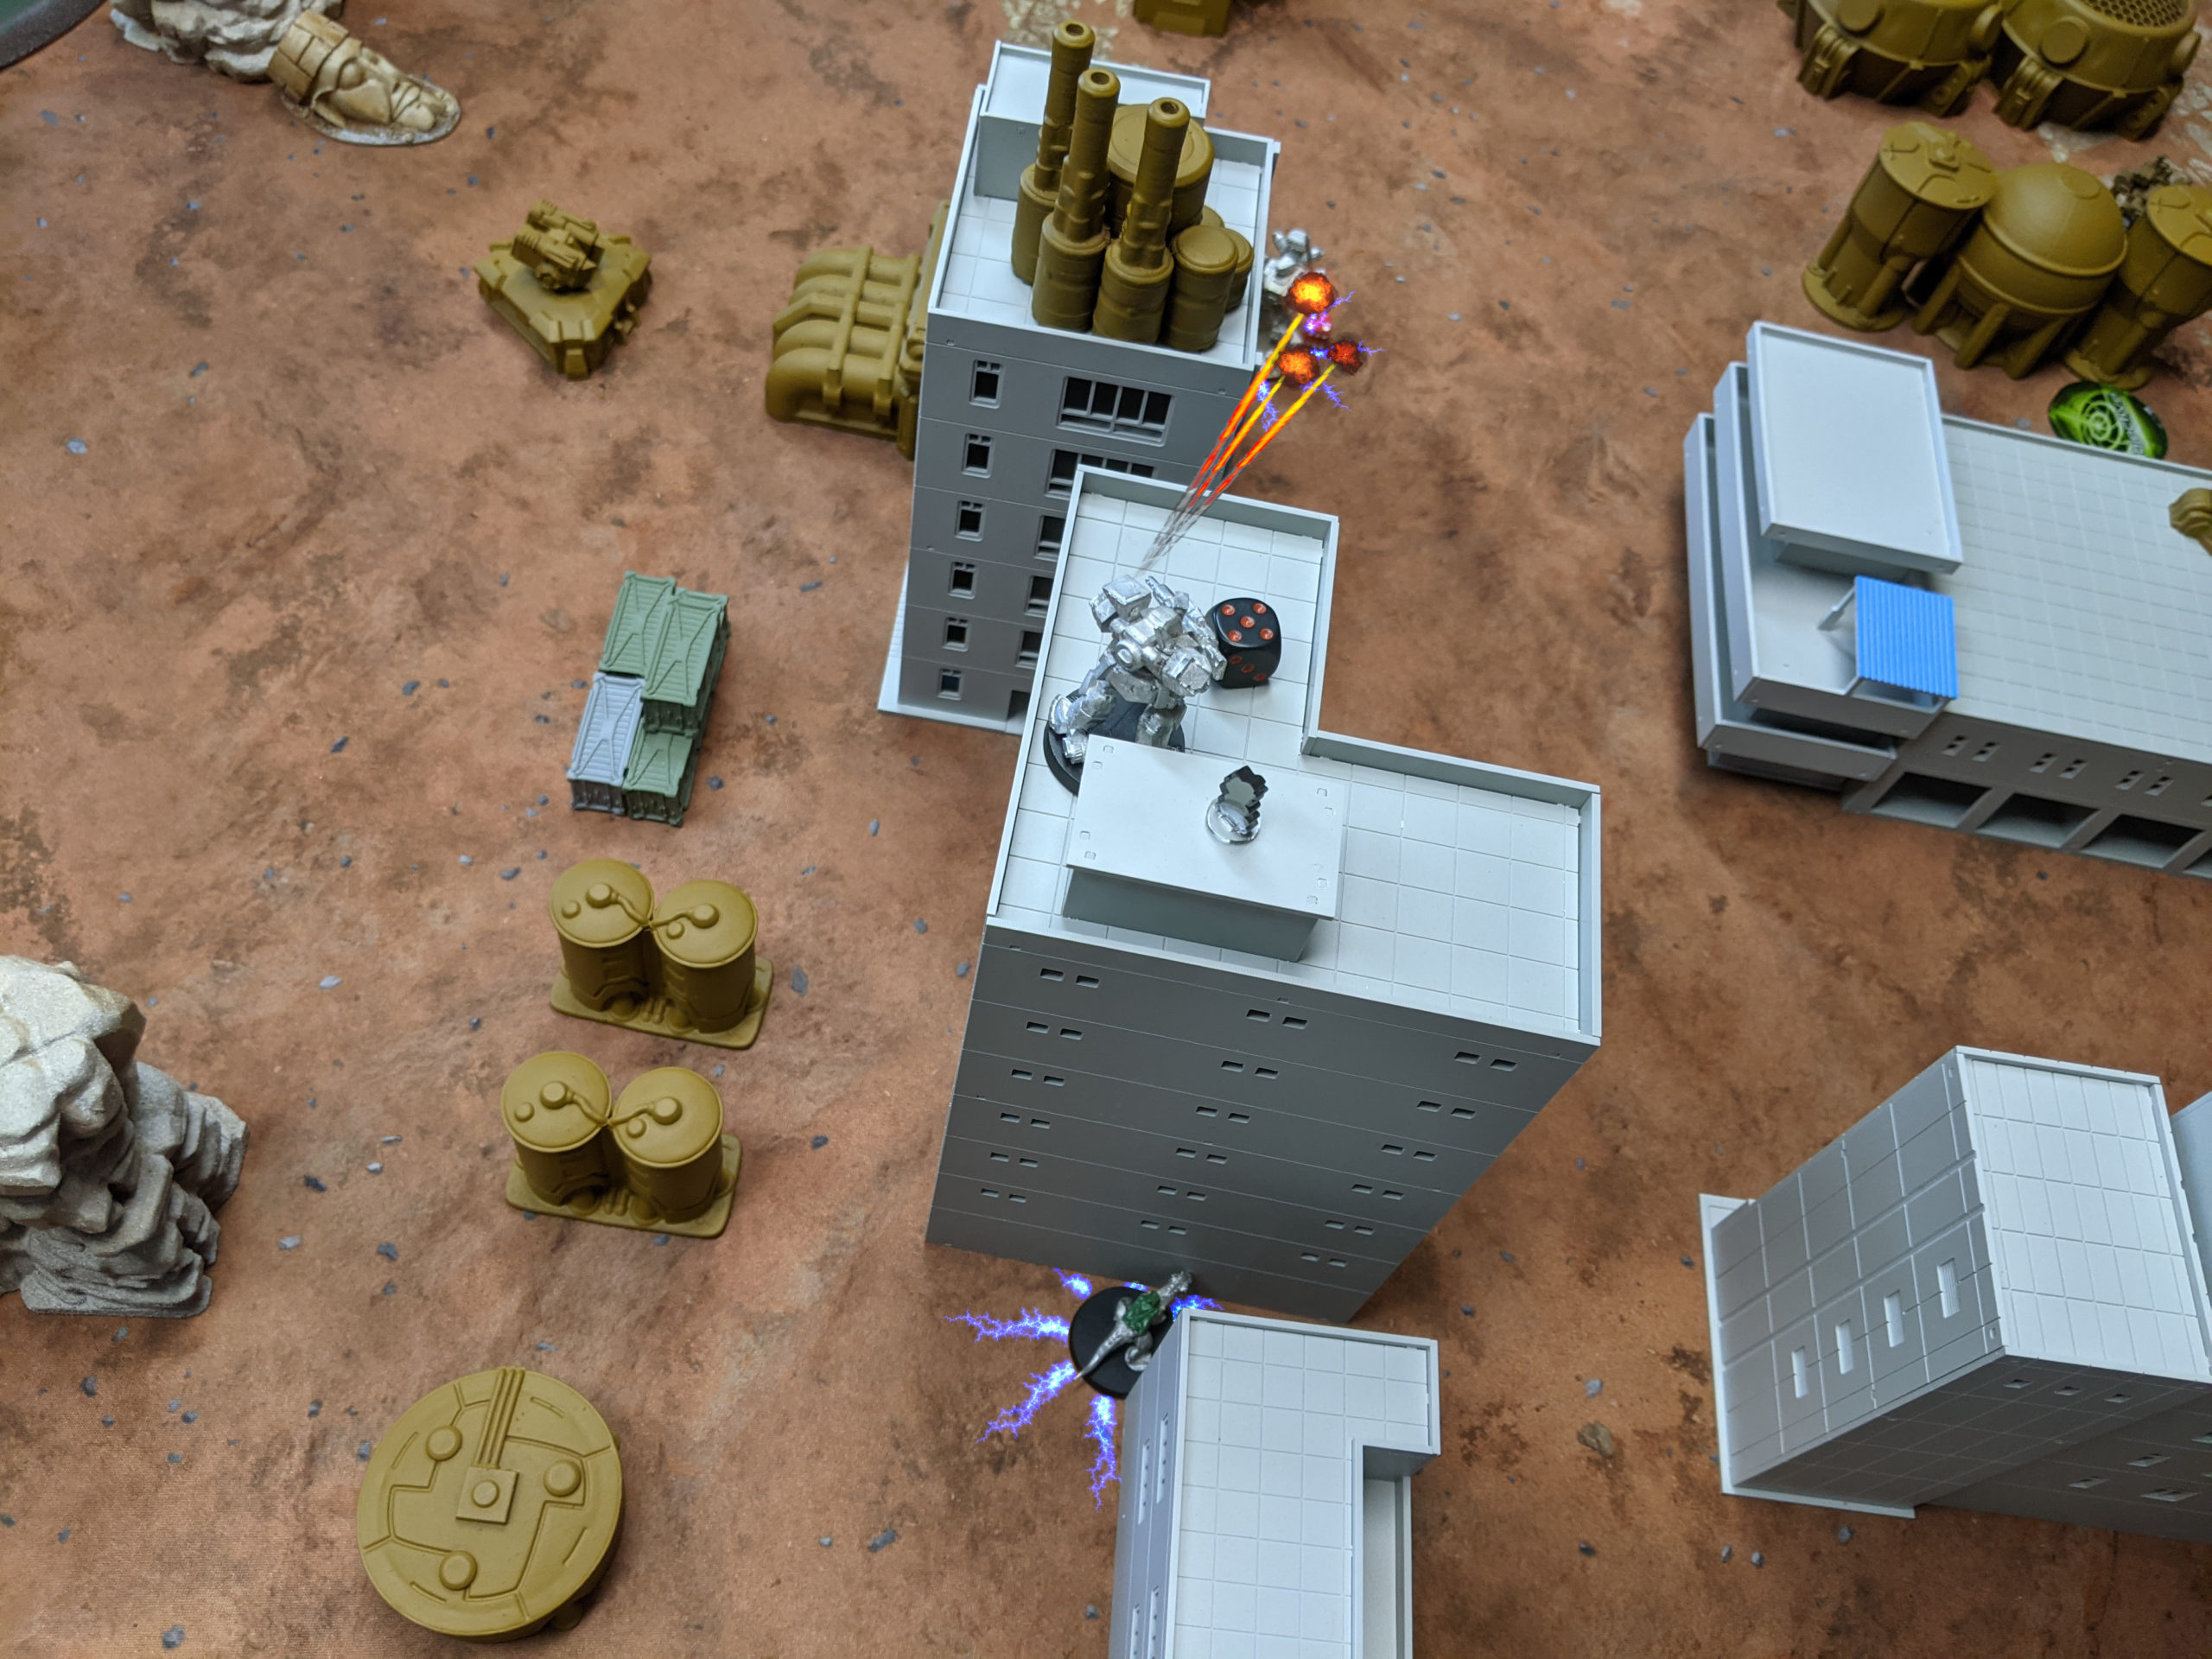
Deployment was interesting. I started things off by deploying my Stingers and Hoverbikes, one Hoverbike per side and the Stingers behind some terrain on the right. We decided that all the buildings are Medium cover and all the rocks are Heavy. Next Adam put his Hunters behind the rocks on my left, so I deployed my Voltigeur and Lizard Rider in the middle to give me a base of fire.
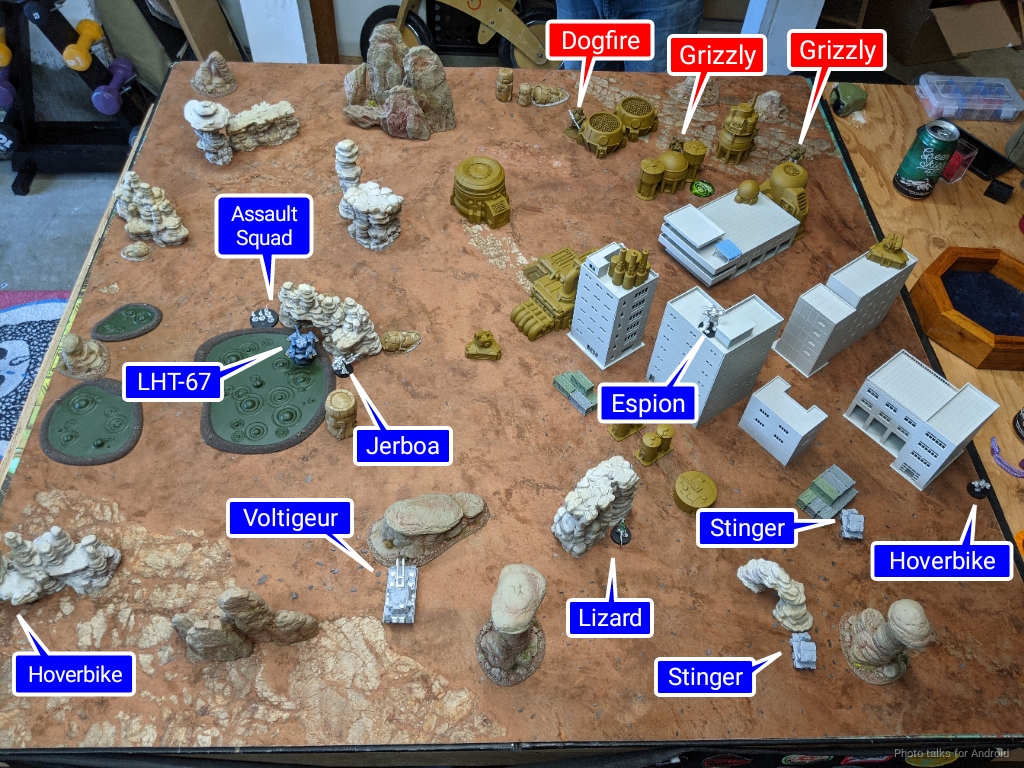
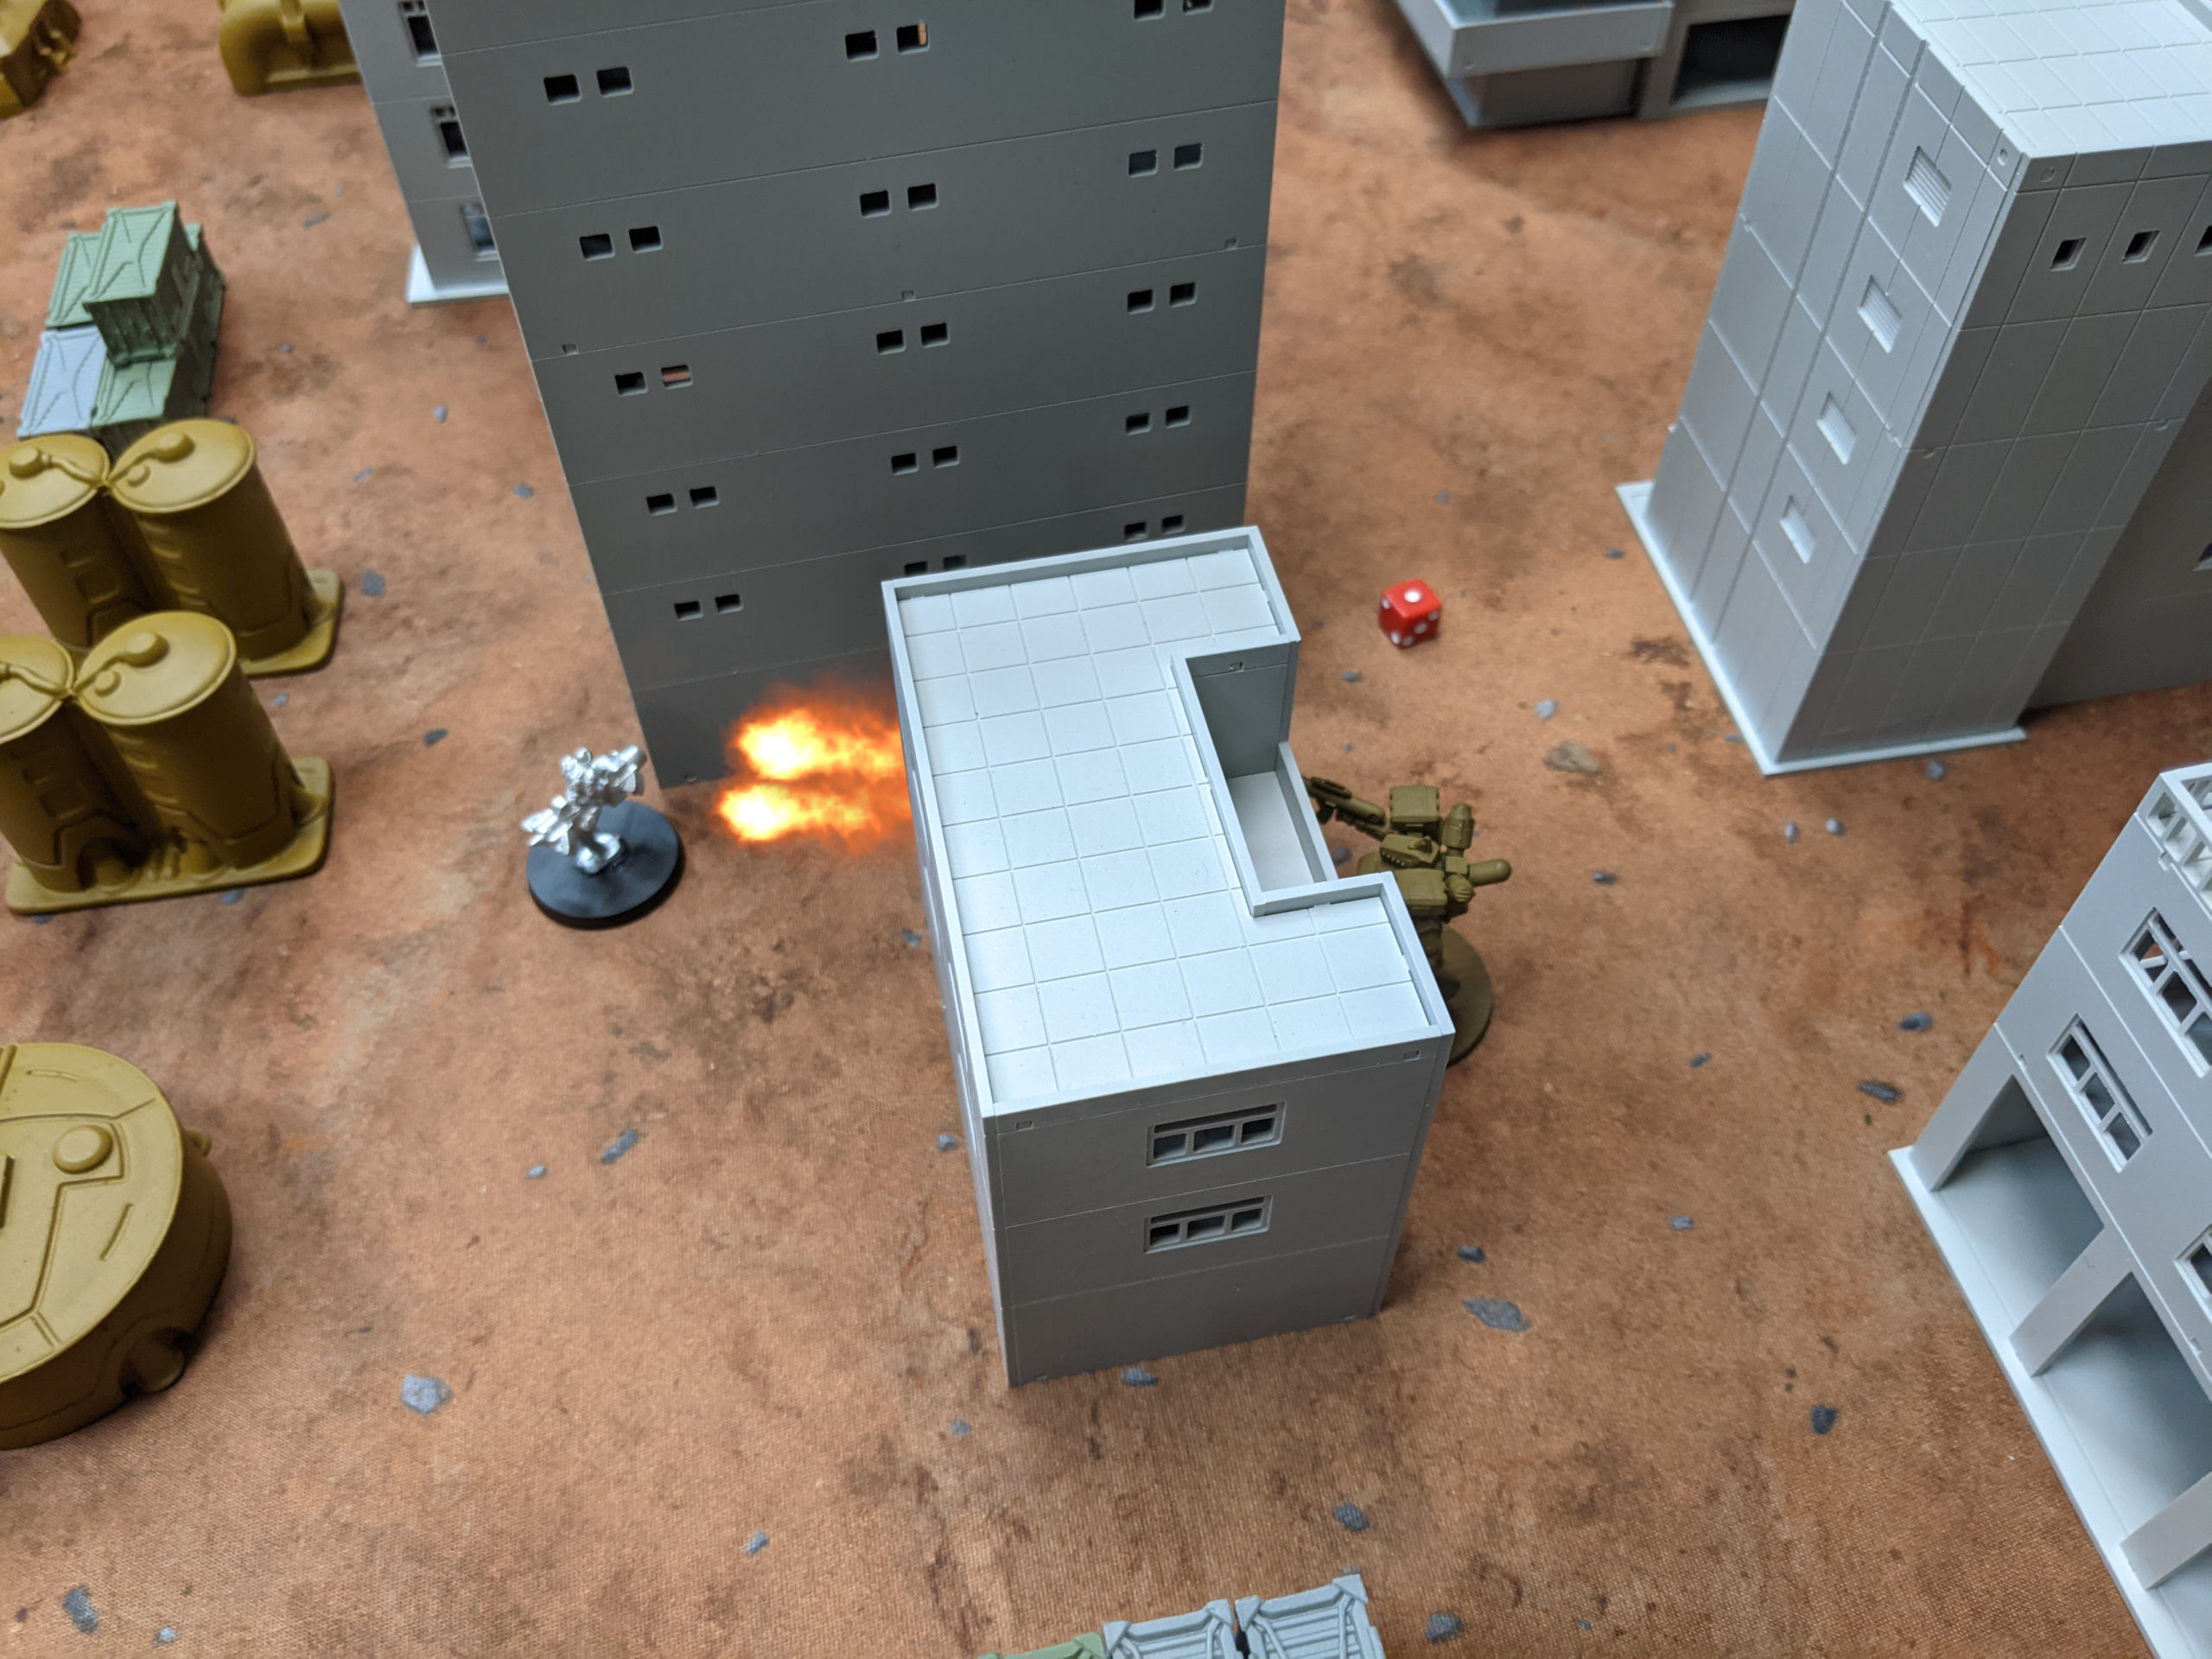
Adam dropped his Grizzly squad on the table on his left, and then it was my turn to deploy my Espion, which I put down on a building for fun. Adam’s Nemesis Jaguar airdropped below the Espion, and then I airdropped my LHT/Jerboa/Assault squad behind a rock in the midfield, making use of the LHT’s ability to deploy on water terrain due to hover.
Objectives
We’re playing a 100TV game so we only took two objectives each. We both chose Pave the Way, which is sort of a weaker Wipe Them Out. Basically you choose two enemy combat groups and for each of those groups you reduce to half actions by the end of the game, you get a point.
I chose the Hunter Squad and Adam’s Nemesis Jaguar. Adam chose my LHT squad and my Hoverbike squad, which he equivocated over for a bit. He’s had trouble killing my Espions before, so he decided to try for what he thought were softer targets.
Adam chose Hold for his section objective, and I chose Flags. I nominated the Jerboa and my Hoverbike CGL to carry the Flags, figuring they were the most likely to get the job done.
Here’s a quick explanation of my plan:
- My flag carriers are on my left.
- Adam’s stuff:
- Hunters on my left – Normal speed
- Nemesis Jaguar in the middle – Normal Speed
- Grizzlies on my right – Slow
Okay great. If I want to maximize points, I can dump my flags on the left table edge, but then I have to make sure that Adam can’t clear my flags, so the Hunters and Nemesis Jaguar have to die. Fortunately, I get points for that!
Okay, now to look at Adam’s objectives. How do I make him sad? Well, he wants to Hold, but if I kill his Hunters and Nemesis Jaguar, he’s not getting the Hold objective on my left. He can have the one on my right with his Grizzlies, I don’t want to deal with the Grizzlies. The rest of plan is just “stay alive.” Good. I was planning on doing that anyway.
So, all I have to do is:
- Murder the Hunters and the Nemesis Jaguar
- Dump the flags on the left table edge
- Keep the Tank/Jerboa/Infantry and Stingers/Bikes alive.
Good deal. Let’s get to work.
Fight!
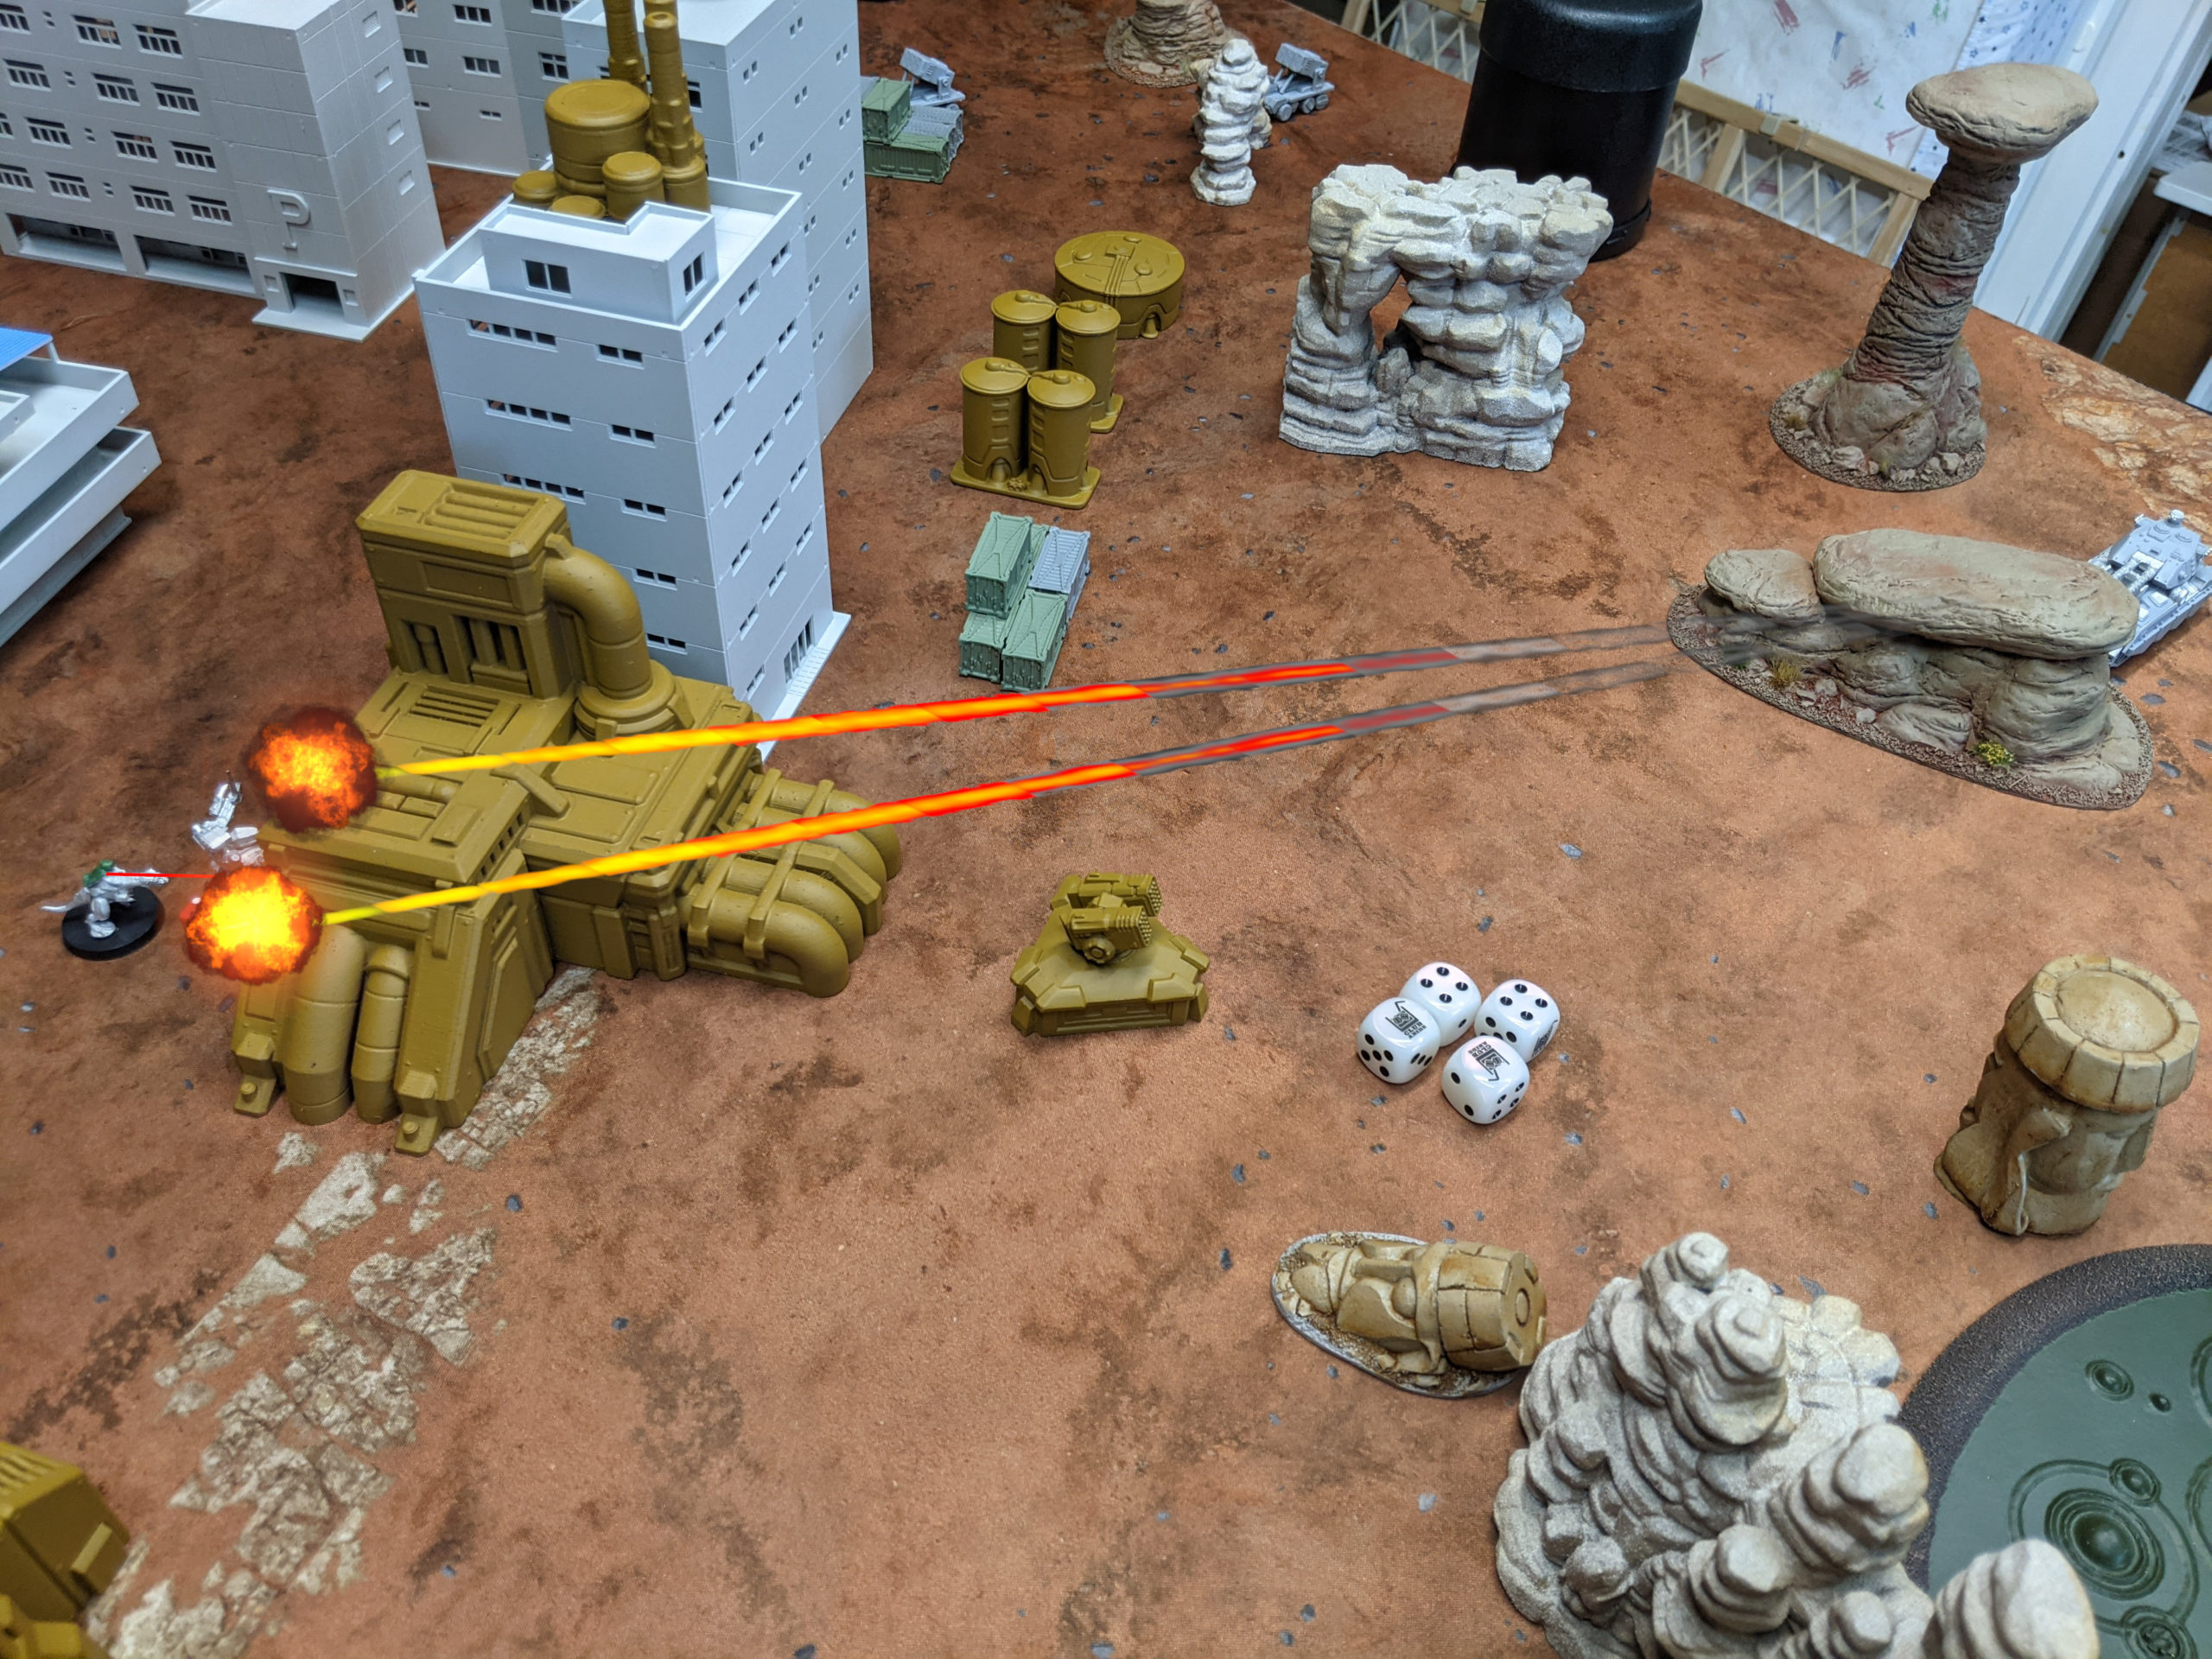
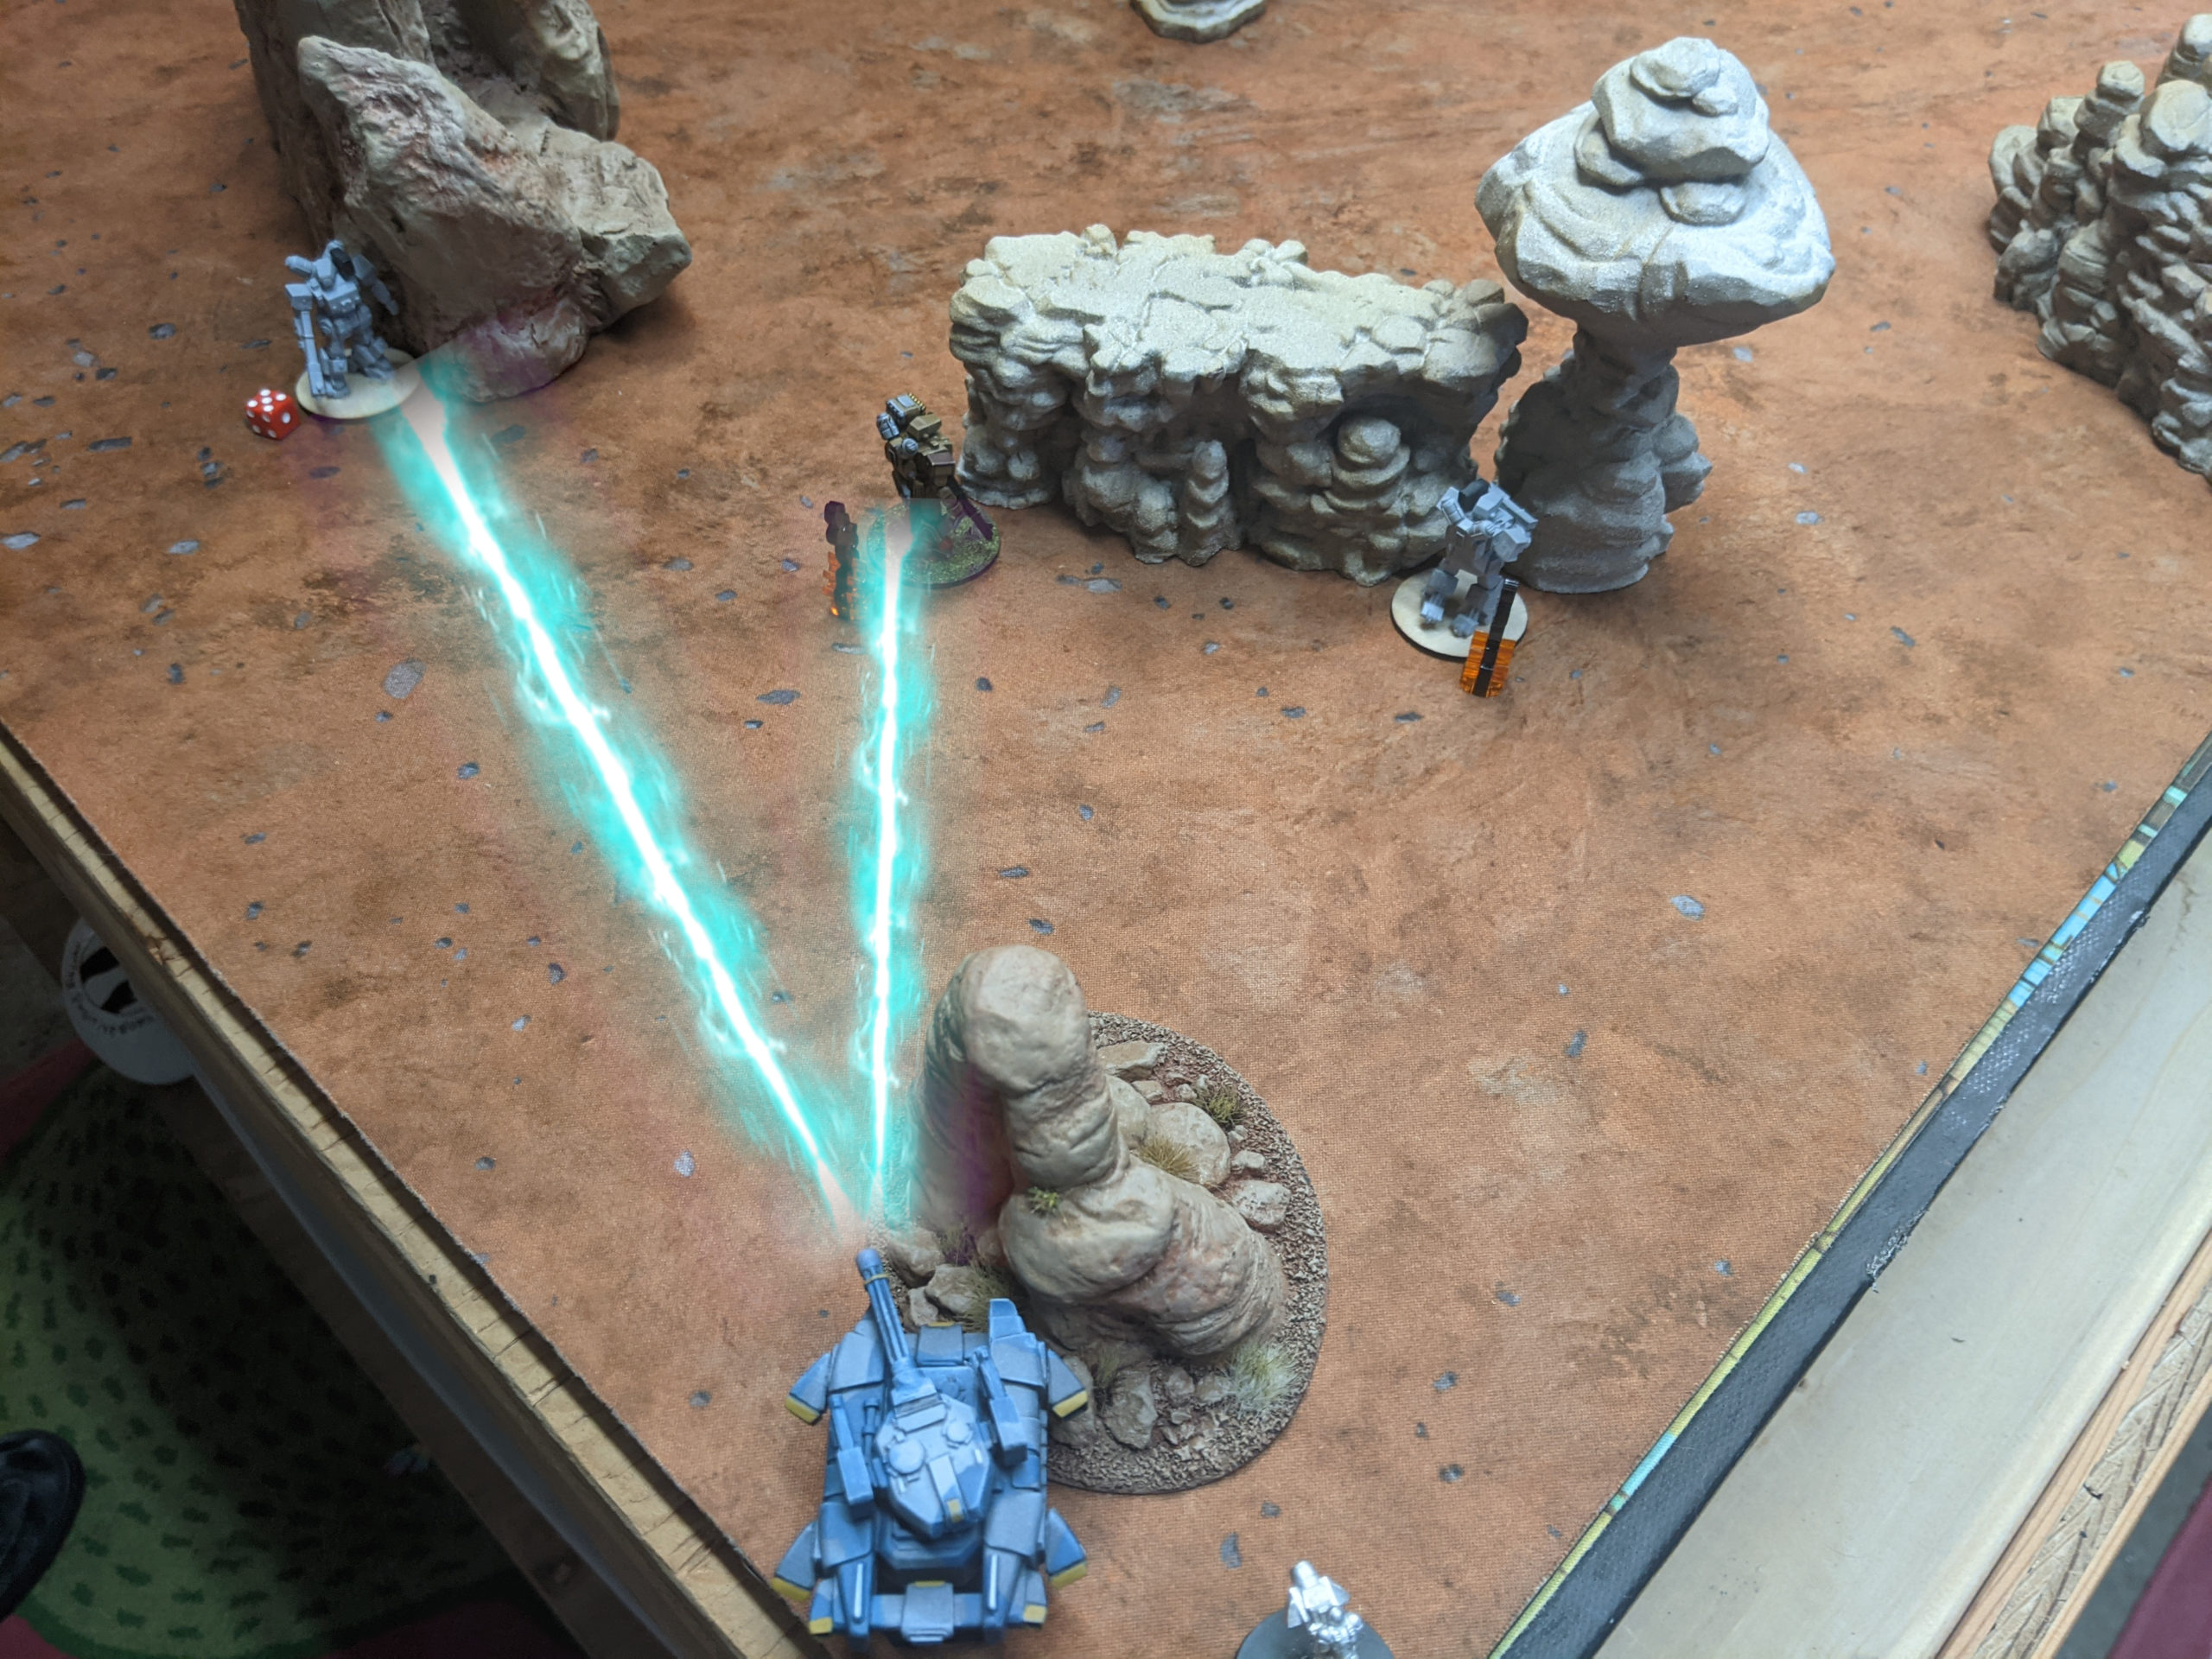
Adam won initiative and started by getting his Bobcat up to Forward Observe my Espion, dropping two ATMs on it from the Arrow Hunters in his backfield. Both whiffed! I was feeling pretty good, that’s half the ATMs gone already, making it harder for Adam to deal with my LHT. Excellent.
I retaliated by activating my strike squad and used the Jerboa’s ECCM to aid the LHT-67 in Target Designating MABMs from my two Stingers. A pair of Stingers MABMs was enough to obliterate the Bobcat, which puts me one hunter away from getting an objective. Sadly, the Nemesis Jaguar didn’t take any damage from the ABM blast. Rats.
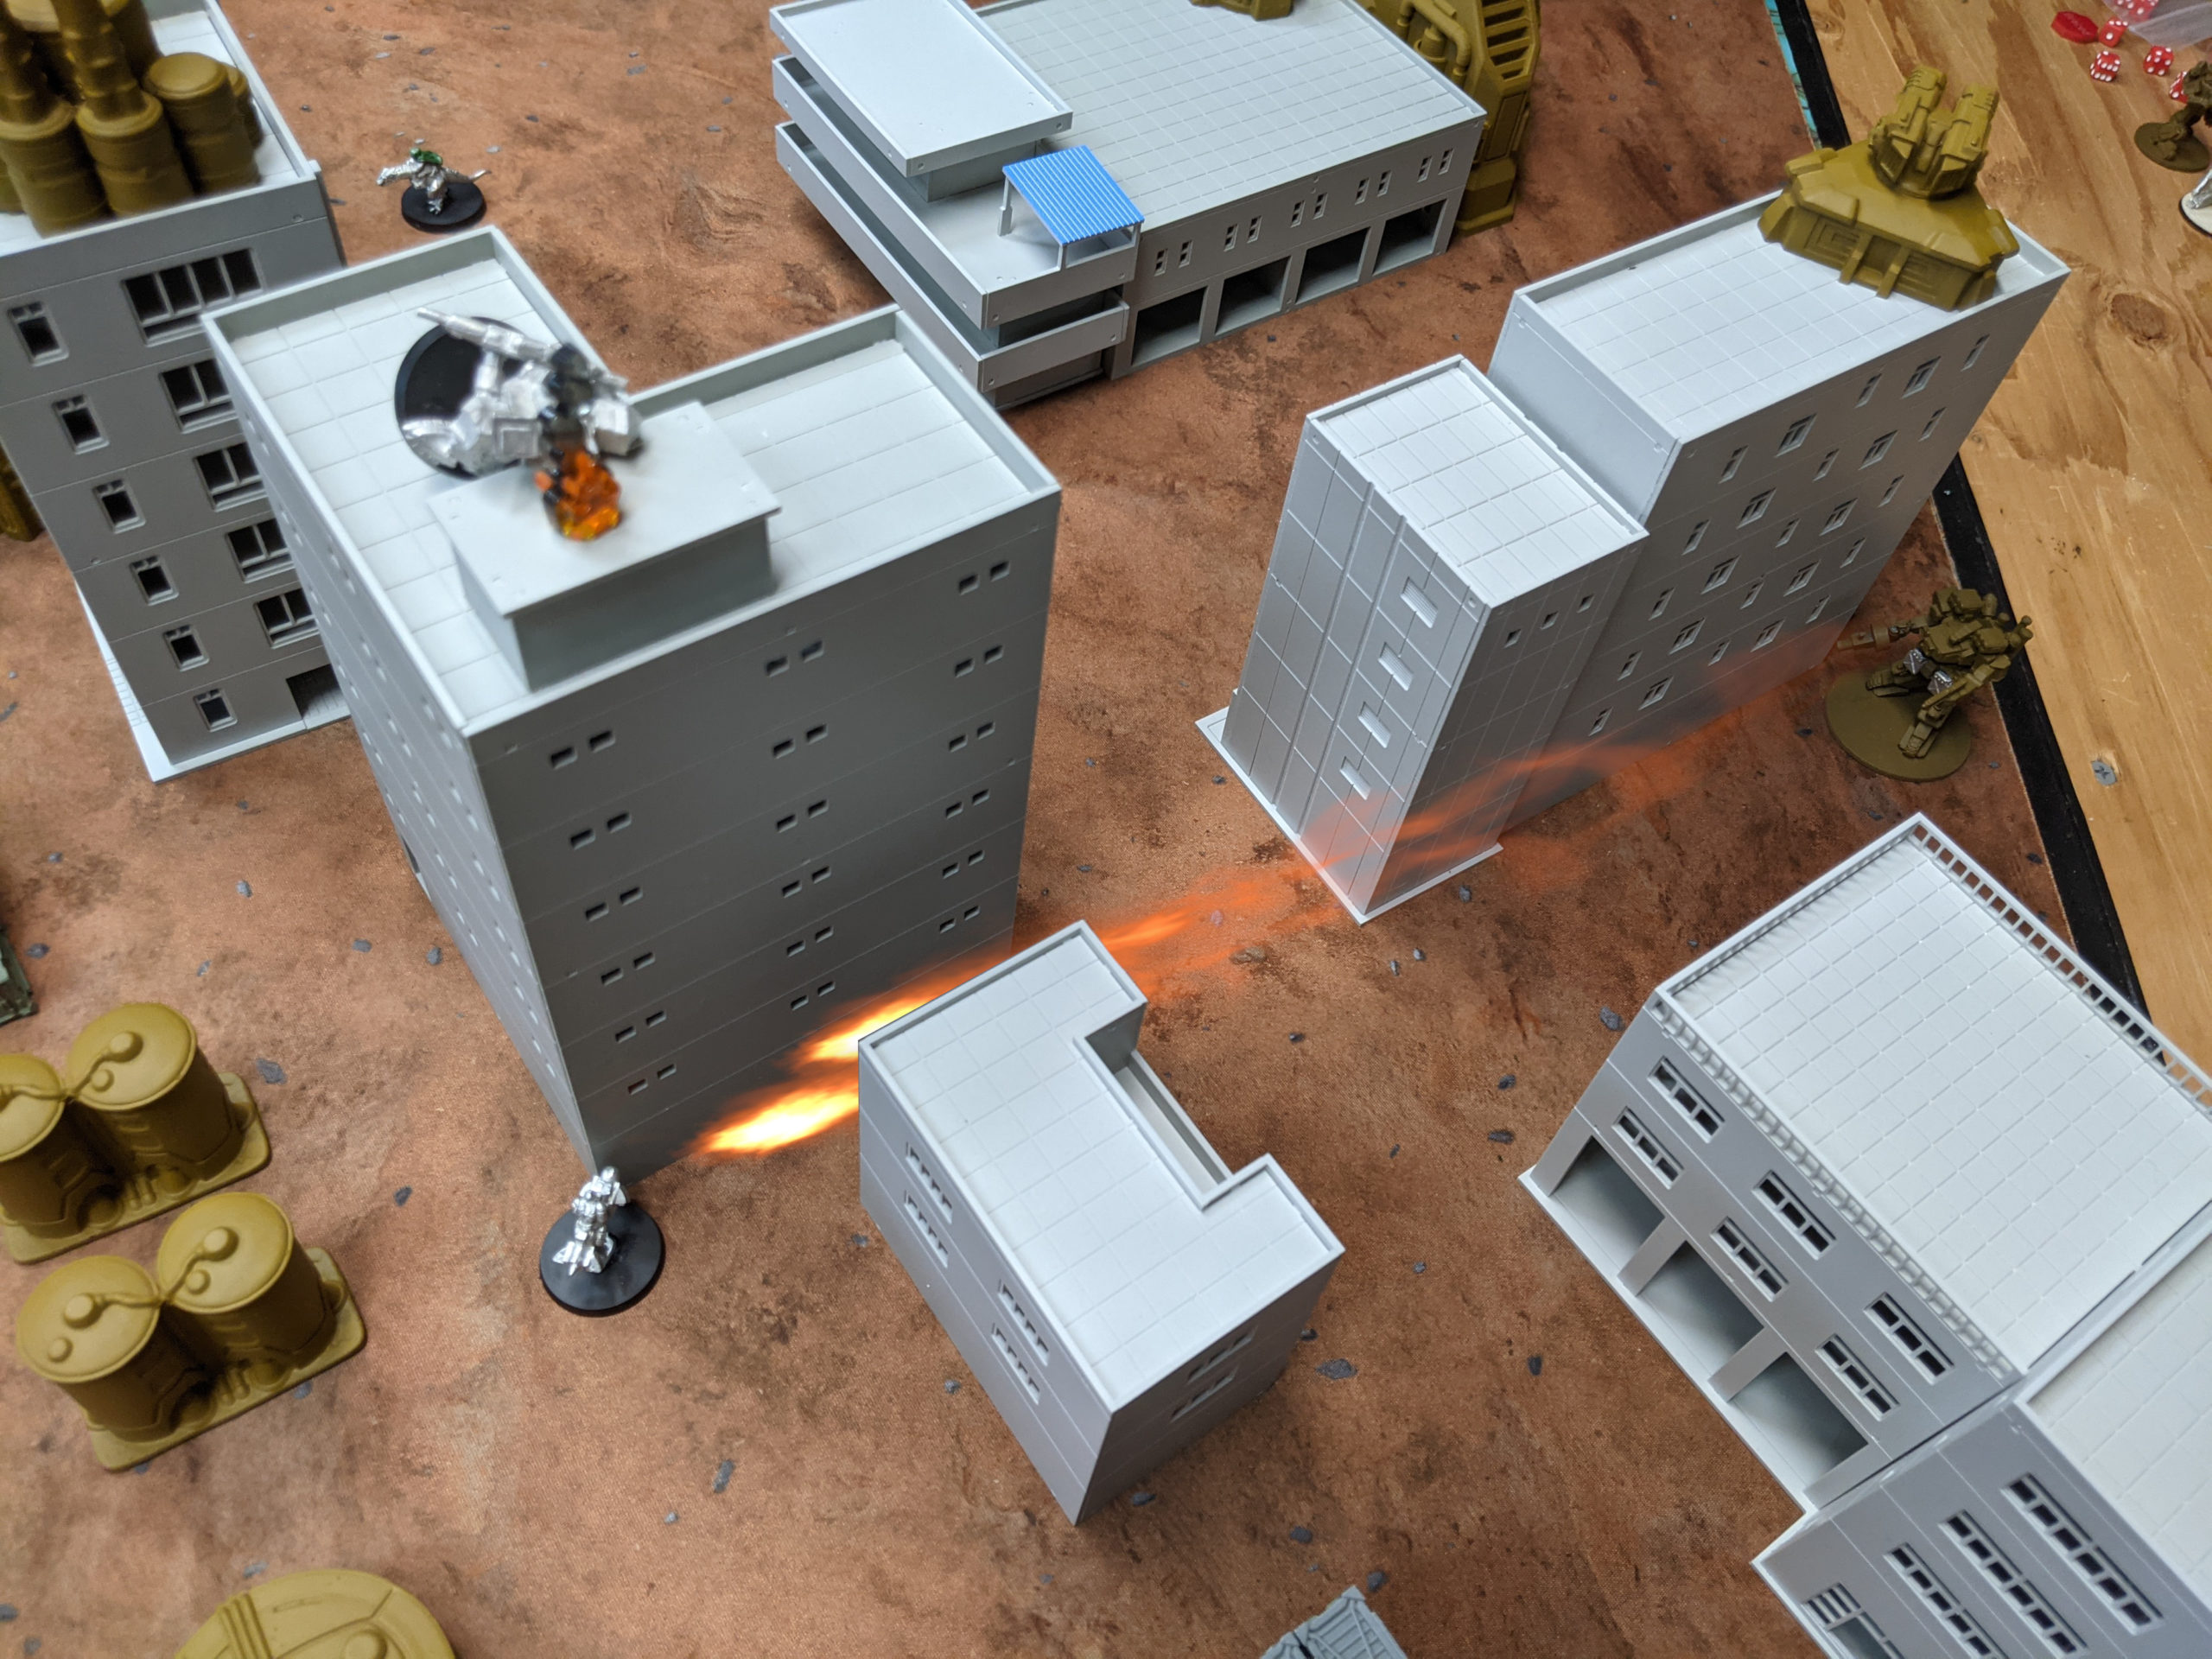
I moved on to trying to Forward Observe the Nemesis Jaguar from behind with the LHT’s second action. I succeeded, but Adam rolled a 7 and two 8’s on defense against my Voltigeur’s two MATM and one LFG shots, rendering all my firepower ineffective. How frustrating! Still, halfway to a point with the Bobcat down.

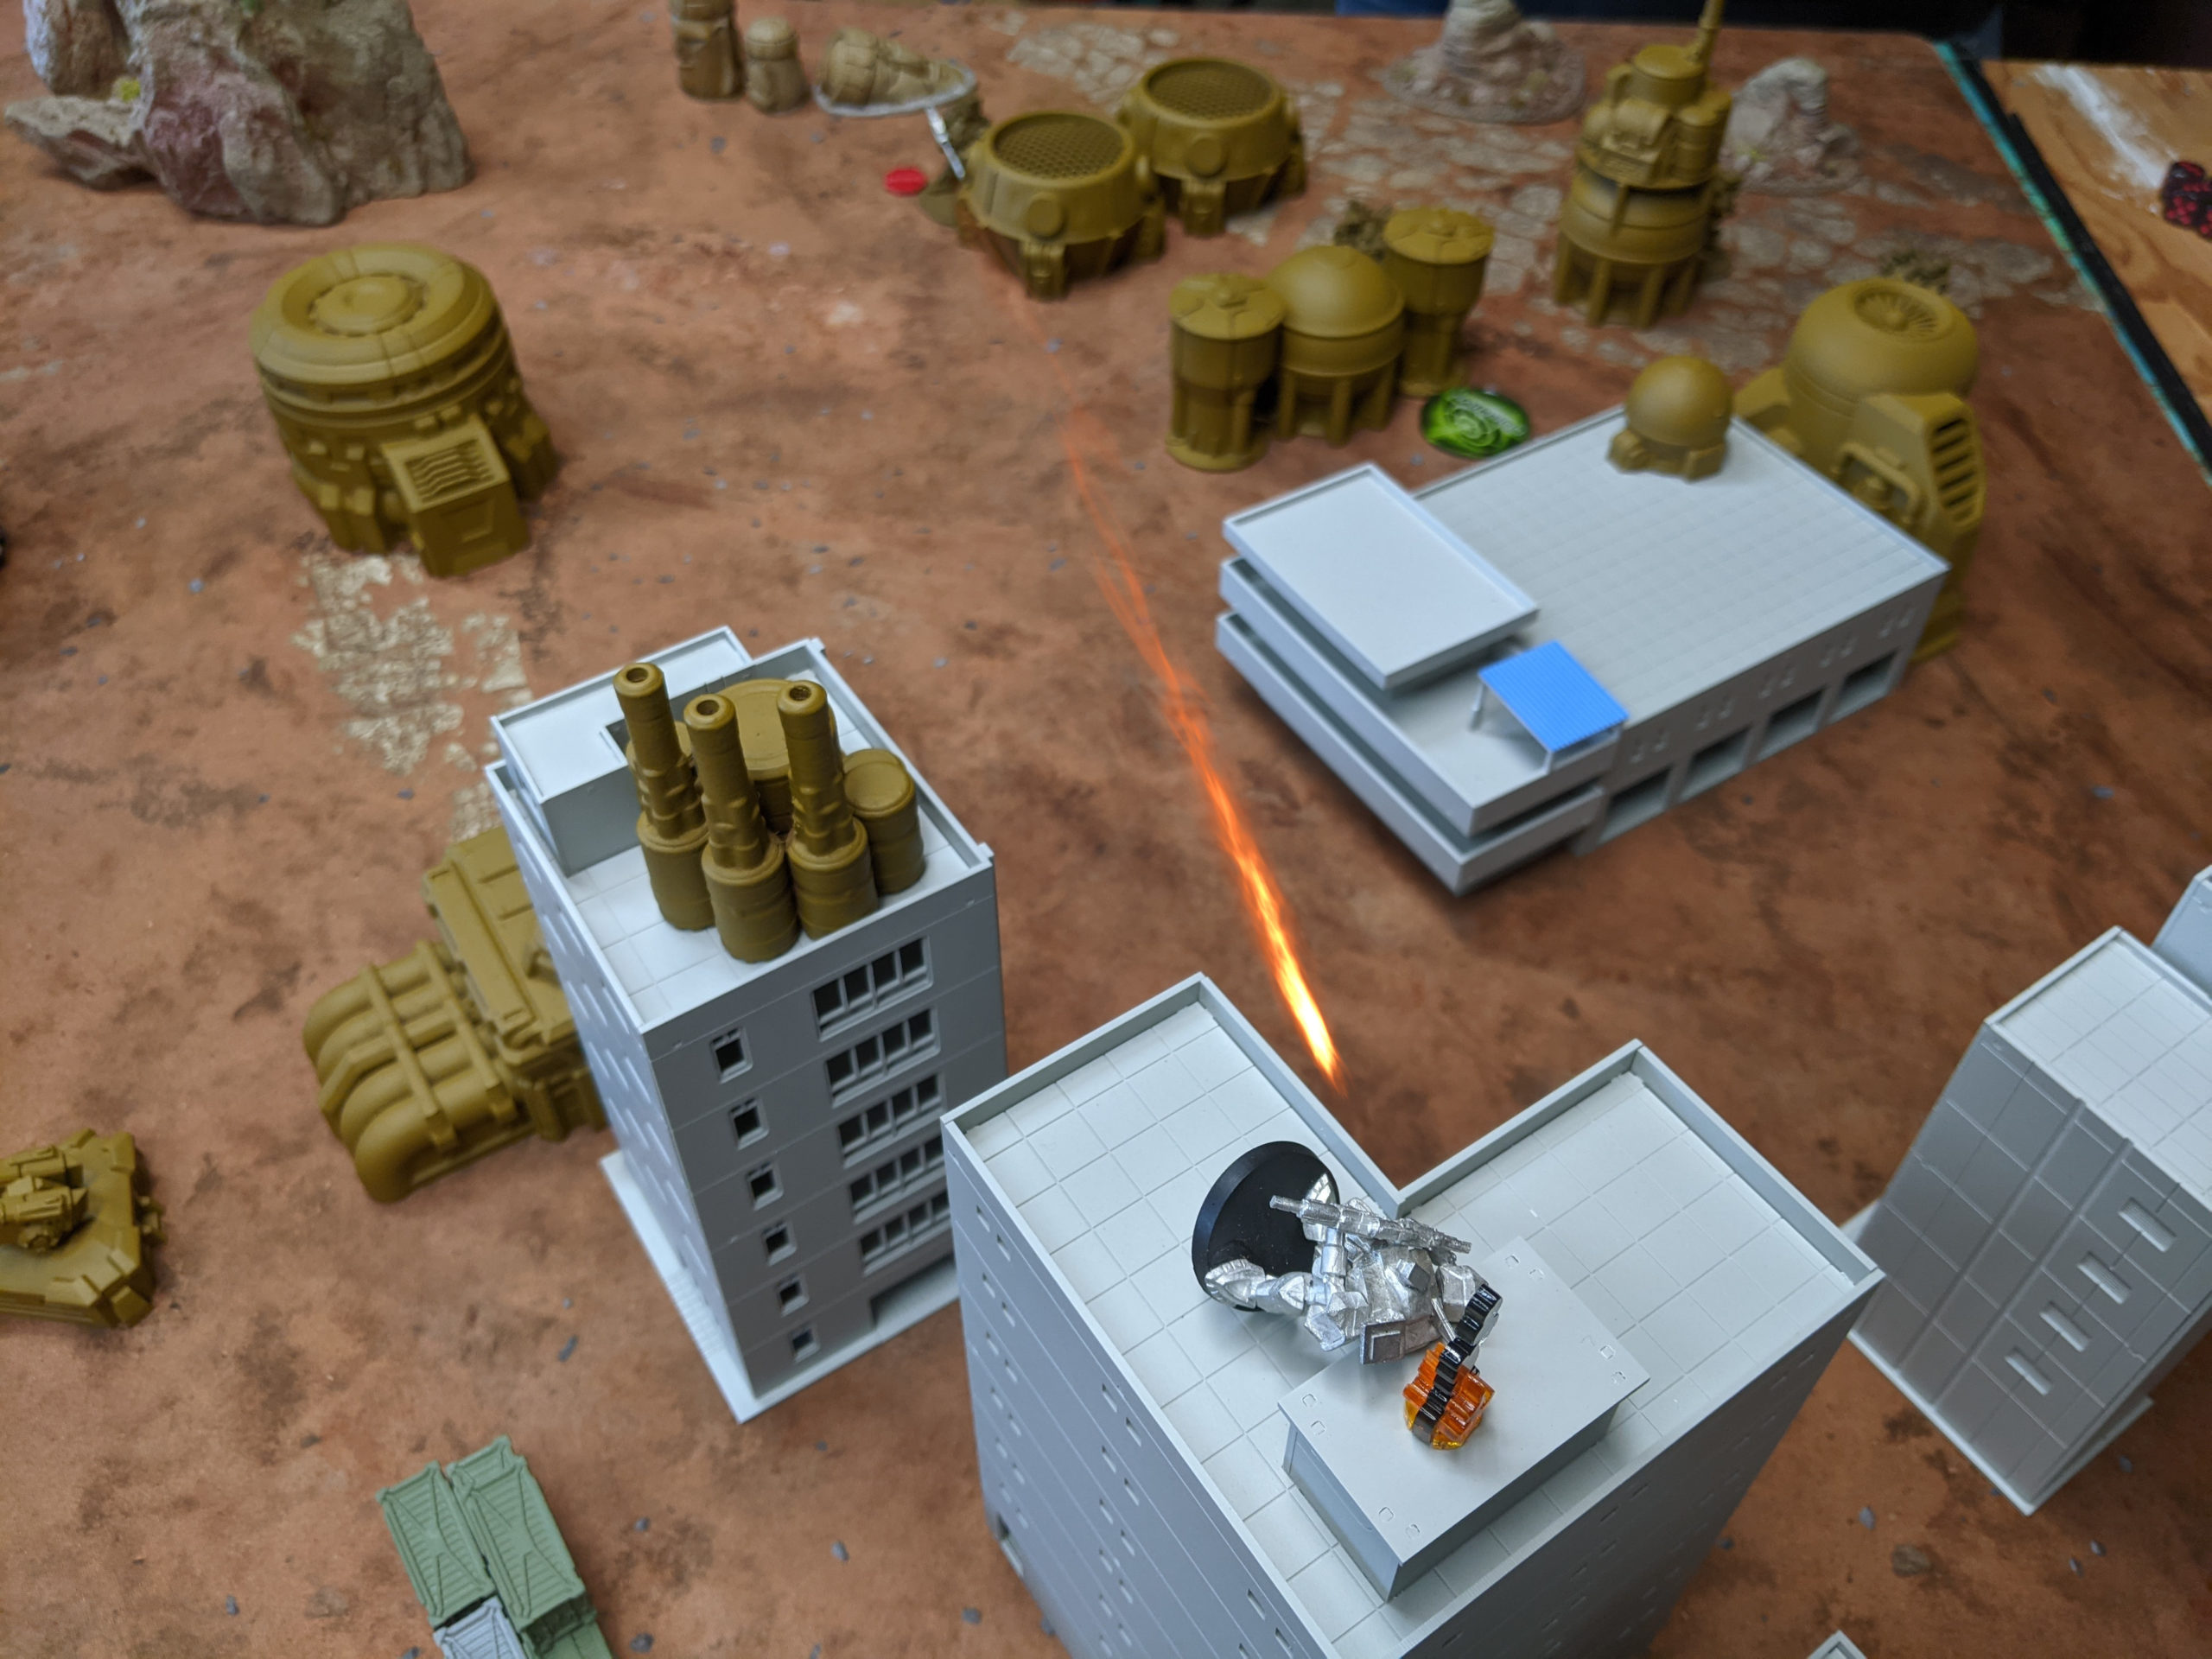
The Nemesis Jaguar elected to fire at my Espion, almost killing it. I fired back with my Auto MRF but did no damage. I knew the Espion wasn’t long for the world and elected to use the Lizard Rider to forward observe for the Espion’s rocket packs. This let me brace the Espion to get up to 2d6 instead of being on 1d6 if I had activated the Espion. So I’m losing an activation here, but that’s okay, I’m getting slightly more dice and all my big indirect guns have fired. Nothing happens.
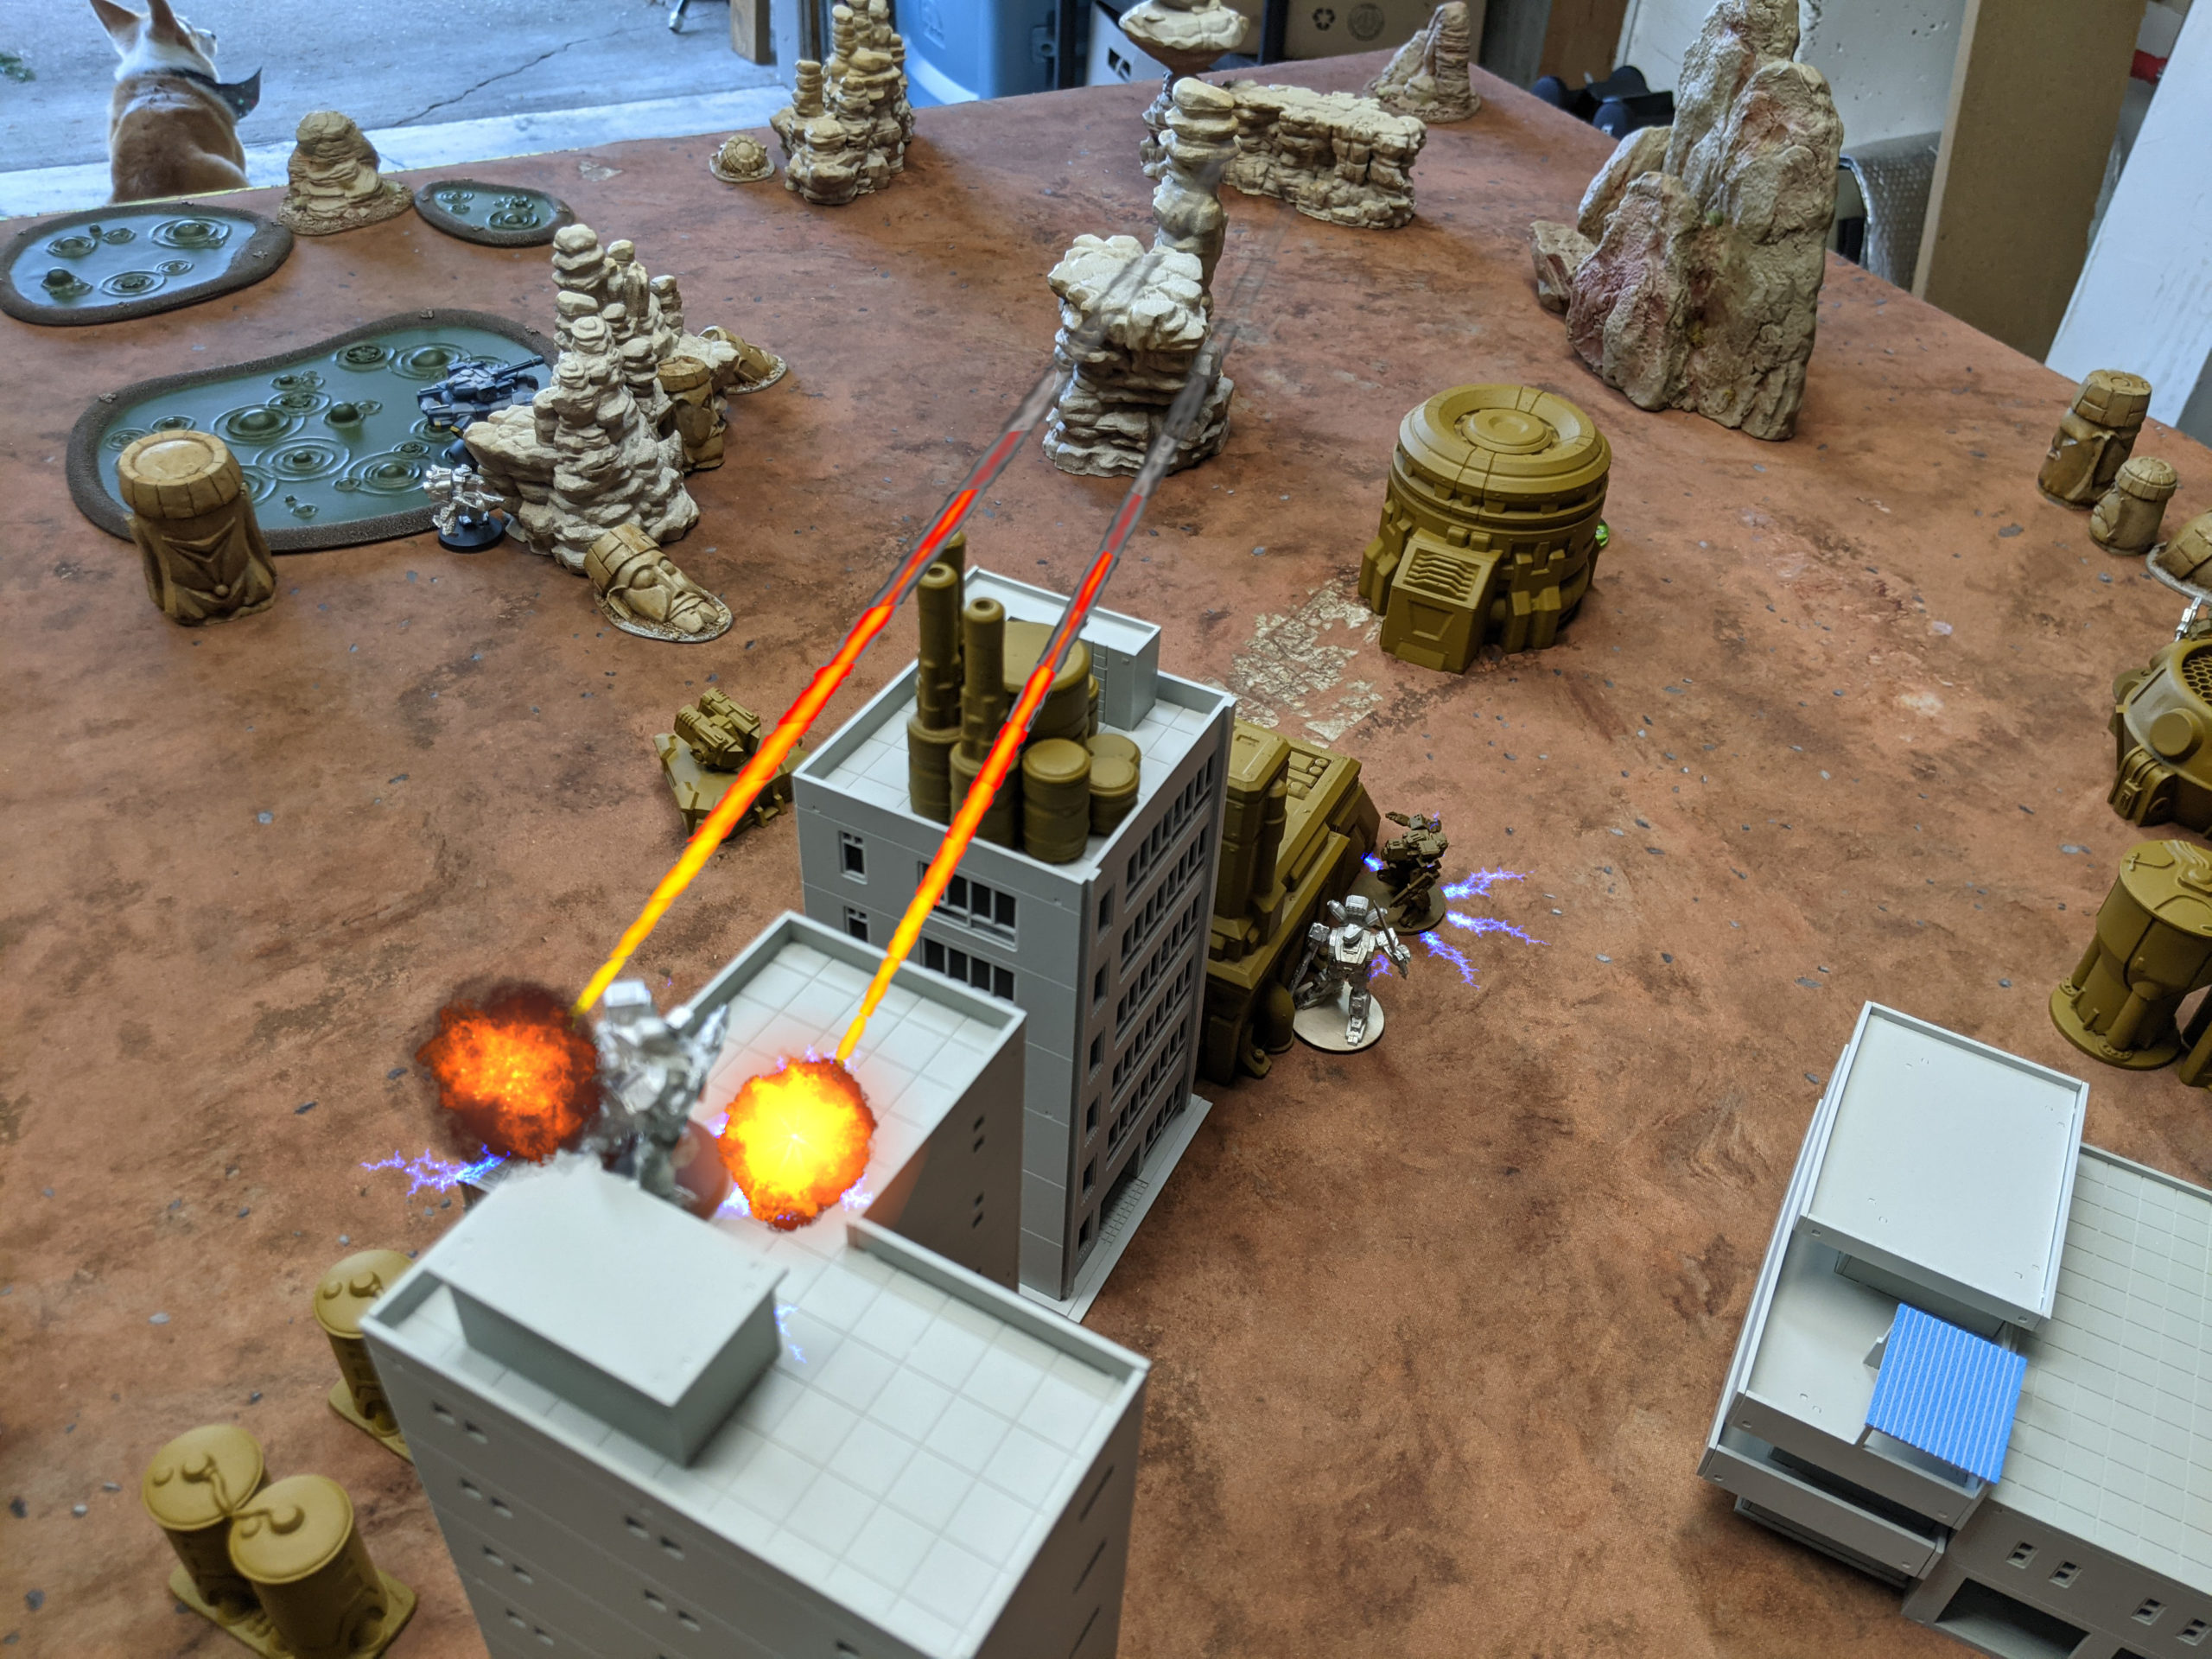
I lose the Espion to the Dogfire R immediately afterwards as the rest of Adam’s SK squad tries to drop grenades on my Hoverbike. It’s 1d6 to 3d6, but Adam’s just hoping to get lucky as he advances, it’s not a real committed effort yet.
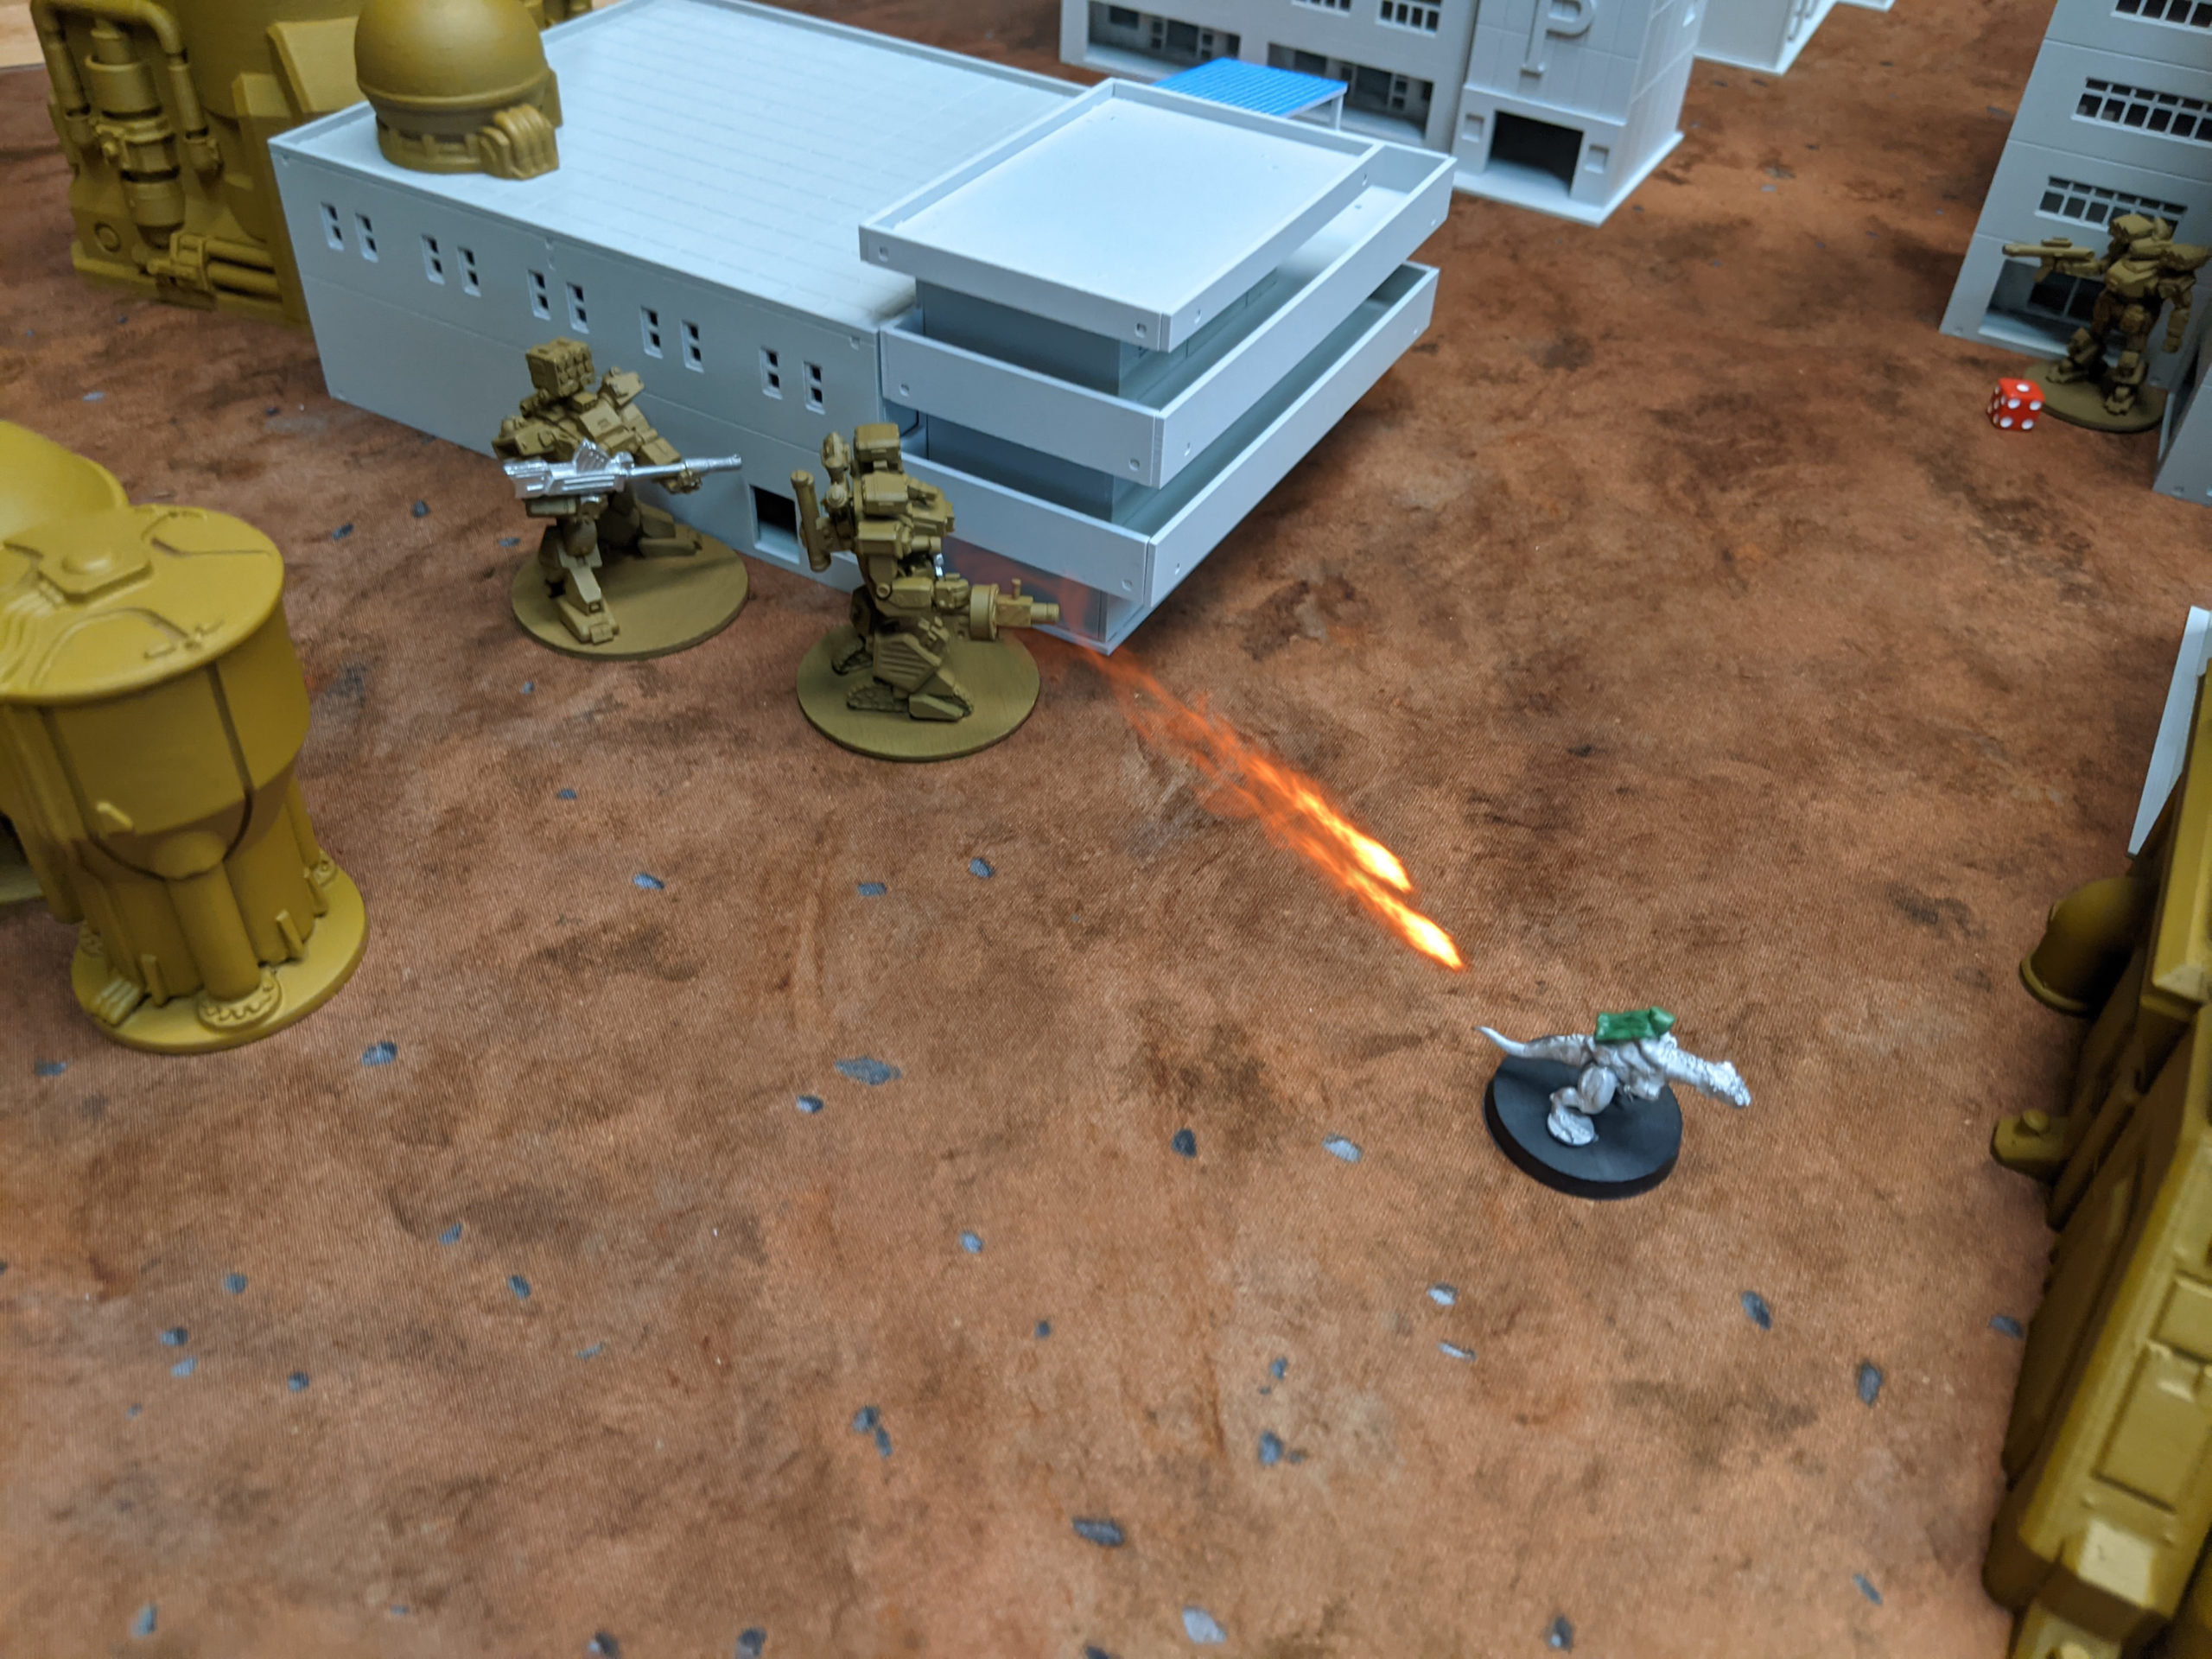
I reposition my bikes and hope to keep weathering the grenade storm from the Grizzlies. Unfortunately for me, the Hunters go next and the Spearhead Hunter wipes out my Jerboa with some support from the Arrows.
I retaliate by top speeding my LHT and unloading into the poor Hunter that’s nearest, crippling it. This gives me the confidence that I can drop off a flag this turn without losing it. I also move the Assault squad forward to help defend the flag.
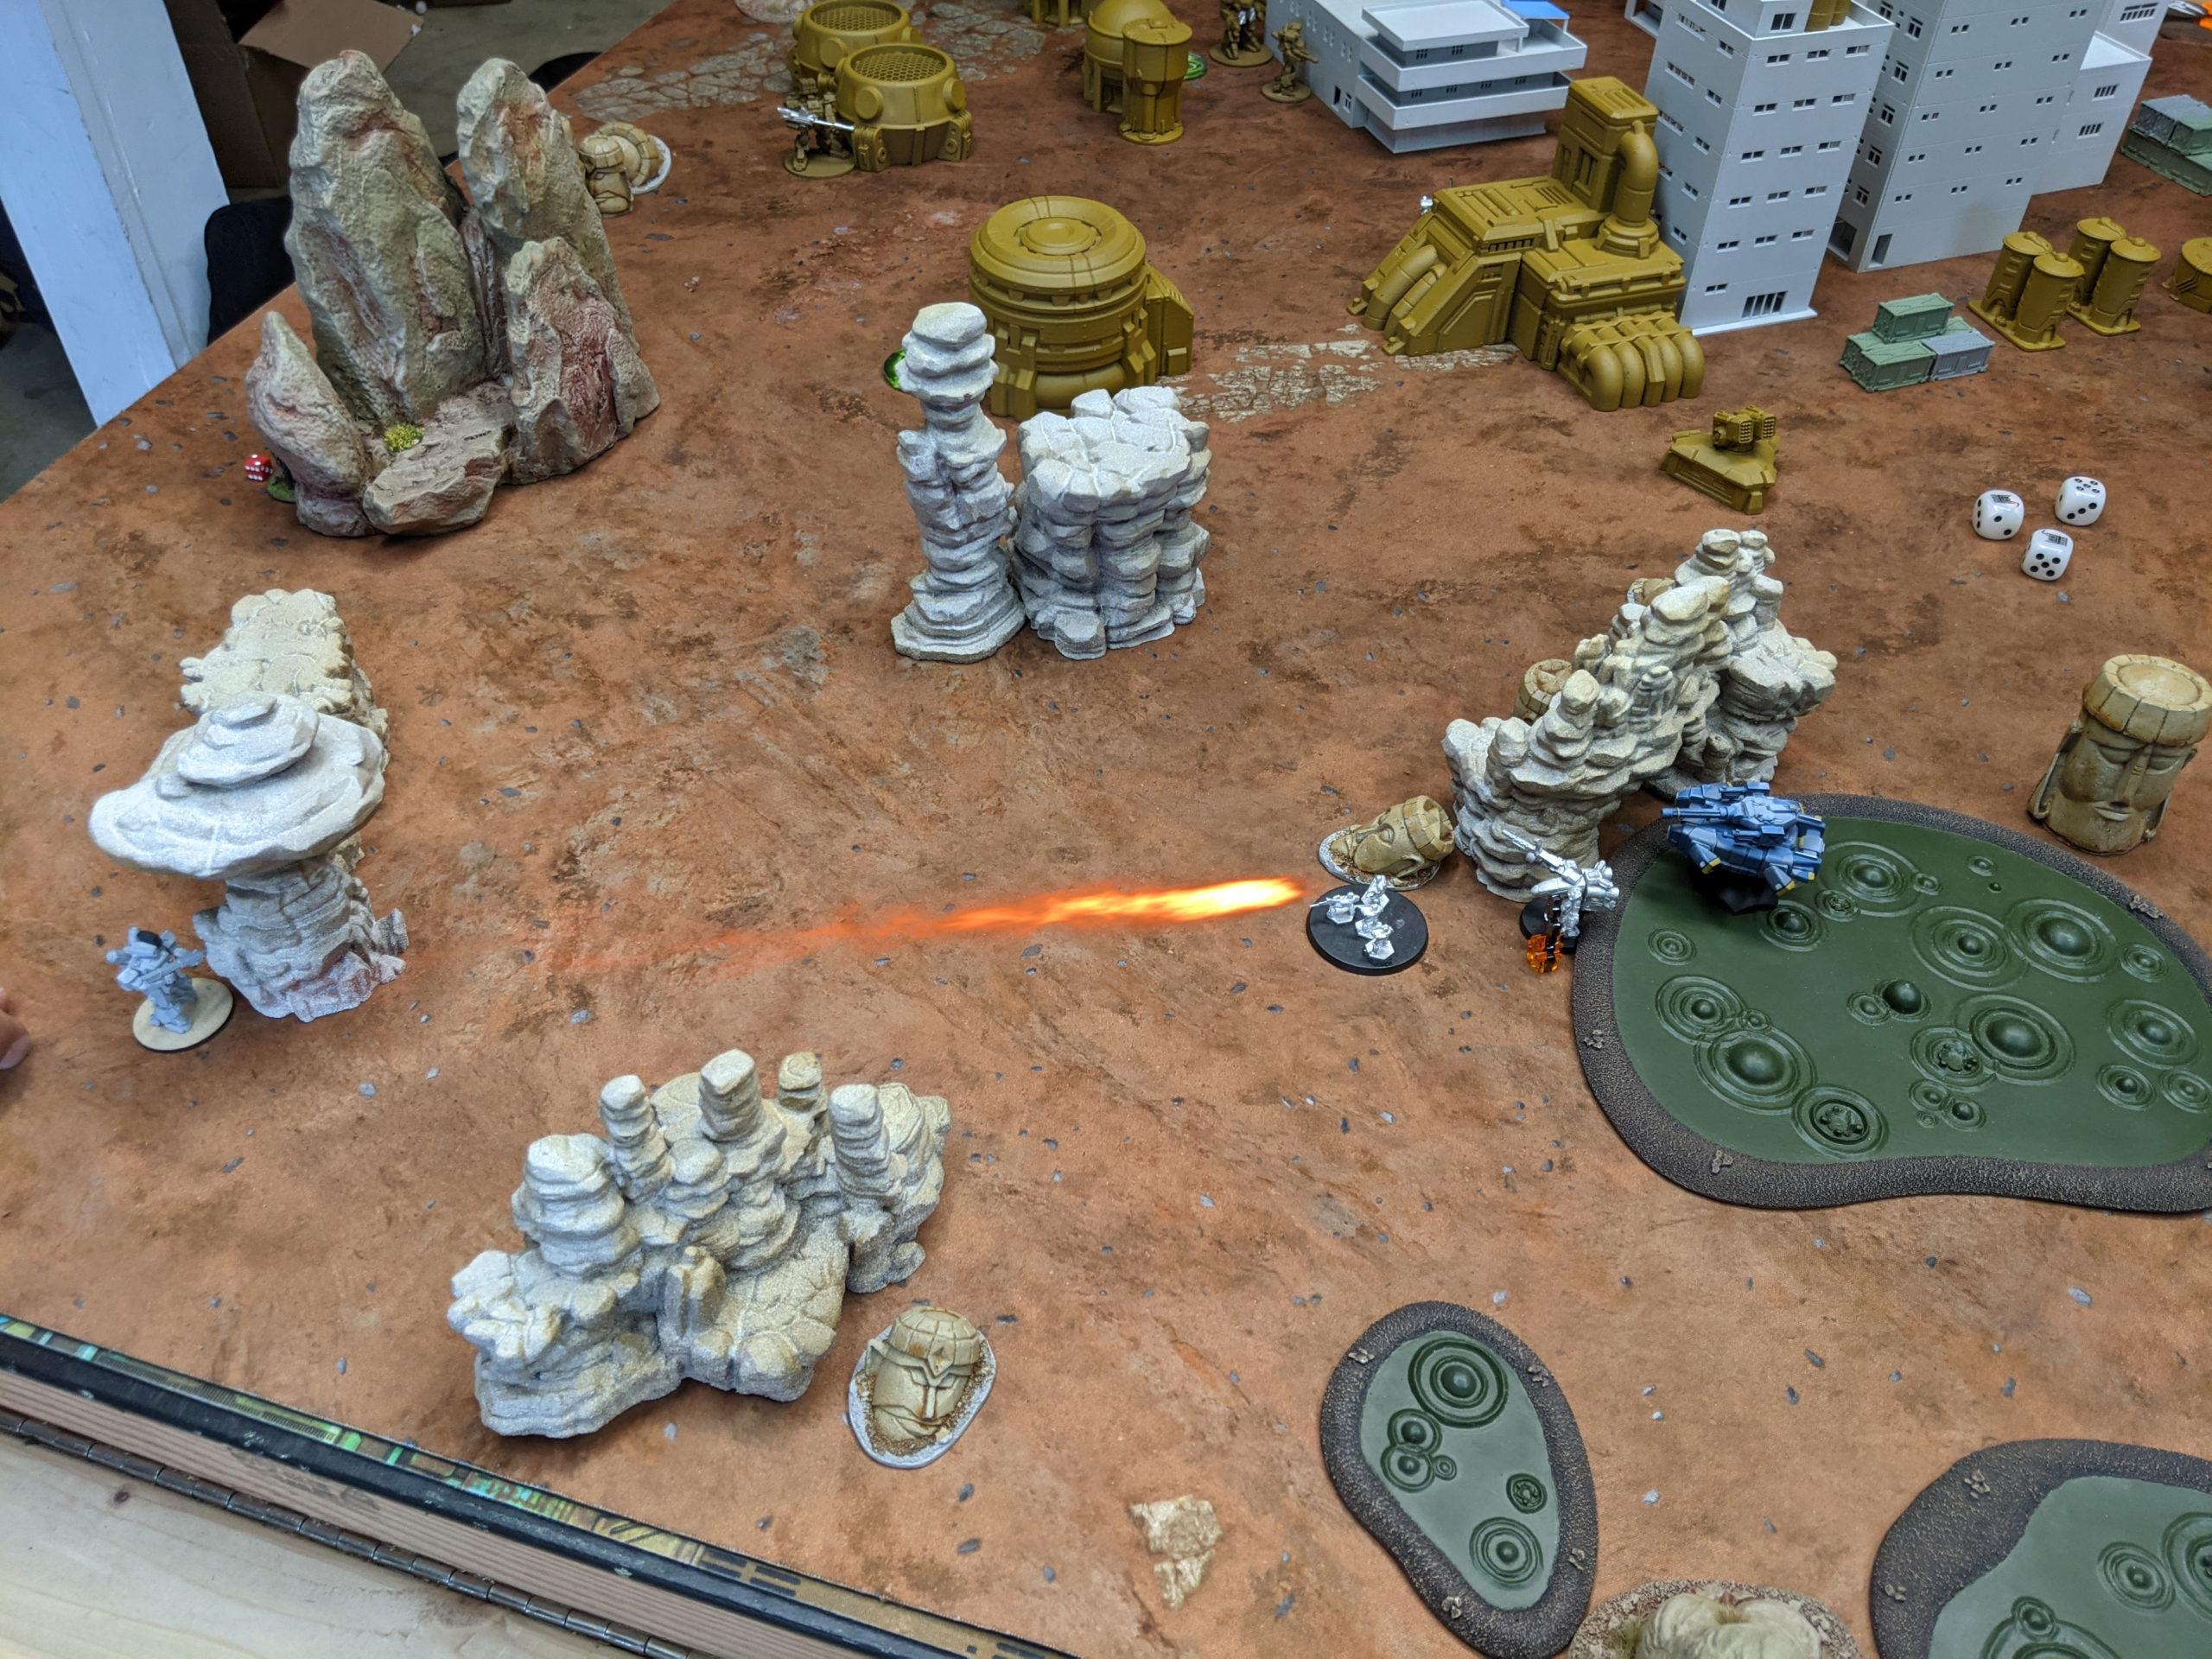
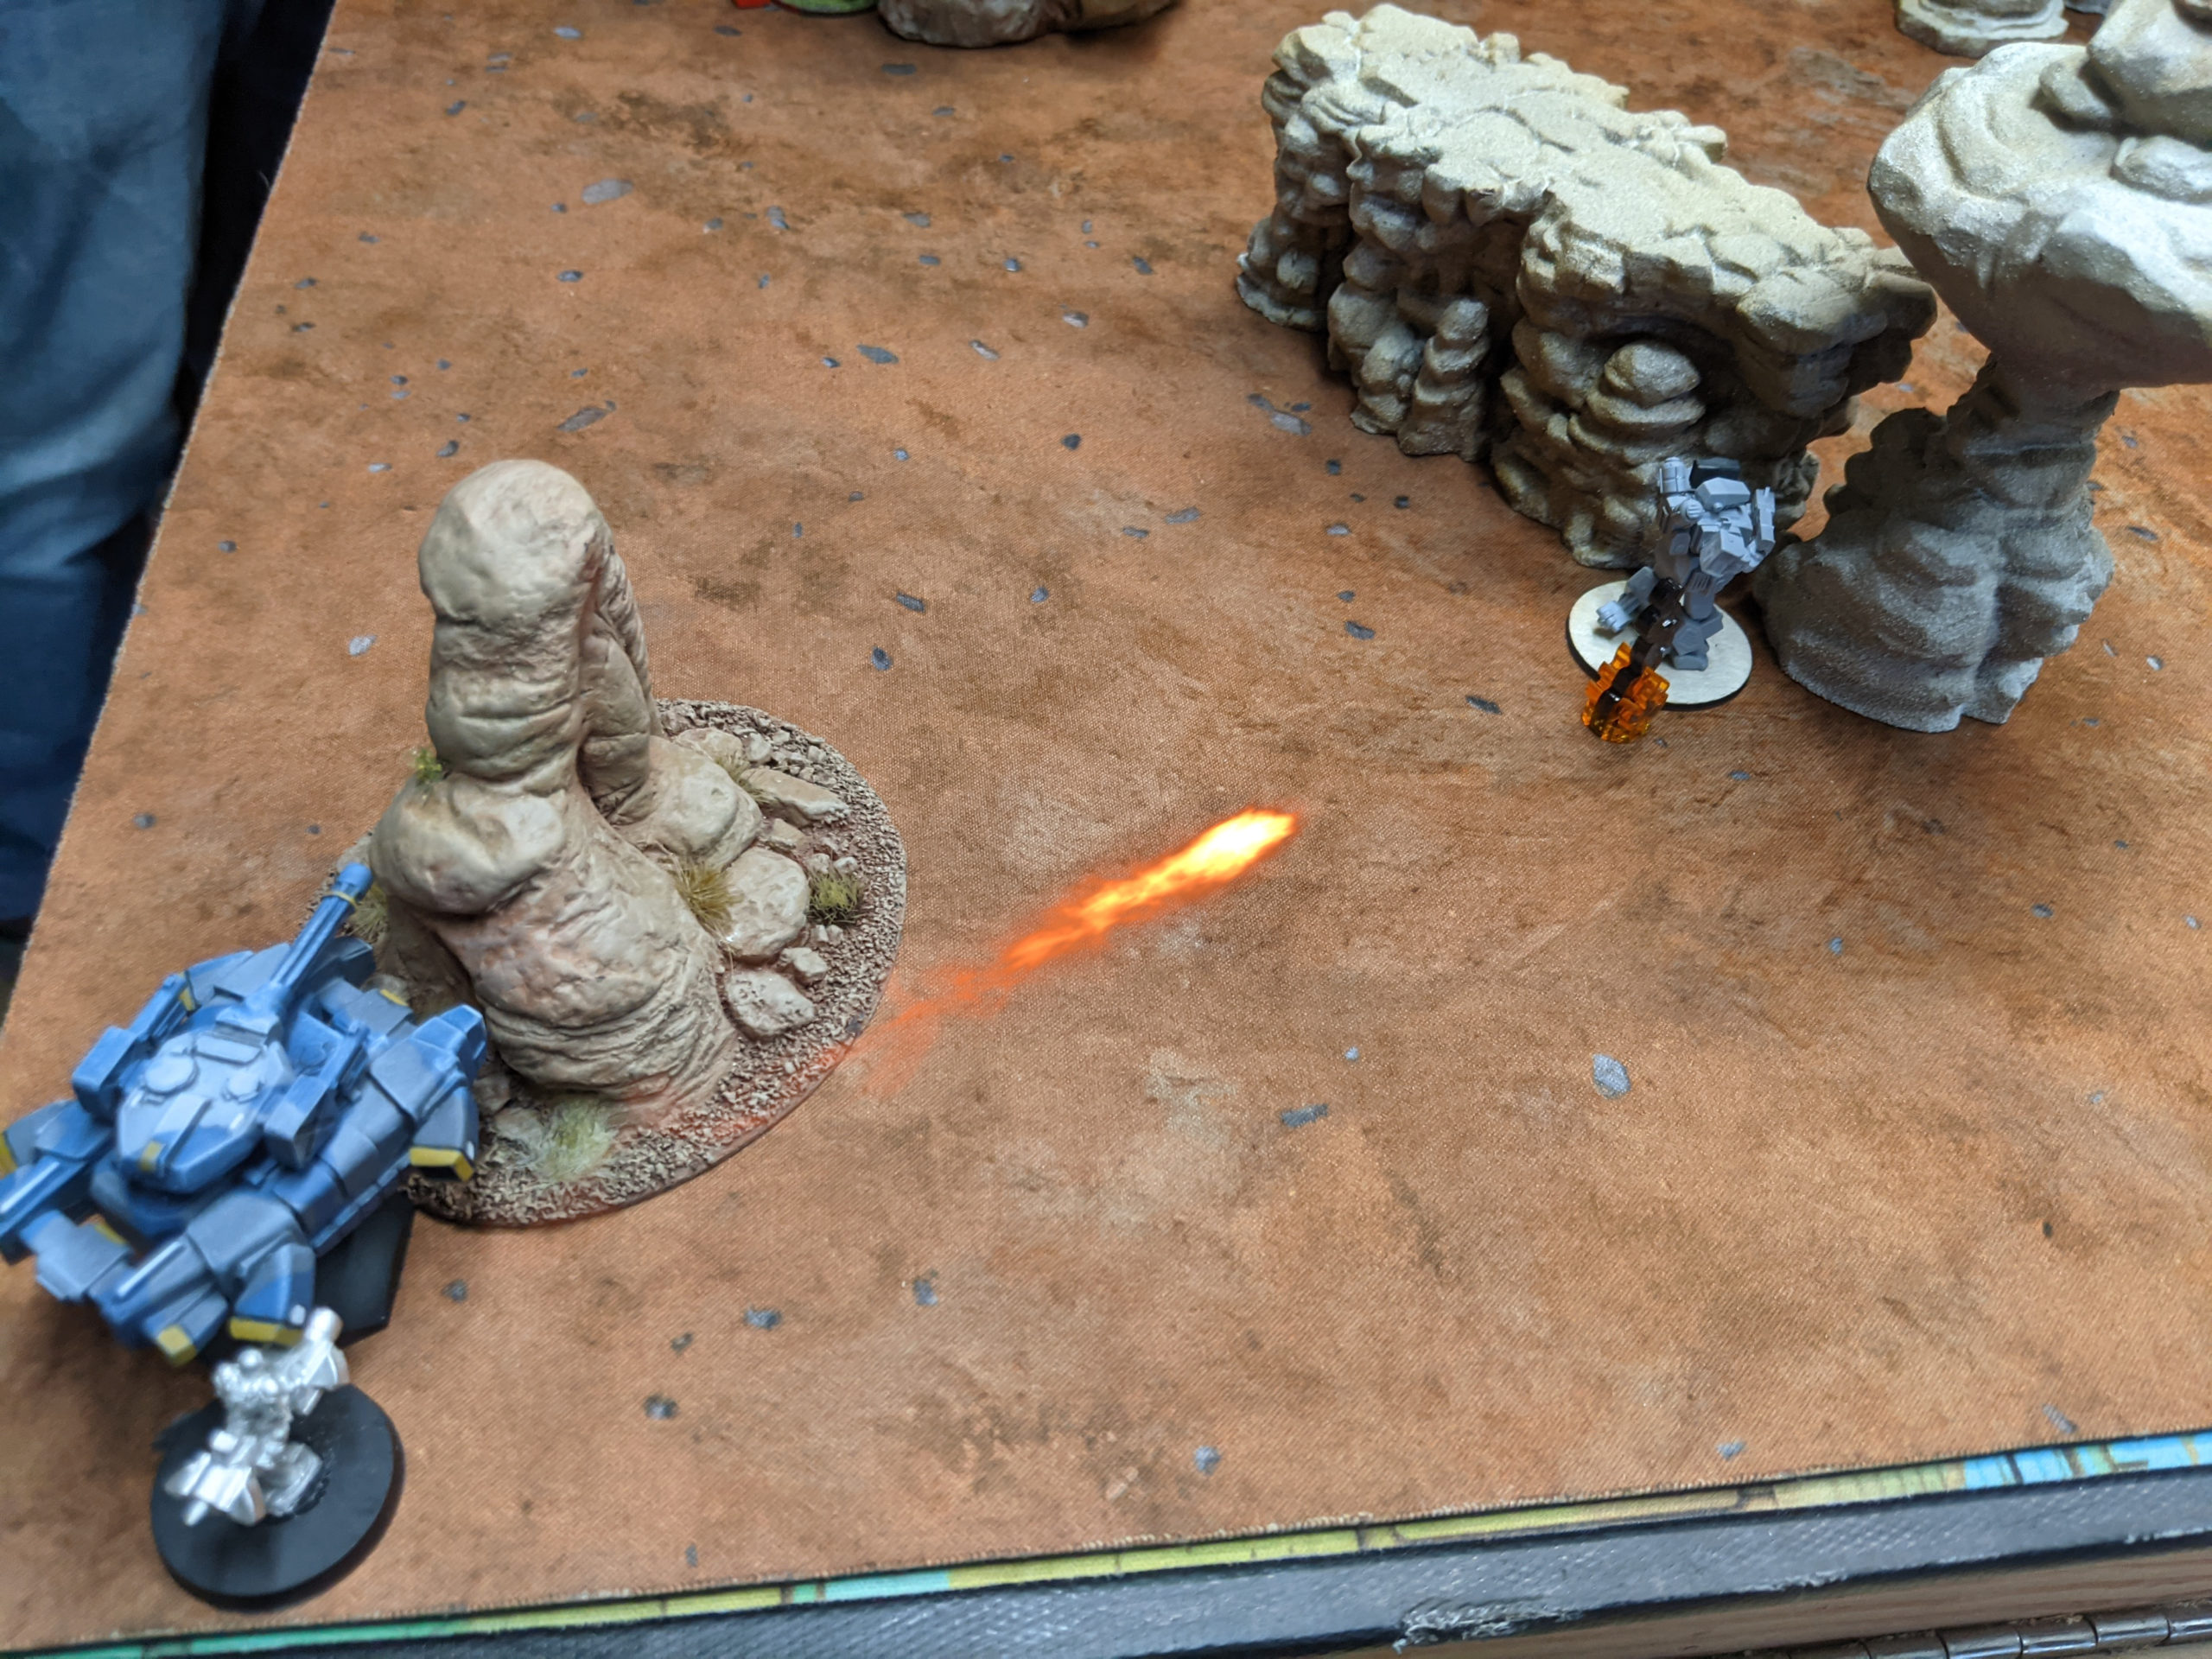
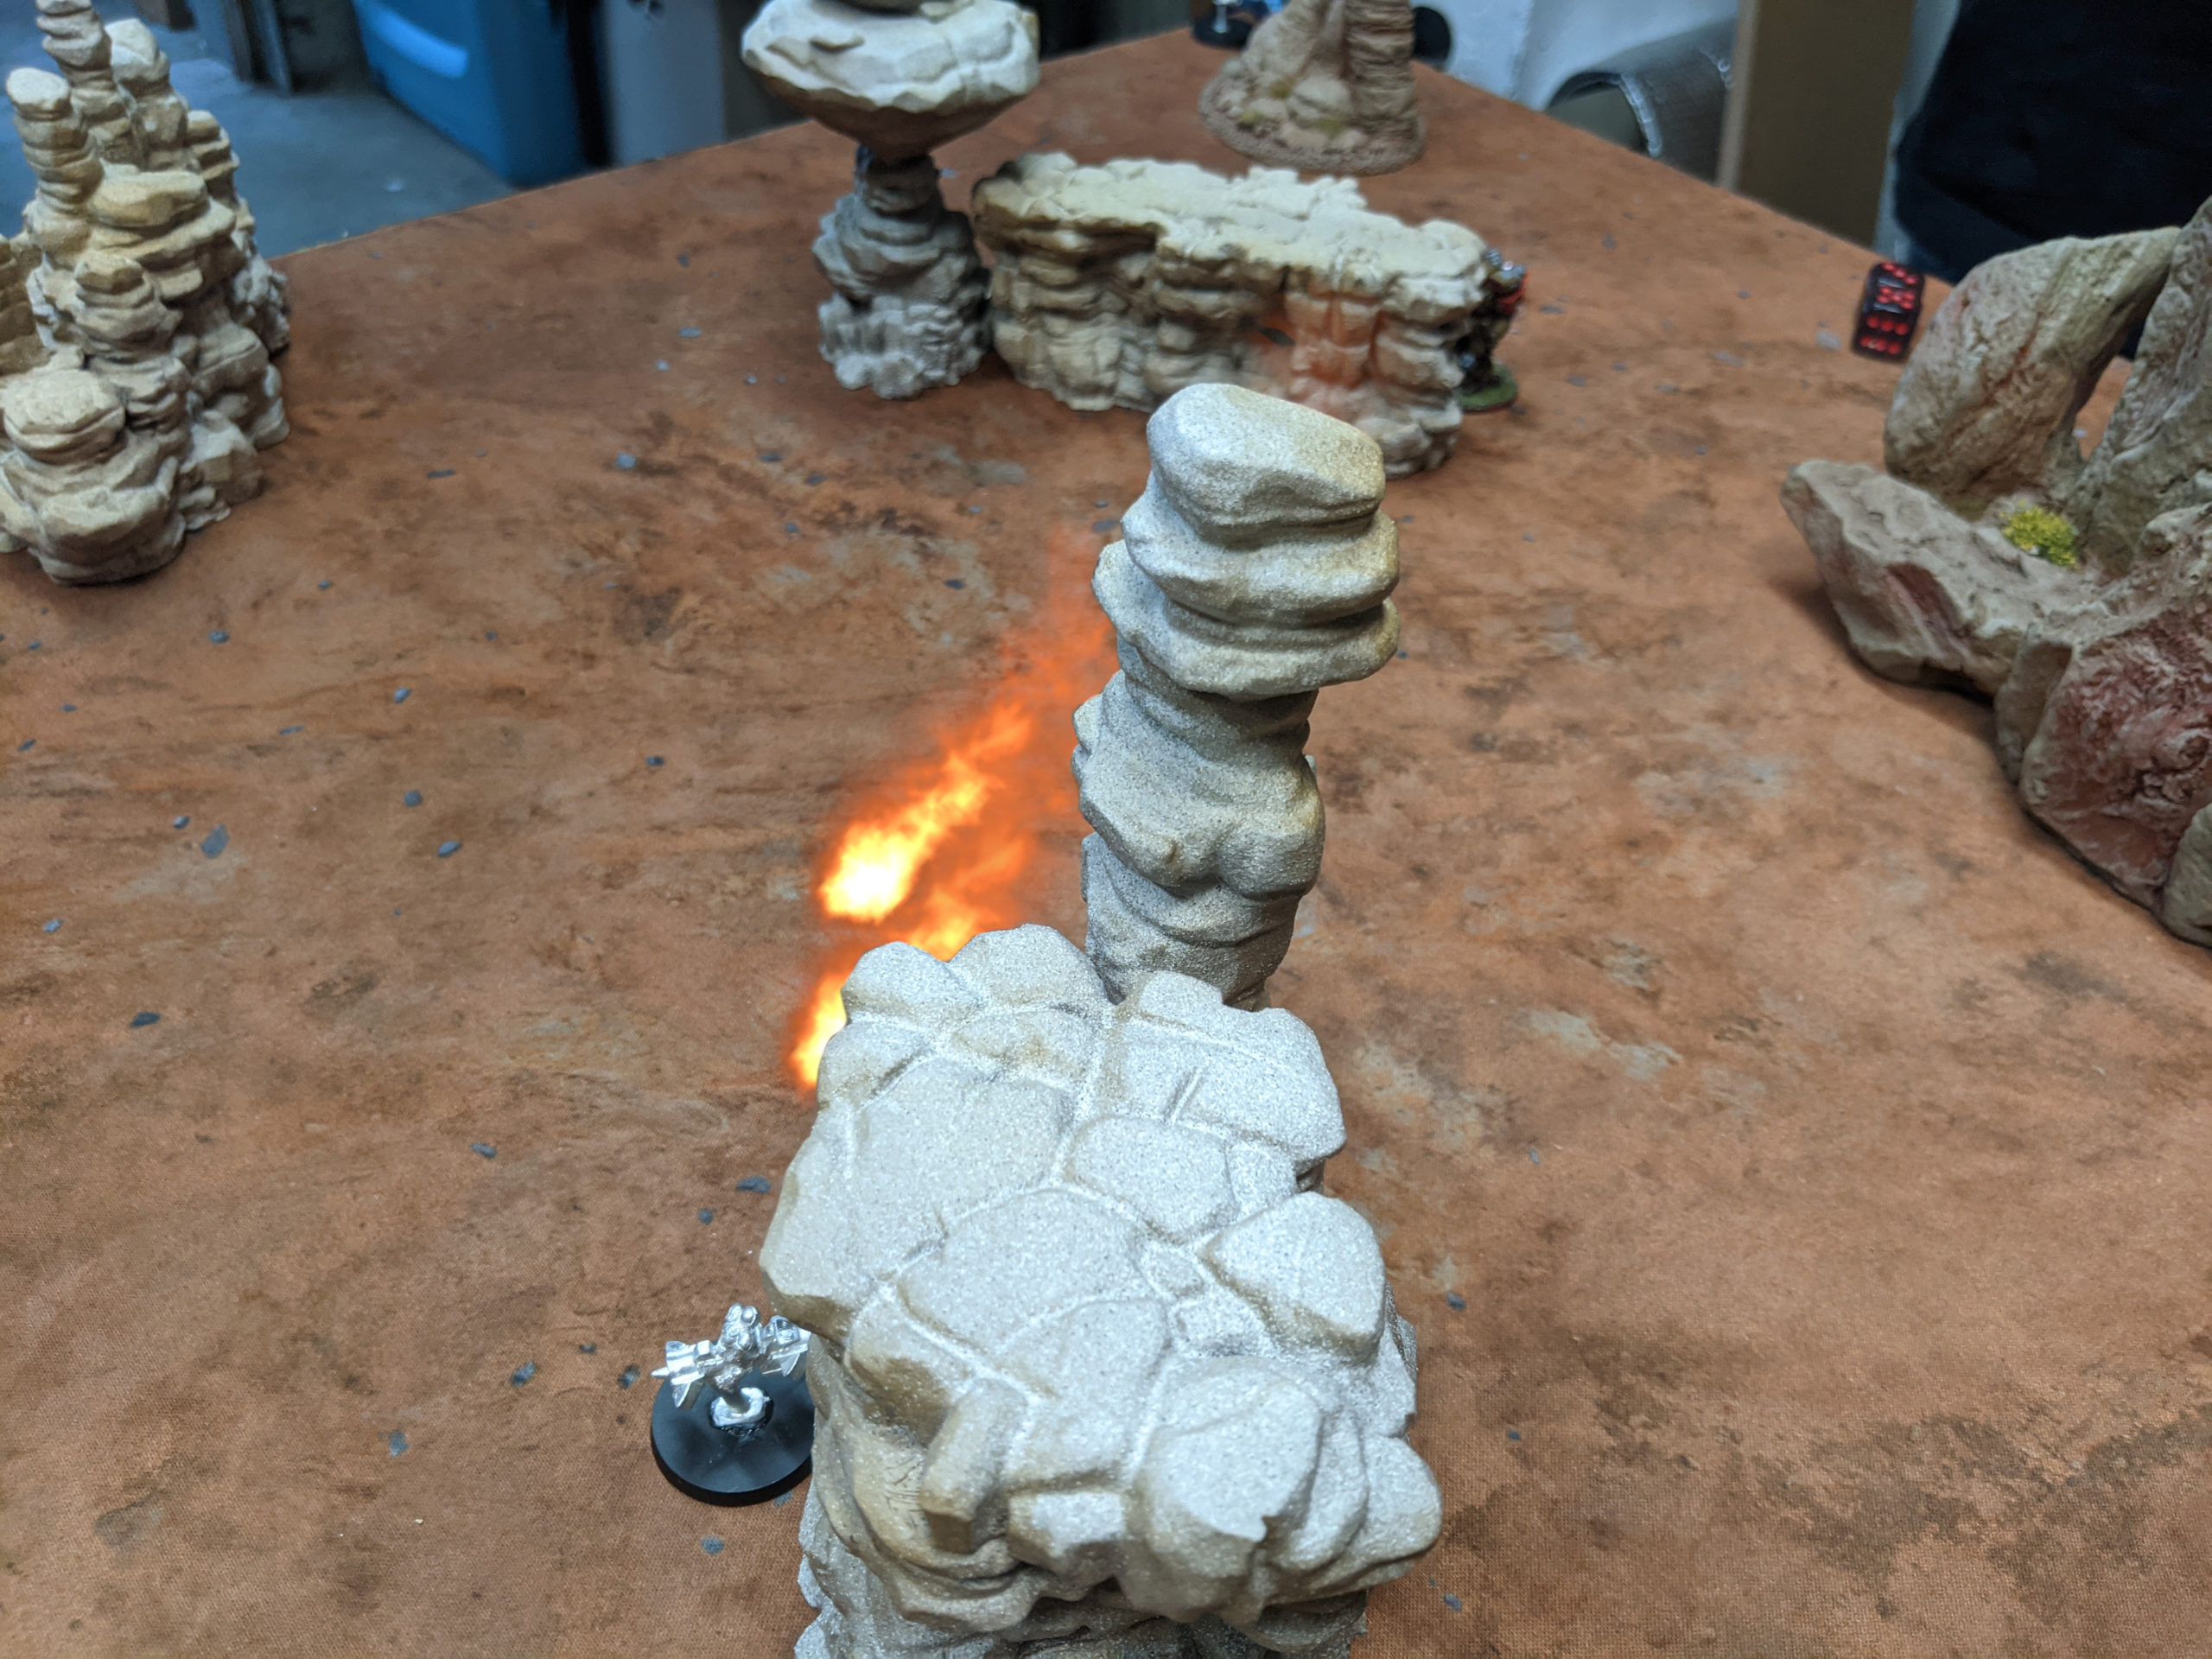
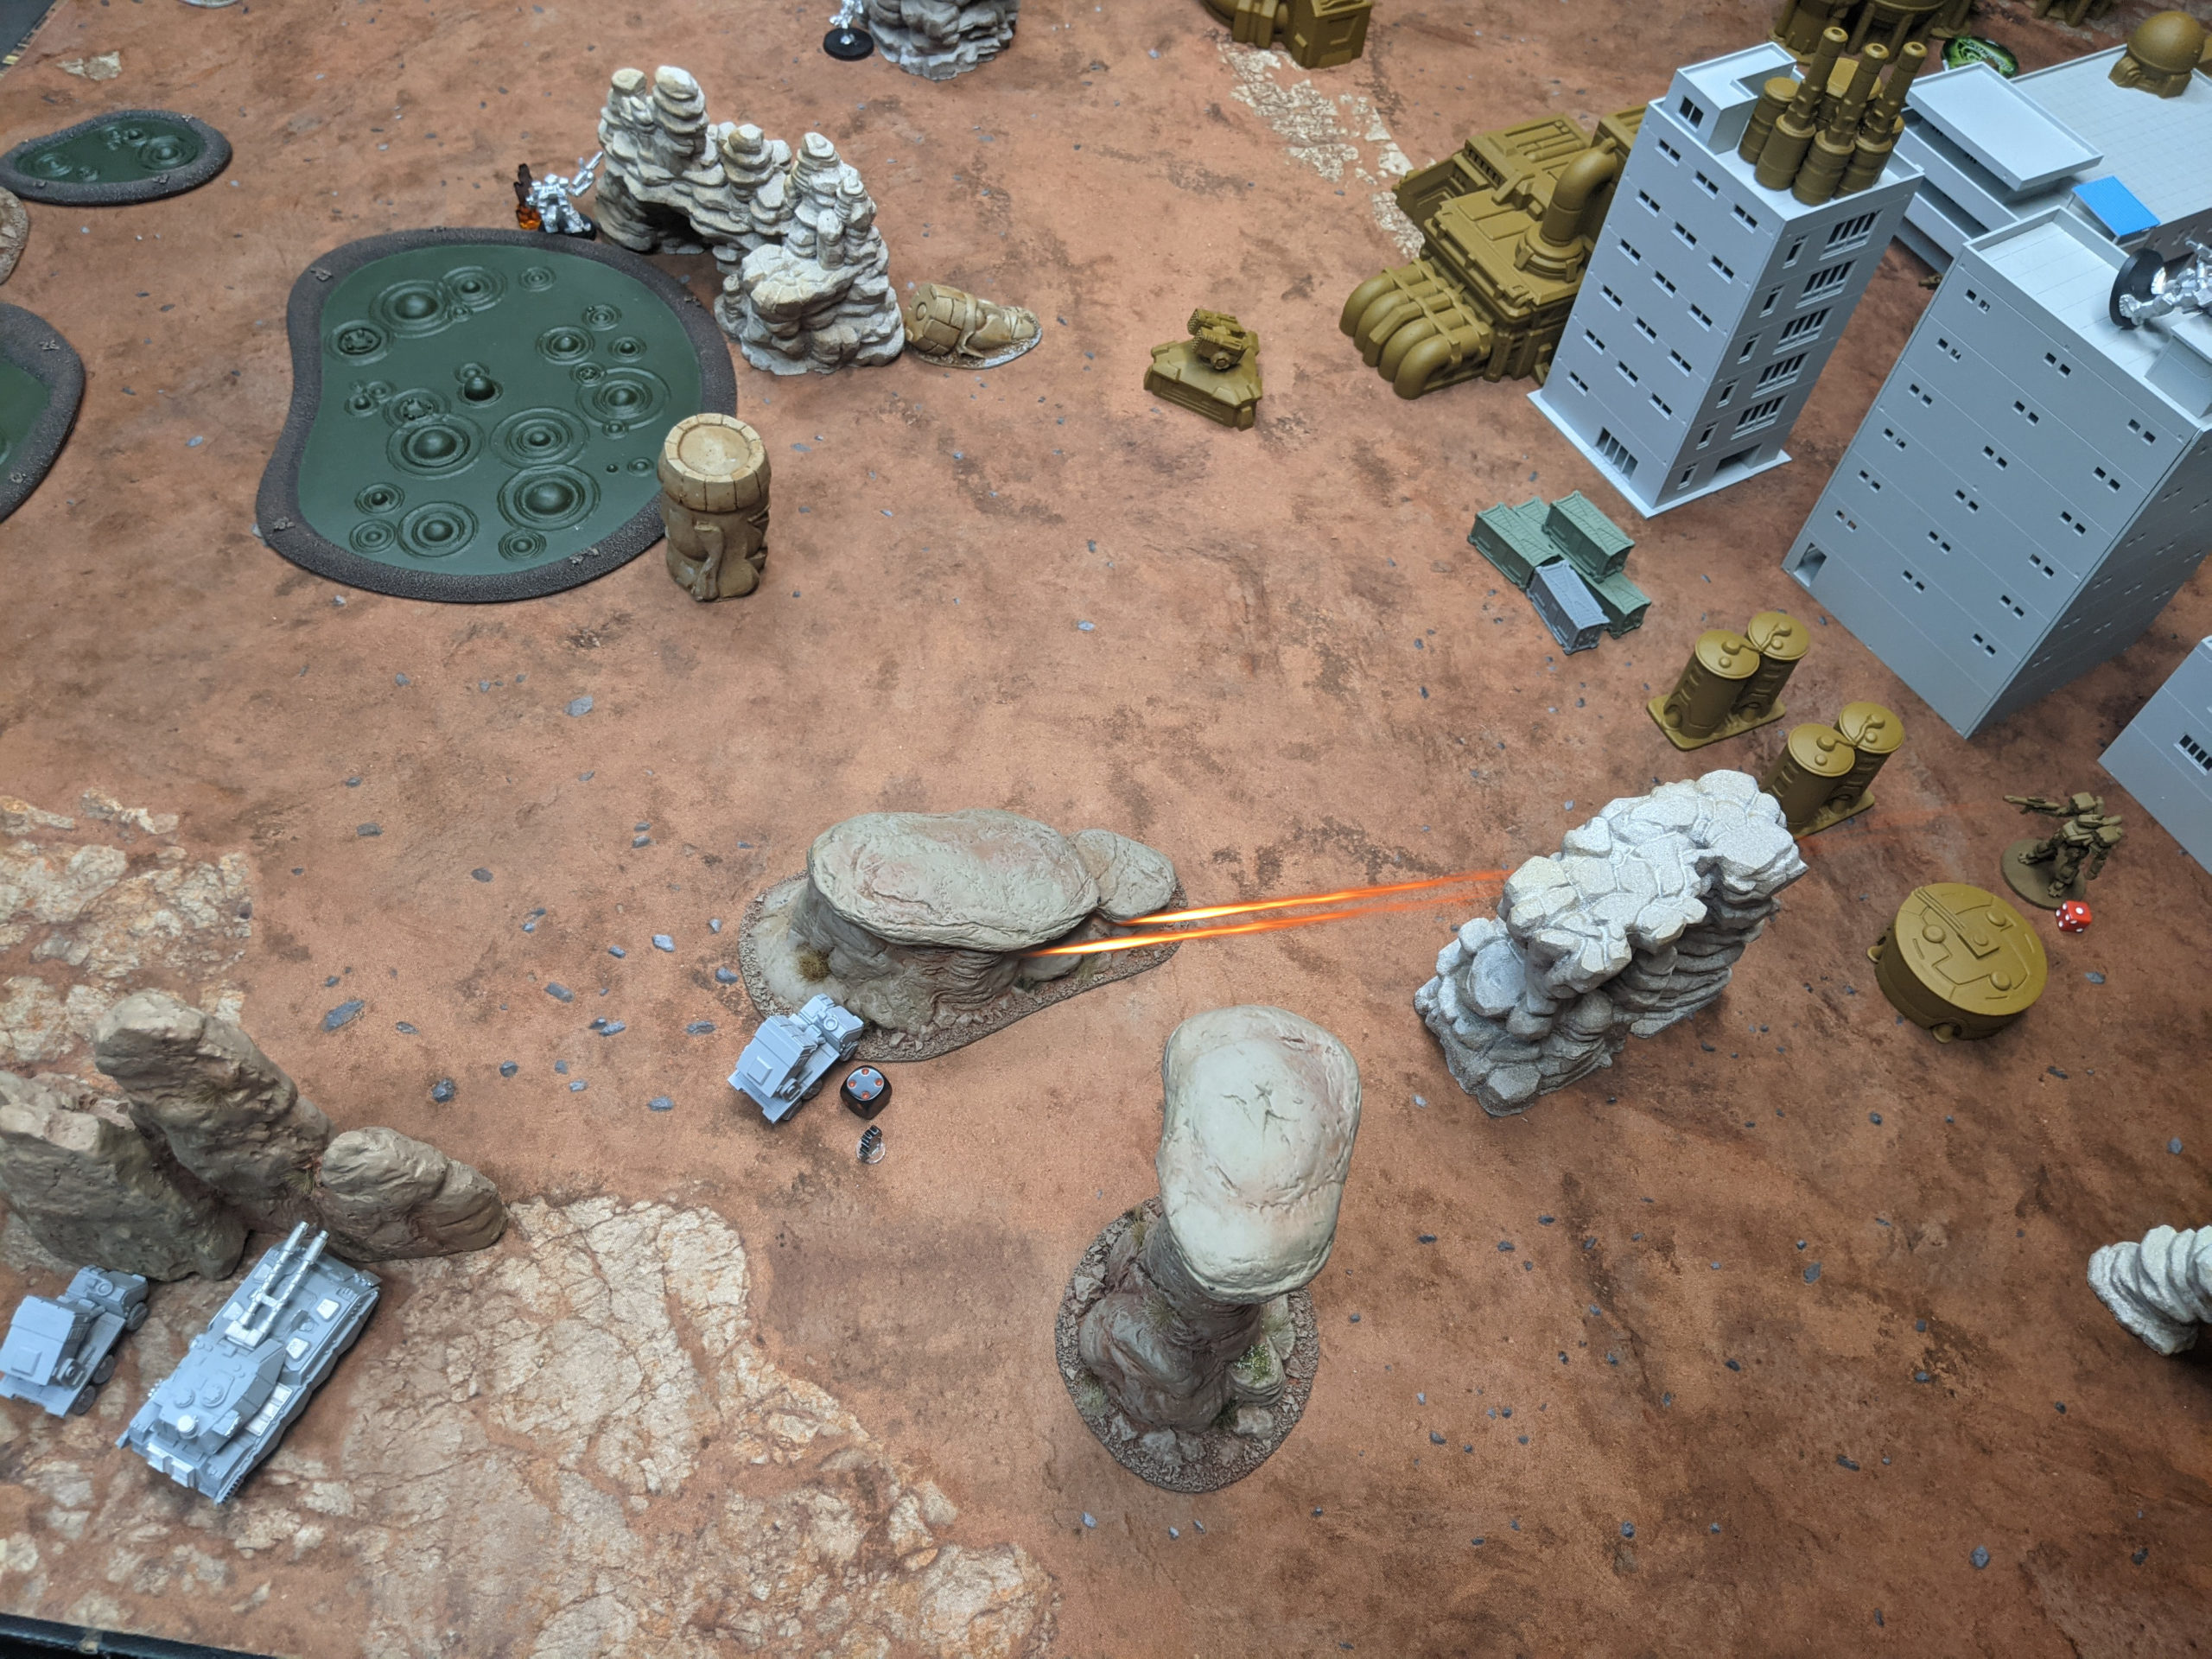
Adam keeps firing at my bikes with the Grizzlies, but I survive. He hasn’t drawn line of sight to the bikes yet, he’s just firing indirect so far as he pushes through the buildings. I manage to get the Lizard Rider behind the Nemesis Jaguar, because it needs to die so I can protect my flag as we as get my Pave the Way points. This time, Adam rolls a 7, an 8, and then a 2 against my Voltigeur. That 2 is enough for the MATM I dropped on him to absolutely obliterate the Jaguar.
My CGL bike drops off a flag and moves to harass a Hunter, and my Stingers displace, moving away as fast as possible. I attempt to get an FO off using the other bike but don’t do any damage from the Stinger’s MABM. I win initiative at the top of turn 3. I still need to kill one more hunter, and I need to keep my flag safe. I also need to keep my Tank, infantry, bikes, and stingers alive. The Hunters are the closest target, so I decide to go after them first, especially since they’re worth points. Adam will have to keep pushing his Grizziles forward and stringing them out to really get shots on my bikes/Stingers, so I’m okay with this decision, especially since the Hunters are the only thing in range to deal with my flag.
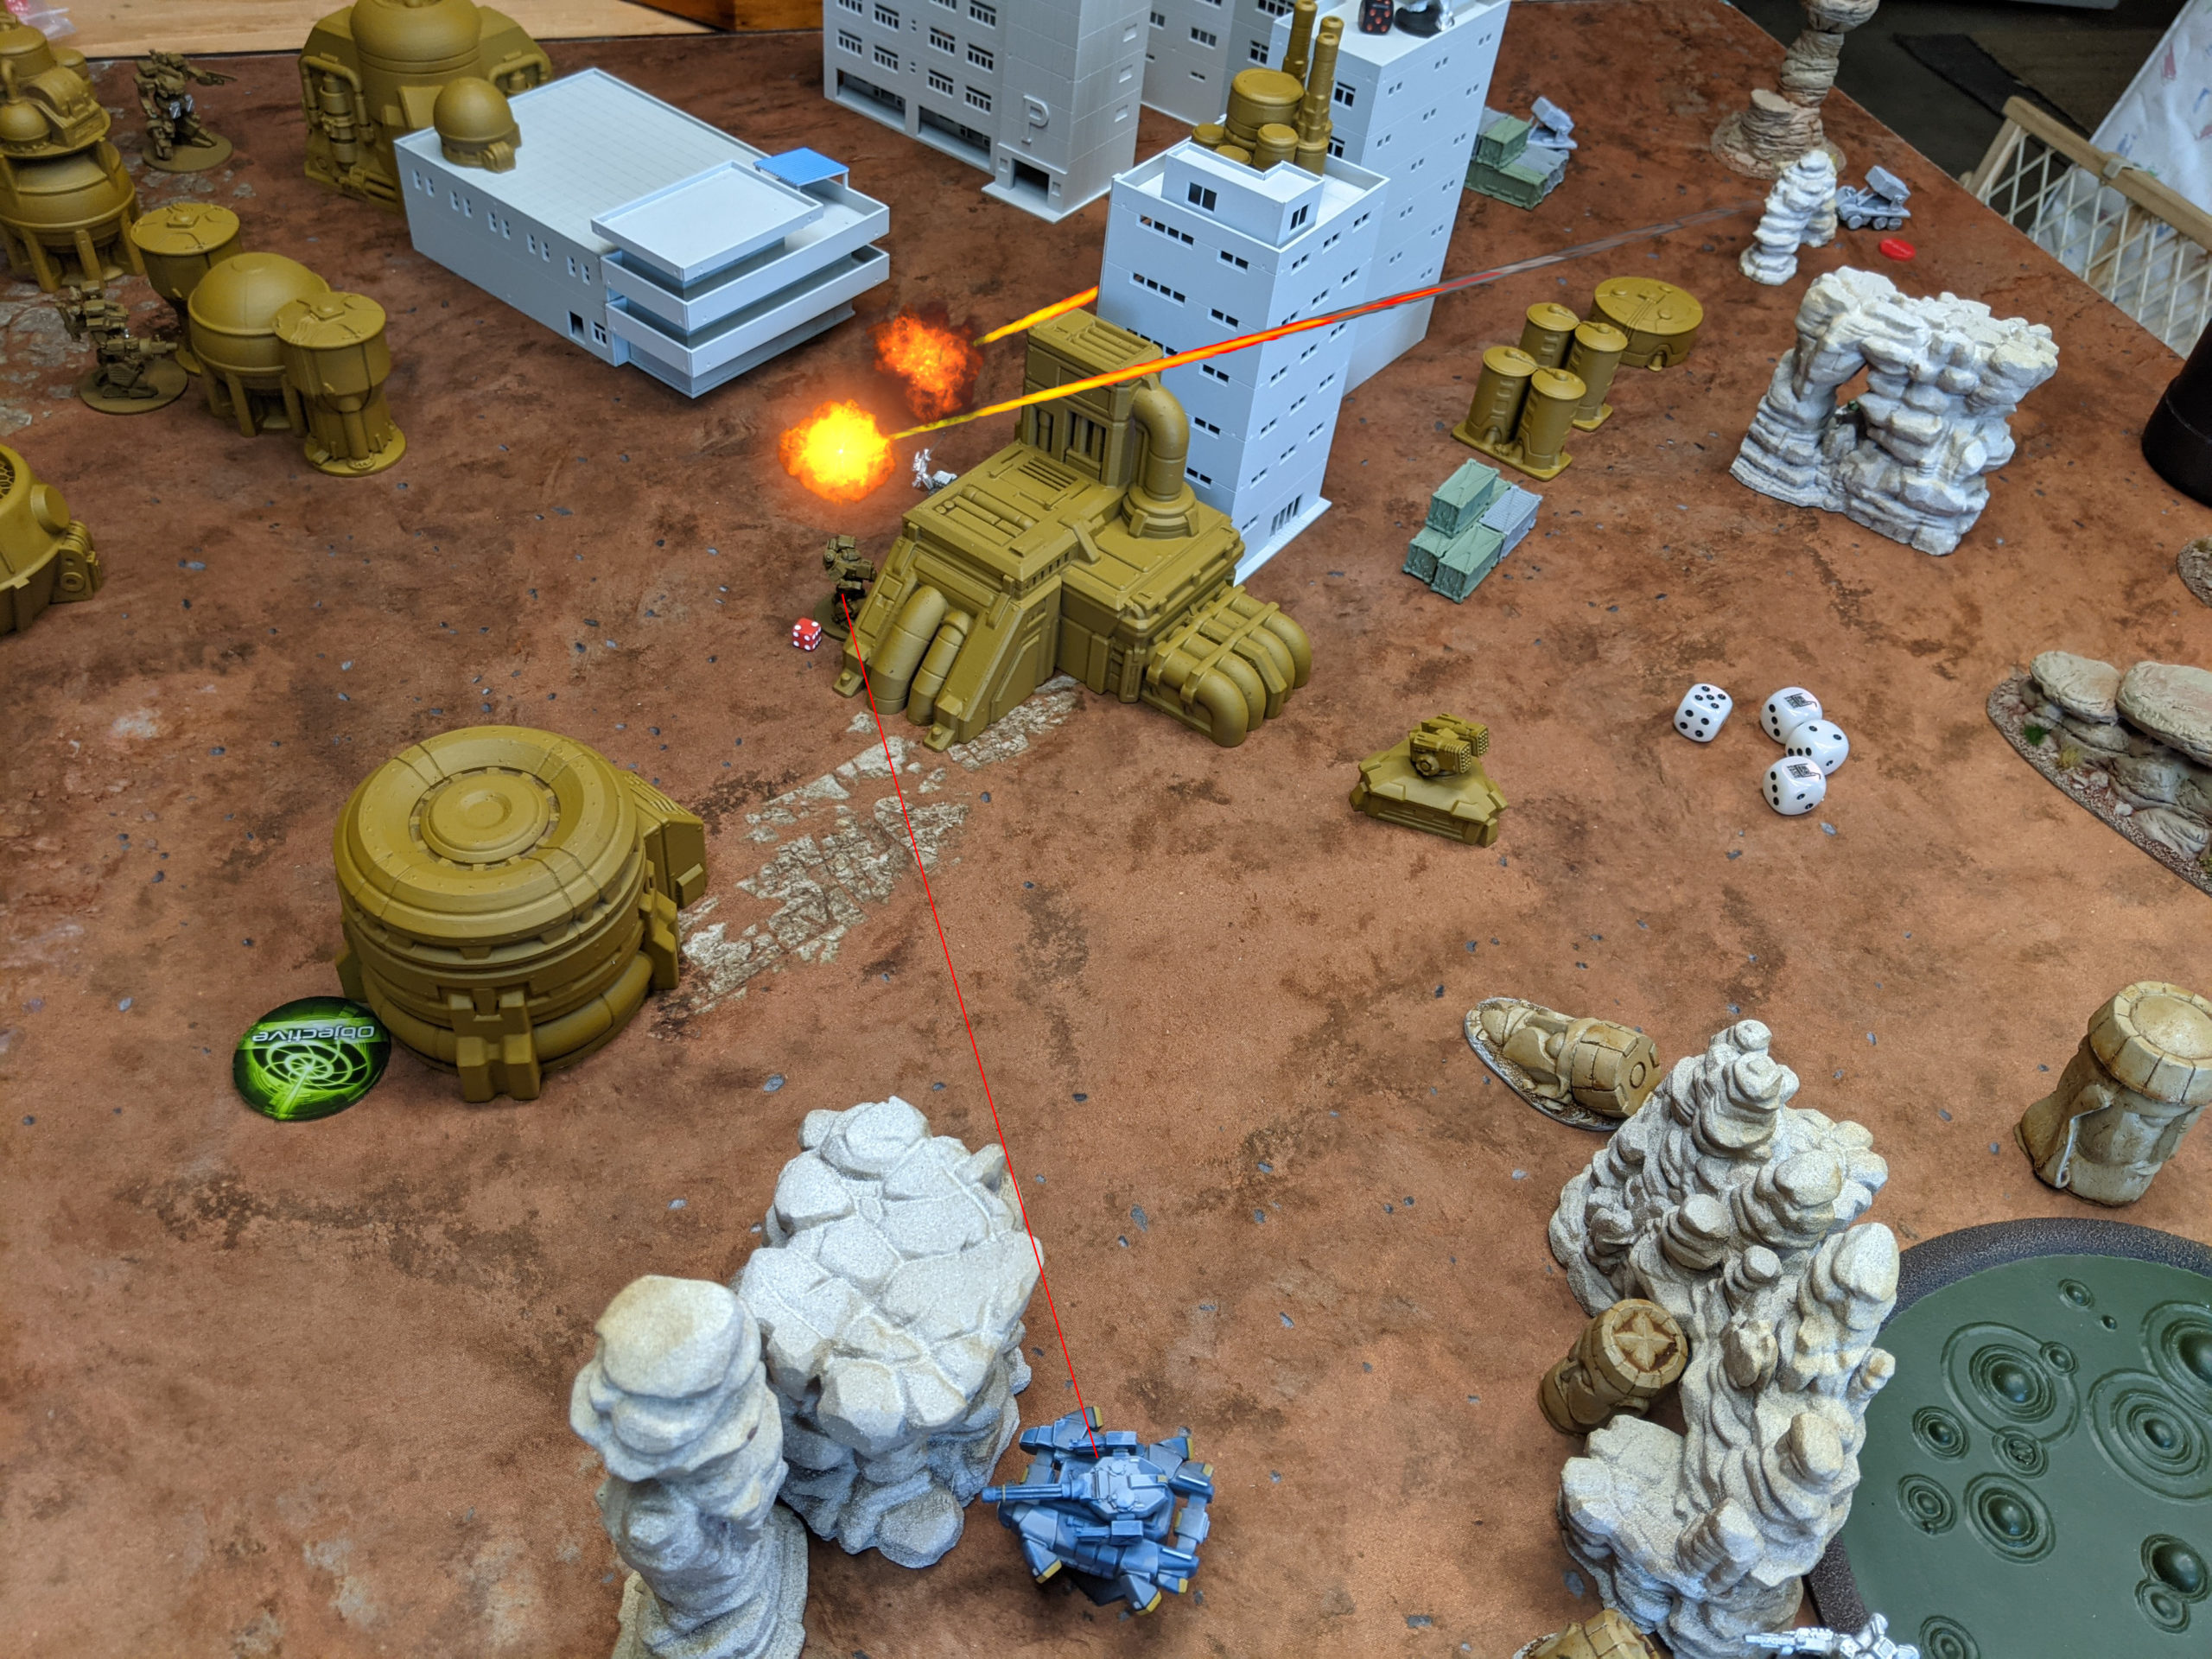
I move the LHT behind them and open up. The MFC shockingly only does one damage to the rear arc of an already crippled hunter, but the MRL split across the remaining two cripples the Spearhead and puts a single damage on the otherwise pristine Arrow hunter.
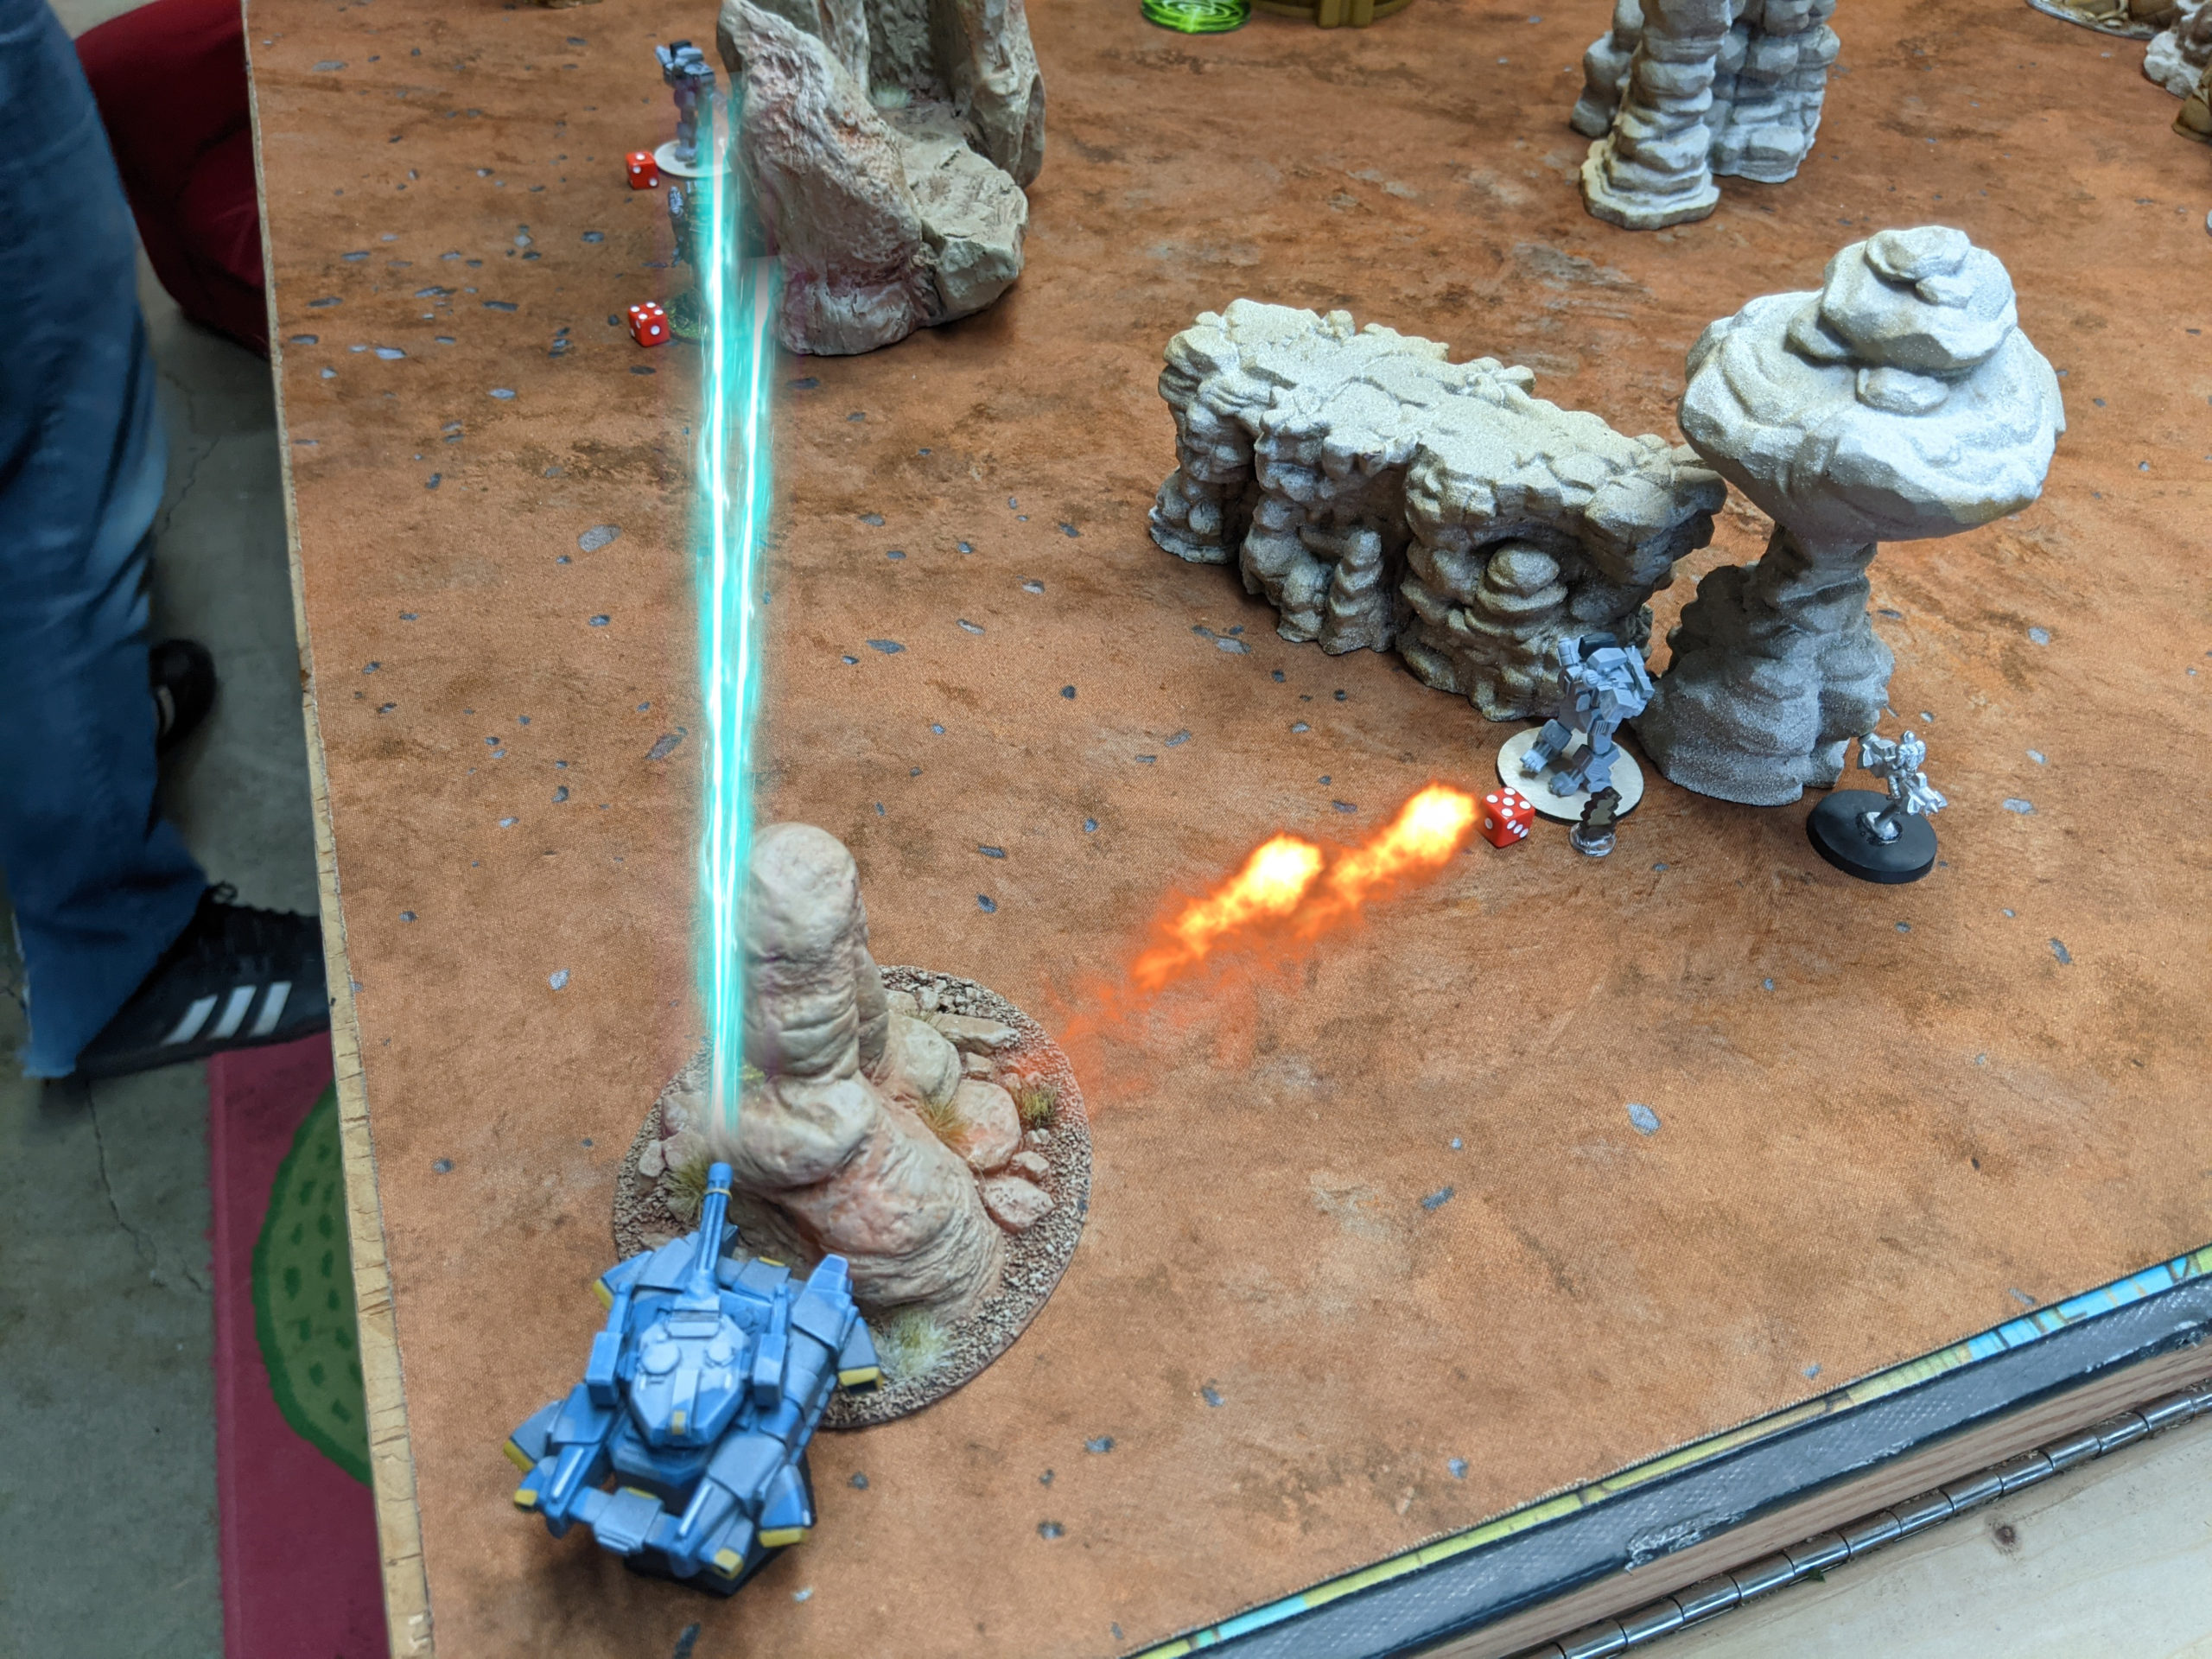
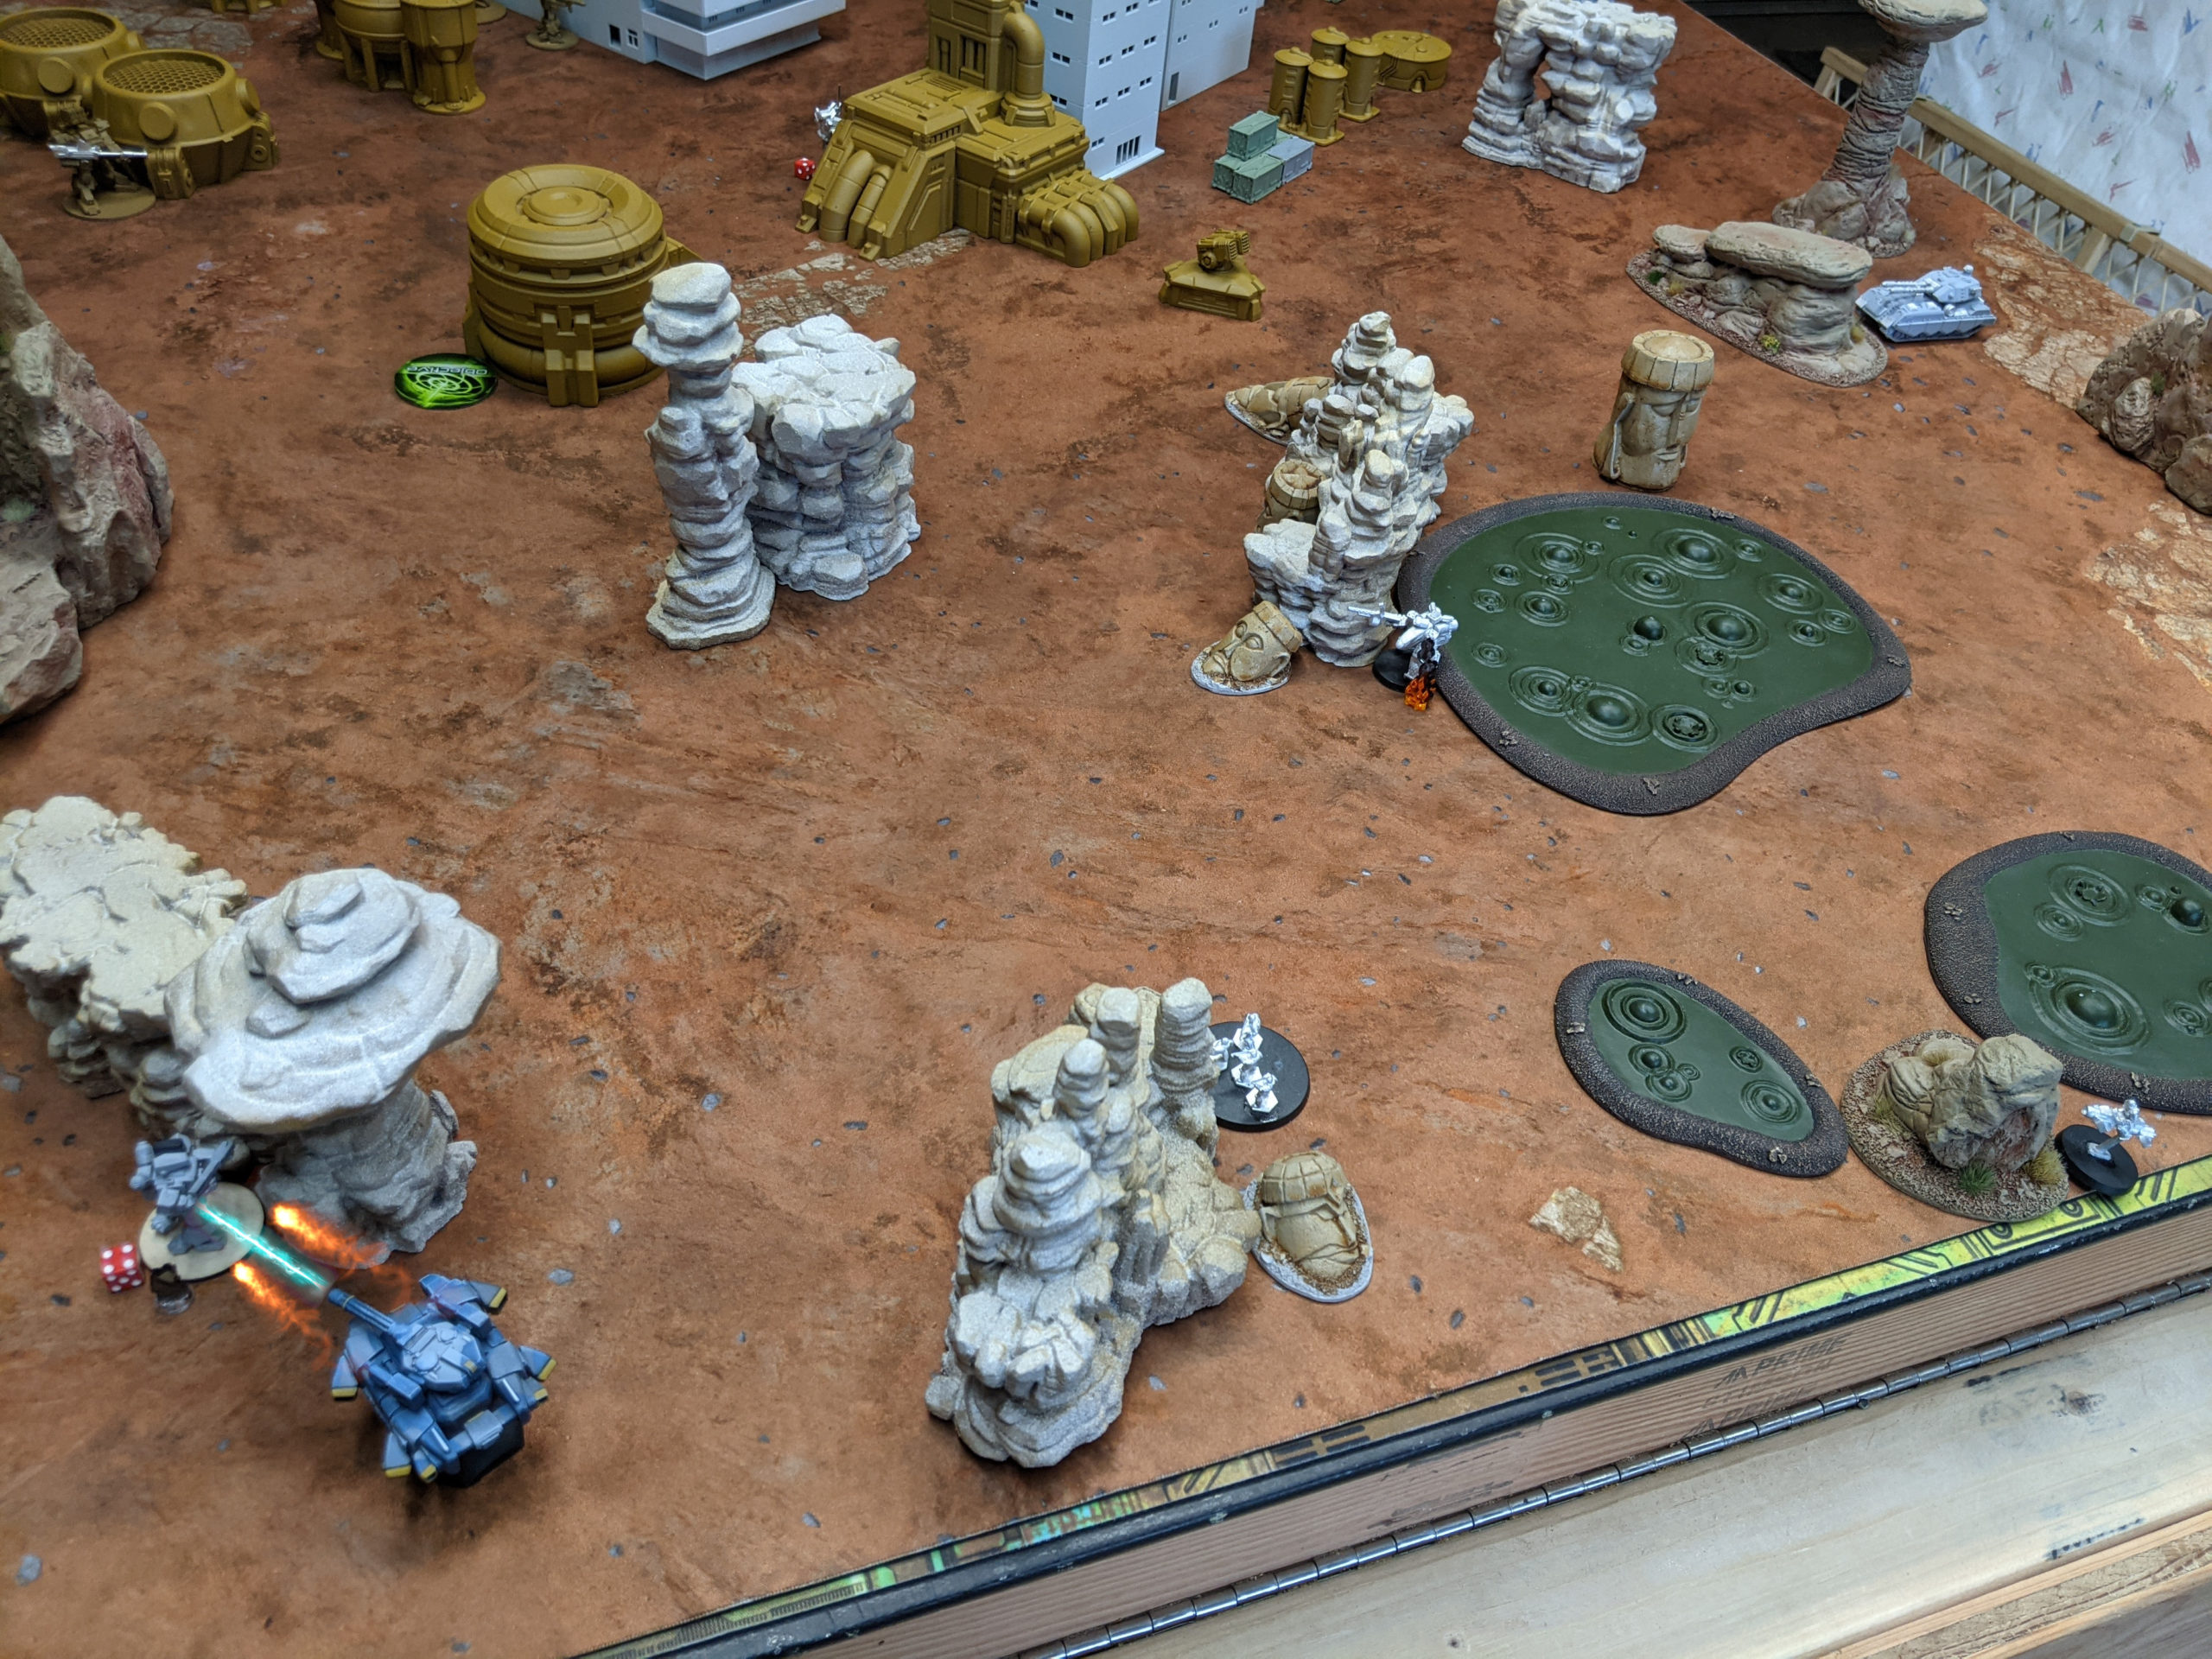
Adam finally gets his Grizzly in view of my bike, rolls 5d6 to my 3d6, and whiffs. Ouch.
He does the same thing with the Dogfire’s MMG, this time 5d6 to my 2d6, and whiffs again. Agile is real good!
His Jaguar tries again to take on my bike, and again Agile saves me.
My turn to activate bikes, and my bike CGL that dropped off the flag takes out the almost dead Arrow Hunter while the Stingers and other bike just run away!
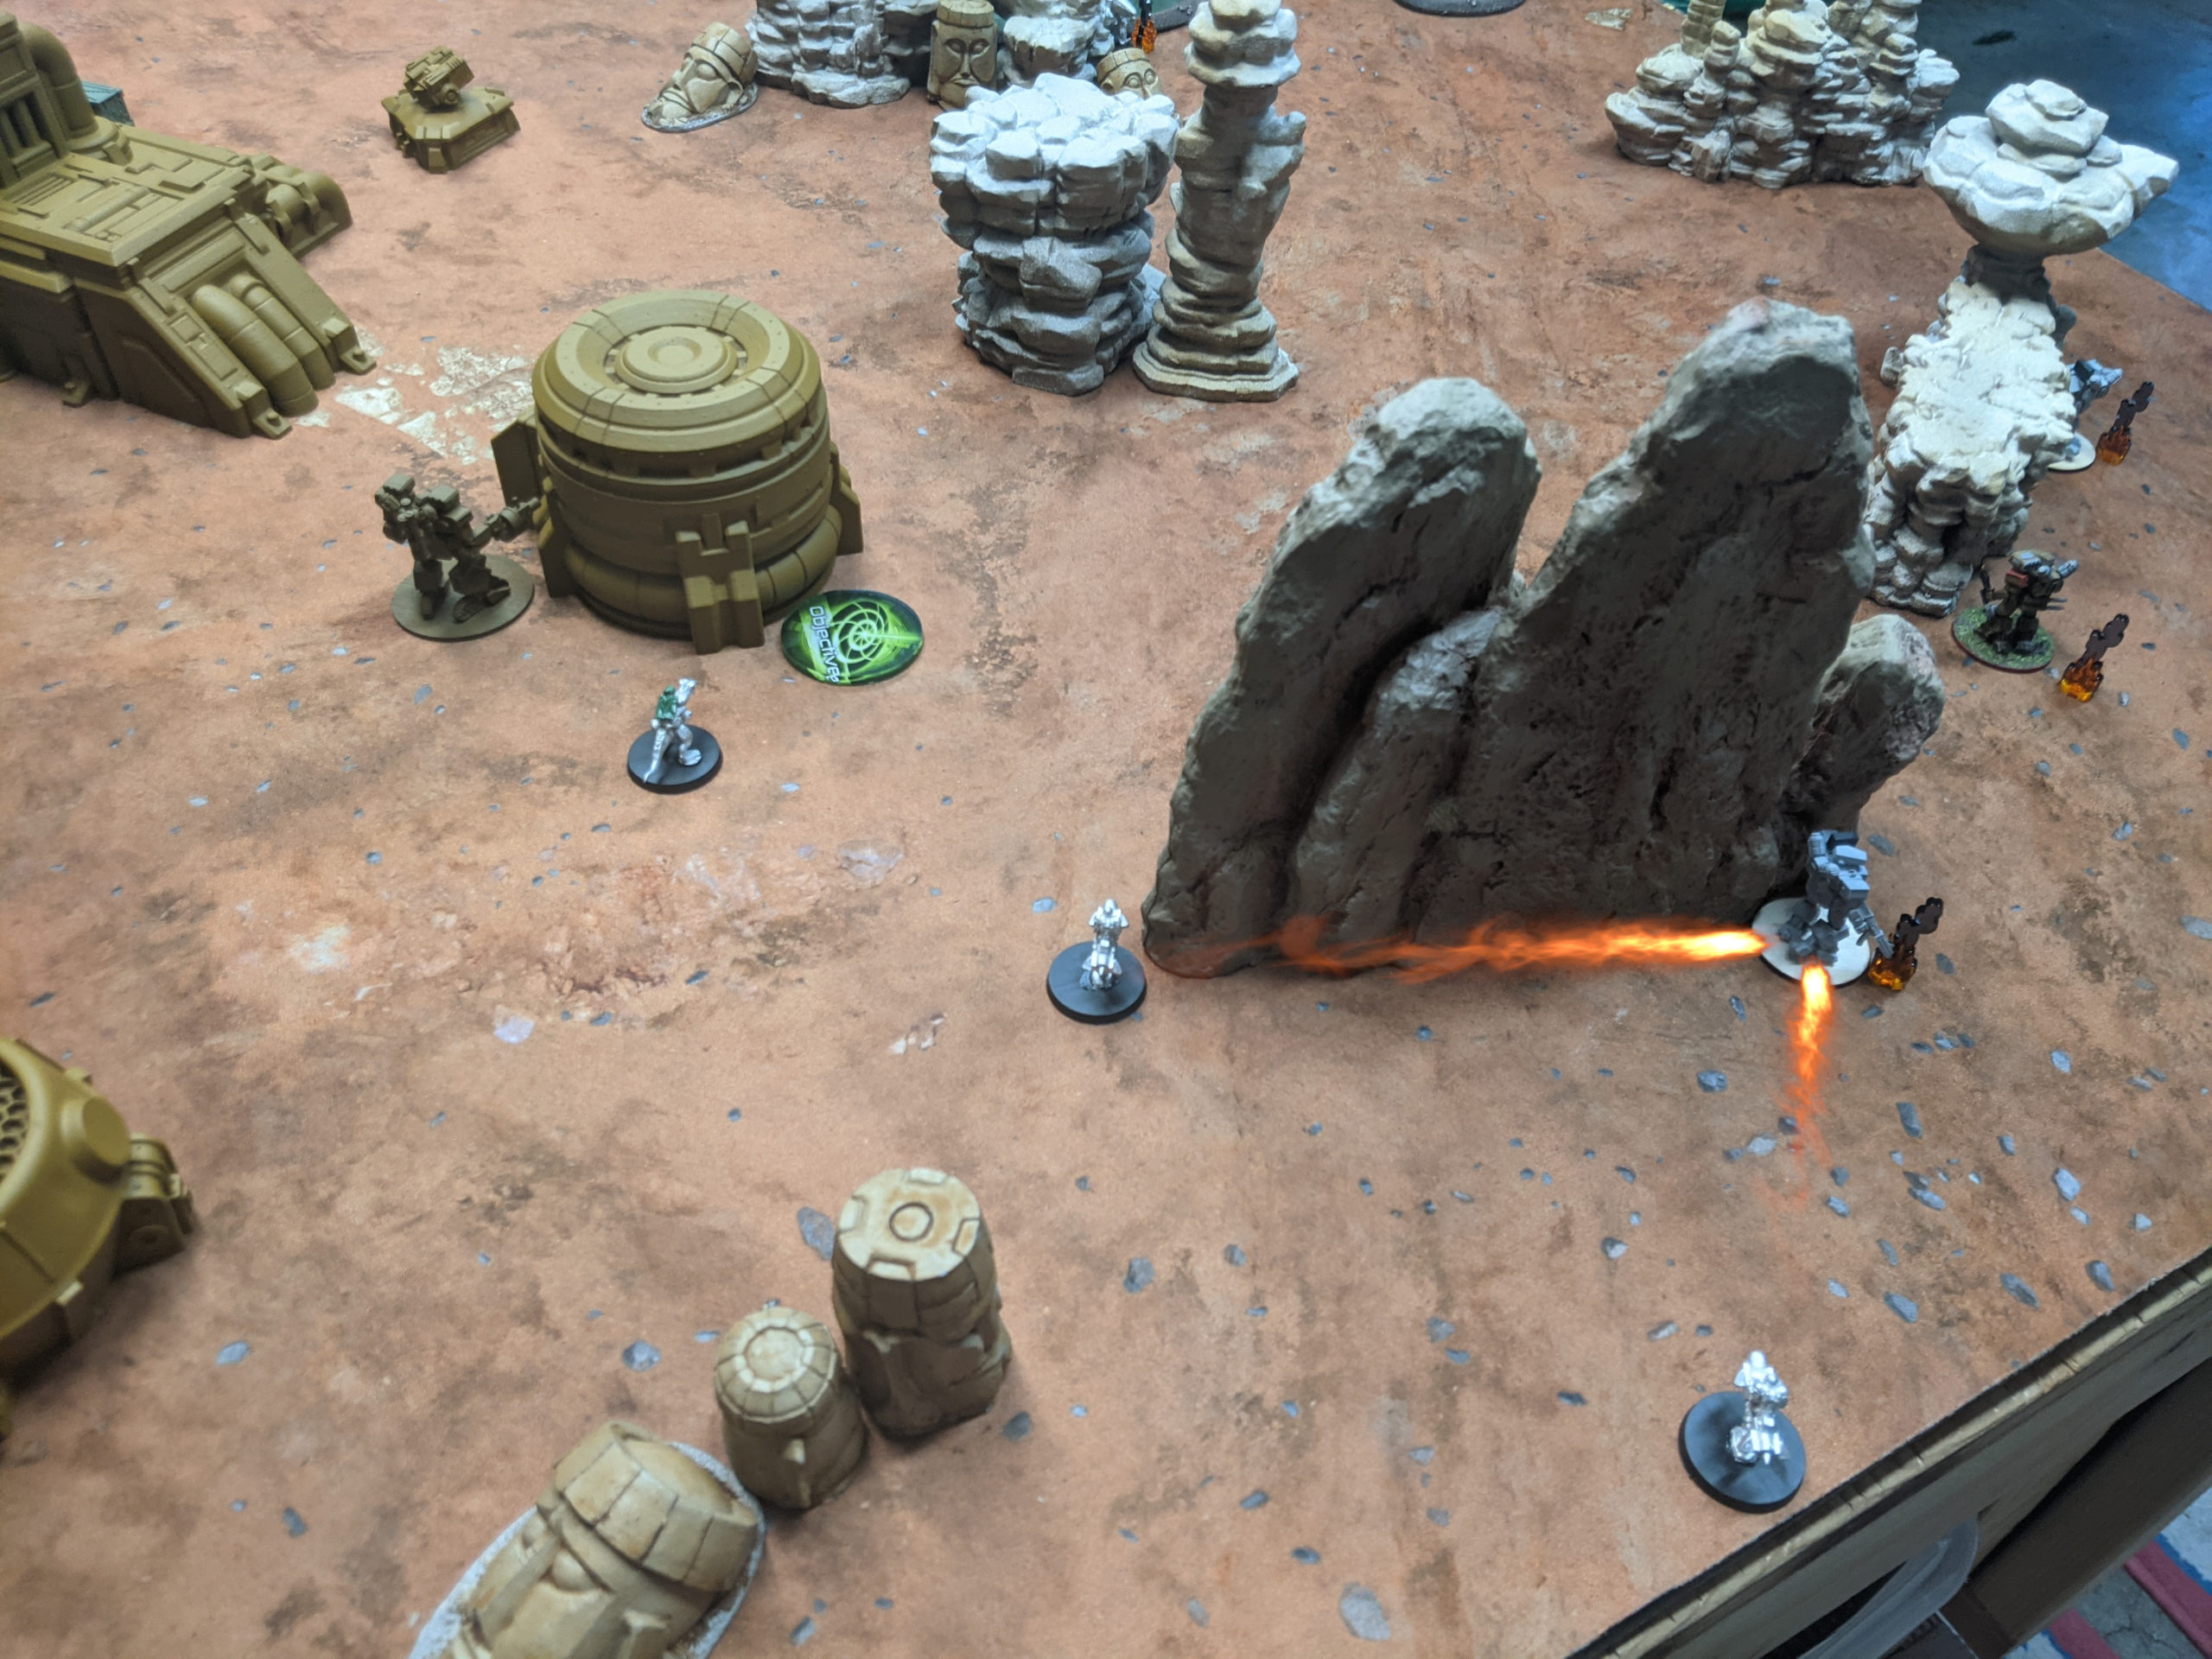
I do manage to get an FO off on the Dogfire R with the other bike though, which lets me drop a pair of MABM on it, killing it.

The Spearhead Hunter attempts to take on the bike that FO’ed the Dogfire and whiffs…
as does the damaged but uncrippled Arrow Hunter.
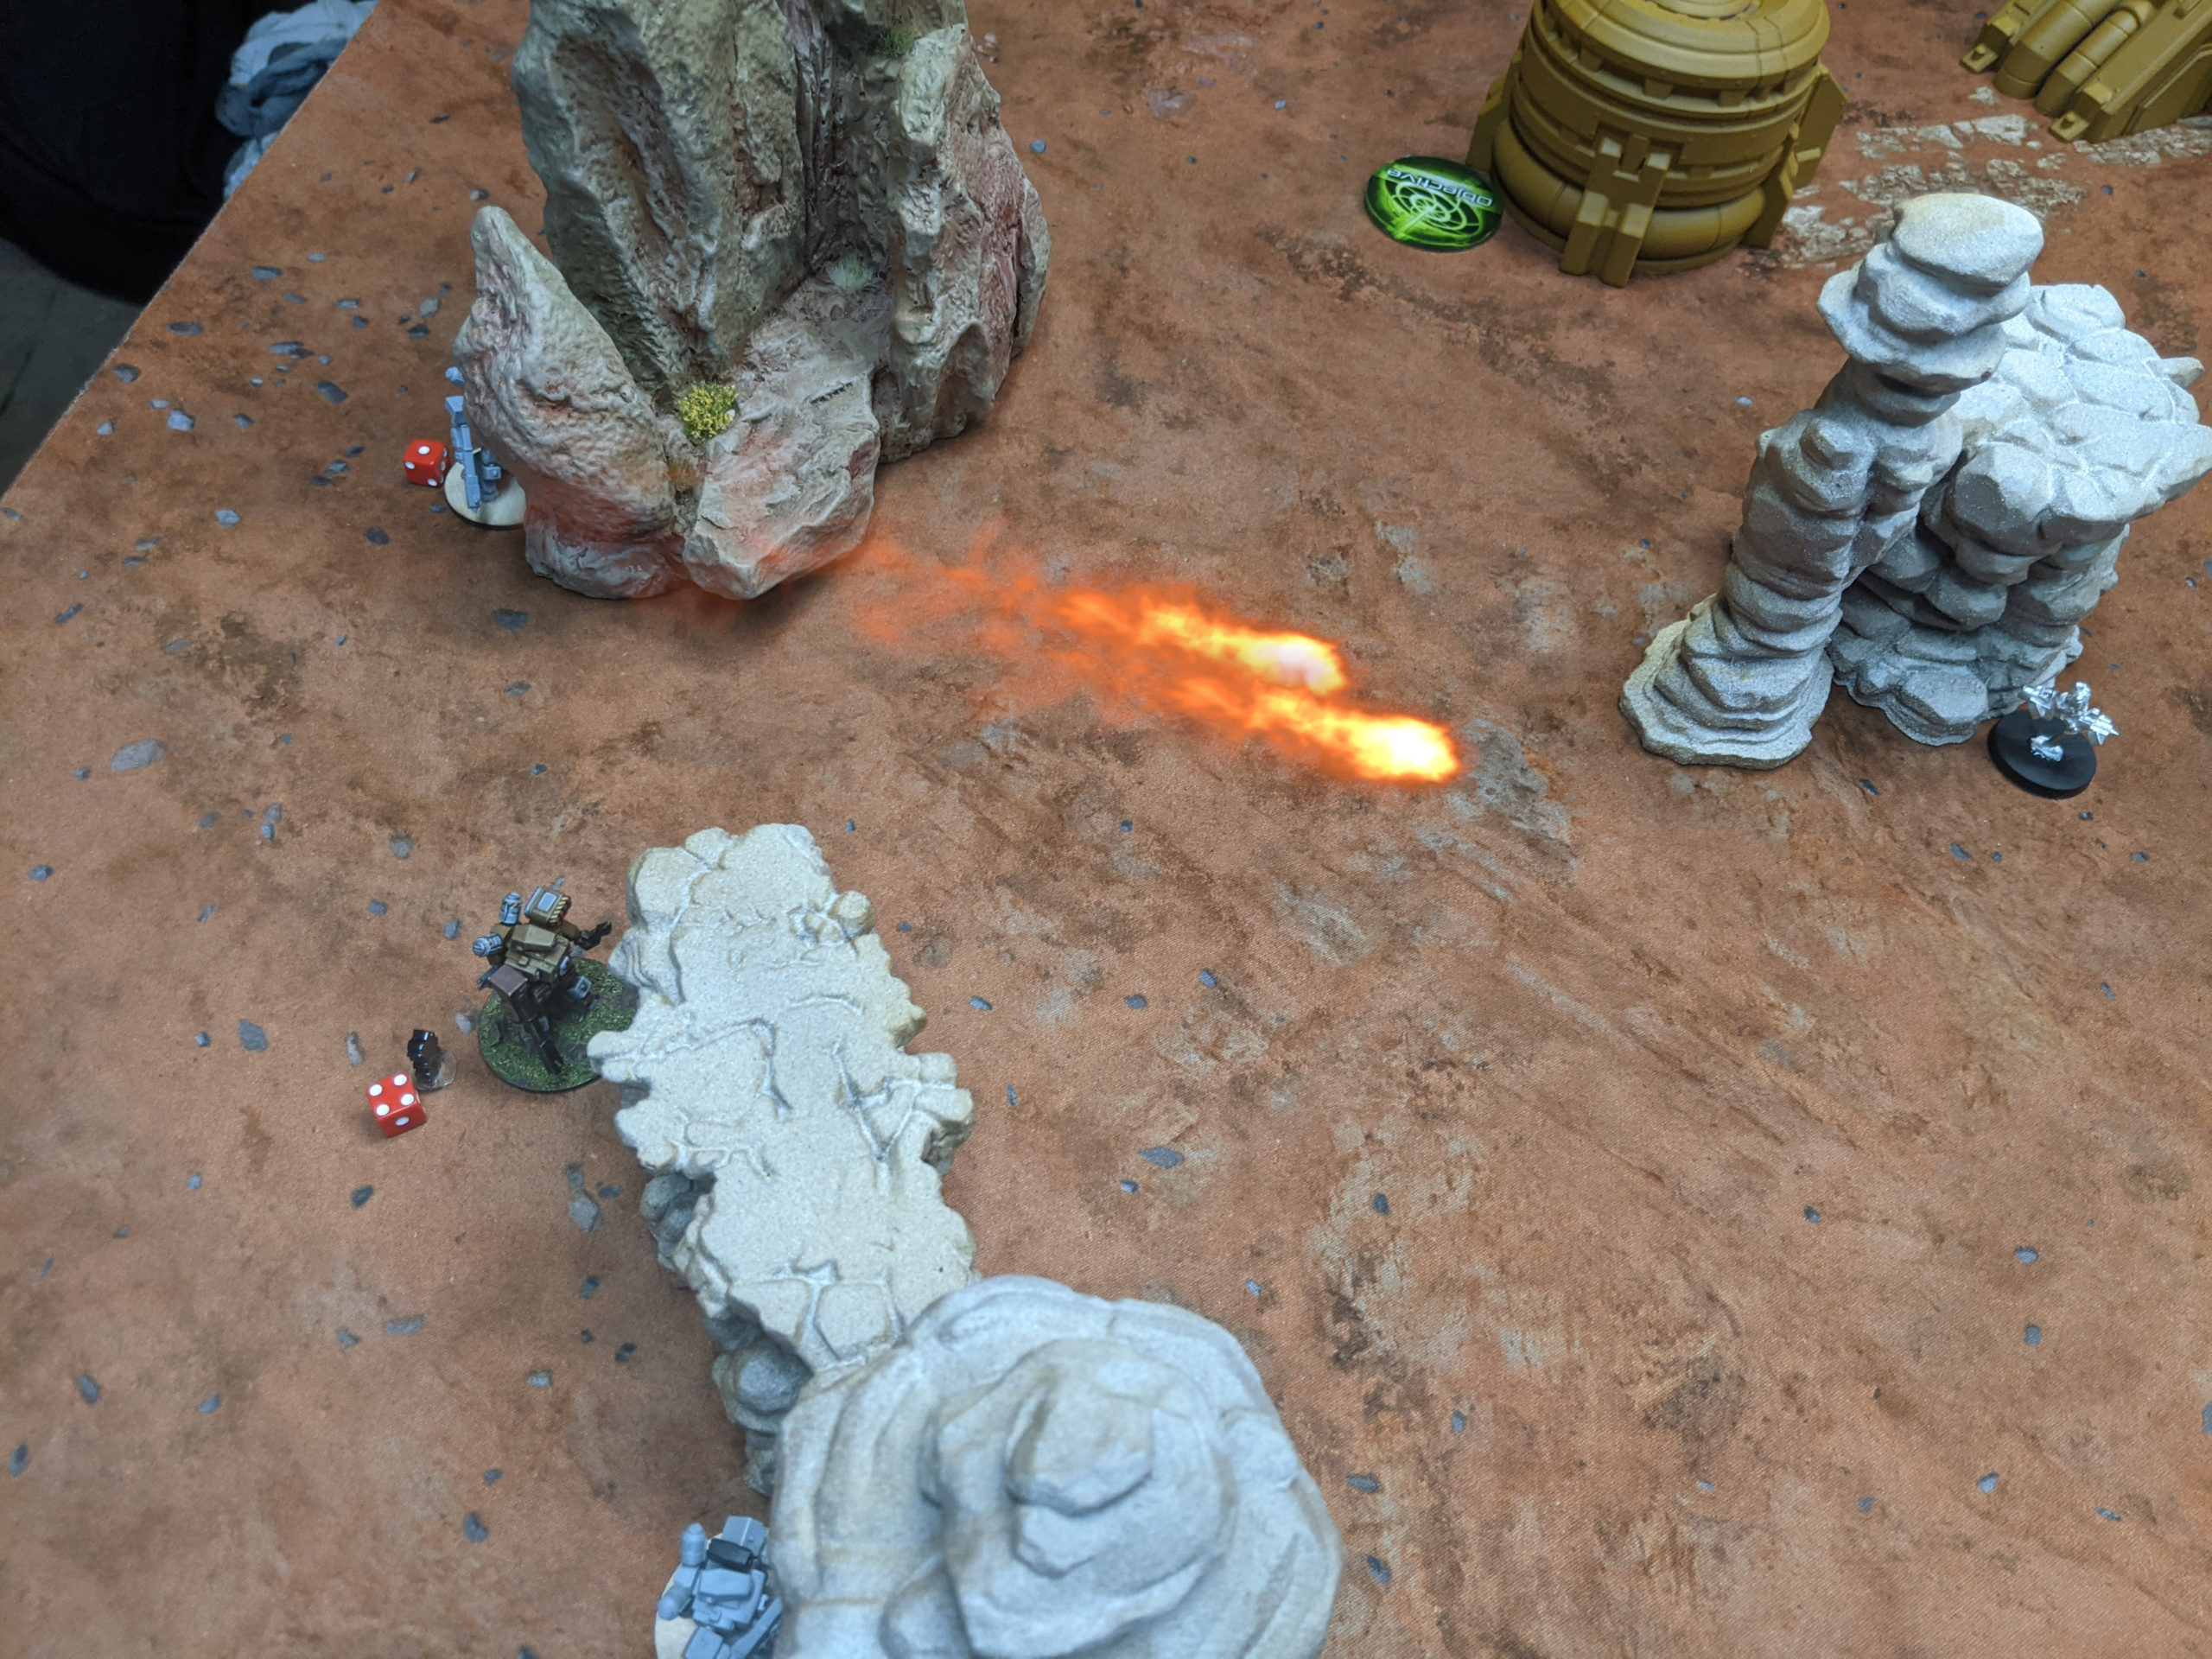
Another turn rolls around. I’ve got two pristine bikes, a damaged Stinger, and a full-health Stinger to protect. I’m in no real danger of losing the LHT-67 or the Infantry squad, but there are still two Hunters within range of a Hold objective, as well as a Hold objective that’s in range of a Grizzly. The LHT-67 takes out the Spearhead hunter with a focused MRL split burst, and I cripple the remaining Arrow Hunter.
I lose the damaged Stinger to Adam’s Jaguar, but that’s okay.
Adam retreats his Grizzly to cover his Hold Objective, which I deny with my Lizard Rider while my bikes finish off the last Hunter.
At this point, I’ve got my flag, both Pave the Way points, and I’ve kept enough alive to deny Adam his Pave the Way points. I’ve also denied his Hold objective, making it a
3-0 NuCoal Victory!
Post Game Analysis
Well, it’s clear that a few more rolls could have gone Adam’s way on that bike and the Lizard rider. If they had both died, that would have meant that he would have one point for Pave the Way, and possibly one for Hold depending on whether or not I could get my other bike into position to deny his Hold objective. So it’s still a loss.
If he had chosen the Espion CG as his Pave the Way target instead of my LHT CG, that would bring him to a 3-2 loss or perhaps a 3-3 tie. So that’s definitely something to consider as well. Adam immediately recognized his mistake but being a gentleman he elected to keep his choice. But bottom line, something else went wrong here.
I think the issue is that the objectives he chose aren’t synergistic with his list and his playstyle. The longest range weapons he had were the LFG and the LATM on the Arrow Hunters, which are more fire support units than a direct engagement tool. The rest of his weapons are autocannons, rocket packs, and grenade launchers, all optimal range in 12-18”.
The Dogfire and Arrow Hunters are there to help him close, and being aggressive is certainly something that the rest of his list is good at, and Adam’s play style is certainly very aggressive, at least it is in Infinity. The problem is that Hold isn’t synergistic with an aggressive playstyle, because you have to retreat back to your side of the table. That means you have less ability to chase down your Pave the Way targets.
Choosing Flags, as I did, was more synergistic. I am also a pretty aggressive player, so I know I’m going to push forward. I also have a nasty airdrop CG in my list to help me accomplish this. It might even had made sense to go after my Espion and the LHT as the primary Pave the Way targets (I say LHT because once that’s dead the CG is at half). That frees him from having to find angles on a highly mobile thing like the bike, and chase down two targets. Just the Espion and the LHT. He could’ve engaged the Jerboa or the Infantry, but the most action-efficient way of getting two points is to take out the LHT and the Espion.
In comparison, I had to take out three: the Nemesis Jaguar and two from the Hunter CG. That’s still pretty efficient (and punishes Independent Operators, which I like about the objective), but is still more actions of shooting on average. I think he didn’t choose Flags because I have very fast bikes that can negate his effort, which I think is a valid concern. This is a good illustrative example of why you might want to have more than 2 objective selecting combat groups. Pave the Way is really really good, but it’s pretty difficult to achieve if your opponent is content with running away from your or forcing difficult engagements. I think Hold, Flags, and Capture is pretty difficult to manage against a list with bikes in it, so having the opportunity to go for something else is helpful.
It’s not that Hoverbikes are particularly overpowered in terms of stat line or equipment. It’s really the Movement of 10 or above that’s the issue here. I felt that Spitz were just as useful as Hoverbikes when I played Peace River. Bikes are not good cause they’re fast and have good guns, they’re good because they’re fast and they can do stuff in general.
A Hunter with LAC is roughly as likely to kill something with a LAC as a bike will with say, a LIGL. The difference is I move about twice as fast as the hunter, so effectively I’ve got two turns to the Hunter’s one. Yes, I’m still only shooting once, but a lot of the time you’re taking a shot on terrible odds just because “why not, I don’t have anything better to do with this Hunter.” So effectively, the statement is “every time I activate with a bike, I’m taking an extra turn to your one.”
It doesn’t matter if they’re G:10, G:11, or H:12, that’s 50-100% more speed than any gear except CEF frames and the like. Which is a lot. Unless I take Assassinate, Pave the Way, or Wipe Them Out, I’m not really interested in interacting with you, and I don’t need to shoot at you. That means if I’m effectively accomplishing objectives at twice the rate that you can, basically by virtue of getting there faster. It also means that I can try again if I have a bad roll to accomplish an objective.
One thing that playing both Heavy Gear and Infinity has taught me is that positional development is extremely important. You simply have to invest in advancing units into useful positions. Both games have turned into logistical puzzles. How do I deliver this gear/specialist/whatever to the right position and get at least one if not two other benefits on the way?
I’ll circle back to the game now to ground my ramblings. I chose Pave the Way and Flags, knowing that I wanted to advance on my left to deploy then protect my Flags as well as hunt down Adam’s Hunters. Everything I did in the game was to advance that. I deployed there, I put stuff in the midfield with airdrop, I backed it up with a Voltigeur, and then I pushed hard. I got a LHT onto Adam’s back table edge and killed all Hunters with it, and that not only got me Pave the Way points, it also made it impossible for him to deny my Flag (aside from him killing my Jerboa).
In contrast, Adam had to chase me around the table to try and get Pave the Way done and then had to retreat afterwards to get Hold. Because he divided his energy, he failed at both. I think this is one of the really nice things about the objective selection mini game. We both chose Pave the Way first, then I chose Flags, then Adam chose Hold. I think he should’ve chosen Pave the Way last. If you intend to take Hold, take it first. You give up very little information in doing so, especially if I have to declare objectives first.
Imagine how different the game goes if I say: “I choose Pave the Way” and choose the Hunter group and the Nemesis Jaguar. Now Adam knows I have to come to his Hunters, and there will be a fight there. He selects Hold, and deploys the objectives as defensively as possible.
Then I choose Flags, and both of my CGLs holding flags are on his right (my left). This is where the action is going to be! He needs to drag his Grizzlies across the table to support his hunters, and then the board starts to look like an L-shaped ambush. Of course, I have a Voltigeur, but the idea remains. So, then he chooses Pave the Way, targets my LHT CG and the Espion.
He can clean up the Espion on the way to the midfield with his Strike Group, and then pull the Nemesis Jaguar back to secure the Hold objective left vacant by his Strike group. It’s harder for me to kill it now, as it’s farther away, and he has an objective. That’s potentially a 2-point swing (which I influenced by choosing Pave the Way on the Nemesis Jaguar).
Now, he just has to kill the LHT, and then as I start to press his Hunters, he fades away and replaces them with the Grizzlies as the blocking element. It is irrelevant if they all die to the Voltigeur, neither of us gains/loses points for that.
So yeah. Adam played a great game once the objectives were chosen, but I think he wasn’t setting himself up for success here. I encourage you, dear reader, to engage in the exercise of writing a battle report or at least a reflection on your game. You may say “ah, of course you’ve said these things, you think you’re so smart, talking about this stuff with complete knowledge of the outcome!” To that I say, by virtue of having done hundreds of these, I have some experience at doing this kind of analysis at the end of a game, which makes it slightly easier for me do this type of analysis during a game, when it counts.
Anyway. That was a lot. I hope this was helpful. It’s games like this which made us write the Heavy Gear Blitz! Tournament System to encourage other types of player interaction which make this sort of game come up less often. Hopefully this was clear. The idea is well formed in my head and I’ve sort of developed a shorthand for talking about it now, but that may not be helpful? Let me know. Thanks for reading.