
Heckin’ Hector
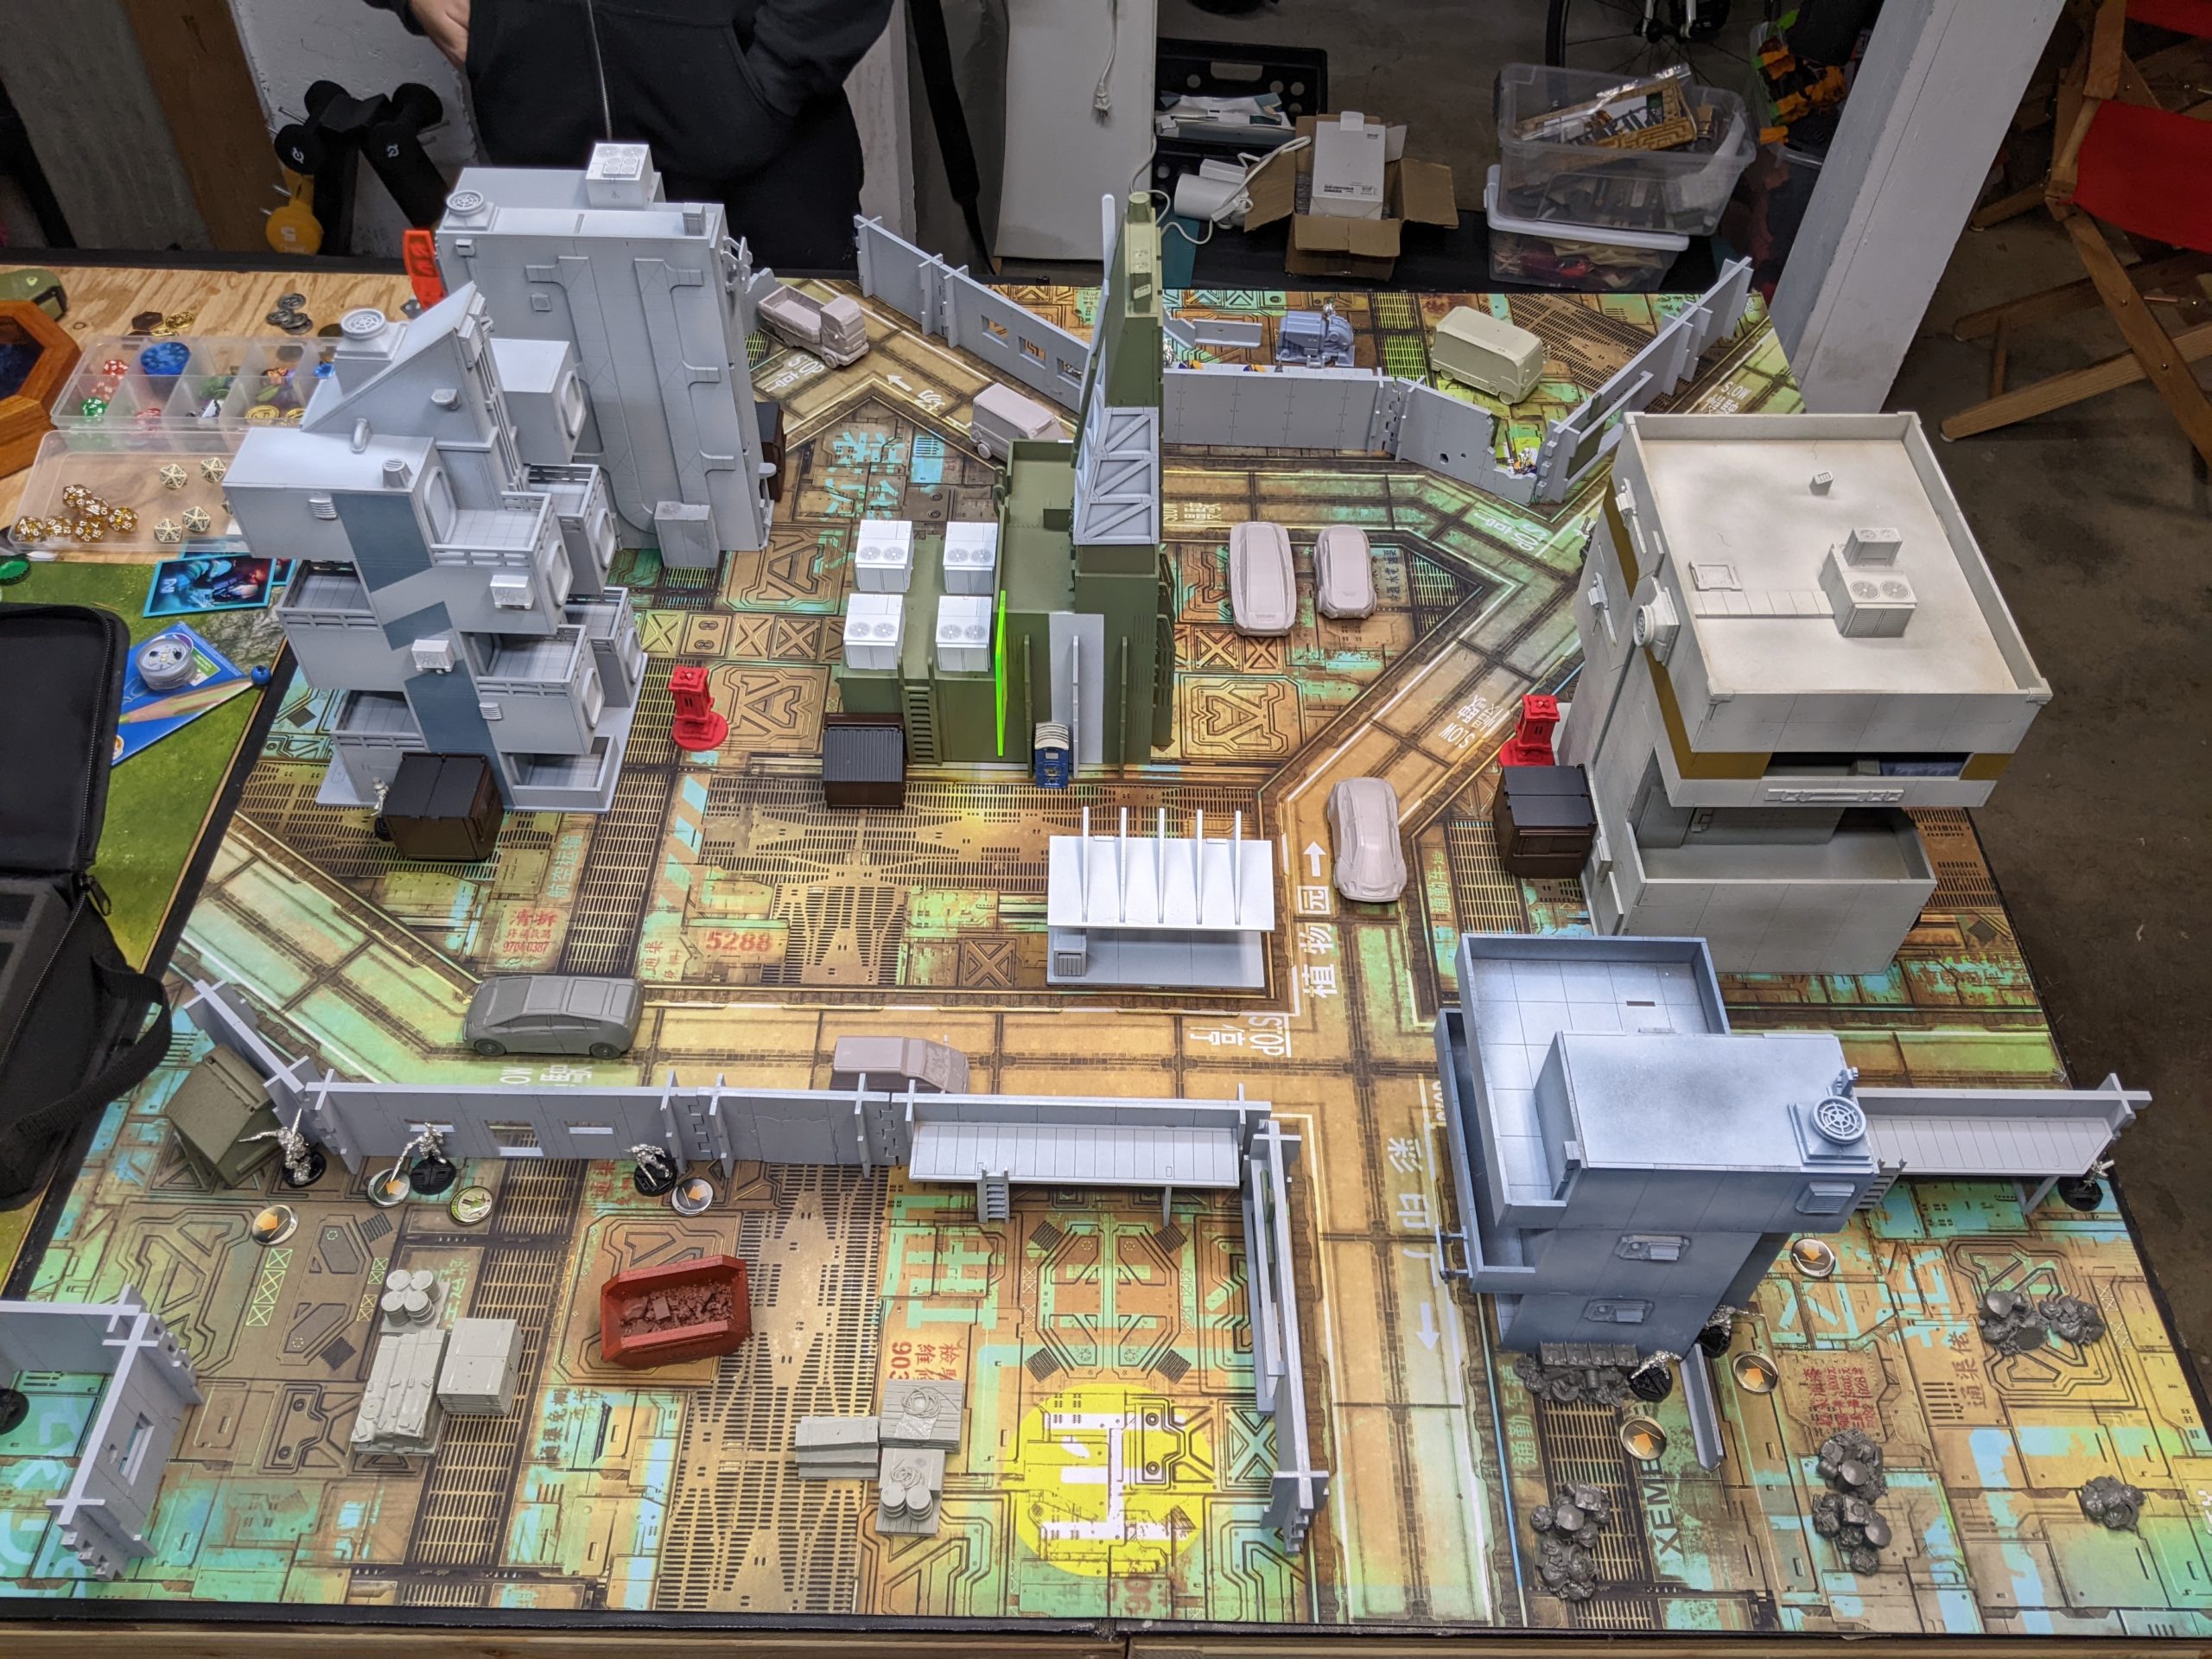
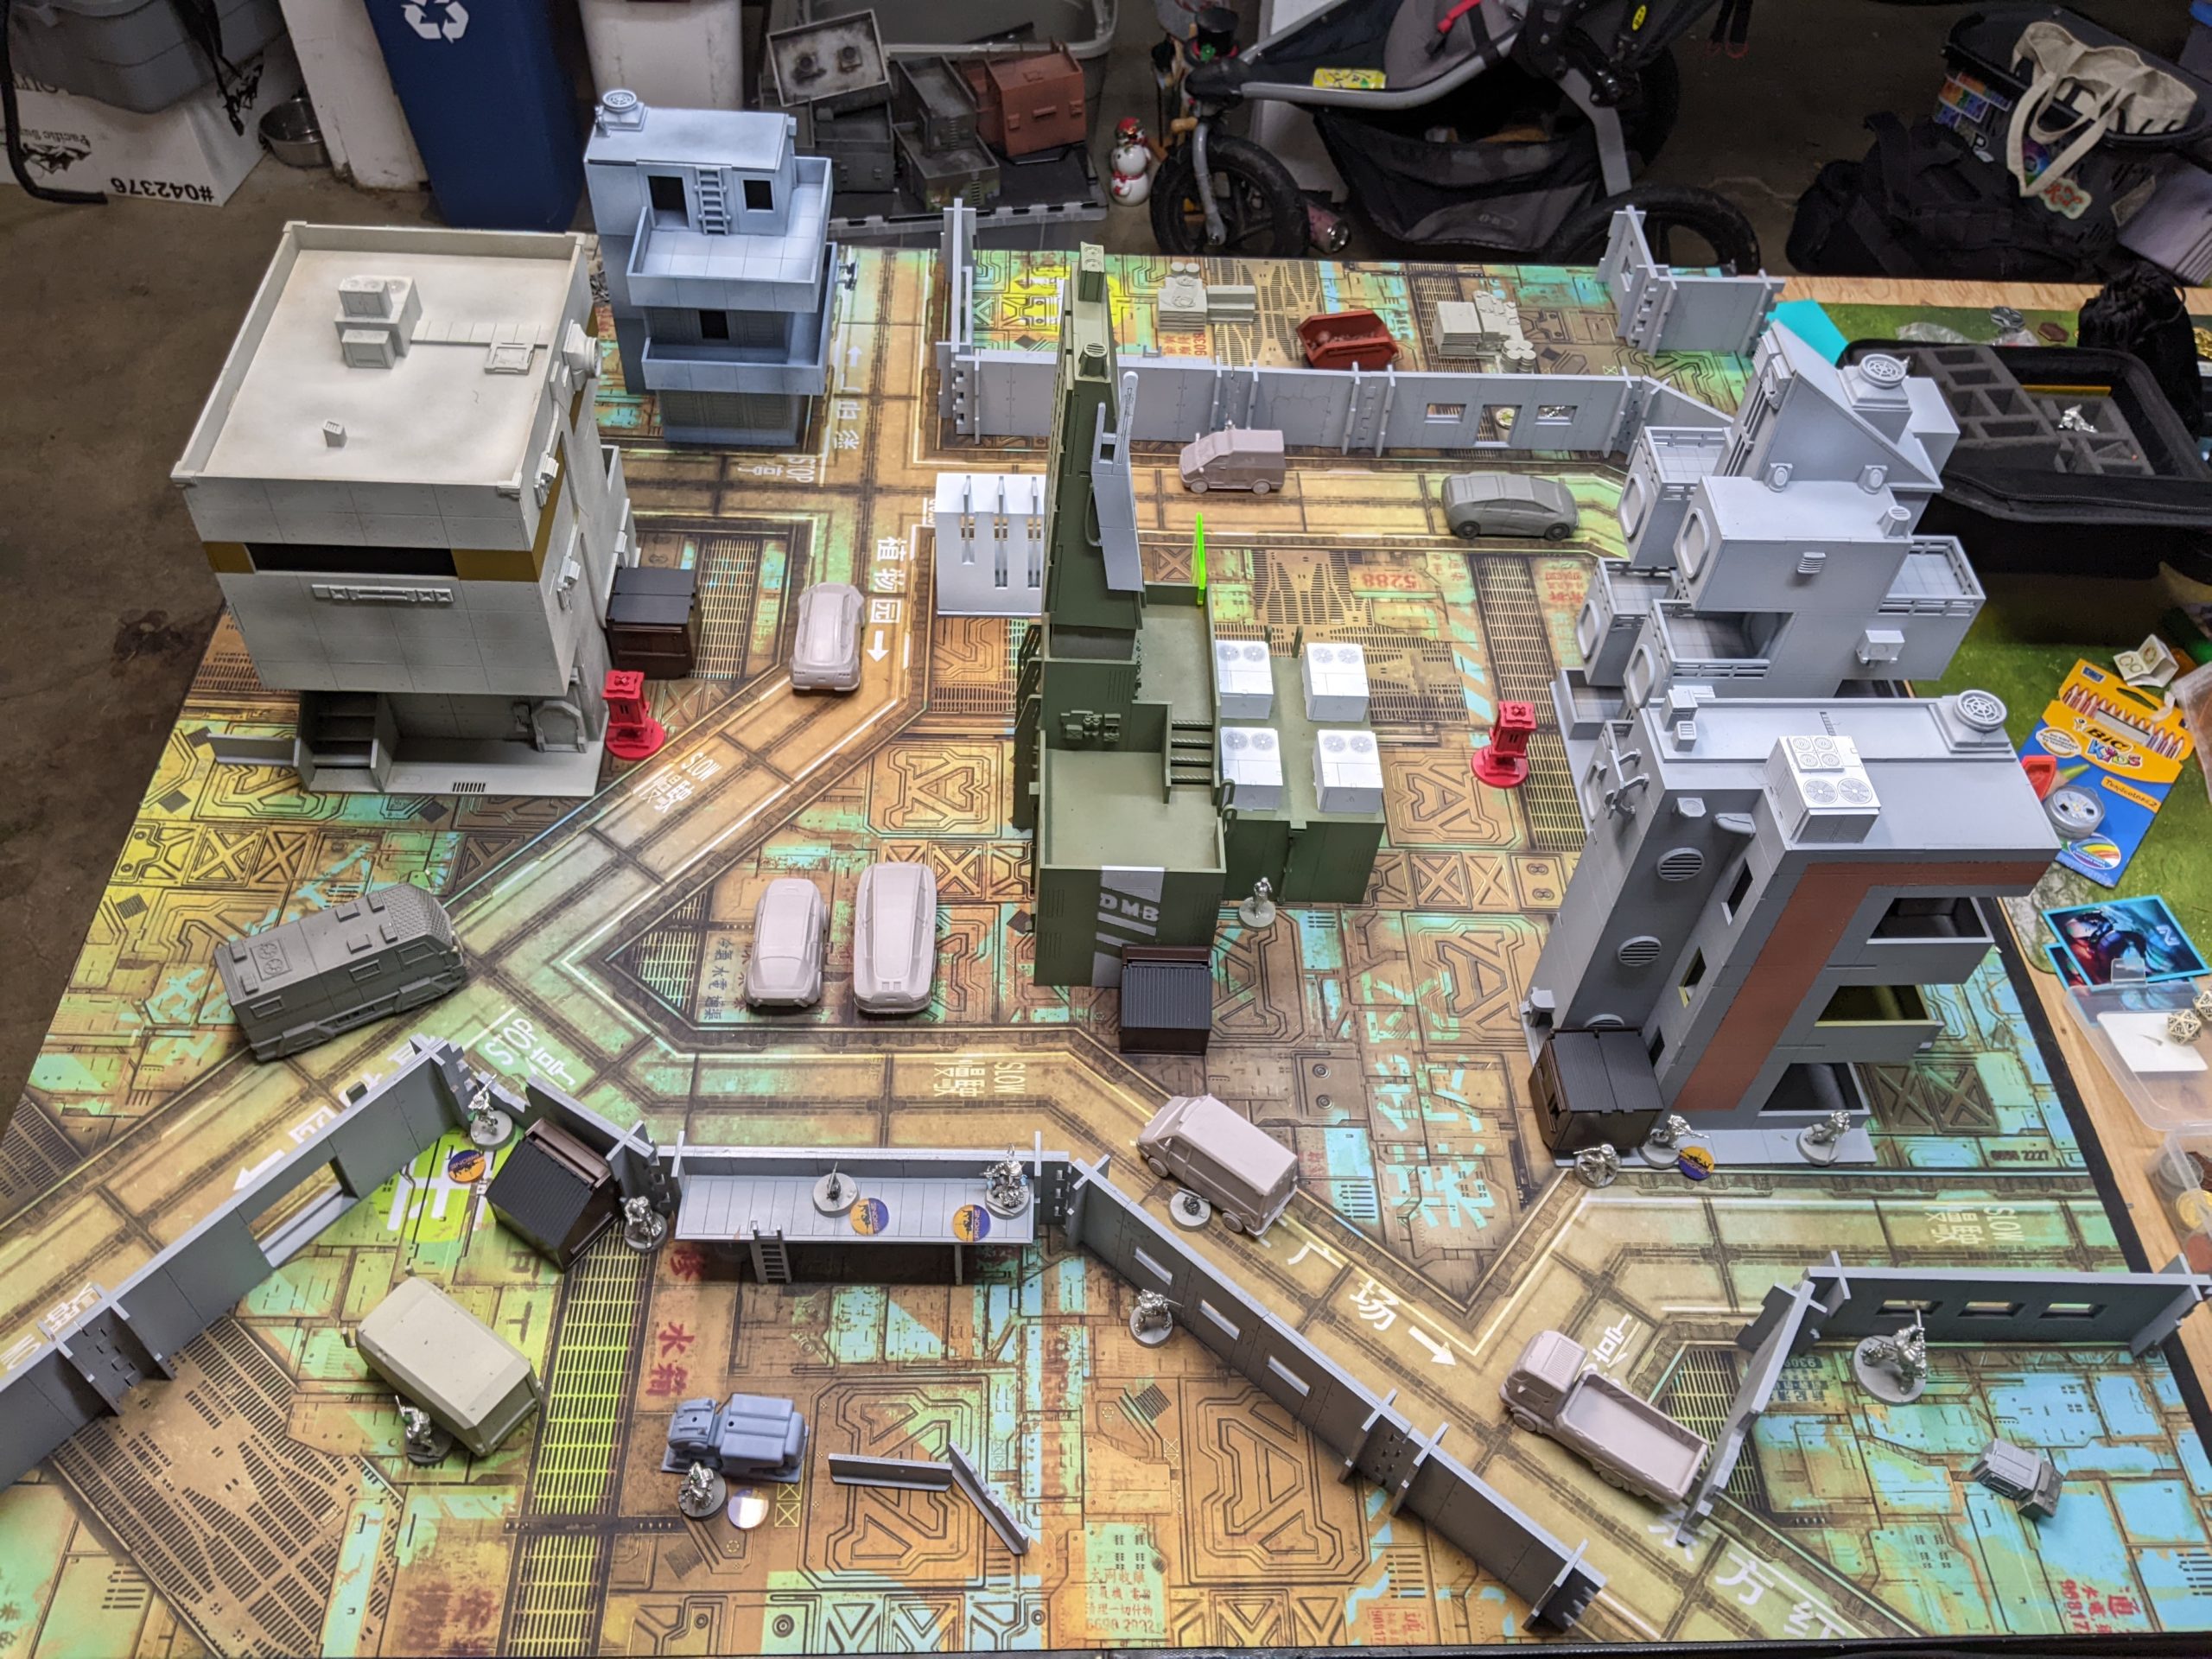
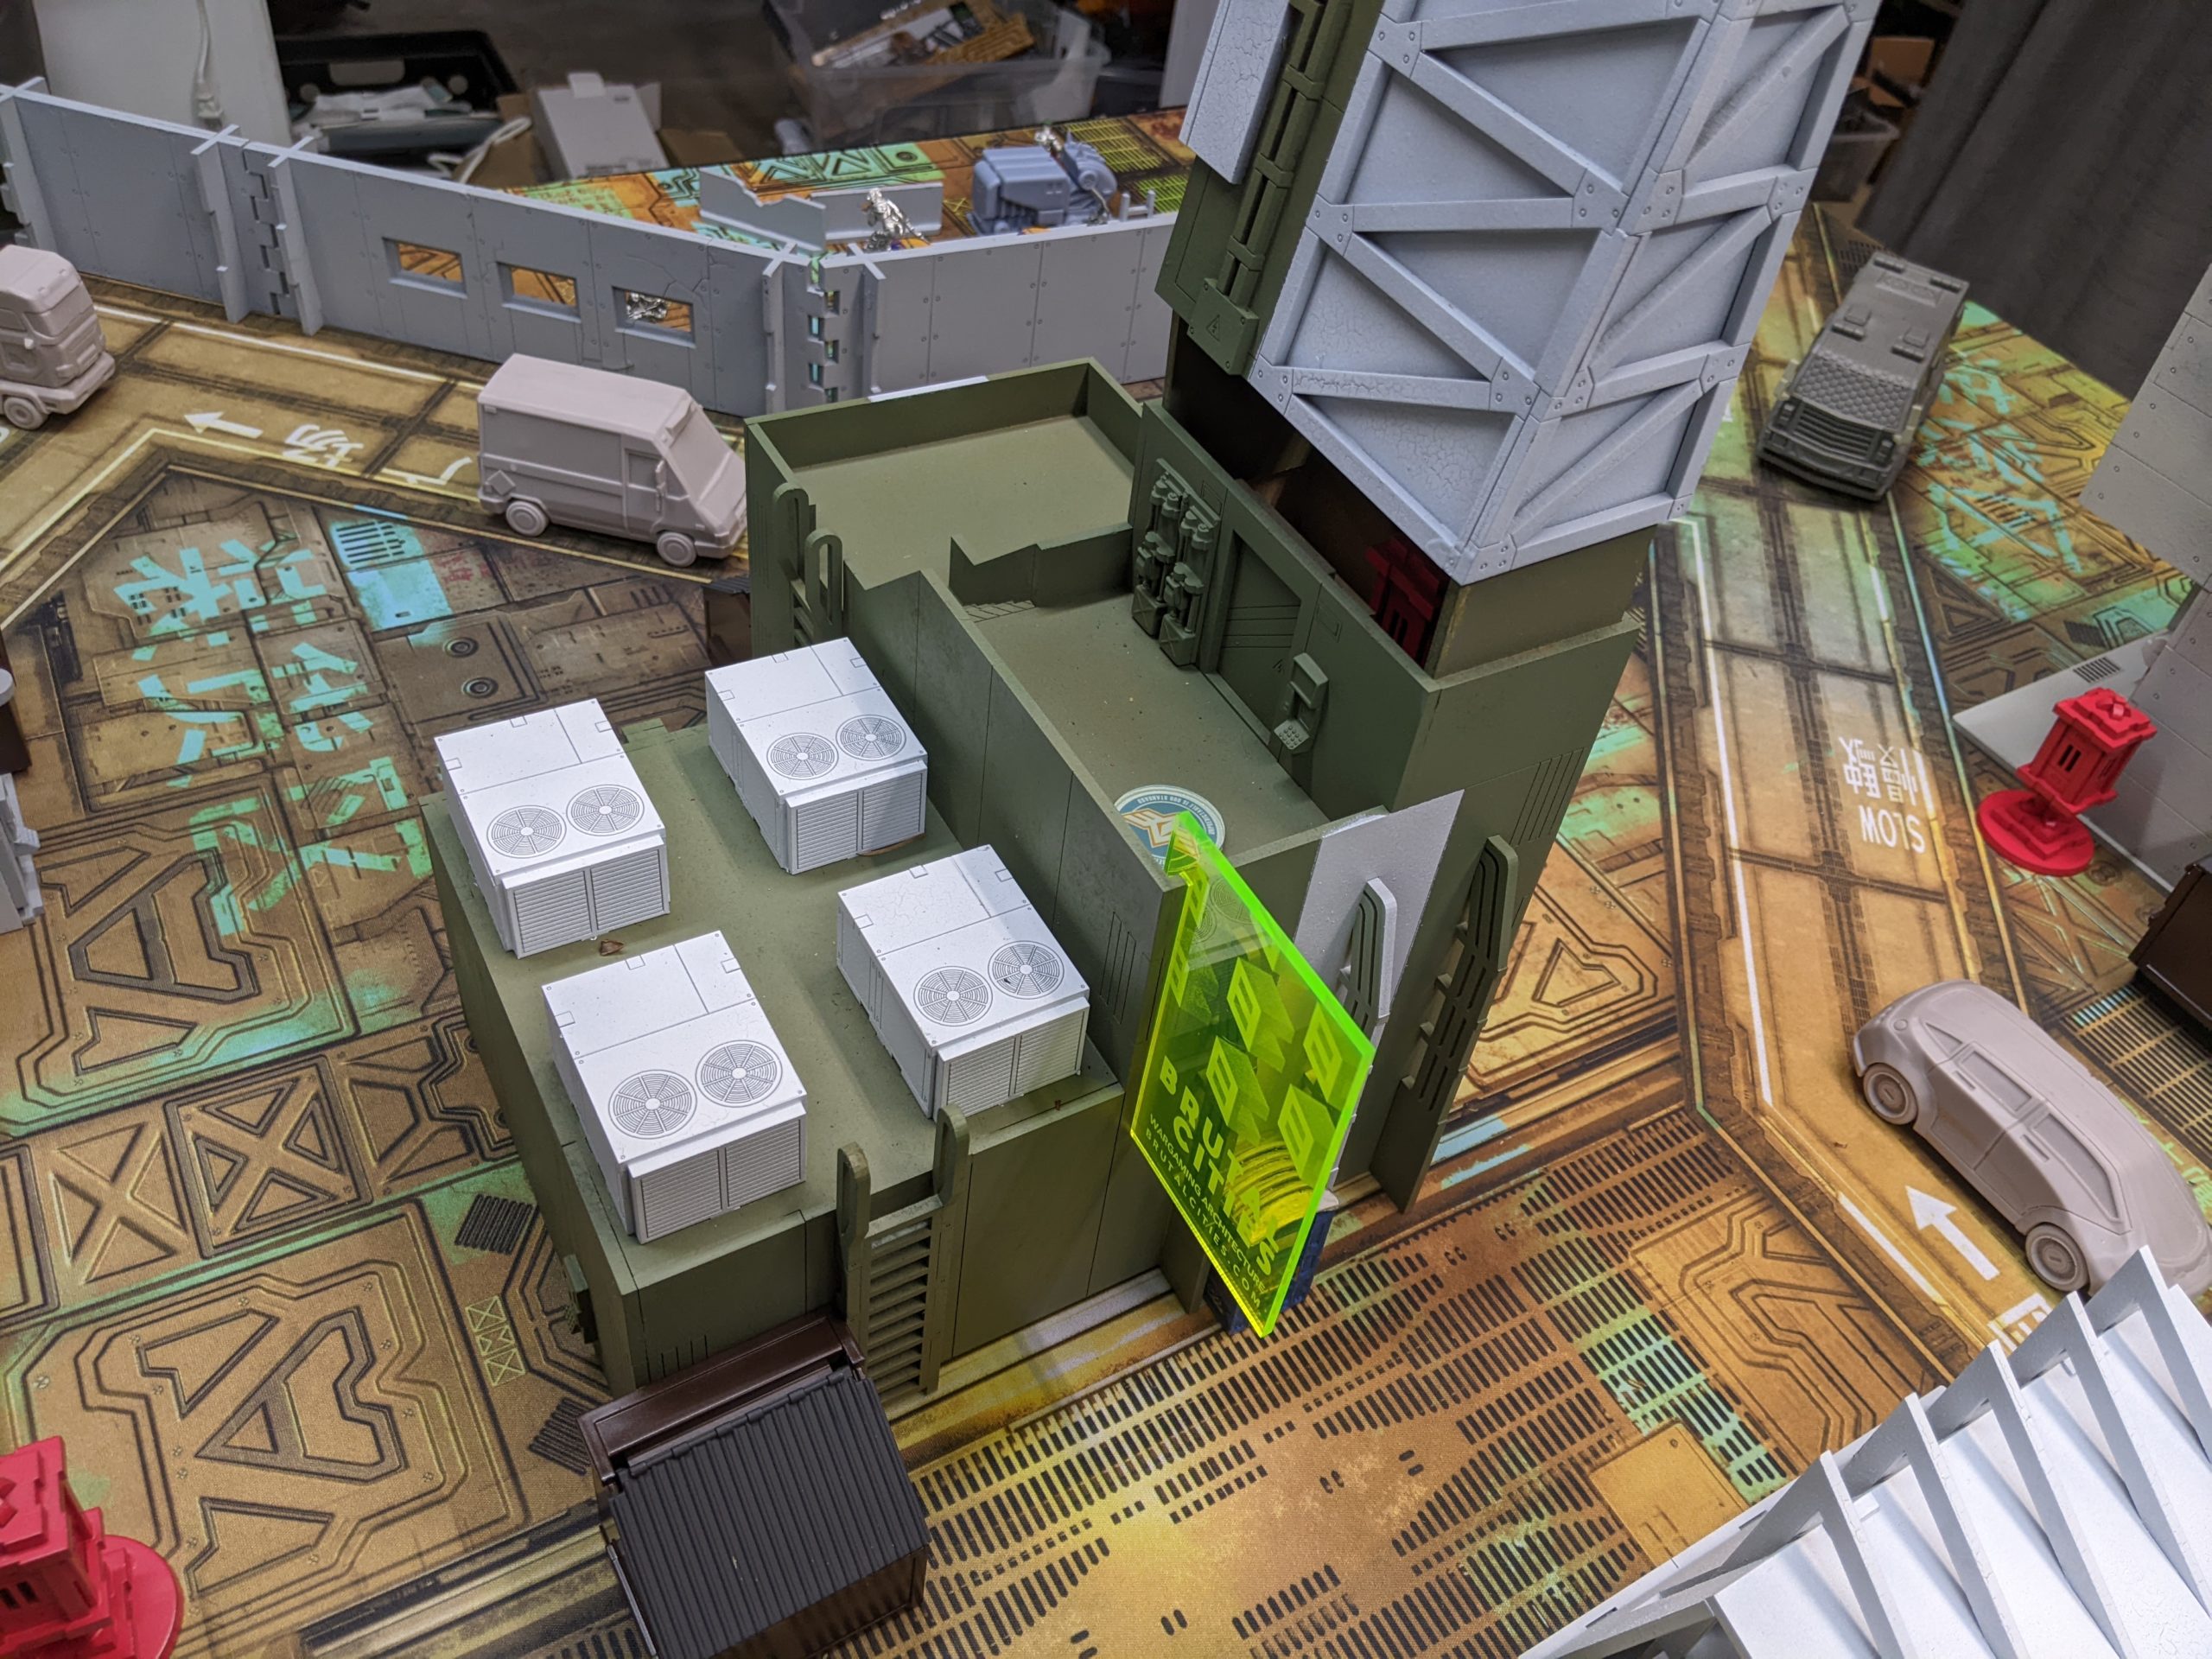
It has been over two months since my last Infinity game, and about the same for Adam, so we were feeling a bit rusty. Nevertheless, it did give us the opportunity to get Adam’s Brutal Cities terrain on the table!
If you’d like to know more about the table, you can have a look here:
Overview
- Mission: Supplies (Alternate: Supply Drop)
- Forces: Steel Phalanx versus Qapu Khalqi (300)
- Deploy First: Steel Phalanx
- First Turn: Steel Phalanx
Adam and I have been doing a lot of thinking about Heavy Gear thanks to running a TTS tournament. One of the things that came out of that exercise is that the Heavy Gear version of Supplies was a bit unpleasant to play. It was pretty easy for players to grab all the supply tokens and run away, so we added a variant mission called “Supply Drop.”
In Supply Drop, there are still 3 markers in the middle of the table. At the beginning of each turn, randomly “enable” a marker, i.e. it has supplies you can pick up once enabled. You can’t enable an already enabled marker, so by turn 3 all markers will have supplies to take. This leads to a much more measured pace game, where you can set up plays and one player won’t just run away with the game on Turn 1.
I was originally going to play Acontecimento this game, but didn’t have time to swap out my Steel Phalanx in my model bag before heading to Adam’s. This is what I had packed:
Huh. Well then.
HECTOR (Lieutenant [+1 Order]) Plasma Rifle, Nanopulser, Grenades ( | TinBot: Firewall [-3]) / Heavy Pistol, EXP CC Weapon. (0 | 69)
MYRMIDON (Hacker, Hacking Device) Combi Rifle, Nanopulser, Smoke Grenades ( ) / Pistol, AP CC Weapon. (0.5 | 29)
PHOENIX Heavy Rocket Launcher, Nanopulser, Smoke Grenades / DA CC Weapon, Heavy Pistol. (1.5 | 35)
ACMON Combi Rifle, Panzerfaust, D-Charges / Breaker Pistol(+1B), CC Weapon. (0 | 31)
THORAKITES Marksman Rifle, Nanopulser / Pistol, CC Weapon. (0 | 15)
AJAX (Forward Deployment [+8″]) Combi Rifle, Nanopulser / AP Heavy Pistol, EXP CC Weapon. (0 | 46)
PATROCLUS Heavy Machine Gun, Pulzar(+1B), Smoke Grenades / Heavy Pistol, EXP CC Weapon. (1.5 | 55)
NETROD . (0 | 4)
10
1
1 | 3.5 SWC | 300 Points | Open in Infinity Army
It’s basically two 3-model links, Ajax, and Patroclus. It’s also got 14 orders, which is very forgiving. What it doesn’t have is a good way to do layered defense. It basically relies on the individual models’ resilience to get the job done, as well as the “extra” orders from Hector, Ajax, and Acmon.
Adam decided to break out his Qapu Khalqi for our game. To make things fit, he took a heavy-weapon-less Ghulam core, instead choosing to spend his SWC on a Kaplan Haris, an Azrael, and a Djanbazan HMG. Fiddler also made an appearance.
???
GROUP 1
HAFZA (Lieutenant) Rifle, Light Shotgun / Pistol, CC Weapon. (0 | 15)
ROUHANI Submachine Gun, Flash Pulse / Pistol, CC Weapon. (0 | 21)
LEILA SHARIF (Hacker) Shock Marksman Rifle, E/M Mines, D-Charges / Breaker Pistol, CC Weapon. (0 | 20)
GHULAM (Forward Observer) Rifle, Light Shotgun, Flash Pulse / Pistol, CC Weapon. (0 | 12)
GROUP 2
DJANBAZAN Heavy Machine Gun / Pistol, CC Weapon. (1.5 | 34)
AZRA’IL Feuerbach(+1B) / Heavy Pistol, CC Weapon. (1.5 | 44)
YUAN YUAN Chain Rifle, Smoke Grenades / Pistol, DA CC Weapon. (0 | 8)
FIDDLER Contender(+1B), Drop Bears, D-Charges / Breaker Pistol, PARA CC Weapon(-3). (0 | 42)
2X JACKBOT Vulkan Shotgun / . (0 | 14)
WILD BILL Rifle / MULTI Pistol(+1B), CC Weapon. (0 | 25)
KAPLAN Heavy Rocket Launcher, Light Shotgun / Pistol, CC Weapon. (1.5 | 23)
5.5 SWC | 294 Points | Open in Infinity Army
Deployment
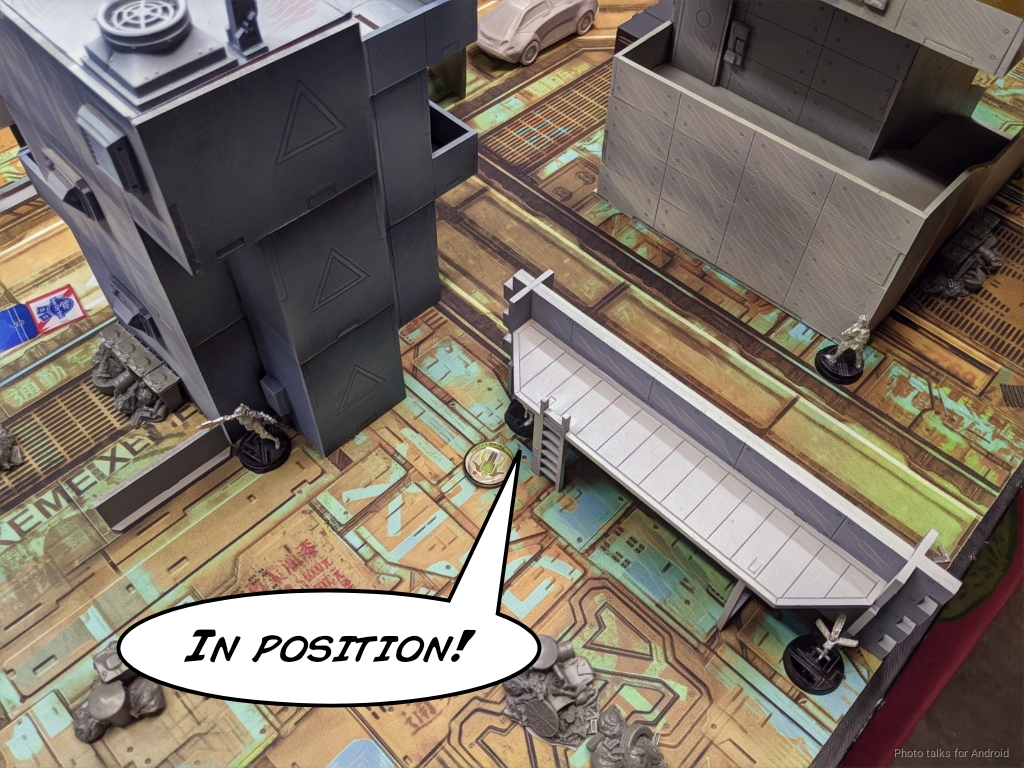
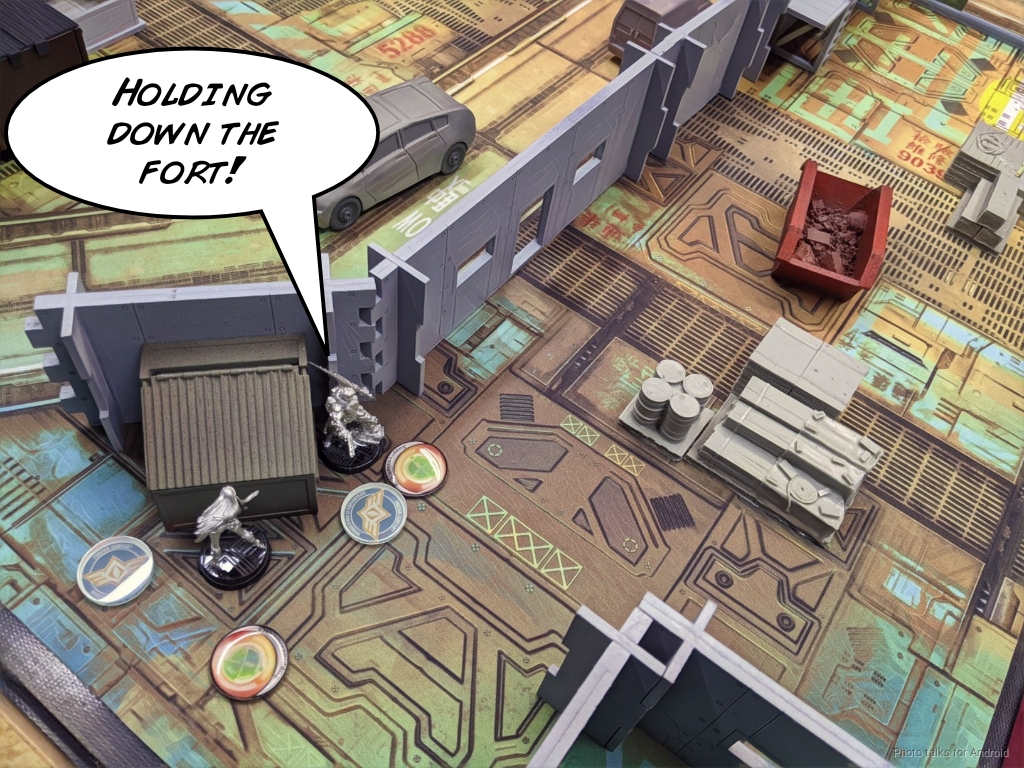
I won the rolloff and elected to go first. It’s Steel Phalanx, that’s what they do! I spent a command token to hold back Patroclus and Ajax. The rest of the deployment is pretty simple. Netrods in safe places, then a link on either side of the table. I kept Phoenix prone but watching a diagonal firelane through an open door.
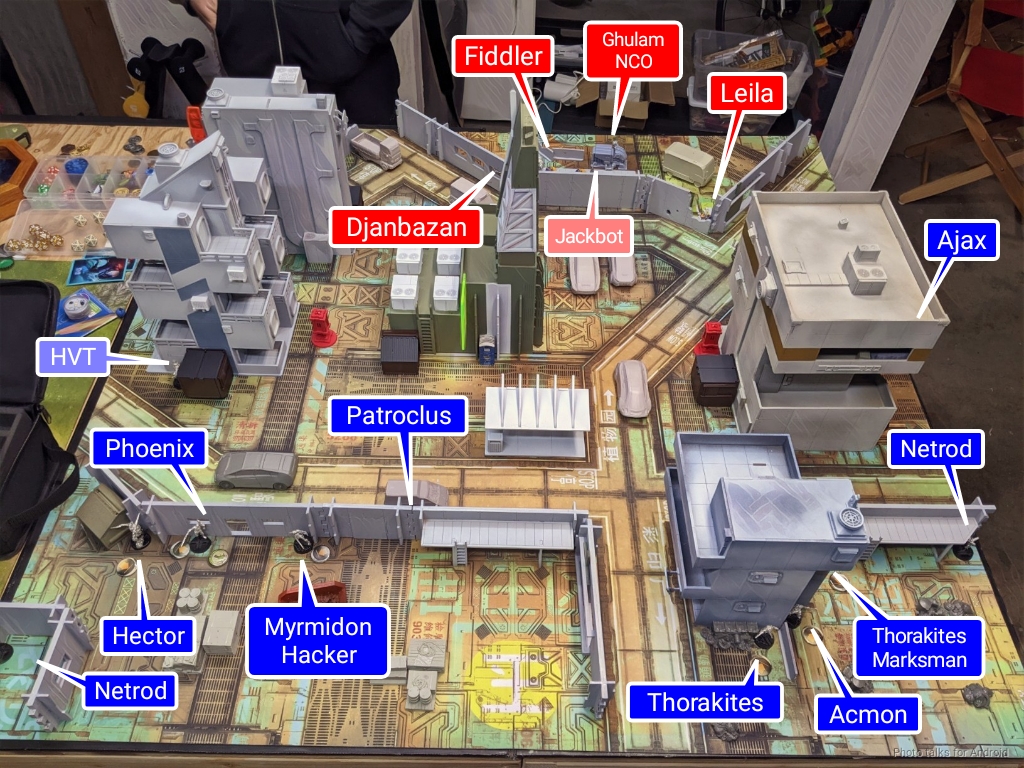
Adam was very concerned about Phoenix, so he basically hid everything. Fiddler and the Ghulam core were on the left, and Wild Bill and the Kaplans were on the right. He kept the Djanbazan hidden but watching one of the supply markers and put Fiddler… on a roof.
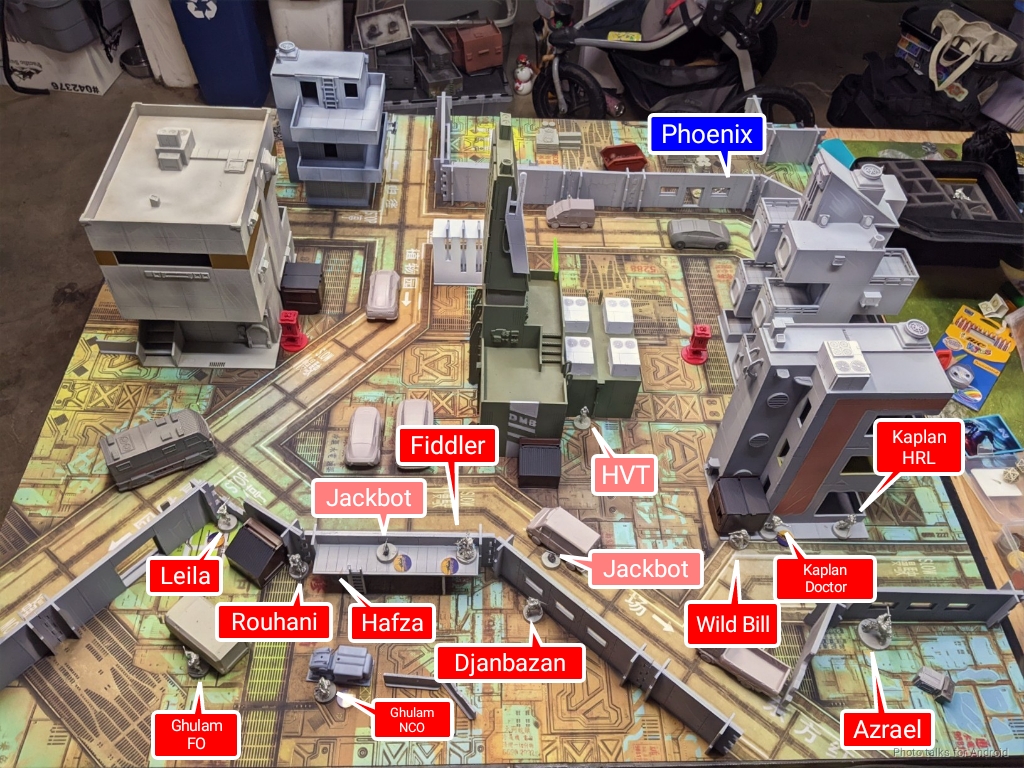
I put down Patroclus as Atalanta behind a van, just to try and sell it, and then put down Ajax on my right. Adam’s holdback was the Azrael, who ended up watching Ajax’s approach at long range.
Turn 1
We rolled for the location of the first supply drop, and it was in the middle one.
Top of 1 – Steel Phalanx
With the slower pacing of the turns thanks to only one supply “drop” happening per turn, I decided that my priorities would be as follows:
- Get the Supply Box – Well, that’s how you win, right? Do the mission.
- Attack Adam’s Order Pool – Deploy Ajax!
- Defend the Box I got – Gotta do the mission!
Because I’m a few months out of practice, I decided to really be explicit about my objectives and stick to the plan. As I said in the “starting infinity” episode of Late Night Wargames, you win at Infinity by having a (hopefully good) plan and sticking to it! If you want to watch that, have a look here:
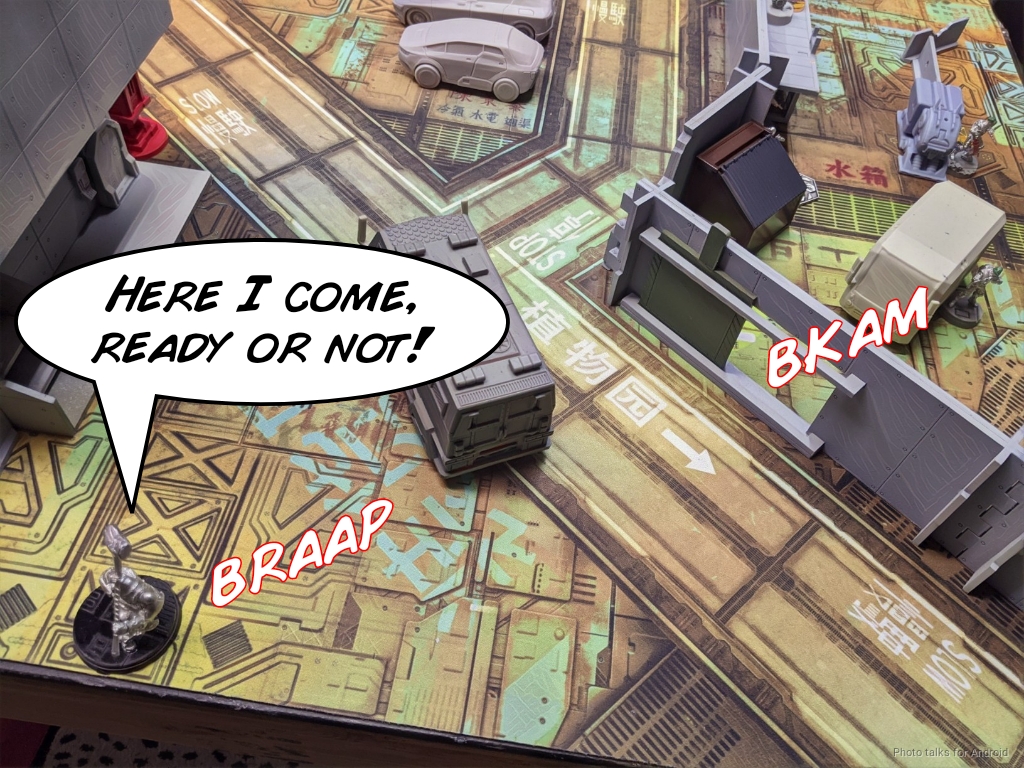
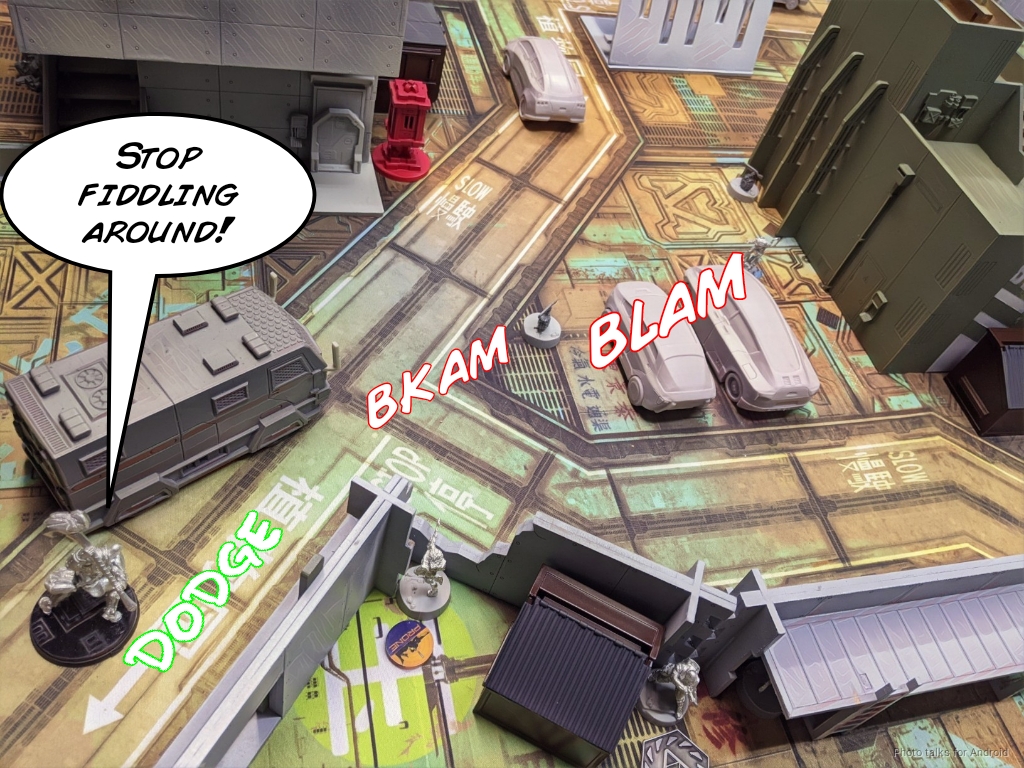
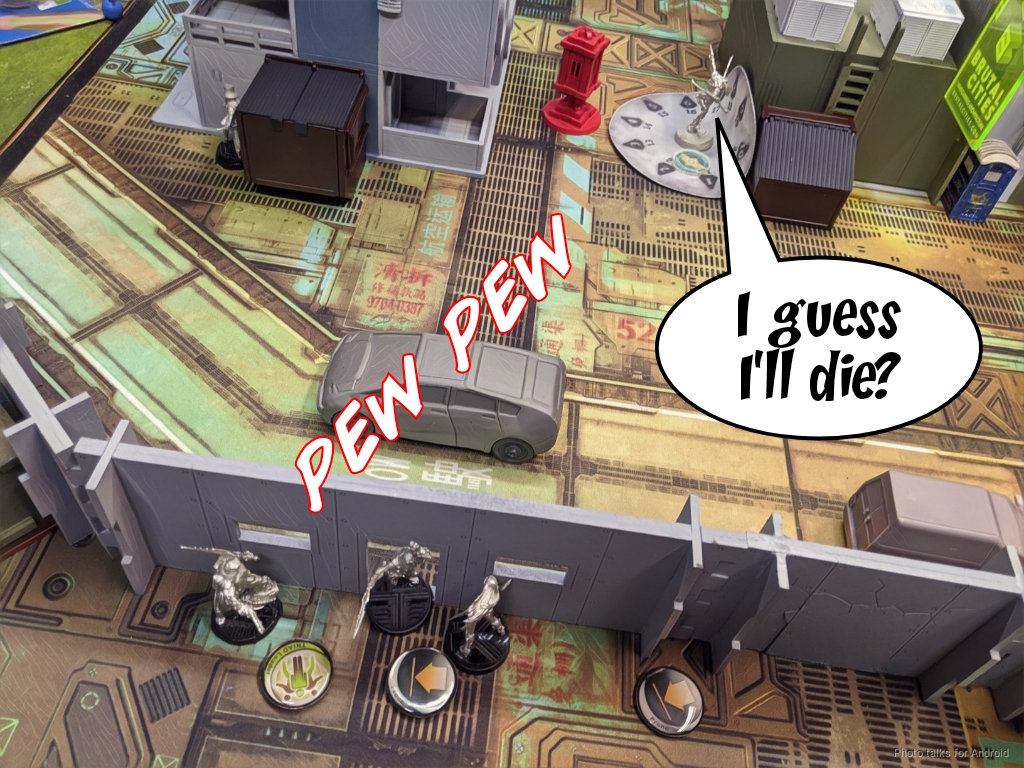
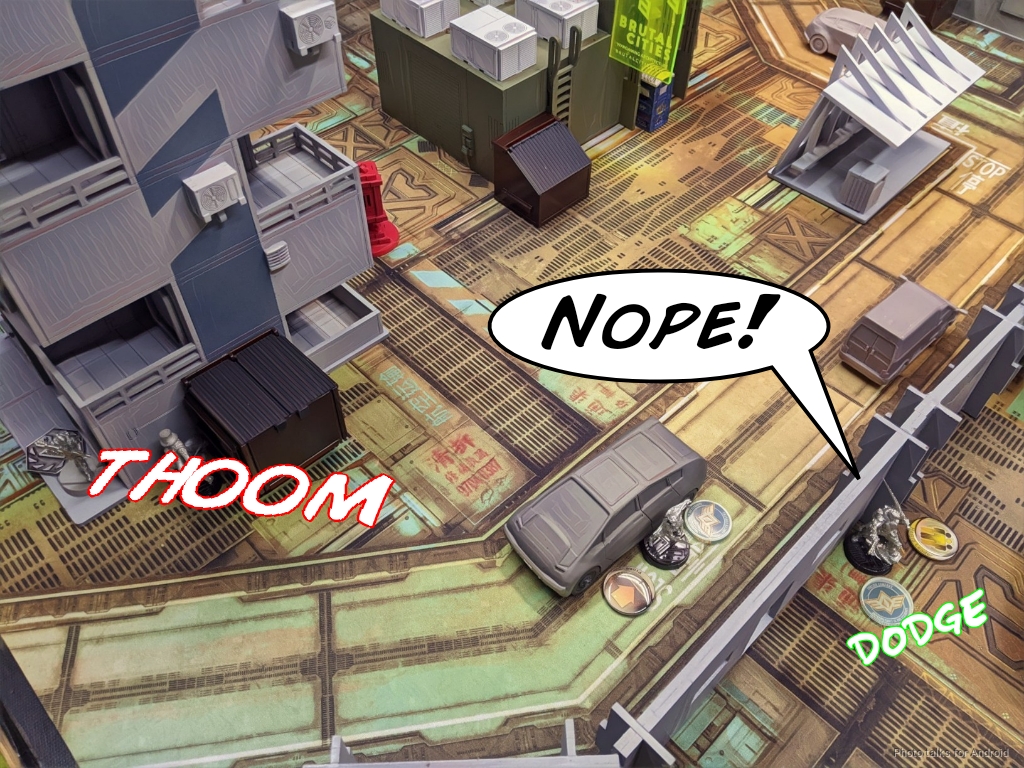
Anyway, podcast shilling over! I started off by scooting Ajax forward with his impetuous order, then I informed Adam Atalanta was moving 6″ for her first move, to which he responded “DAMMIT.”
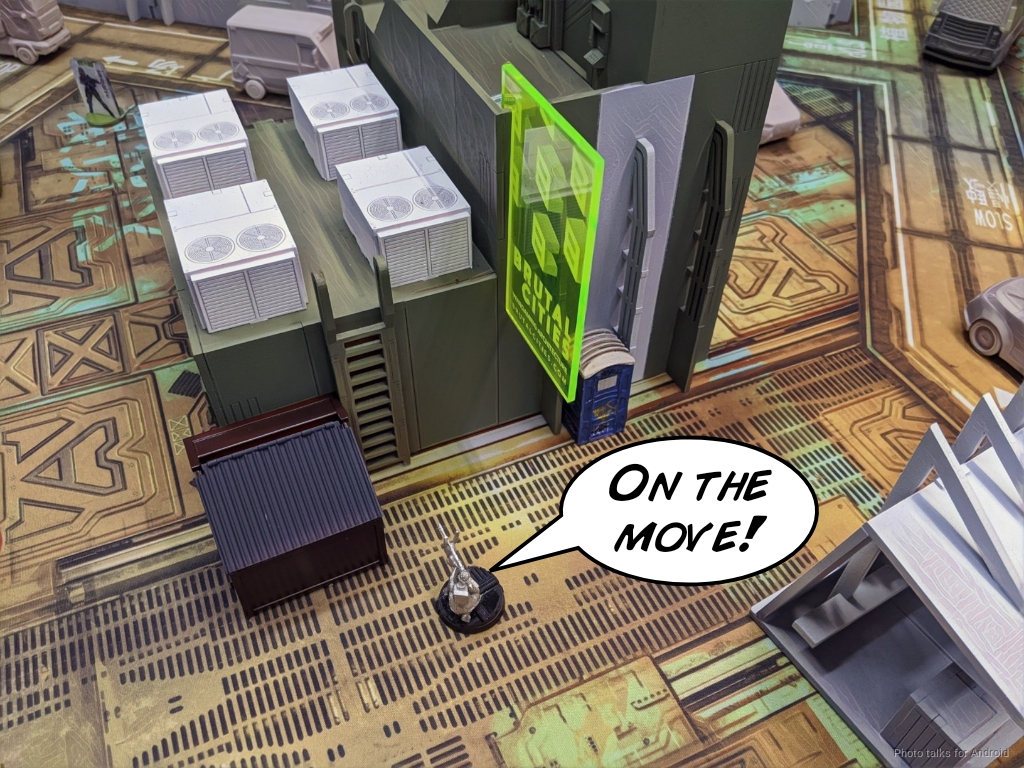
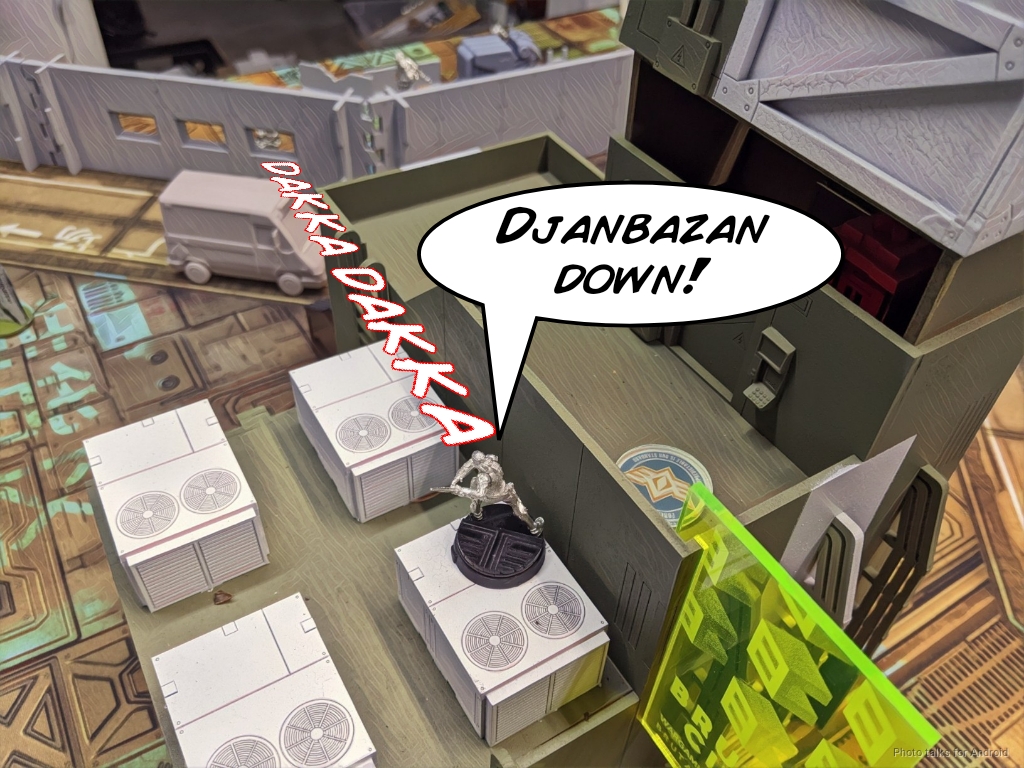
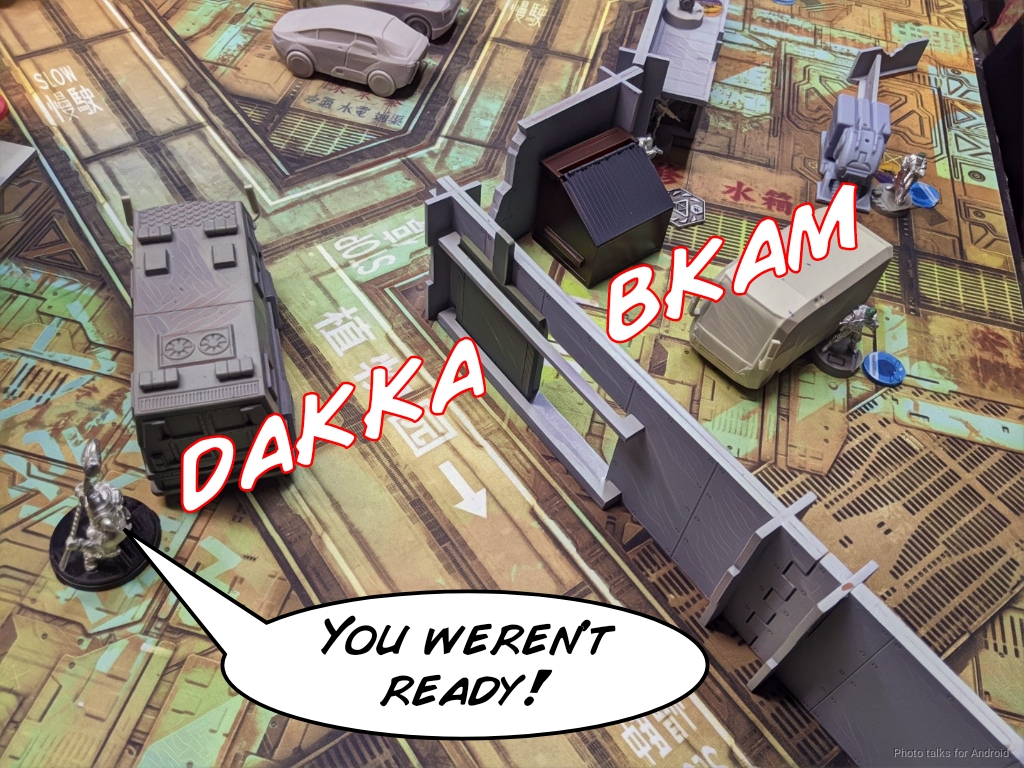
The Djanbazan was in Patroclus’s way, so I gunned him down and made for the Supply box.
Unfortunately, it took 3 orders to grab the box, which sort of left me in an awkward position, Adam having docked me two orders already. I decided to try and go after the Azrail, maybe I’d get lucky with a DAM16 HMG. I got one hit through, but nothing happened thanks to ARM 8 in cover, and then I had to retreat Patroclus with a coordinated order along with Ajax.
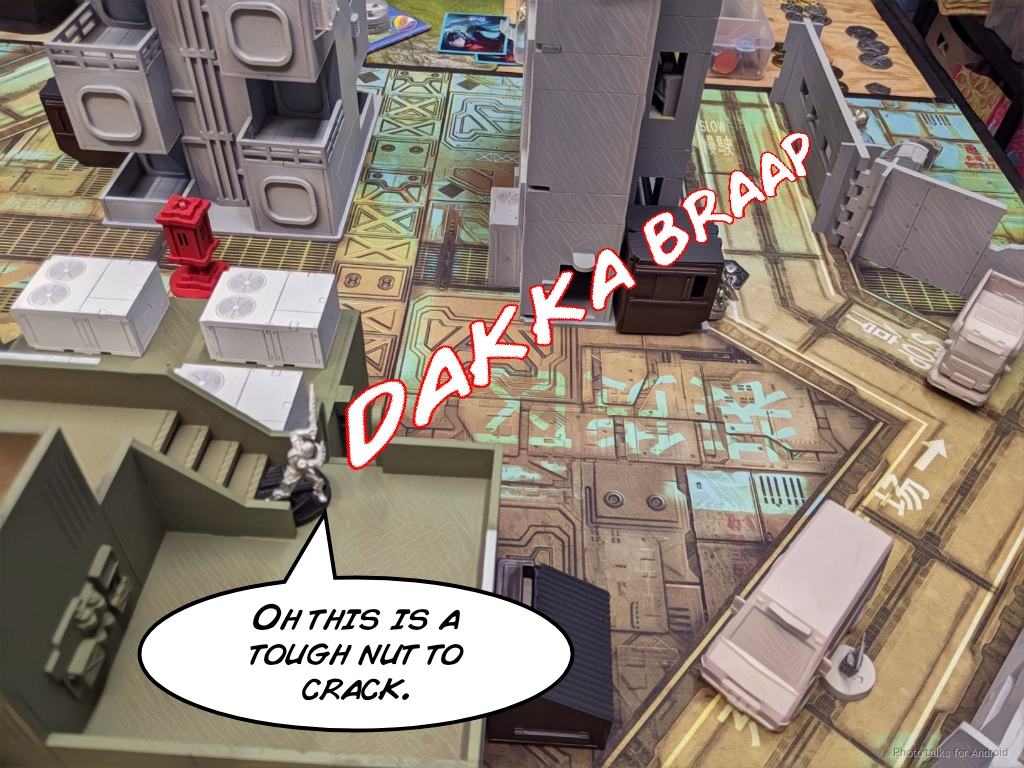
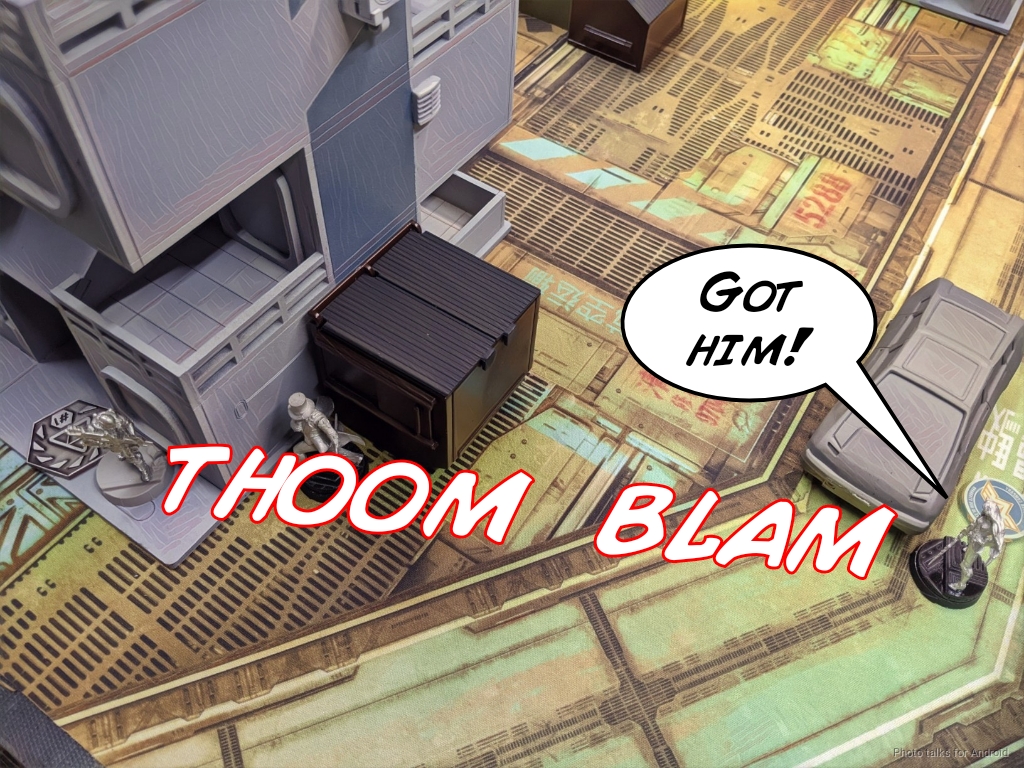
Ajax managed to drop the first Ghulam on his way in…
and a second one as he positioned himself behind the tactical bus there.
To finish out the turn, Acmon used his tactical awareness order to push the Thorakites Marksman Rifle up to watch the table edge behind Ajax and the approach to Hector.
Of course, the Djanbazan passes its Regen roll and gets back up. Sigh.
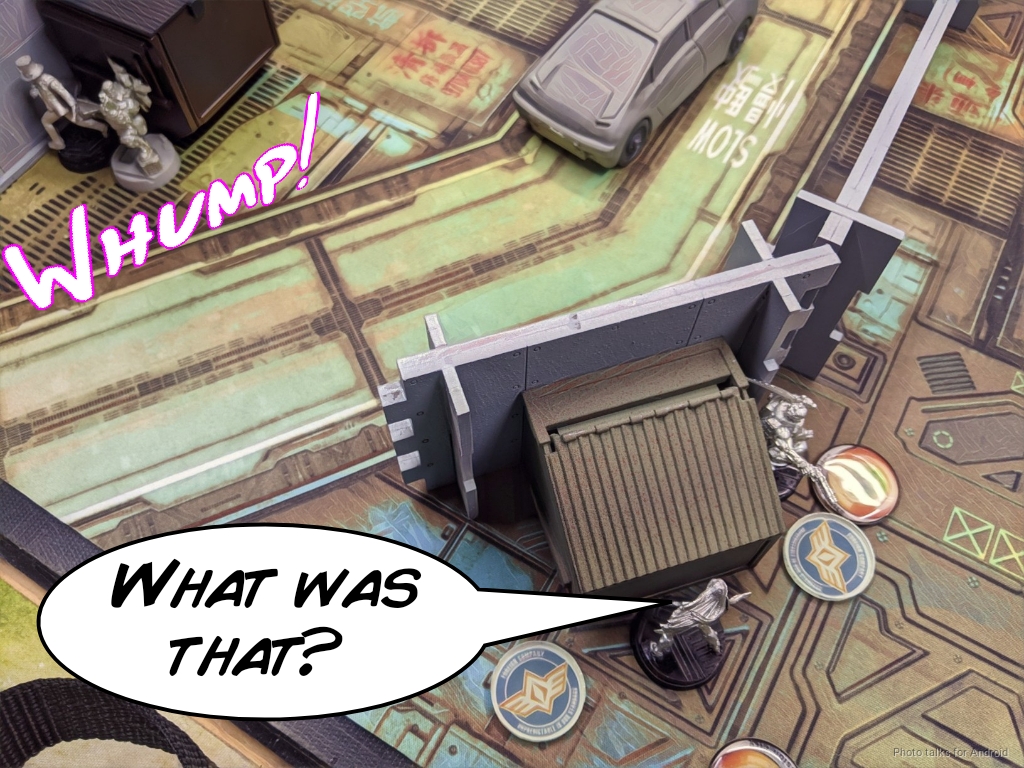
Bottom of 1 – Qapu Khalqi
Adam started things off by dropping in a Yuan Yuan to harass Patroclus, which isnt’ great.

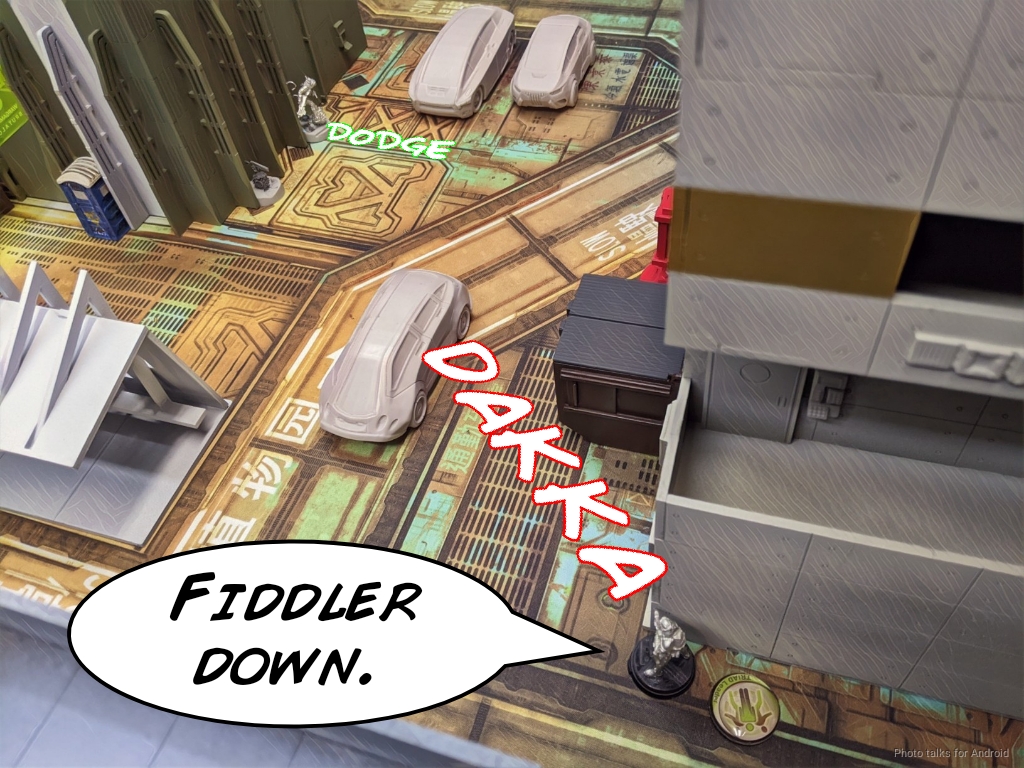
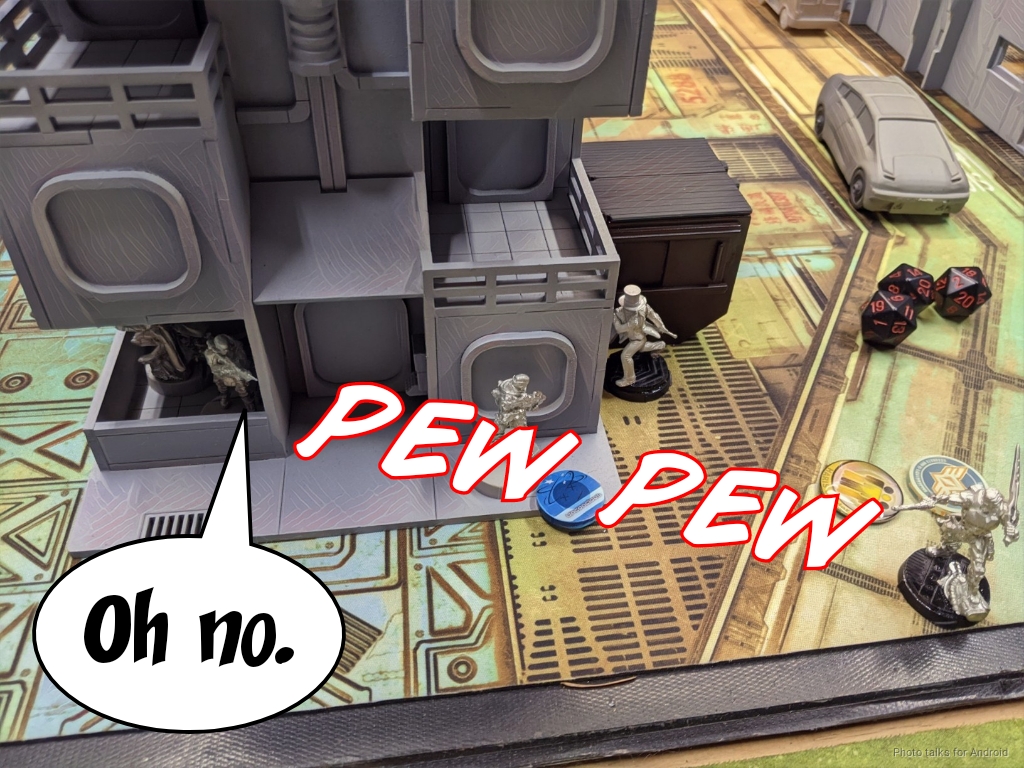
Ajax was still alive and at full health, so he was at the top of Adam’s to do list. He sent in Fiddler and a Jackbot to go after Ajax, and I dodged for a bit and got lucky.
However, Fiddler kept pushing and had one Jackbot attack Patroclus and Fiddler/the other Jackbot attack Ajax. Ajax went from full health to dead thanks to a Contender crit from Fiddler, but Patroclus dodged away. Pheonix exacted revenge by taking down the Jackbot attacking Ajax, but it was too late!
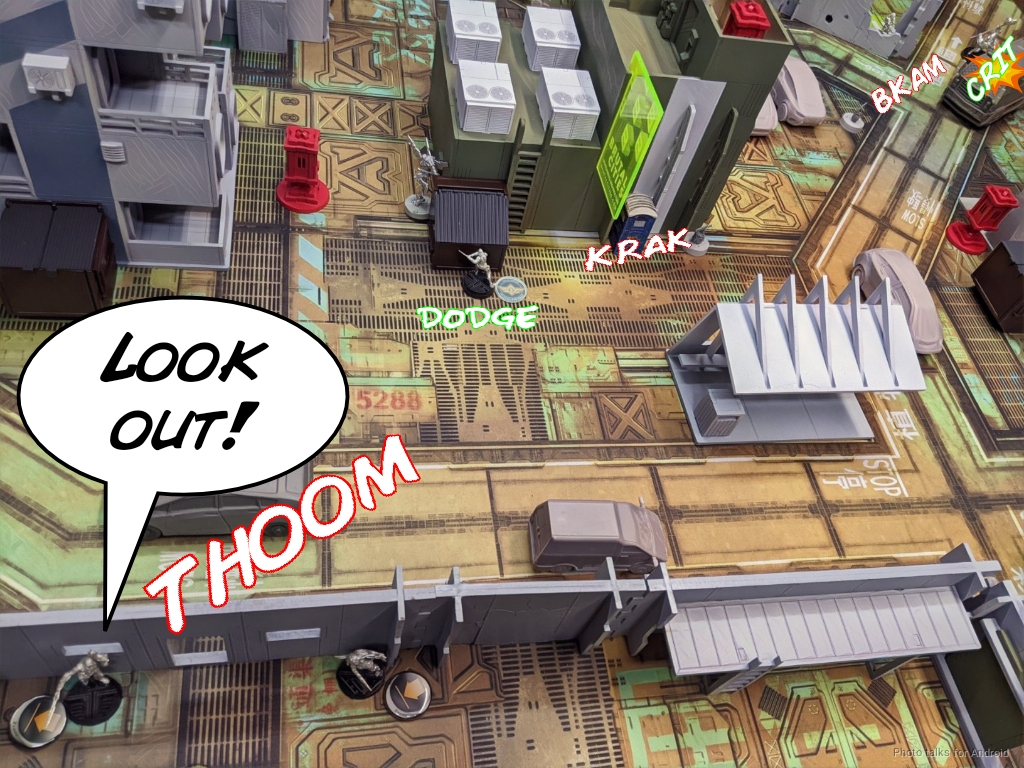
The Yuan Yuan blocked Phoenix with a smoke grenade and then Fiddler and the Jackbot dropped Patroclus.
With Patroclus down, the Yuan Yuan grabbed the Supply Marker as well as Extreme Prejudice.
Turn 2
Top of 2 – Steel Phalanx
Okay, my turn again… this time we rolled the supply marker right next to the Yuan Yuan, which was very convenient. I decided my turn would be about getting both Supply boxes (one from the Yuan Yuan, one from the actual marker) and then figuring out how to kill Fiddler. Step one was easy, Hector landed 4 plasma shots against the Yuan Yuan’s failed smoke attempt and just obliterated the Yuan Yuan.
The Thorakites Marksman took care of Fiddler after a few orders, and then I was free to get the supply boxes.
Hector and friends grabbed both supply markers and returned to the safety of the wall in my deployment zone.

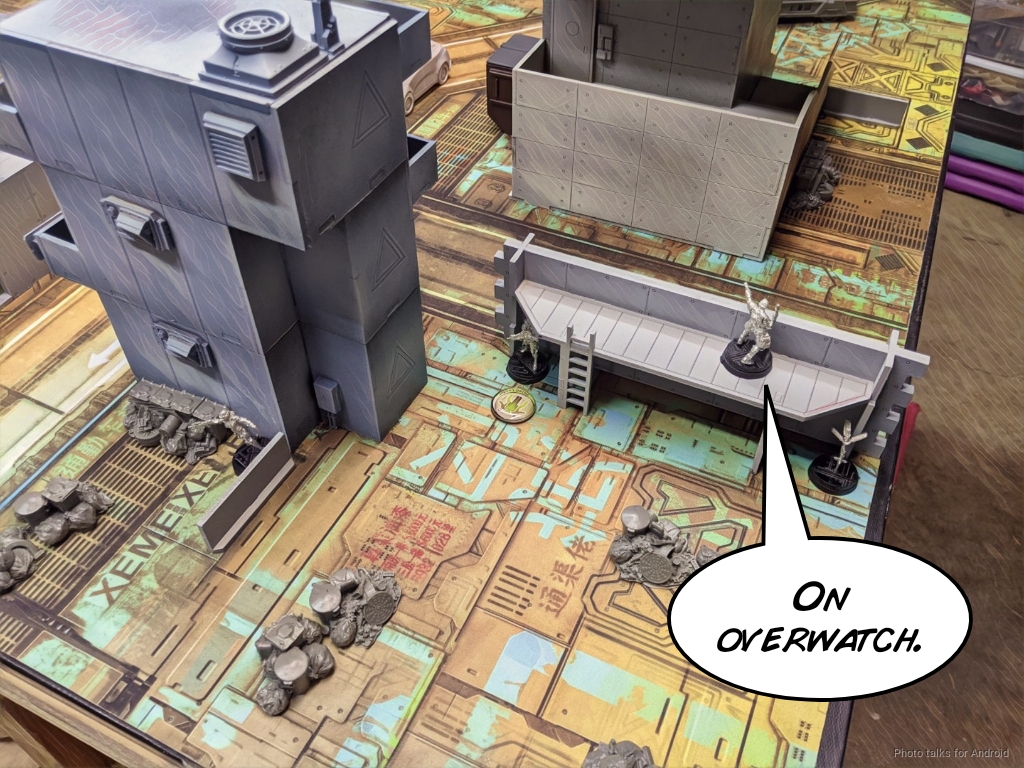
This time, I left Pheonix up, watching various approaches, and stood Acmon and his Panzerfausts up as well.
Bottom of 2 – Qapu Khalqi
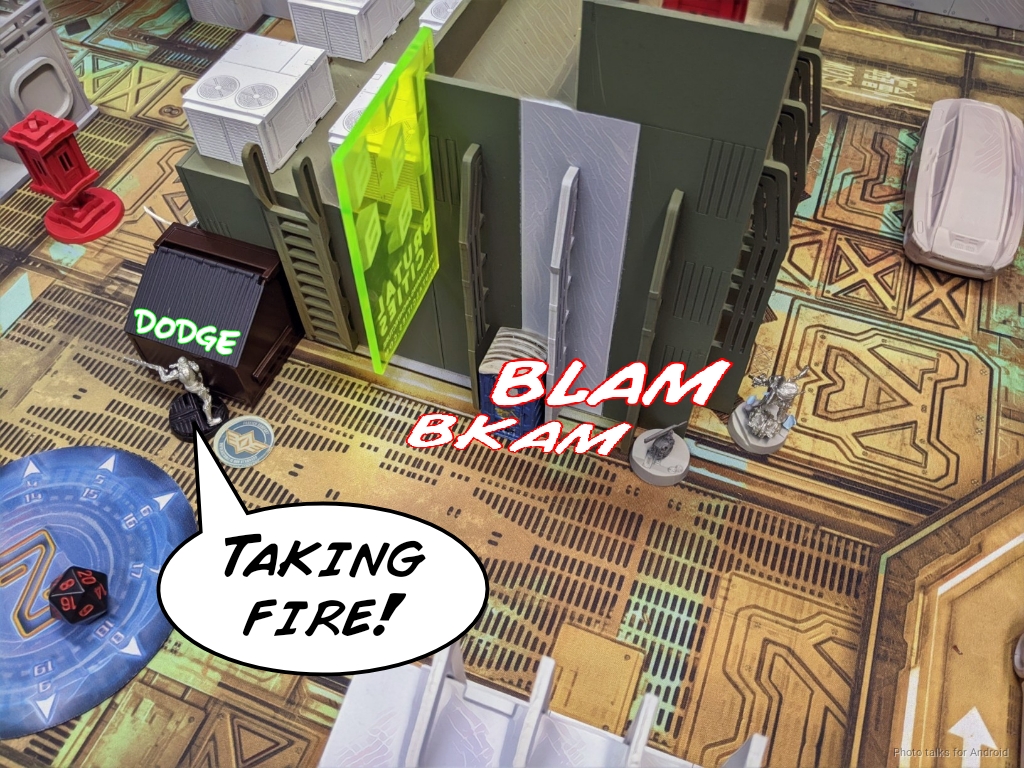
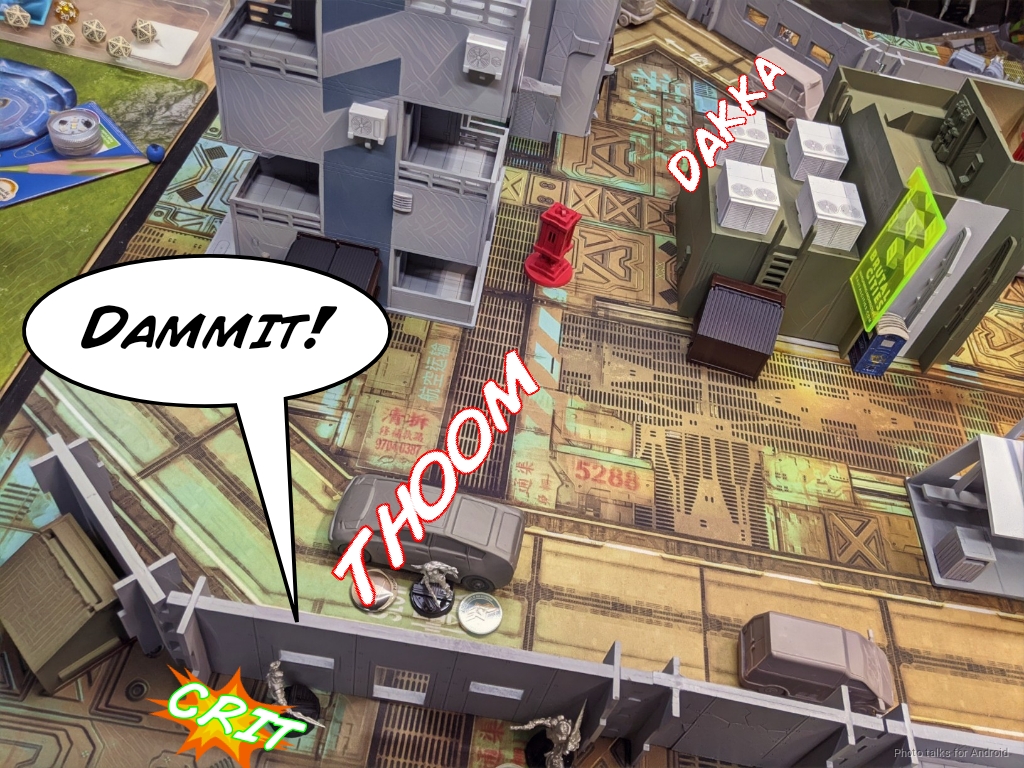
Adam’s Djanbazan crits Phoenix off the table despite being in bad range, which is most irritating.
After moving the Azrail to cover the last supply drop, Adam starts pushing his Haris forward and has one order to try and take down Hector. Hector passes ARM versus the HRL shot from the Kaplan, and then Adam’s out of orders in the group.
Adam spends all his orders in his other group on Rouhani to pick up his two downed Ghulams and get them ready to rock for Turn 3. This also gets him Experimental Drug. He actually (very wisely) saves his last Yuan Yuan from Turn 3, because that’s actually a pretty reasonable way to make me drop supply boxes. Yuan Yuans are SO GOOD.
Turn 3
Well there’s only one spot left for the last supply marker to show up, and the Azrail is watching it.
Top of 3 – Steel Phalanx
I just need to keep my two supply boxes and make it very difficult for Adam to make me drop them. I’d also like to get some classifieds done to get some points on the board that can’t be taken away. While things are looking pretty good for me, Adam has 2 to my 0 classifieds, so all he needs to do is get the last supply marker and make me drop a box.
We’d be tied on boxes then, and he’s be one classified up, winning the game. So, I really need to make it as hard as possible for him to make me drop the boxes. I’m not too worried about Hector, but I am very worried about the Myrmidon getting shot with a chain rifle from the Yuan Yuan lurking somewhere. The Haris is the most immediate threat though, so I set about going after them.
Hector doesn’t have a good shot on them, so I use the Myrmidon and take out the Kaplan HRL.
The Kaplan doctor is right next to Bill, which makes them a great plasma target! Hector takes out the Kaplan but Bill passes all his saves. BOOOOO.
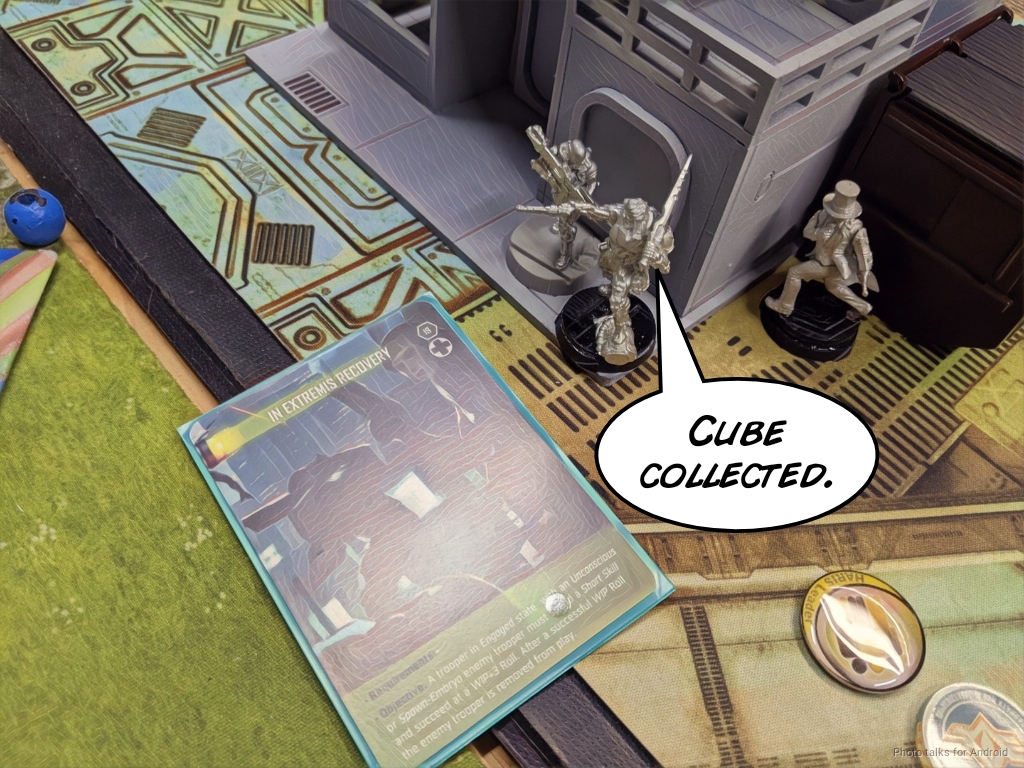
I snag In Extremis Recovery from the Kaplan HRL, and then decide to take on Bill.
I figure Bill is pretty rubbish in close combat, so I just roll Hector into base to base and swing on 27s versus Bill’s 13. Of course, Bill crits, and does two wounds to Hector with his MULTI Pistol. RUH ROH. Hector comes through on the next order and squashes Bill into paste.

I scurry both Hector and the Myrmidon back into cover in my deployment zone and throw them into suppression.
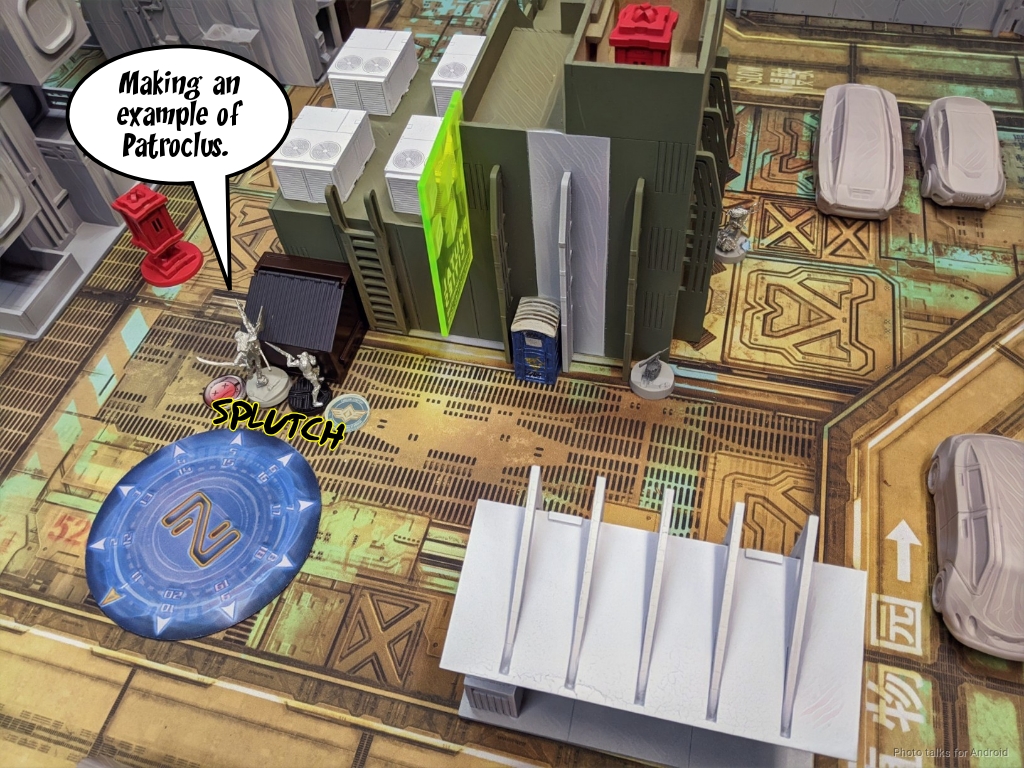
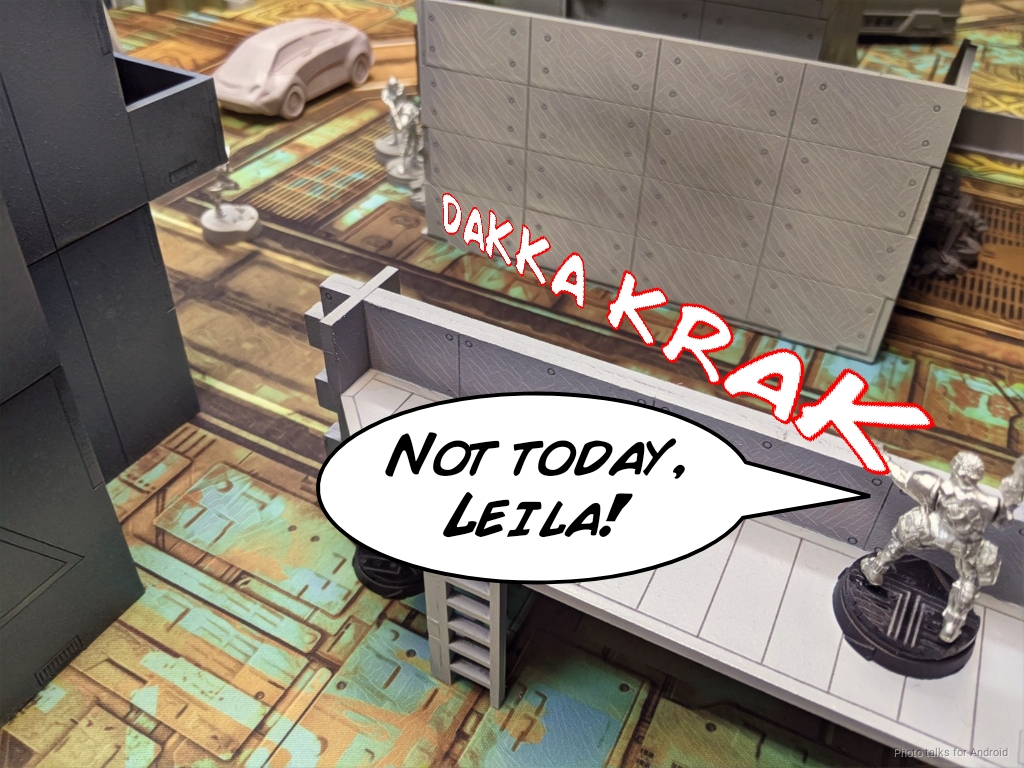
Bottom of 3 – Qapu Khalqi
Adam drops in his last Yuan Yuan successfully, and then banks on a Leila play. He figures he’ll grab the last box (which goes off in two orders) on the way to my deployment zone. He has to fight his way through Acmon’s Enomotarchos, but once he has that he can long-bomb shots across my Deployment Zone to take down Hector.
Thankfully, Acmon hard-stops Leila, but the link still has the supply box so Adam just needs to take down the Myrmidon or Hector to win.
The Yuan Yuan makes it past Acmon’s Panzerfaust, and I dodge the Myrmidon into close combat, which is crazy risky. I figure it’s better than giving Adam a chance to chain rifle both Hector and the Myrmidon, so I commit.
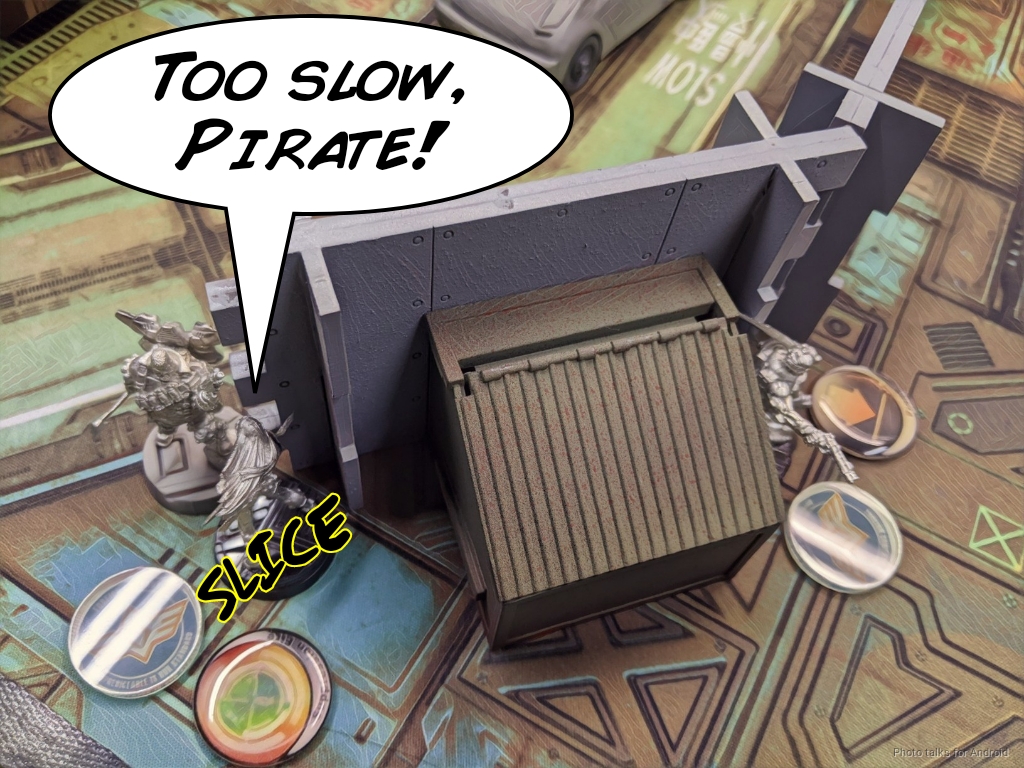
On Adam’s last order, we roll CC and the Myrmidon ekes out a better roll thanks to Martial Arts, and that’s game!
6-4 Steel Phalanx Victory!
Post Game Analysis
My Steel list really didn’t project a lot of board presence. This made it very difficult to keep Fiddler boxed in, resulting in the loss of Patroclus and Ajax. I think a few things that would have improved things would be to have:
- Deployed “Atalanta” and held back Ajax and Phoenix. This lets me respond to Adam’s deployment with my only long range gun (and hide it from the Djanbazan, probably). Leaving “Atalanta” out covering Fiddler’s potential approach might’ve been really interesting too.
- Pushed harder with Ajax instead of faffing about with Patroclus. I’d have had at least one more order to potentially challenge Fiddler’s movement and force some harder decisions.
Adam I think made really good decisions throughout the whole game. I don’t think I was ever really in a position to attack his deployment zone after Ajax died–funnily enough one of things this Steel list lacks is force projection once Ajax is down. I was in serious danger of losing the game for most of it, especially with the Yuan Yuans.
It’s no secret that saving AD/HD till the last turn is very powerful (looking at you, Oniwabans in Frontline), but nothing really captures the flexibility of a Yuan Yuan. Not having to bring them on during their impetuous order (or canceling with a regular it to telegraph that they’re there) makes it really easy to hide the 8 points. Furthermore, the fact that they’re so cheap really makes the opportunity cost pretty low. If you don’t bring them on till Turn 3 it’s not really breaking the points bank, so to speak.
I’ve played QK a fair amount in the past and never really used Yuan Yuan in that manner. It’s not an earthshattering change to playstyle, but the fact that they’re so cheap tends to make people think of them as throwaway attack pieces, and I was no different, really.
I’m enjoying Steel quite a bit, honestly. It’s not that Hector feels like an auto-win button (i mean he is, let’s be honest), but more that it they’re making Infinity feel different for me. A lot of games were feeling pretty samey to me, and having such a big departure from my usual toolkit has rekindled my interest in listbuilding. I haven’t built a list on my phone when not actively prepping to put models in a bag until pretty recently.
I do think that I lost this game though. It came down to the last order of the game–if the Myrmidon had gone down, that would’ve been it. While that’s fun and exciting, I don’t consider that a secure enough margin of victory. While this 13-14 order list archetype with Hector is incredibly fun to play in the active turn, it is comparatively weak in the reactive turn. Your best defense is offense, as the saying goes. I haven’t gotten enough mileage out of Ajax in my last few games with him, and I think having a big turn with the big guy is a bit part of the list’s path to success.
Playing against armies like USARF where everything is a threat forces you to really pick apart the relative risk to you represented by your opponent’s models. You then have to prioritize what to attack and in what order, which can be very difficult, as oftentimes the relative risk is pretty similar. It’s very context dependent and requires a fair amount of experience.
Conversely, playing an army like Steel where everything you have is a threat in the active turn but you have very little defensive board presence means you have to prioritize what models to remove just as much. It’s a more clear-cut decision-making process than it is for USARF, but the ranking is defined by different metrics. For example, Leila is less of a threat than Rouhani for Steel. It’s not that Rouhani is going to kill much, it’s that he can undo your hard work of taking out QK’s orders. The Azrail’s positioning was such that I didn’t have to worry much about it at all, and wasting energy going after it was a big mistake, I think.
I am happy in my handling of Bill’s Haris, despite the awful crit I suffered, but I think I didn’t’ really prioritize things properly. The more I think about it, the more I think I should’ve just killed Fiddler and Lelia’s link with Ajax and left Patroclus where he was for the whole first turn. If I remove Fiddler, getting to the central objective is much more annoying for Adam. He would’ve had to do it with the Kaplan Doctor, which is harder to protect and would’ve pulled the HRL into bad rangebands. Hector’s link is more than a match for Bill’s link at range in Steel’s active turn, so I think I wouldn’t have had a problem dealing with them.
So yeah. To rewind the game, I think what I should’ve done was:
- Turn 1
- Kill Fiddler
- Damage Leila’s link
- Set up for Turn 2
- Turn 2
- The Kaplans probably got the box, so go melt them with plasma, or with Patroclus’s double DAM 14 pulzar. Could use the holoechos to get close.
- Retreat with the boxes
- Turn 3 – Both QK links are degraded probably beyond repair now, so just take the last box and beat up whatever’s left.
Steel has the capability to smash stuff into dust or melt it with plasma pretty effectively, but it’s decidedly not cheap in points or orders. It lacks the delete button of something like an Oniwaban, but it’s more consistent because of NWI or multi-wound models.
What I’m learning is that you have to pick very carefully what to spend your orders on and single-mindedly focus on that. Even with the resilience and flexiblity afforded by Hector’s extra orders, it’s really down to luck that I’m winning games, like this last game where Adam’s Yuan Yuan was on 19’s and I was on 24 with the Myrmidon. One bad roll and that’s game.
Even though Infinity is a dice game, I’m of the opinion that it shouldn’t be about luck. I suppose it was bad luck that I lost Ajax, Pheonix, and almost lost Hector to some bad crits, but still managed, so perhaps the game wasn’t so runaway after all. In any case, thanks for reading, it’s good to be back in the battle report saddle, so to speak.


Just FYI, Hectors Strategos would let you hold back two models without spending the command token (or three with). Great write up as always.