
Asked and Answered
So James (RomanLegion) lives just far enough from the game store we usually play at for it to be annoying for him to get to. He does, however, live within walking distance of the office, so we scheduled a weekday game in his garage to take advantage of that. He’s working on building out a LOS Block table, but it was a little sparse, so I handed off a bunch of my first generation cardboard terrain to get him going.
Overview
- Mission: ITS13 Supremacy
- Forces: Combined Army versus Invincible Army (300)
- Deploy First: Invincible Army
- First Turn: Invincible Army
We decided to roll for the mission amongst the next tournament scenarios and got Supremacy. So, a bit of an aside now–if you’ve been following along with this blog, you know that I recently handed off all my Combined Army to Erik (Zelaponeepus), who promptly went and painted it to a standard that won him a Bromad Academy painting contest.
One of the funny things about this is that a bunch of the faction leadership players for the Infinity global campaigns had half jokingly suggested to one another back in Asteroid Blues that for the next campaign, we should all go Combined. Of course, COVID happened, so when Durgama hit, we were all excited to play our home factions. What this made me realize, however, is that should this sepsitorization plan actually happen, I would be unable to participate unless I borrowed someone else’s models!
Also, I wanted to jump on the Avatar + 4 Taigha bandwagon, because who the heck doesn’t want to play that? If the internet is to be believed, it’s the auto-win button! The internet is famously never wrong, so clearly I needed to do something about this. While complaining about my lack-of-CA predicament at the Rose City Raid, Tim (Chainsaw) mentioned that he had an Avatar list, courtesy of Brody, that he’d be willing to sell me. Apparently a few years ago, when going to the Salt Lake Showdown, a subset of the players had all agreed to run multi-TAG lists. Once that had happened to people at the tournament, the next plan was to take an all-camo list the following year. Tim offered Brody his French to achieve this, and Brody just handed him his army bag by way of trade, which contained this list:
Firefight
GROUP 1
8
3
GROUP 2
AVATAR (Lieutenant [+1 Order, +1 Command Token]) MULTI Heavy Machine Gun, Sepsitor Plus / DA CC Weapon. (3 | 126)
STALDRON Flash Pulse / PARA CC Weapon(-6). (0 | 0)
OVERDRON Heavy Rocket Launcher(+1B), Submachine Gun / Shock CC Weapon. (1.5 | 51)
STALDRON Flash Pulse / CC Weapon. (0 | 0)
XEODRON K1 Marksman Rifle, Blitzen / Heavy Pistol, Shock CC Weapon. (0 | 53)
STALDRON Flash Pulse / CC Weapon. (0 | 0)
IKADRON (Baggage, Repeater) Light Flamethrower(+1B), Flash Pulse / Pistol, PARA CC Weapon(-3). (0 | 9)
ÍMETRON . (0 | 6)
Bit (Hacker [UPGRADE: Oblivion, UPGRADE: Trinity]) Submachine Gun, Pitcher ( | Deployable Repeater) / Pistol, CC Weapon. (0.5 | 20)
4
TAIGHA Chain-colt / AP + Shock CC Weapon. (0 | 5)
5 SWC | 300 Points Open in Infinity Army
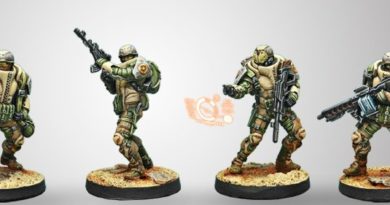
Now, the original list had two R-Drones, but this was before the Avatar and Imetron price increase, so I had to cut the two R-Drones to make it legal. I’m certainly not going to cut Taigha, that’s the auto-win button! I don’t think the list itself needs much explanation. It’s 3 TAGs, the Combined Army starter pack, and 4 Taigha. Bit and Kiss are along for the ride and to grab classifieds if you need that sort of thing. What’s fun is that the Taigha are proxied by a bunch of Tinbots, and of course the whole collection is nicely painted with a strong blue/red/gold scheme. Looks great on the table, as you’ll see!
James is playing a more conservative (but still chonk monster) Invincibles list:

DĀOYĪNG (Lieutenant [+1 Order], Hacker, Hacking Device) Boarding Shotgun ( ) / Breaker Pistol, CC Weapon. (0 | 30)
MÓWÁNG (NCO) MULTI Rifle, Flammenspeer / Heavy Pistol, CC Weapon. (0 | 43)
KOKRAM FTO Feuerbach, Chain-colt, D-Charges / Heavy Pistol(+1B), CC Weapon. (1.5 | 42)
SHÀNG JÍ (Tactical Awareness) AP Heavy Machine Gun, Chain-colt ( | TinBot: Firewall [-6]) / Pistol, Shock CC Weapon. (1.5 | 49)
HǍIDÀO (Hacker, Killer Hacking Device) Boarding Shotgun ( ) / Breaker Pistol, CC Weapon. (0 | 24)
YĀN HUǑ (Neurocinetics [+1B]) Missile Launcher / CC Weapon, Heavy Pistol. (1.5 | 45)
ZHANSHI (Paramedic) Combi Rifle ( | MediKit) / Pistol, CC Weapon. (0 | 13)
CHAĪYÌ Yaókòng Flash Pulse / PARA CC Weapon(-3). (0 | 7)
There’s a lot of quality to the list: a cheap long range link with the Haidao MSR, the workhorse link with the Shang Ji, and then two more solo HI in the Mowang and Yan Huo. Yu Jing with NCO basically demands the Daoying Lt, so she made an appearance along with a flash pulse bot.
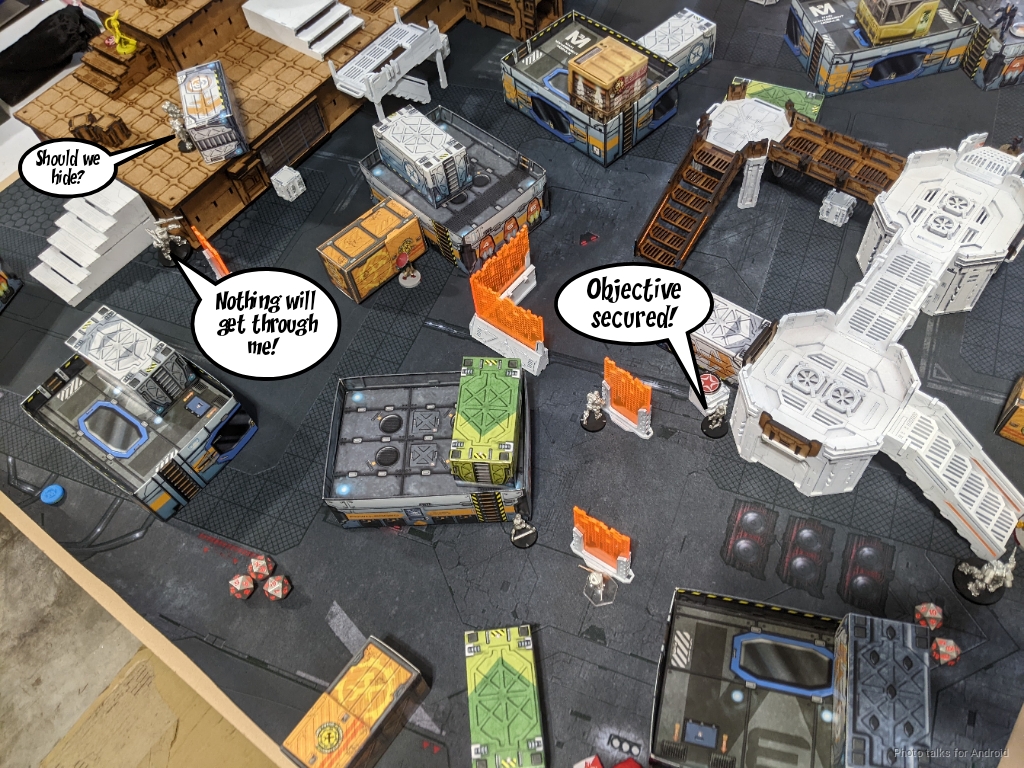
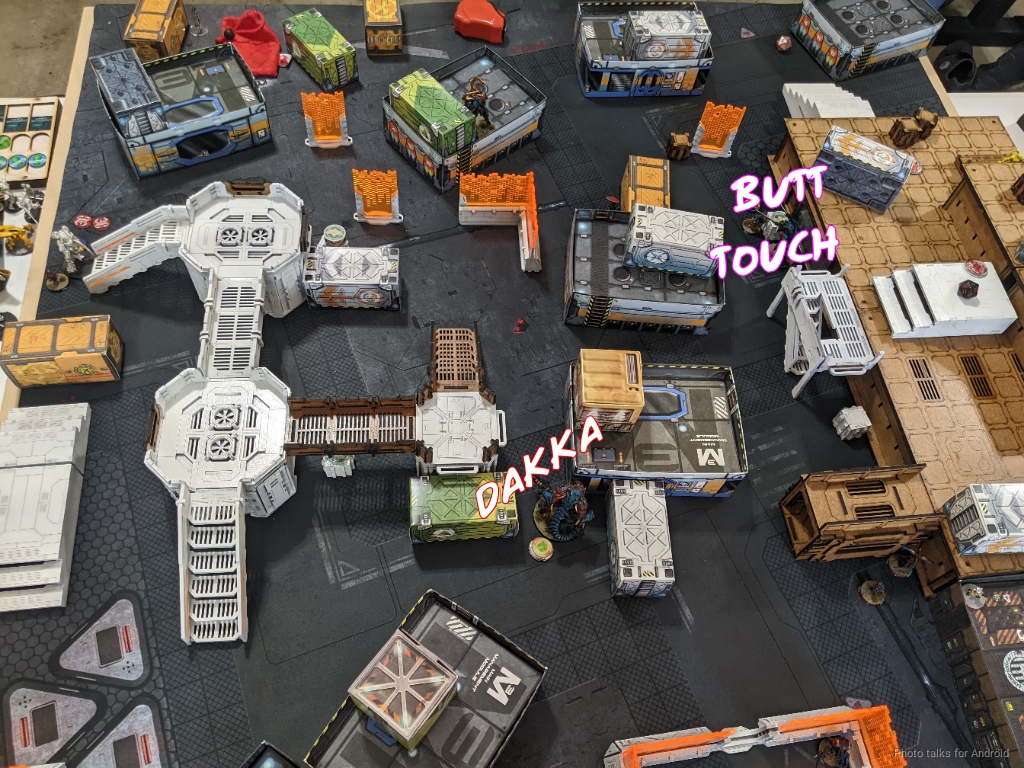
Deployment
James won the rolloff because the Avatar rolled a 1. Booooo. He decided to go first, so I picked the side with the convenient tall walls to hide TAGs behind. That LOS Block objective room is pretty cool–you can configure it as an objective room or as a bunch of random walls, depending on your needs. Pretty cool! James spent a command token to hold two things in reserve, and then set about putting things on the table. The Haidao/Krit/Shang Jesus link went down behind a building on the left, and the Mowang and Chaiyi went on the right. The two Zhanshi hung out behind some other buildings and crates to help support the Haidao when it showed up.
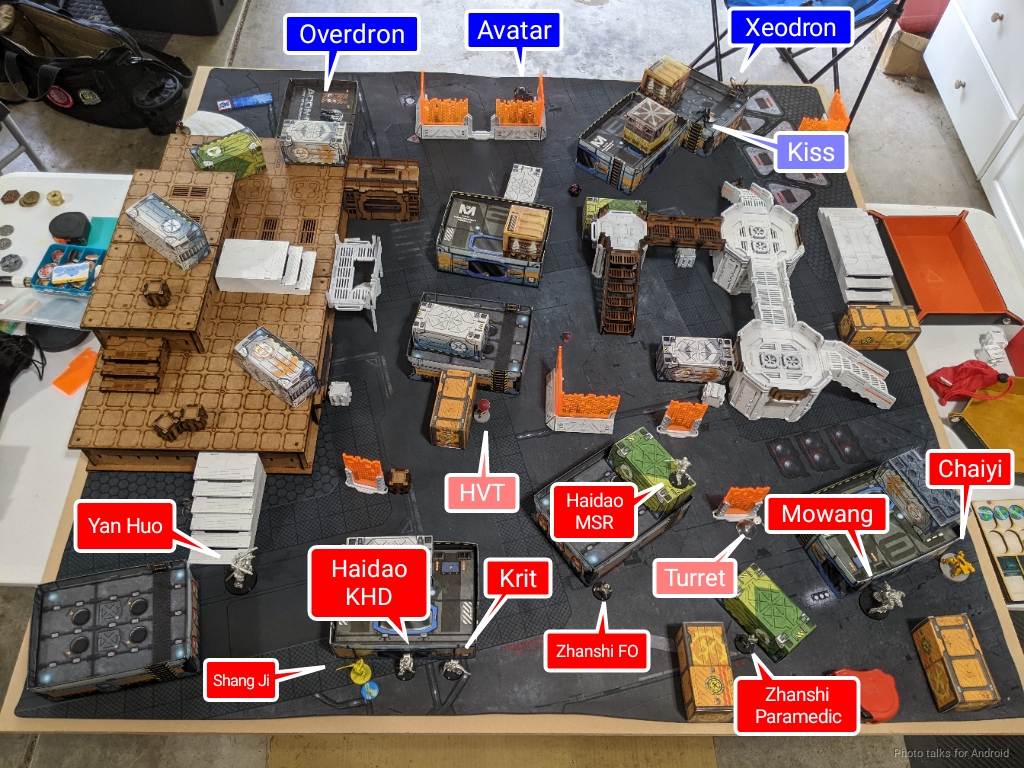
I’m just now noticing that I forgot to mark the Daoying’s location, it’s under the “Yan Huo” text. In any case, it was my turn to deploy. I dropped in the two Imetrons in the right near quadrant, figuring that would give me the option of not leaving anything else in there if James didn’t push that flank. The Taigha were easy to deploy, just at the edge of the deployment zone, spread out across the width of the table.
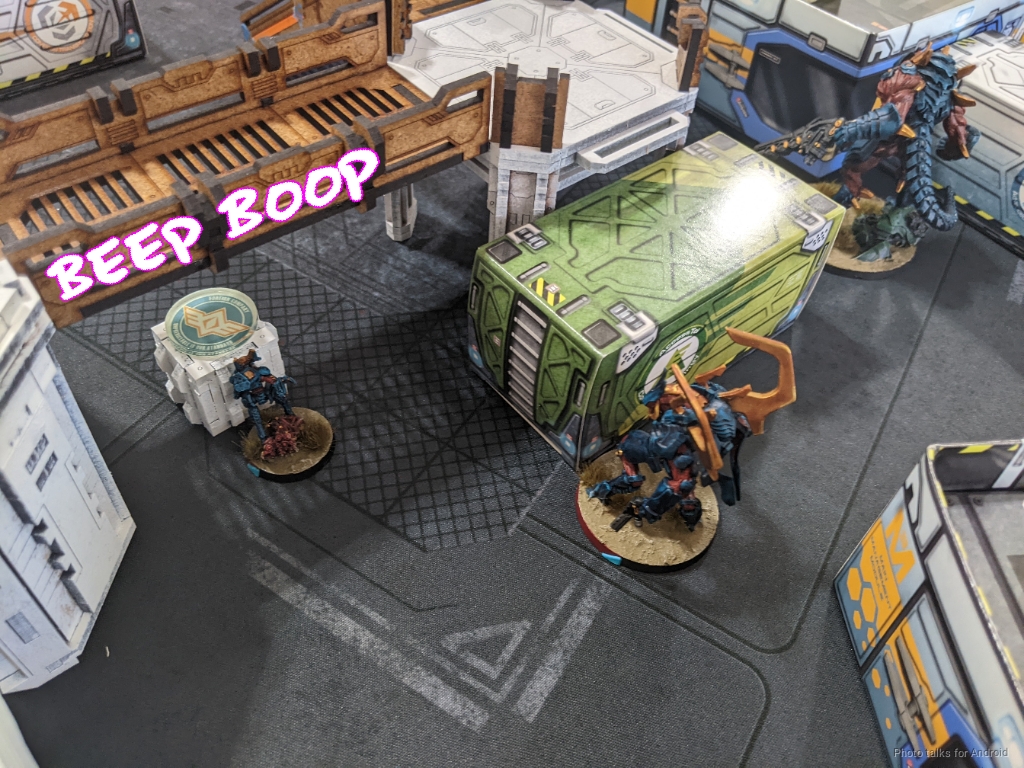
Next I deployed the Avatar, watching the approach on the raised platform on my right, and ready to Sepsitor a Liu Xing if it came calling. Bit and Kiss hung on on the left (I forgot to deploy her repeater), and then I guarded against more AD by facing the Ikadrons backwards. I chose to place the Avatar first to bait out any MSV ARO pieces, which I could then Overdron dead.
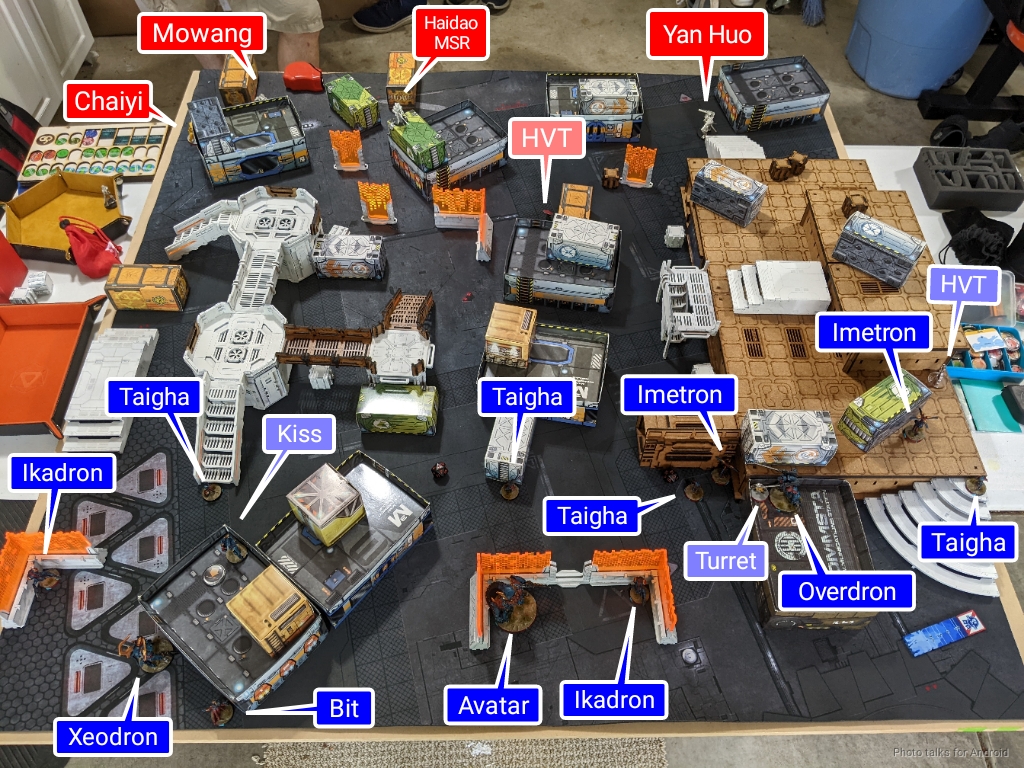
James then put the Yan Huo down watching the doorway that the Avatar could come out of, and the Haidao MSR watching the whole table. I deployed the Overdron and Xeodron to cover the Haidao while remaining hidden from the Yan Huo and Shang Ji, and that was that. The Overdron also could advance up the raised platform and take shots down into the rest of the table if I needed that. The Xeodron was basically my way to counter the Mowang–the MULTI rifle on that thing wouldn’t really get past my Bioimmunity, and I could K1 it off the table if I needed to.
Turn 1
Top of 1 – Invincible Army
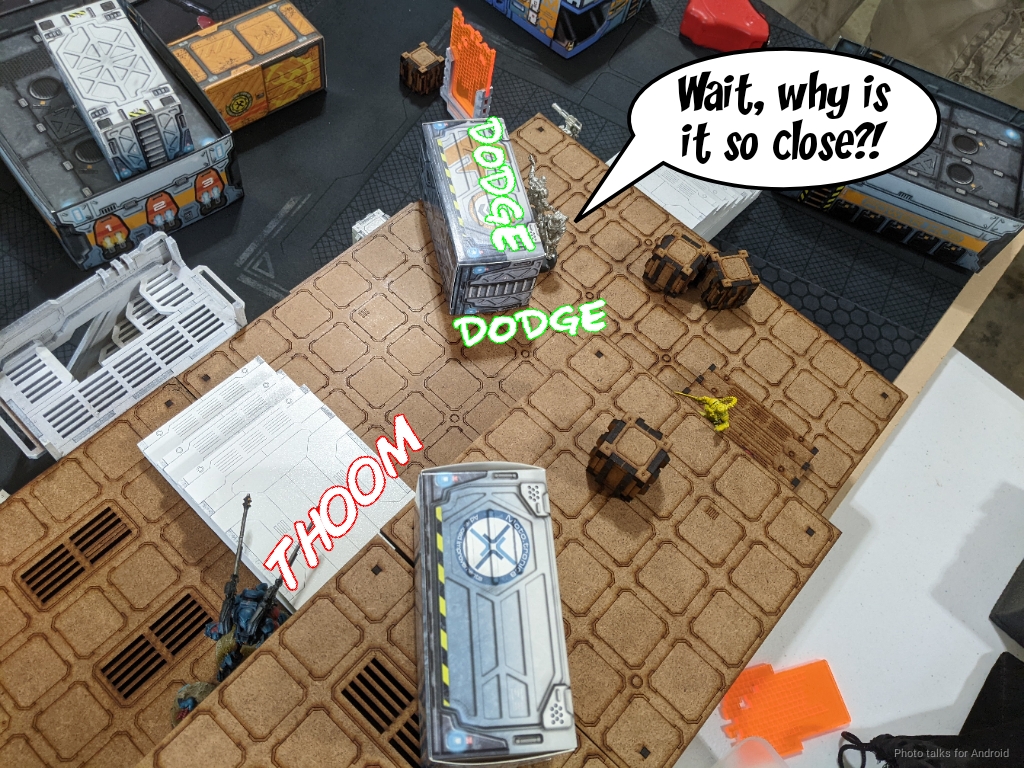
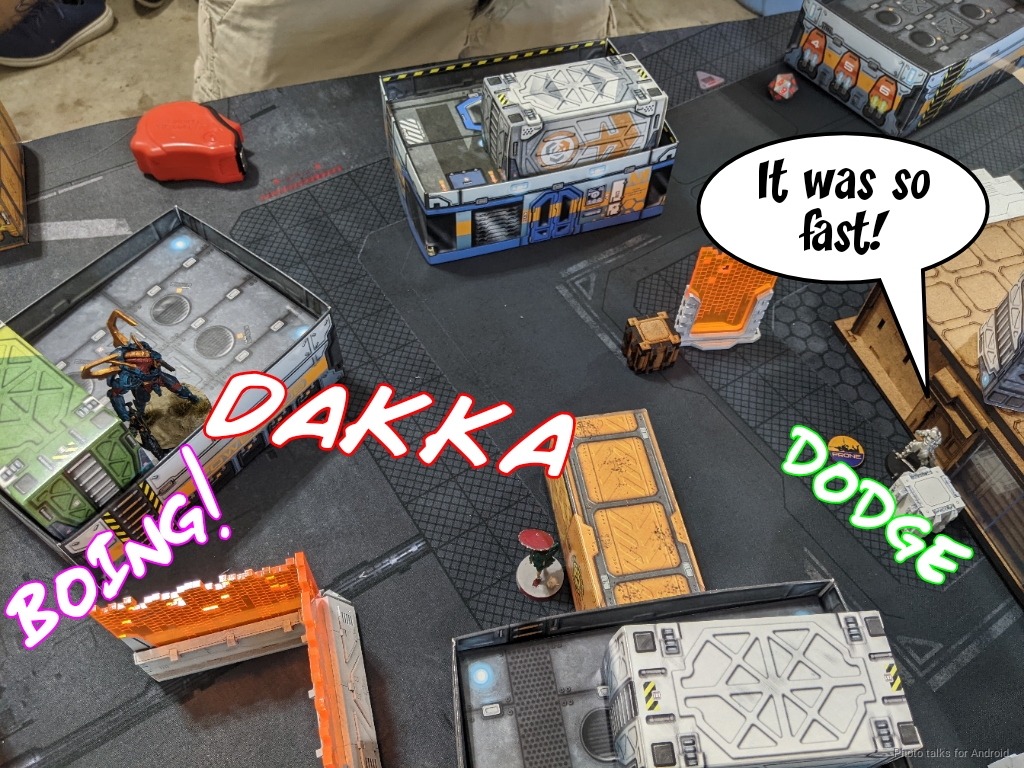
I think James was a little unsure as to what his target priority should be, so after playing to the mission and coordinating the Mowang, the Chaiyi, the Daoying, and the Yan Huo forward into quadrants, he started pushing the Shang Ji link forward. He ended up trying to apply the AP HMG to the Avatar. Mimetism -6 dropped him to 7’s with me staying on 15’s:
| 37.17 | 35.36 | 27.47 |
I actually had a 20% chance to take the Shang Ji straight to unconscious, which is a pretty dangerous thing.
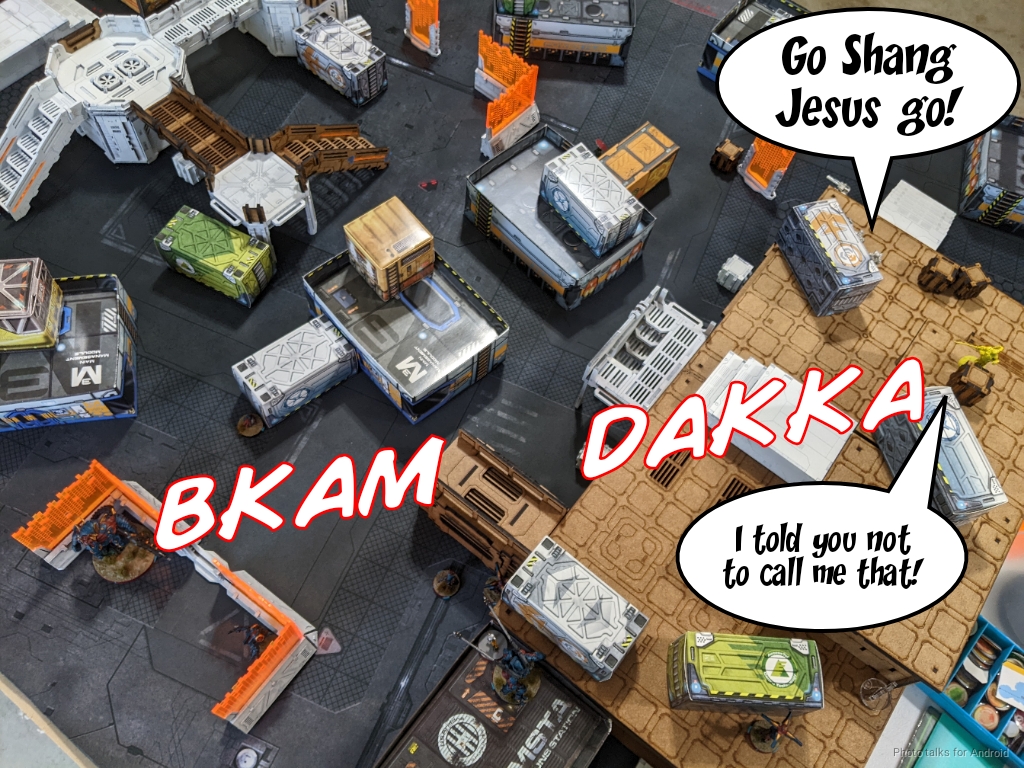
In any case, I ended up doing a wound and the Shang Ji failed guts out of LoF. The Haidao wanted to get off the roof, so James split burst, two into the Xeodron and one into the Overdron. Albedo puts him on 7’s again versus the Overdron, which is sadly just out of 32″, as is the Xeodron, who Blitzens.
The Xeodron is actually at a fair bit of risk here, but it’s important to remember that the draw case in grey is actually a win for me, so the chances are actually closer to 50-50 than anything else.
| 7.98 | 42.38 | 49.64 |
The Overdron is actually much safer:
| 17.94 | 67.08 | 14.98 |
What actually ends up happening is the Overdron gets hit, fails both ARM saves and the Xeodron gets crit and passes all 3. Crazypants. I elect to keep the Xeodron there (probably foolish) and fail guts with the Overdron. James decides to push his luck and tries to down the Xeodron with the Haidao, putting all three into the TAG.
| 15.57 | 28.81 | 55.62 |
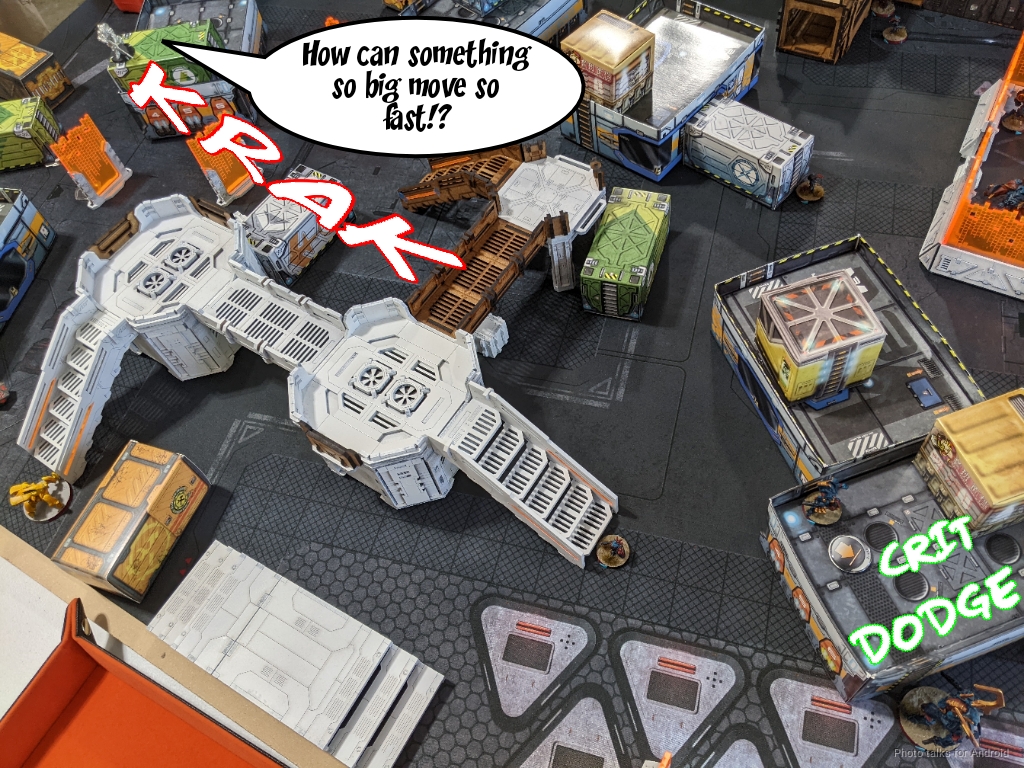
I get very lucky here and roll a crit dodge, tucking the Xeodron all the way into cover.
The way clear, James sets up the Haidao to contest the Avatar’s approach and snags an objective with one of the Zhanshi.
Bottom of 1 – Combined Army
James has pushed stuff into both of his near Quadrants. I need to at least get something into my near left (there are two Imetron in the right one) to tie him, so I decide to at least ensure that. This is a pretty small ask, so I figure the rest of the turn is all about just straight up aggression.
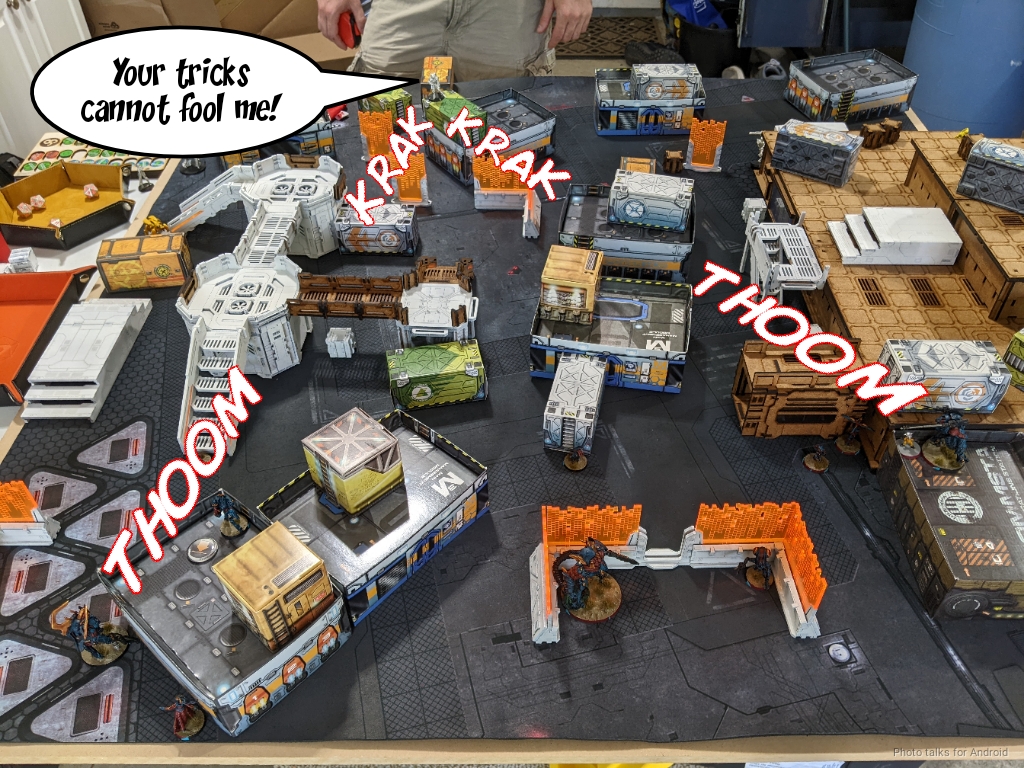
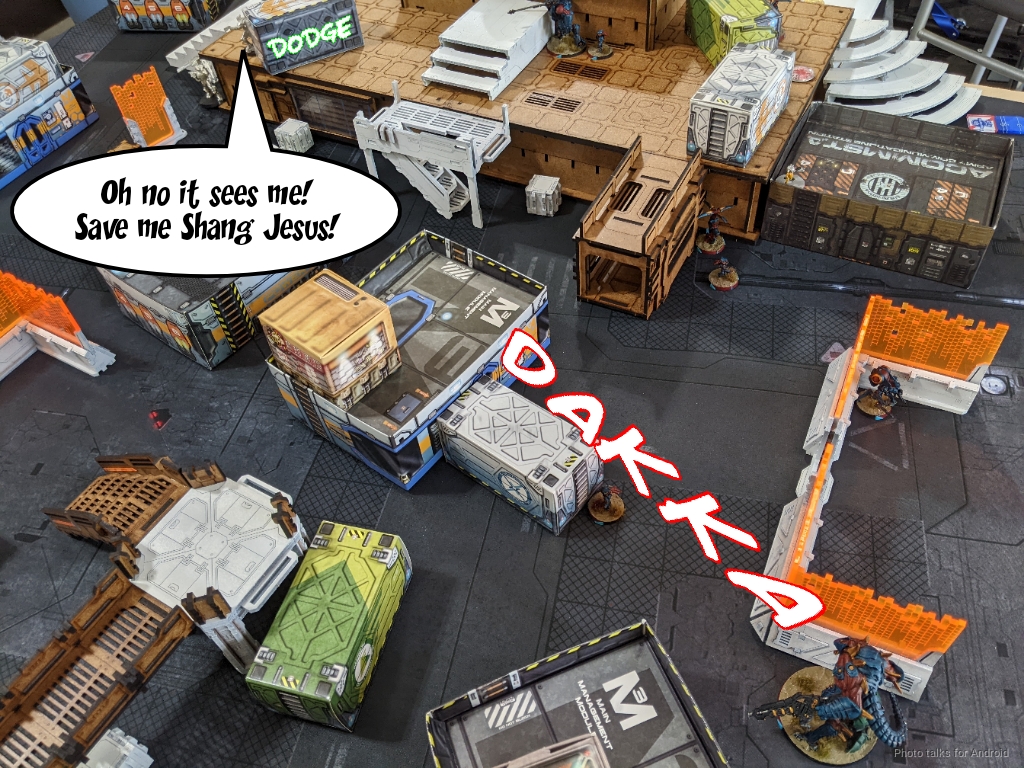
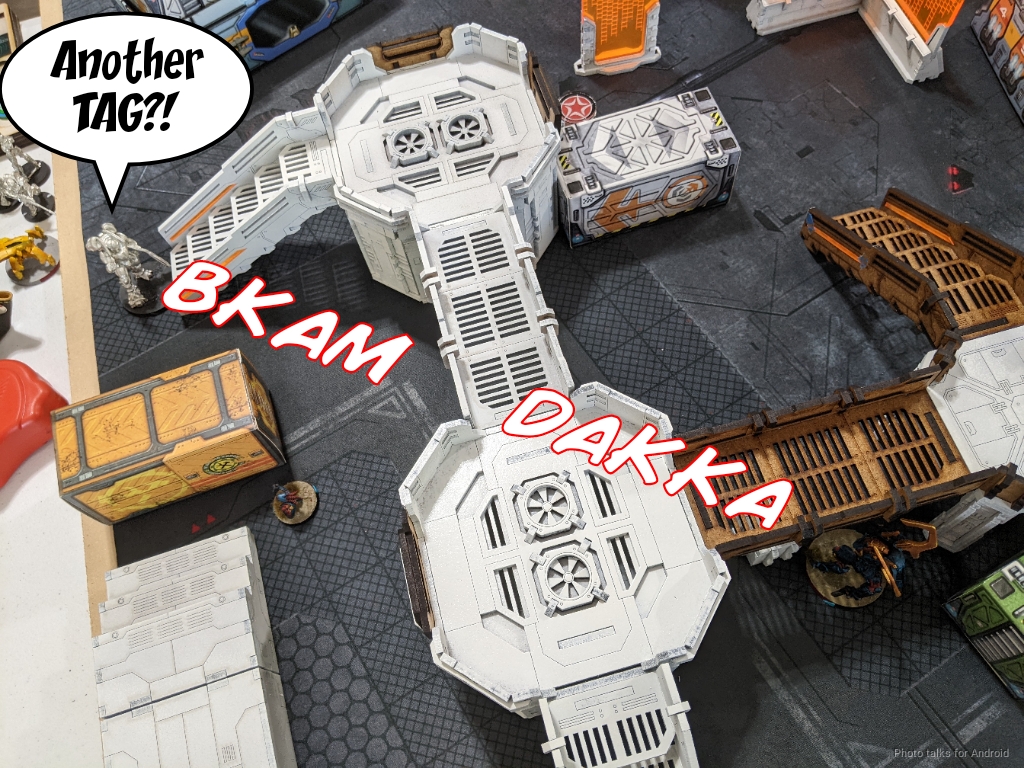
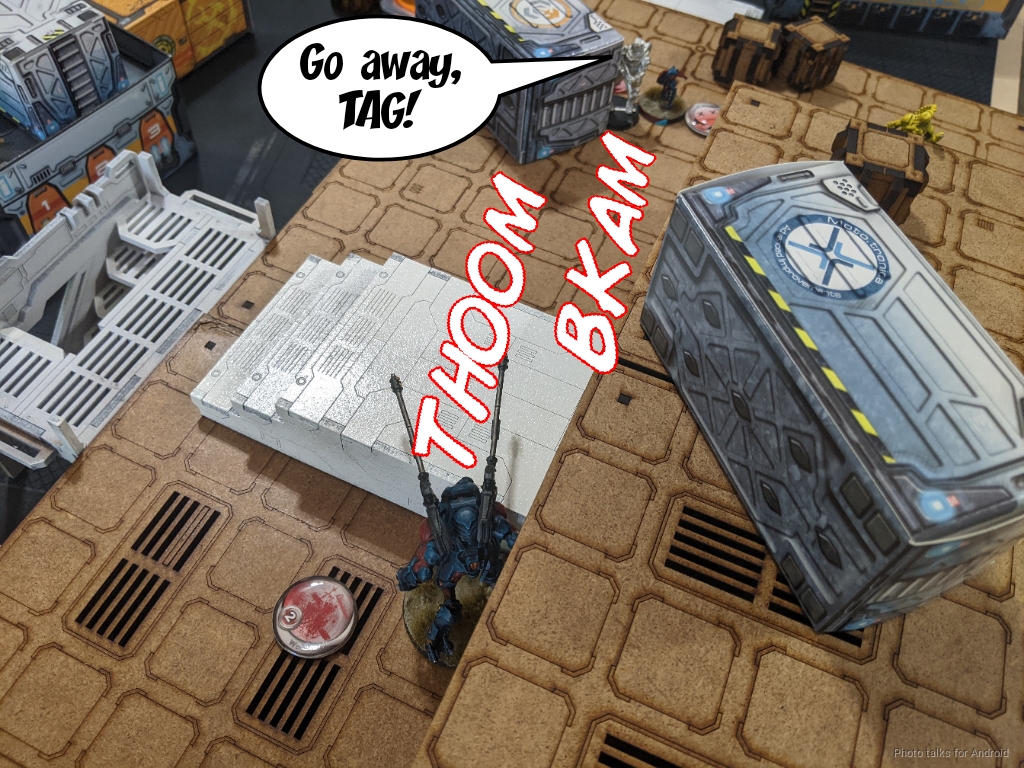
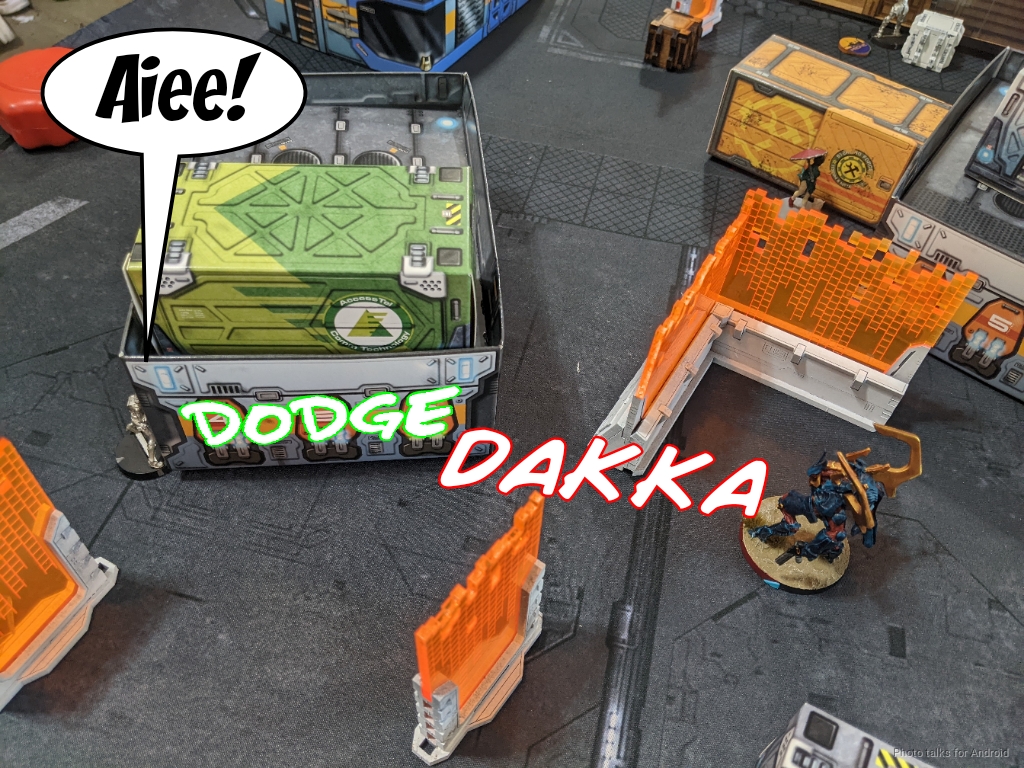
The two middle Taigha are being watched by the Haidao and Yan Huo, so I cancel their orders. The other two Taigha push up the flanks towards the Mowang and Shang Ji link. The Overdron’s Albedo is about to expire, so I use it first. It sees the Haidao and the Zhanshi, but the Haidao can’t see it, so I delete the Zhanshi with ease.
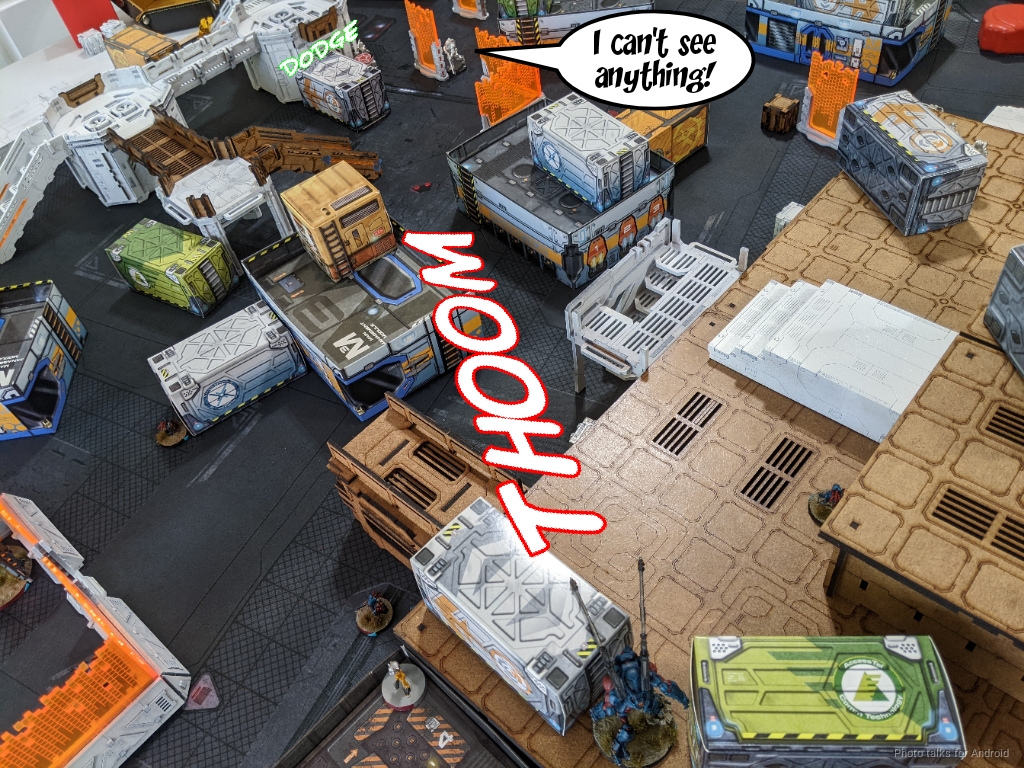
The Haidao is an easy next target, as without link bonuses it’s basically forced to dodge. A few failed saves later and it’s a burning corpse on the ground.
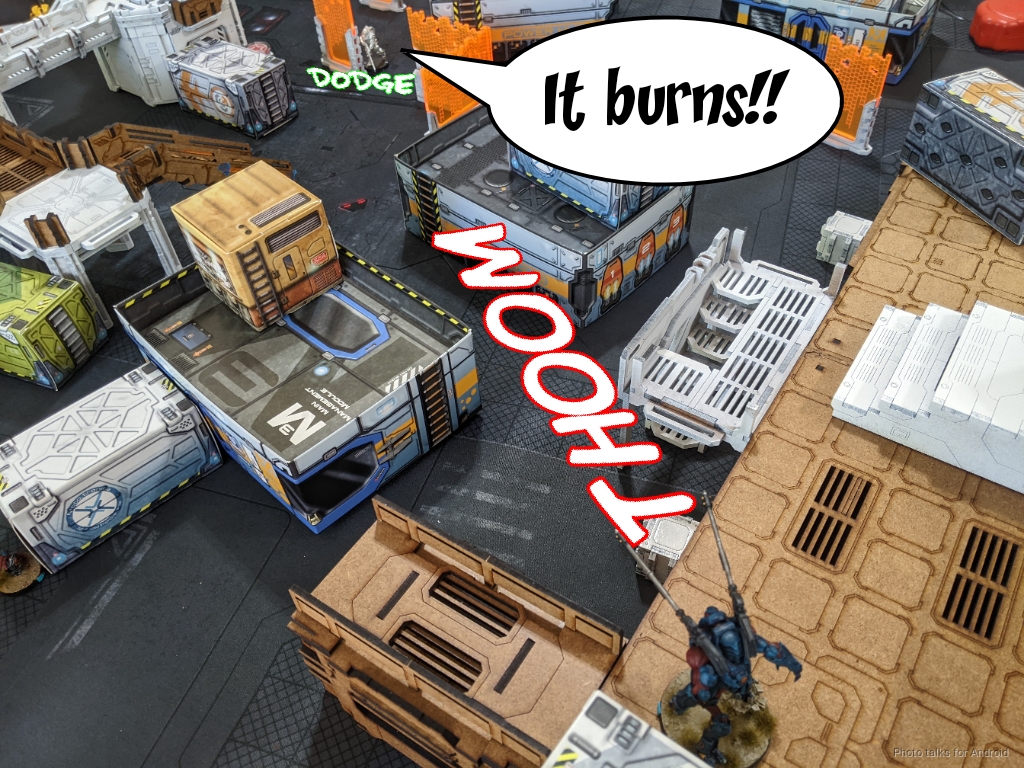
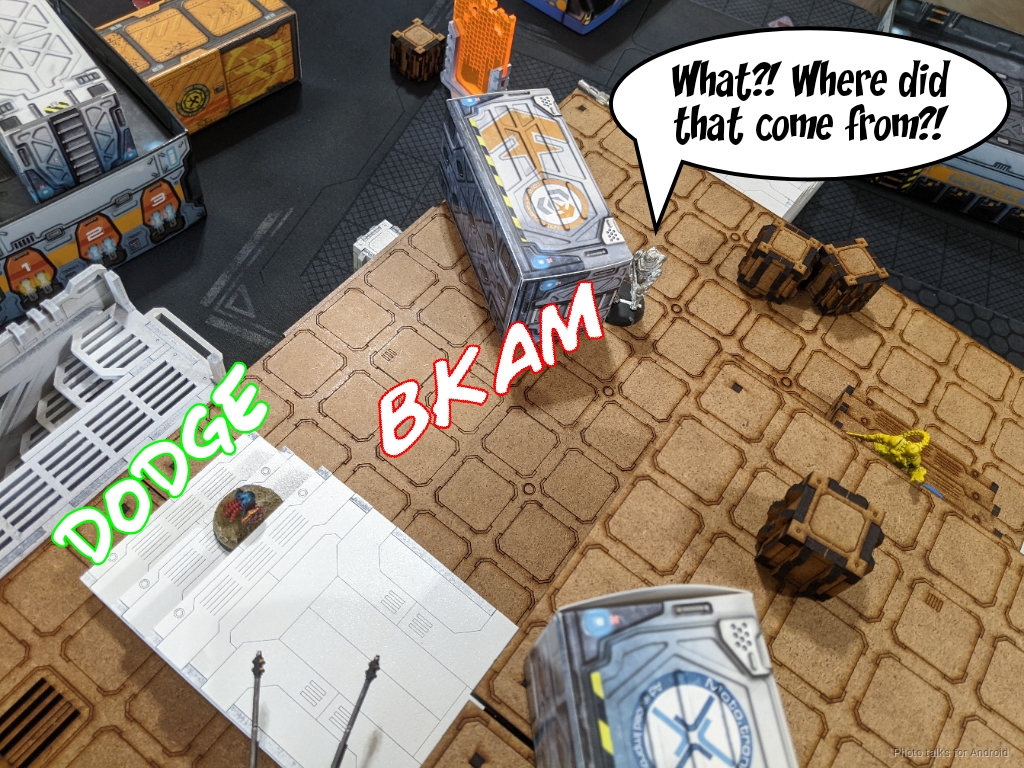
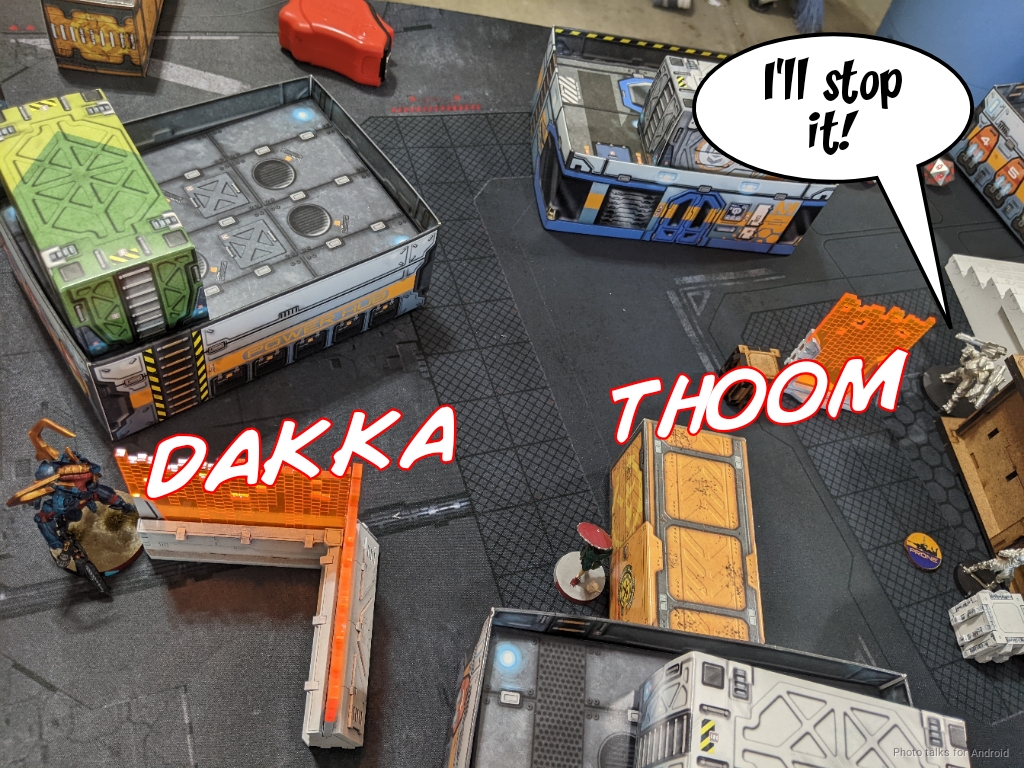
I take a look and there’s enough of the Haidao KHD’s base poking out that I can take template it and Krit behind the box with the HRL, so I continue walking forward. James takes a flash pulse ARO on the Chaiyi, and I’m all too happy to go crit fishing with an HRL, blasting it off the table.
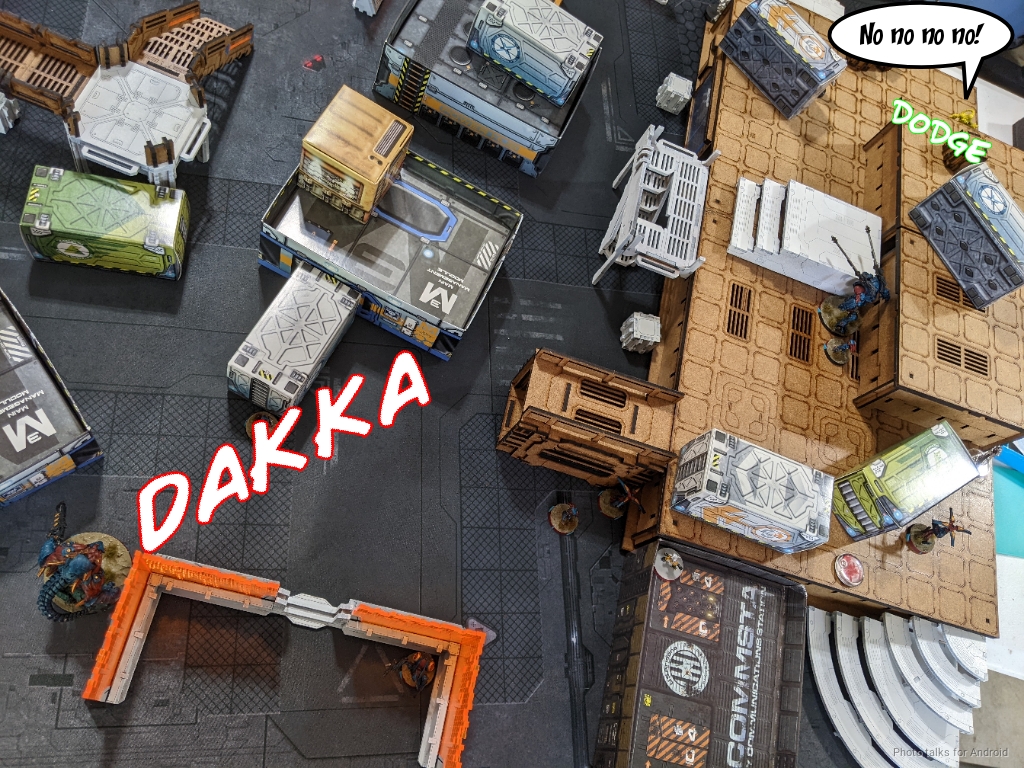
This lets me get the Overdron into a position to just catch the Haidao’s base. I’m within 16″, but 3 on 10’s seems good versus 2 on 10’s especially if that means Krit isn’t dodging. James decides to take the dodge on everyone. Unfortunately for me, the Haidao dodges successfully, and Krit actually passes his ARM save, failing guns out of the template area.
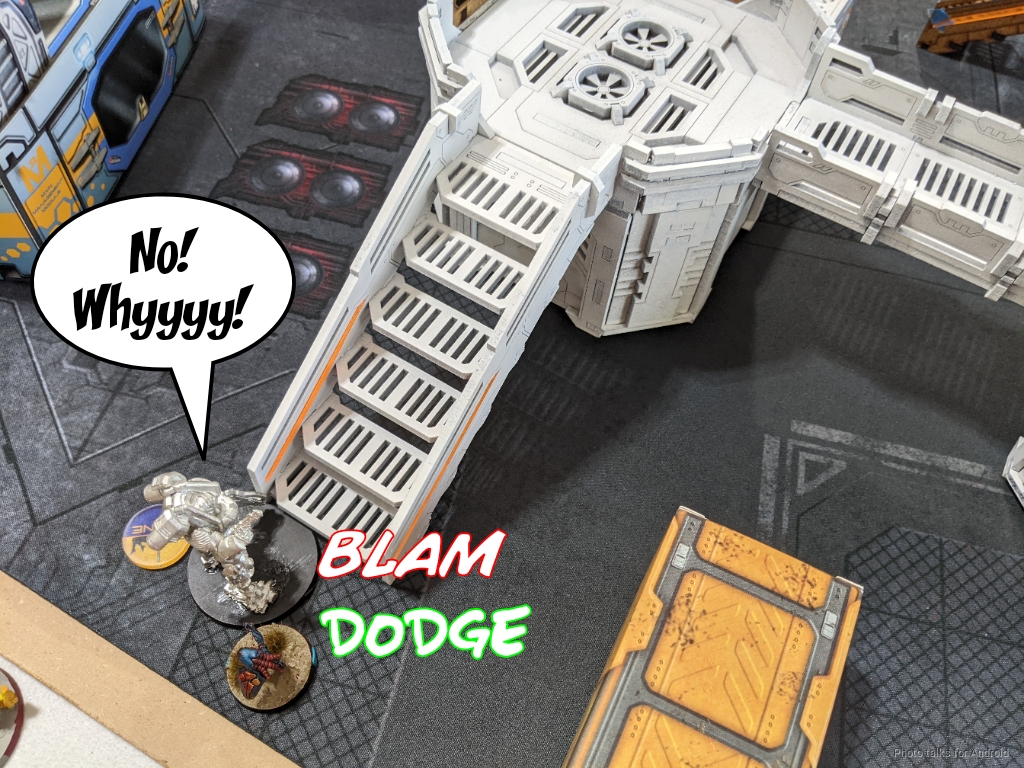
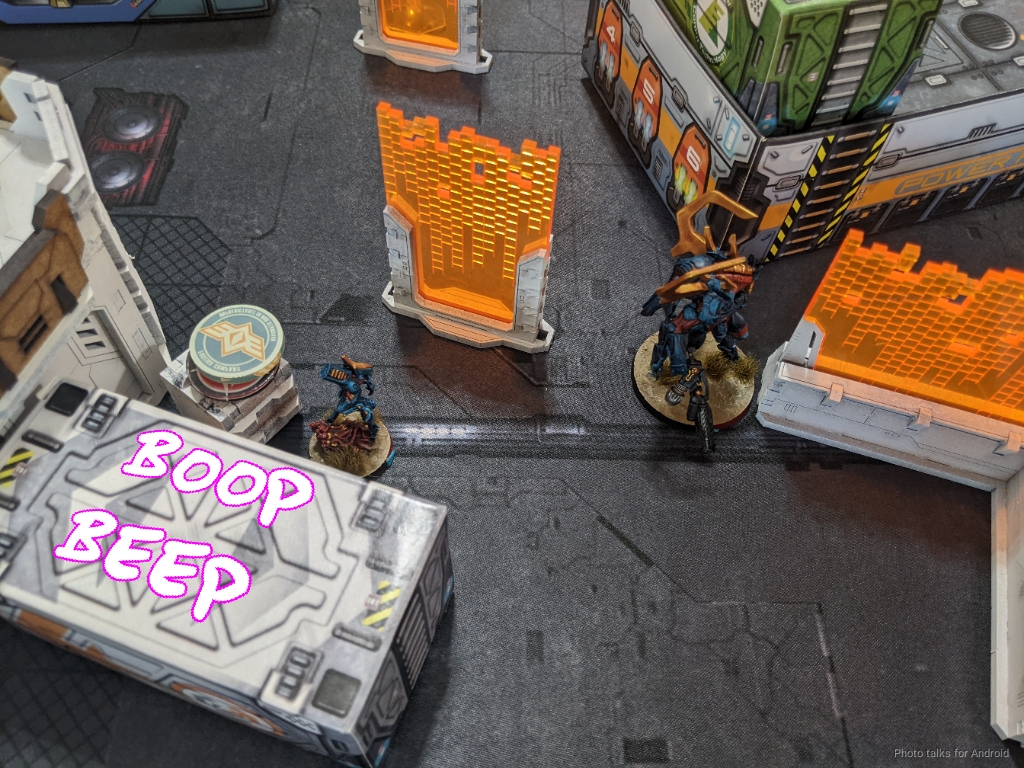
Unfortunately for James, Krit dodged into a position where the Avatar can see it, so I delete Krit.
I can just barely see the Shang Ji on one wound as well, so he goes down for the count as well.
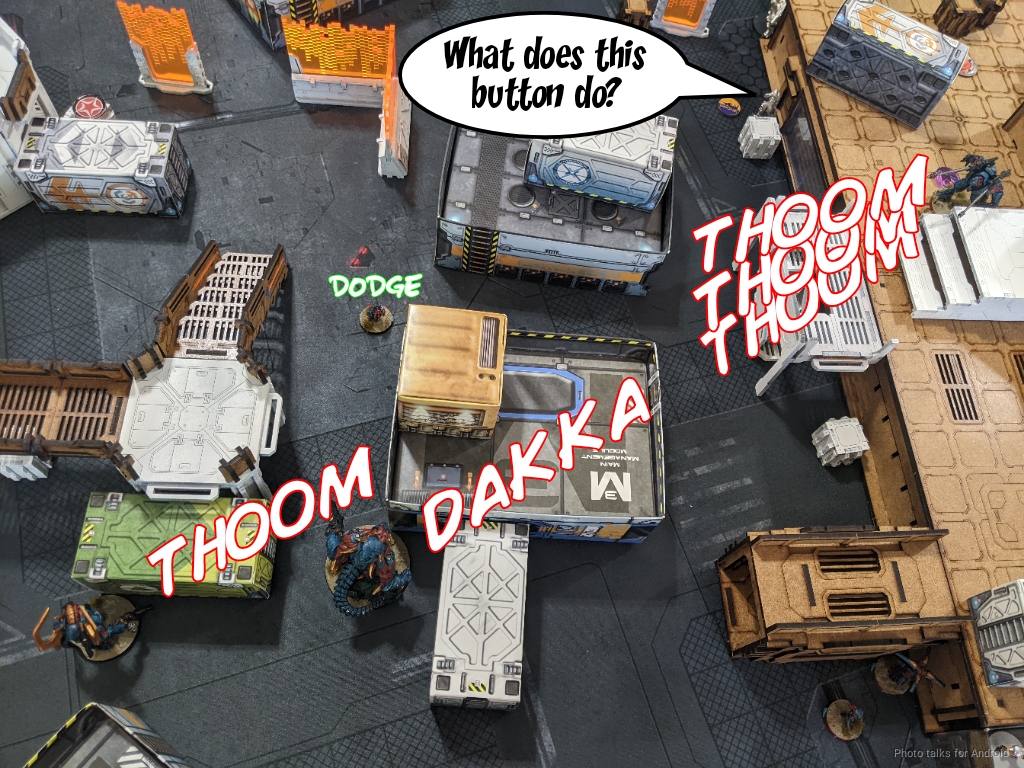
Pushing a little further forward, the Avatar can see the Mowang, so I dump a full burst into him but fail to crack his armor. The Mowang wisely fails guts out of LoF.
I pressure the Mowang with the Xeodron, but just end up forcing it prone with no damage done.
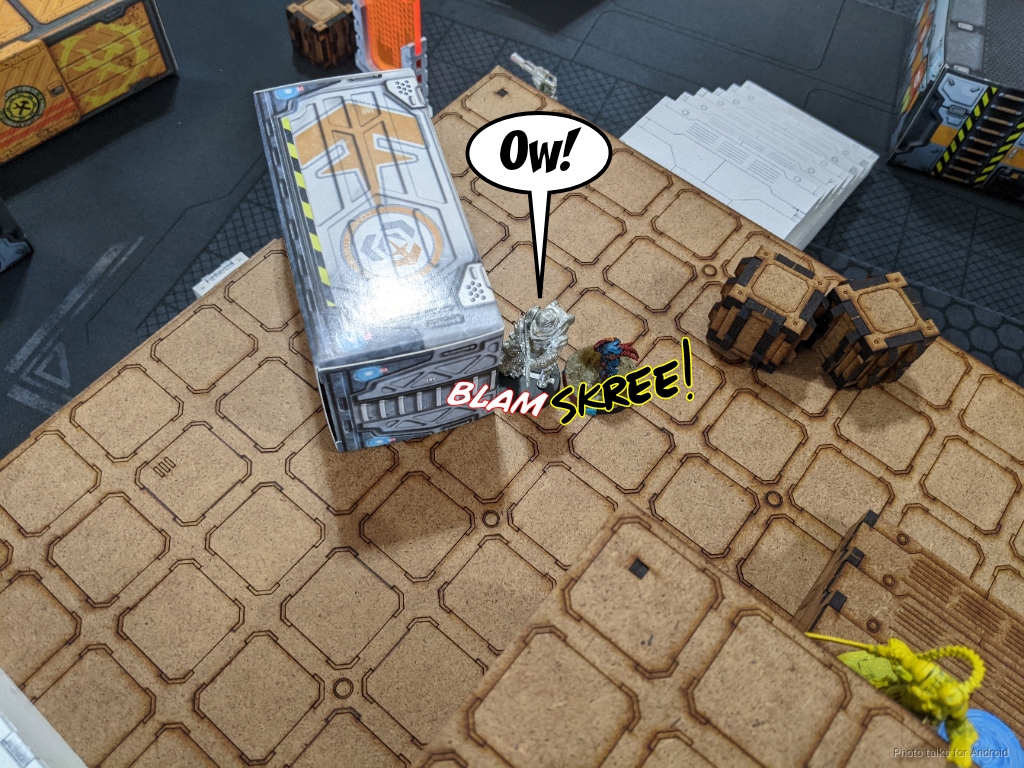
I remember that the Taigha are still in play, so I dodge one into view of the Haidao KHD against its template. I think hit mode would’ve been better here, and I probably should’ve dodged into view and denied the ARO instead of moving into view. Still learning the tools.
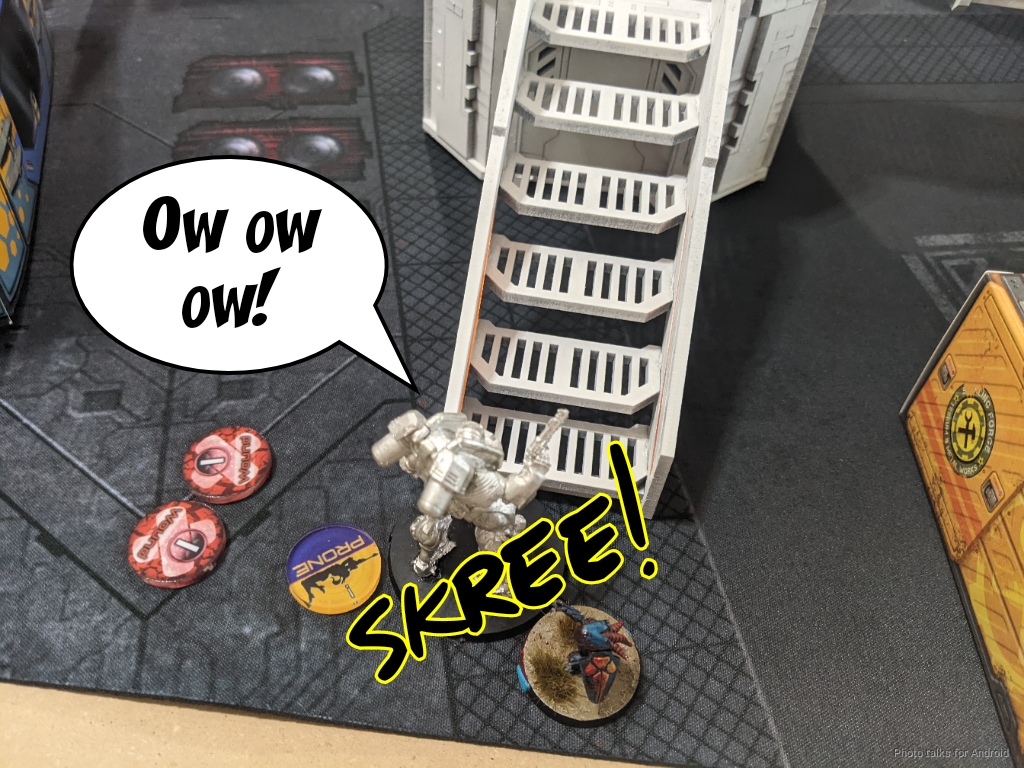
In any case, I flip a command token and an irregular to Berserk the Haidao, critting it but only doing one wound. It templates in response, taking out the Taigha.
Inspired by my success on the right flank, I dodge the leftmost Taigha into base to base with the Mowang against its MULTI rifle fire and leave it there to be annoying.
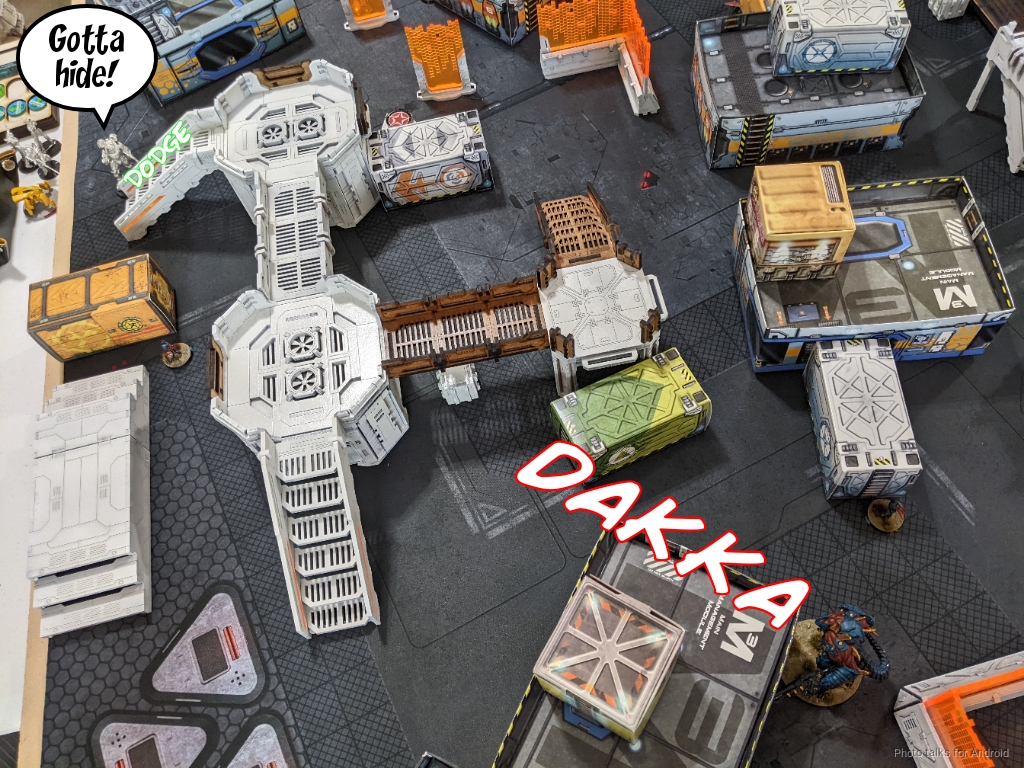
At this point I need to be careful–I could be putting James into retreat. However, with both the Mowang and the Yan Huo on the table, I can continue the pressure without too much worry. The Overdron activates again and blasts the Haidao KHD off the table.
I end with the Overdron in the far right quadrant and with the Avatar and Xeodron advanced.
Turn 2
Unfortunately for me, I forgot about the Daoying hiding under the lip of the platform. With that there, we tie on quadrants.
Top of 2 – Invincible Army
James is down to the Yan Huo, the Mowang, a Zhanshi, and the Daoying. The two Lt orders give him a fair amount of efficiency, and the Daoying does some fancy footwork and scoots into position, possessing the Overdron.
The Overdron turns and blasts one of my Taigha, the Avatar, and the Xeodron, splitting burst three ways.
The Taigha dies horribly, the Avatar and Overdron bounce off one another, and the Xeodron sticks a Blitzen, isolating the Overdron. Perfect. James spends his last order grabbing Data Scan for 2 points due to the little icon bonus thing!
Bottom of 2 – Combined Army
Okay, my game plan this turn is to flip three consoles and kill as much as I can. I start by sinking two orders into the Taigha and doing two wounds to the Mowang in CC. I’ll take it.
The Xeodron uses its Staldron to flip a console…
then kills the remaining Zhanshi.
I need to go through the Yan Huo to get to the Daoying, and I manage to get it out of cover and delete it even with the Yan Huo’s bioimmunity.
I grab the nearby console while I’m at it.
Then I super jump the Xeodron onto a building to catch the Daoying and paste it.
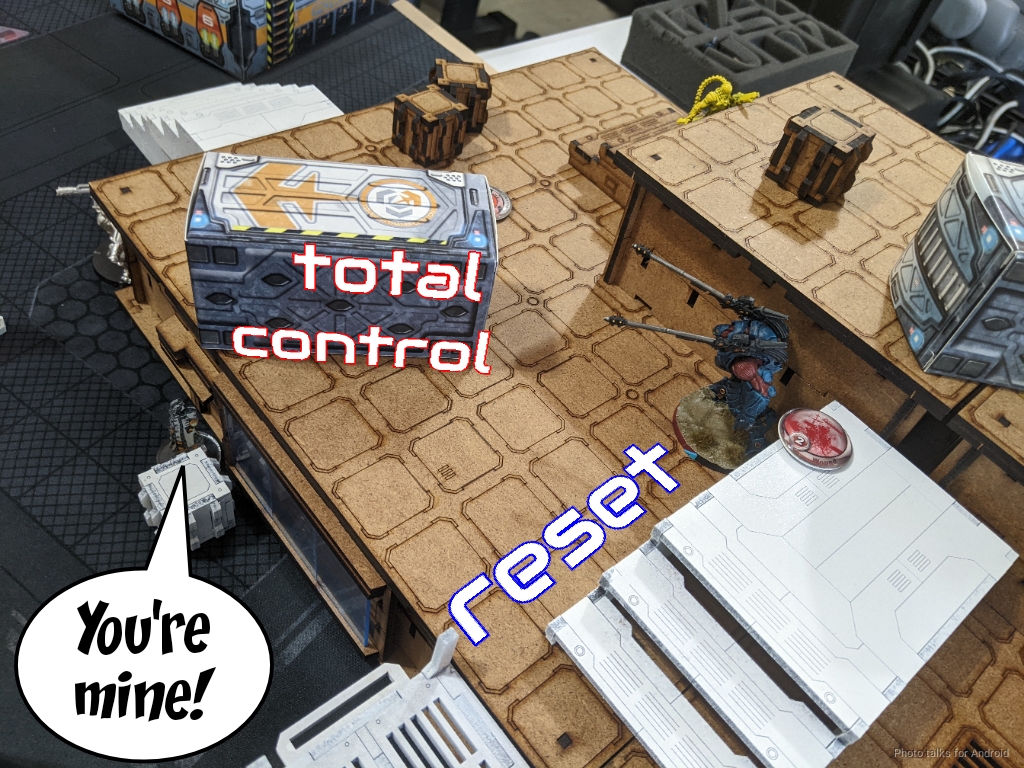
I had already canceled possession on the Overdron with a command token, so I attempt to reset out of Immobilized and Isolated. I figure I need a 1, so why the heck not just spend two orders I wouldn’t be able to use anyway. I get a 1 on the first try!
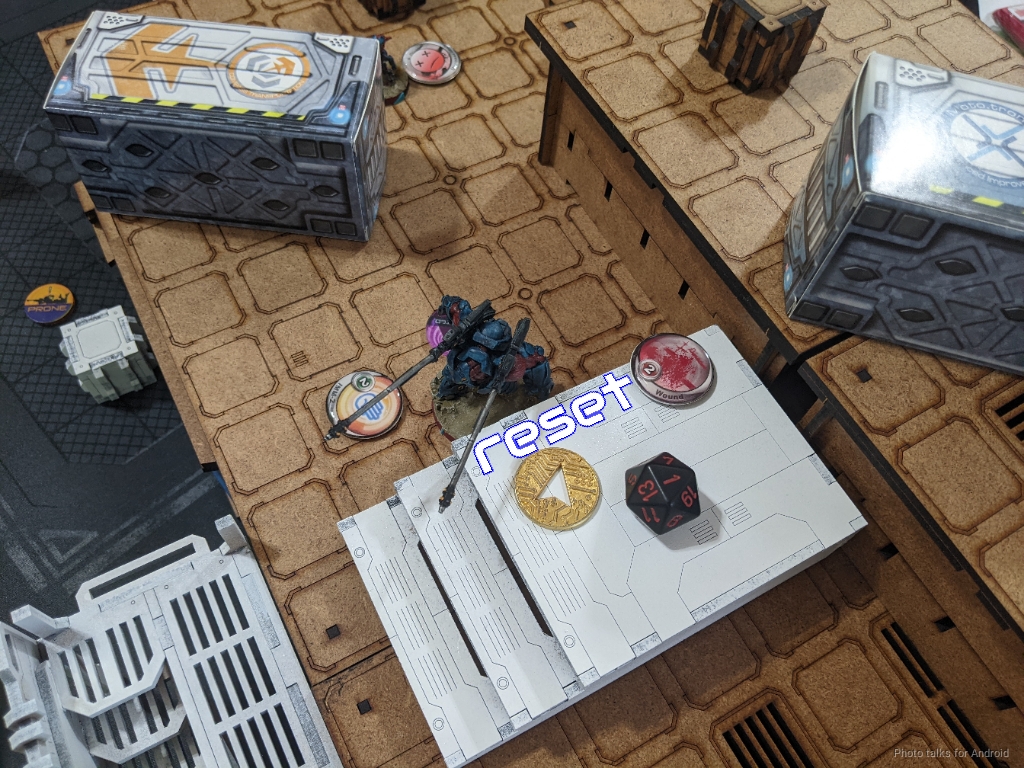
That lets me grab a 3rd console with the Overdron’s Staldron, then I throw the Avatar into suppression.
I flip my last irregular order on the remaining Taigha and try to take out the Mowang but fail to do so.
Turn 3
I dominate more quadrants, giving me two points.
Top of 3 – Invincible Army
James has only the Mowang left, and it’s in NWI and in base to base with a Taigha. He decides to just call it there.
I’ve got more quadrants again, 3 consoles, and am securing his HVT. James has a console and a 2 point classified, making it a
8-3 Combined Army Victory!
Post Game Analysis
Holy crap. Well first off, a huge thank you to James for being a good sport about what ended up being an incredibly one-sided game. My first turn was insane. I think the only orders I spent that didn’t result in doing wounds to of one James’s models was a Xeodron moving and Taigha impetuous orders. Oh and I guess the Overdron templating the Haidao and Krit. Literally every other order was me gunning something down. Kill lists:
- Overdron: Zhanshi, Haidao MSR, Chaiyi, Haidao KHD
- Xeodron: Zhanshi, Yan Huo, Daoying
- Avatar: Krit, Shang Ji
- Taigha: 2 wounds on Mowang, 1 wound on Haidao KHD
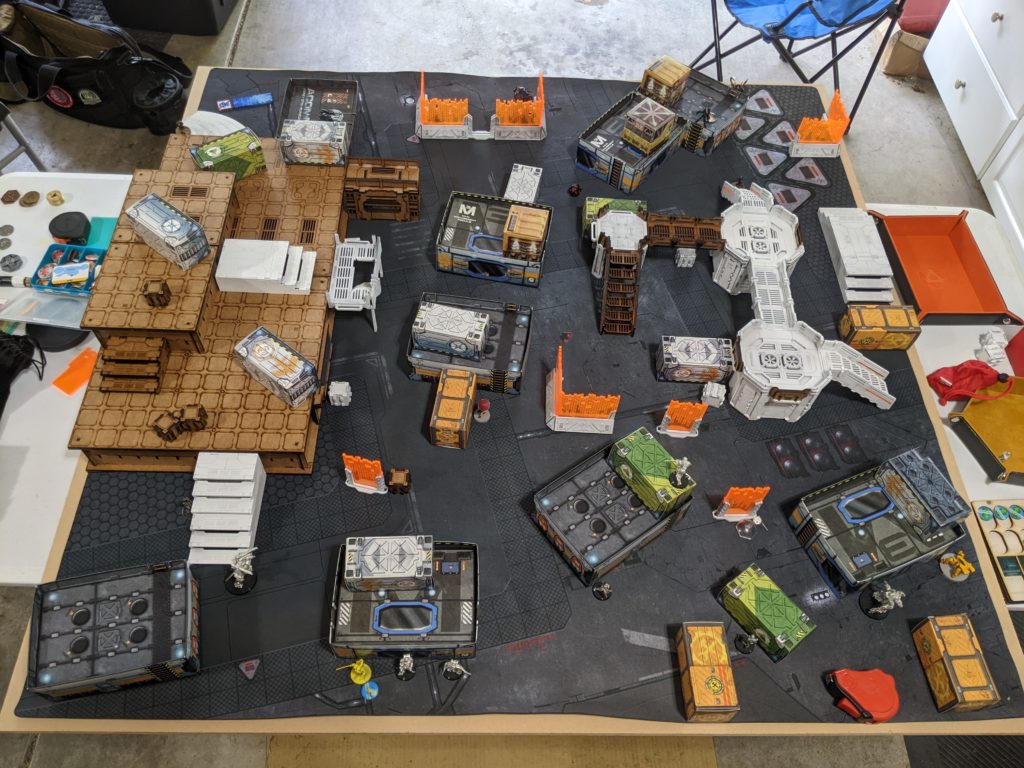
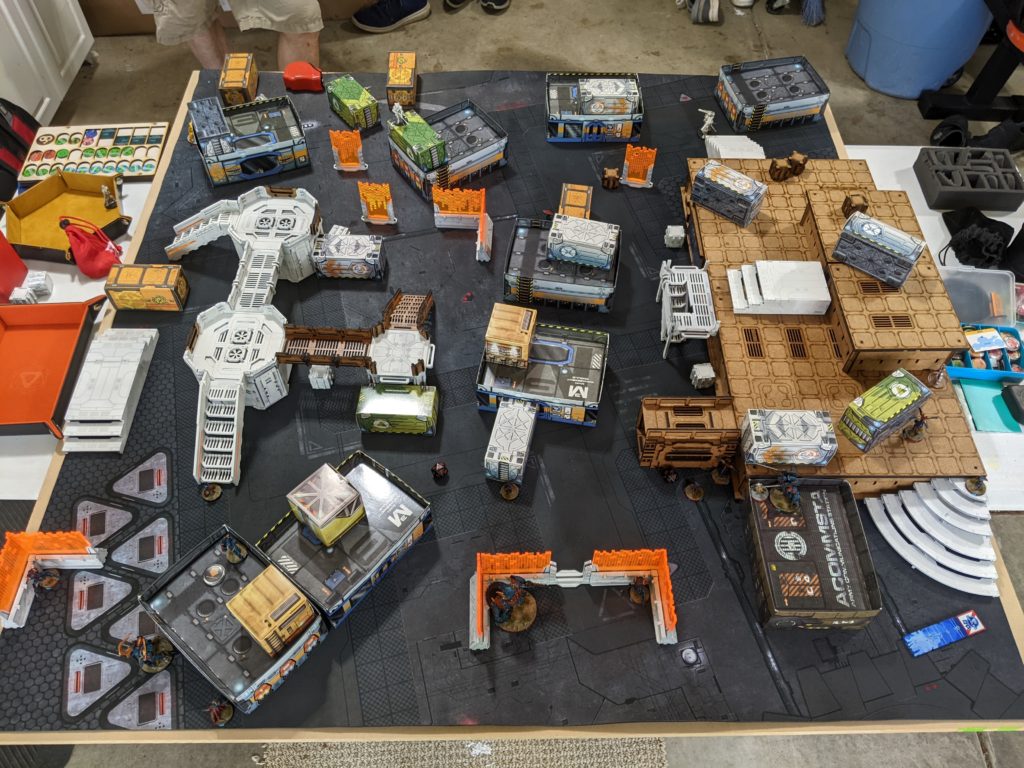
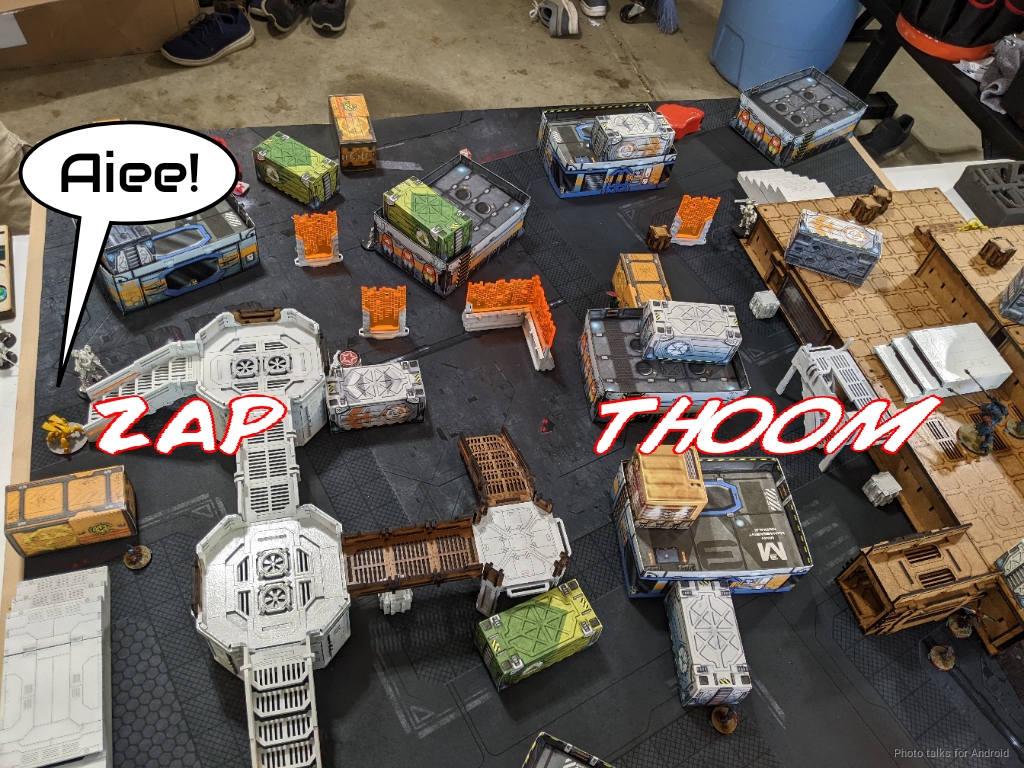
I think the table massively favored my list. I had an elevated position and the tools with which to exploit it. I also got very lucky with my Xeodron rolls against the Haidao sniper–although my Overdron wasn’t so lucky! The Taigha are very good of course, but look especially good here because I was able to follow them up with TAGs so aggressively. The table was actually pretty open–I think this a side effect of James having just started the table building process. I actually brought a bunch of cardboard terrain to help add some LoF blocking elements. This is what the table looked like before I showed up with a crate of paper terrain:
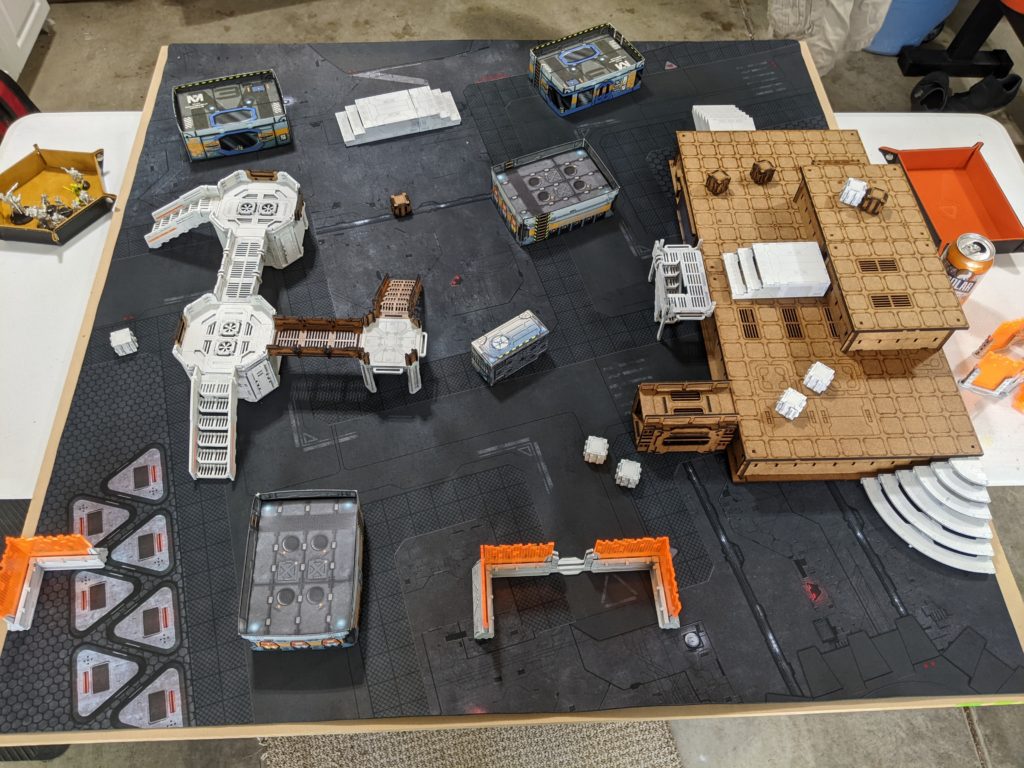
This isn’t to say that James is a new player, it’s just that he’s just starting the table building part of the hobby, and that’s its own special journey. I think a better organization for the table, at least until he has more of it built, would be to put the big double platform in the center of the table, then use the little catwalk system as ways on and off of it. This would break the table up in a similar way to the way an Armory does. To prevent that exact effect, just offset the platform from the center so one side is mostly open. We were in a rush to get the game done so we didn’t spend too much time fixing it up.
Long story short, I think the table was far too short and actually really favored my tall mega chonker delete buttons, aka TAGs. Our meta in the Pacific Northwest is pretty TAG light, I’d say, so we tend to optimize tables for S5 and under with the occasional TAG showing up. A skew list like mine really underscores the need for S6 and S7 blocking terrain to break up the table at the next high level (and also to prevent me from parkouring around the table, although I didn’t do it this time).
I bring up all this discussion of the table for several reasons:
- My list was very good at > 16″, but it starts to fall apart at shorter range bands. I’d have to start using the Avatar to Sepsitor stuff, which while fun is dangerous.
- There weren’t many safe spots on the table due to me being able to see over certain pieces of terrain.
- There weren’t many ways for the Daoying to advance and hack stuff. I think that would’ve helped James at the top of 2.
It’d be really easy to attribute my win here to the list, but in all honesty I think the list is quite beatable with James’s toolkit on a slightly denser table. There were a few small missteps on his part. Deploying the Haidao MSR so aggressively when I have an Avatar on the table, two reserves, and over 1/3 of my list missing is very dangerous, especially if you’re going first.
I think moving the Yan Huo forward was also a mistake. I can’t out-point a prone Shang Ji link, so there was no need to push the Yan Huo forward. In fact, it was actually pinning my Avatar in place until it moved. Furthermore, by moving it closer it gets more and more close to the all important 24″ rangeband for missile launchers. Using the Haidao MSR to challenge just the Xeodron by deploying it out of LoF then moving it into position would have been helpful and safer.
Even if you don’t kill the Xeodron, you can shift it out of LoF, unpinning the Mowang’s advance into the midfield. That MULTI Rifle isn’t going to do anything against the Xeodron, but it can actually hurt the Avatar and the Overdron if in the right position and catching them out of cover. Keeping the Shang Ji safe just outside of the deployment zone would have been good too. I have to advance on my turn to contest quadrants, so that means the Shang Ji can find better engagements then fade away.
I think James was just too aggressive. He played the mission like he was playing Biotechvore and distributed his momentum across all his pieces. Even though he has a lot of order efficiency thanks to IA’s design and his list composition, I think he just had a weak position at the end of his first turn that allowed me to flow from target to target order by order. One thing I do want to say is that I definitely felt like I had the exact tool for every problem I had. That’s where the title of this battle report comes from–I was asked to solve some tactical puzzles, and I was able to definitively answer the challenge with the right tools, in particular the Overdron’s Albedo and great access to AP, K1, and high-damage impact templates.
Even though the Overdron is “the hard counter” to the Haidao MSR, I lost two wounds to a split burst! The odds are actually pretty atrocious as we saw earlier–I have a low chance to take a hit, but I also don’t have a good chance of hitting back. I think that’s why MSRs are so good in the modern meta. They let you challenge stuff outside of 32″ and play the rangeband game very effectively. They also are stronger than HMGs because of DA ammo and access to AP. Very very good stuff, and it was definitely a tool that James could have leveraged a little more safely.
I was really really reluctant to use so many TAGs, but the Staldron really fixes the “no specialist” problem. Albedo on the Overdron was so clutch–I lived the dream of taking out a non-MSV link member to drop the bonus and then take out the MSV trooper. Having so many wounds and such high ARM helps me combat variance as well–rolling a 1 and a 2 on the Overdron’s ARM save would have been a death sentence for basically anything except a TAG, but I was able to keep on going and eat like half James’s list with just that one model.
The Avatar is pretty amazing, but it’s just an enormous gun. If you don’t let it see you, you’re basically safe. I think in future iterations of the list I’ll have to think about how to dig units out efficiently–probably a job for the Xeodron.
I had a talk with James after he had a chance to read this draft, and this is what we arrived at:
RomanLegion
I had the tools with the ap hmg and the msr. I really should have just gone second. Let you push to the quadrants and then counter
WiseKensai
yeah agreed
I probably kill the Yan Huo and Haidao MSR on turn 1 since you have to leave them out
cause I would have held all 3 TAGs in reserve
I’d know where at least one of them was and could counter it
probably clean up the Chaiyi and throw some pitchers at the mowang
call it a turn
you push up with the Shang Ji, maybe kill one TAG, then i fight you in a more even match
RomanLegion
Ya
In any case, sometimes you just have one of those games that goes your way at every turn, and this was one of those. A conflux of the table strongly favoring me and the resilience to variance of TAGs just gave me a strong path to victory. Thanks to James for hosting and for staying cool as a cucumber throughout the game, and thank you for reading!

Pingback: Riot Against the ISS Machine – MERC Recon
Pingback: Mission 048: Highly Irregular – Bromad Academy