
See You Later ‘Gator
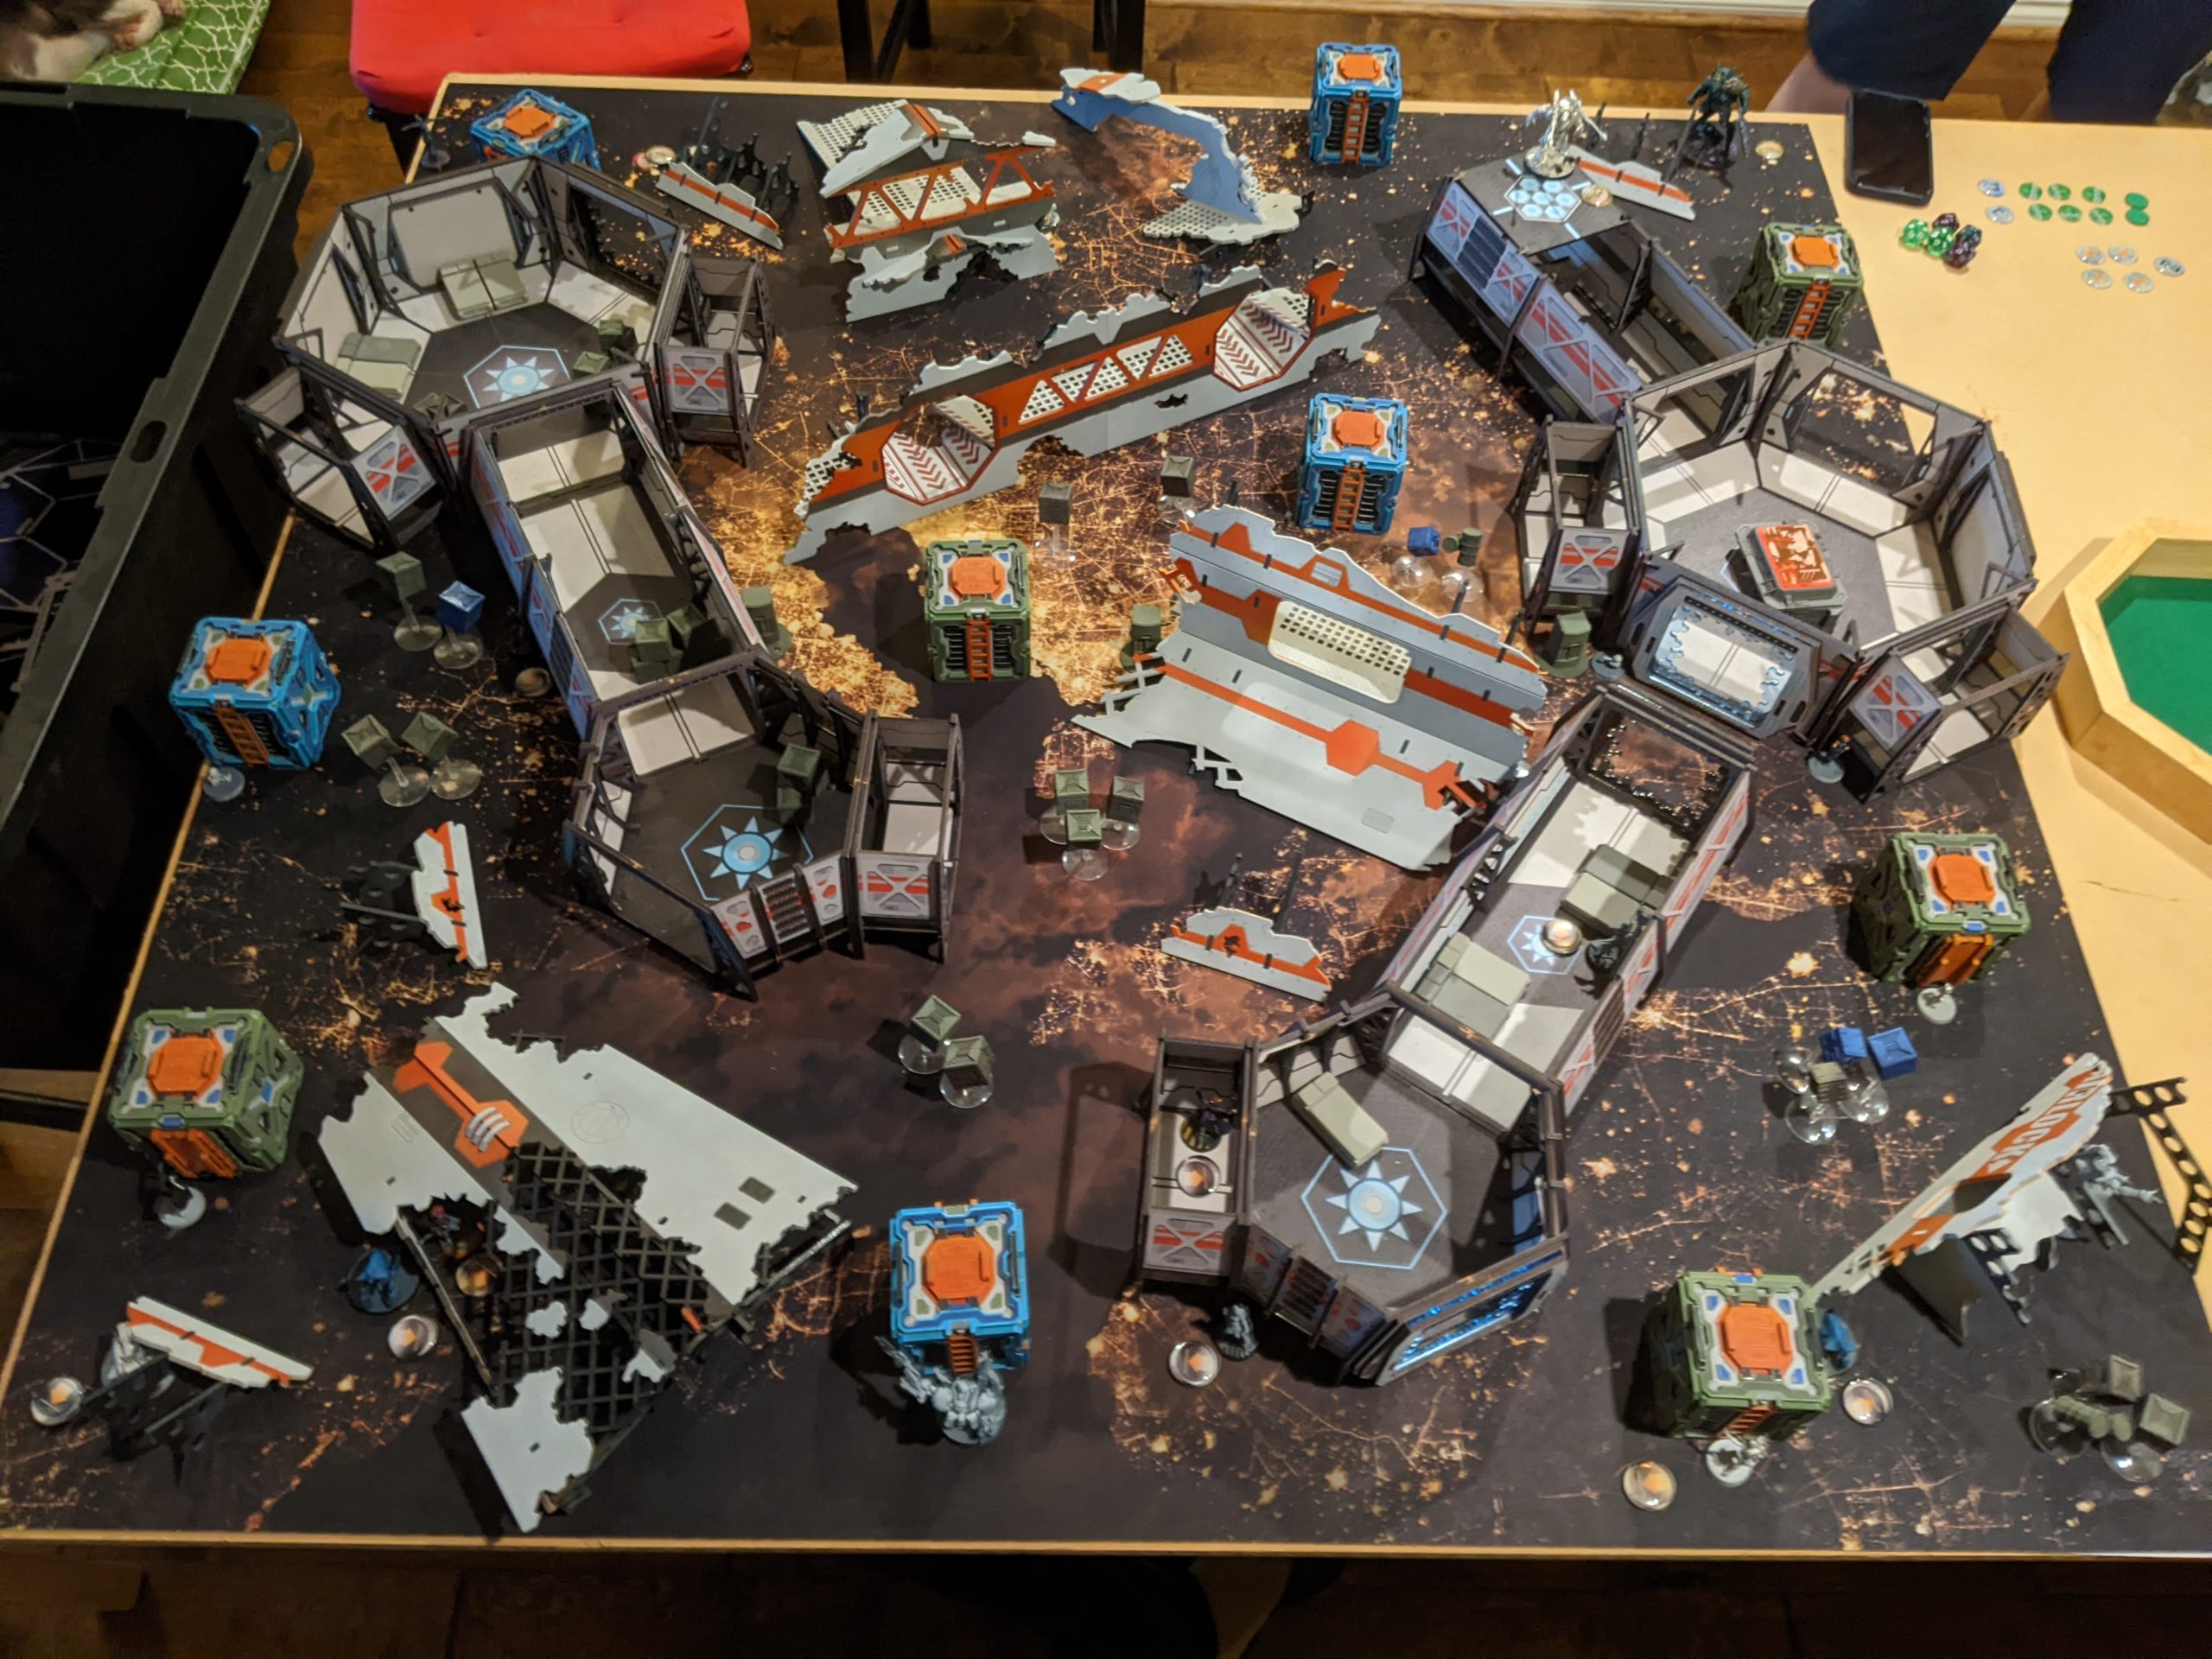
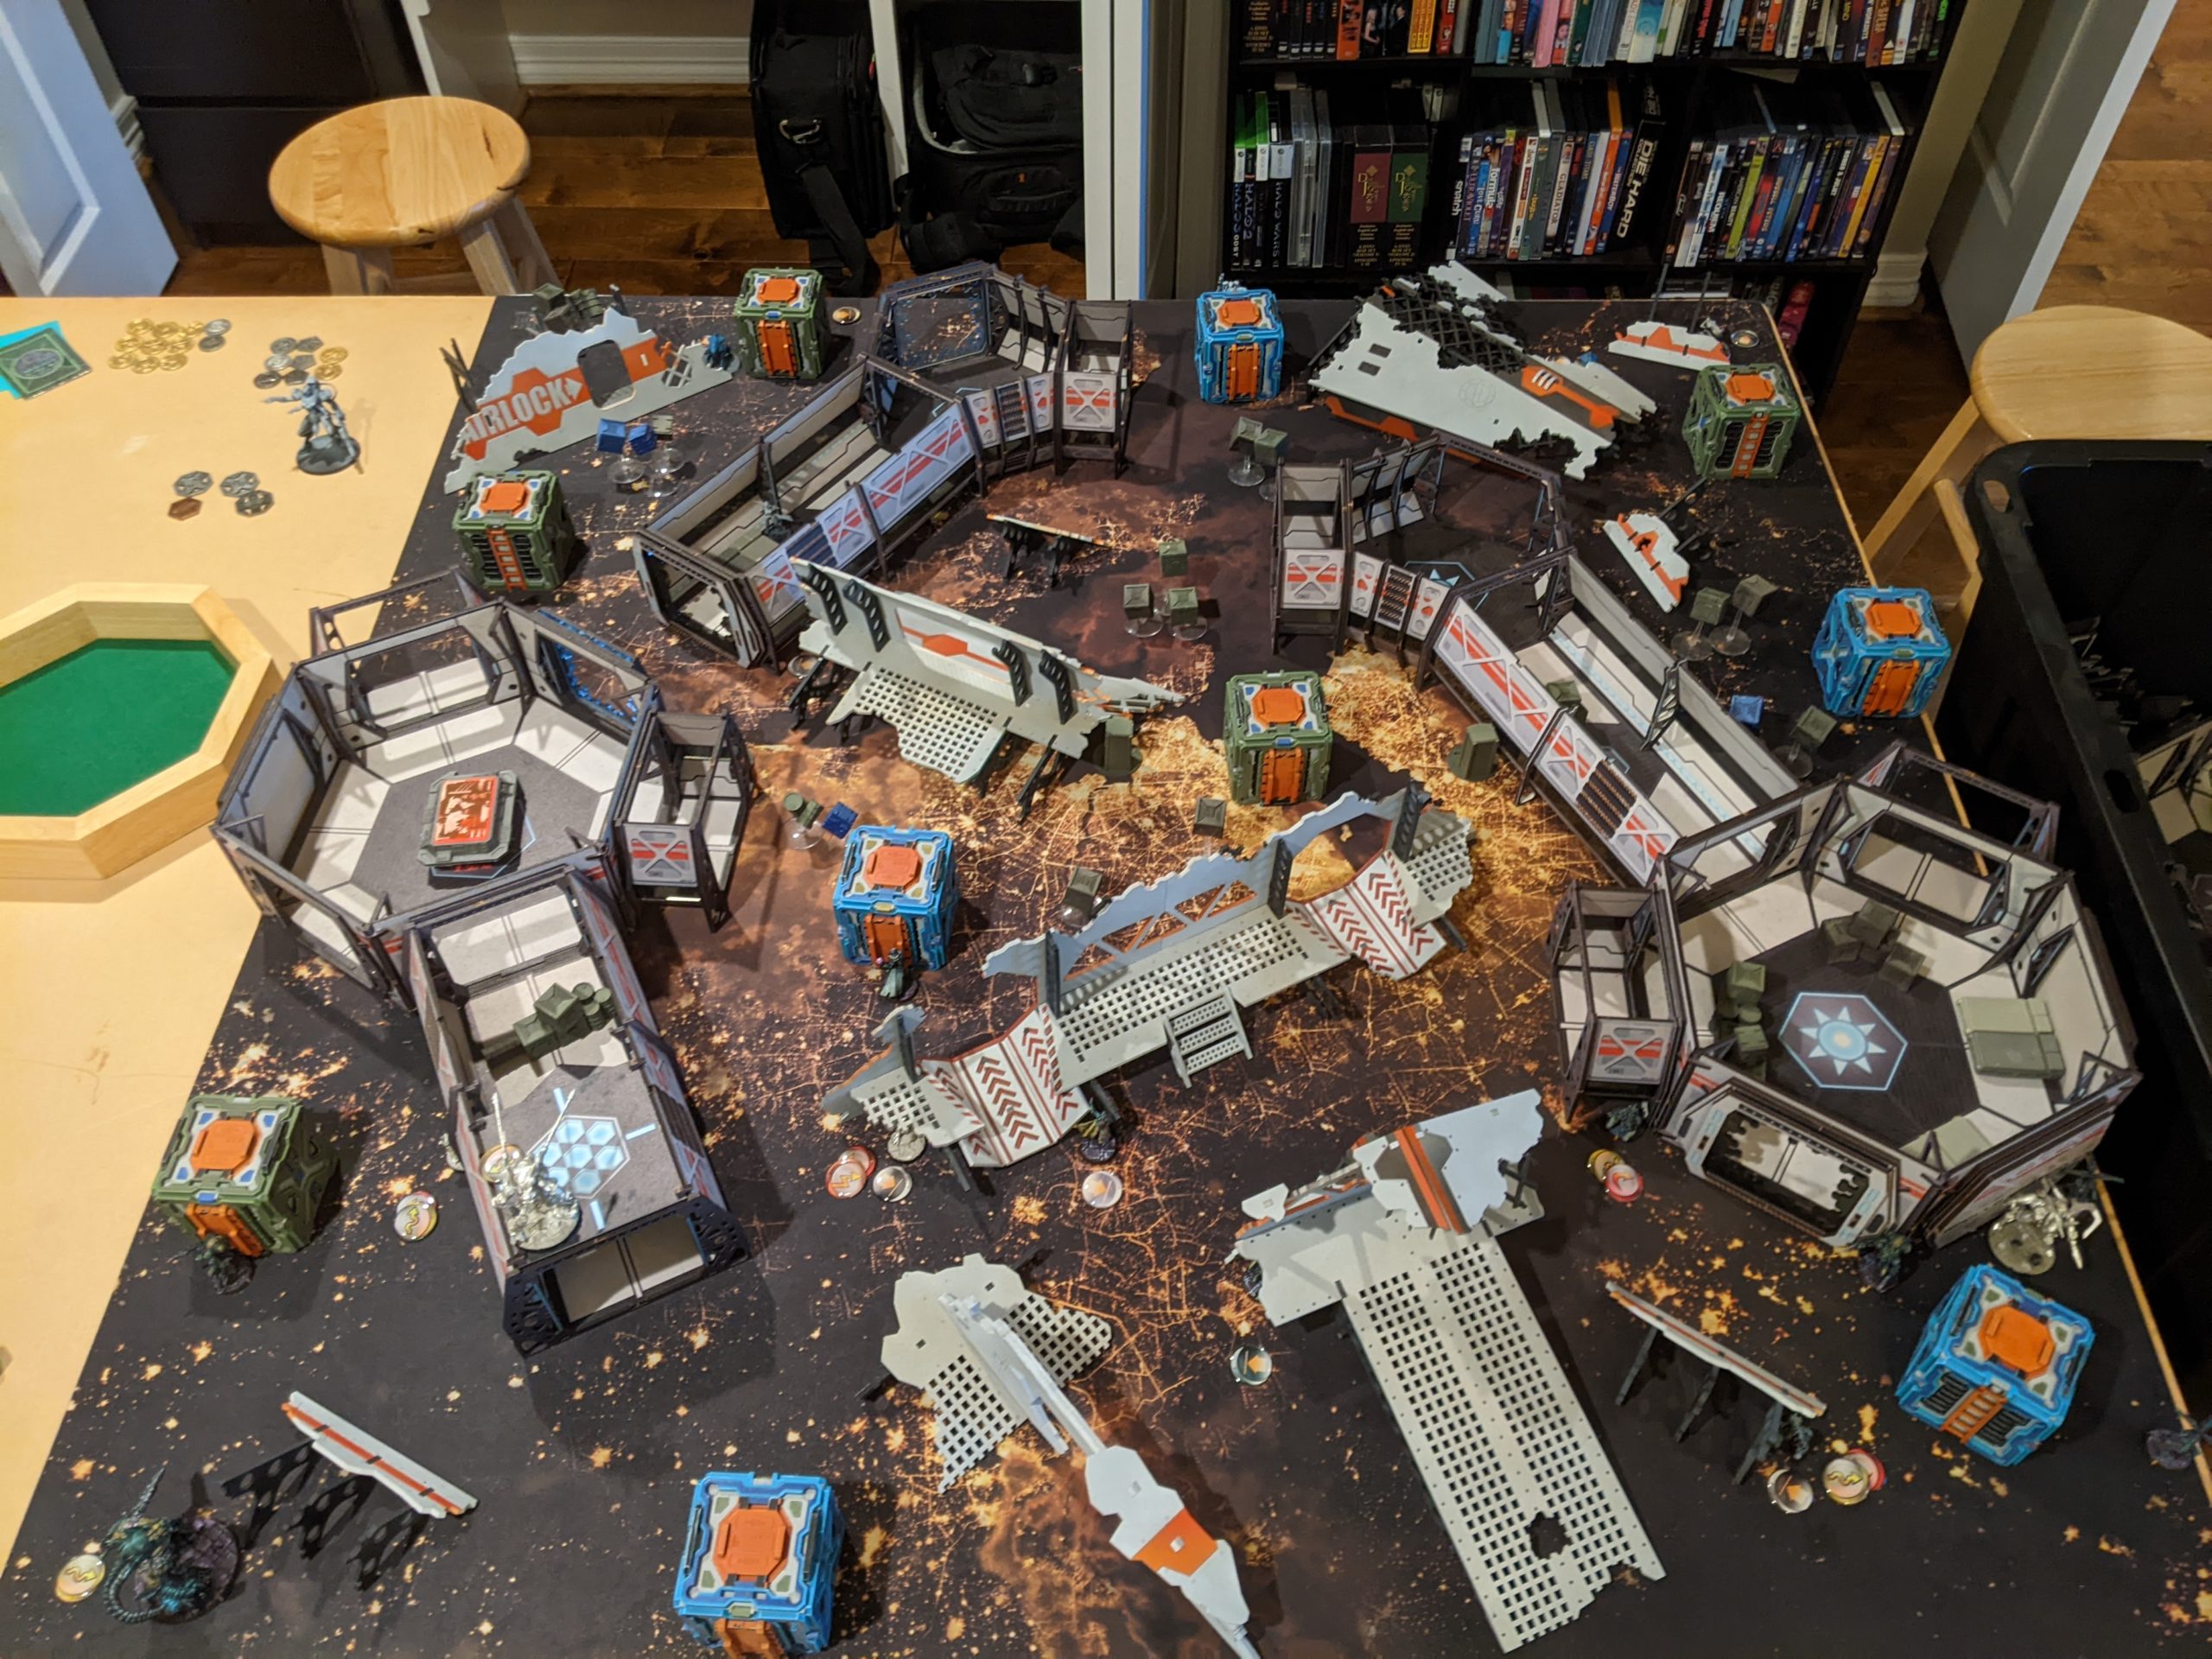
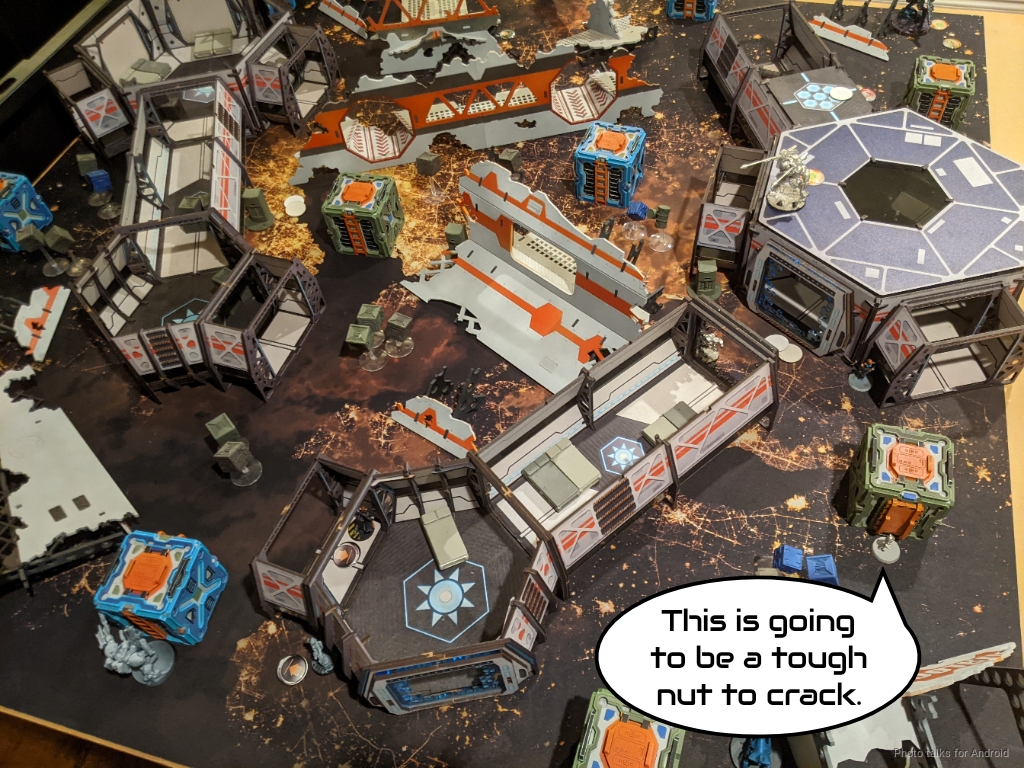
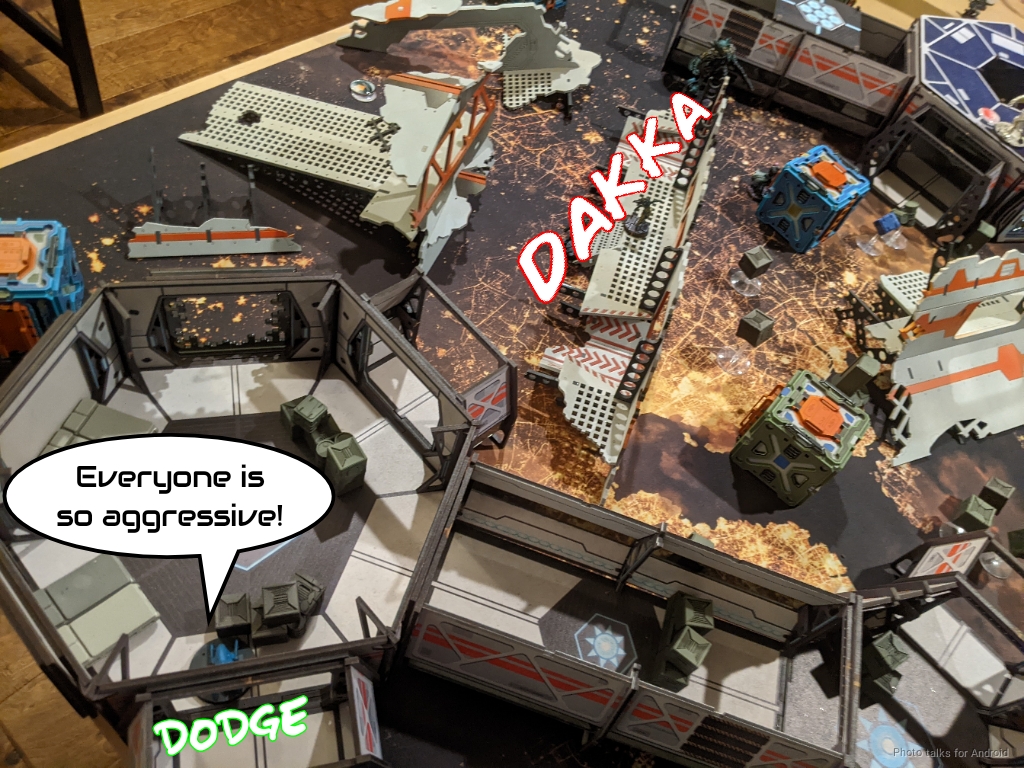
Erik (Zelaponeepus) and I have been discussing my recent success running multi-TAG Combined lists. Triple TAG plus 4 Taigha is very strong, and we wanted to see if a generalist list could take it on. It’s not a very fair test, since I know it’s coming and I’m very familiar with the capabilities of the list. Still, biased data (when you’re aware of the bias) is helpful. We broke out the space station table since it sets up pretty well and has enough tall things to hide TAGs.
Overview
- Mission: ITS13 Supplies
- Forces: Nomads versus Combined Army (300)
- Deploy First: Combined Army
- First Turn: Combined Army
I made the following Nomad double-TAG list. The Gator was something I’ve been meaning to try, and I already know the Gecko is very good and reliable. I decided that I would go in on the missile bot plan, which meant Morans, the missile bot, and hackers. Now that Zoe can be taken without Pi Well, she makes for a pretty decent option, especially with Jazz hanging out in the same list.
Supplies
GROUP 1
10
2
GROUP 2
GATOR (NCO) MULTI Heavy Machine Gun, Chain Rifle(+1B), Mine Dispenser / E/M CC Weapon. (1.5 | 76)
GATOR PILOT Boarding Shotgun / Heavy Pistol, CC Weapon. (0 | 0)
GECKO MULTI Marksman Rifle(+1B), Chain Rifle, Panzerfaust / CC Weapon. (1 | 56)
GECKO PILOT Combi Rifle / Assault Pistol(+1B), CC Weapon. (0 | 0)
JAZZ Hacker & BILLIE undefined / undefined. (0.5 | 25)
BILLIE Flash Pulse, E/M Mines / Pistol, PARA CC Weapon(-3). (0 | 7)
ZOE FTO-2 (Hacker) Boarding Shotgun, D-Charges / Pistol, PARA CC Weapon(-3). (0.5 | 25)
TRANSDUCTOR ZOND Flash Pulse / PARA CC Weapon(-3). (0 | 7)
MORAN (Repeater) Boarding Shotgun, Flash Pulse, Crazykoala ( ) / Pistol, CC Weapon. (0.5 | 17)
TOMCAT (Engineer) MULTI Rifle, Light Shotgun, D-Charges ( | GizmoKit) / Pistol, CC Weapon. (0 | 26)
3
MODERATOR (Lieutenant) Combi Rifle / Pistol, PARA CC Weapon(-6). (0 | 9)
VERTIGO ZOND Missile Launcher / PARA CC Weapon(-3). (1.5 | 17)
MORLOCK Chain Rifle, Smoke Grenades / Pistol, E/M CC Weapon. (0 | 6)
6 SWC | 300 Points | Open in Infinity Army
My one major bit of metagaming here was taking the E/M CCW version of all the Morlocks instead of the Assault Pistol version. I also took a spare engineer in the Tomcat MULTI Rifle. What a great profile, and a good secondary specialist and a way to support my TAGs.
We’ve already seen the 3-TAG Avatar list in action. I’ll let the initial batrep do the talking:
Firefight
GROUP 1GROUP 2
AVATAR (Lieutenant [+1 Order, +1 Command Token]) MULTI Heavy Machine Gun, Sepsitor Plus / DA CC Weapon. (3 | 126)
STALDRON Flash Pulse / PARA CC Weapon(-6). (0 | 0)
OVERDRON Heavy Rocket Launcher(+1B), Submachine Gun / Shock CC Weapon. (1.5 | 51)
STALDRON Flash Pulse / CC Weapon. (0 | 0)
XEODRON K1 Marksman Rifle, Blitzen / Heavy Pistol, Shock CC Weapon. (0 | 53)
STALDRON Flash Pulse / CC Weapon. (0 | 0)
IKADRON (Baggage, Repeater) Light Flamethrower(+1B), Flash Pulse / Pistol, PARA CC Weapon(-3). (0 | 9)
ÍMETRON . (0 | 6)
Bit (Hacker [UPGRADE: Oblivion, UPGRADE: Trinity]) Submachine Gun, Pitcher ( | Deployable Repeater) / Pistol, CC Weapon. (0.5 | 20)
TAIGHA Chain-colt / AP + Shock CC Weapon. (0 | 5)
5 SWC | 300 Points Open in Infinity Army
Deployment
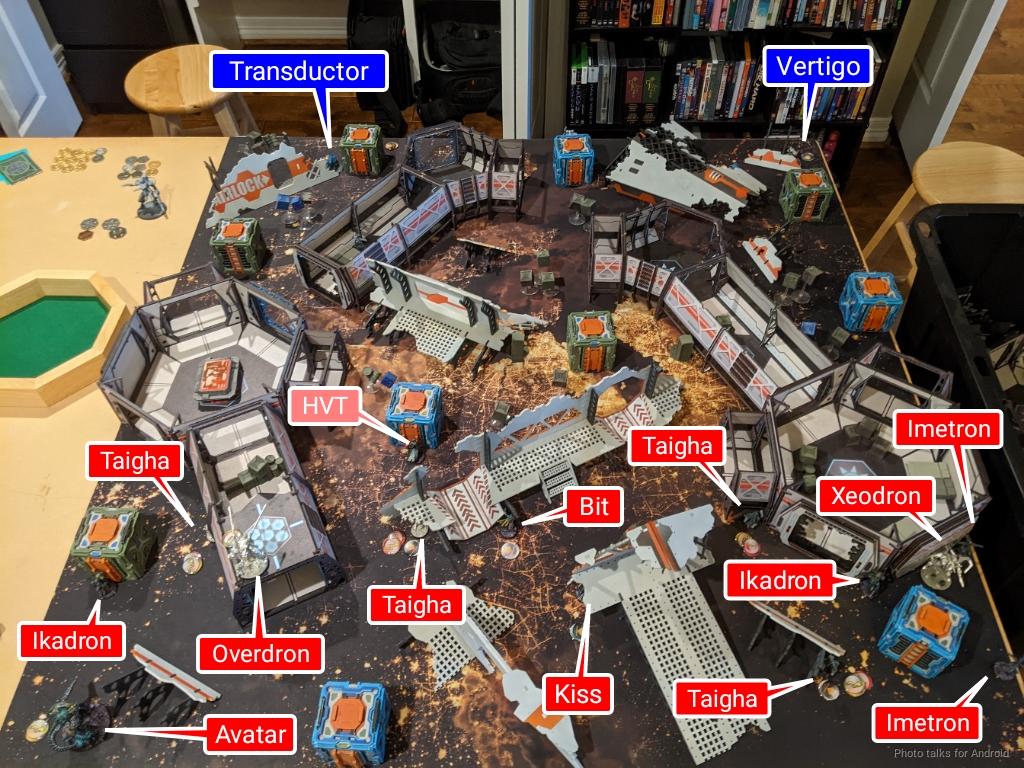
I lost the rolloff against the Avatar and Erik decided to take first turn. I chose table side. Erik’s deployment is pretty easy to discuss. Avatar on the left, Taigha spread out across the deployment zone, and Ikadron on both flanks. One Imetron passed its Combat Jump, one failed, and they ended up on the right.
I had an absolutely miserable time trying to deploy. I know what’s coming, and I have to contest the Taigha or I’m in real trouble. Unfortunately, if I leave anything out, it will just get deleted. The 3 TAG list is incredibly order efficient at killing stuff, but you still have to move around to see things to shoot. I’m hoping that I can drain orders by forcing movement as opposed to trying to force multiple face to face rolls. What I really want to prevent is a 1:1 ratio of order expenditure to shooting, like basically happened in my game against James.
One thing I have going for me is that I know where the Avatar is. It’ll actually be reasonably order intensive for it to advance into the midfield, so I probably won’t have to deal with more than 1-2 orders worth of BS 15 shooting. I will have to deal with the Overdron though, and probably the Xeodron if it decides to make a push on turn 1. Those are both BS13, and I can leverage Mimetism -3 to help me against them a little, I’m hoping.
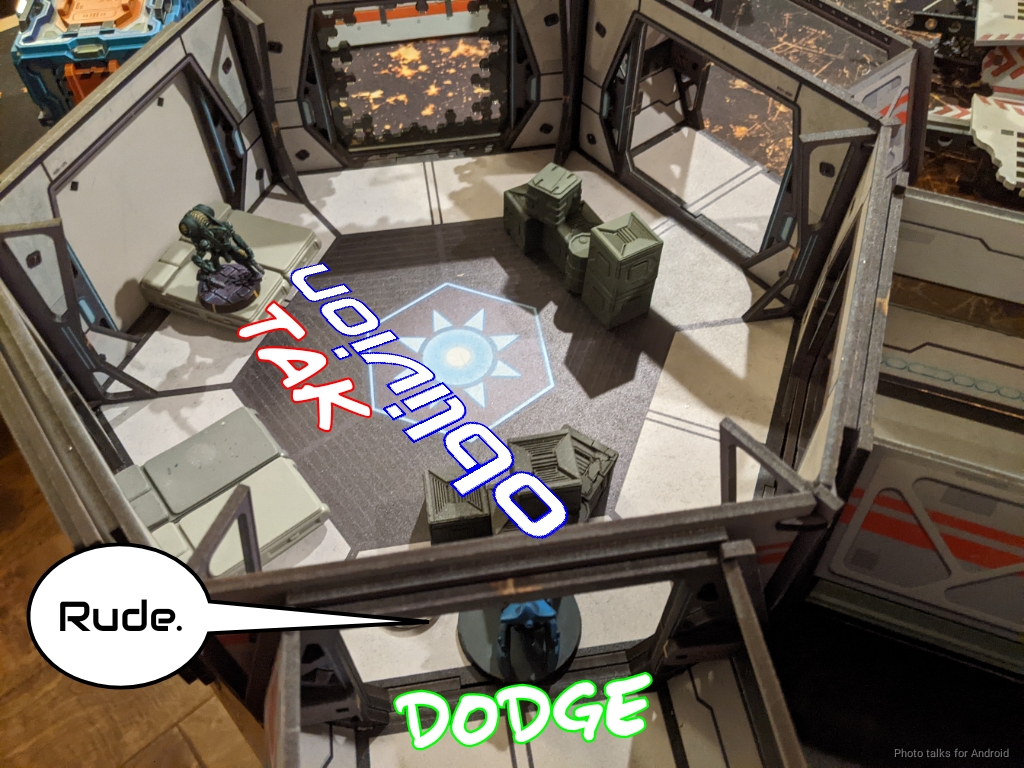
I use the Transductors to cover the doors into the large space station rooms to protect me against Taigha, fully understanding that I’ll probably lose them. Both are shootable by TAGs, but you have to go somewhere annoying to see them. I hide pretty much everything else, especially my Gecko, Moderator Lt, and the Vertigo Zond.
I know there’s no AD troop coming, so I don’t need to cover all the board edges, but I cover the left table edge with the Vertigo to avoid a Taigha run by. The Morlocks hang out in mostly in the middle, with one all the way on the left. The one on the left got +6 BTS, the middle one got +1 ARM & Bioimmunity, and the last one on the right has Climbing+ and 6-4 movement. Not too shabby.
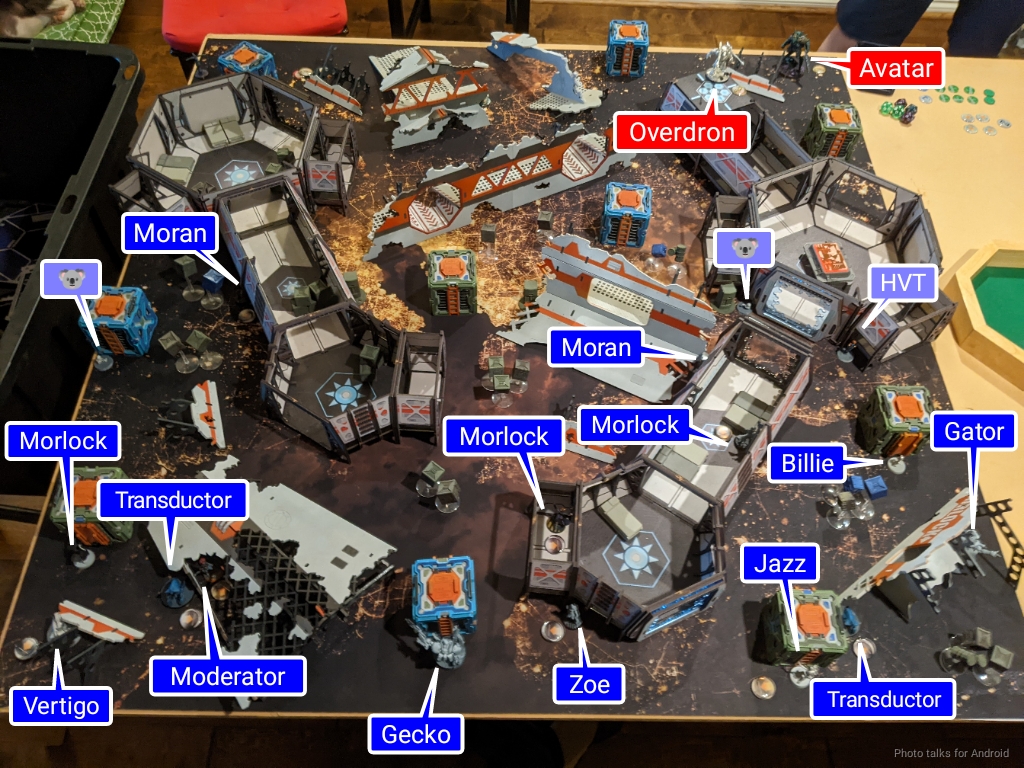
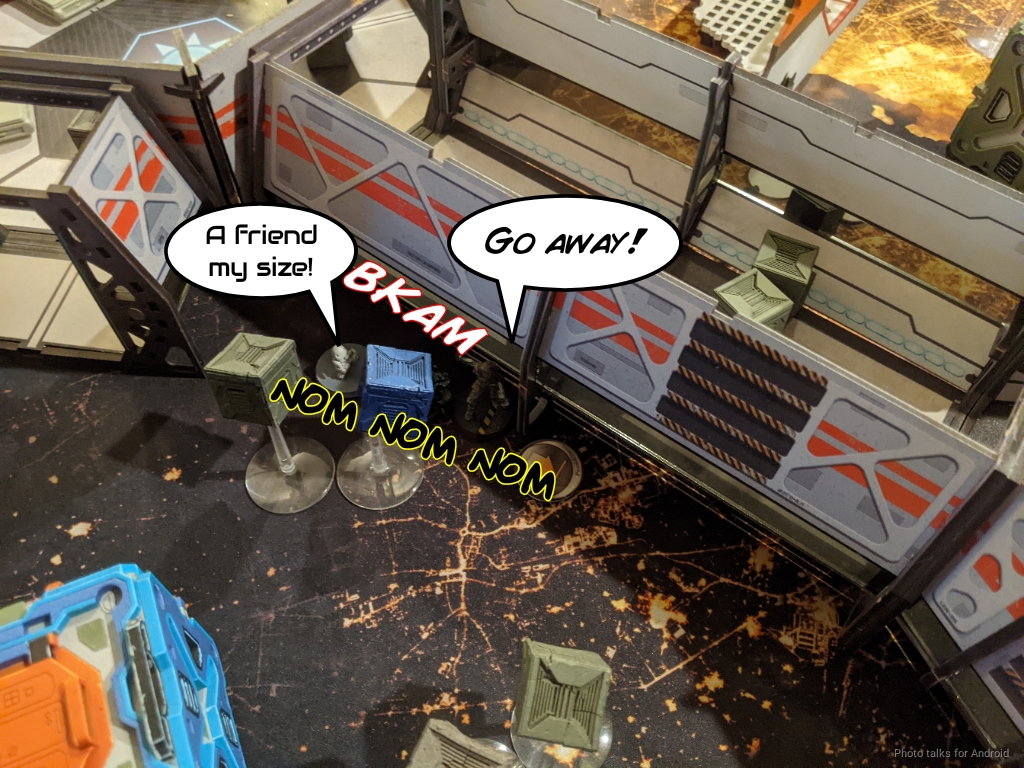
I had some trouble hiding the Morans–you have to deploy them forward to make use of the Repeater and Koalas, but I also don’t want to just let them die to Taigha or TAGs immediately. I try to cut the difference and try to hide them from most angles of fire while also letting them try and make use of their repeaters.
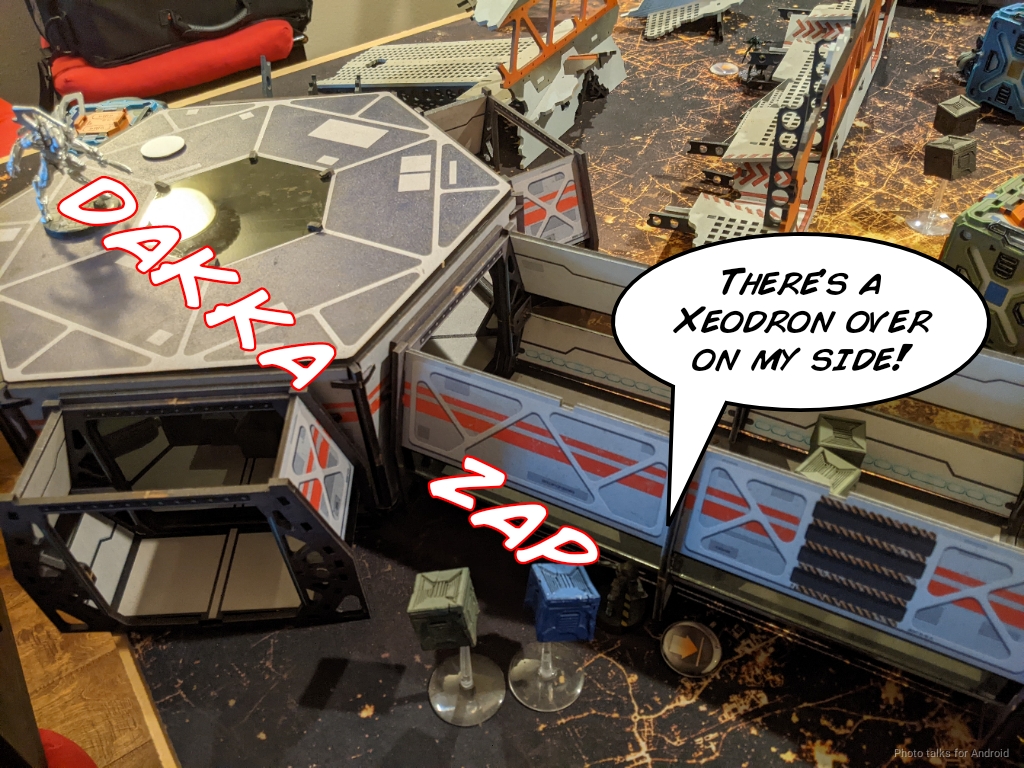
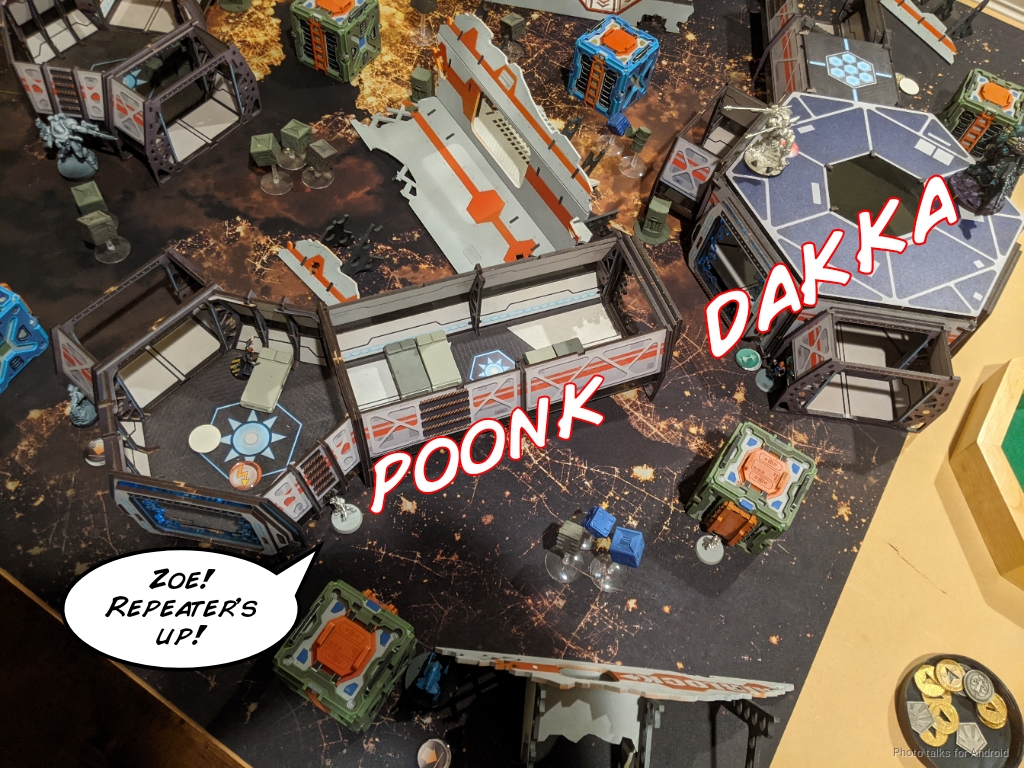
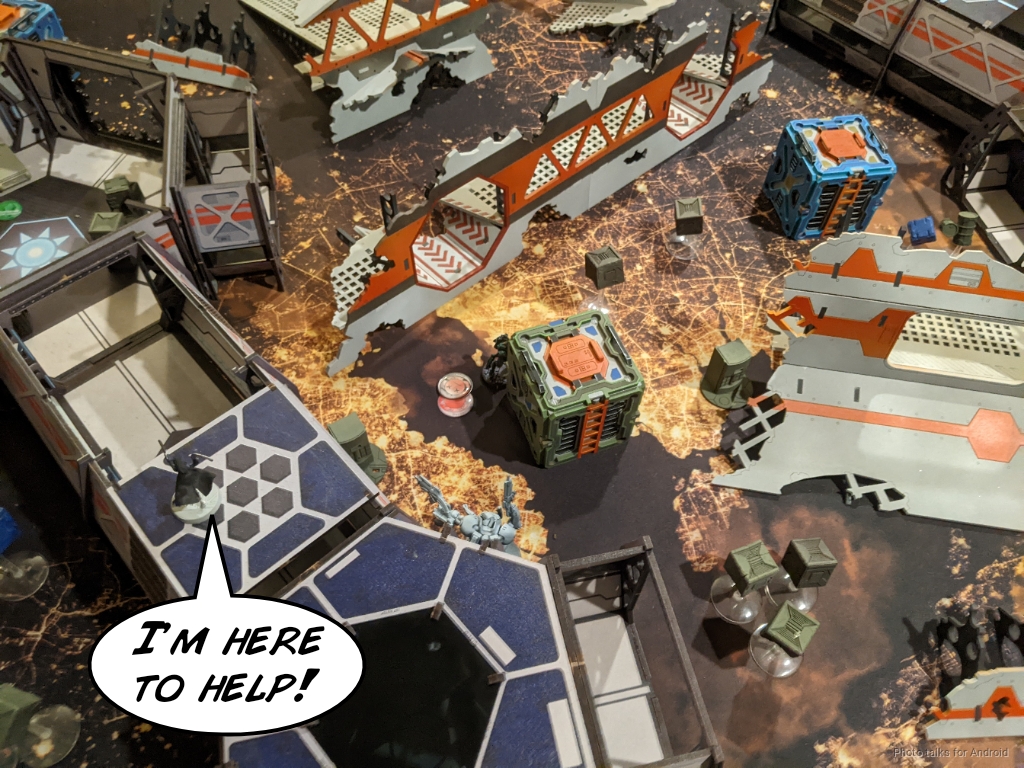
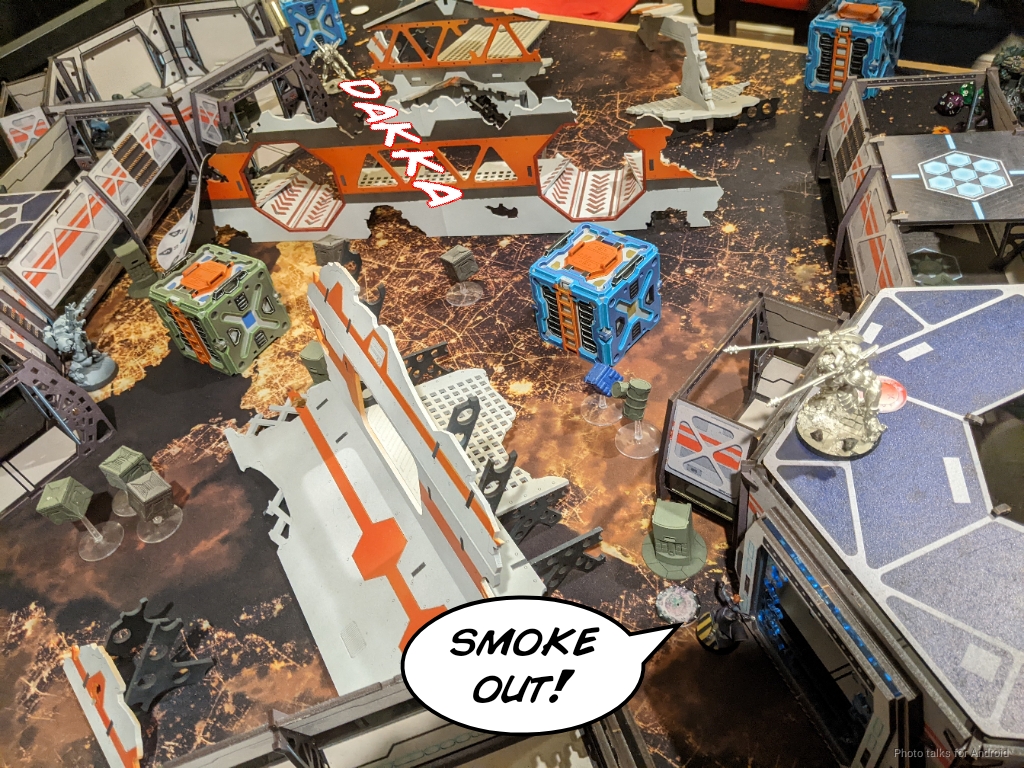
I definitely hide the two hackers, and then Erik puts down the Xeodron behind a building on my left near his Imetrons and the Overdron on the roof. I’ll admit I didn’t see that one coming, but it’s a good play especially because it’s a TAG and doesn’t super care about AROs coming back. I put the Gator behind the airlock wreckage on my right.
Turn 1
Top of 1 – Combined Army
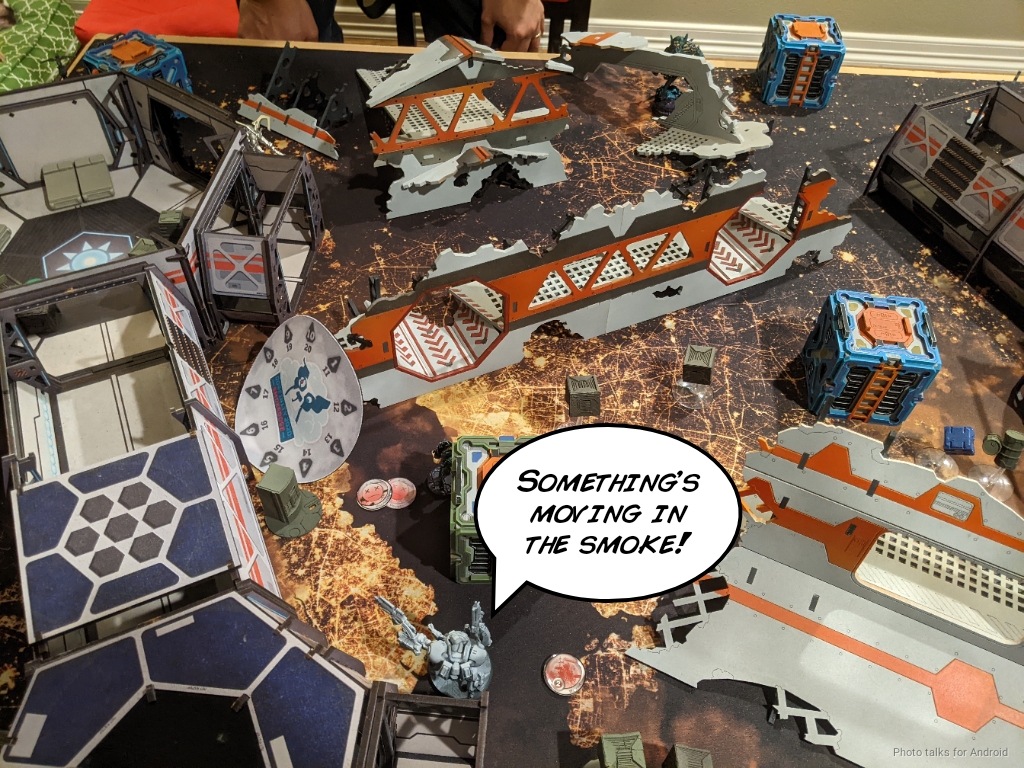
My objective for this turn is to just not die and try and retain as much of my order pool as possible. Whatever I can do to make that happen, I’ll do that. I start by docking two orders, then the Taigha being moving so I attempt to spotlight them.
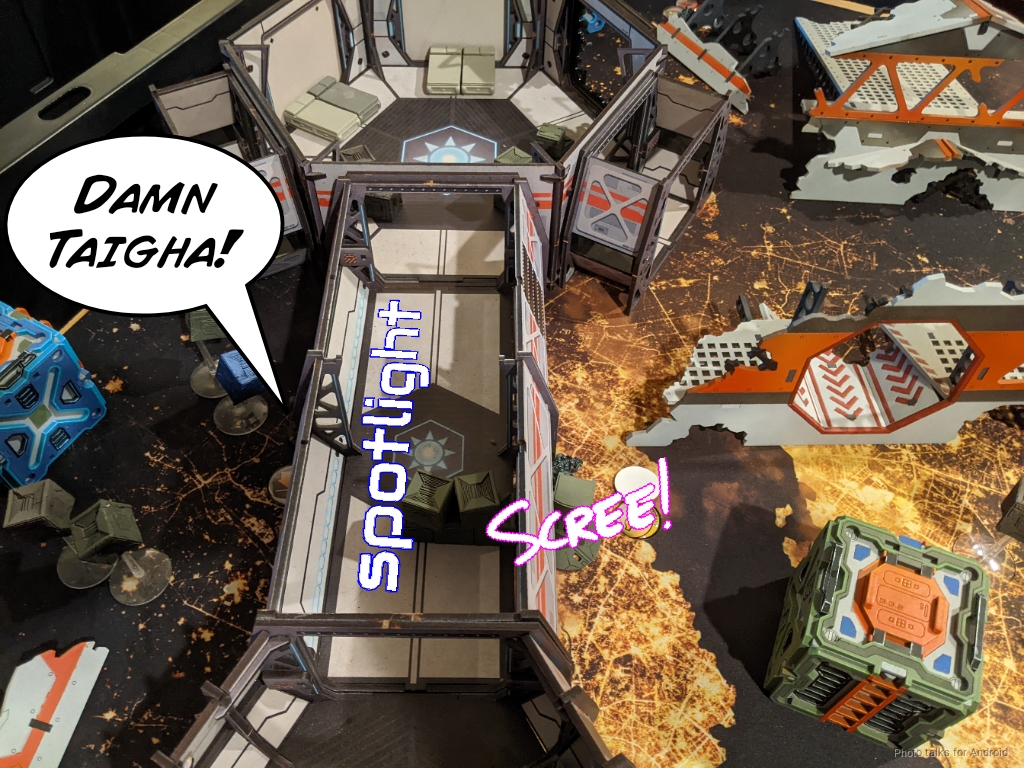
I get one Spotlight off, but Erik cancels a few impetuous orders because he wants to protect his DZ against drop troops. I think this is wise, but also is very good for me because it dramatically reduces the midfield problems for me as there will just be less Taigha in my face. The Overdron starts moving and immediately challenges my Moran on the right. I hadn’t accounted for something on the roof, which is funny because this is my table and I absolutely should plan for things like that. Just because I’m too scared to do it doesn’t mean other people won’t.
In any case, the Overdron challenges the Moran and I flash pulse. The odds are pretty even here in terms of order draining:
| 12.85 | 37.64 | 49.52 |
Erik’s got about a 50% chance of killing the Moran but I have a 50% chance of making him do it again. The rolls go my way, I land a flash pulse, and the Overdron passes both BTS saves. Not as great as stunning the Overdron, but hey, I’ll take an ineffective order.
Erik moves over to the other side of the table and attempts to take out my other Moran with the Xeodron. He super jumps up, meaning there’s an instant where he’s out of cover, so I hit him with a flash pulse again.
| 27.79 | 39.23 | 32.98 |
Even better odds for me here, with a 67% chance of “wasting” the order. The dice go my way this time and the Xeodron is flash pulsed.
Erik starts pushing harder with the Overdron and splits burst against the Moran and one of my flash pulse bots, who dodges. The odds drop about 10% for Erik here against the Moran, which isn’t great for him.
| 15.28 | 46.05 | 38.66 |
The Flash Pulse bot is reasonably safe, as we’re outside 32″ and he’s on burst 1:
| 47.00 | 35.61 | 17.39 |
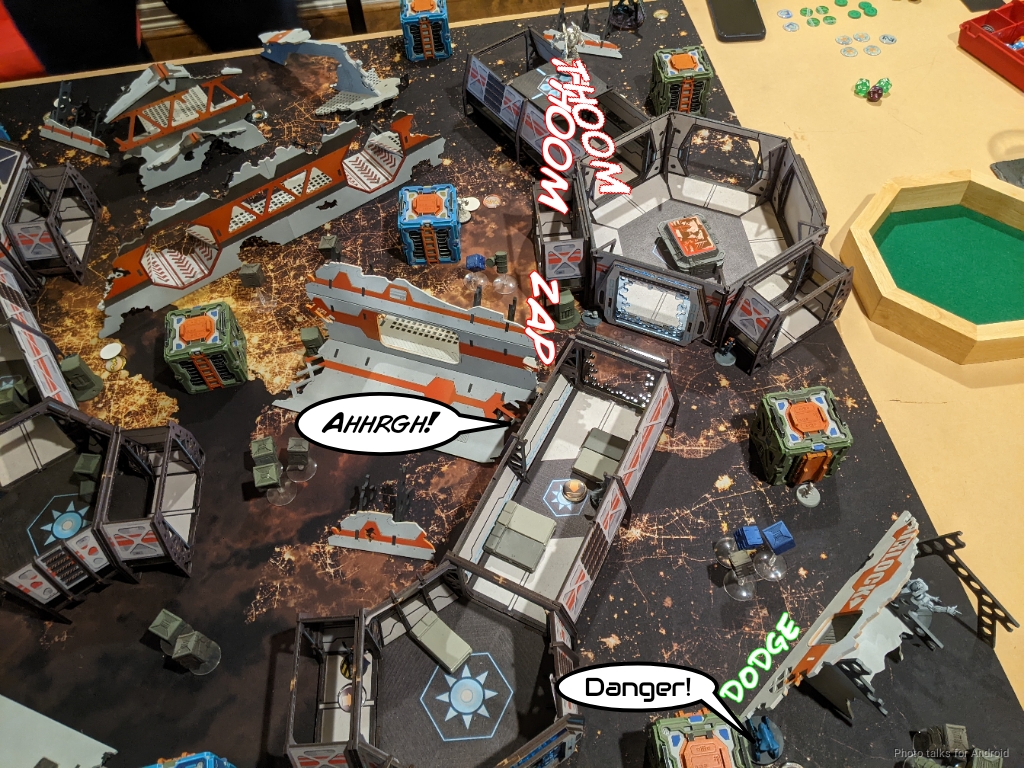
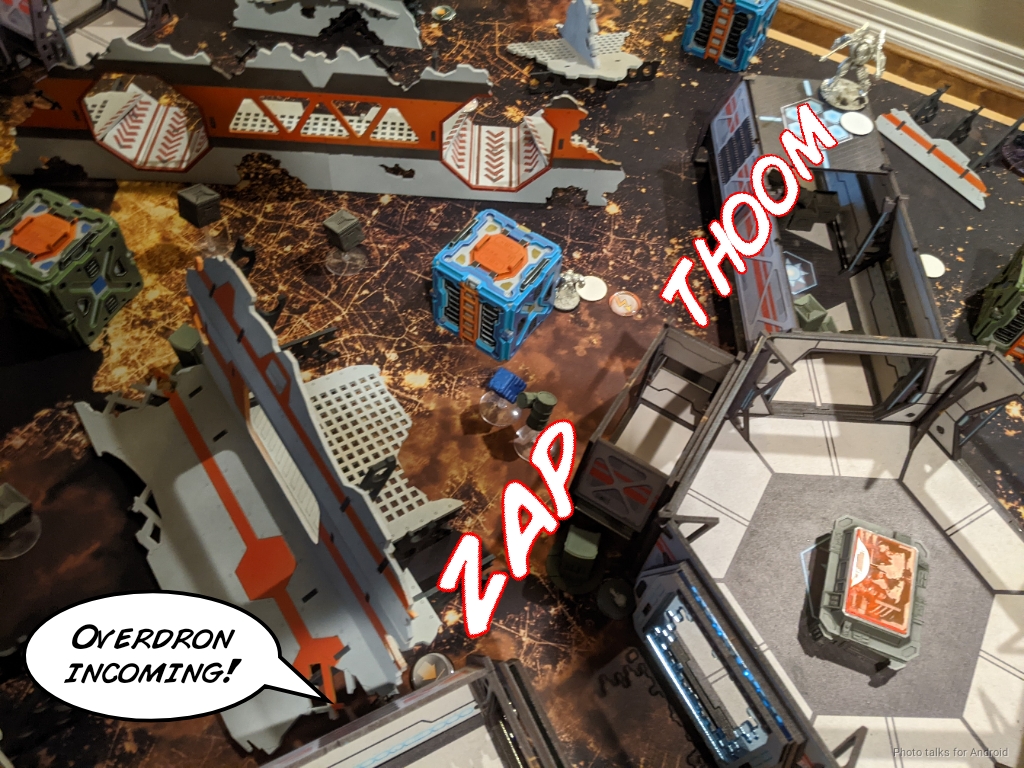
In any case, I lose the Moran and the ‘bot dodges to safety. Not great, but I’m doing a pretty good job of eating into his order pool. The Overdron keeps pushing and challenges my Morlock, who throws smoke but dies horribly. This also sets off a Koala, which unfortunately the Overdron tanks.
Erik does some staring at my Gator, and we eventually determine that he can see the back half of its silhouette if the Overdron walks far enough forward. This isn’t great, but I’m prepared to lose a a wound or two to drain a bunch more orders. Again, the odds are in my favor in terms of draining orders:
| 19.69 | 43.87 | 36.44 |
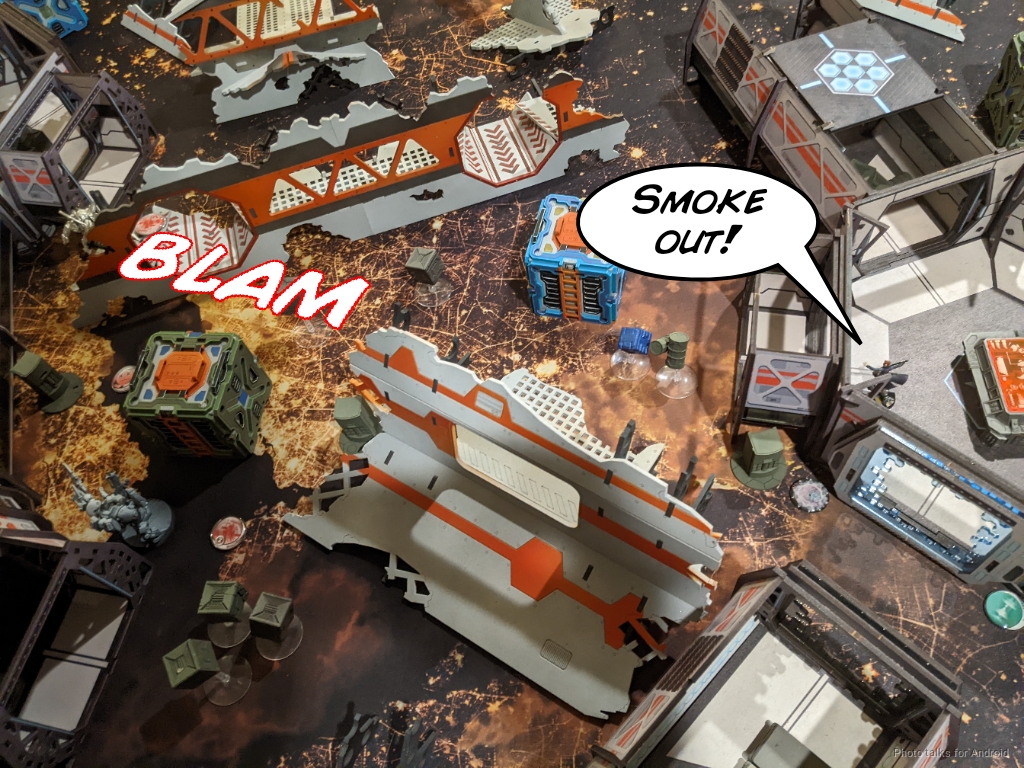
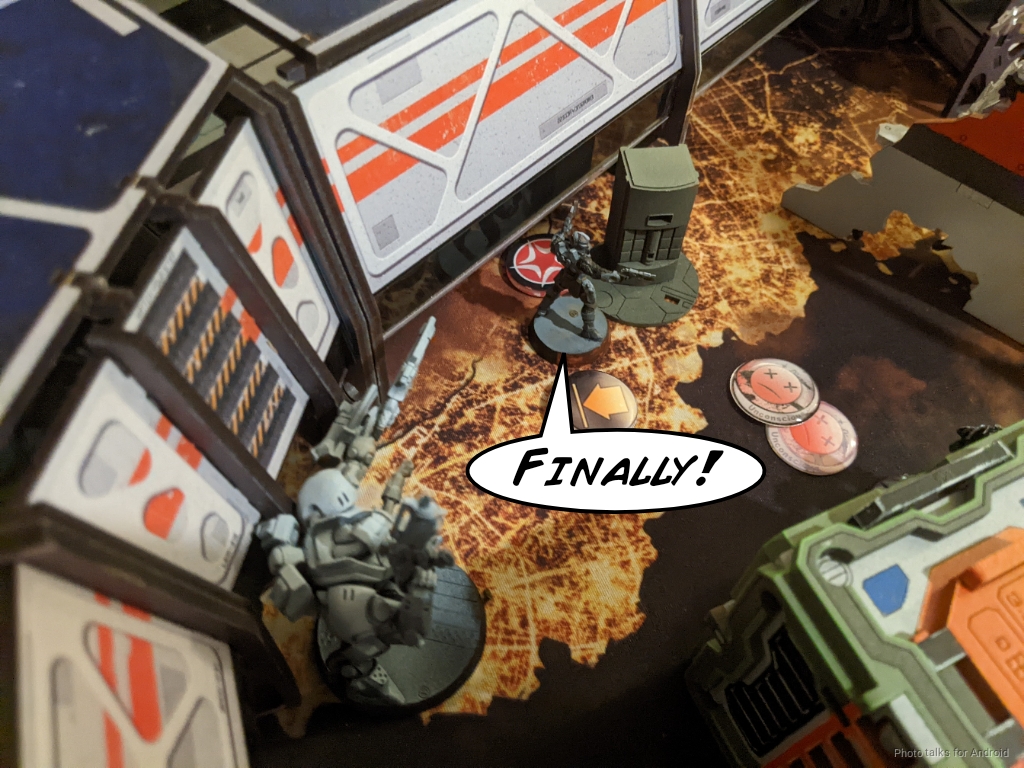
Still, there’s a 3.6% chance that I just straight up fail 4 ARM saves, which is exactly what happens. In one order, I remove the Gator from the table.

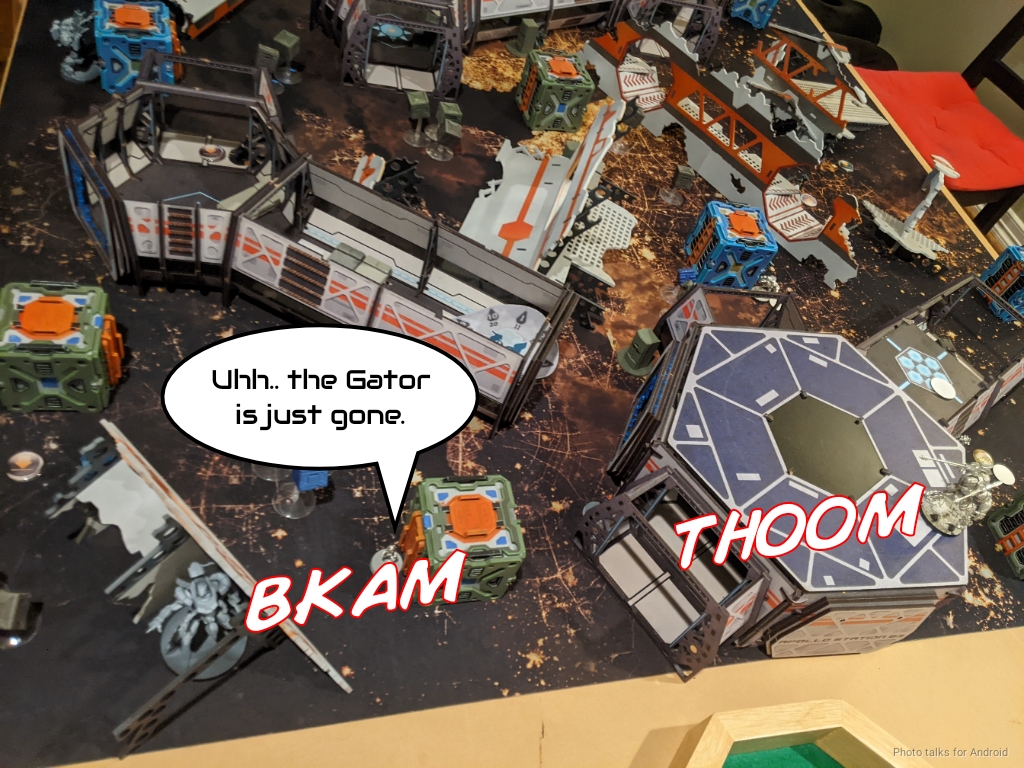
Well then. Erik somewhat sheepishly tells me “sorry not sorry” and keeps trying to punch me in the face. He’s been telling me he’s been having trouble being aggressive, so I’m quite proud of him for continuing the pressure!
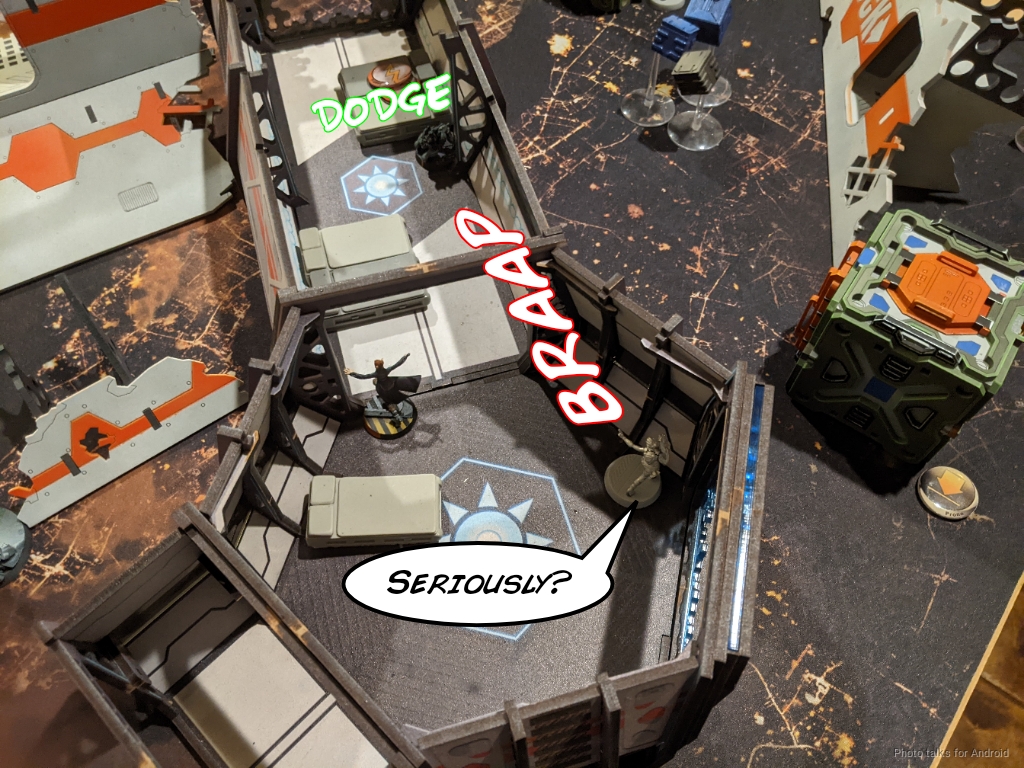
One of the Taigha gets closer to my Moran on the left. I attempt to dodge away, but fail, but a spotlight does land.
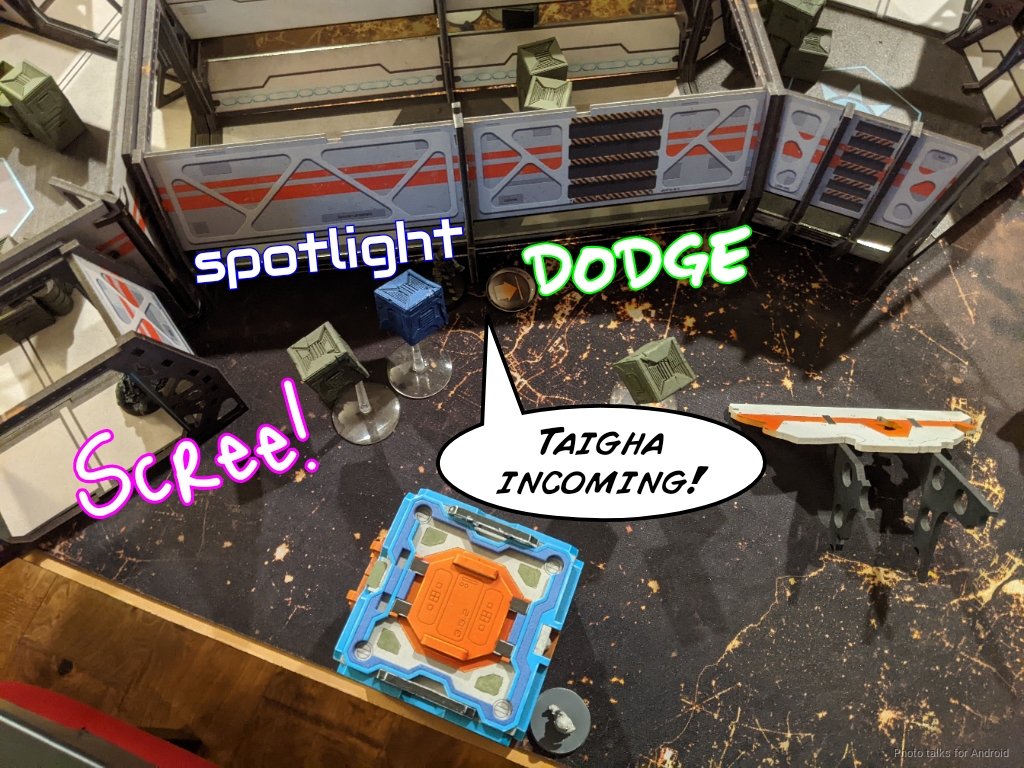
The Taigha can’t see the Moran to Beserk, but it is within 6″ so it just moves into combat and CC’s against my boarding shotgun while a Koala rushes in. Probably the wrong call, as the Koala gets a free hit. I lose the face to face and the Moran dies. The Taigha is flash pulsed and gets hit by a Koala and passes both saves against the flash pulse as well as the Koala hit. Well then. This is decidedly not good.
The Overdron, feeling smug, marches up to the edge of the building and does a victory mag dump into the air with its SMG as it goes into suppression. What a weird profile.
Bottom of 1 – Nomads
My primary gunfighter is just straight up gone. It’s time to go to work and make the magic happen. My objectives for the turn are:
- Neutralize the Overdron, however I can do that.
- Take care of as many Taigha as I can.
- Try to stall the Xeodron.
- Any order pool damage I can do to relieve some of the pressure would be good.
The Avatar is basically unassailable here, and any effort spent in going after it would be a massive overextension. I have to let it come to me and then I can try to pick at it, but right now there’s just too much in my face to go hunting. I move my two remaining Morlocks around, trying to take out some Taigha with 16″ pistol shots. It’s at this point I’m really regretting not having the assault pistol as both Taigha dodge successfully against my anemic shooting.
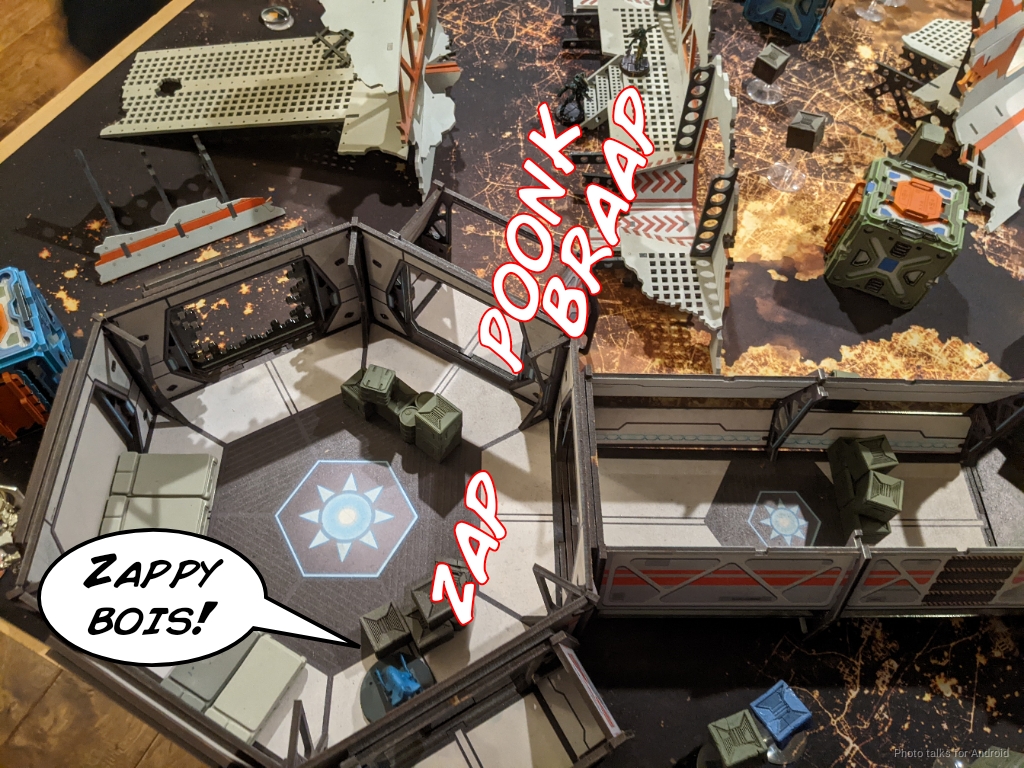
Now to deal with the Overdron. I could try to sneak a repeater onto it, or I could just kill it. It’s not Bioimmune, so I go for the kill. I force the Overdron to break suppression by shooting at it just outside 24″ with the Gecko. I don’t have a great chance of doing damage, but at least I broke suppression.
| 19.69 | 43.87 | 36.44 |
I really need this Overdron gone and I can’t afford to park there outside of 24″ and take shots, so I push hard, break cover, and move to the next bit of cover, which I know is within 24″. This puts me at 4 on 13’s versus 1 on 16.
| 45.71 | 39.91 | 14.49 |
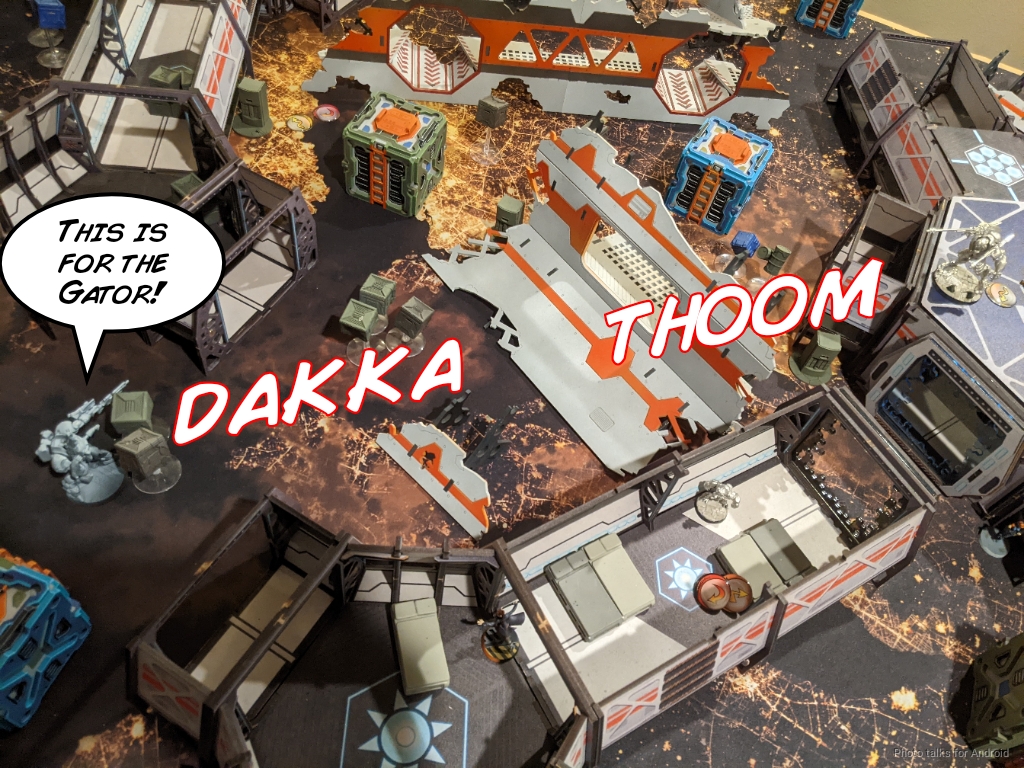
I have a 4.24% chance to ace the Overdron and do 3 wounds. It’s my turn to delete a TAG, so that’s exactly what happens.
While the Gecko was moving around, it was granting one of the Taigha a bunch of dodges, which Erik kept taking to move the Taigha forward. This brought it in range of my Morlock, who beat it down in close combat without too much difficulty.
I’ve got another Taigha to contend with, so I do a coordinated move to get Jazz in position, advance the Gecko, reset the Transductor’s position on the right, and race the Transductor on the left all the way forward. Jazz takes a shot on the Taigha from outside of 8″ but the Taigha crit dodges. Uh oh.
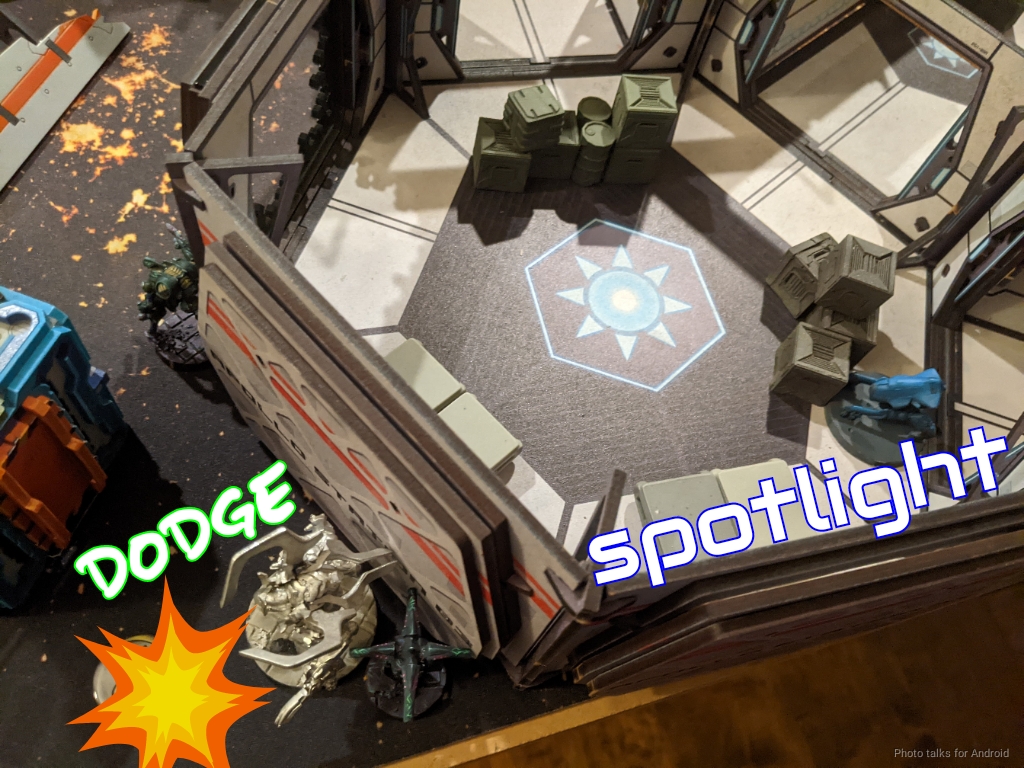
I dodge the Transductor into the room to ignore an ARO from Bit and Kiss, then spend two orders spotlighting a defenseless Imetron. Come on, Zoe, you’re supposed to be good at this! This lets me drop a missile on the Imetron and the Xeodron, obliterating the former and shockingly doing two wounds to the latter! I’ll take it!
The Gecko is in the open, basically, so I retreat it to cover, gunning down one more Taigha on the way.
My Morlock has one irregular order left. I try to take the Taigha out with a pistol, since I’m too far to get into CC, but I fail and it gets even closer. Sigh.
Turn 2
Top of 2 – Combined Army
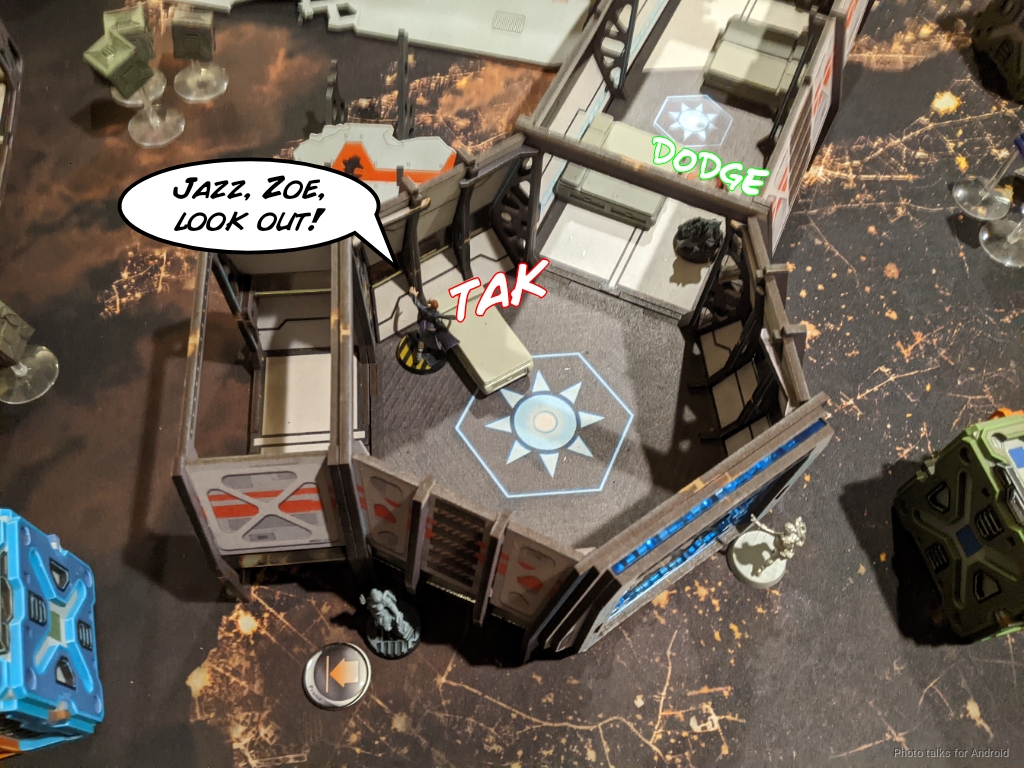
Erik starts things off by dodging the Taigha closer to Zoe and Jazz, who both dodge away. The Gecko and Morlock can see this, so they take shots and both hit, but the Taigha rolls insanely well and passes both ARM saves.

Jazz is sort of in the open now, so it’s time to bring the Avatar into play. After climbing up behind the Overdron it forces the Gecko back into cover. I decide to Panzerfaust out of spite, hoping for the crit, but this is a terrible idea:
| 3.66 | 5.36 | 90.98 |
A dodge is slightly better, but honestly I’d rather have the chance to put wounds on the Avatar.
| 5.32 | 7.52 | 87.16 |
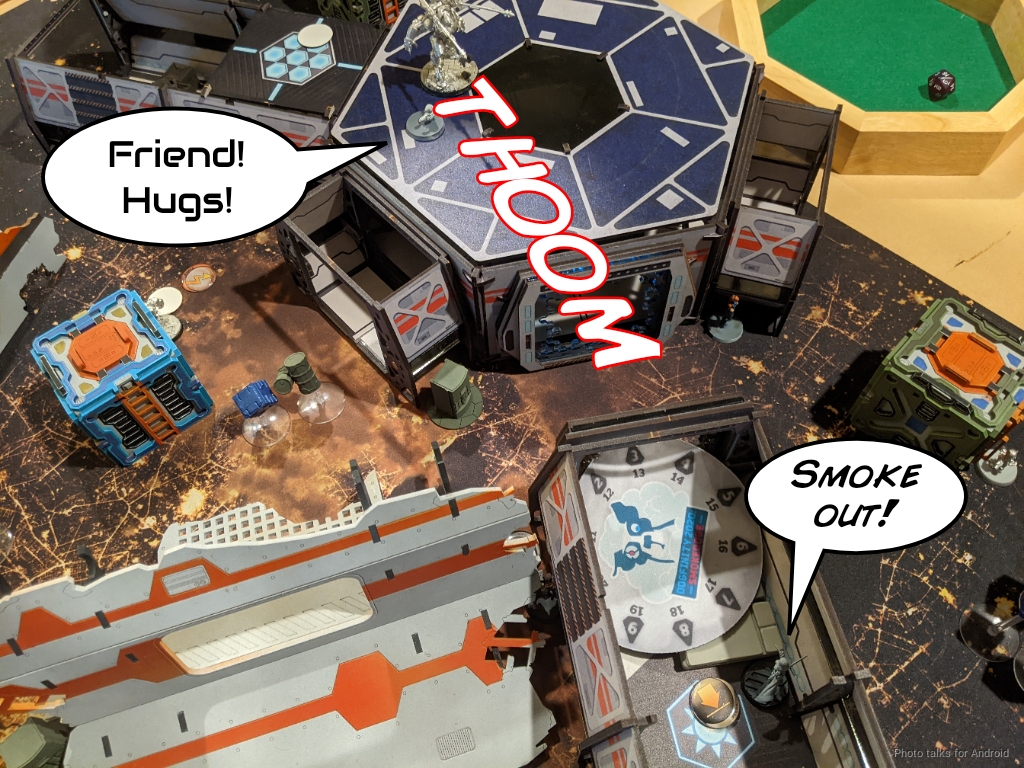
I’m just glad I survived with no wounds, so basically I did crit! The Avatar then blasts Jazz off the table, but not before I land a pitcher nearby. Unfortunately it’s a quarter inch out of repeater range of the Avatar, but it does give Erik a “keepout zone” against his advance.
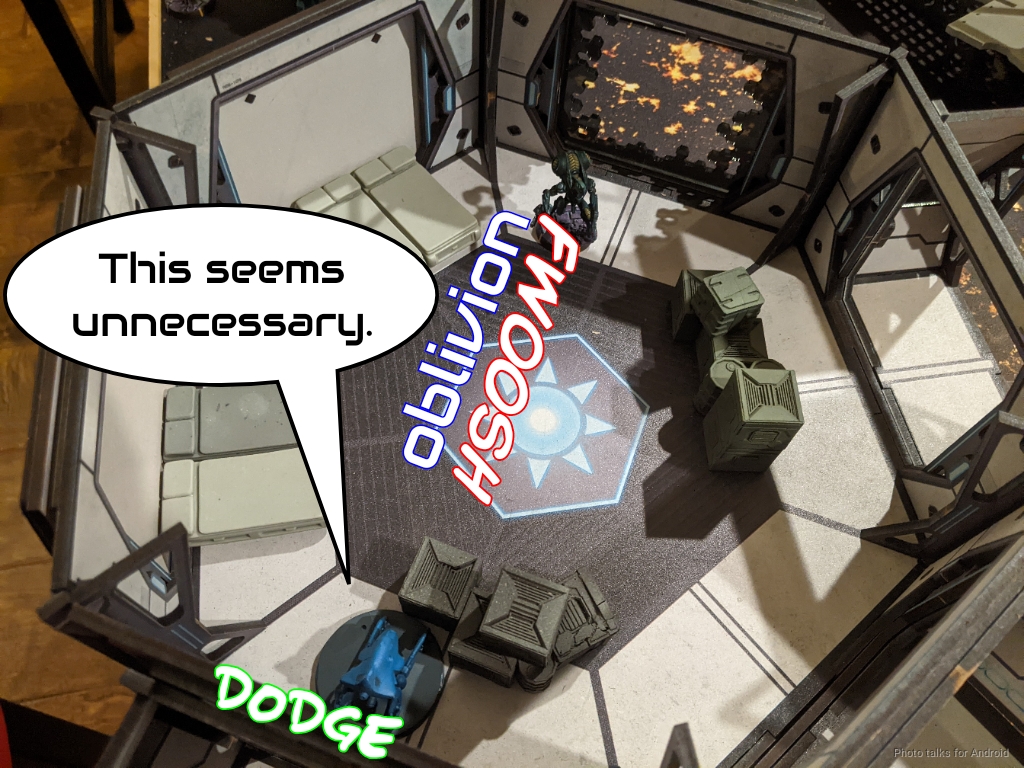
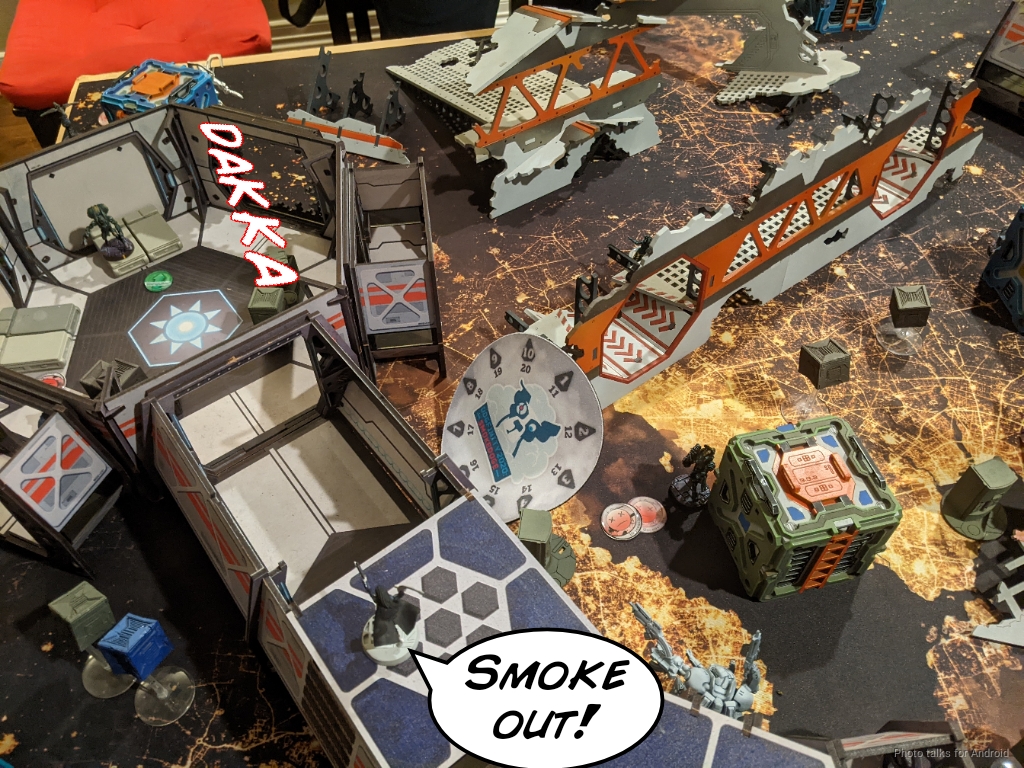
He wants to get the Xeodron back into play by removing the Transductor on the left, so he sends in his Ikadron, who double flamers. The Transductor dodges, and Zoe lands an Oblivion but BTS 6 is incredible and the Ikadron finishes its move out of LoF.
Bit and Kiss try to take on my flash pulse bot, but I successfully stun Bit, meaning she can’t make a move on the objective this turn. A-ma-zing!
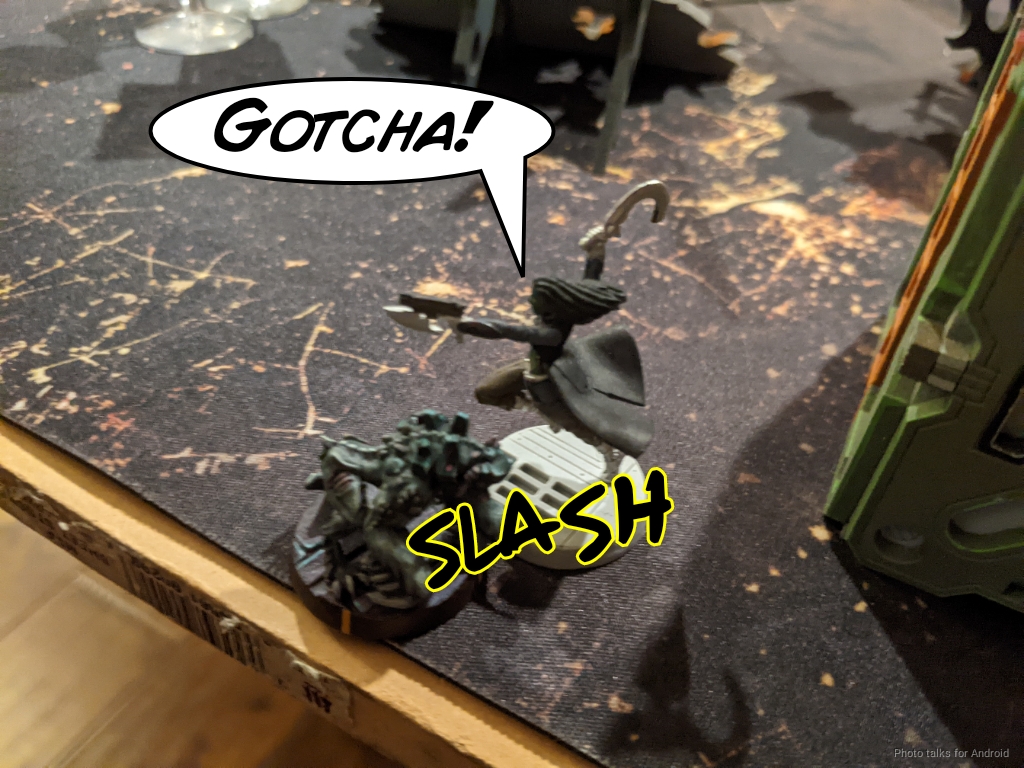
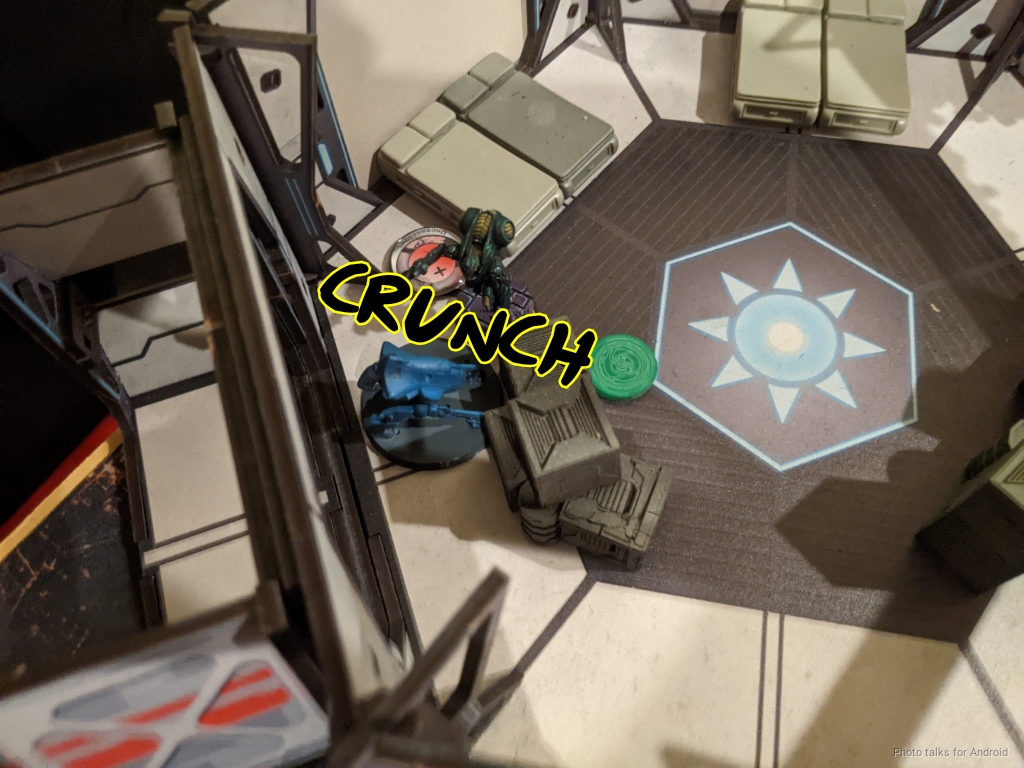
Erik just decides to go and kill Zoe, since if I have no more hackers the repeaters don’t matter. Thanks to Zoe’s earlier dodge, she’s just out of 6″ so the Taigha has to dodge into close combat and also avoid the fire from the Gecko and the Morlock. This time, however, both stick the damage and the Taigha is off the table.
With Zoe still alive, Erik still wants to take out that Transductor. The Avatar hops off the roof and takes the shot, but I just dodge prone successfully. Huzzah!
He tries one more time with the Ikadron, pistoling ineffectively against my dodge while Zoe finally Oblivions the Ikadron.
Finally the Xeodron risks itself to take out the Transductor and manages to knock it out. Zoe attempts to possess the Xeodron but it passes BTS.
The Avatar retreats, and Erik passes turn after moving Bit and Kiss up to threaten my Gecko.
Bottom of 2 – Nomads
Well, that was about as good as I could have hoped. I decide I can probably just go for a box now and then do cleanup with the Tomcat on Turn 3. Erik will probably be able to get one box, probably with Bit, and I can go assassinate her with something at the bottom of 3, and then we’re good. The Xeodron is actually pretty close to dead, and the Avatar can only be in one place at a time. I’m feeling pretty reasonable about the turn, I just need to go get a box.
My last remaining Morlock moves forward in the tunnels, then the Gecko goes to work. I easily down Kiss against his adhesive launcher shot.

Then I spend literally 4 orders failing to open the box.
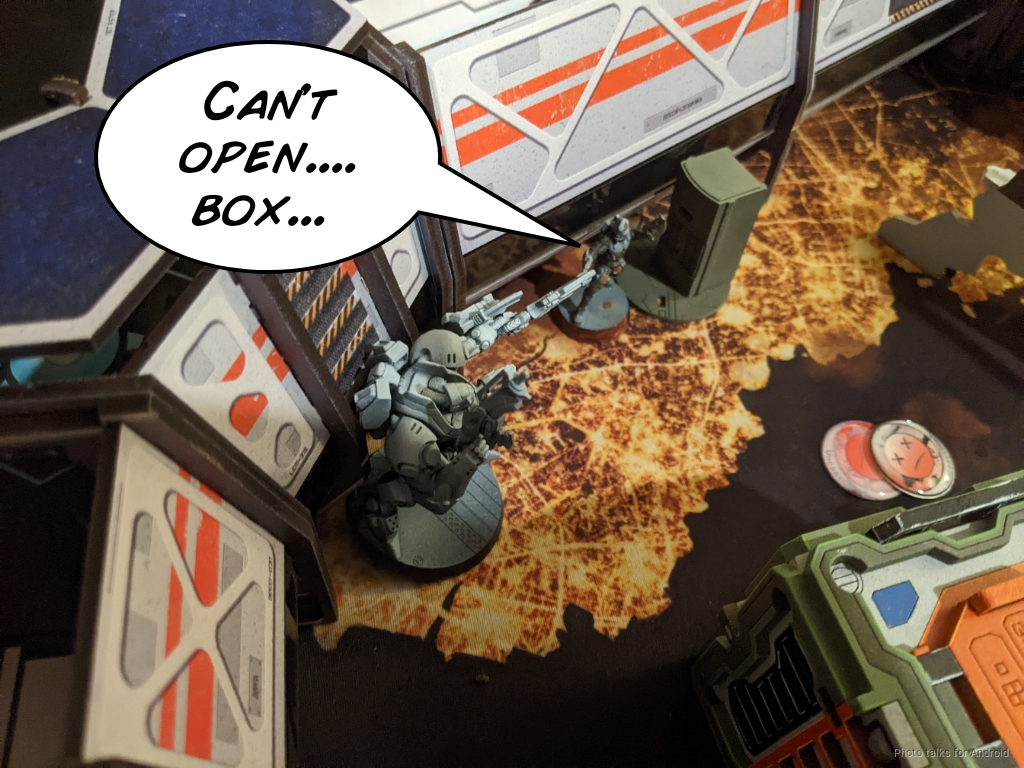
Absolutely disgusted, I get the pilot back in the TAG and move a Morlock onto the roof to assist.
I bring the Tomcat on, and pass turn.
Turn 3
Top of 3 – Combined Army
Erik immediately tries to kill the Morlock on the roof. I let him, and set up smoke for the Gecko. I’m a little worried about Bit doing some sort of hacking nonsense, so I don’t just dump the smoke on top of the Gecko, especially since I’m out of command tokens now, after having done some combat group shuffling.
Erik grabs In Extremis Recovery off of my Transductor with his Ikadron. Good use of that order.
Bit tries to make a play for the objective, now covered in smoke, but my Morlock drains another order by taking a shot from downtown with her pistol. Nothing happens, but I at least force a move-shoot.
The Xeodron tries to take out the Morlock, but I beat it with smoke.
It’s now Erik’s turn to fail to open the box for a few orders with Bit. As he retreats, he attempts Data Scan on the Transductor and also fails. This doesn’t get him to a tie but would get more points.
The Gecko is still a threat, so the Xeodron puts two wounds on it with the K1 Marksman as I fail guts out of LoF.

The Xeodron and Bit post up to cover the box and then Erik passes turn.
Bottom of 3 – Nomads
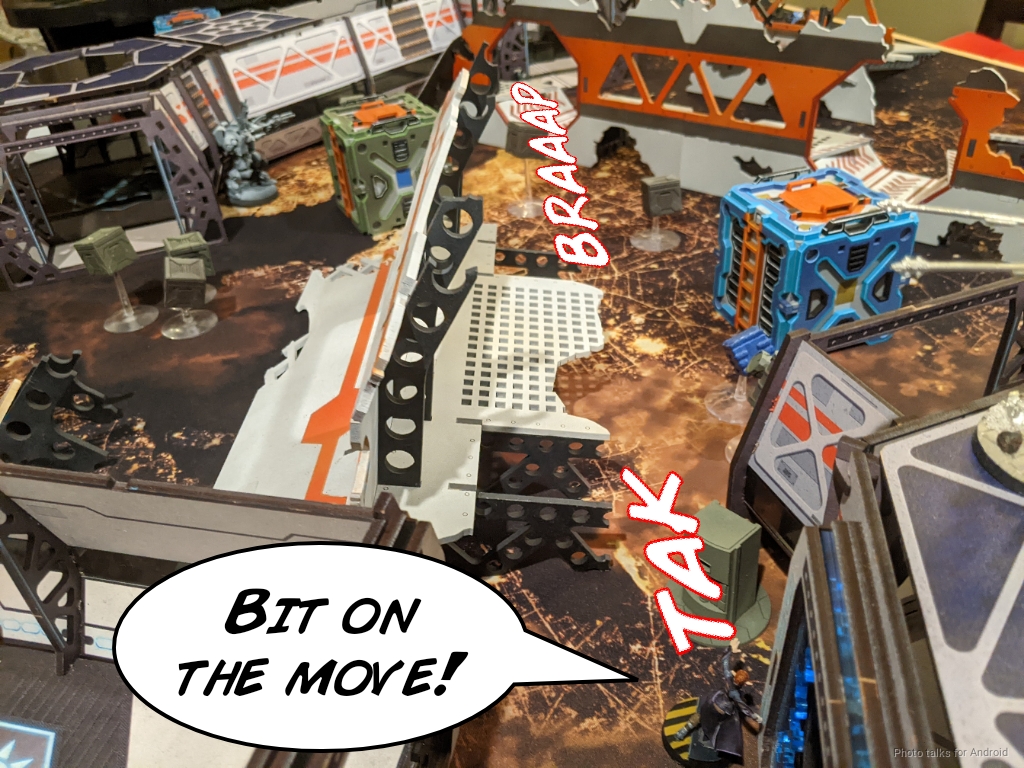
Okay, he’s got 1 classified, so all I need to do is get a single box and I’m good. My remaining Morlock sets up smoke for the Tomcat as a super safe option.
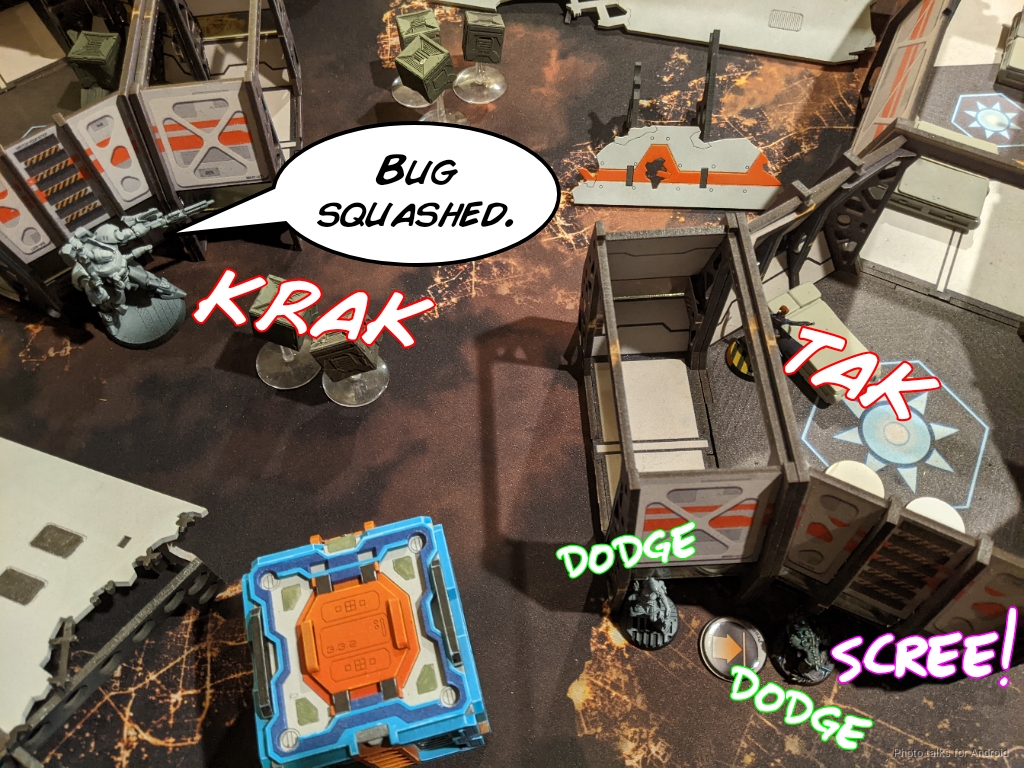
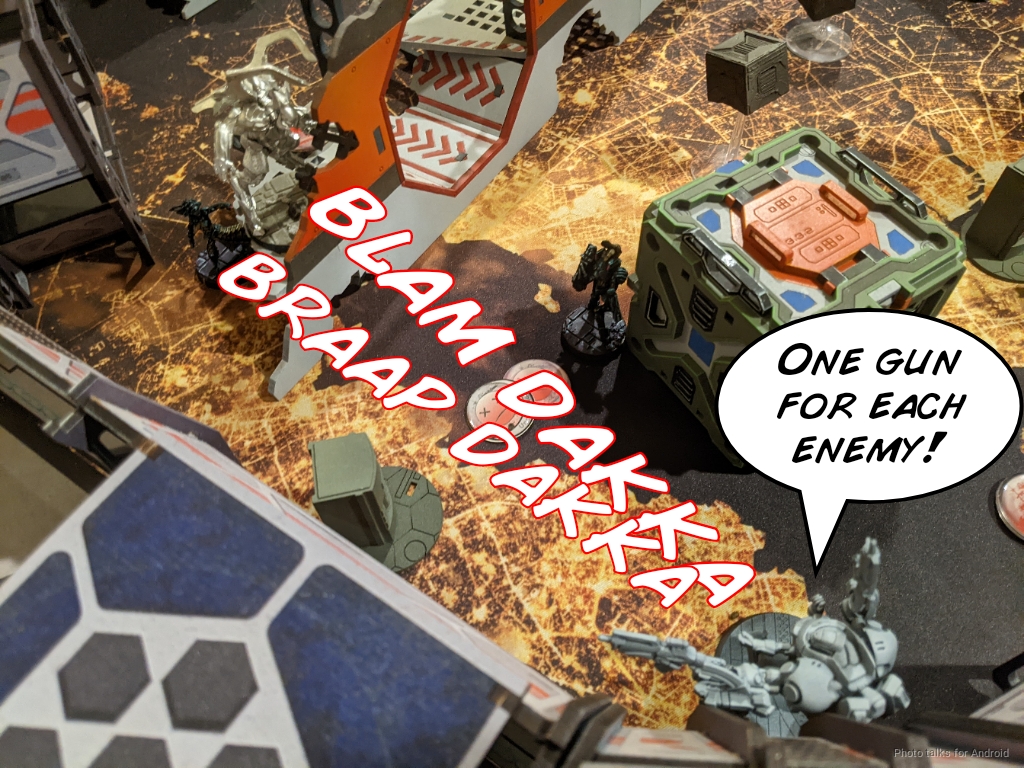
I’ve got the Gecko’s Tac Aware order, so I figure I’ll try to take out the Xeodron and Bit. I split burst kill them both. I’ll take it!
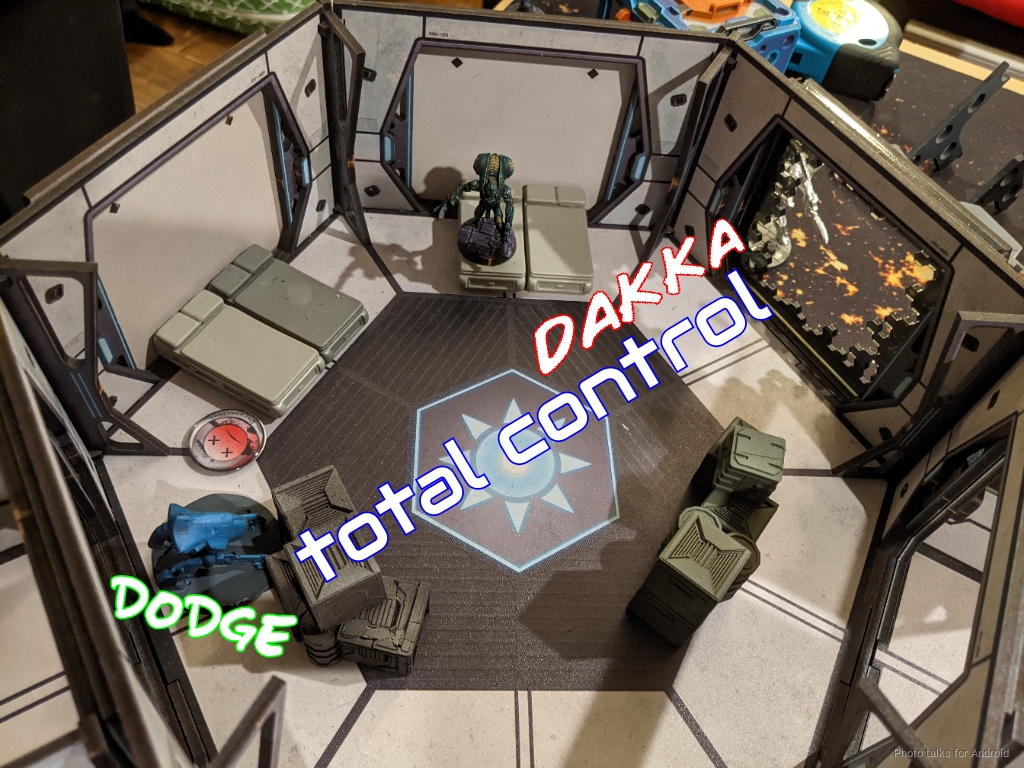
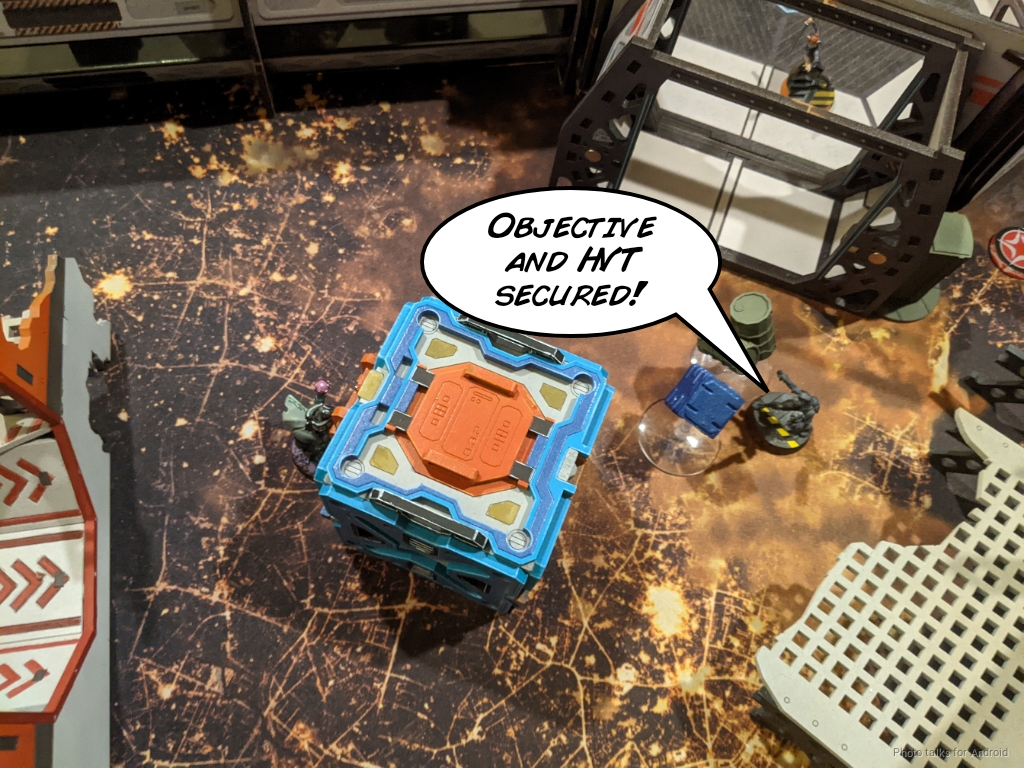
I throw one more order at it, and the pilot finally comes through and grabs the box.
The Tomcat grabs the box all the way on the right while in smoke, and then I dodge it into ZoC of the HVT for Secure the HVT.
I slump into a chair, absolutely drained. What a nail biter of a
7-1 Nomad Victory!
Post Game Analysis
I think Erik lost this game because he got too excited about murdering stuff and rescuing his Xeodron. Killing Jazz and Zoe are definitely helpful, but I think getting objectives is better. He did try to do it with Bit and Kiss against the Transductor’s flash pulse, but probably the thing to do is to take the Transductor out with the Avatar first.
With regards to the Xeodron, I guess the nightmare scenario is the Xeodron is possessed, but that also means I’m not really getting the objectives on my Turn 2. I probably use it to kill the Imetron, Ikadron, and Bit, maybe even the other Ikadron, so that’s actually pretty rough. Maybe I put him in a much worse situation that I thought.
In any case, my Gecko was variance city this game. One-shotting the Overdron, surviving a full burst from the Avatar and another from the Xeodron. I made some reasonable decisions this game, but was just so short on orders after getting hammered so hard on the first turn. A laser focus on target priority and objectives helped me get where I needed to go.
One thing I’m really concerned about after having played some Corregidor and vanilla Nomads now is the Moran profile. Obviously the Repeater version needs no sales pitch–it’s a faction defining profile. For me, it rarely lives past my opponent’s first turn as my opponents generally know how dangerous it is. I really liked the Transductor as a “backup Moran” here, but I was very disappointed in being 5 orders down in my first turn (2 Morans and the 3 from the Gator). I made a deployment mistake–Zoe and the Gator should have traded places and that would have been the safest.
This is my first time playing with an S7 TAG on this table though, so I needed to learn the lesson. Also, the odds of it happening in one order were quite low. I’m pretty impressed with the ability to take Zoe by herself. I’m definitely sold on the combi profile outside of a link though. I really could have used the combi to clear that Taigha that was giving me so much trouble. Having the shotgun profile here wasn’t helpful, I need to think about using her to clear the DZ of threats from time to time.
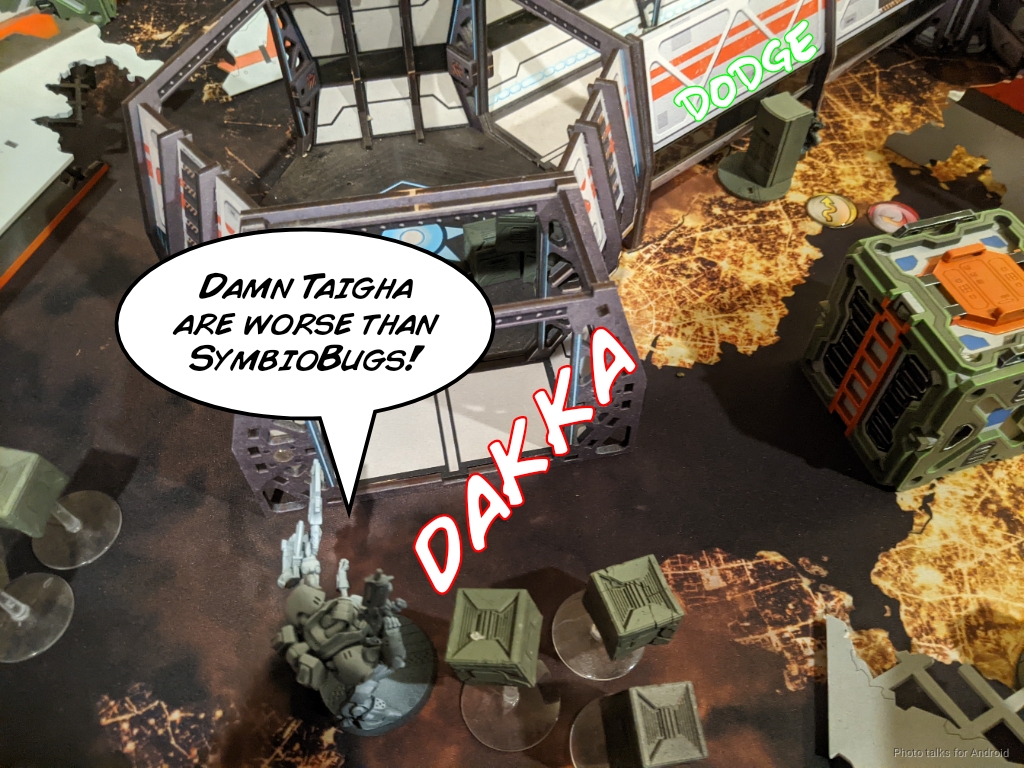
For the same reason, I think I have to take the assault pistol Morlock over the E/M CCW Morlock now. The additional burst to remove dodgy warbands like the Taigha is very important. It’s also pretty unlikely for me to get the Morlock into base to base with a TAG or similar anyway, and if i do I at least have AP to help out. In that case I don’t try to beat the TAG down in my turn I let my opponent deal with it. I lose some top end performance against armored targets in close combat but gain a very effective toolkit for handling the vast majority of other problems. I was struggling for awhile with this decision, but I think this game has really illustrated to me how important it is for the Morlocks to reliably deal with other warbands–a chain rifle just won’t cut it.
I wish I could report on what I think of the Gator, but I’ll let Erik’s “sorry not sorry” do the talking here, hah! All in all this was a brutal game. It was very high stress in a good way, and really gave me some very challenging situations to recover from. I’m quite happy with most of my decision making this game–there were a few minor mistakes here and there, but small victories too. I’m especially proud of using dodges on Zoe and Jazz to deny Berserk and or a 6″ move into CC. All of these things give me a fighting chance against the very dangerous and scary Taigha.
They’re very good, but I don’t think they’re broken. They require an asymmetric response to deal with them, but I think that’s just modern Infinity now. You have to have answers. MIne, at least in Nomads, is assault pistol Morlocks engaging at just outside of 8″ to deny the chain colt and force the dodge. It’s not ideal by any means (it’s basically a coin flip)…
| 47.70 | 14.63 | 37.67 |
but it beats the hell out of the regular pistol:
| 27.28 | 21.84 | 51.89 |
Anyway. Great game, lots to ruminate on, including on whether or not to take the camo Moran profile… Thanks for reading.

Hello, just wanted to tell you that I really value the inclusion of the odds in your battle reports. They give much more clarity to reading about the game. Have a nice weekend!
Pingback: Riot Against the ISS Machine – MERC Recon
Pingback: Puzzle: Hack the Planet? – Infinity the Academy