
If I Can’t No One Can
You may recall that Frank helped me do some playtesting for a recent tournament.
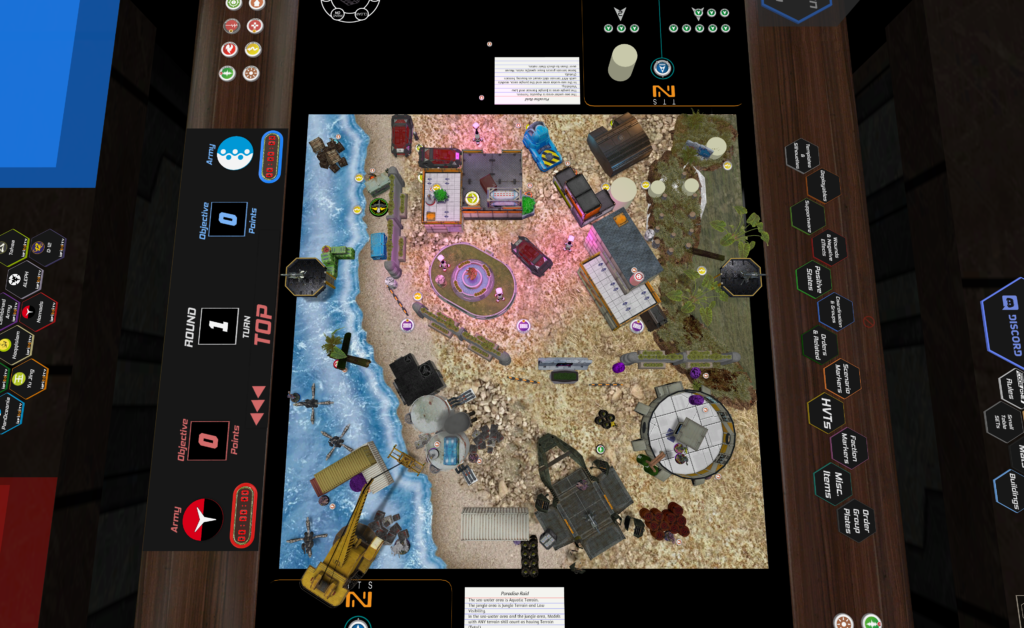
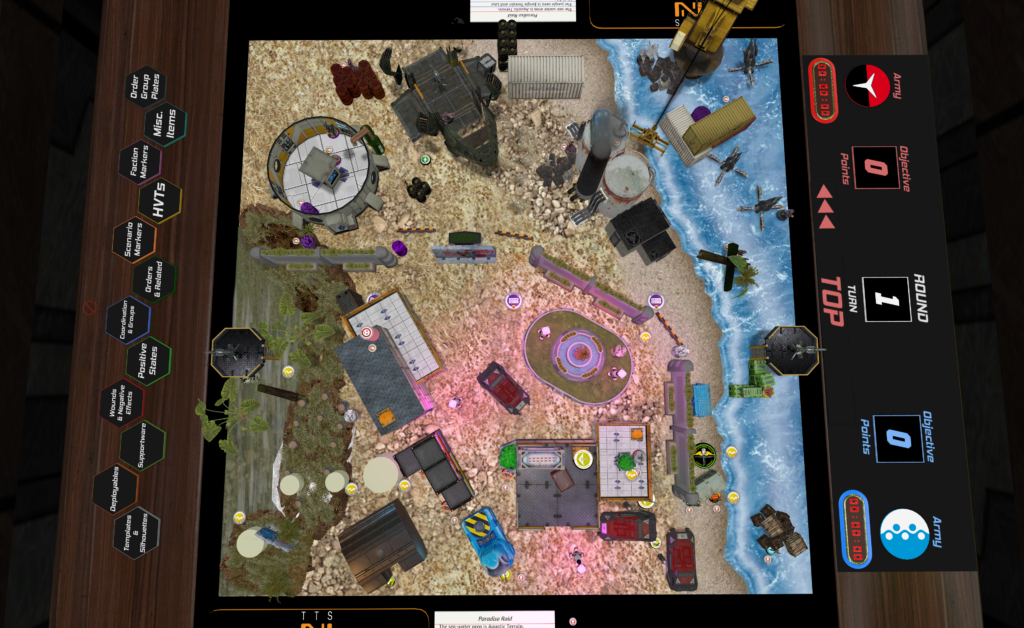
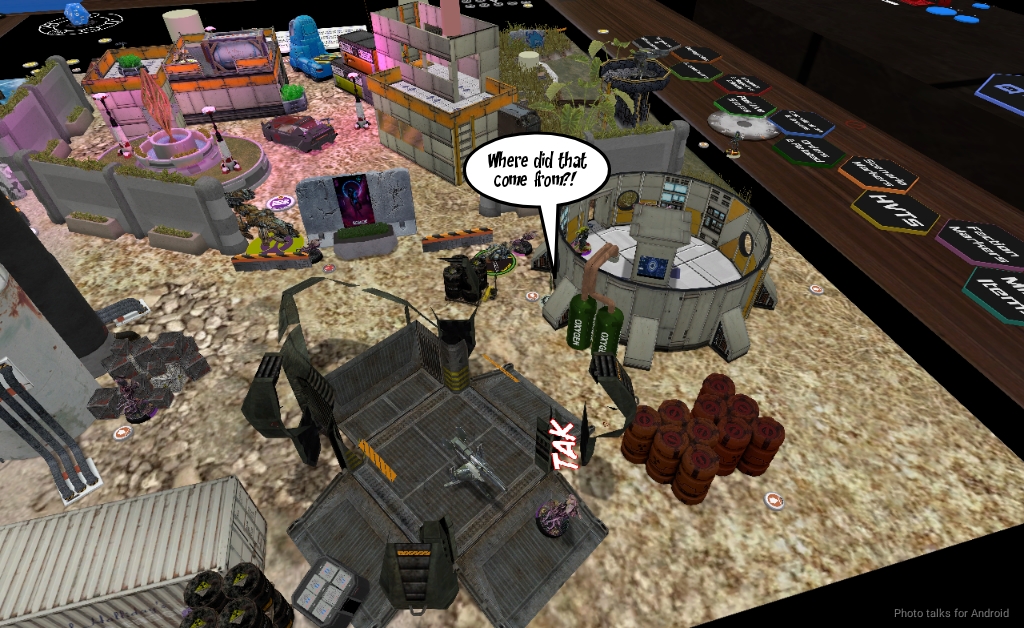
It was time to return the favor! We selected this lovely map by none other than HeadChime. We decided to ignore the blue water part and treat it as normal terrain, mostly to increase play speed. Frank and I end up starting int he late evening and playing into the early morning typically and we wanted to try and at least get some sleep.
Overview
- Mission: ITS14 Supplies
- Forces: Combined Army versus Dahshat Company (300)
- Deploy First: Dahshat
- First Turn: Dahshat
Frank asked me to play something I was comfortable and practiced with, so I took my post Taigha-nerf version of my Anathematic list that I took to the recent tournament.
Santa’s Coming to Town
GROUP 1
9
2
GROUP 2
ANATHEMATIC (Lieutenant, Hacker, Hacking Device [UPGRADE: Trinity (+1B)]) Plasma Rifle, Nanopulser ( ) / Pistol, Shock CC Weapon. (0.5 | 76)
OVERDRON Plasma Sniper Rifle(+1B) / Shock CC Weapon. (1.5 | 58)
STALDRON Flash Pulse / CC Weapon. (0 | 0)
RINDAK (Paramedic, Forward Deployment [+8″]) MULTI Rifle(+1B), Blitzen / Heavy Pistol, PARA CC Weapon. (0 | 37)
CALIBAN (Engineer, Deactivator) Submachine Gun, Pulzar, D-Charges ( | GizmoKit) / Pistol, CC Weapon. (0 | 28)
SLAVE DRONE PARA CC Weapon(-3). (0 | 3)
GREIF-OP (Surprise Attack [-3], Impersonation [IMP-2]) Combi Rifle, D-Charges / Breaker Pistol(+1B), CC Weapon. (1 | 21)
Bit (Hacker], Killer Hacking Device [UPGRADE: Oblivion]) Submachine Gun, Pitcher ( | Deployable Repeater]) / Pistol, CC Weapon. (0.5 | 21)
IKADRON (Baggage, Repeater) Light Flamethrower(+1B), Flash Pulse / Pistol, PARA CC Weapon(-3). (0 | 9)
ÍMETRON . (0 | 6)
LIBERTO (Minelayer) Light Shotgun, Shock Mines / Pistol, CC Weapon. (1 | 8)
4
TAIGHA Chain-colt / AP + Shock CC Weapon. (0 | 6)
4.5 SWC | 300 Points | Open in Infinity Army
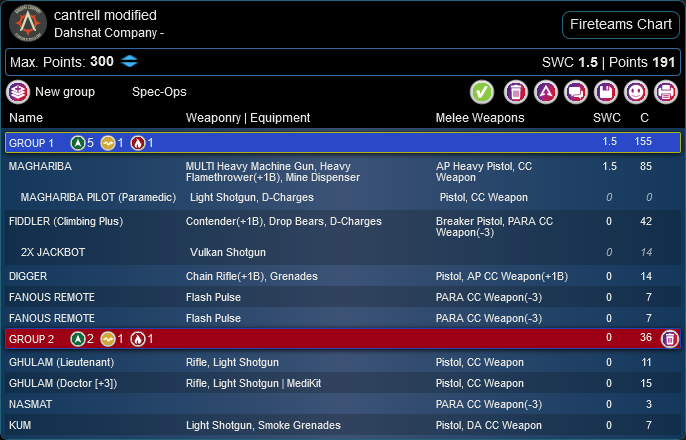
Frank’s list is actually his take on a Robert Cantrell Dashat list. Aside from the obvious Maggie + Rafiq duo for all the orders and Fiddler for all the ‘bots, the list includes a pair of Kum bikers and a pair of Libertos, cross coupled between both combat groups.
cantrell modified
GROUP 1
MAGHARIBA MULTI Heavy Machine Gun, Heavy Flamethrower(+1B), Mine Dispenser / AP Heavy Pistol, CC Weapon. (1.5 | 85)
MAGHARIBA PILOT (Paramedic) Light Shotgun, D-Charges / Pistol, CC Weapon. (0 | 0)
RAFIQ REMOTE FTO Red Fury, Flash Pulse / PARA CC Weapon(-3). (0.5 | 20)
KUM Chain Rifle, Smoke Grenades / Pistol, Shock CC Weapon. (0 | 6)
FIDDLER (Climbing Plus) Contender(+1B), Drop Bears, D-Charges / Breaker Pistol, PARA CC Weapon(-3). (0 | 42)
2X JACKBOT Vulkan Shotgun / . (0 | 14)
ZÚYǑNG (Tactical Awareness) Heavy Machine Gun / CC Weapon, Breaker Pistol(+1B). (1.5 | 37)
DIGGER Chain Rifle(+1B), Grenades / Pistol, AP CC Weapon(+1B). (0 | 14)
VALERYA GROMOZ (Hacker) Combi Rifle, Zapper, Pitcher / Pistol, CC Weapon. (0.5 | 21)
GROUP 2
FANOUS REMOTE Flash Pulse / PARA CC Weapon(-3). (0 | 7)
GHULAM (Lieutenant) Rifle, Light Shotgun / Pistol, CC Weapon. (0 | 11)
NASMAT PARA CC Weapon(-3). (0 | 3)
6 SWC | 300 Points | Open in Infinity Army
The key idea here is that you put the group 1 libertos and the group 2 Kum on one flank, and the reverse on the opposite flank. Then you have essentially two whole pools (minus the two orders you get docked) to collapse a flank. It’s a pretty interesting idea, and if it doesn’t work you still have Maggie to punch a hole where you need one. As some secondary attack pieces, Frank took a Zuyong HMG with Tac Aware in a link with a Digger and Valerya.
Deployment
I lost the rolloff and Frank took first turn, so I made him deploy first. As discussed before, he put a Kum and Libertos on each side, mixing and matching combat groups give him the widest possible array of options. Similarly, Maggie and the Zuyong link went on opposite sides as well, also to give options. Since we were playing supplies, he set up all his Fanous to cover the consoles, and then hid the rest of his list in the back, e.g. the Ghulam and Fiddler.
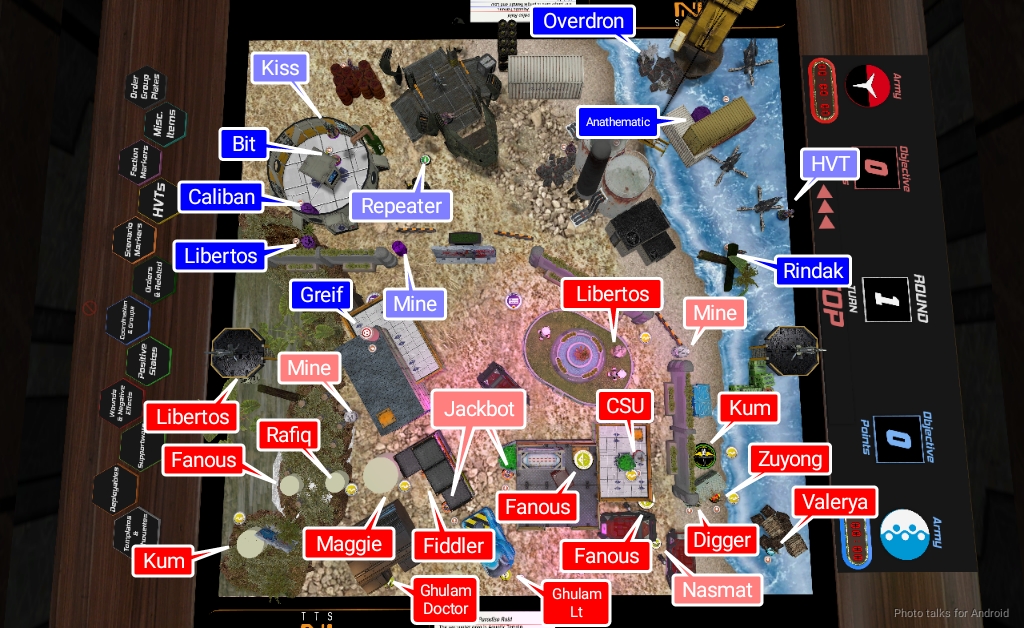
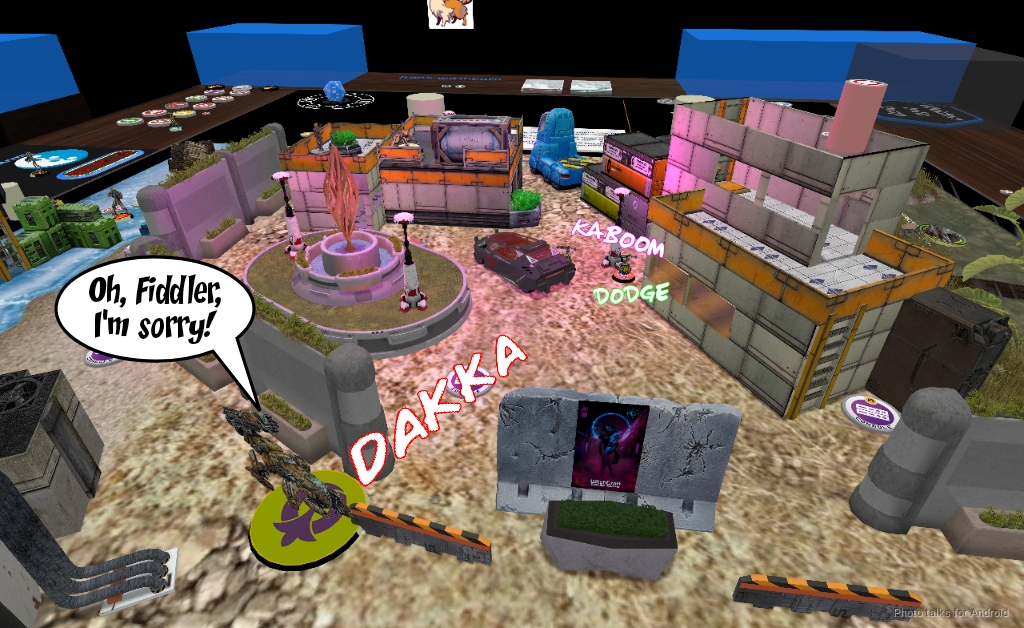
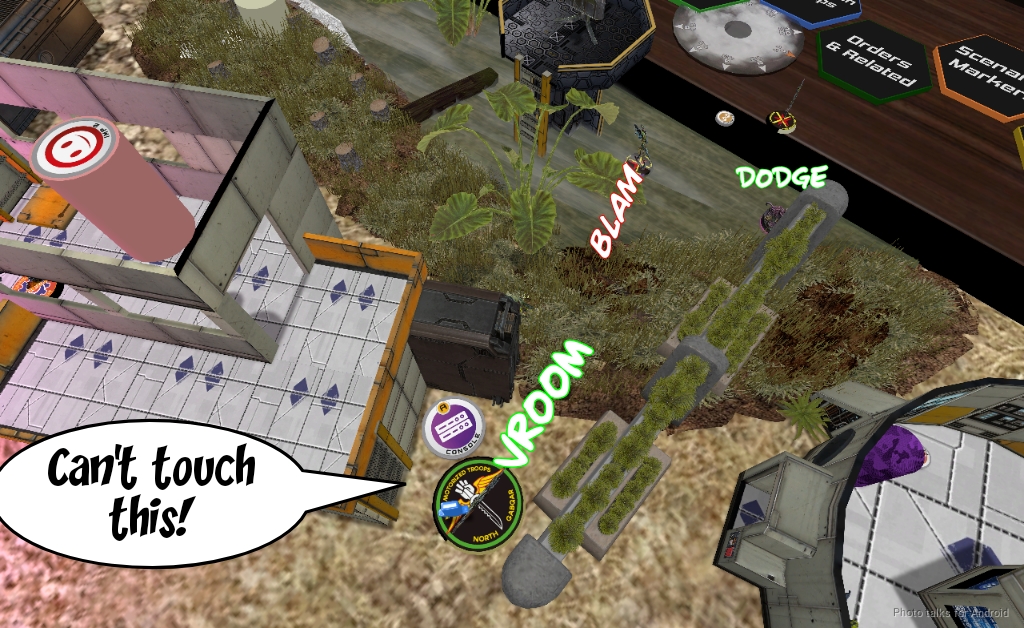
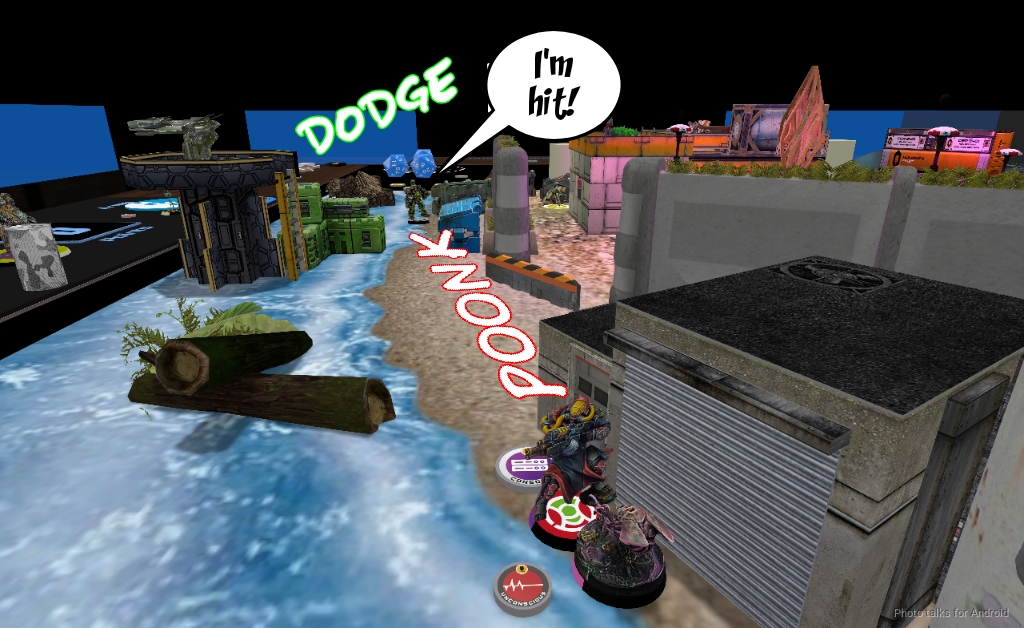
I decided to be super cheeky and deploy Kiss in a position to fire a pitcher into the building above Maggie as soon as I was granted an ARO. That meant Bit hid in the building below him, along with the Caliban. I sprinkled Taigha liberally around my deployment zone, mostly intended to help blunt the attack of the Libertos/Kum, and then put my Greif in a position to secure Frank’s HVT as well as shoot the Kum and Libertos in the back if they advanced too far.
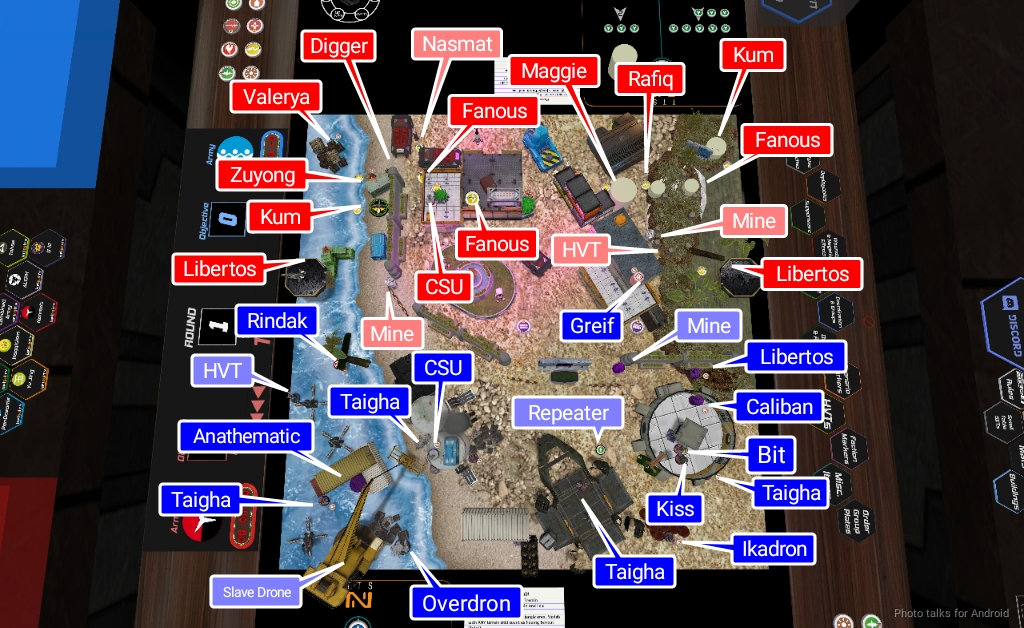
My own Libertos screened Bit and Kiss on the right, and then I put my Anathematic into a little pocket on the left, figuring the Ikadron and all that would be fine. I put the Caliban’s Slave Drone behind the crane because I already knew where I wanted to put the Overdron. Frank put his last Libertos down as his reserve, which I find a bit of an odd choice, I would’ve held Fiddler or something, but I guess having a mine to place is a good thing for a reserve drop.
My Overdron came down to watch the center and right consoles, as well as the Kum on my left. This was in direct response to knowing Frank’s strategy, having discussed it with him a few days before. The idea here is that I can basically stall out the attack on my left, forcing Frank to push through my Libertos on my right and also have to deal with the Overdron in overwatch. This had the added benefit of discouraging attacks on my Rindak on the left, which was pretty far forward and more or less in the open behind some logs. Our free CSUs just hung on on some tall buildings with Frank’s prone and mine watching the Rindak’s back.
Turn 1
Top of 1 – Dahshat
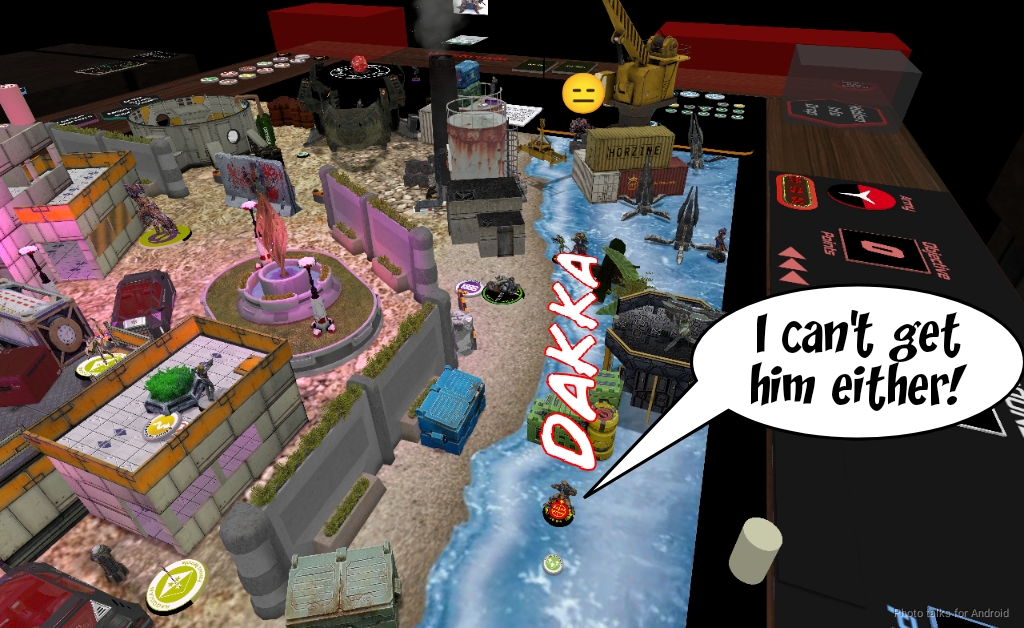
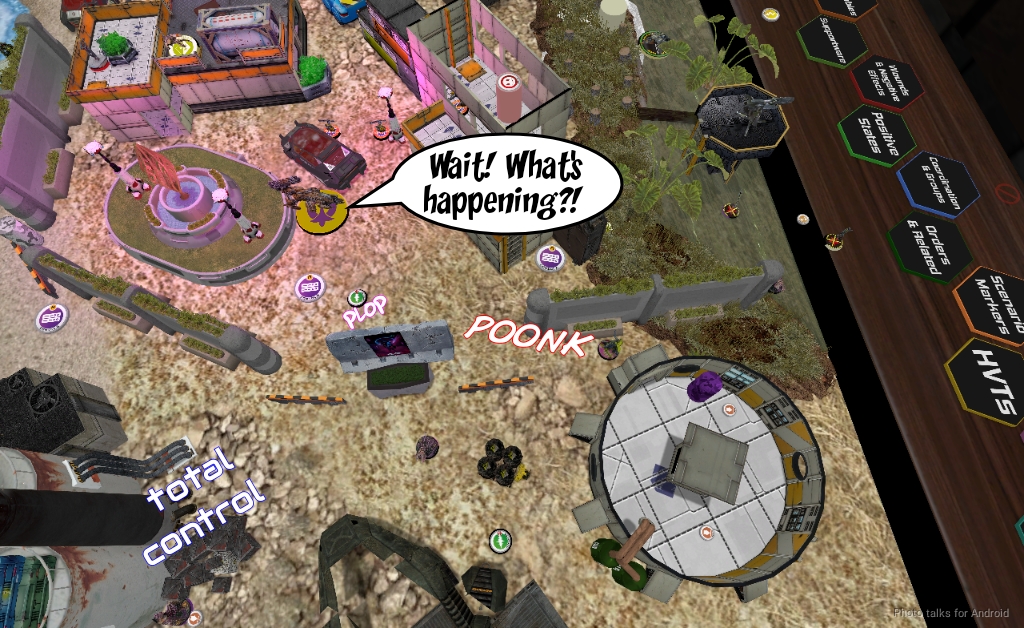
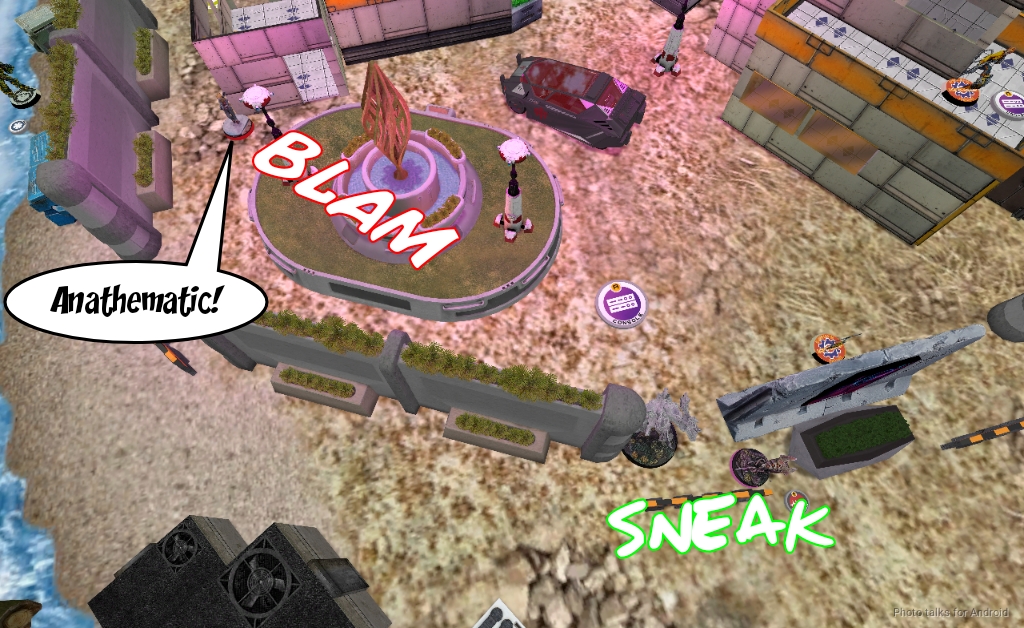
Kiss was actually watching the advance path of the Kum on my right (a somewhat intended but mostly bonus effect), so both Kum canceled their impetuous orders. Success! Frank wanted to remove the Overdron, so he started pushing Maggie forward with a combination of the two tac aware orders he had available. Once he saw Kiss, he expected me to contest with an ADHL shot, but instead I fired a pitcher into the building. I lost Kiss to Maggie’s HMG, but the damage was done.
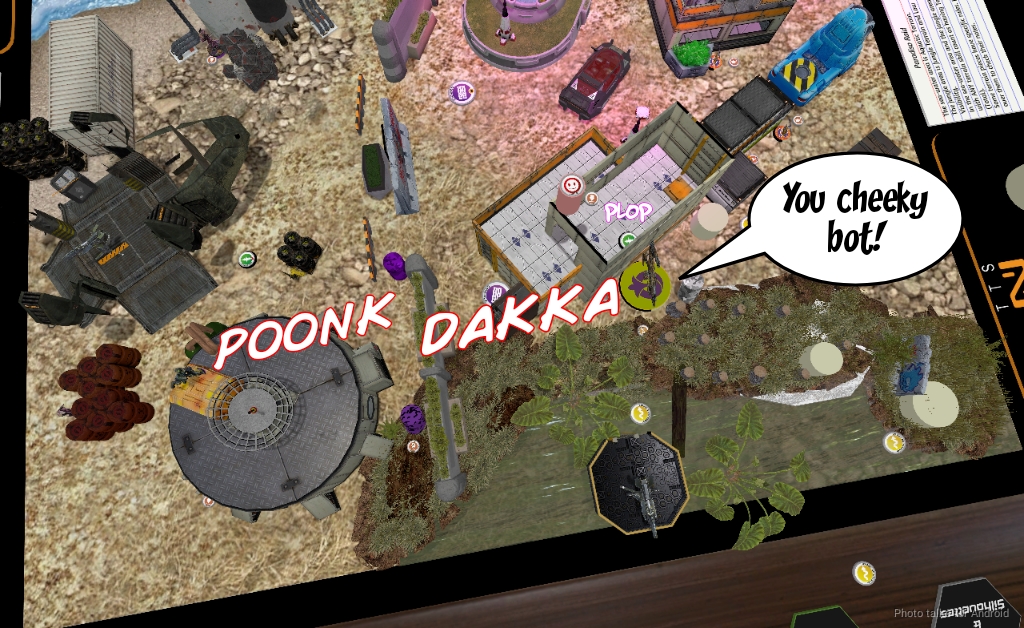
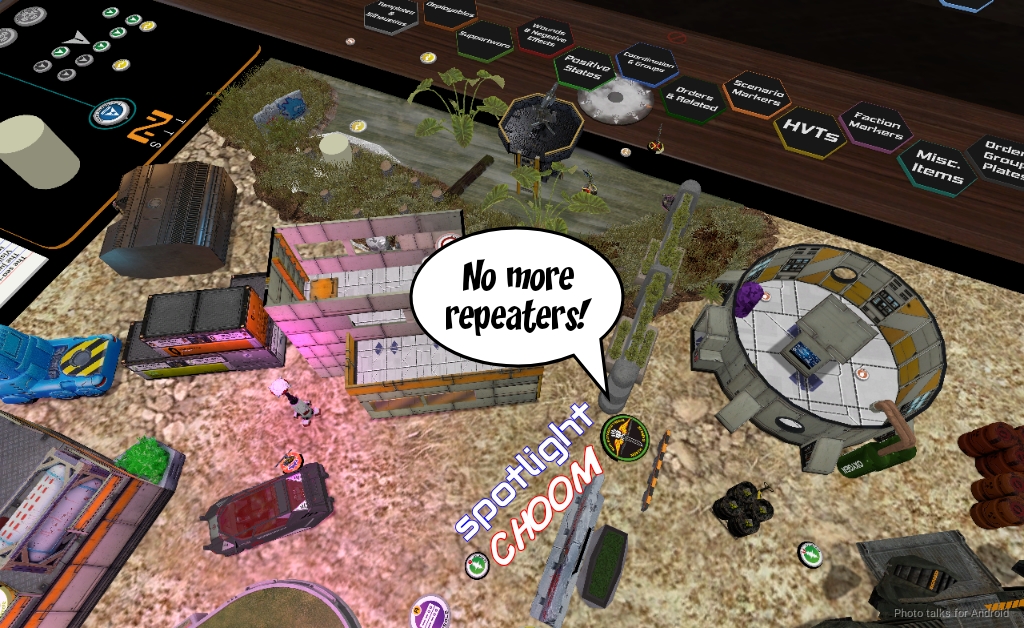
Fortunately for Frank, he had the right tool to deal with it, and he sent Fiddler climbing up into the building to take out the repeater. Over the course of two orders I managed to have the Anathematic spotlight Fiddler and Carbonite one of the Jackbots. Not bad, this was shaping out to be a pretty big order drain.
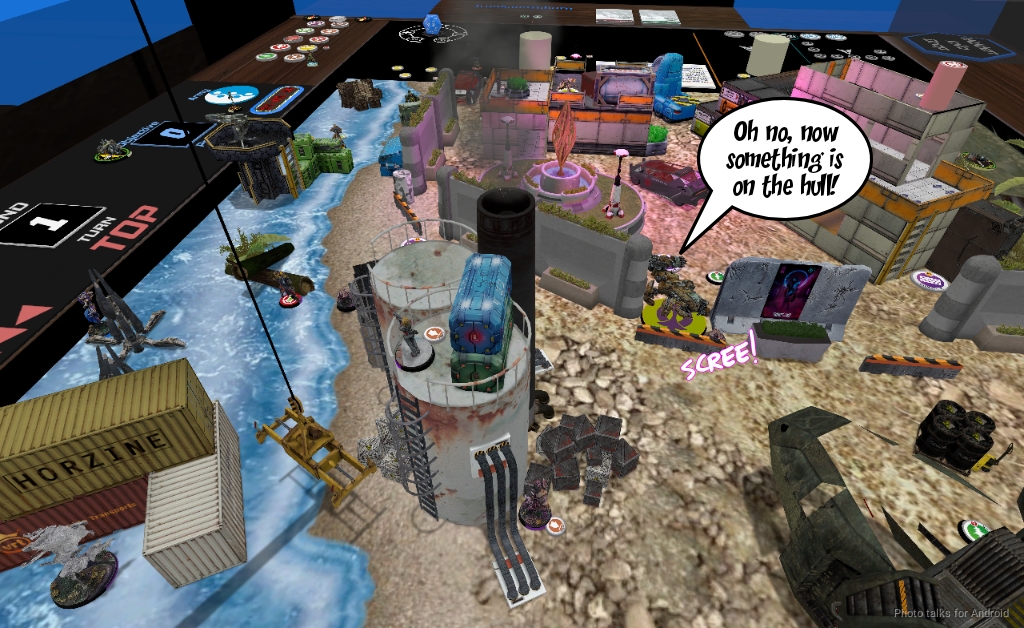
Unfortunately, my luck would turn, and Maggie came around the corner and one-shot the Overdron in a single order, squeezing her big butt through the gap and tanking my Liberto’s mine.
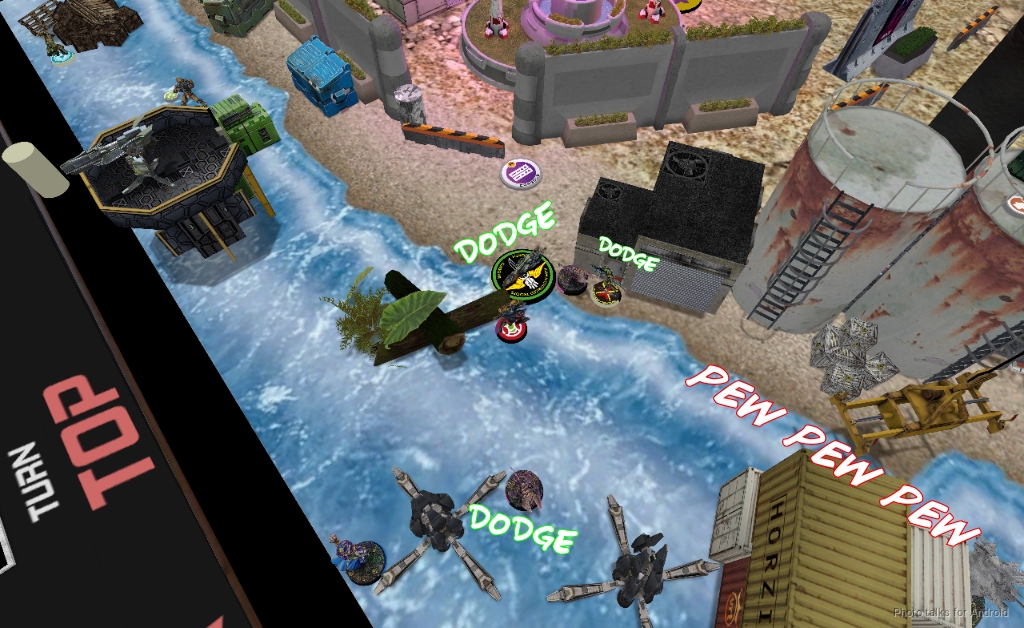
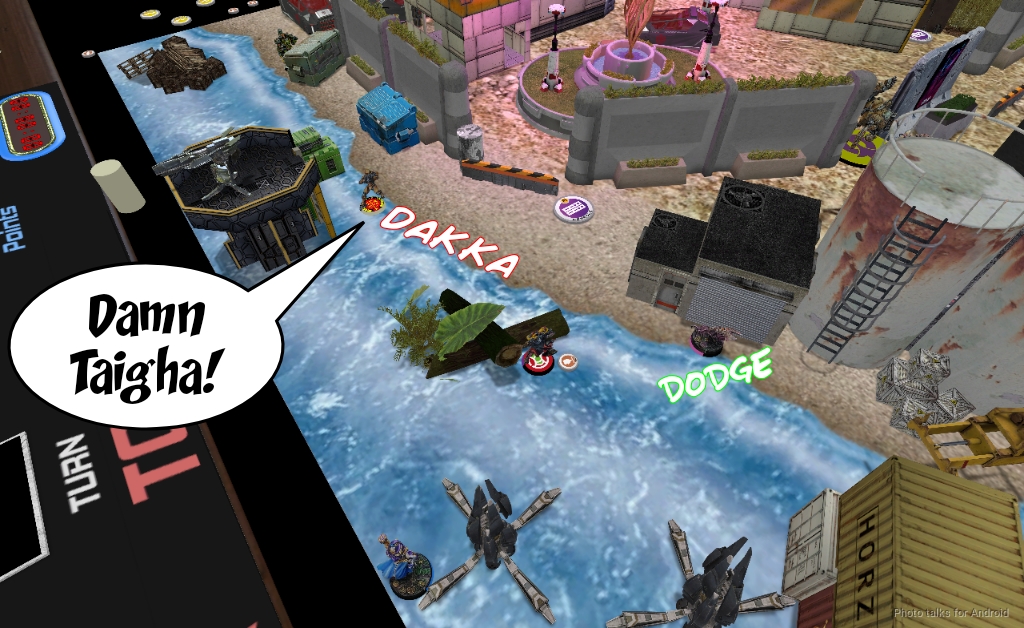
With the Overdron down, this let Frank develop his right side flank (my left), so he sent in his Libertos on that side and tried to take out the Rindak. My CSU couldn’t land a hit but the Rindak is very good at dodging and managed to not take any wounds by dodging into close combat.
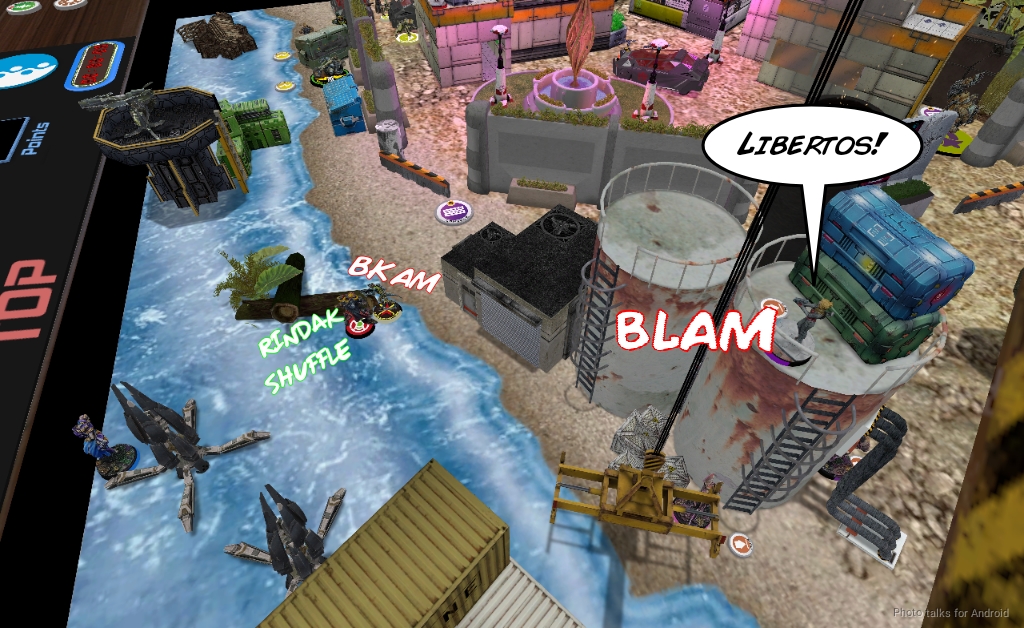
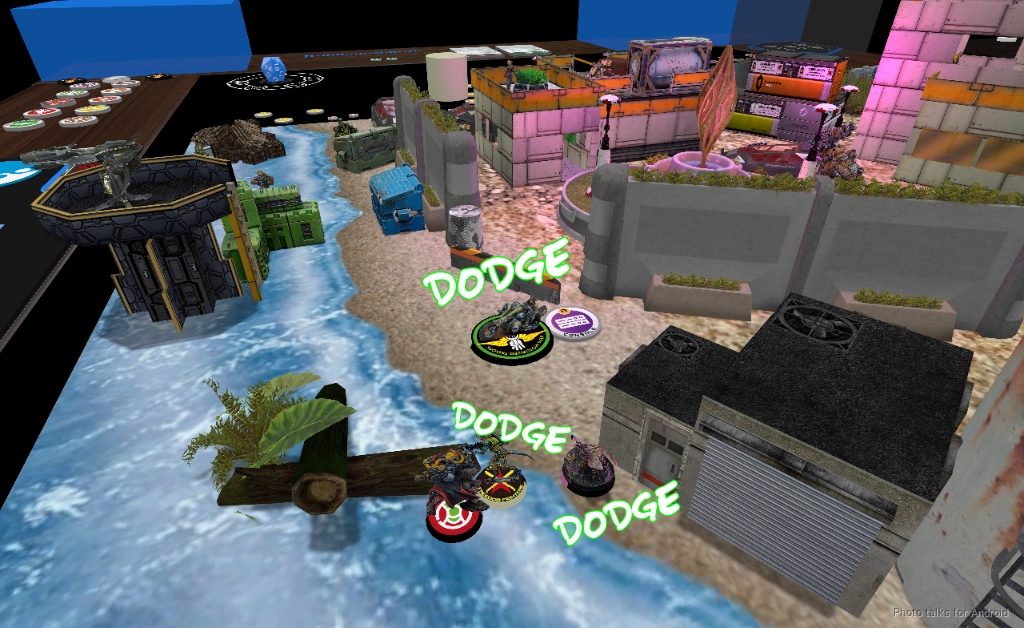
The Libertos on the other side took advantage of the aquatic terrain and made some pretty quick advances, so I dodged my own Liberto into view of it and the Rafiq, threatening a shotgun template if any funny business occurred.
There was definitely a path forward for Frank’s Libertos that didn’t involve me templating the Rafiq, so he chose that one and tried to shotgun down my Libertos, but I dodged into close combat, prepping for a Taigha berserk on my turn.
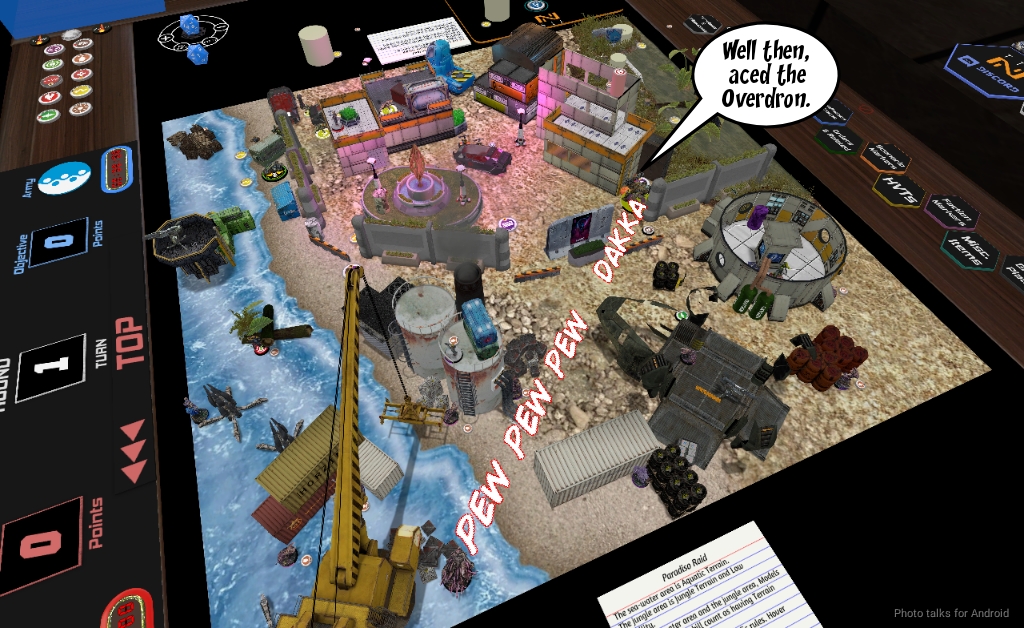
The Overdron was down but not out, so Maggie tried to remove it from the table, especially after learning that I had a Slave Drone for the Caliban nearby. Fortunately for me, my ARM saves turned around and I kept the Overdron standing there. This did allow Frank to move the Kum up on my left, which was less than ideal, but oh well.
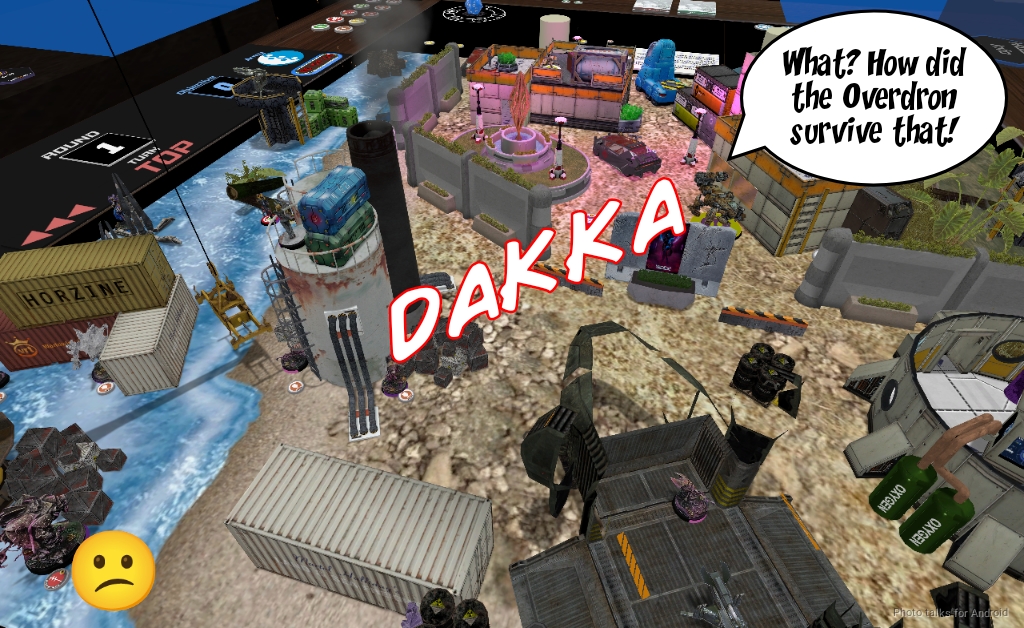
The Zuyong tried with its package of orders but failed as well–AP is so important these days. This did mean that the Zuyong and Valeryia were a bit out of position, but Frank felt confident that I didn’t have the orders to get a long range gun (of which I didn’t have any more) into place to deal with them.
Maggie pushed into the midfield, daring me to dig her out, and finally took the Overdron off the table.
With that, Frank retreated Maggie into his table half, reset Fiddler and her bots out of the various status effects, and passed turn.
Bottom of 1 – Combined
Honestly, I was in a pretty good spot. Losing the Overdron was obviously bad, but I had plenty of options for dealing with Frank’s list still. My priorities were to remove both Libertos and the Kum if I could, which would box Frank into his table half with only Maggie and the Zuyong available to do force projection. Maggie was also pretty vulnerable to a pitcher from Bit, so I figured I might try that and then remove some more threats if I could possess her.
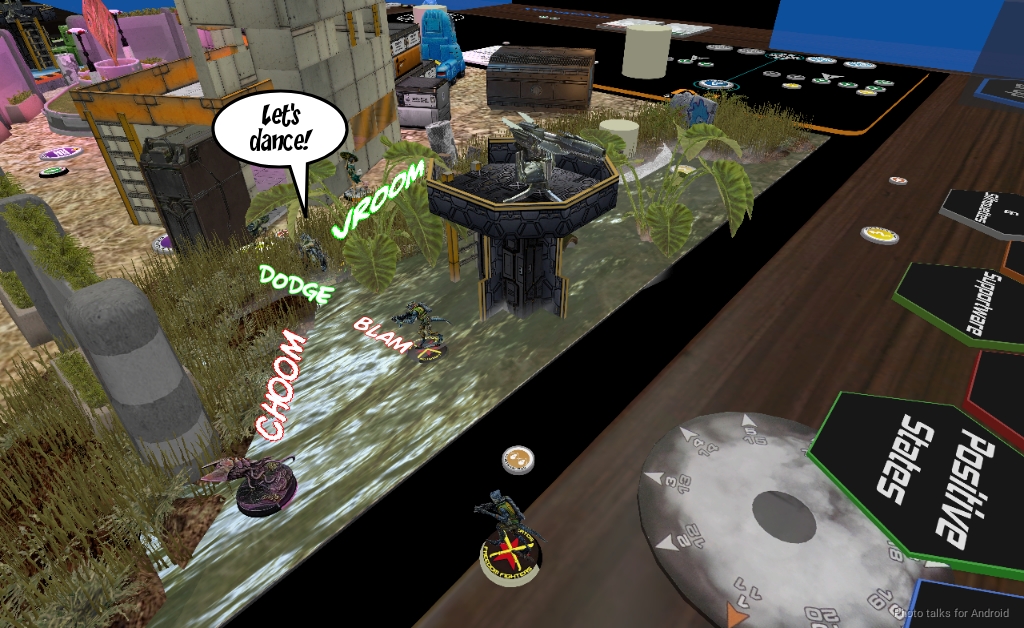
I started things off by advancing all my Taigha. I had to stop with the one all the way on the right because of terrain. Sigh.

The central one had a pretty safe advance to the midfield, but that did grant a free dodge to the Kum on my left.
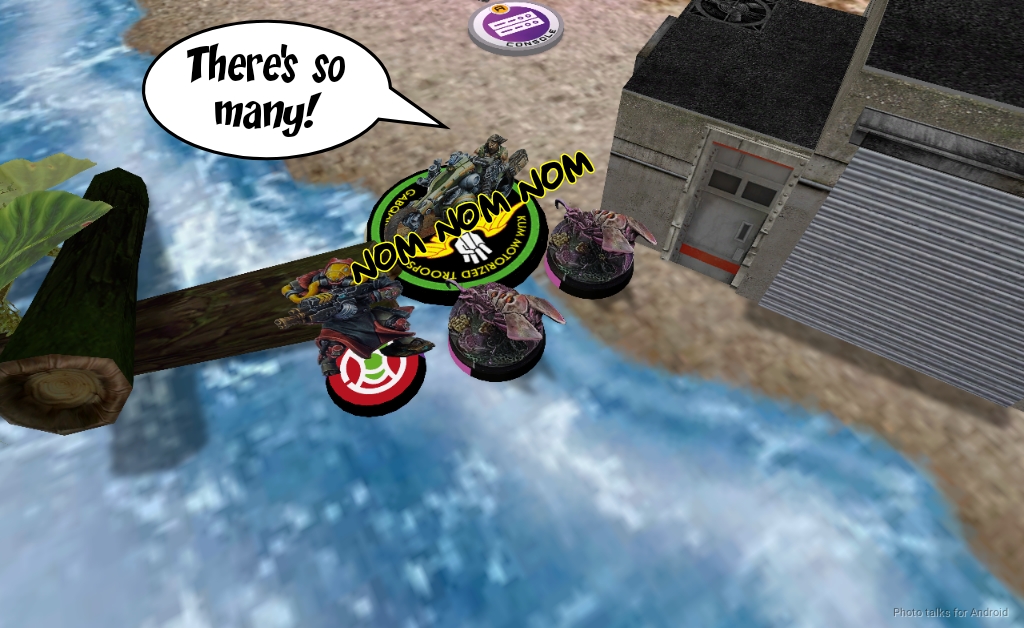
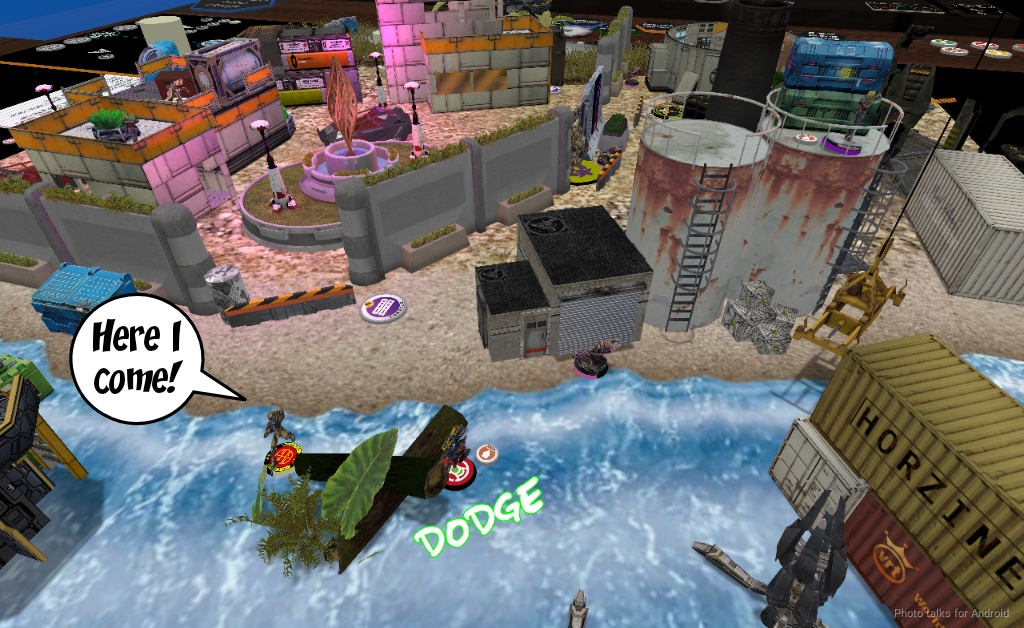
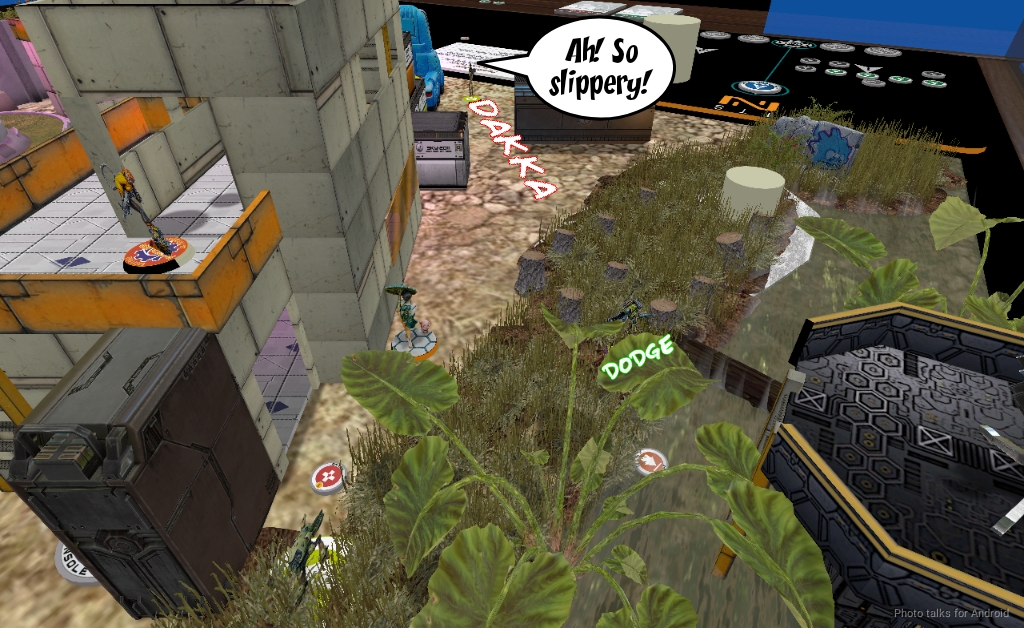
Finally, I brought the Taigha on my left into play, and there was just a huge dodge fest where everyone parkoured everywhere with the Libertos even dodging out of close combat and threatening shotgun templates.
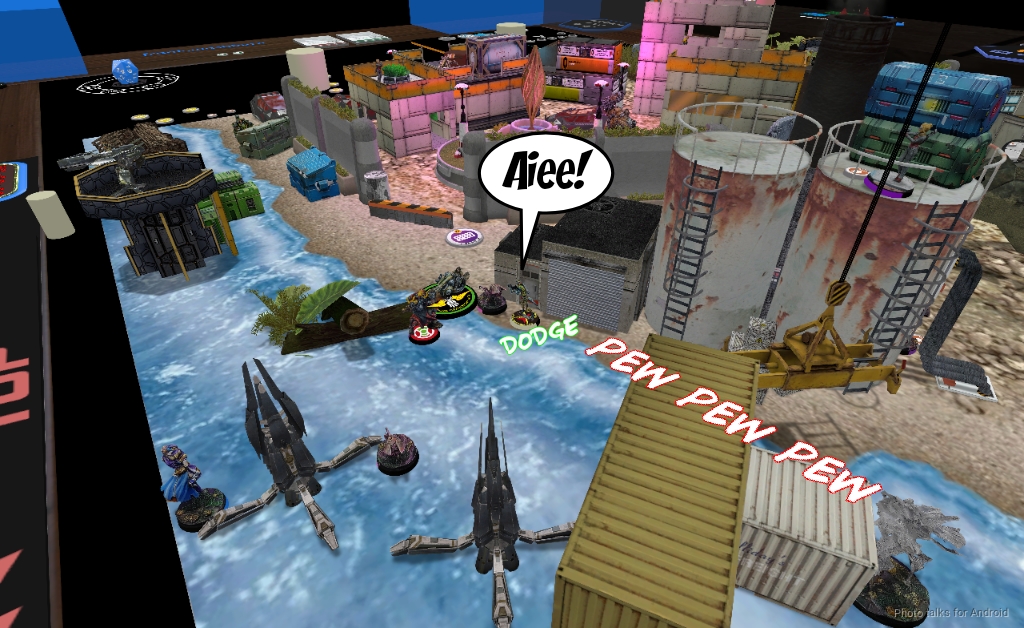
I moved the last Taigha up, dodging into chain rifle range to prevent a free chain rifle from hitting the Rindak, and then I sent in the Anathematic to start dealing with this problem. The first shot was on the Kum to contest smoke, but Frank dodged into combat with my Taigha. Fine.
The second shot removed the Libertos with plasma.
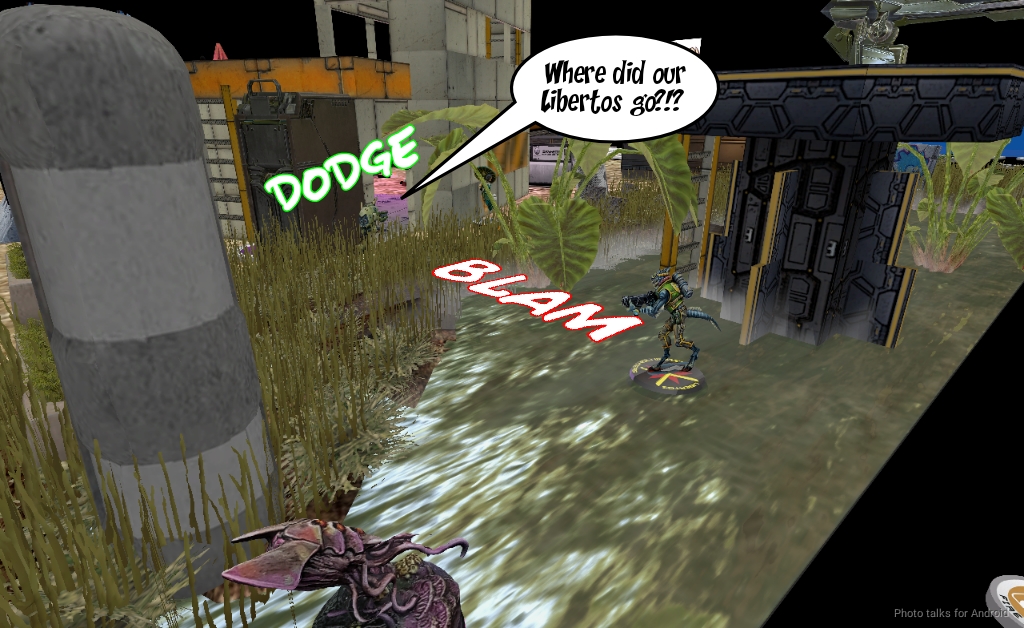
With all the impetuous moves done, it was time to go down the line and deal with things, Taigha style. My Taigha on the right Beserked the Libertos off the table thanks to AP+Shock.

Then the free Taigha on my left Berserked the Kum off the table using the same toolkit.
My Libertos was now free to take on the Rafiq and down it with some shotgun fire, depriving Frank of a bunch of orders and another attack piece.
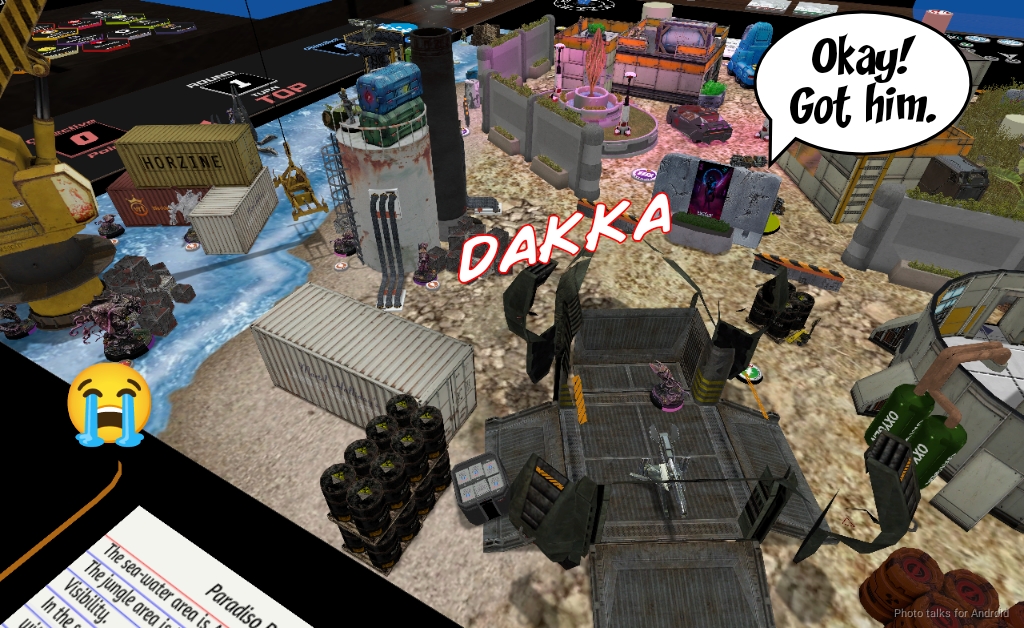
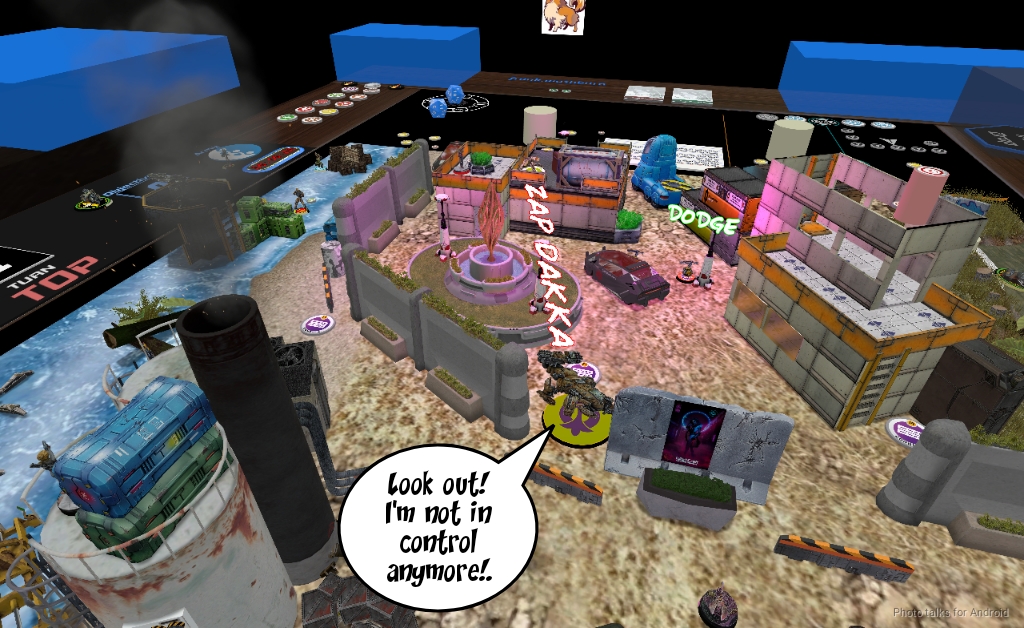
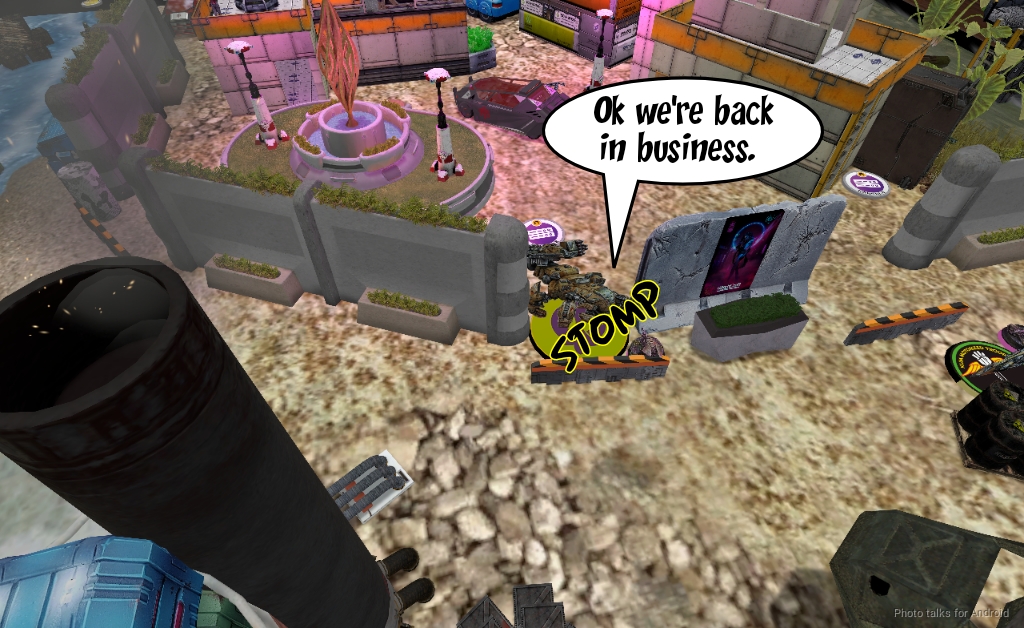
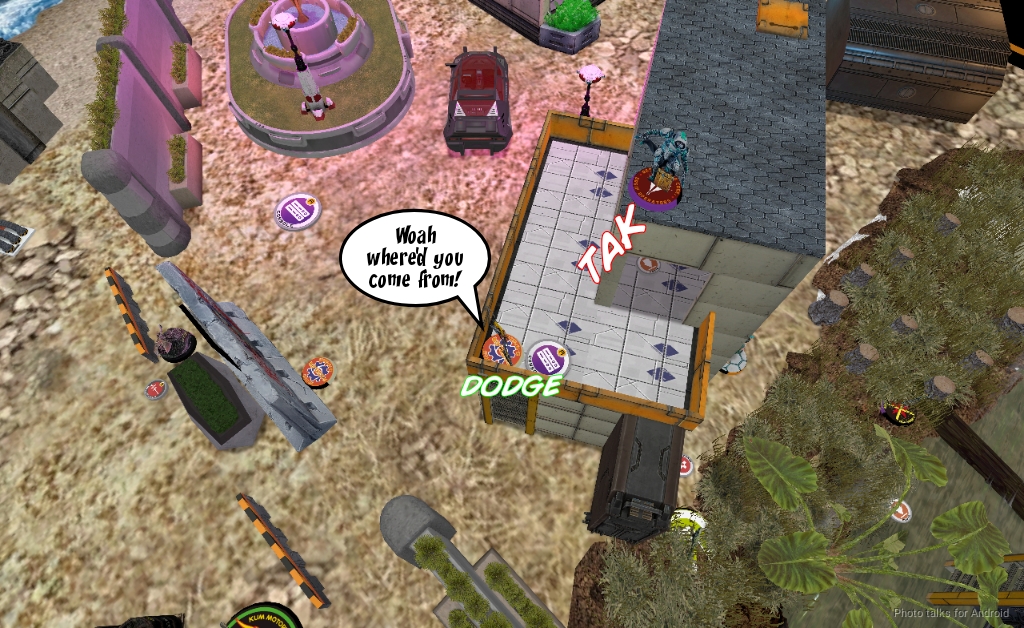
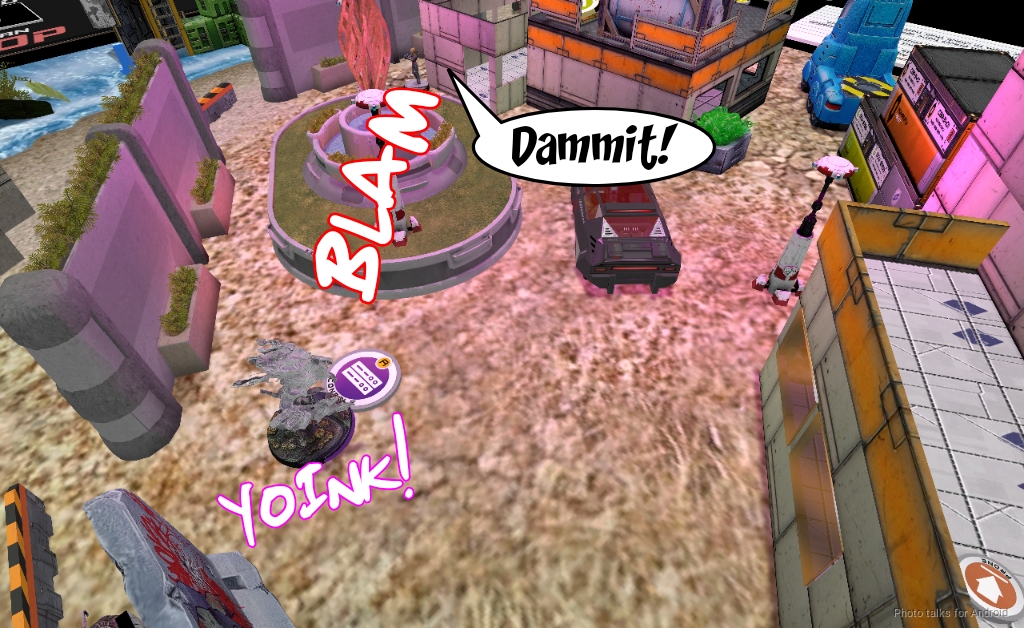
So far, I’ve only spent my Lieutenant and a regular order, so I was able to start really attacking with my primary order pool. Bit landed a pitcher next to Maggie, and then the Anathematic managed to possess her in single order. I’ll take it.
Maggie pushed back towards my table edge, which sounds crazy, but I have a plan! I have to fight a Fanous on the way, but manage to take it out.
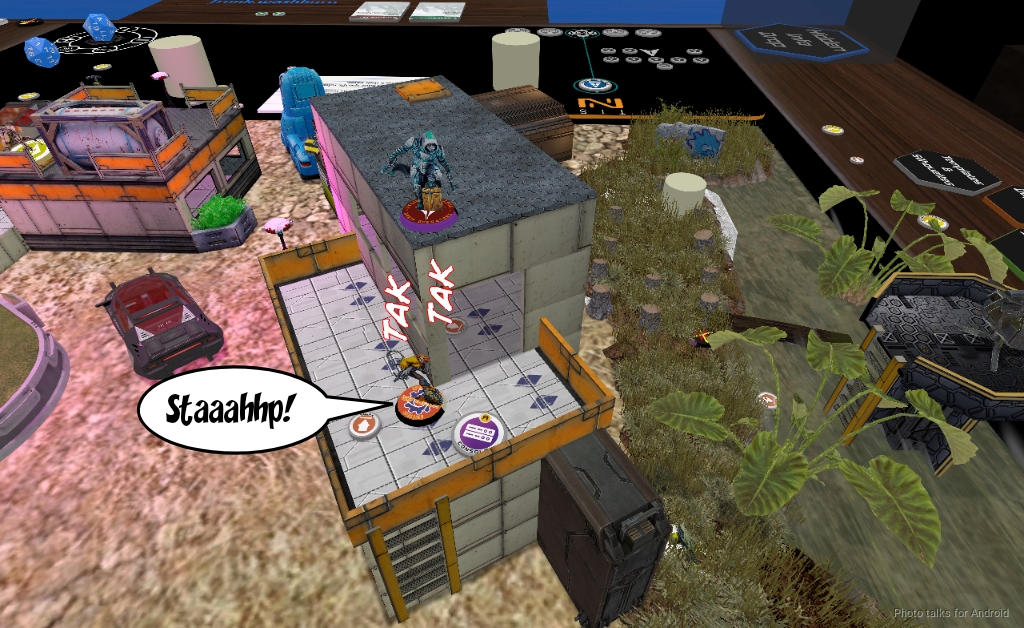
I can now see the Zuyong, and kill it with some AP fire as it’s in the open.
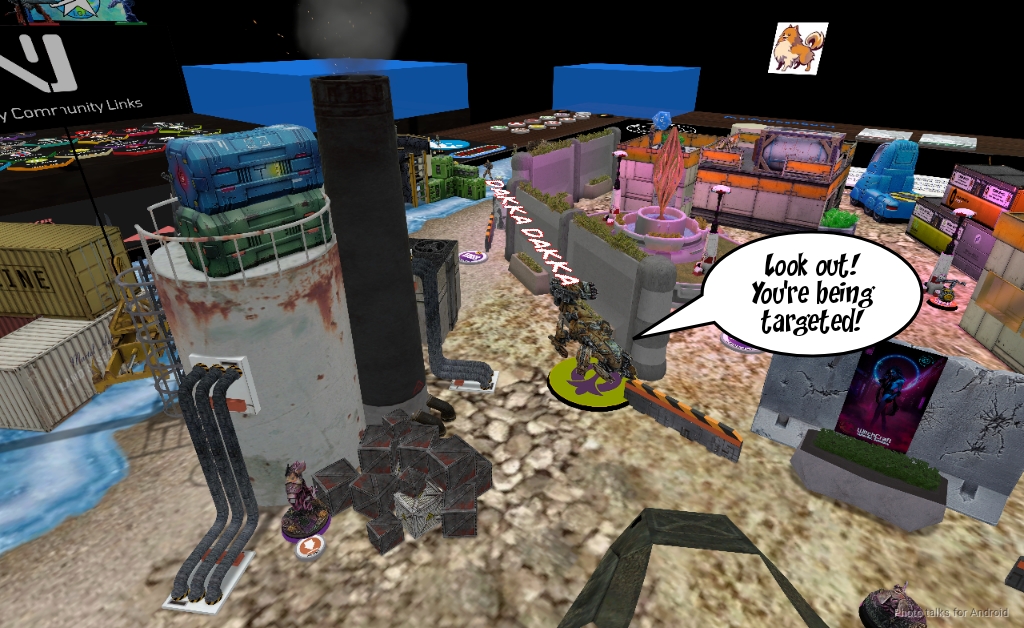
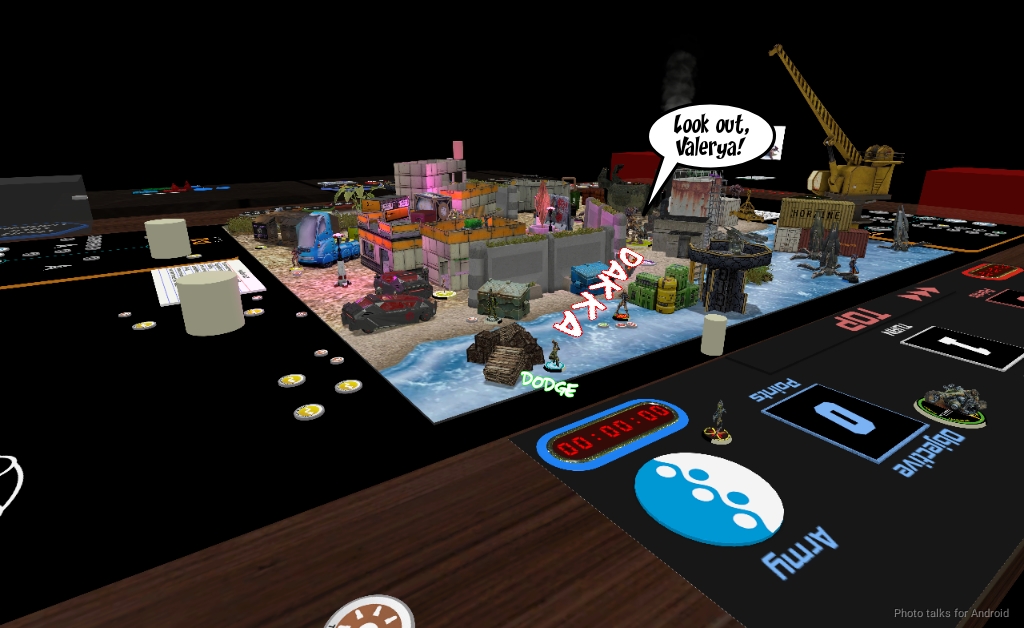
Another shift lets me see Valyera and take her off the table.
Fiddler’s Jackbots have been dodging this whole time, so as I return to the central area of the table I decide to put some AP rounds into the Jackbots, doing only one wound and forcing the explosion! Sadly, Frank passes ARM on the other one, which is a bummer.
Update: QueensGambit on the forums informs me that Explode doesn’t hurt friendly models in N4 anymore.
I leave Maggie in the middle of the table, covered by three repeaters, and then I spent my last irregular order on the central Taigha and move it into CC with Maggie, passing turn.
Turn 2
Top of 2 – Dahshat
Frank’s taken a beating:
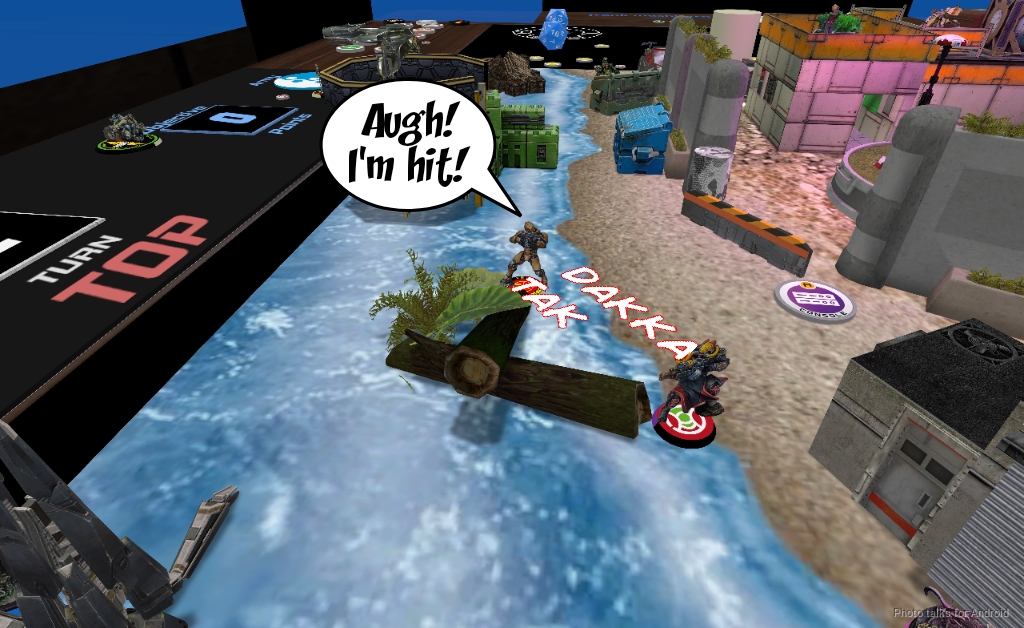
After command token canceling possession and cursing profusely for a few minutes, Frank starts his turn by driving his last Kum towards my table edge. My Taigha and Liberto take shots against its dodge, but it crits so I can’t do anything.
The Kum keeps moving around the corner, with the Libertos continuing to fire and the Taigha dodging to try and keep up. Sadly, no luck.
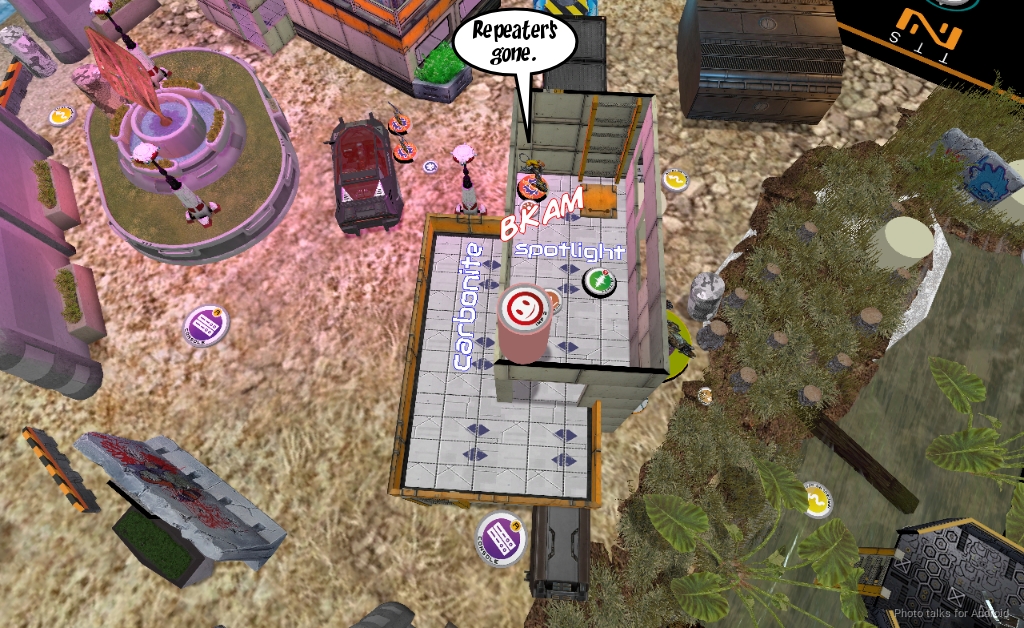
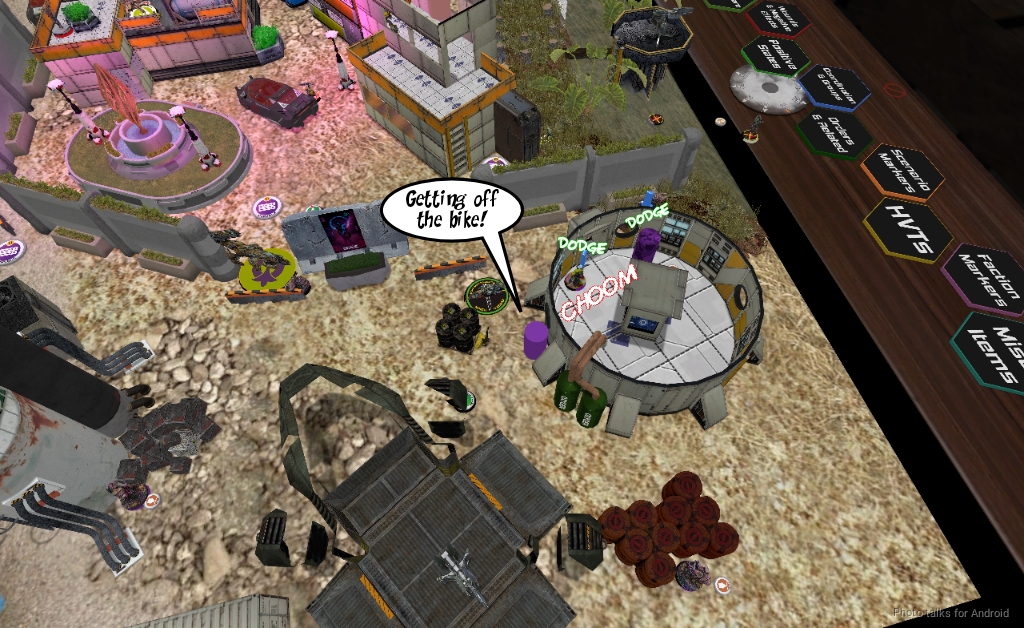
The Kum takes out the repeater obviously covering Maggie against my spotlight, and then makes a play on Bit.
Frank hops the Kum off the bike and chain rifles Bit and the Caliban. Bit shockingly passes her dodge, but the Caliban is down for the count. BOOOOO.
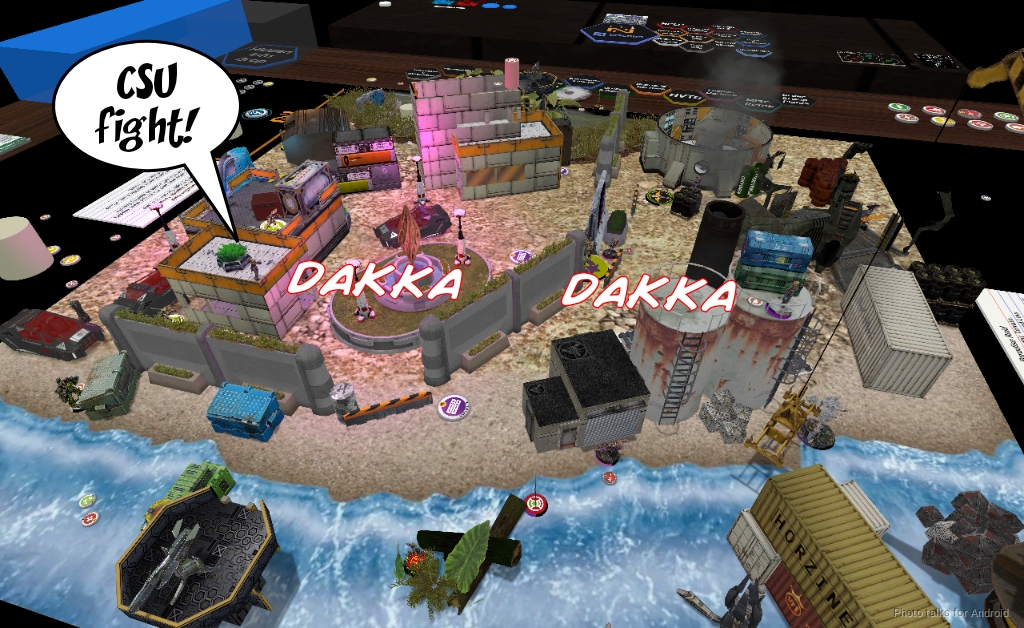
We have a bit of a CSU fight that’s completely ineffectual with Frank’s irregular order on the CSU. Really all this does is let him stand the CSU up to ARO things.
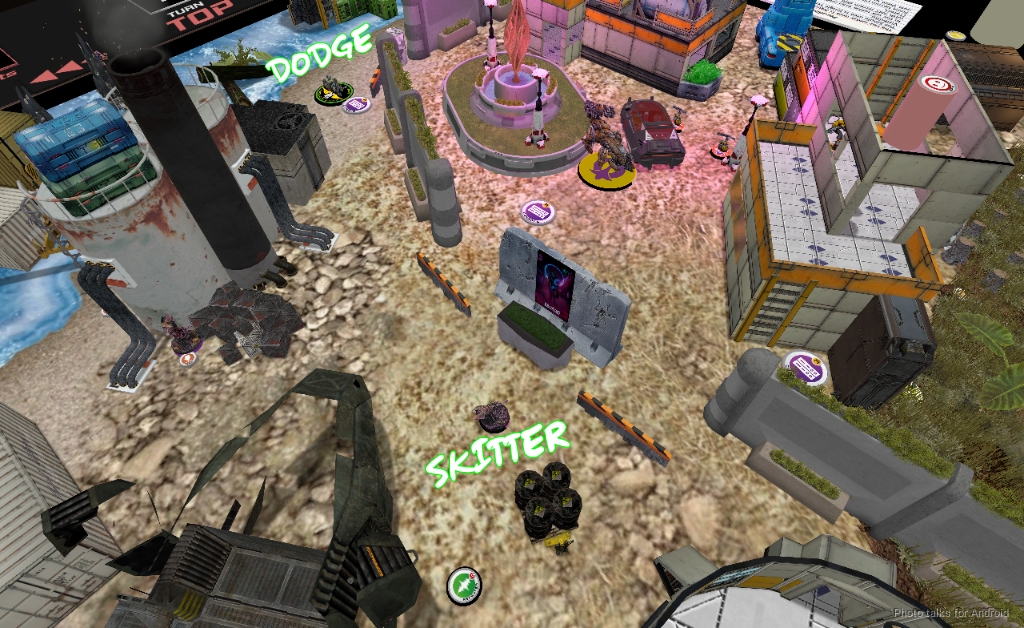
Frank picks up the Zuyong with the Ghulam doctor’s nasmat and tries to collapse my left flank, taking out a Taigha.
The Rindak dodges successfully again as the Zuyong continues to push. What a champ!
Frank needs to free up Maggie, so he stomps on the Taigha in close combat with him and passes turn back to me. Sadly my Ikadron that’s nearby is 8.25″ away.
Bottom of 2 – Combined
I need to open some supply crates, and I decide to send in the Rindak. I don’t have a ton of orders, so I have to play pretty risky. The Rindak takes down the Zuyong pretty easily though, and Frank’s CSU whiffs the ARO.
I need to get rid of that Kum that’s still alive, so I shoot it in the back with an Ikadron’s pistol and send it dogged, which is good enough.
We have another CSU fight, but I lose my CSU to the ARO. Bah humbug.
I just have to go for it with the Rindak, and steal the objective after dodge-clearing the mine and avoiding the CSU’s ARO again. The Rindak scurries away and takes a flash pulse to the face, but it doesn’t matter now.

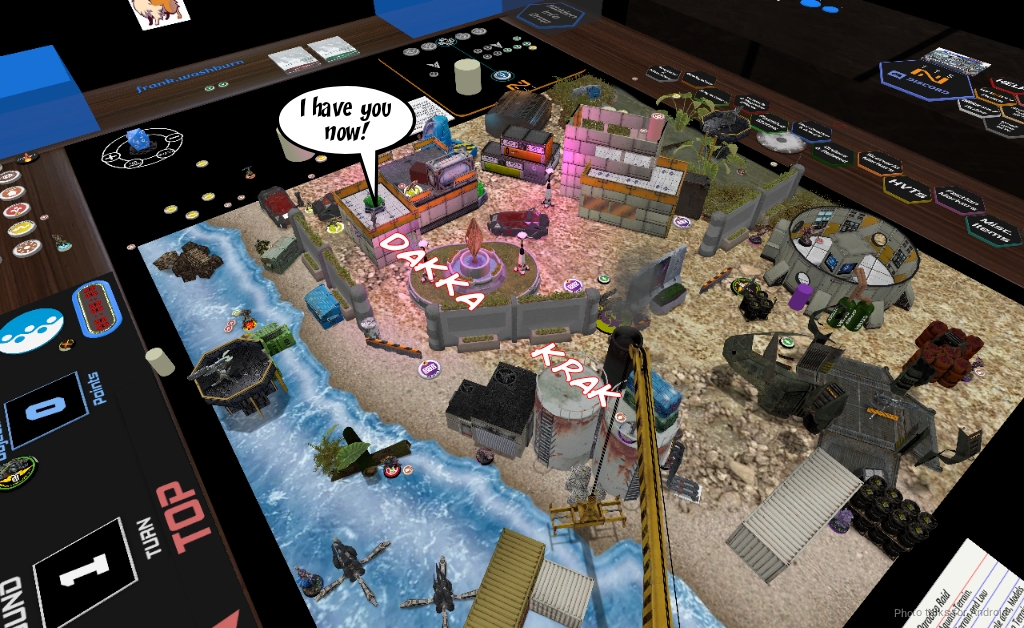
With my last few orders, I get the Anathematic in view of Maggie and take her from full health to off the table with one burst of plasma fire. WOAH. I’ll take it!
Turn 3
Top of 3 – Dahshat
Because of religious, I couldn’t hide the Rindak fully on my last turn after getting flash pulsed, so Frank gets a shot on it now with his CSU. This time, I dodge out of LoF so I’m safe.

After grabbing the rightmost supply box with Fiddler, Frank climbs her up onto the building where I fired the pitcher. My Libertos takes a shot at this, but fails to wound Fiddler. Frank spends his Lt order to try and take down my Libertos, but I dodge closer to his Fanous instead.
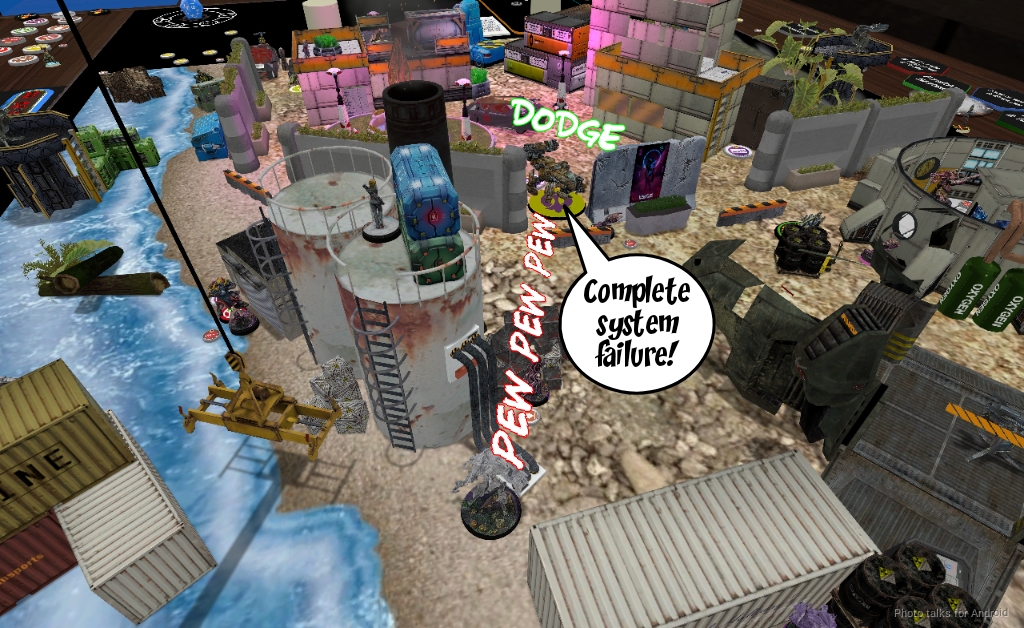
Frank doesn’t have much let now, so he decides to try and send in the Digger to deal with the Rindak. I Blitzen it and stop it cold.
The CSU climbs off its building and then Frank passes turn.
Bottom of 3 – Combined
All I really need to do this turn is grab the central console and take out Fiddler. I figure the latter will be pretty easy with a Greif operator right next to Fiddler, so I surprise shot with breaker pistols. I hit, but FIddler has no trouble passing BTS.
This goes on for several orders with Fiddler passing probably 6-8 total BTS saves against the Greif.
I really cannot continue doing this so I walk the Anathematic forward and Carbonite the Jackbot guarding the objective.
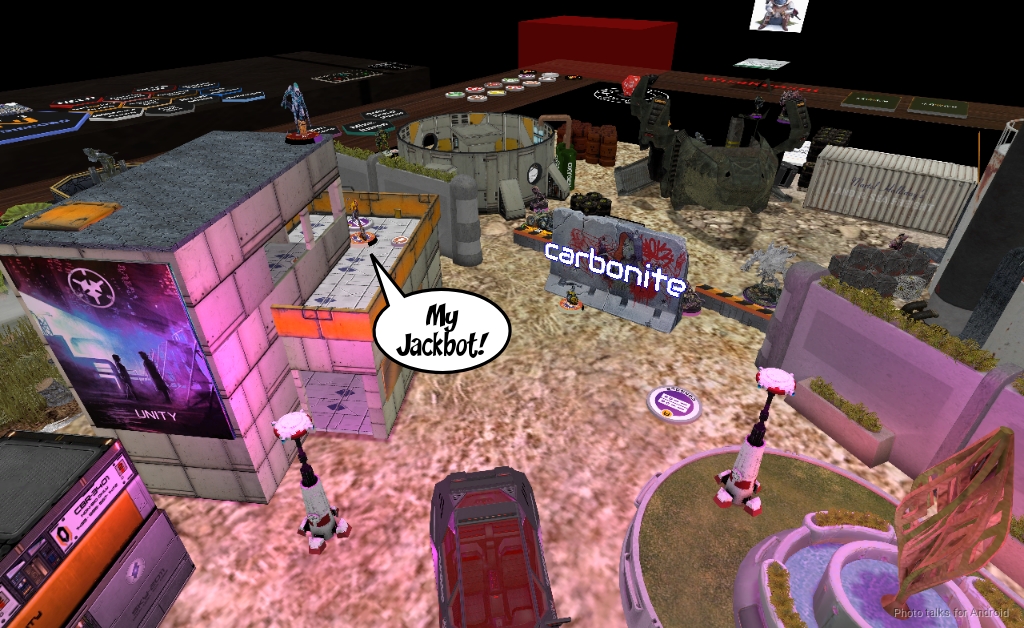
I don’t want to give the Jackbot a reset, so I use Stealth and walk forward, taking fire from the CSU but not granting a reset to the Jackbot.
The CSU whiffs, so I just walk into base to base with the central objective and take it with the CSU missing again.
Since I couldn’t take out Fiddler, Frank has one box and I have two. I’m also securing his HVT, so I’ve got an additional point, making it a
6-2 , 181-92 Combined Army Victory!
Post Game Analysis
Well that was a brutal game. Losing the Overdron and Maggie to a single order of shooting for us both is just nuts. Obviously getting Maggie possessed is real bad as well. I think having both the Zuyong and Maggie draw from the same order pool is a lot, and definitely hurt Frank’s first turn. I docked his second order pool to basically neuter one of his Kum/Libertos pairs, which worked out for me.
In terms of pacing, I think Frank pushed too hard on the first turn for little gain. Part of it was just that it’s hard to push hard like that, and part of it is that i had my own warbands and Libertos to protect me. The Taigha in this game helped a lot by blunting the Kum/Libertos attack and also basically removing it by the end of my first turn. I wasn’t able to stop the last Kum biker from going after Bit, but honestly that was probably a bit lucky on Frank’s part, dodging against a shotgun. Burst 1 fights are always down to luck.
Aside from losing the Overdron, I felt pretty in control of the first turn. I was able to more or less drain a bunch of orders by throwing a pitcher out and forcing Fiddler to not only spend orders to climb up the building but also to reset. After that, it was more or less just setting up Berserk attacks with the Taigha. My first turn was fantastic. Clearing out 3/4 of Frank’s flank attack pieces and then using Maggie to take out his secondary attack pieces is very very good. My only regret is not having enough orders to spew mines everywhere, which would have helped me potentially protect against the Kum biker taking out my Caliban.
Turn two was a bit troublesome, I was pretty low on orders so it was hard to do everything I needed. I got pretty lucky with the Rindak this game, probably more than was reasonable. All in all though, I had the right tools and after the first turn Frank had a really difficult time stabilizing. Of course, the real issue was that he also lost Maggie at the bottom of two, and at the top of two he spent most of his turn just clearing repeaters.
I think Frank probably misplayed the first turn a little. There was too much going on for me to remember which Libertos was in which group, but I think the right play is to just dive his Libertos onto Bit and take her out to remove my access to pitchers. That basically keeps Maggie safe and then I’m in real trouble trying to chew through his list. Once the Overdron was down I really needed a big long range gun, so I had to steal one, effectively.
Pingback: Gator Wrestling – MERC Recon