
Gwailo Island
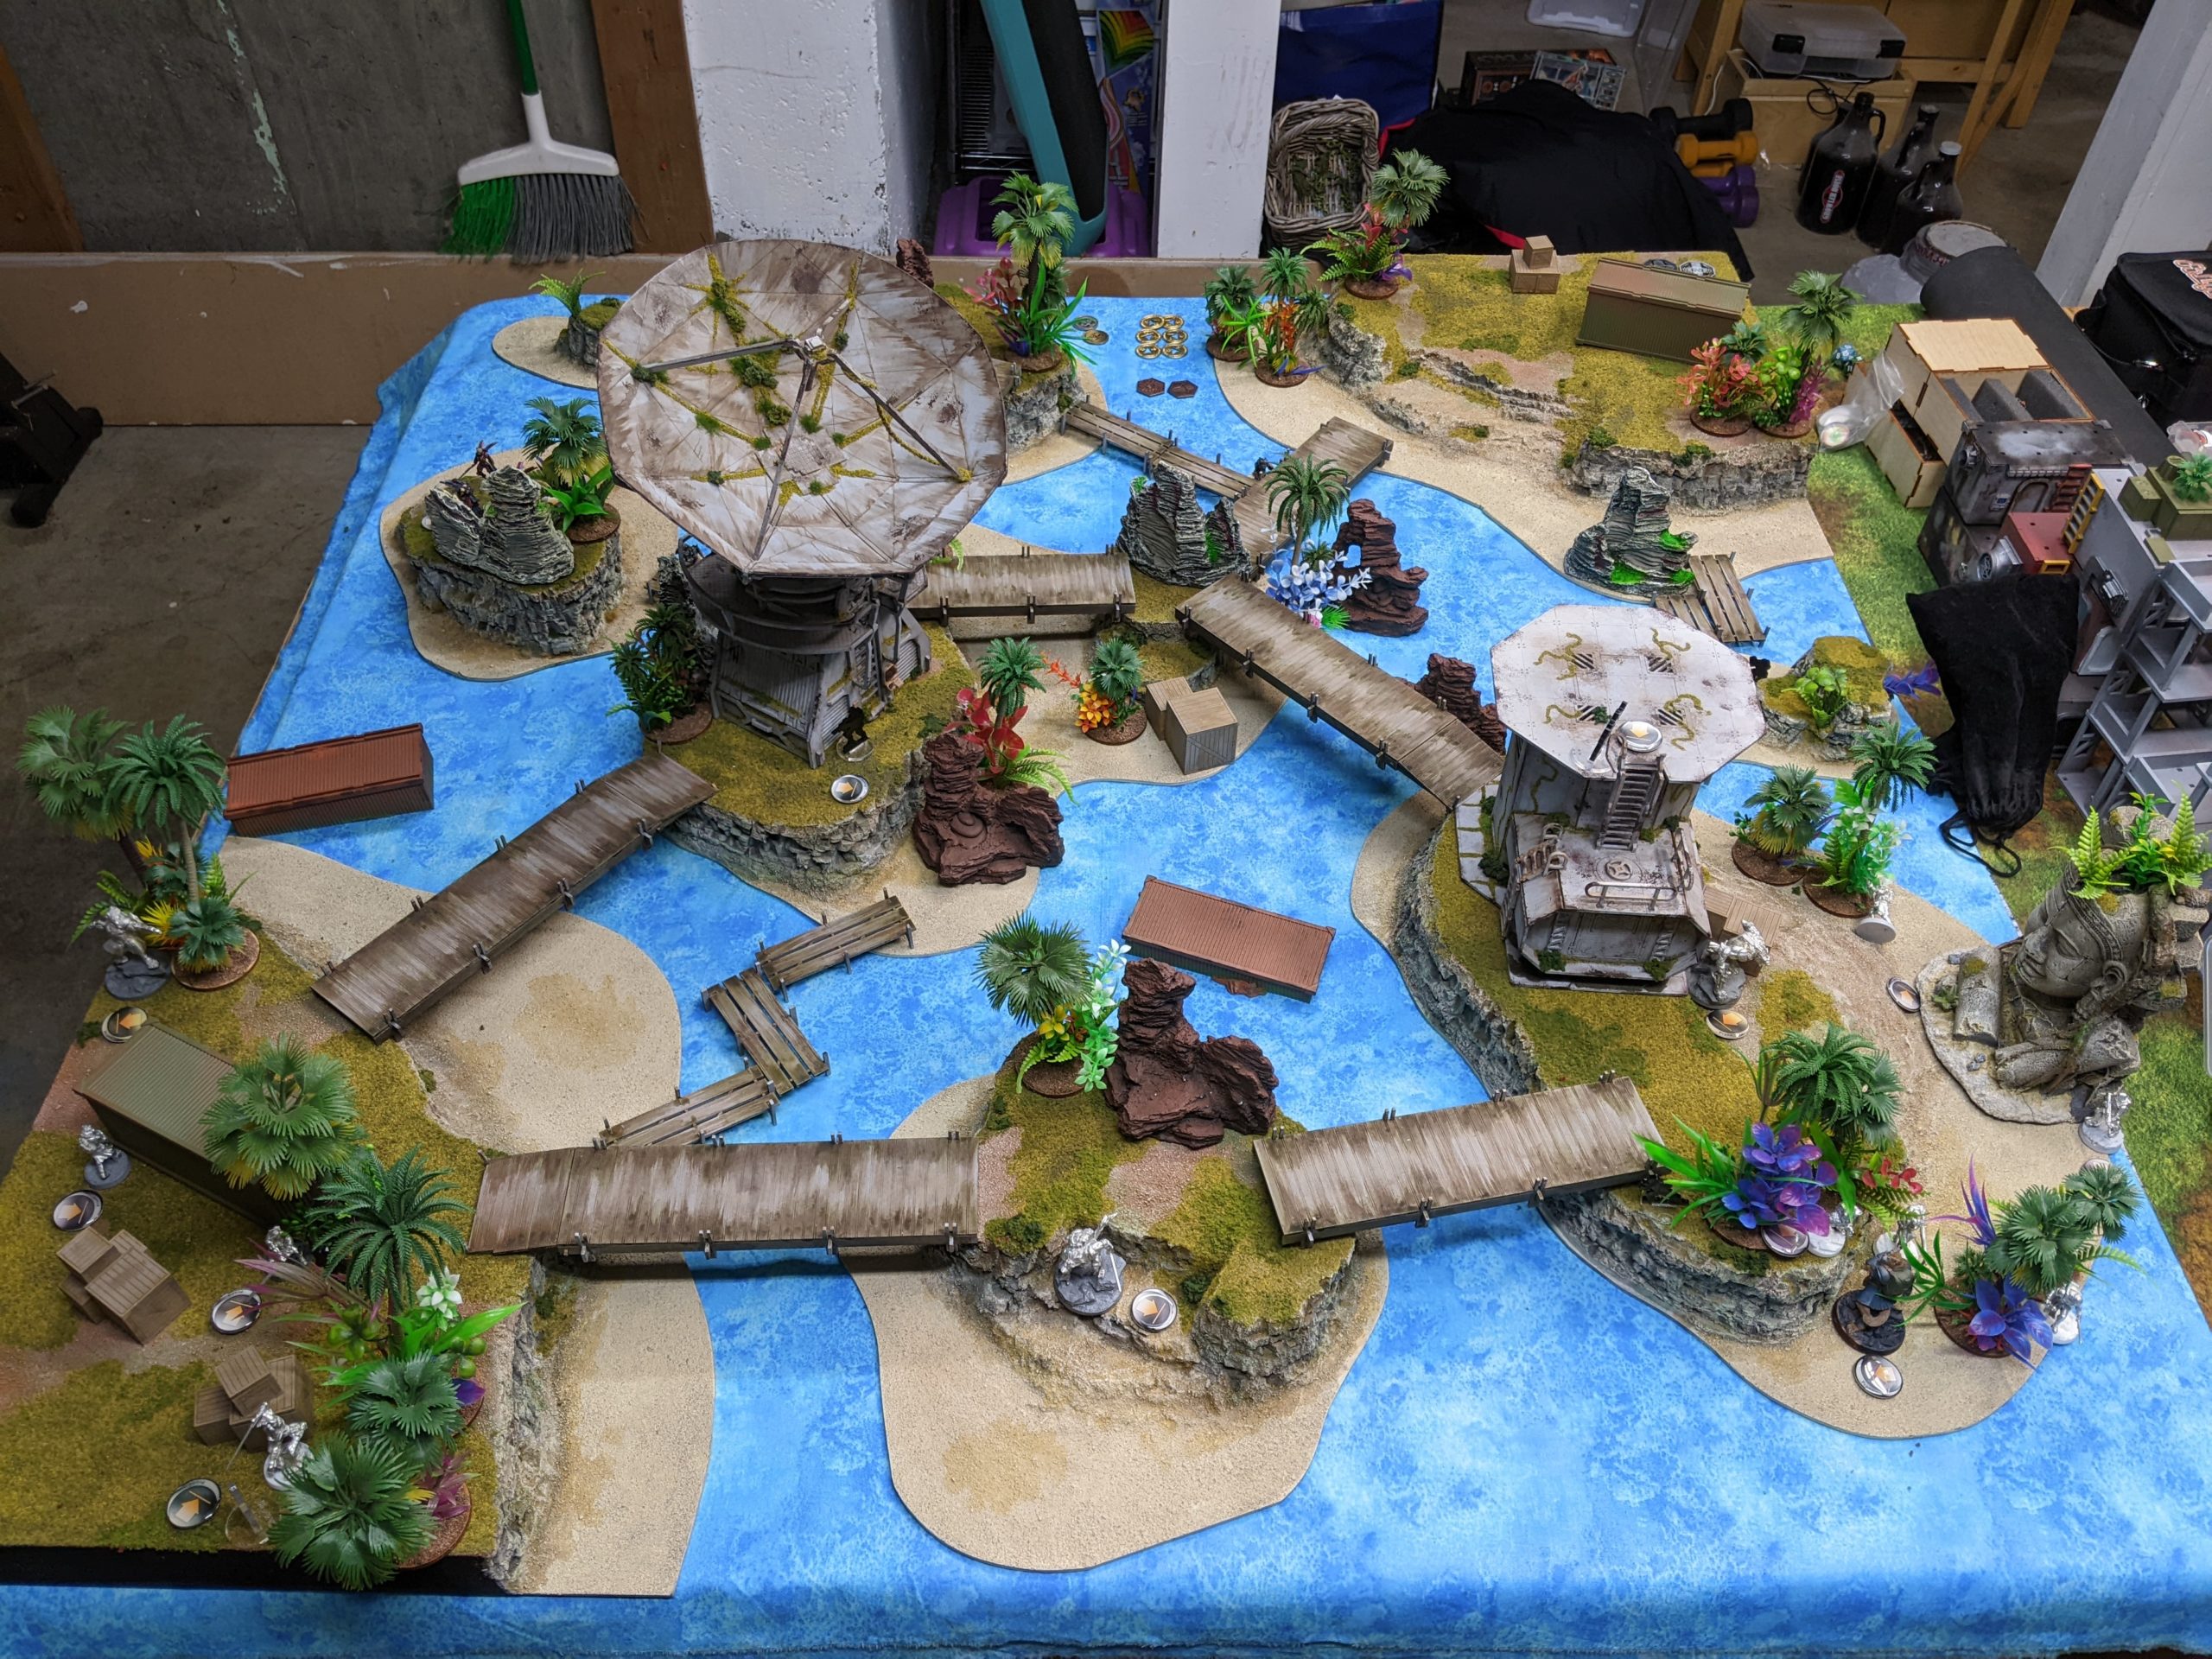
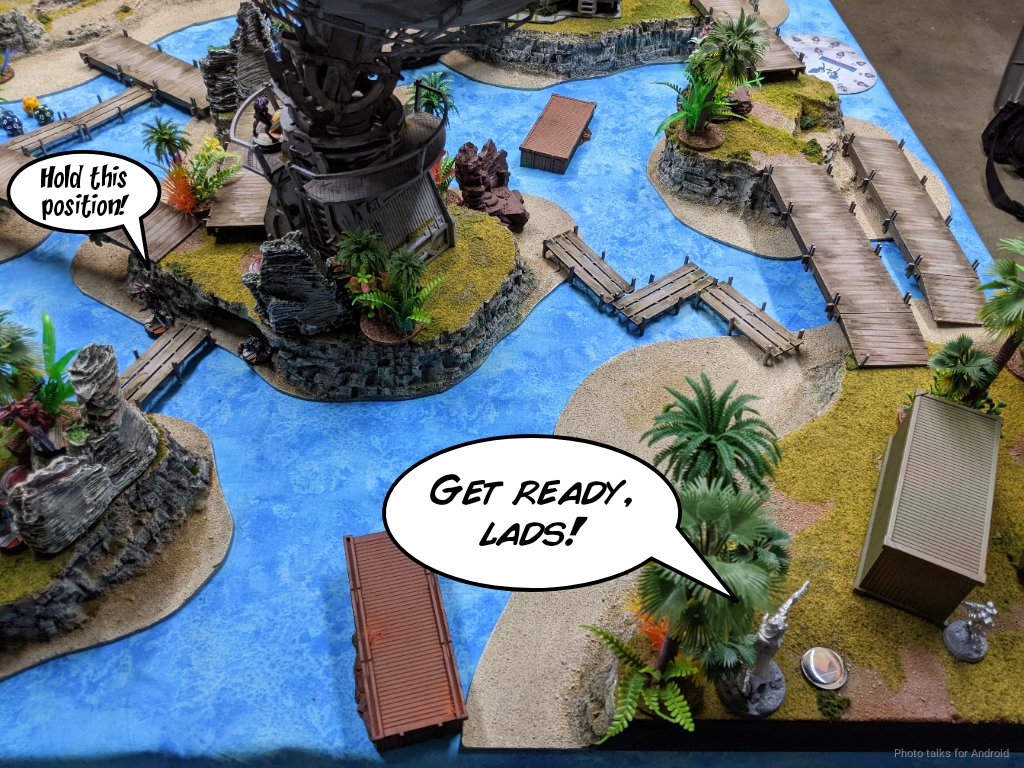
Obadiah (Nehemiah) is in town, so we scheduled a game at Adam’s place. Adam and Obi broke out the island table, mostly because Adam hasn’t had time to unpack the terrain from Rose City Raid 2022 and this was the easiest table to get to.
It’s a little worse for wear after a few tournaments, but it still looks great!
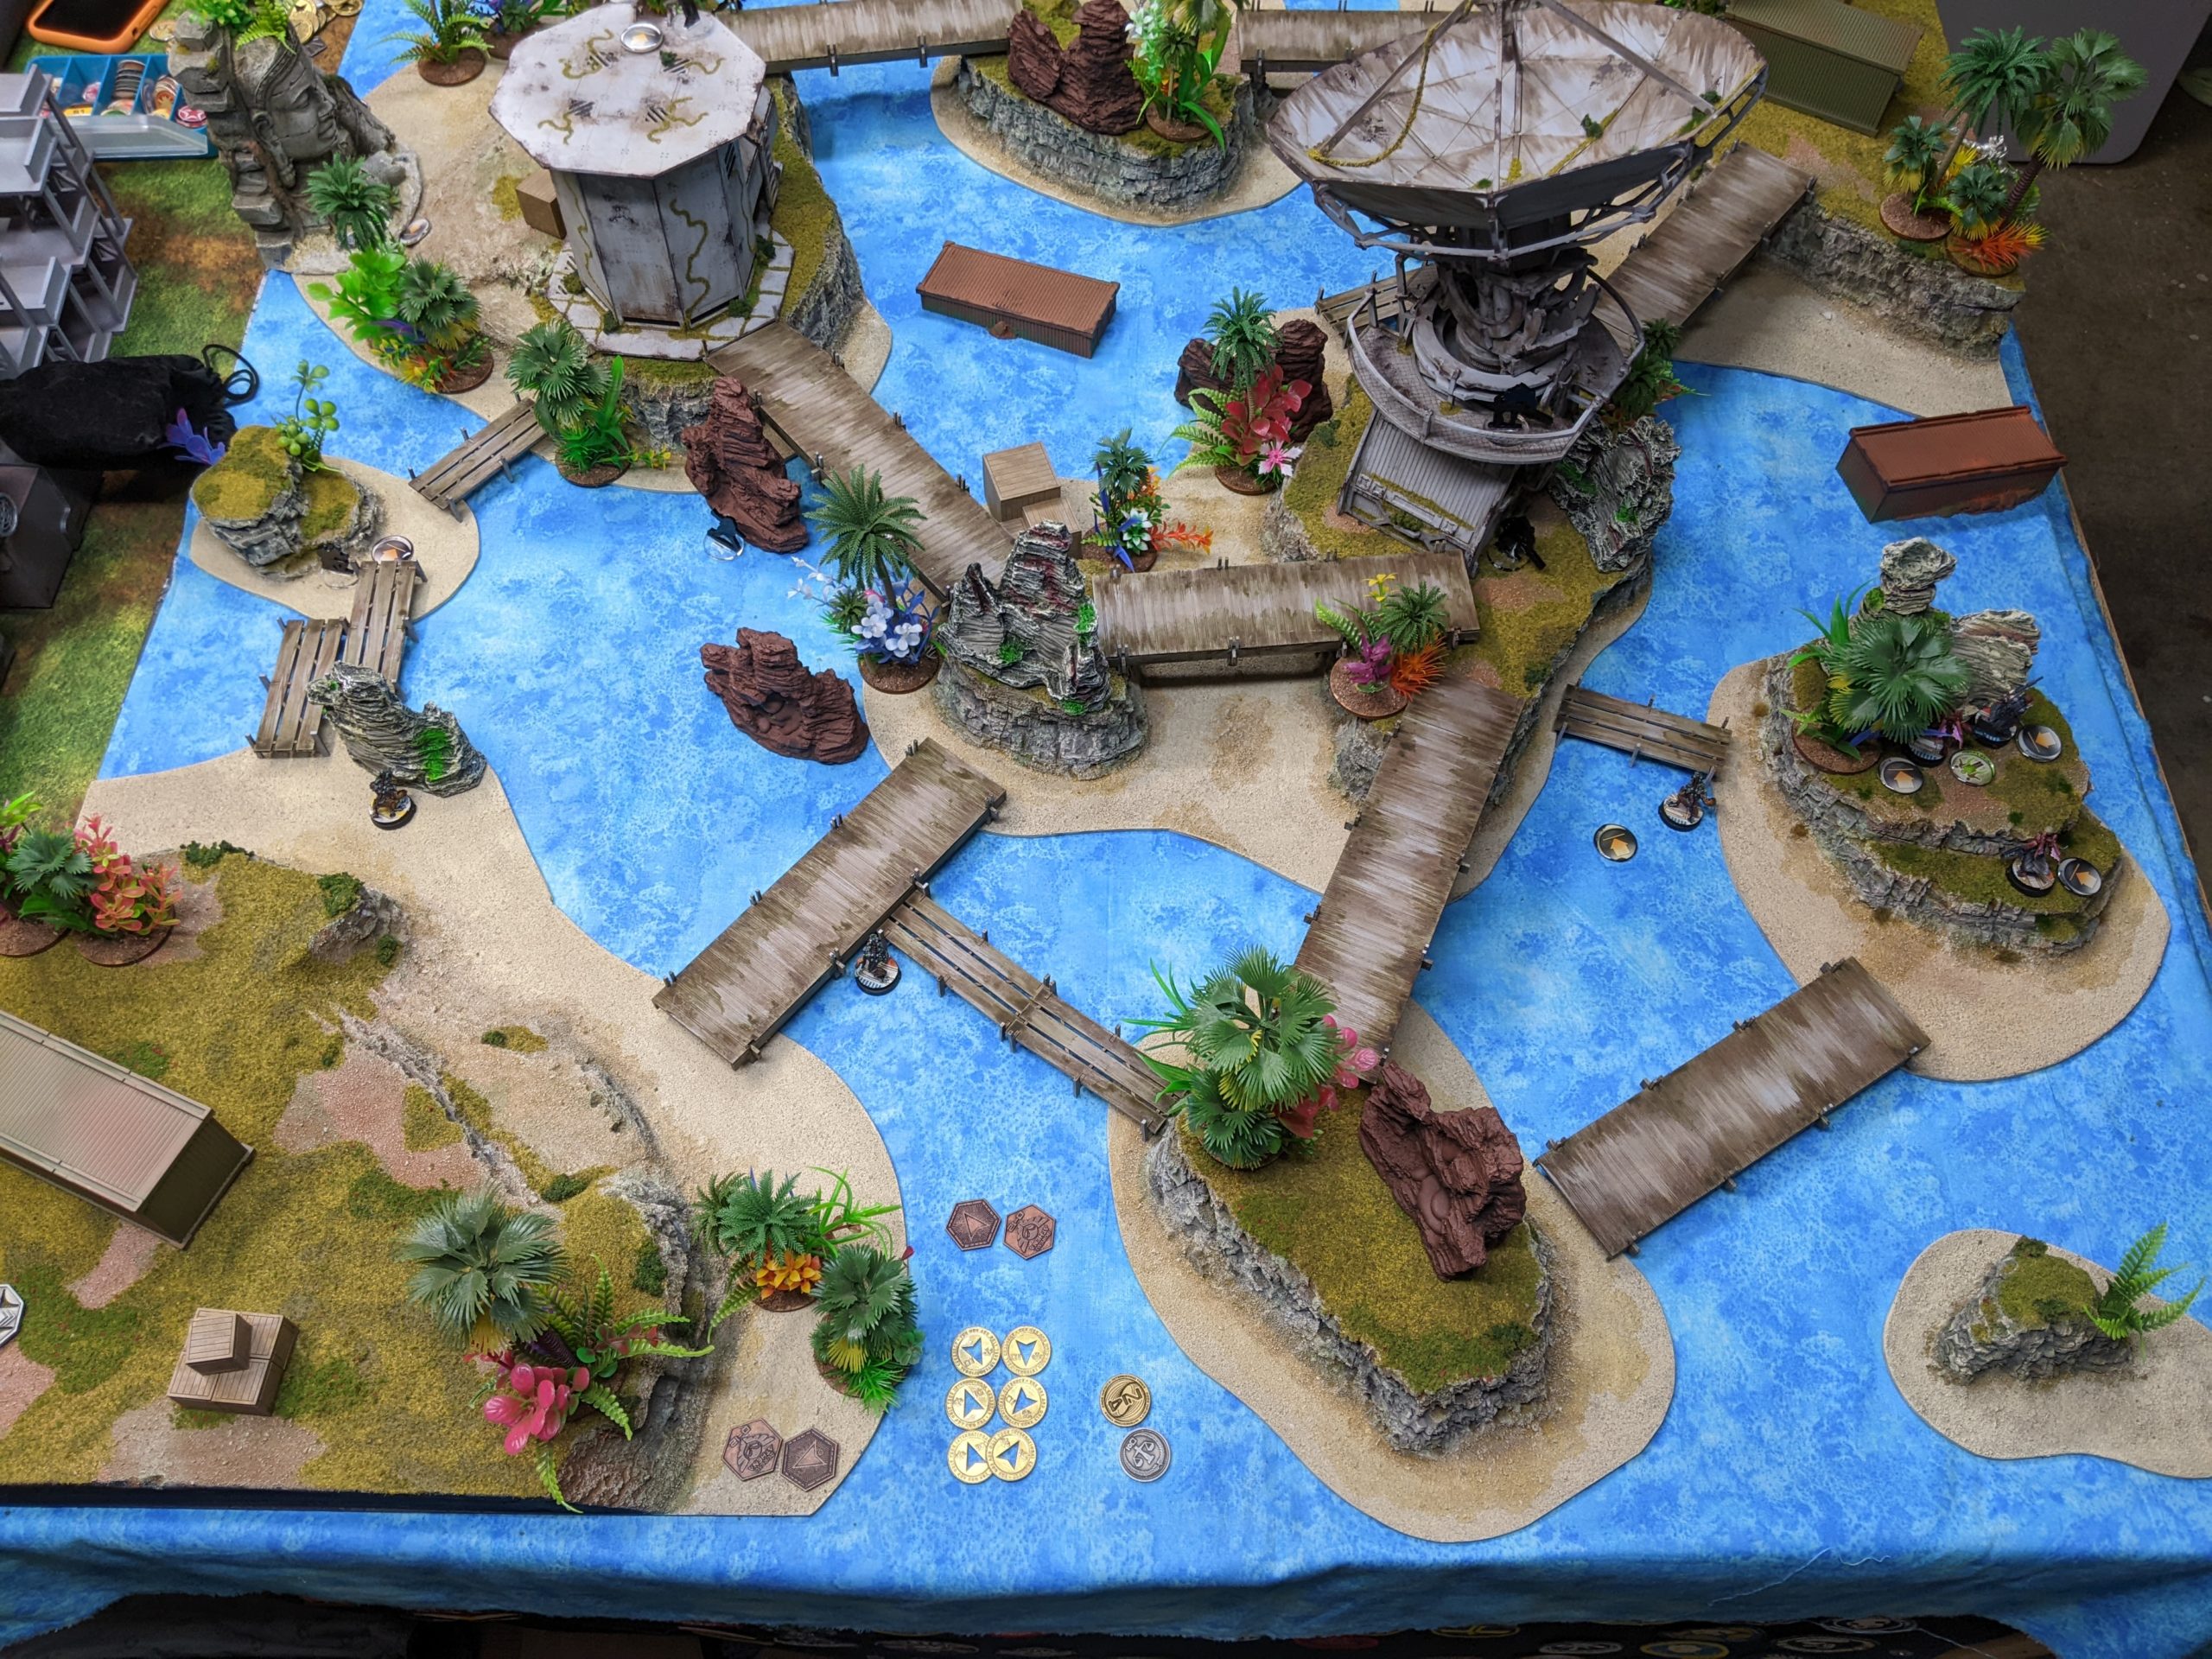
We decided that the little stands of trees are opaque cylinders for the purposes of drawing line of fire, but if you’re touching one and peeking out slightly, you are considered to be in cover, in a saturation zone, and in a low-vis zone. That way you still get all the fun mods without it being crazy difficult to calculate line of fire on the table.
I think this table has always been hard to play on because it’s just too hard to parse, but after this change it’s way better. Obi made a comment after the game that it might even be too dense, which is generally not something that has ever been said about this table. Adam did get some more aquarium rocks for it though, so there are two increases to density. In any case, there are still plenty of wide open firelanes as we’ll see.
Overview
- Mission: ITS14 Cutthroat
- Forces: Caledonian Highlander Army versus Shasvastii Expeditionary Force (300)
- Deploy First: Shas
- First Turn: Shas
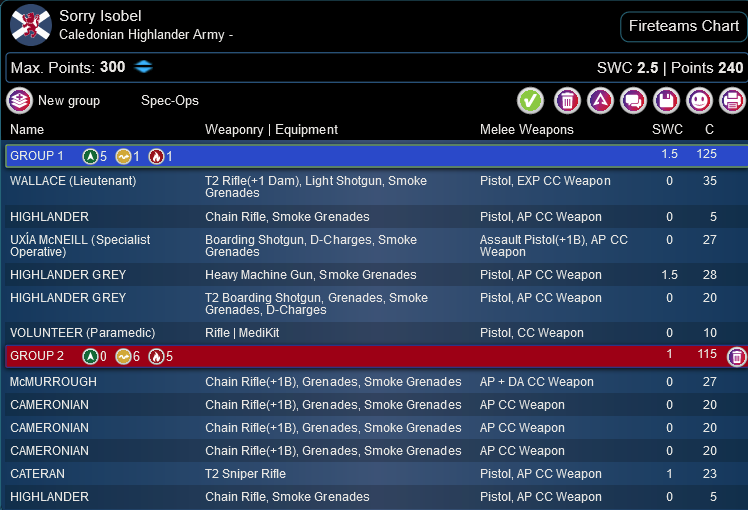
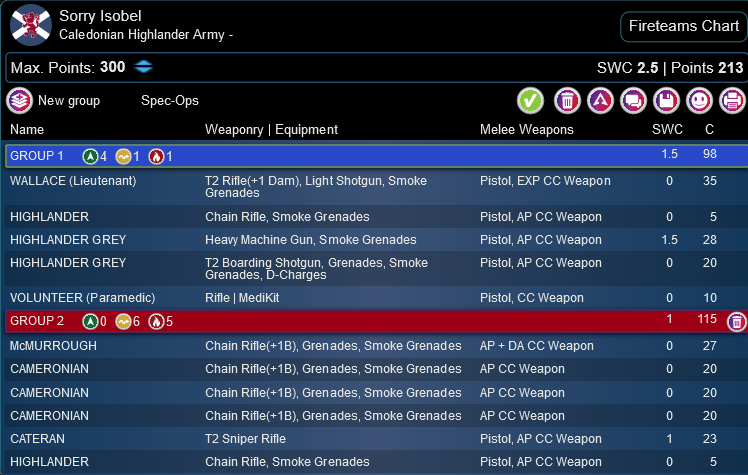
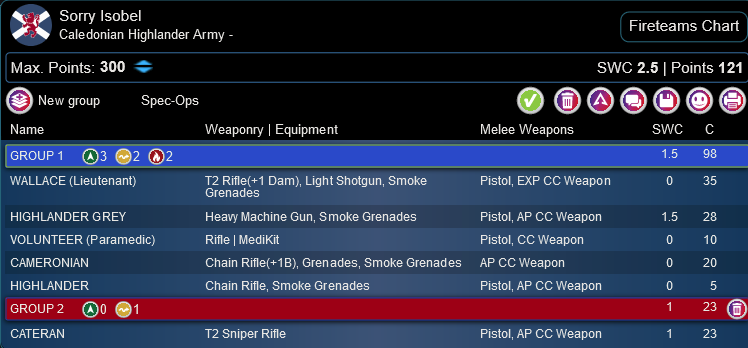
I took a variant of my last Decap list:
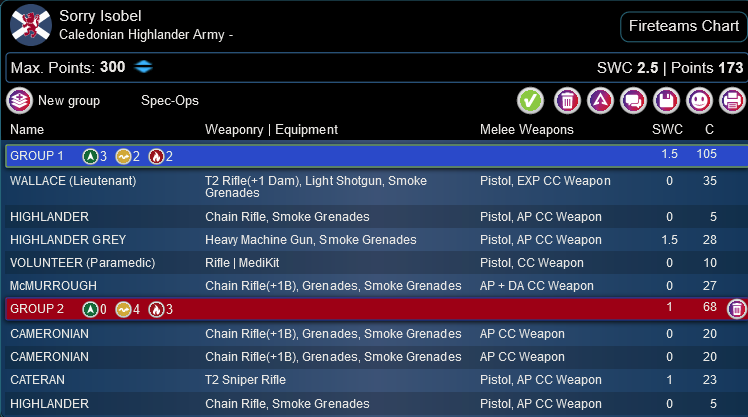
Sorry Isobel
GROUP 1
6
2
2
HIGHLANDER Chain Rifle, Smoke Grenades / Pistol, AP CC Weapon. (0 | 5)
“FIRSTSTRIKE” DONN T2 Rifle, Grenades / Heavy Pistol, T2 CC Weapon. (0 | 32)
UXÍA McNEILL (Specialist Operative) Boarding Shotgun, D-Charges, Smoke Grenades / Assault Pistol(+1B), AP CC Weapon. (0 | 27)
GROUP 2
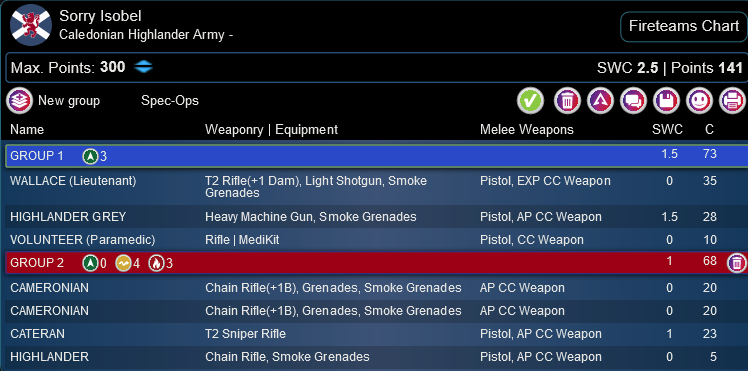
WALLACE (Lieutenant) T2 Rifle(+1 Dam), Light Shotgun, Smoke Grenades / Pistol, EXP CC Weapon. (0 | 35)
HIGHLANDER GREY Heavy Machine Gun, Smoke Grenades / Pistol, AP CC Weapon. (1.5 | 28)
VOLUNTEER (Paramedic) Rifle ( | MediKit) / Pistol, CC Weapon. (0 | 10)
McMURROUGH Chain Rifle(+1B), Grenades, Smoke Grenades / AP + DA CC Weapon. (0 | 27)
CAMERONIAN Chain Rifle(+1B), Grenades, Smoke Grenades / AP CC Weapon. (0 | 20)
CATERAN T2 Sniper Rifle / Pistol, AP CC Weapon. (1 | 23)
3.5 SWC | 300 Points | Open in Army | Copy Code
Same basic plan. Wallace is in reserve and can make a 4-model list for sixth sense in two different places on the table. Uxia goes and assassinates something, dogs do dog things, and Caterans Cateran.
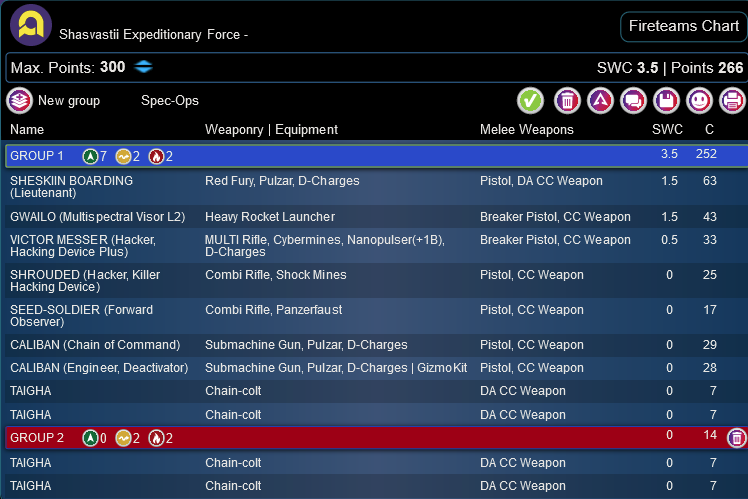
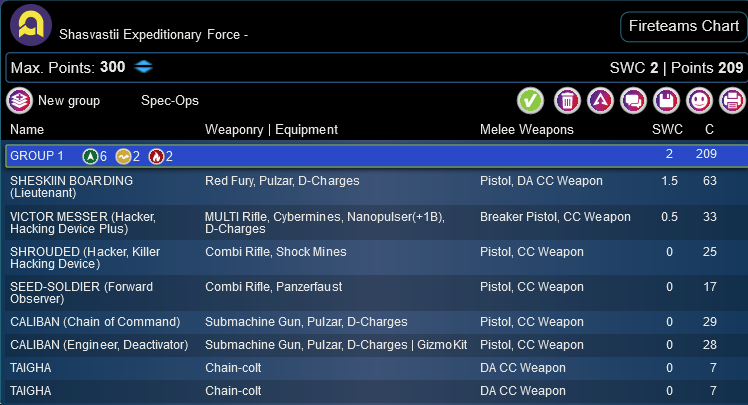
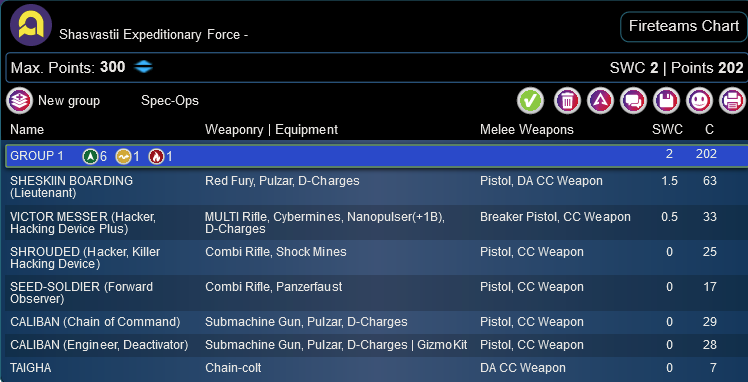
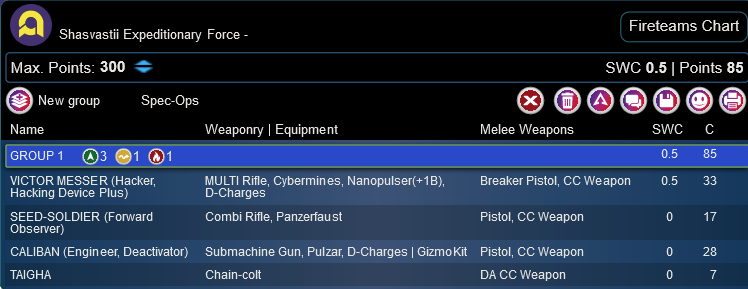
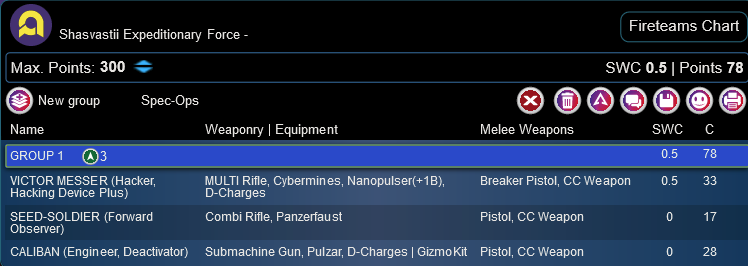
Obi’s got a bit of an odd list made of mostly defiance models. It’s got a beefy haris with Messer, a Gwailo HRL, and Sheskiin.

GROUP 1
SHESKIIN BOARDING (Lieutenant) Red Fury, Pulzar, D-Charges / Pistol, DA CC Weapon. (1.5 | 63)
GWAILO (Multispectral Visor L2) Heavy Rocket Launcher ( ) / Breaker Pistol, CC Weapon. (1.5 | 43)
VICTOR MESSER (Hacker, Hacking Device Plus) MULTI Rifle, Cybermines, Nanopulser(+1B), D-Charges ( ) / Breaker Pistol, CC Weapon. (0.5 | 33)
GROUP 2
SHROUDED (Hacker, Killer Hacking Device) Combi Rifle, Shock Mines ( ) / Pistol, CC Weapon. (0 | 25)
SEED-SOLDIER (Forward Observer) Combi Rifle, Panzerfaust / Pistol, CC Weapon. (0 | 17)
SPECULO KILLER (Minelayer) Combi Rifle, Smoke Grenades, Shock Mines / Pistol, Monofilament CC Weapon. (1.5 | 34)
CALIBAN (Chain of Command) Submachine Gun, Pulzar, D-Charges / Pistol, CC Weapon. (0 | 29)
TAIGHA Chain-colt / DA CC Weapon. (0 | 7)
5 SWC | 300 Points | Open in Army | Copy Code
Double Caliban is also very dangerous, and then there’s a Seed Soldier and Shrouded to complete the midfield. Obi’s assassin is of course a Speculo, and then there’s a pack of four Taigha to keep me on my toes. It’s a very difficult to pilot list and it could probably use a few more orders, but there’s a lot of potential here.
Deployment
Obi won the rolloff and elected to go first. This was about as good as I was going to get, assuming he didn’t have double Speculo. Since the deployment zone is 16″ in Cutthroat, Obi was able to castle up on a little island, which we’ll call Gwailo Island, on his right. Messer and Sheeskin hung out nearby, prone and hiding. The four Taigha were spread out across the table (I don’t remember/see where the 4th is but it’s there somewhere).
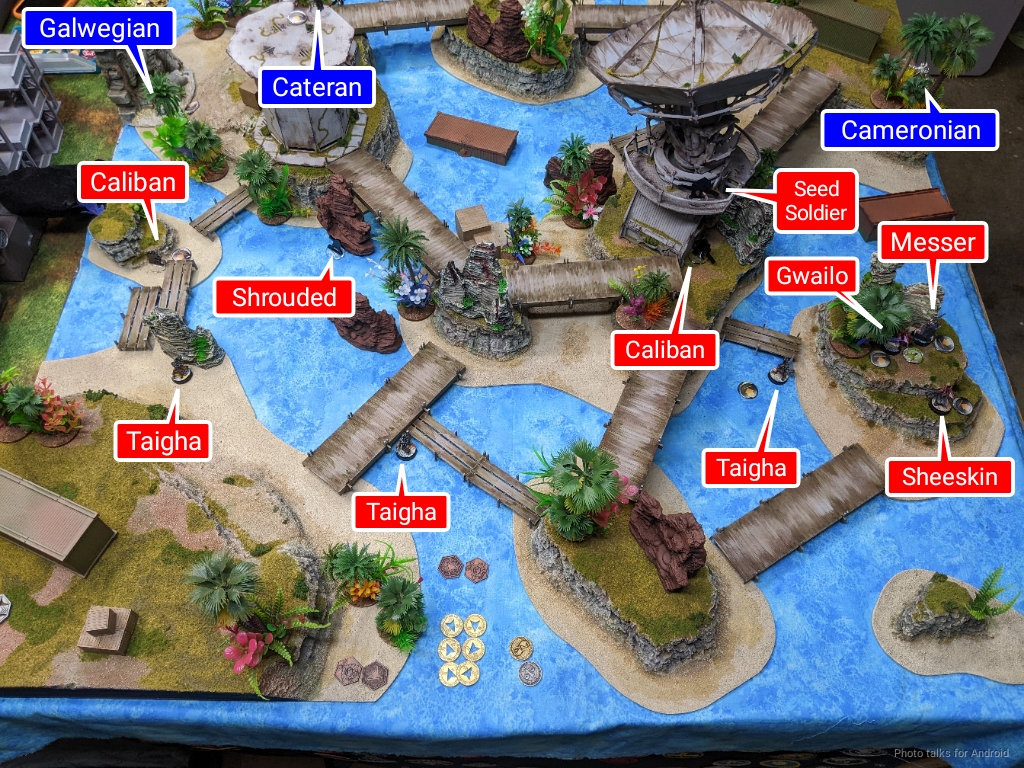
One of the Caliban protected the approach to Gwailo Island, with the Seed Soldier in the antenna dish tower preparing to panzerfaust stuff. The other Caliban and Seed Soldier protected the area on Obi’s left. I knew there was no way that Obi would play Shas in a game of Cutthroat and not bring a Speculo. He didn’t hold multiple models in reserve, so I knew my plan of deploying two legal links and putting Wallace in the non-Speculo-threatened one would work just fine.
I felt the left corner island was the more defensible of the two islands, even though Sheskiin was so close, so I set up Cadin and the Galwegians there to give Wallace a place to safely nap. Cadin was left standing and watching one of the approaching Taigha. There was a little pocket to fit a Cameronian as well, so one went in there. I put a single Cameronian in the central island of my deployment zone, and the other one on the right in a little nook.
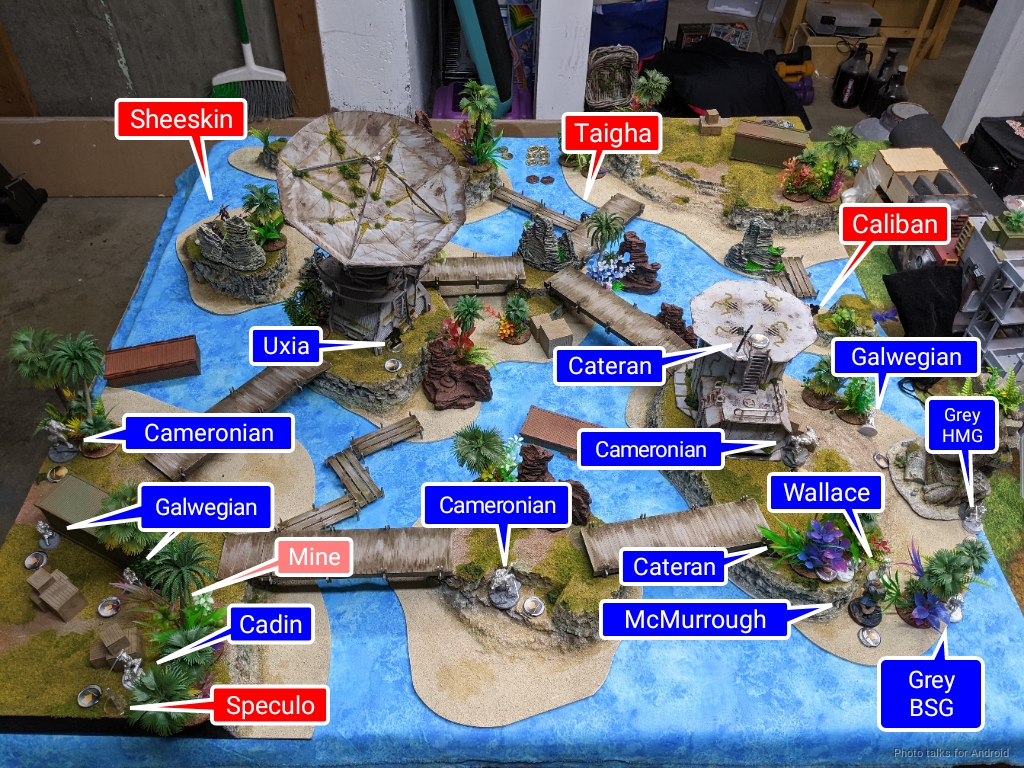
I built another castle for Wallace over there (there’s a Volunteer between Wallace and the Cateran near McMurrough) with the Grey link. One Cateran was in the back to defend against Speculo walking around in my DZ and an advance by Sheskiin, and the other Cateran went on the roof of the oil tank, the corner of which was just barely in my deployment zone.
I struggled to find a good place for McMurrough and decided to just put him chilling near the Greys and to sort of pad the area to protect Wallace. I had a leftover Galwegian, so he went at the edge of my deployment zone to hopefully fight some Taigha. Obi’s reserve was as expected a Speculo, and he spent the points to make it a minelayer. He used the mine to cover the two Galwegians and Cadin and put the Speculo behind Cadin.
Well, that’s about as good a reason to not put Wallace there as any. I put Wallace way on the other side of the table protected by McMurrough. Seemed pretty safe. Obi chose Sheskiin as his Key Ops and I chose McMurrough.
Turn 1
Top of 1 – Shas
Obi’s first pool is a bit light on orders, so I took two from that pool as it was the only pool I could realistically take from. My objective this turn is to survive 6 regular orders powering a Speculo, Taigha, and a Gwailo.
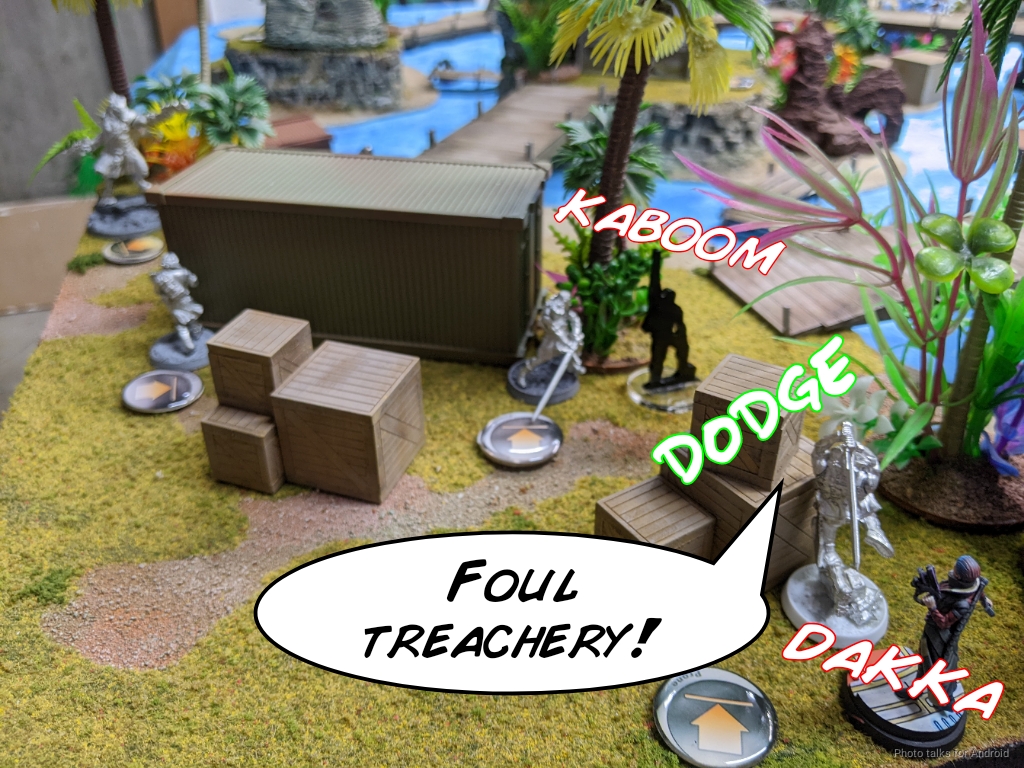
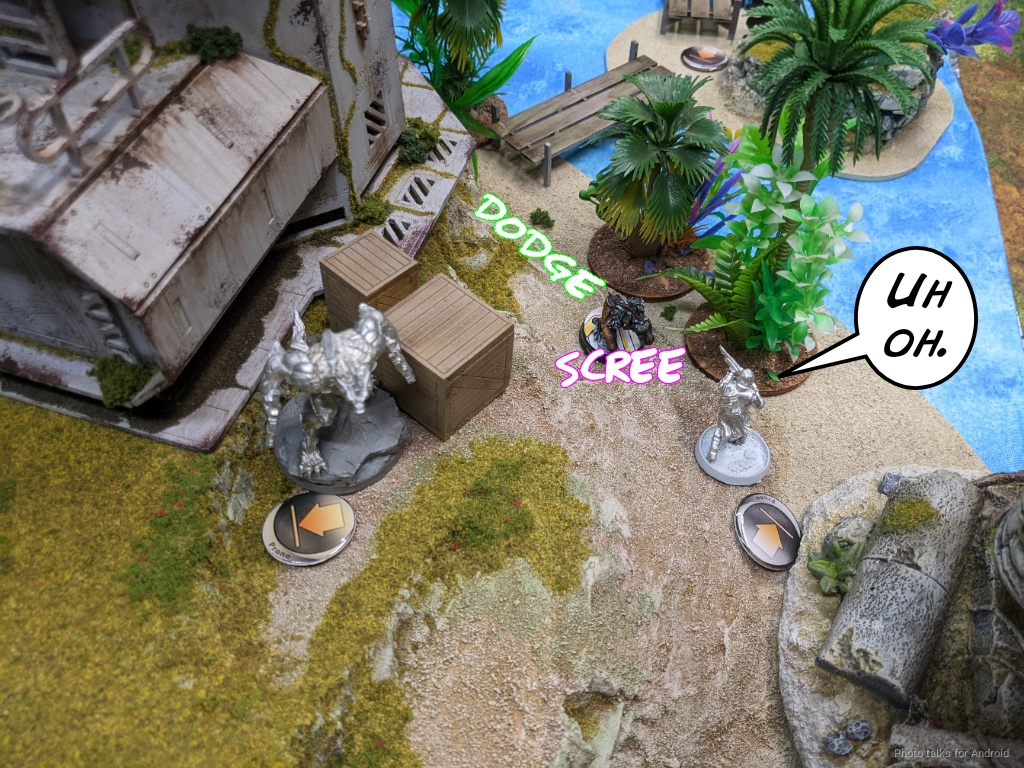
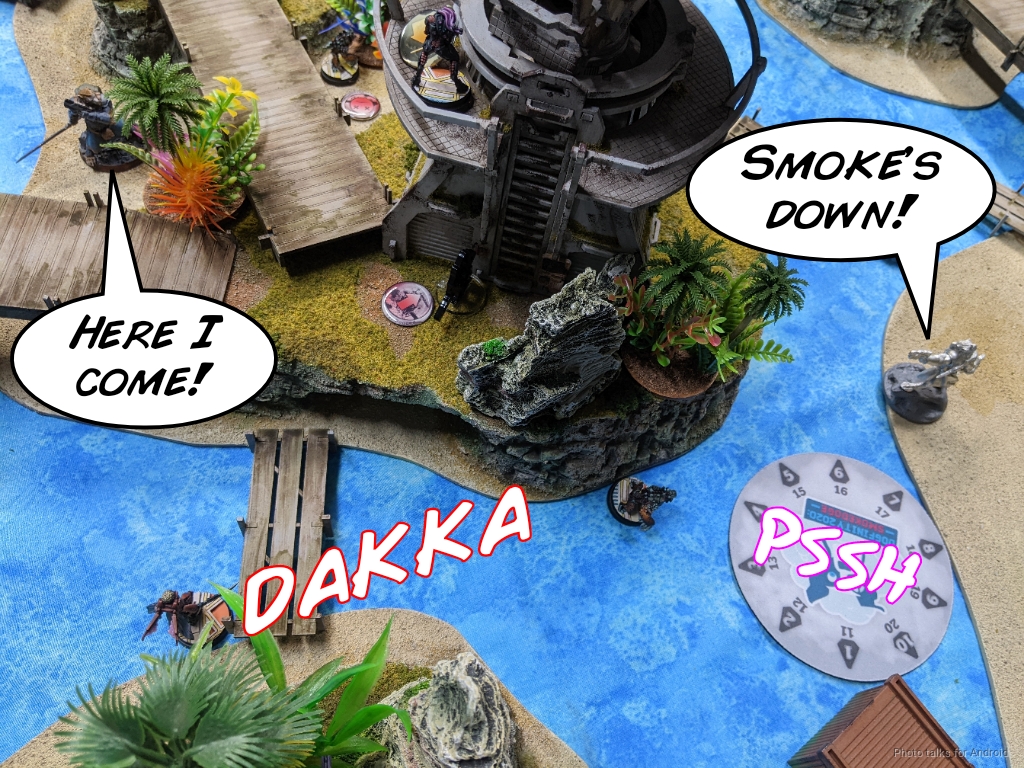
After some impetuous moves from Taigha in front of the Cateran (I declined to break camo and ARO), the Speculo shot Cadin in the back. My dodge was enough to keep Cadin up at one wound, but without a template weapon this was going to be tricky. The dodge also cleared the mine for the Galwegians, which was quite nice. I think Obi would have been better served putting the mine in a place that Cadin couldn’t trigger it so as to make things extra difficult for me. Really doubling down on killing Cadin seemed reasonable though.
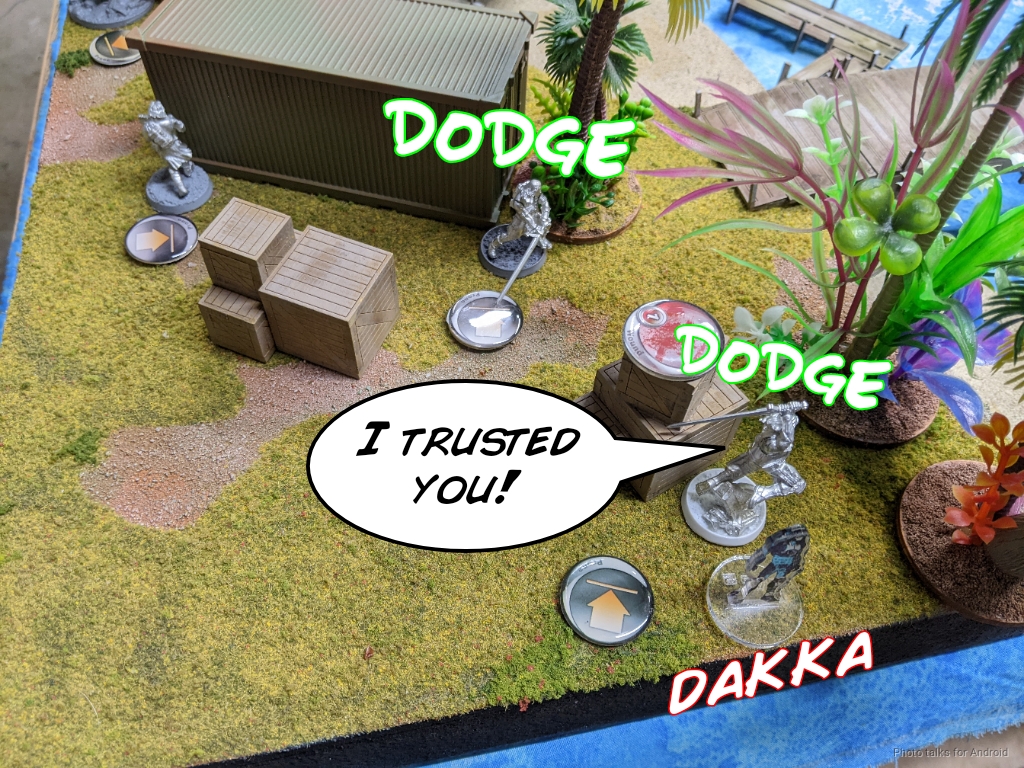
To that end, Obi kept shooting, dropping Cadin unconscious against another dodge. I could’ve shot the Speculo on 15 instead of dodging on 14, but I figured dodging into CC would make Obi keep spending orders. If not, I could berserk one of the Galwegians in and get burst two. I rolled a bit too low, so it wouldn’t have mattered anyway.
Obi moves another Taigha in front of a Cateran, getting dangerously close to my stuff. I again decline to ARO. Again, the objective here is to drain orders!
One of the group 2 Taighas dodges into my deployment zone and threatens to chain colt a bunch of stuff on my turn. I can’t really do much against this except dodge, but I fail the roll so nothing happens.
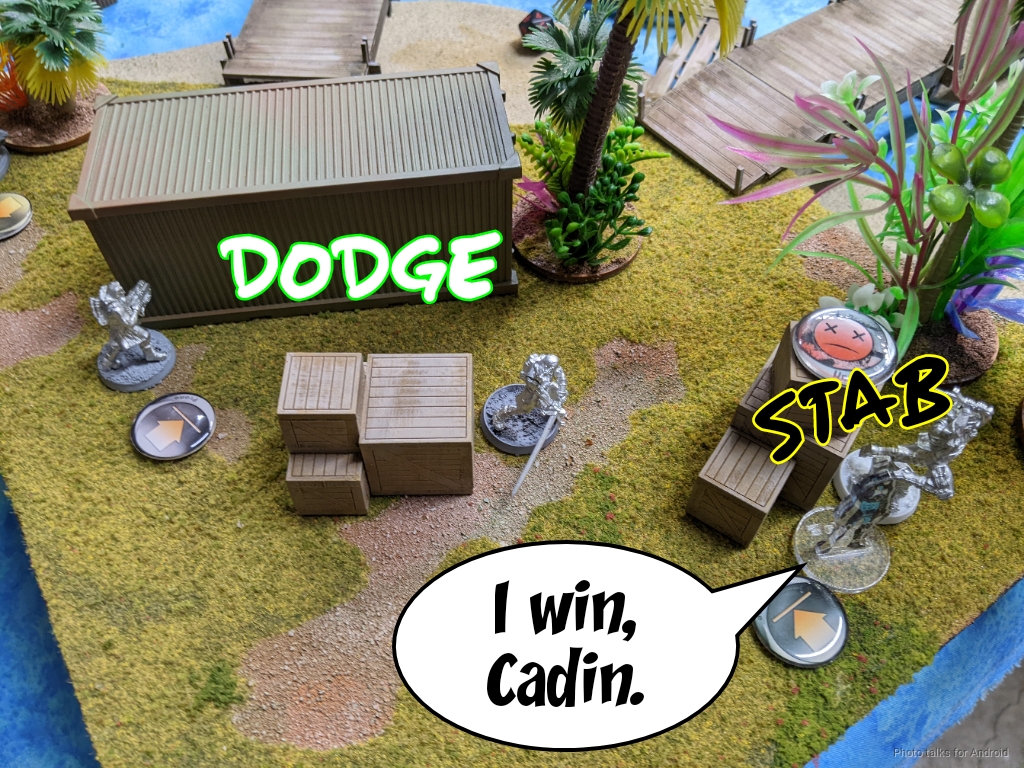
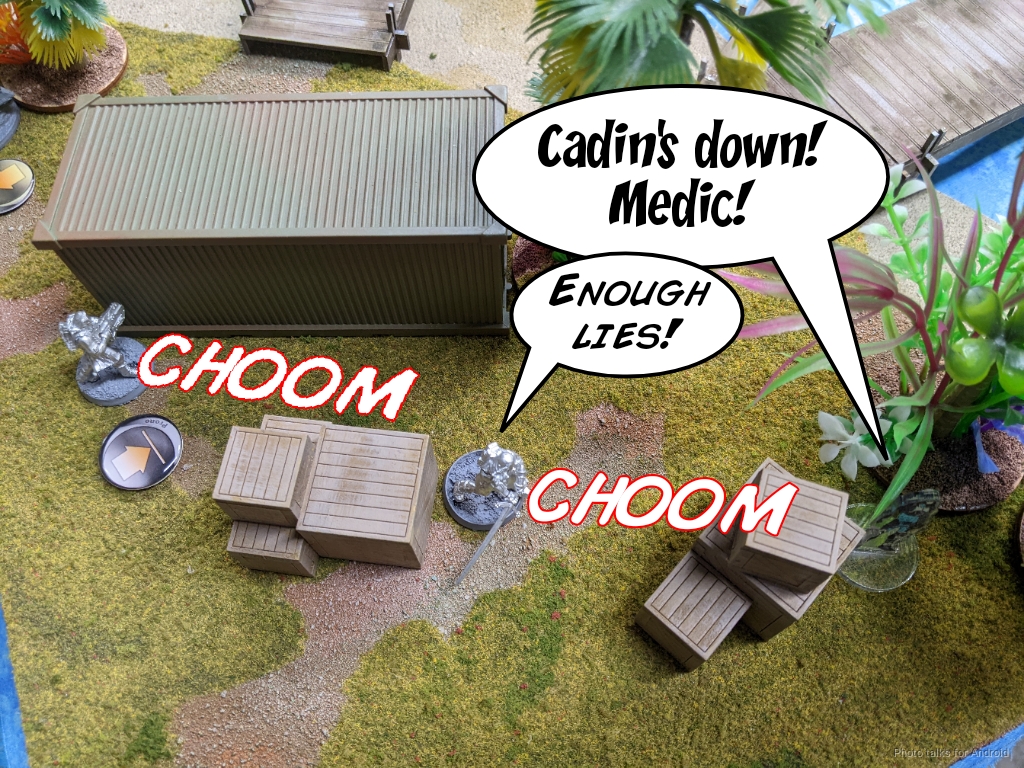
Obi asks me if I have any Doctors or Paramedics, and I do, so he goes for a coup de grace on Cadin. This lets one of the Galwegians dodge into LoF of the Speculo. Obi lamented that he should have just moved the Speculo to the other side of Cadin so as to avoid this, but now I’ve got a chain rifle threatening him.
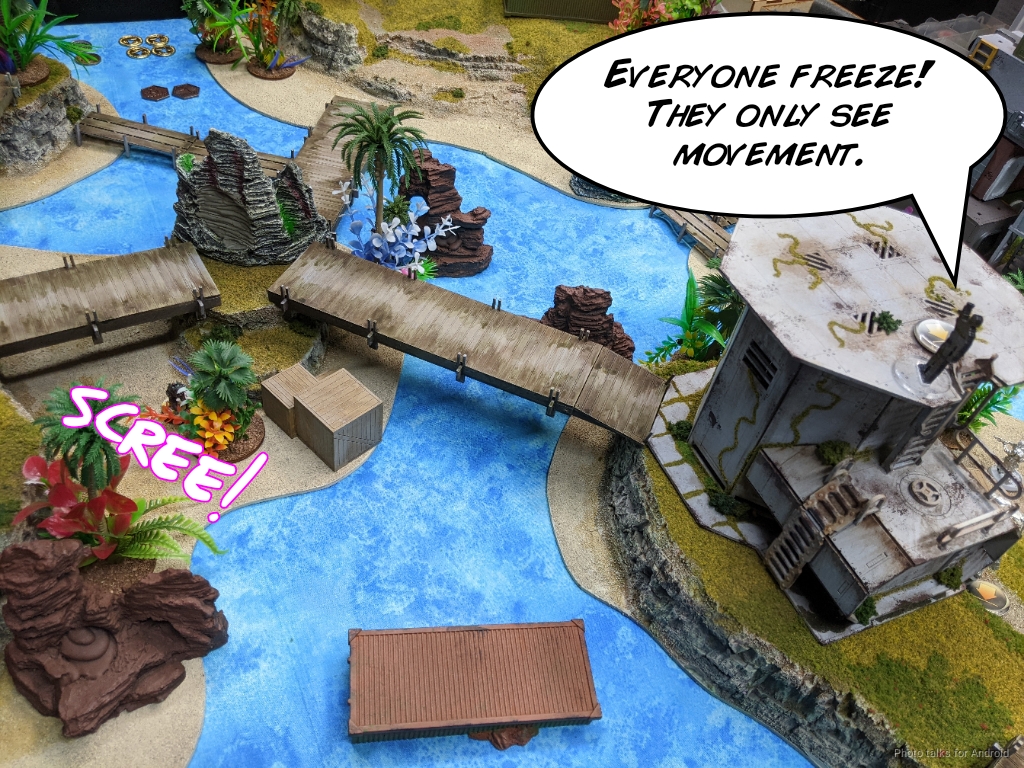
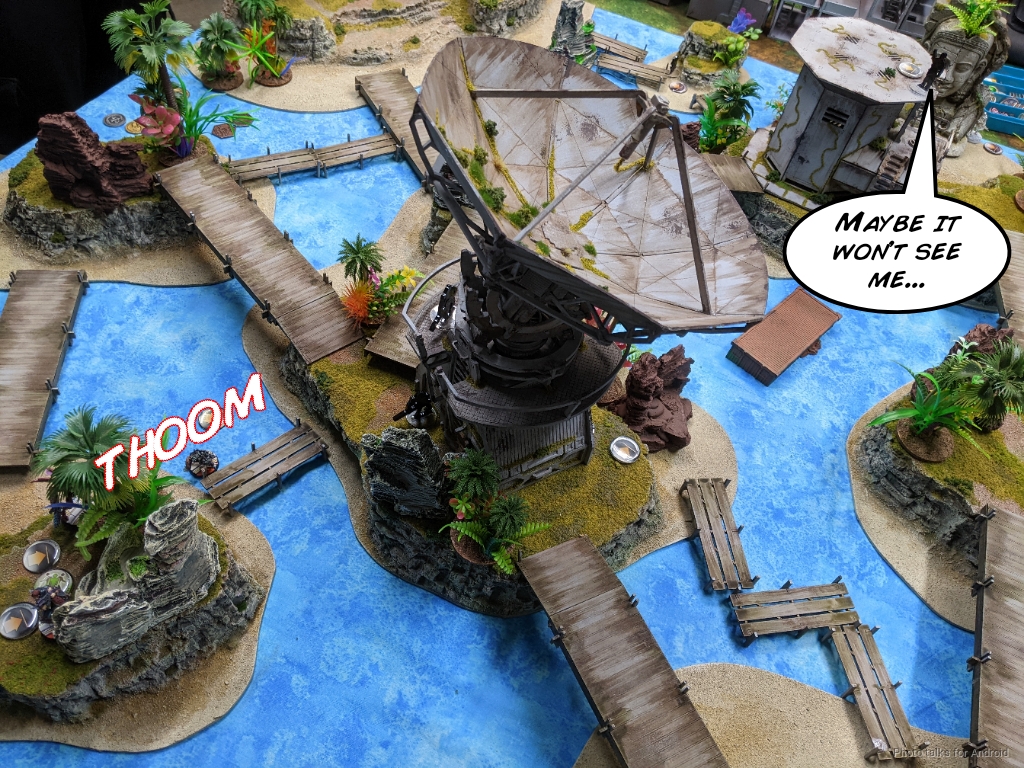
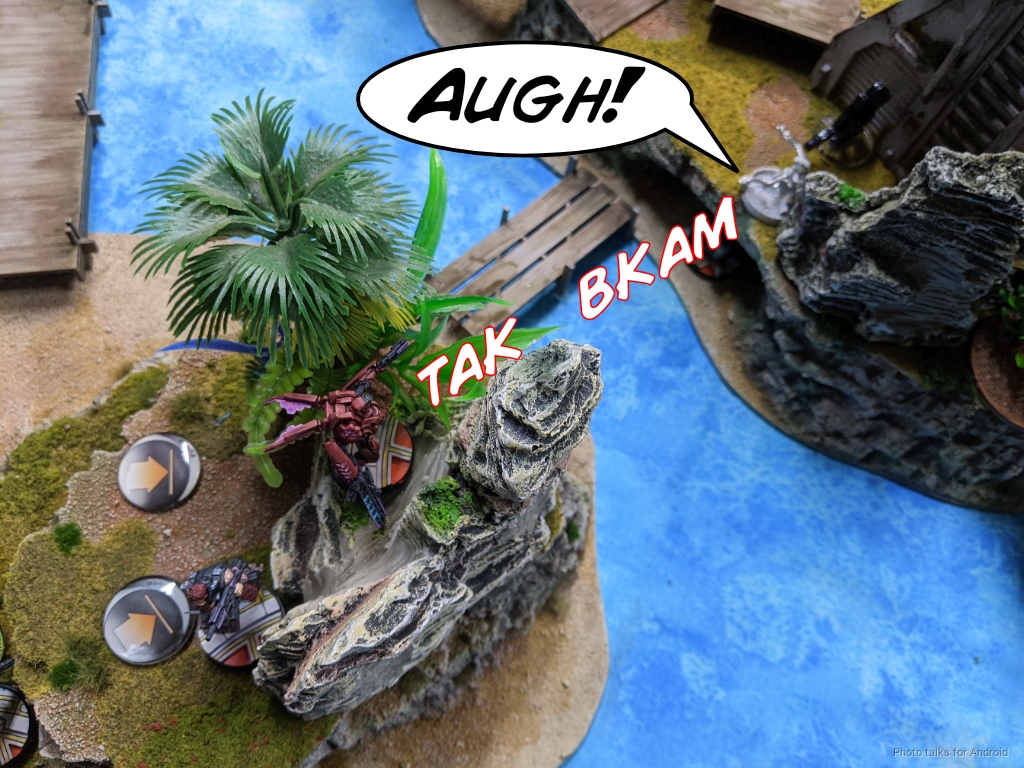
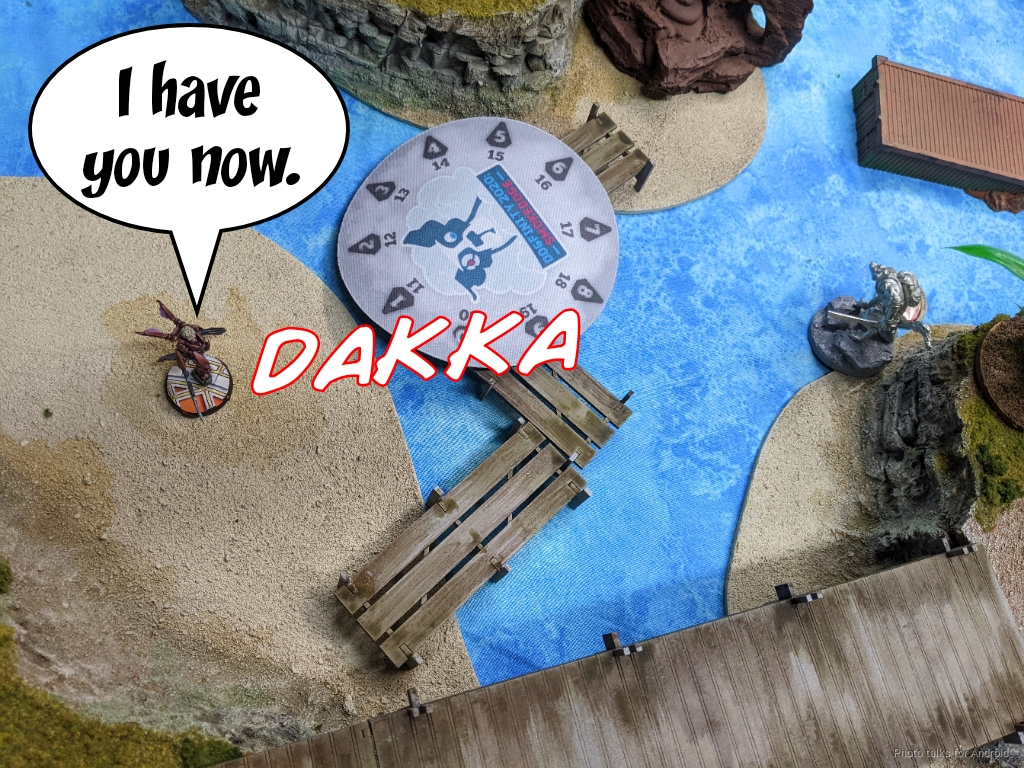
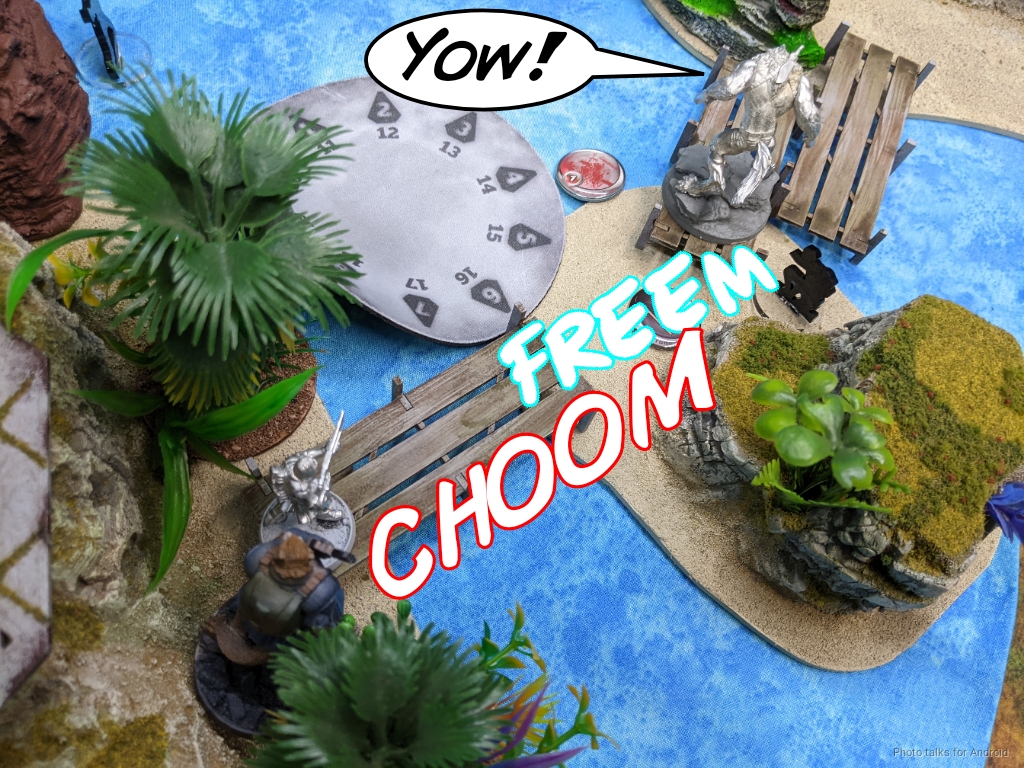
Obi let his subconscious chew on that problem for awhile and decided to take out my Cateran on the oil tank. He moved the Gwailo on the eponymous island into view, threatening a discover to try a bait a reveal out of me, but I declined, so he just did a second move with the rest of his link to set up Sheskiin. Another order had him declare discover, and again I declined to ARO. He’d be on -3 total, so I figured it was a coin flip, but he rolled very low and blew up the Cateran with a rocket. Ah well. Still, draining orders.
Obi tried to bring the order expenditure into parity by taking out both Galwegians with the Speculo’s combi rifle. Very cognizant of Regeneration, i threw them both under the bus and double chain rifled, killing the Speculo at the cost of the closer Galwegian.
Bottom of 1 – CHA
Things aren’t so bad. I’ve lost an order from each pool and removed the only serious threat to Wallace on the table. My objective this turn is to kill the Gwailo and try to stabilize board position. I need to get rid of the Taigha in my deployment zone though, so I start by vaulting some crates with a Cameronian and fighting one in close combat. Burst 1 fights are always very dangerous, and I actually lose and take a wound here. Very irritating.
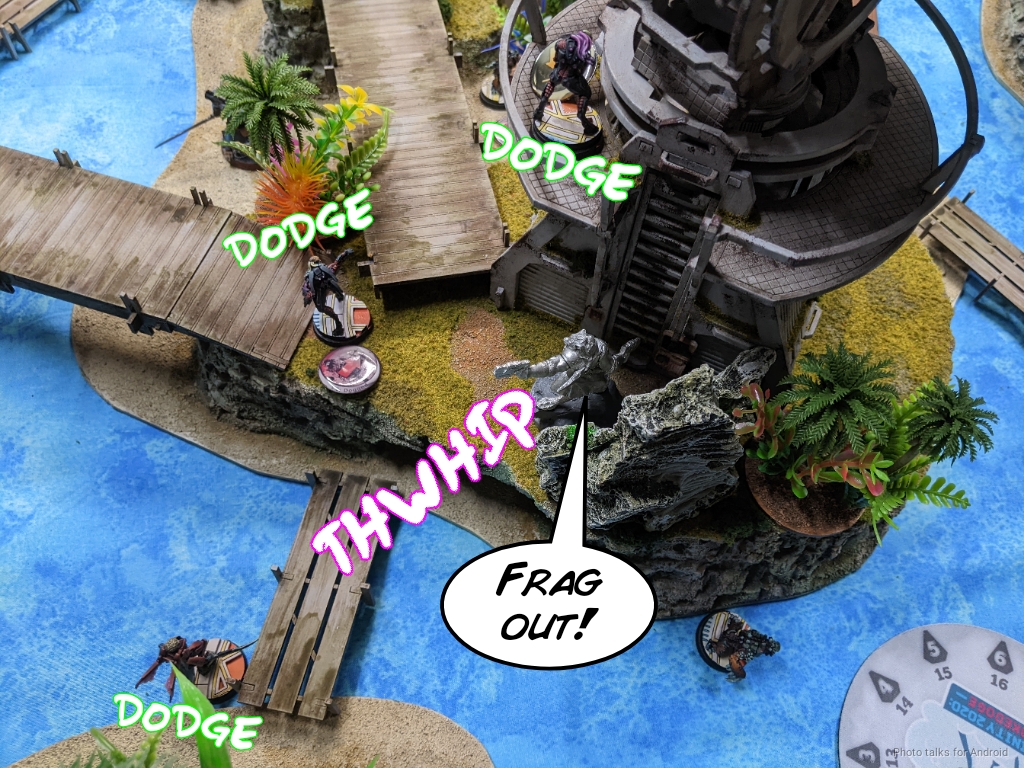
However, now that the Cameronian is in close combat, I send the nearby Galwegian in and kill the Taigha. The Cameronian in the middle super jumps onto the beach and takes a 16″ grenade throw against one of the three remaining Taigha. I roll a 1 and Obi rolls a 17 and then fails his ARM roll. So far so good! The other Taigha starts dodging towards Wallace, which is both good and bad–it’s getting closer but now I don’t have to move as far to kill it.
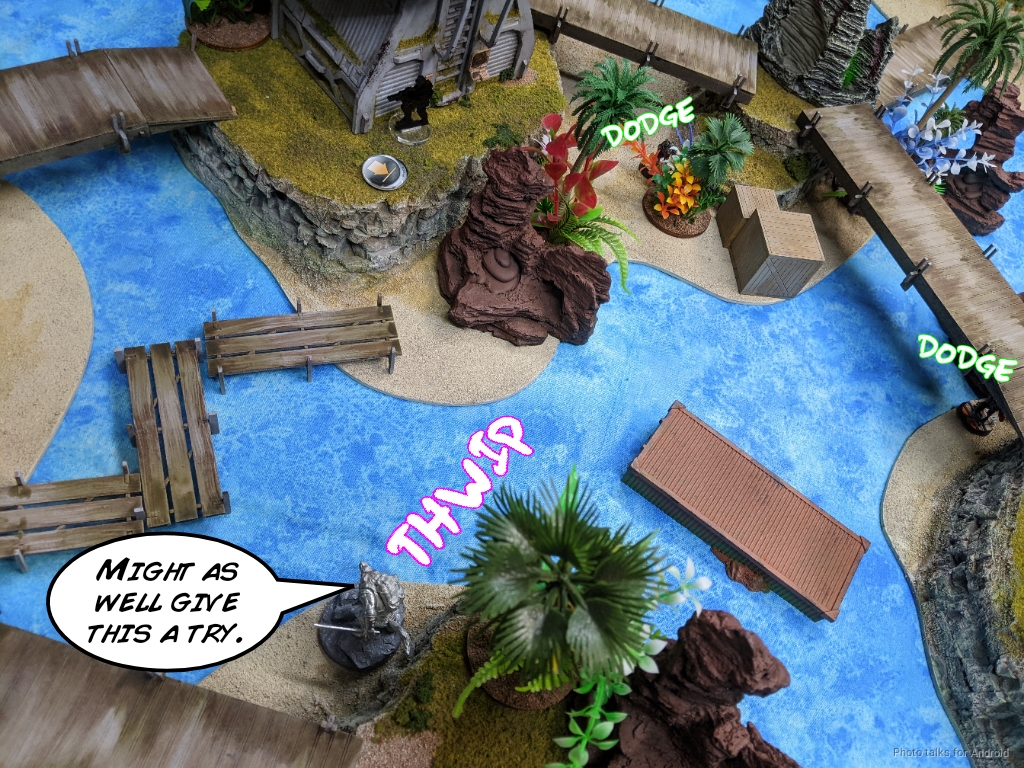
McMurrough scoots forward, and the two impetuous units on my left (a Galwegian and a Cameronian) elect to not spend them in front of a Gwailo and Sheskiin. I want to try to use the Cateran to take on the Gwailo, but I don’t want to take a shot from the camo token on the tower either. I don’t know what it is, so I have Uxia throw some smoke in front of it, granting it (and a nearby Taigha) a dodge.
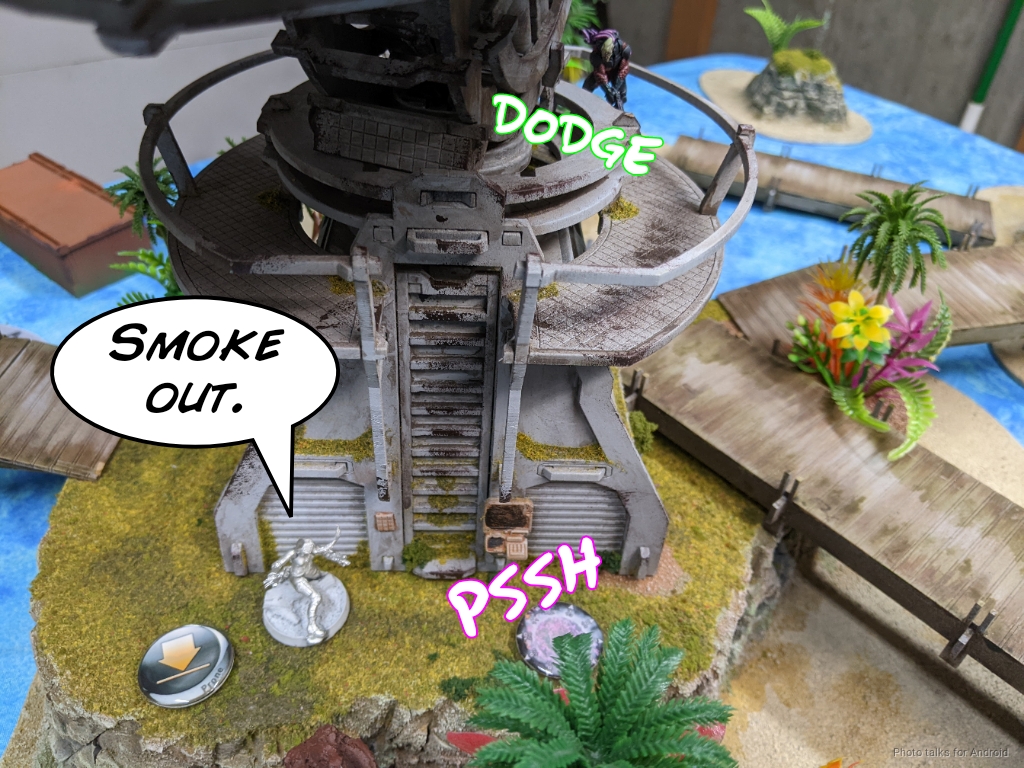
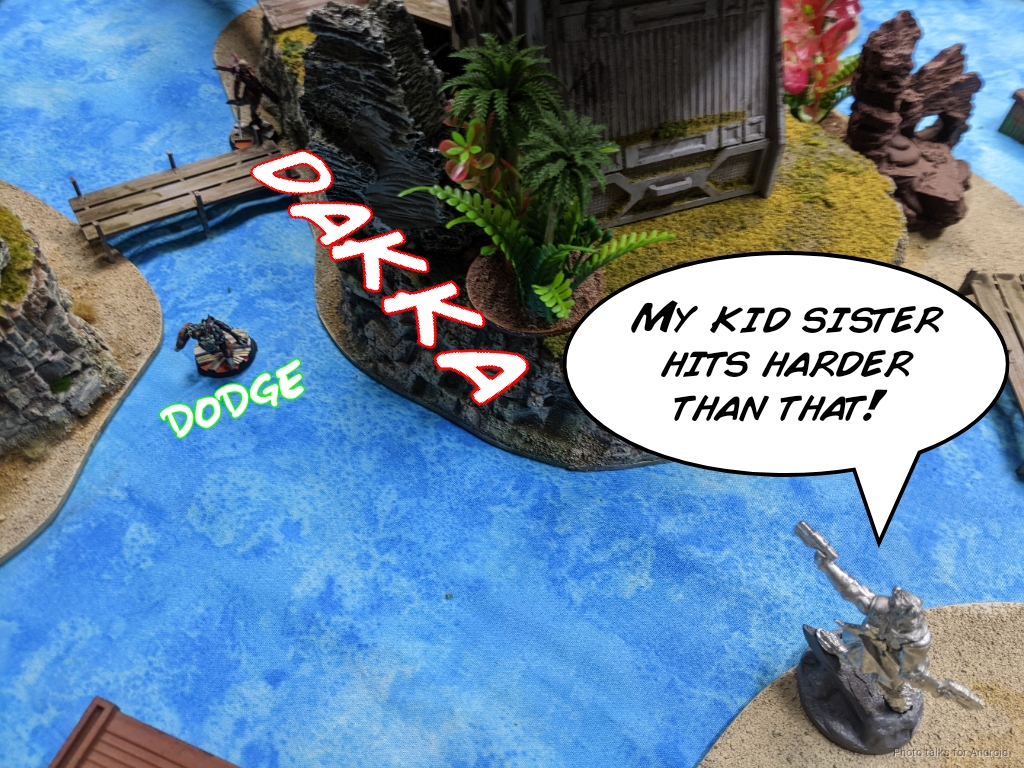
I then spend the Cateran’s entire order pool shooting at the Gwailo. I’m firing through a low-vis and saturation zone, so this goes very poorly for me. I end up winning one face to face and losing two, but we both pass ARM saves. This was very foolish of me, and a huge waste of orders in my opinion. What I should’ve done first is what happens next.
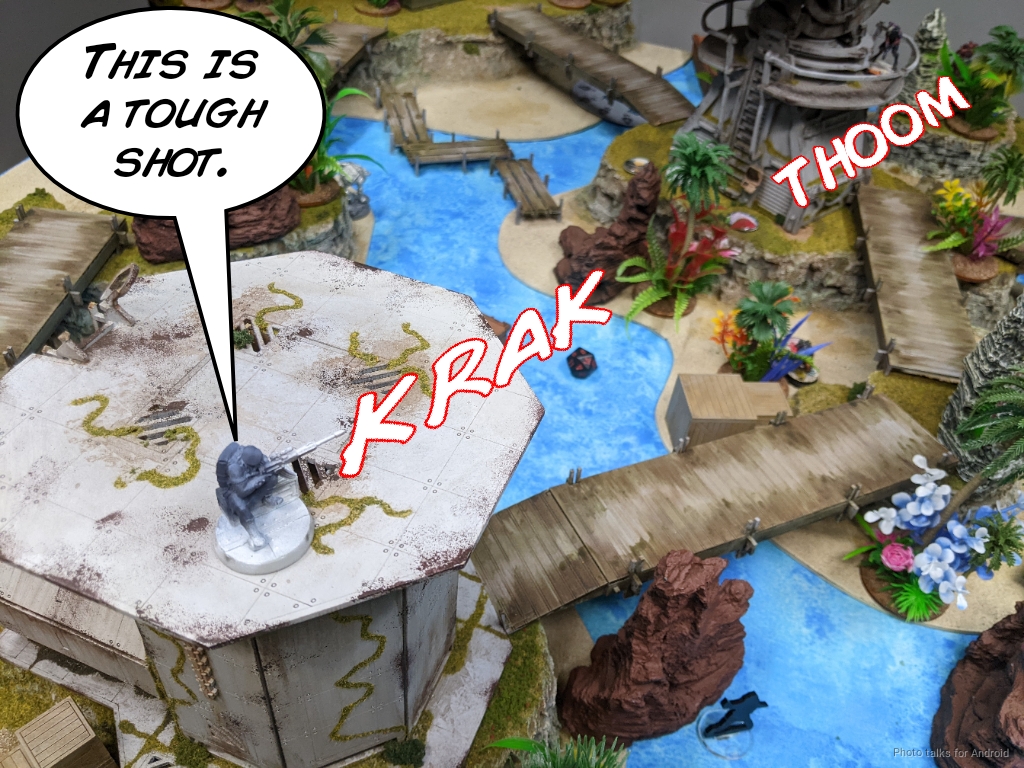
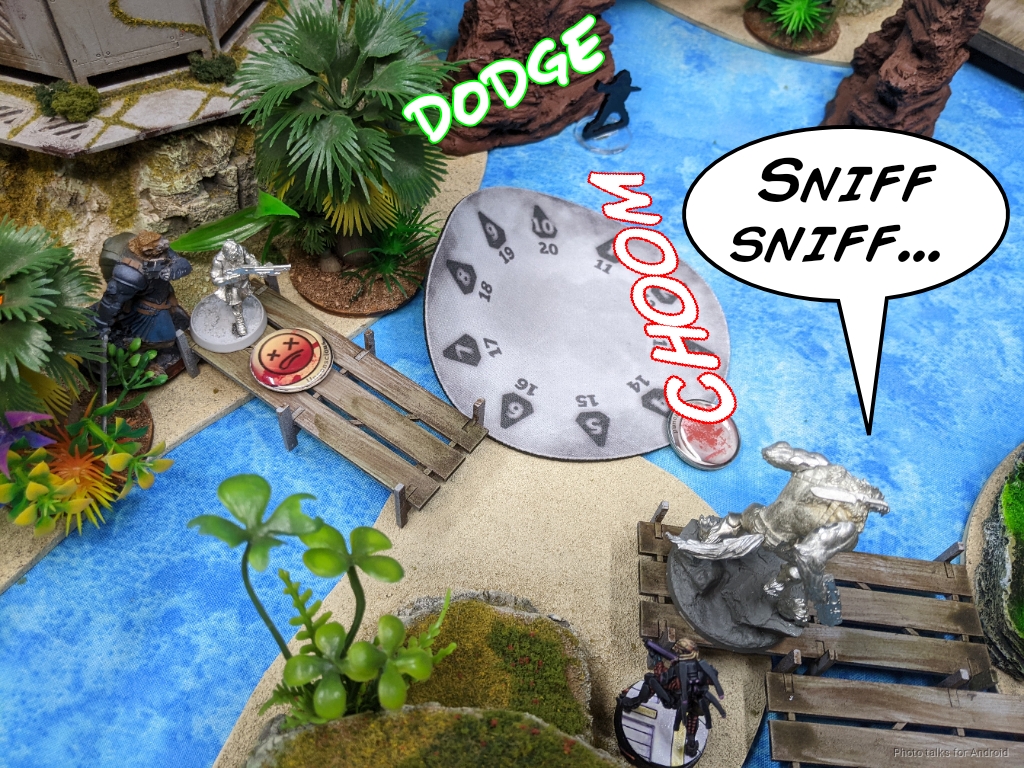
Uxia recamos and powers forward. We decide that from this angle we’re not firing through low vis/saturation, and Obi declines to reveal the Caliban. I double template the Gwailo and eventually take it down but go unconscious to its breaker pistol shots.
I’ve got one order and Wallace’s order left, so I spend Wallace’s first and put one T2 shotgun shot onto the Taigha, who beats my roll and dodges closer.

I try again after reforming the link, going up to burst three, and this time we both roll a crit, so nothing happens. Uh oh.
Turn 2
Top of 2 – Shas
Obi’s down to 6 orders and two Taigha in his first group because I’ve traded Uxia for the Gwailo.
Obi then trades the Taigha for my Grey T2 BSG, which is more relevant because I lost an order and less because I lost the T2 BSG. Thankfully between the templates from the shotgun and the rest of the link shooting, I was able to drop the Taigha. It would have been decidedly worse if it had survived.
Obi declines to activate the other Taigha and instead sends in Sheskiin to do his dirty work. He challenges one of the Cameronians, doing a wound, but then I manage to block additional shots with smoke.
The Galwegian fares better, immediately winning the face to face with smoke.
Obi’s firmly committed to killing the wounded Cameronian though, and over the course of two orders takes it unconscious and then to dead.
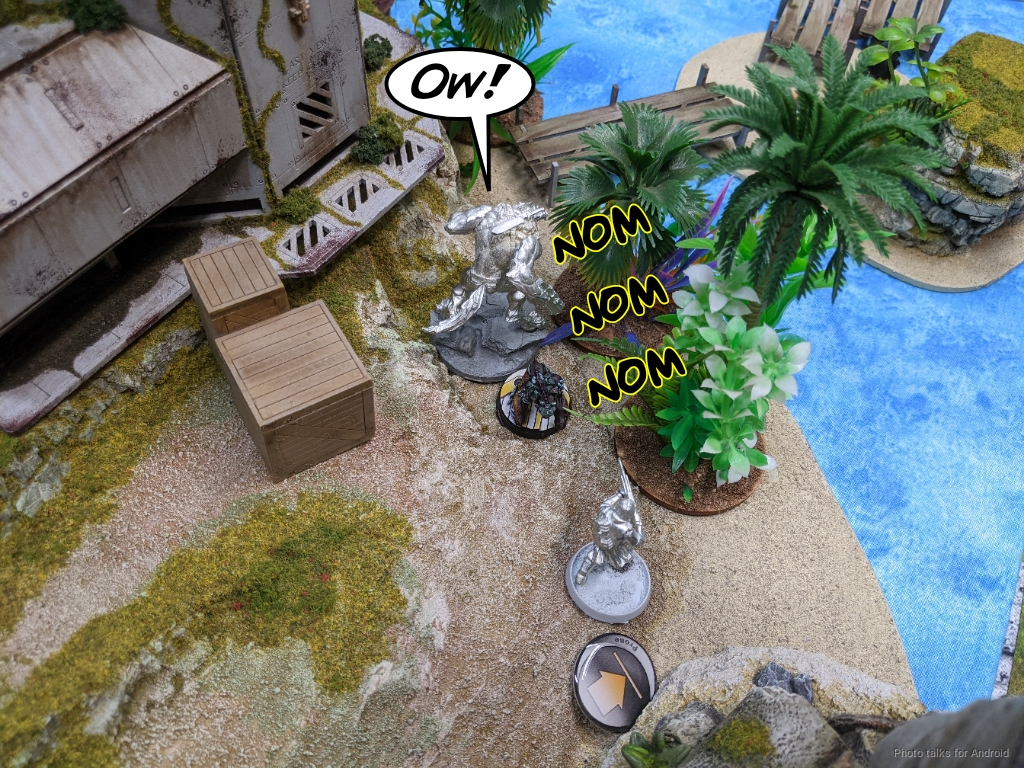
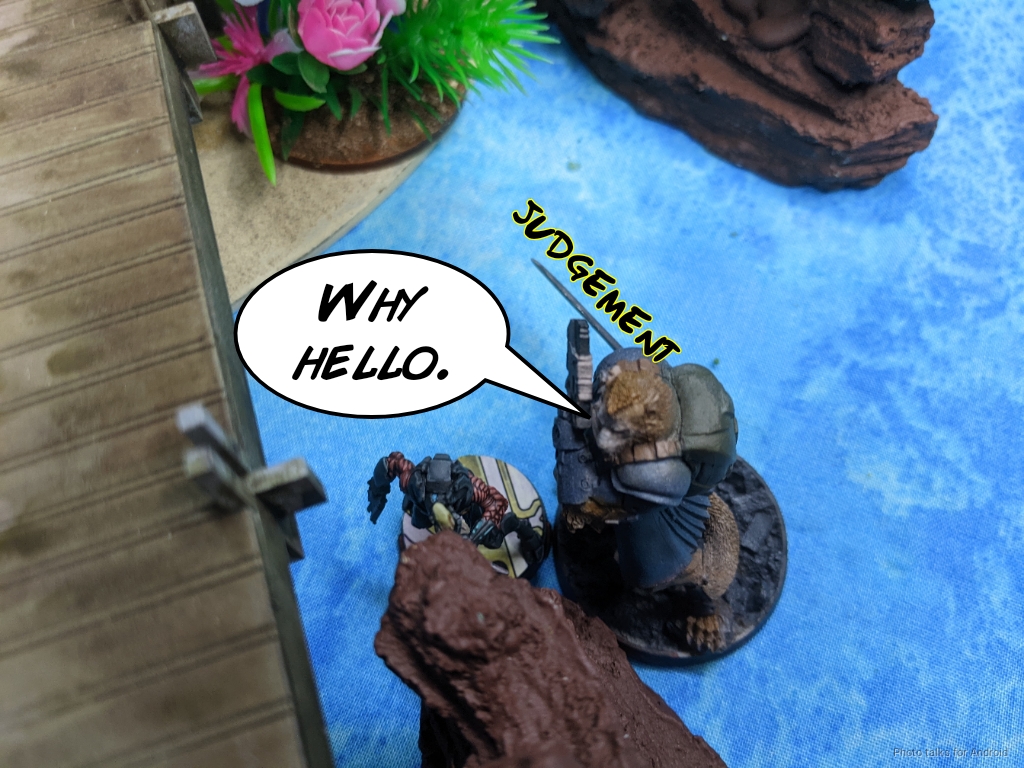
I’m down to three dogs now, so Sheskiin retreats to the central island while the Caliban has a Uxia-flavored snack.
The remaining Taigha “does a crab impression” and hides in a little cave on the border of one of the islands. That’s pretty rad, I gotta give Adam props for sculpting that into the island. After re-camoing the Caliban, Obi passes turn.
Bottom of 2 – CHA
I think I can make a play on Sheeskin this turn, probably with McMurrough, so I put him into group one and get to work.
I start funneling things into the area near the camo tokens on my right. I don’t know that one of them is a Caliban, so I just sort of impetuous forward. This is a huge mistake because Obi reveals it as a Caliban and drops a Pulzar on a wounded Cameronian, the Galwegian, and McMurrough, who is the currently active model. I kill the Caliban with McMurrough’s double chain rifles at the cost of the Galwegian. Thankfully both dogs pass their BTS saves, which Obi is decidedly unhappy about. I elect to keep the Galwegian unconscious for hope of having him be paramedic’ed up later.
I then get fantastically lucky and the Galwegian and Cameronian on my left impetuous forward and survive a the shooting from Sheskiin who is on overwatch.
The wounded Cameronian decides to take his frustrations out on the Shrouded and declares intuitive attack, but I flub the roll and the Shrouded successfully dodges.
McMurrough uses Wallace’s order to get into position and then tac awares into combat with the Shrouded who just drops a mine. McMurrough clears the mine on his way forward with the next order, and now I’m getting quite close to Sheskiin, who dodges away.
I want to soften her up before McMurrough goes in, so I spend an order on the Cameronian and move laterally to break LoF, throwing smoke to protect myself.
I get the Cameronian onto the island and discover the Caliban, then jump into view of Sheskiin, who dodges along with the Caliban. My Cameronian fastballs a grenade at Sheskiin’s face and manages to do a wound!
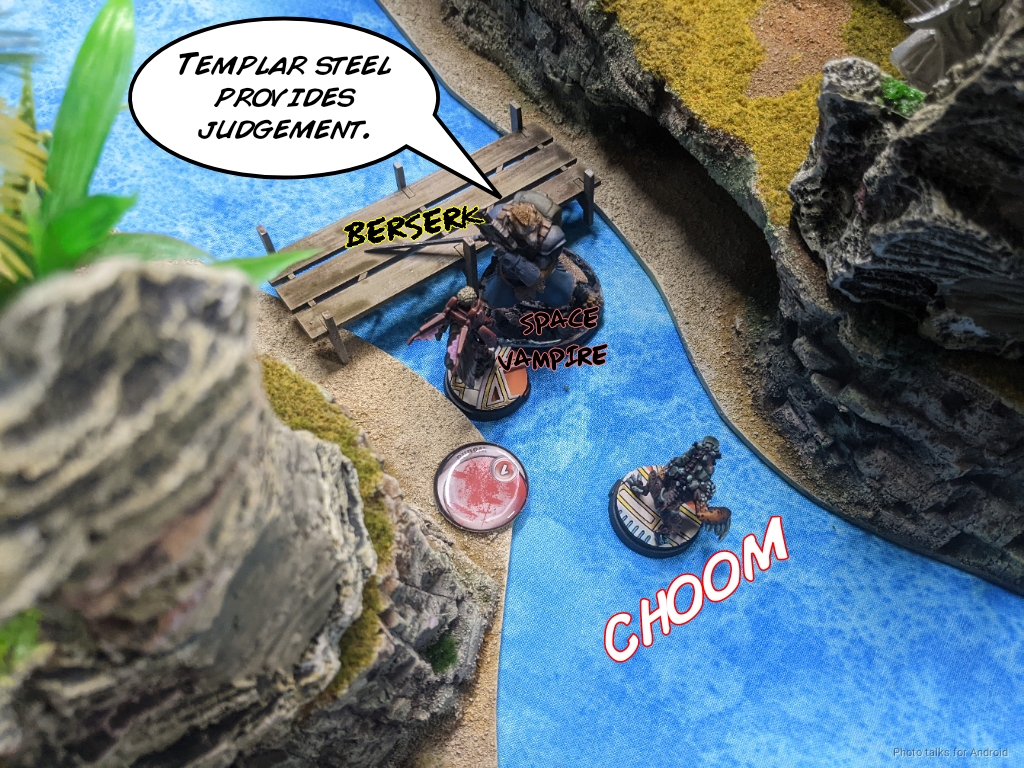
Now I can get McMurrough into base to base for a berserk. Sheeskin does a wound to bring heal herself one, but she fails both AP+DA saves against McMurrough’s templar CCW so it doesn’t matter. McMurrough goes unconscious due to the Taigha throwing a chain colt though, which is a bit of a bummer. I think the Caliban also Pulzar’ed, but I passed one of the template saves, I forget which one.
Turn 3
Top of 3 – Shas
Obi’s down to three orders now.
The Taigha moves, so I grenade, thinking it’s going to dodge. Obi chain colts instead. I think I should’ve dodged here, which would have taken Messer off the table as an option, forcing Obi to try and deal with the Cameronian with the nearby Caliban. We both take a wound, which is decidedly not great.
It takes all of Obi’s orders and a wound on the Caliban, but he manages to take down the Cameronian and Protheion himself some more wounds.
Bottom of 3 – CHA
I shuffle some more orders into my first pool and try to pick up McMurrough with my Volunteer.
I’ve got to get rid of the seed soldier first, so the Cateran handles that.
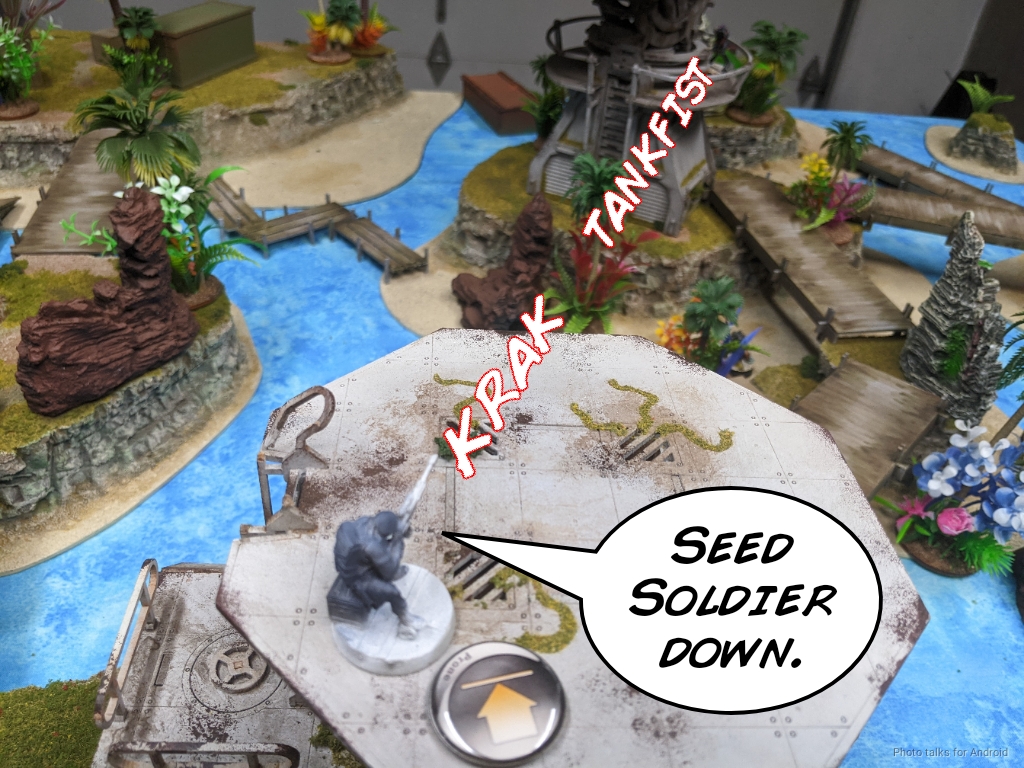
I have one shot on McMurrough, and I whiff the shot on a 16. That’s game!
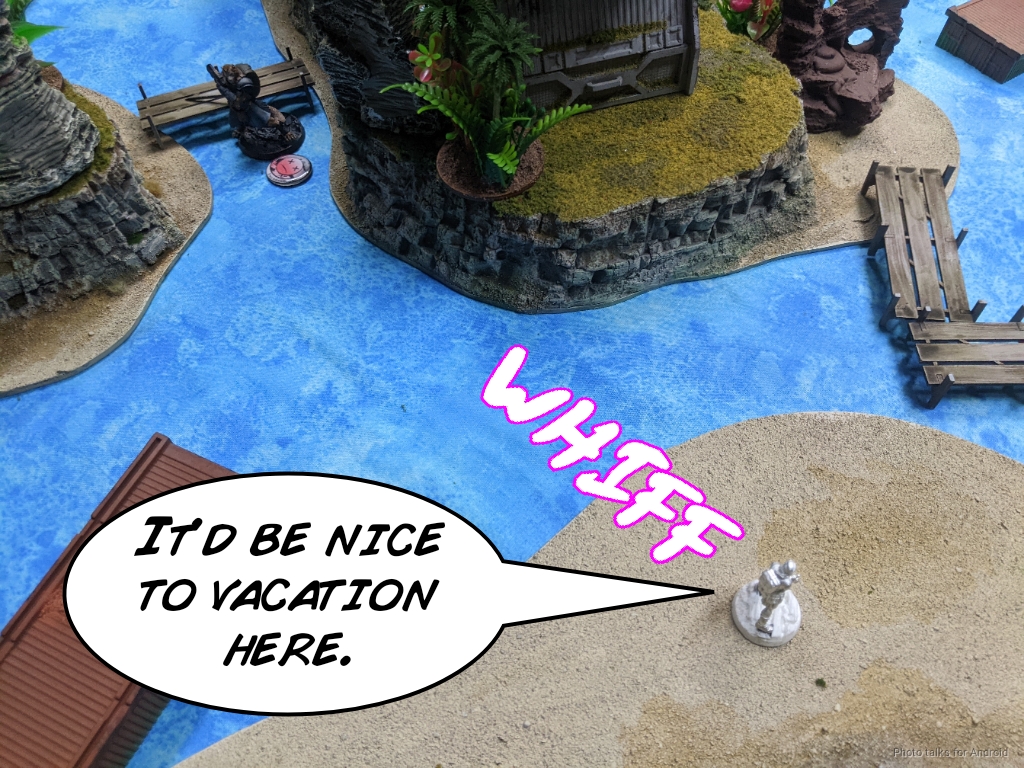
I’ve killed more stuff, more Lieutenants, and the enemy Key Ops. Obi’s killed my Key Ops. McMurrough has a Caliban, a Shrouded, and Sheskiin on his score card, and Sheskiin has McMurrough and a Cameronian on hers, so I have those points as well. This puts us at a
10-1, 121-61 Caledonian Highlander Army Victory!
Post Game Analysis
Yeah, after the last game, I need to slot another gun. The Grey HMG is only really usable if my opponent lets me put Wallace in the Galwegian link, so he was effectively out of this game. Also, I made some pretty suboptimal plays here. I knew that the Cateran was not a good option to fight the Gwailo and should have just left him where he was to challenge Sheskiin’s approach. Uxia was the right play here, and I should’ve just lead with that.
I’m also very annoyed with myself for giving Obi such an easy Pulzar on all my units! It ended up working out, barely, but Obi rightfully felt pretty robbed of a big brain play there. An easy fix would have been to just throw smoke on the Caliban and intuitive attacked. Still, I needed to protect McMurrough’s order pool, and I was just barely able to pull of a Sheskiin snipe.
I made a lot of ARM and BTS saves this game, which Obi felt pretty frustrated by. I think this is one of those cases where he made a few minor mistakes like moving left instead of right with the Speculo, which cost him an order and more importantly an opportunity to drain me of orders on my first turn. His list is so tight on orders that it can’t really tolerate much in the way of disruption. He had to really get the maximum out of each order and when things didn’t work it was extra frustrating and inefficient.
In contrast, I was also pretty strapped for orders, but significantly less so. I also had much more redundancy built into the list, so when I lost things there were backup options that could help carry me forward. I think this game is a good example of small mistakes and a very difficult to pilot and unforgiving list combine to cause a loss. If your opponent stacks on a bunch of ARM saves and such it can turn from bad to unrecoverable, like happened here.
I’m surprised Obi didn’t push the Pulzar Caliban forward to try and force wounds onto my dogs and Galwegian, or maybe even try to thread the needle and take out Wallace. That would have been a real triumph and very difficult, but I don’t think it was impossible. He could have done some serious damage there if I wasn’t very very careful and deliberate with my AROs. Maybe the pile of dogs is just too much to get through, and Wallace of course is no slouch either. Unclear.
Regardless, I always enjoy my games against Obi. It’s been awhile since I’ve won against him, so it was nice to tally one up in the “W” column, and on such a great table. I think the real winner here is the table though. Surprisingly Adam and I don’t play very often on it, you’d think we would play on it all the time, so having some reps on it to continue streamlining the ruleset and interactions on the table helps a lot. I’m looking forward to another game on the table and my next rematch against Obi. With that, thanks for reading.
Love seeing more CHA anywhere and everywhere. Keep up the good work!
Great game! Both are armies I own so makes it all the more fun to read. Lots of dogs is a very interesting list and I’ve got a similar shas list to Obi’s planned so some valuable learning points there.