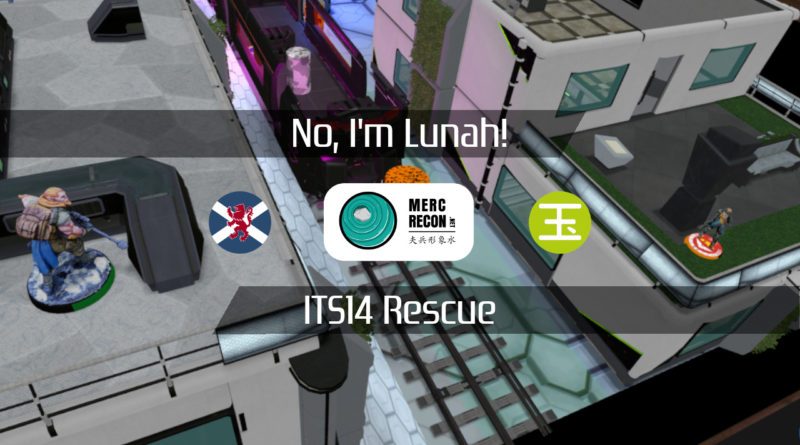
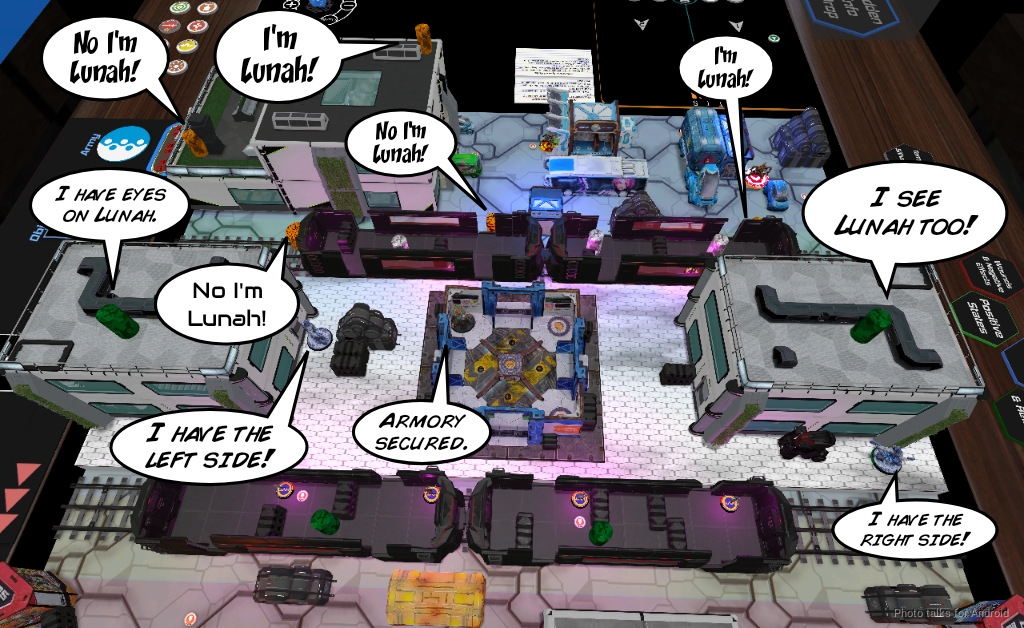
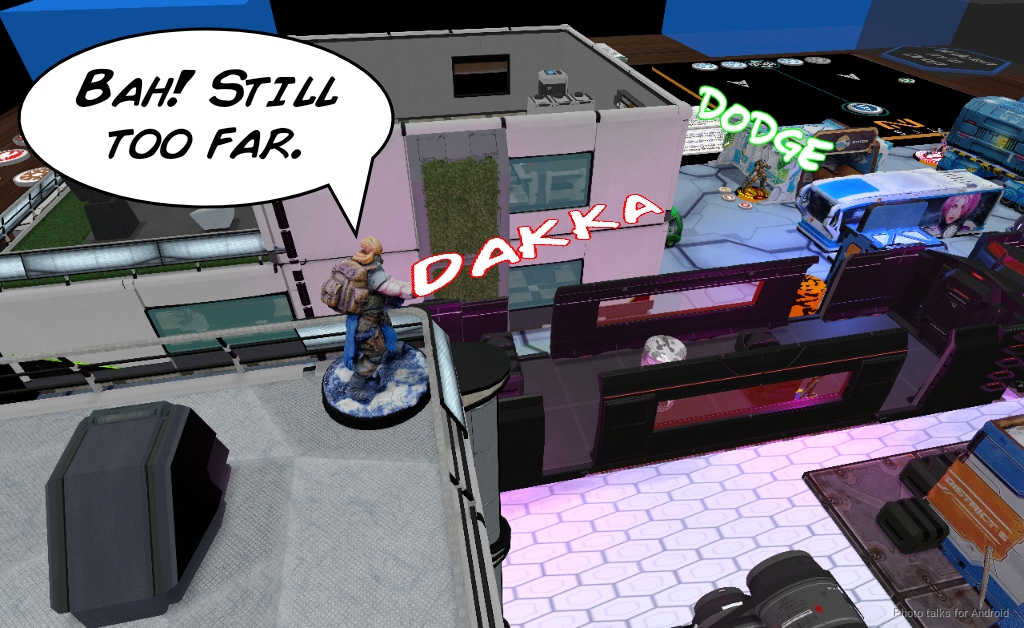
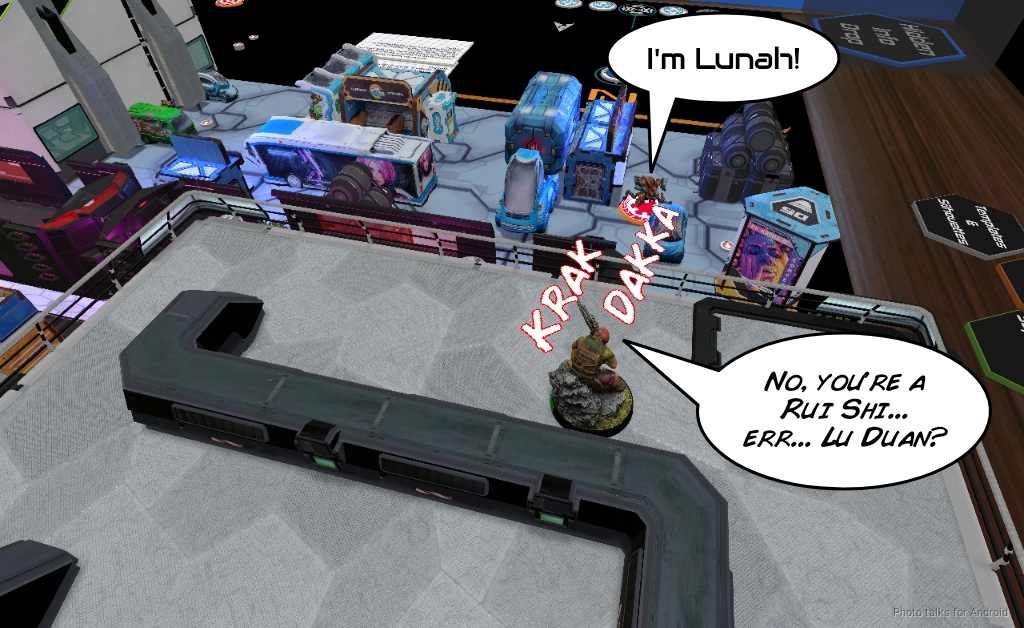
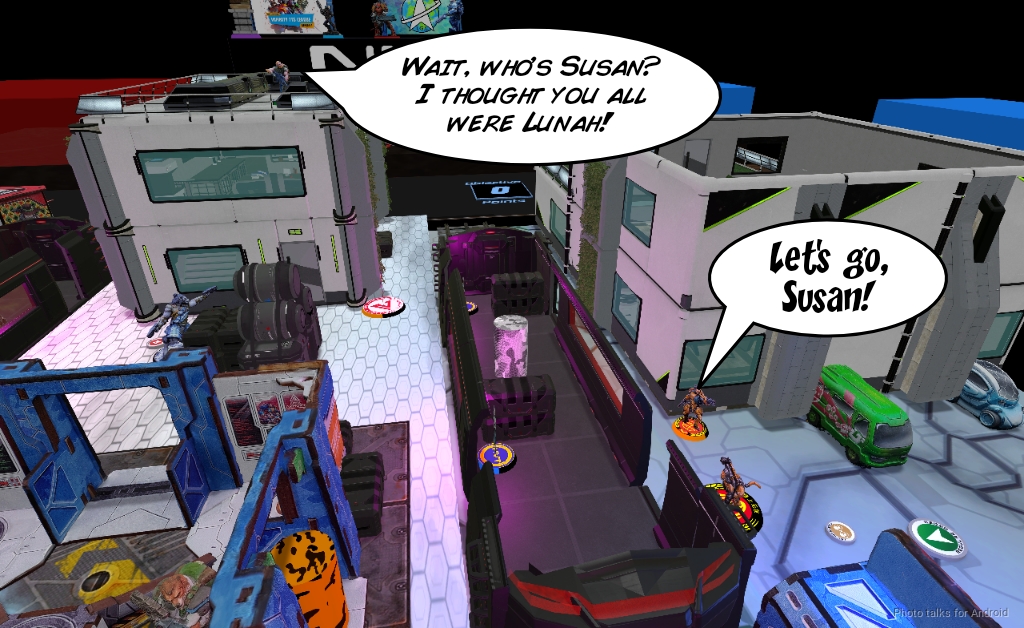
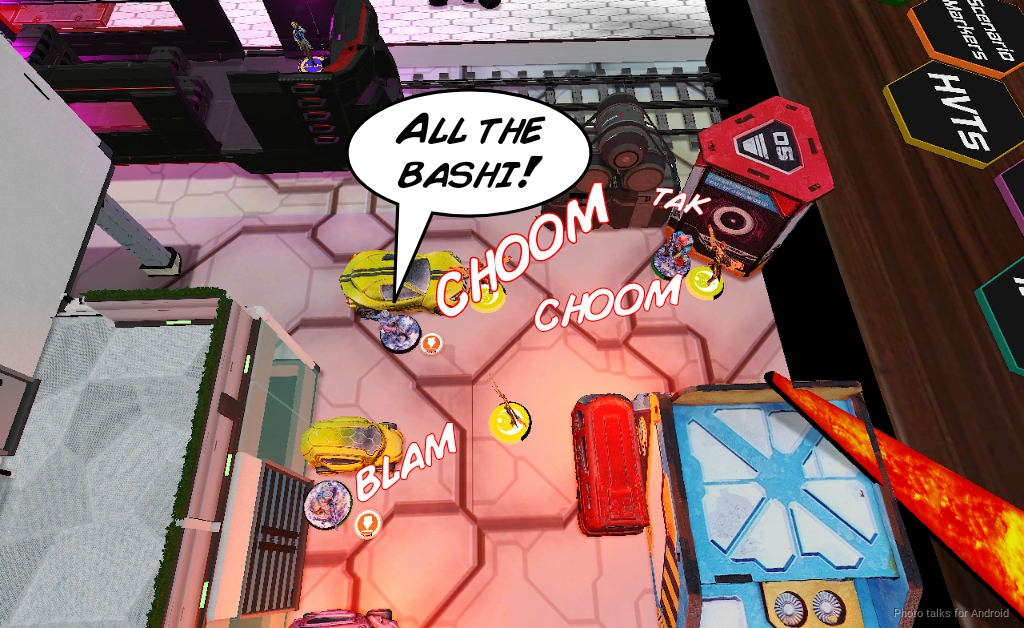
No, I’m Lunah!
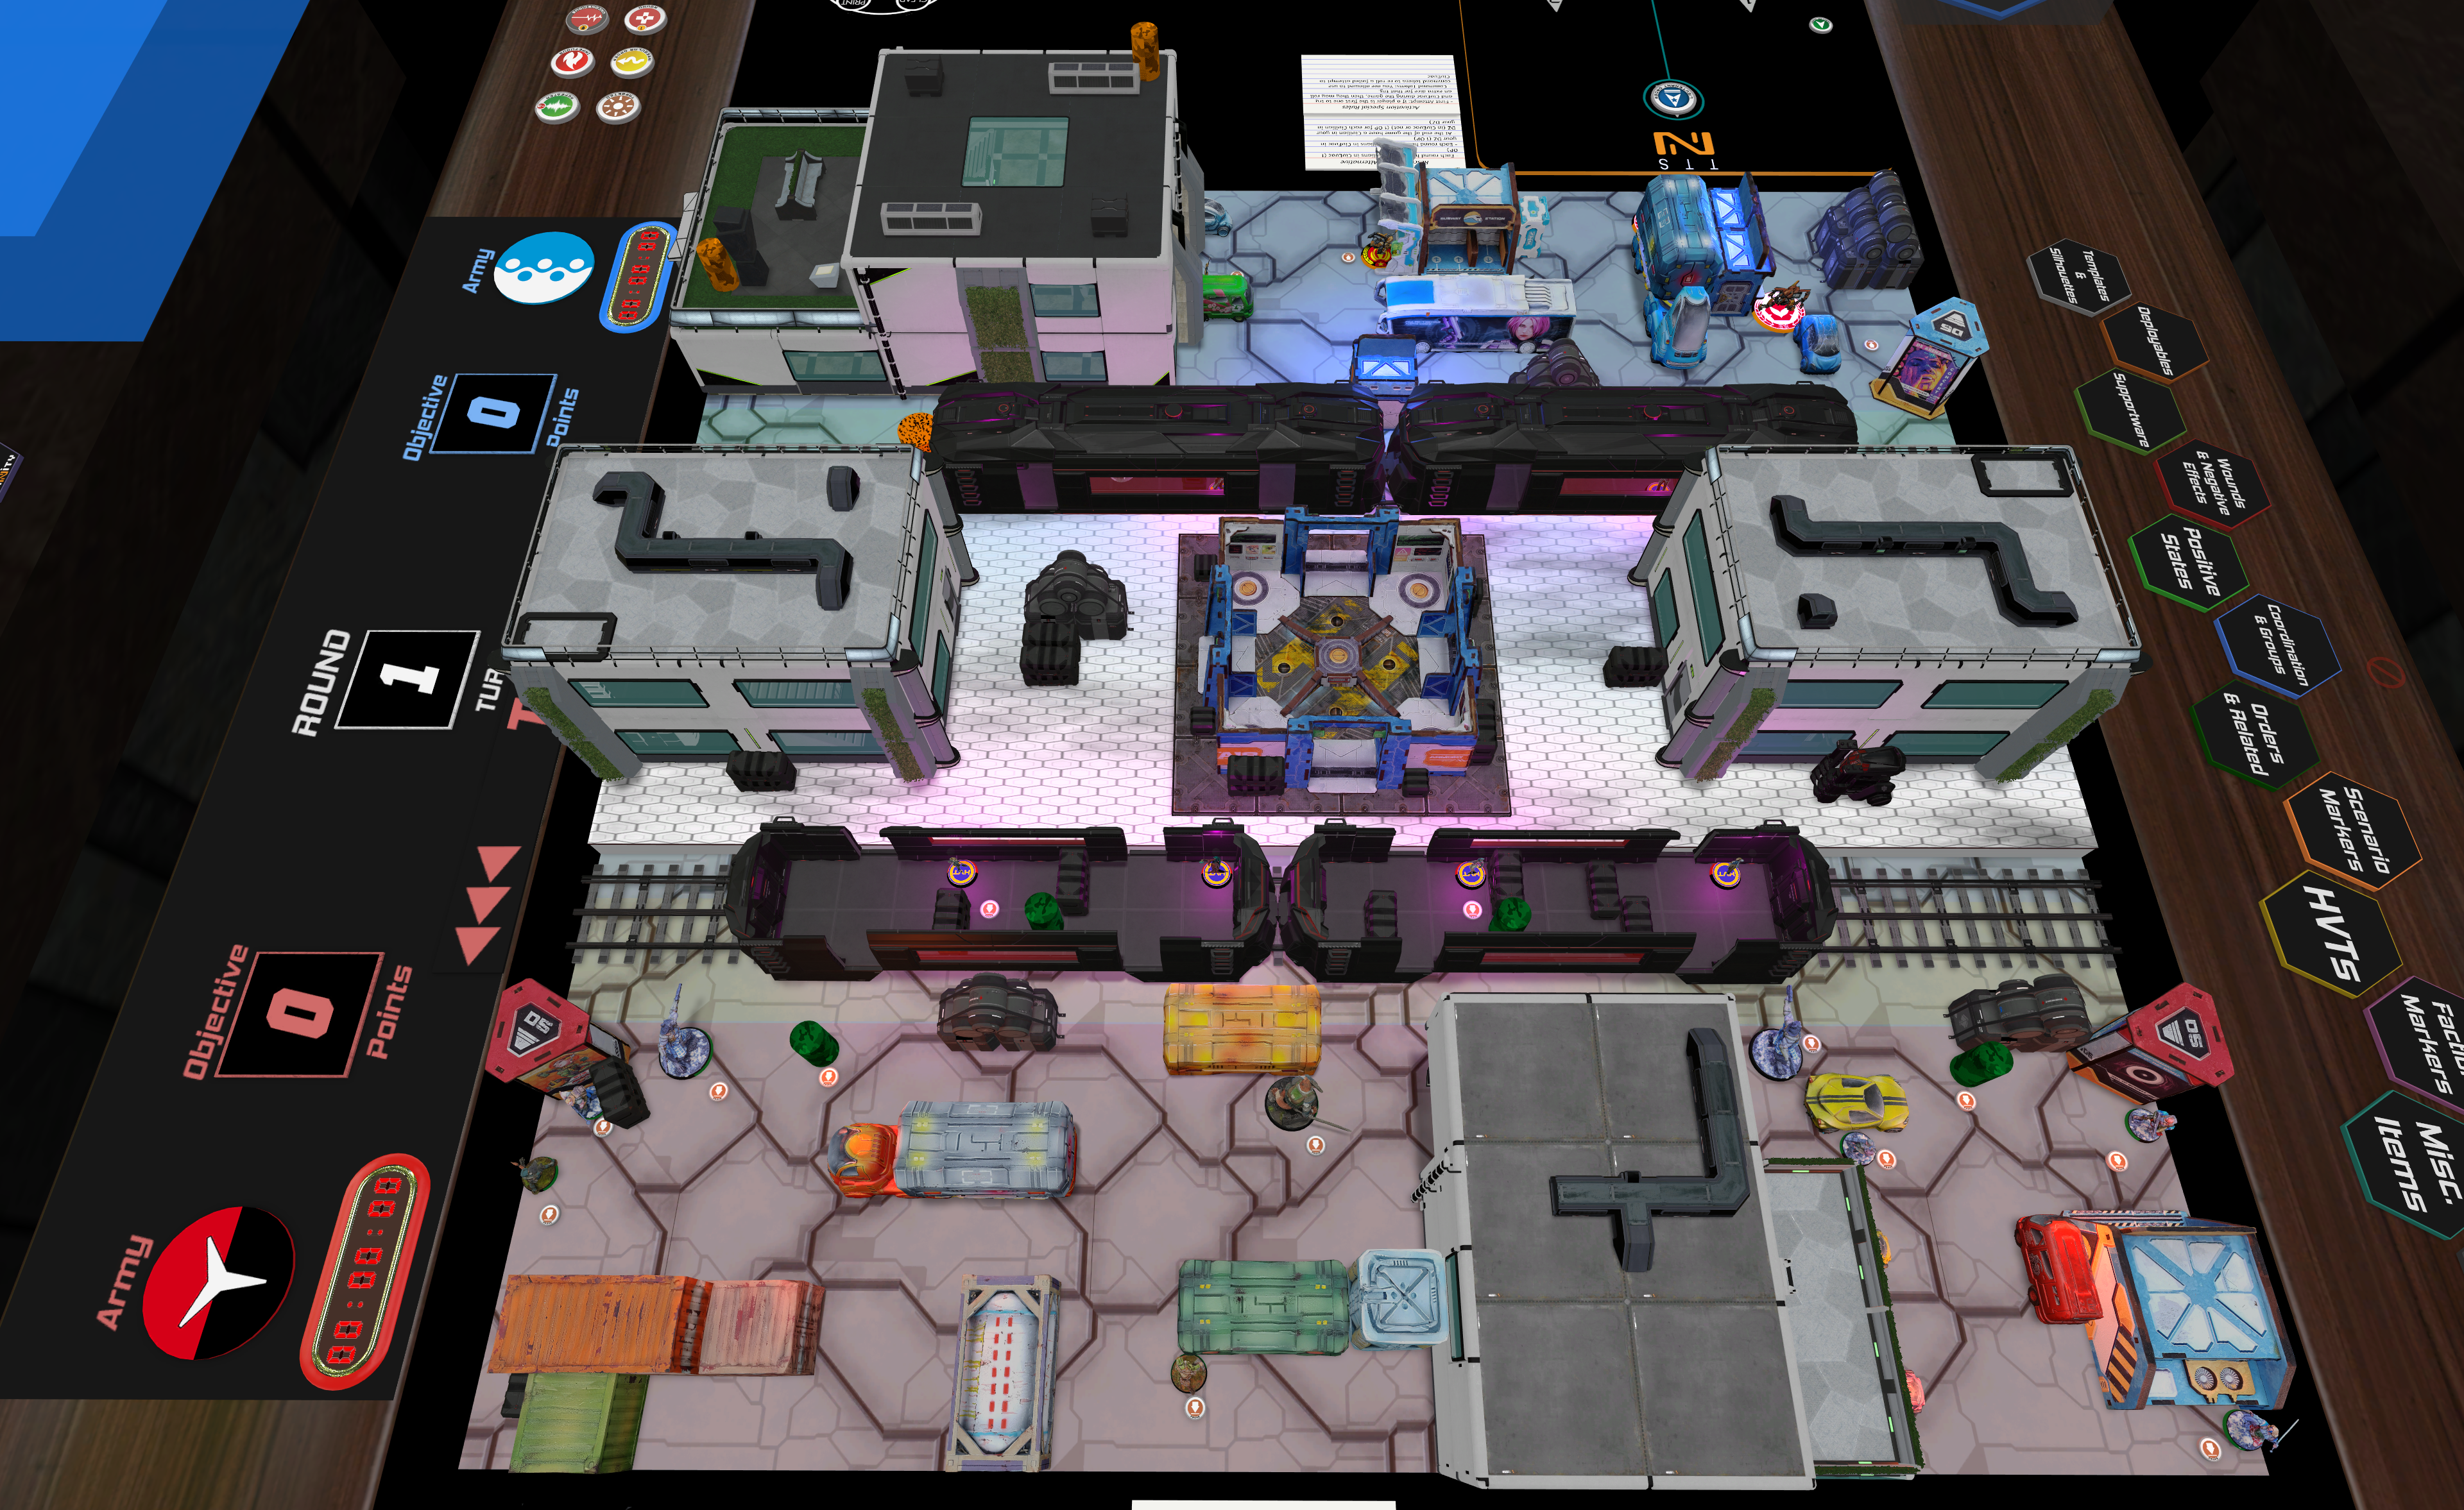
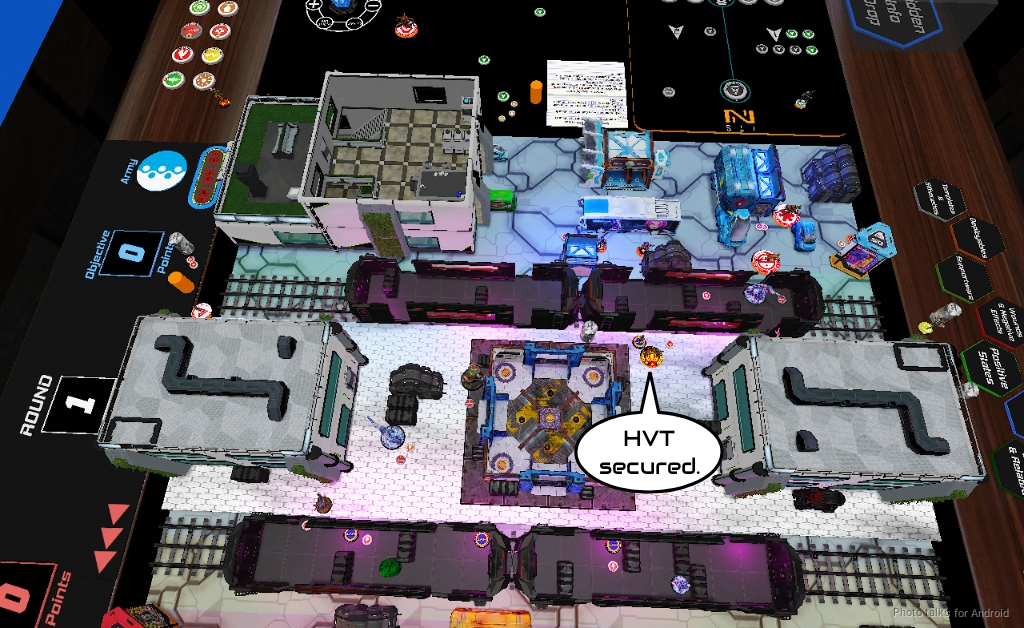
Frank (fwashburn) is going to Beantown Brawl in December, so he asked me if I was available for a game of Rescue, since he hasn’t played it very recently. Since Frank and I live on opposite sides of the country, we had to do it via TTS. Here’s Cabaray’s Rescue map, which (thank you to him) has the HVT’s pre-placed and locked.
Overview
- Mission: ITS14 Rescue
- Forces: Caledonian Highlander Army versus Yu Jing (300)
- Deploy First: CHA
- First Turn: CHA
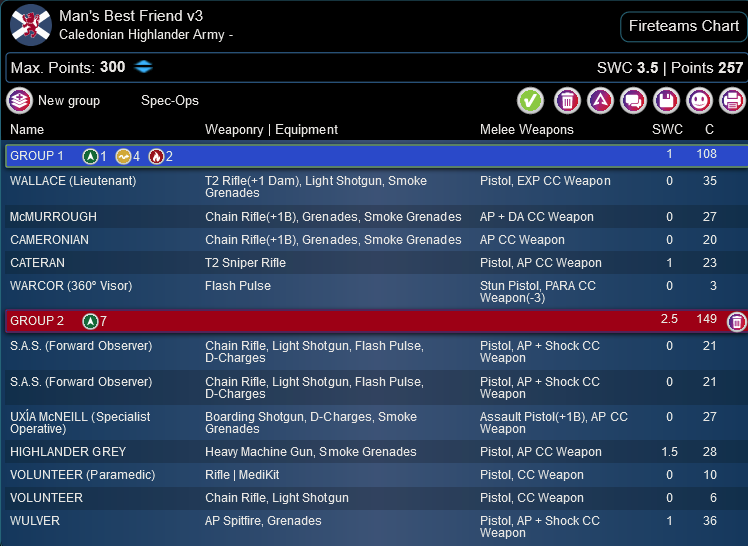
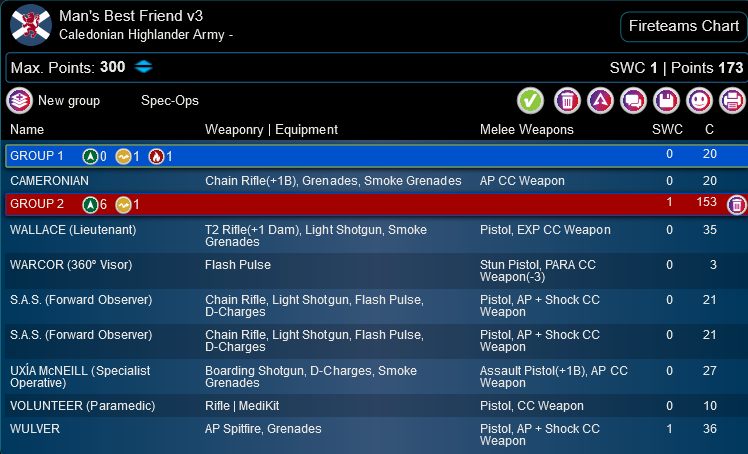
Frank asked me to either play Steel or Caledonia, and mentioned he hasn’t played much Caledonia at all, so I just ran with the list I brought to the recent tournament.
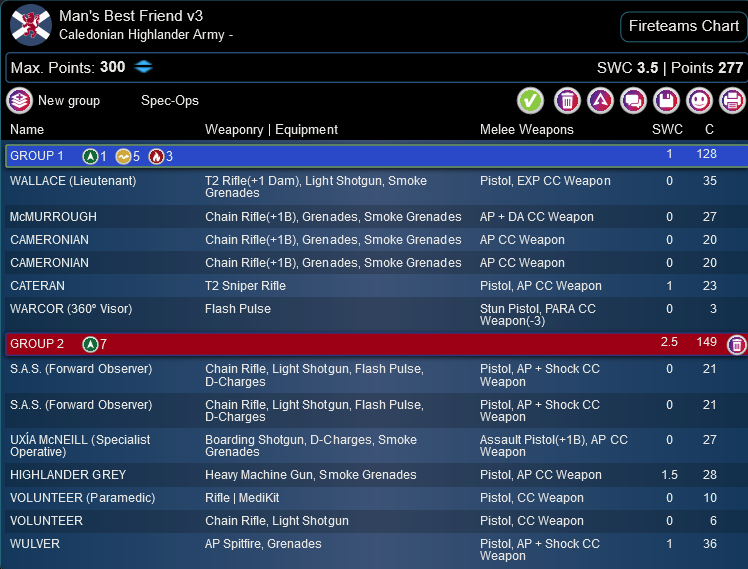
Man’s Best Friend v3
GROUP 1
1
6
3
GROUP 2
WALLACE (Lieutenant) T2 Rifle(+1 Dam), Light Shotgun, Smoke Grenades / Pistol, EXP CC Weapon. (0 | 35)
McMURROUGH Chain Rifle(+1B), Grenades, Smoke Grenades / AP + DA CC Weapon. (0 | 27)
CAMERONIAN Chain Rifle(+1B), Grenades, Smoke Grenades / AP CC Weapon. (0 | 20)
CATERAN T2 Sniper Rifle / Pistol, AP CC Weapon. (1 | 23)
WARCOR (360º Visor) Flash Pulse ( ) / Stun Pistol, PARA CC Weapon(-3). (0 | 3)
S.A.S. (Forward Observer) Chain Rifle, Light Shotgun, Flash Pulse, D-Charges / Pistol, AP + Shock CC Weapon. (0 | 21)
UXÍA McNEILL (Specialist Operative) Boarding Shotgun, D-Charges, Smoke Grenades / Assault Pistol(+1B), AP CC Weapon. (0 | 27)
HIGHLANDER GREY Heavy Machine Gun, Smoke Grenades / Pistol, AP CC Weapon. (1.5 | 28)
VOLUNTEER (Paramedic) Rifle ( | MediKit) / Pistol, CC Weapon. (0 | 10)
WULVER AP Spitfire, Grenades / Pistol, AP + Shock CC Weapon. (1 | 36)
4.5 SWC | 300 Points | Open in Army | Copy Code
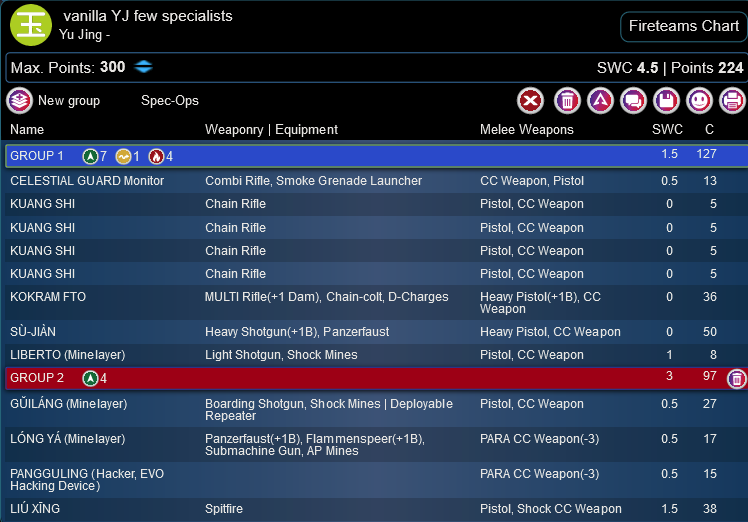
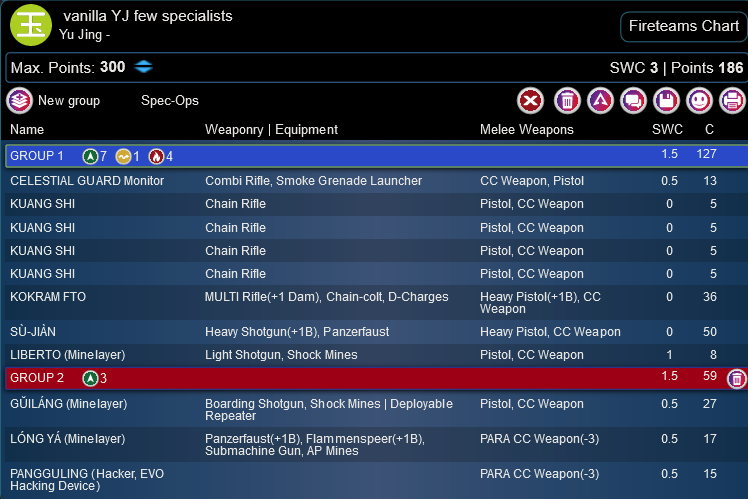
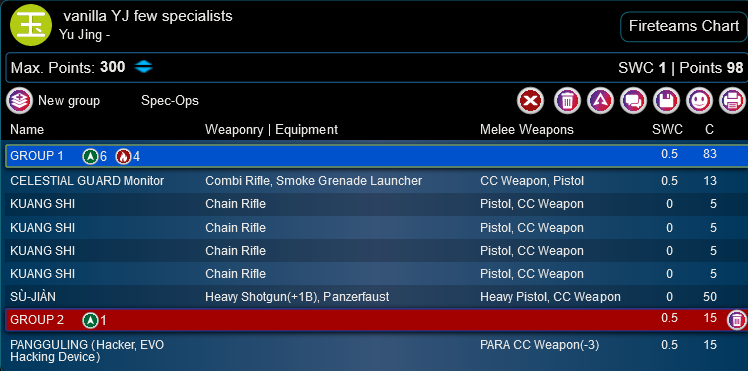
Frank’s list has the Krit/Su Jian duo along with a bunch of minelayers and Lunah. He’s pretty light on specialists–the only options are Krit and the Panguling. This isn’t a huge deal since Rescue doesn’t really require specialists to grab the HVTs, and there’s plenty of killing power and area control options instead.
vanilla YJ few specialists
GROUP 1GROUP 2
CELESTIAL GUARD Monitor Combi Rifle, Smoke Grenade Launcher / CC Weapon, Pistol. (0.5 | 13)
KUANG SHI Chain Rifle / Pistol, CC Weapon. (0 | 5)
MAJOR LUNAH VIRAL Sniper Rifle / Pistol, CC Weapon. (1.5 | 29)
KOKRAM FTO MULTI Rifle(+1 Dam), Chain-colt, D-Charges / Heavy Pistol(+1B), CC Weapon. (0 | 36)
SÙ-JIÀN Heavy Shotgun(+1B), Panzerfaust / Heavy Pistol, CC Weapon. (0 | 50)
LIBERTO (Minelayer) Light Shotgun, Shock Mines / Pistol, CC Weapon. (1 | 8)
LÙ DUĀN Mk12, Heavy Flamethrower(+1B) ( | Deployable Repeater) / PARA CC Weapon(-3). (0 | 24)
GŬILÁNG (Minelayer) Boarding Shotgun, Shock Mines ( | Deployable Repeater) / Pistol, CC Weapon. (0.5 | 27)
DĀOYĪNG (Lieutenant [+1 Order]) Boarding Shotgun / Breaker Pistol, CC Weapon. (0 | 22)
LÓNG YÁ (Minelayer) Panzerfaust(+1B), Flammenspeer(+1B), Submachine Gun, AP Mines / PARA CC Weapon(-3). (0.5 | 17)
PANGGULING (Hacker, EVO Hacking Device) ( ) / PARA CC Weapon(-3). (0.5 | 15)
LIÚ XĪNG Spitfire / Pistol, Shock CC Weapon. (1.5 | 38)
6 SWC | 299 Points | Open in Army | Copy Code
Frank really likes the Lu Duan and Guilang Minelayers as attack pieces, and having a Liu Xing Spitfire isn’t bad either. This list is also meant to cover Firefight, so the Liu Xing and lack of specialist make even more sense here.
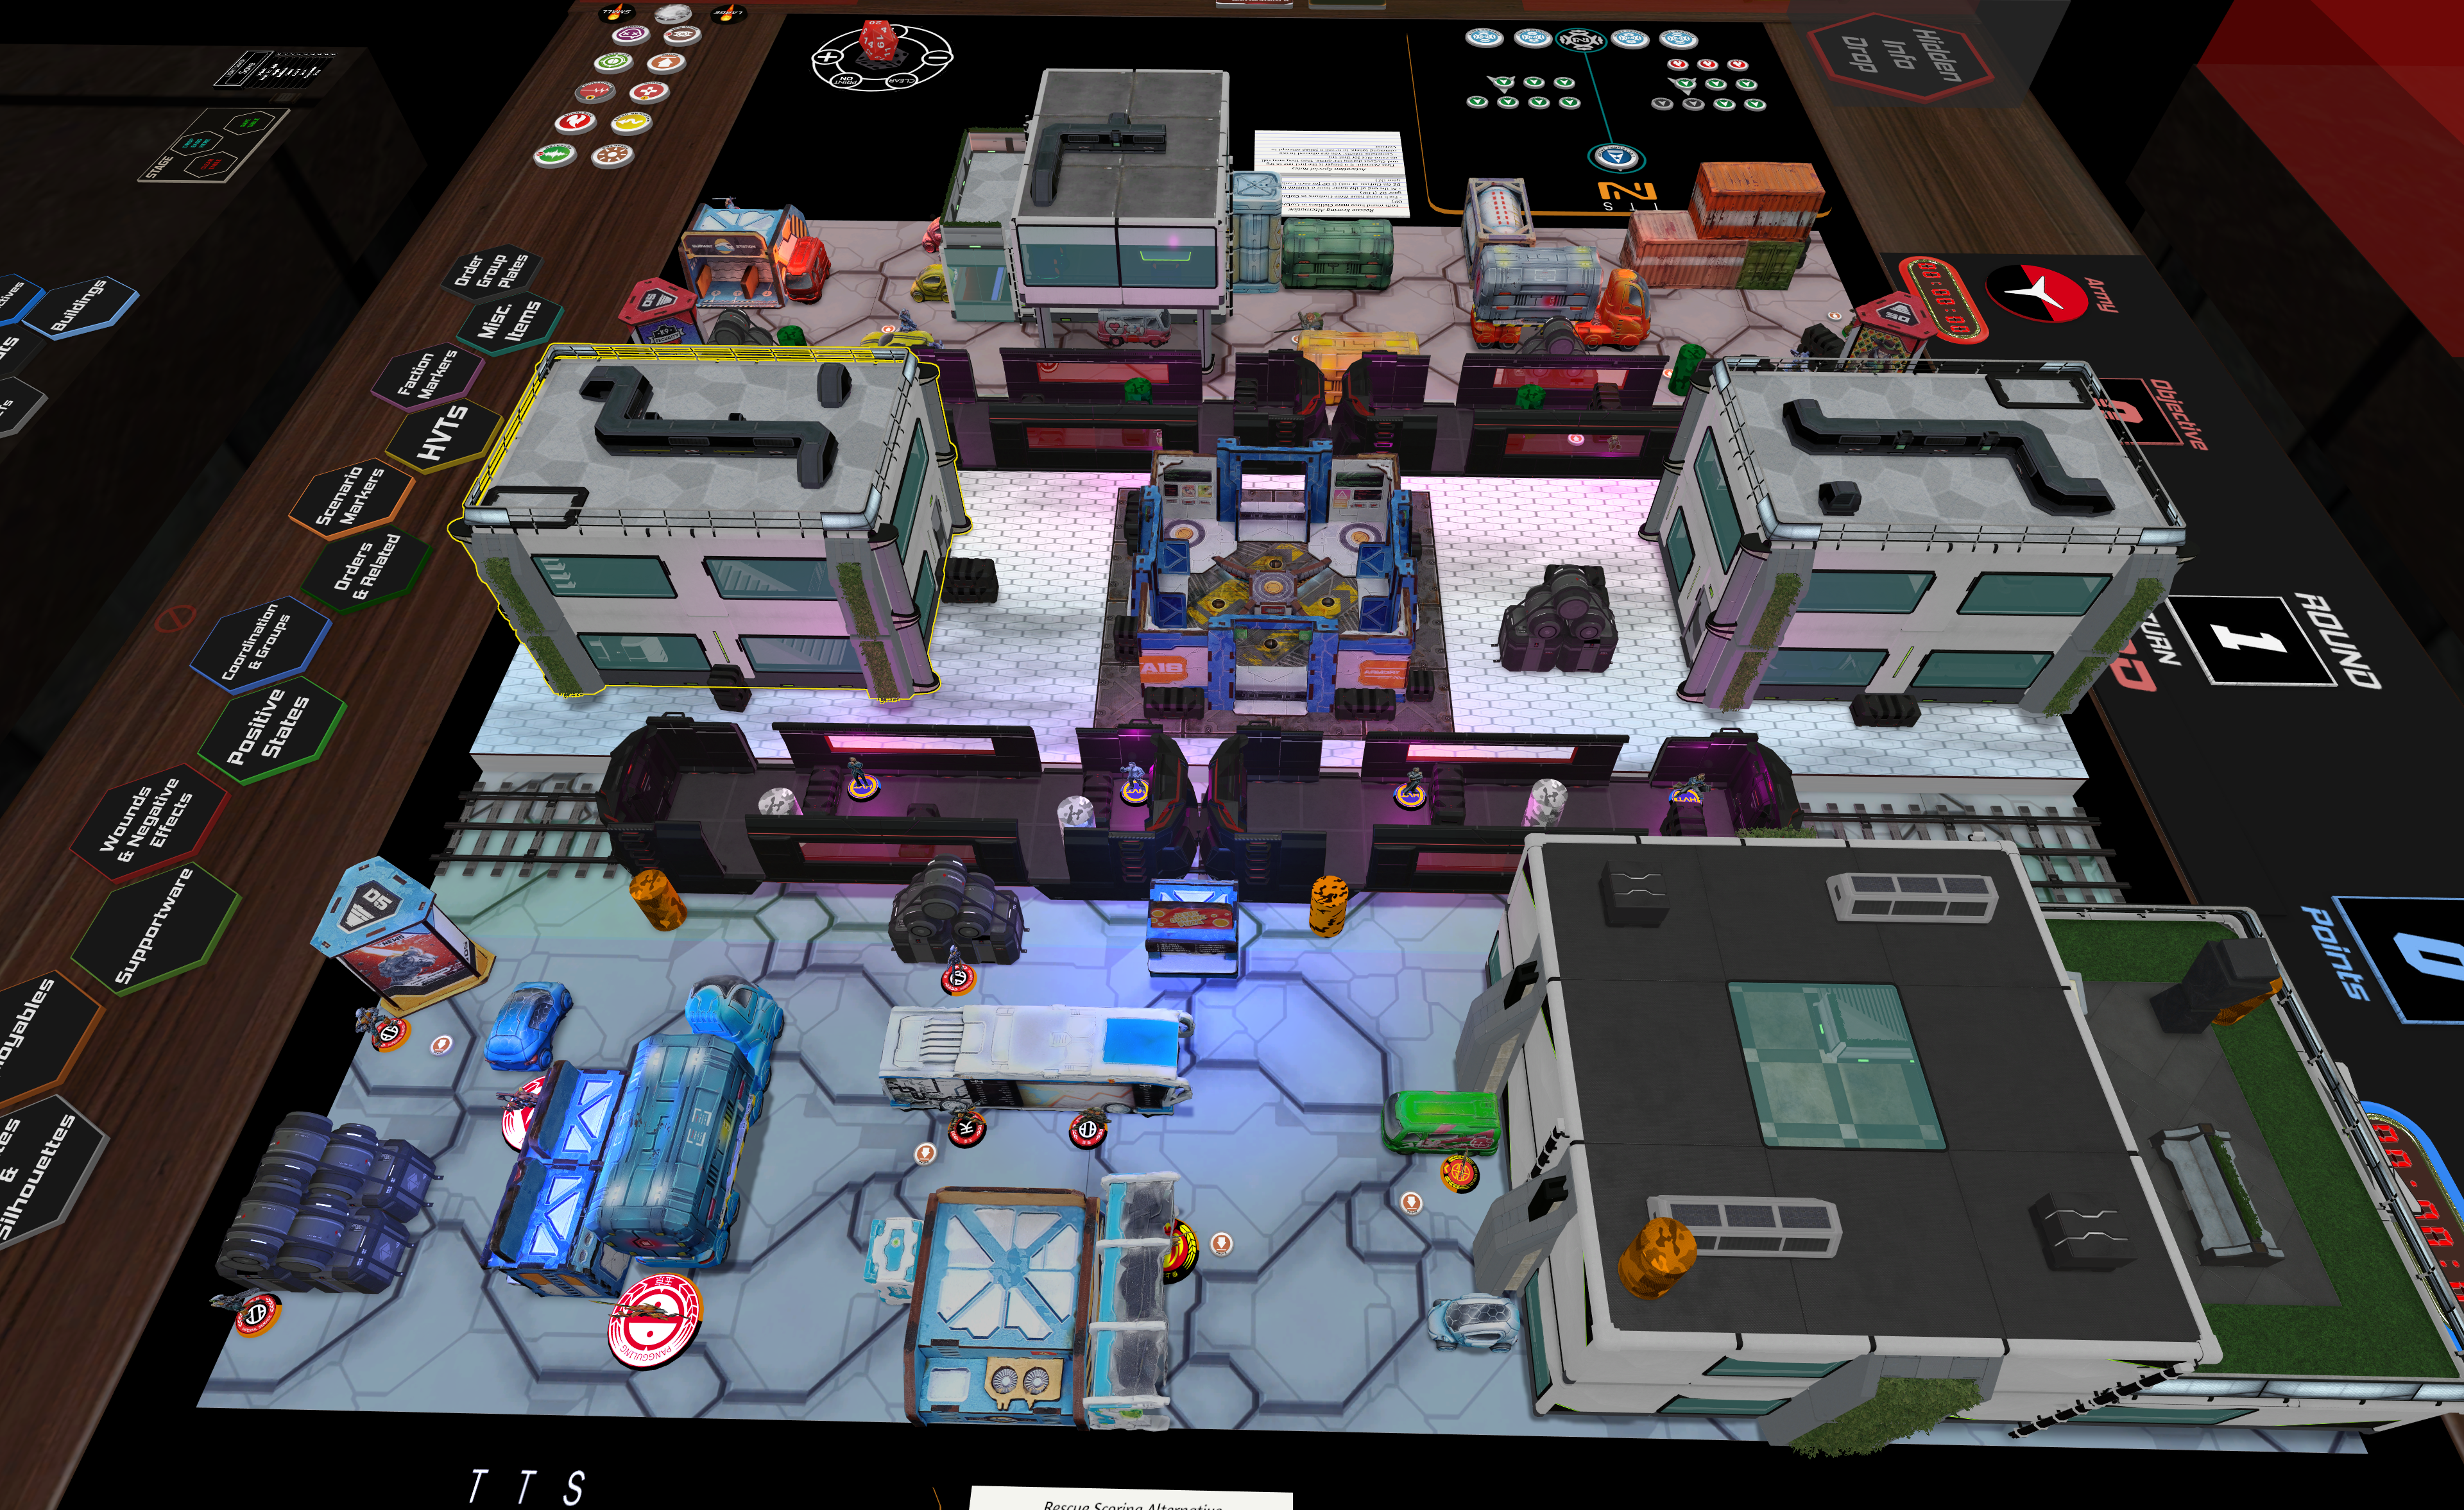
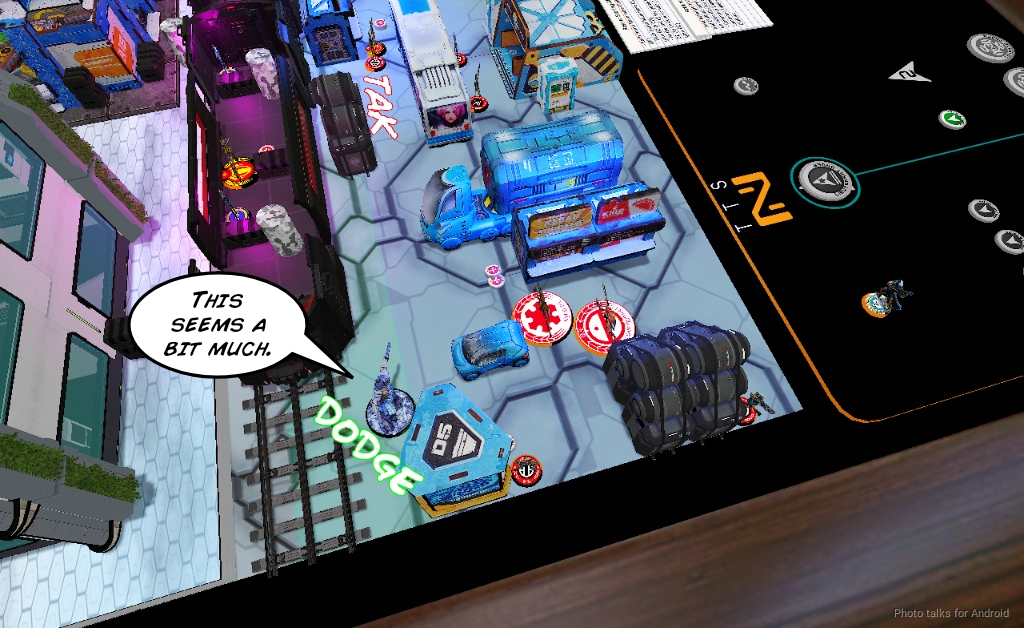
Deployment
I won the rolloff and elected to go first, so Frank took the side with the superior sniper tower. This particular table is pretty symmetric, so there wasn’t a particularly strong table side. We agreed to treat the armory as not infinite height, which I imagine isn’t the intent of the table designer, but that’s what we went with. What’s interesting is that TTS tables generally are significantly more dense than IRL tables, which certainly benefits my list a little more, I think.
My deployment plan was pretty straightforward. There are two very tall buildings in the midfield, and Caterans have climbing plus. I was going to hold Uxia in reserve, and then just symmetrically deploy the dogs and the Caterans. I briefly considered holding the Wulver in reserve with a command token, but ultimately decided against it because I really wanted to use a bunch of coordinated orders on the Caterans.
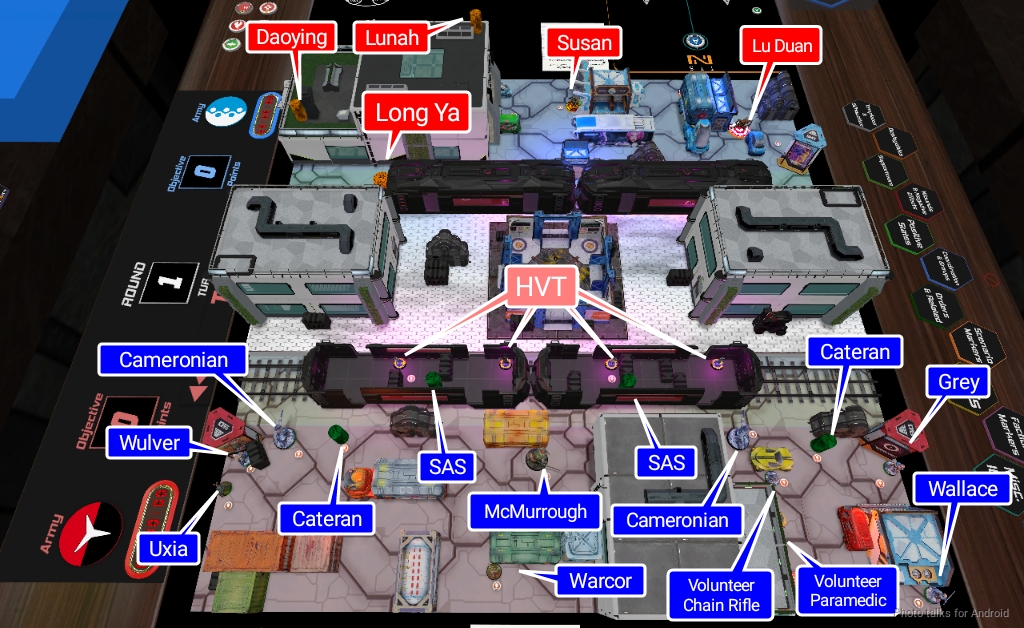
Wallace had a good hiding spot in the back right of my deployment zone, and I screened him with the Grey/Volunteer link. The two SAS went my train with Frank’s HVT’s, and the Warcor went in the back watching one of the train doors. I placed the Wulver on my left to enable it to make a run on the left building (from my perspective).
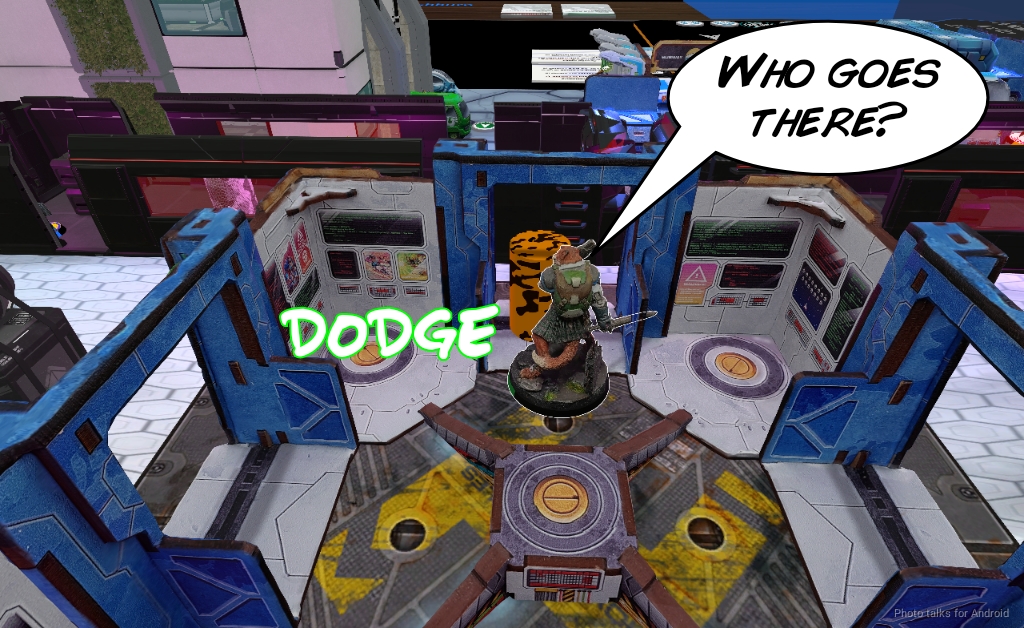
Frank’s deployment was very heavy on the left, since there was no real way out of the interior of the building on the right. He had a plan of leaving his Daoying standing to try and fool me into thinking that the Daoying was Lunah and thereby make it difficult for me to figure out which was which. He put his Kuang Shi all the way on the left screening the approach to his Lu Duan, which he holomasked as a Rui Shi. I’m not really sure what the benefit of this was, especially since it doesn’t change my approach to dealing with it, but I suppose if it survived turn 1 it might surprise me with some holoecho nonsense?
His Panguling EVO was nearby to buff it when the time came, and then his train with my HVTs was just chock full of mines thanks to a Long Ya, Libertos, and Guilang. Krit and the Su Jian ended up in the middle of his deployment zone in cover.
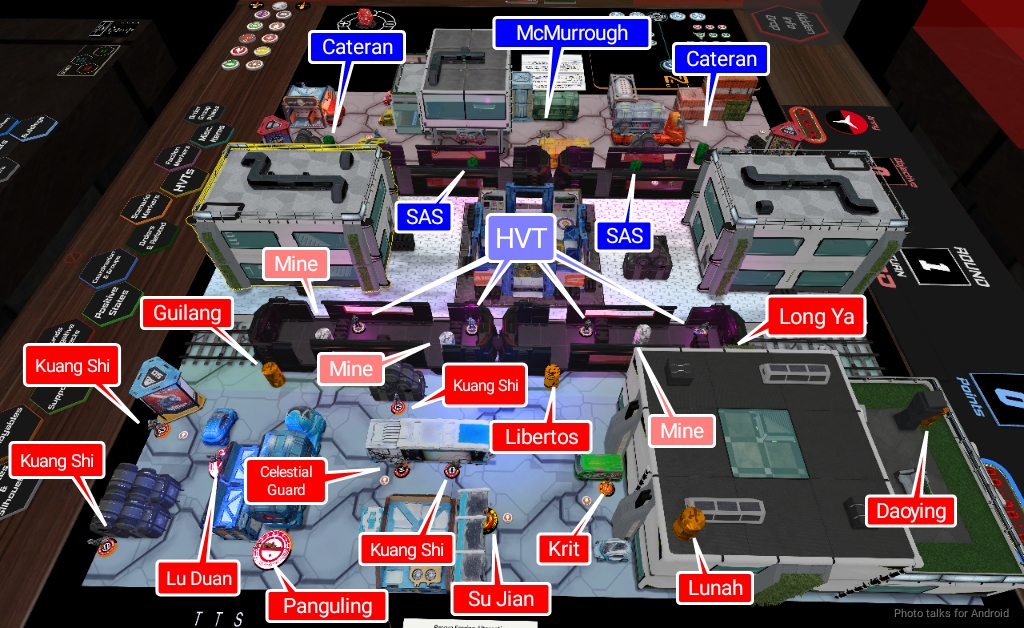
I attempted to over-infiltrate Uxia right next to the Libertos with the intent of killing Krit and or the Su Jian. I failed the roll, however, and Uxia just ended up in my deployment zone. I think Frank’s reserve was the real Lunah, which was deployed like I would expect the real Lunah to be. The Daoying wasn’t deployed very aggressively and was sort of out of the fight, which makes sense for its actual role, but served to clue me into the fact that it wasn’t Lunah.
Turn 1
Top of 1 – CHA
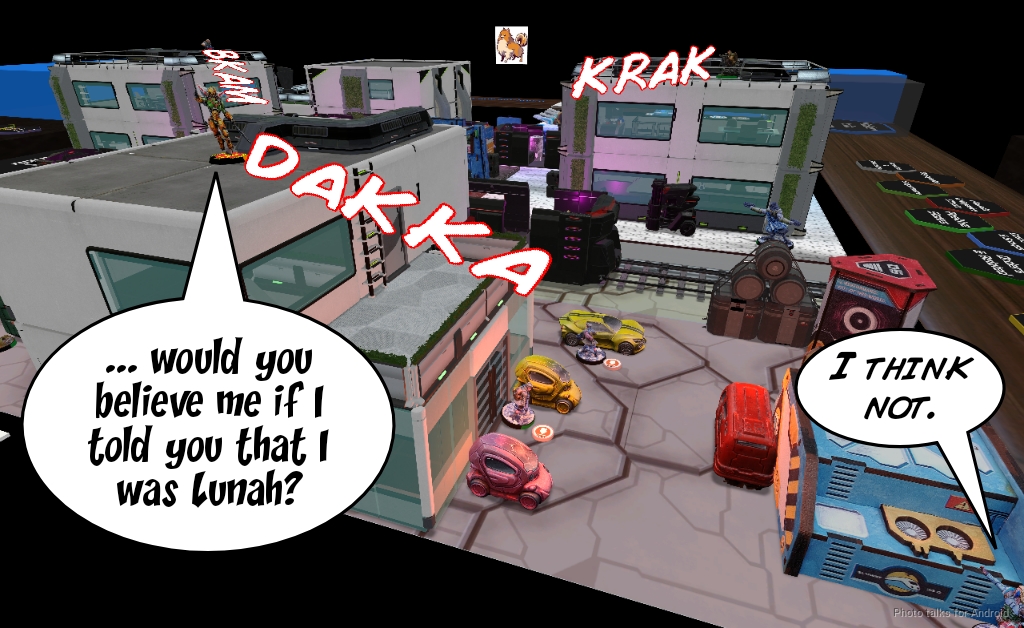
Frank correctly docked two orders from the Dog/Cateran group. This is particularly important in this case because I have so much to do with them this turn. My game plan was to force Lunah to reveal by shooting at the Su Jian, then killing Lunah. Once that was done, I can engage any additional targets of opportunity and maybe even go for a turn 1 lieutenant snipe.
I basically spend a mix of the dog’s impetuous orders, Wallace’s inspiring leadership coordinated, and a regular coordinated order to get the dogs moved up and the Caterans pushed onto the left and right rooftops.
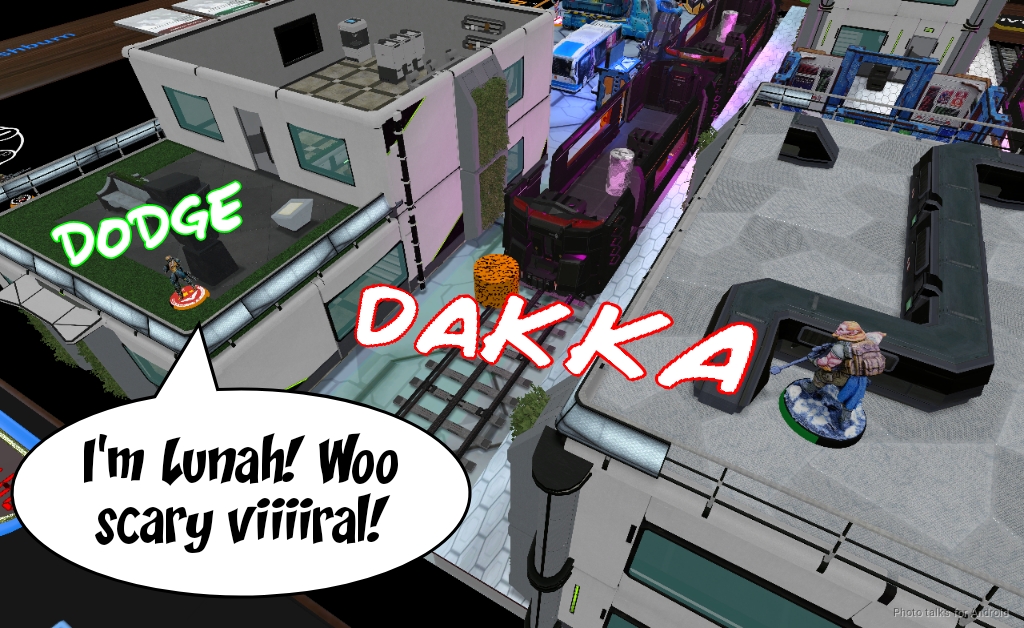
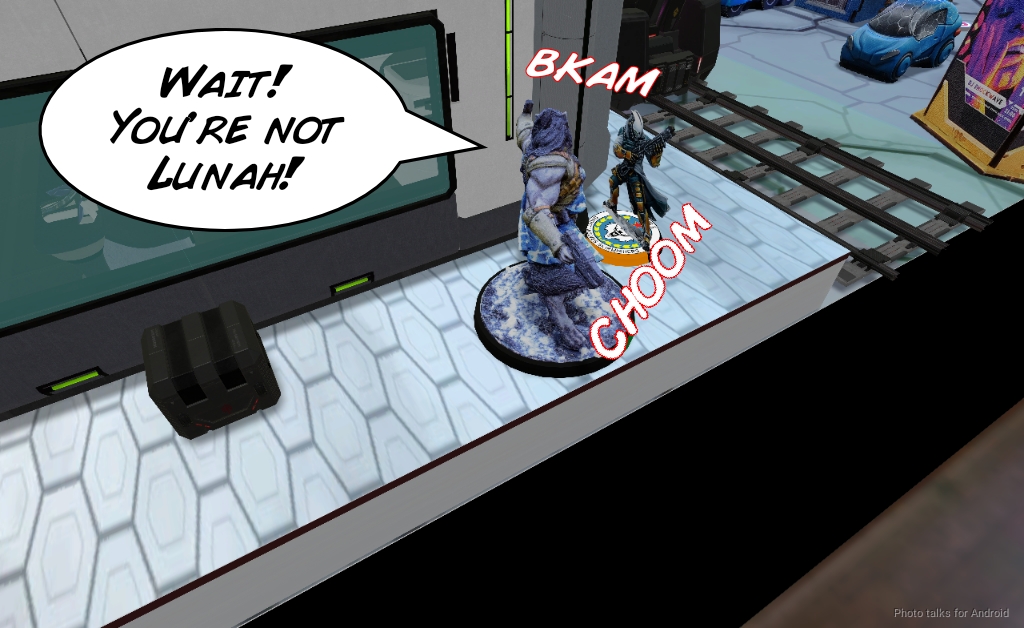
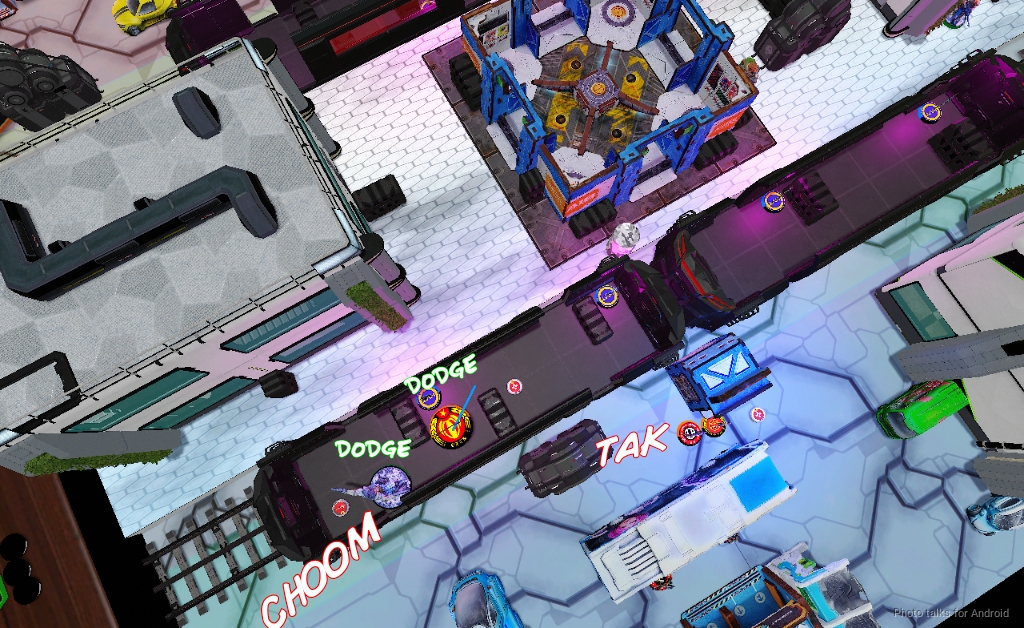
I can see both the Daoying and Lunah with the Cateran on the left, and with a little bit of scooting I can see the Su Jian. I scoot into position and surprise shot the SU Jian against its panzerfaust.
| 33.38 | 52.36 | 14.27 |
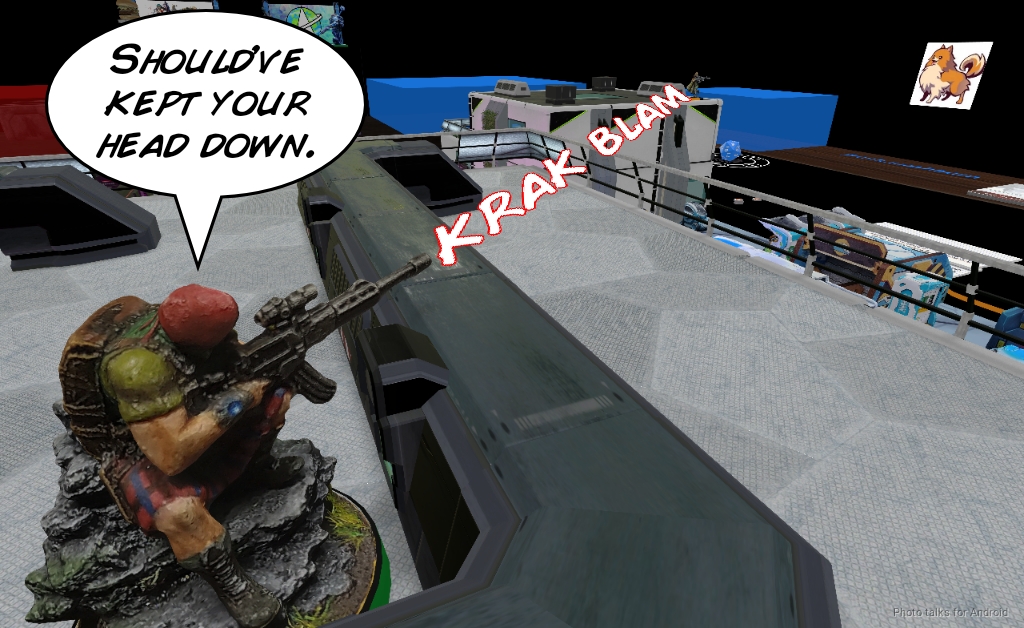
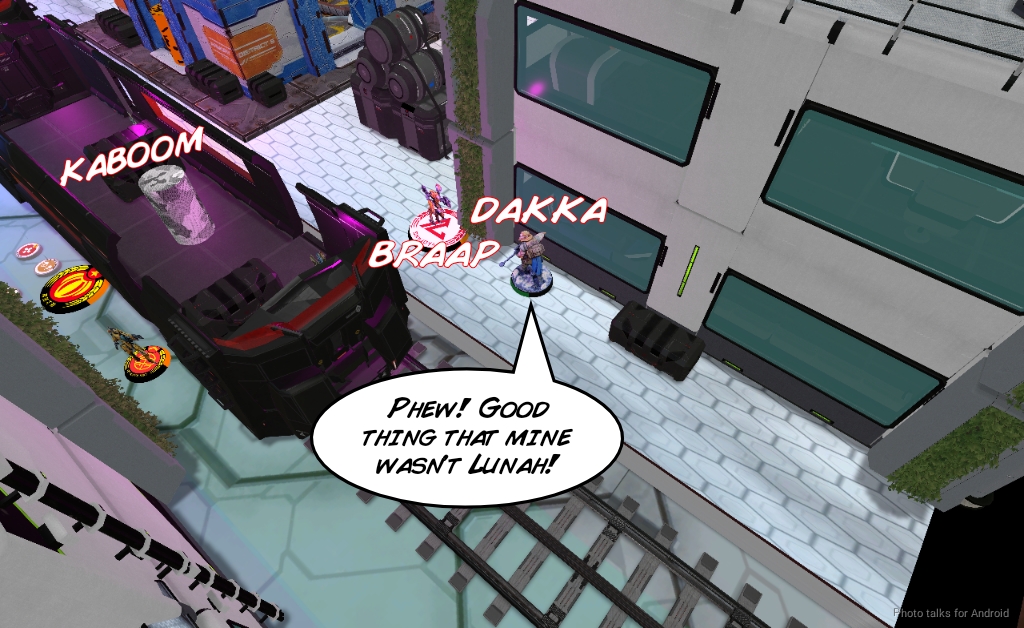
I hit it twice, but it passes both saves. Sigh. Lunah reveals and takes out the Cateran, but the desired outcome has been achieved. Lunah is revealed!

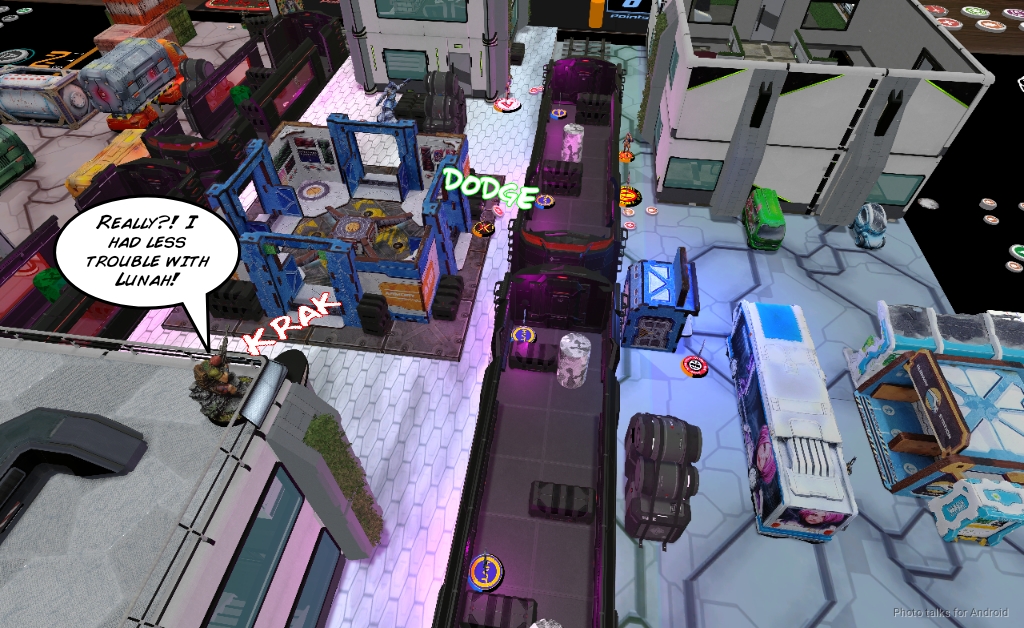
The other Cateran surprise shots her and takes her down. This is pretty risky for me, but it’s the most expedient method of dealing with Lunah given that Uxia’s not in play at the moment.
| 32.99 | 39.82 | 27.19 |
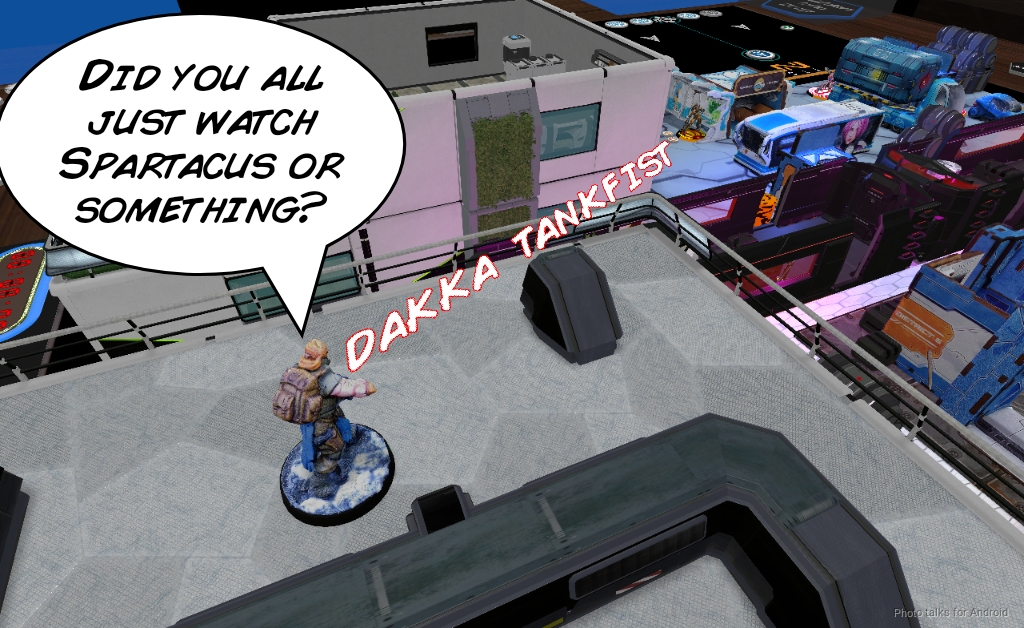
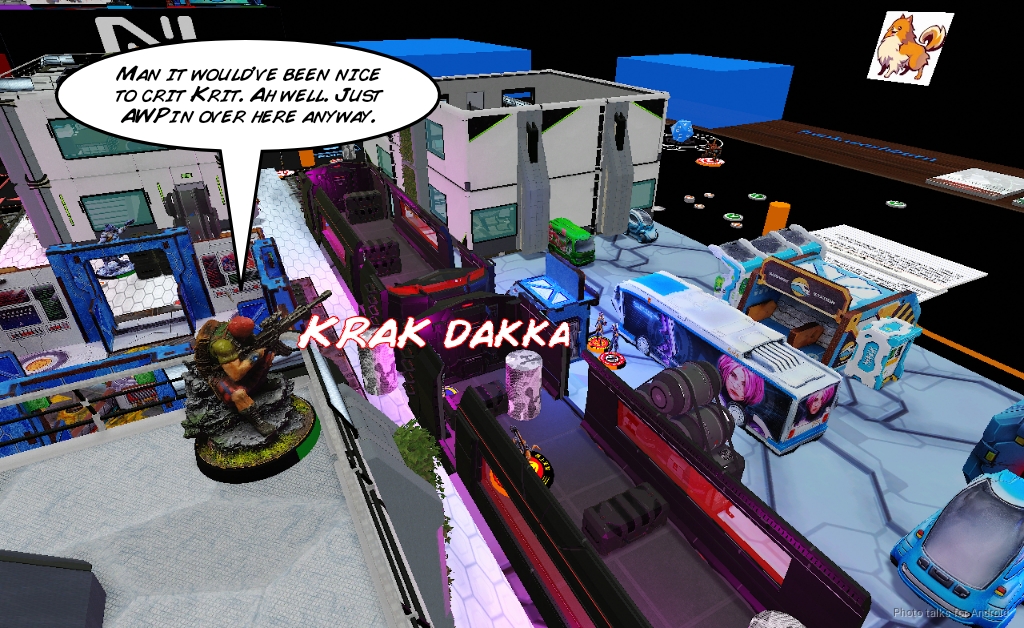
With Lunah down, I now have the opportunity to go for a Lieutenant snipe thanks to the Wulver’s climbing plus. I pass the discover roll, especially because I can catch the Daoying out of cover from the edge of the building, and easily drop it with the Wulver’s AP Spitfire.
Emboldened by my success I attempt to take on the Su Jian at range, but we’re outside of 24″.
| 24.21 | 36.00 | 39.80 |
This is actually pretty terrible for me, but I get lucky and nothing bad happens (to either of us). The Su Jian is out of panzerfausts now, so I guess that’s a slight win.
I force a dodge by getting closer, but still we’re just out of 24″ and I can’t get any damage to stick. I back off and consider other options.
| 24.21 | 28.42 | 47.37 |
My remaining Cateran can see the “Rui Shi” so I take it out, revealing it as a Lu Duan, which confused me but it’s dead so I guess I’m not concerned?
Bottom of 1 – Yu Jing
In terms of points, I’ve done a marginal amount of damage. I have, however, removed most of Frank’s attack pieces aside from Krit/Su Jian and the Liu Xing. More importantly, I’ve put him in loss of lieutenant.
Vanilla lists generally tolerate LoL pretty well, so Frank just starts pressuring me with all of his models. The Libertos tries to make its way into the armory, but I dodge McMurrough in the way to block him.
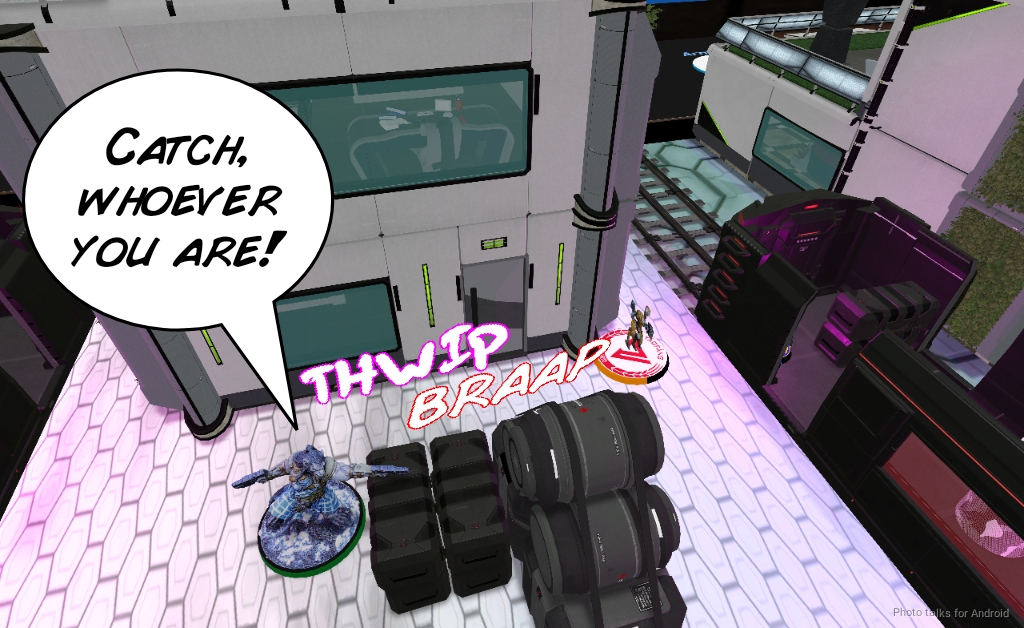
Frank then drops his Liu Xing in to attempt a retaliatory assassination of Wallace. Fortunately Uxia can see this and declares Alert, which allows the Wulver and Cateran to spin around and look at the Liu Xing.
Wallace beats most of the spitfire shots with smoke. He still takes a hit but passes ARM, and the Cateran takes the Liu Xing off the table.
The Long Ya puts a wound on the Cameronian against its grenade, which is less than ideal, but at least it’s out of camo now.
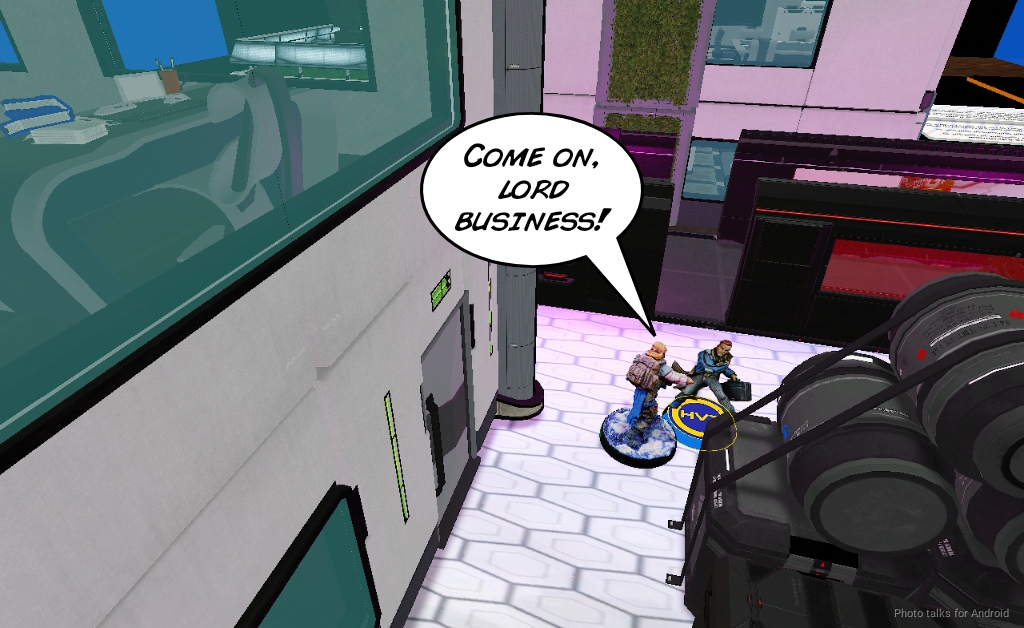
Then Krit and the Su Jian start pushing up. This is mostly safe because the train and the elevated position of the Wulver break LoF if Frank moves them the long way around.
Krit downs the wounded Cameronian with a burst of MULTI Rifle fire, and then the turn swings back to me with Frank leaving some orders on the table with nothing to do.
Turn 2
Top of 2 – CHA
I’ve lost a Cameronian and Frank has lost a Liu Xing. He is, however, starting to claw some tempo back with his moving the Krit/Su Jian duo forward.
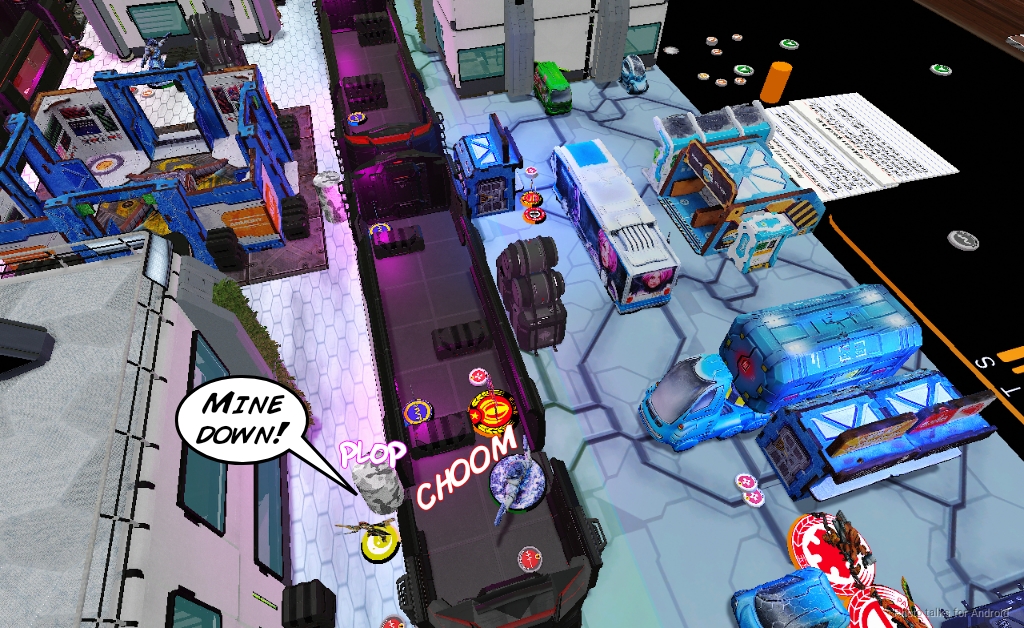
I start by taking out the Long Ya with the Wulver’s frenzy order, but take a wound from the nearby mine. Note that I’m climbing down the building here, the model is just on the ground floor for convenience. Neither of us saw the mine ARO until later, so we just retconned it going off and I failed my ARM save. Ah well.
I then decide to use McMurrough’s impetuous order to try and take on the Long Ya, and lose him to return fire from the Libertos and the Long Ya, with both of them surviving McMurrough’s chain rifle attack. Well that’s… bad.
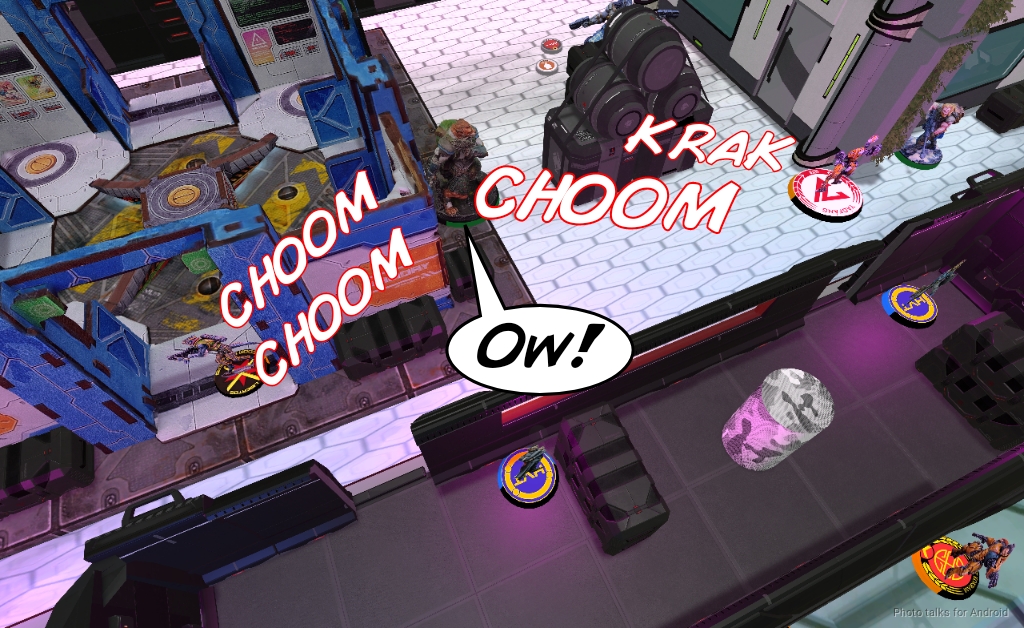
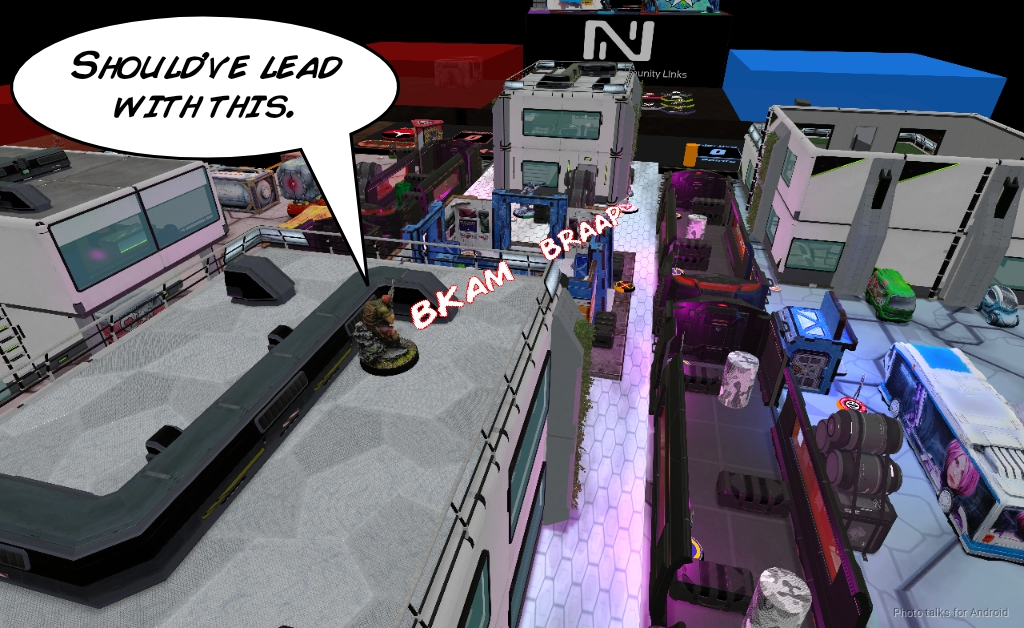
The remaining Cateran drops the Long Ya, which I probably should have led with. I thought McMurrough would’ve survived with at least one wound left. Ah well.
I’d like to bring my Bashi on to grab multiple HVTs and bring them back to my table side, but the Libertos is watching the region where I’d bring them on. I try to take it out with the Wulver, but only manage to put it Dogged after a few orders.
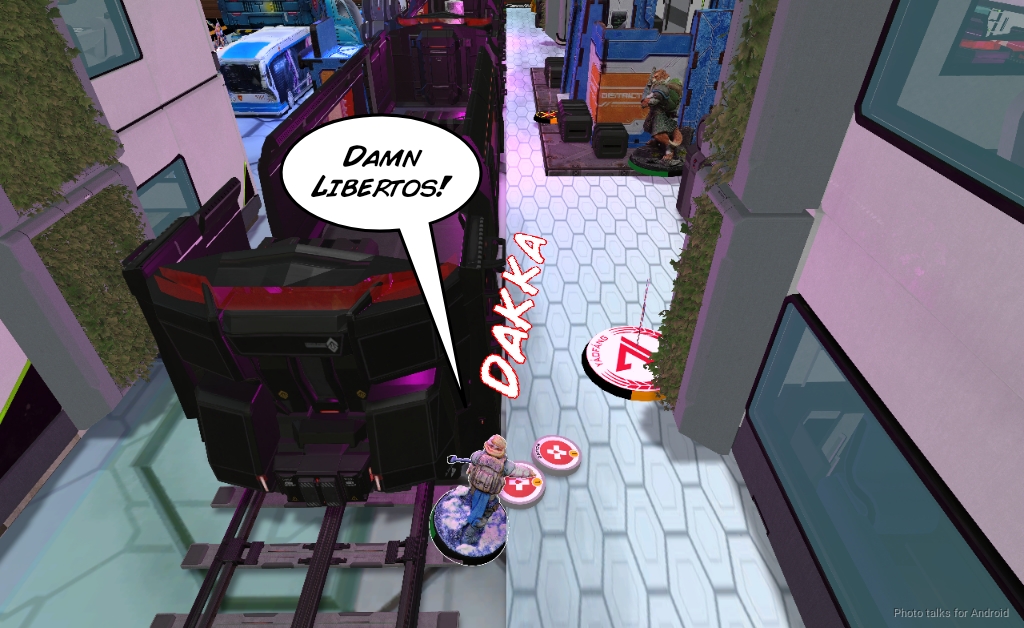
Frustrated, I decide to spend an order on an unrelated problem so I can clear my mind. The remaining Cameronian rolls a crit on an intuitive attack against the Guilang Minelayer, and it fails both saves, taking it off the table.
I return my attention to the other side of the table. At this point in my order expenditure, there’s really not a way for me to get anything meaningful done that will stick. I decide to just set up roadblocks to Frank’s advancement and push the Cateran forward to watch the exits of the train. I attempt to take on the Libertos as it’s the only thing I can see, and it dodges. Bah humbug.
The Wulver is at risk of dying to Krit so I retreat it up the building and go prone. You might be wondering why I don’t just go kill Krit and the Su Jian with the Wulver… the answer is that I’d have to go through Krit to challenge the Su Jian and in doing so would probably end up killing both. Killing Krit is fine, but if I kill him and the Su Jian Frank is in retreat. And I really want to kill the Su Jian as it’s the most reasonable way for Frank to grab an HVT.
Bottom of 2- Yu Jing
Even though I’ve killed over 50% of Frank’s list, he’s still got a pretty decent order battery thanks to the Kuang Shi.


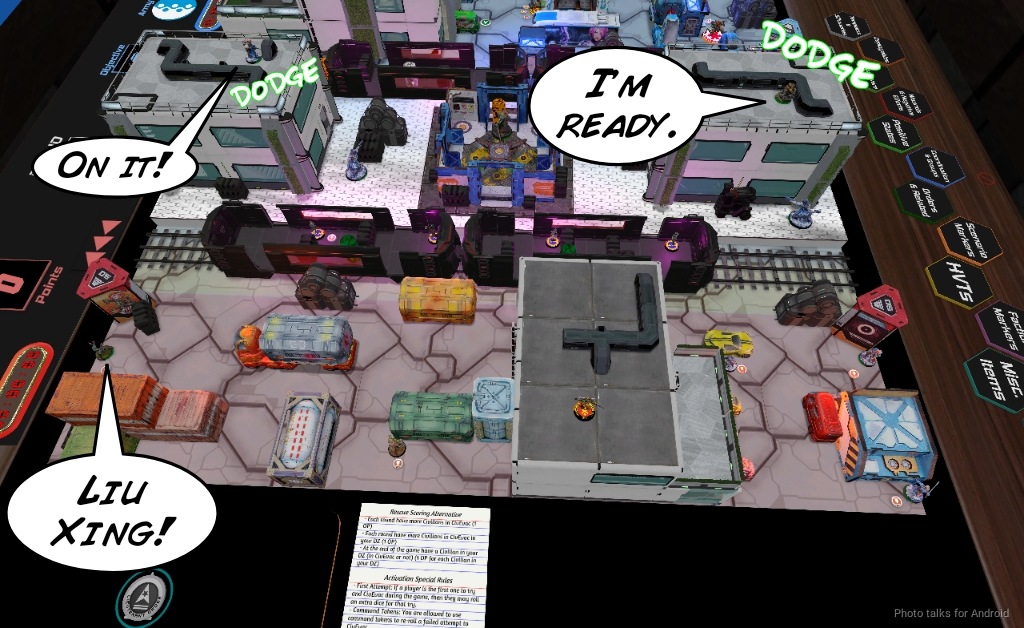
Frank decides to make a play for HVTs and starts pushing Krit and the Su jian forward. The Su Jian makes it into the train, but Krit stays behind to fight it out with the Cateran. While I don’t crit Krit, the Cateran does take him to unconscious.
The Su Jian quickly exacts its revenge by shotgunning the Cateran off the roof.
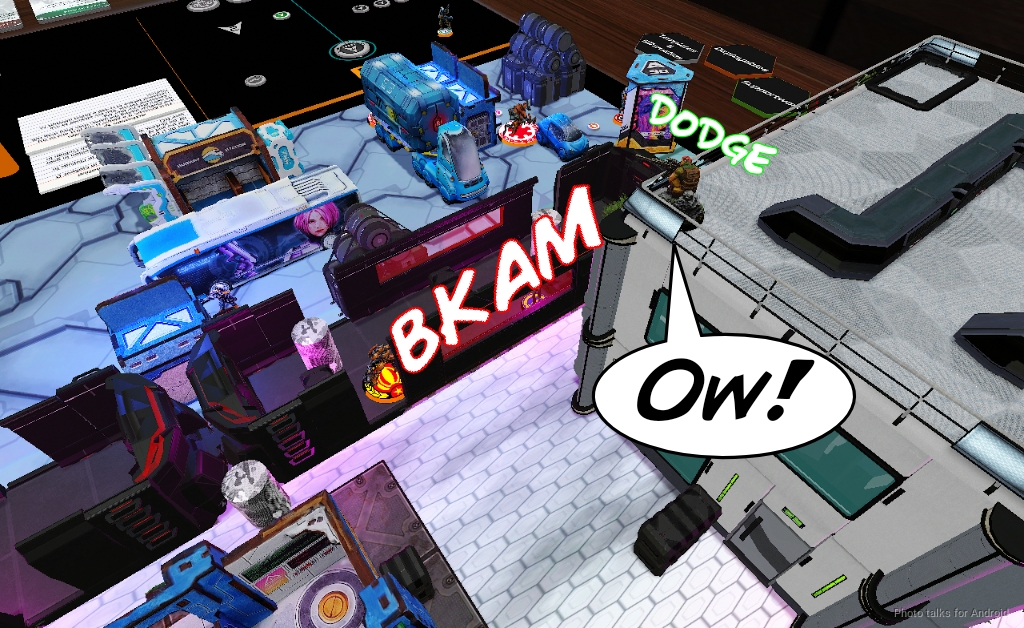
With Krit down, Frank opts to do some damage to my order pool instead and brings on his Bashi to challenge my Grey/Volunteer link. Using holoprojector, he manages to get into a position to template both my Grey and the chain rifle volunteer. There was an opportunity for me to delay here, but I was concerned about the Bashi going all the way to Wallace, which I imagine was Frank’s plan.
With that, Frank is out of orders and passes turn back to me.
Turn 3
Top of 3 – CHA
Neither of us have any HVTs at this point, so I really need to go now. This is my last opportunity. I’d really like to assassinate the Su Jian, but I just don’t have a solid plan for it, and I’m a little distracted by planning an exfil for an HVT. I dump Wallace and the Warcor into the other group to make up for the losses from Frank’s Bashi.
I sort of anemically throw the Cameronian forward. I take a bunch of fire going in, but dodge past the worst of it. Cameronians only having the normal dodge movement sucks pretty hard. They don’t need to be changed, it’s just jarring when piloting both them and McMurrough.
I attempt to make it into base to base with the Su Jian, but fail.
I think I should have moved the Cameronian into the larger group then pushed very hard on the Su Jian to just tie it up in close combat. In any case, the Wulver grabs an HVT and runs away to my deployment zone, snagging Extreme Prejudice on the Long Ya on the way.
I’ve got a few orders left, so I try to bring on the Bashi to deal with the Su Jian. I manage only to drop a mine, losing the Bashi to the Su Jian’s shotgun.
Bottom of 3 – Yu Jing
Nothing’s changed in terms of units lost, so Frank has plenty of orders to go and grab an HVT and retreat to his dead zone. He has to content with the E/M mine laid by the Bashi, so he just throws his Panguling under the bus to clear it out.
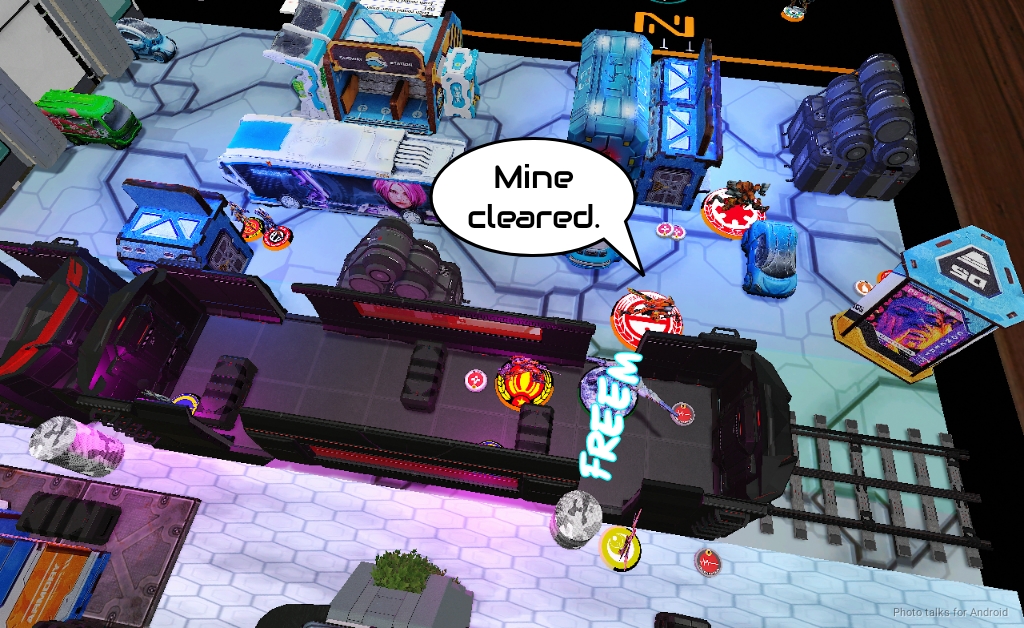
I get some shots on the Su Jian as it leaves, but it’s too high ARM and has too many wounds for me to actually stop it.
Frank has the orders to make it into his deployment zone, but it’ll be a higher scoring game for both of us if he secures the dead zone. He can’t win because of my classified, so it’s a
4-3, 173-98 Caledonian Highlander Army Victory!
Post Game Analysis
I don’t think using the Daoying as part of a shell game is wise, especially if I’m basically required to kill everything in the shell game to be sure it’s safe for me to move around the table. Lunah is a hard counter to my dogs, so she has to go. Frank and I discussed post game the idea of using the sniper Daoying, which we’re both fans of even though it seems somewhat unpopular on the internet.
GROUP 1GROUP 2
CHAĪYÌ Yaókòng Flash Pulse / PARA CC Weapon(-3). (0 | 7)
5 SWC | 300 Points | Open in Army | Copy Code
I think I like this version better, especially if you’re going to shell game. Adding an unpopular profile with a second camo token is bound to help with that. The Krit/Su Jian duo is just such a massive pain to deal with. I should have targeted it a lot more aggressively and let the other stuff live, which would have kept Frank out of retreat.
I definitely had some issues with threat prioritization and tool use this game. McMurrough was the correct choice to deal with the Su Jian, and I squandered him. I think losing the Cateran and the other Cameronian made me want to use the impetuous orders for “efficiency,” when really not using the impetuous order would have been more useful. I was just sort of picking at targets of opportunity, and just wasting orders attempting to deal with the Libertos.
My first turn was fine, aside from attempting to take on the Su Jian outside of 24″. I probably should have used those orders after killing the Daoying to develop either the SAS or Uxia, although of course Uxia did end up saving Wallace by having the Cateran turn around. What’s irritating is that I ordinarily wouldn’t have over-infiltrated Uxia, but Rescue has an exclusion zone so I’m incentivized to.
Anyway, the game looks much better like this for me:
- Turn 1
- Kill Lunah
- Kill Daoying
- Develop Uxia
- Turn 2
- Kill the Su Jian with McMurrough
- Get my classified
- Could possibly abscond with an HVT courtesy of Wulver
- Turn 3
- Recover
- Try to get another HVT with Bashi, if possible
I kept up a rolling wave of pressure the whole game, but I didn’t have the right amount of targeted attack after the first turn. I’ve been doing alright at exploiting targets of opportunity, but I think the next rung on the skill ladder for me is to spend some time thinking carefully about how best to dismantle my opponent’s list.
I had a good plan to take out Lunah and the Daoying, but then I just sort of switched to picking low hanging fruit. CHA has so much killing power that it’s easy to just keep pushing. You’re generally rewarded for this as well, because by killing stuff you’re removing resources, but that’s degradation and not a hard shutoff. If I remove the key tool that Frank needed to get the job done, i.e. Krit and the Su Jian, then I’m in excellent shape because he really can’t do anything even though he has orders. In other words, I need to look for two kinds of opportunities to do damage: general damage to the order pool and focused damage to key models.
I think Frank played quite well. He basically tied the game, which I consider a loss in this context. If you can do that much damage and your opponent can still basically almost tie, then you did something wrong. It’s of course wonderful that the game allows this to happen regularly, i.e. you can take a beating and still make a comeback, but in this case it wasn’t a scenario where the game was very tight and Frank fought hard to flip the last objective or something. I had a clear tempo and positioning advantage throughout the game, and I squandered those advantages.
Of course, by no means do I want to diminish Frank’s piloting of his list. He kept his cool, and even though he was really demoralized after the first turn and was ready to call it, we pushed through to a very well played almost tie for him. He chose his engagements carefully and had a very good loss of lieutenant turn. It takes a lot of skill, experience, and focus to execute to that level under pressure. What I’m saying is that I did enough damage on the first turn that had I played better on turn 2 I could’ve have dramatically decreased the likelihood of a tie.
I respect Frank too much to say I could have”created an unwinnable state.” He would absolutely found some line of play to try and claw his way back into the game had that happened, but I could’ve made it much harder. Thanks to Frank for a great game. Anyway, I’ve enjoyed my foray into Caledonia. I hope you’ve enjoyed reading about it. Thanks for coming along.