

Space Pope Savior
I’ve started playing at a different game store once every other week. The player pool there is totally different as it’s closer to Portland proper, which is great for me to get different games in. I love the crew at my usual LGS, but it’s nice to play against other folks from time to time. The store doesn’t really support Infinity though, so we’ve had to bring our own terrain. Thankfully they do support other wargames so they have the right size of tables.
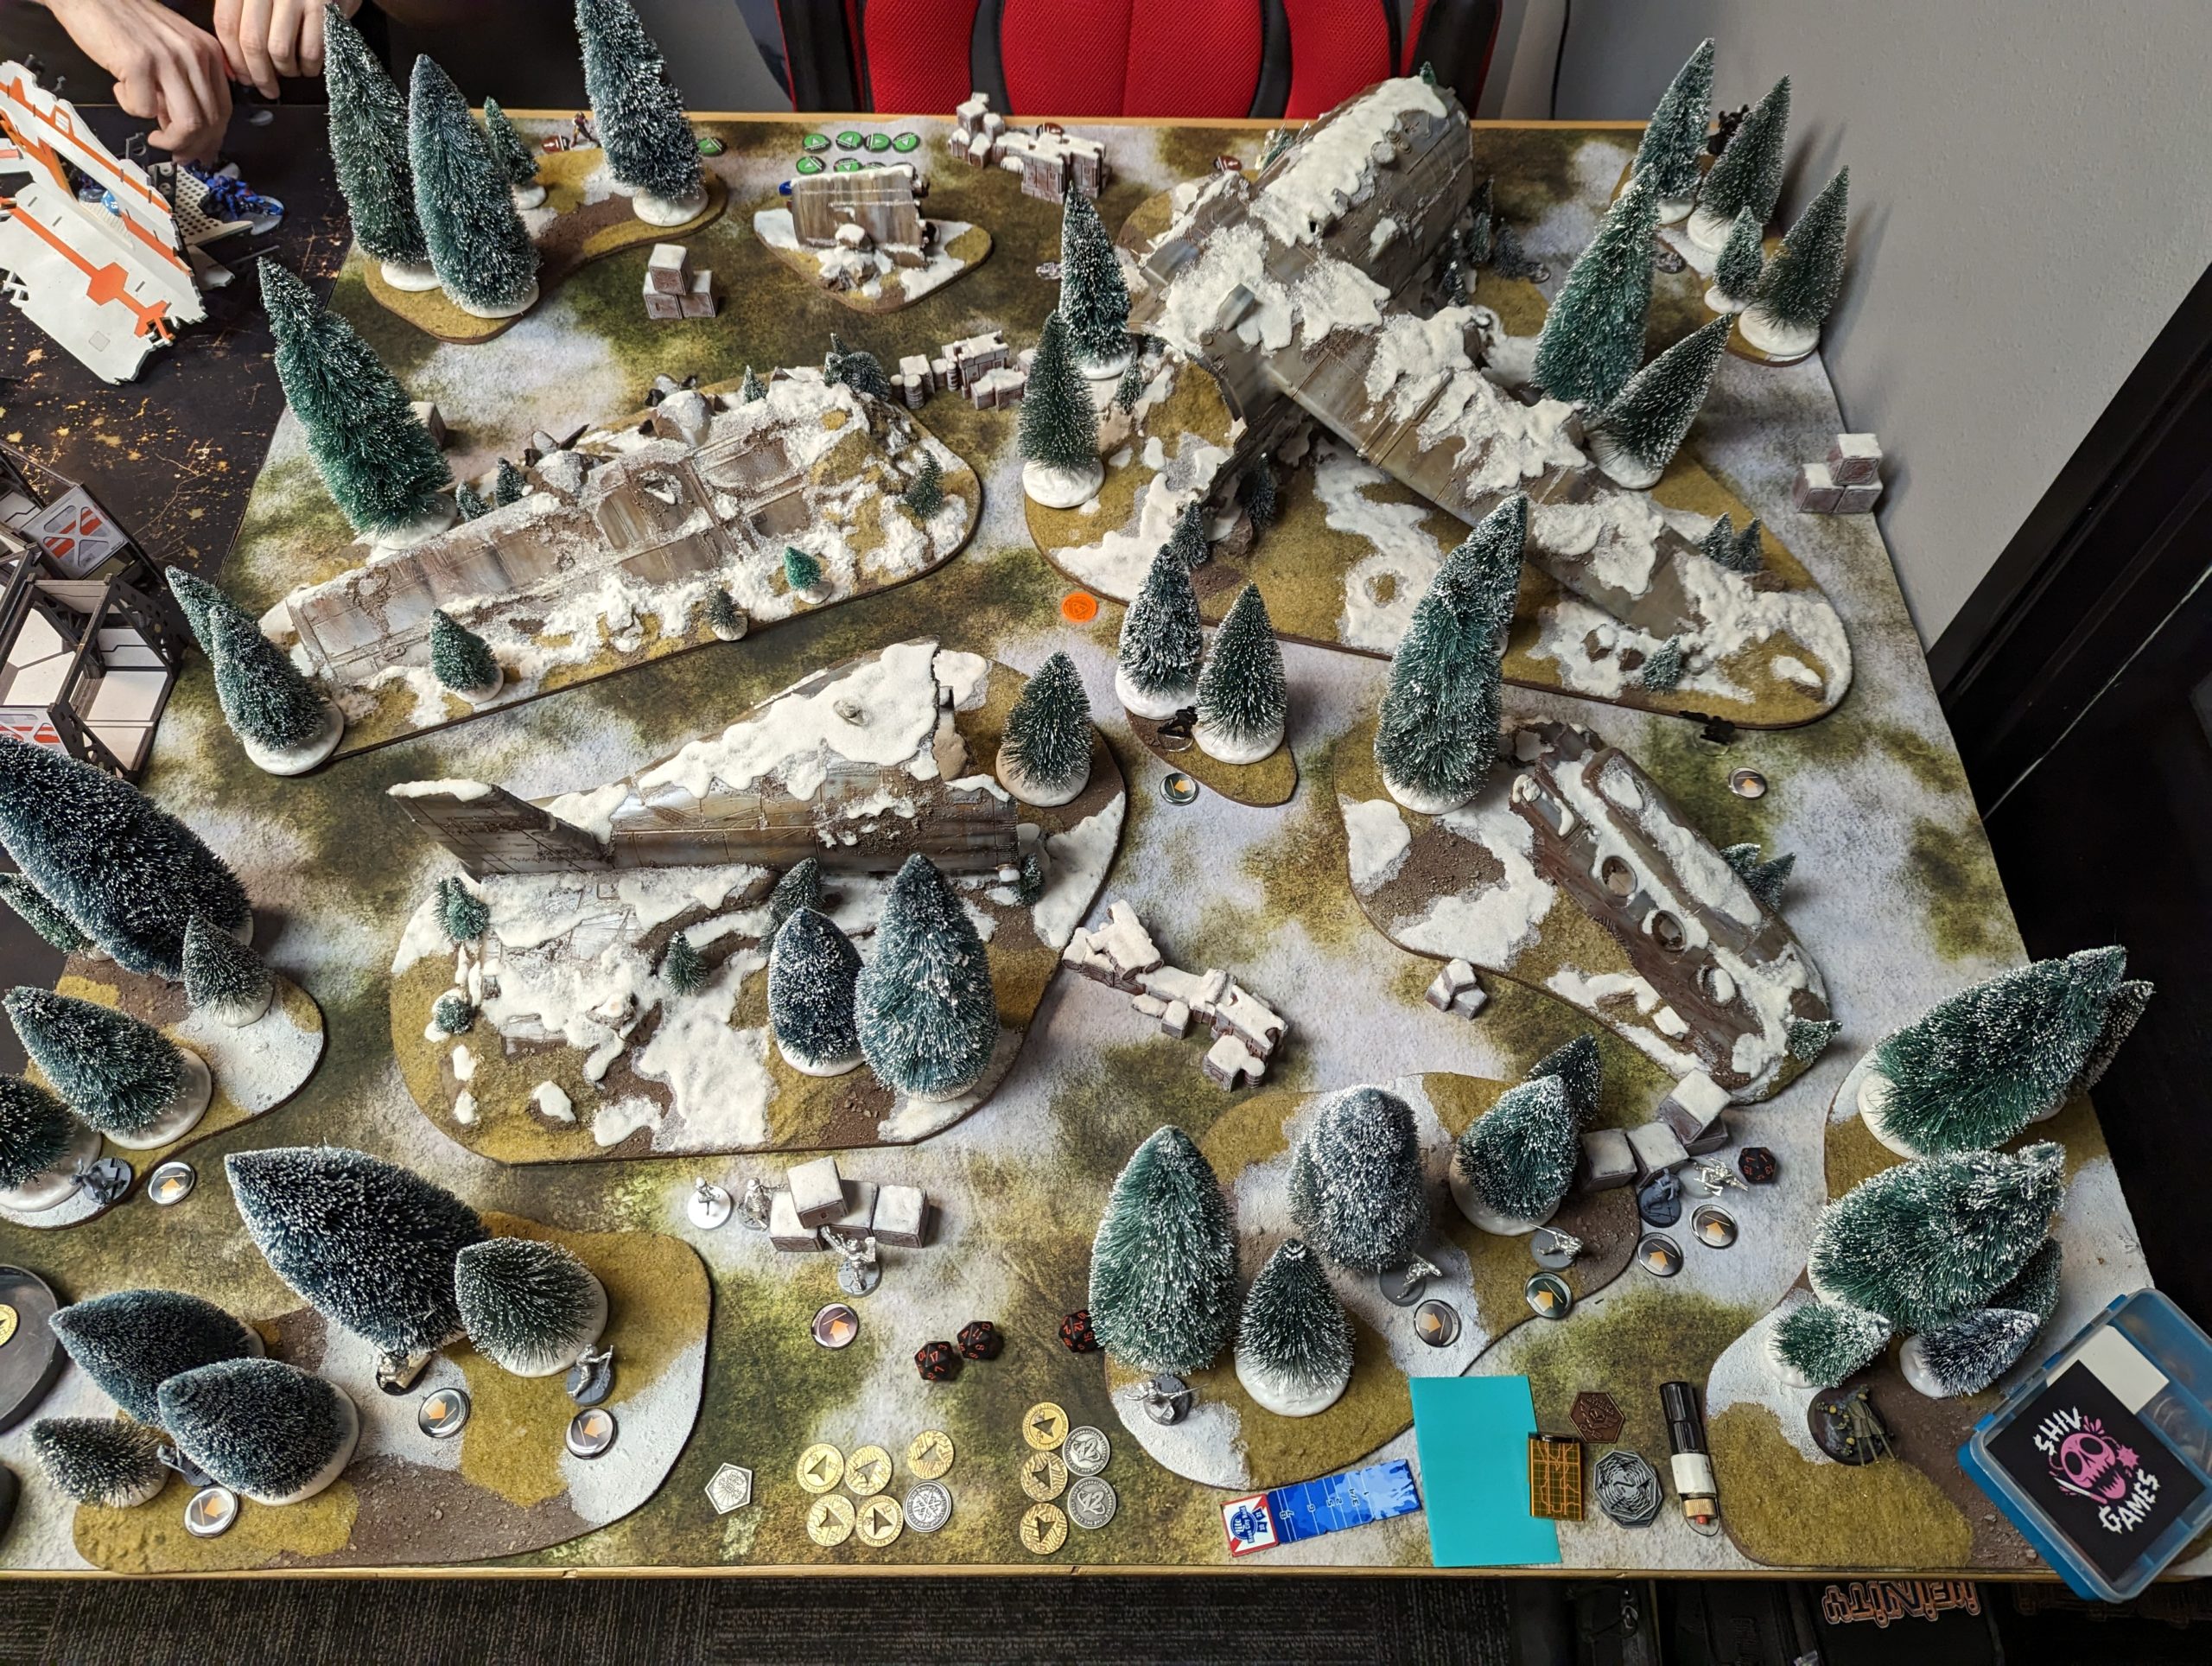
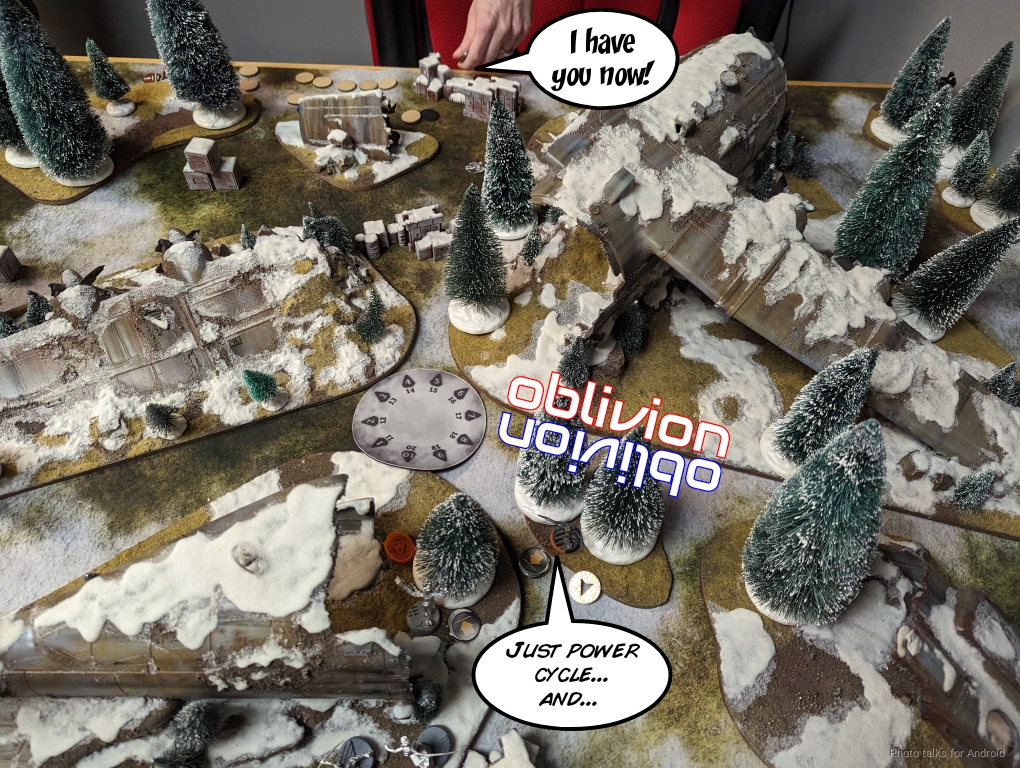
I showed up to game night and Ky (Squire), Steve (KingButt), and Nate (natetehagressar) were all there waiting for me, since I was the guy with tables. I ended up facing Ky, since we haven’t played each other before and neither had Nate and Steve. Nate and Steve wanted the space station table, so Ky and I got the airplane table.
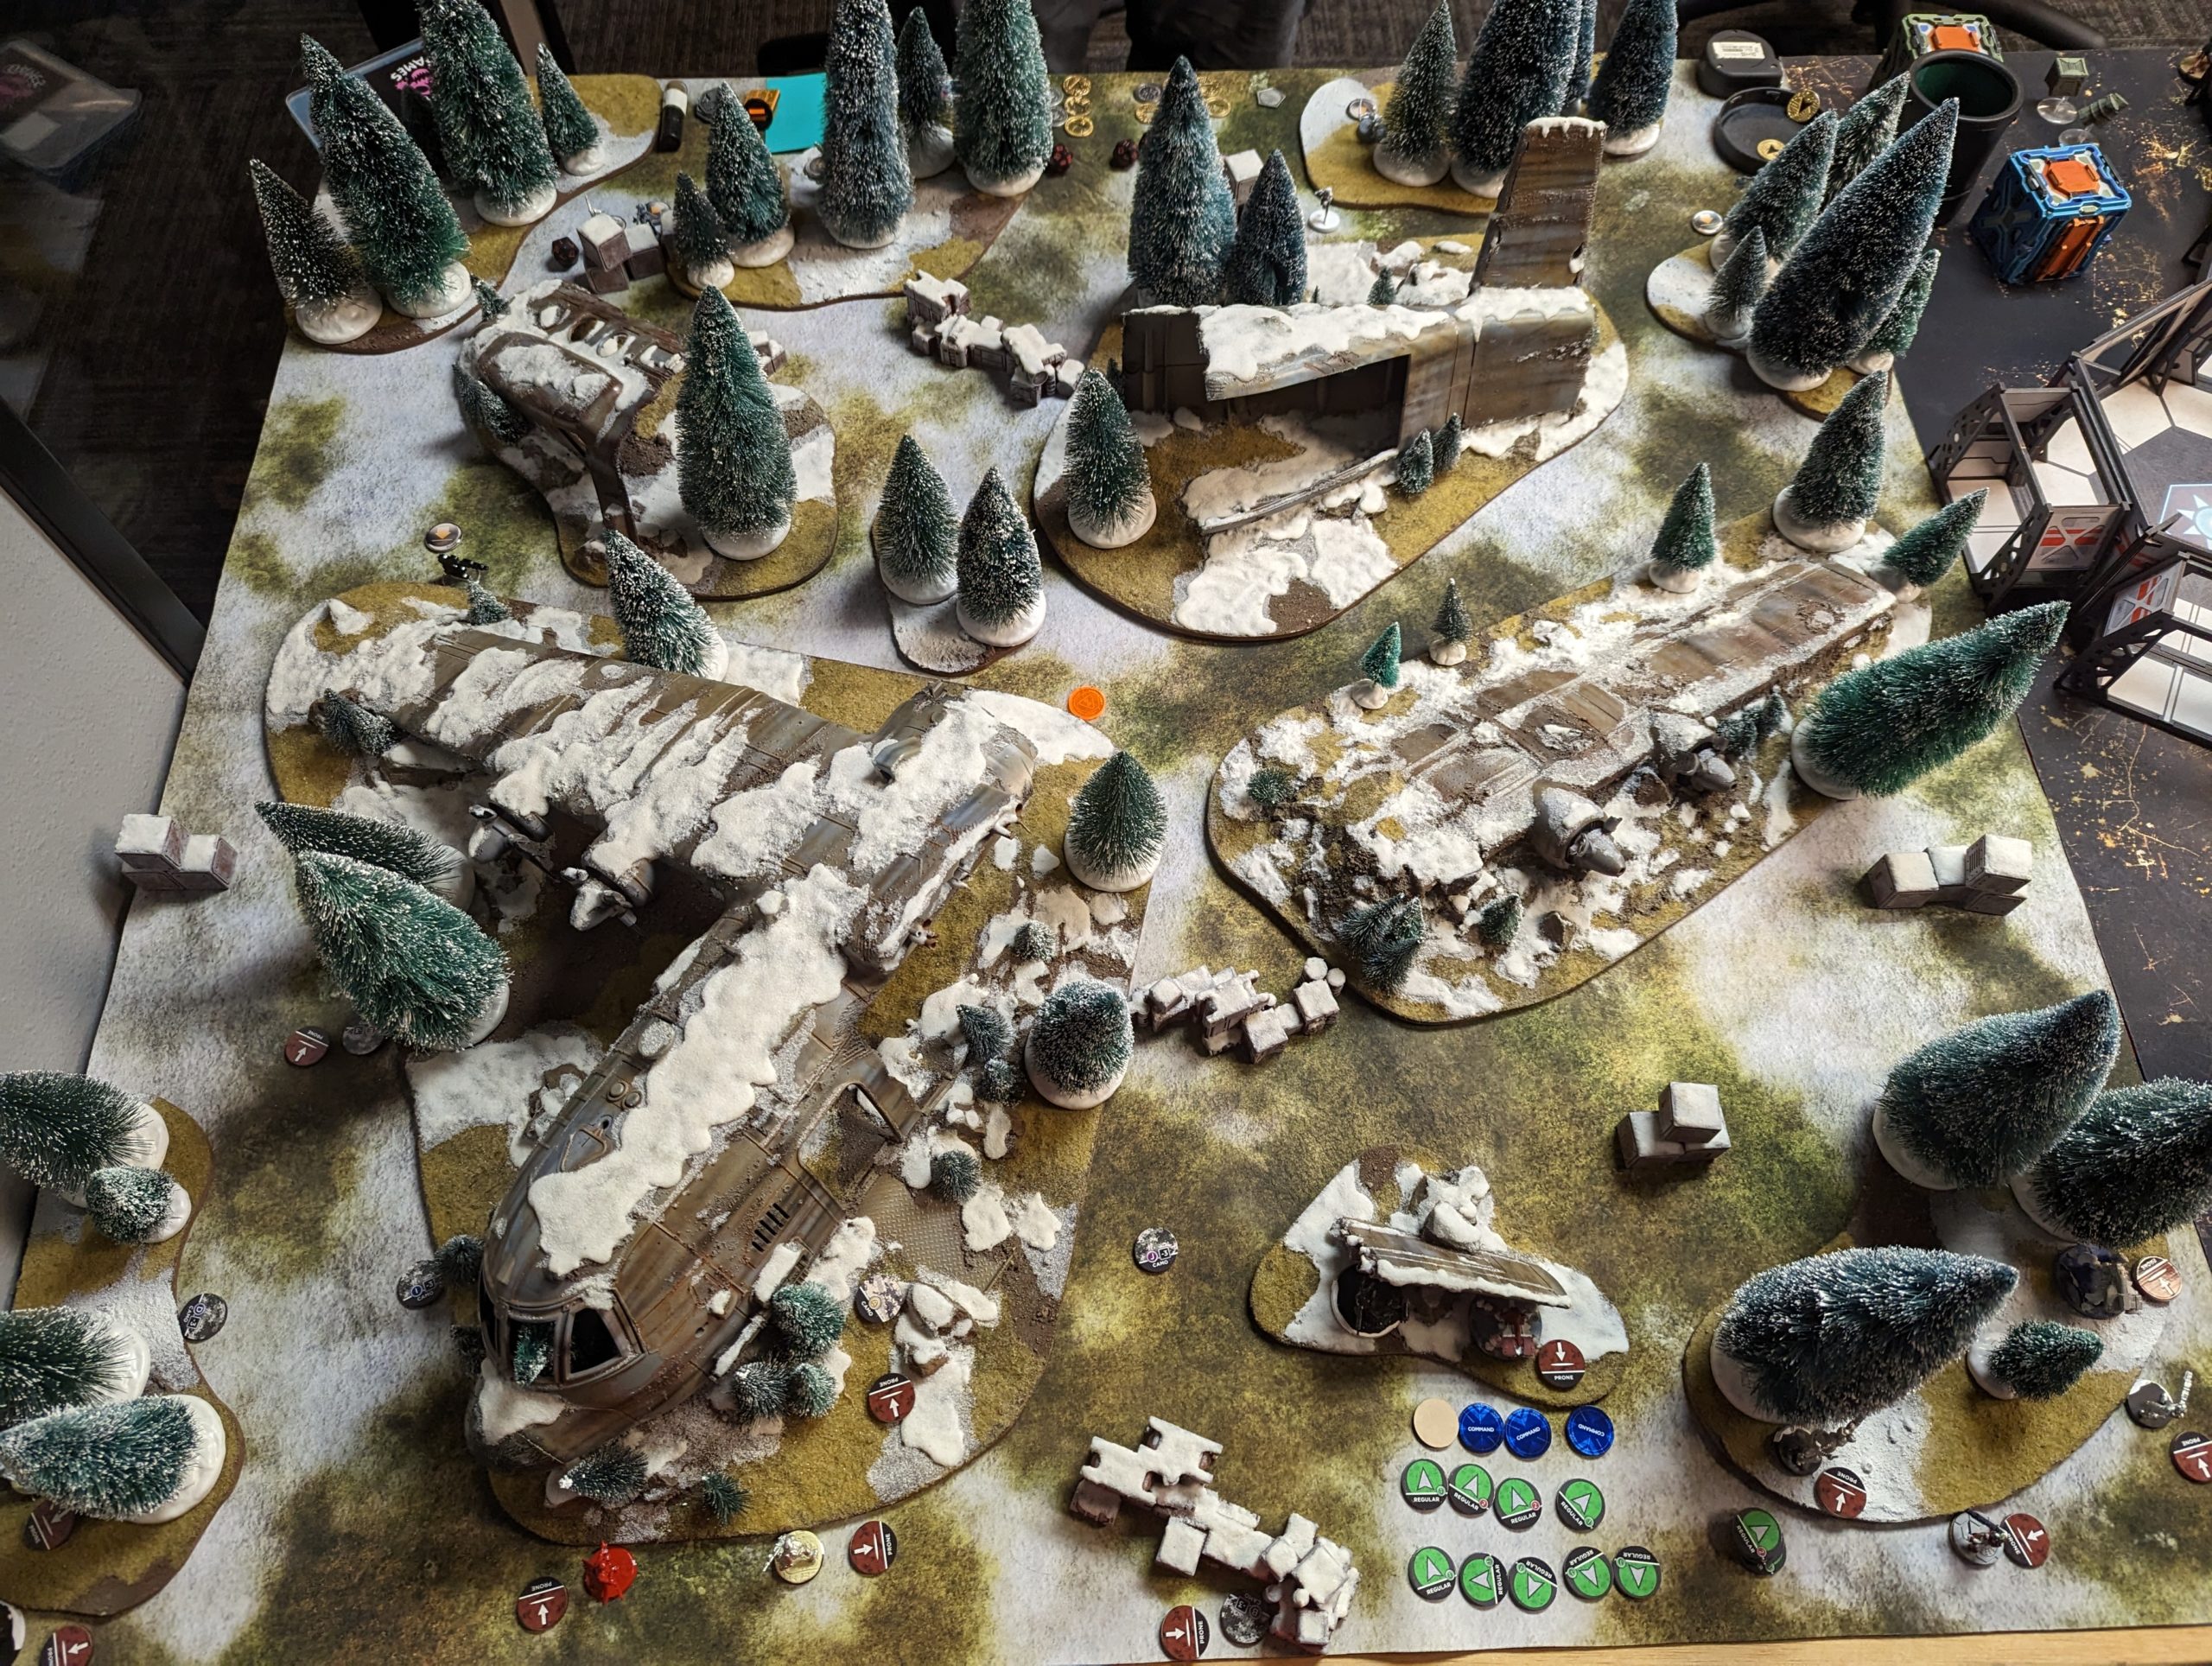
I was super careful to explain all the rules of the table, which basically is that any LoF crossing an MDF template would be considered low vis and saturation. I’ve decided to drop difficult terrain from the table rules, it’s plenty awful already.
Overview
We’re playing a custom mission that I developed off an idea that Obi (Nehemiah) and Pete (YueFei23) suggested. The mission has since evolved into what I think is a significantly better state, thanks to a key suggestion from James (RomanLegion), but this was our first ever test of it so I’ll give you the first draft’s rules.
Here’s the gist: the head of the NeoVatican, aka the SPACEPOPE has been ejected from Shephard One, his air/space craft and his escape pod is about to land in a demilitarized zone. Both sides guarding the zone are scrambling to retrieve the SPACEPOPE, but have had very little warning, so Biotechvore deployment is in effect. In other words, 8″ deployment zones and Confused Deployment (everything outside the DZ takes PH -3 to deploy). To be clear, there is no Biotechvore zone, so you’re not taking damage.
For the first two turns, you’re scrambling to secure a 25mm beacon representing the exact position the SPACEPOPE will occupy at the top of turn 3 when they land. The way you do that is by securing the quadrant (same as in Quadrant Control) that the beacon is in. Securing the beacon quadrant on Turn 1 gets you 2 points, then 3 points on Turn 2.
Once the SPACEPOPE shows up, you just gotta CivEvac them (2 points) to your deployment zone (2 more points). There’s one classified in this early version. However, the beacon starts in the direct center of the board, which means it’s not in any quadrant! To address this, the mission allows you to move the beacon with a successful Forward Observe or Spotlight roll, obeying the normal rules for those abilities in the active turn.
However, your opponent can make this a face to face by also declaring Spotlight or Forward Observe. They don’t need to ARO the active model, they just need to either see the beacon as you attempt to move it or have it in their hacking area. This still gives the active turn burst bonus to Forward Observe. Furthermore, it gives you incentive to use Forward Observe over Spotlight due to the burst 2.
If the active player succeeds in their roll (or wins the face to face), they may move the beacon as if it’s a prone trooper up to 2″. If they fail or lose the face to face, nothing happens and the order is expended. This is to represent the two forces frantically trying to vie for control of the beacon by sending conflicting telemetry to Shepherd One.
- Mission: Critical Mass
- Forces: Foreign Company versus Yu Jing (300)
- Deploy First: Yu Jing
- First Turn: Foreign Company
I was supposed to be practicing Acontecimento for the upcoming George Spenser PanO Only Masters Invitational, or whatever the heck Jeff was calling it… but then Erin (IceCream) kept talking about ForCo, so I ended up just playing them. They have PanO units, so they count! Jeff said so!
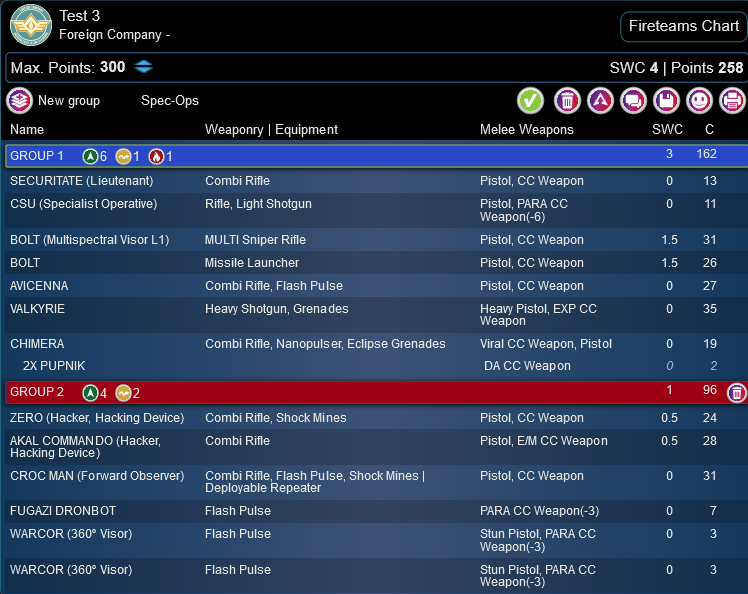
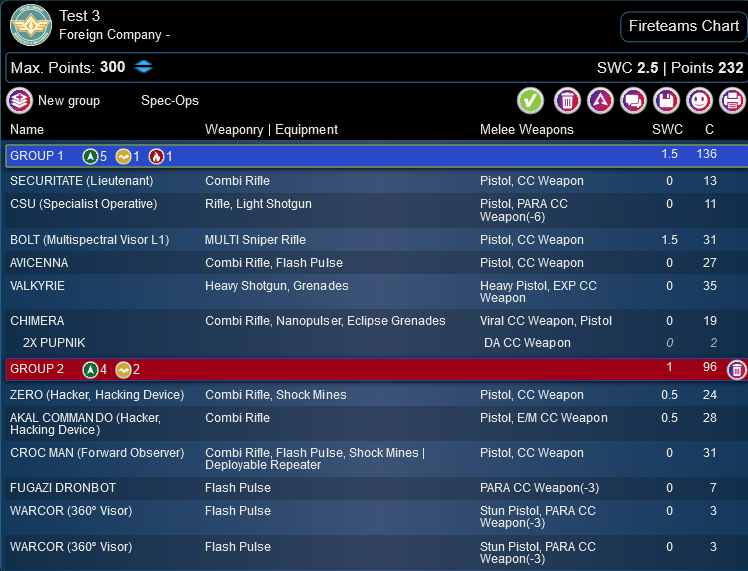
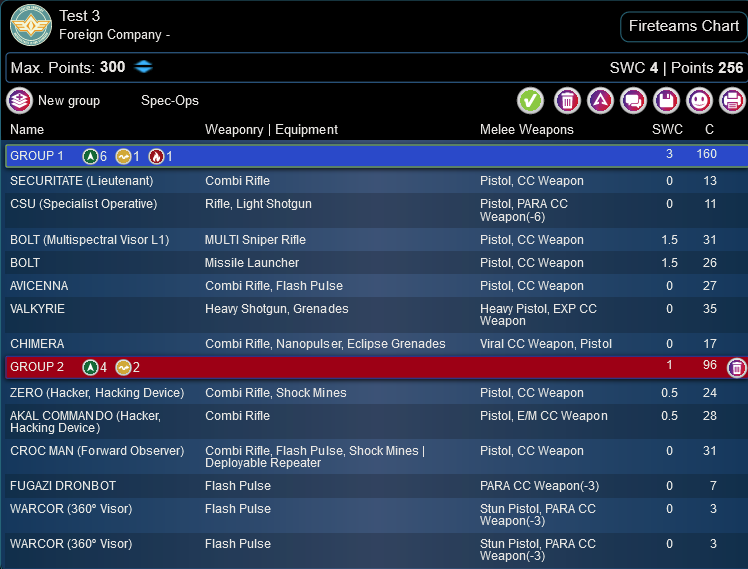
If you can take Bolts, you take Bolts. The sniper is so important to the active turn that I cannot really risk it in ARO, so I included a Bolt missile to throw under the bus in the reactive turn. Valkyrie is in there with a shotgun, because that sounds rad, and the Bolt MSR can get here there. Then I needed a specialist, and Avicenna seems supremely irritating to have in that core, especially with Bolts being shock immune.
It’s worth noting that I didn’t have a mission in mind when constructing this list, it was more just me exploring ForCo. I had actually made it before writing the Critical Mass mission. You also need a lieutenant or something, so I threw a Securitate Lt in there… and the Feuerbach is a pretty decent bargain so i filled out a Haris with a CSU to just get a burst 2 Feuerbach in ARO. I don’t necessarily need to move either of these links around early in the game, so they can fuel an Uberfall. I only took two Pupniks to make it “look” like a Haris to me, which makes my brain hurt less than trying to move four models around. In some sense I’m hoping that the Bolt ML will die so I can have three “3-strong links.”
Test 3
GROUP 1
7
1
1
SECURITATE (Lieutenant) Combi Rifle / Pistol, CC Weapon. (0 | 13)
CSU (Specialist Operative) Rifle, Light Shotgun / Pistol, PARA CC Weapon(-6). (0 | 11)
BOLT (Multispectral Visor L1) MULTI Sniper Rifle ( ) / Pistol, CC Weapon. (1.5 | 31)
AVICENNA Combi Rifle, Flash Pulse / Pistol, CC Weapon. (0 | 27)
VALKYRIE Heavy Shotgun, Grenades / Heavy Pistol, EXP CC Weapon. (0 | 35)
GROUP 2
CHIMERA Combi Rifle, Nanopulser, Eclipse Grenades / Viral CC Weapon, Pistol. (0 | 19)
2X PUPNIK DA CC Weapon. (0 | 2)
ZERO (Forward Observer) Combi Rifle, Shock Mines, Flash Pulse / Pistol, CC Weapon. (0 | 20)
AKAL COMMANDO (Hacker, Hacking Device) Combi Rifle ( ) / Pistol, E/M CC Weapon. (0.5 | 28)
CROC MAN (Forward Observer) Combi Rifle, Flash Pulse, Shock Mines ( | Deployable Repeater) / Pistol, CC Weapon. (0 | 31)
FUGAZI DRONBOT Flash Pulse / PARA CC Weapon(-3). (0 | 7)
WARCOR (360º Visor) Flash Pulse ( ) / Stun Pistol, PARA CC Weapon(-3). (0 | 3)
5 SWC | 300 Points | Open in Army | Copy Code
The rest of the list is toolbox. Max availability Zero and a Croc Man FO. Akali Hacker to maybe annoy a TAG or something, and then orders. Double Warcor because gotta get the glamor shot of all the celebrities doing stuff!
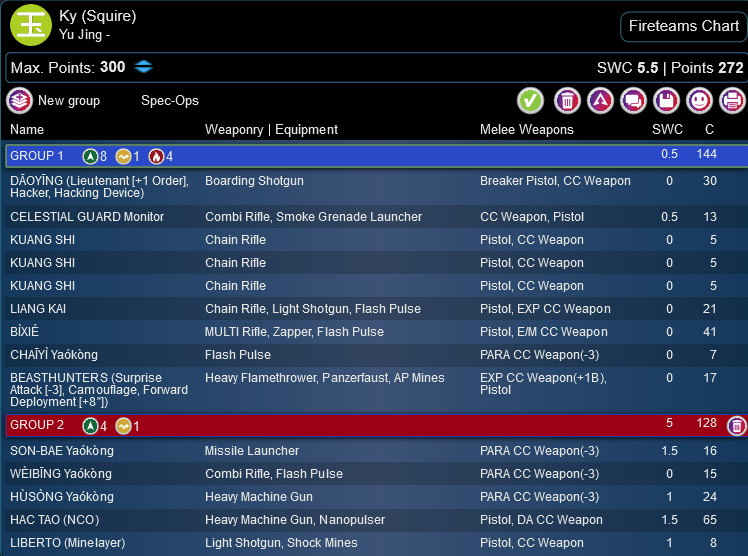
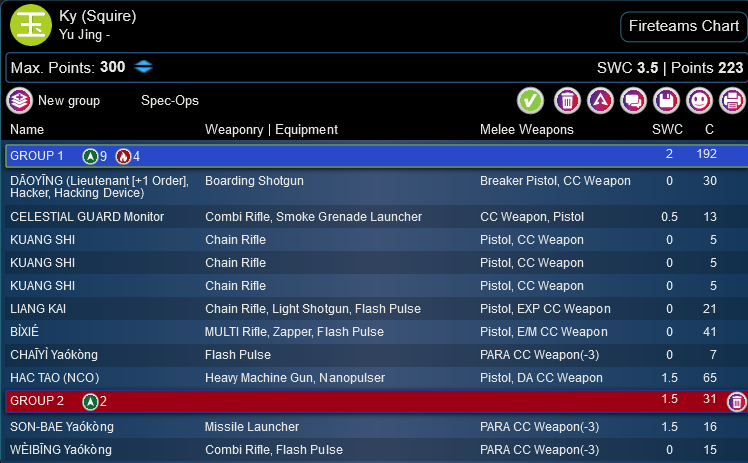
Ky is playing a flavor of vanilla Yu Jing that’s different from what I usually see, which was quite refreshing. He’s got the usual Kuang Shi, but instead of Krit + Su Jian, I’ve got Bixie, Liang Kai, and a Hac Tao HMG. There’s a Libertos and a Beasthunter too, so I’ve got to watch for an aggressive push. Thankfully the mission makes forward deployment hard.
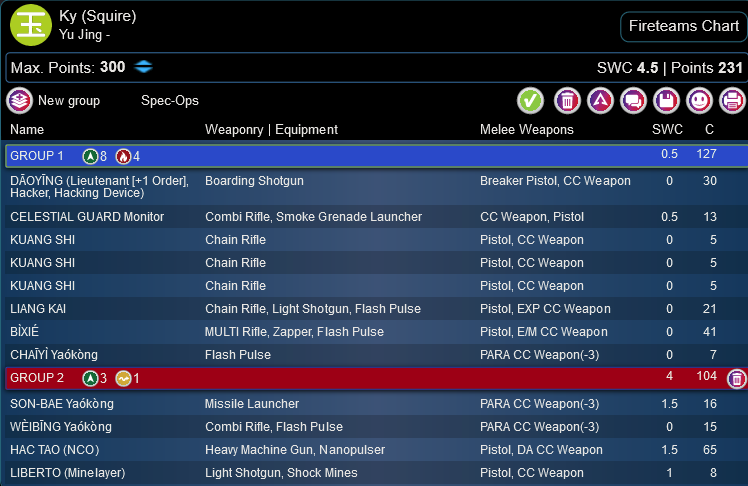
Ky (Squire)
GROUP 1GROUP 2
DĀOYĪNG (Lieutenant [+1 Order], Hacker, Hacking Device) Boarding Shotgun ( ) / Breaker Pistol, CC Weapon. (0 | 30)
CELESTIAL GUARD Monitor Combi Rifle, Smoke Grenade Launcher / CC Weapon, Pistol. (0.5 | 13)
KUANG SHI Chain Rifle / Pistol, CC Weapon. (0 | 5)
GŬILÁNG (Minelayer) Boarding Shotgun, Shock Mines ( | Deployable Repeater) / Pistol, CC Weapon. (0.5 | 27)
LIANG KAI Chain Rifle, Light Shotgun, Flash Pulse / Pistol, EXP CC Weapon. (0 | 21)
BÌXIÉ MULTI Rifle, Zapper, Flash Pulse / Pistol, E/M CC Weapon. (0 | 41)
CHAĪYÌ Yaókòng Flash Pulse / PARA CC Weapon(-3). (0 | 7)
BEASTHUNTERS (Surprise Attack [-3], Camouflage, Forward Deployment [+8″]) Heavy Flamethrower, Panzerfaust, AP Mines / EXP CC Weapon(+1B), Pistol. (0 | 17)
SON-BAE Yaókòng Missile Launcher / PARA CC Weapon(-3). (1.5 | 16)
WÈIBĪNG Yaókòng Combi Rifle, Flash Pulse / PARA CC Weapon(-3). (0 | 15)
HÙSÒNG Yaókòng Heavy Machine Gun / PARA CC Weapon(-3). (1 | 24)
HAC TAO (NCO) Heavy Machine Gun, Nanopulser / Pistol, DA CC Weapon. (1.5 | 65)
LIBERTO (Minelayer) Light Shotgun, Shock Mines / Pistol, CC Weapon. (1 | 8)
6 SWC | 299 Points | Open in Army | Copy Code
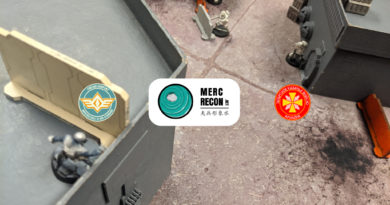
Deployment
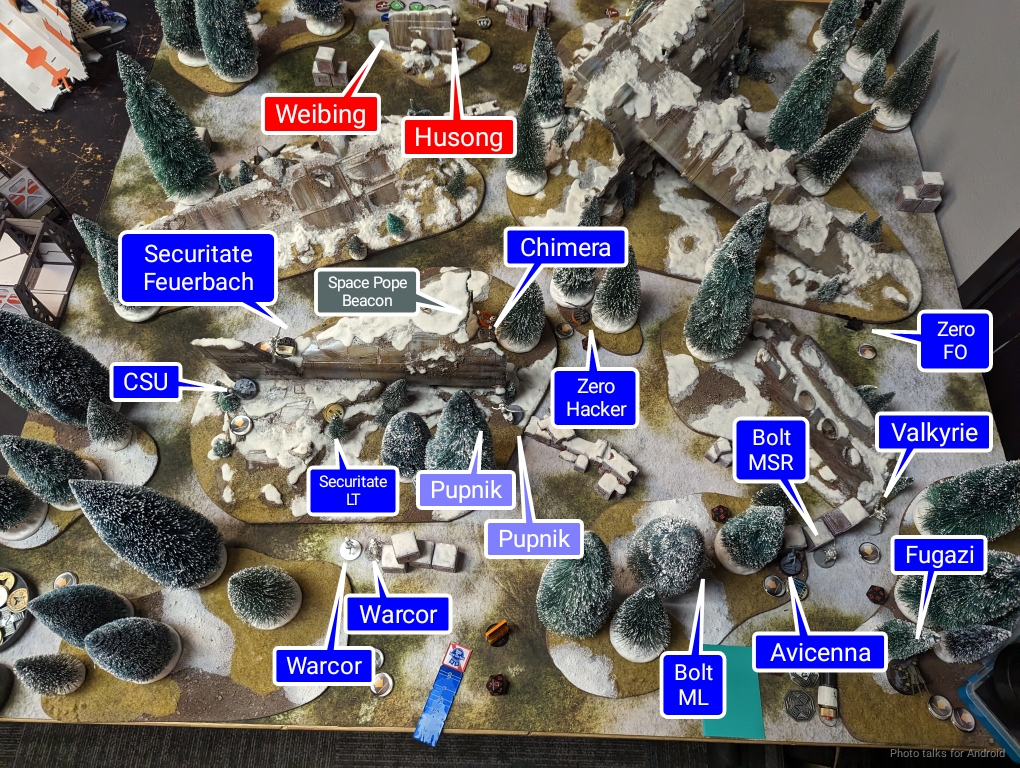
I take deployment to encourage Ky to take first turn–for some reason I just like going second. It lets me exploit mistakes better. Anyway, Ky surprised me by taking second turn. He deployed first, scattering three, not four Kuang Shi across his deployment zone. The Son Bae sat in the far left of his deployment, presumably to rain guided missiles, and the Daoying was his only hacker, which is somewhat dangerous?
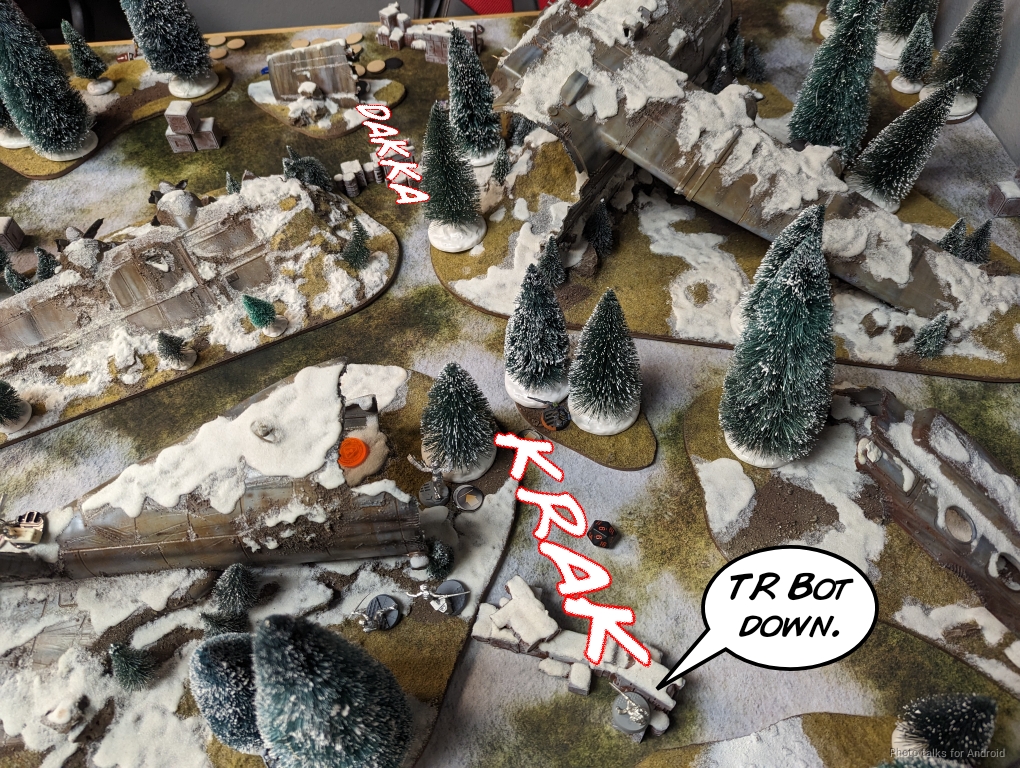
He locked down the approach to his deployment zone with the TR bot and unbeknownst to me, a Hac Tao.
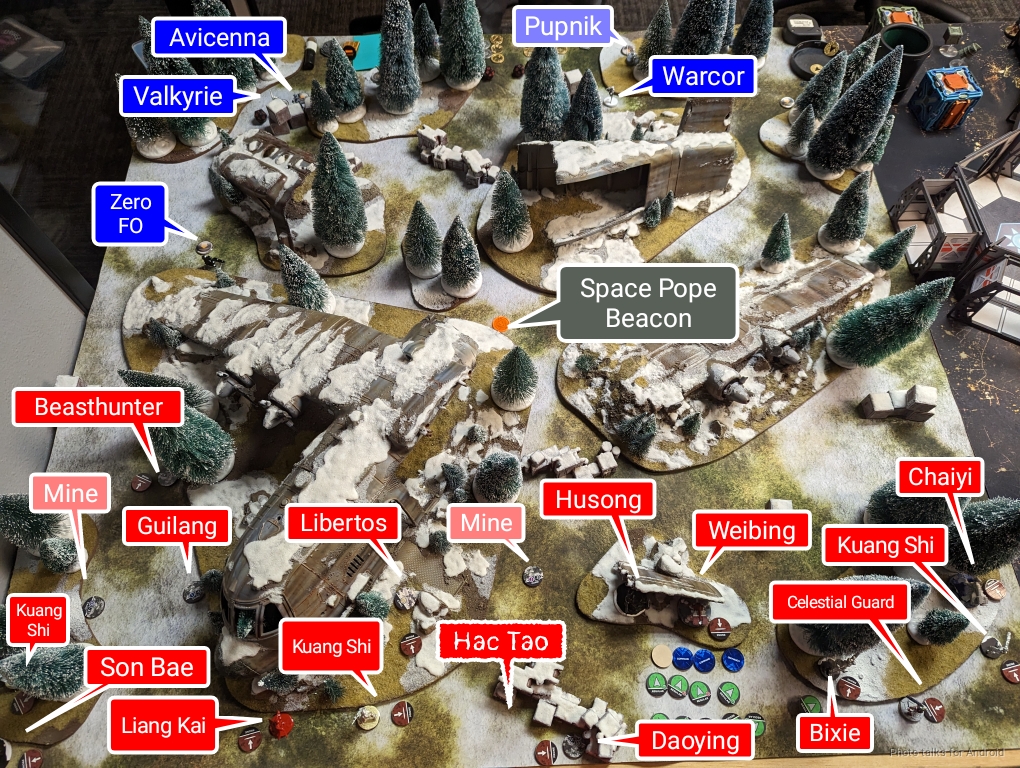
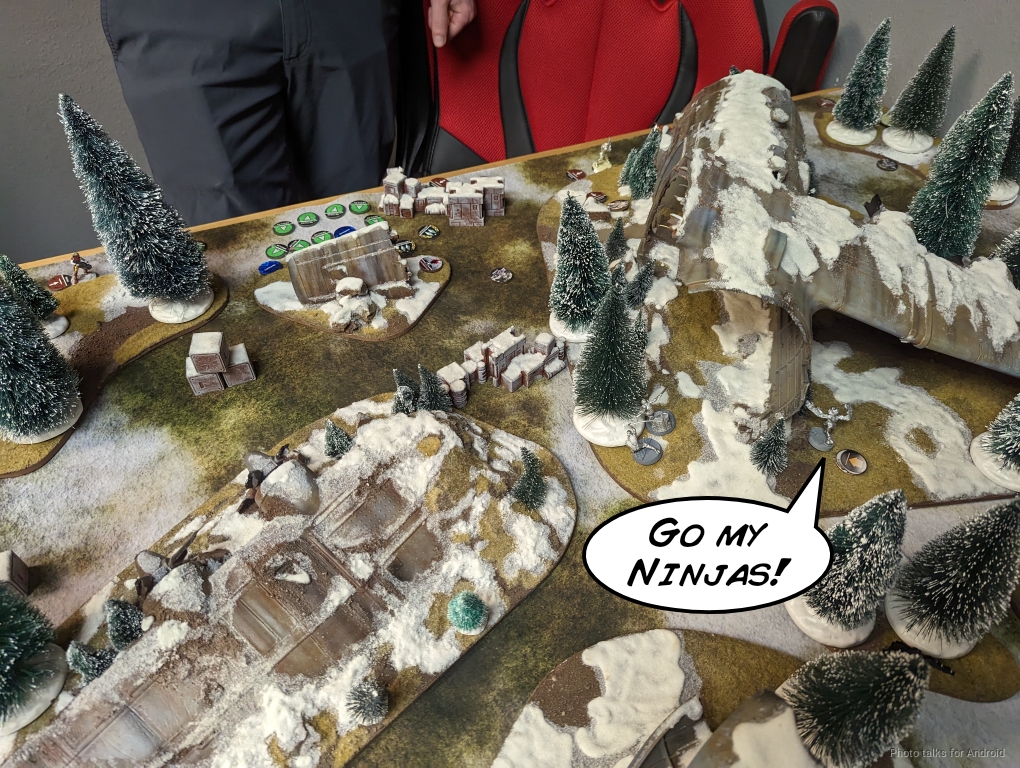
Bixie was on his right as well, but most of his strikers were on the left. The Beasthunter, Guilang and Libertos were all stacked up on the left to guard against an easy approach to taking out the Daoying. Liang Kai went at the nose of the plane.
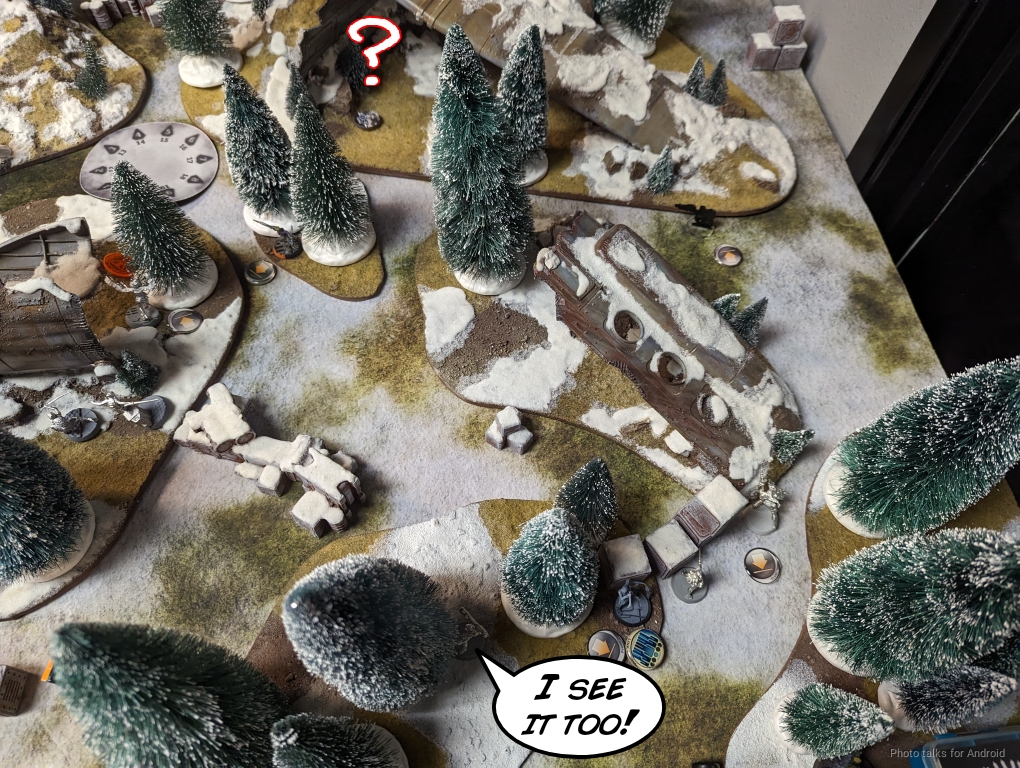
I wasn’t entirely sure what was what, and I didn’t know there was a Hac Tao off the table. I did know that there were a lot of points missing, so I assumed I was going to see a Guijia or Blue Wolf or something. To deal with this, I set up Valkyrie on my right flank and the Bolt ML watching the central approach with the Bolt MSR watching the approach under the wing. My Fugazi just chilled, and I got very lucky and managed to infiltrate the Zeros into the midfield even with the Confused Deployment. The Zero Hacker was right on the beacon and the Zero FO was in a spot to see the beacon. I figured I’d move the warcors into the near left zone where I was going go to move the beacon, and that would let me use their irregular orders to take that quadrant along with the Securitate on that side.
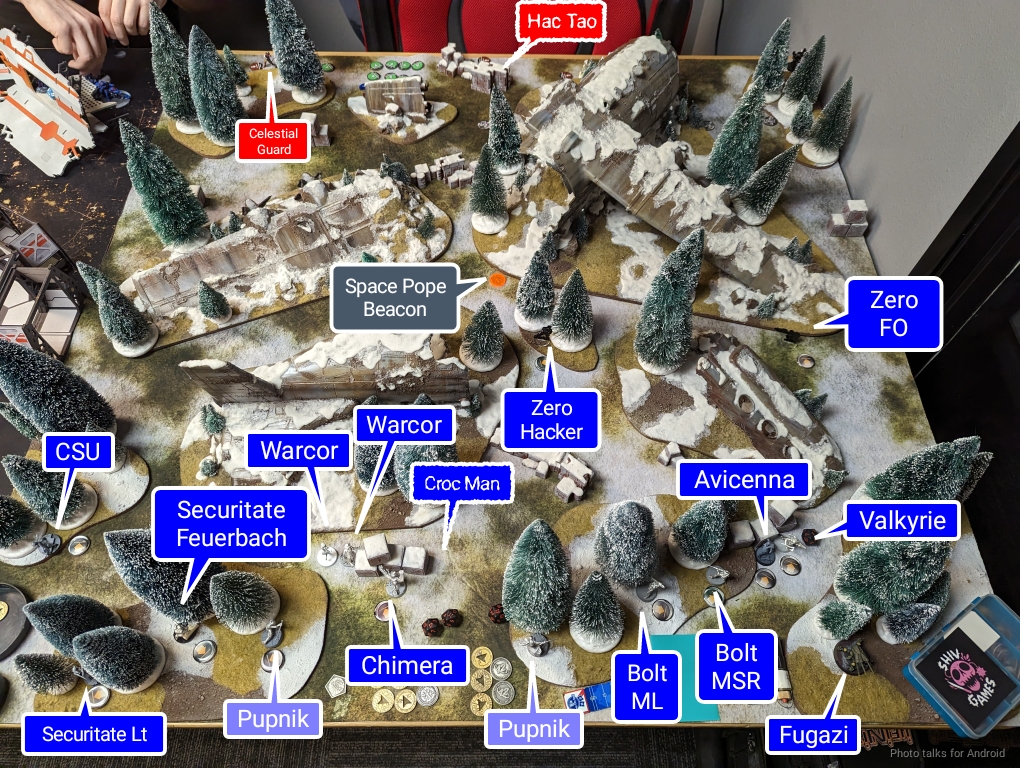
I put the Croc Man in my deployment zone to hide its presence, and then held the Chimera in reserve. I think the Guilang was Ky’s reserve, and mine was the Uberfall, using the plane tail as a shield.
Turn 1
Top of 1 – ForCo
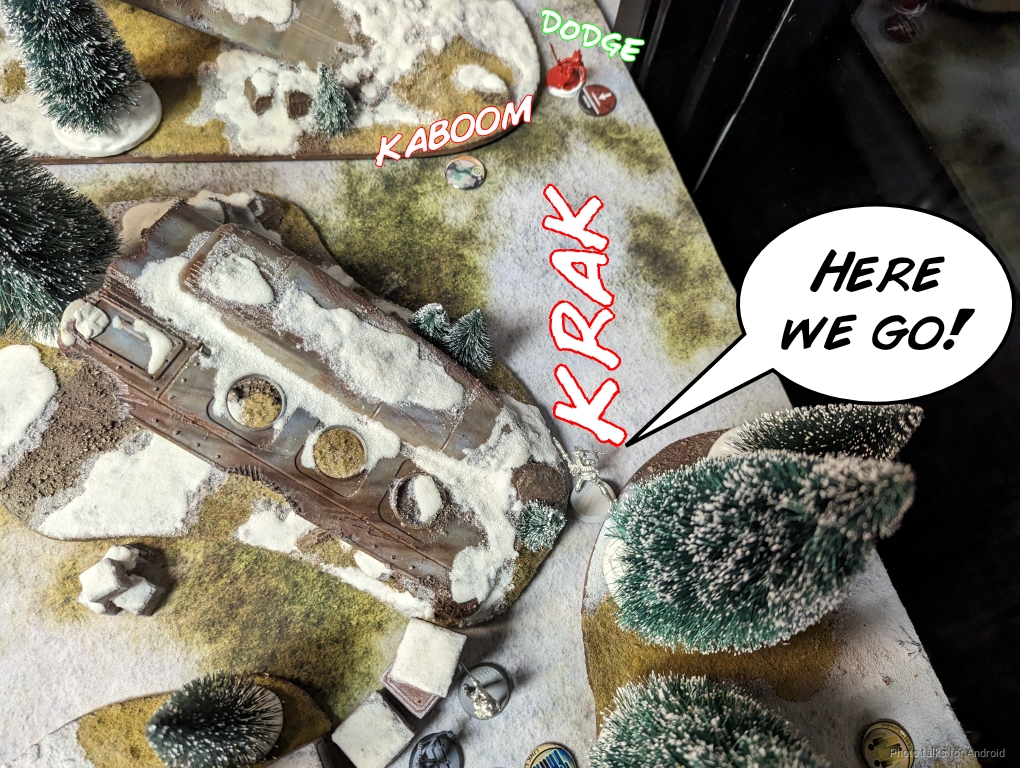
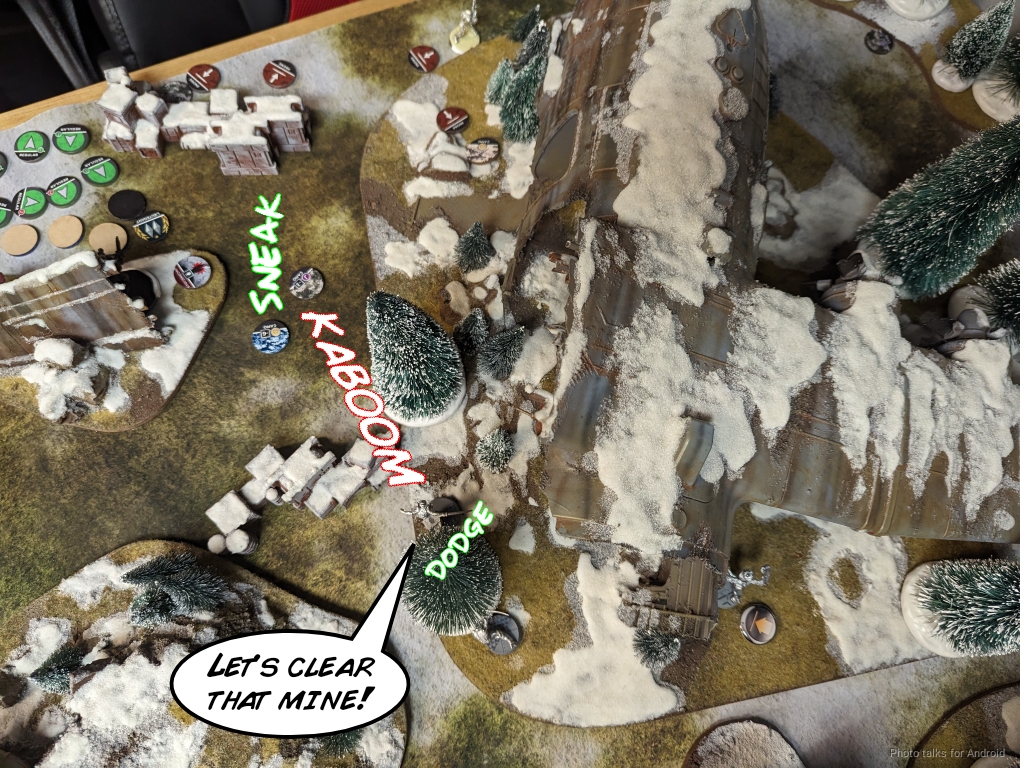
I was a little leery of what Ky had hiding with all the points missing, but I just decided to move the beacon and set up to defend it. This is the first time I’m playing the mission, so I figured I should just do the objective and see what falls out. Ky was scared of the Uberfall, so he docked orders from that pool. My first turn is pretty simple. I dumped the entire second pool of orders into moving the Beacon, including both Warcor orders. My Zero Hacker, Acid Burn, is really earning her keep!
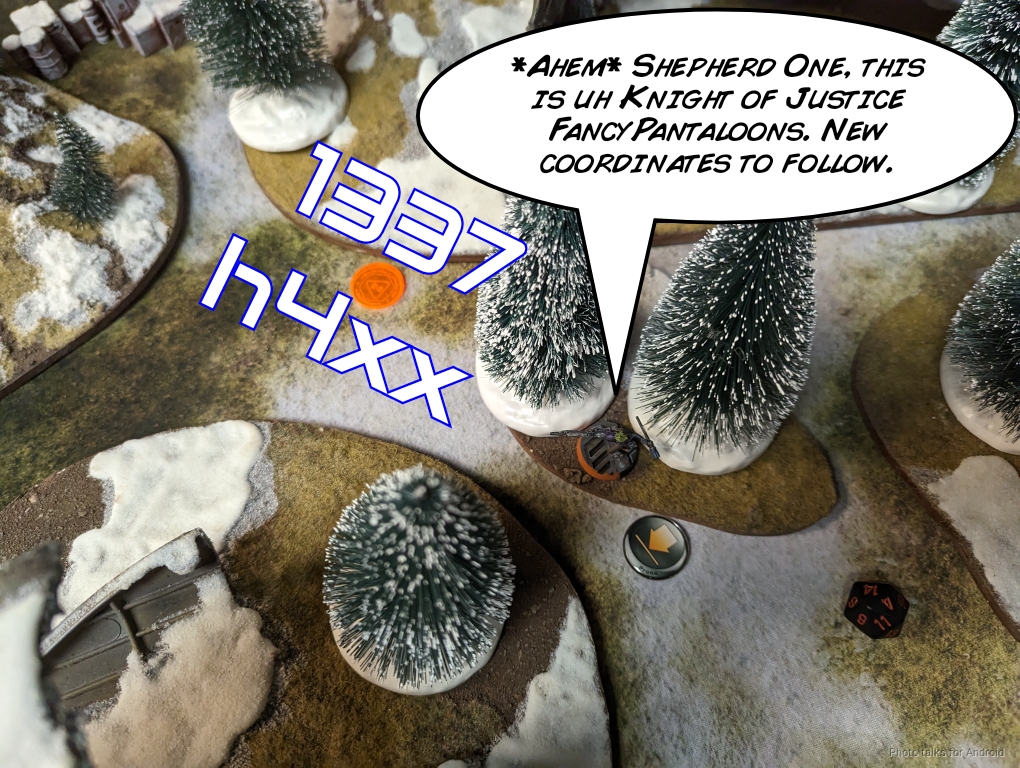
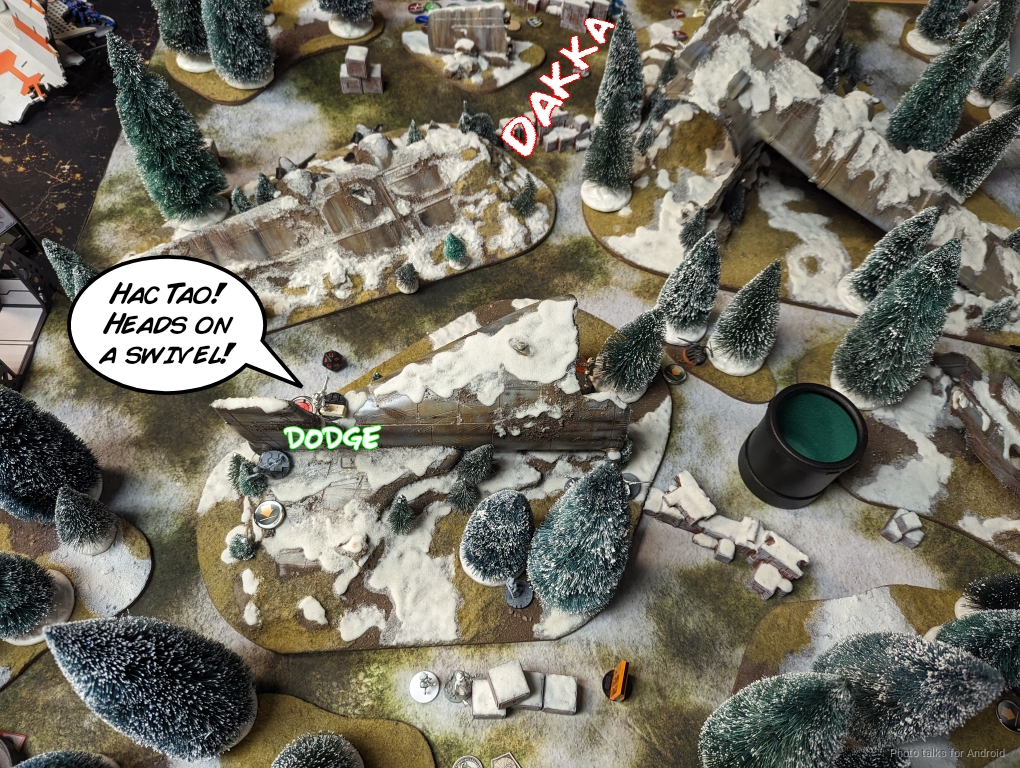
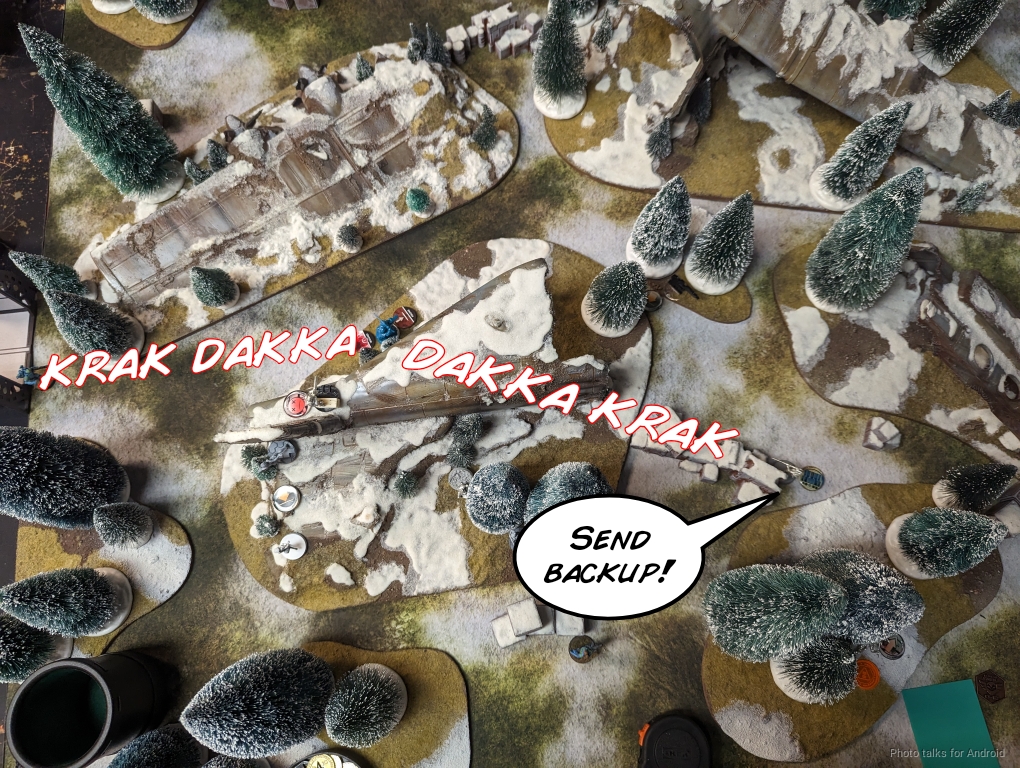
The Chimera dodges into view on top of the Beacon to throw eclipse smoke in front of the beacon in ARO to deny FO attempts.
This is a pretty big risk, but I’m just prioritizing the mission. I move the Securitate forward to secure the quadrant and put the Feuerbach out to ARO.
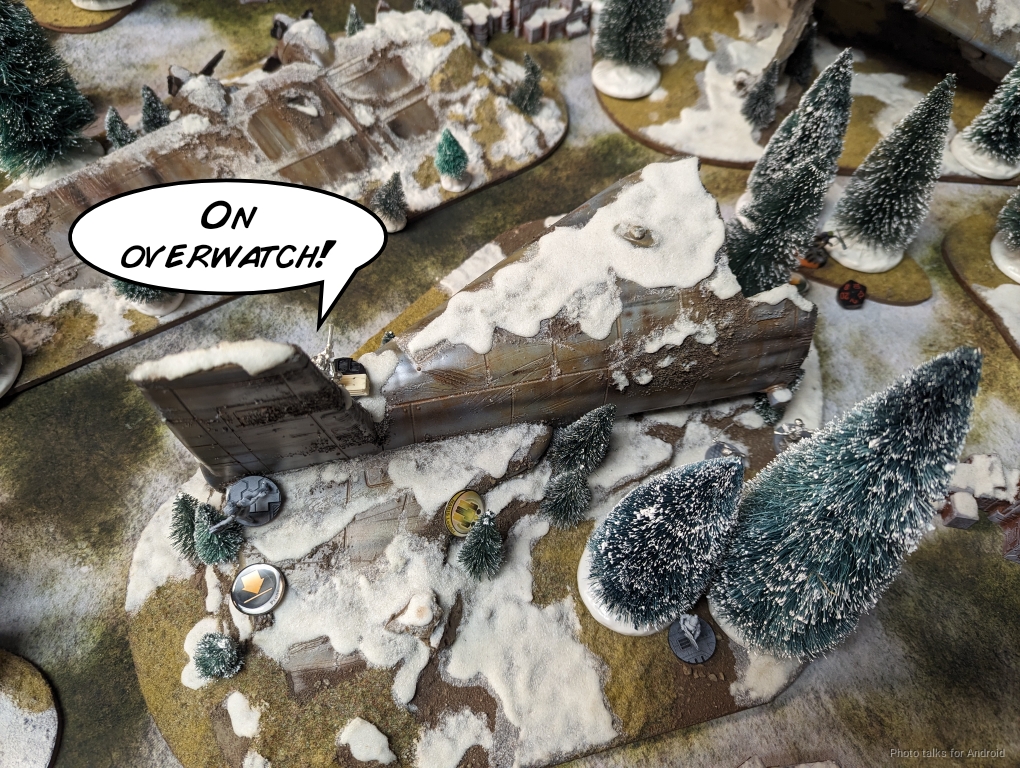
I’m a little worried about stuff on the board edge–I could be seeing a bunch of Tigers show up, so I’m hoping the CSU and Warcors can fend them off on the left and Valkyrie and the Zero on the right. The Bolt link just parked, as its positioning was pretty good.
Not a very exciting turn, but a very mission-focused turn. I’ll take it.
Bottom of 1 – Yu Jing
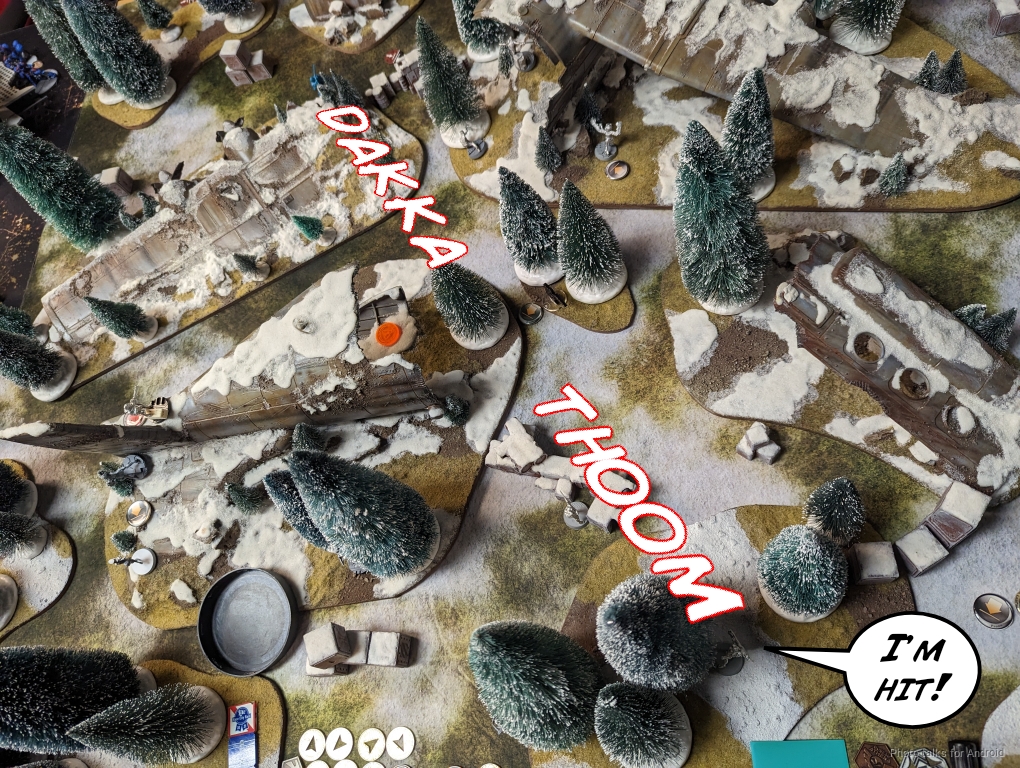
Nothing’s died, so we still have our full lists. Ky starts things off by taking out the Securitate Feuerbach. Well, now we know where all the points are.
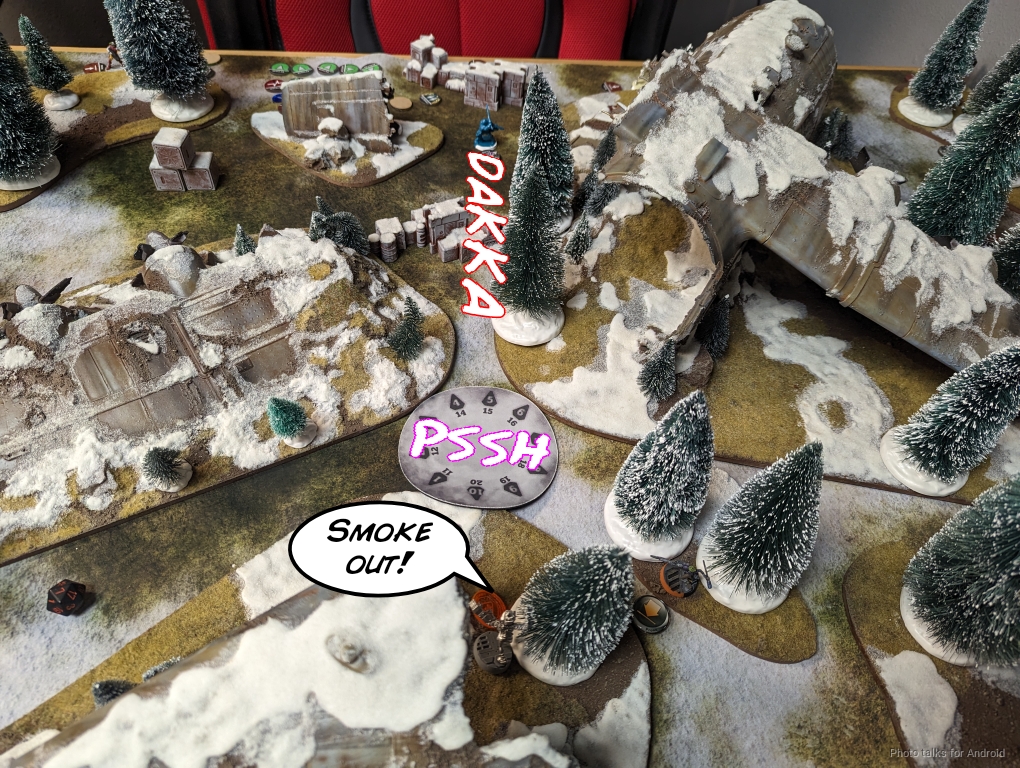
The Hac Tao then challenges the Chimera, but my plan works and I land eclipse smoke to prevent additional attempts.
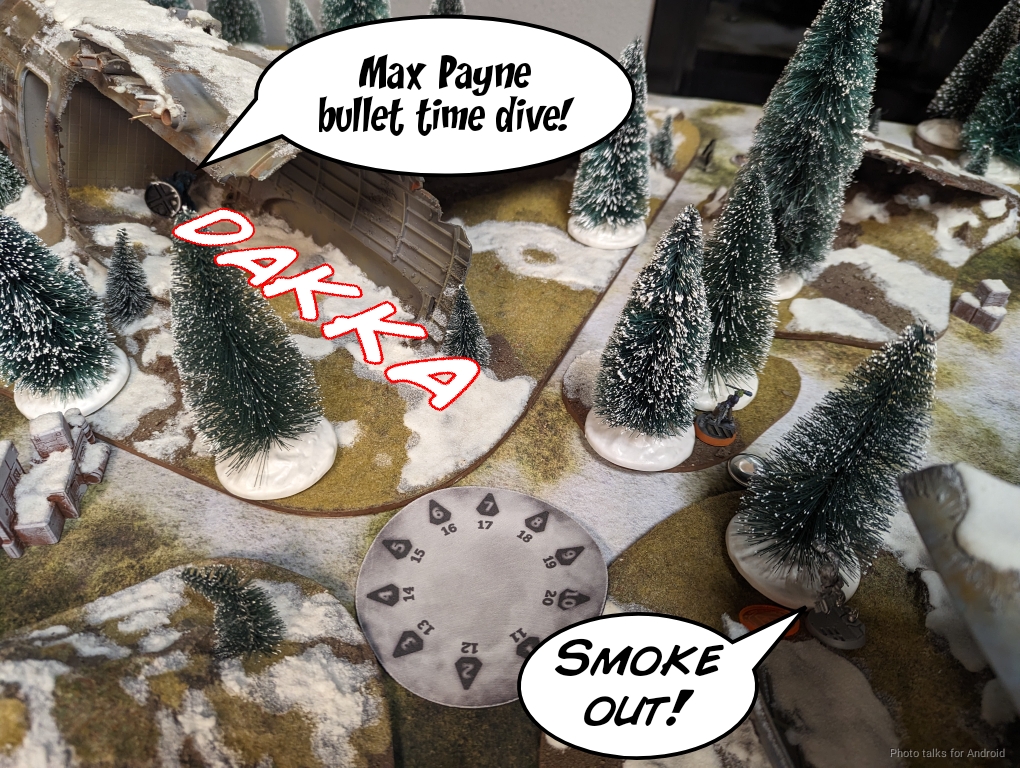
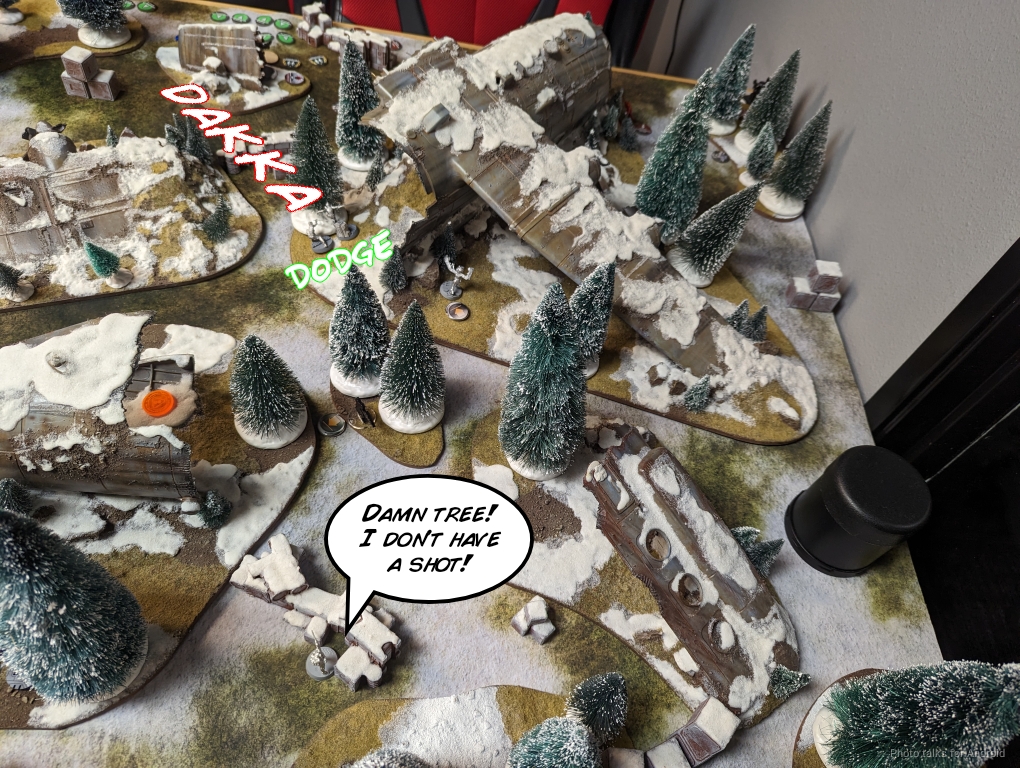
Ky really wants that Chimera dead, so he moves the Hac Tao into a different position to find an accessible angle. This time, he gets one HMG round through, but the Chimera makes her save and fails guts behind the tree. With the Zero Hacker right there, the Chimera is relatively safe. Ky agrees and backs off with the Hac Tao before recamoing it.
Ky then turns his attention to the Zero Hacker and sends in his Guilang minelayer. Since the Guilang was Ky’s reserve, I had some clue as to what its weapons were, so I felt it was safe to declare the discover with the Bolt MSR. Ky kept moving and I succeed at the discover.
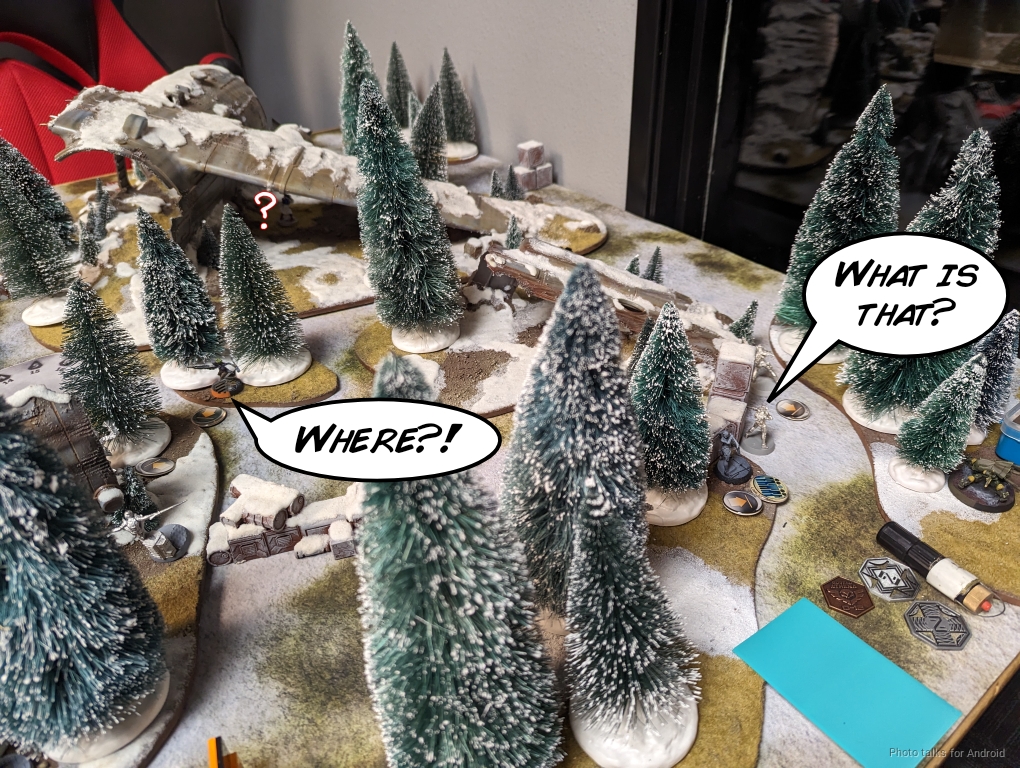
Unfortunately for me, the Bolt MSR can’t see the Guilang anymore, so it recamos and moves up some more. The Bolt ML has a go at discovering and succeeds–not bad!
The Zero FO is watching the Guilang now, so Ky tries to take it out with his Beasthunter. I’m pretty gutsy here and declare discover with the Bolt MSR, figuring that Kai will be on 8’s with his return Panzerfaust, and then Beasthunter will be revealed. Valkyrie can take on the Beasthunter, but I’d rather not get Avicenna flamethrowered if I can help it.
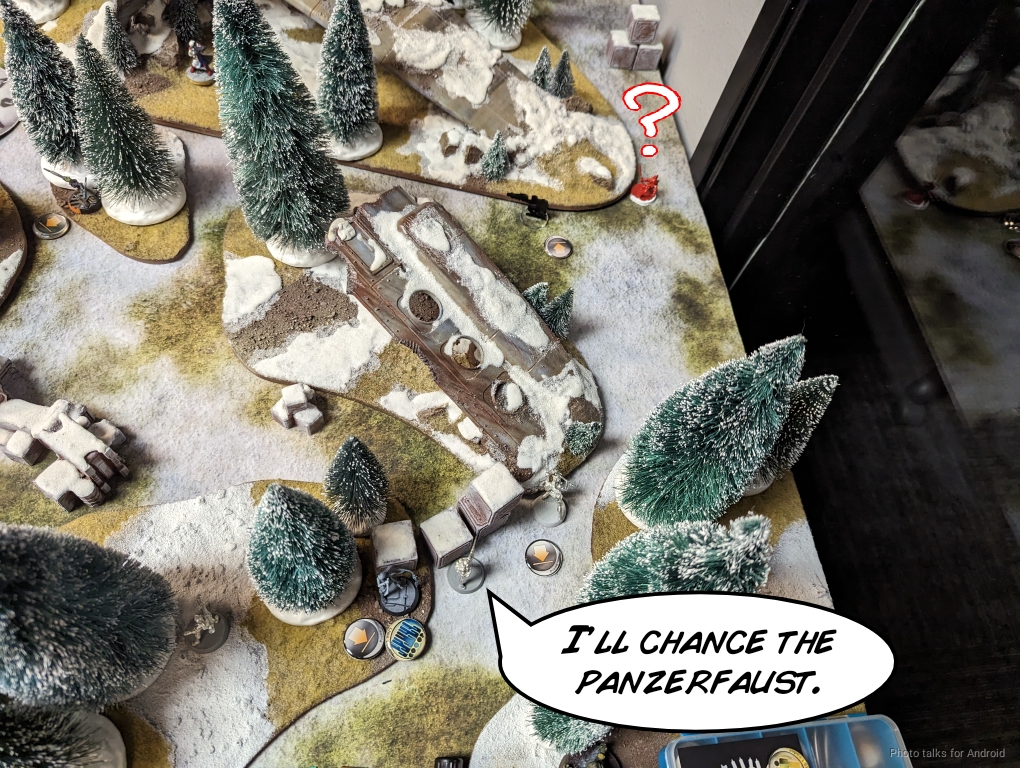
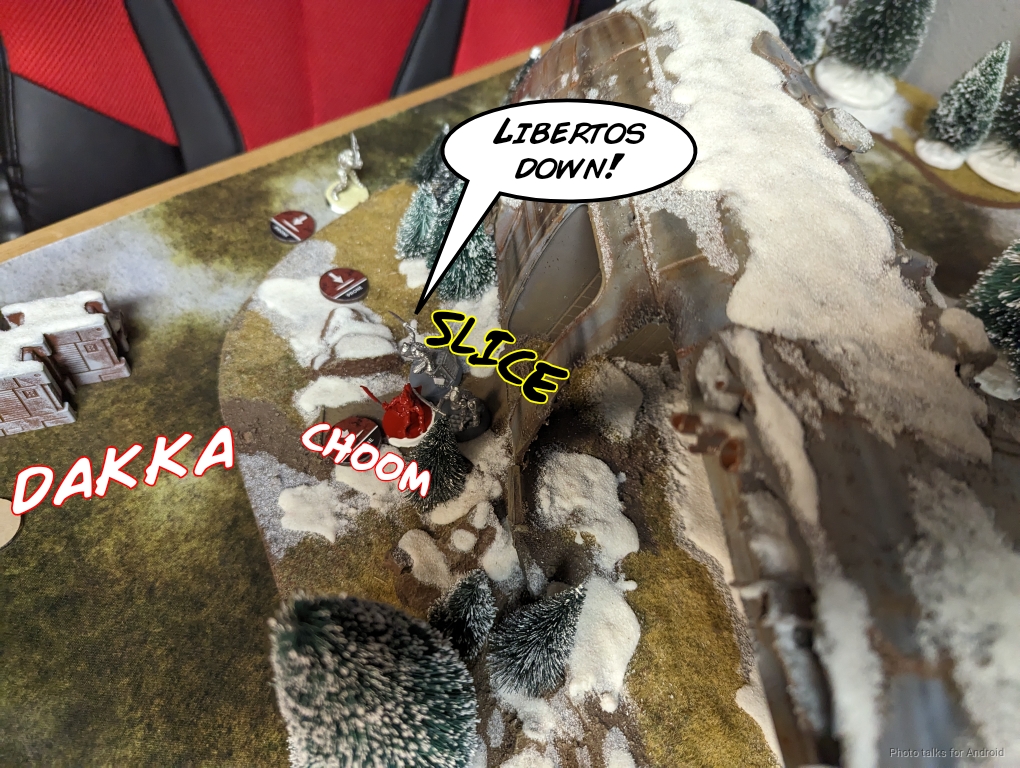
My discover is pretty gutsy and probably a mistake, but I have some help here because the Zero is delaying so I’d get a free shot. Ky just moves prone instead, breaking LoF to the Bolt MSR, which is worrisome for me. This new position does let him do a discover-shoot on the Zero, so I just sacrifice the Zero to drop a mine and get flamered off the table.
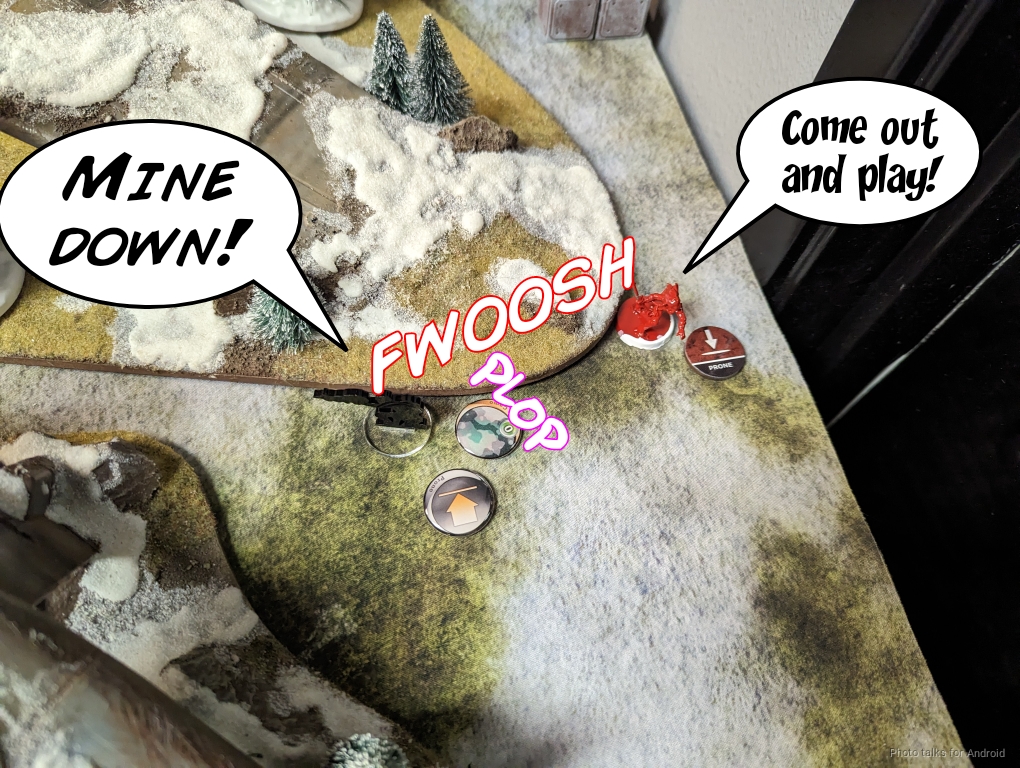
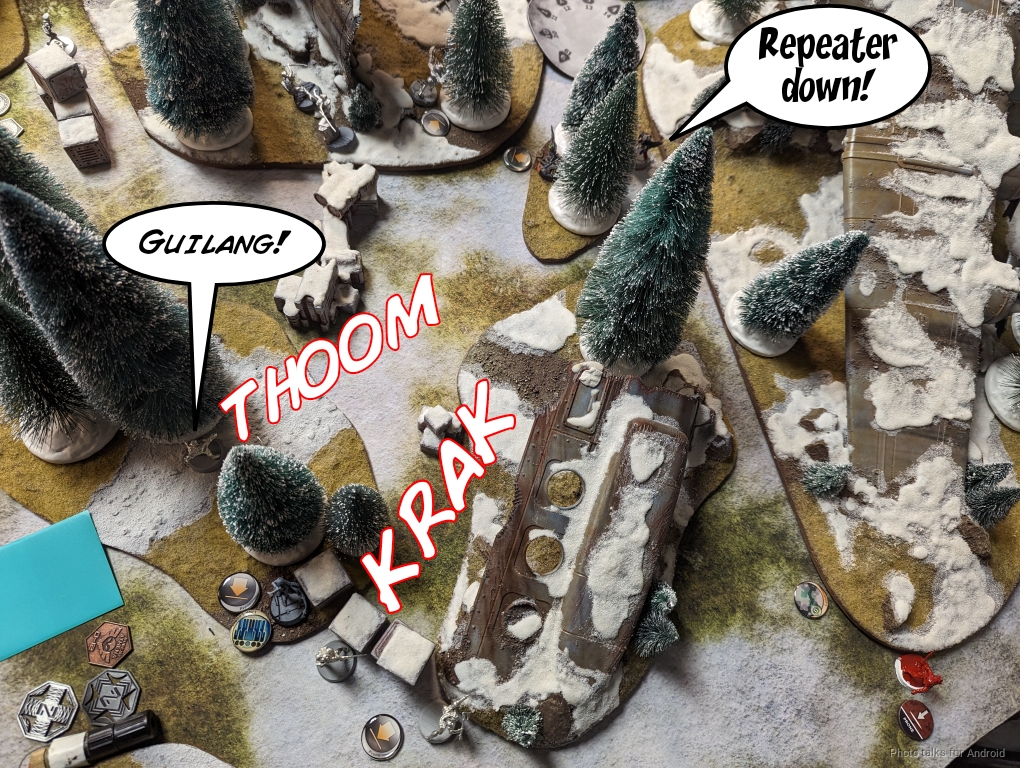
With the Zero FO off the table, the Guilang can move into position to drop a repeater next to my Zero Hacker. Unfortunately the final position where this happens is in full view of the Bolts, and they easily obliterate the Guilang.
Ky then reveals his Daoying to oblivion my Zero. It doesn’t work, even with the surprise, which is quite dangerous.
He eventually succeeds in isolating my Zero, but then he puts the Daoying back in camo. This in and of itself isn’t bad idea, but it does grant me a reset, which I pass successfully. It’s as if he just didn’t spend 3-4 orders and passed turn, which is amazing for me.
Turn 2
I’m controlling the quadrant with the beacon, so 2 points for me.
Top of 2 – ForCo
Ky has done slightly more damage than I have, but he hasn’t really developed his board state very much. Time to reset his progress!
Valkyrie pokes around the corner and forces a dodge out of the Beasthunter. While the Beasthunter passes ARM against the heavy shotgun, somehow, it does not make the dodge on the Zero’s mine and the Zero gets a posthumous kill.
The TR bot is really limiting my ability to project power onto the board and move around, so I shuffle the Bolt MSR towards the center of the table and take it out. This also gives the Bolt a good shot under the plane’s wing.
I move the Beacon again with the Zero and then recamo it, and then I have some orders to spend on developing my own board state. I decide to just stack the Chimera up in the middle and force Ky to dig her out.
The two Warcors trundle into the quadrant to help out the CSU, and I pass turn.
Bottom of 2 – Yu Jing
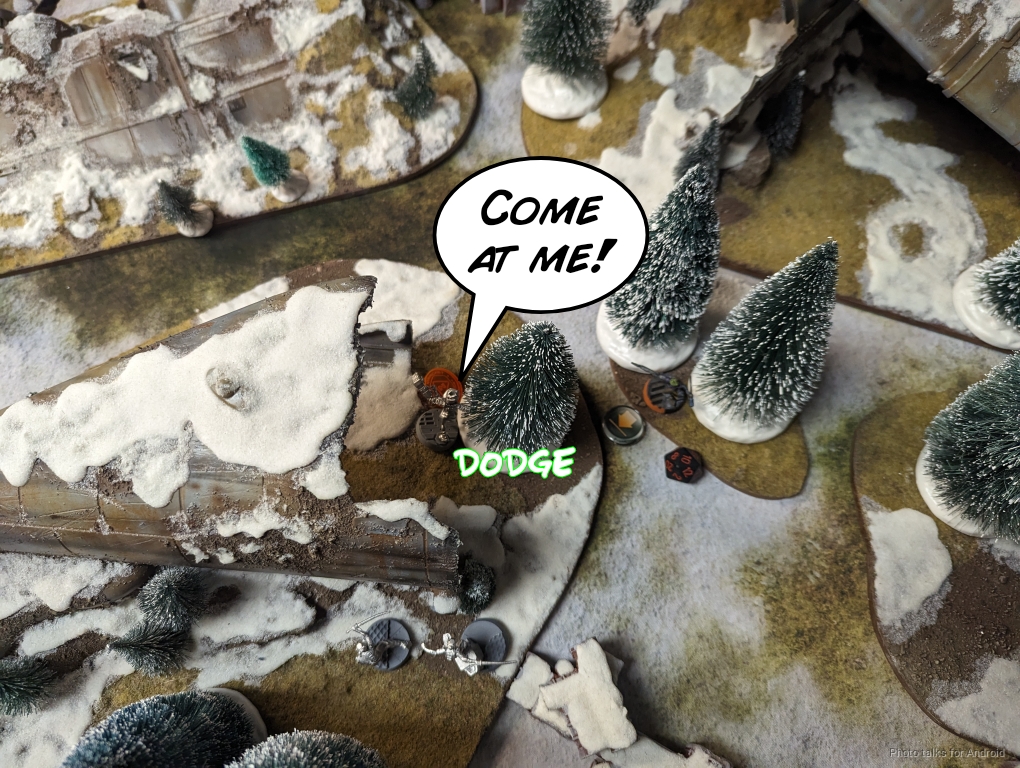
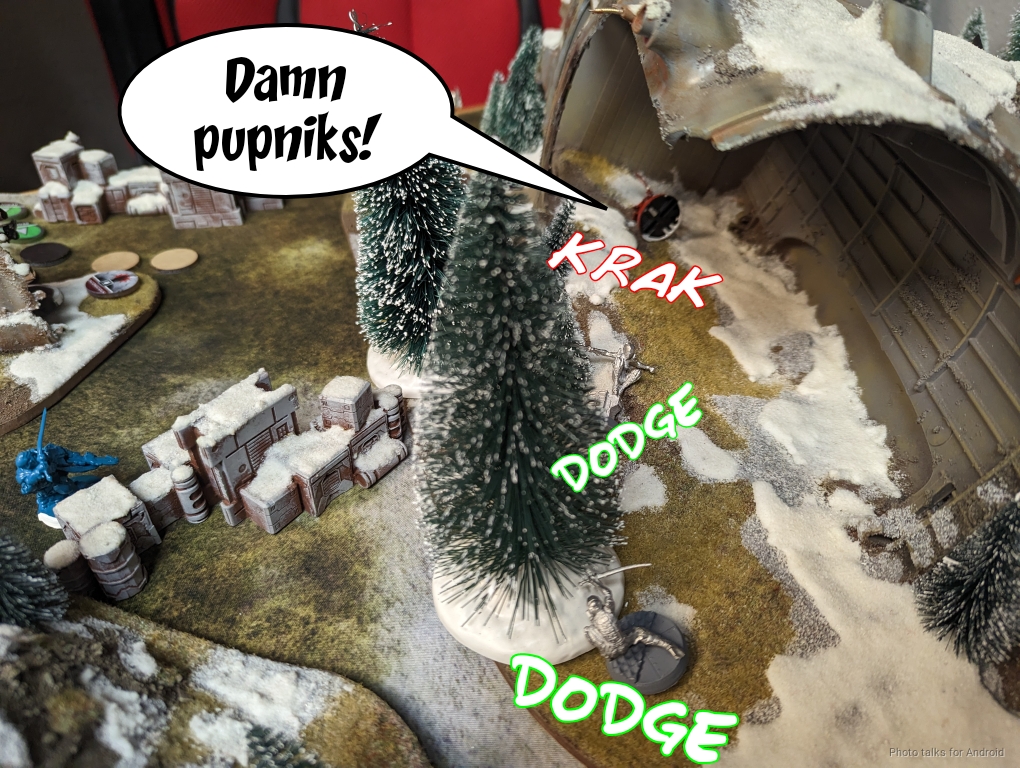
Ky needs to get some points on the board. The Bolts are pretty oppressive, and the Chimera is executing a soft contain, so Ky starts by popping the Weibing out to have a shot at one of the Pupniks, which dodges easily.
I’d like to make a run on Ky’s lieutenant, but the Libertos and its mine are in the way. When the Hac Tao starts moving around, I use the free dodge to clear the Liberto’s mine with a Pupnik. Talk about efficiency.
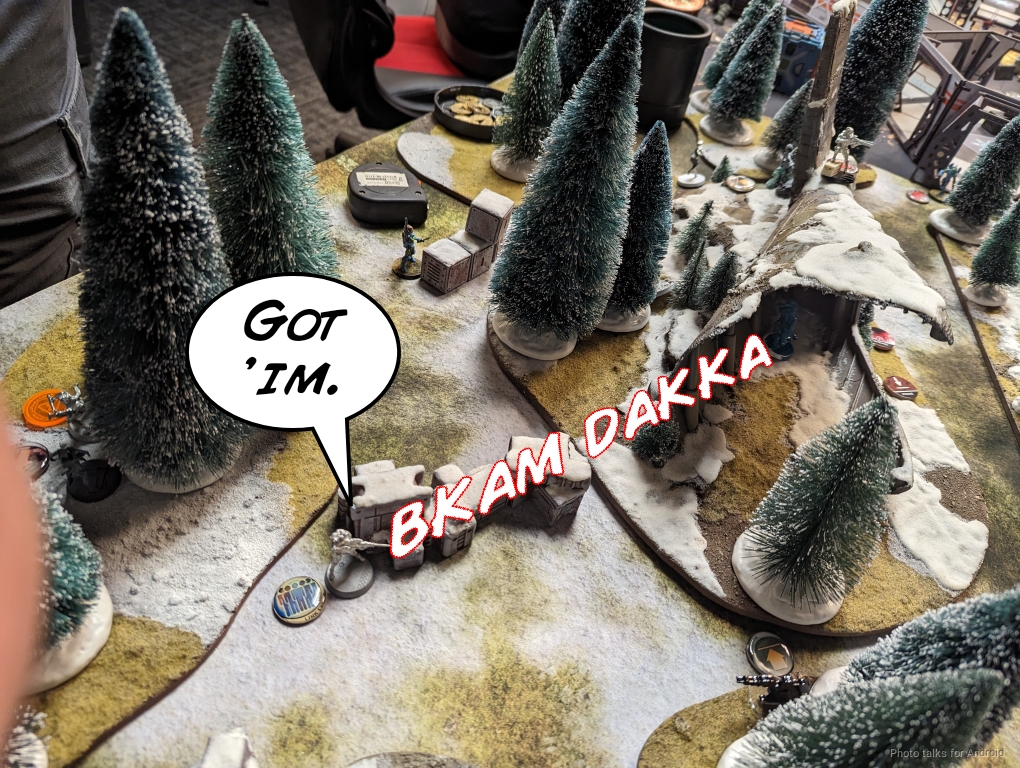
The Hac Tao challenges the Bolt ML and drops it, which is unfortunate, but 3 on 11s versus 1 on 7’s isn’t risk-free (sat zone and low vis). It could have easily gone my way.
Ky does recognize how dangerous the Uberfall are, so he sends in his Libertos and tries to drop the Pupniks. I dodge again. I’m quite happy about the orders that the Pupniks are draining, this is definitely working out for me here.
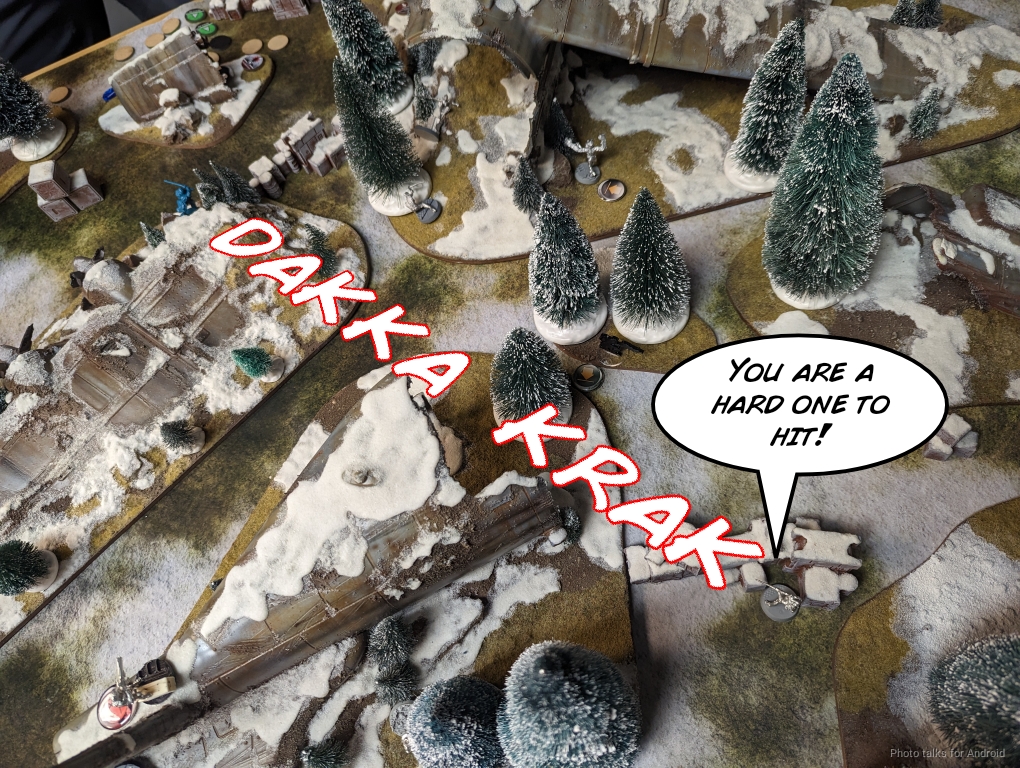
Ky challenges the Bolt MSR, and this is quite risky–3 on 11s versus 1 on 13s. I hit but don’t wound the Hac Tao, then it breaks LoF and moves into the quadrant with the beacon before recamoing.
Turn 3
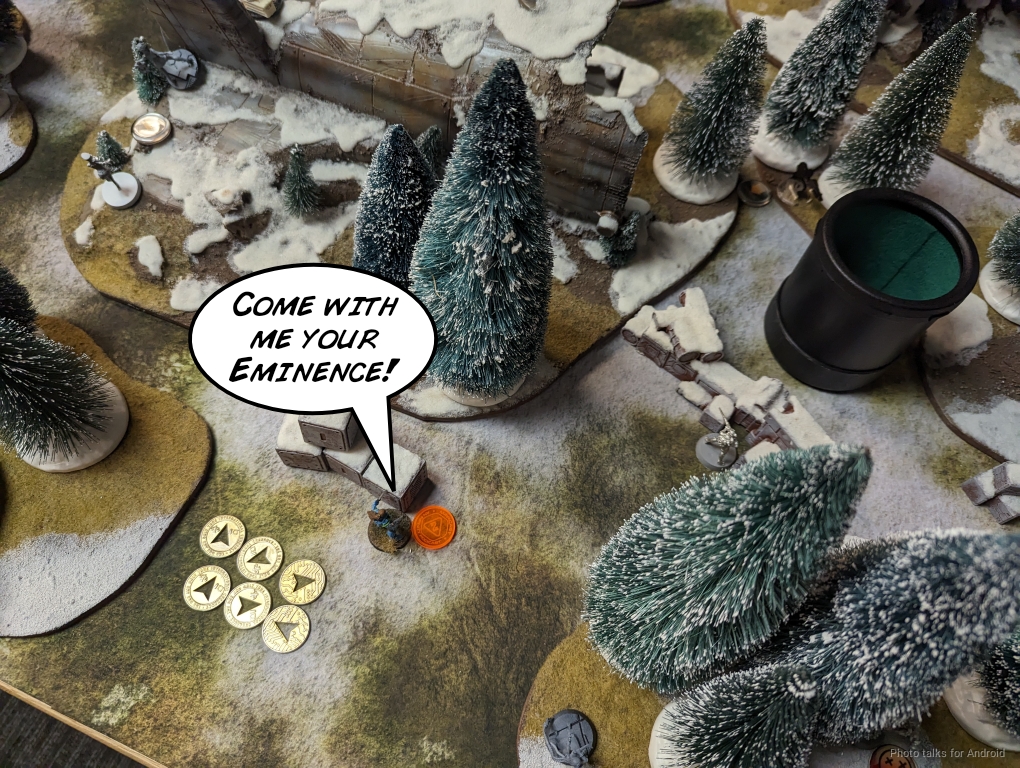
The Hac Tao easily out-points the CSU, so it’s 2-3 Ky right now. The SPACEPOPE shows up, and then my turn starts.
Top of 3 – ForCo

I decide to make the run on the Daoying now with the Chimera. I have to get through the Weibing and the Liberto first, and while I do take out the Liberto I do lose both Pupniks. Well that’s unfortunate.
I reveal the Croc Man and bring the SPACEPOPE to my deployment zone.
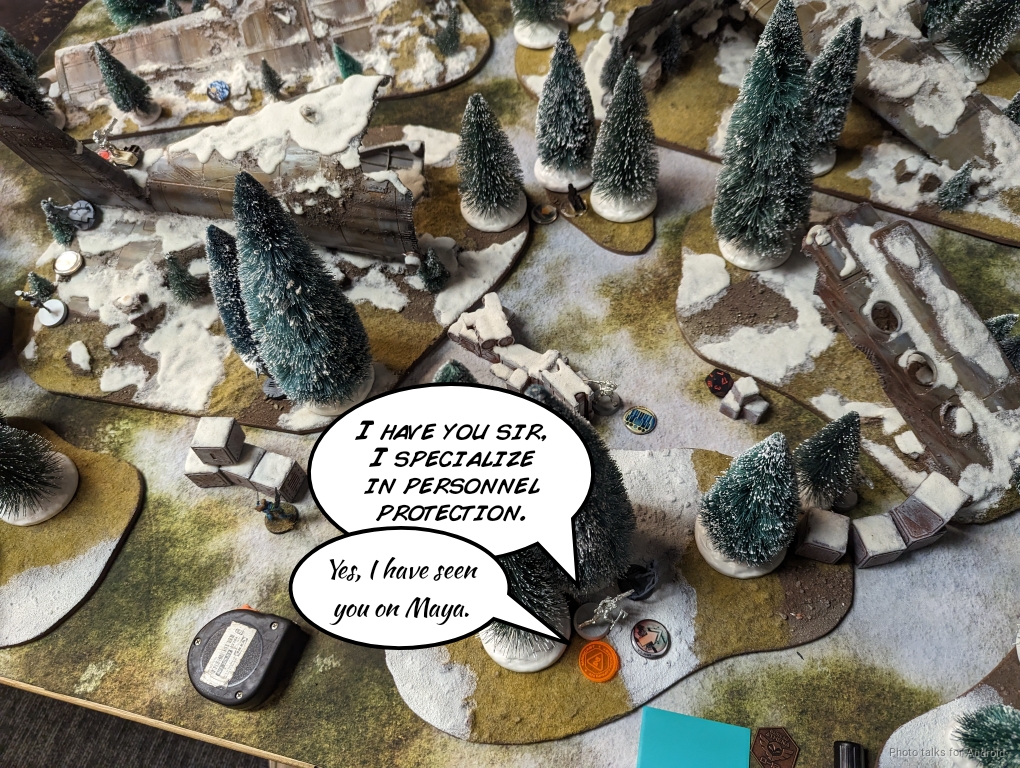
It’s not a great position, so I grab the SPACEPOPE with Valkyrie, bring the Bolt ML back up with Avicenna, and castle up the Bolts to defend everything. I walk the Akali on to sandwich the Hac Tao between two hacking areas.
Those are the orders I’ve got–now I just have to deal with whatever Ky can throw my way.
Bottom of 3 – Yu Jing
Ky has two options: run the Hac Tao in or run Bixie in. He moves the Hac Tao into the first group.
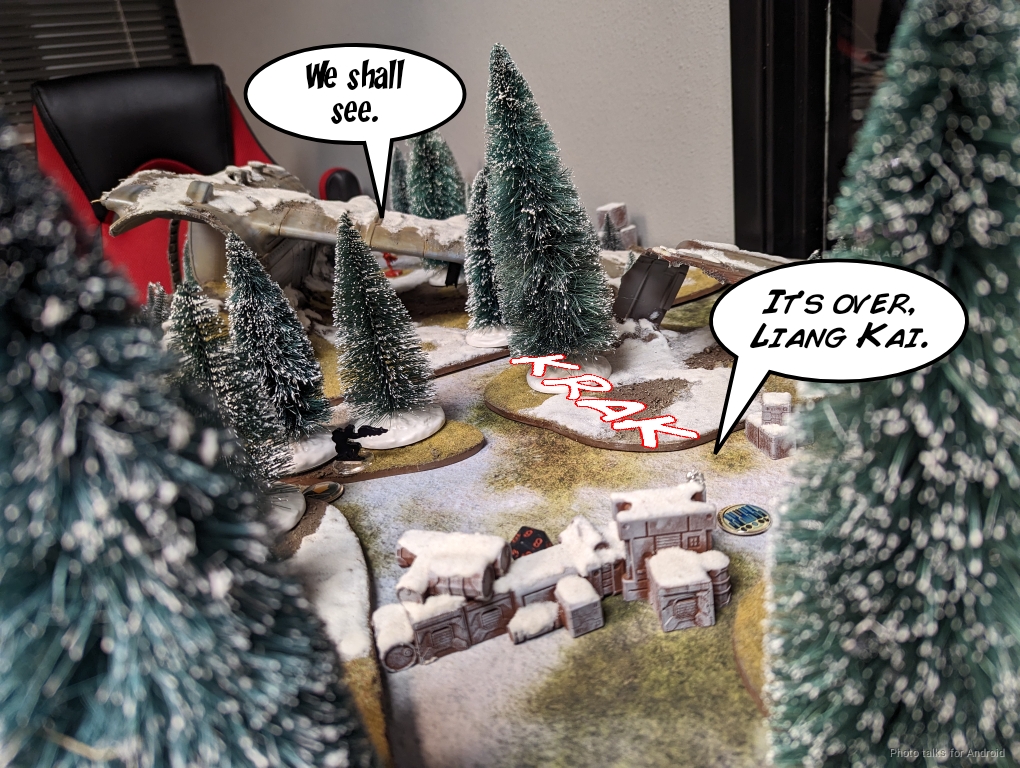
Liang Kai makes a move to fight the Chimera and wins, but the Bolt MSR finishes him off easily.
The Hac Tao starts moving and I discover with the Akali.
The Hac Tao then splits burst against the Akali and the Bolt MSR. I lose the Akali but wound the Hac Tao with the Bolt.
The Hac Tao can now focus all its burst on the Bolt, but marksmanship is really good and I end up doing the last wound to the Hac Tao successfully.
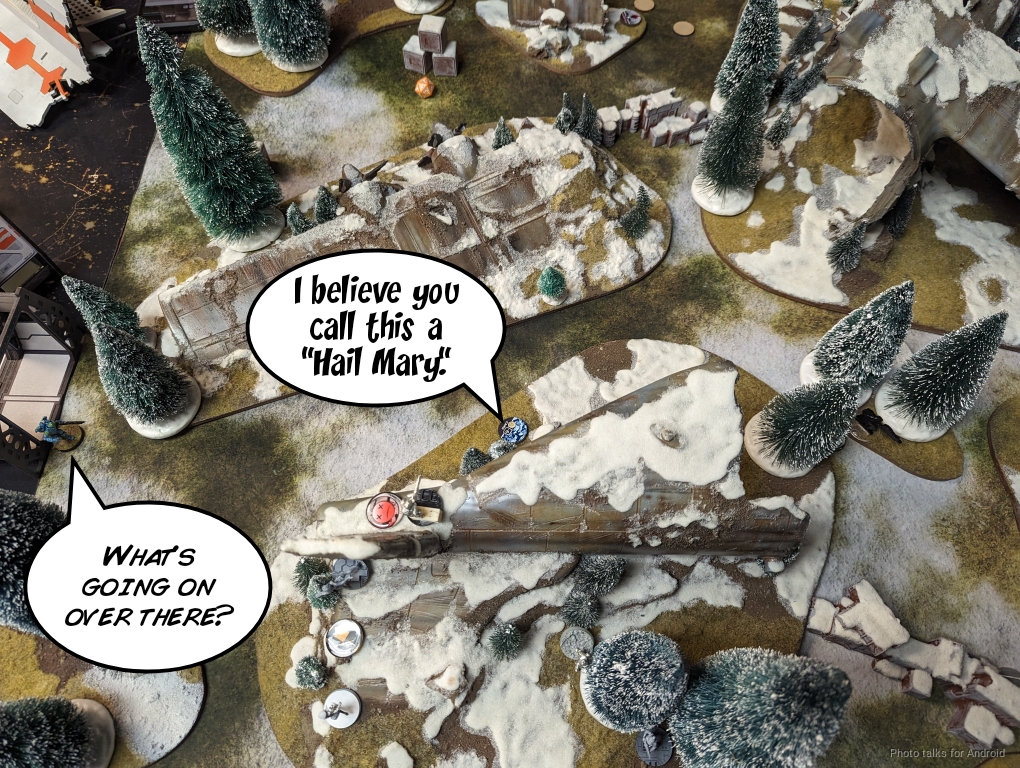
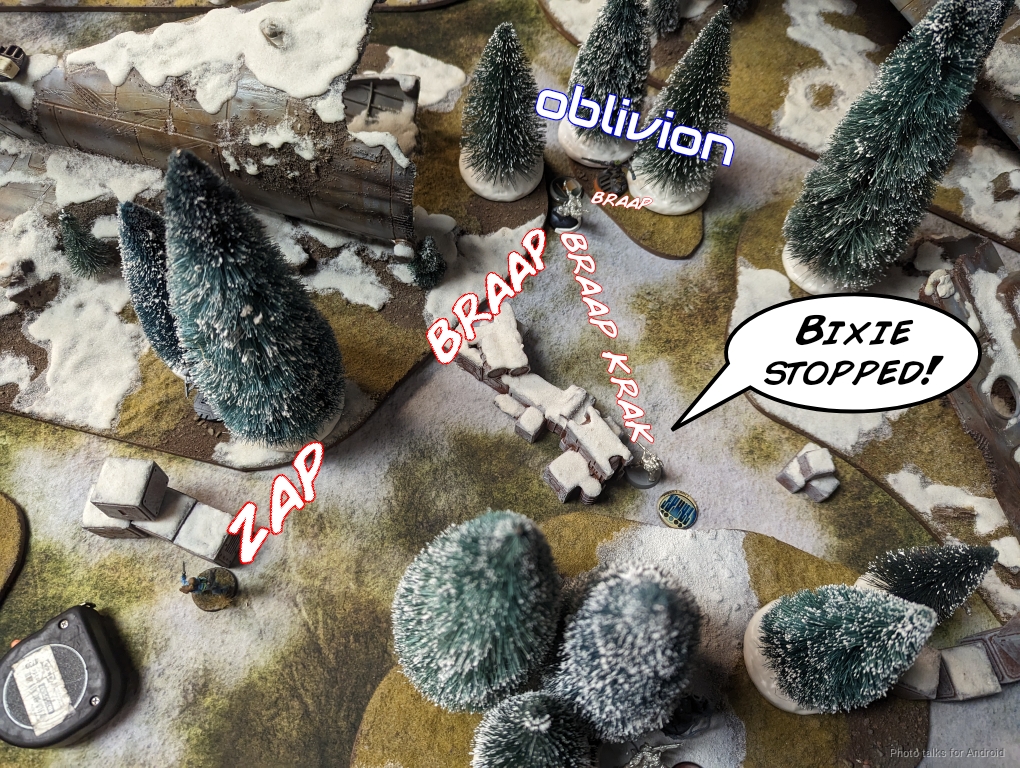
Kai’s still got a bunch of orders so he sends in Bixie. She makes it into view of the Zero Hacker, which grants LoF to the Croc Man and the Bolt MSR. Bixie splits burst three ways, killing the Zero, but the Bolt wounds Bixie and the Croc Man successfully flash pulses her, ending the run.
I’ve got the SPACEPOPE in my deployment zone, and we allowed secure the HVT for this one, so that makes it a
7-3, 228-137 Foreign Company Victory!
Post Game Analysis
Well, I really like the mission. It’s fun and forces you to engage with the objective differently. The scoring isn’t quite right yet, but the basic idea is there. It was a little one-sided, but I don’t think there’s a strong first or second turn advantage. It was actually pretty nice that Ky was able to easily deny me the points at the bottom of 2–it means that even from a positional disadvantage, he was able to recover.
I think the Uberfall are finally starting to click for me. I’ve had a huge problem trying to pilot them before, and I really think it’s because there was just one too many models for me to use. For some reason, the difference between four and three models to my brain is significant in terms of cognitive load. The pupniks also got a ton of work done in terms of order drain.
And honestly, I think that’s really what won me this game. Of course, I had the advantage of having designed the mission, but let’s look at the flow of the game. My first turn was setting up a positional advantage and forcing Ky to be efficient with orders if he wanted to get into the quadrant and contest the beacon. He then proceeded to advance and then retreat the Hac Tao, which is inefficient, especially with the Chimera being so lucky.
Ky then pushed two units across the table (the Guilang and Beasthunter) and got them both into significant trouble. My knowledge of Yu Jing also allowed me to take the risk of discovering the Guilang,but I do think he could have exploited the discover on the Beasthunter by panzerfausting. My second turn was again focused on objectives and then attacking Ky’s orders and setting up more speedbumps.
Then Kai had to really extend his Hac Tao pretty forward to stay in the game during Turn 2. At that point I was able to get the SPACEPOPE secured in my deployment zone, and I don’t think Kai had the orders or the tools to safely dig it out. I wish I had used the Akali a little more effectively, maybe to pin Bixie in place with hacking or something. There was still a chance for Kai to win it at the bottom of 3, which I really like–I wanted the mission to feel like a mad scramble that rewards careful risk taking.
So yeah. I think the general shape of the game is I pulled the center of gravity of the game towards me (the beacon), forcing Ky to extend some forces forward and have to develop his board state. Rather than develop things slowly he made several pushes on turn 1 that I think spread out his momentum too much (and I blunted his pushes). Then it was just me having more order efficiency and the hail mary at the end failing for him.
I’m excited to try more reps of this mission! Thanks to Ky for a great game and thanks to you for reading!
Pingback: Tatary Orthodoxy – MERC Recon
Pingback: Moderated Mendoza – MERC Recon